Monthly Archives: July 2019

Pick Flowers, Not Fights Hoop Art

This week, I have joined a few other Cricut loving crafty friends for a Summer of Flowers event with our Cricut machines.

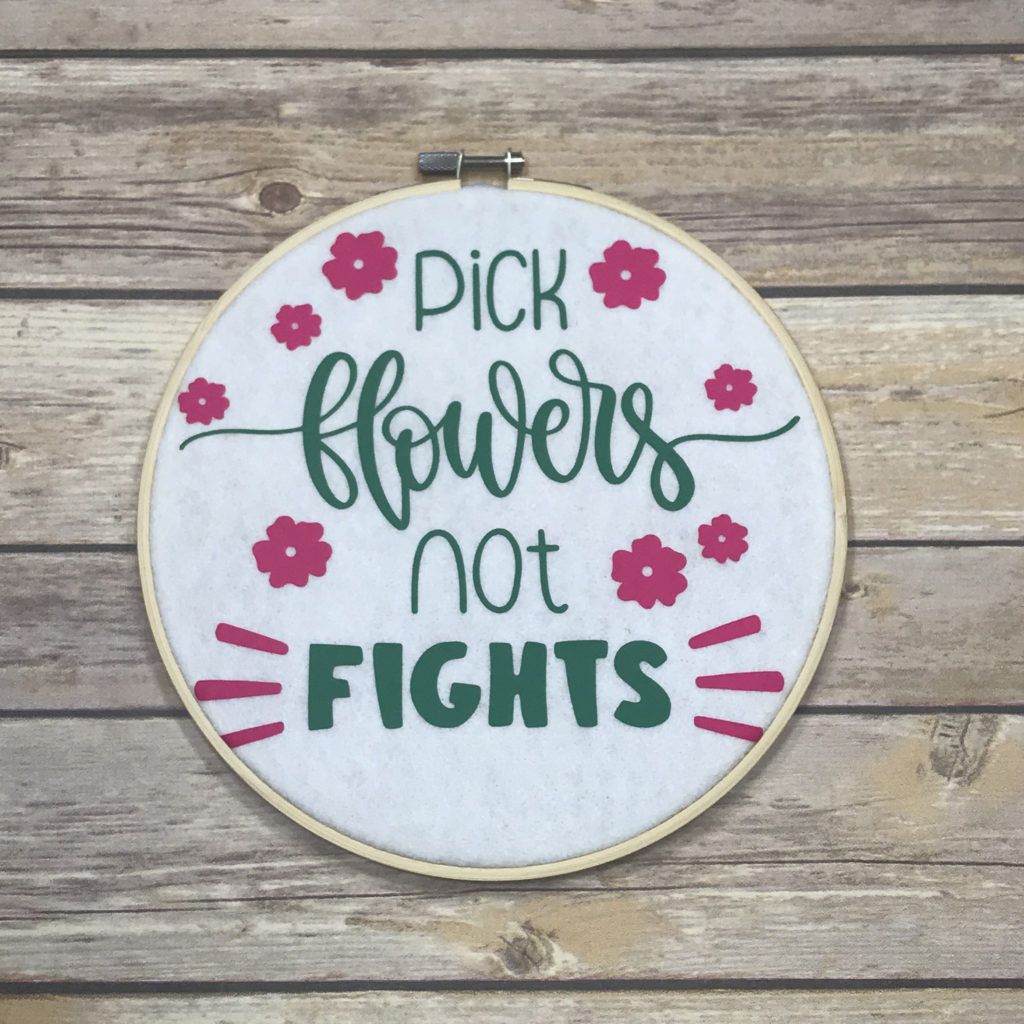
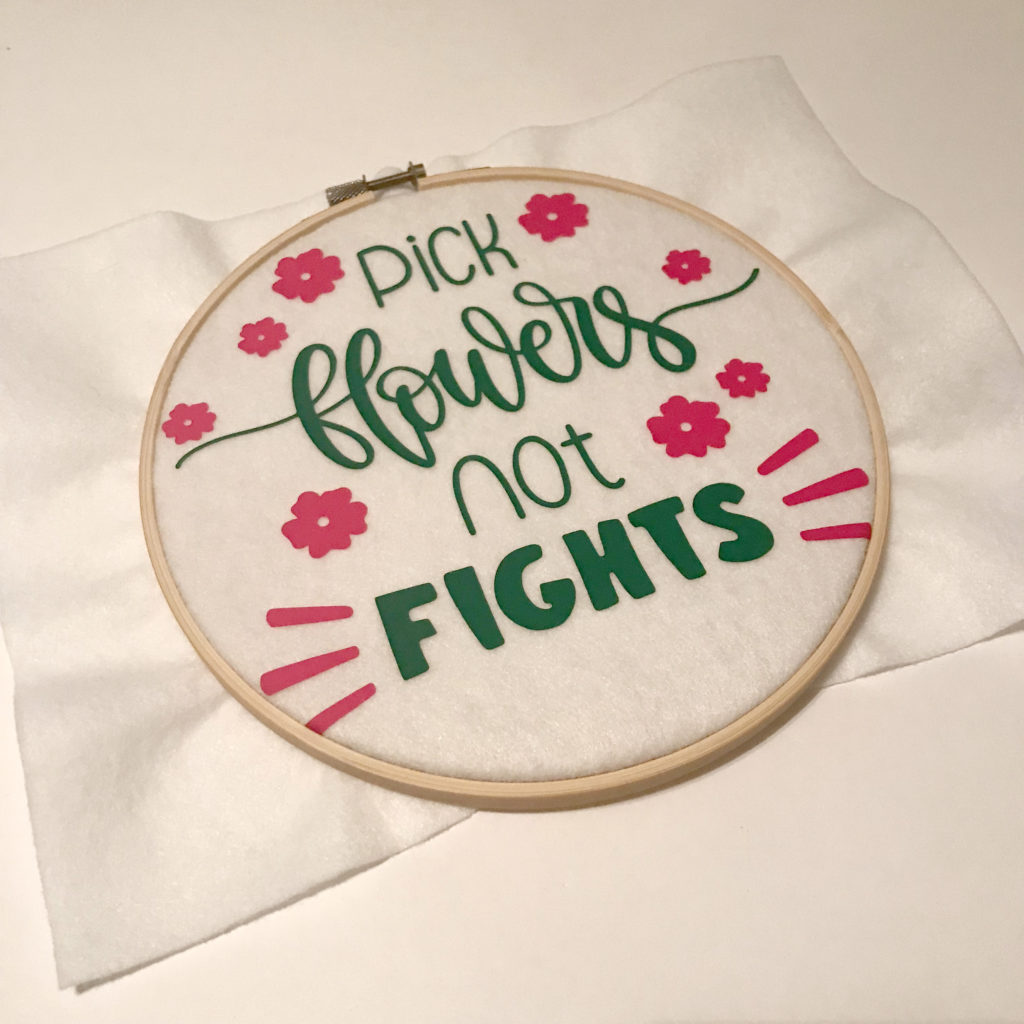
I decided to use a Cricut project already made in the Cricut Design Space to make a positive hoop art so that we have a reminder, that we should not pick fights, but instead do something fun and uplifting like picking flowers!

Materials:

  • Cricut Machine (Explore or Maker)
  • Computer with Cricut Design Space (Pick flowers, Not fights design in in Design Space)
  • Cricut EasyPress
  • Cricut Cutting Mat
  • Cricut Weeding Tool
  • Cricut Everyday Iron-On Heat Transfer Vinyl (HTV)
  • Embroidery Hoop
  • 9″x12″ craft cut of Kunin Felt in White
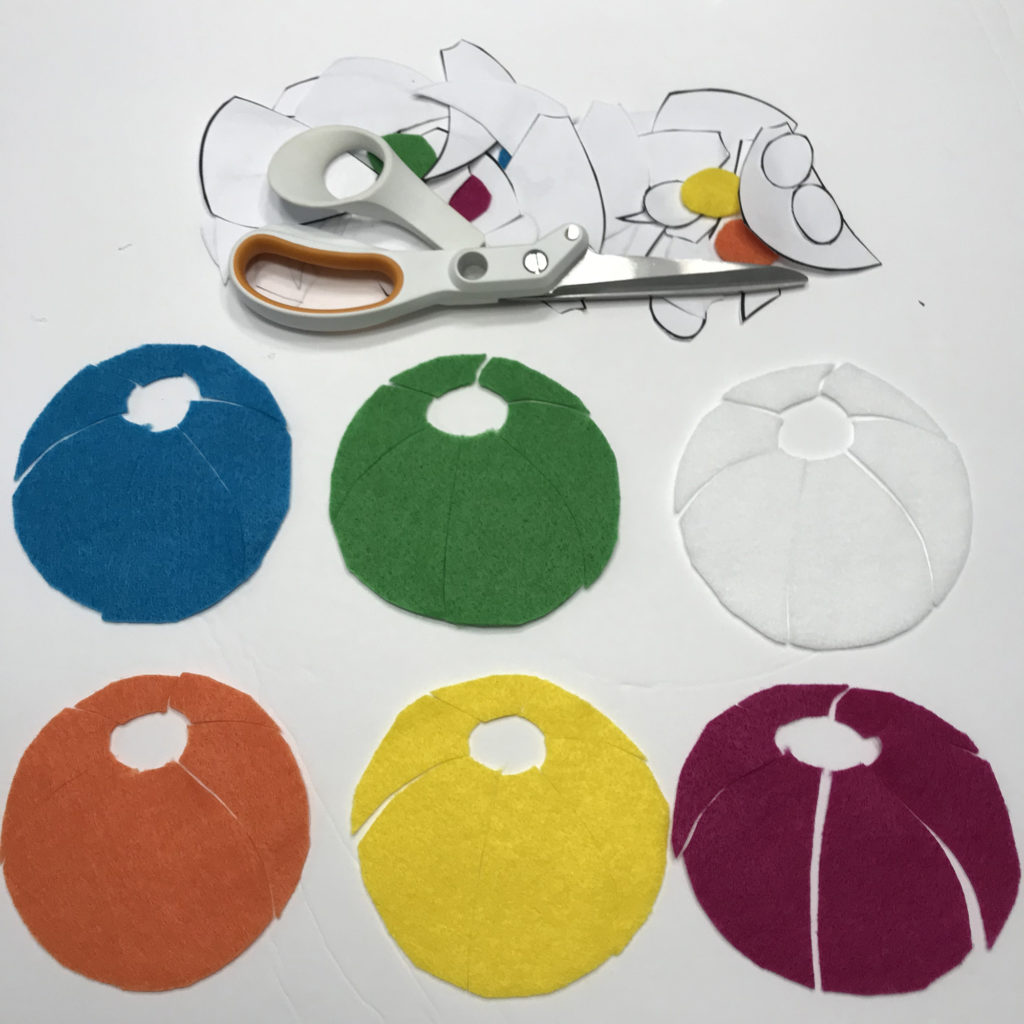
  • Scissors

Directions:

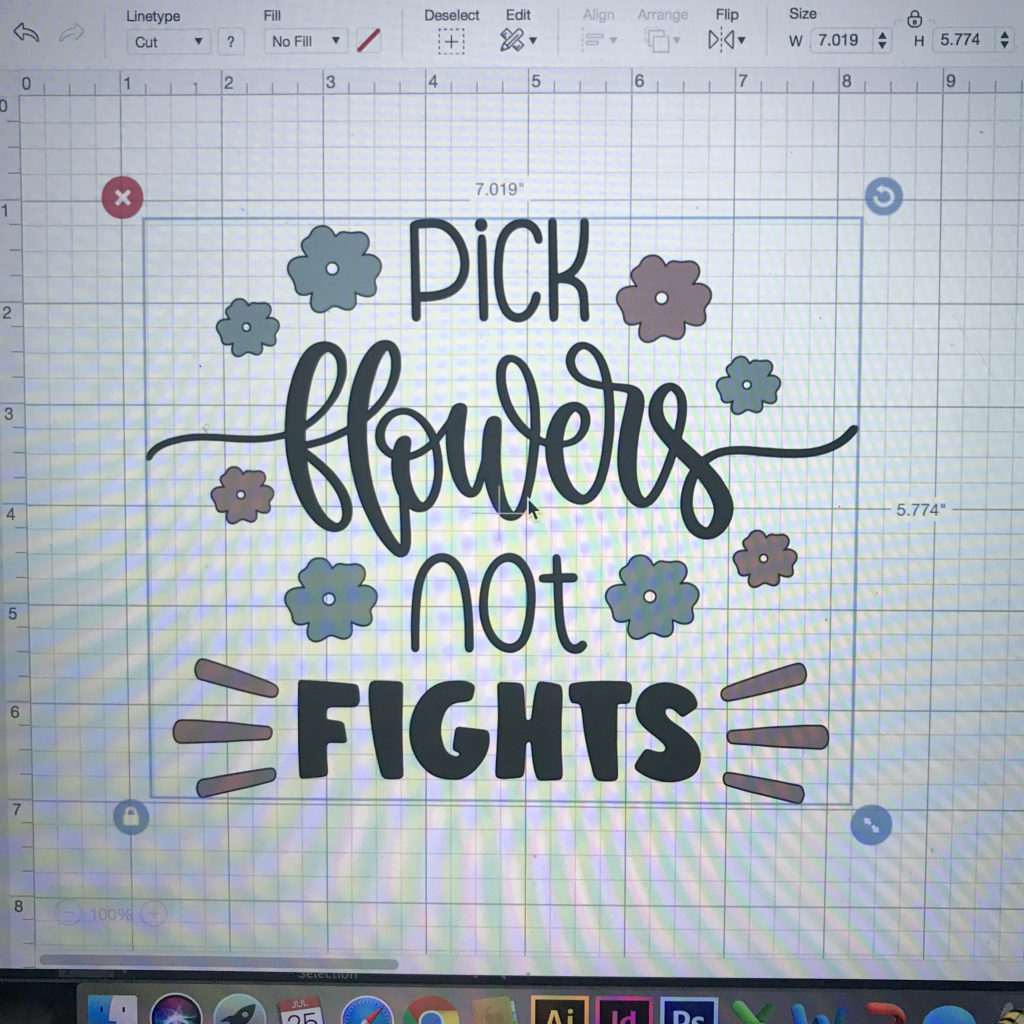
Using your computer, open Cricut Design Space, search for Pick Flowers Not Fights in Images.

Connect the Cricut to the computer. Put the Heat Transfer Vinyl on the mat, shiny side down.

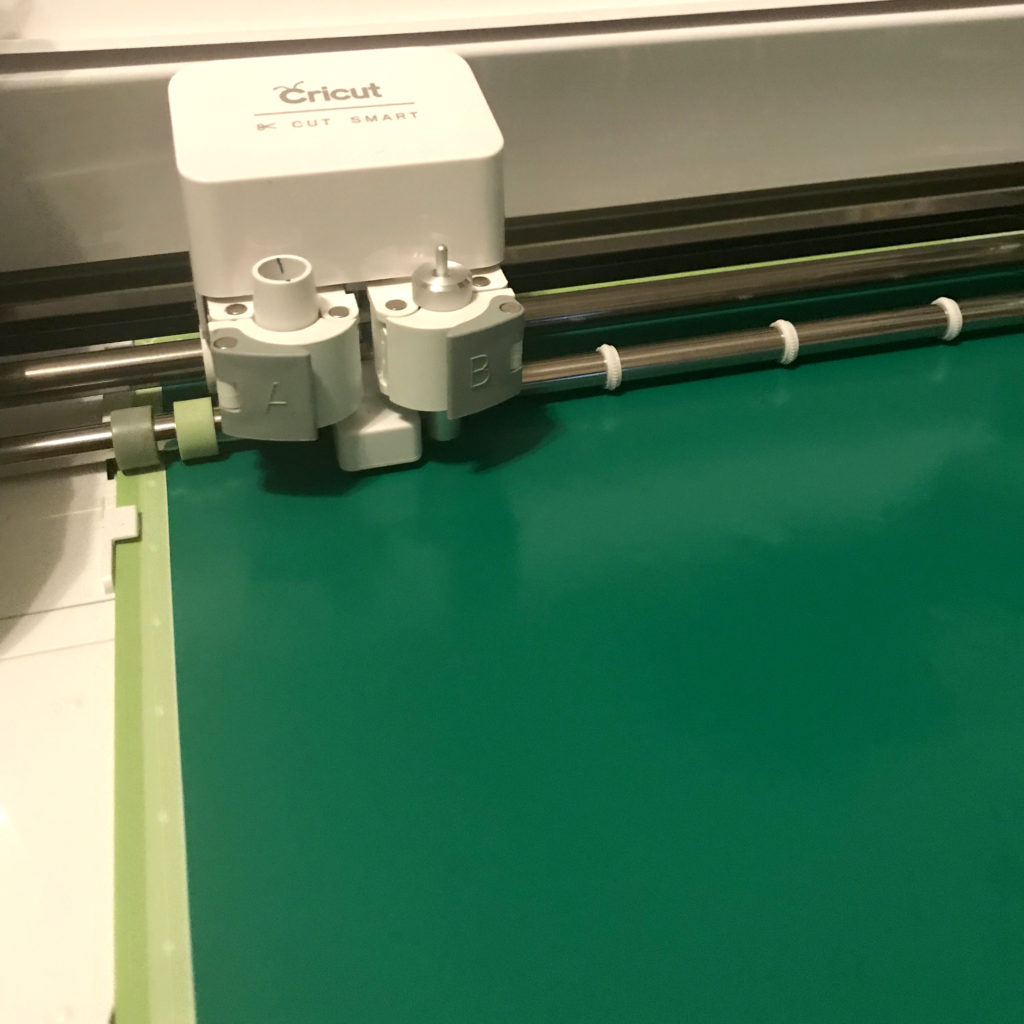
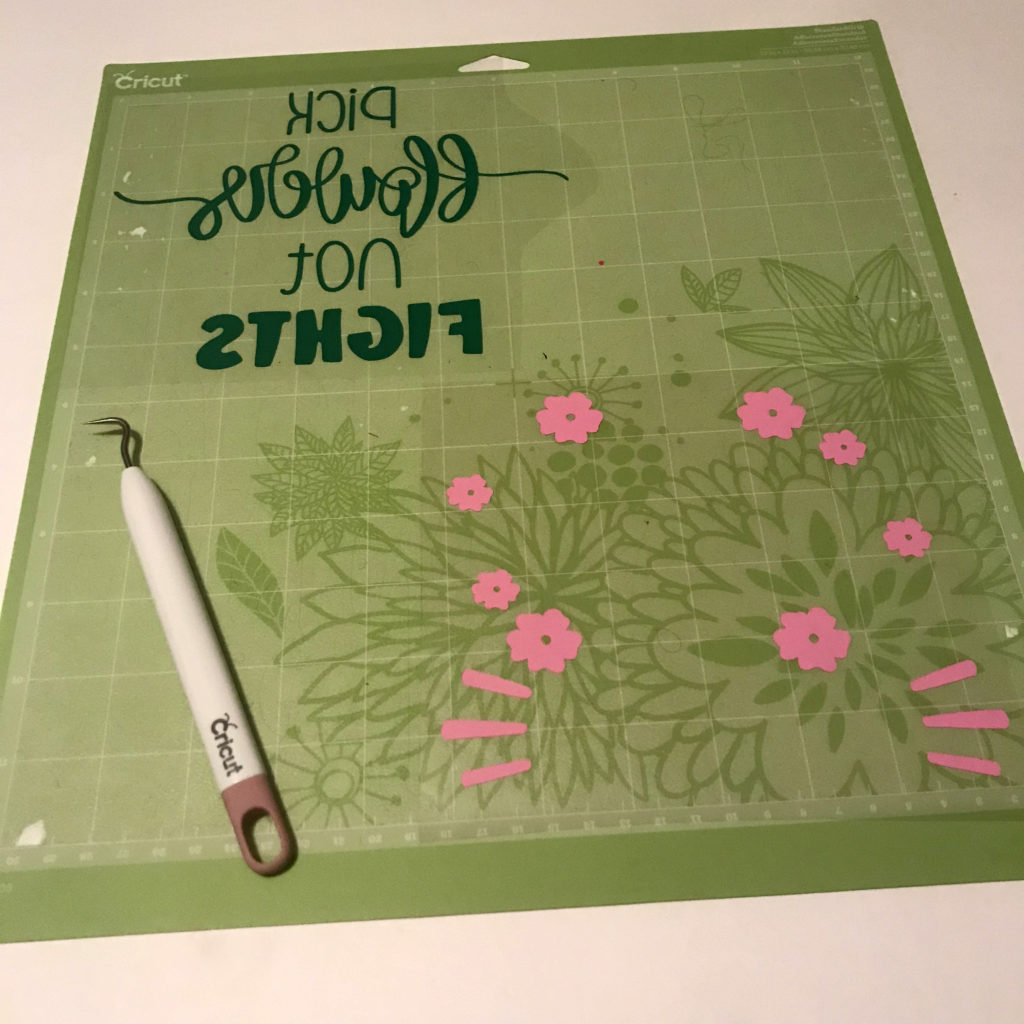
Cut the designs out in the order that they are set to cut. Weed the excess HTV using the weeding tool. TIP: Leaving the design on the mat can make it easier to weed.

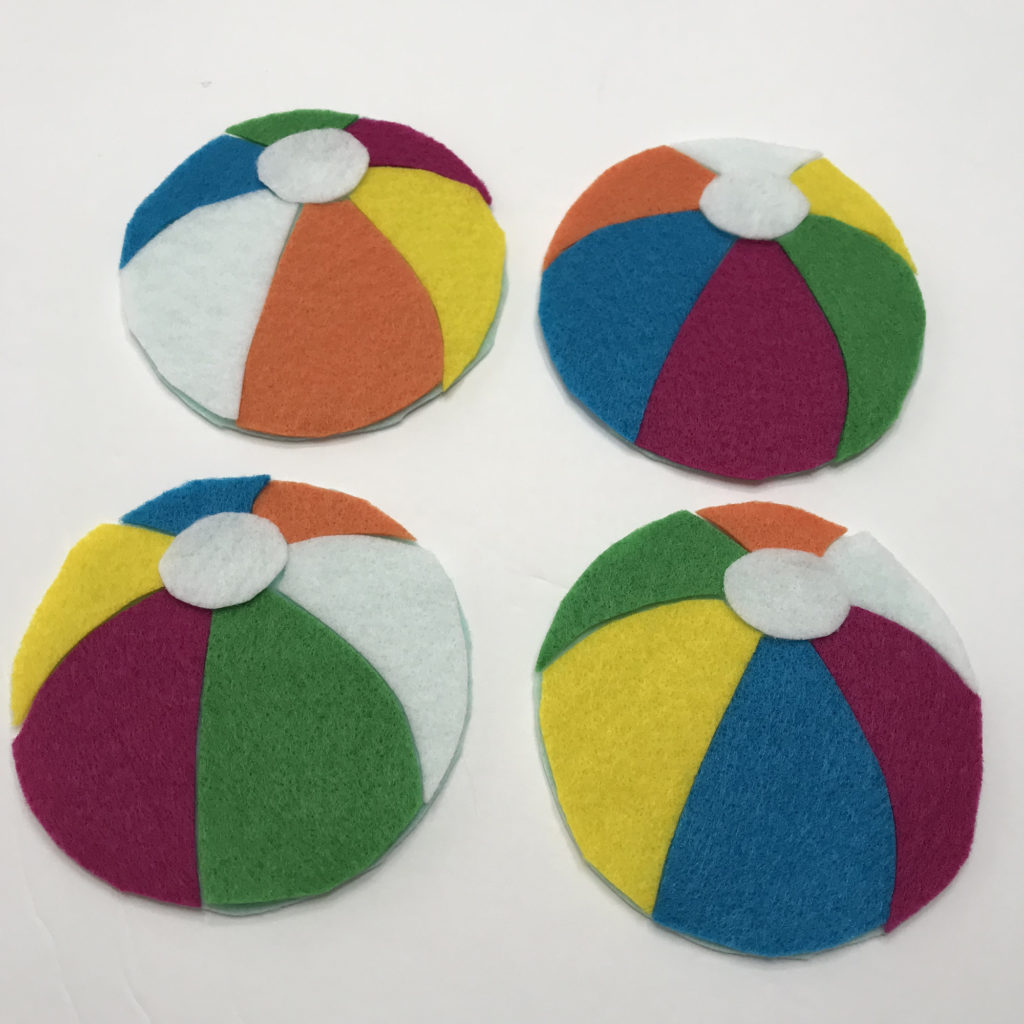
Using the Cricut EasyPress, press the design onto the center of the white piece of felt. The design will have to be done one layer at a time.

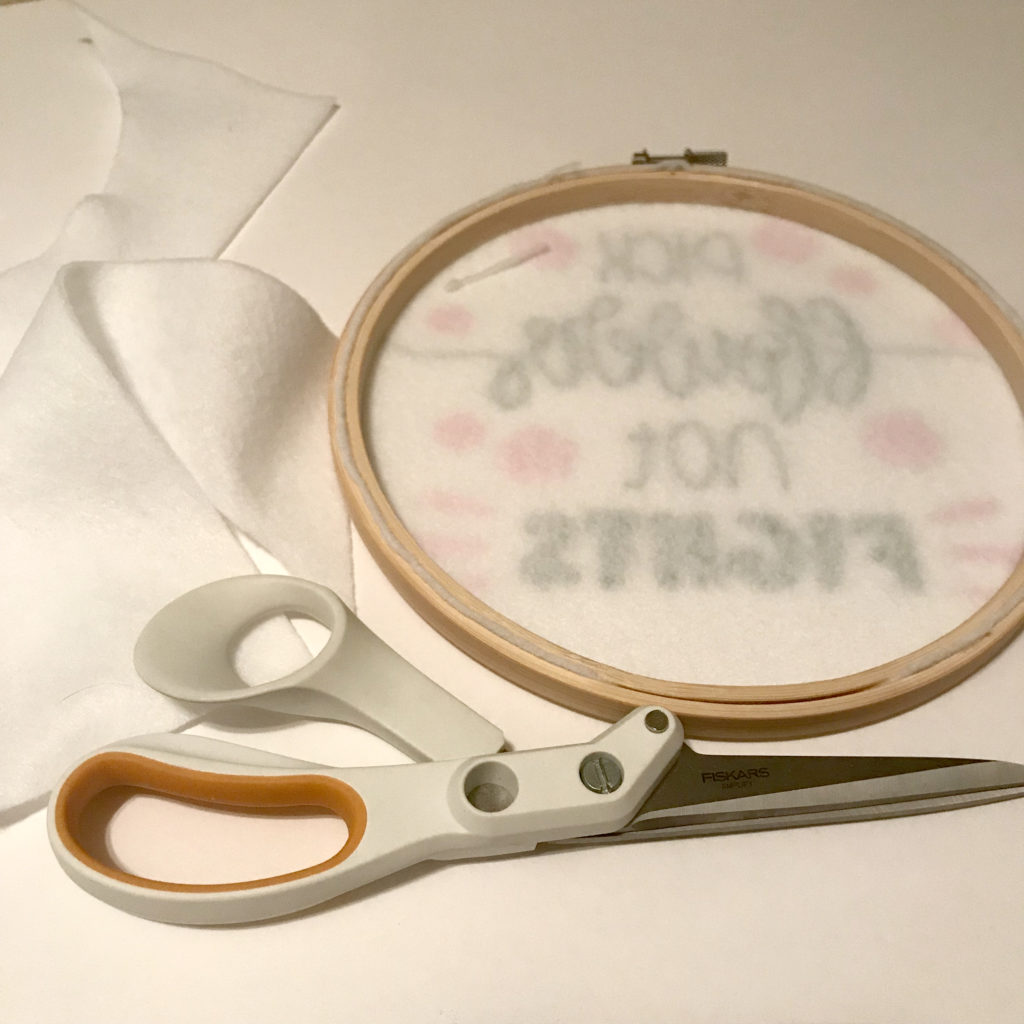
Open the embroidery hoop and place the felt in the hoop and return the outside piece of the hoop.

Turn the hoop over and trim the excess felt.

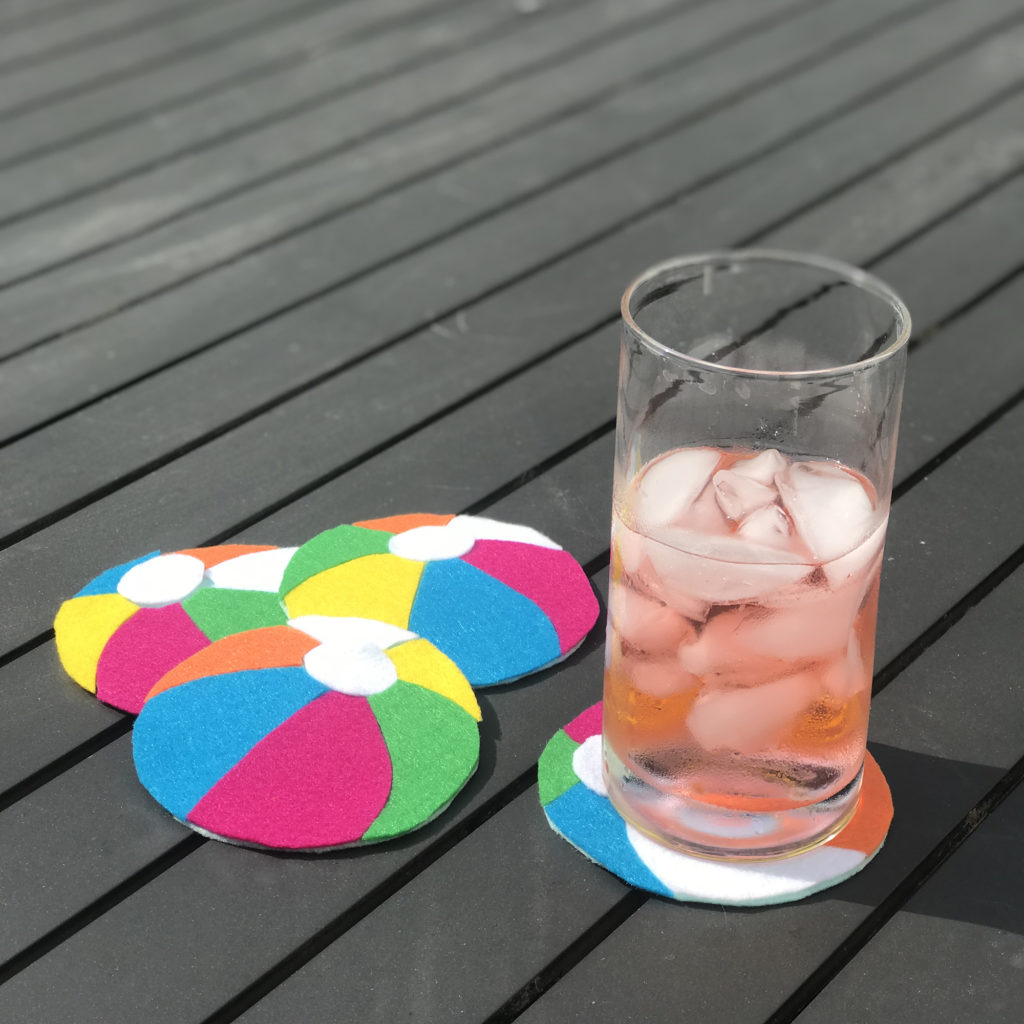
Now you are ready to put it out so that everyone can see your positive message. You can either lean it against the wall, hang it on a nail or use some ribbon to hang it up!

Be sure to check out other Cricut Summer of Flower projects by clicking the button below.

You are invited to the Inlinkz link party!

Click here to enter

Also, be sure to enter this amazing giveaway! It’s worth over $500 in products! a Rafflecopter giveaway

Happy Crafting! Until next time…..

Painted Feather Rock

Craft Lightning is here again!!!! This month the theme is Painted Rocks. While in Phoenix this past January for AFCI, I met this awesome painted rocks lady Carissa. She has some amazing talents with her painted rocks. They bring all the joy! You can check her painted rocks out on Instagram: ilovepaintedrocks

I made this Painted Feather rock. Feathers represent freedom, inspiration and spirit. When you see a feather on the ground, don’t you just want to pick it up?!?! Here is how I made it:

Materials:

  • A rock (I just found one in my neighborhood, but you could buy one!)
  • Paints (I used spray paint for the base and then some other paints I had lying around)
  • Paint Brushes
  • Tray for the paint (I just used a paper plate)
  • Something to put your rock on while you are painting and it dries
  • Pencil to draw an outline

Clean the rock to make sure it’s free of any dirt or leaves. I had to do this since I found mine out in the neighborhood.

Paint the rock with your base color and allow to dry. TIP: While you are waiting for it to dry, get your paints ready, especially if you mixing colors.


Using a pencil, draw a light outline of your design.

Paint your design and allow to dry.

Now you can go out into the world and put it where you’d like someone to find it! Or you could just add it to your own garden.

Check out other quick and easy 15 minute or less Craft Lightning painted rocks by clicking on the button below.

Until next time…..

Happy Crafting!

Felt Beach Ball Coasters

Beach and Pool season is here. These adorable felt Beach Ball Coasters would be perfect by the pool.

Skill Level:  Easy

Time to Complete:  1 hour

Materials:

  • 9” x 12” Craft Cut of KuninFelt Classic felt:  (1) Minty, (1) Yellow, (1) Orange, (1) Peacock, (1) Apple Green, (1) Fuchsia , (1) White
  • Scissors
  • Felt Glue
  • Pins (optional)

How I made it:

Print the Beach Ball PDF pattern out.  You will need a total of 7 balls so you may have to print 2 sheets.  Cut out the balls.

Using one of the patterns, cut out the base of the coasters from the Minty felt.  

If you want to use pins, pin one circle to each of the other colors of felt or you can just hold the pattern in place.  Cut the circle out first and then cut the pieces of each ball following the lines.  Be sure to cut the small round pieces too.

Alternating colors, place the pieces on the Minty base pieces to make it look like a beach ball.  

Glue everything in place and let them dry! You can trim off any pieces that are hanging over the Minty base piece.

Then they are ready to use by the pool or on your beach umbrella table!

Hope you enjoy these super simple felt Beach Ball coasters.  

You can now find an expanded color line of Kunin® Classicfelt; Kunin® Premiumfelt and Corduroy non-wovens fabrics in cut by the yard at your local Walmart; please inquire as to what is available in your area.

Happy Crafting,
Katie Berry
A Sweet Berry Designs

www.asweetberrysblog.com    
FB: A Sweet Berry Designs
IG: asweetberrydesigns