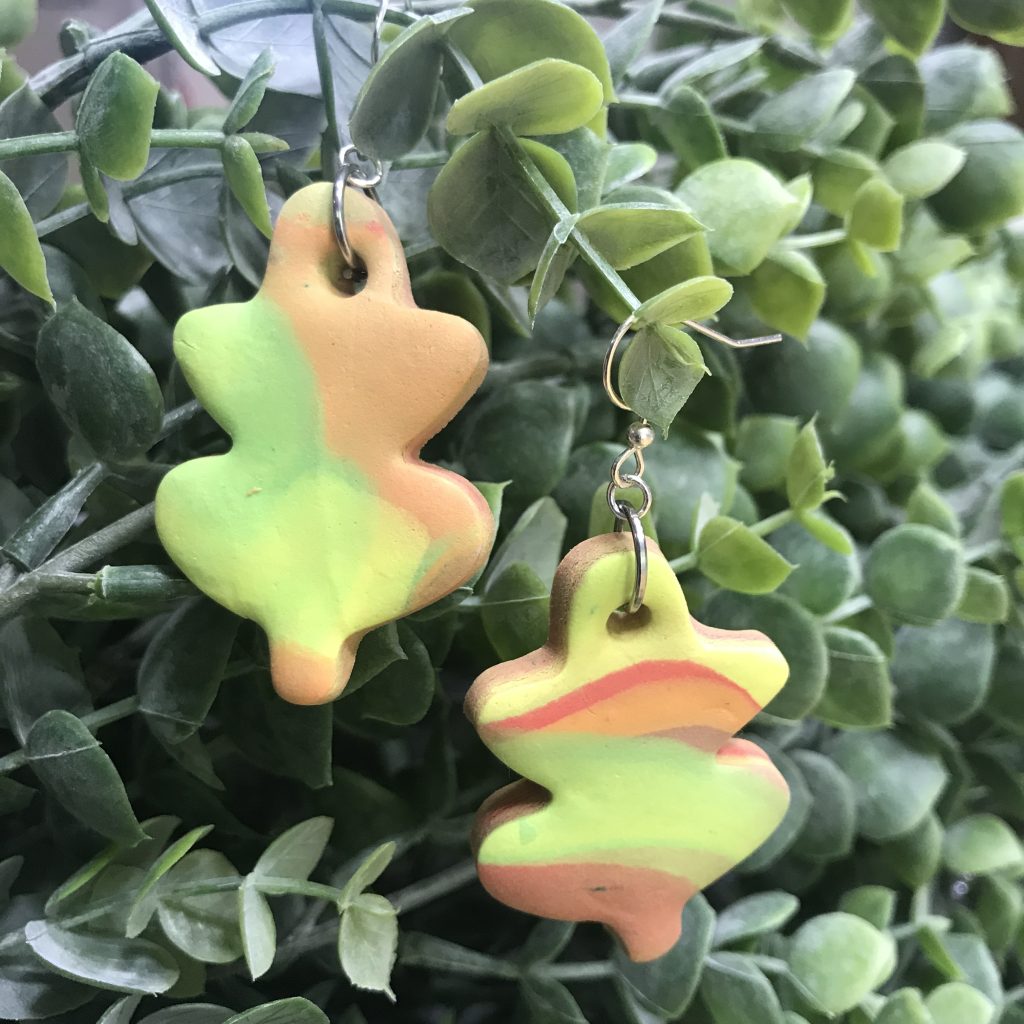
Autumn is a great season to put on a sweater, boots and new earrings. These clay earrings are super light because they are made with Sculpey’s Pluffy clay. The great thing is that they are simple to whip up so can be made it batches. This means you can make a pair for yourself and some for friends too.
Materials Needed:
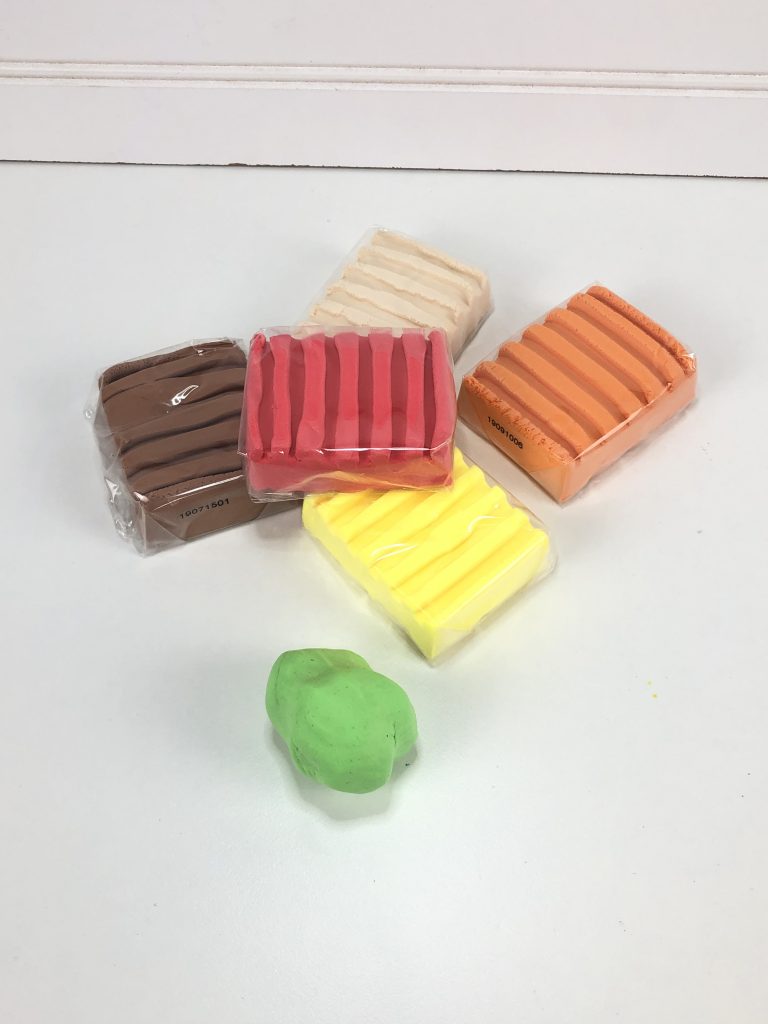
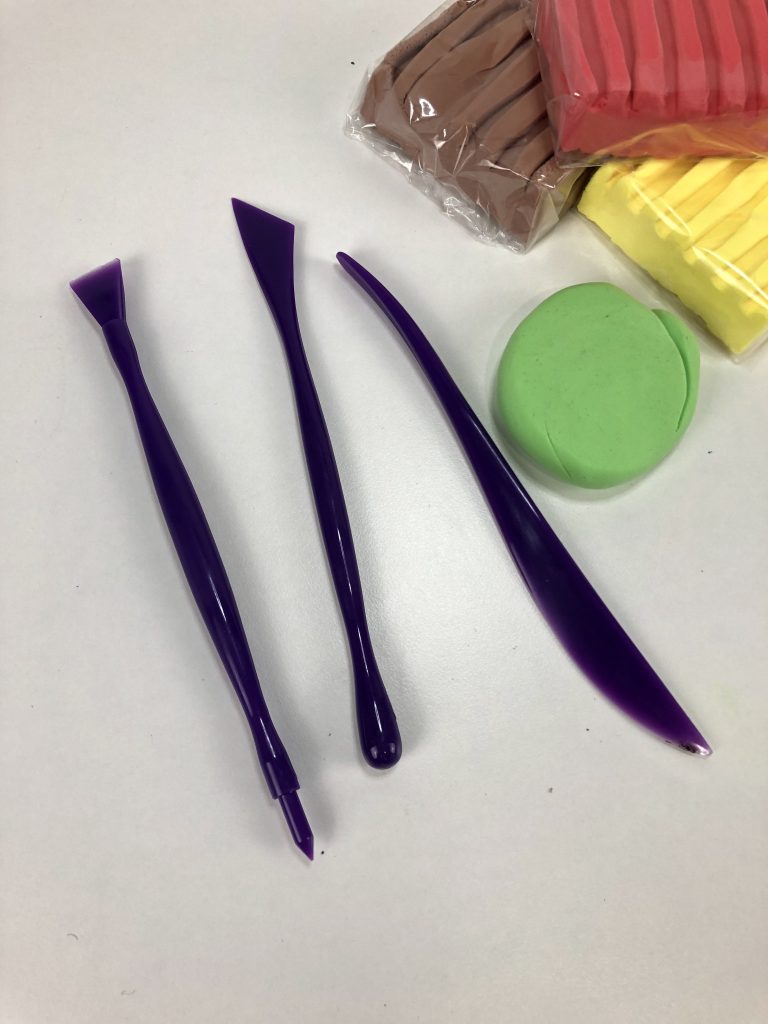
- Sculpey Pluffy Clay (Red, Orange, Yellow, Brown, Green)
- Baking Sheet
- Oven
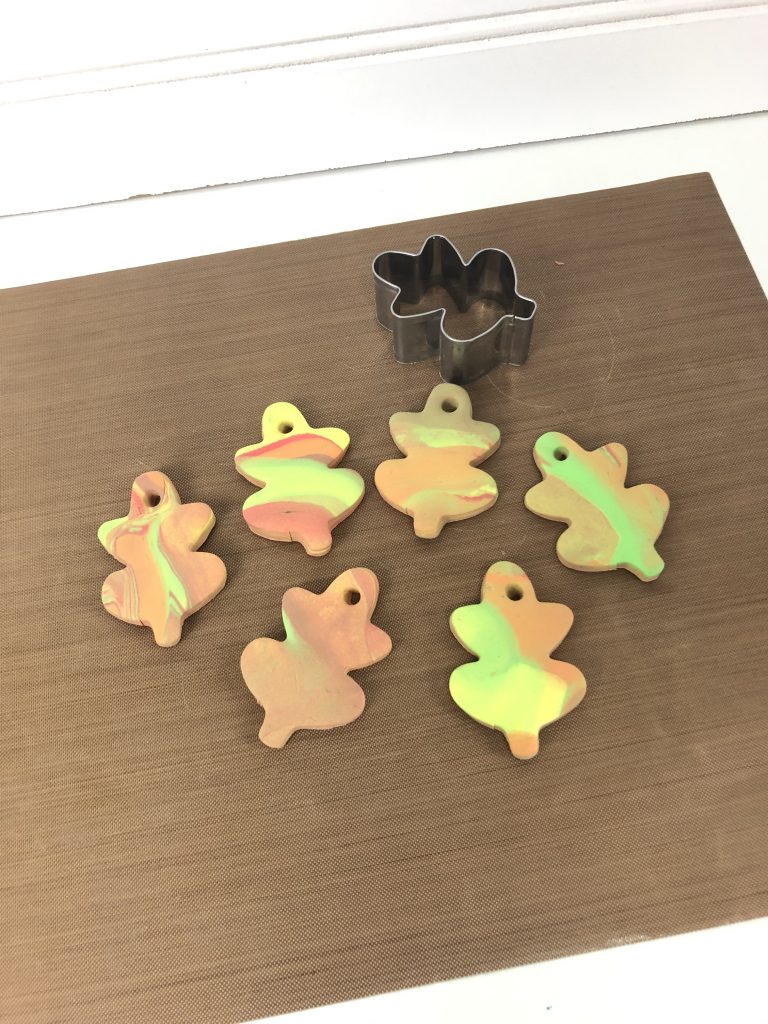
- Leaf Cutter
- Clay Tools (To roll out clay and poke holes)
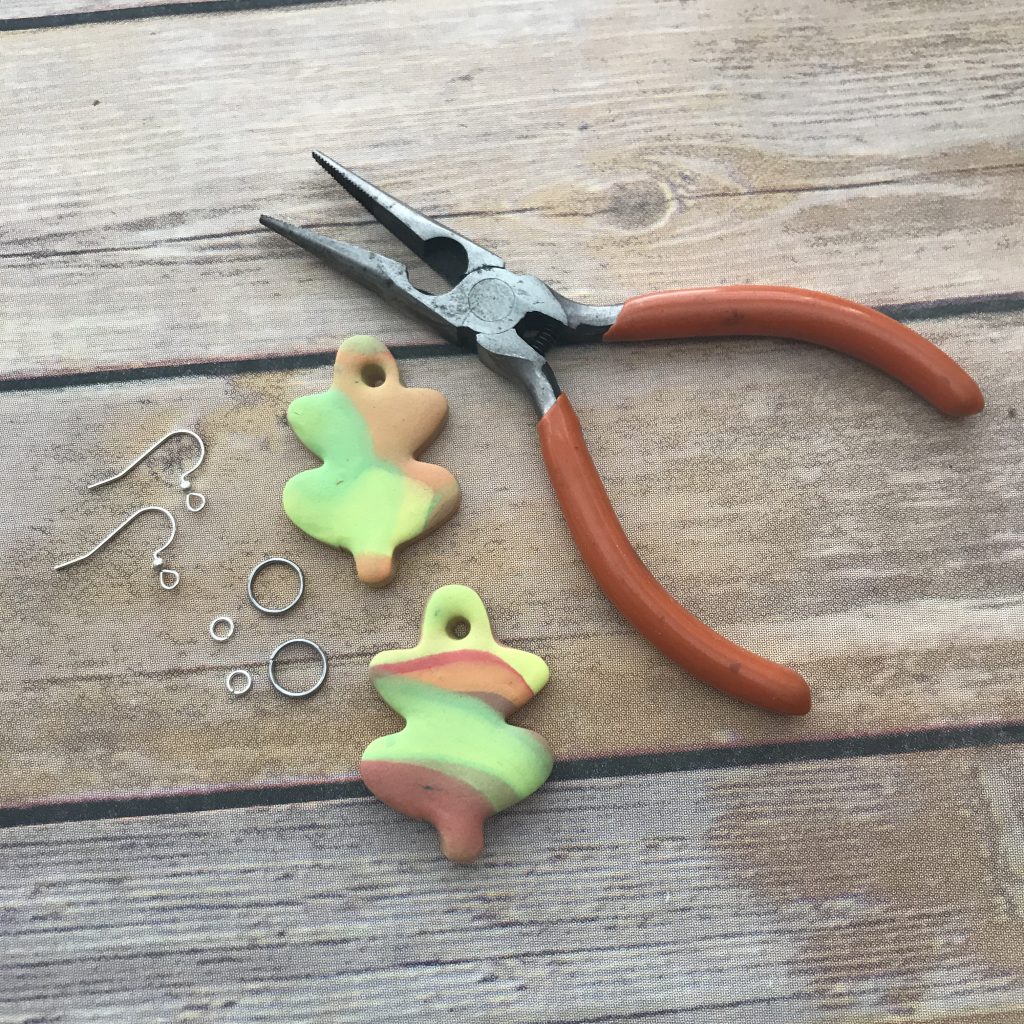
- Jump Rings
- Earring Hooks
Directions:
1. Use the same amount of each color of clay and roll it all together in your hands.
2. Use a rolling pin to roll it our then fold it over and do this a couple of times. This marbleizes the look. Stop when you roll it out and like it. The thickness should be about a quarter inch.
3. Use a cutter to make your shapes.
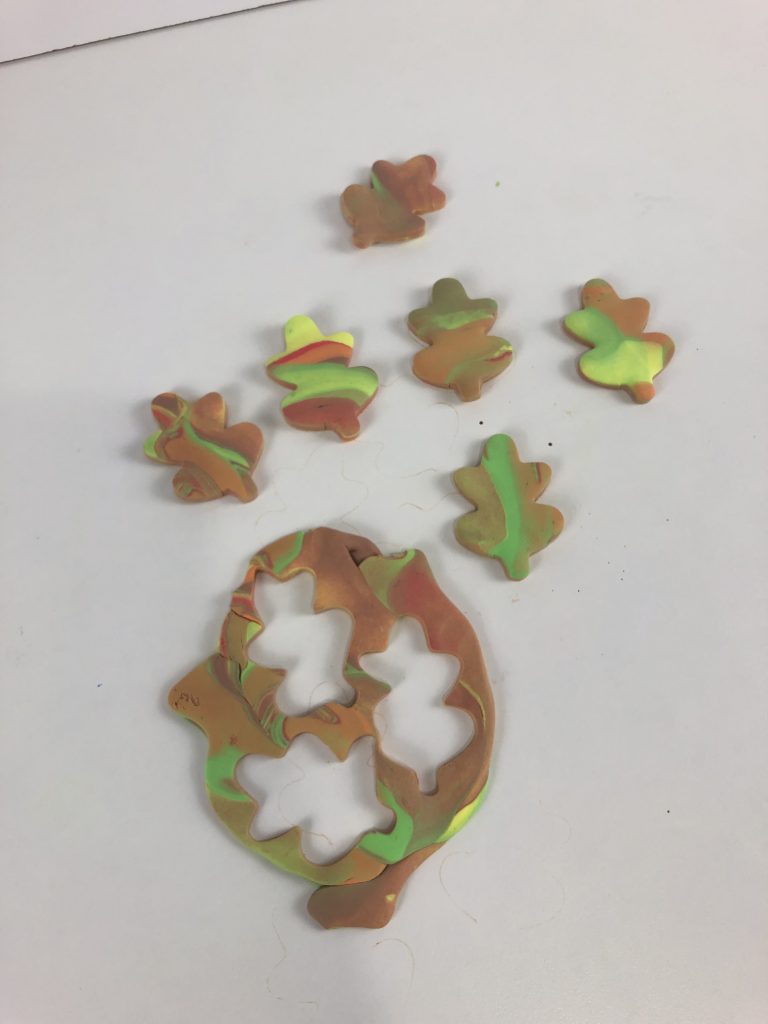
4. Poke a hole through the clay BEFORE baking.
5. Bake at 250 degrees for about 12-15 minutes. Follow the directions in the packaging.
6. Once cool, add the metal pieces to turn your clay creations into jewelry.

Be sure to click the Creative Fall Crafts button below to check out other fall crafts!

Until next time…..