
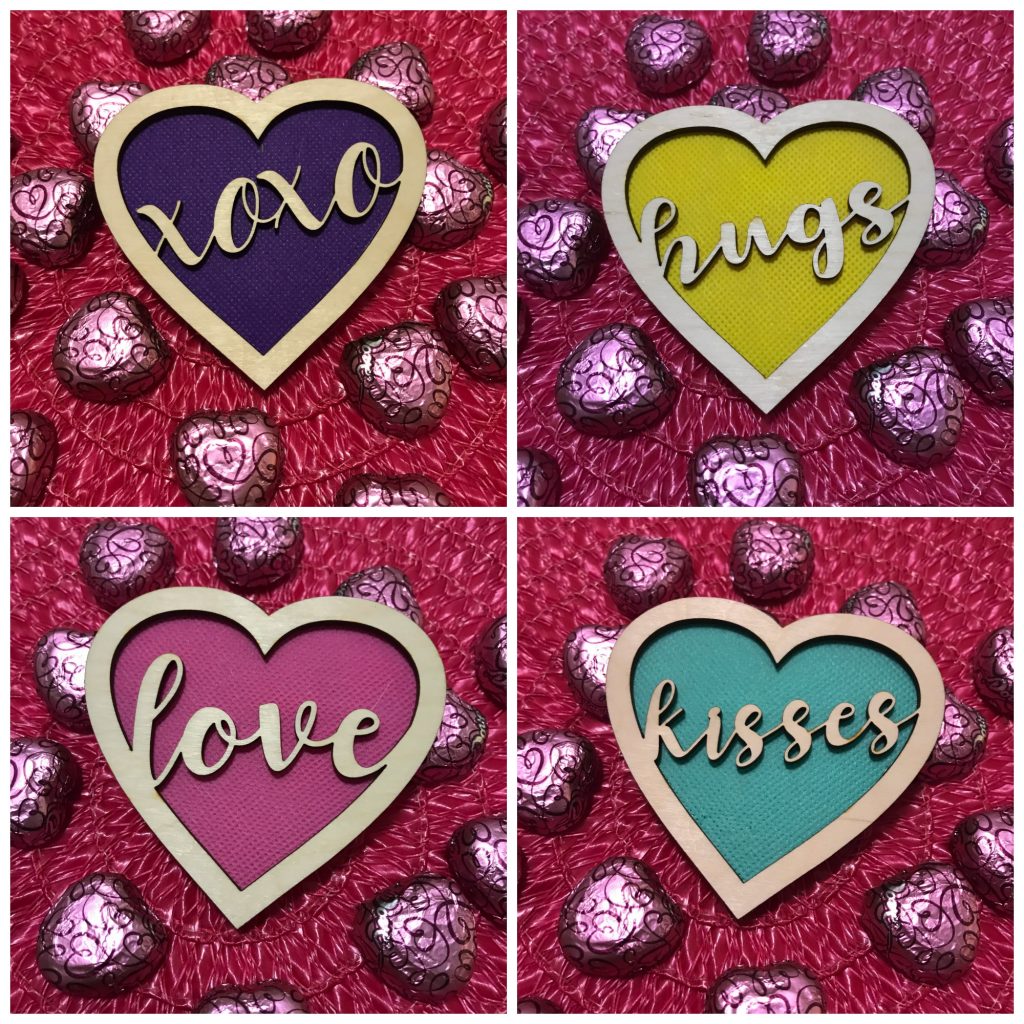
Teach, Love, Inspire is something our teachers put their heart into and this adorable Teach Love Inspire Teacher Ornament is a perfect gift to start the new school year! Many children are headed back to school or have been in school for a little while. One of mine is in year round school so he has been in school for the last month. My other child is headed back to school in a week! Teachers love gifts, especially ones that are made at home.

Materials:
- Glowforge or other laser cutting machine.
- Computer with Laser Cutting Software (Glowforge software is web-based)
- Teach Love Inspire Apple Ornament SVG
- Scissors
- Twine
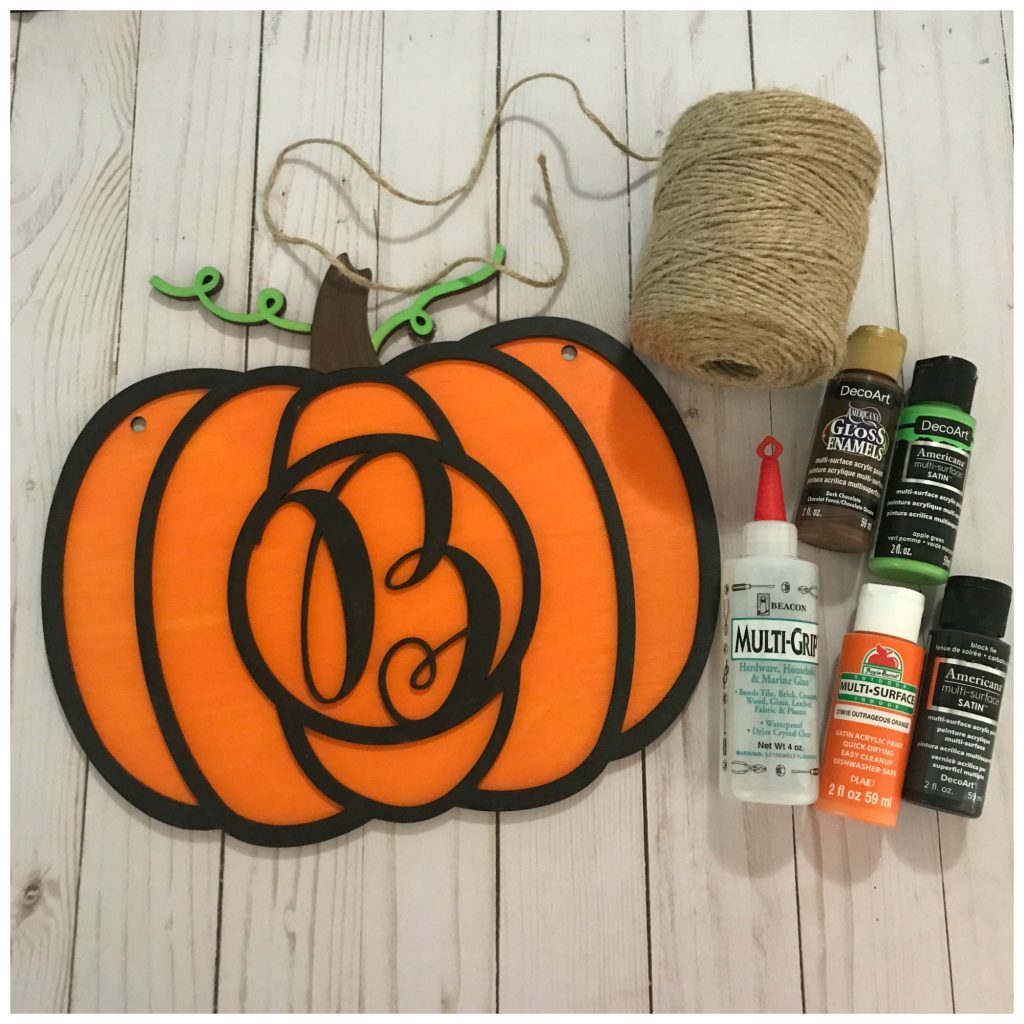
- Wooden Beads
- Wood (I used 1/4″ thick maple)
- Masking tape
How I made it:
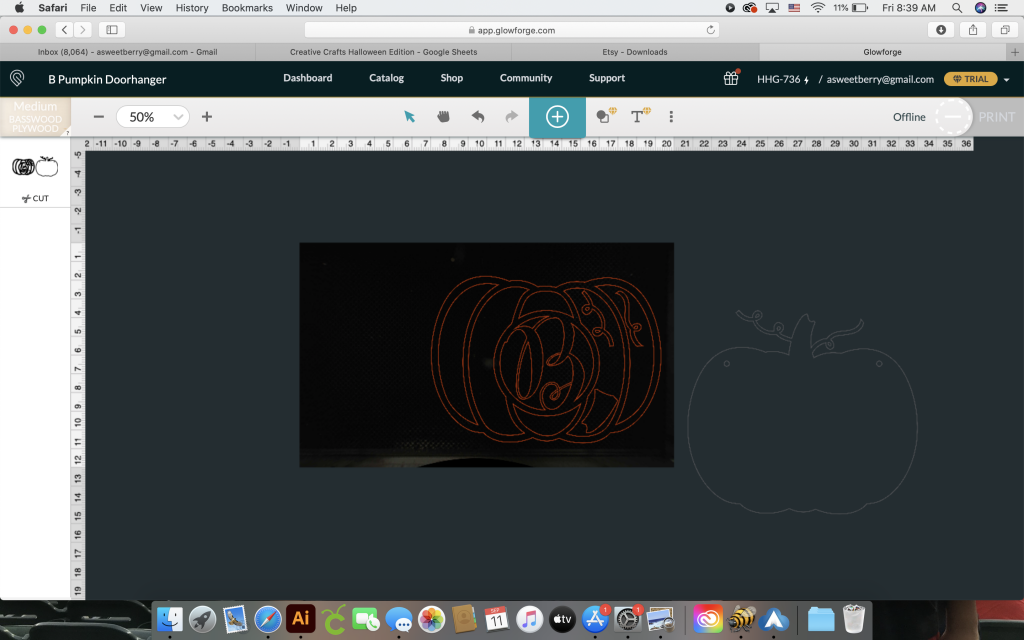
I created the apple file in Illustrator. I’m providing the file for you for free!
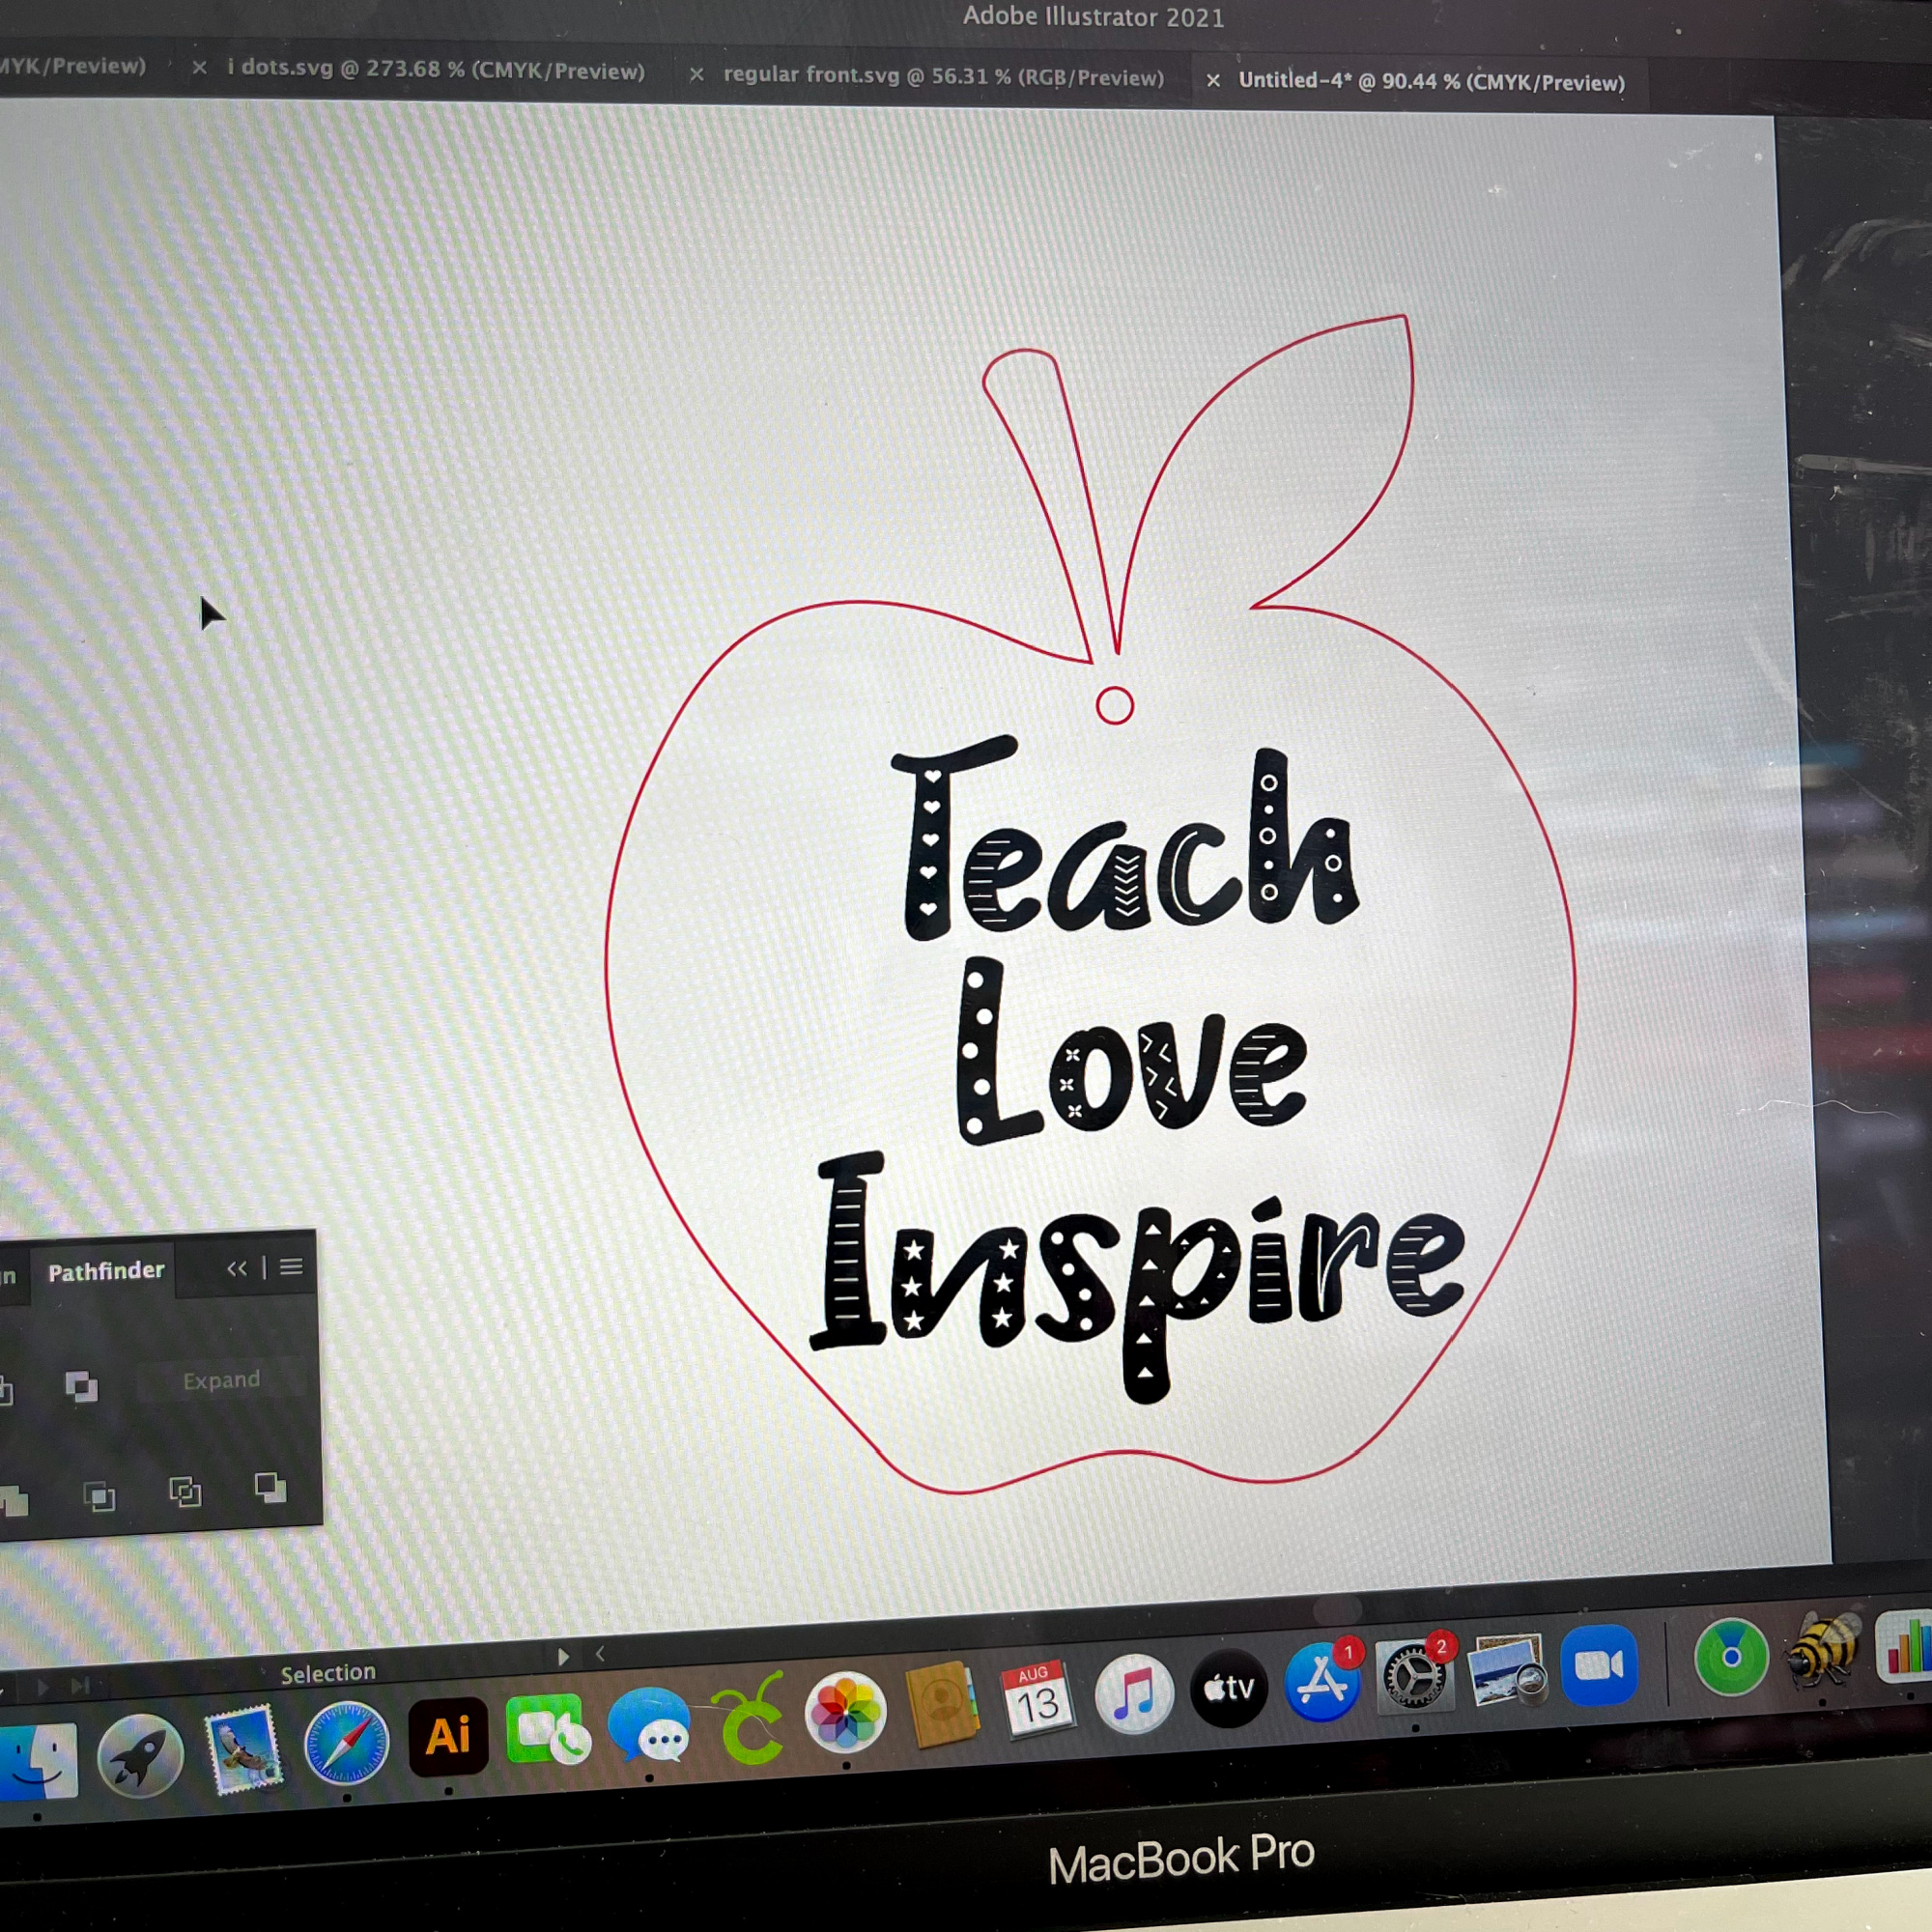
I opened the file in the Glowforge software and resized it to the size I wanted it. And then hit print!
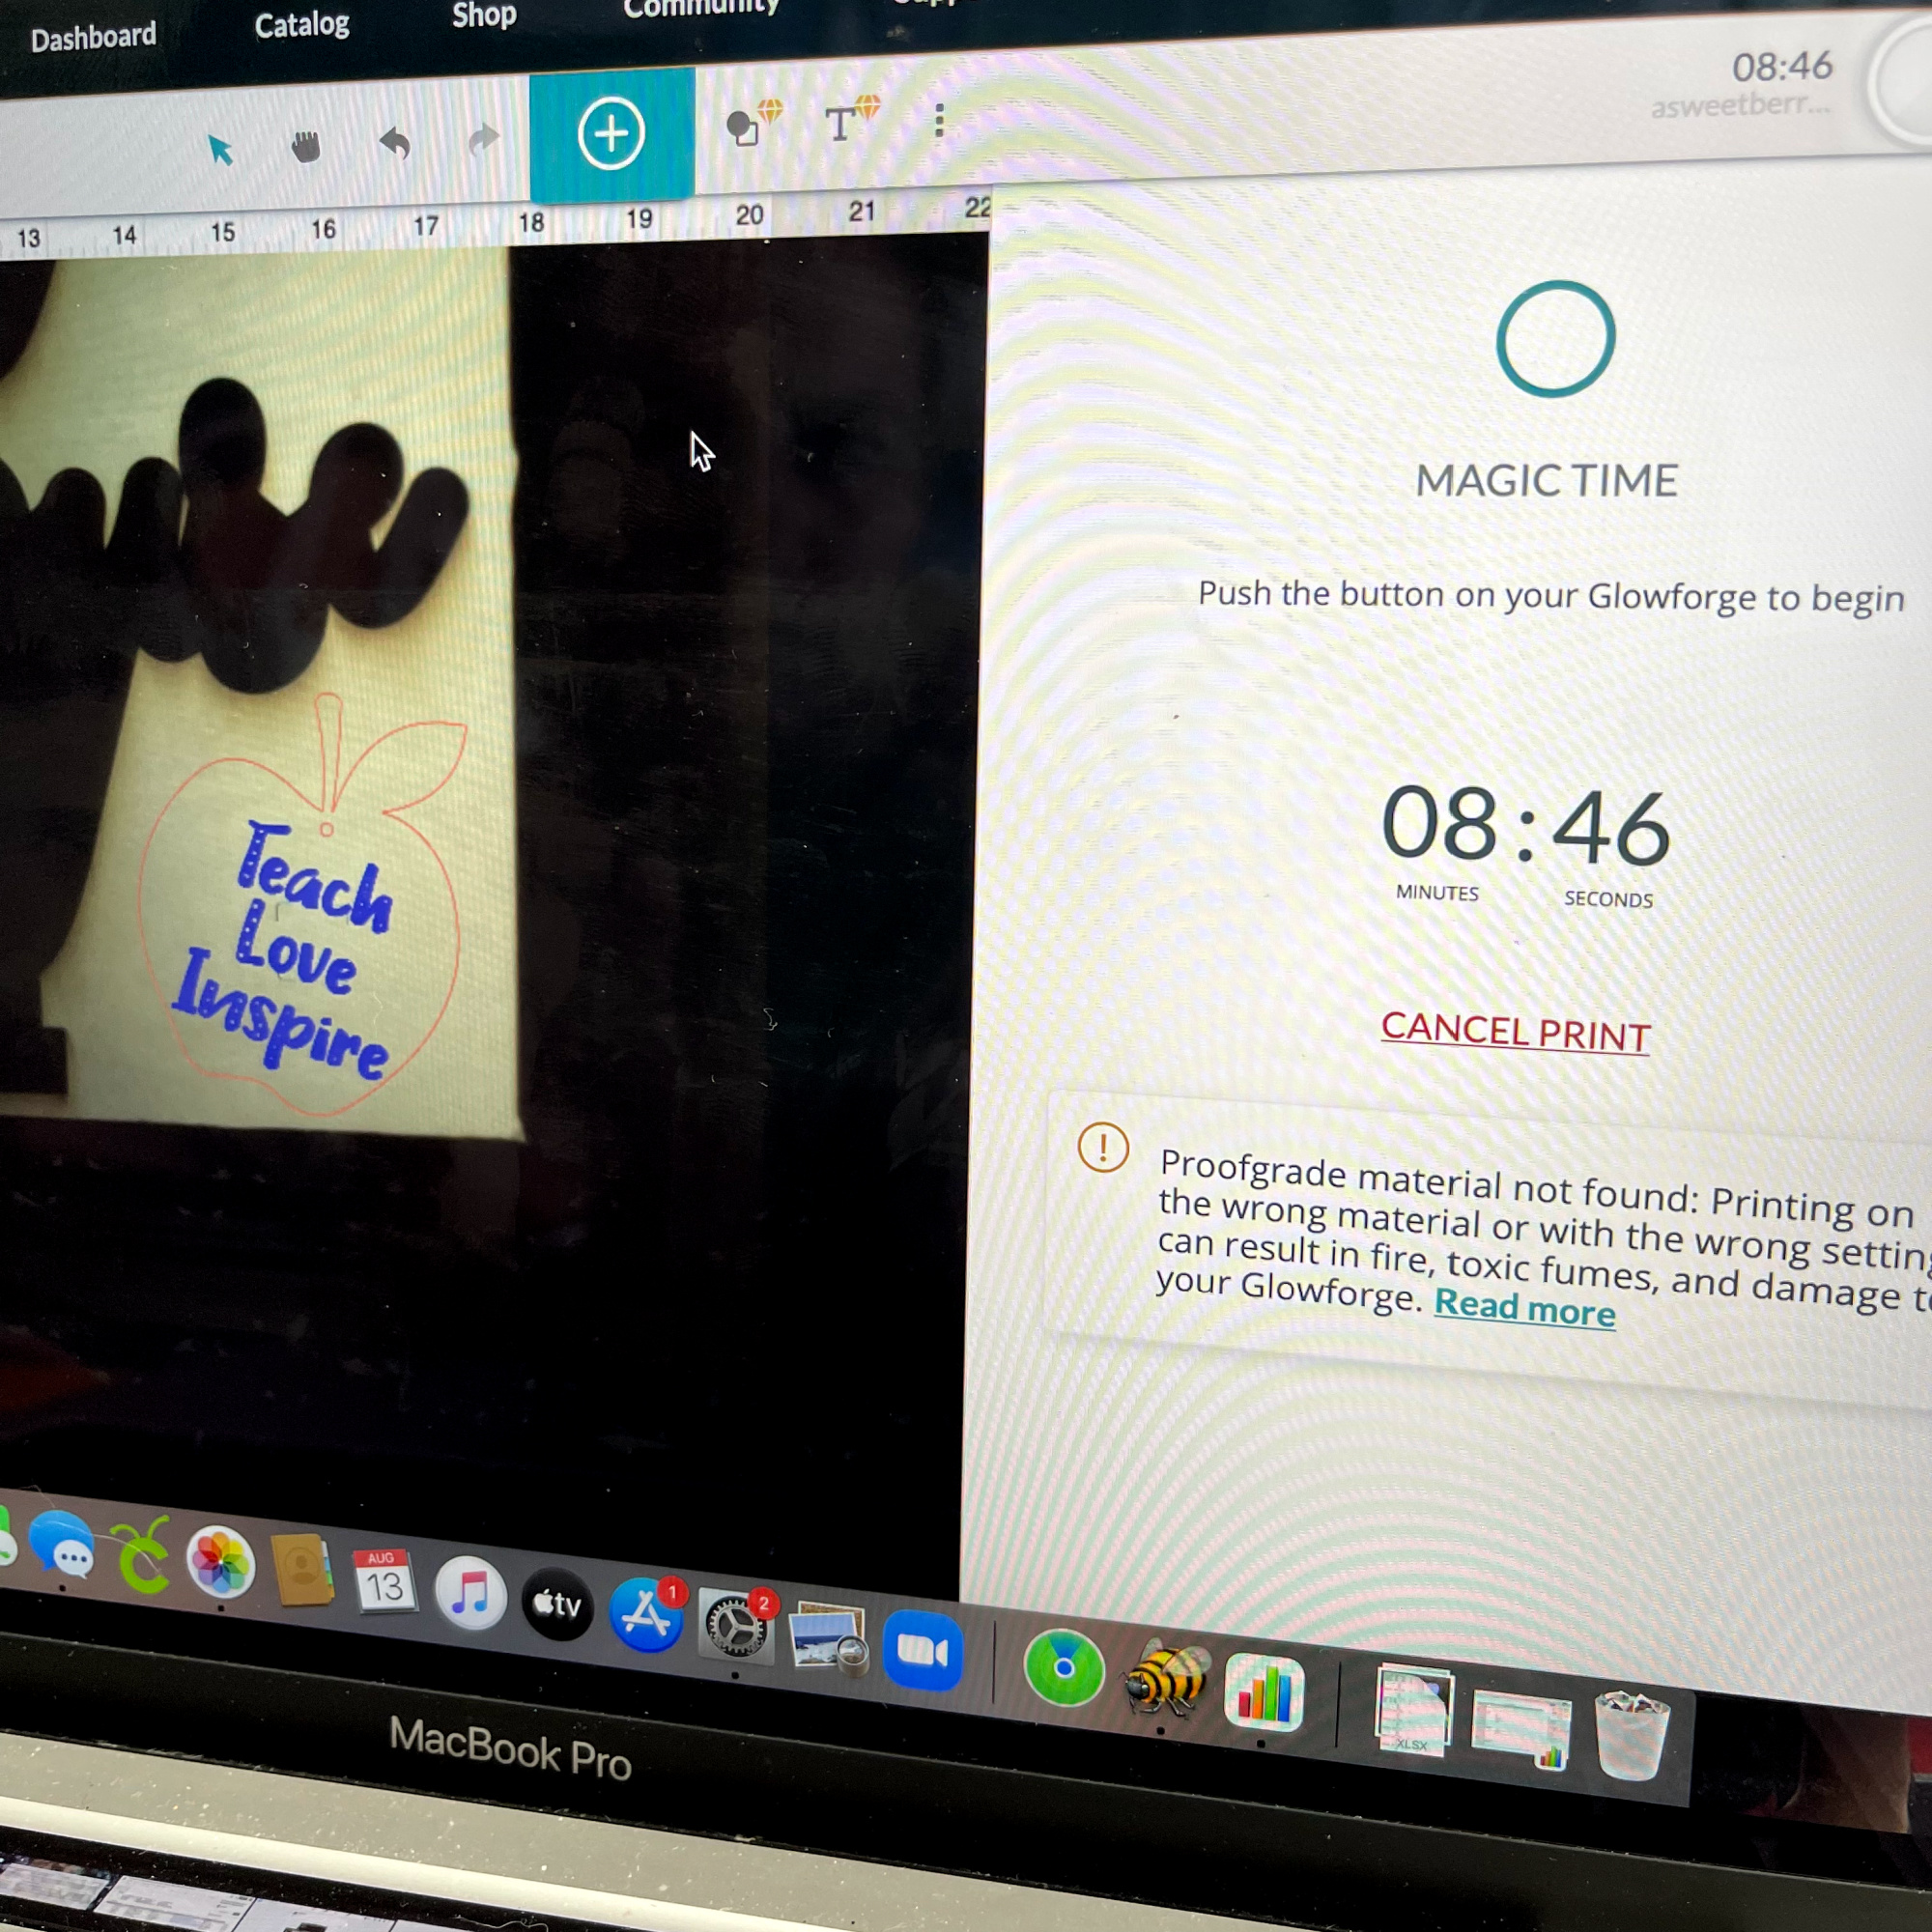
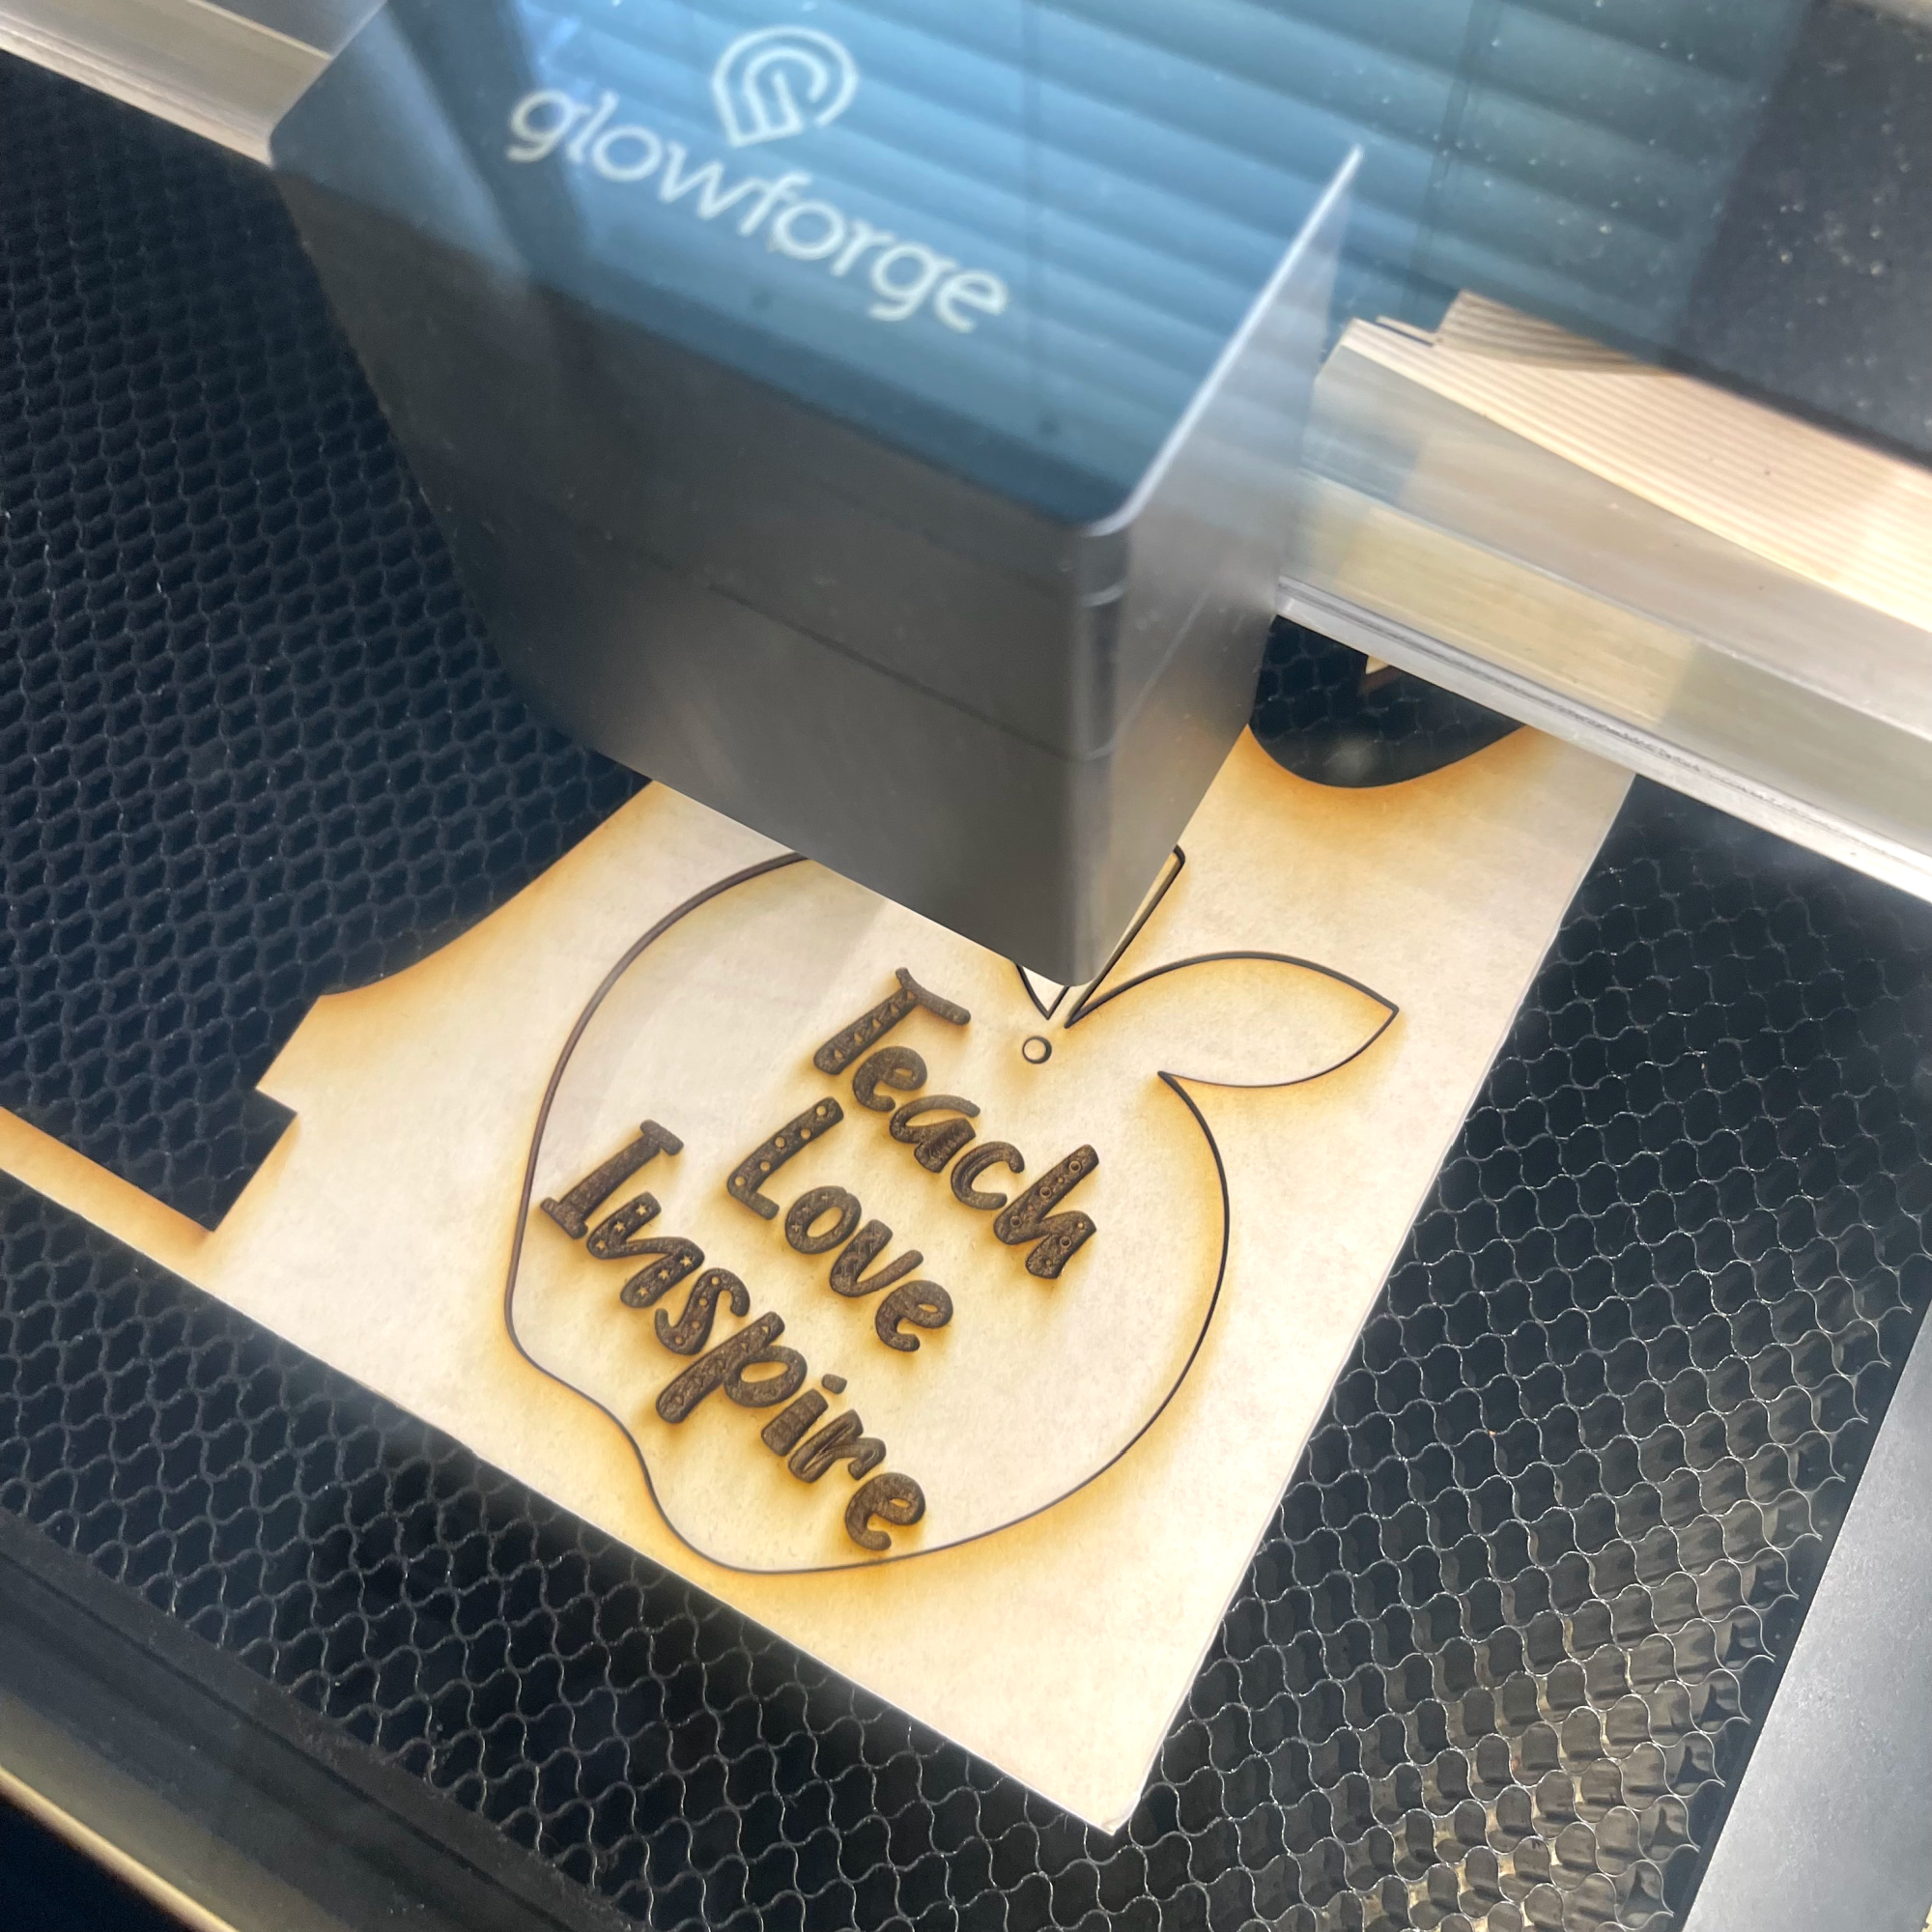
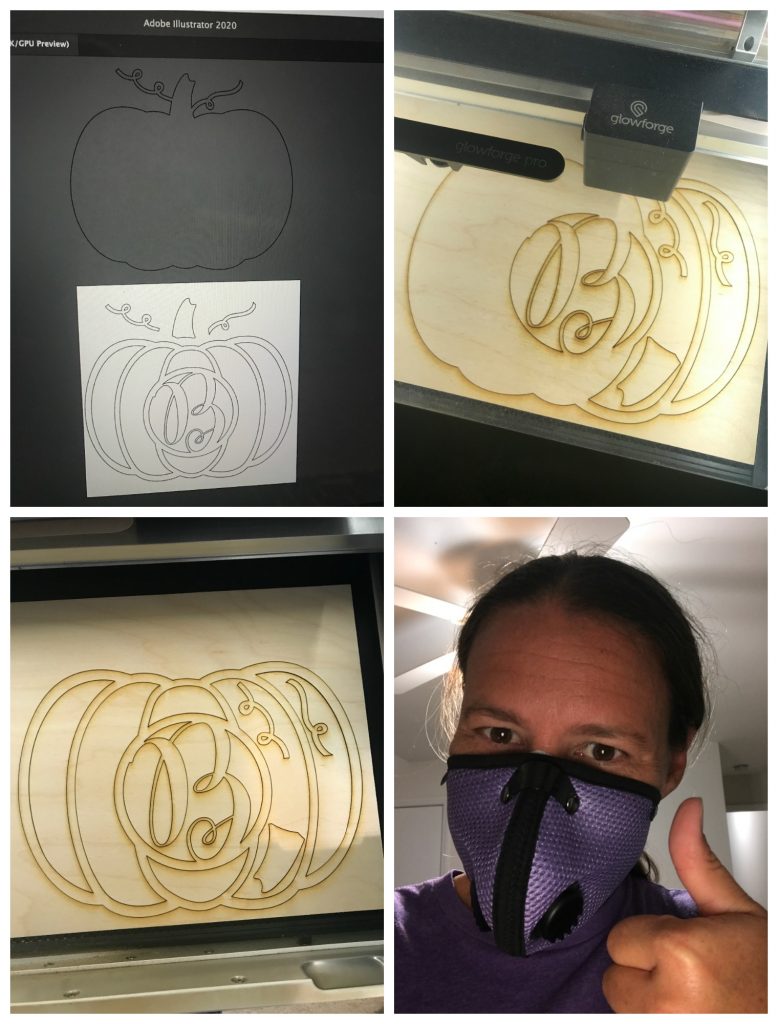
I love watching the Glowforge at work. It engraved the words and then cut the design out.
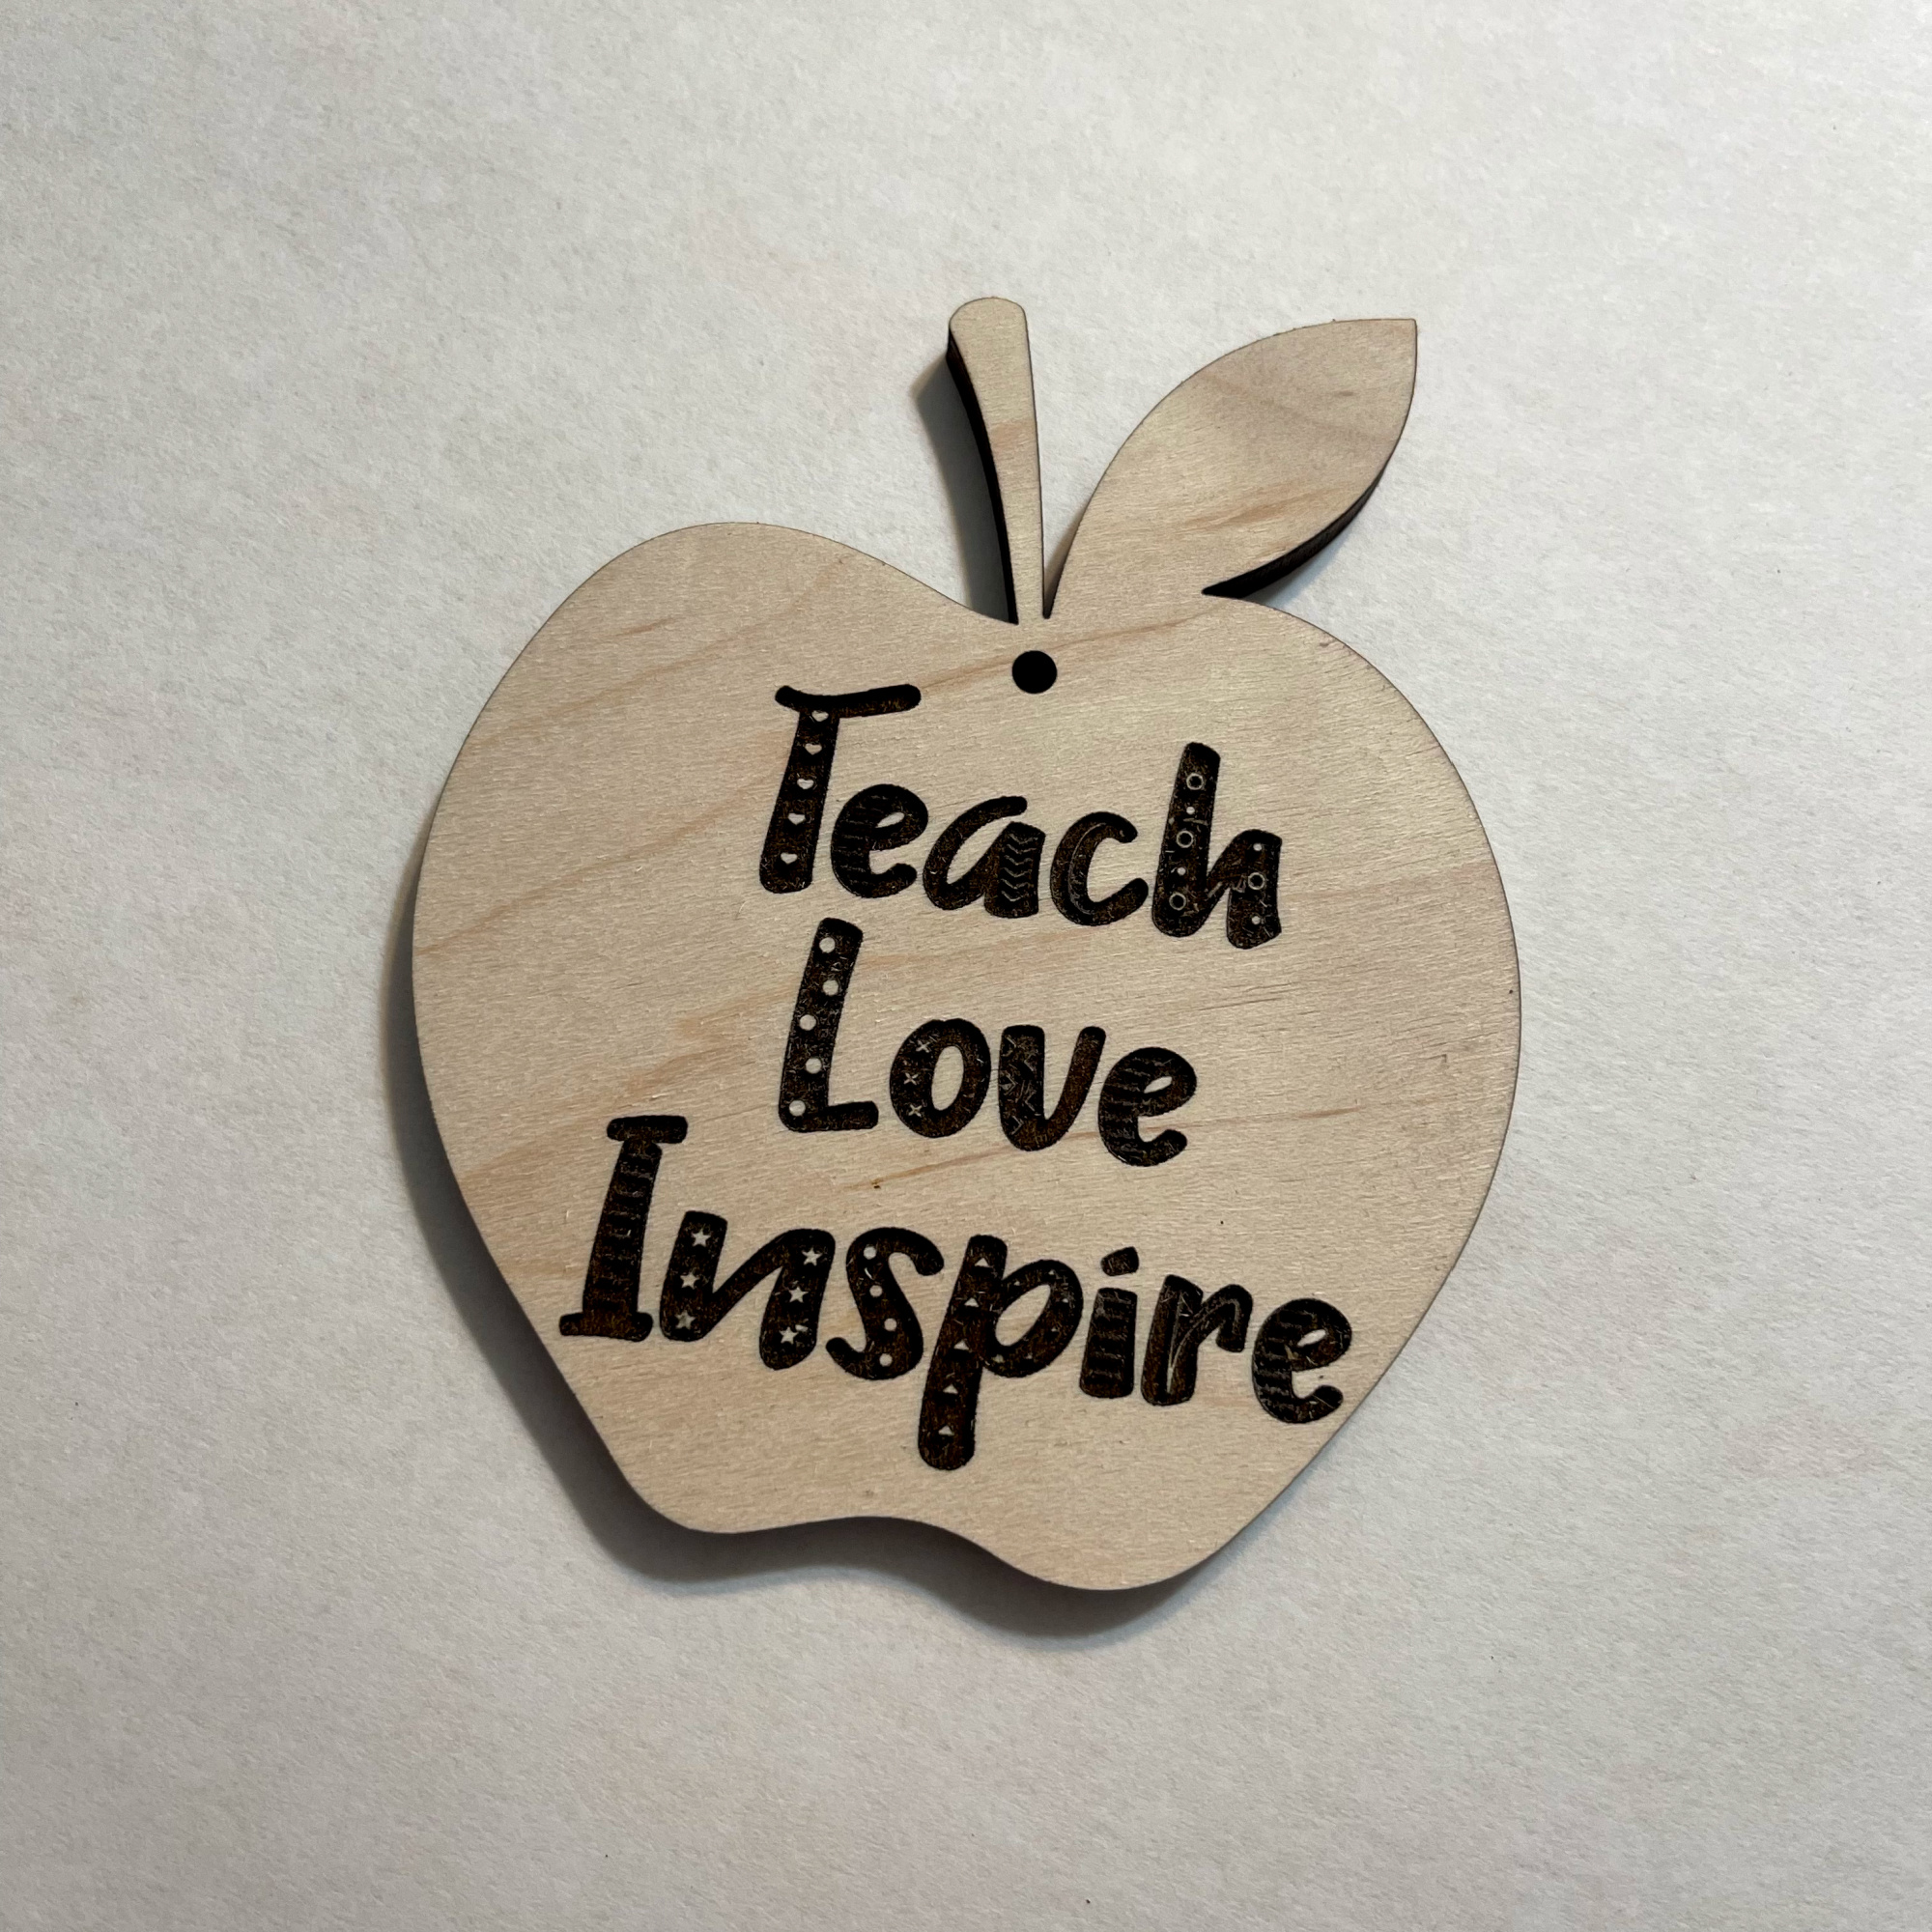
Here is the apple after removing it from the Glowforge and removing the masking tape.
Then I added the twine and the beads, creating the ornament!
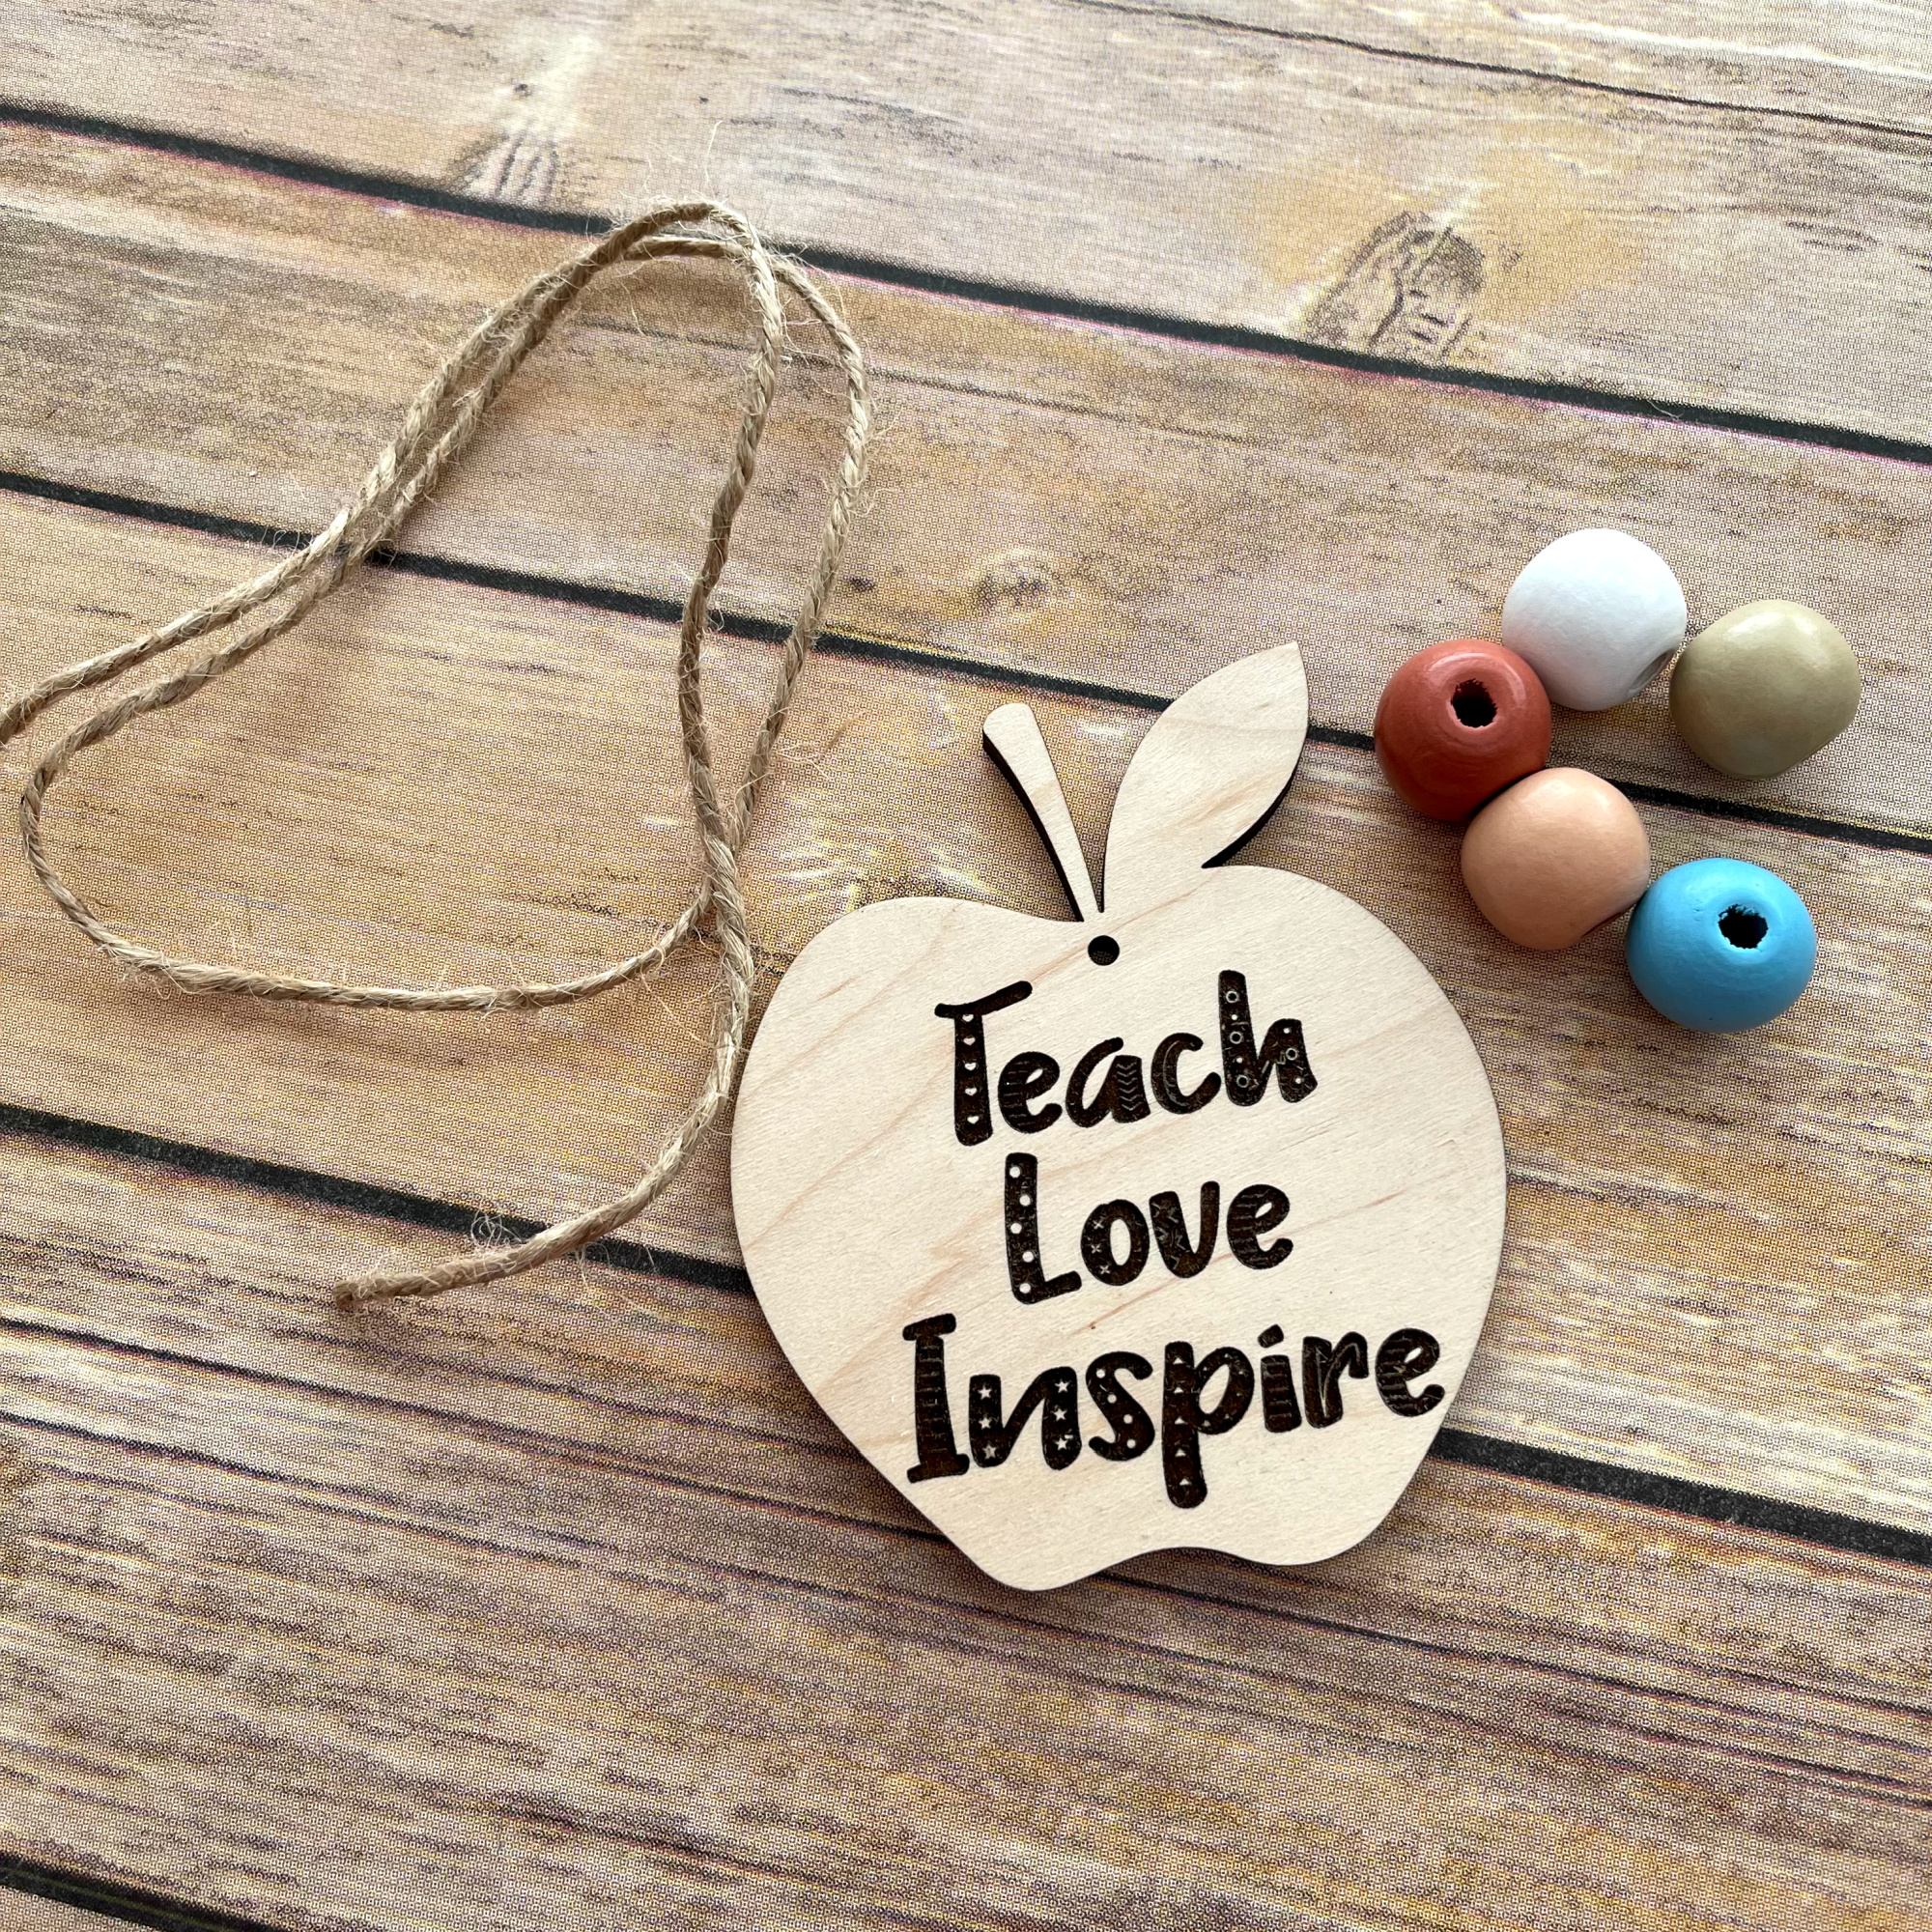
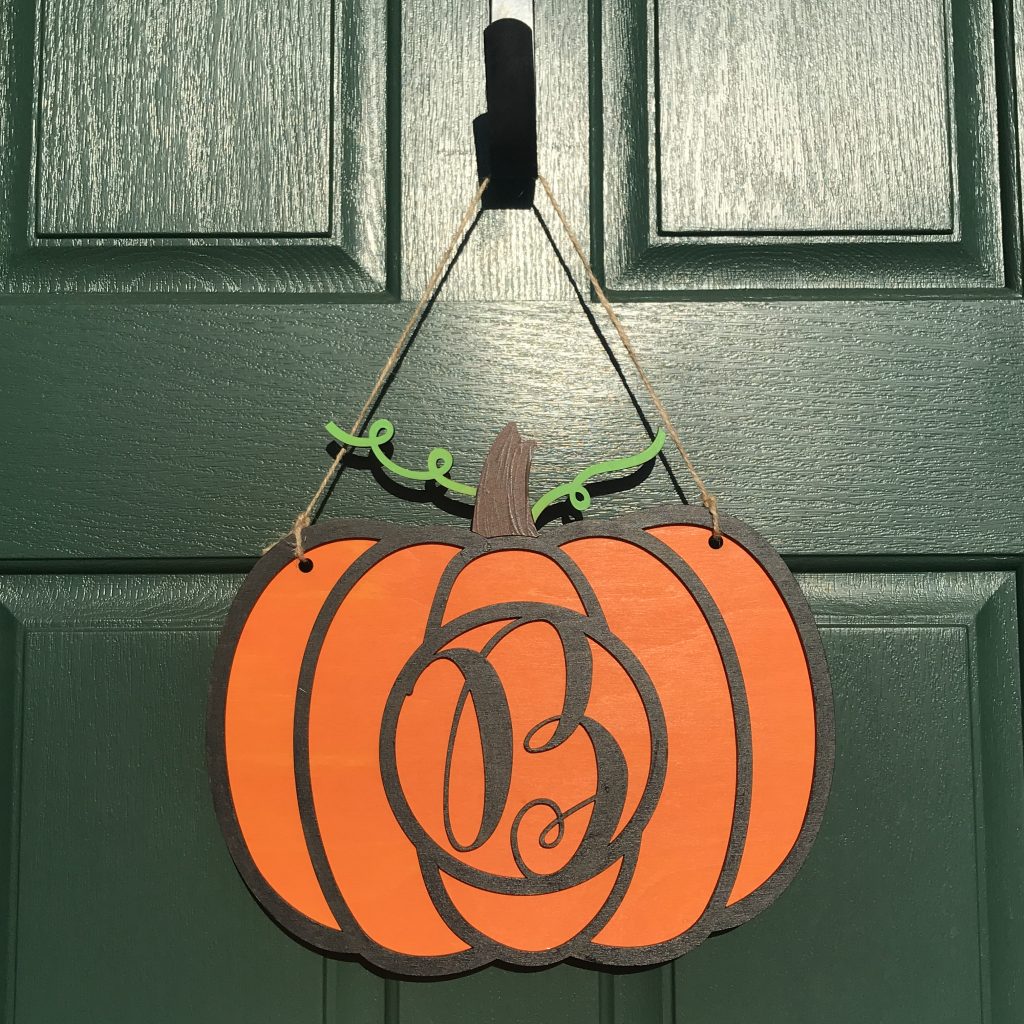
I love how this turned out! It can be hung in the classroom, in the rearview mirror of the car or on the Christmas tree!
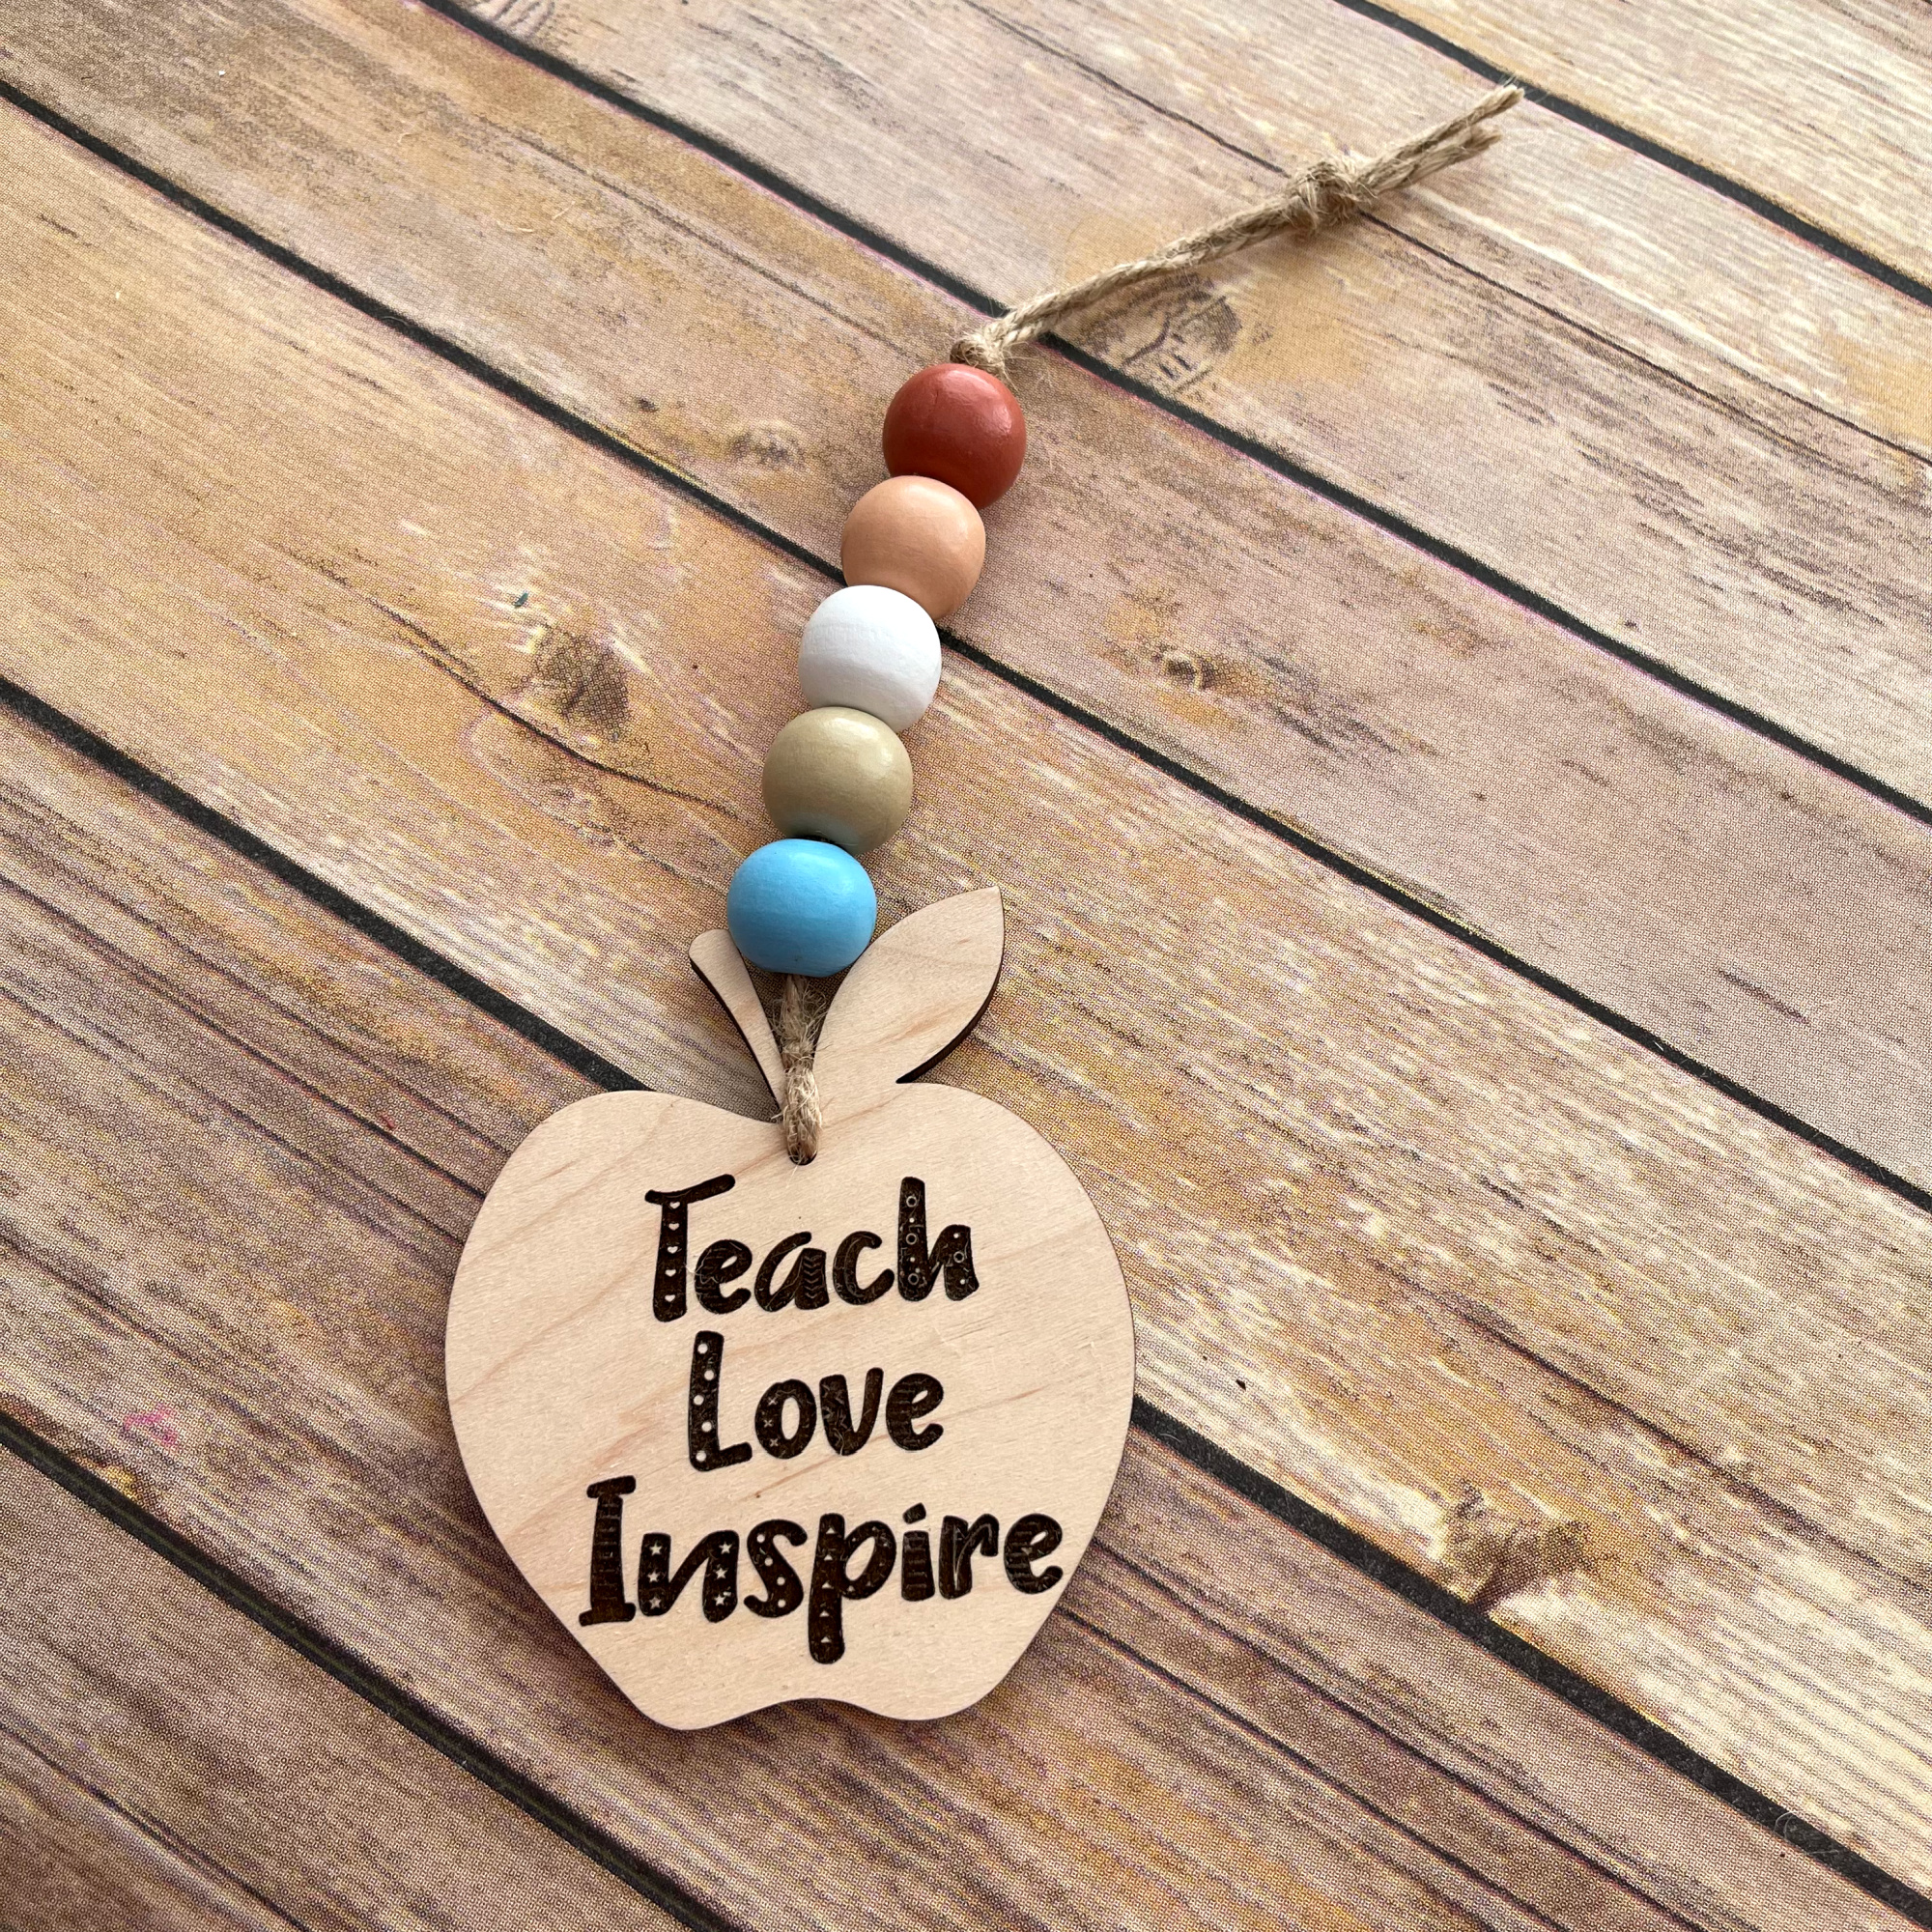
Add an apple and give it to the teacher you love! It could also be added to a gift.
Click the Team Creative Crafts photo below and check out other Back To School Crafts. And then click the Rafflecopter Giveaway below to enter to win a $50 Amazon gift card!
![]()
Until next time….Happy Crafting!


