
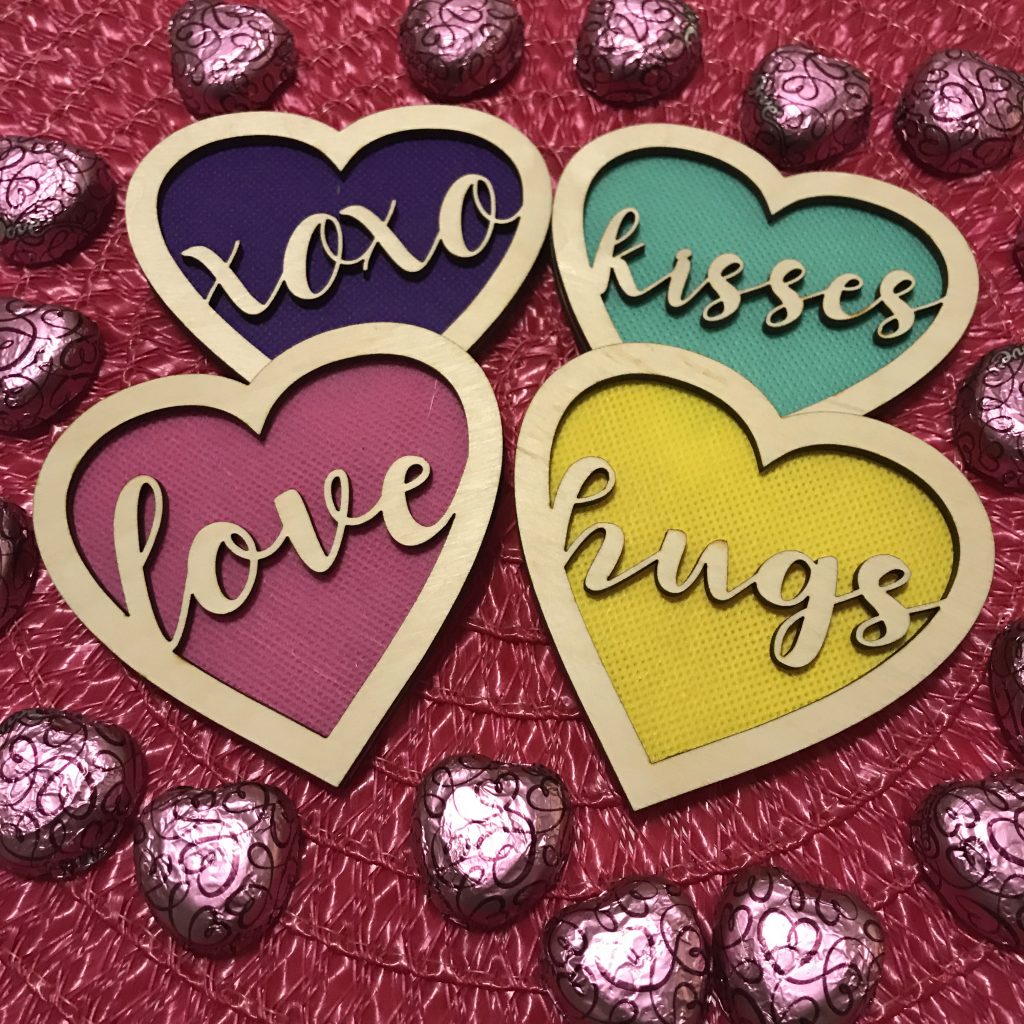
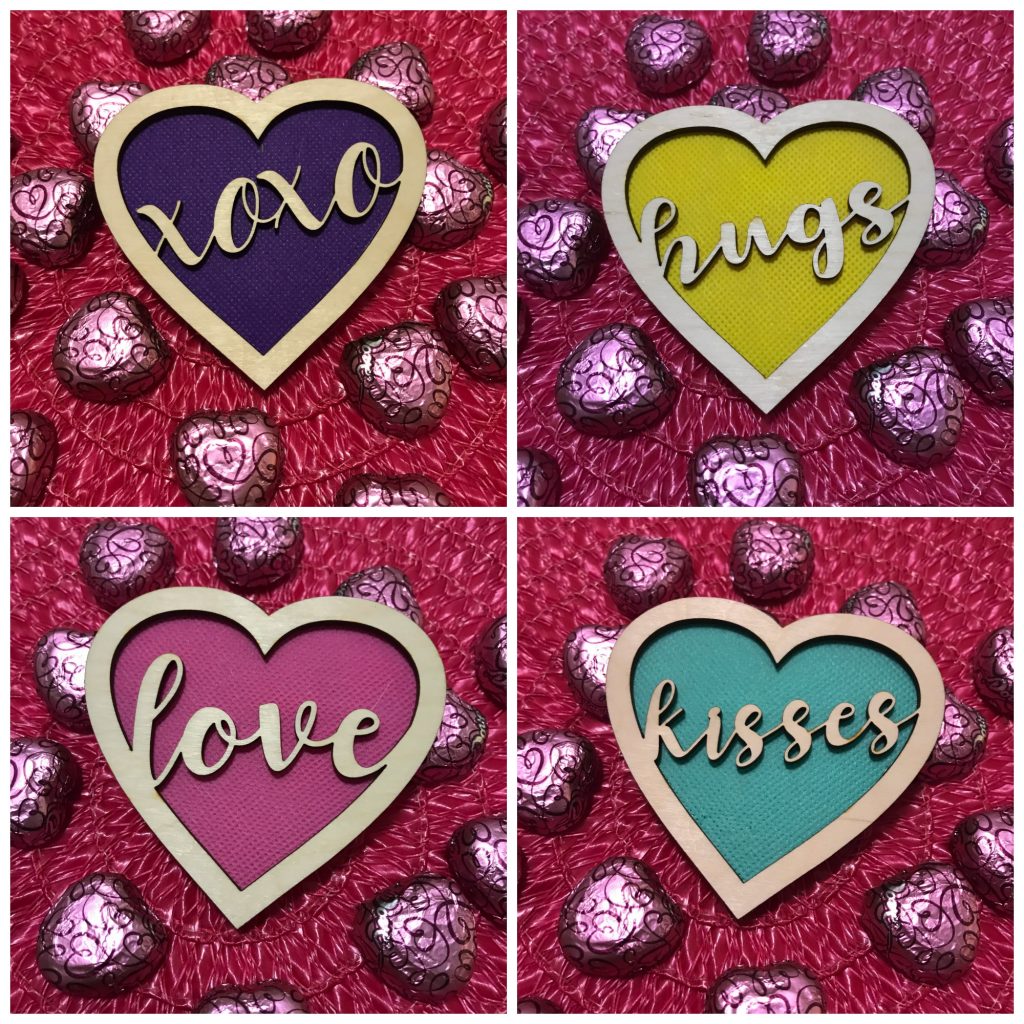
There are lots of words of love that I can think of that remind me of Valentine’s Day. A few in particular are love, hugs and kisses. I created these adorable little hearts with words of love and Oly*Fun.
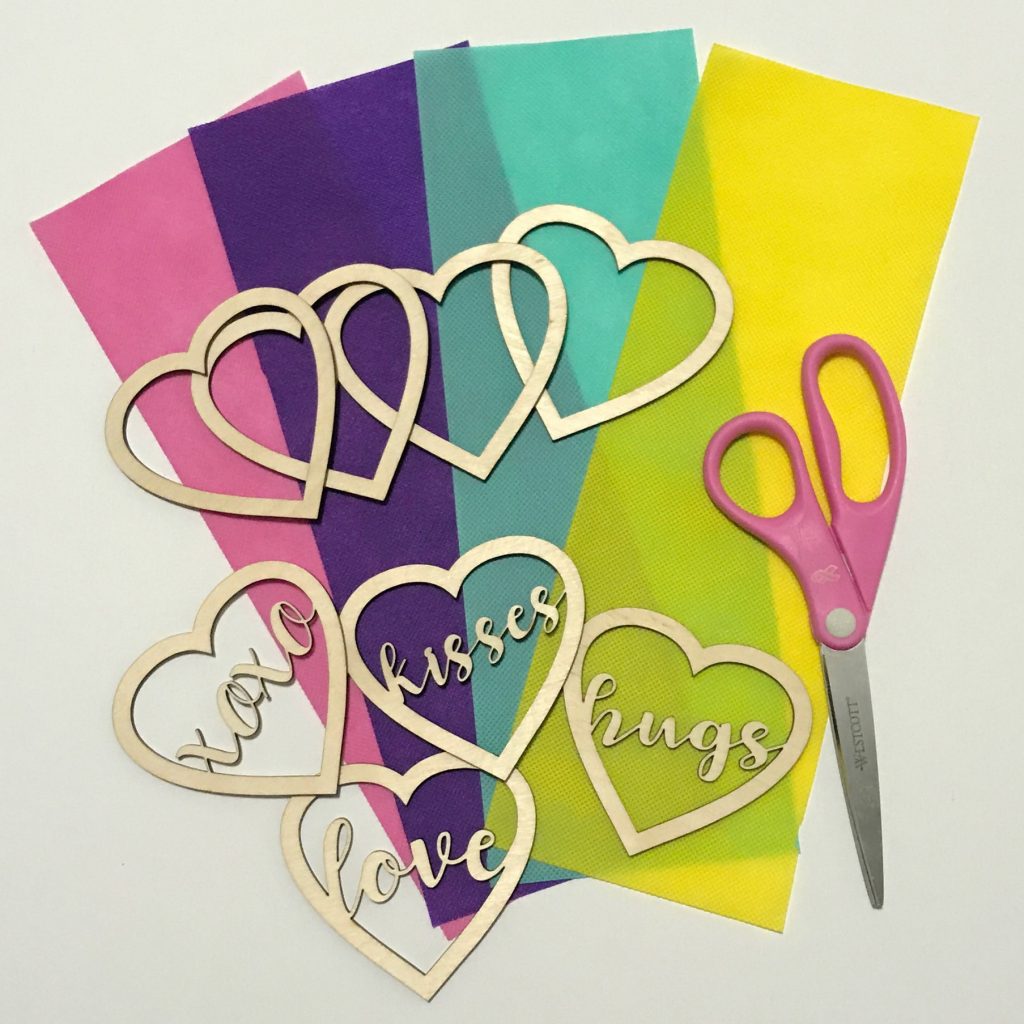
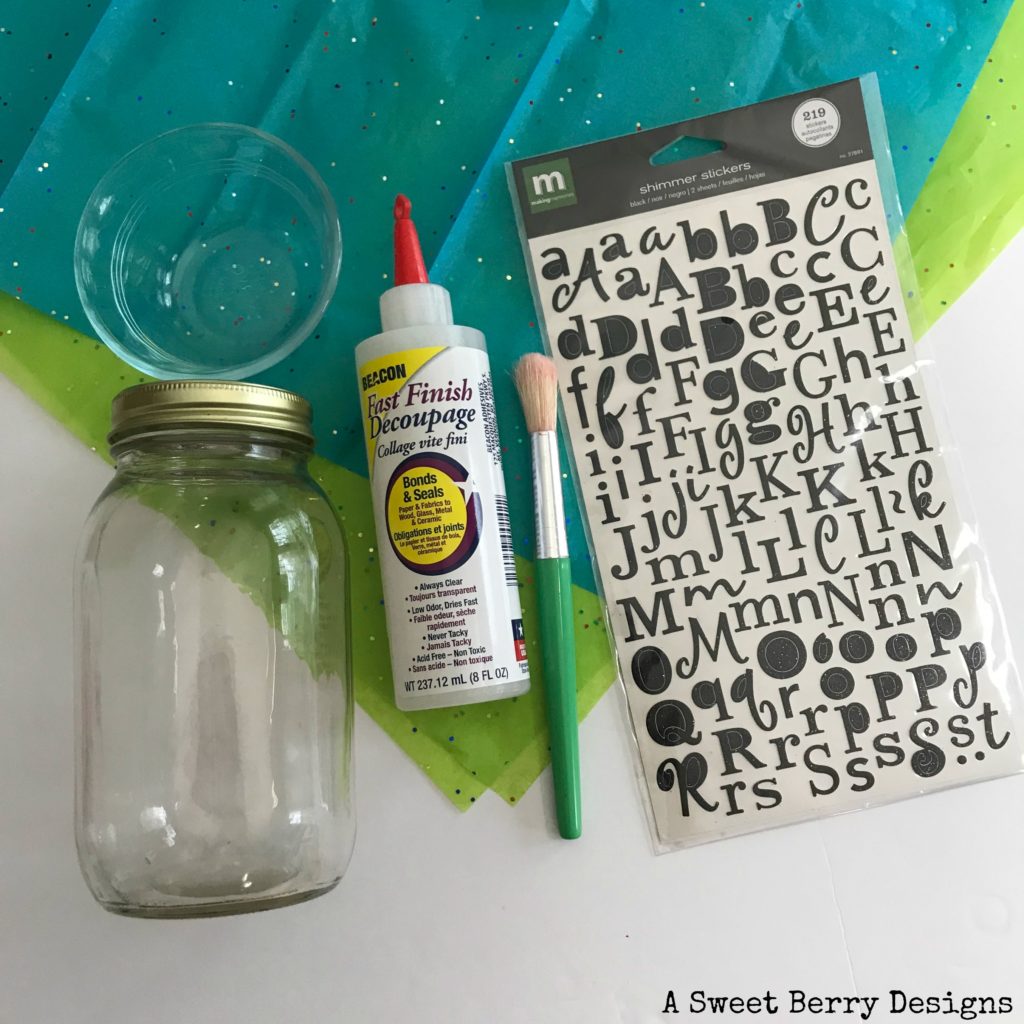
Materials needed:
- Fairfield World Oly*Fun
- Wood hearts cut from a Glowforge or cardboard hearts cut from a Cricut
- Heart SVG file
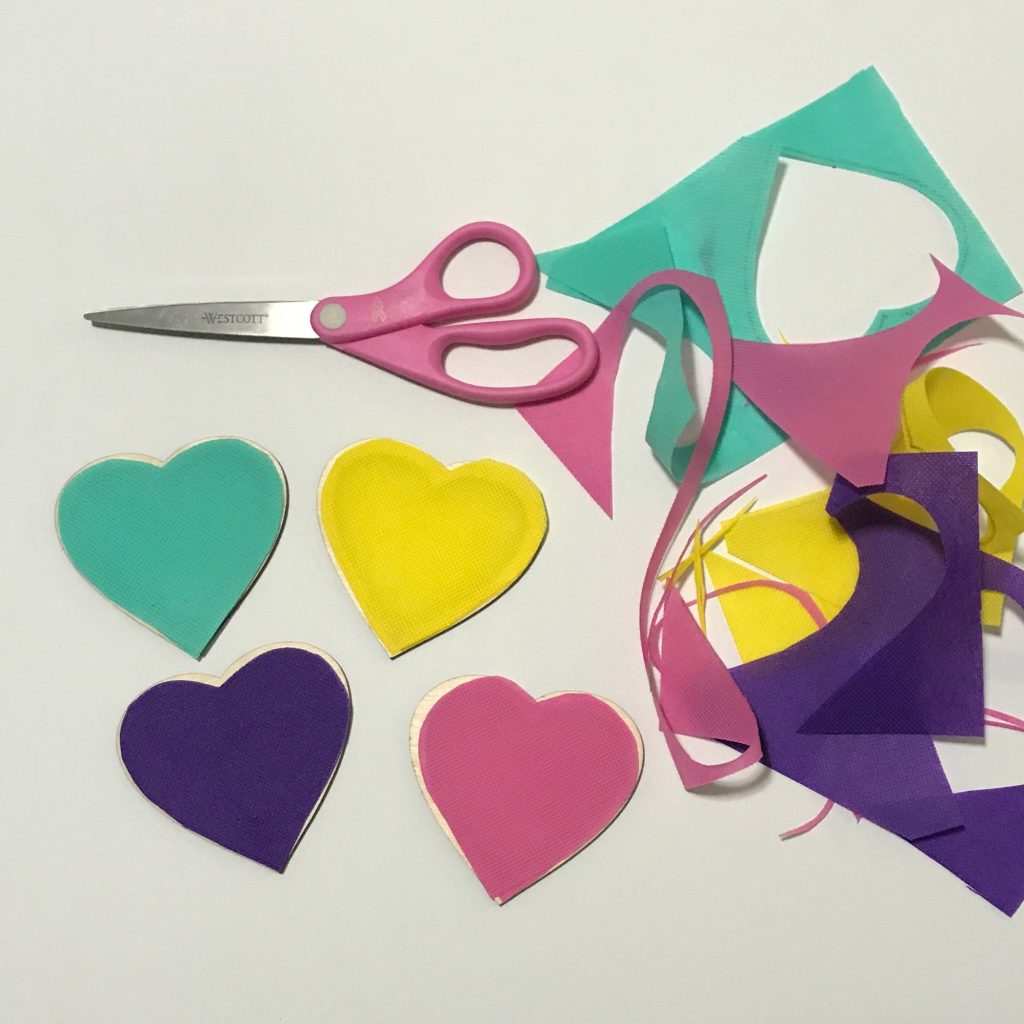
- Scissors
- Multi-purpose glue (I love Beacon!)
- Pen or Marker
How I created them:
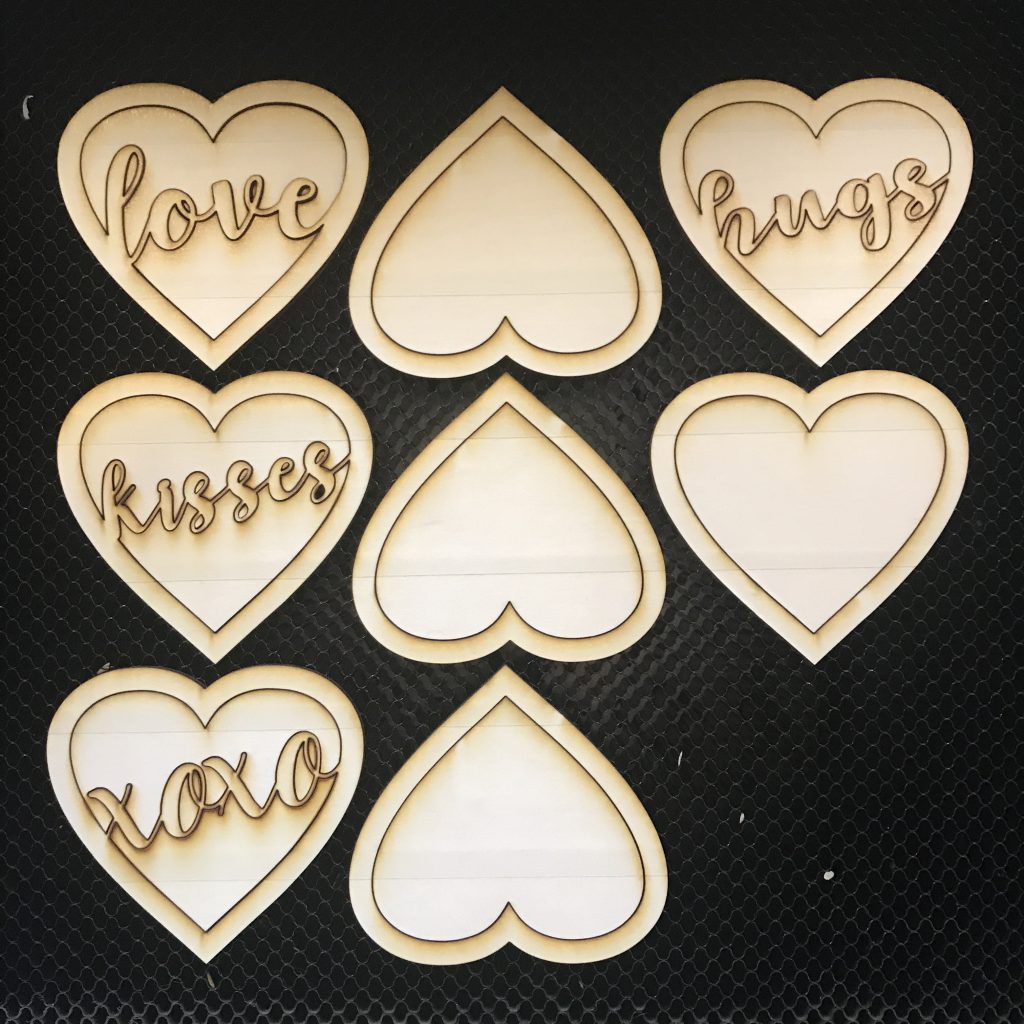
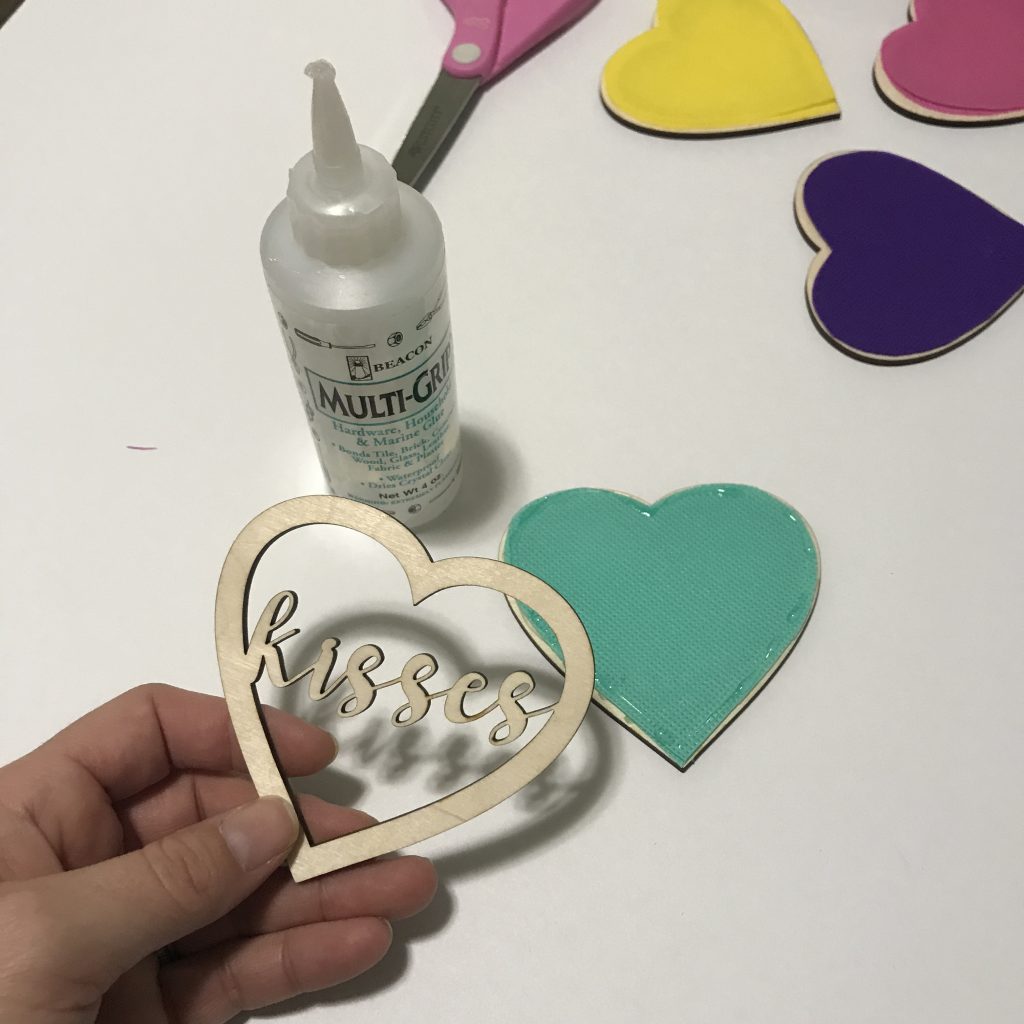
I created an svg file of the hearts with words in them and then a heart without words to use on the back. With my Glowforge, I resized and cut the hearts. This can also be done on the Cricut with balsa wood or cardboard.

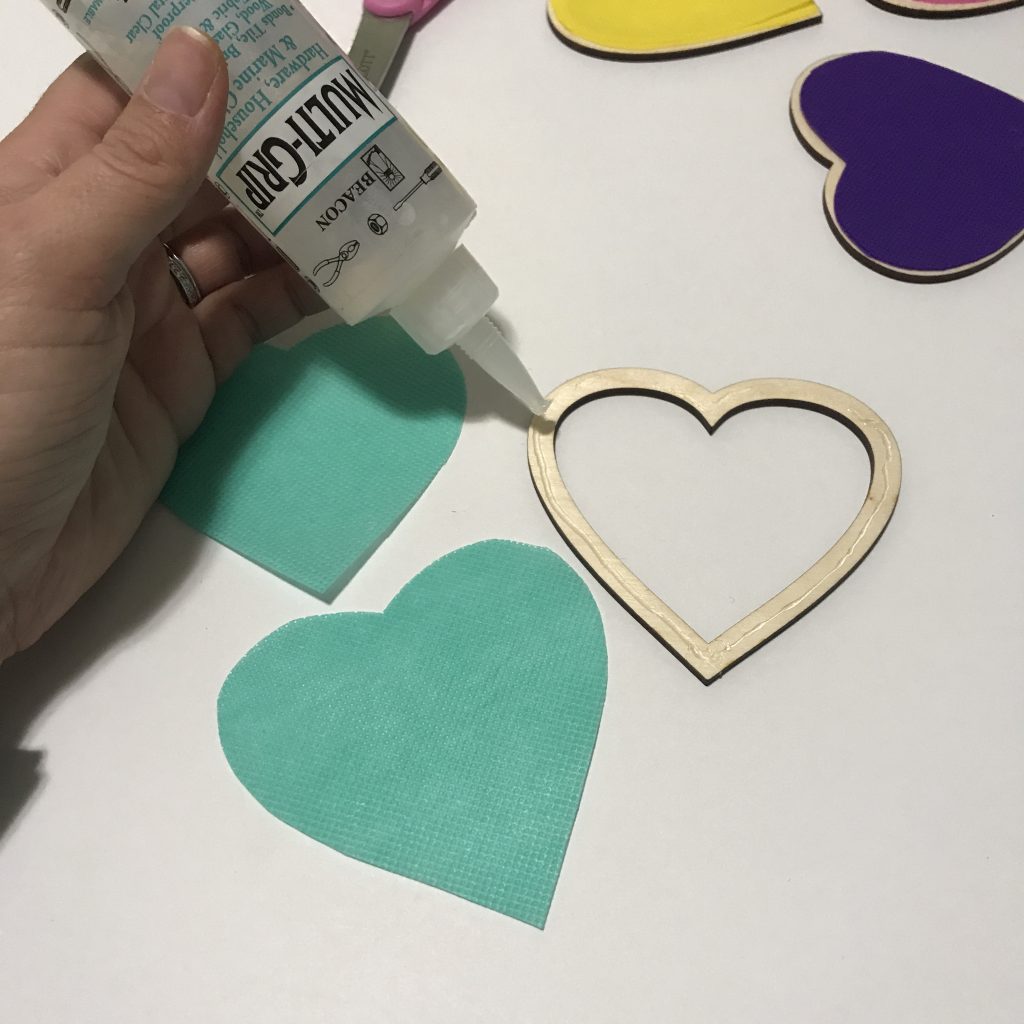
Using one of the hearts that is made for the back , I placed it on a sheet of Oly*Fun and traced it.
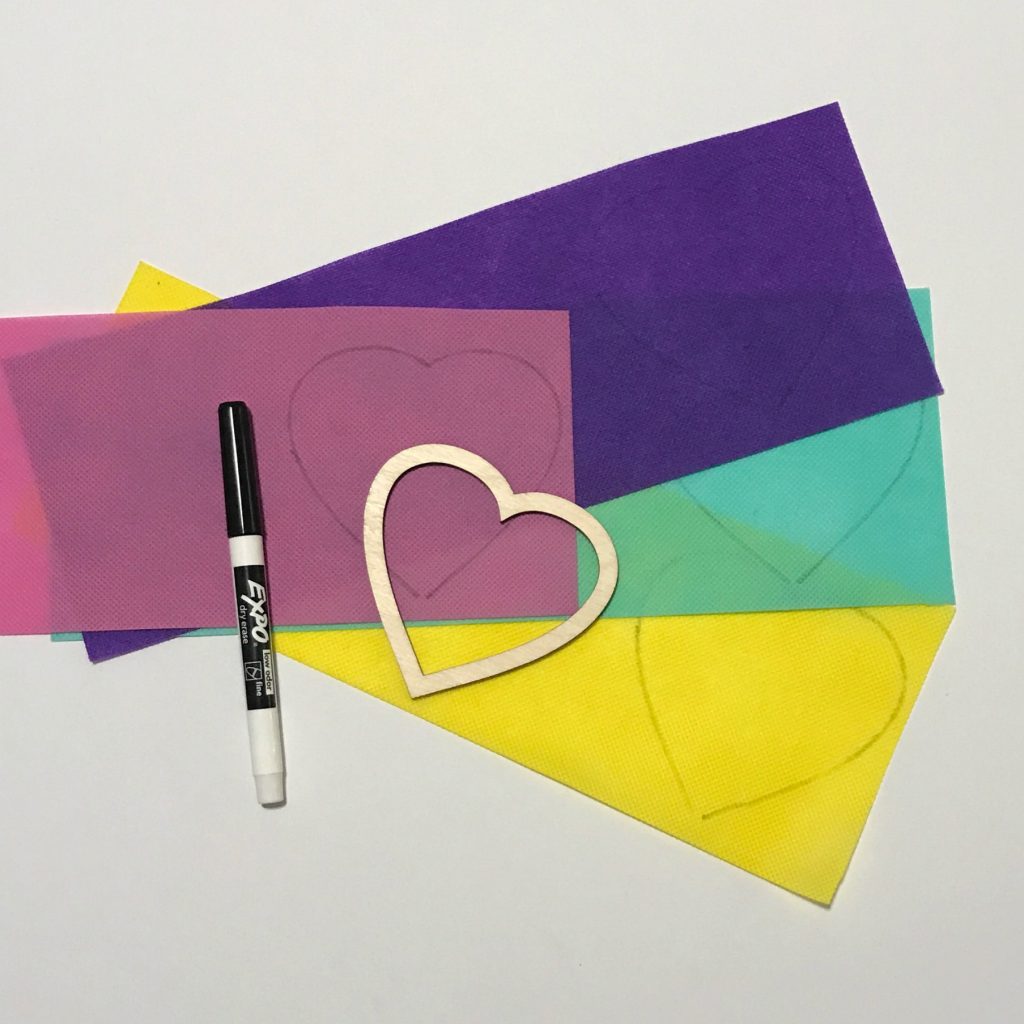
Once I had 4 hearts traced, I folded my Oly*Fun in half and cut two hearts from each color. TIP: I cut the hearts smaller than the trace lines so that they would be smaller than the wood heart outlines.
I used Beacon Mutli-Grip glue to first attach both layers of Oly*Fun to the back piece of the heart. Then I applied glue to the back of the heart with the word on it and layered it on top of the Oly-Fun.
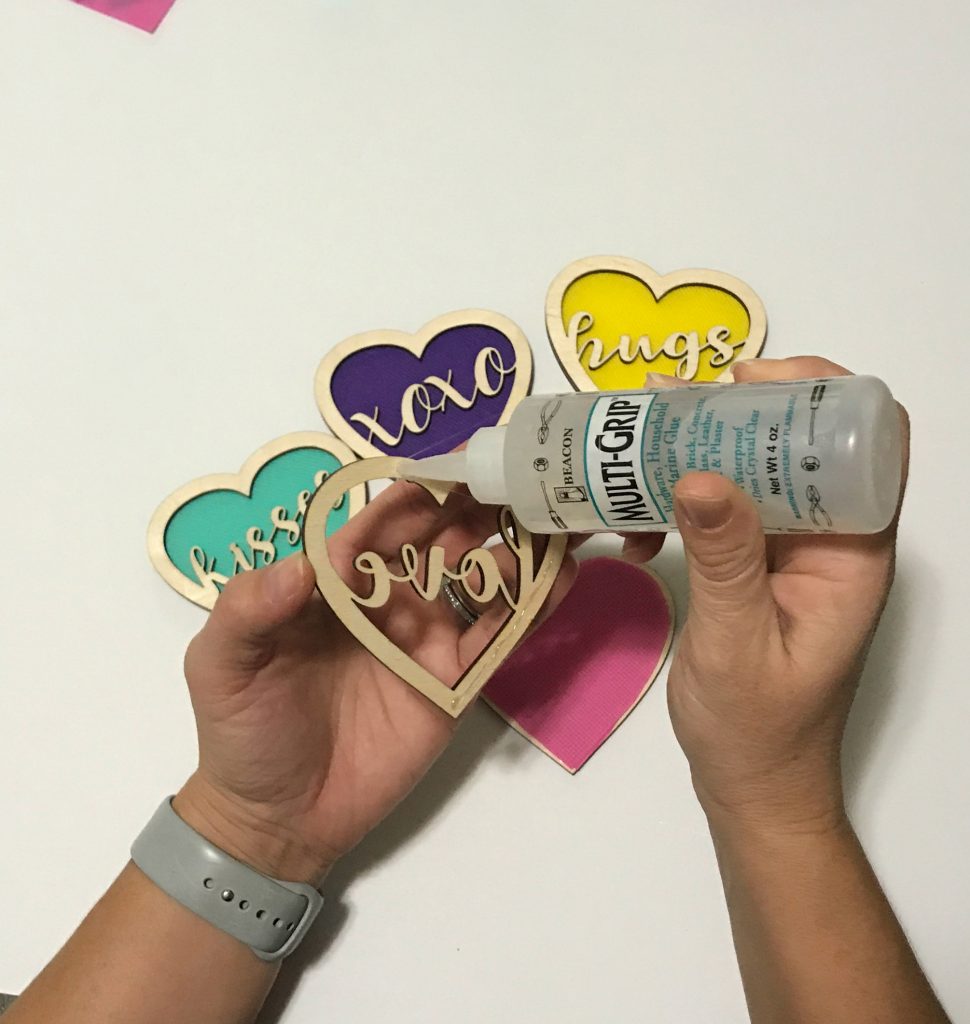
I let them dry. They can be given to someone as a Valentine, strung onto string to create a banner or just displayed together as a Valentine’s decoration.
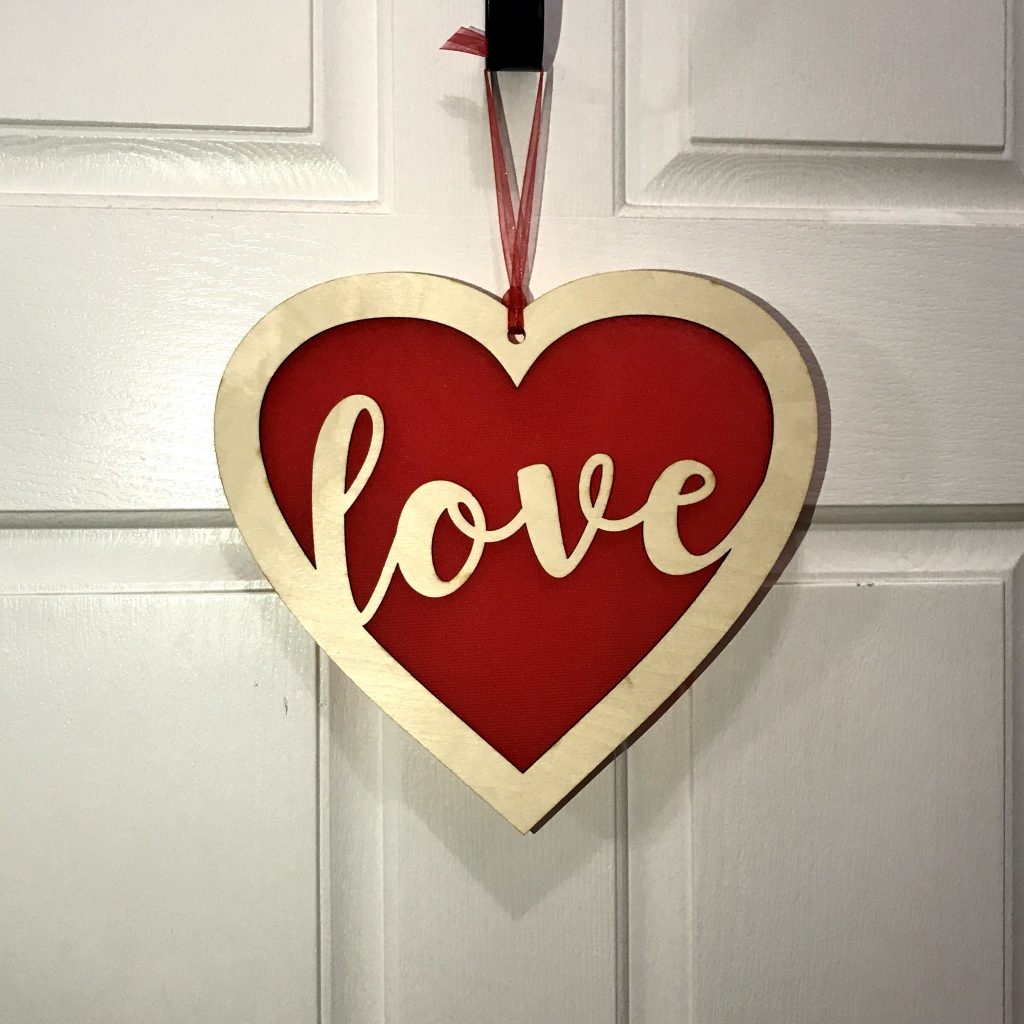
I also resized a love heart and a back piece to about 10 inches and added a hole to the top so that I could create a door hanger. I followed the same directions for the big one that I did for the smaller ones. And then I added a ribbon to hang it up.
Hope you like these adorable little love word hearts. They were fun and easy to make! The kids could even help to put them together! Happy Valentine’s Day!
Until next time….
