Tag Archives: ACMoore

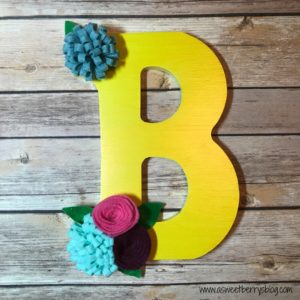
Decorated Letter Decor

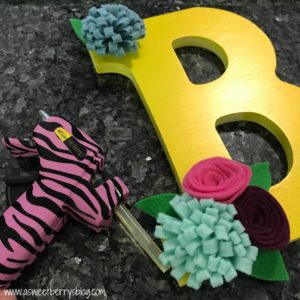
Craft Lightning is happening and the theme this month is Wood.  Wood is my favorite material to work with.   I usually like to do the cutting and designing, but today I’m using a wooden letter that I got from my local craft store.

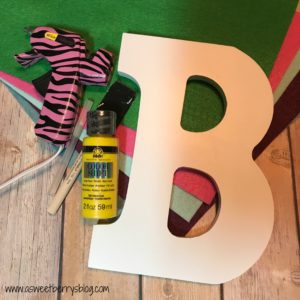
Materials used:

Wooden Letter
Paint (I used Plaid’s FolkArt Color Shift in Yellow Flash)
Paint Brush
Felt (I use KuninFelt)
Hot Glue Gun and Hot Glue Stick
Scissors

How I decorated it:

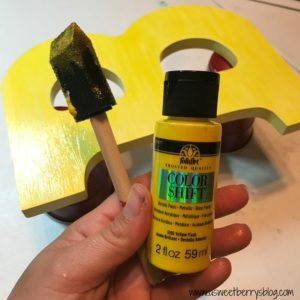
I applied two coats of paint to the letter, allowing the first coat to dry before applying the second coat.

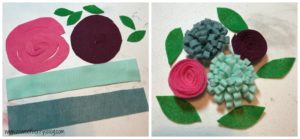
I cut the felt for my felt flowers.  I just used a simple tutorial that I found online.

Then I put the flowers together using the hot glue gun.

I glued the flowers to the letter.

And then it was time to hang it up!!!!   This particular letter had a hanging hole on the back but you could also hang it by using ribbon or jute rope! 

This decorated flower decor took less than 15 minutes, excluding the drying time.  This would be a super easy project for a kids party or a girls night in!

Be sure to click the photo below for more Craft Lightning Wood projects!

Until next time….


Adorable Little Ornaments Blog Hop!!!!

SculpeyButtonButton

I have to say that after making ornaments with Sculpey Clay, I am in love!!!!   So, what better way to have some fun than to add buttons from Laura Kelly’s collection from Buttons Galore & More?!?!   I had fun creating and so did my six year old son, Landon!!!    I created some traditional style ornaments with the clay and added buttons to embellish!!

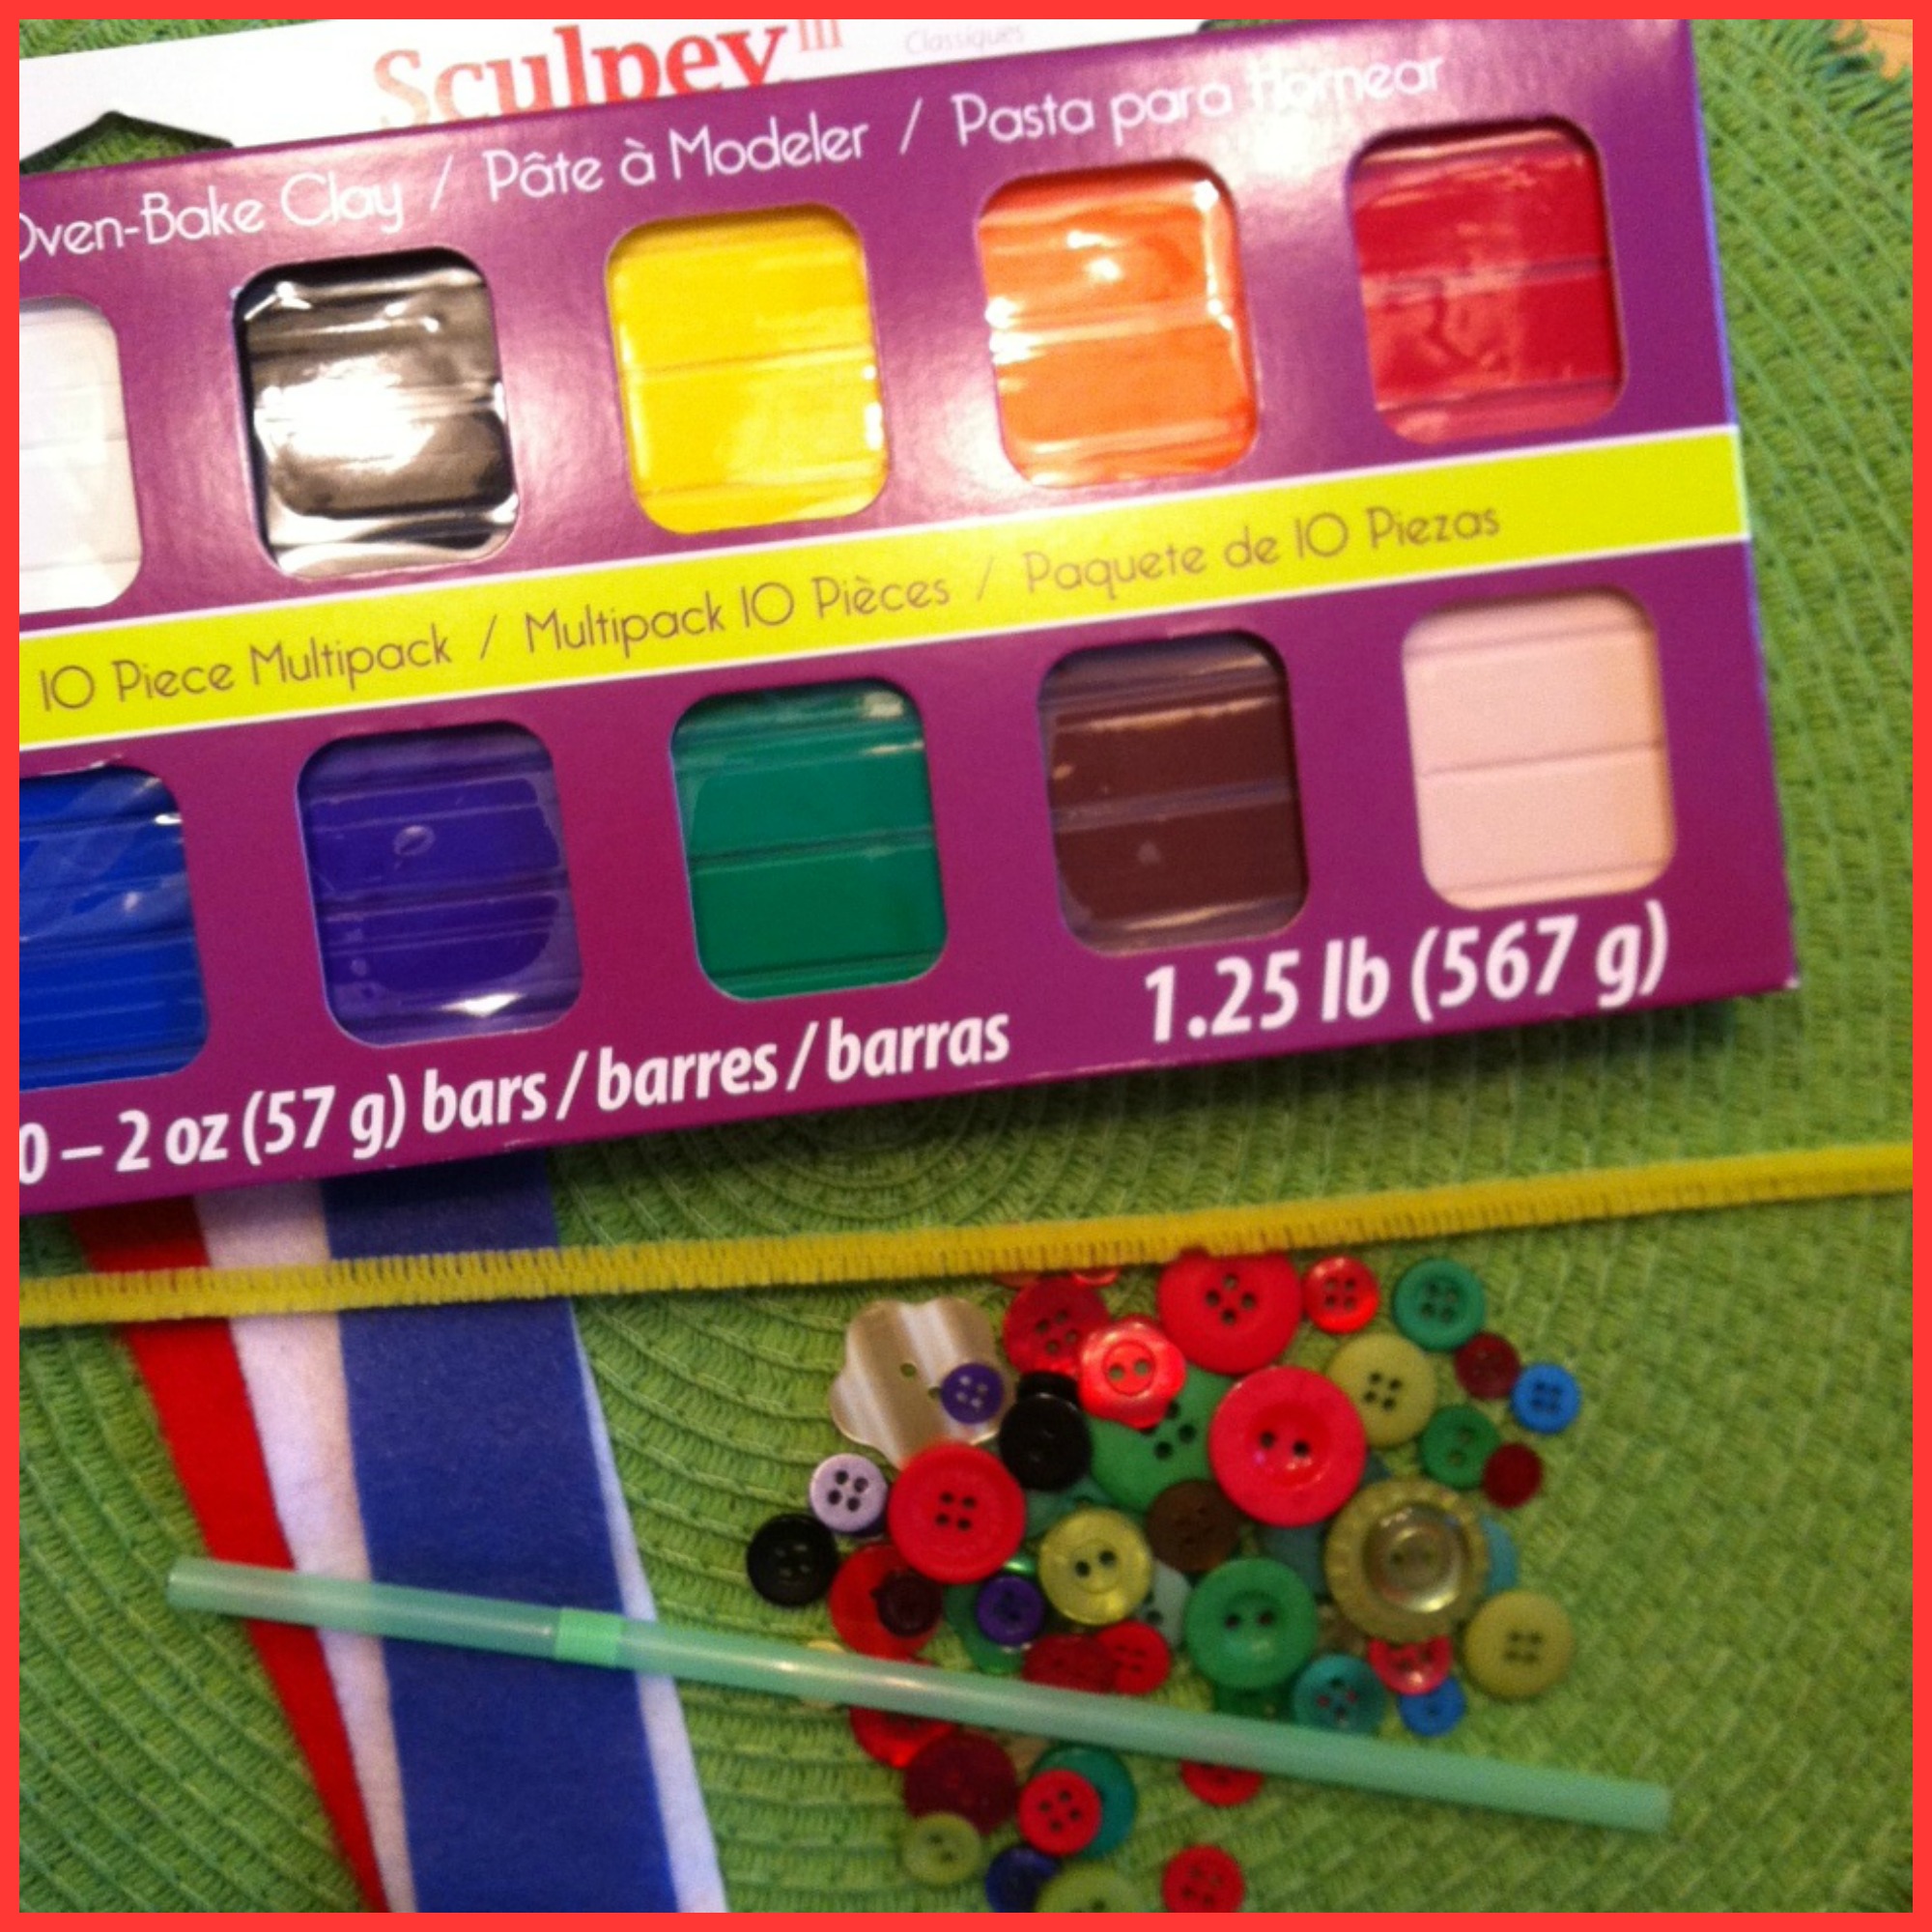
Materials Needed:

Sculpey Clay

Laura Kelly Buttons

Felt (for the scarf)

A straw (to make a hole for the hook)

Pipe Cleaner

Materials

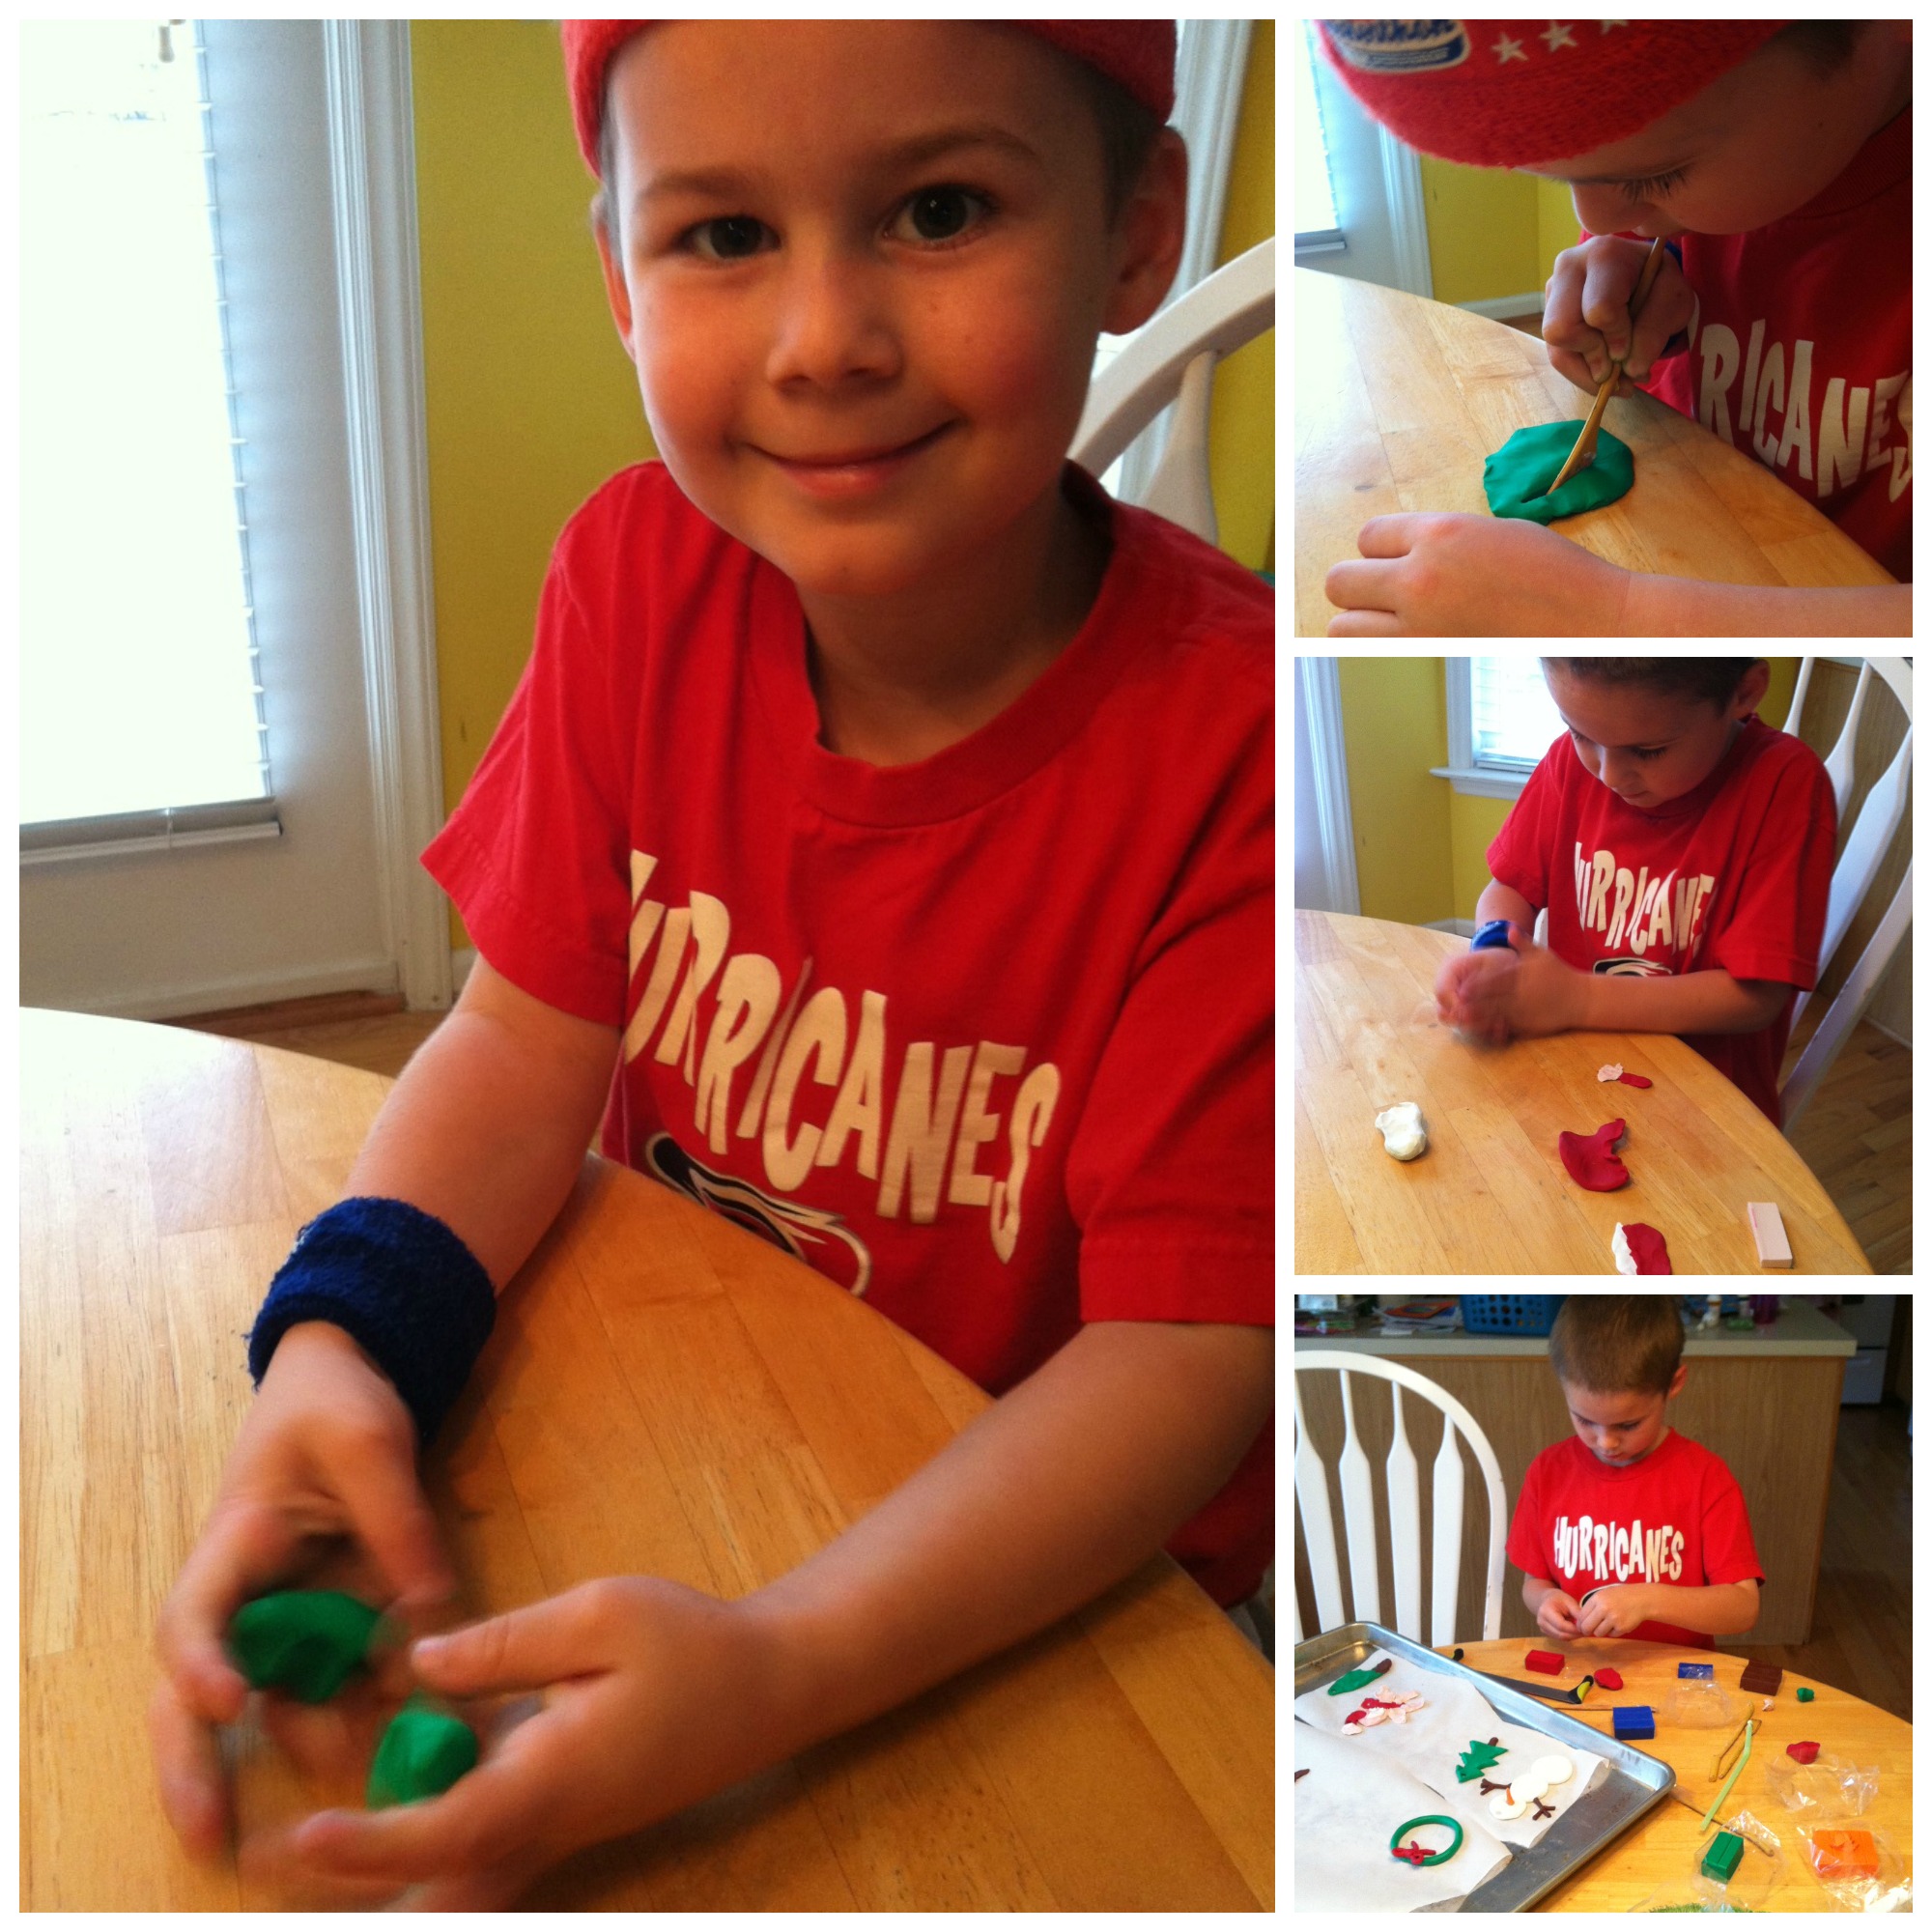
While I was making my ornaments with Sculpey clay, Landon wanted to make some too!   I love his creative ideas!

Landon

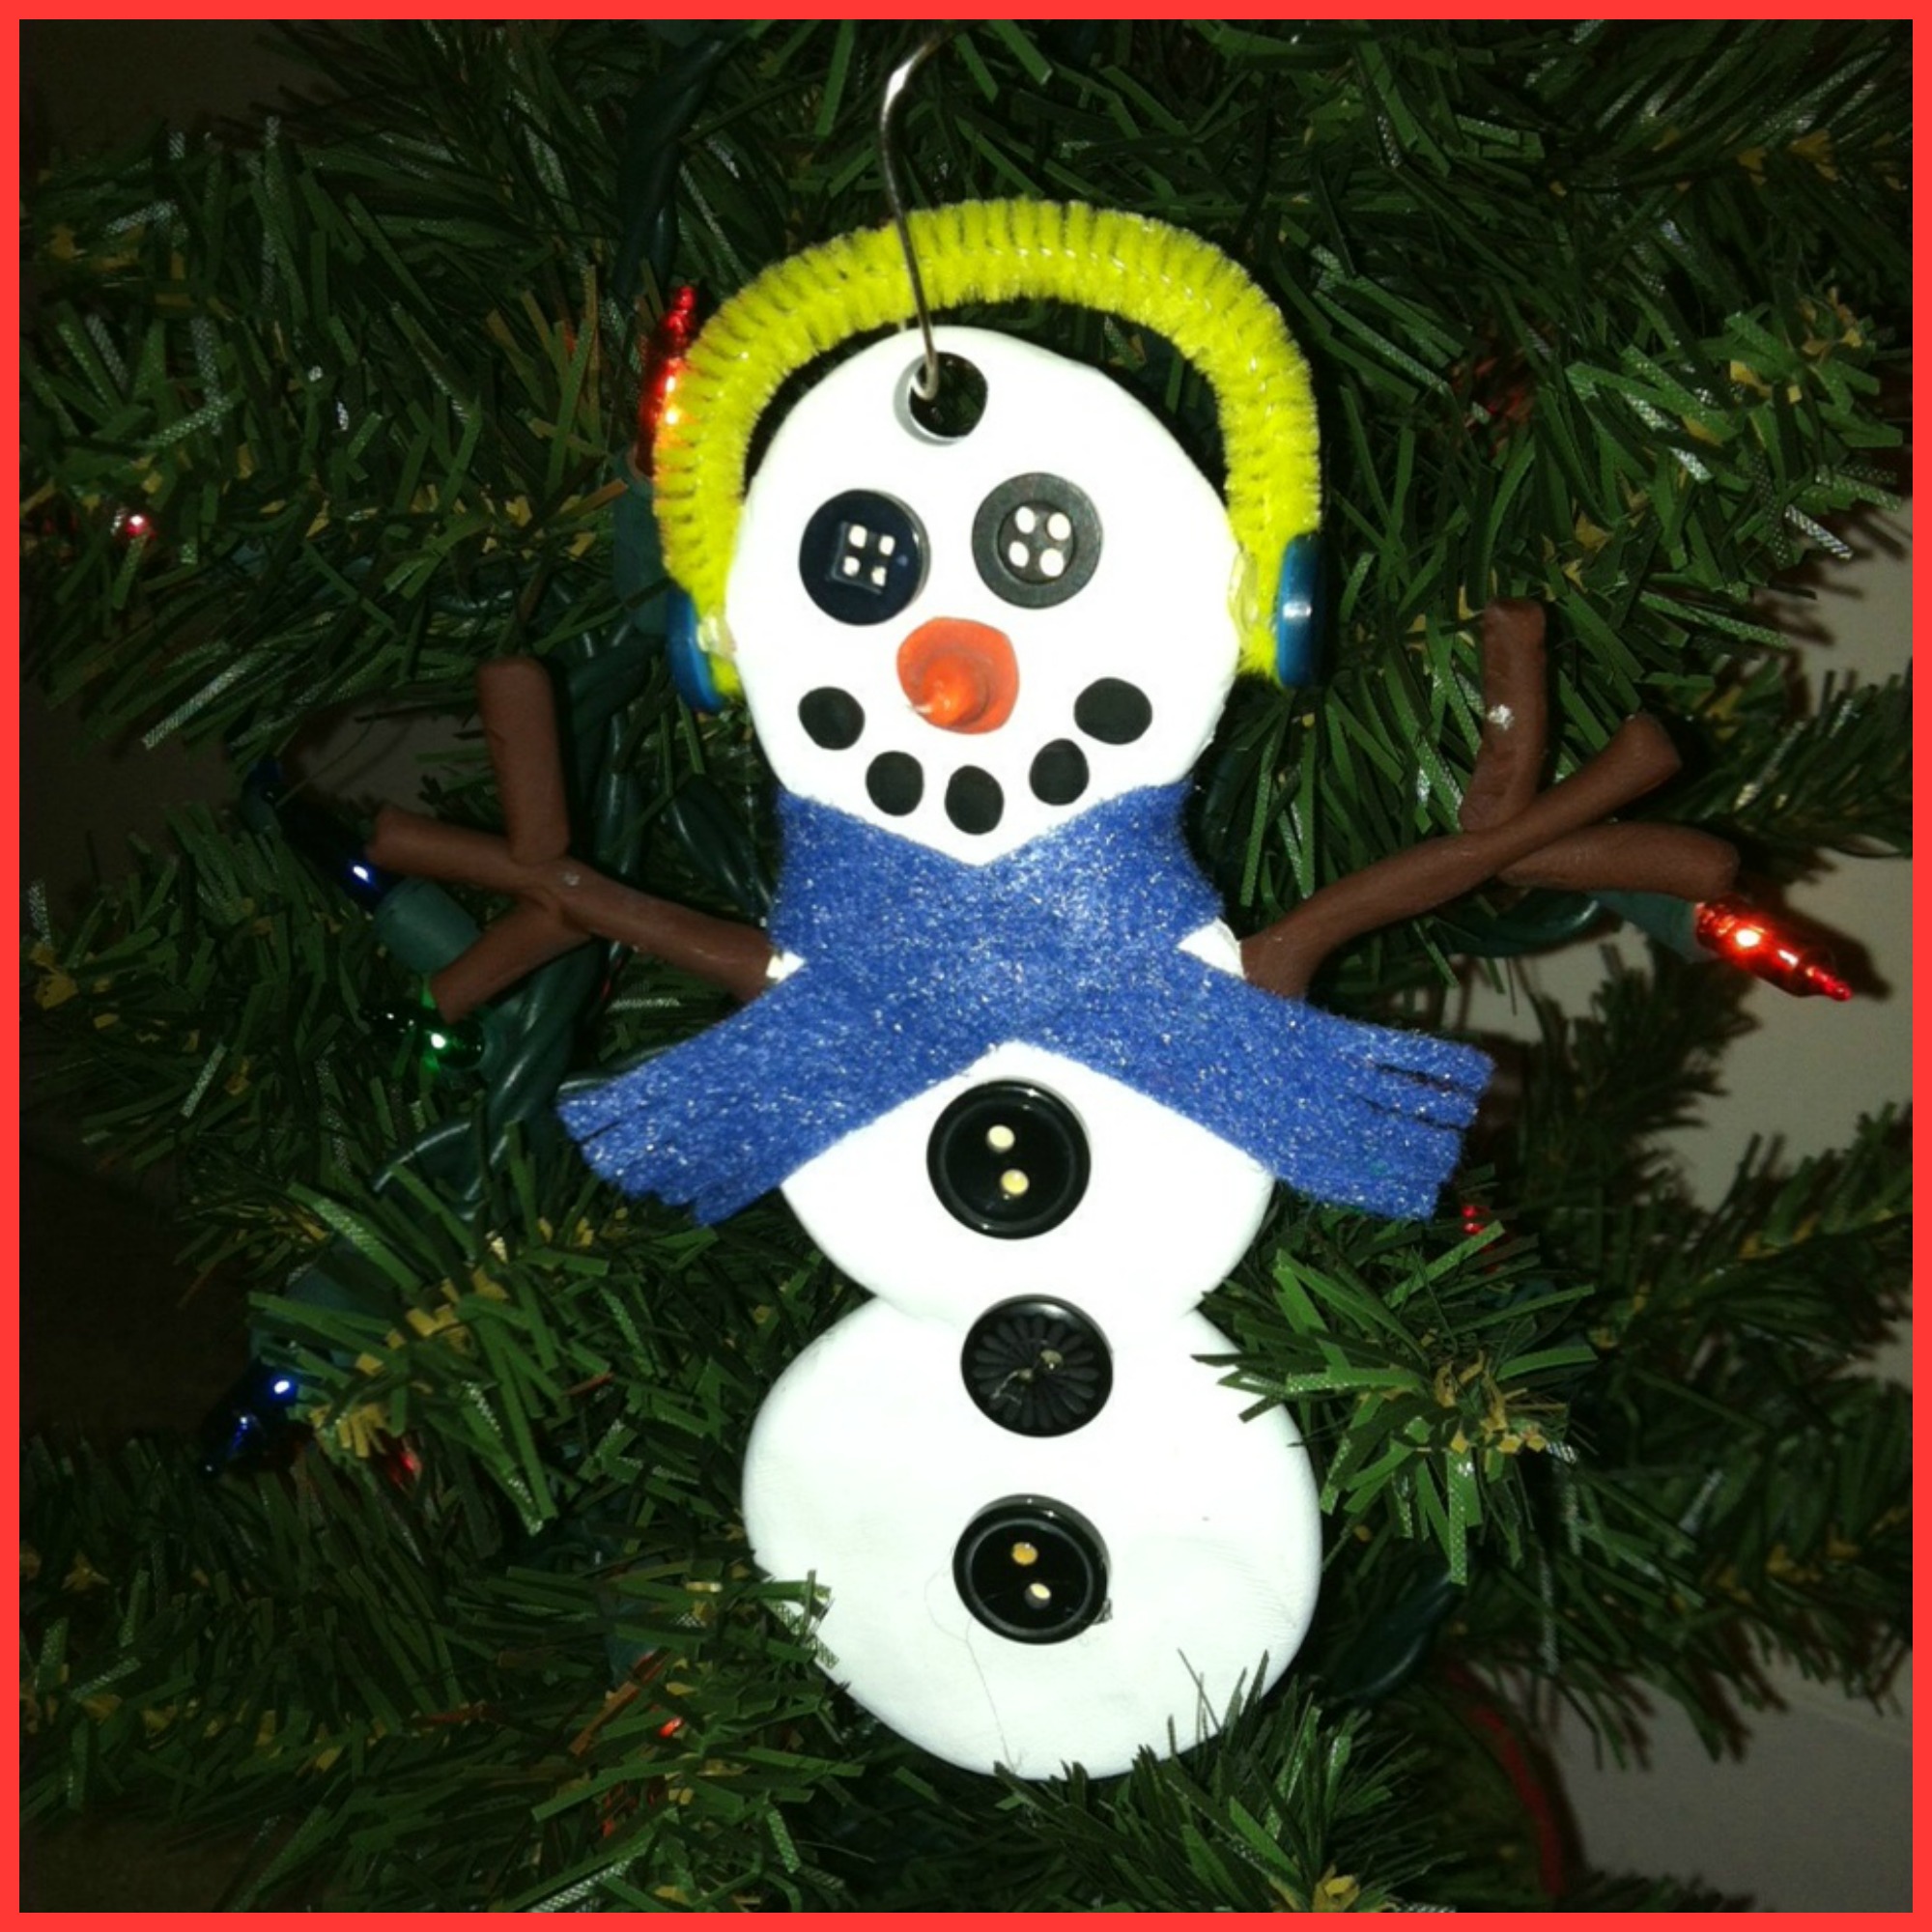
One of my favorite ornaments is a snowman.  Who doesn’t love a snowman?!?!  They are simple and just too cute!

snowman

After I was all done with my snowman and he was baked at the recommended baking time and temperature, I decided to give him some earmuffs!!

snowmanfinish

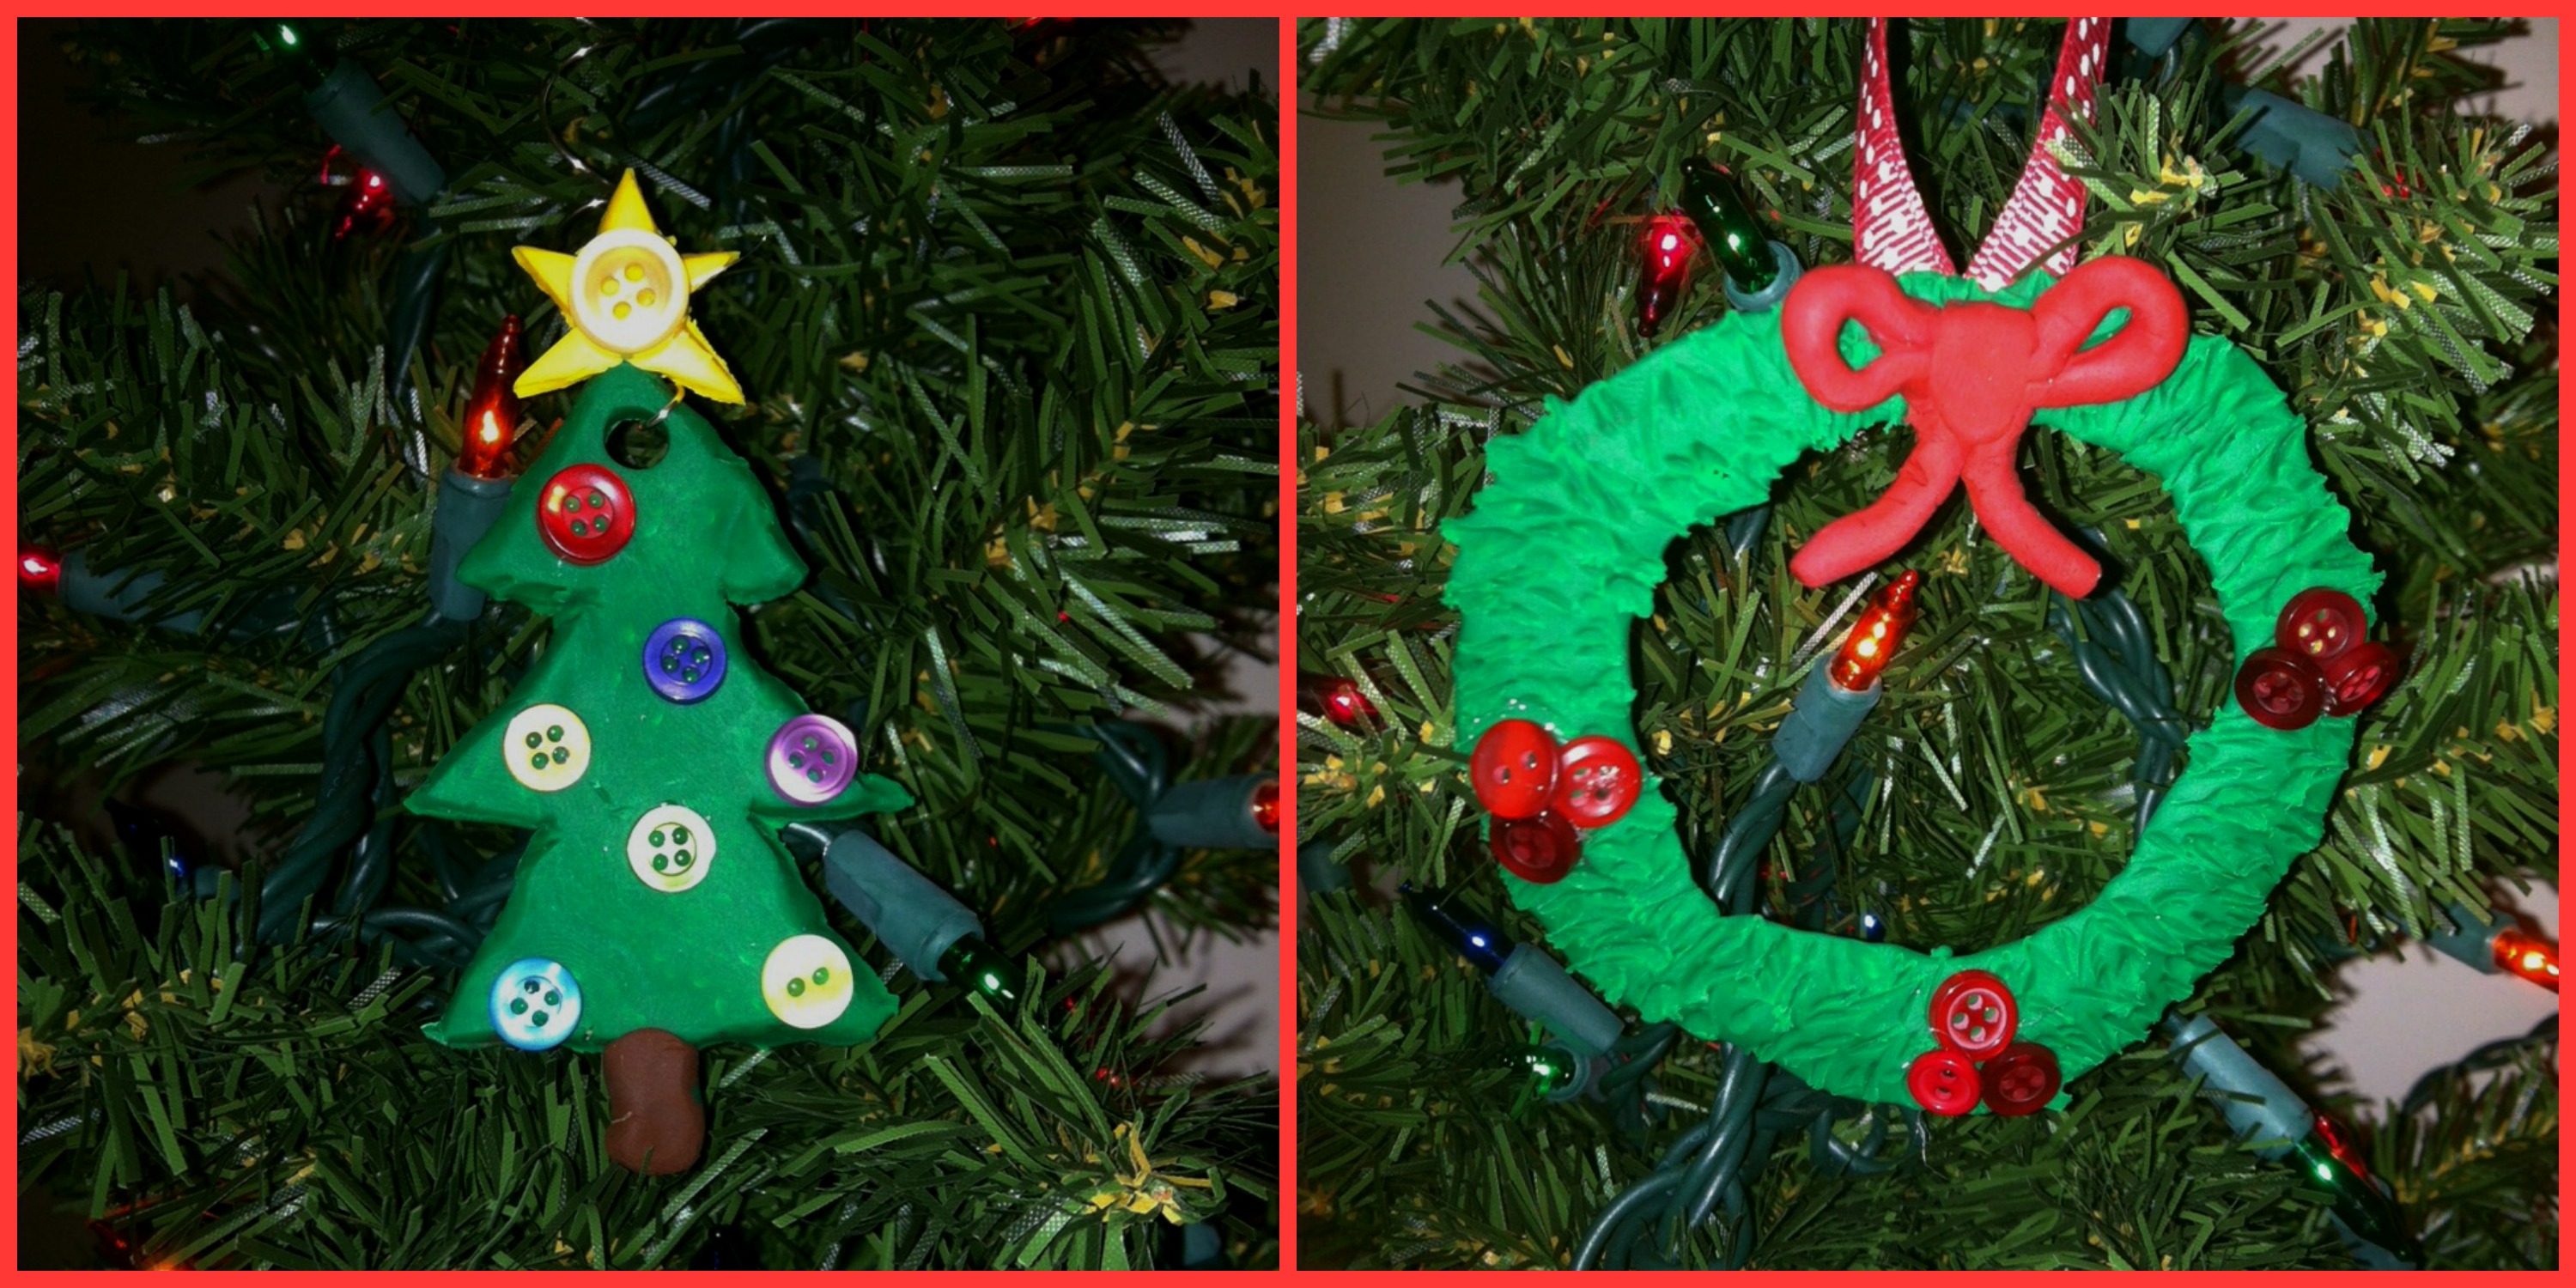
Here are two other cute ornaments I made:

treeandwreath

I always have fun participating in blog hops!  They are so much fun and it’s great to see how creative others are!  I hope you like my ornaments!

Hop over to Laura Kelly’s blog to check out other ornaments for the Adorable Little Ornament Blog Hop!!!

ENTER this RaffleCopter for a chance to win Scupley Clay and Buttons for Kids!!!

Halloween Popcorn Blog Hop

Halloween is just around the corner and will be here before we know it!

My friend, Laura Kelly put together this cute and creative blog hop, sending out an envelope of goodies which included a popcorn box and some embellishments to go with it.  package
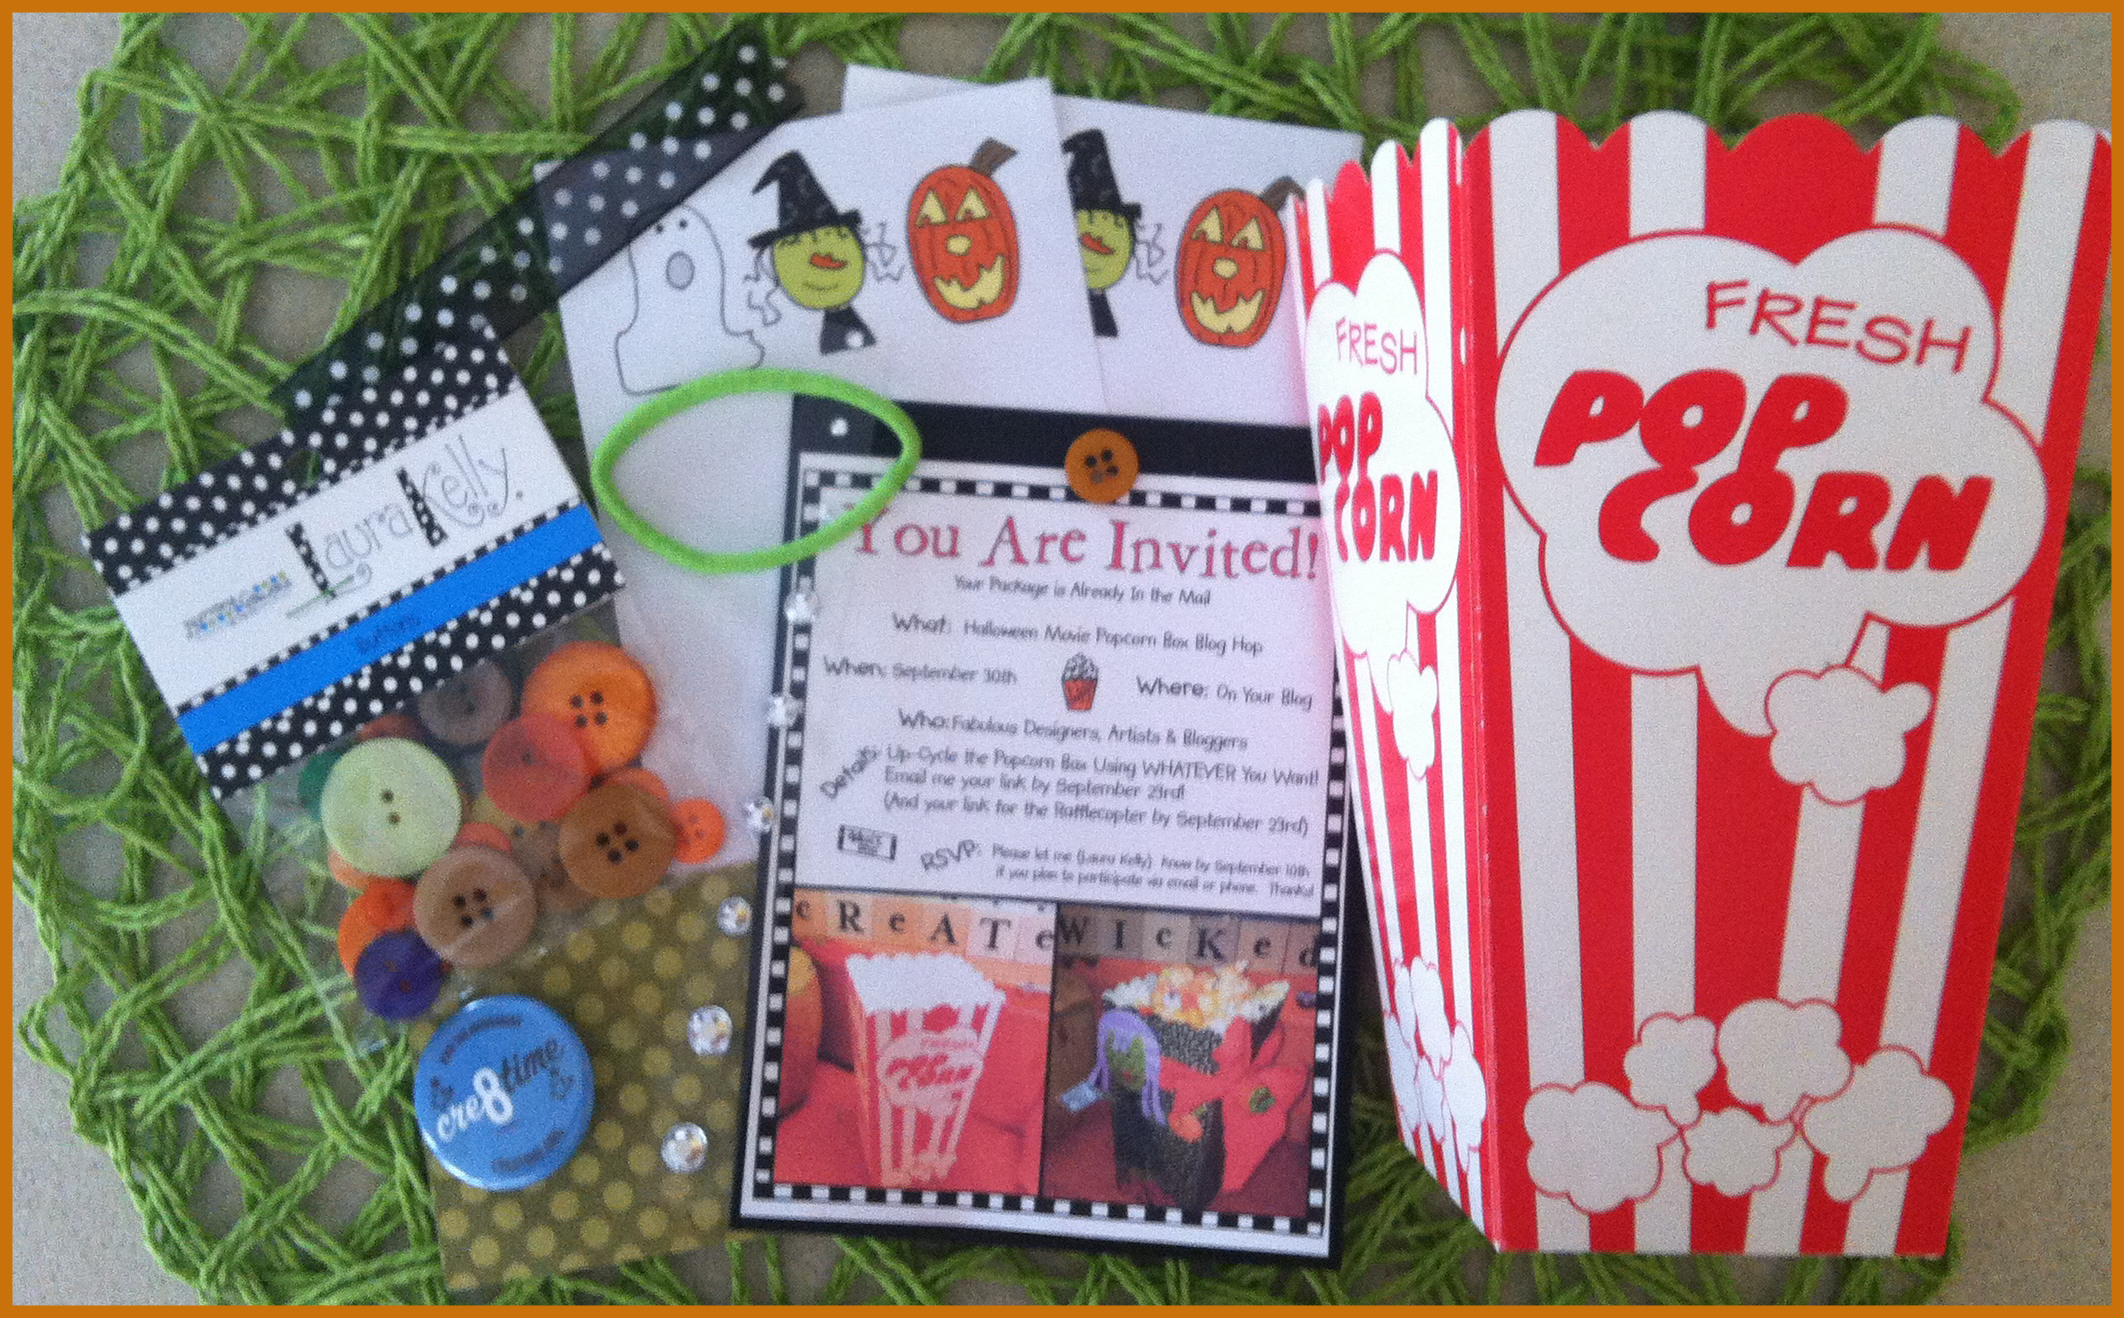
In our directions for this blog hop, it said:

“The objective is to create in whatever way you like best with whatever products you like to feature and simply be a part of something fun…something that connects your passion to those passions of others.”

So, with that being said, I decided to use some things I had lying around in my craft area.
picstitch3

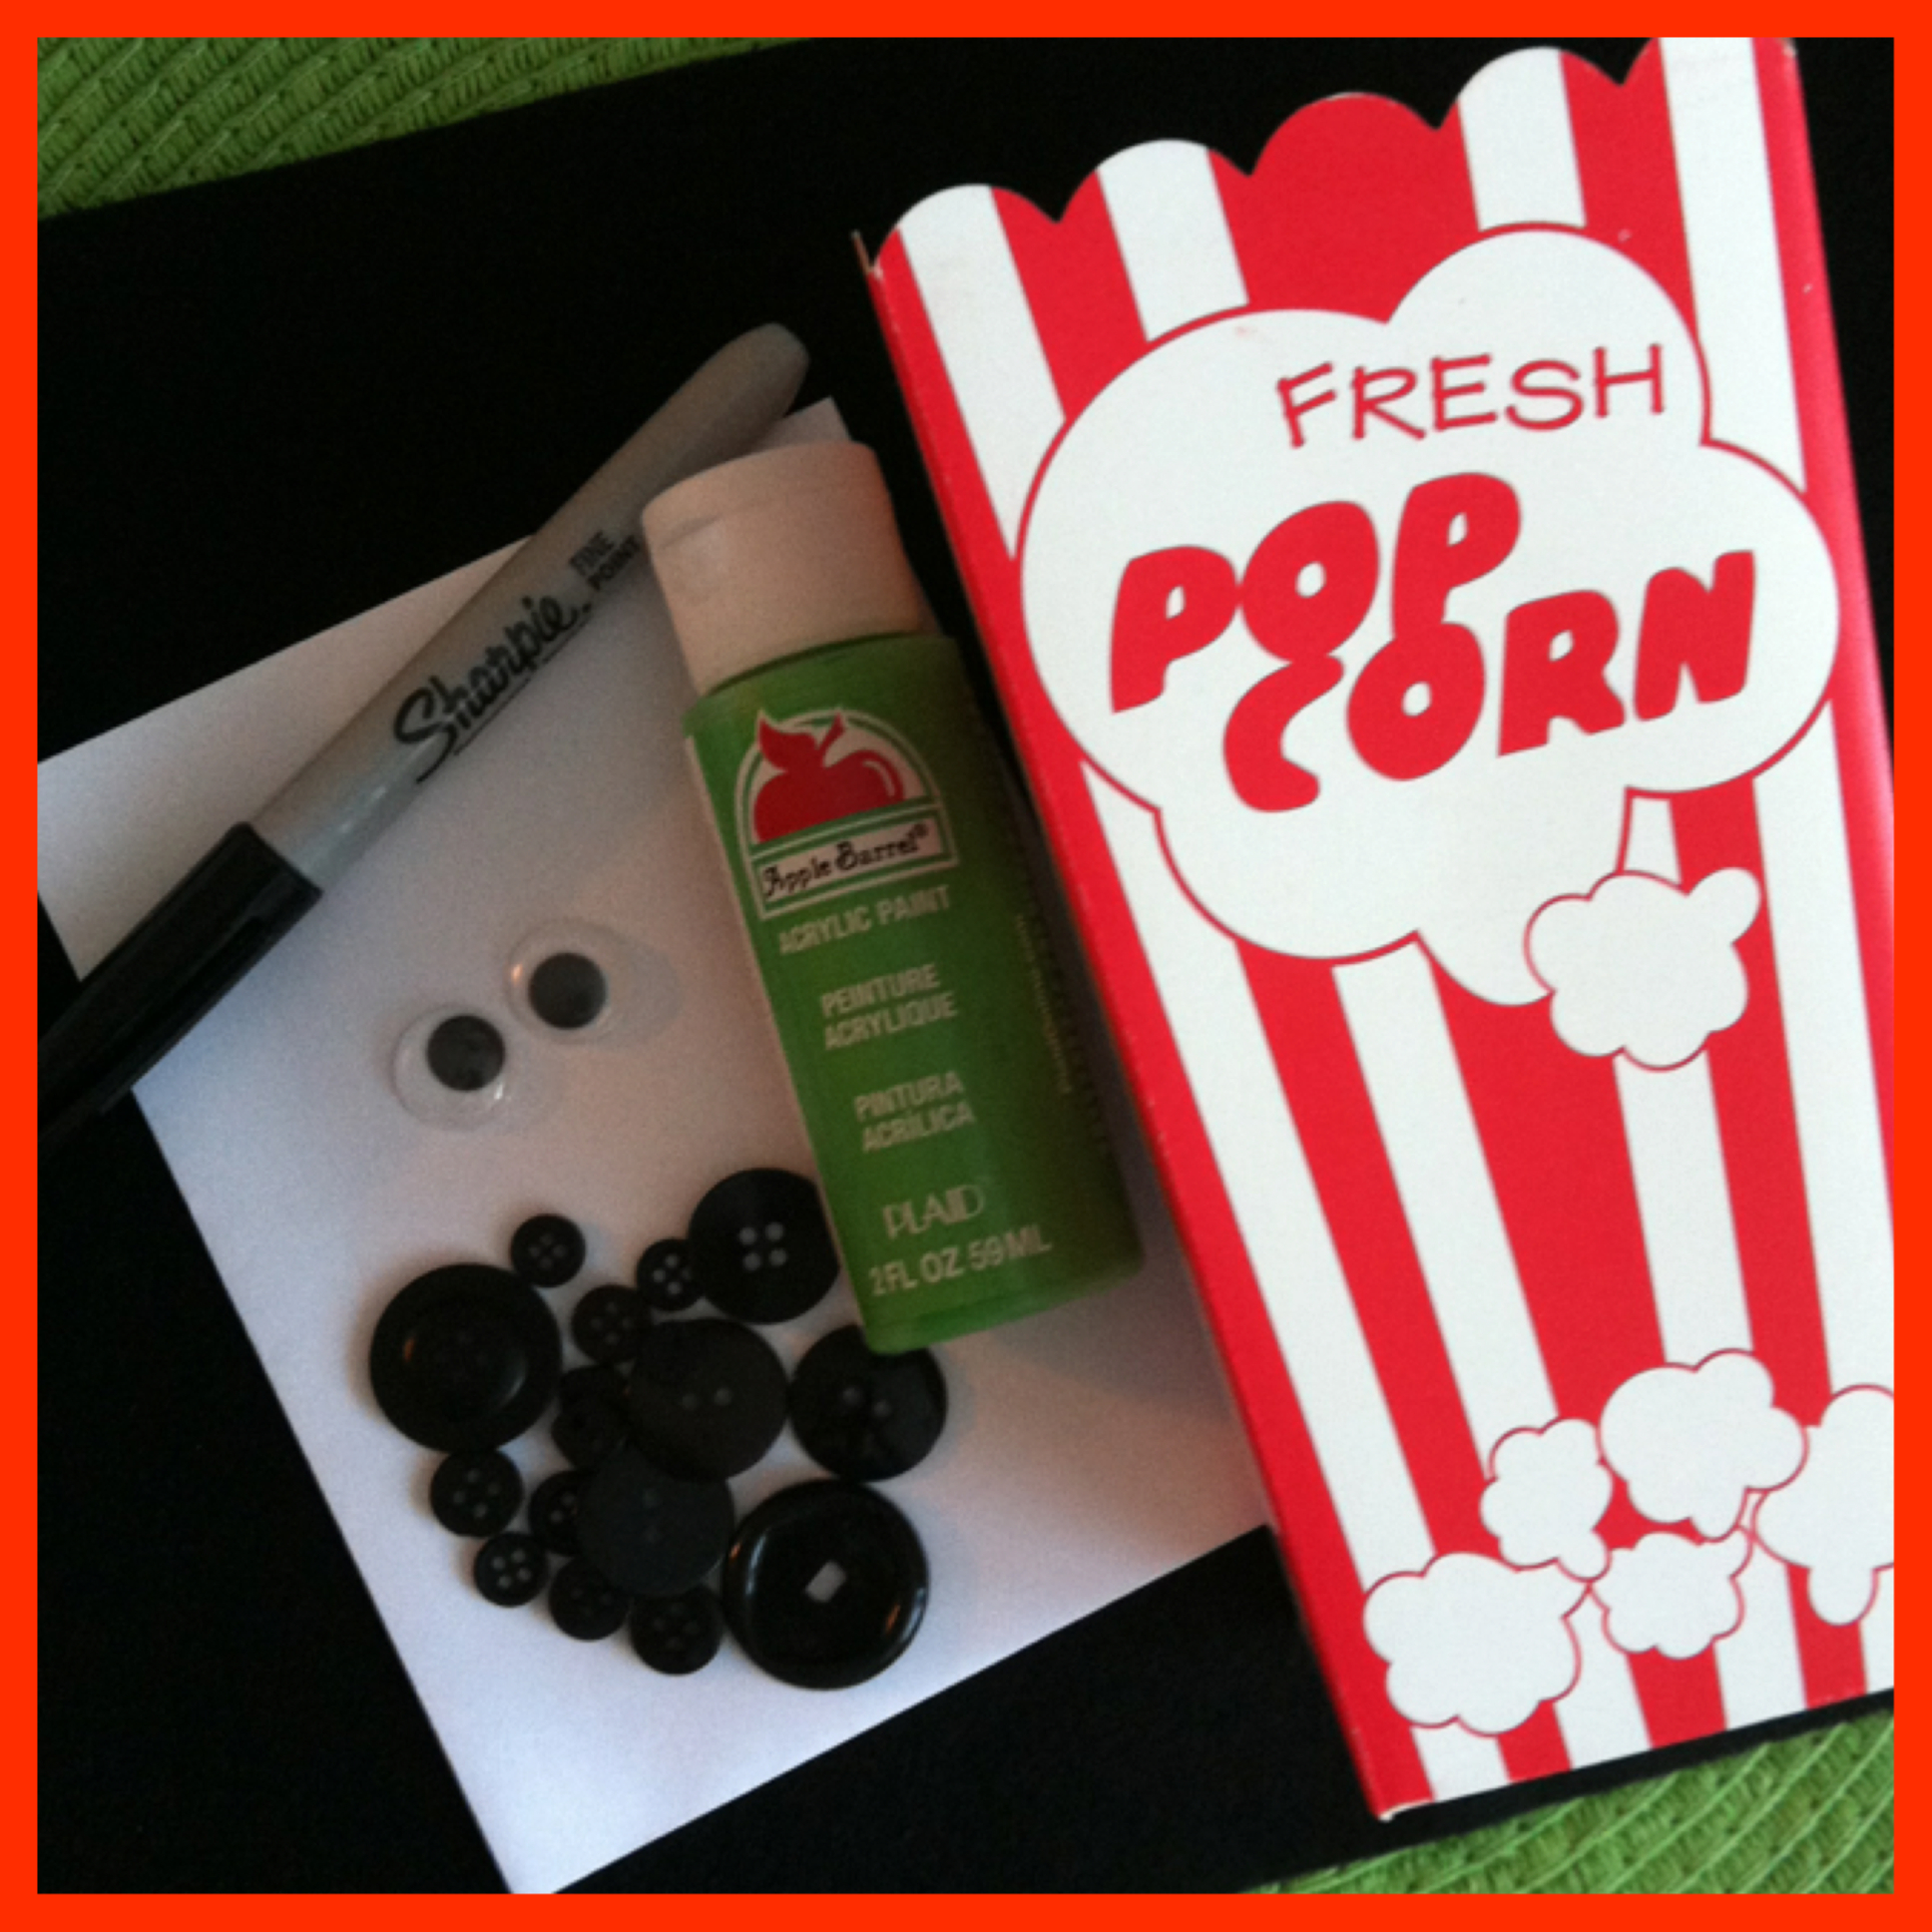
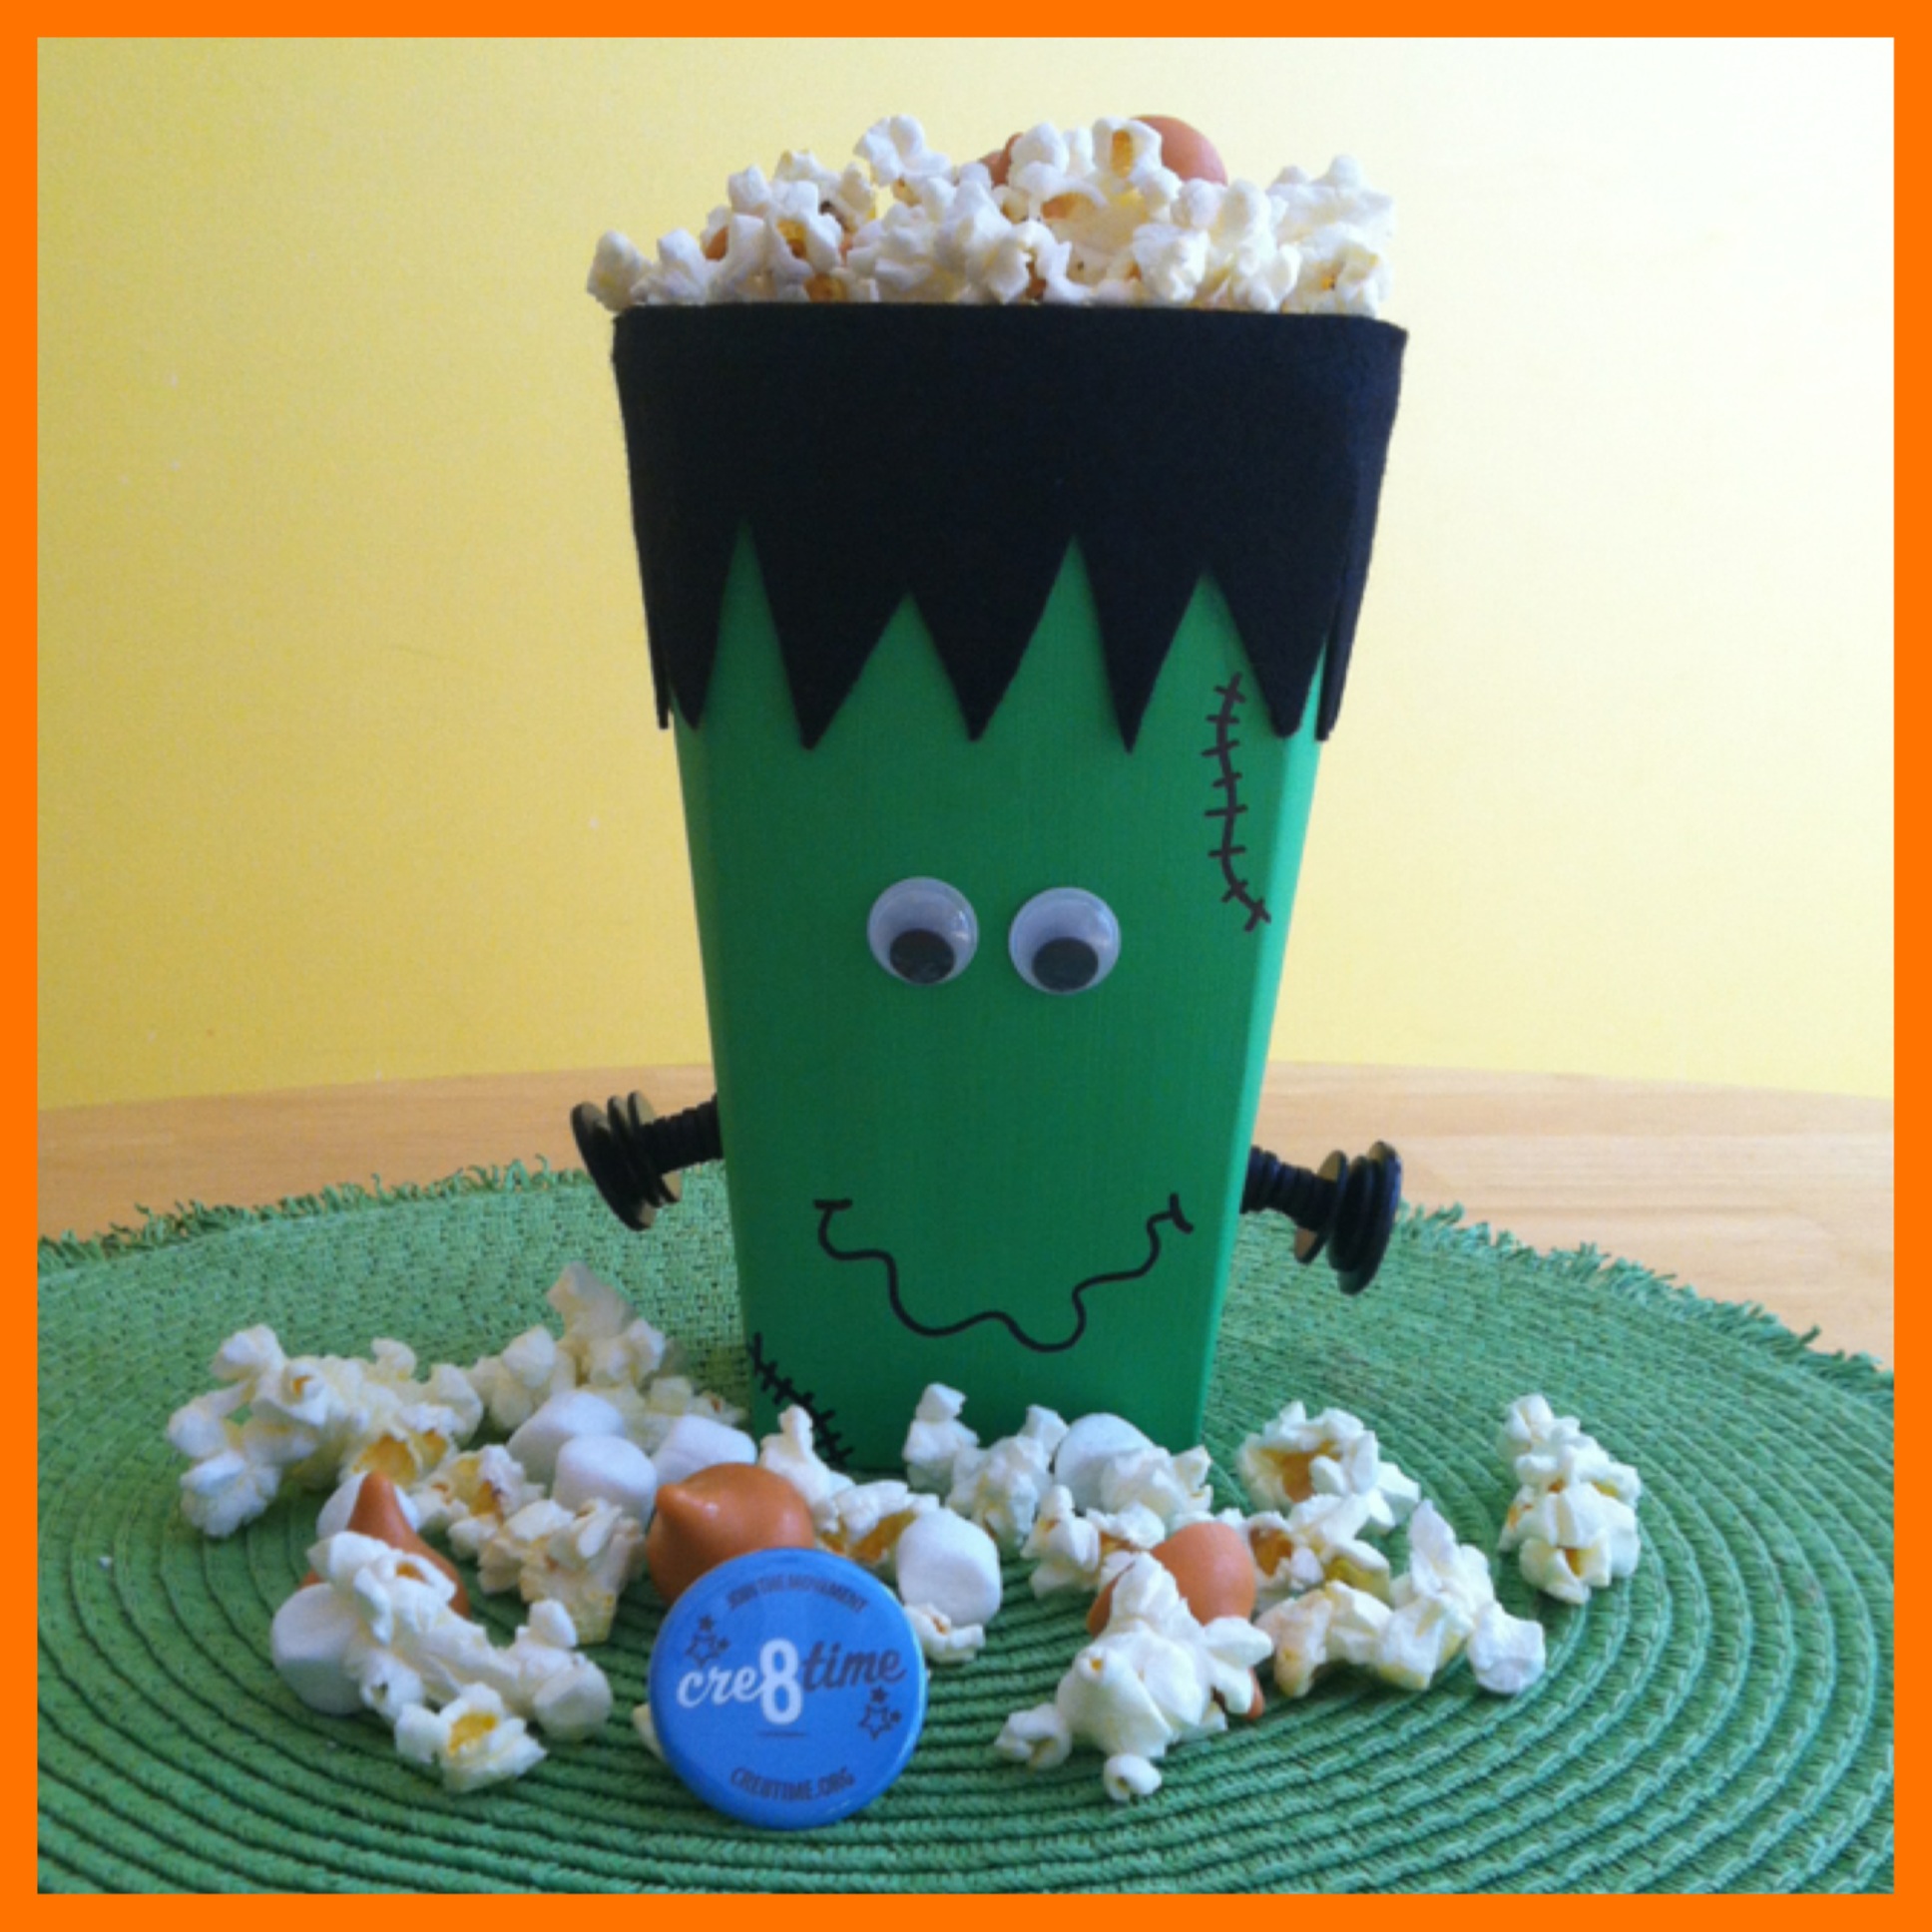
I decided to make a Frankenstein Popcorn Box!

Materials used:

The Popcorn box, provided by Laura

Black Buttons from Laura Kelly’s mix buttons from Buttons Galore & More

Apple Barrel Spring Green Acrylic Paint by Plaid

Googly eyes

Black felt, purchased from JoAnn Stores

Beacon’s 527 Multi-use Glue

Mini Glue Dots

Fiskars Scissors

Black Sharpie Marker

a paint brush

Instructions:

1.  I painted the popcorn box green.  I did three coats (letting it dry between coats) to make sure everything on the box was covered up.

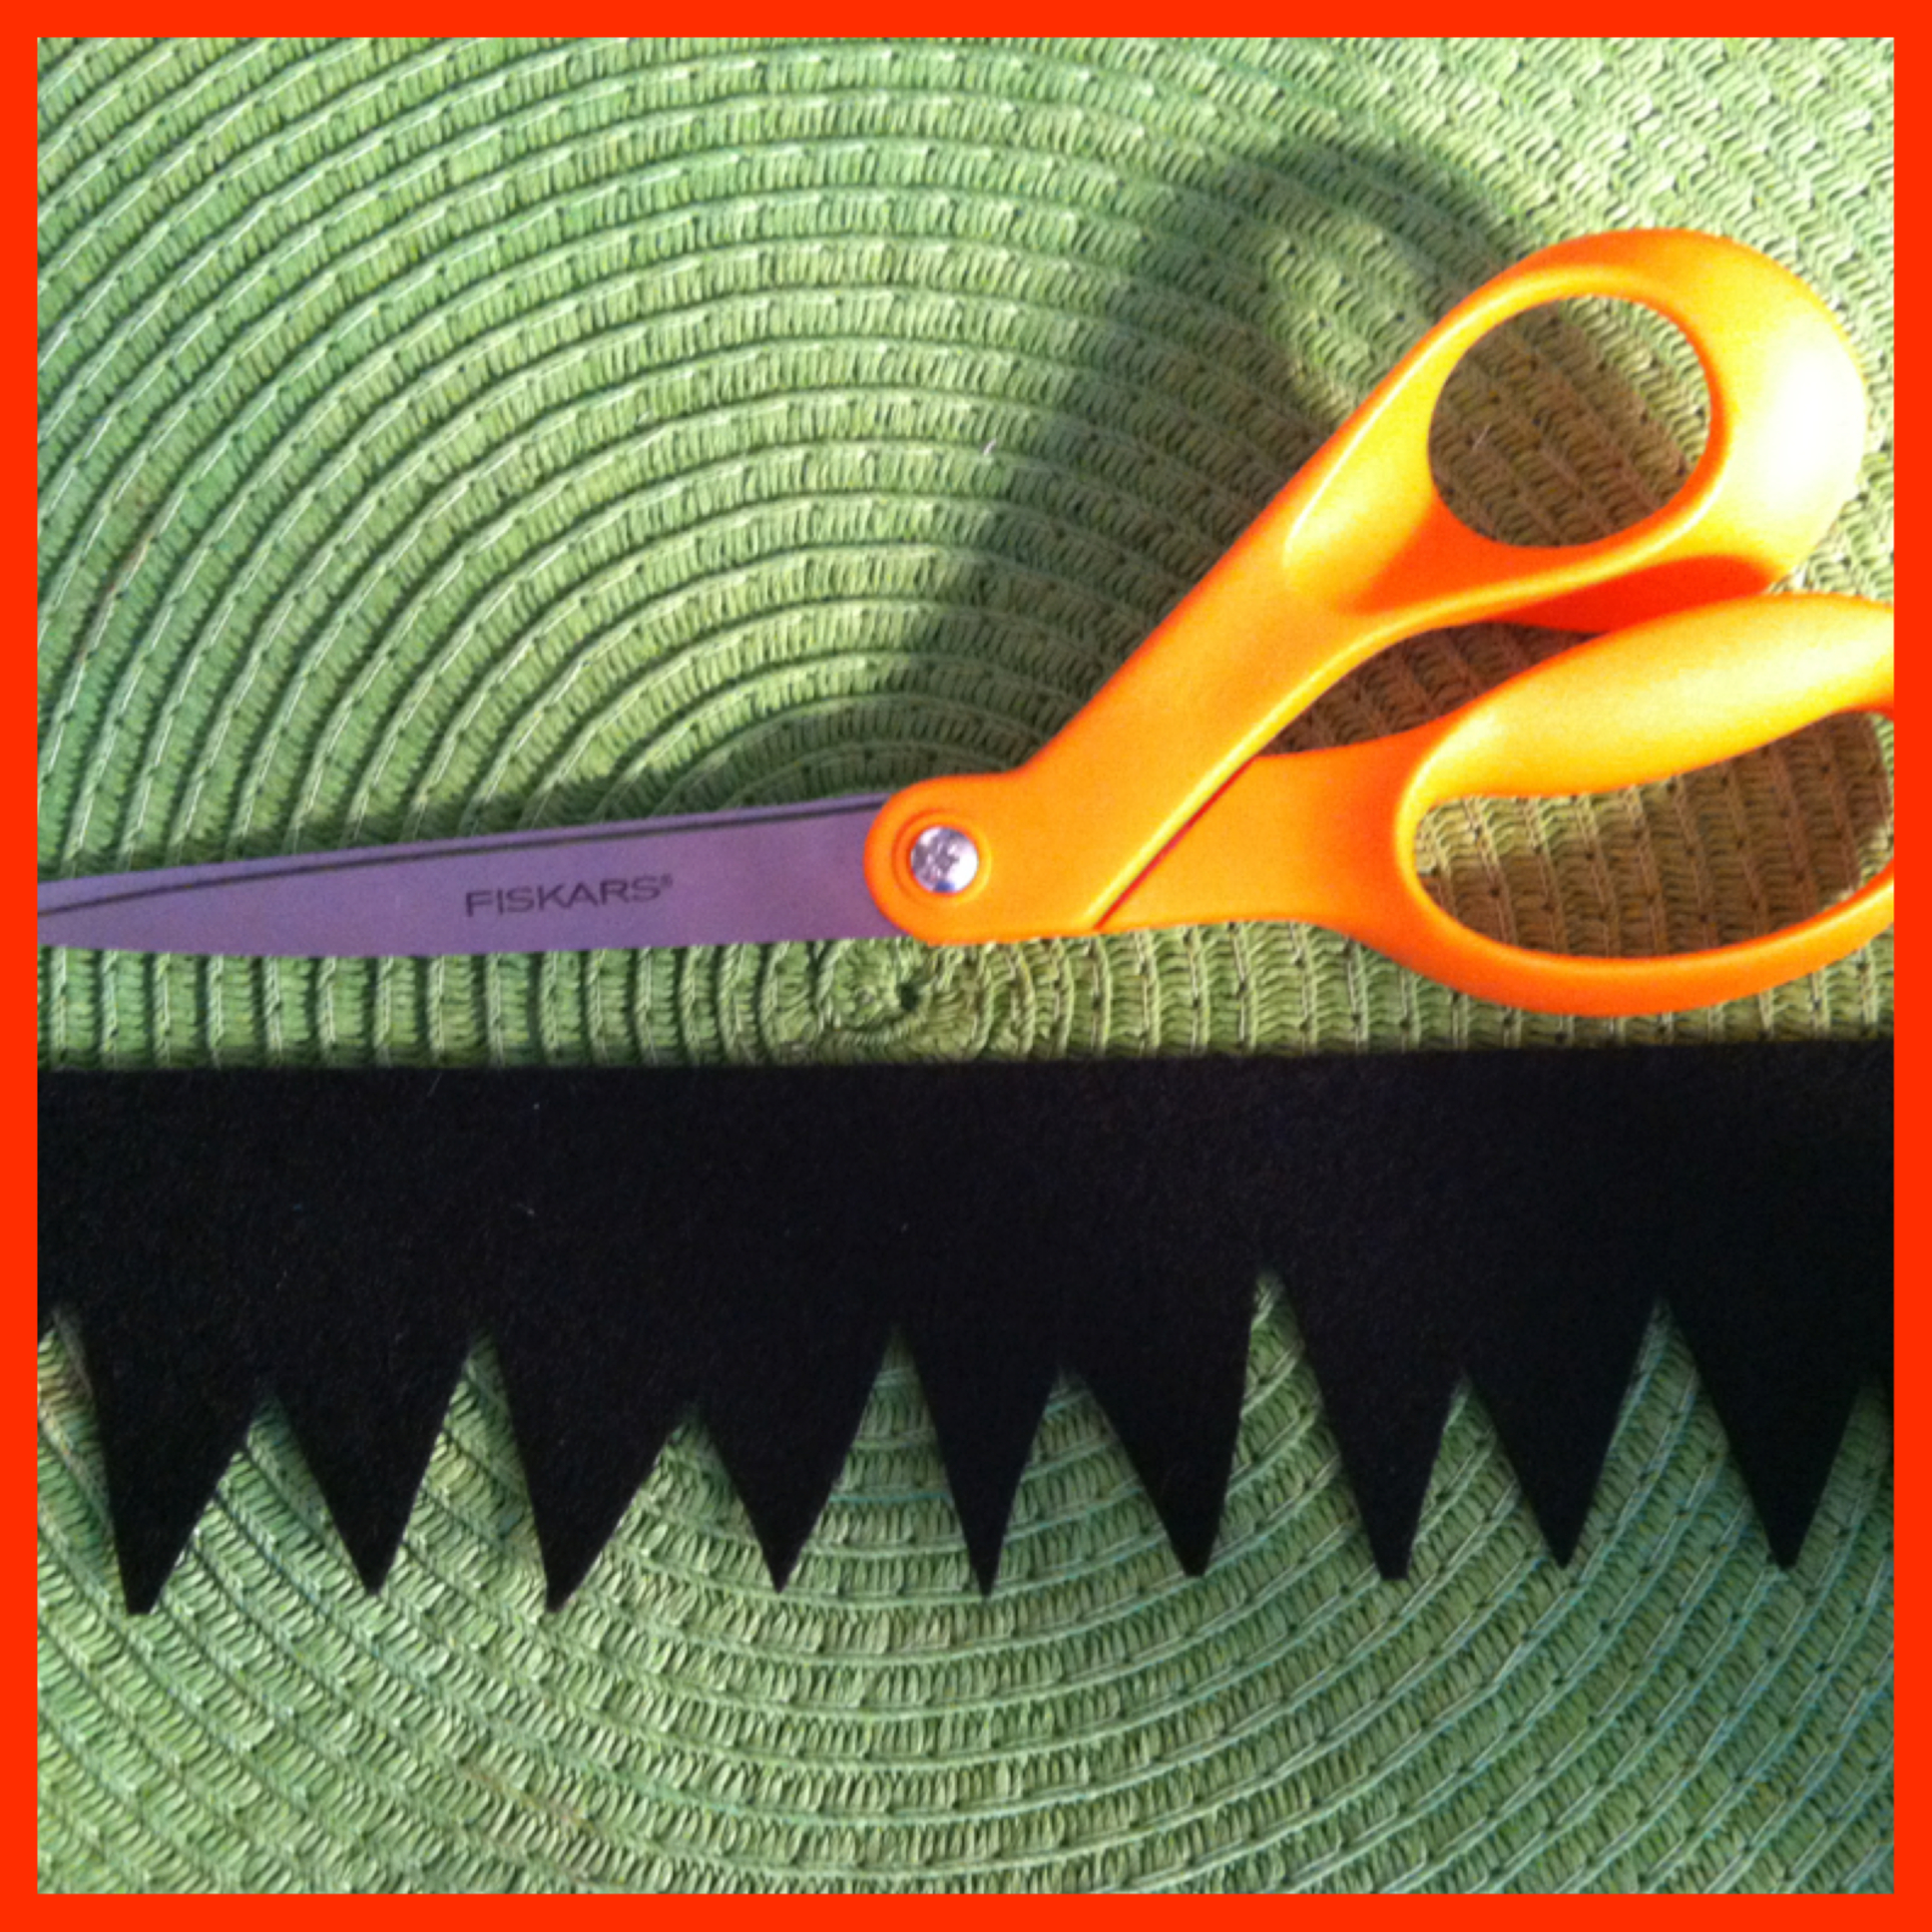
2.   I cut two strips from the black felt and then cut triangles out of one side of the strips to make it look like hair.  Then I glued it on to the top of the box using the Beacon’s 527 multi-use glue.
picstitch2

3.  Using glue dots, I glued the black buttons together to make them look like bolts.   I used about 6 small buttons and three larger ones for the bolt heads.  I then used glue dots to attach the bolts to the sides of the box.

picstitch4

4. Using a black Sharpie marker, I drew on the mouth and the stitches.

5.  Then I glued the googly eyes on.

Super easy and so much fun!   And he got filled with yummy goodness of popcorn, marshmallows and Pumpkin Spice flavored Hershey kisses!   🙂
photo

My children love Halloween just as much as I do!  And they love popcorn too!   So when I got to making my Halloween Popcorn Box for this blog hop, they were loving it!   And since I only made one, I now have to go buy the contents to make another one, unless Laura has any extra boxes lying around!!!!  🙂

This past week, Laura sent out a special little thanks for being a part of this blog hop!   She is super sweet!     Thanks my friend!  🙂
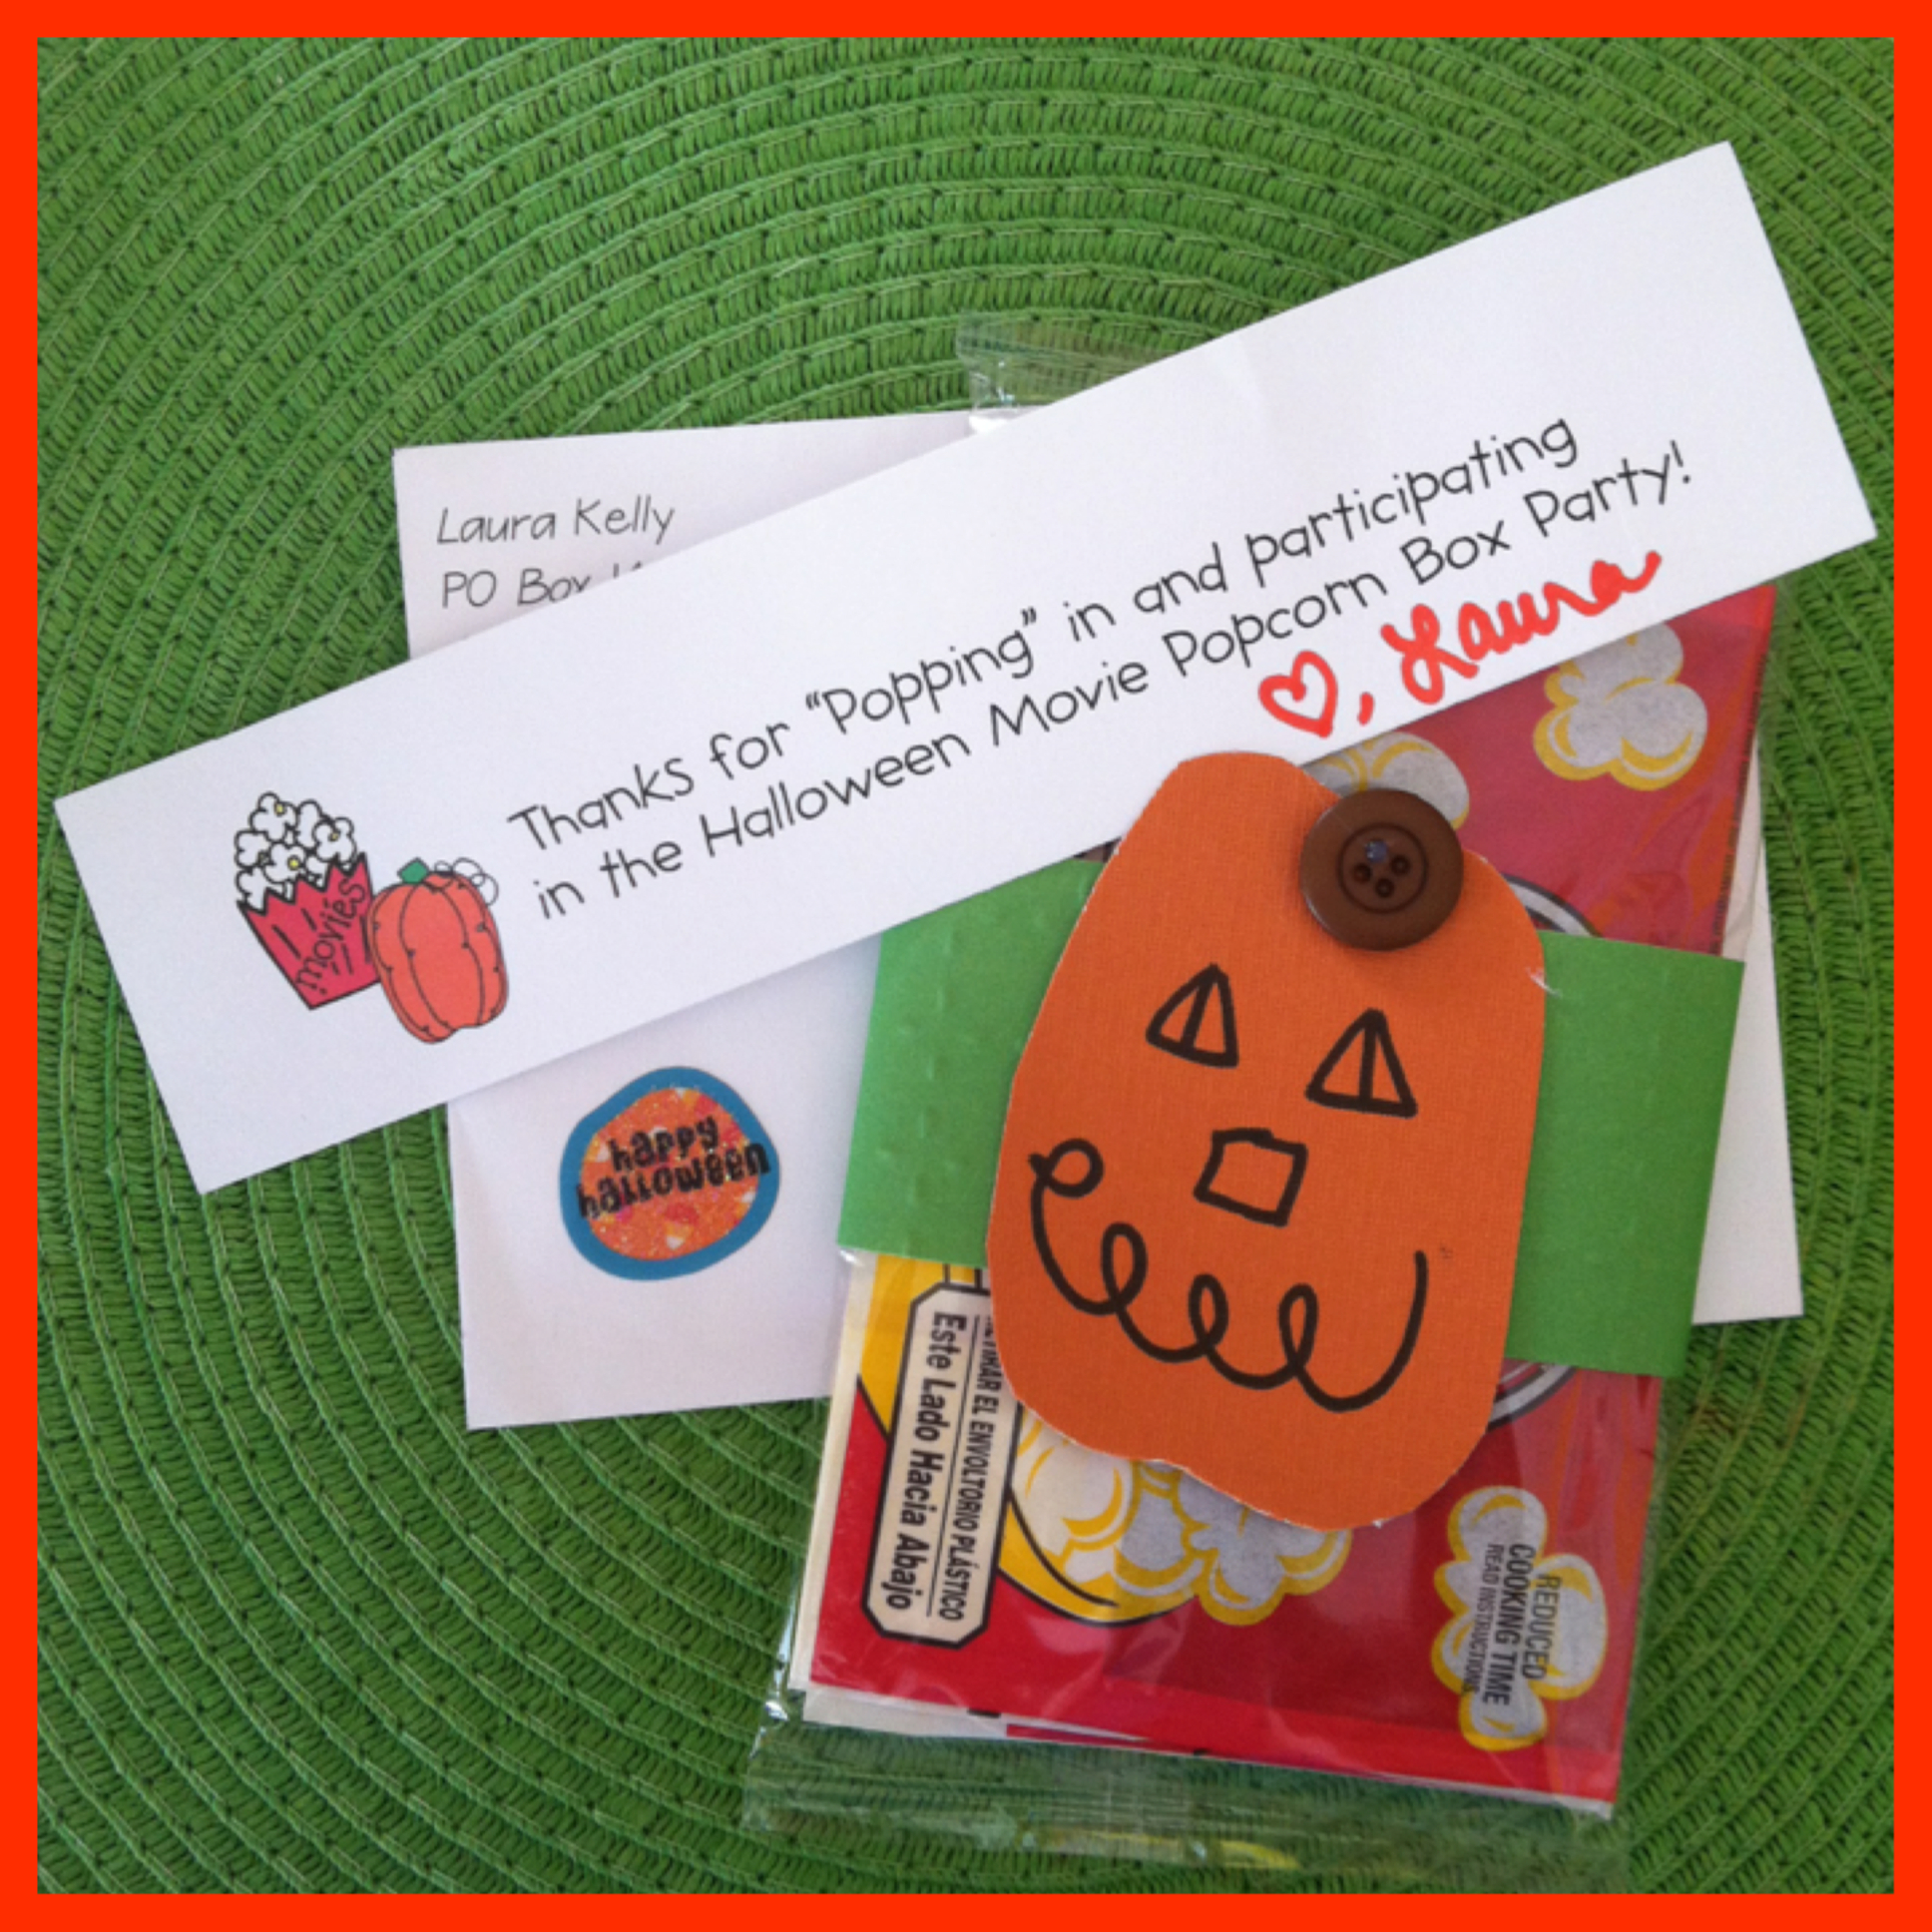
picstitch1

There were quite a few other blog hoppers that joined in on this blog hop, so hop over to Laura Kelly’s blog to check out the rest of the participants!!  A special thanks to Cre8time for supporting the Halloween Popcorn Box Blog Hop!  And to Laura Kelly for allowing me the chance to participate!

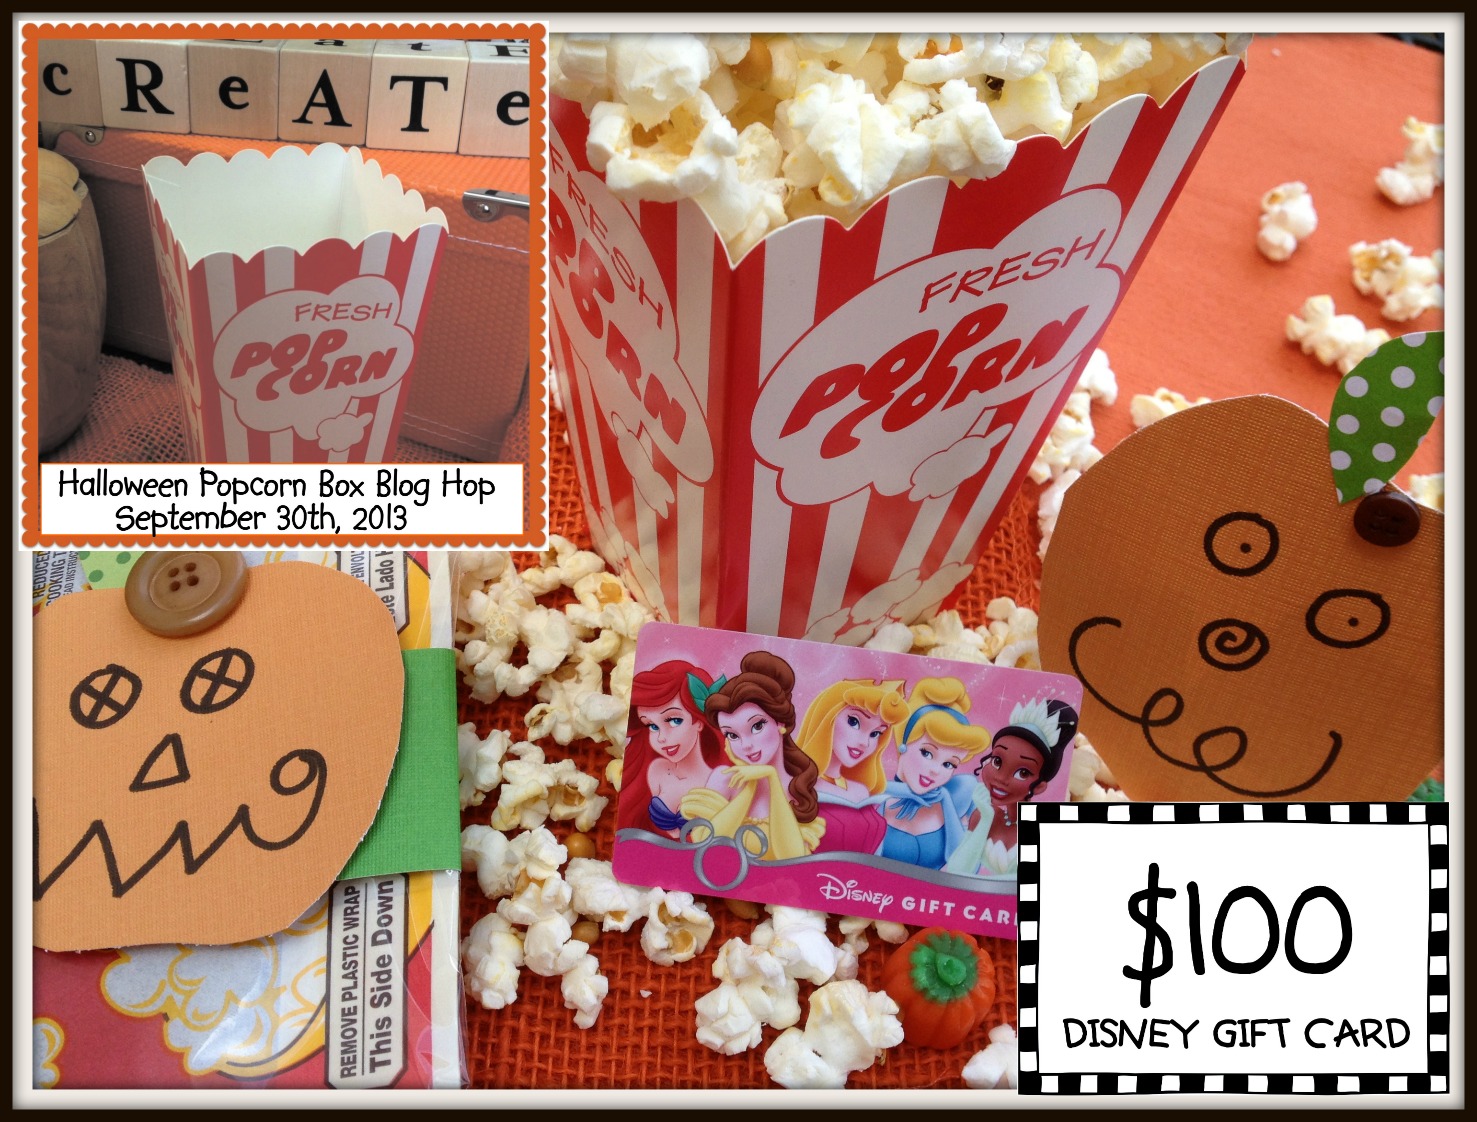
Be sure to click on the picture below for a chance to win a $100 gift card to Disney (park, store, or online)!!PopcornBlogHopPrize
I hope you like my Frankenstein Popcorn Box!  I’d love to hear what you think in my comments section!!

And until next time……
katie-asweetberry

Me and My Peeps Blog Hop ~ Info

1039627_10151724801629105_1868196326_o

Yay!  So, I have been asked to participate in another blog hop!   This time, it’s the “Me and My Peeps Blog Hop”, put together by Laura Kelly of Laura Kelly Designs and Niki Meiner of 365 Days of Crafts!   And I can’t wait!  I’ve been thinking about what I plan to do!!!

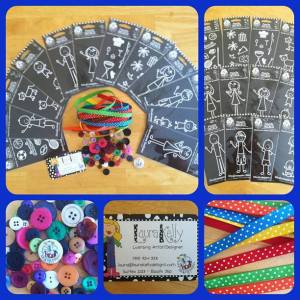
Here’s what all was included in the Blog Hop package:

1004728_10151724814234105_1560106797_n

Me and My Peeps Family Decals from Plaid Enterpises

Laura Kelly Mix  Buttons from Buttons Galore & More

Colorful Polka Dotted Ribbon

Me and my Peeps Button

Laura Kelly is the creator of the Me and My Peeps Decal Collection.  You may have seen them on the back windows of cars, but they can truly be used on pretty much anything!  You can also find them at ACMoore!  Our goal is to create something fun from at least one of the decals and the buttons!

The actual Blog Hop is July 16-18, so be on the look out!!!

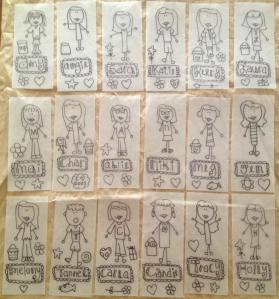
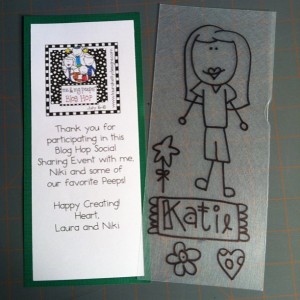
Also, Laura is so creative, she used Shrinky Dinks plastic to design a Peep for everyone participating in the Blog Hop!   She left them colorless so that everyone could color their own!!

1040087_10151725896284105_1270237267_o

Here’s me as a Peep!  Now, to color it!!!!

1044811_10151686517053955_1875731717_n

Until next time………..

Little Boys Play Date with Rit Dye

So, the boys and I were invited over to my friend, Laura’s house for a little play date!   The boys were super excited, because of course they love venturing over to Laura’s house!!!   Laura has lots of toys (She has 2 boys and 2 step daughters) and she has lots of crafts stuff!  Some may know her as Laura Kelly from Laura Kelly Designs!  But I am glad to call her my friend!

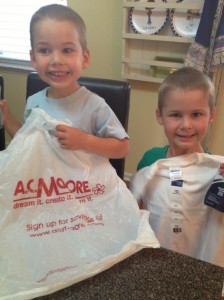
Anyways, this particular day, the boys and I stopped off at ACMoore to pick up some white t-shirts.   Laura was all set up for us to tie dye the shirts with Rit dyes!

IMG_7365

IMG_7364

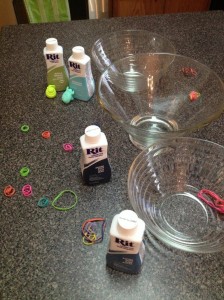
Materials needed:

Rit Dyes (liquid or powder), available where crafts are sold

White t-shirts (we got ours at ACMoore)

Rubberbands

Boiling Hot Water

Bowls

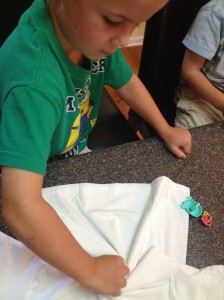
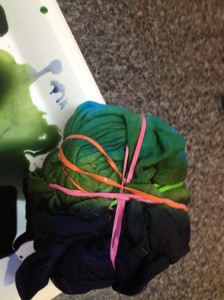
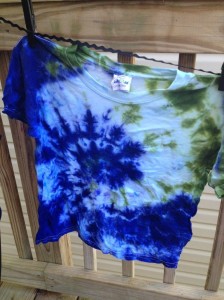
After Laura concocted the right amount of dye with hot water, we talked to the boys about the type of design they wanted on their shirts.  They both decided on the swirl!   So, after a little online research, Laura and I figured out how to get the swirl effect.  It’s super easy.   The shirt needs to be a little damp (we just used the sprayer in the sink, but a spray bottle can be used).   Lay if flat and pinch the middle.  Then twist and keep twisting until its all bunched.

IMG_7366

After it is all bunched together, place a rubber band around it to hold it together and then add a couple more in different directions.

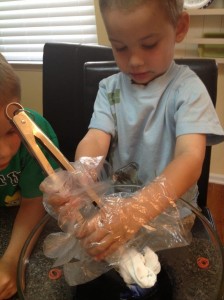
Next, put on some gloves because if not, your fingers will change colors!   Because boiling hot water was used to mix the dye, a set of tongs is helpful, especially for the little ones.

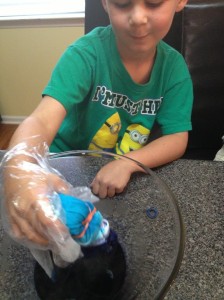
Depending on how many different colors you want to use on the shirt, dip the shirt the dye, but no more than half of the shirt, unless you want it all the same color.

IMG_7367

Once it has been in the dye for at least 2-3 minutes, turn the shirt and dip it into another color.   You can also experiment with multiple colors on top of each other to see what you get!

IMG_7369

This is what it should look like once you are finished!

IMG_7371

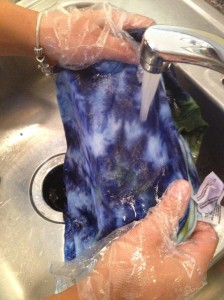
After all of the shirt has been dyed to your liking, it’s time to heat set it.  So, wrap it in some plastic (we used a ziploc bag) and stick in the microwave for about 30 seconds.  Remove it from the microwave and then remove the rubber bands.   Now it’s time to wash out all of the excess dye.   Leaving your gloves on, run the shirt under running water

until there is no dye visible in the sink after squeezing the shirt.

IMG_7374

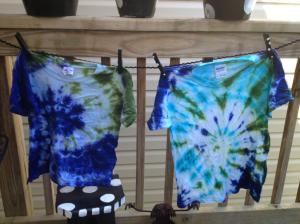
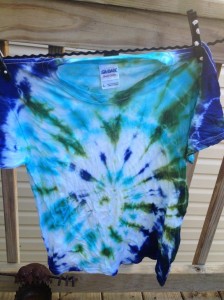
After it is all free of the excess dye, hang it outside to dry in the sun!  And the Voila, you have a tie dyed shirt!!!

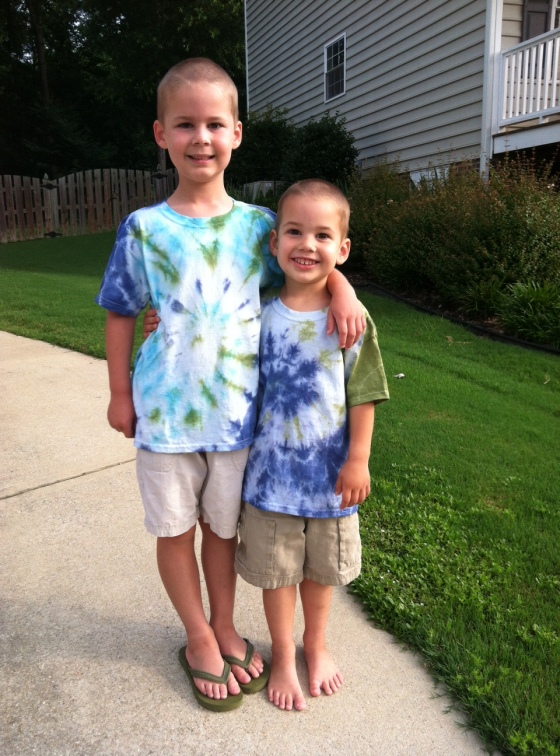
IMG_7379Don’t these look awesome!  The boys love them!

IMG_7380

IMG_7381

Rit dyes are super easy to use and the colors are so bright!

Thank you Laura for having us over for a Rit Tie Dye Play Date!  It was so much fun!

photo

Turning Six…..

This year Landon and I got to share a special day together.  His birthday is May 12th and this year it just happened to fall on Mother’s Day!!   But, so that everyone could spend the day with their moms, we had his birthday party the day before!

When it comes time for birthday parties, I usually let the boys pick their themes.  Well, for Landon’s sixth birthday, he wanted to take all of his friends fishing.  Now I love to fish but I am not sure that I wanted to go fishing with a bunch of little kids.  Could you imagine what that would be like?  I can only imagine kids getting hooked by the hook, the lines becoming a big tangled mess and maybe even some boredom!!

So, I brought the fishing to him with some cute little fishing themed goodies!

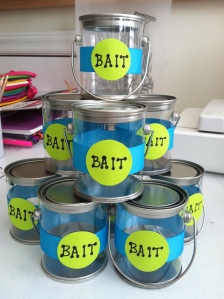
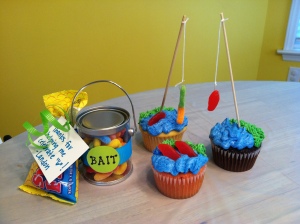
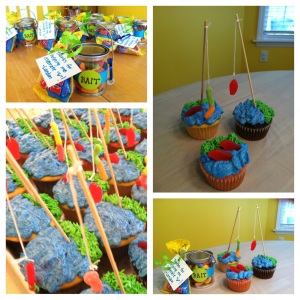
For the party favors, I made a can of worms for bait and tied a bag of Swedish Fish to the can for the Catch!

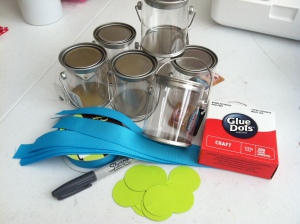
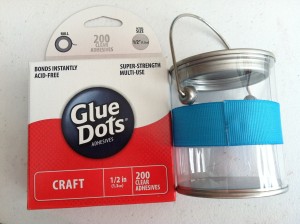
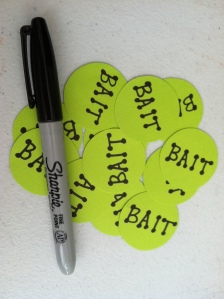
I found these cute little clear plastic paint cans at ACMoore, used blue grosgrain ribbon, cut out some little green circles, and used glue dots to attach everything to the bucket.

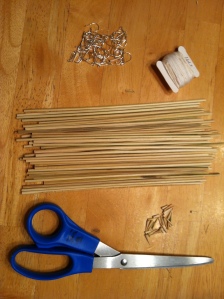
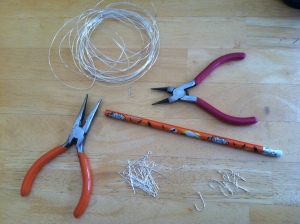
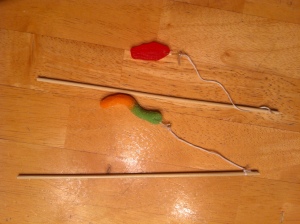
IMG_6596IMG_6598IMG_6601IMG_6609I then filled the cans with Trolli Sour Brite Crawlers!   I used some curly ribbons to attach the bag of fish to the can handles and attached a little Thank You Note from Landon!  So, I debated on what to use as a fishing pole for my cupcake toppers.  So I stuck with stuff I had at home…wire for jewelry making, skewers that I cut the sharp ends off of and some embroidery floss for the fishing line.

IMG_6673

Using some jewelry making tools, I cut the wire into small pieces and curled them to create a hook.

IMG_6625

I put the fishing pole together and then added either a Swedish Fish or a Sour Brite Crawler.  The hooks weren’t too sharp and I did the warn the parents before the cupcakes were given to the kids!  The kids really liked eating the worms and fish off of the fake hooks though!

IMG_6676

My cupcakes were decorated to look like the edge of a pond or lake.  I even added some fish to the water on some of them.

IMG_6692

I think the kids really enjoyed all of the fishing goodies!  I had a lot of fun making them, but I always enjoy making the kids birthday cakes or cupcakes.  And I really liked how the party favors turned out!

IMG_6716

The Six Year Old had a great birthday this year!  He got lots of great gifts including a skate board with all of the protective gear, lots more Legos and a new set of golf clubs!!!  He’s such a wonderful kid (and so is Benjamin)!!!  It’s just really hard to believe that he is already six.  I remember the day he was born like it was yesterday!

DSC_0996

Until next time, have a great day!!!