Tag Archives: Fairfield World Poly-Pellets

Fairfield World Poly-fil® Poly-Pellet® Christmas Ornaments

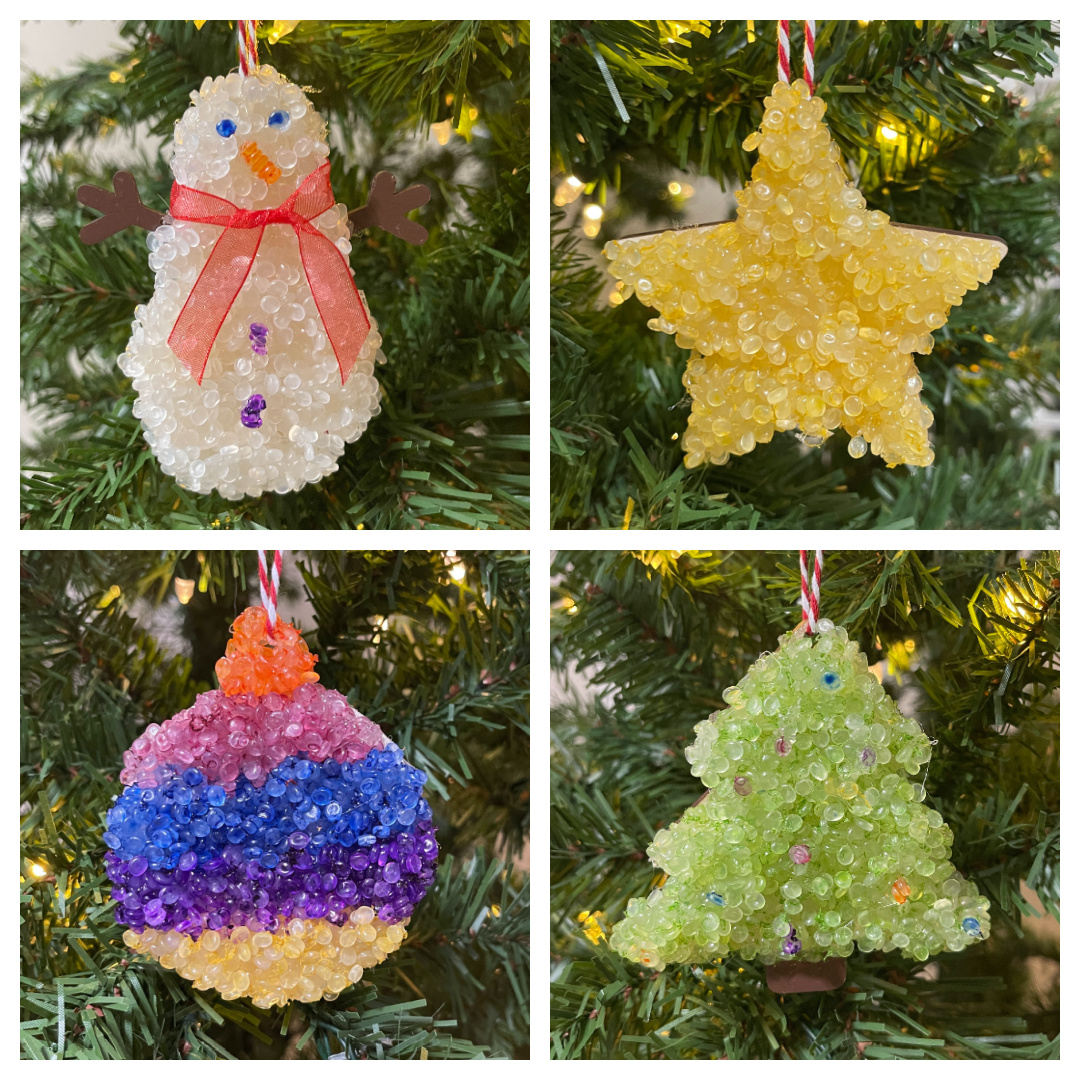
Ornaments are my favorite thing to make at the holidays and these Poly-Pellet® Christmas Ornaments were so much fun! I usually don’t get to make ornaments for my own tree, as I am always making them to sell and they are usually made from all wood. But I love how these Poly-Pellet® ornaments turned out and they will definitely be hanging on my tree.
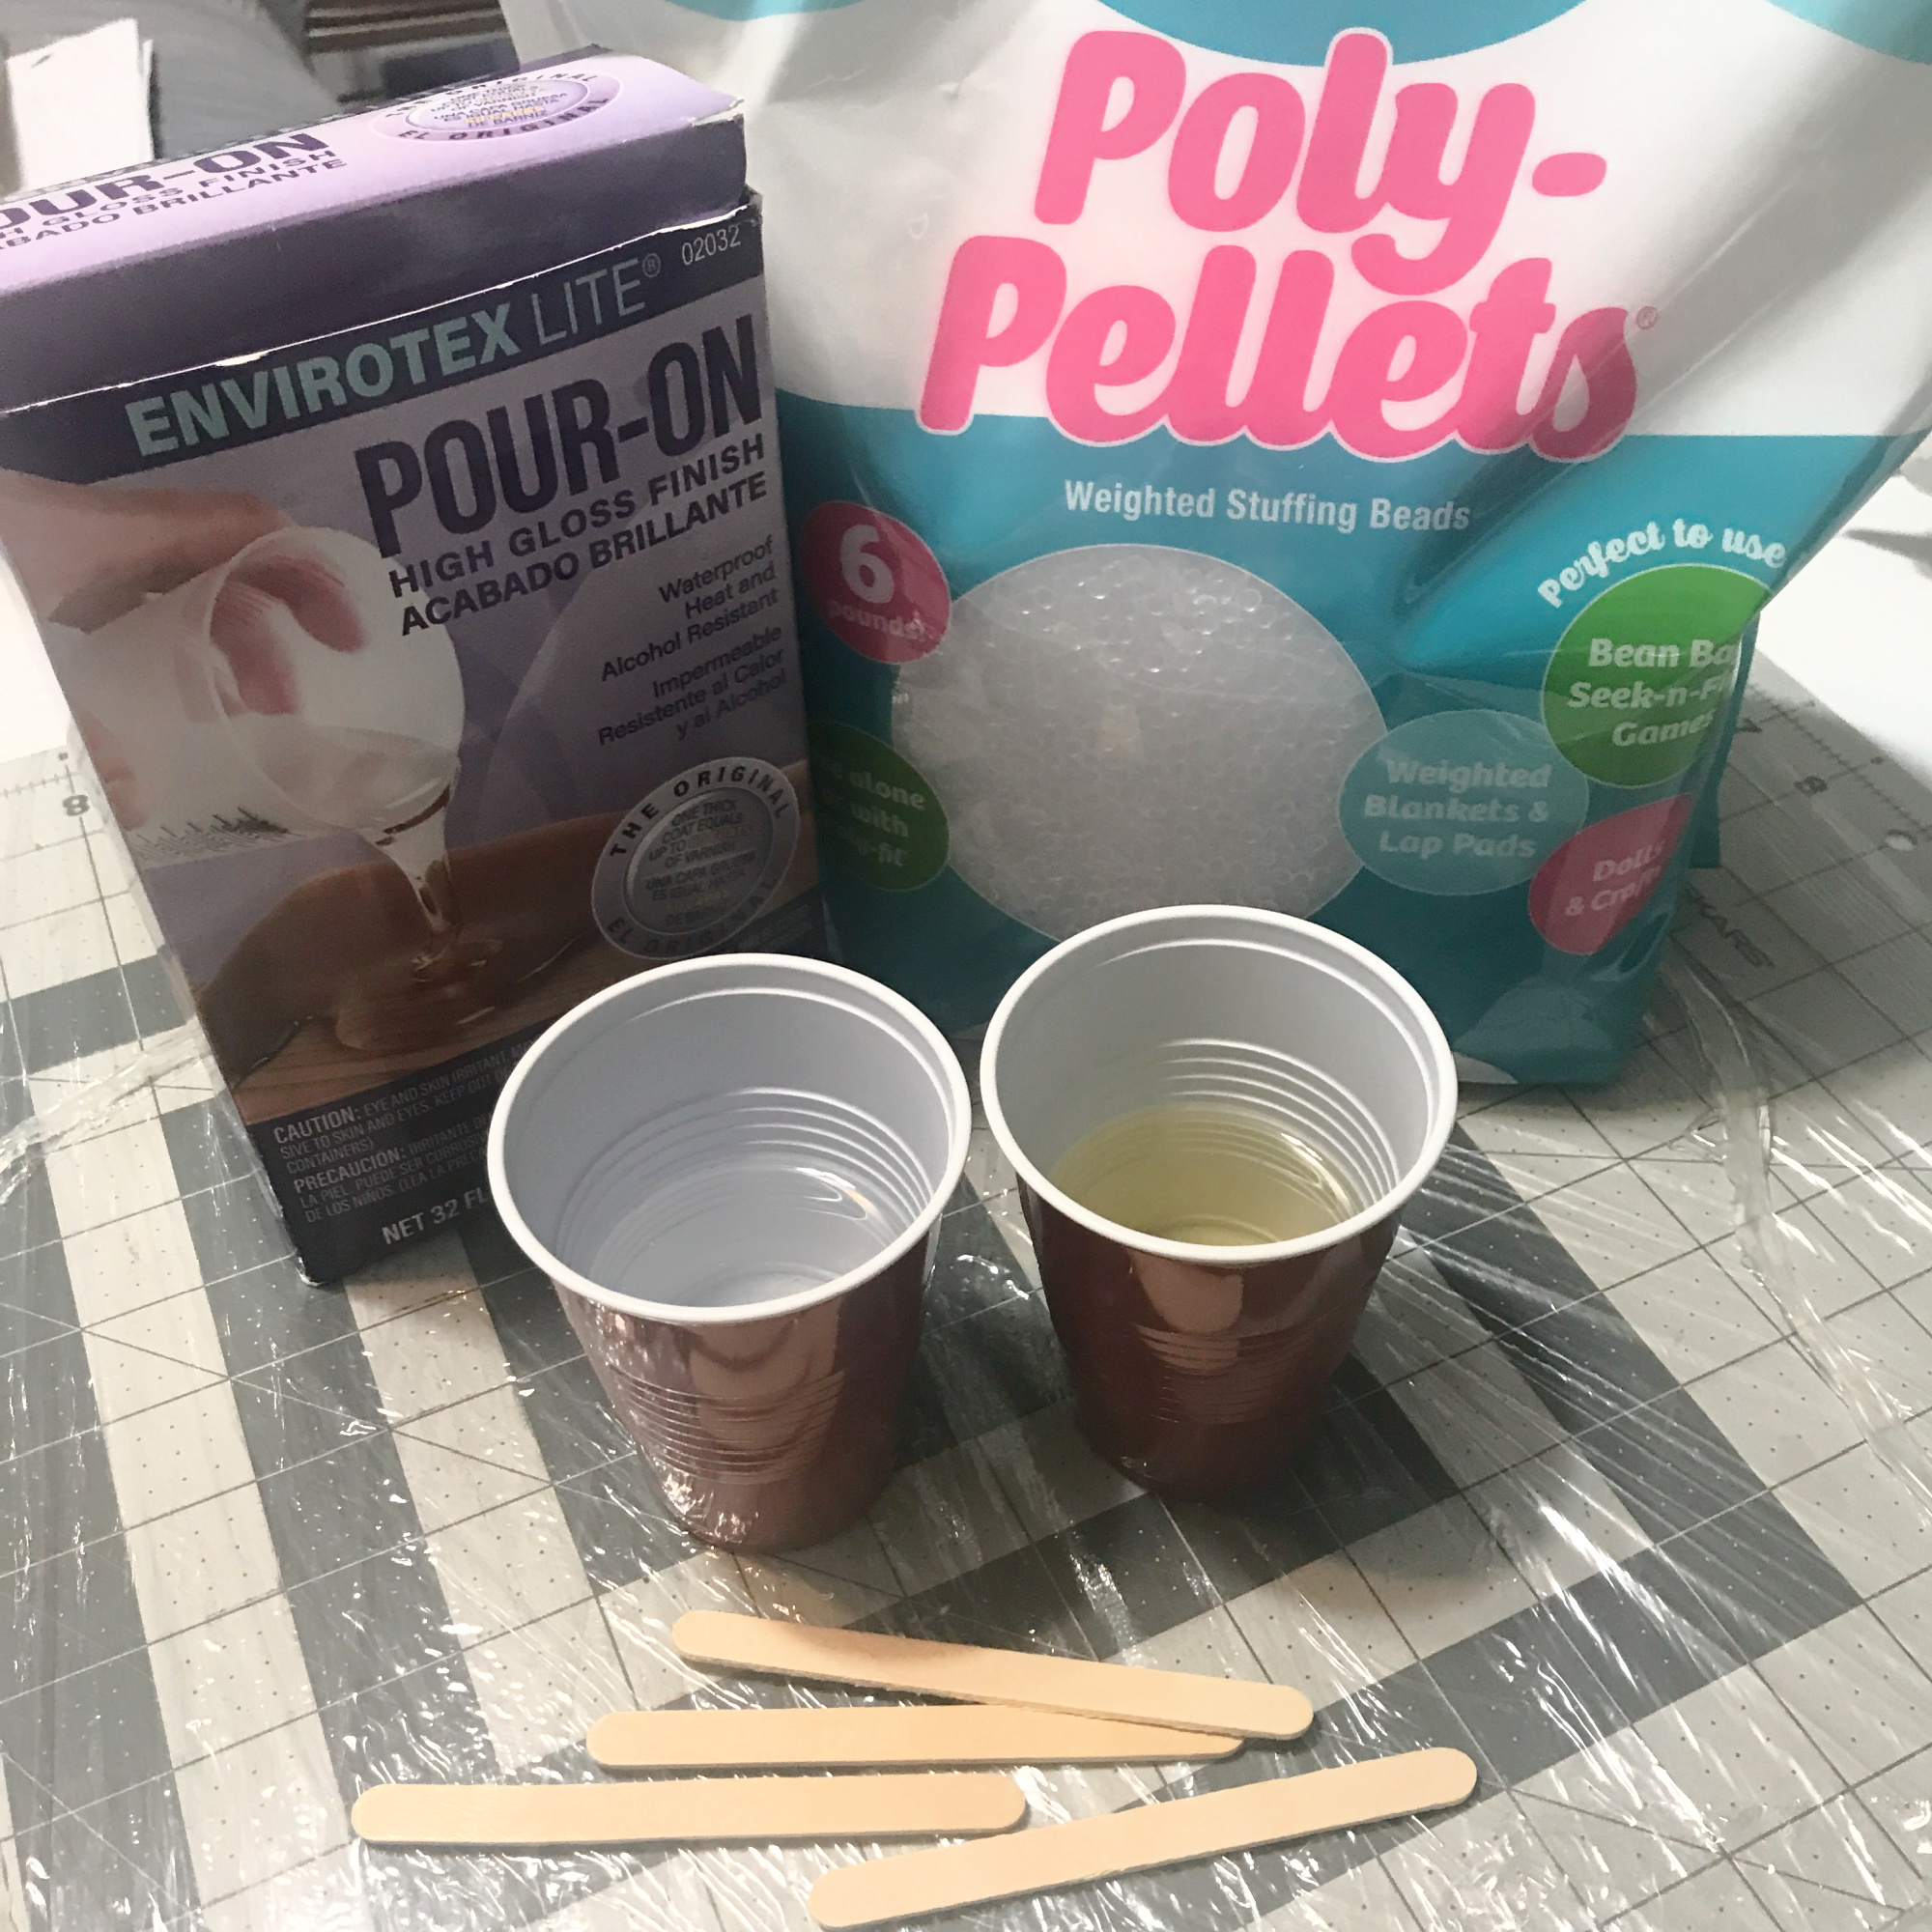
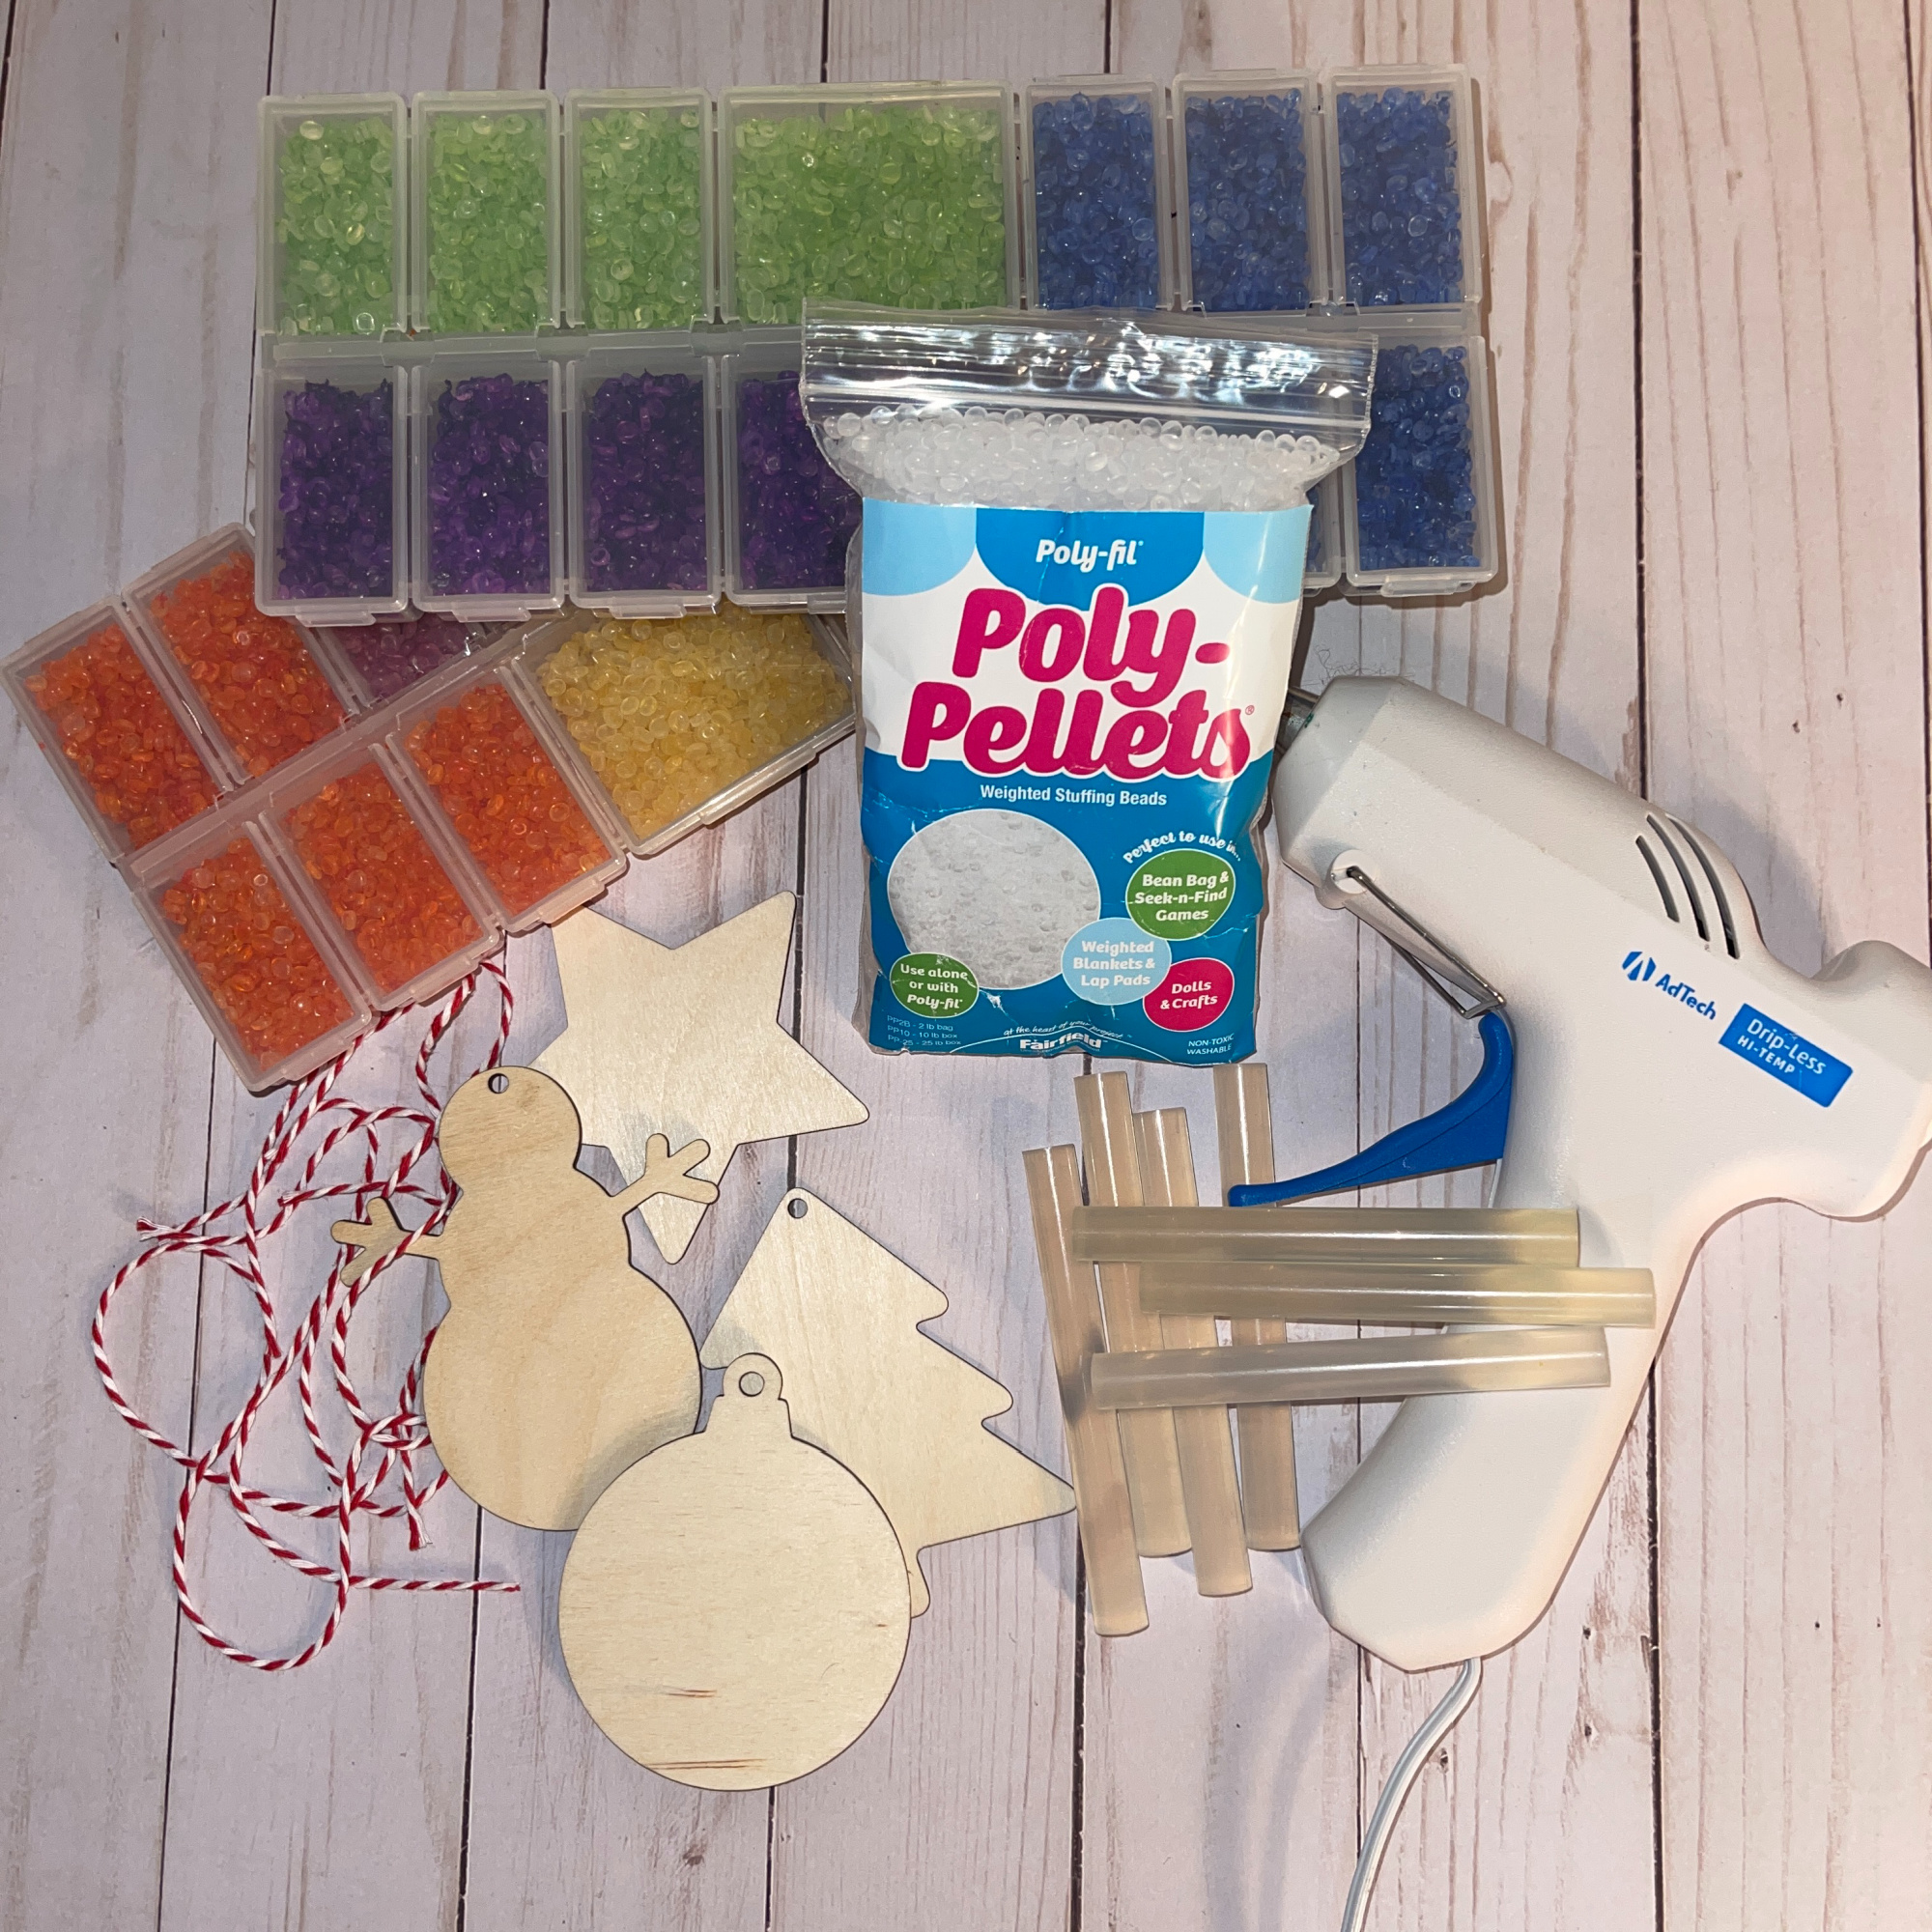
Materials:

  • Wood ornament cutouts (I cut mine out on my Glowforge, but you can buy them at a local craft store)
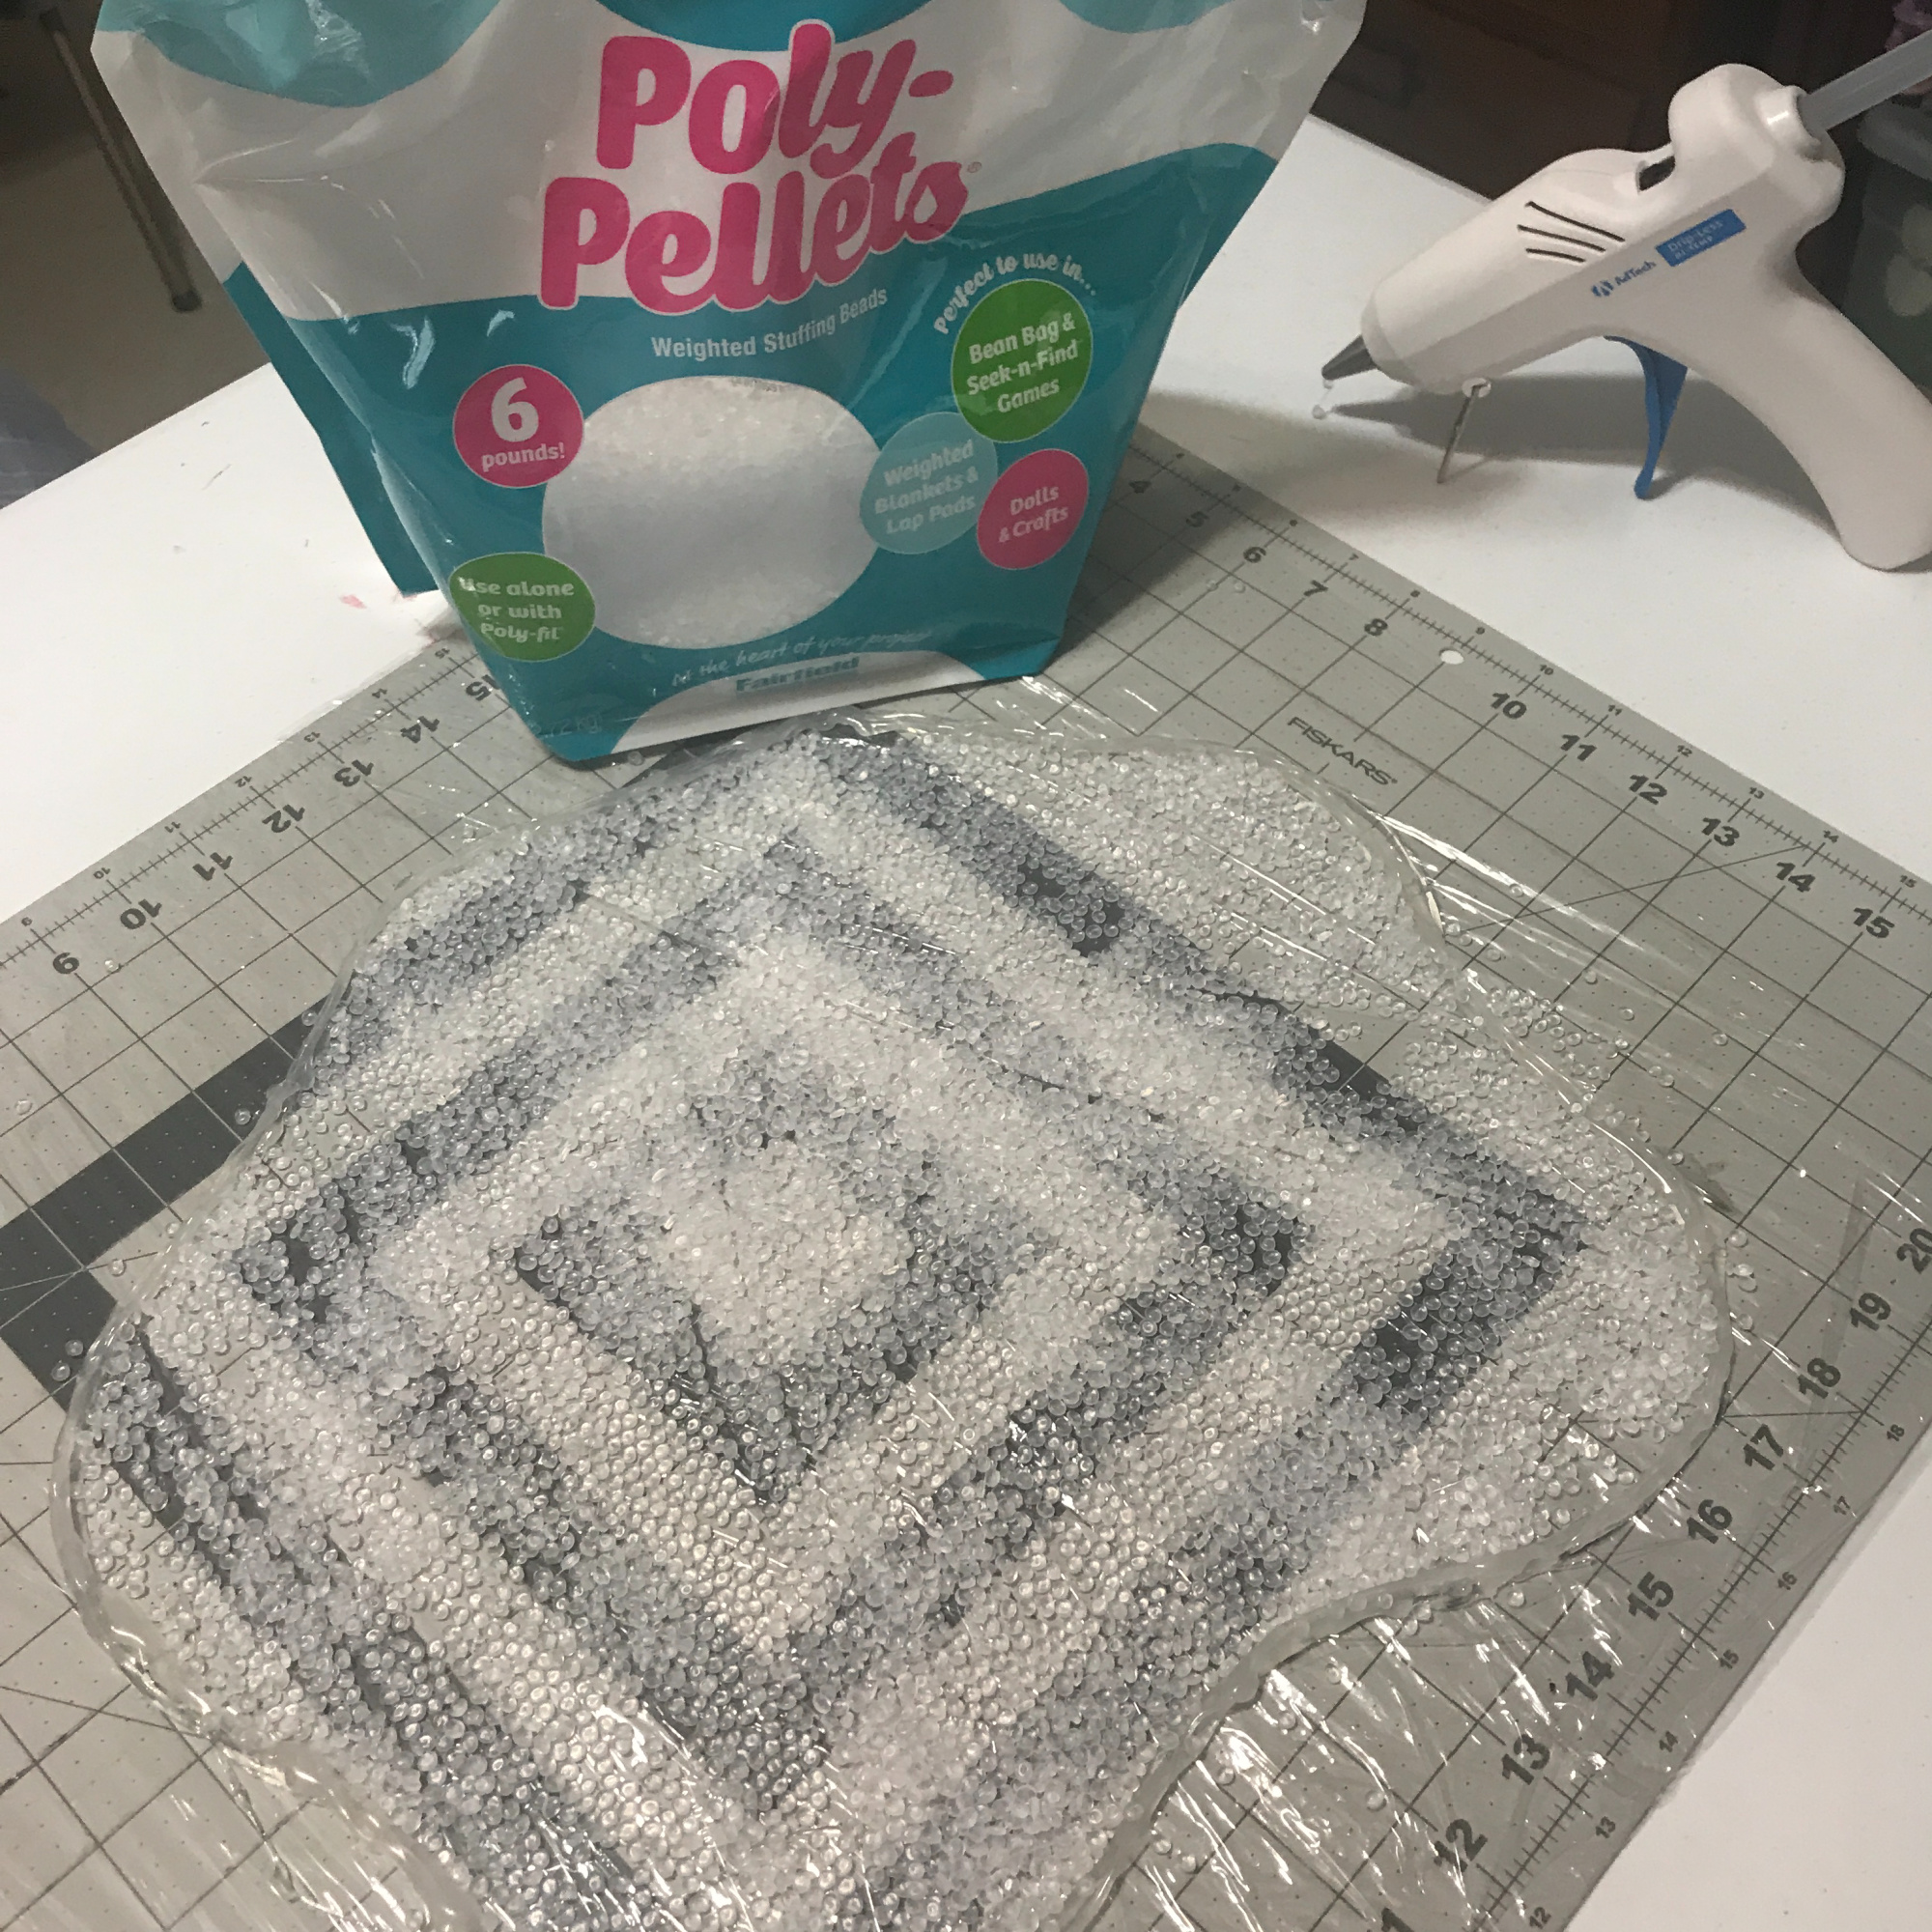
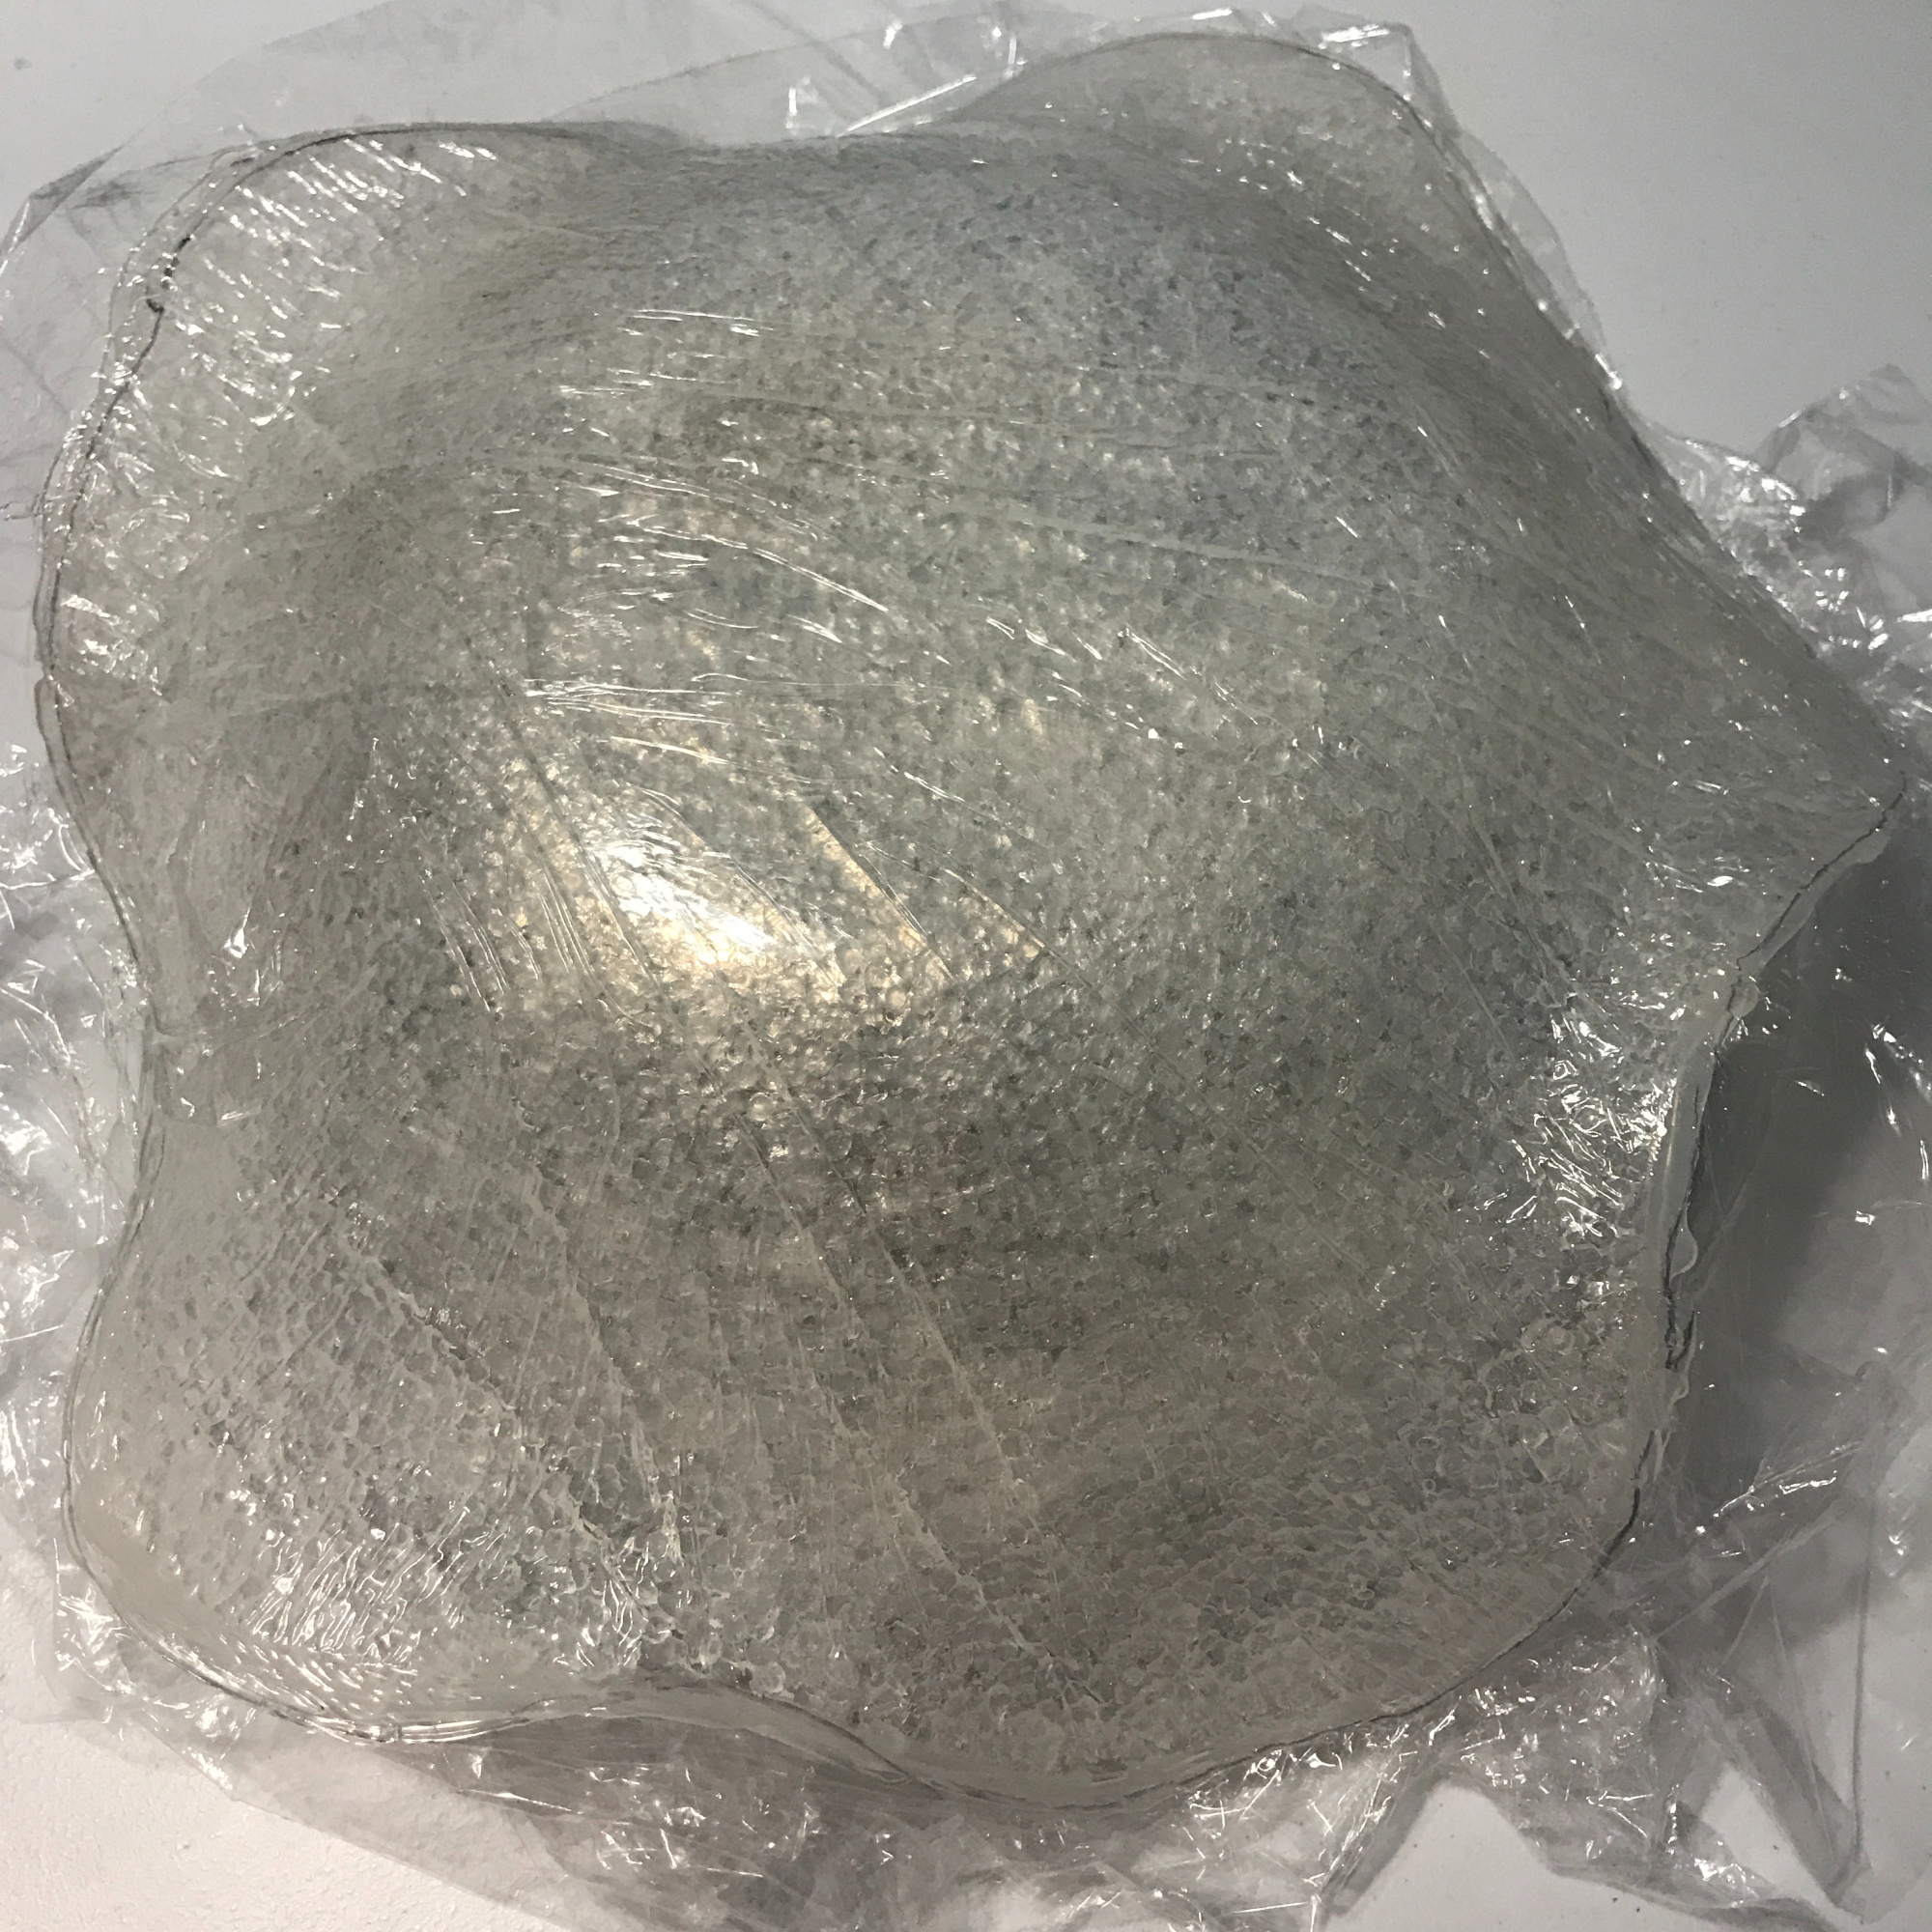
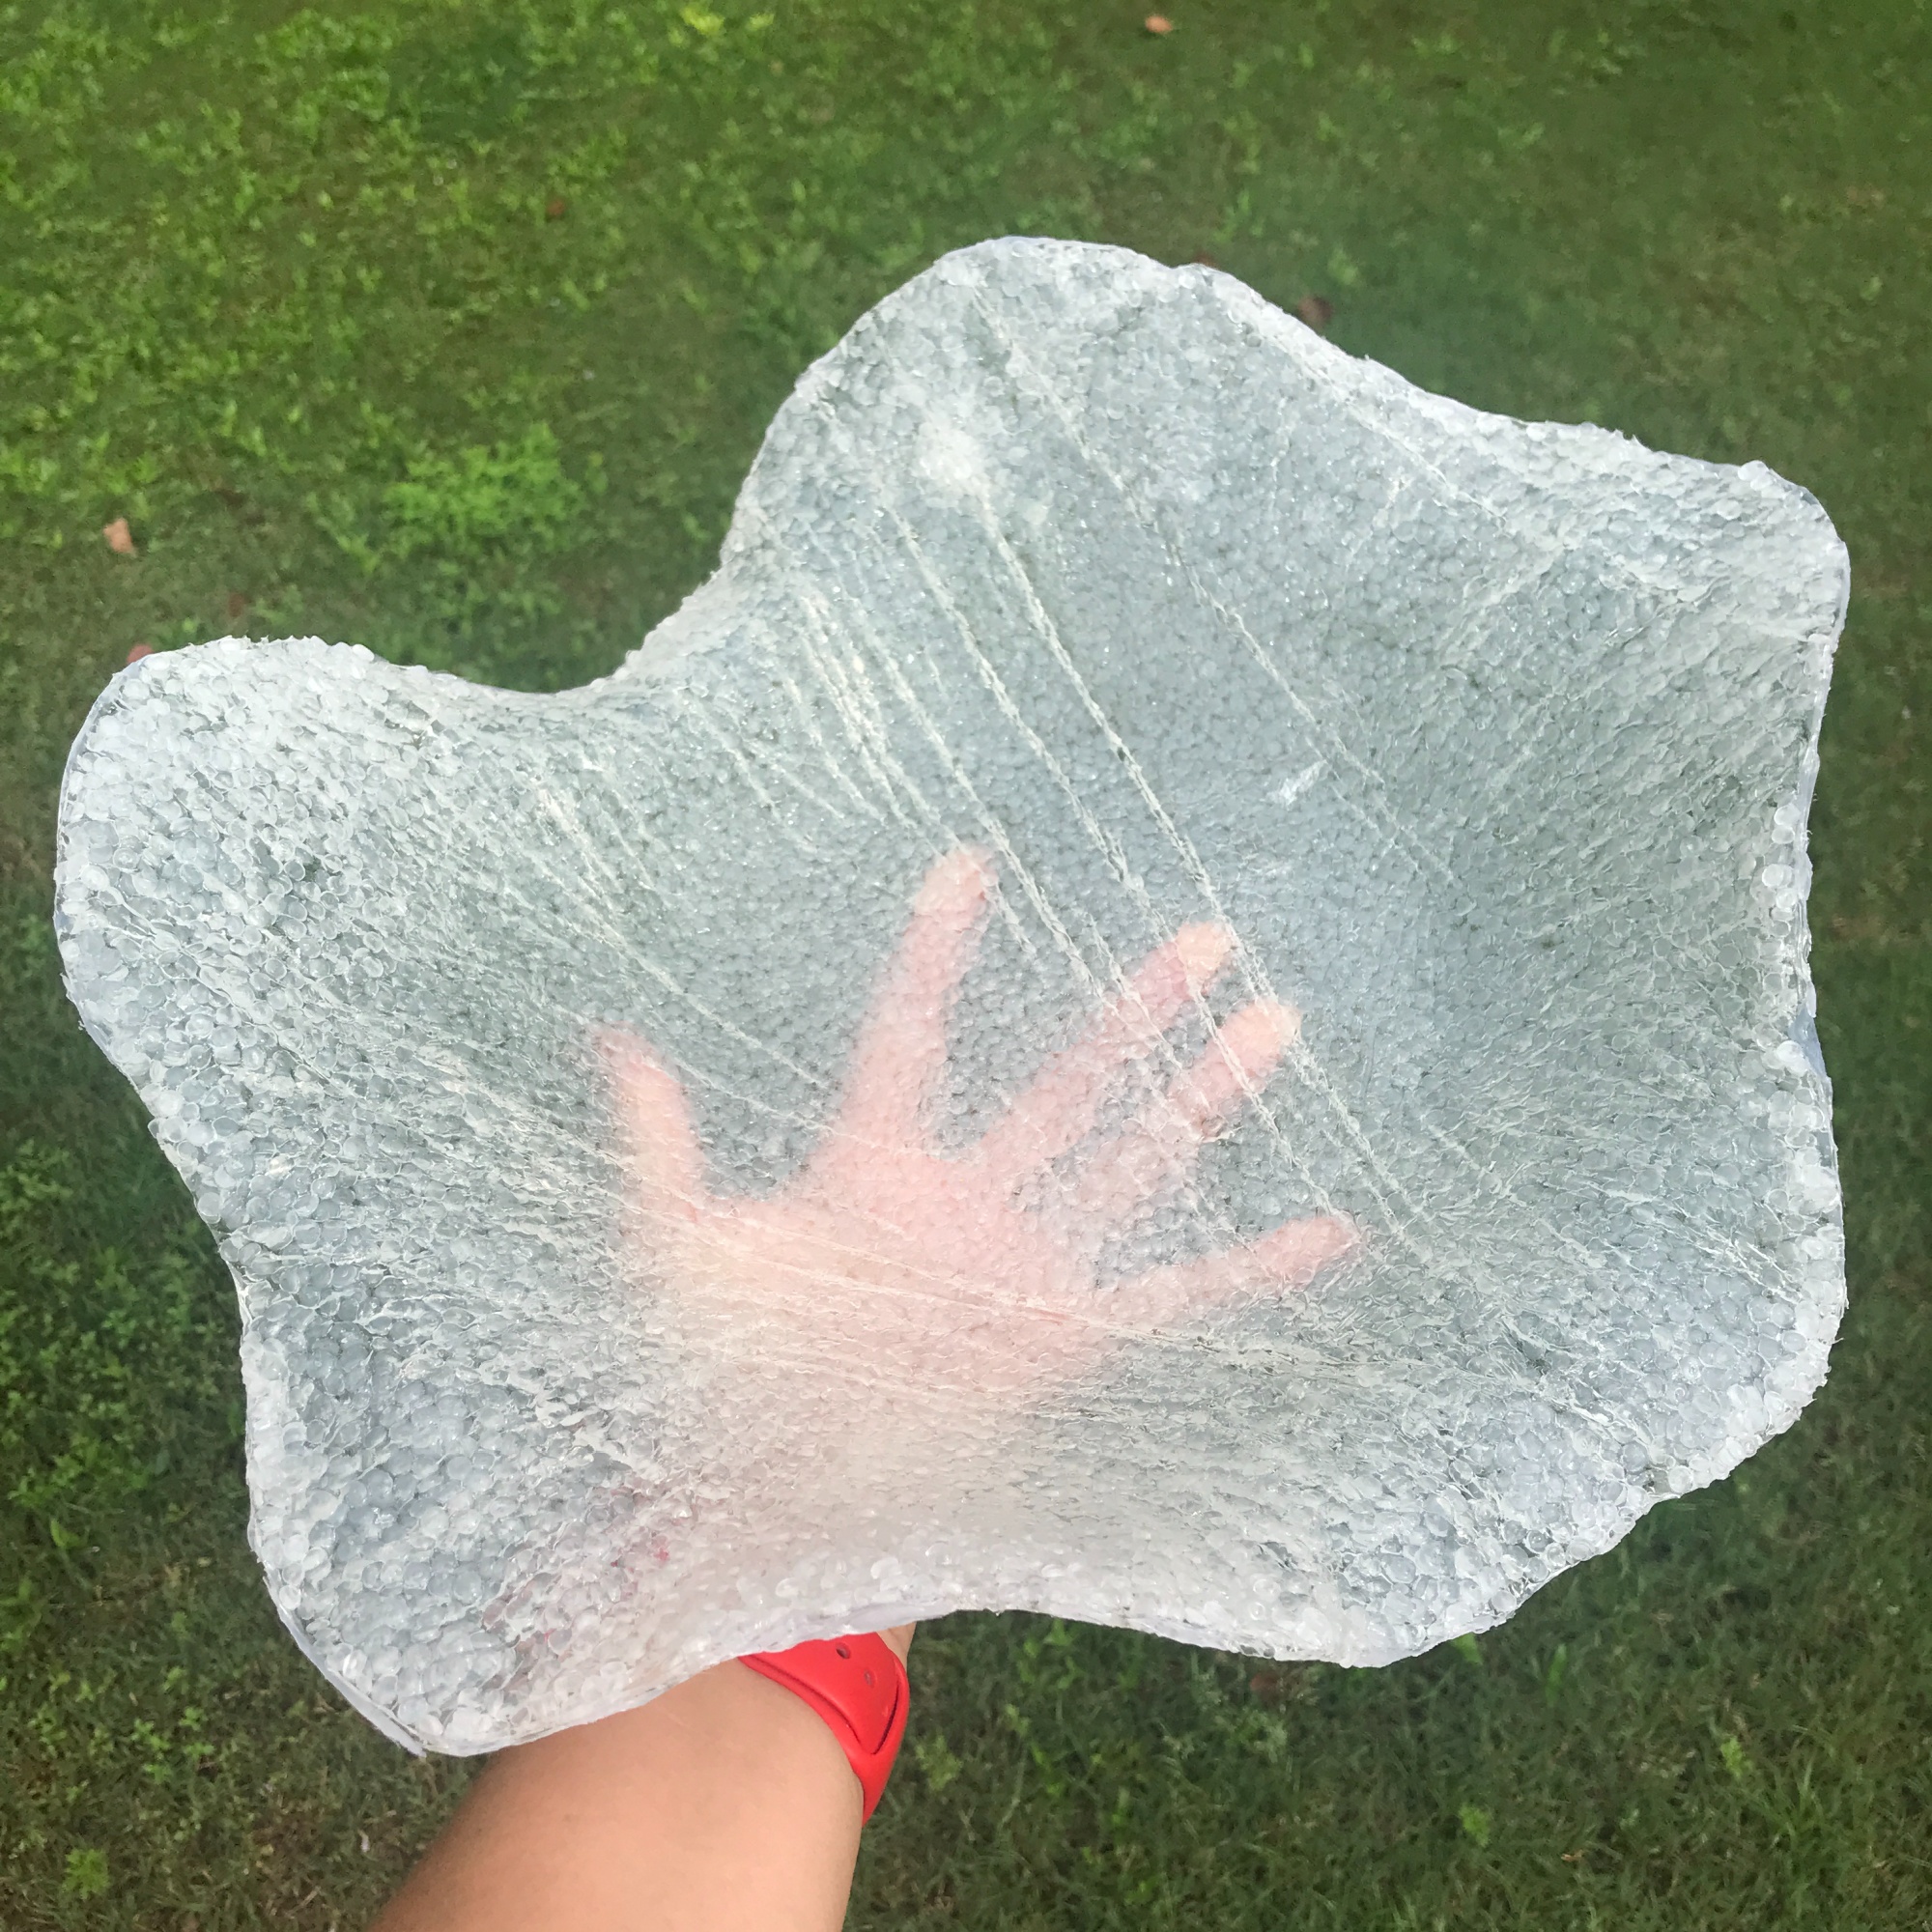
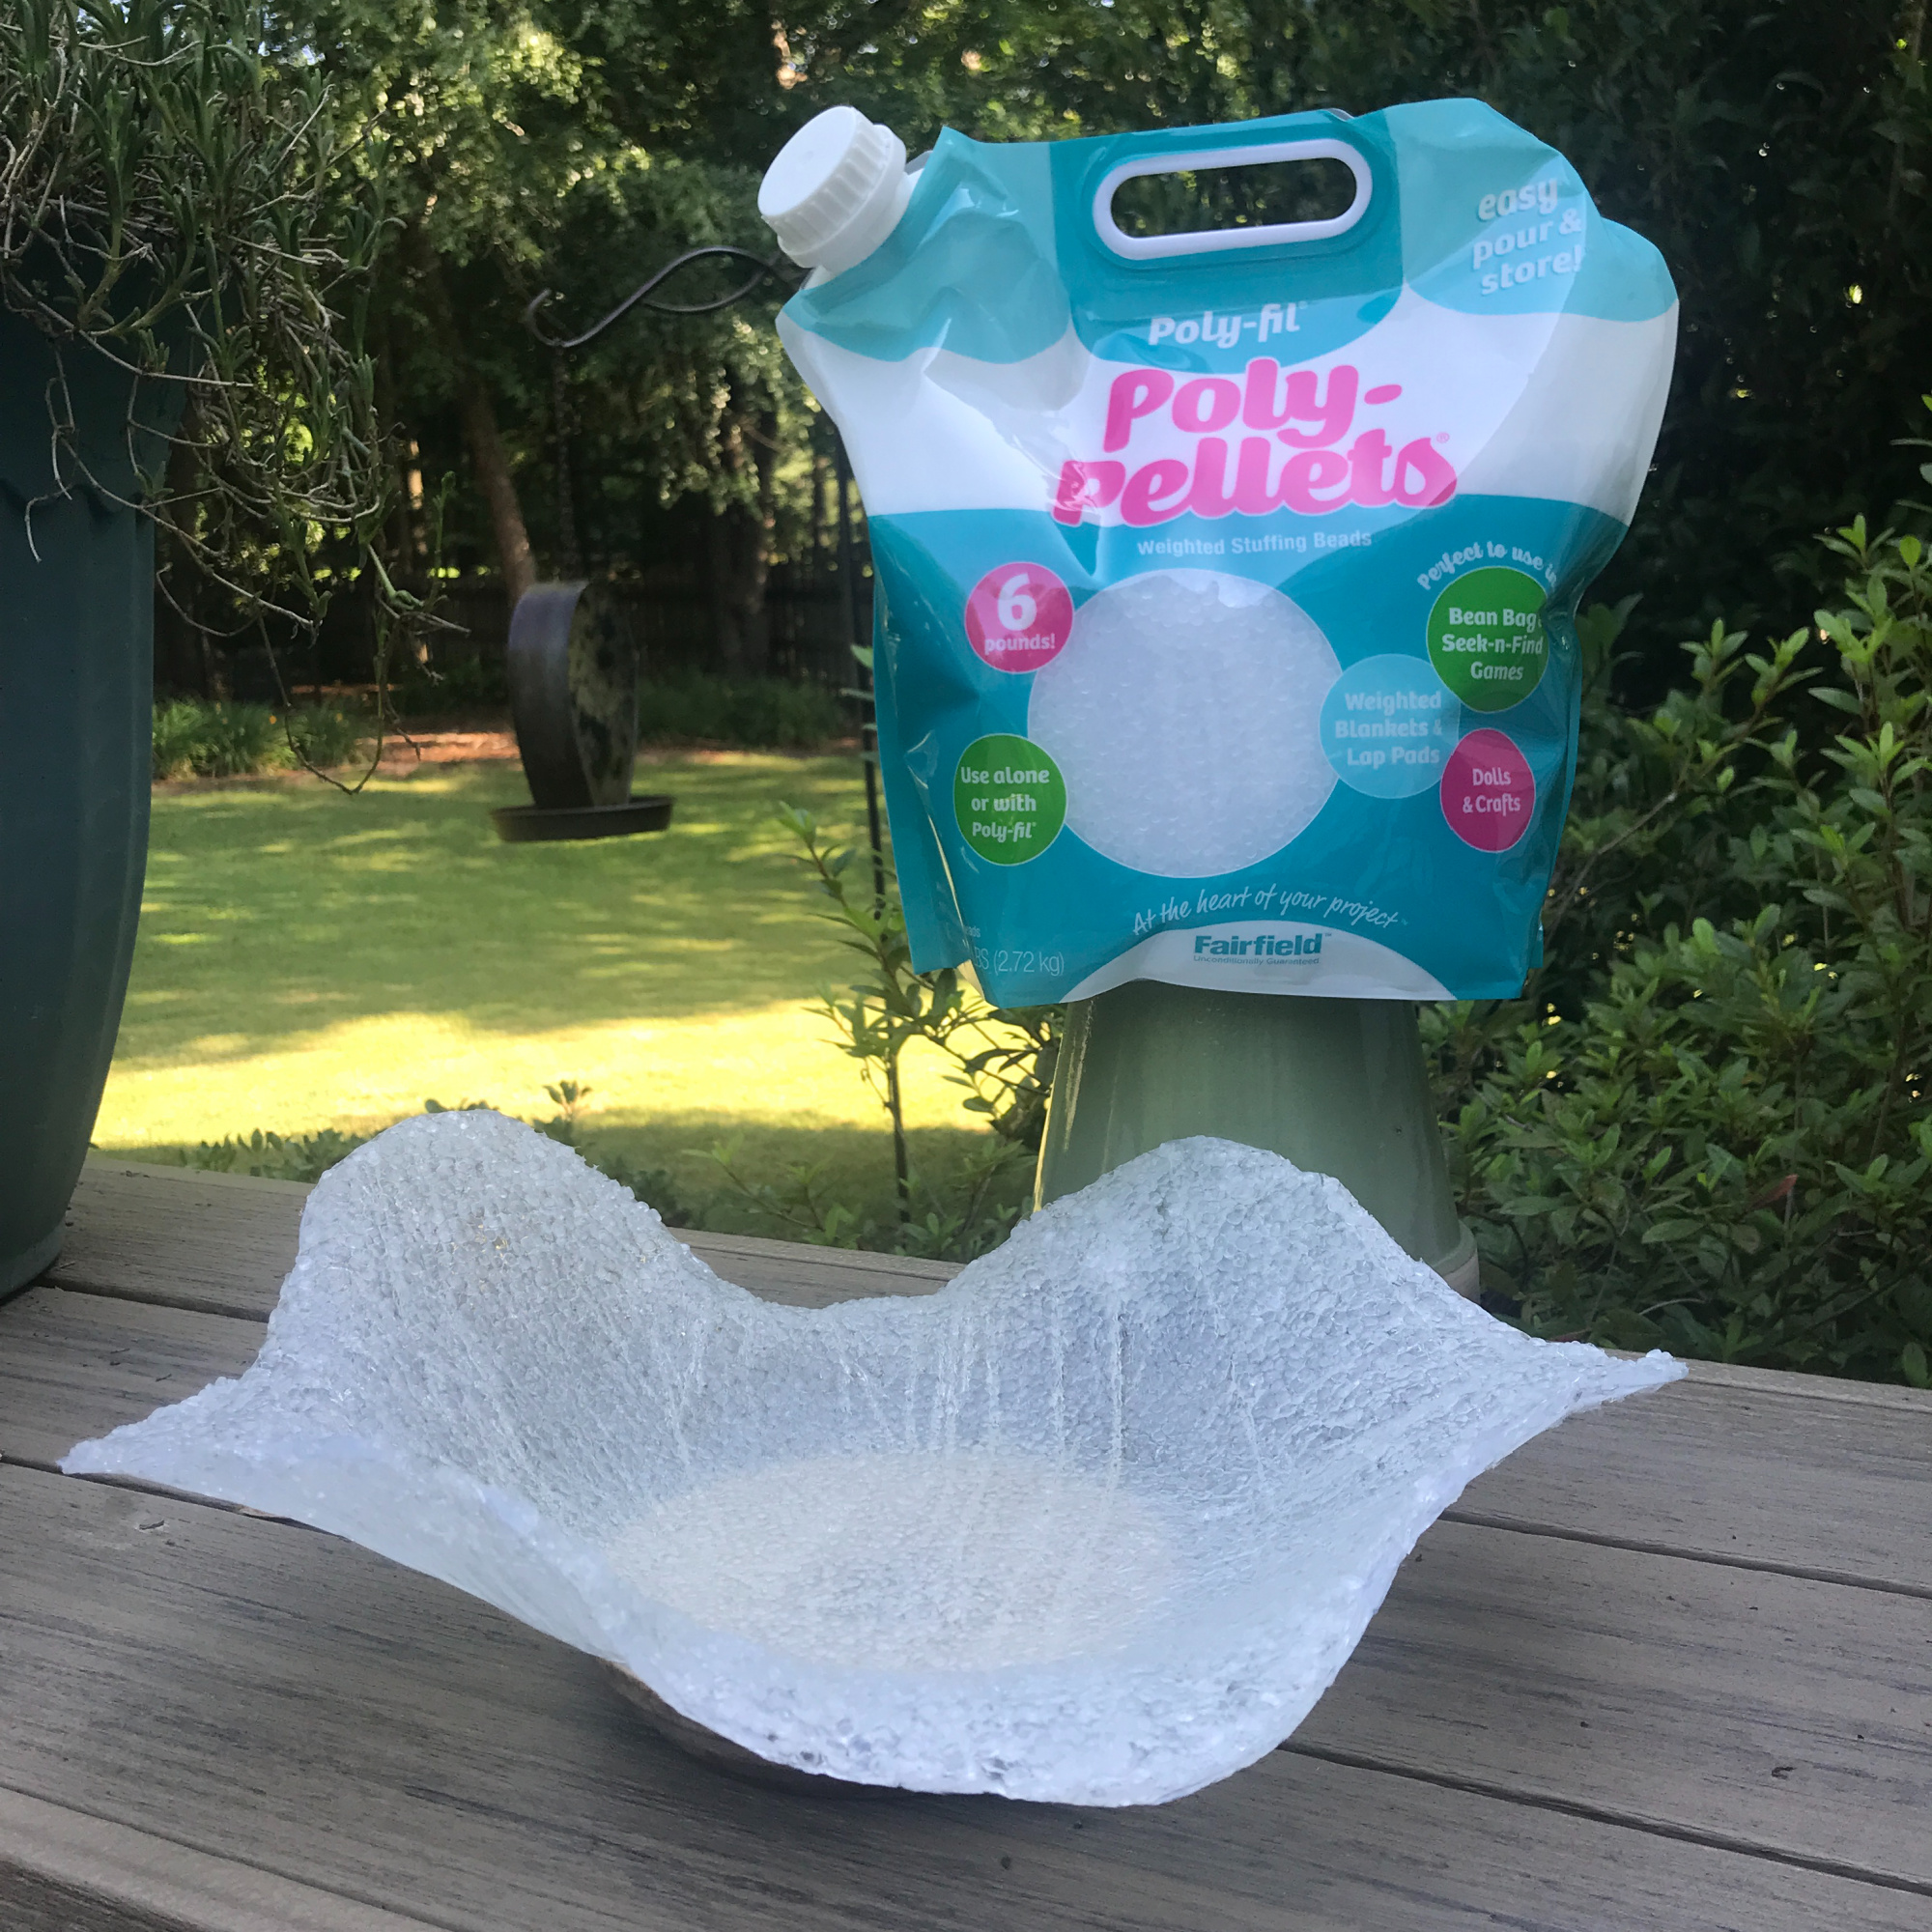
  • Plain and Dyed Poly-Pellets (You can see the YouTube video below to see how I dyed mine.)
  • Ribbon and string
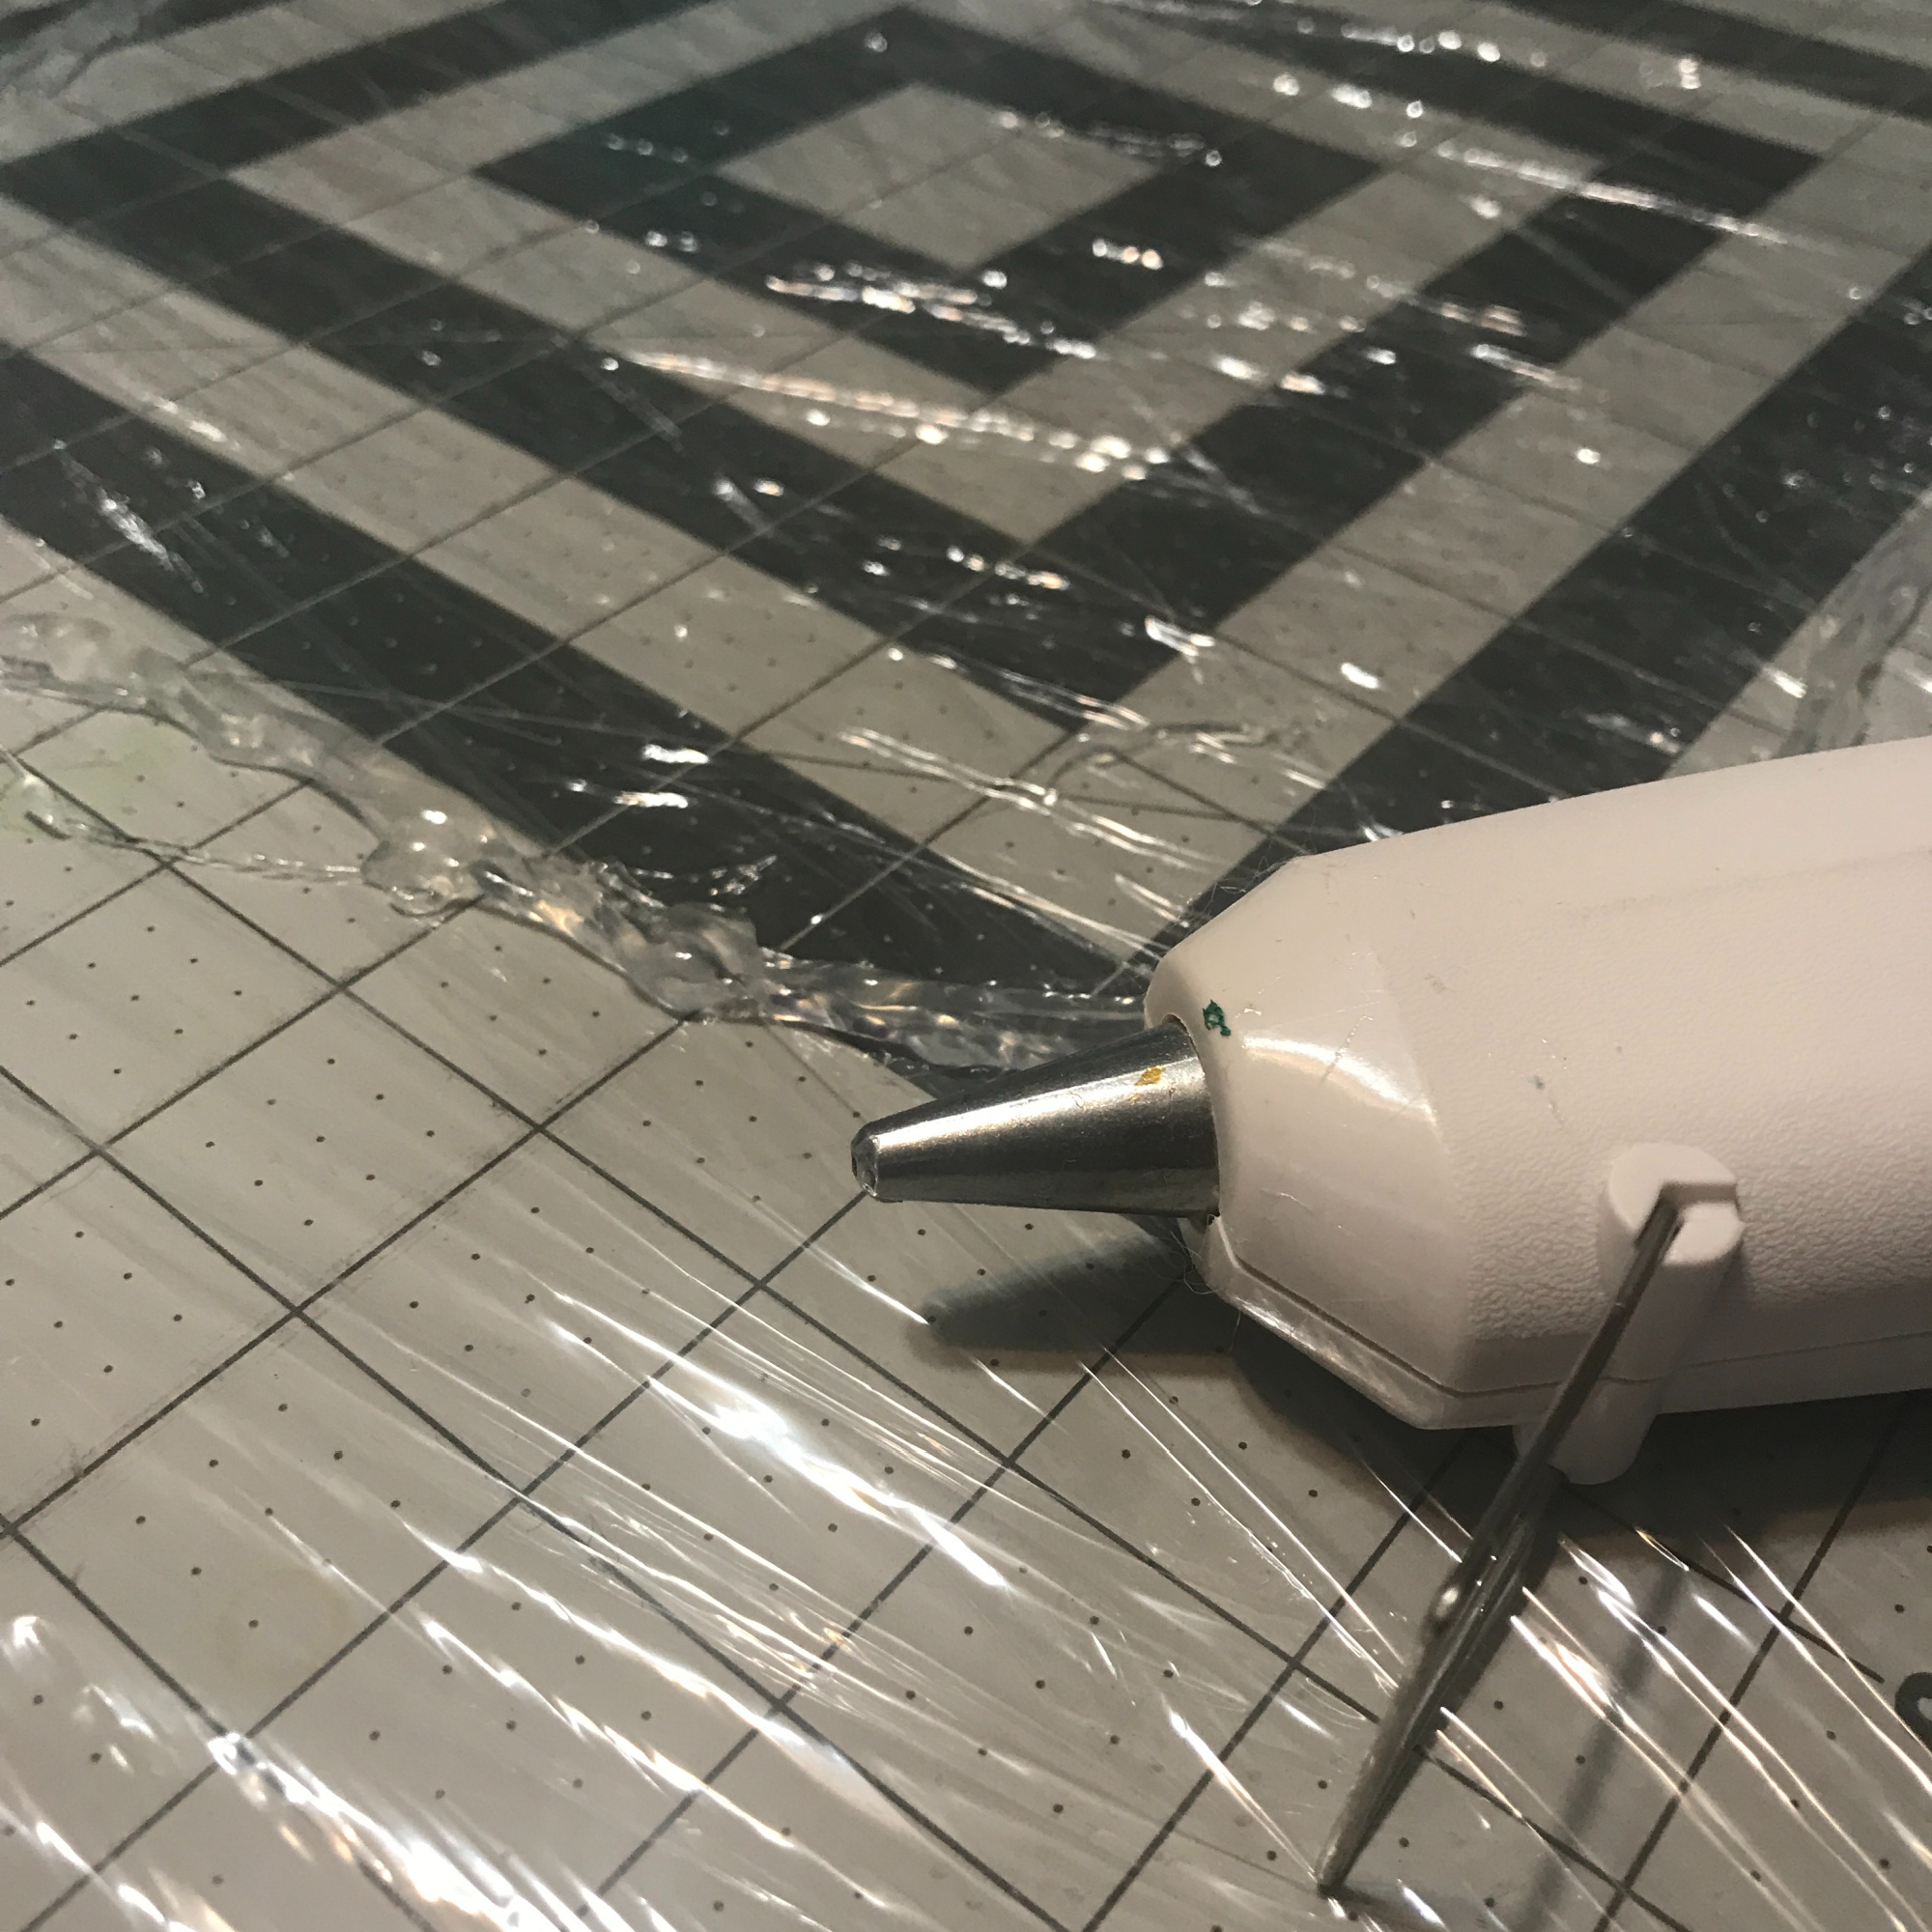
  • Hot glue gun and hot glue sticks
  • Paint Pens

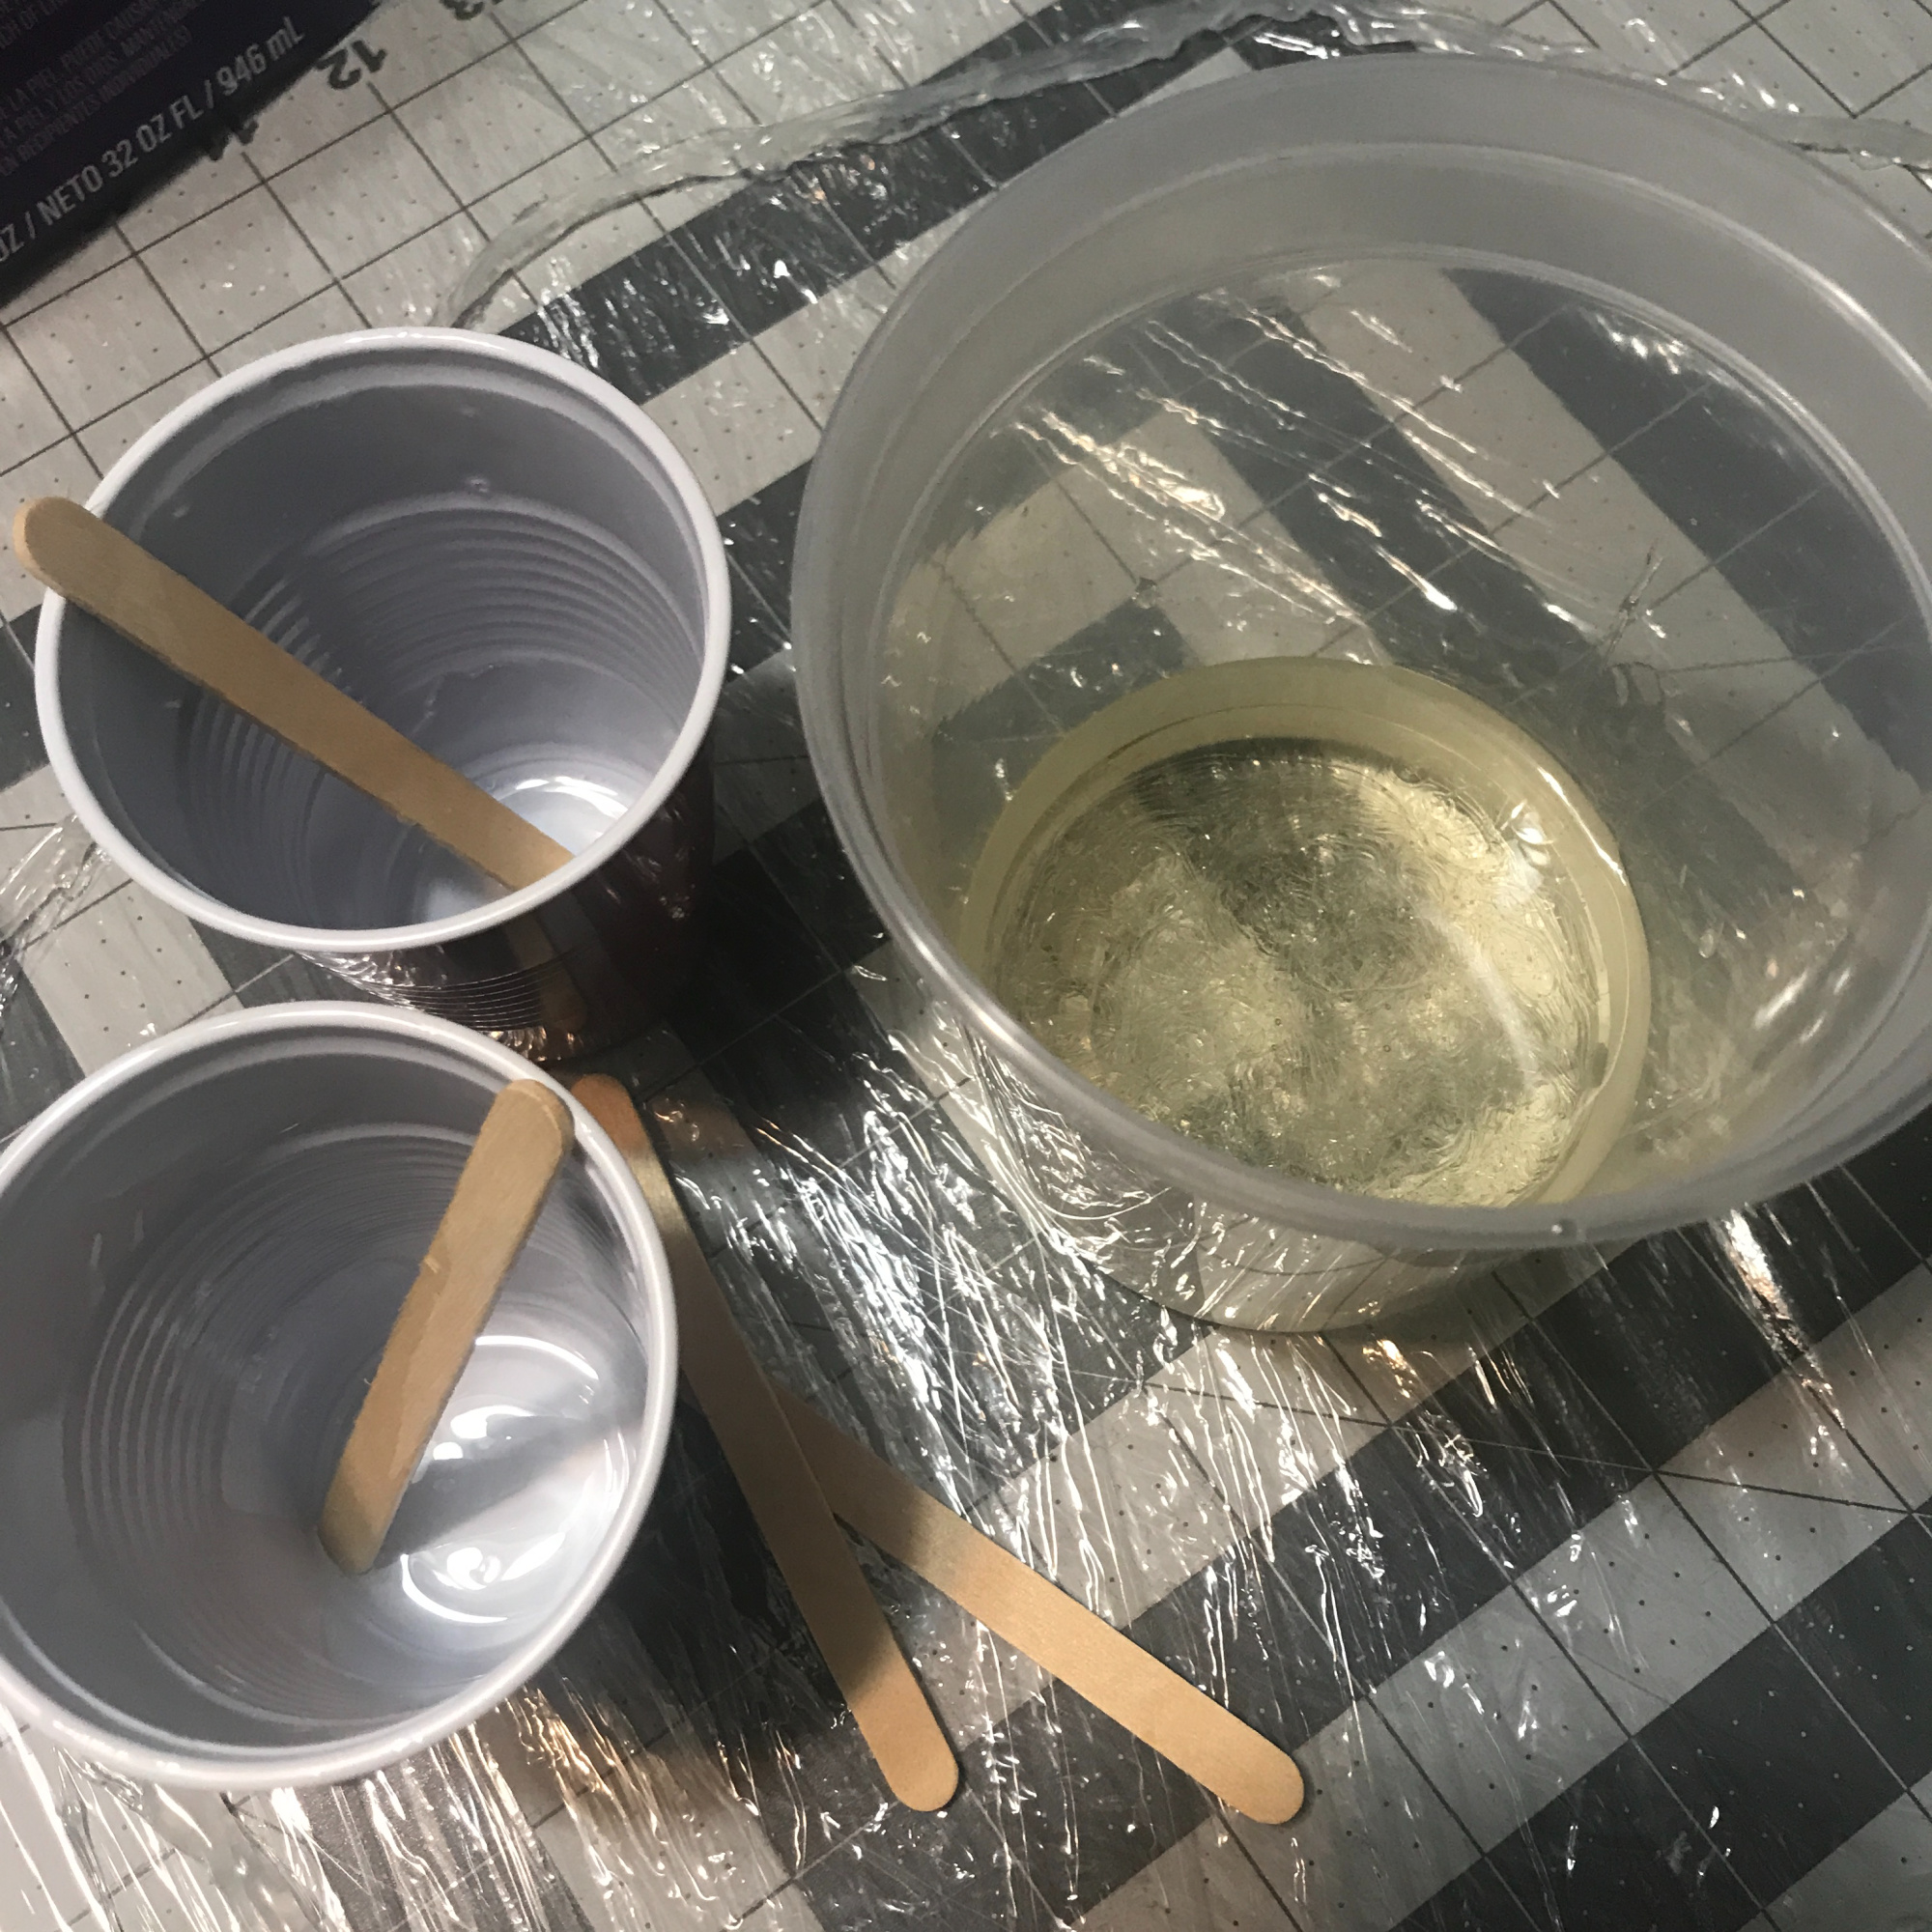
How I dyed my Poly-Pellets:

How I made my ornaments:

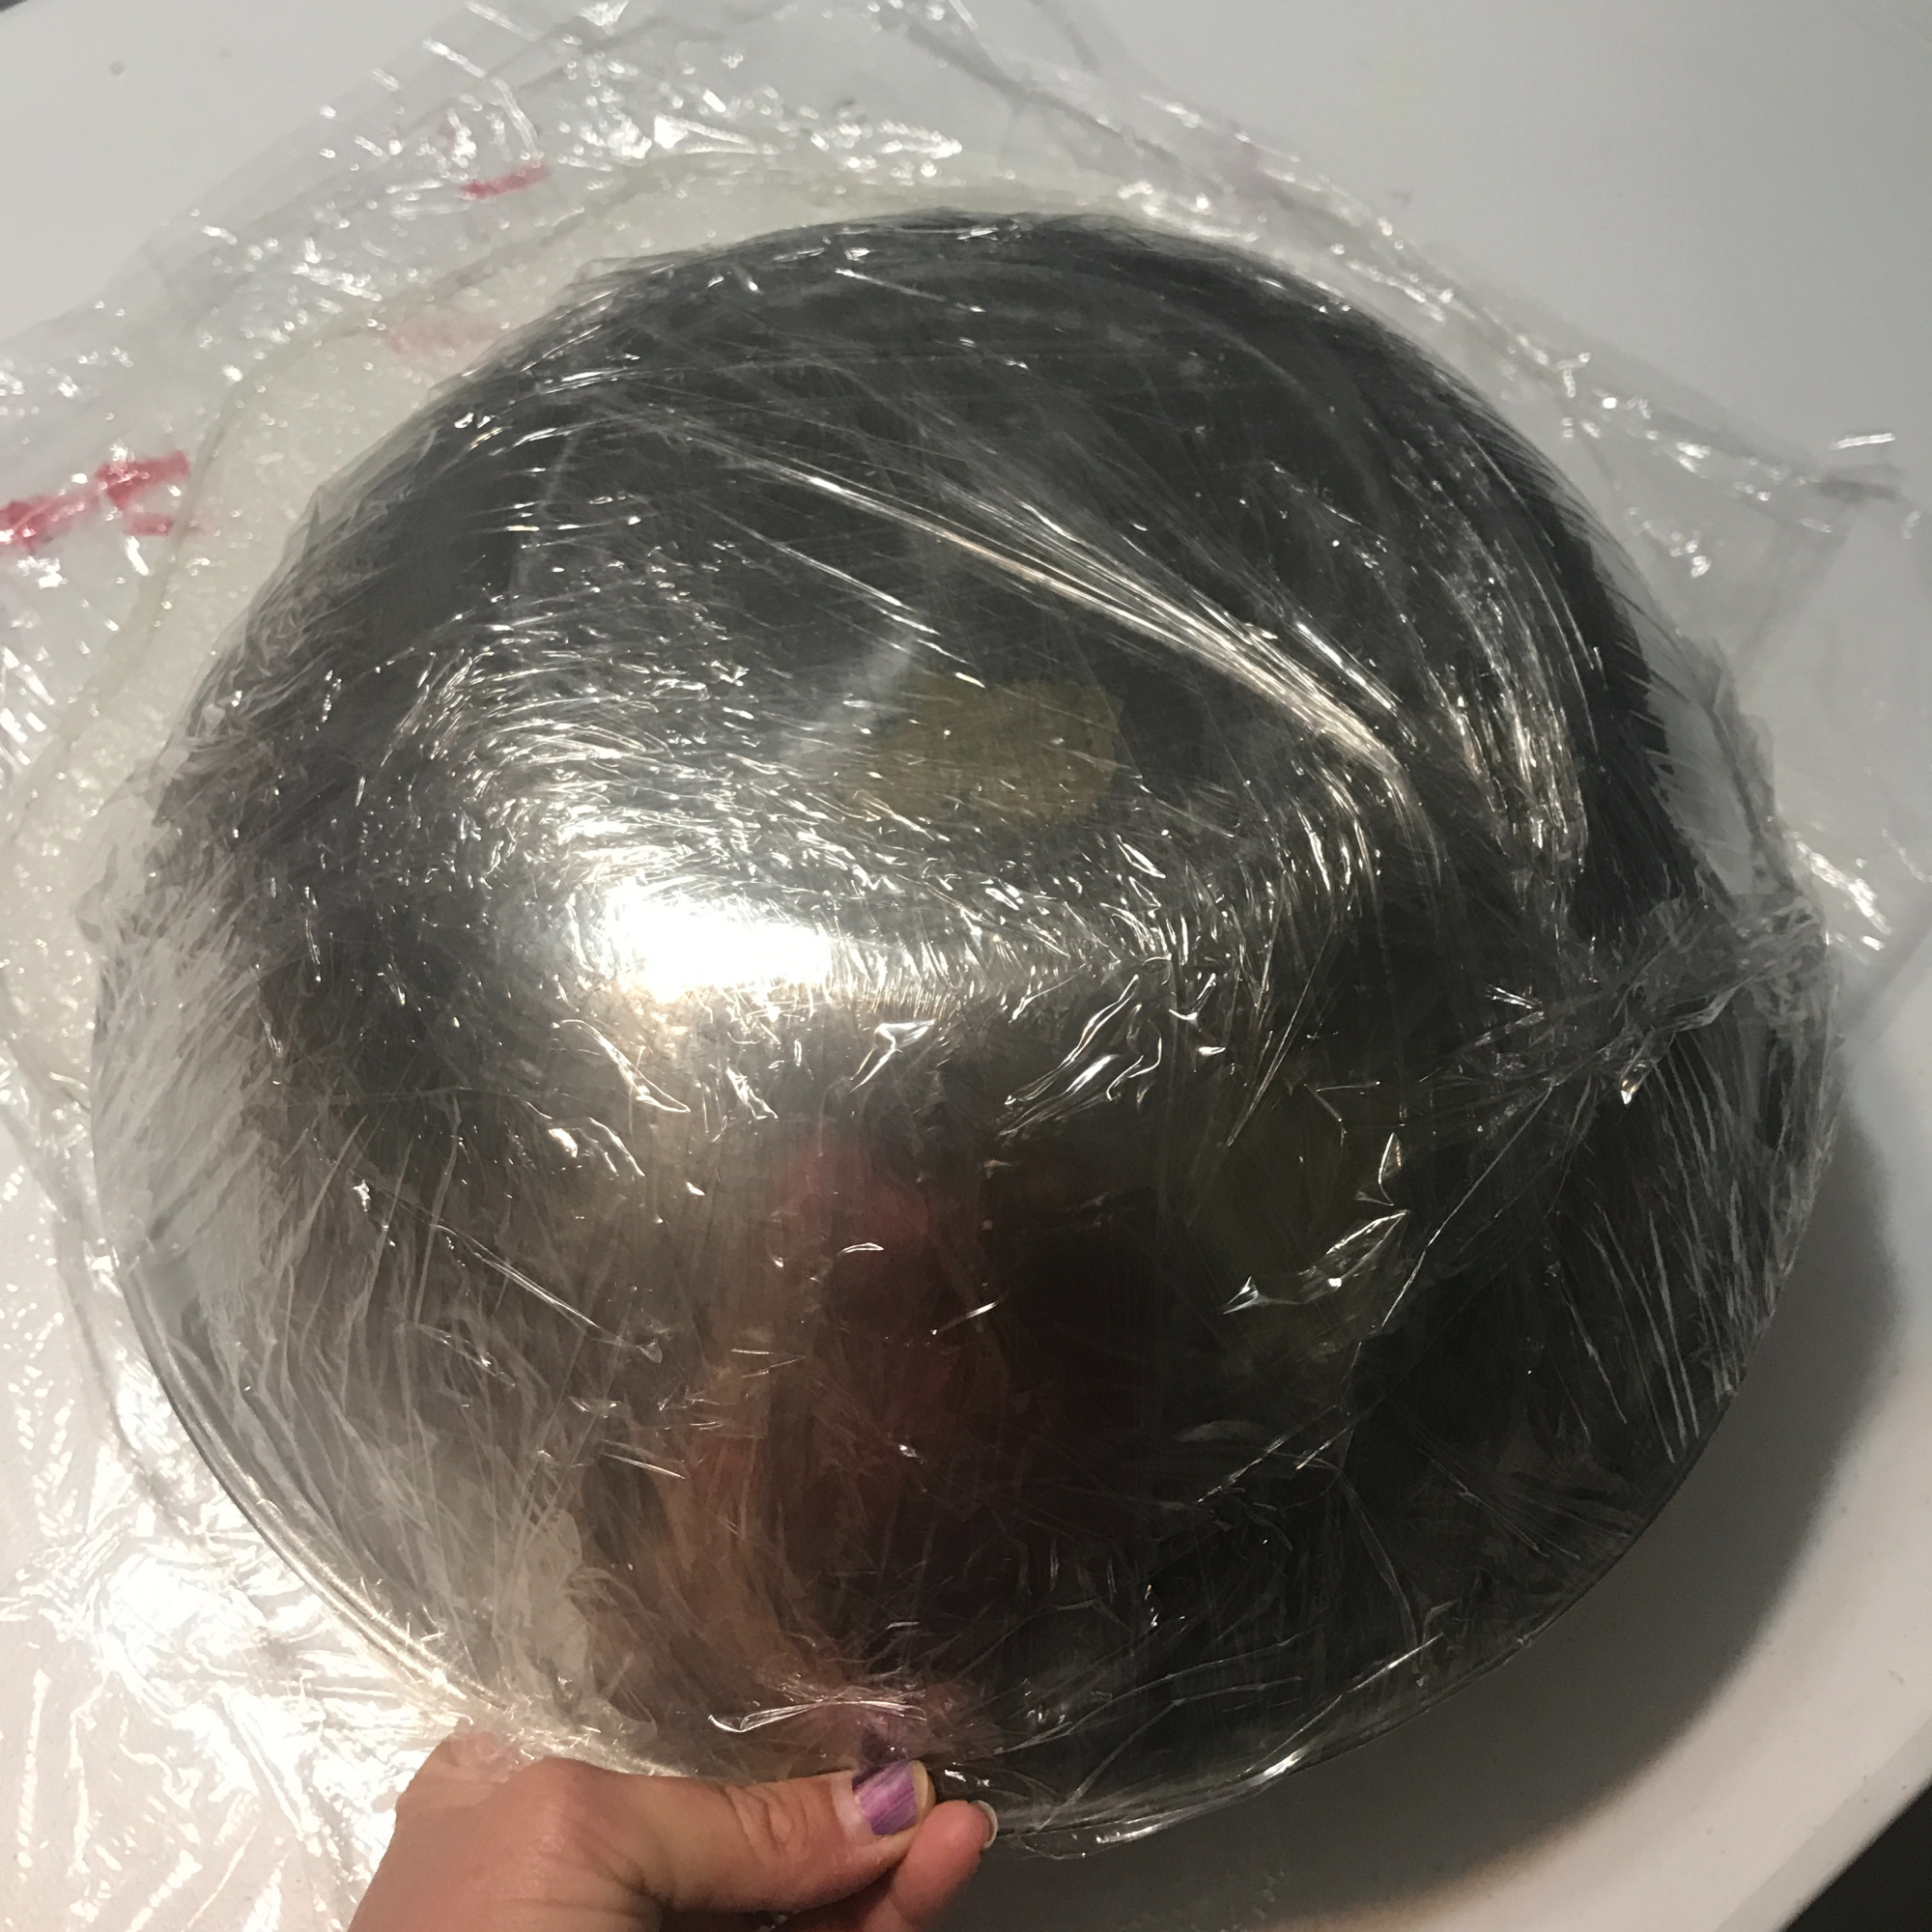
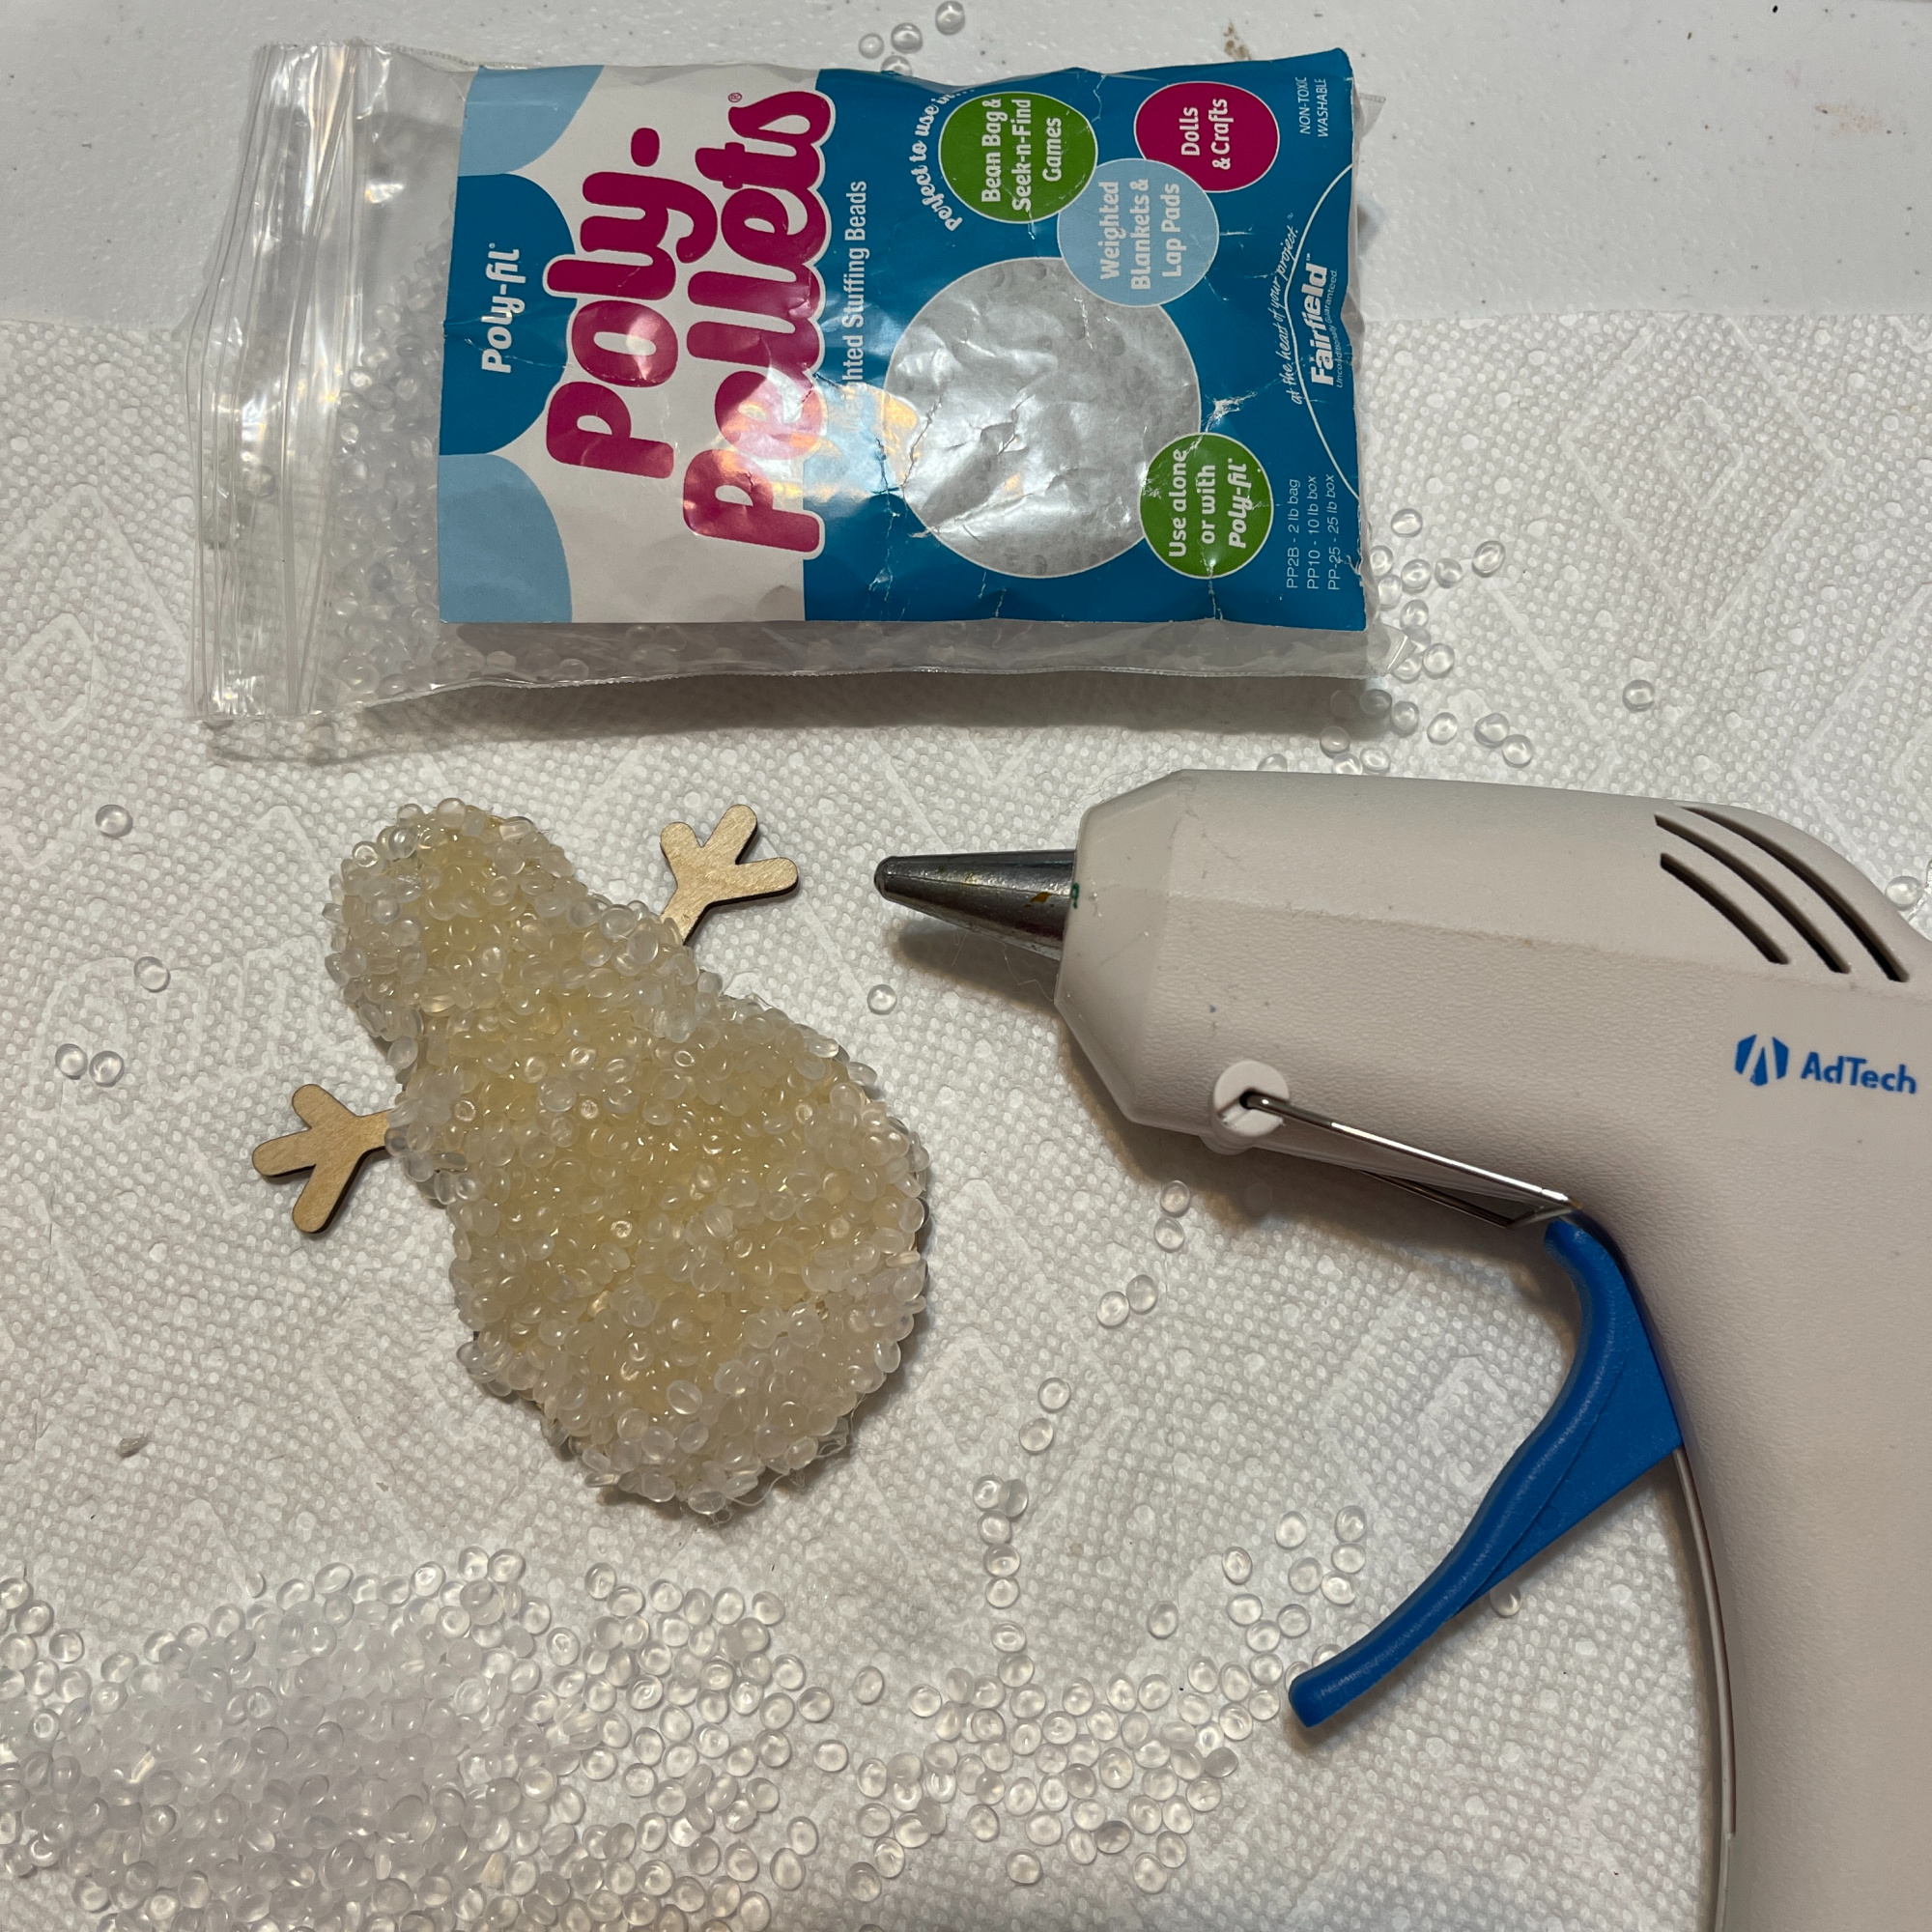
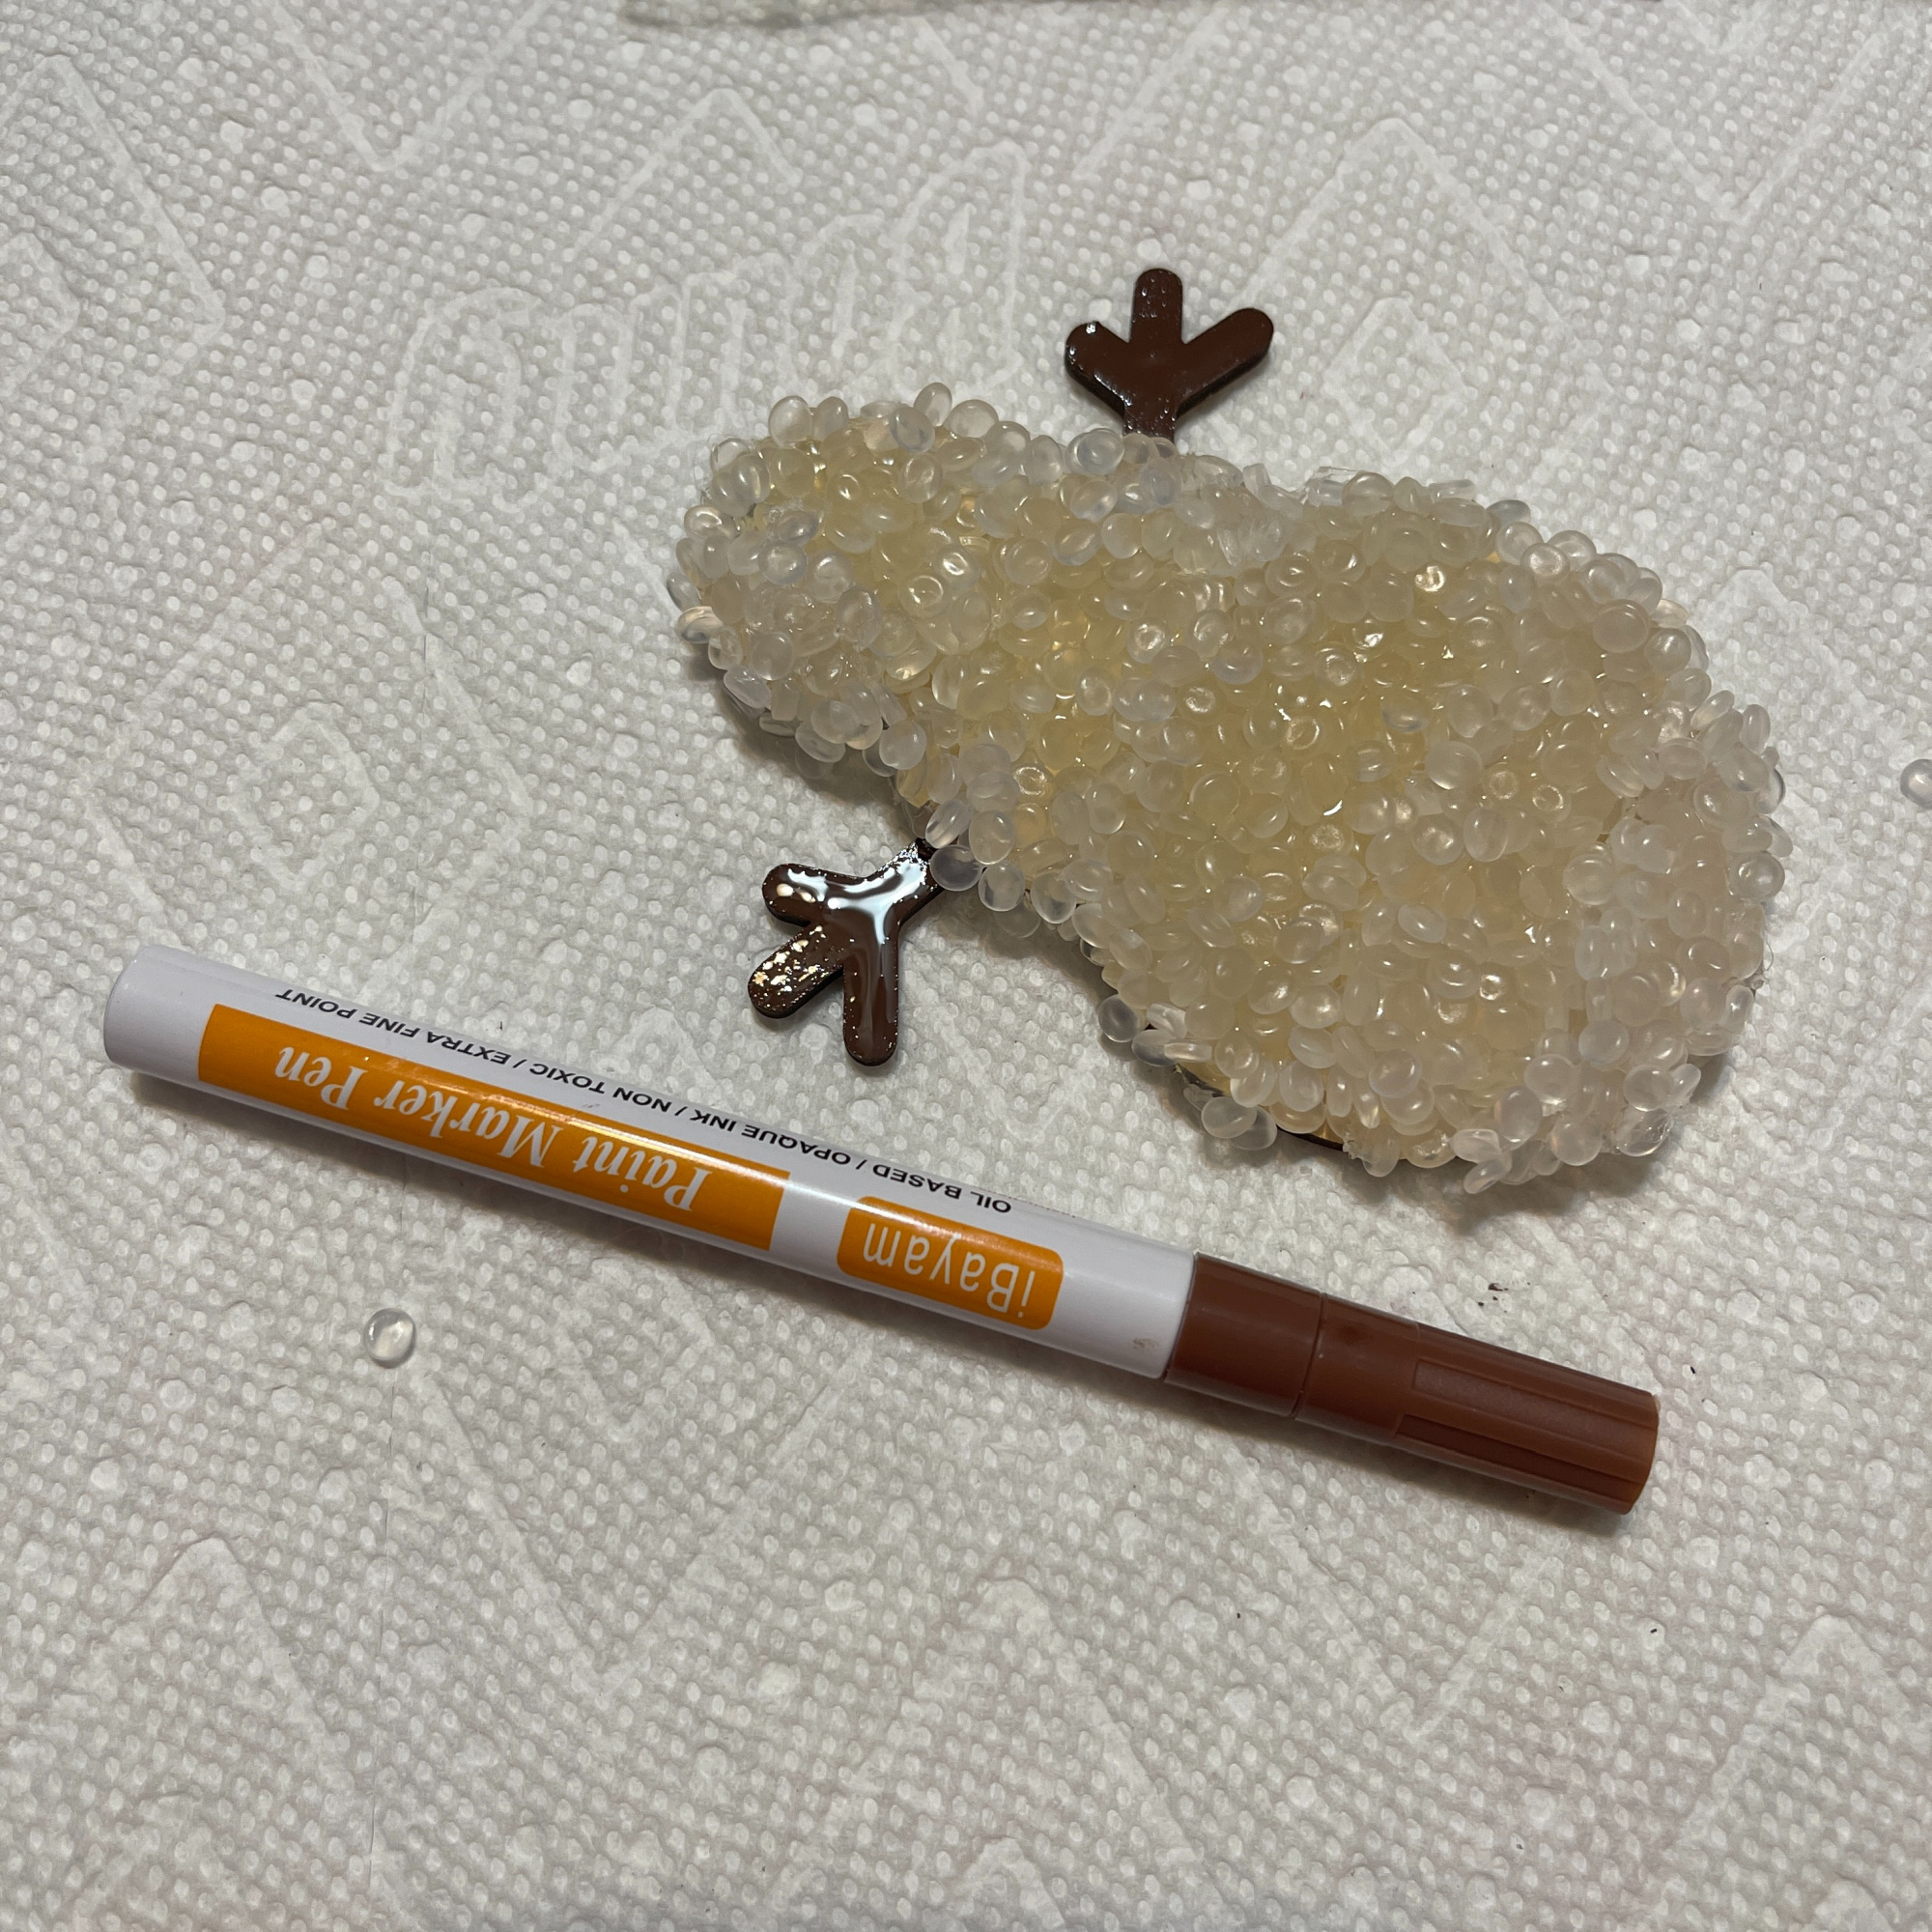
For my snowman ornament, I used plain Poly-Pellets®. I glued the Poly-Pellets® to my wooden snow man. I left the arms so that I could paint them brown. TIP: I glued in sections so that the glue didn’t dry too quickly.

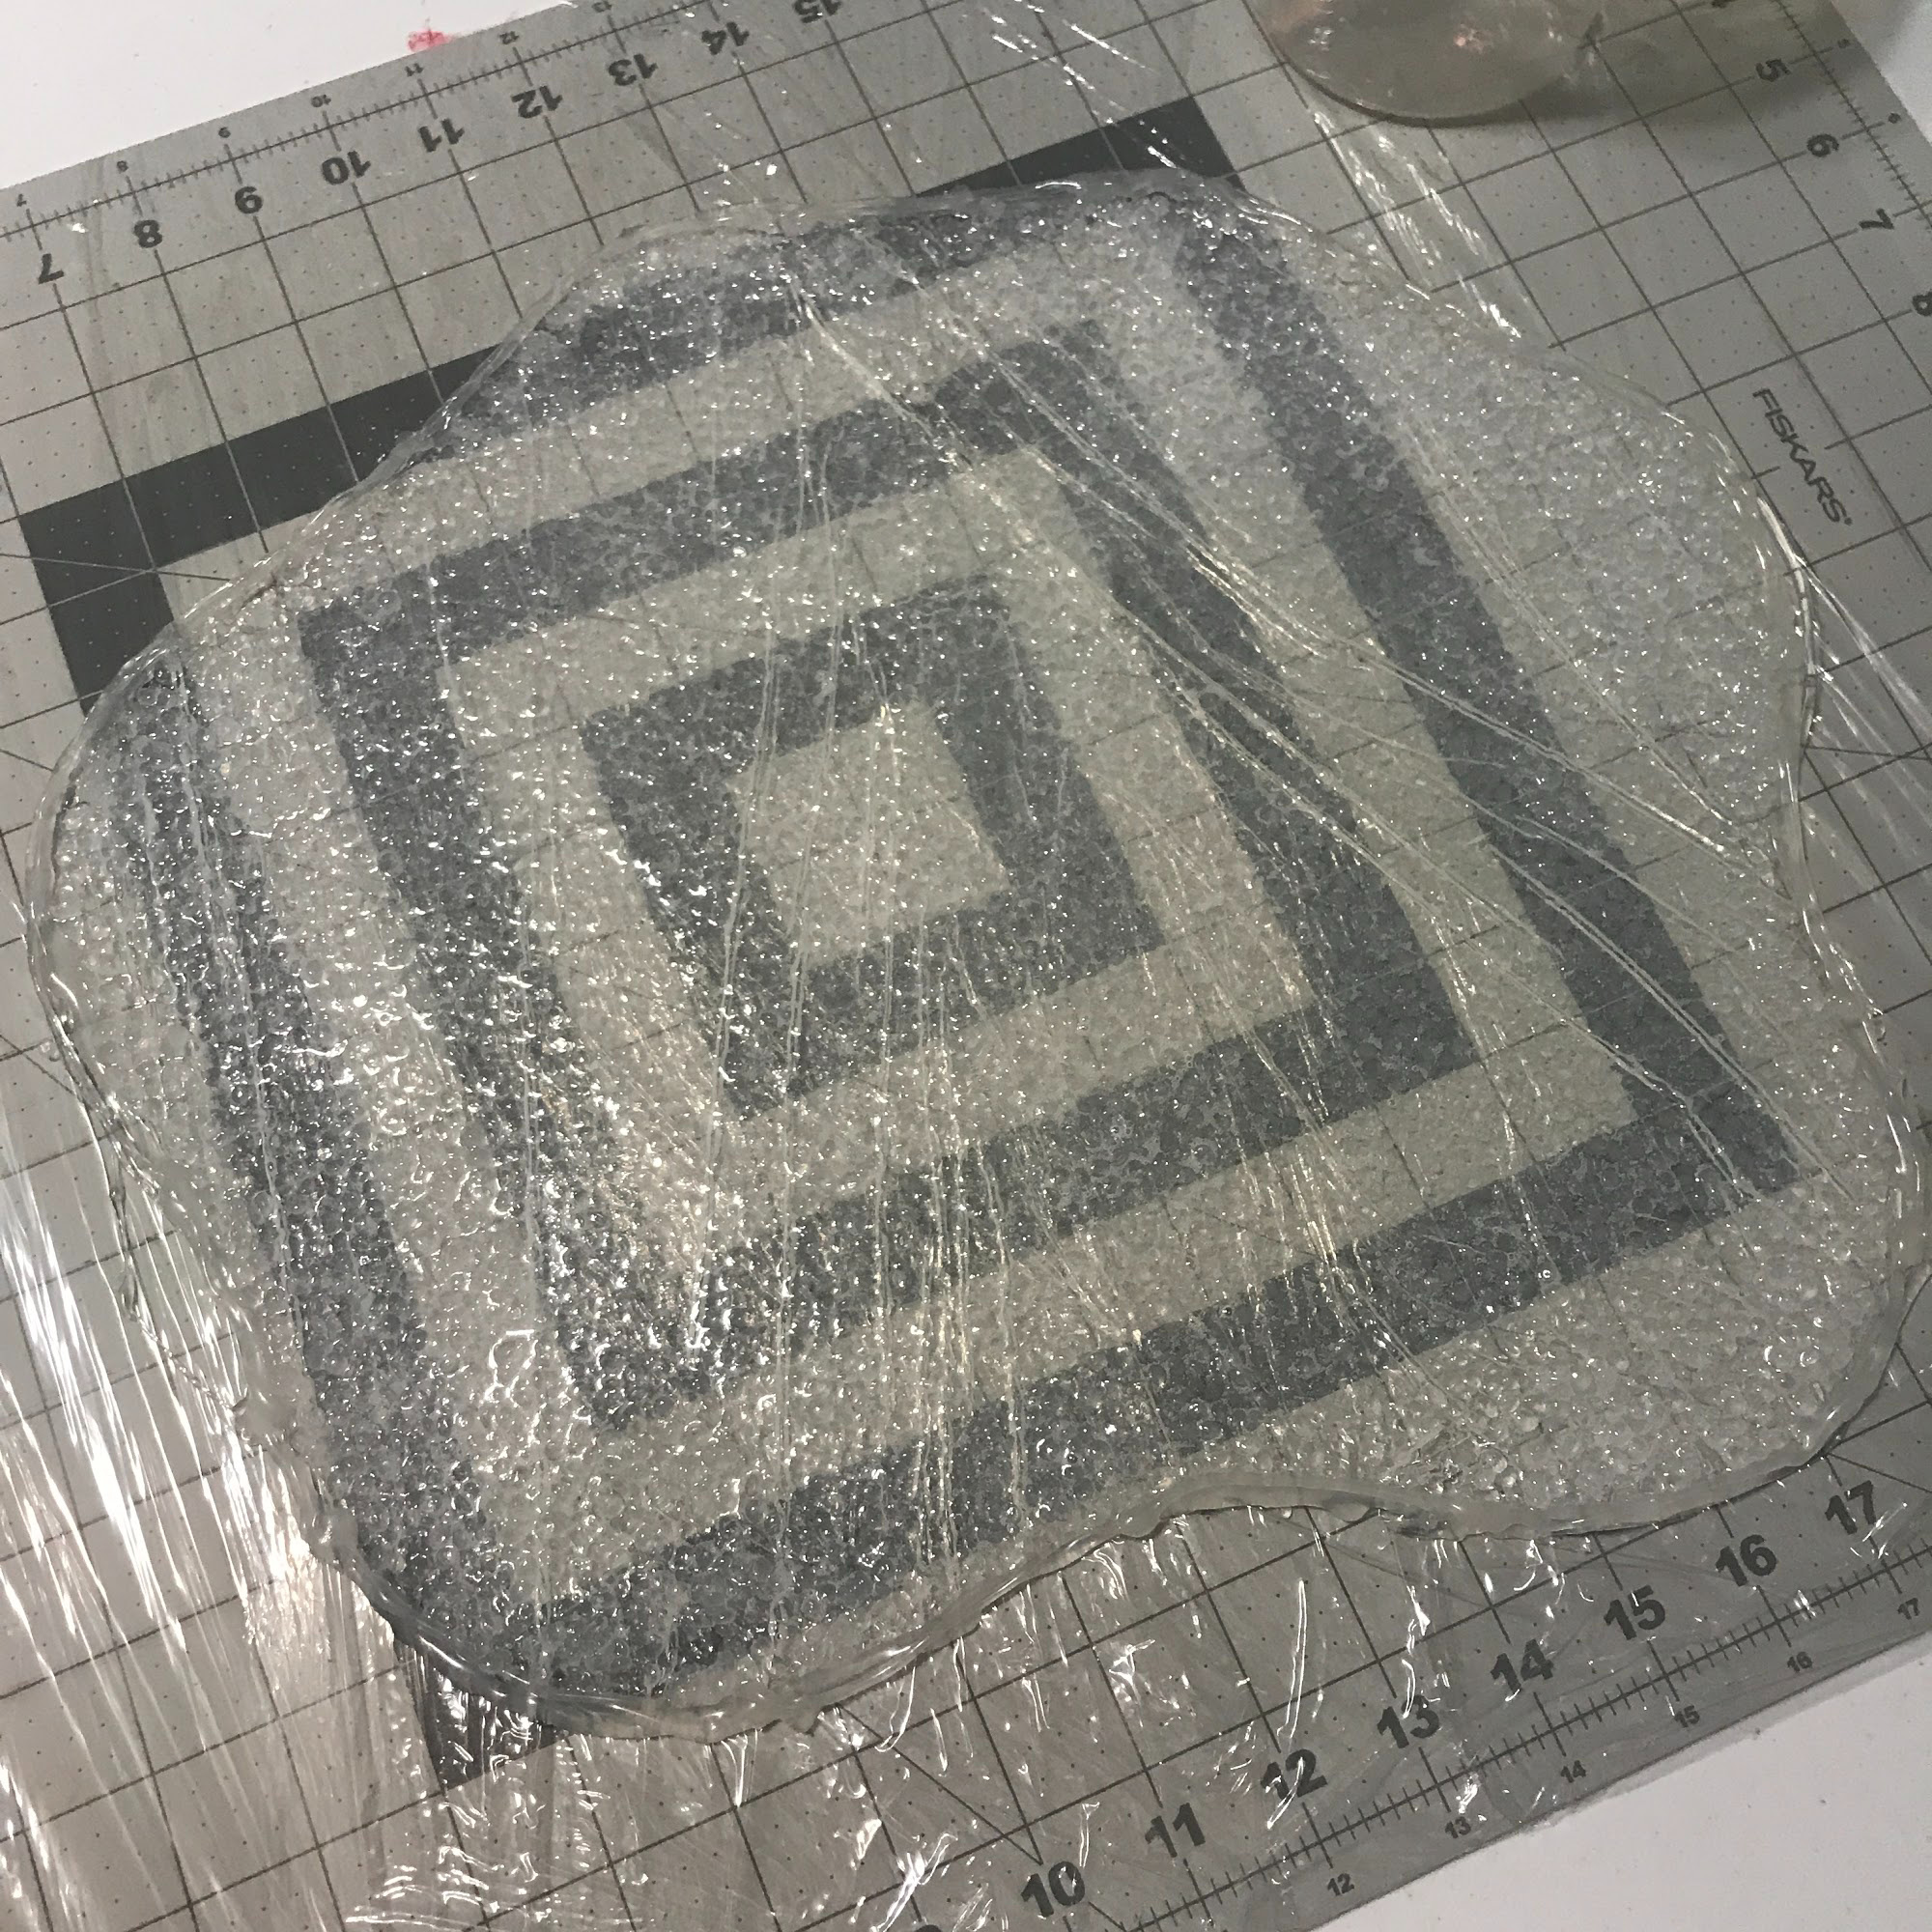
Once the first layer was dry, I glued on another layers.

Once the glue was dry, I used a paint pen to paint the arms of my snowman.

I did the same thing with my Christmas tree ornament. I used the brown paint pen to color the stem of the tree.

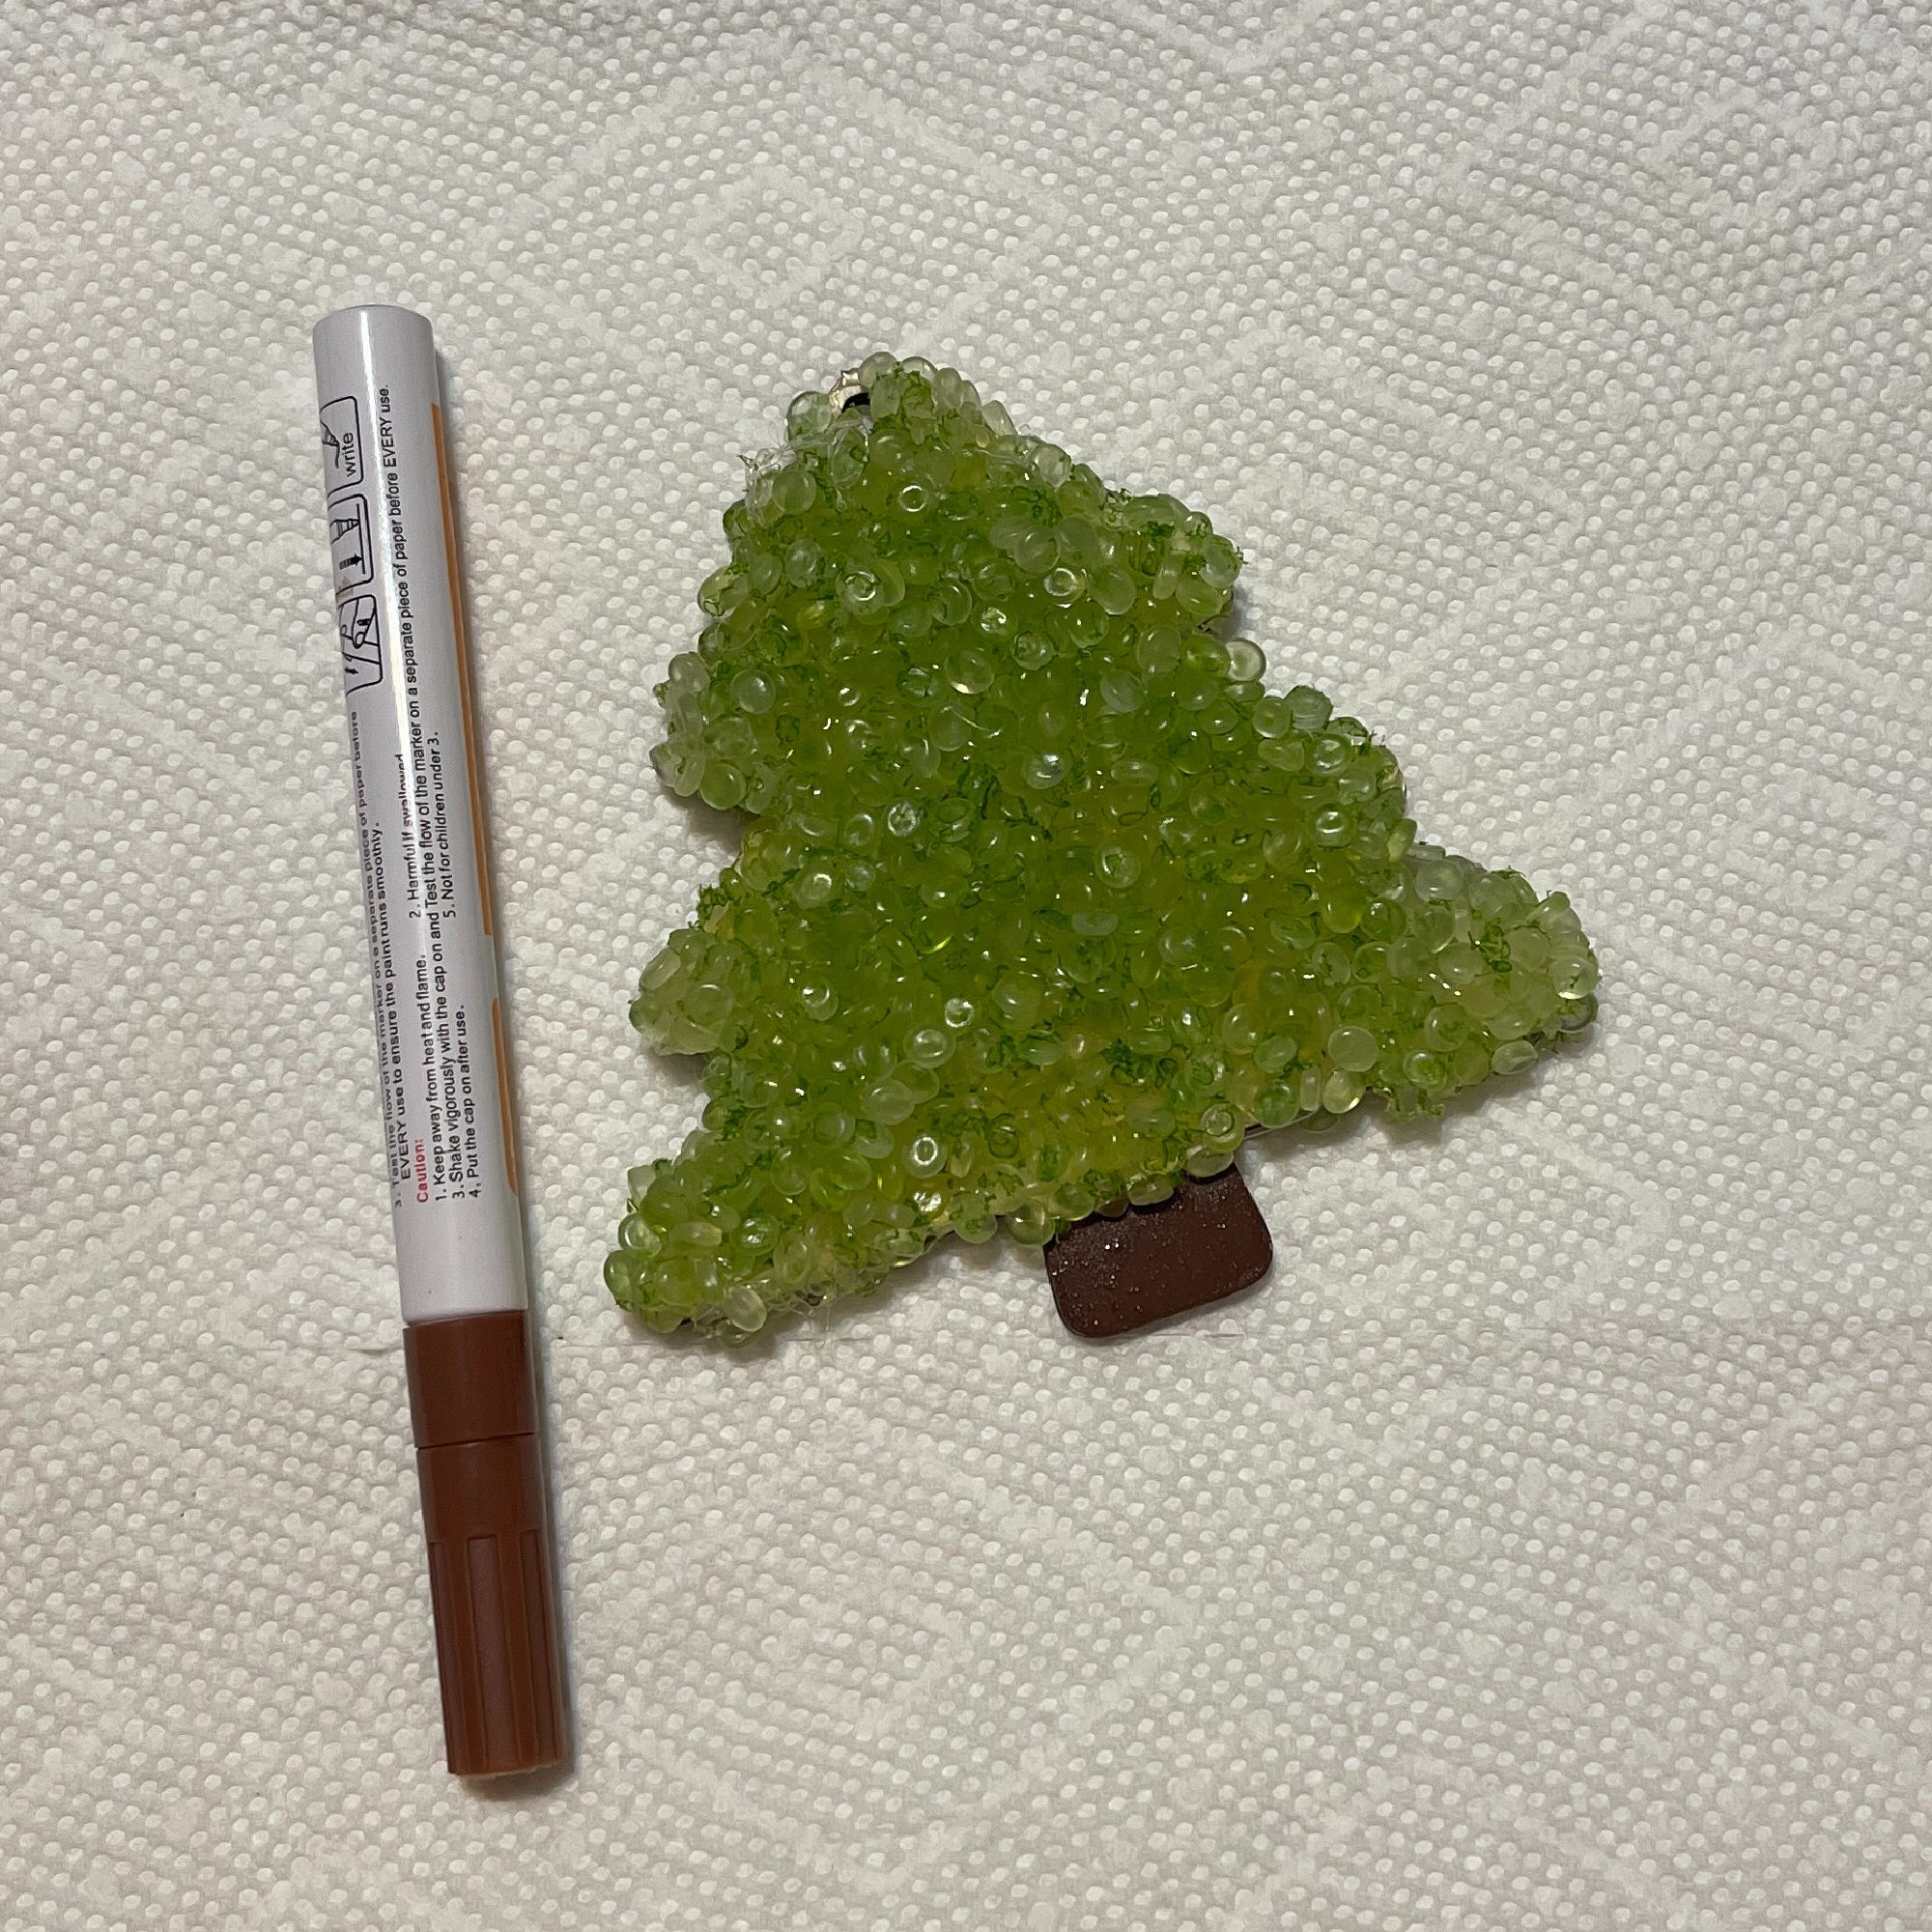
I wanted my ornaments to be thicker, so layering gave it the thickness I was looking for.

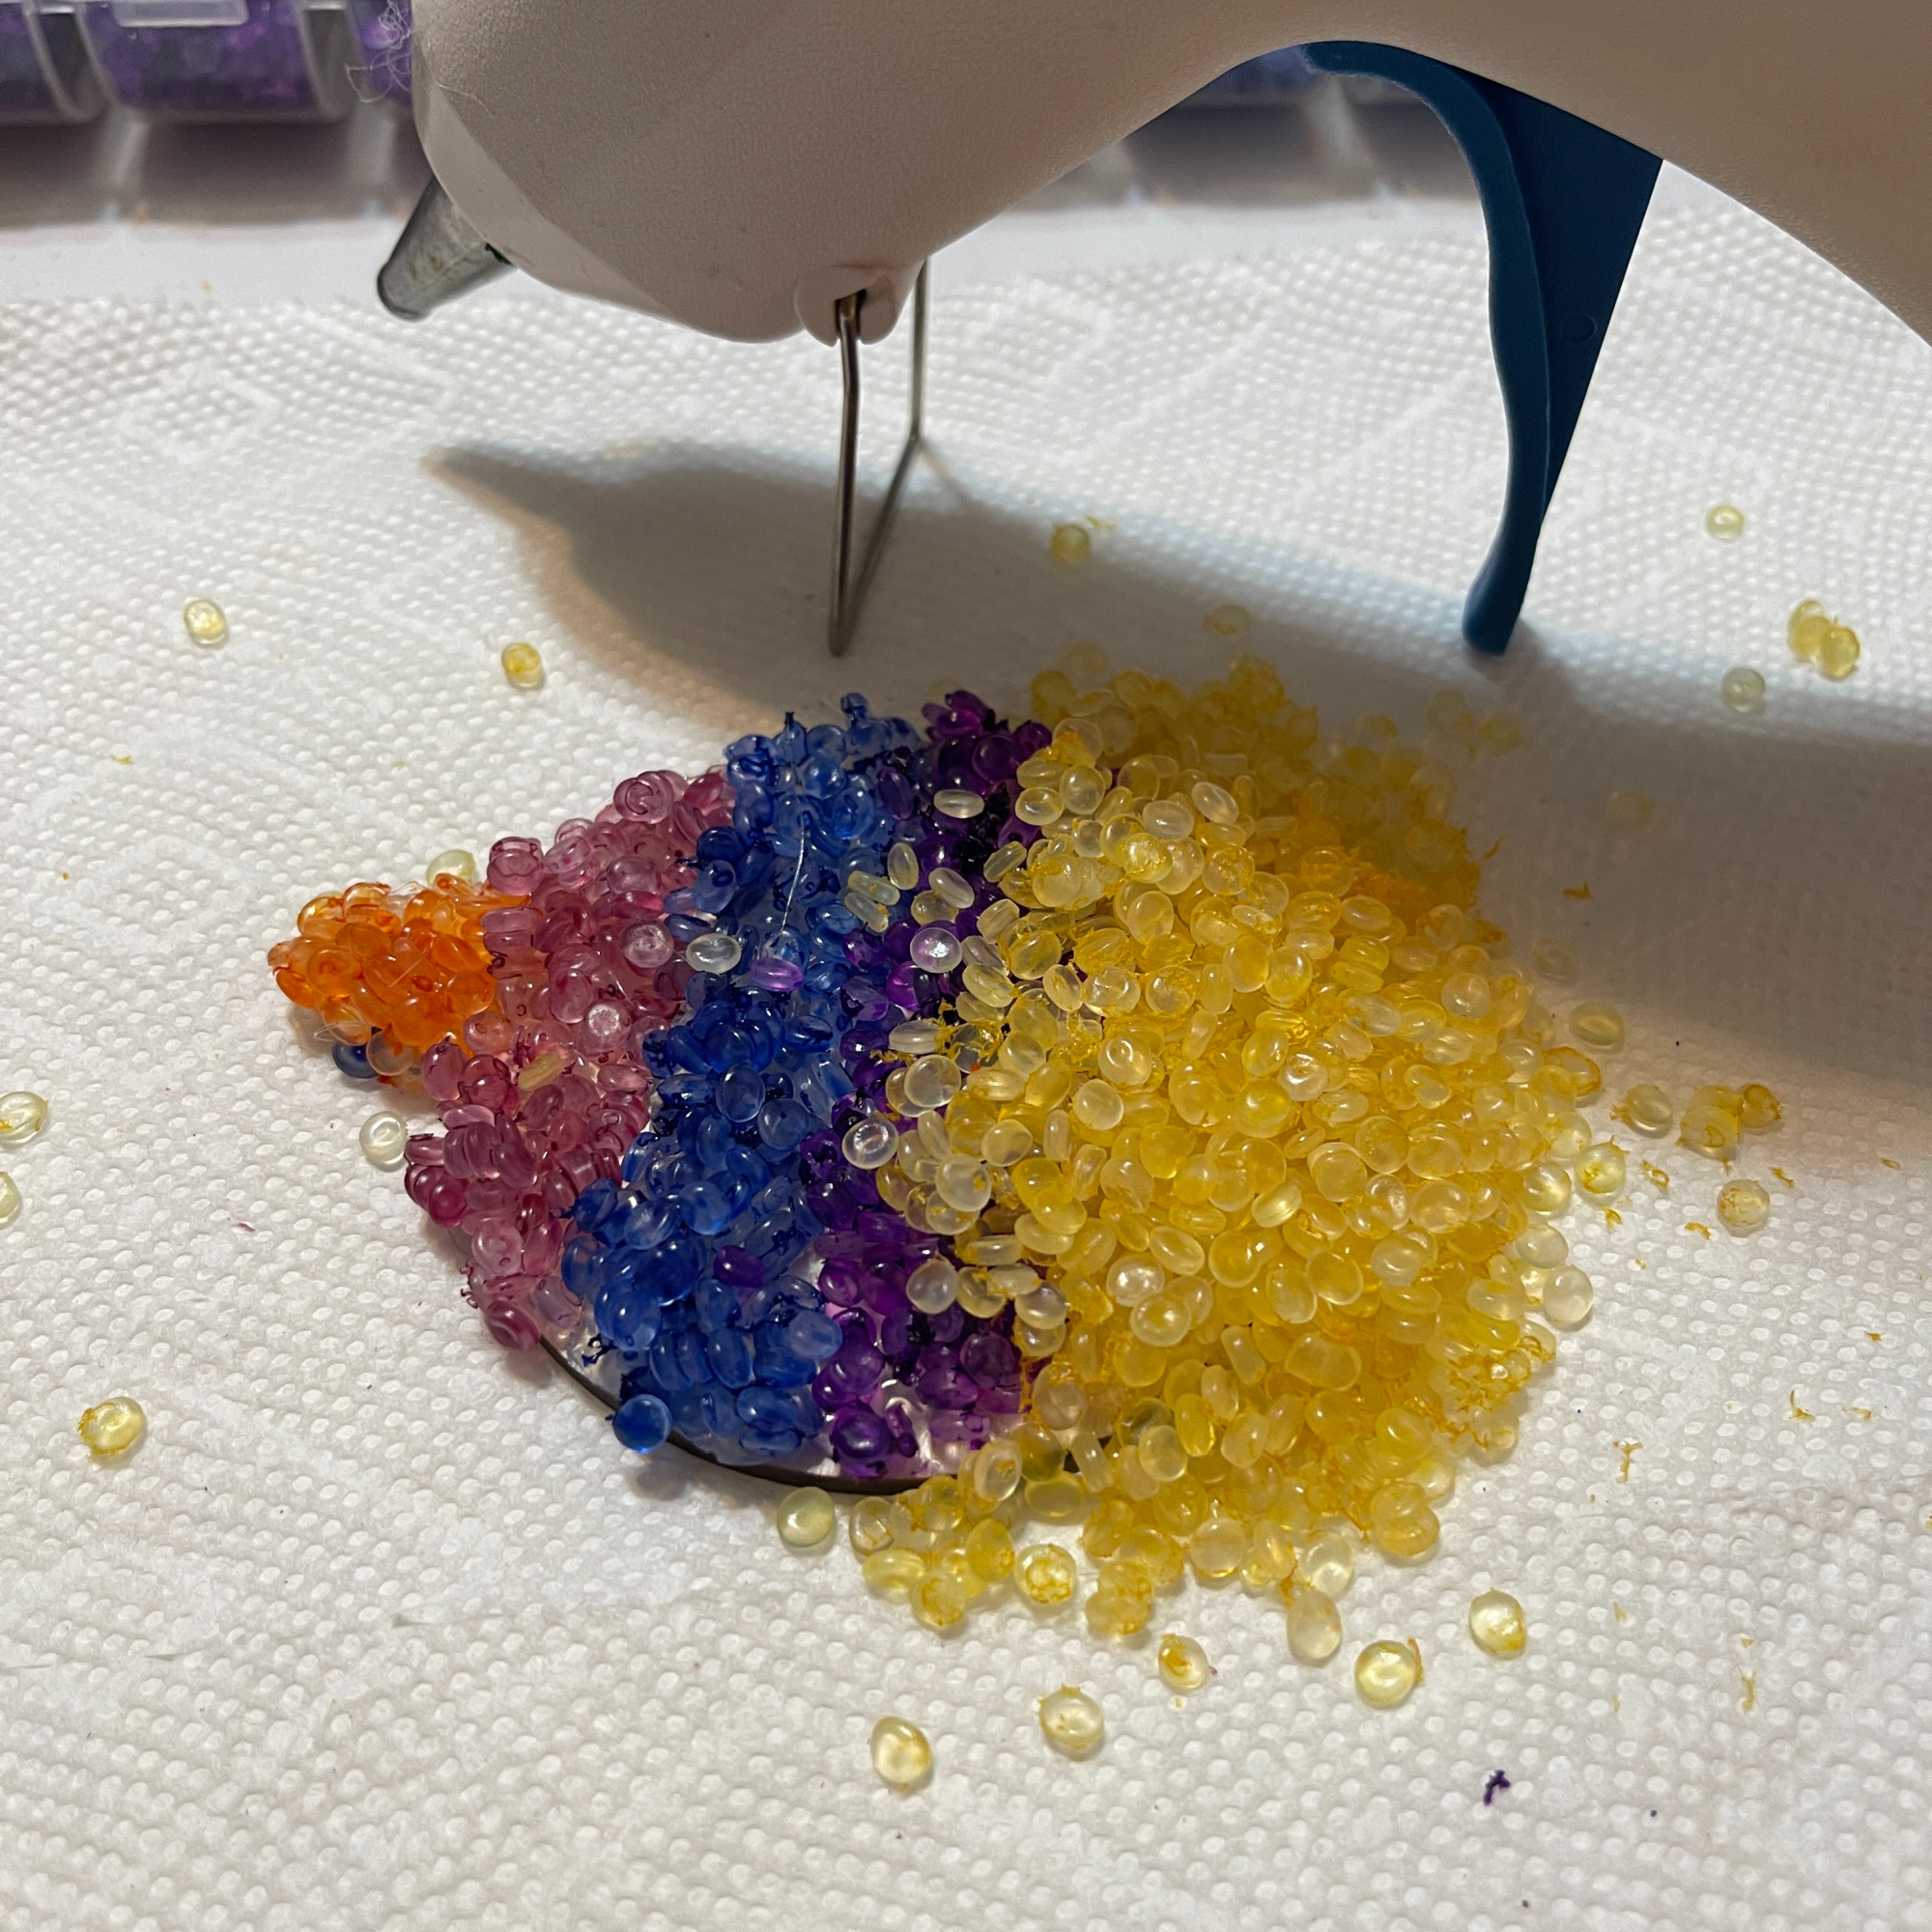
I used small bits of the dyed Poly-Pellets to add details to my ornaments. The snowman got buttons, eyes and a nose. I added a ribbon for the scarf. The tree got lights or small ornaments.

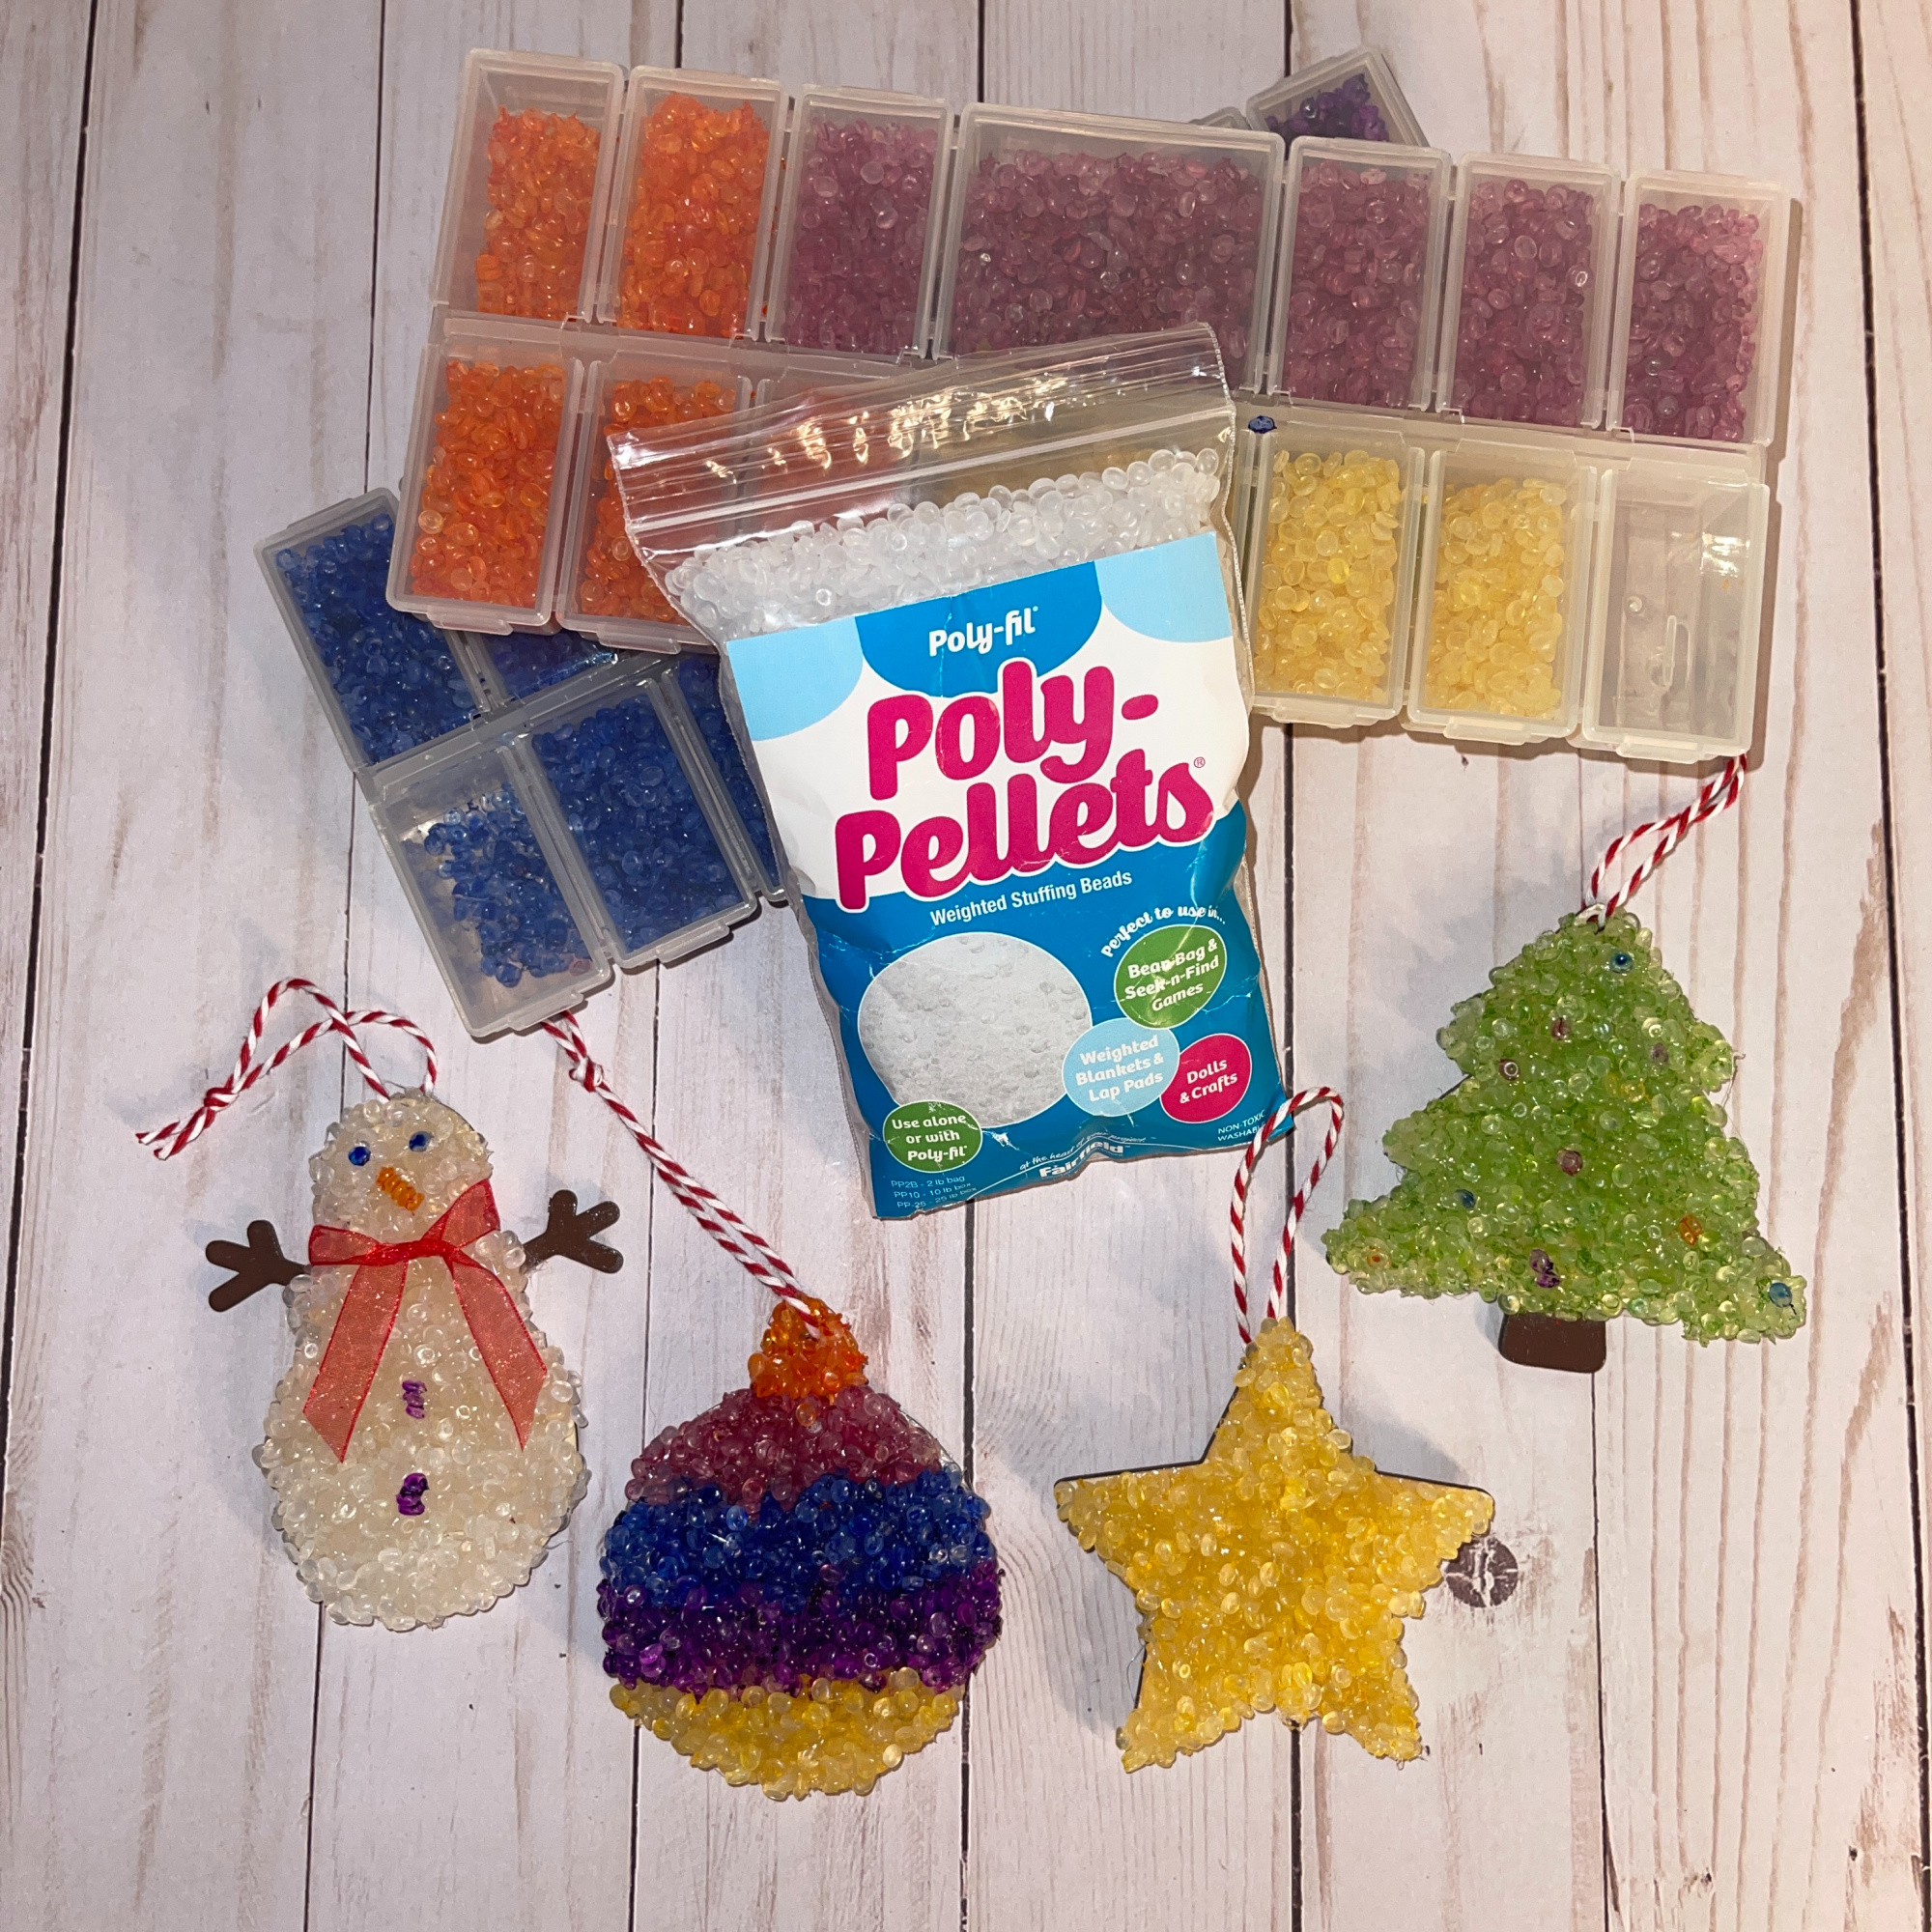
I love how these turned out. You can get Poly-Pellets online at www.fairfieldworld.com.

Until next time, Happy Crafting!

Poly-Pellets® Bird Bath Bowl

Lately I’ve been playing around with resin and Fairfield World’s Poly-Pellets® to see what all I could possibly make with the combination. One idea I came up with was to create a bird bath bowl! It could also be used as a bird feeder bowl.

Materials used:

  • Fairfield World Poly-Pellets®
  • Two Part Resin (I use Envirotex Lite®)
  • 3 Mixing Cups (2 small and 1 bigger)
  • Mixing Sticks
  • Plastic Wrap
  • Hot Glue Gun and Glue Sticks
  • Mixing Bowl
  • Heat Gun
  • Sharpie marker
  • Scissors

How I made it:

First, I mixed my two part resin. I measured out equal amounts of the resin and the hardener in two separate cups. I then poured both into a larger cup. Following the instructions, I let it sit for a few minutes before mixing it so that the bubbles could rise to the top.

While I let the mix sit, I wrapped plastic wrap around my cutting mat. I used the mat to protect the table. You don’t have to use it. I used a marker to draw out my bowl pattern.

With the hot glue gun and glue sticks, I went over the marker line with the hot glue, building it up so that I have a wall to keep the resin and poly-pellets® in.

Once I was done building the wall of glue, I mixed up the resin and hardener until it was completely mixed, about 2 minutes.

To measure how many poly-pellets I would need, I poured them out onto my plastic wrap, within the walls of the glue. I then poured them into the mixed resin and then mixed them in, coating the poly-pellets® with the resin.

Using a mixing stick, I spread out the mix until it was all the way to the edges and even.

With my heat gun on high, I waved it above the resin to help pop any bubbles that had developed. Then I left it alone to harden.

After it has started to harden for a few hours, I covered a mixing bowl with plastic wrap and turned it upside down. I then picked up the almost hardened resin with poly-pellets® and turned it over onto the bottom of the bowl. I molded it around the mixing bowl creating an upside down bowl.

Then I left it alone to completely dry overnight. The next morning, I pulled all of the plastic wrap away from the bowl.

After I pulled all of the plastic wrap off, I used scissors to cut away the hot glue from the edge.

I used an old flower pot as the base, but the bowl could just sit on the deck or the table.

The birds love it! I’m thinking about making another one just for bird seed!

Until next time, Happy Crafting!