Category Archives: Creative Crafts

Red, White and Blue Bead Earrings

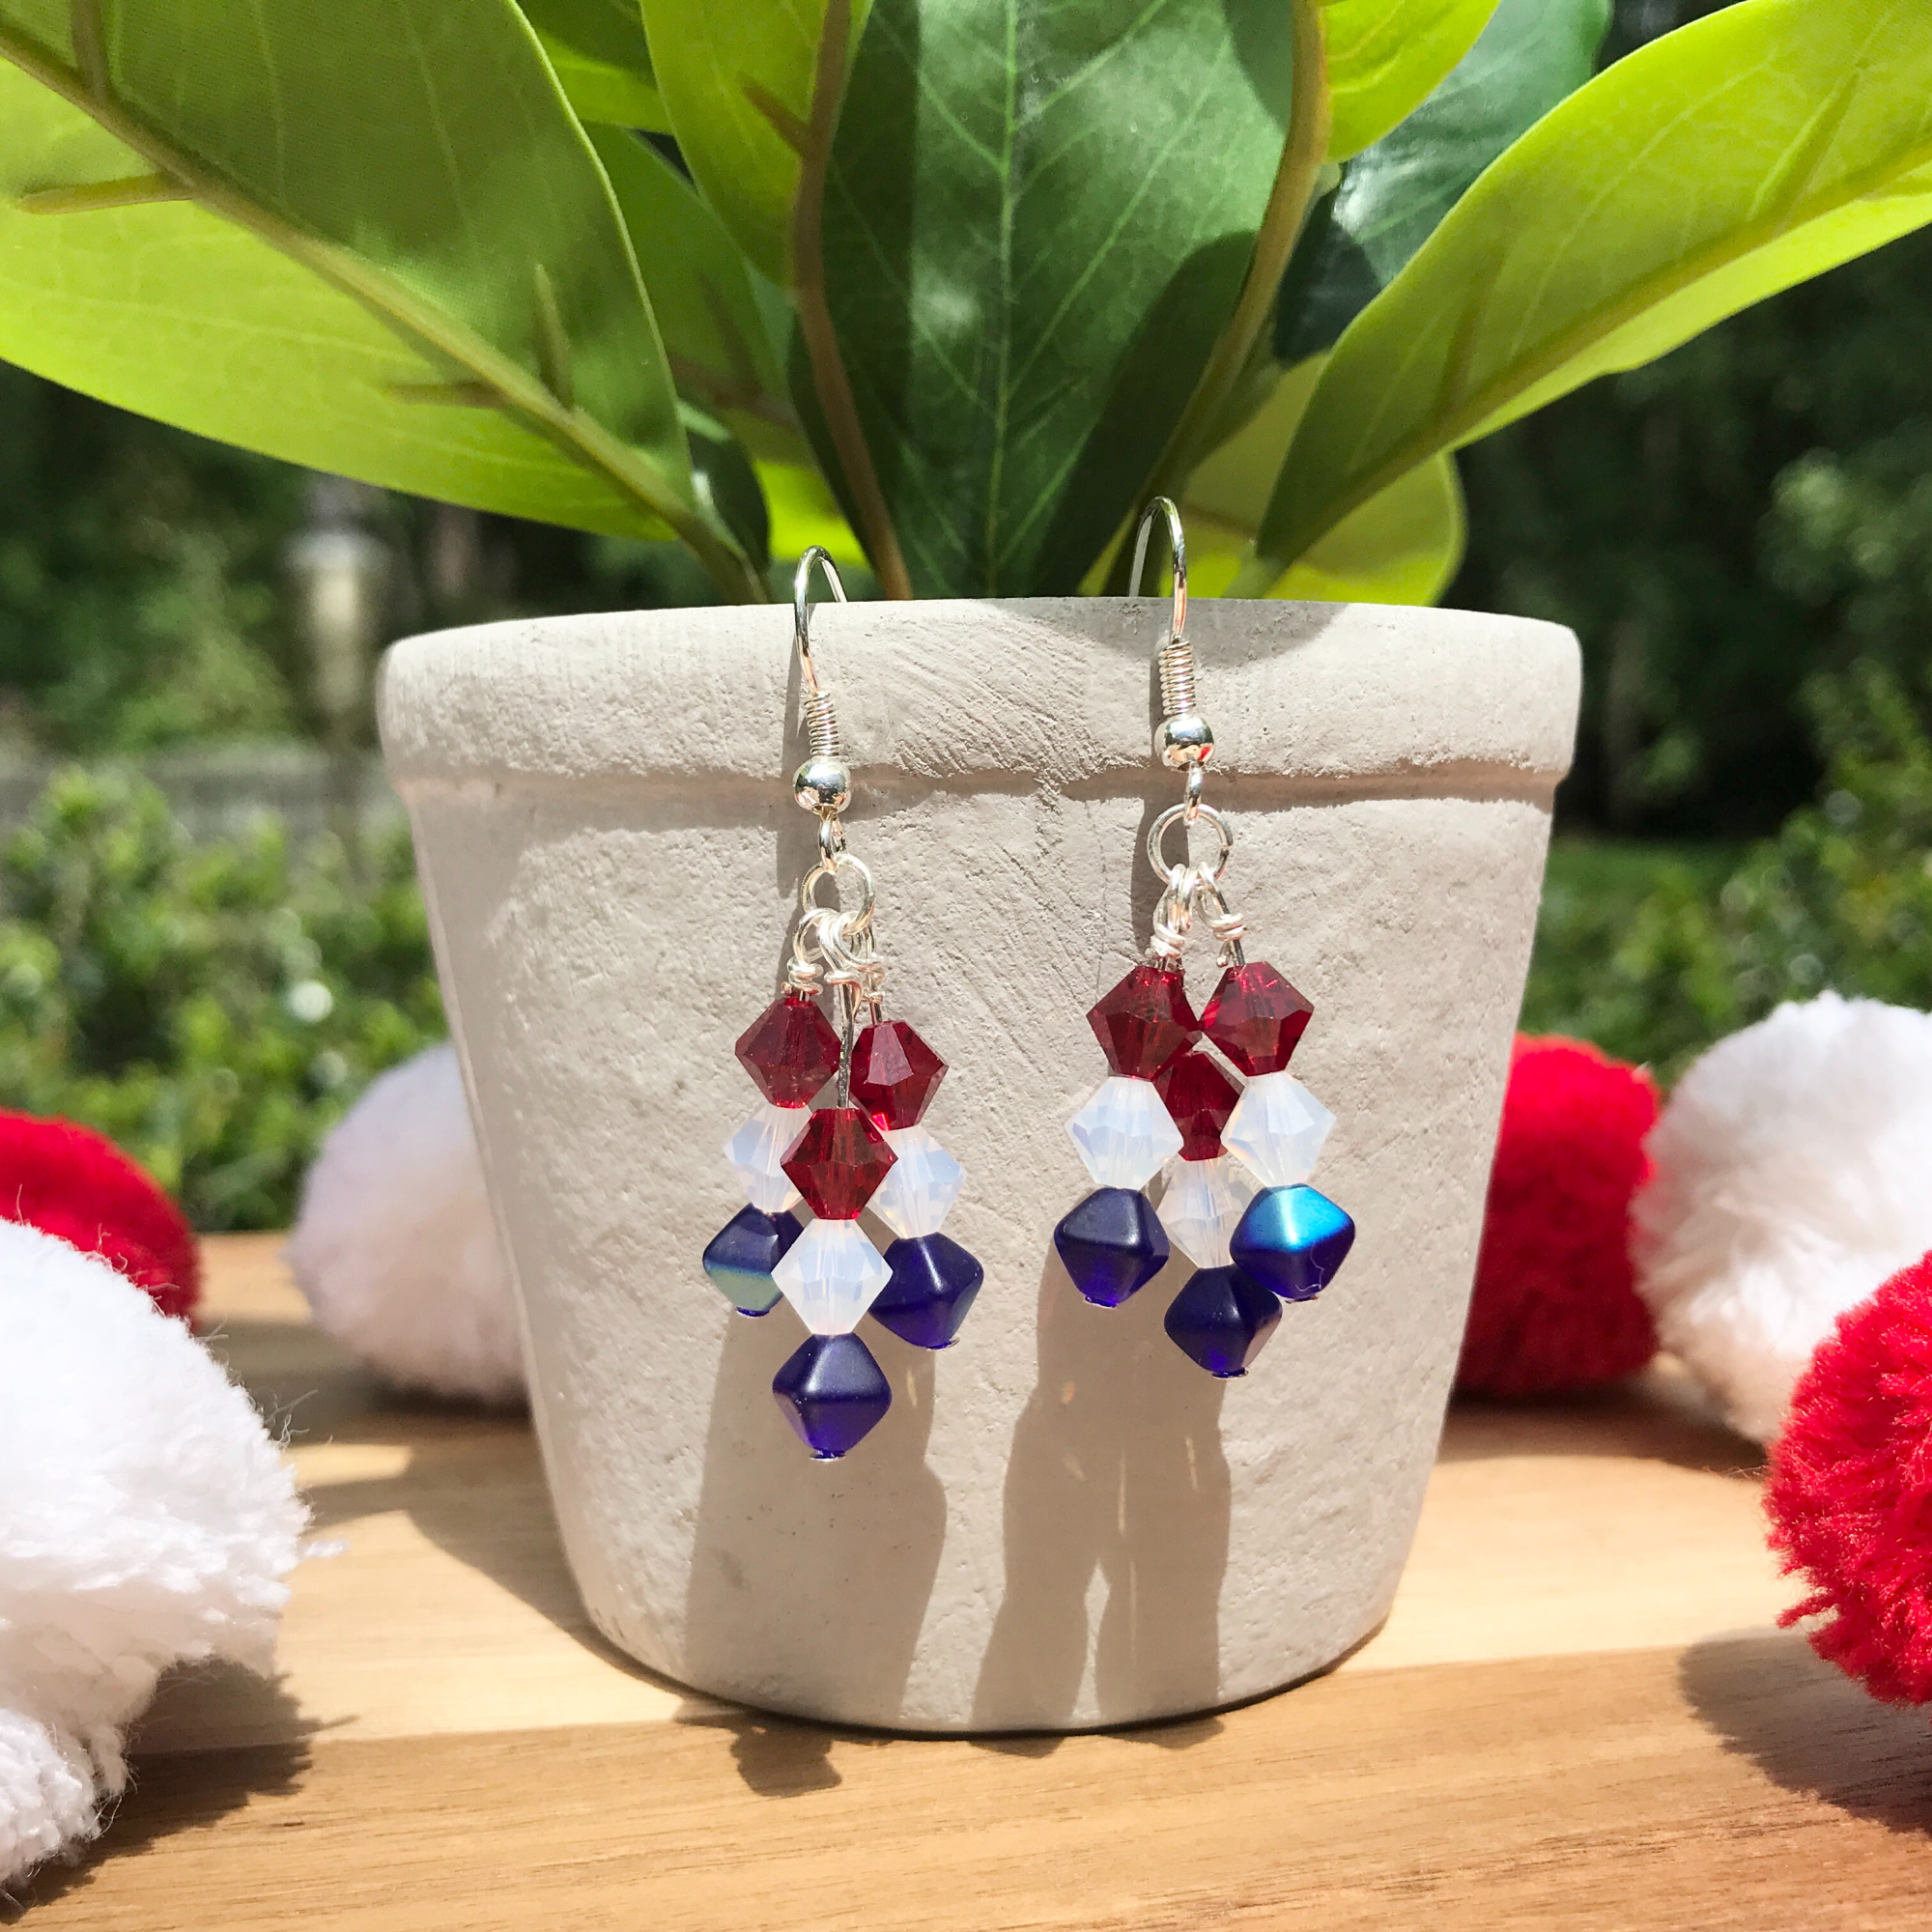
I am joining my crafty friends to create patriotic crafts this month so I decided to make some festive red, white and blue bead earrings! The good thing is that they are cute enough that they can be worn anytime of the year. These were super easy to make and you could do any combination of colors but this Creative Crafts is the Patriotic Edition!
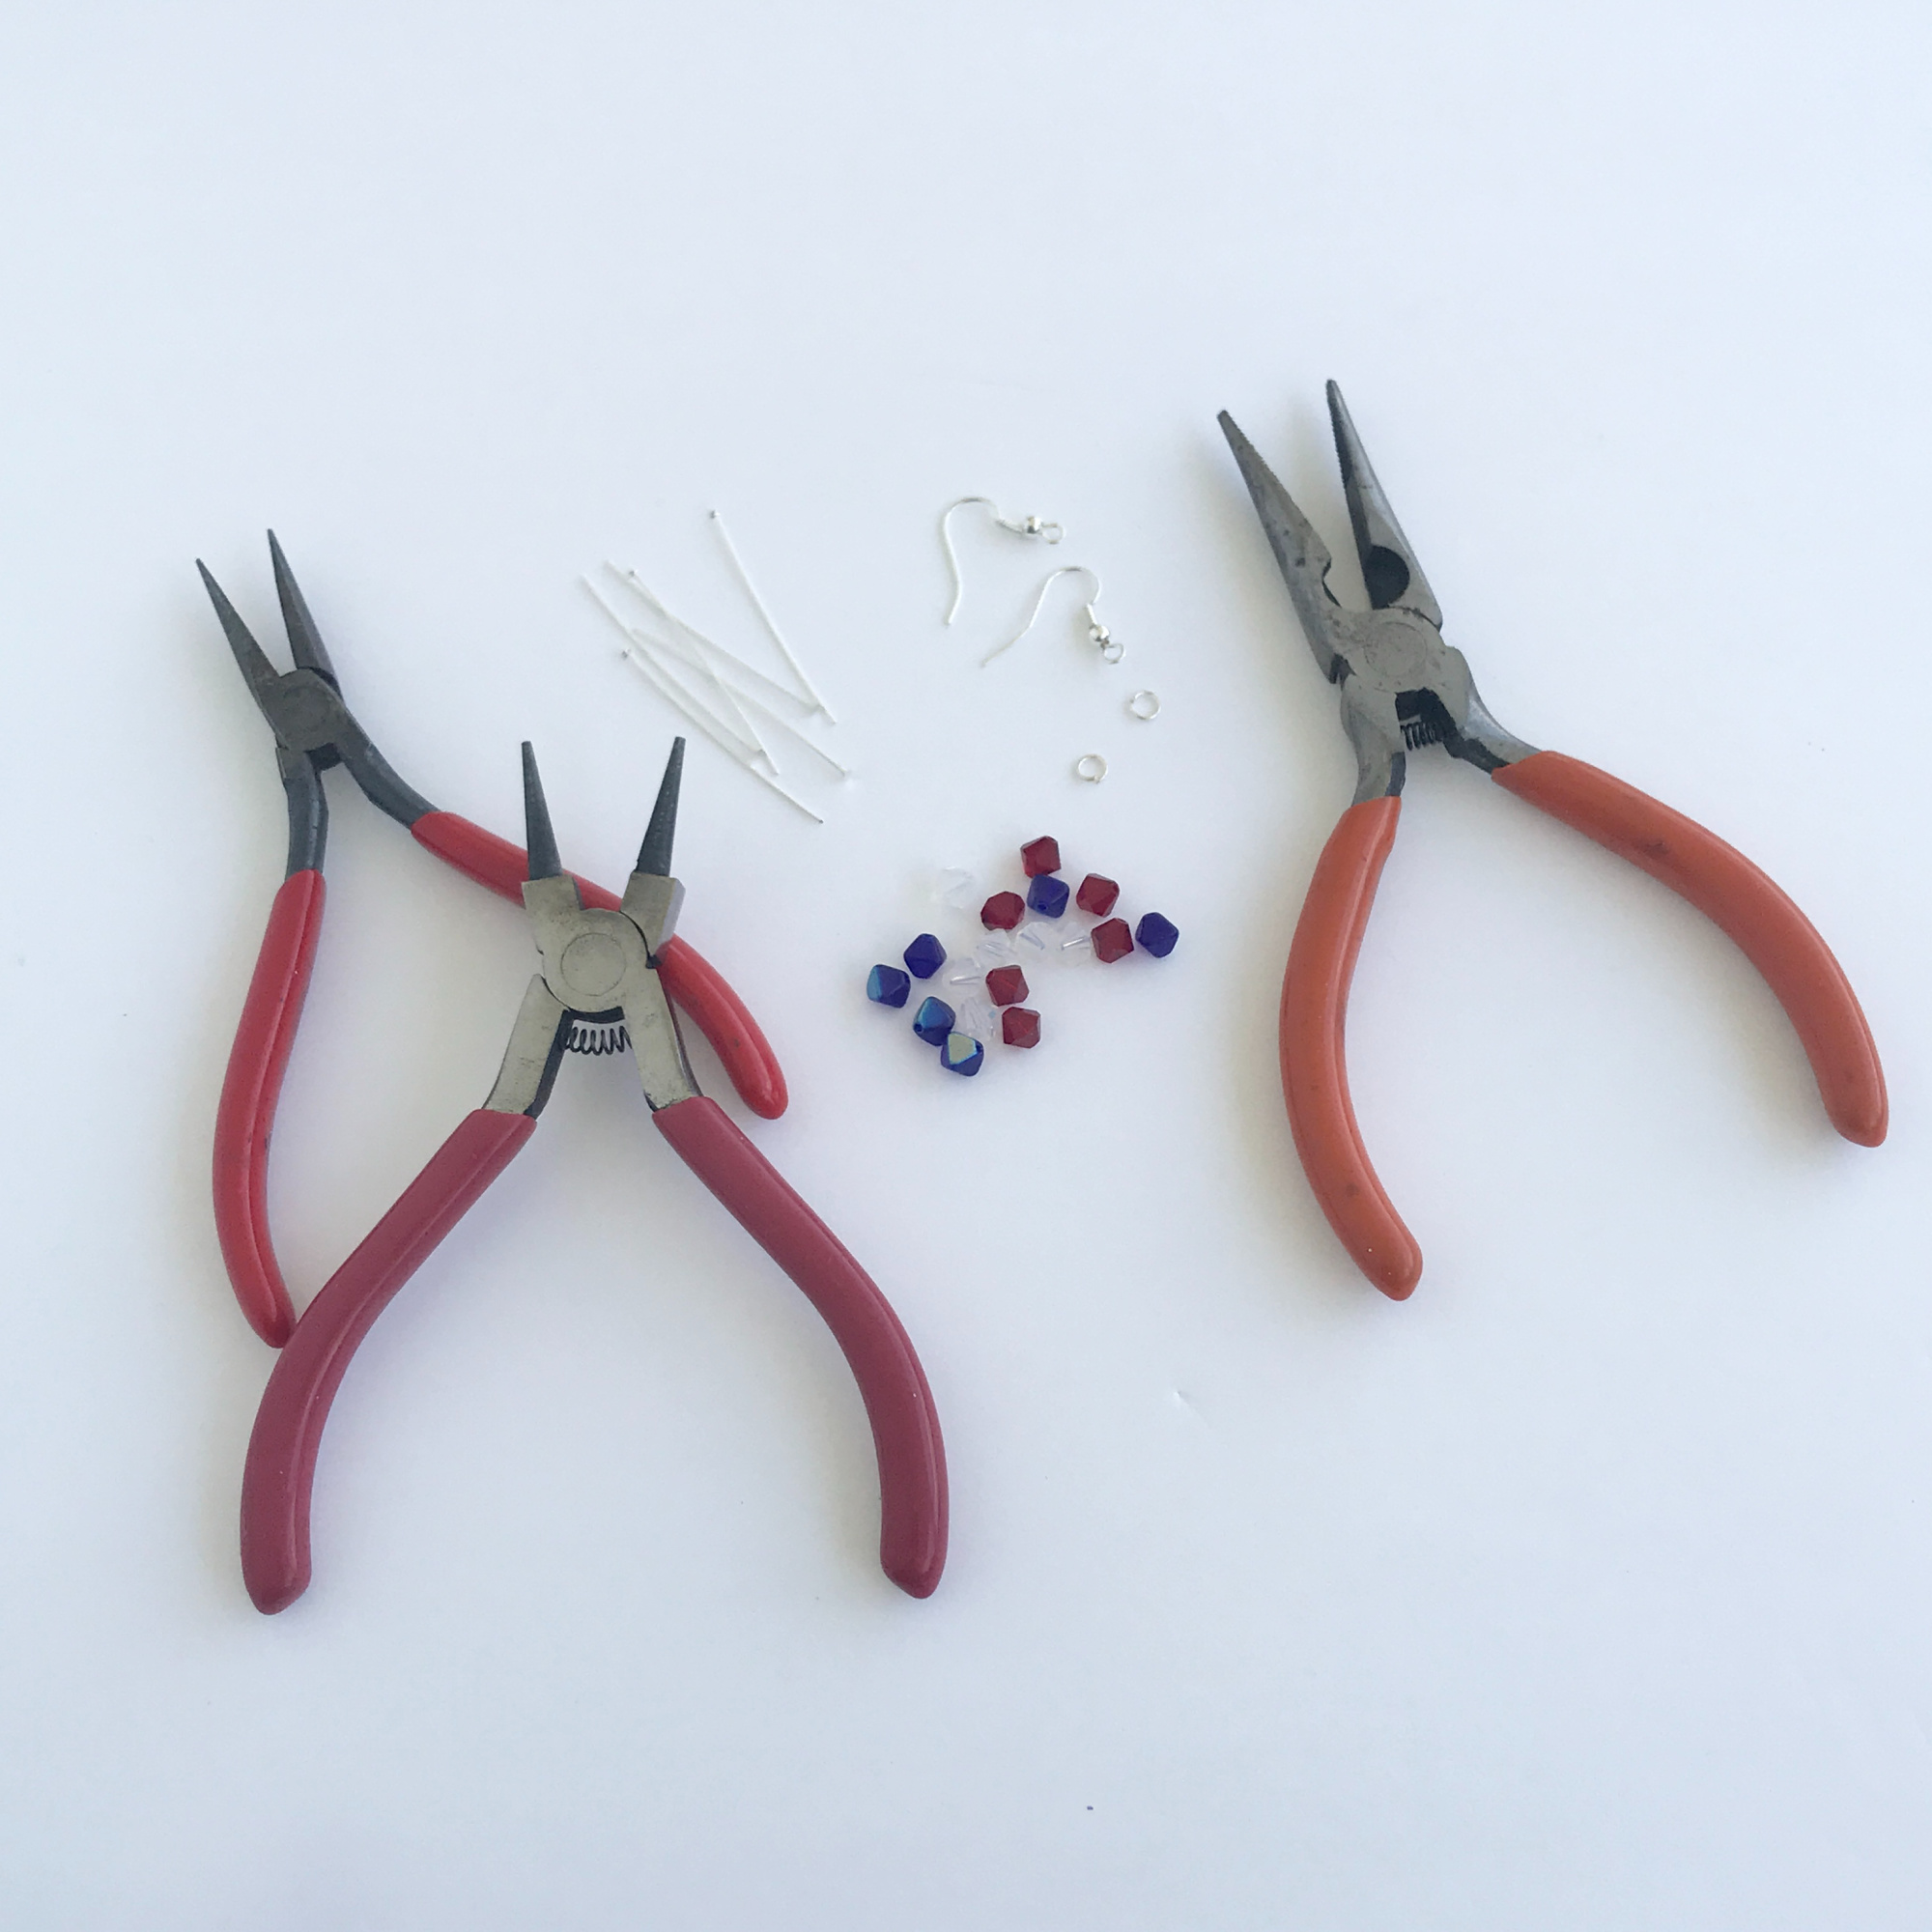
Materials used:

  • Beads of red, white and blue. (They can be any type of beads.)
  • Head Pins (6)
  • Jump Rings (2)
  • Fish Hook Findings (2)
  • Jewelry Making Tools (I used Needle Nose Pliers, Round Nose Pliers)

How I made them:

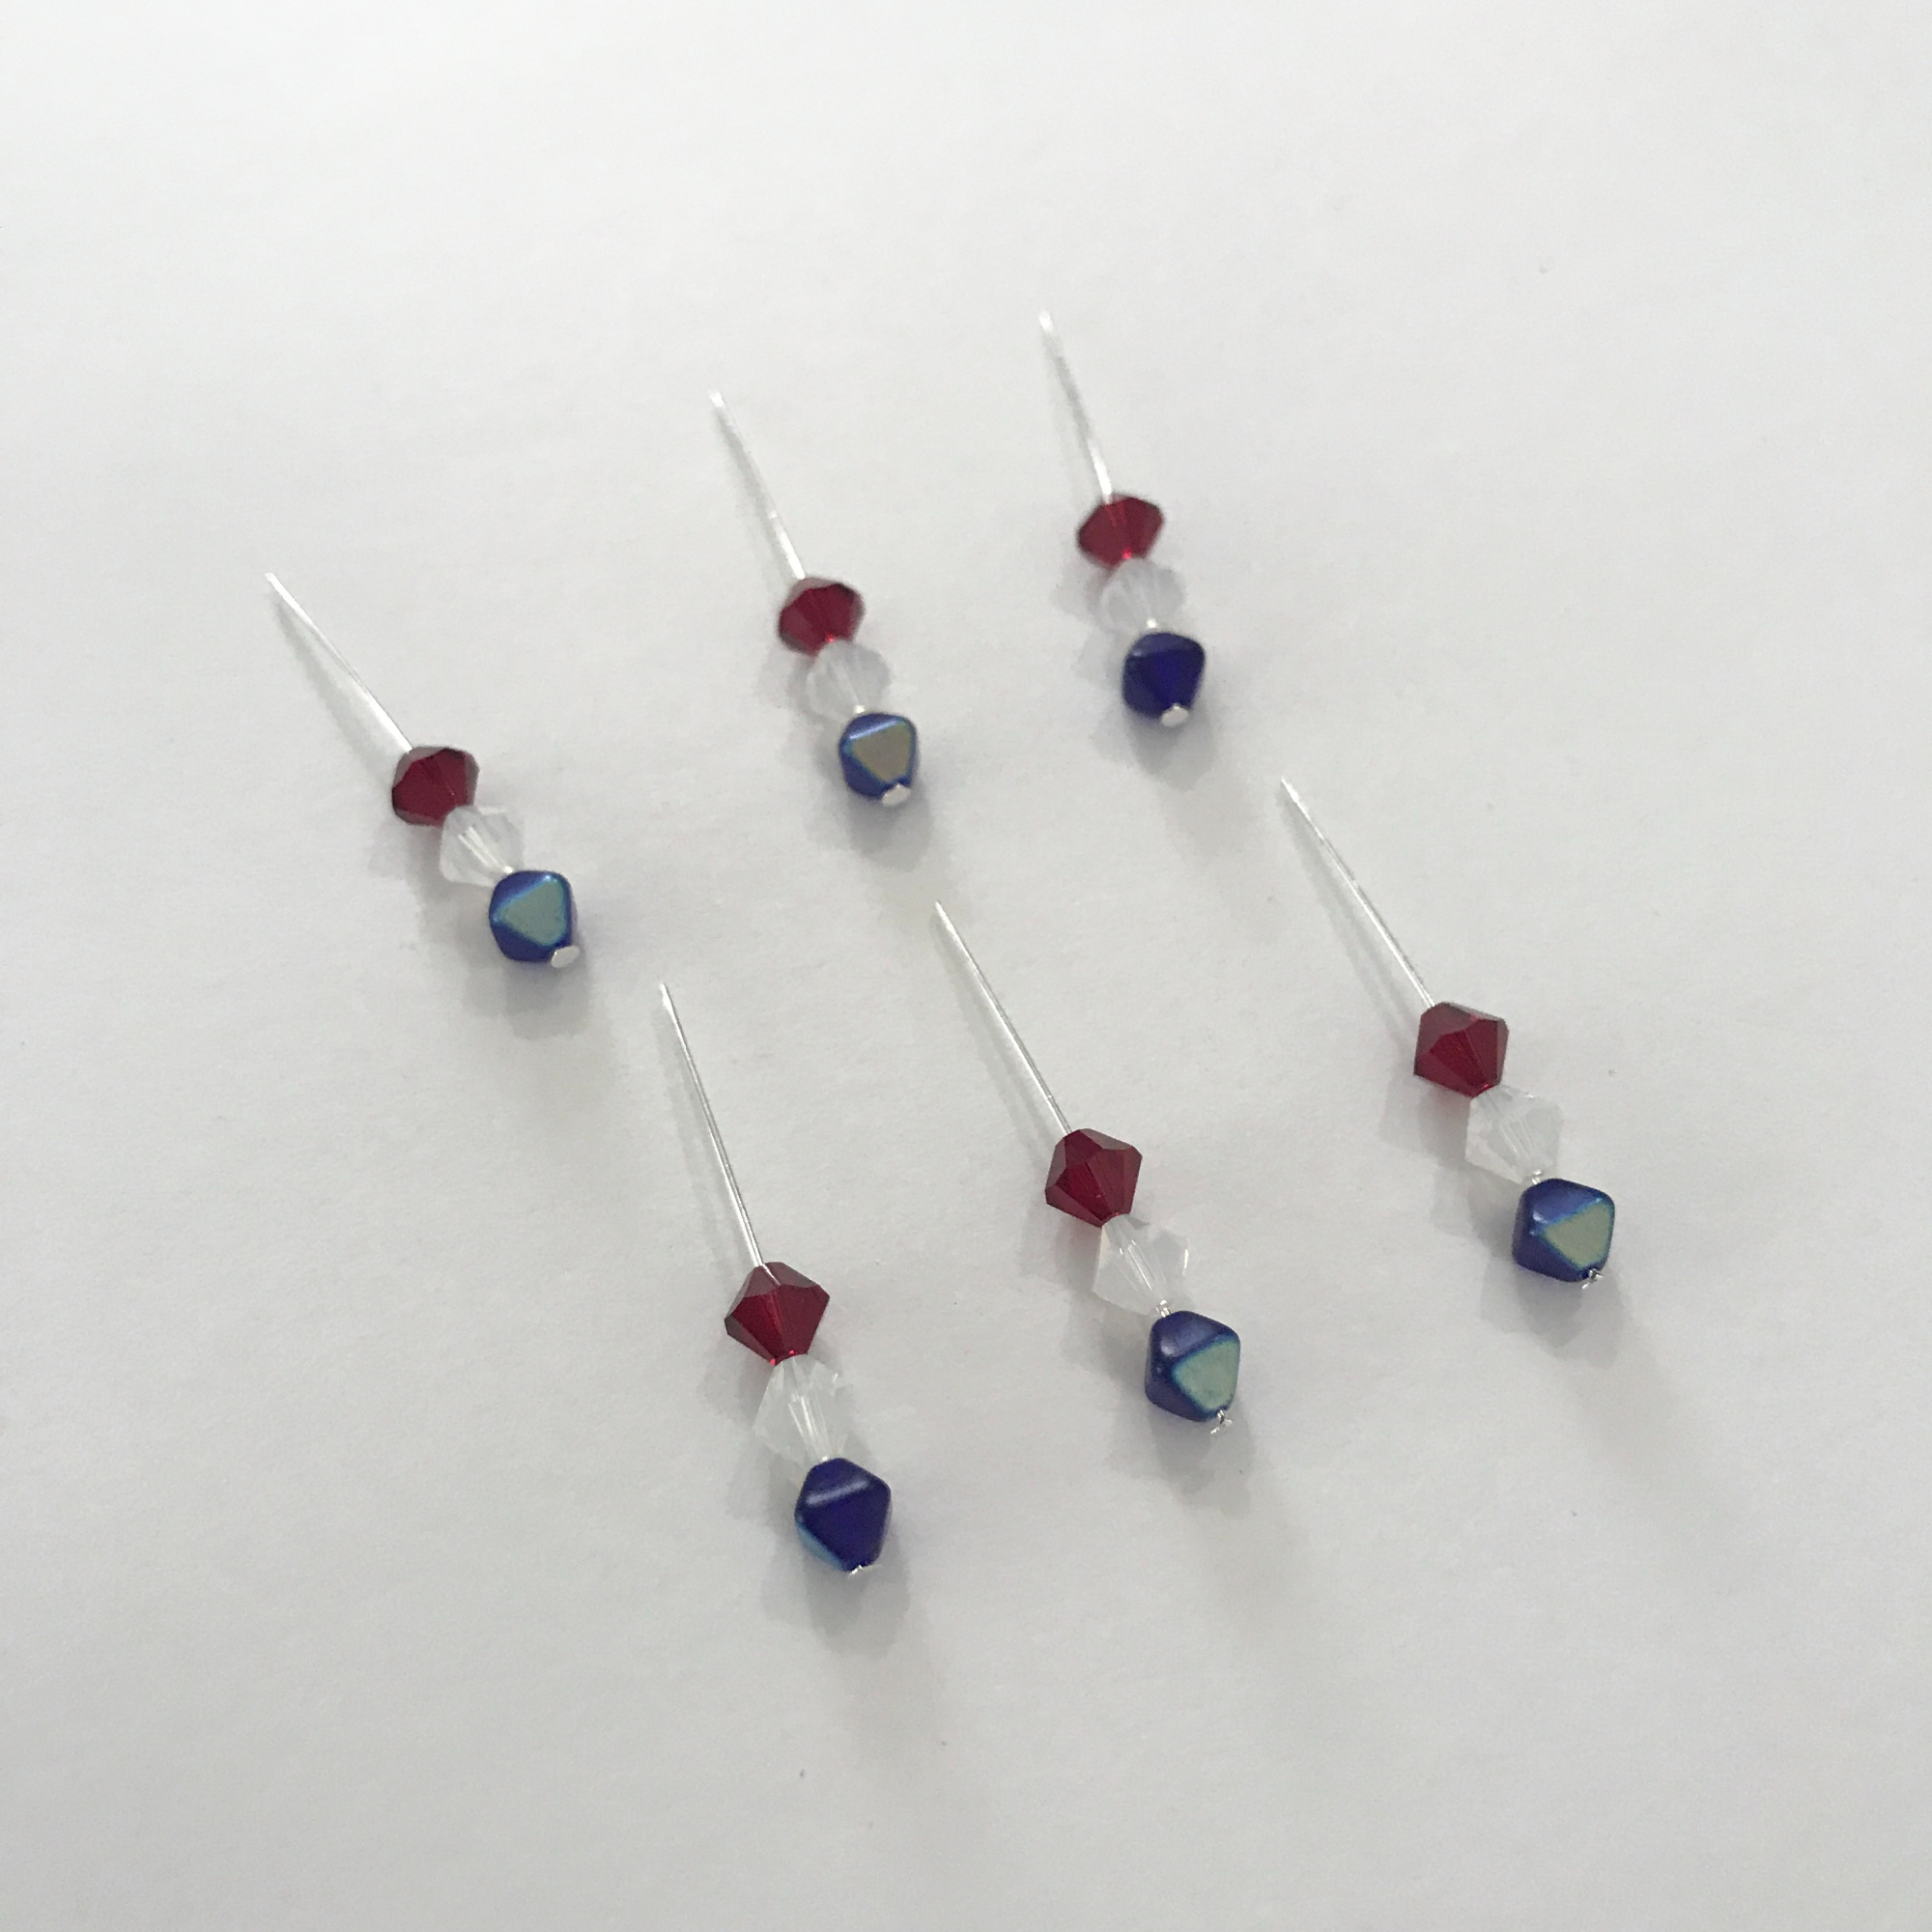
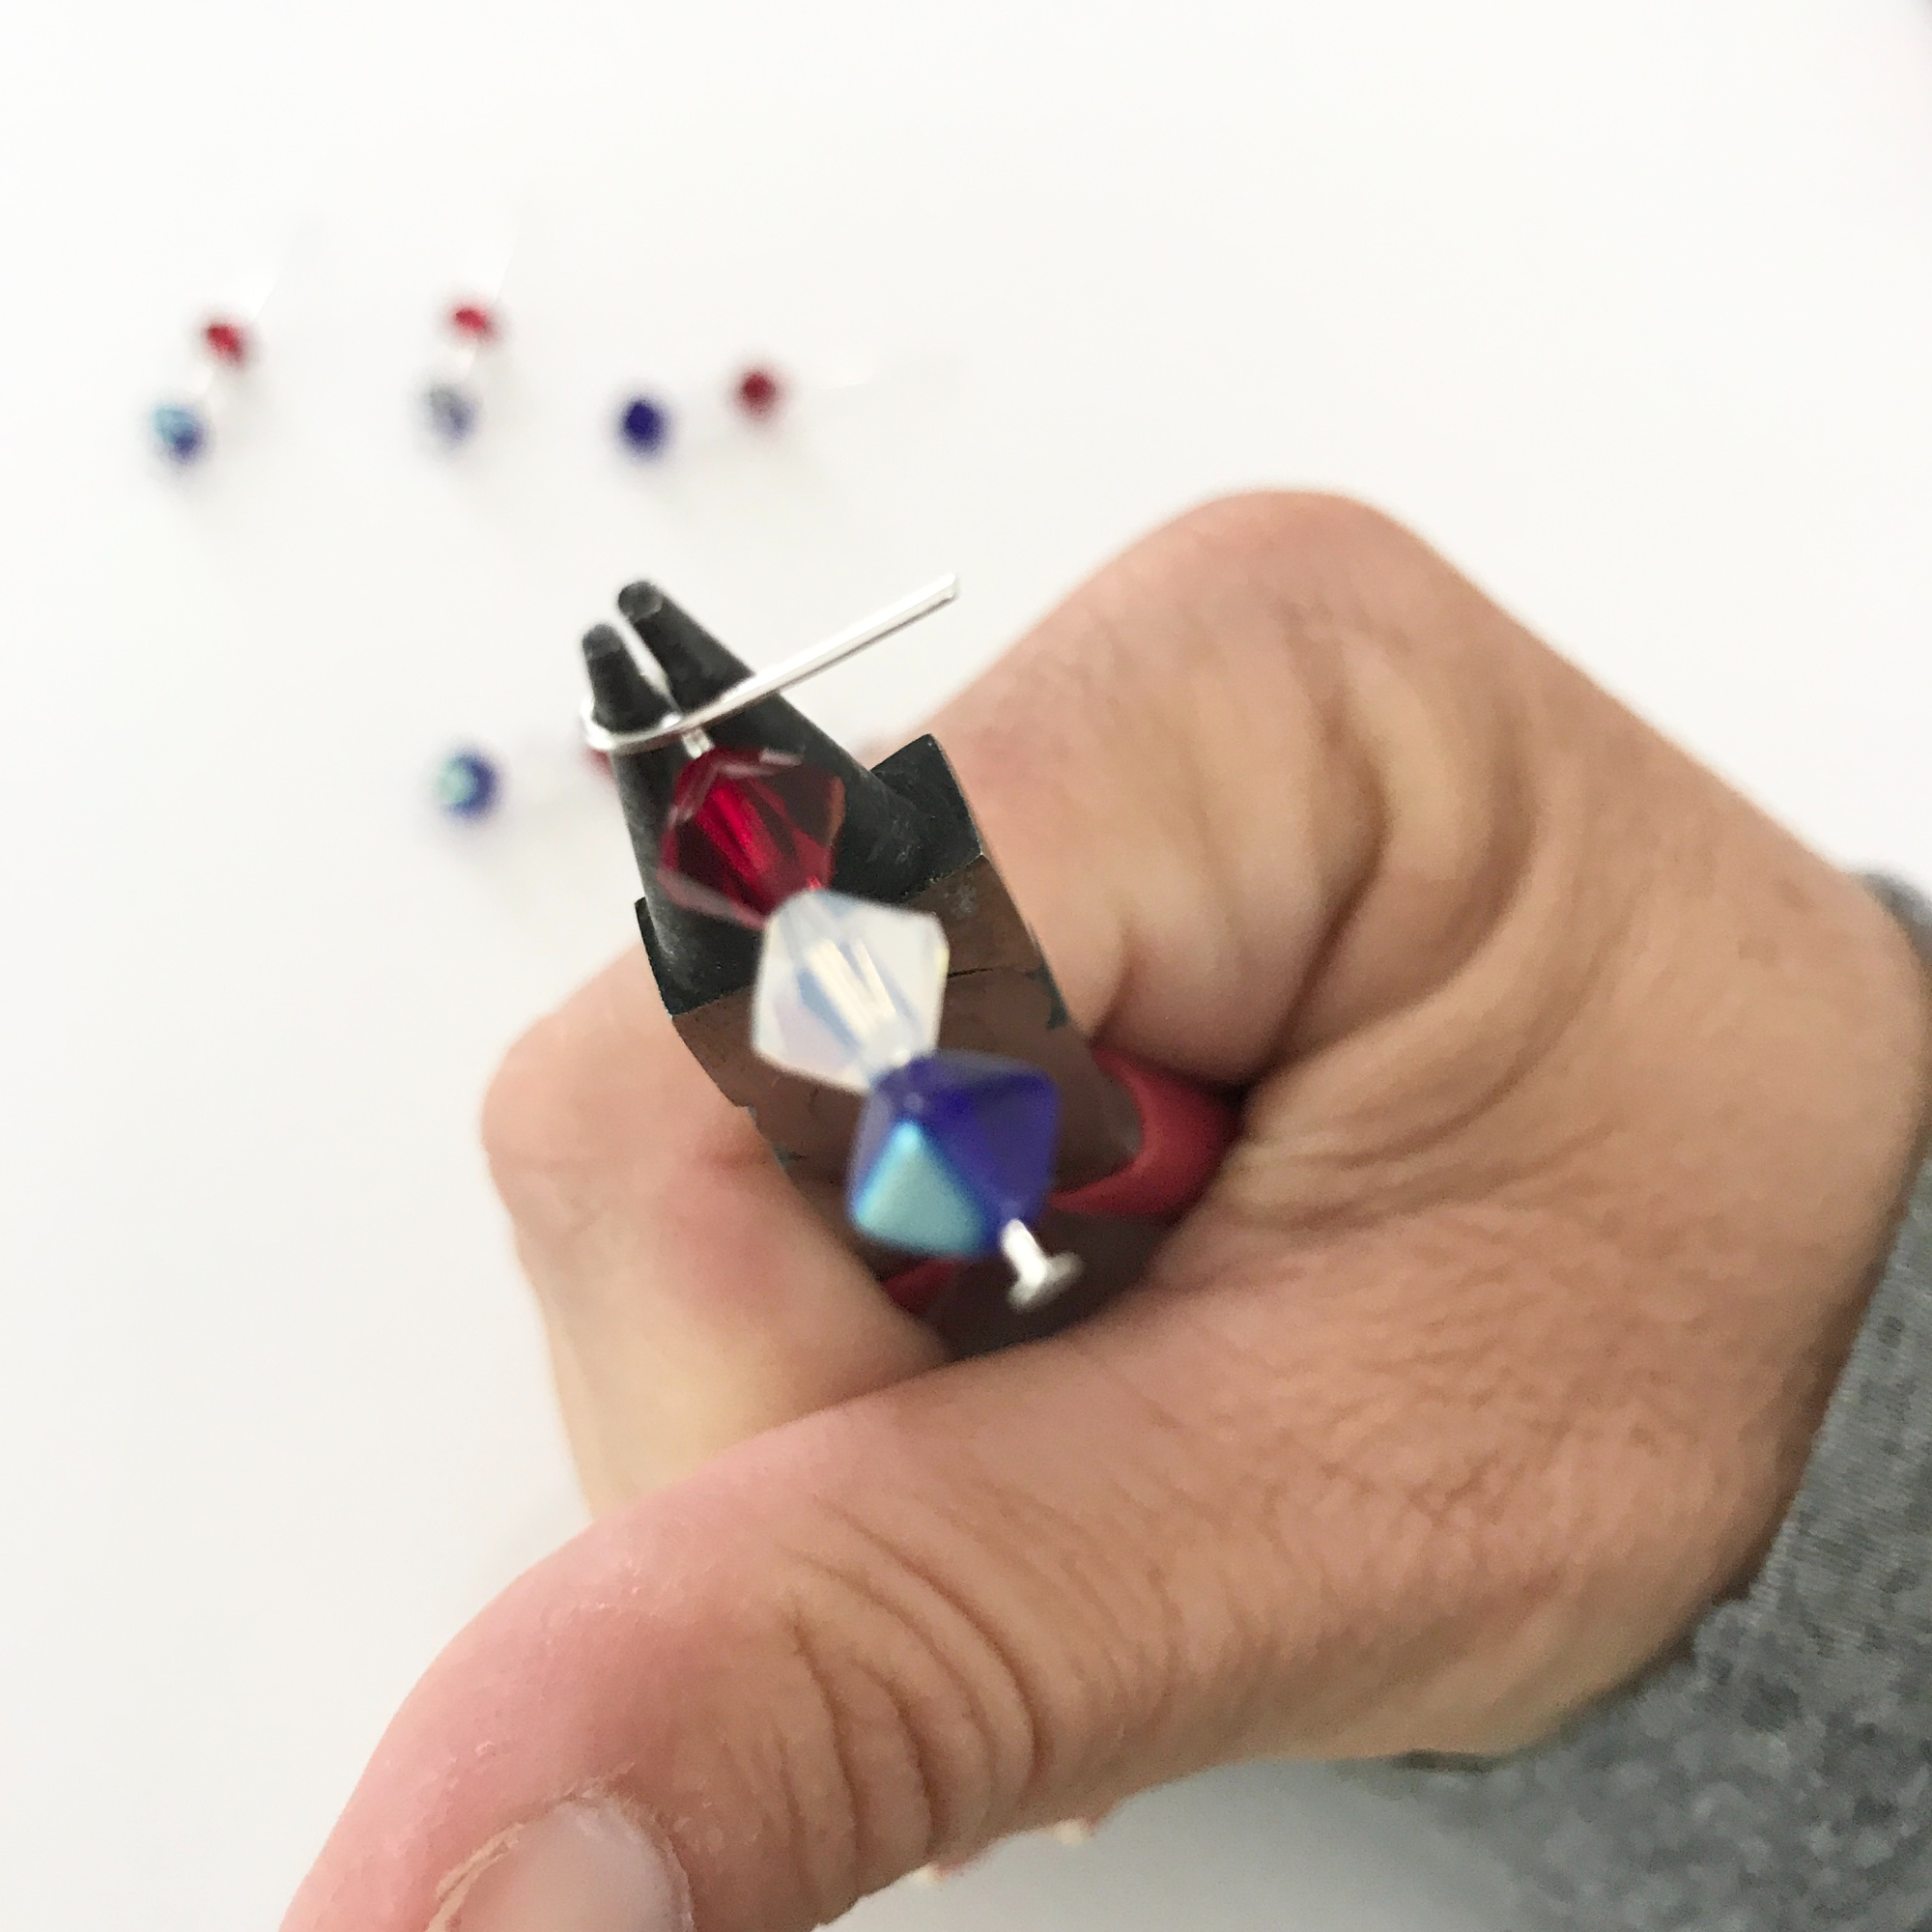
First, I started by separating my beads and placing them on the head pins in the order that I wanted them.

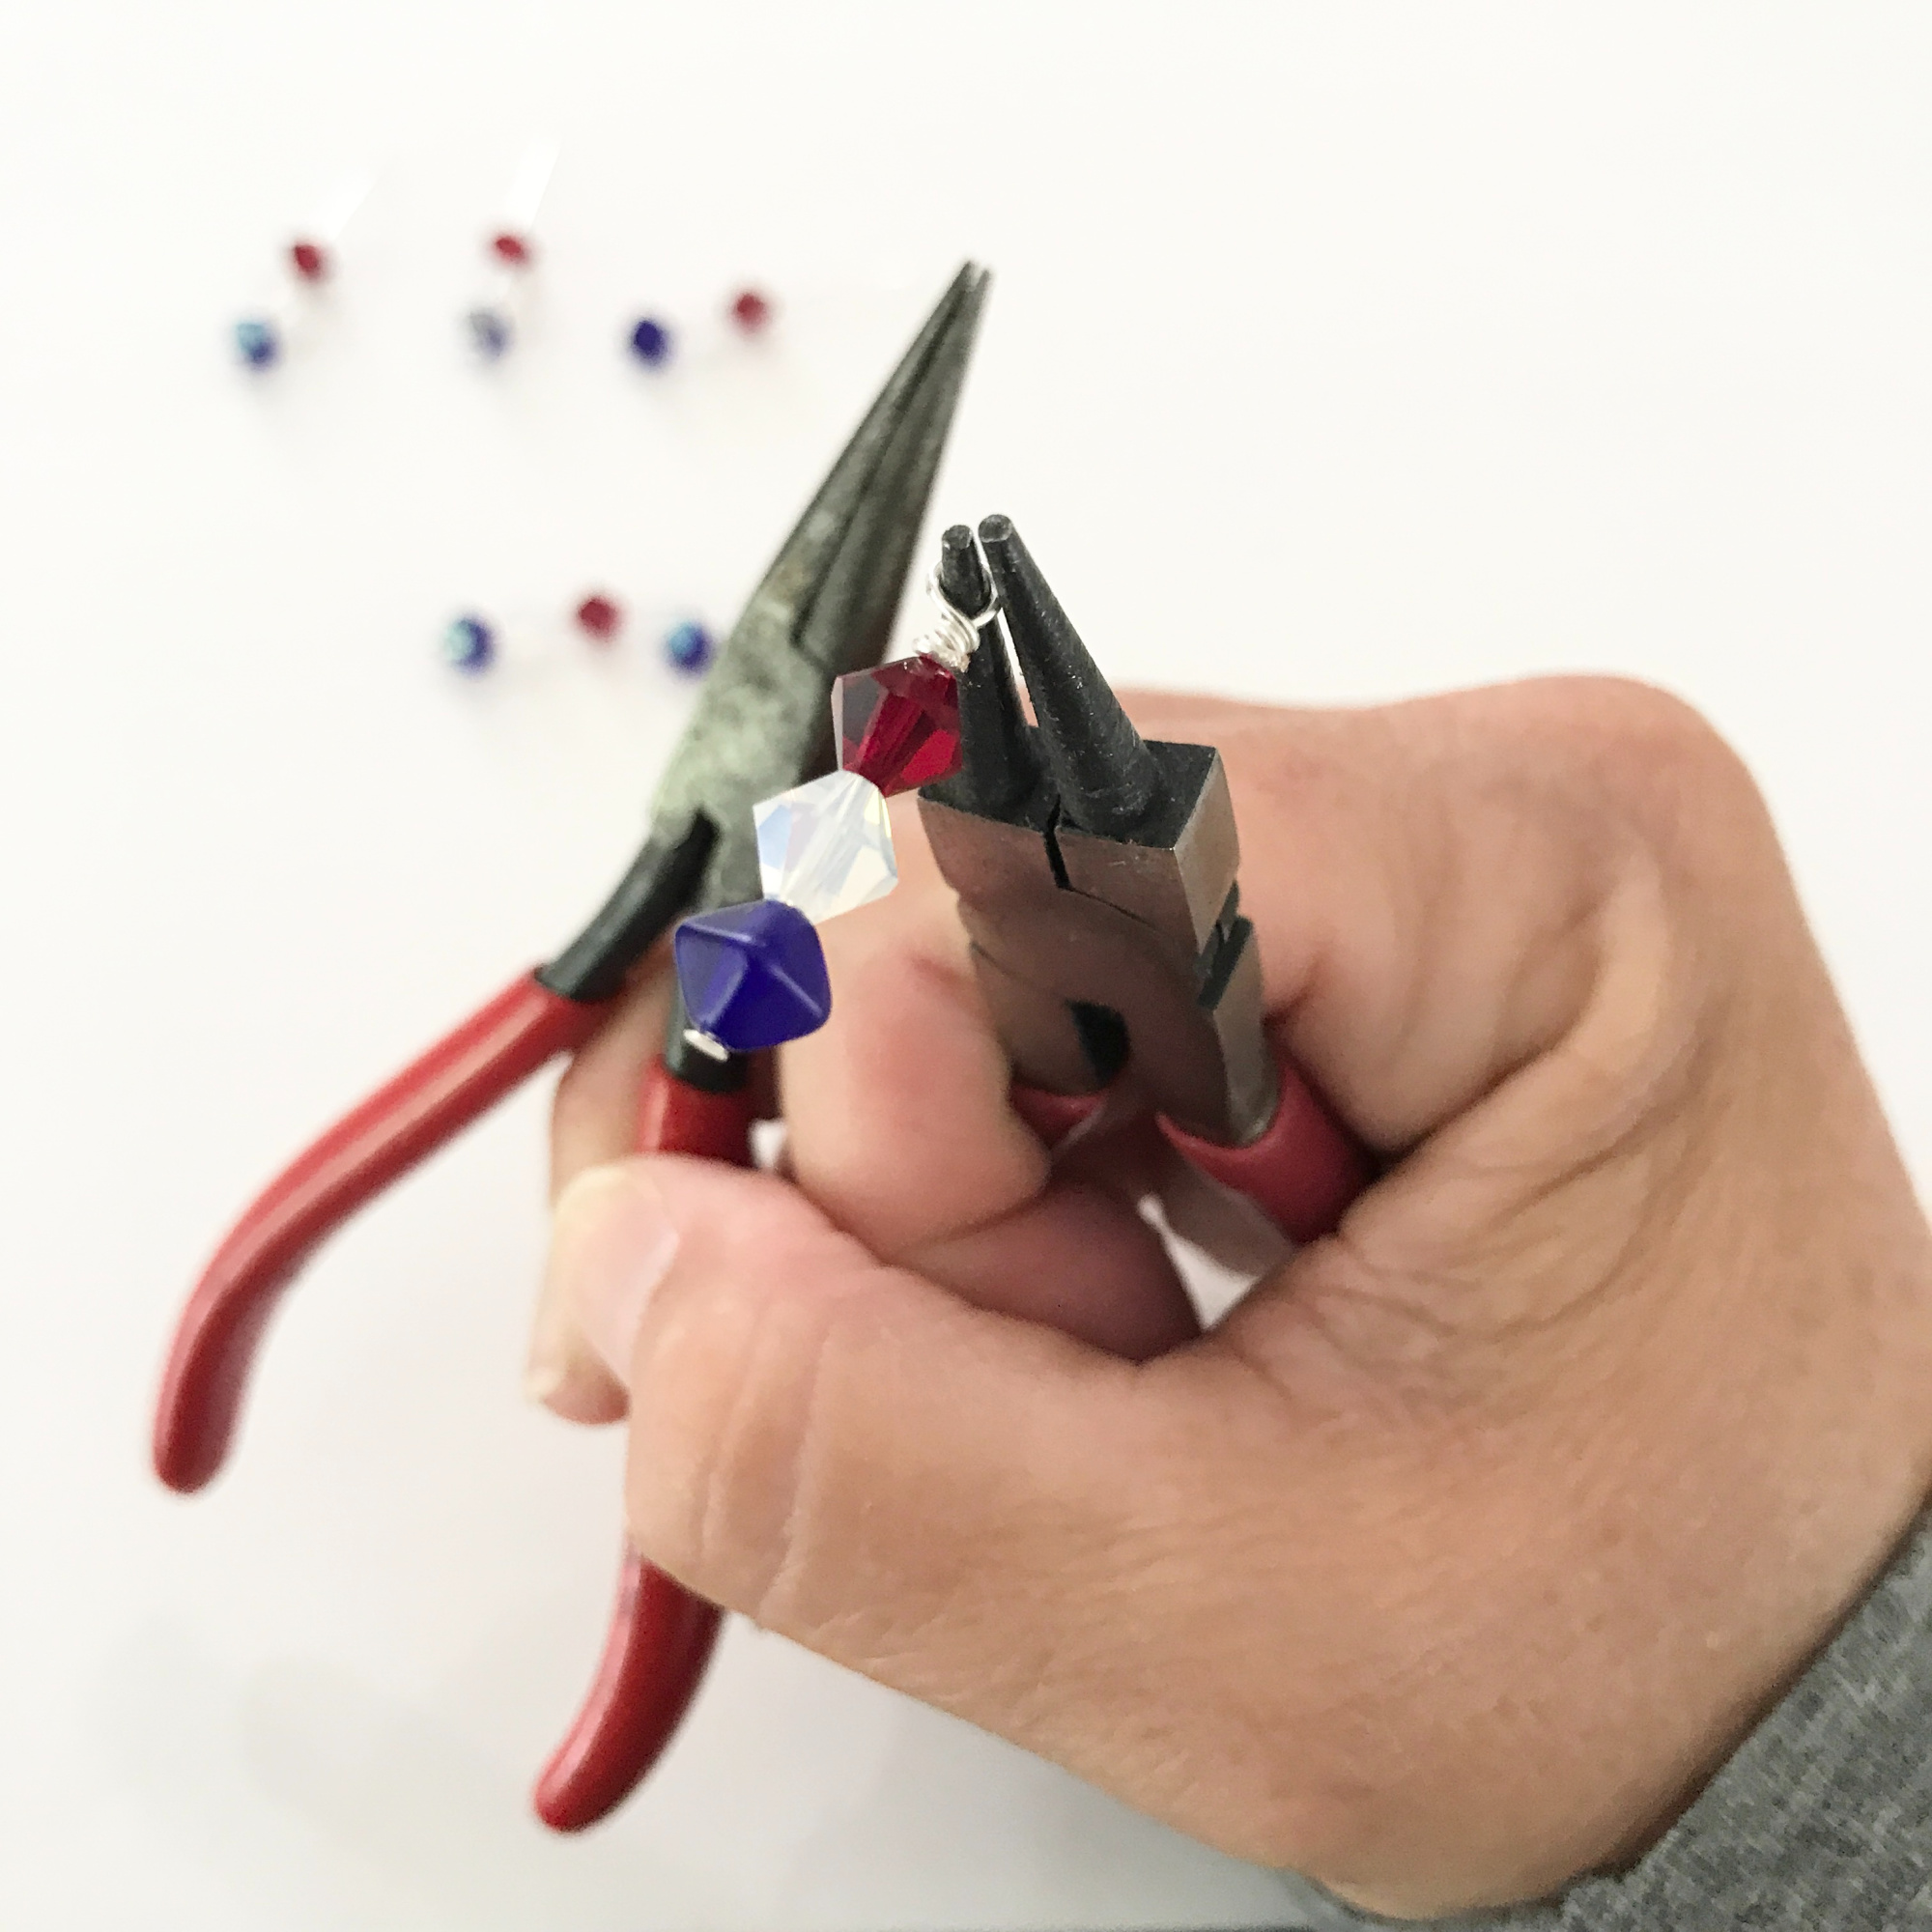
Using my round nose pliers, I created a loop.

Using my needle nose pliers, I wrapped the remaining wire around the head pin so that it would be secure.

I made four the the head pins about the same size and two of them I left longer so that they would hang at a different length.

With my needle nose pliers, I opened the jump ring and placed the head pins and the fish hook. Using two sets of needle nose pliers, I closed the jump ring.

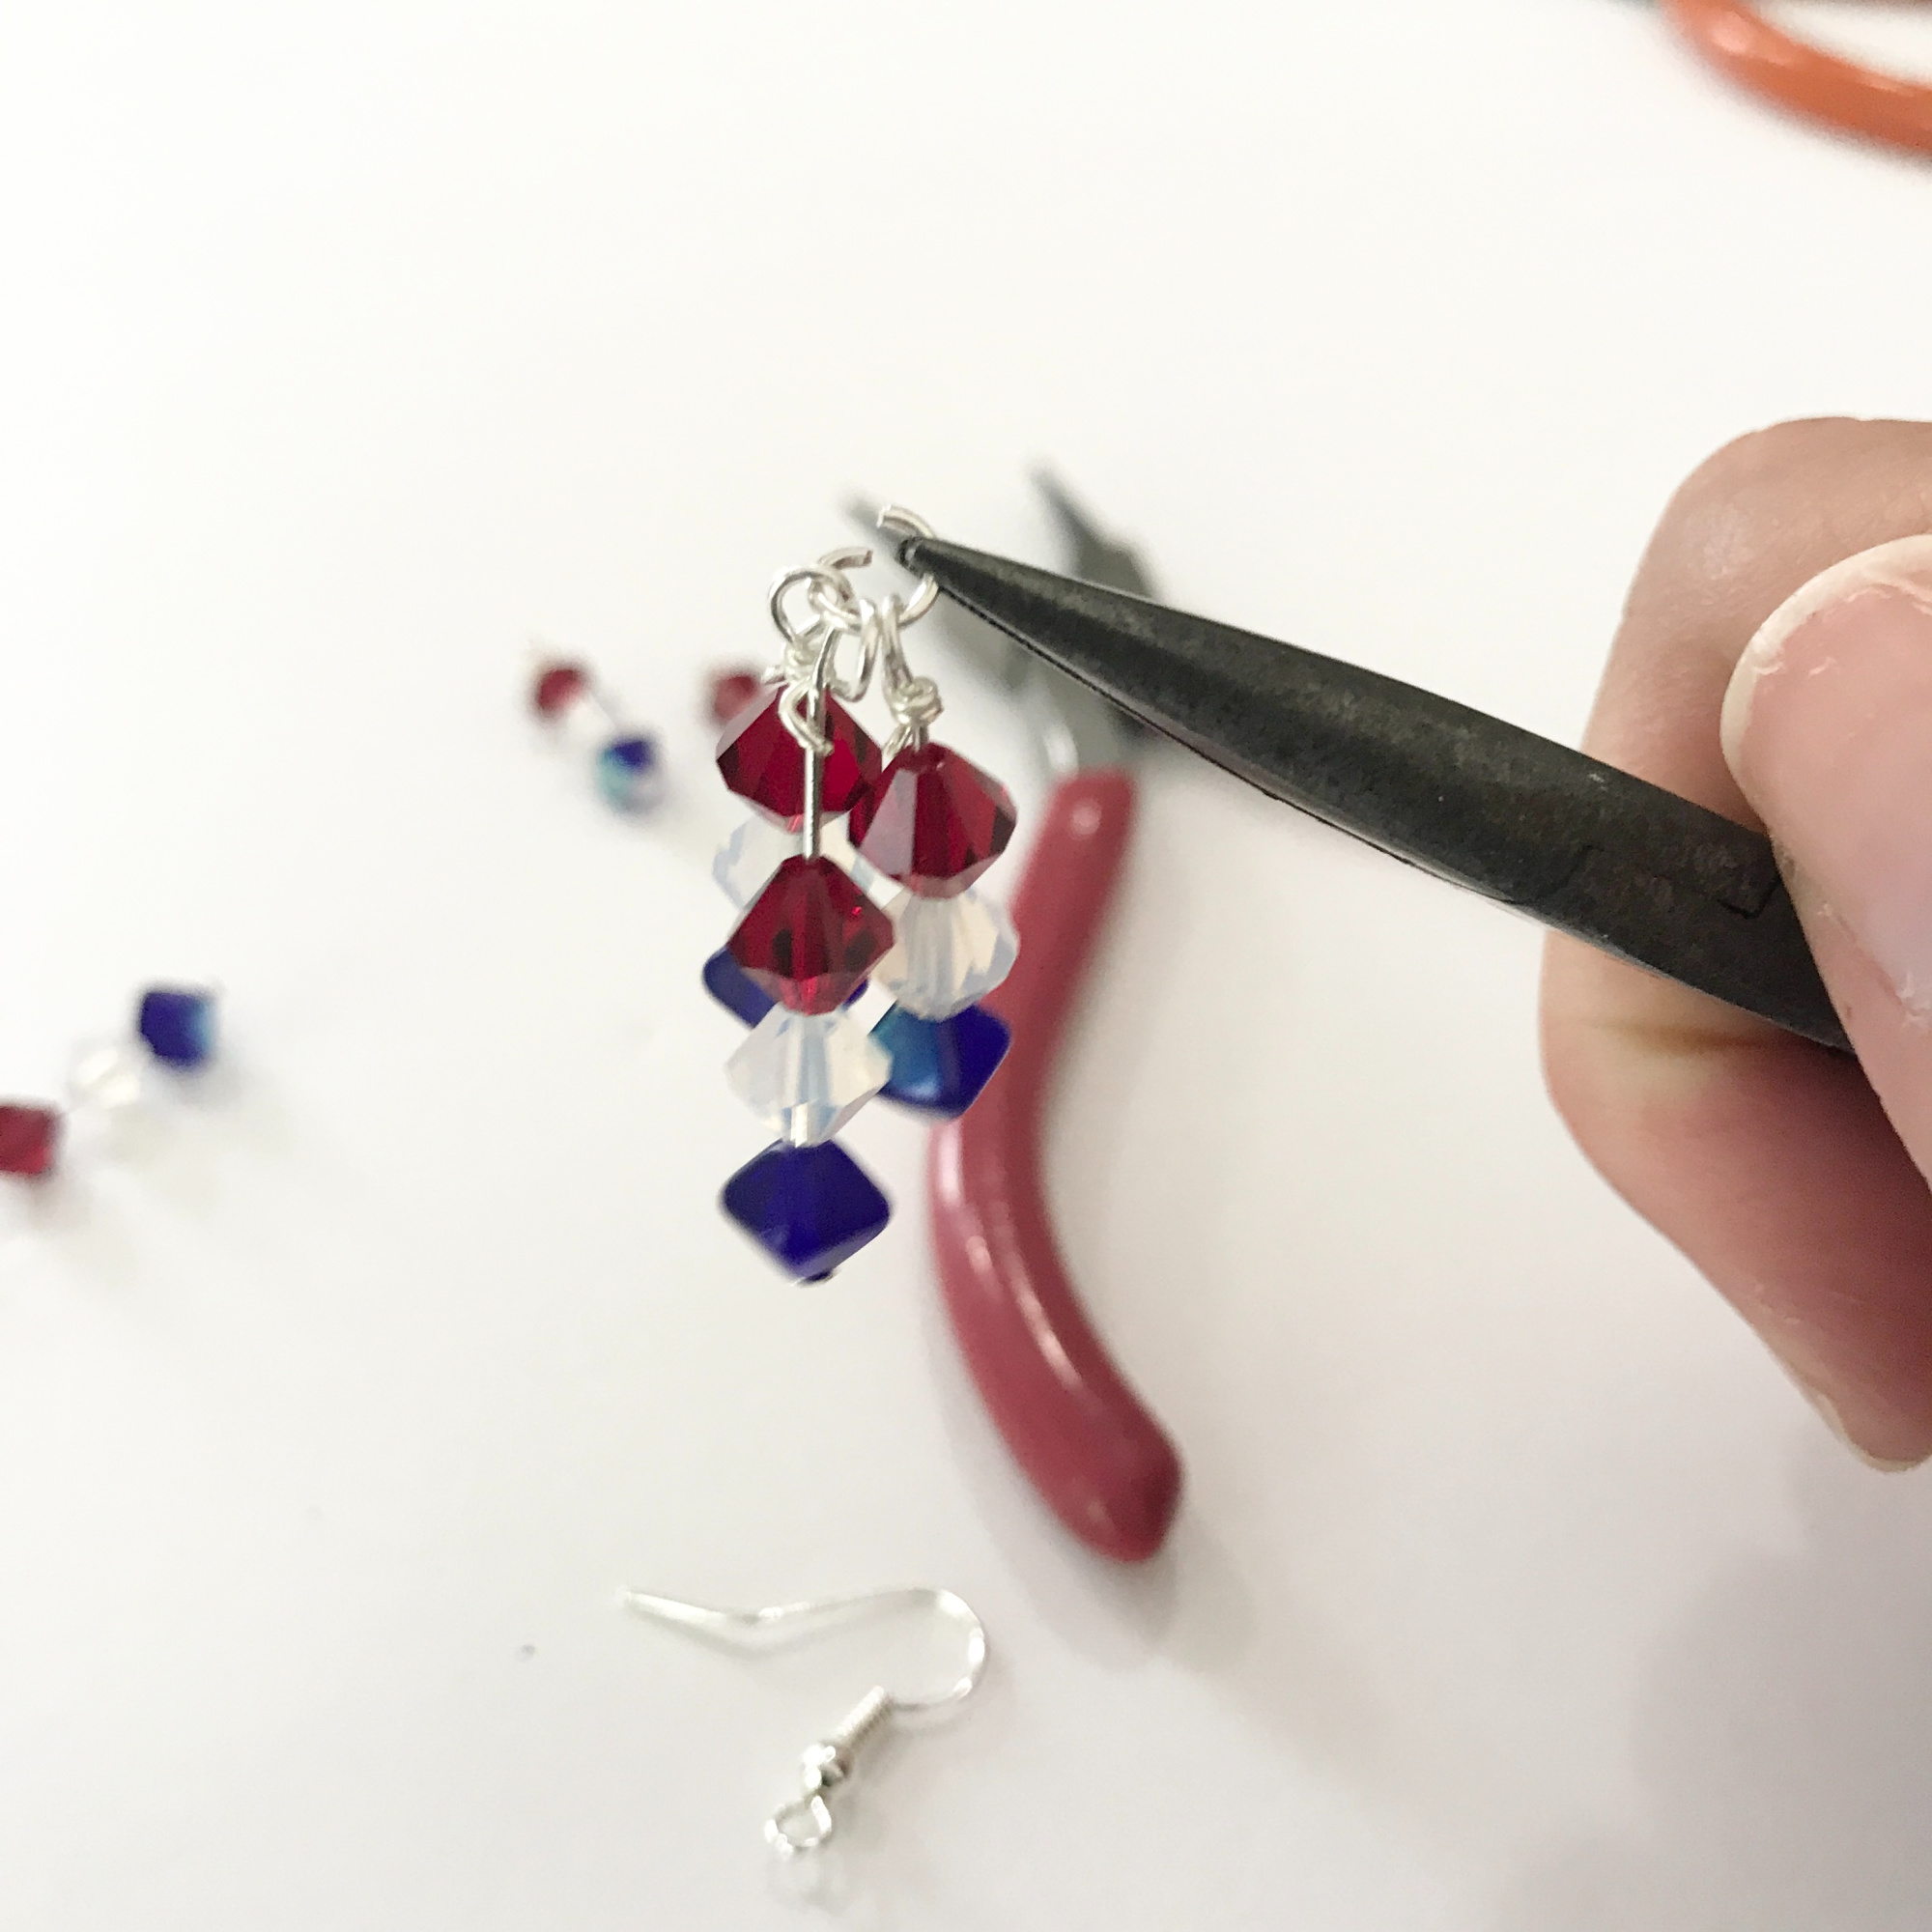
I love how they turned out and they will be super cute to wear on the 4th of July!

Be sure to check out other creative Patriot projects by clicking the button below!

Until next time, Happy Crafting!

Upcycled Welcome Sign Using an Old Sign

Welcome Signs for front doors are very popular right now and this adorable upcycled welcome sign is perfect on my door! I’m joining some of my favorite crafters for the 9th edition of Creative Crafts – Recycled Crafts Edition to create upcycled crafts. I made this sign from a sign that I recently took down from my craft room.

Materials:

  • An old sign
  • Welcome cut out that I cut on my Glowforge and then painted black
  • 9″ x 12″ craft cut of Kunin Felt® Classicfelt: (1) Peacock, (1) Apple Green
  • Acrylic Paint
  • E6000 glue
  • Paint Brush
  • Scissors

How I made it:

I started by painting my sign. I picked this bright yellow paint from DecoArt. Bright colors are just making me so happy lately! Before painting, I pulled the wire up front the front so that I didn’t paint the little curls in the ends. I ended up having to do three coats of paint to get it covered to my liking.

Next, I made felt flowers. There are plenty of options for making felt flowers but these are the ones I picked. The first one I cut a circle from the blue felt and then cut it to create a spiral. I then wrapped it from the center outward, gluing it in place as I went. The second flower I cut a long strip of the blue felt, folded it in half and glued it on the ends and along the edges. Using my scissors, I cut short slits in the folded side, making sure not to cut all the way to the edge of the glued side. I then rolled it up, gluing it as I rolled. I cut leaves from the green felt.

Once everything was ready, it was time to glue everything into place using the E6000. You can use any glue, but E6000 is my favorite glue!

Once the glue was dry, it was ready to hang up on my front door! I love how it turned out! I hope you do too!

Be sure to click on the on the Team Creative Crafts button below to check out other recycled crafts!

Then, enter to win below!

a Rafflecopter giveaway

Until next time….Happy Crafting!

Creative Christmas Crafting featuring Sculpey

It’s time for the Creative Crafts Christmas Edition and together with Sculpey, we are creating for the holidays! Sculpey is the perfect medium to make Christmas ornaments with. Here in the south, monograms are all the rage and everyone loves a monogram. Sculpey® provided me with with Sculpey III and Sculpey Bake Shop clay and a modeling tool kit to create this adorable monogram ornament. This ornament could be attached to a gift and then placed on the tree afterwards!

Materials:

  • Sculpey® Clays: Sculpey III in Granny Smith, Sculpey Bake Shop® in White and Red
  • Sculpey Bake Shop® Modeling Tools
  • Round Cookie Cutter
  • Parchment Paper
  • String or Ribbon
  • Oven or Toaster Oven

How I made it:

I started by cutting the amount of clay that I thought I would need from each block and kneading it to soften it.

Once the clay was soft and easy to work with, I rolled out the white clay until it was about 1/4″ thick using the roller that came in the modeling tools pack. I also cut a small square piece to create the top of the ornament.

Using the pointed tool stick, I created a hole in the top part and then I scored the ornament to give it a shiplap look.

I then rolled out the green clay to create the border and then the red clay to create the monogram. I then added them to the white clay and pressed them down gently so that they stuck.

I preheated my toaster oven to 275 degrees and baked my clay for about 15 minutes per the instructions. Then I let it cool and added the ribbon.

Be sure to click the Creative Christmas Crafts button below to check out other Christmas crafts!

Happy Crafting! Until next time…..