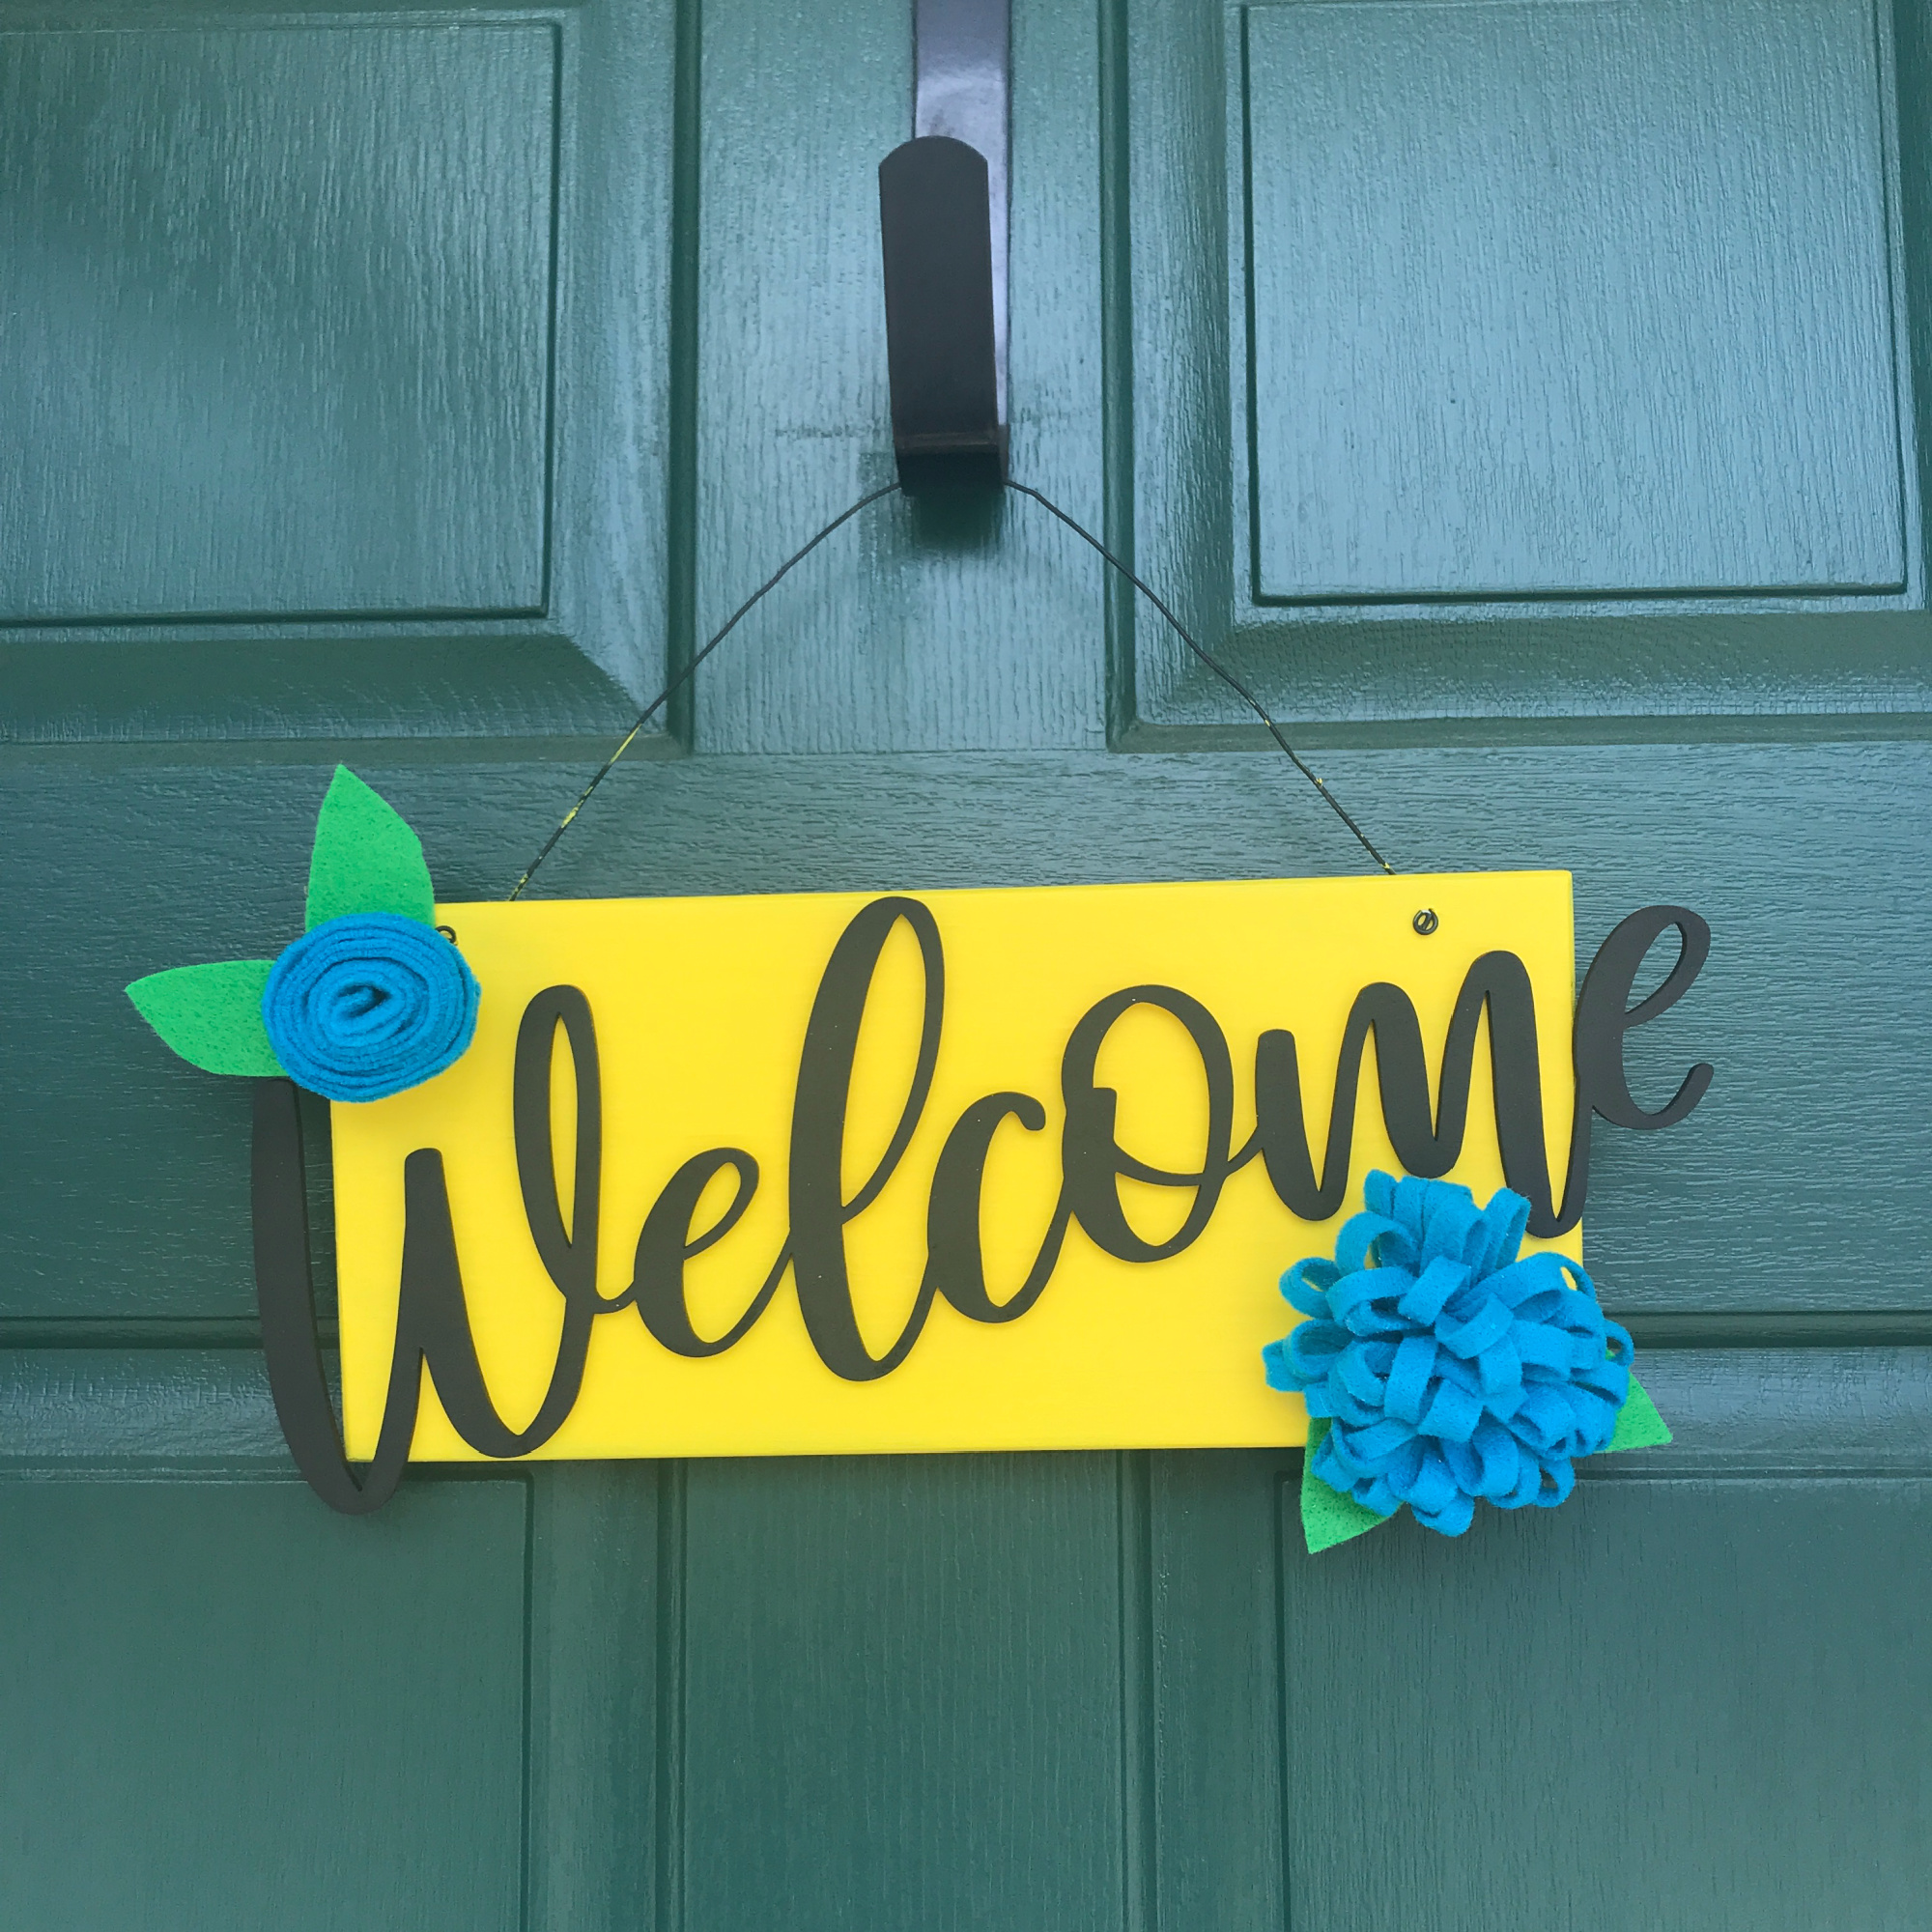
Welcome Signs for front doors are very popular right now and this adorable upcycled welcome sign is perfect on my door! I’m joining some of my favorite crafters for the 9th edition of Creative Crafts – Recycled Crafts Edition to create upcycled crafts. I made this sign from a sign that I recently took down from my craft room.
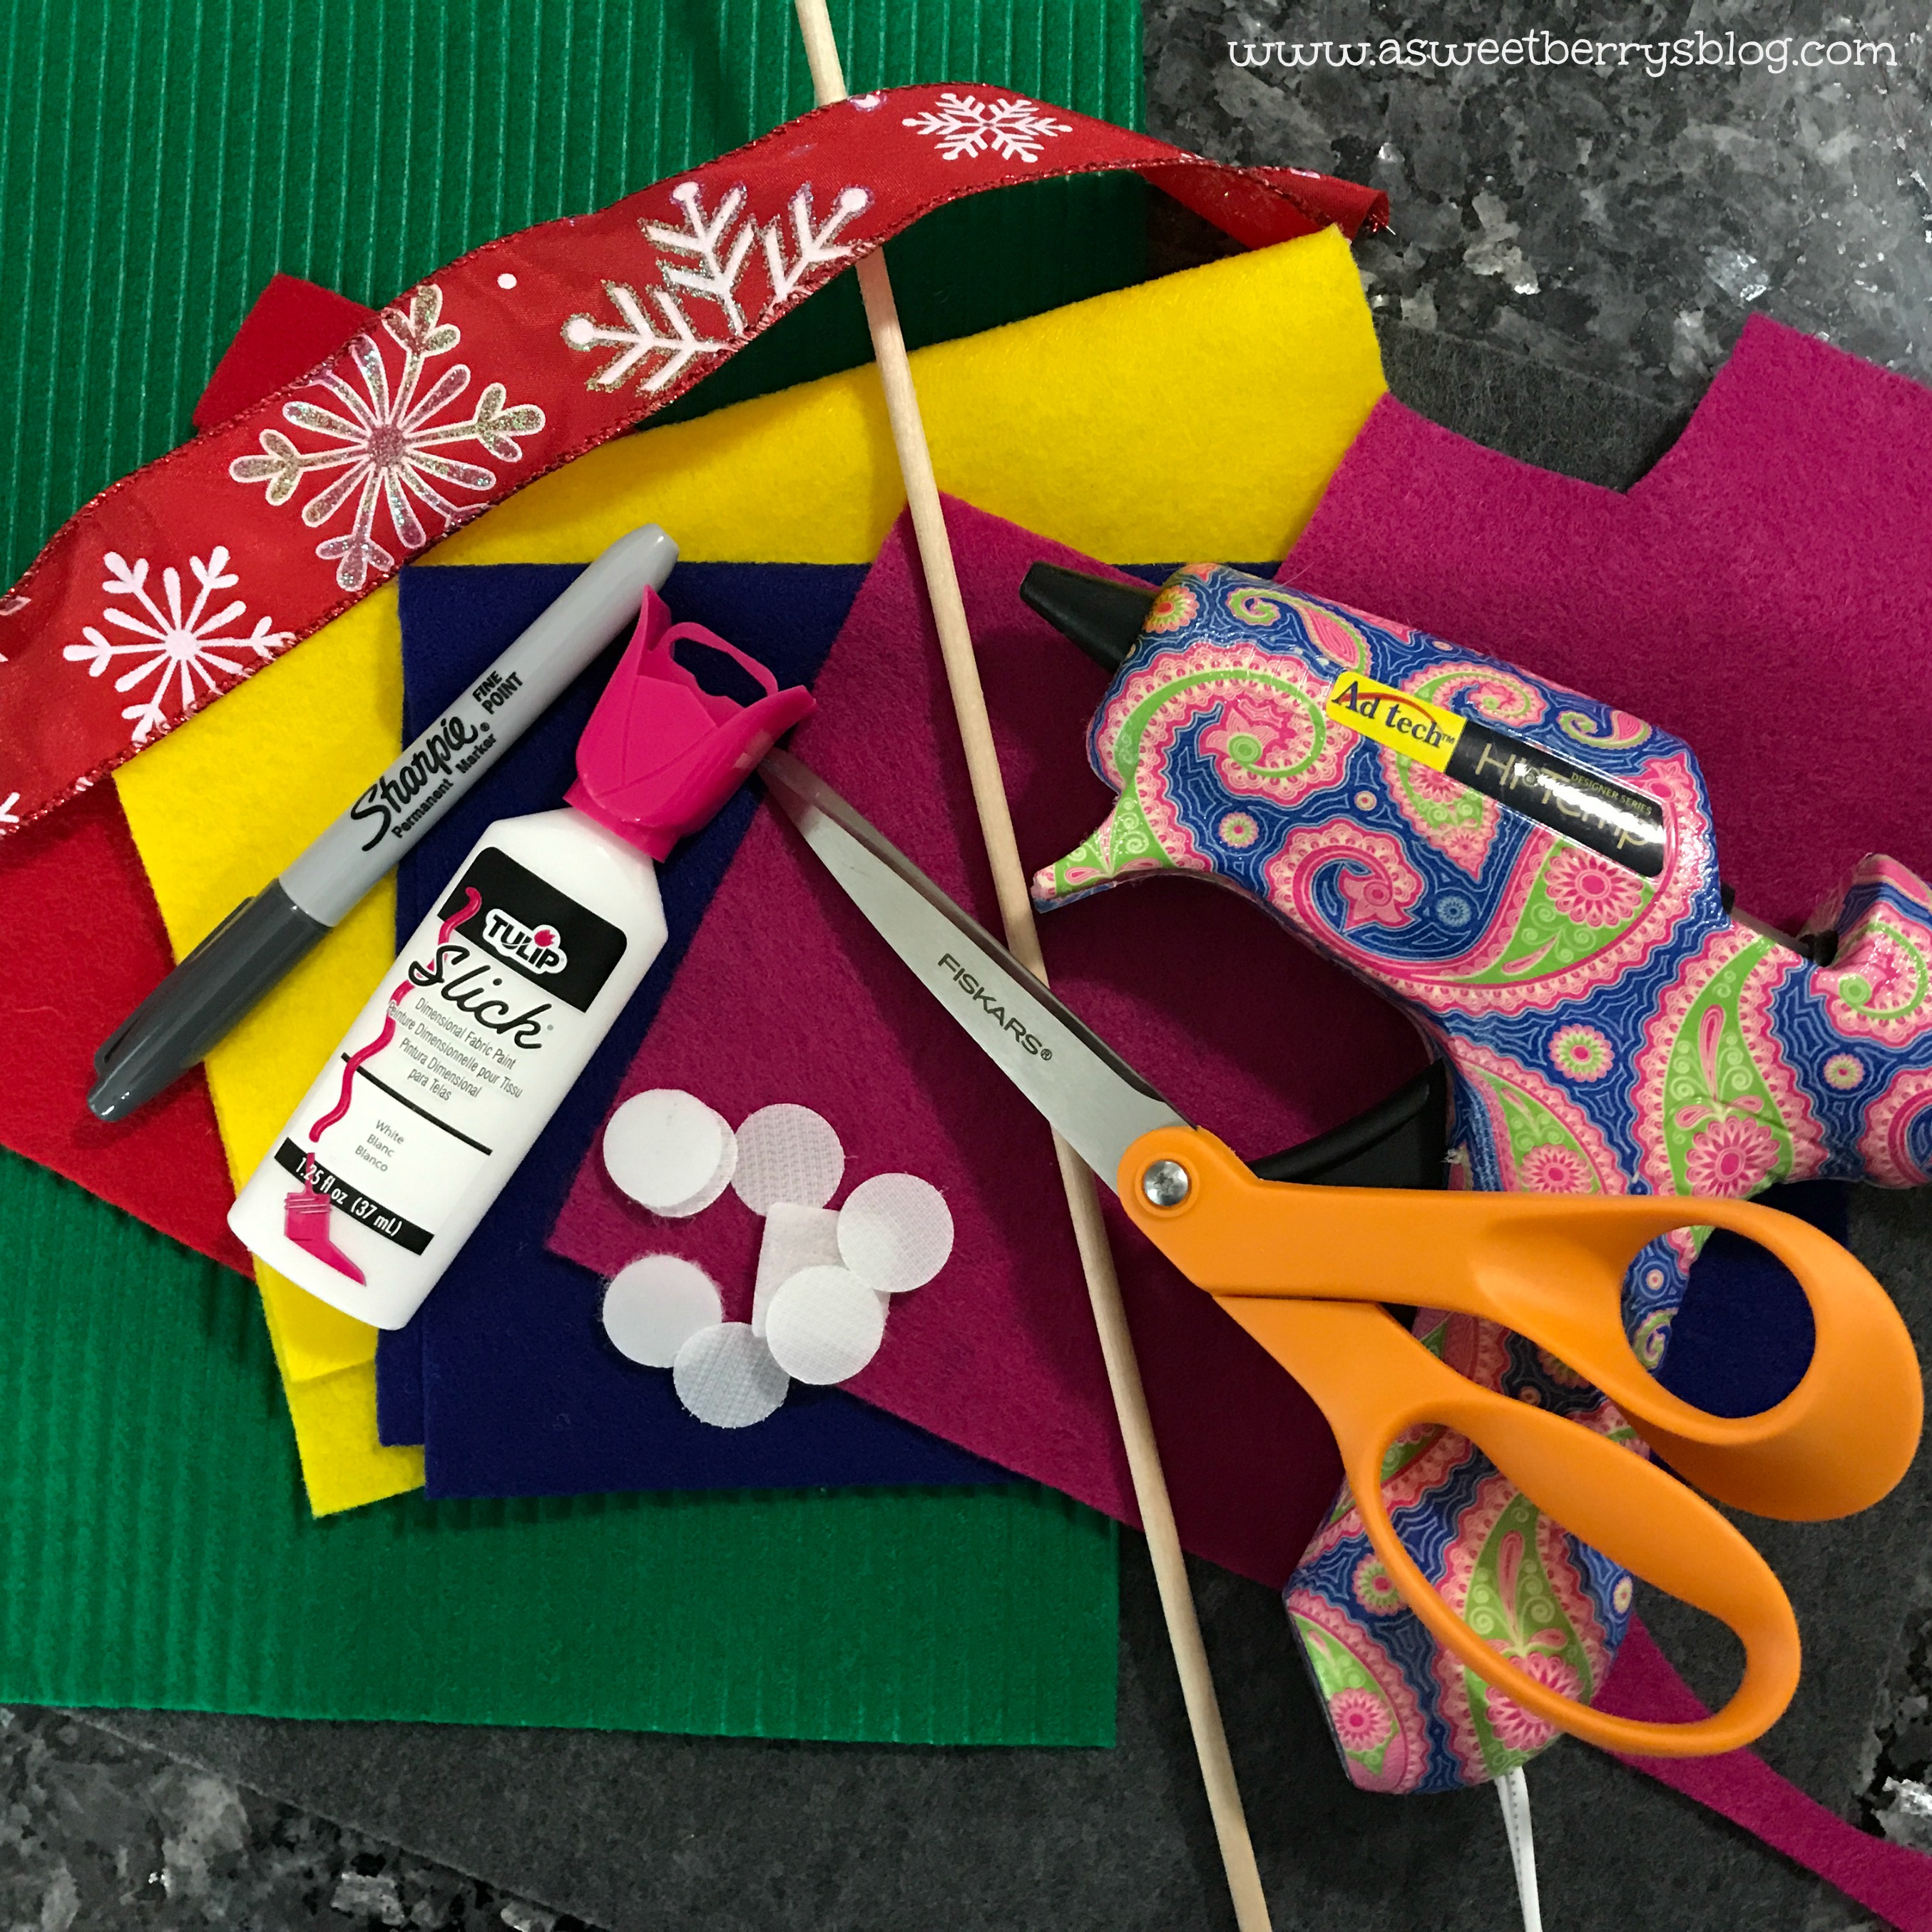
Materials:
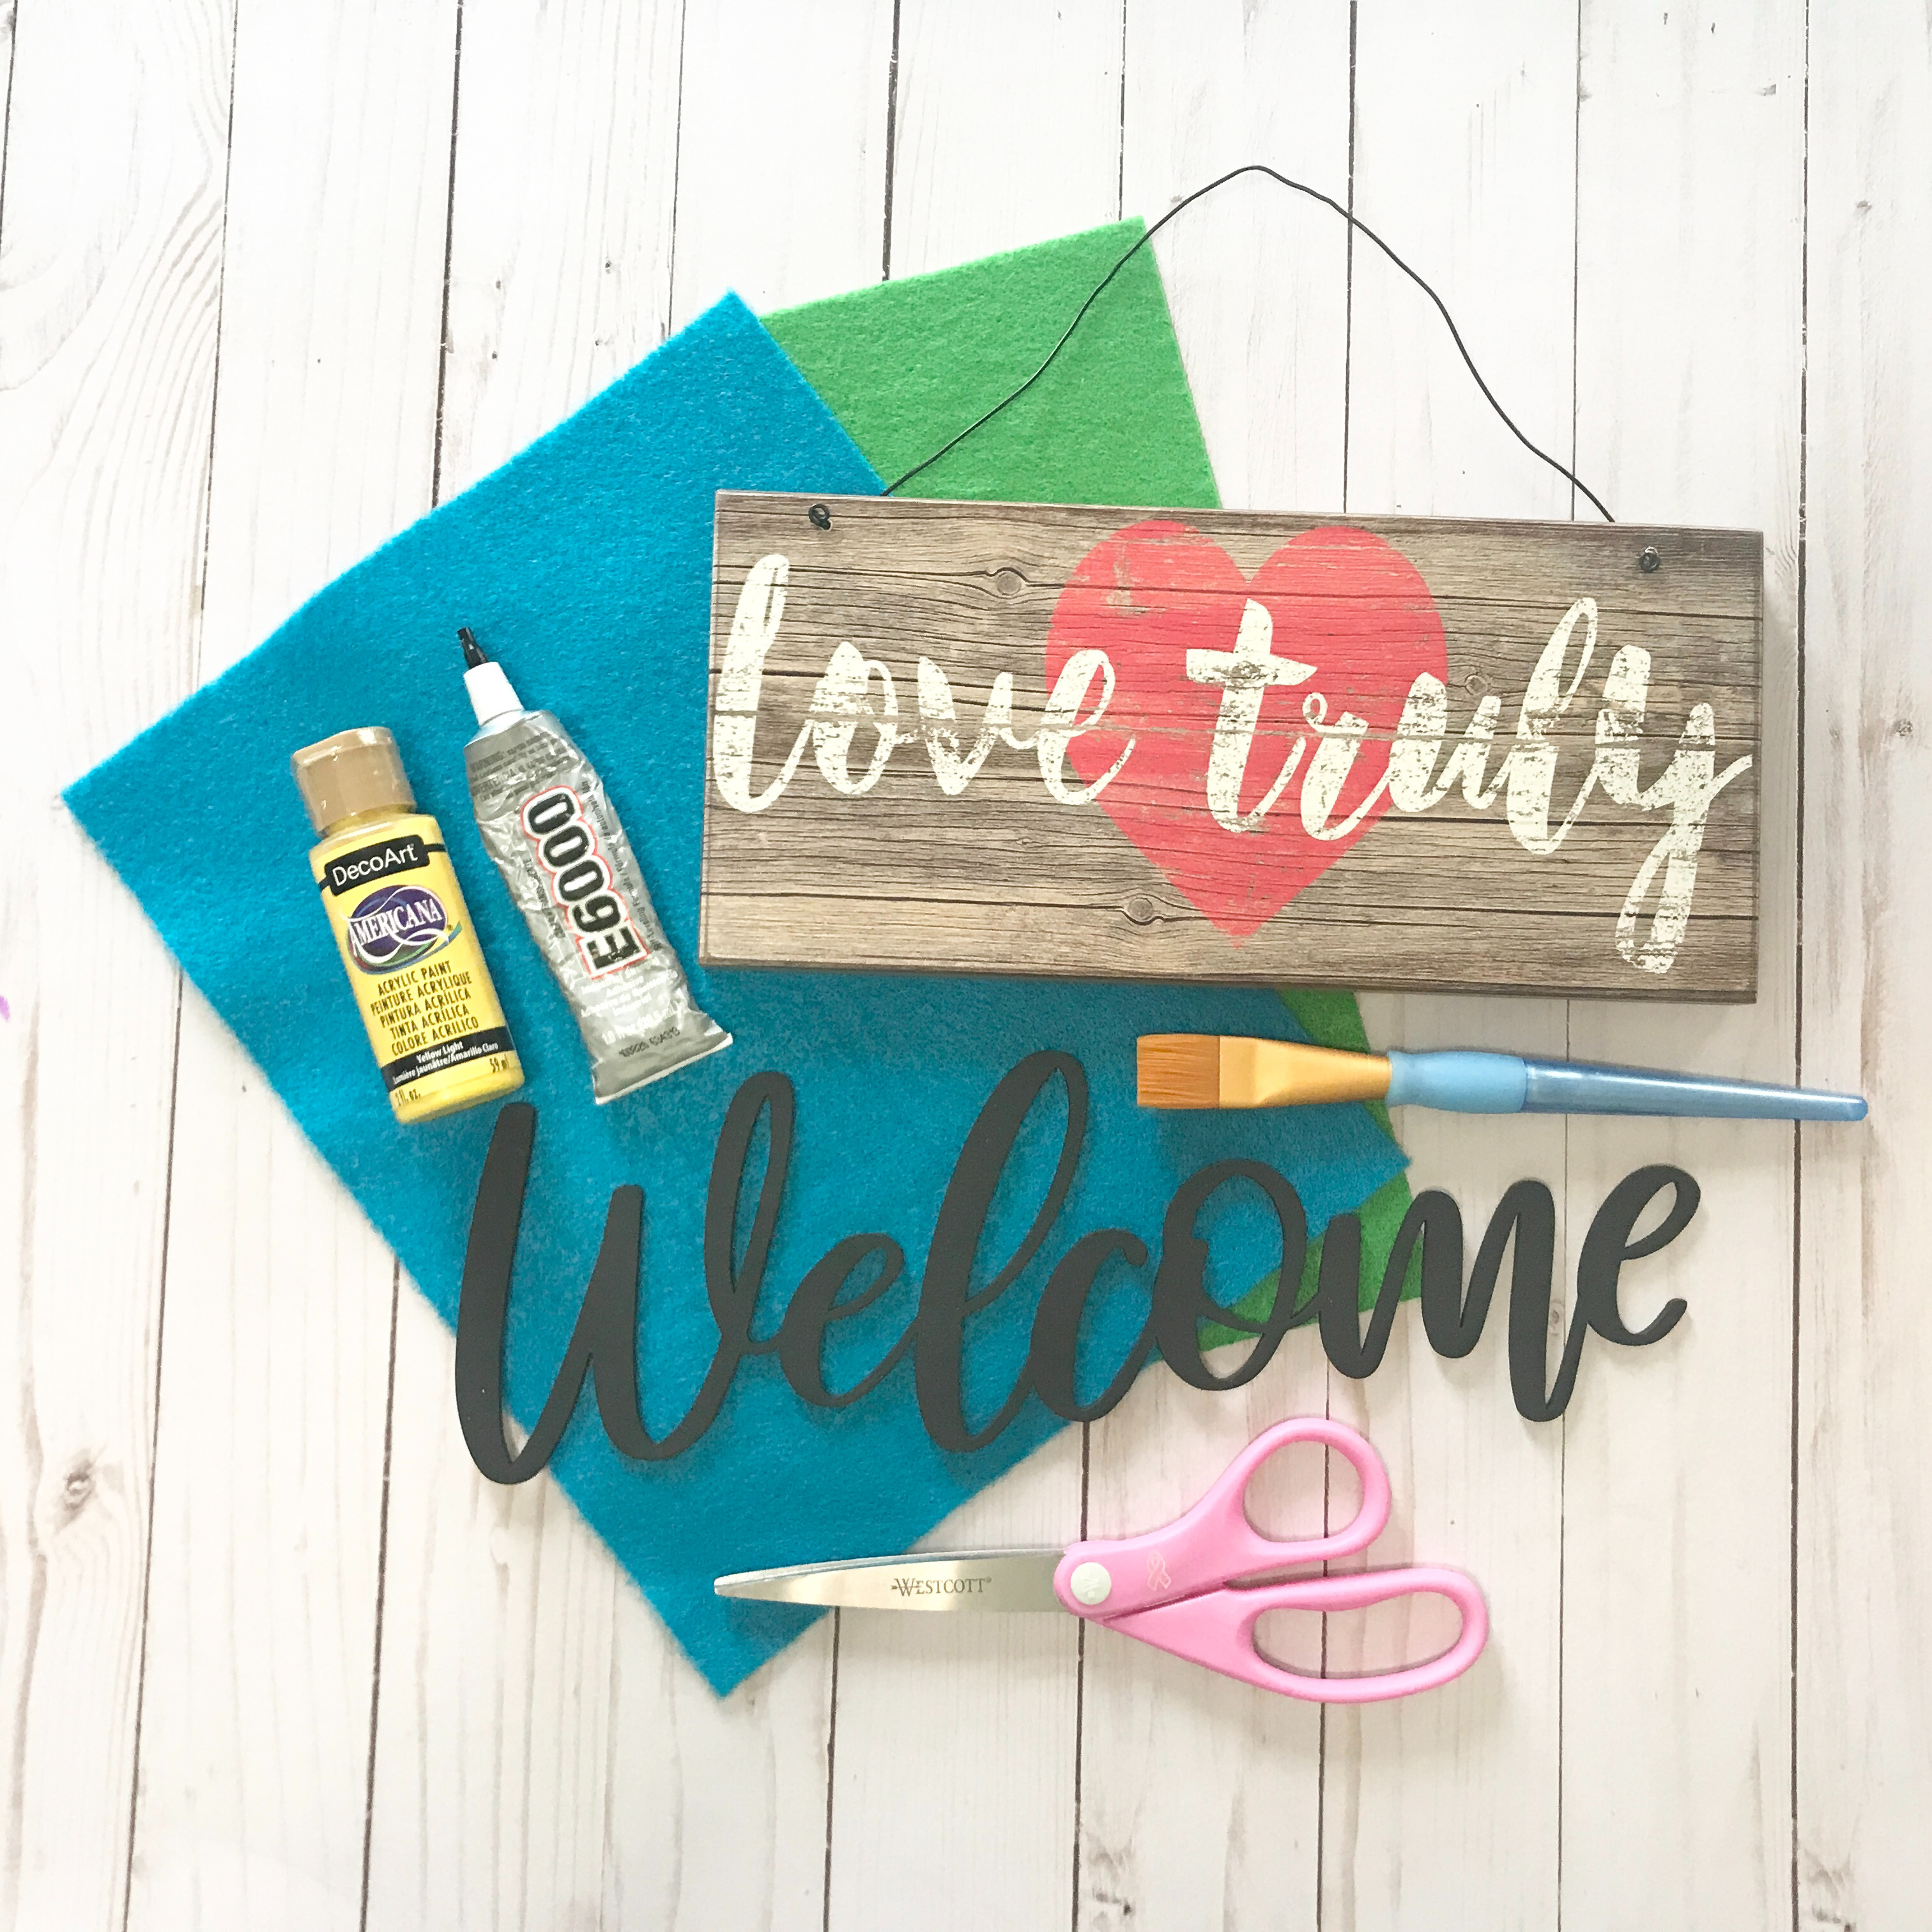
- An old sign
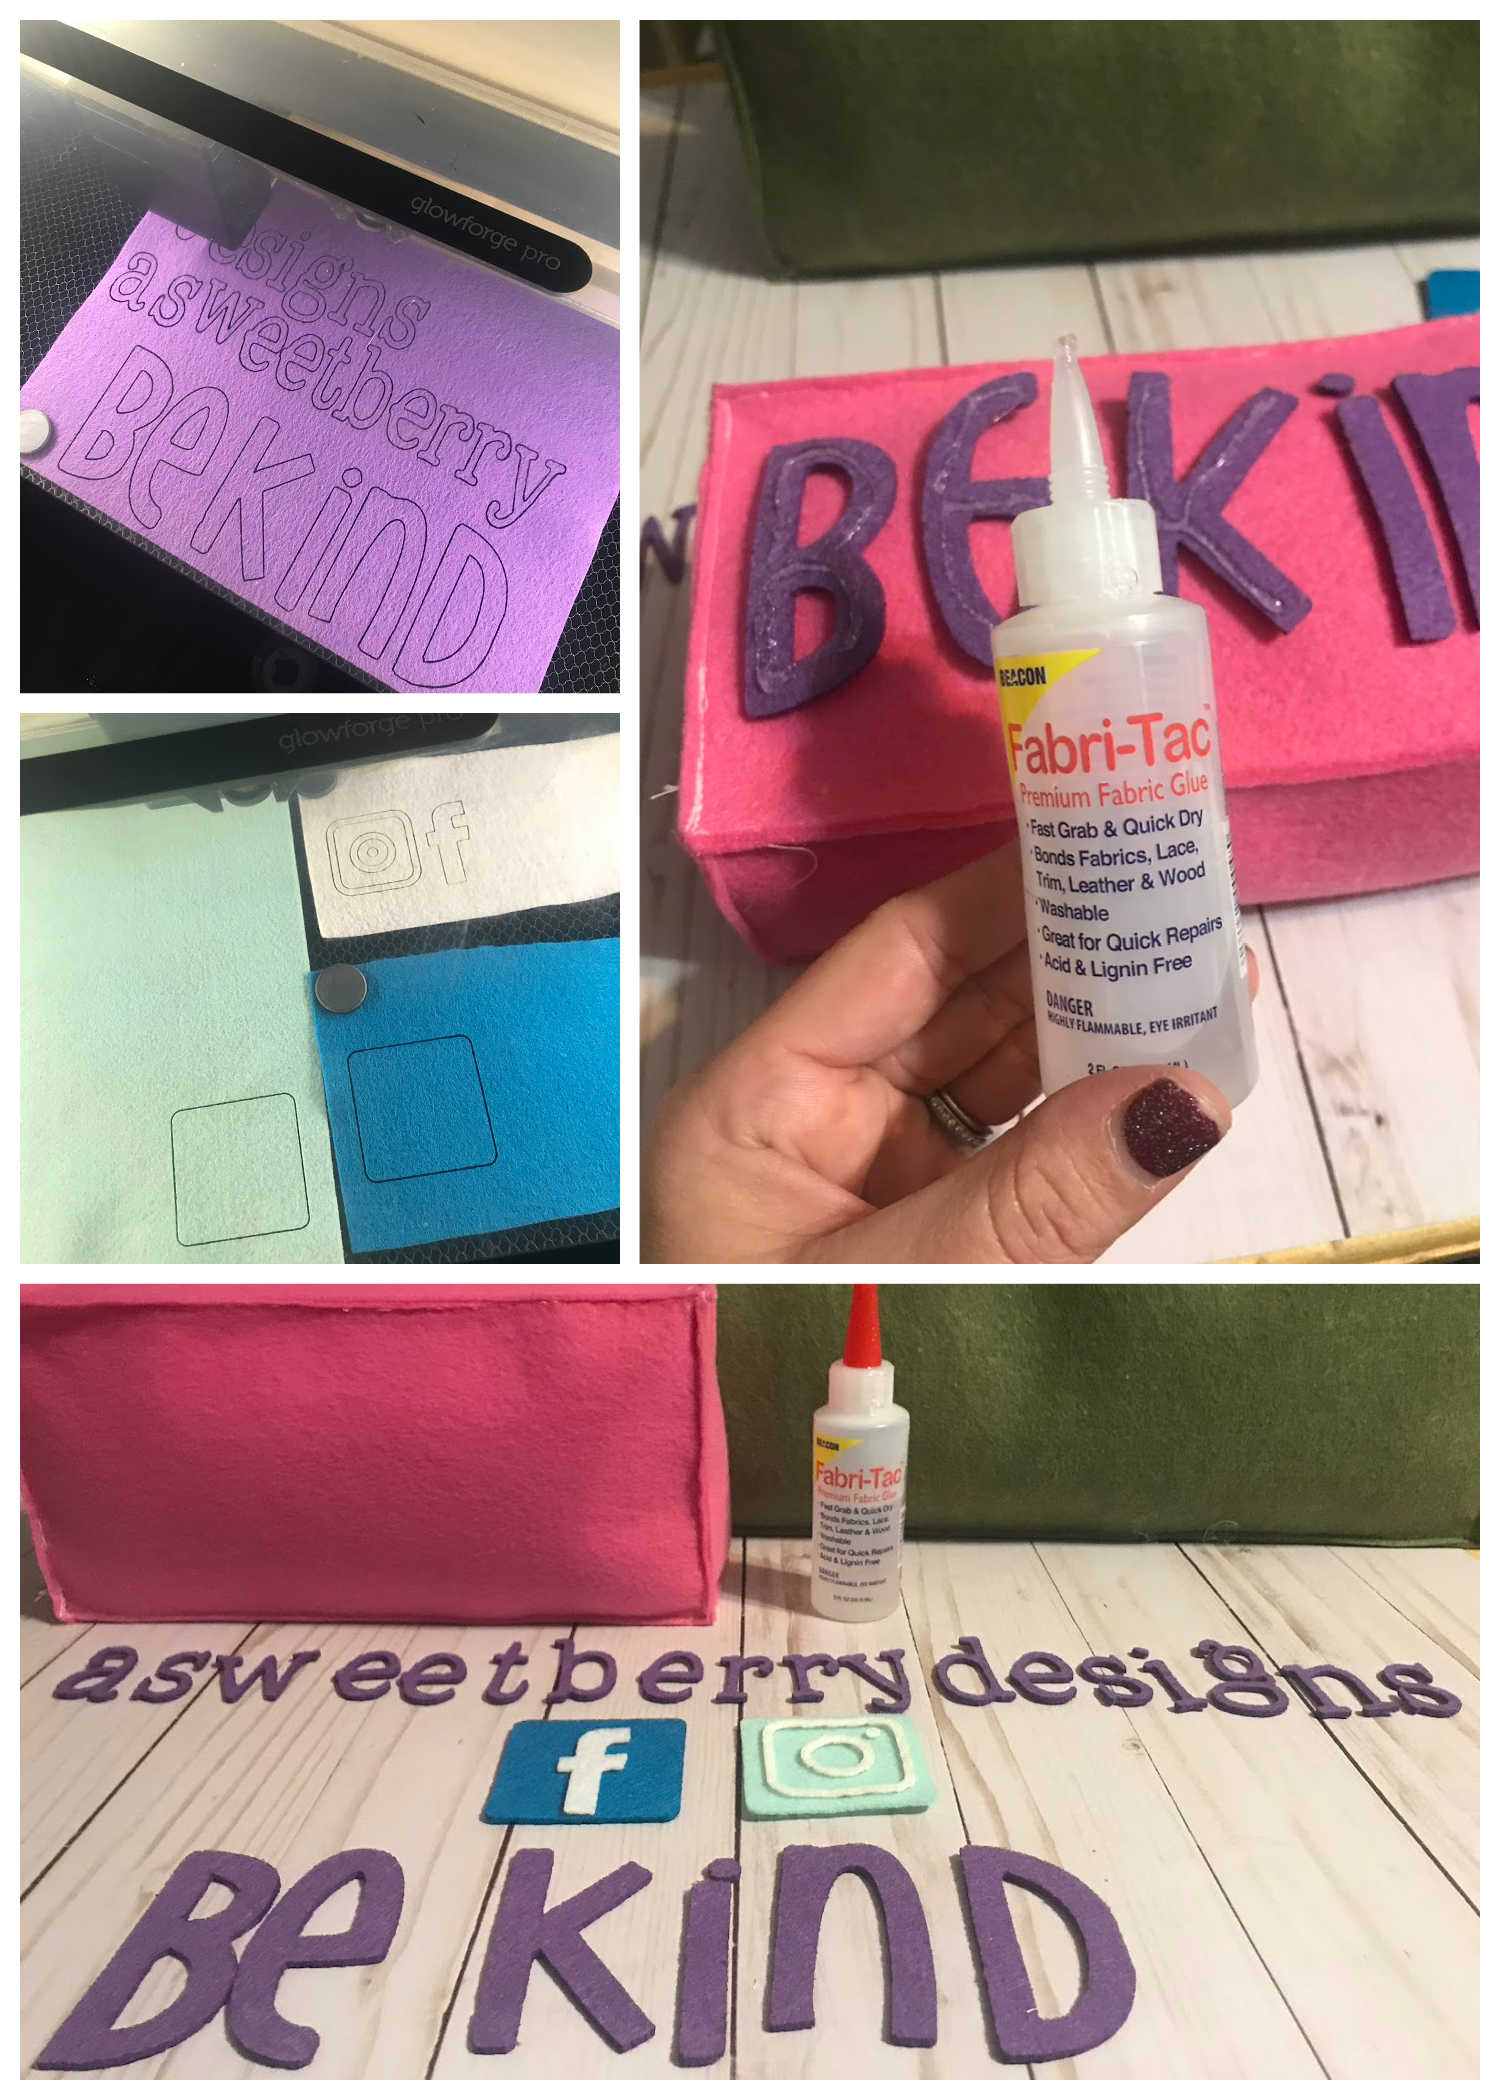
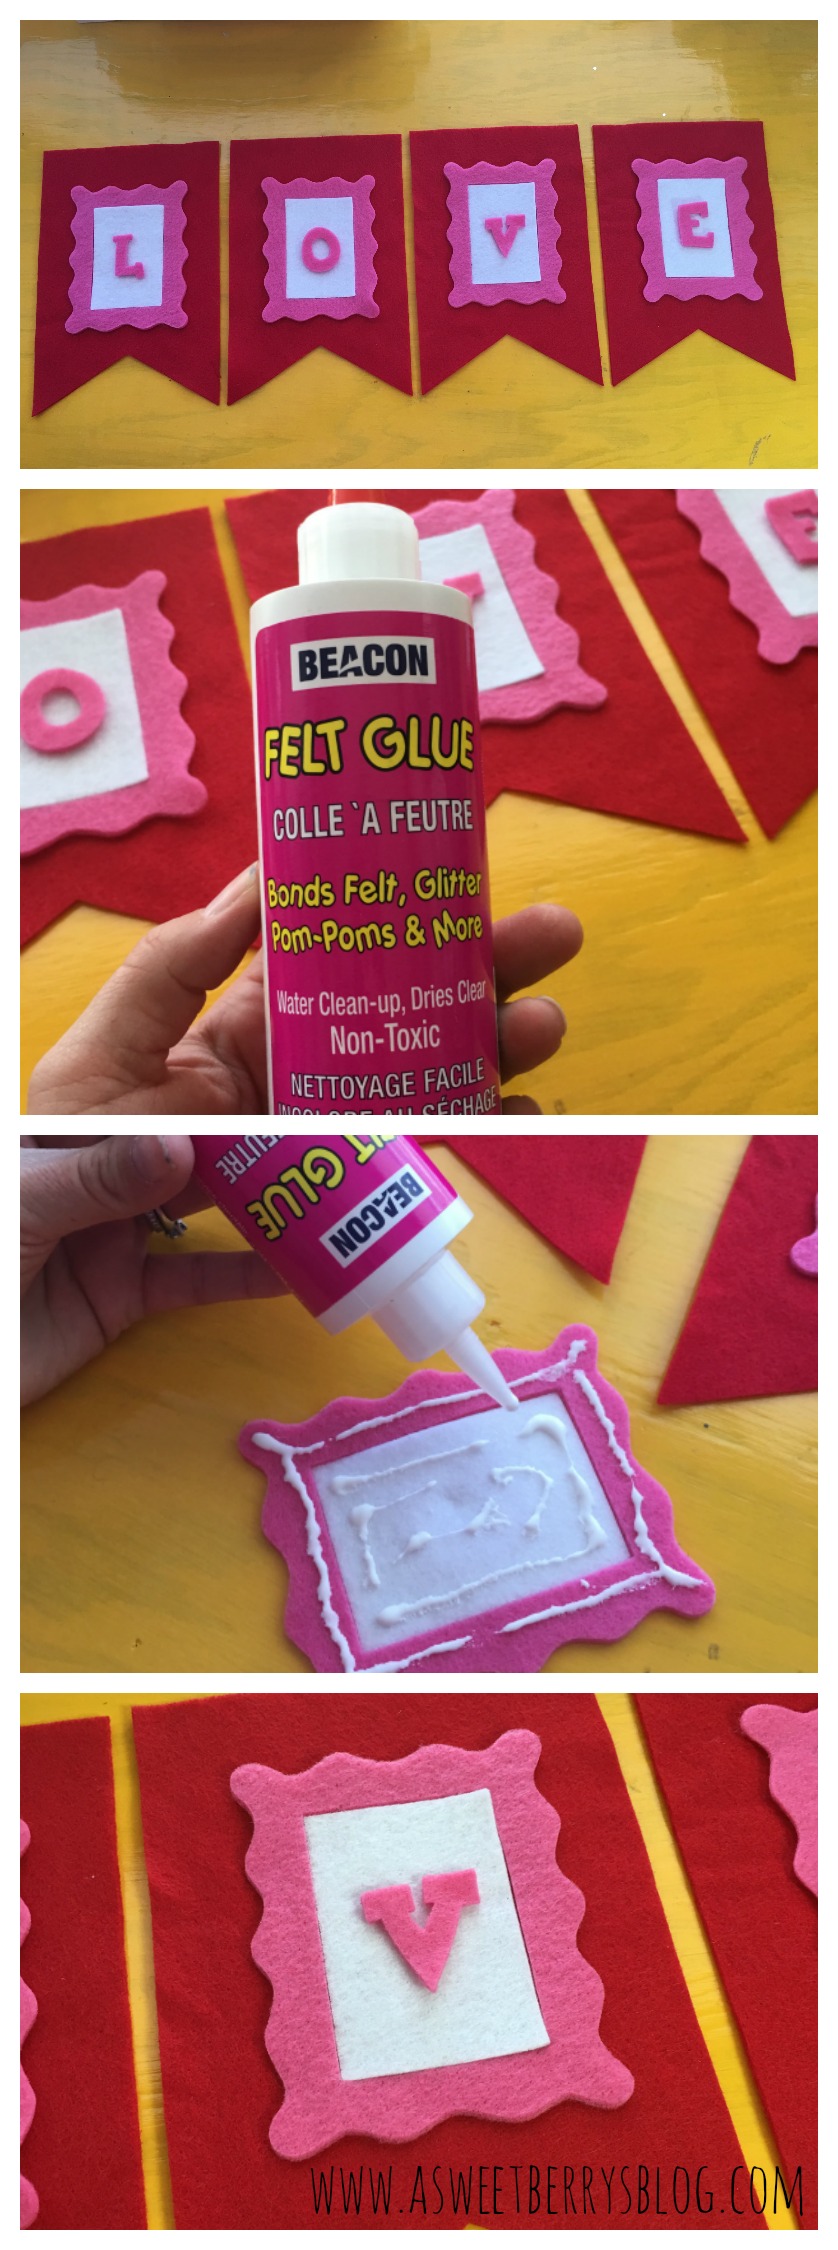
- Welcome cut out that I cut on my Glowforge and then painted black
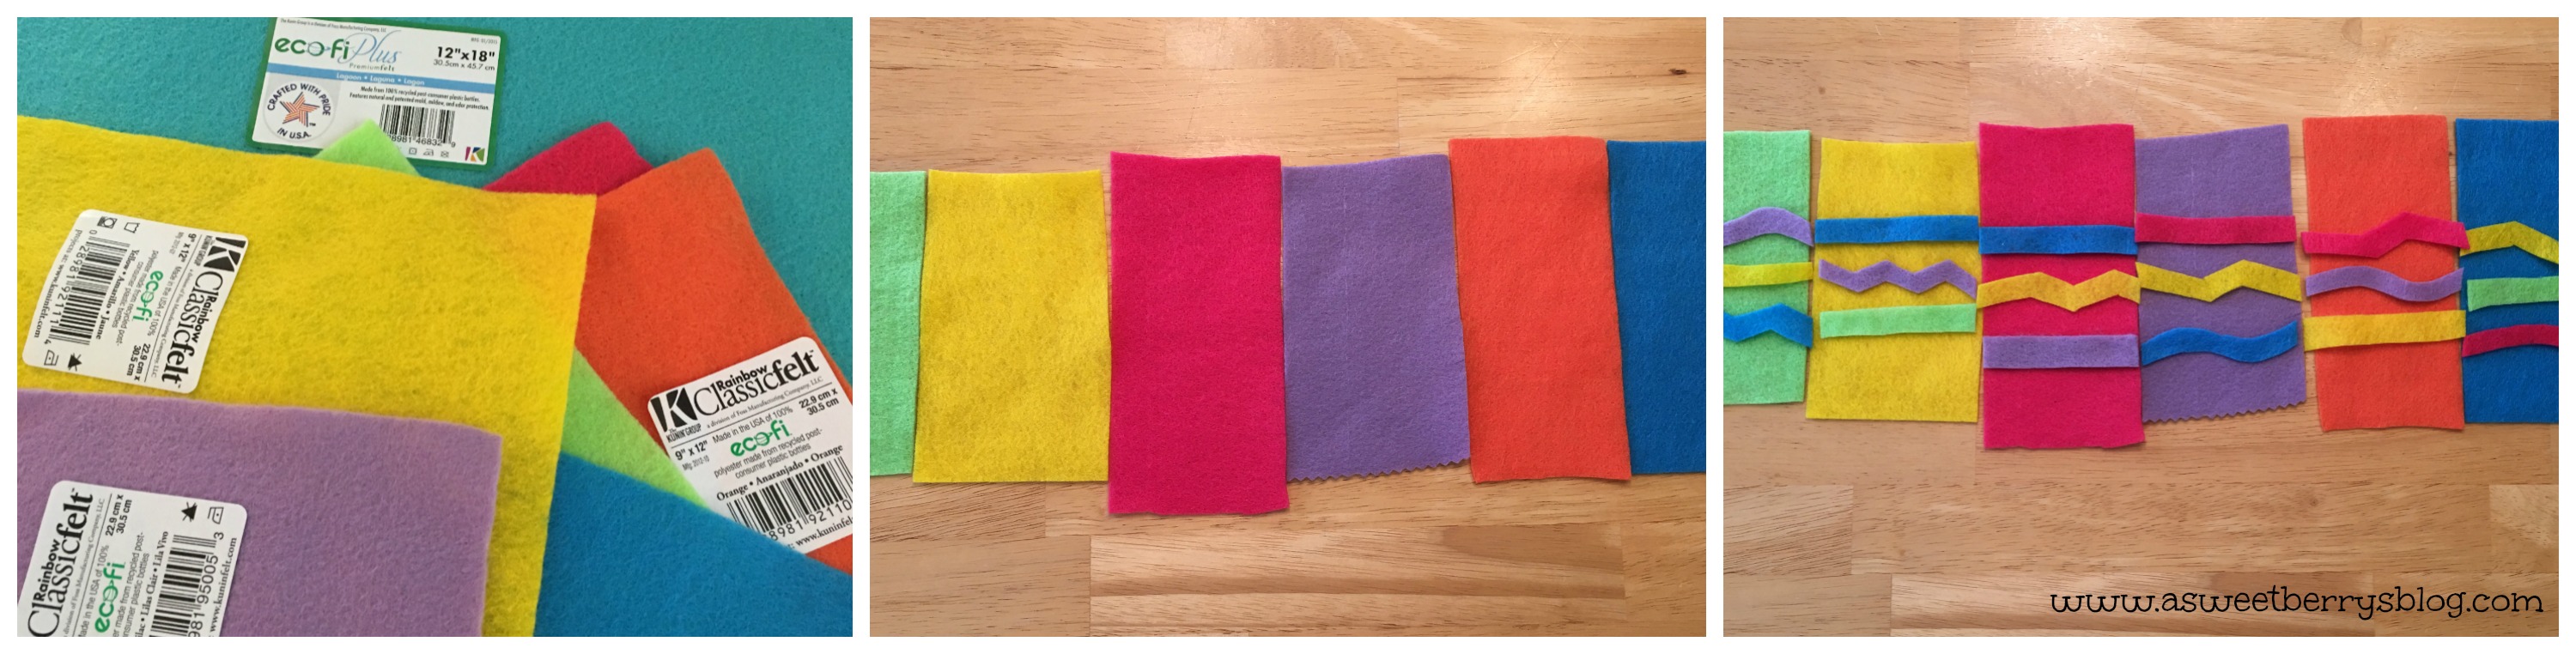
- 9″ x 12″ craft cut of Kunin Felt® Classicfelt: (1) Peacock, (1) Apple Green
- Acrylic Paint
- E6000 glue
- Paint Brush
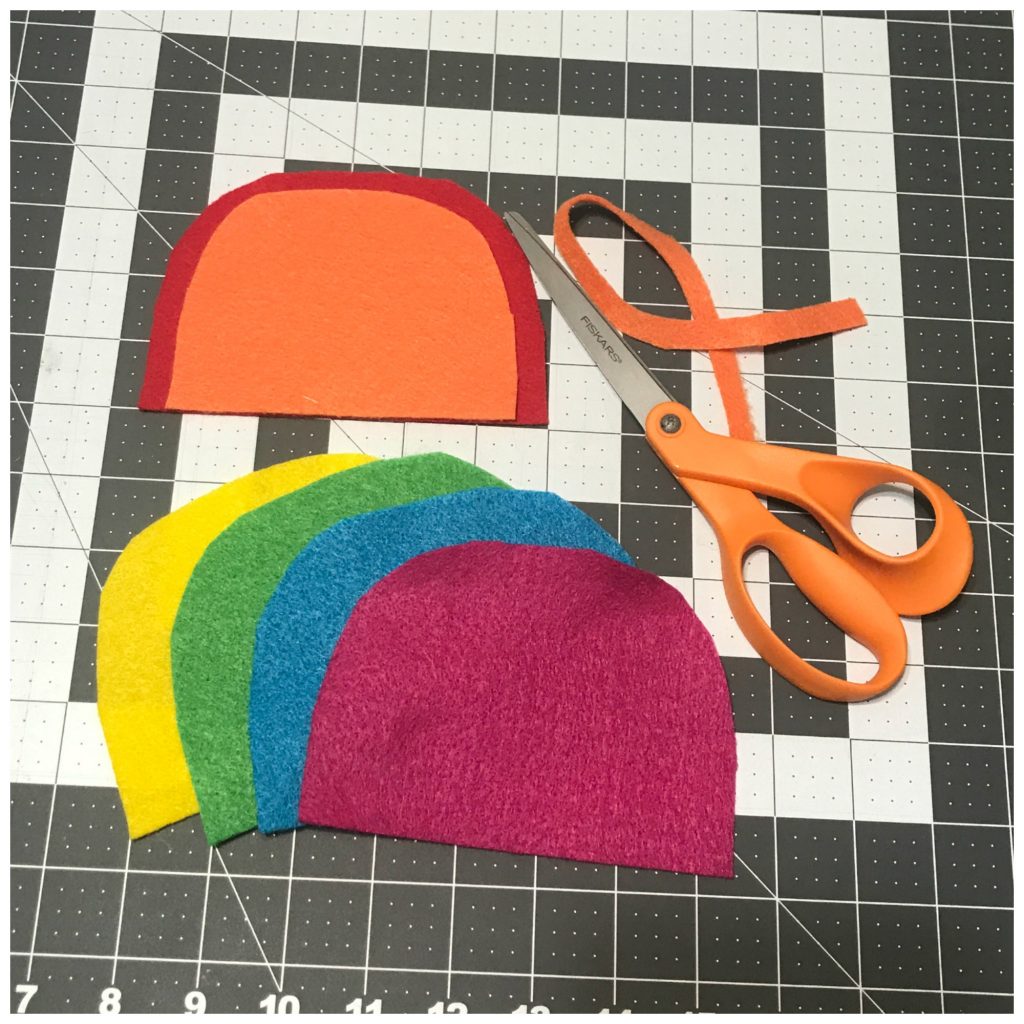
- Scissors
How I made it:
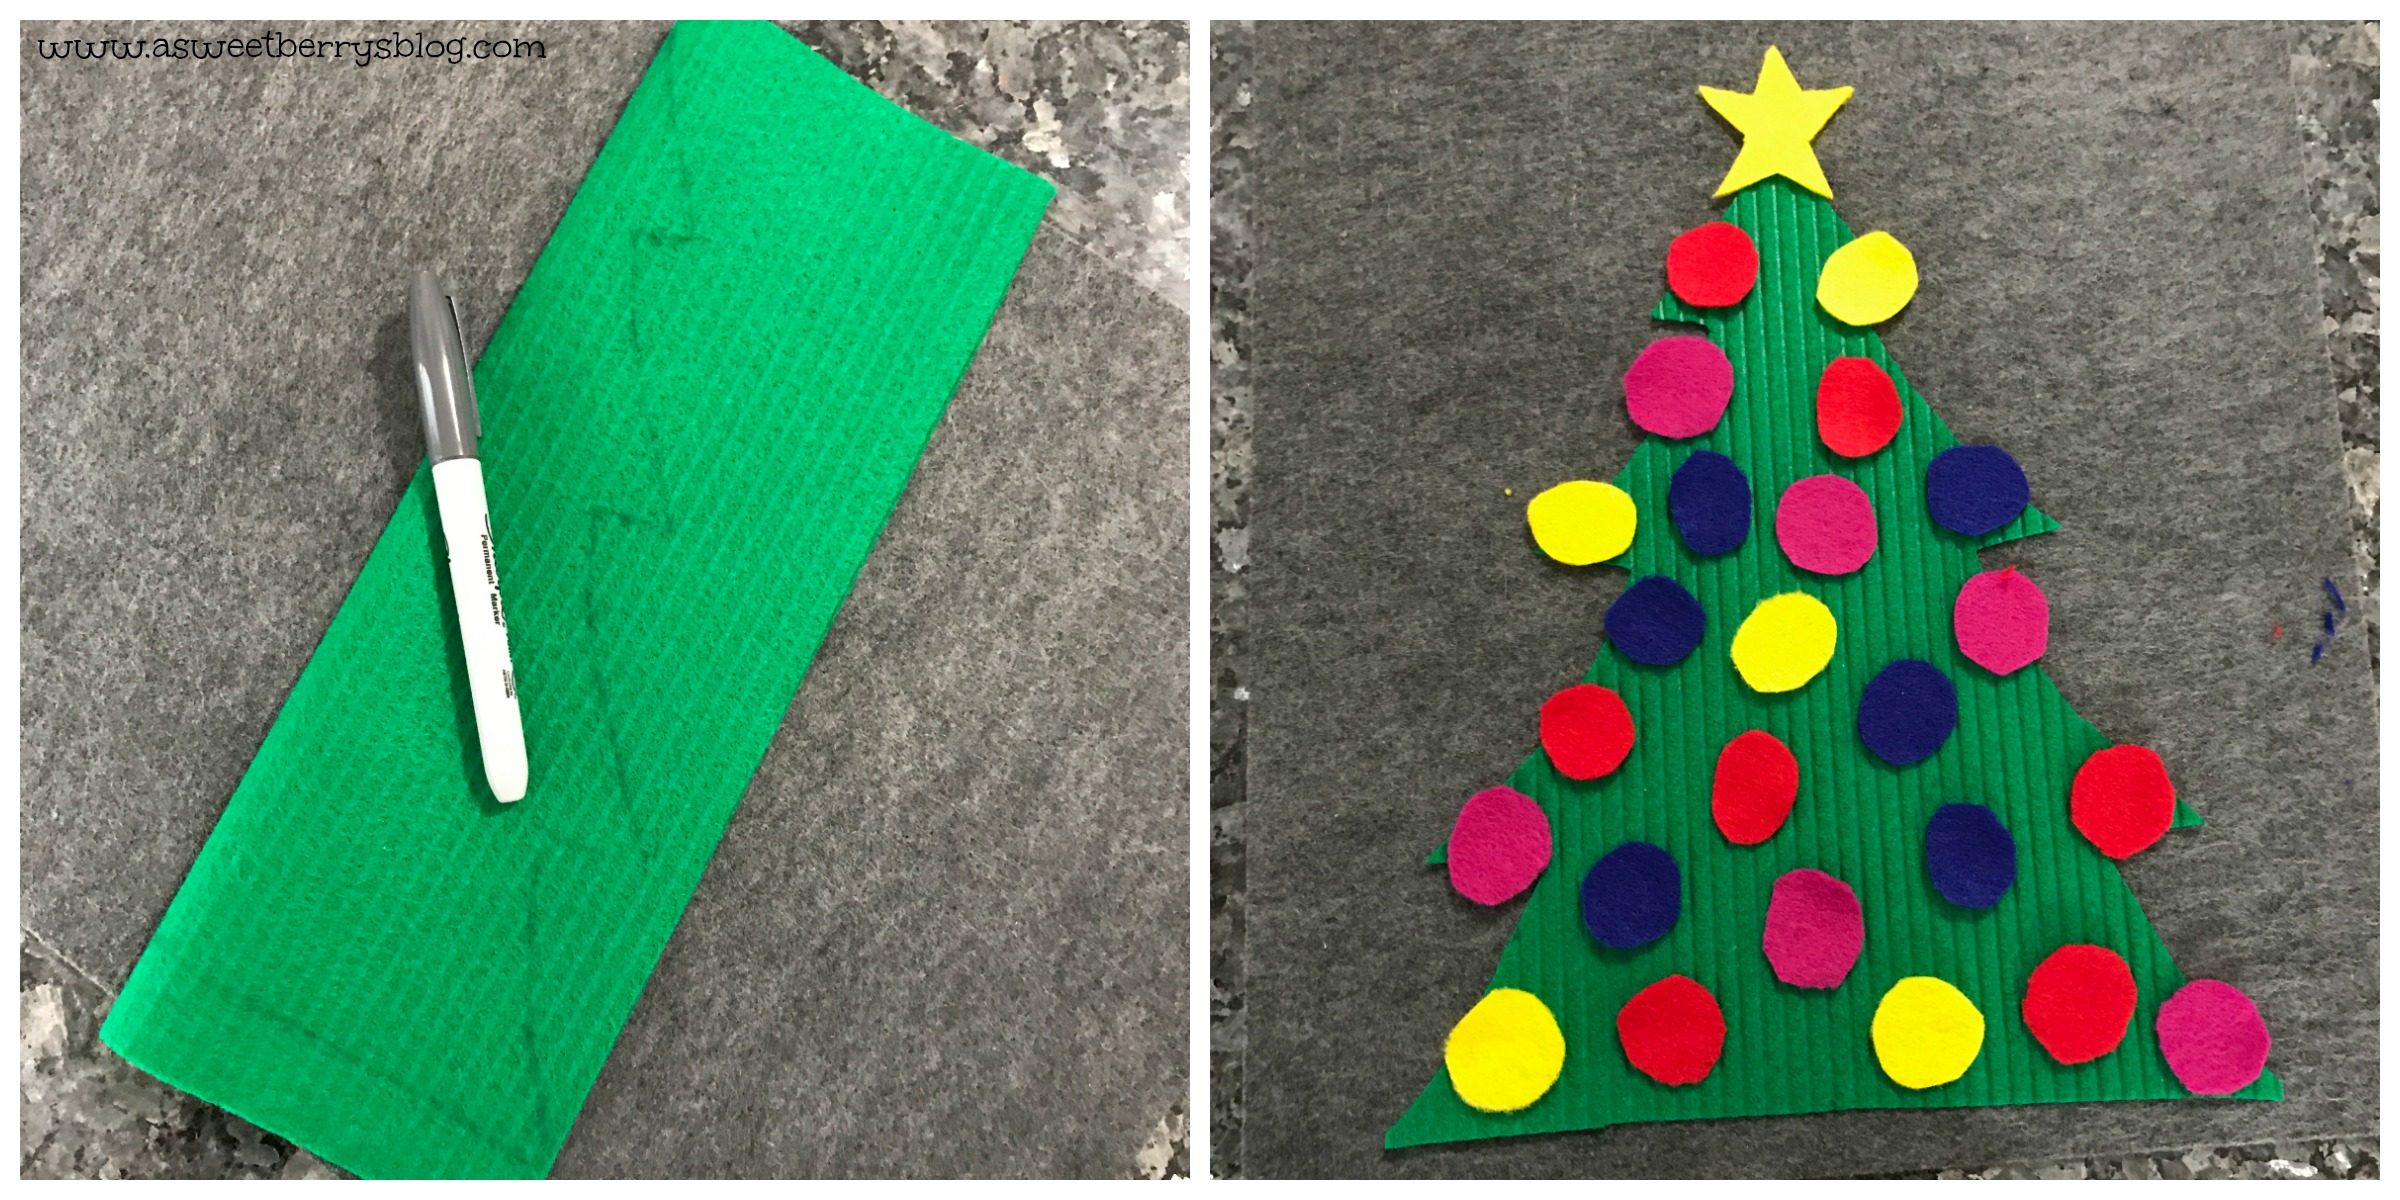
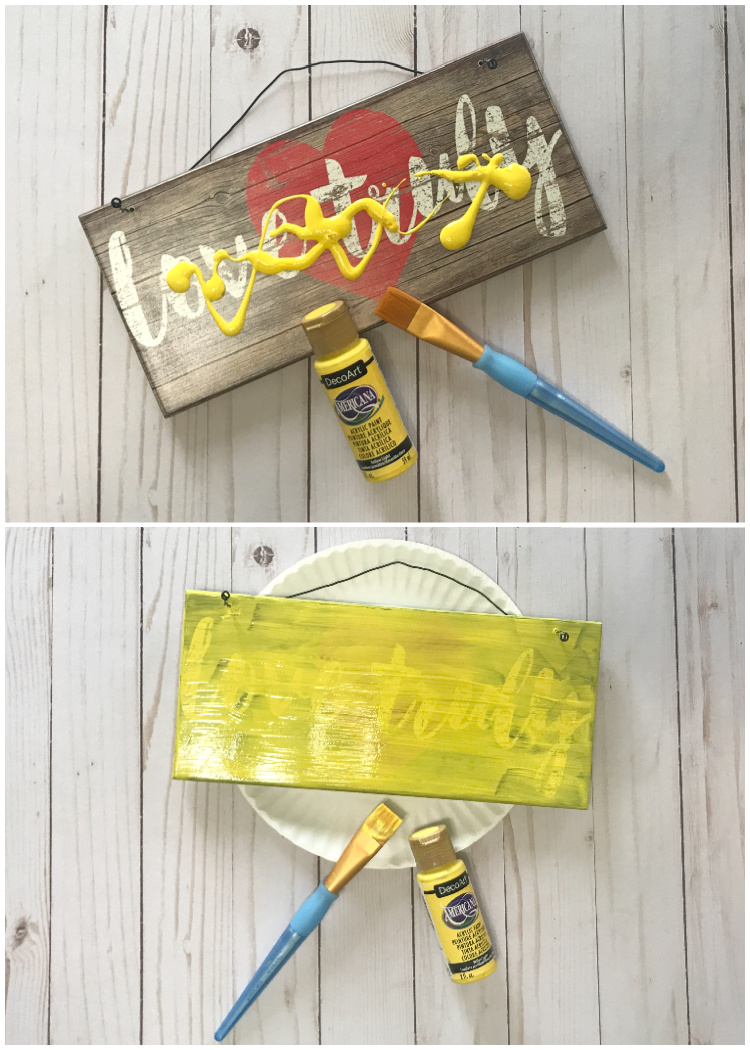
I started by painting my sign. I picked this bright yellow paint from DecoArt. Bright colors are just making me so happy lately! Before painting, I pulled the wire up front the front so that I didn’t paint the little curls in the ends. I ended up having to do three coats of paint to get it covered to my liking.
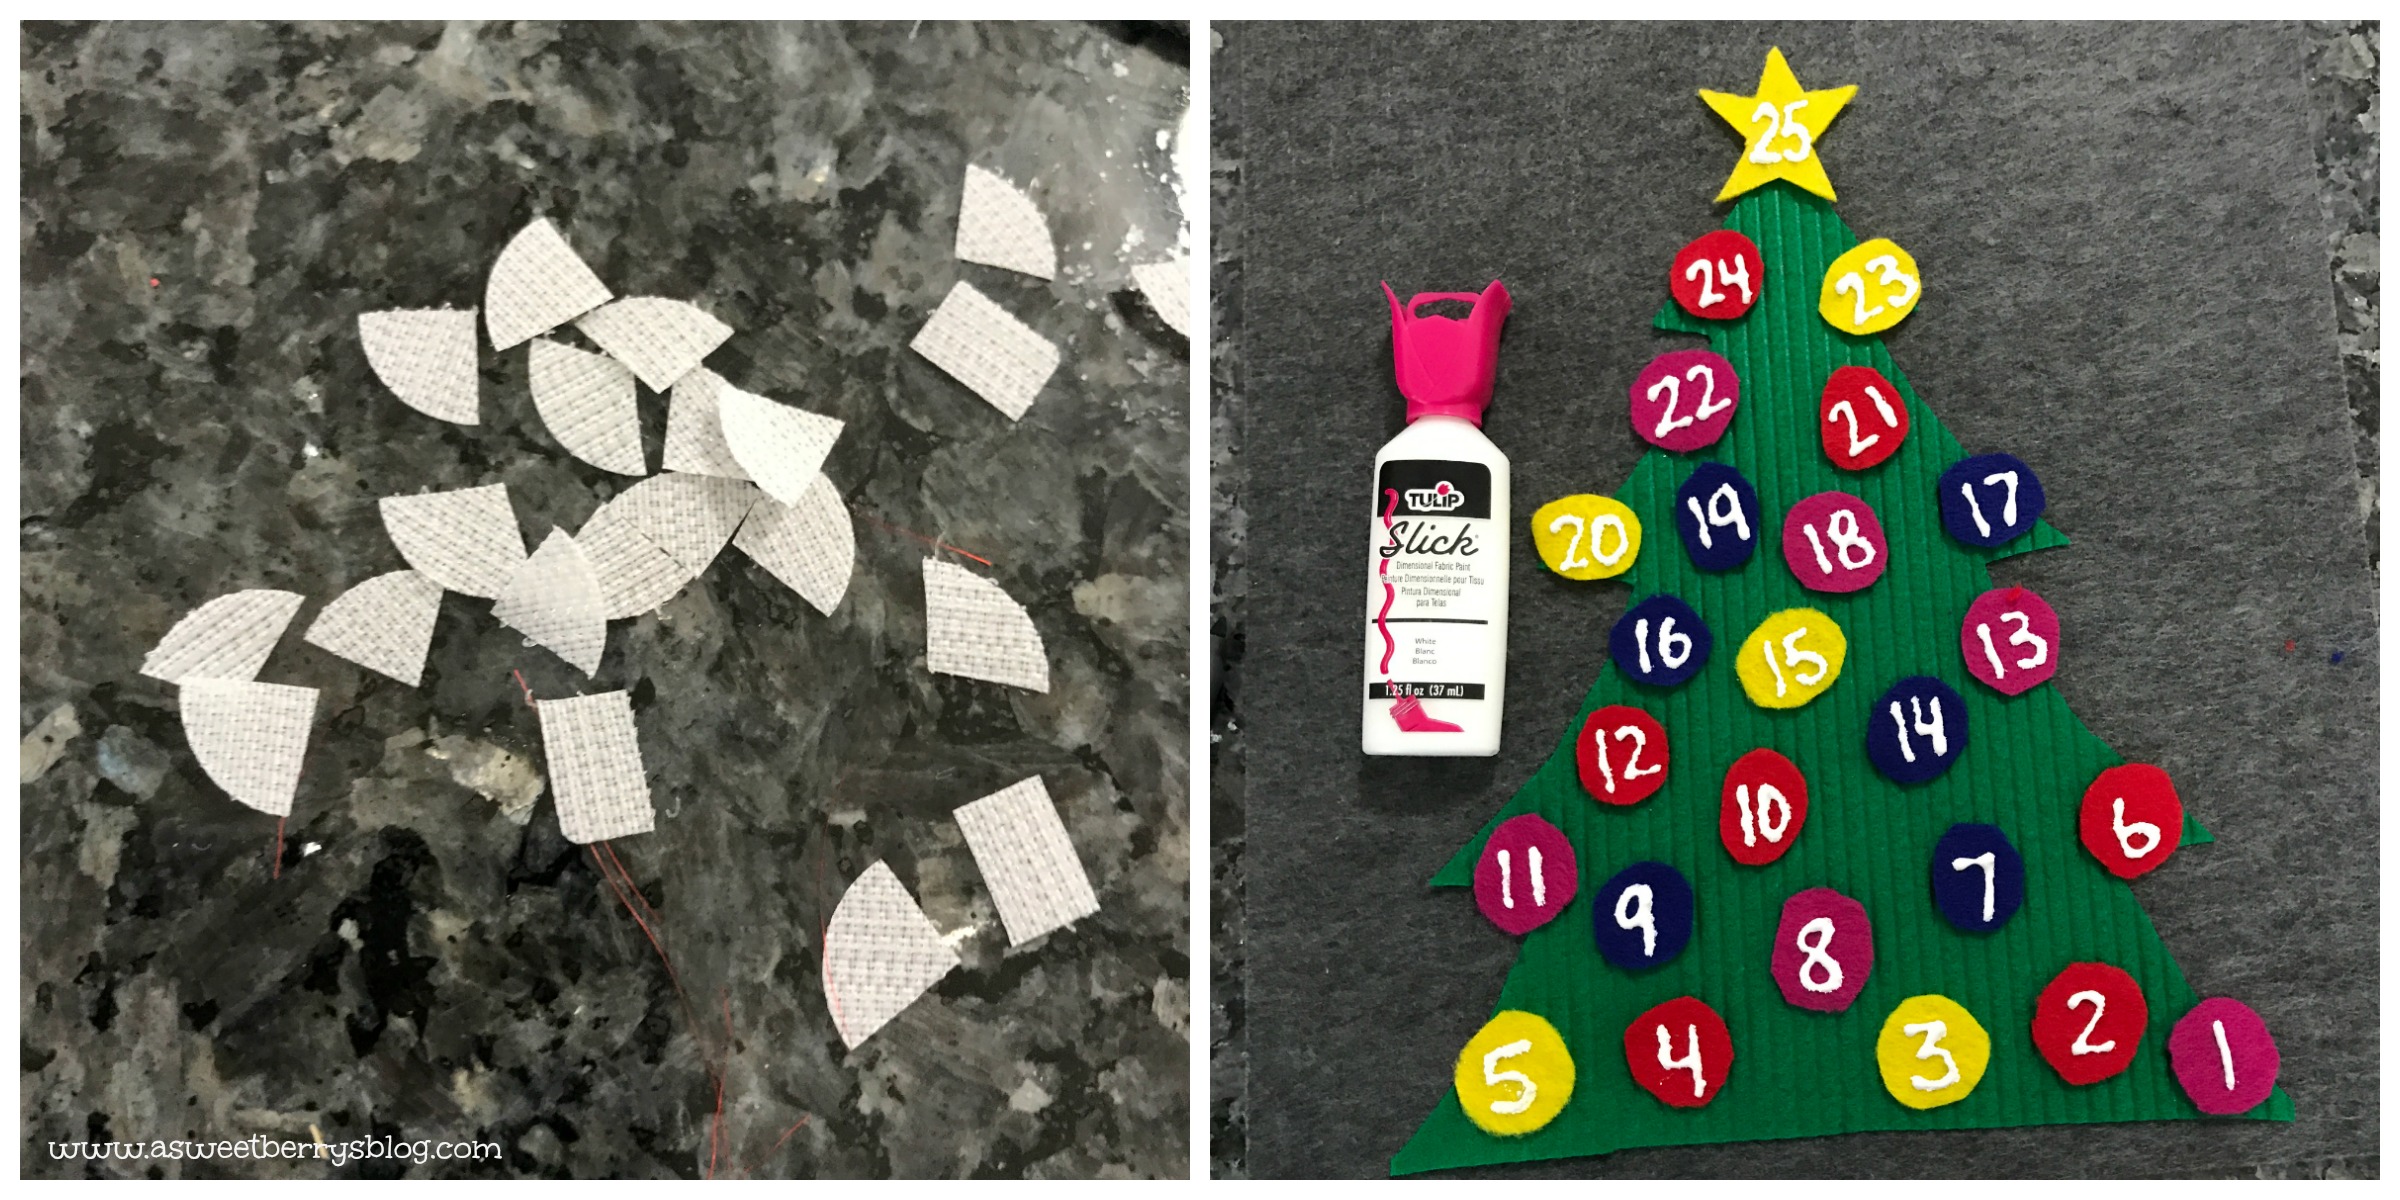
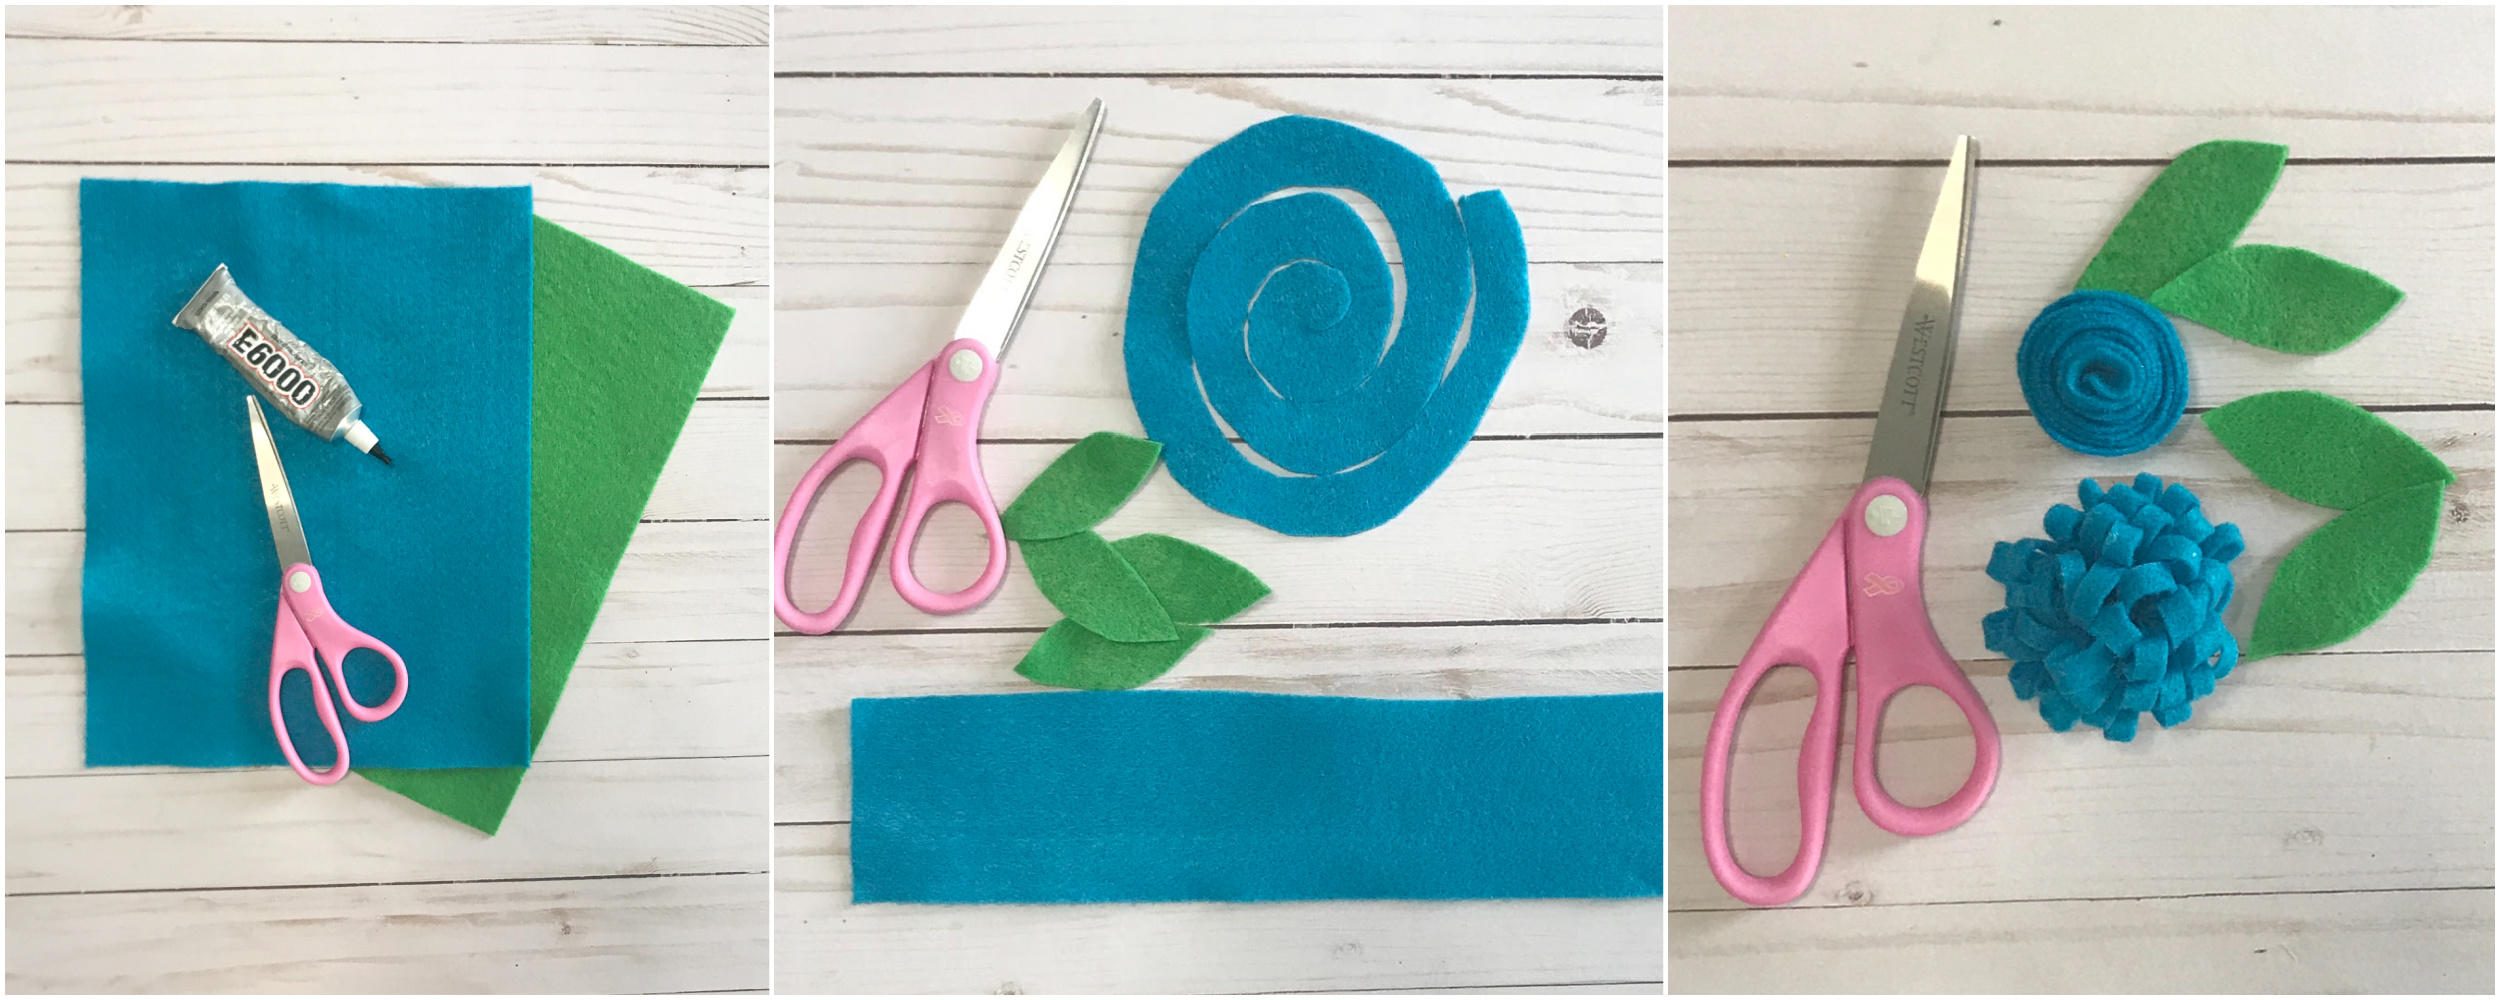
Next, I made felt flowers. There are plenty of options for making felt flowers but these are the ones I picked. The first one I cut a circle from the blue felt and then cut it to create a spiral. I then wrapped it from the center outward, gluing it in place as I went. The second flower I cut a long strip of the blue felt, folded it in half and glued it on the ends and along the edges. Using my scissors, I cut short slits in the folded side, making sure not to cut all the way to the edge of the glued side. I then rolled it up, gluing it as I rolled. I cut leaves from the green felt.
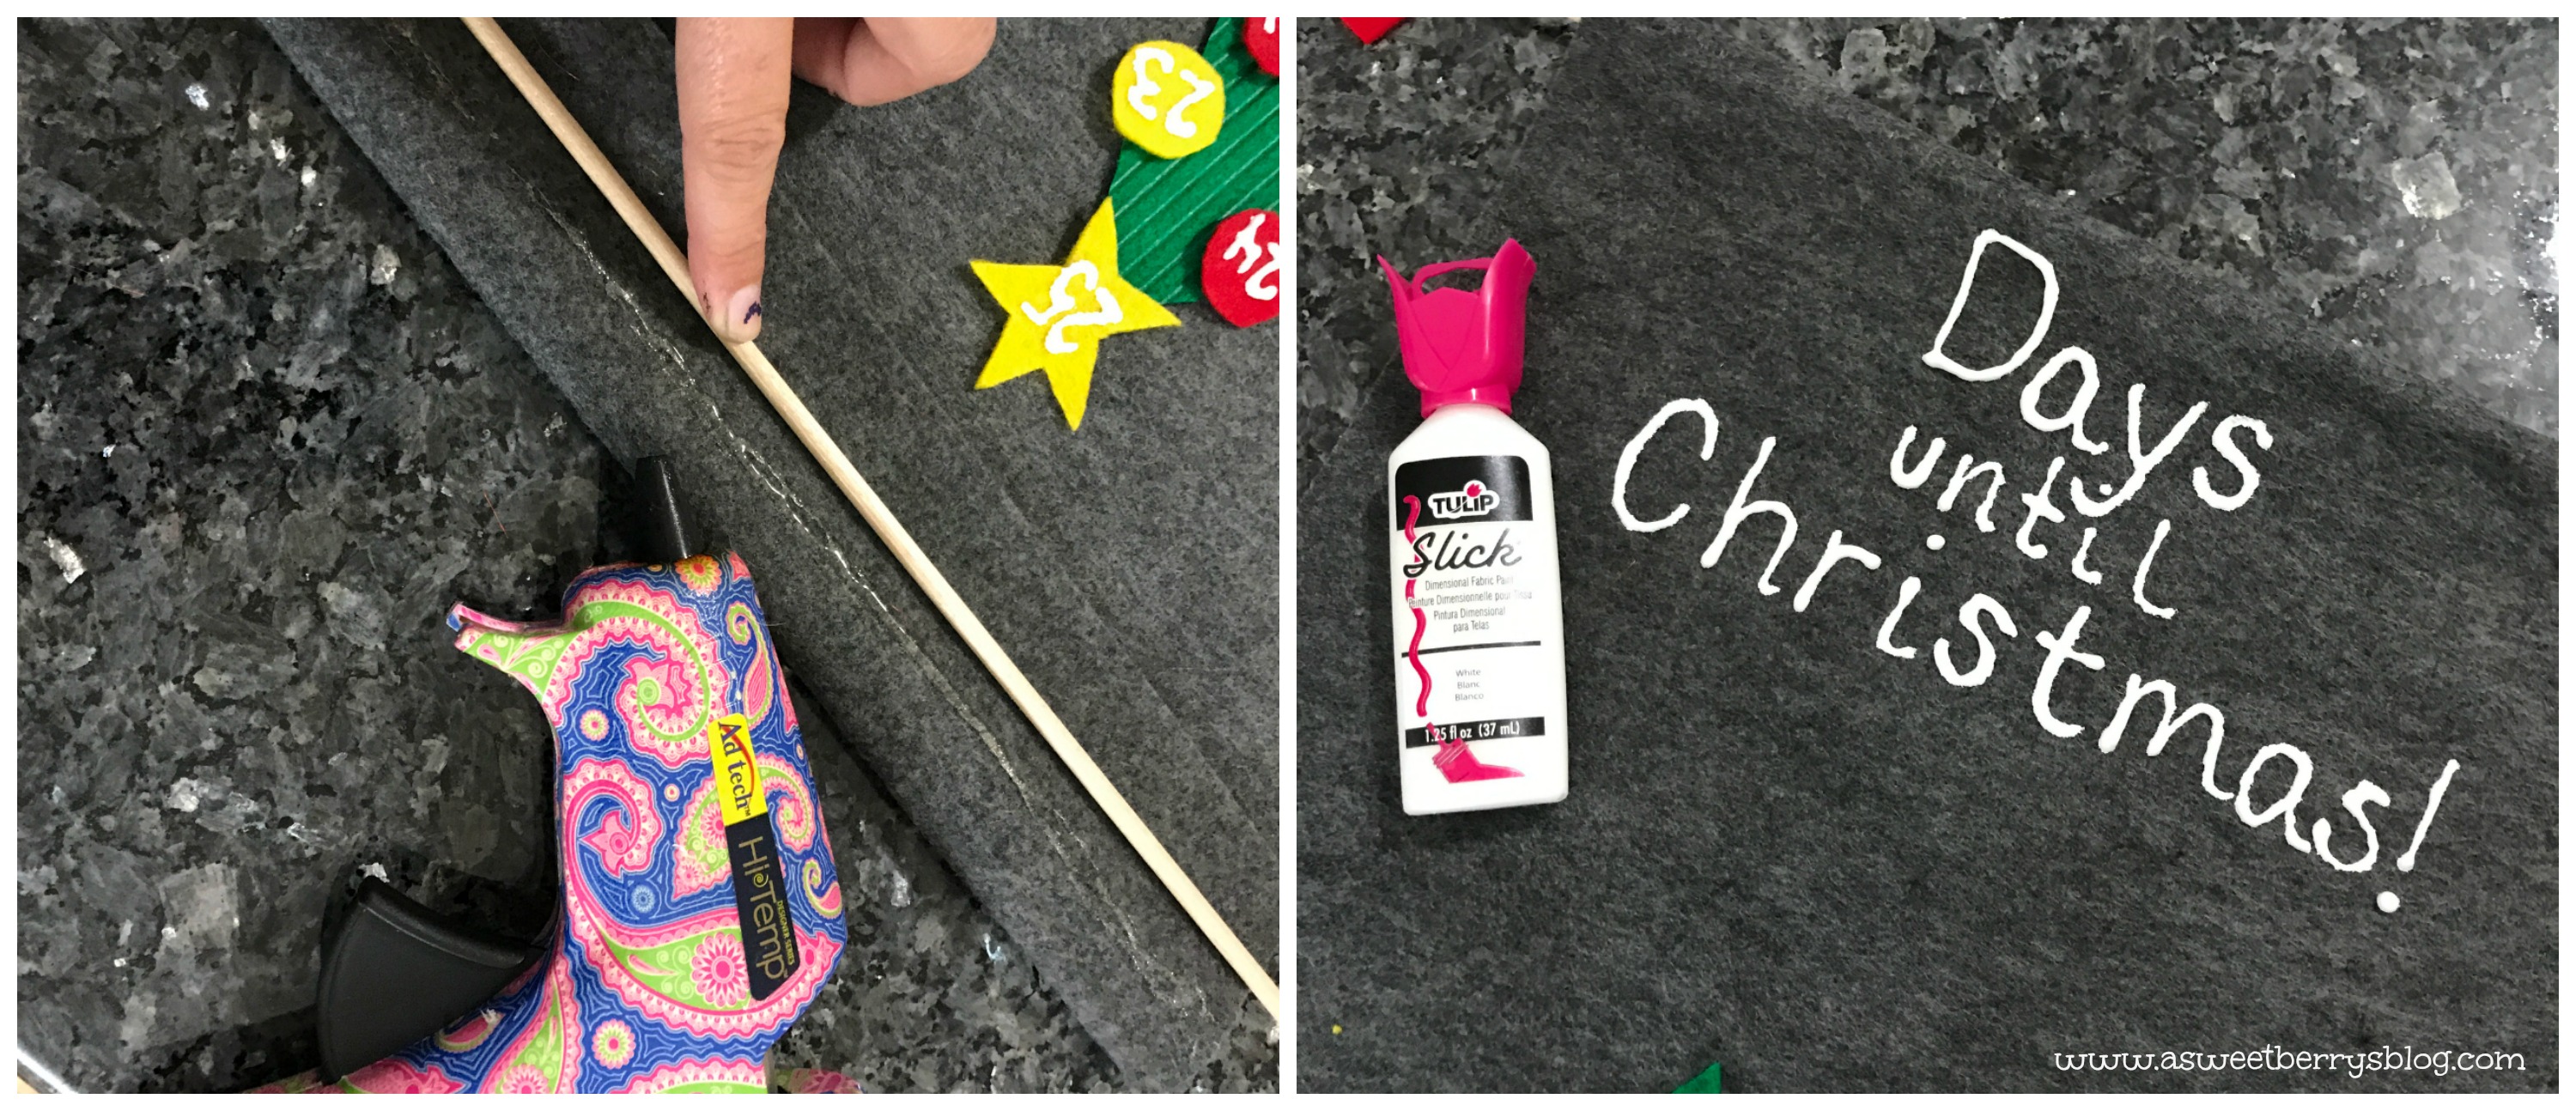
Once everything was ready, it was time to glue everything into place using the E6000. You can use any glue, but E6000 is my favorite glue!
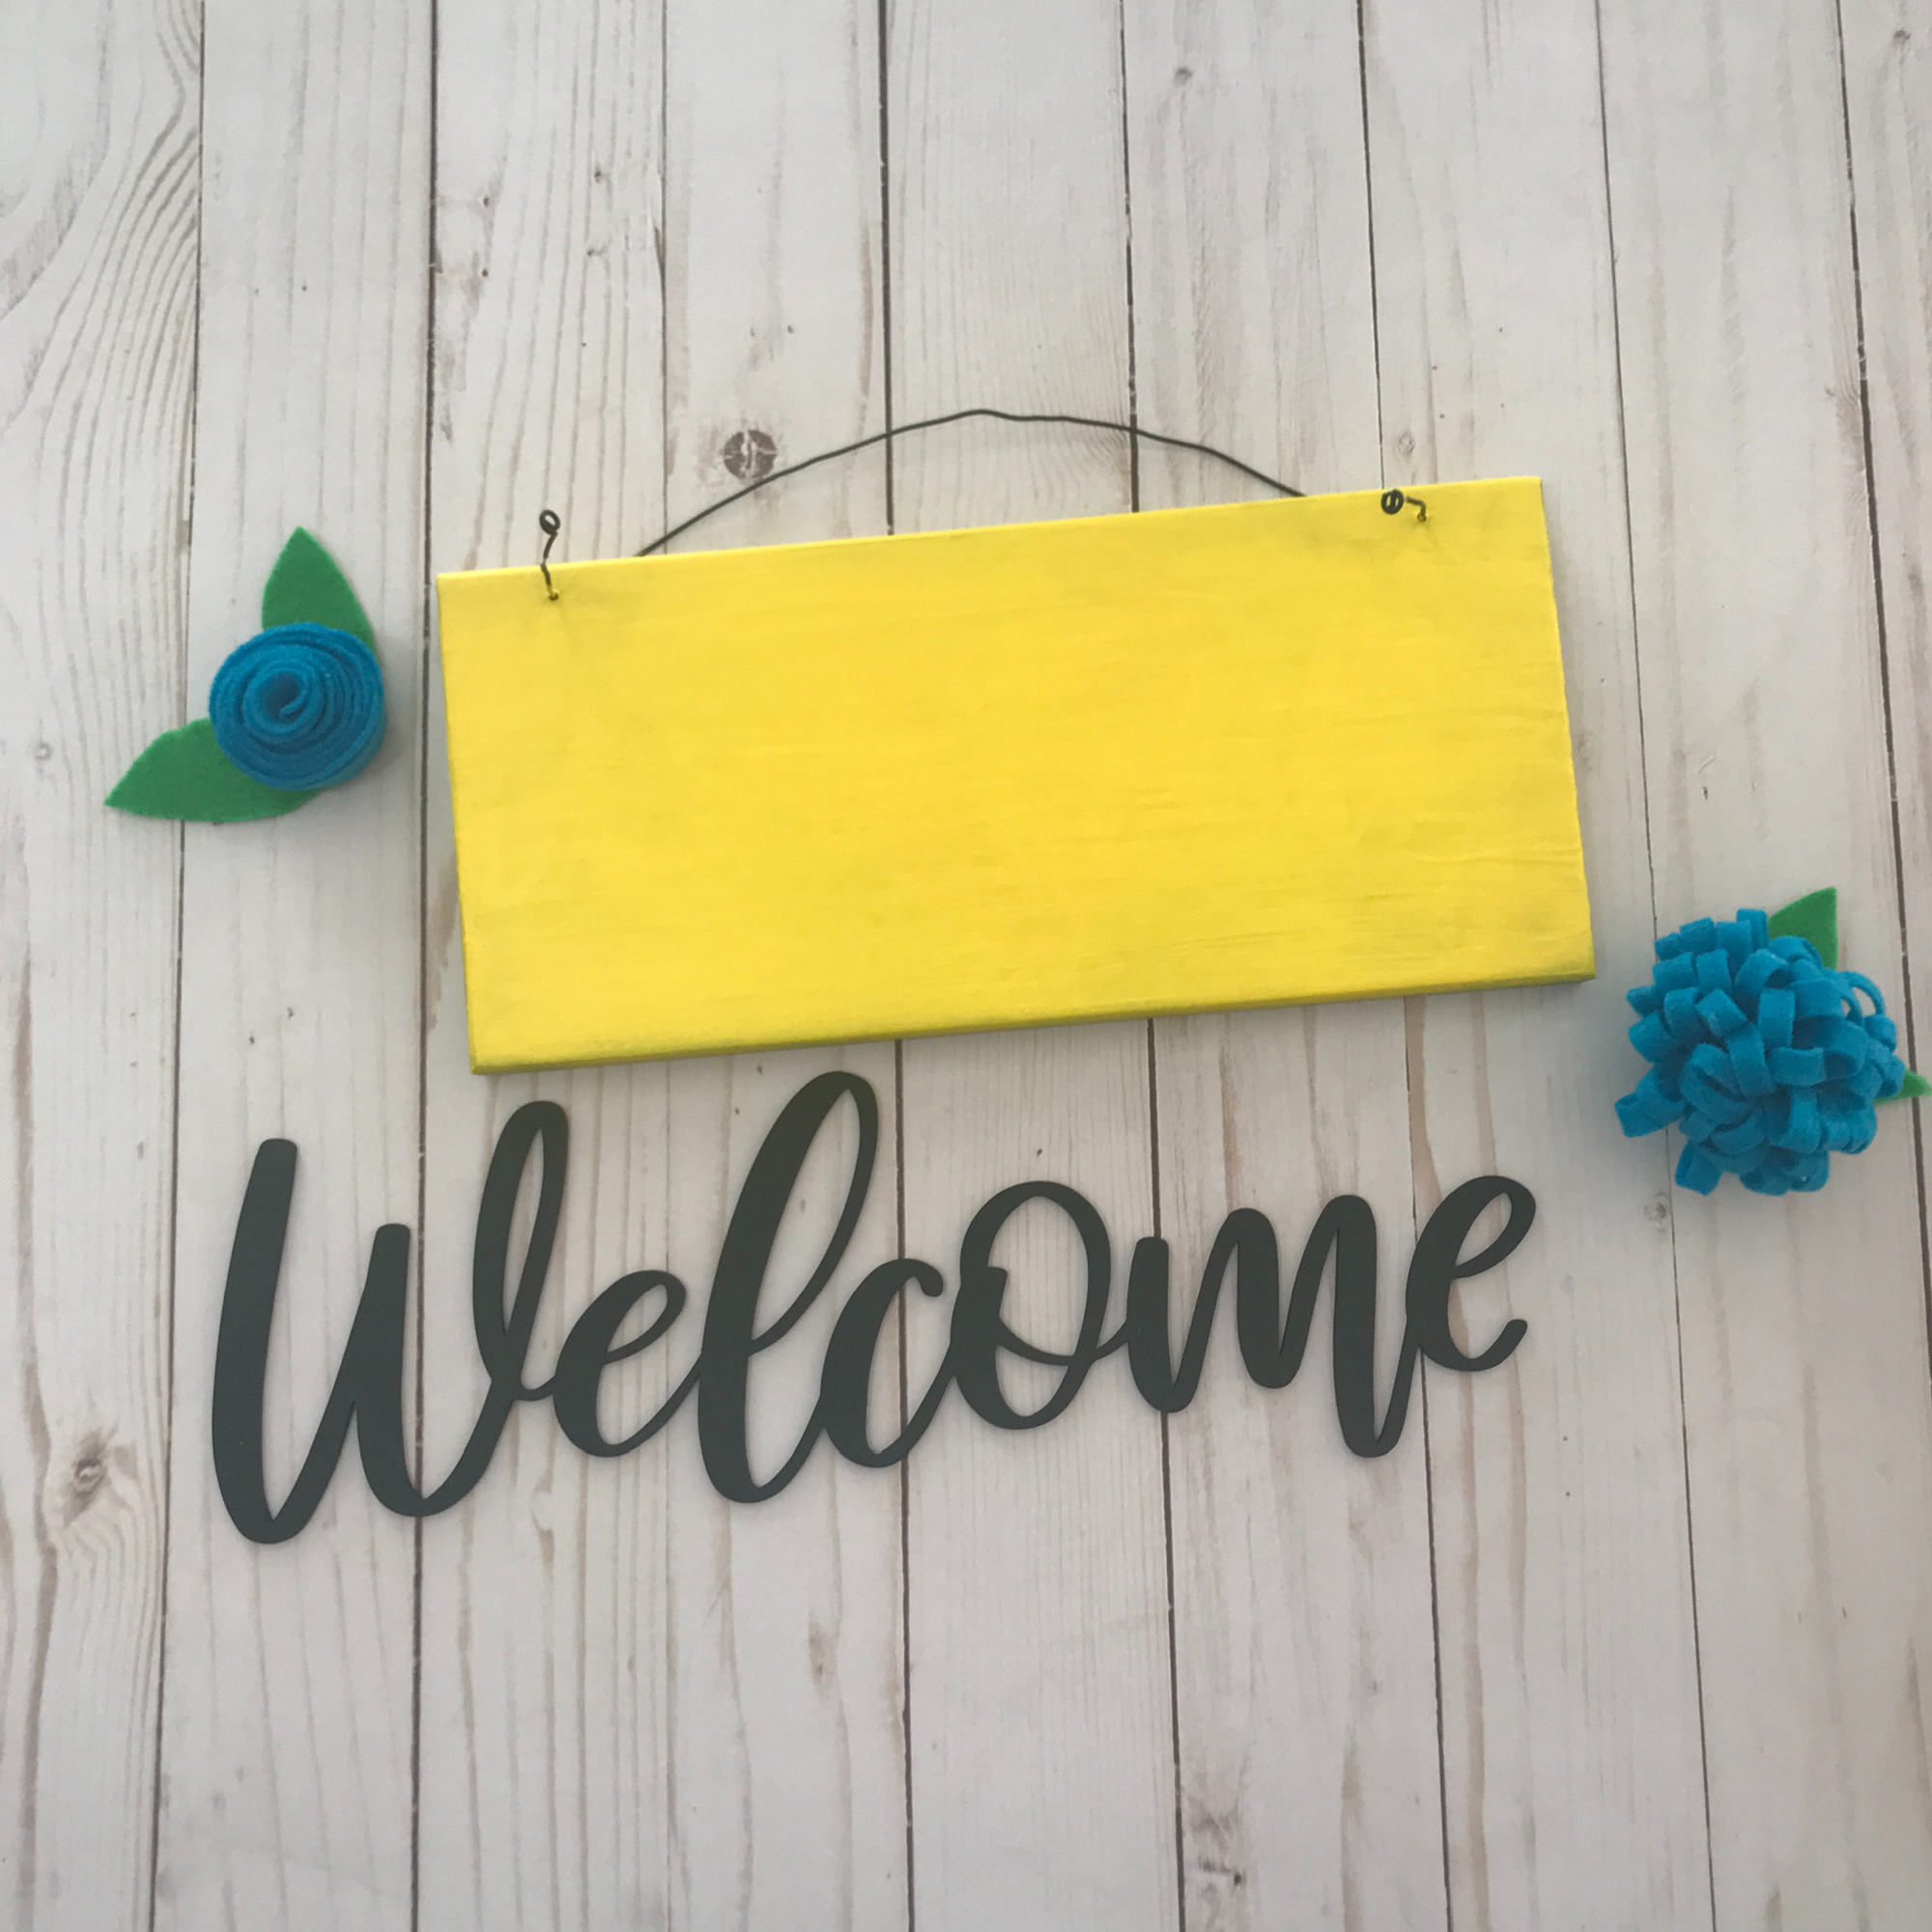
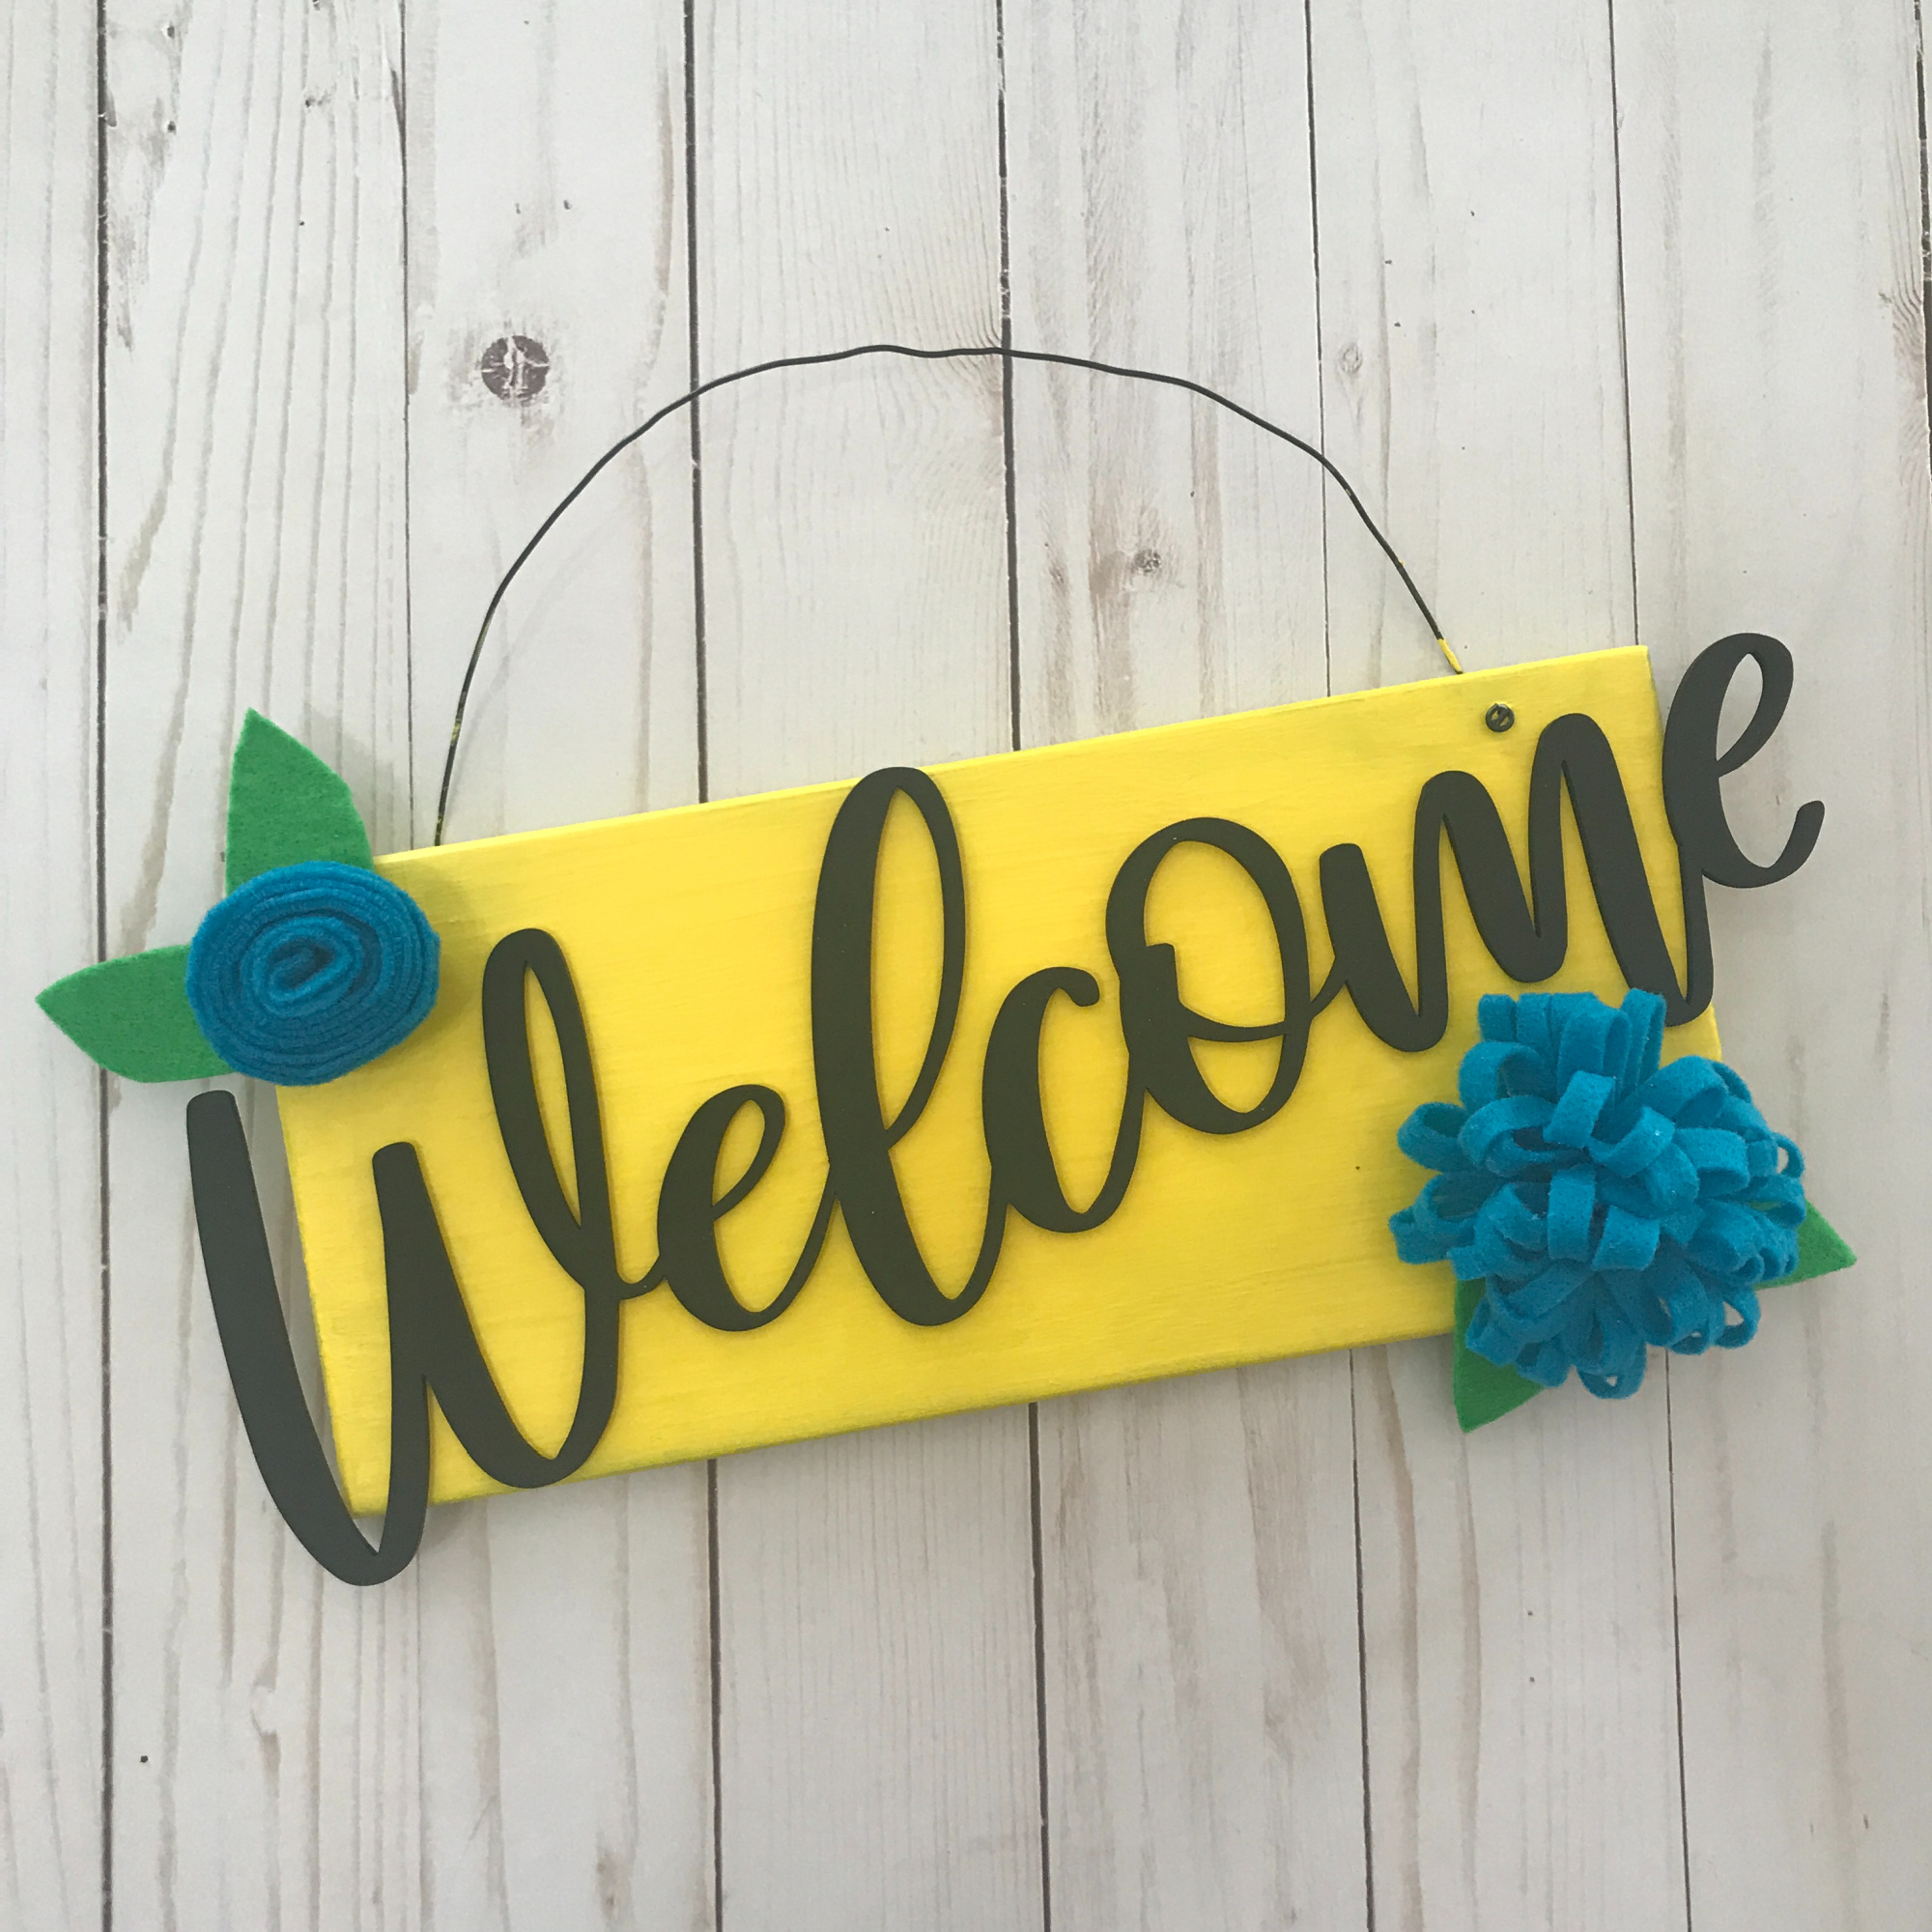
Once the glue was dry, it was ready to hang up on my front door! I love how it turned out! I hope you do too!
Be sure to click on the on the Team Creative Crafts button below to check out other recycled crafts!
 Then, enter to win below!
Until next time….Happy Crafting!