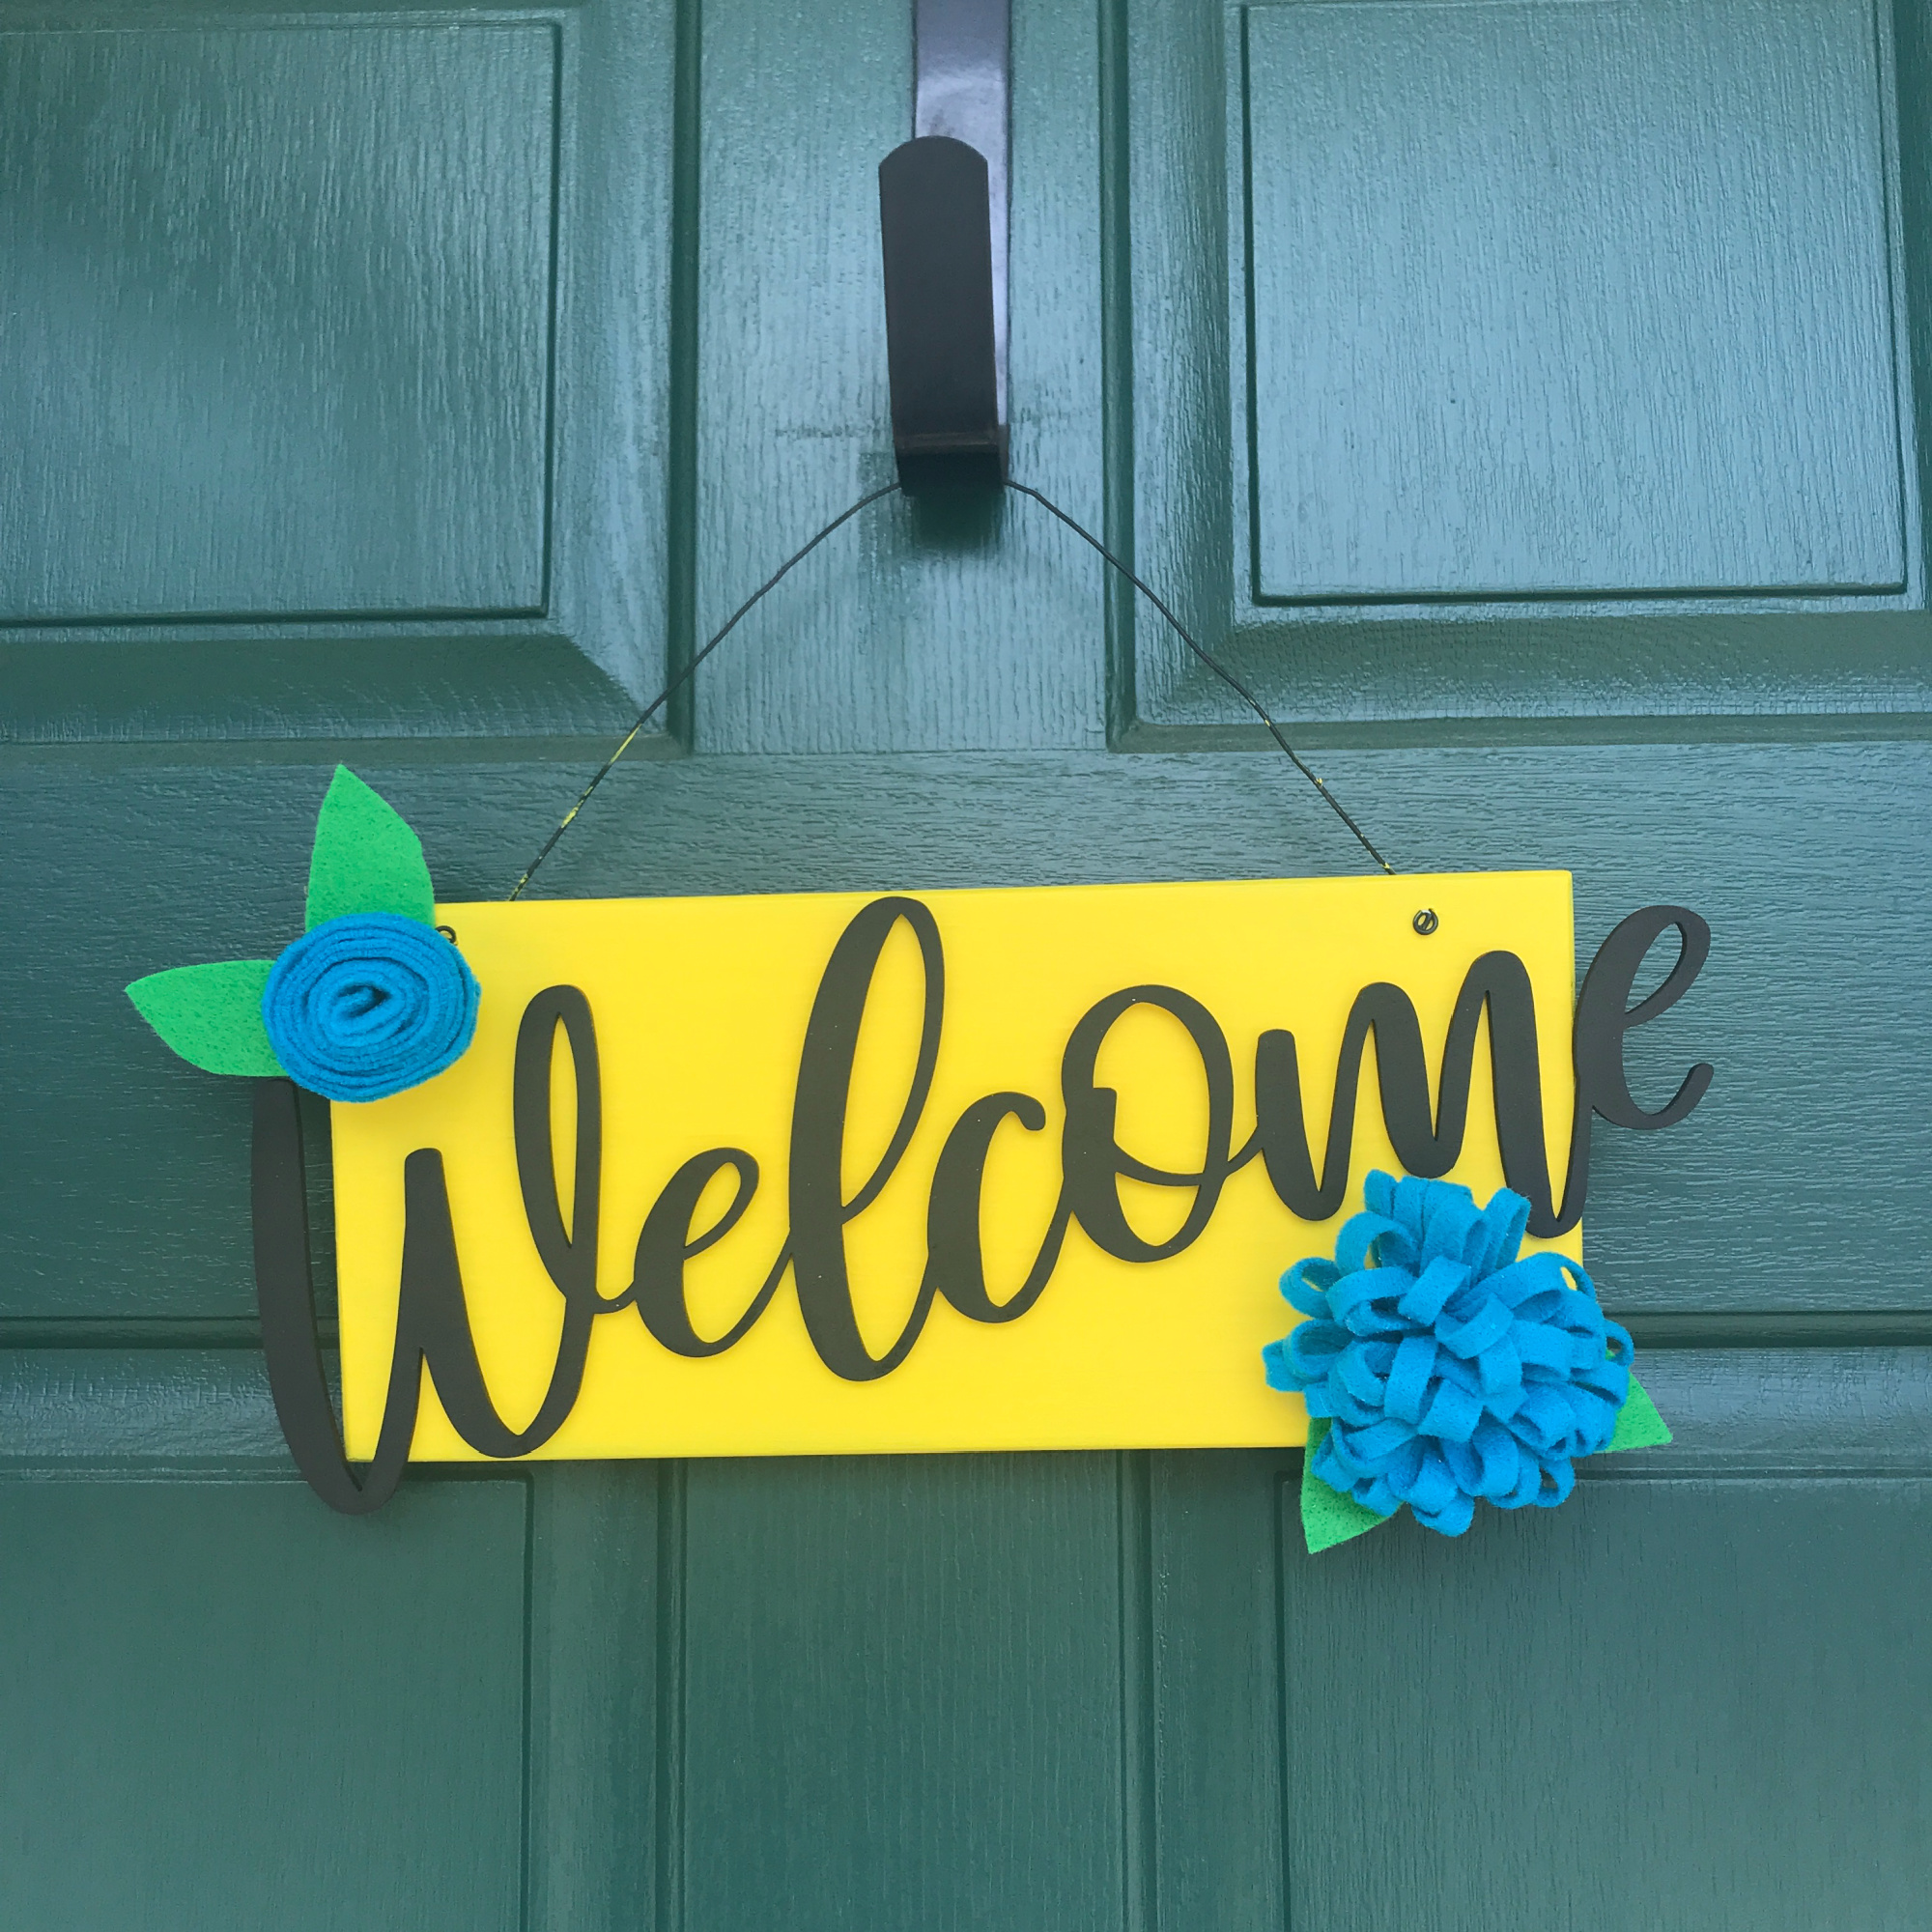
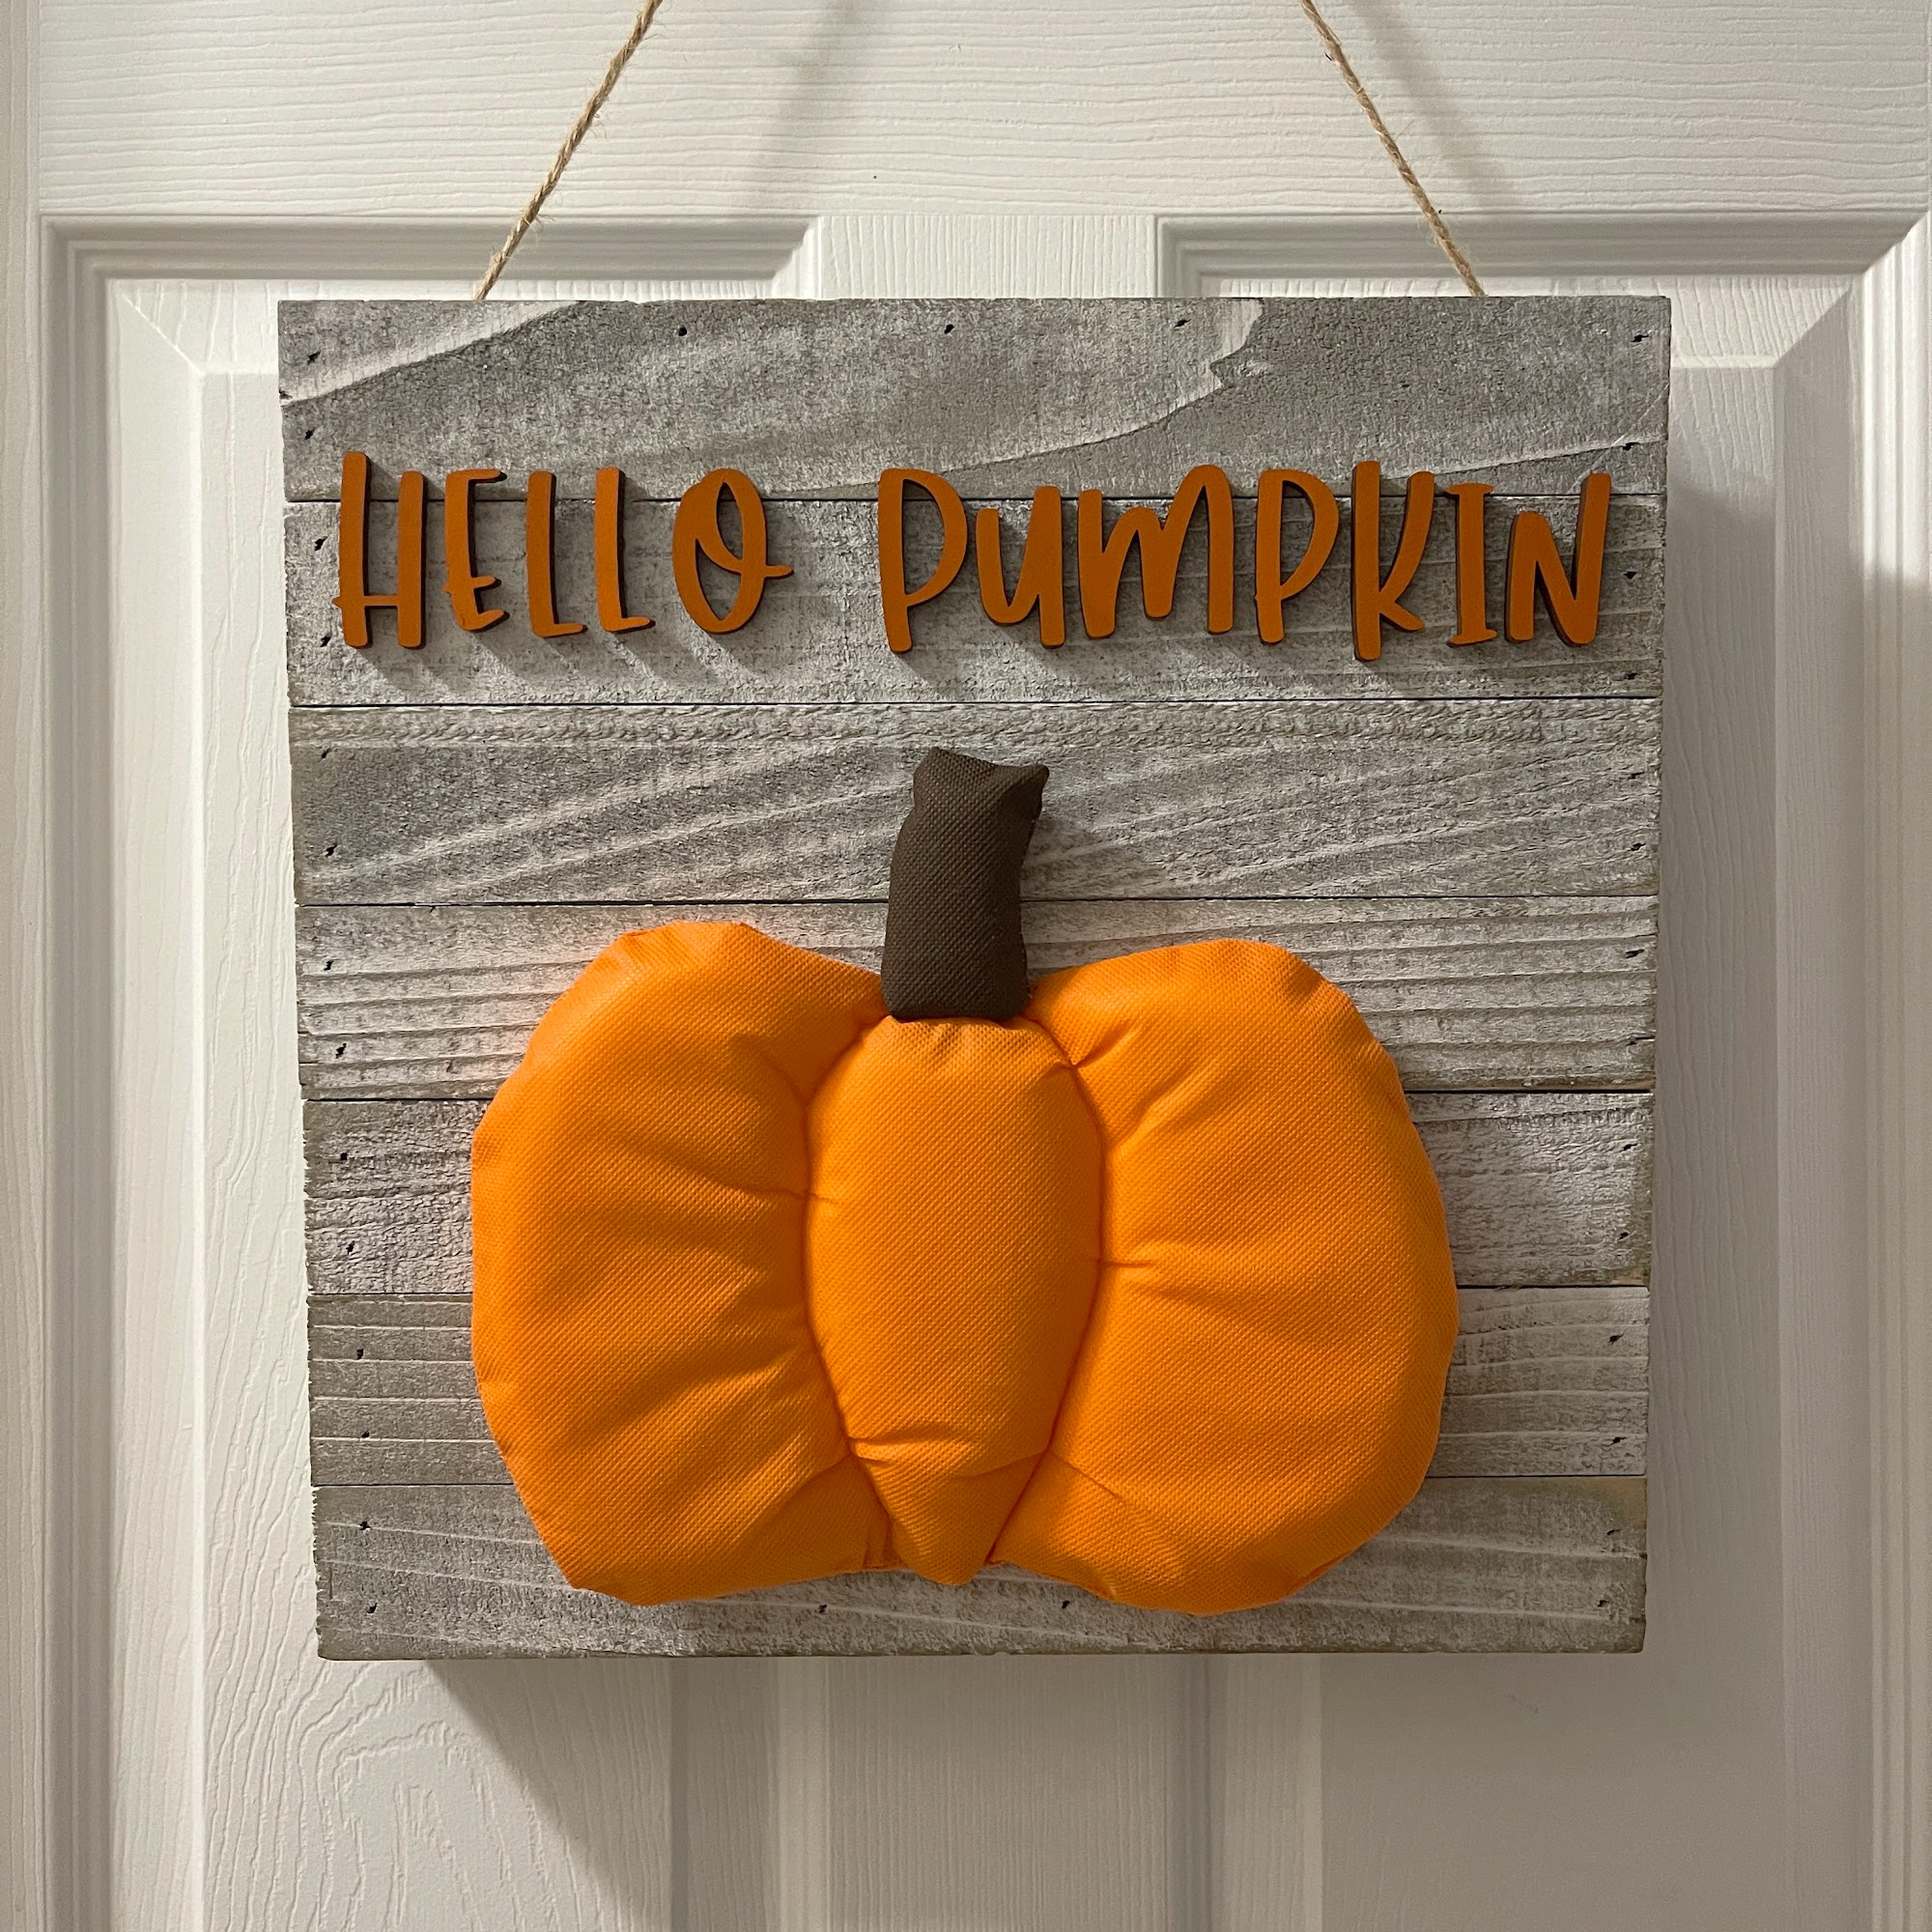
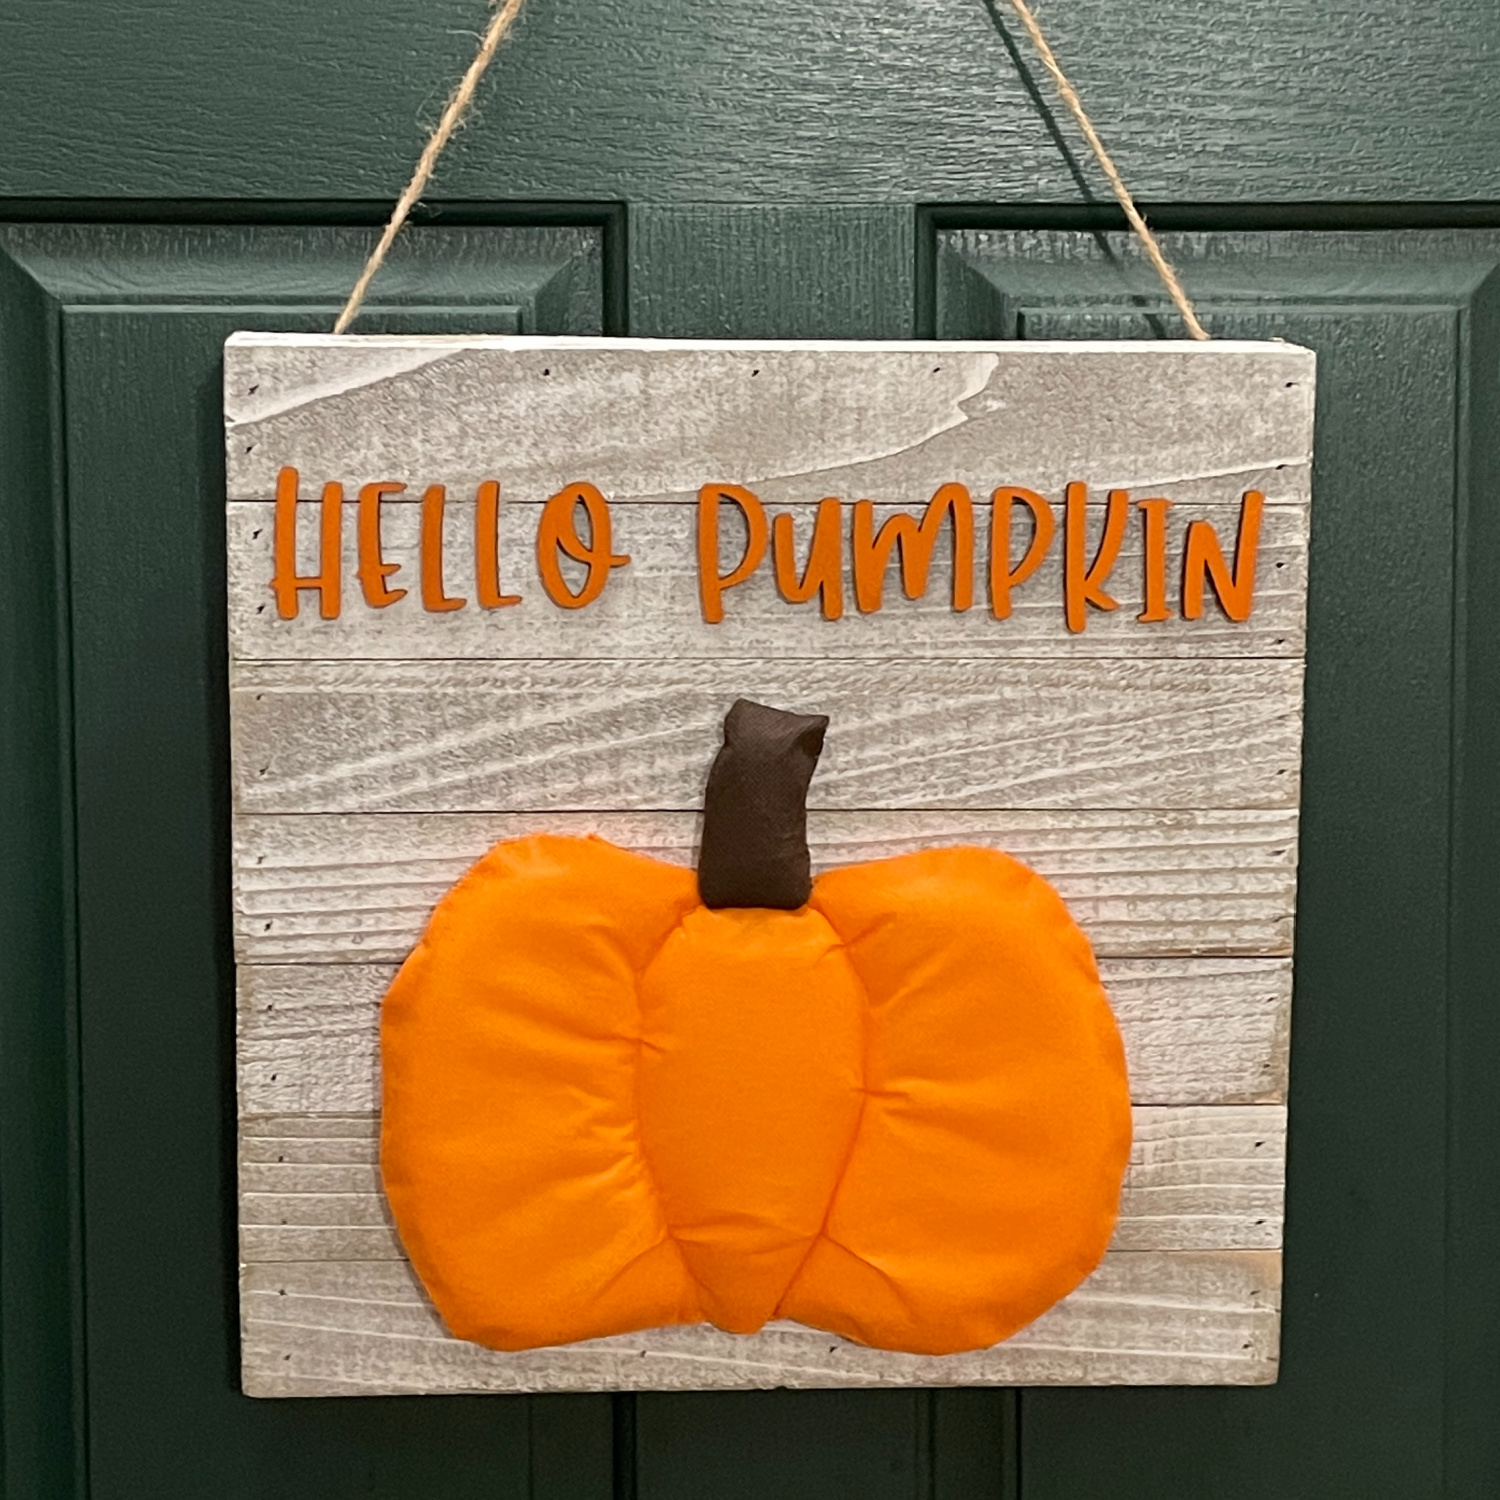
Pumpkin season is here and this Hello Pumpkin sign made with Fairfield World’s Oly*Fun® and Project Foam is perfect to add to your decor! It can be hung on the wall, the door or set on a shelf or table. I love it as a door hanger!
Materials used:
- Fairfield World™ Oly*Fun® in Orange Crush & Hot Fudge
- Fairfield World™ Project Foam
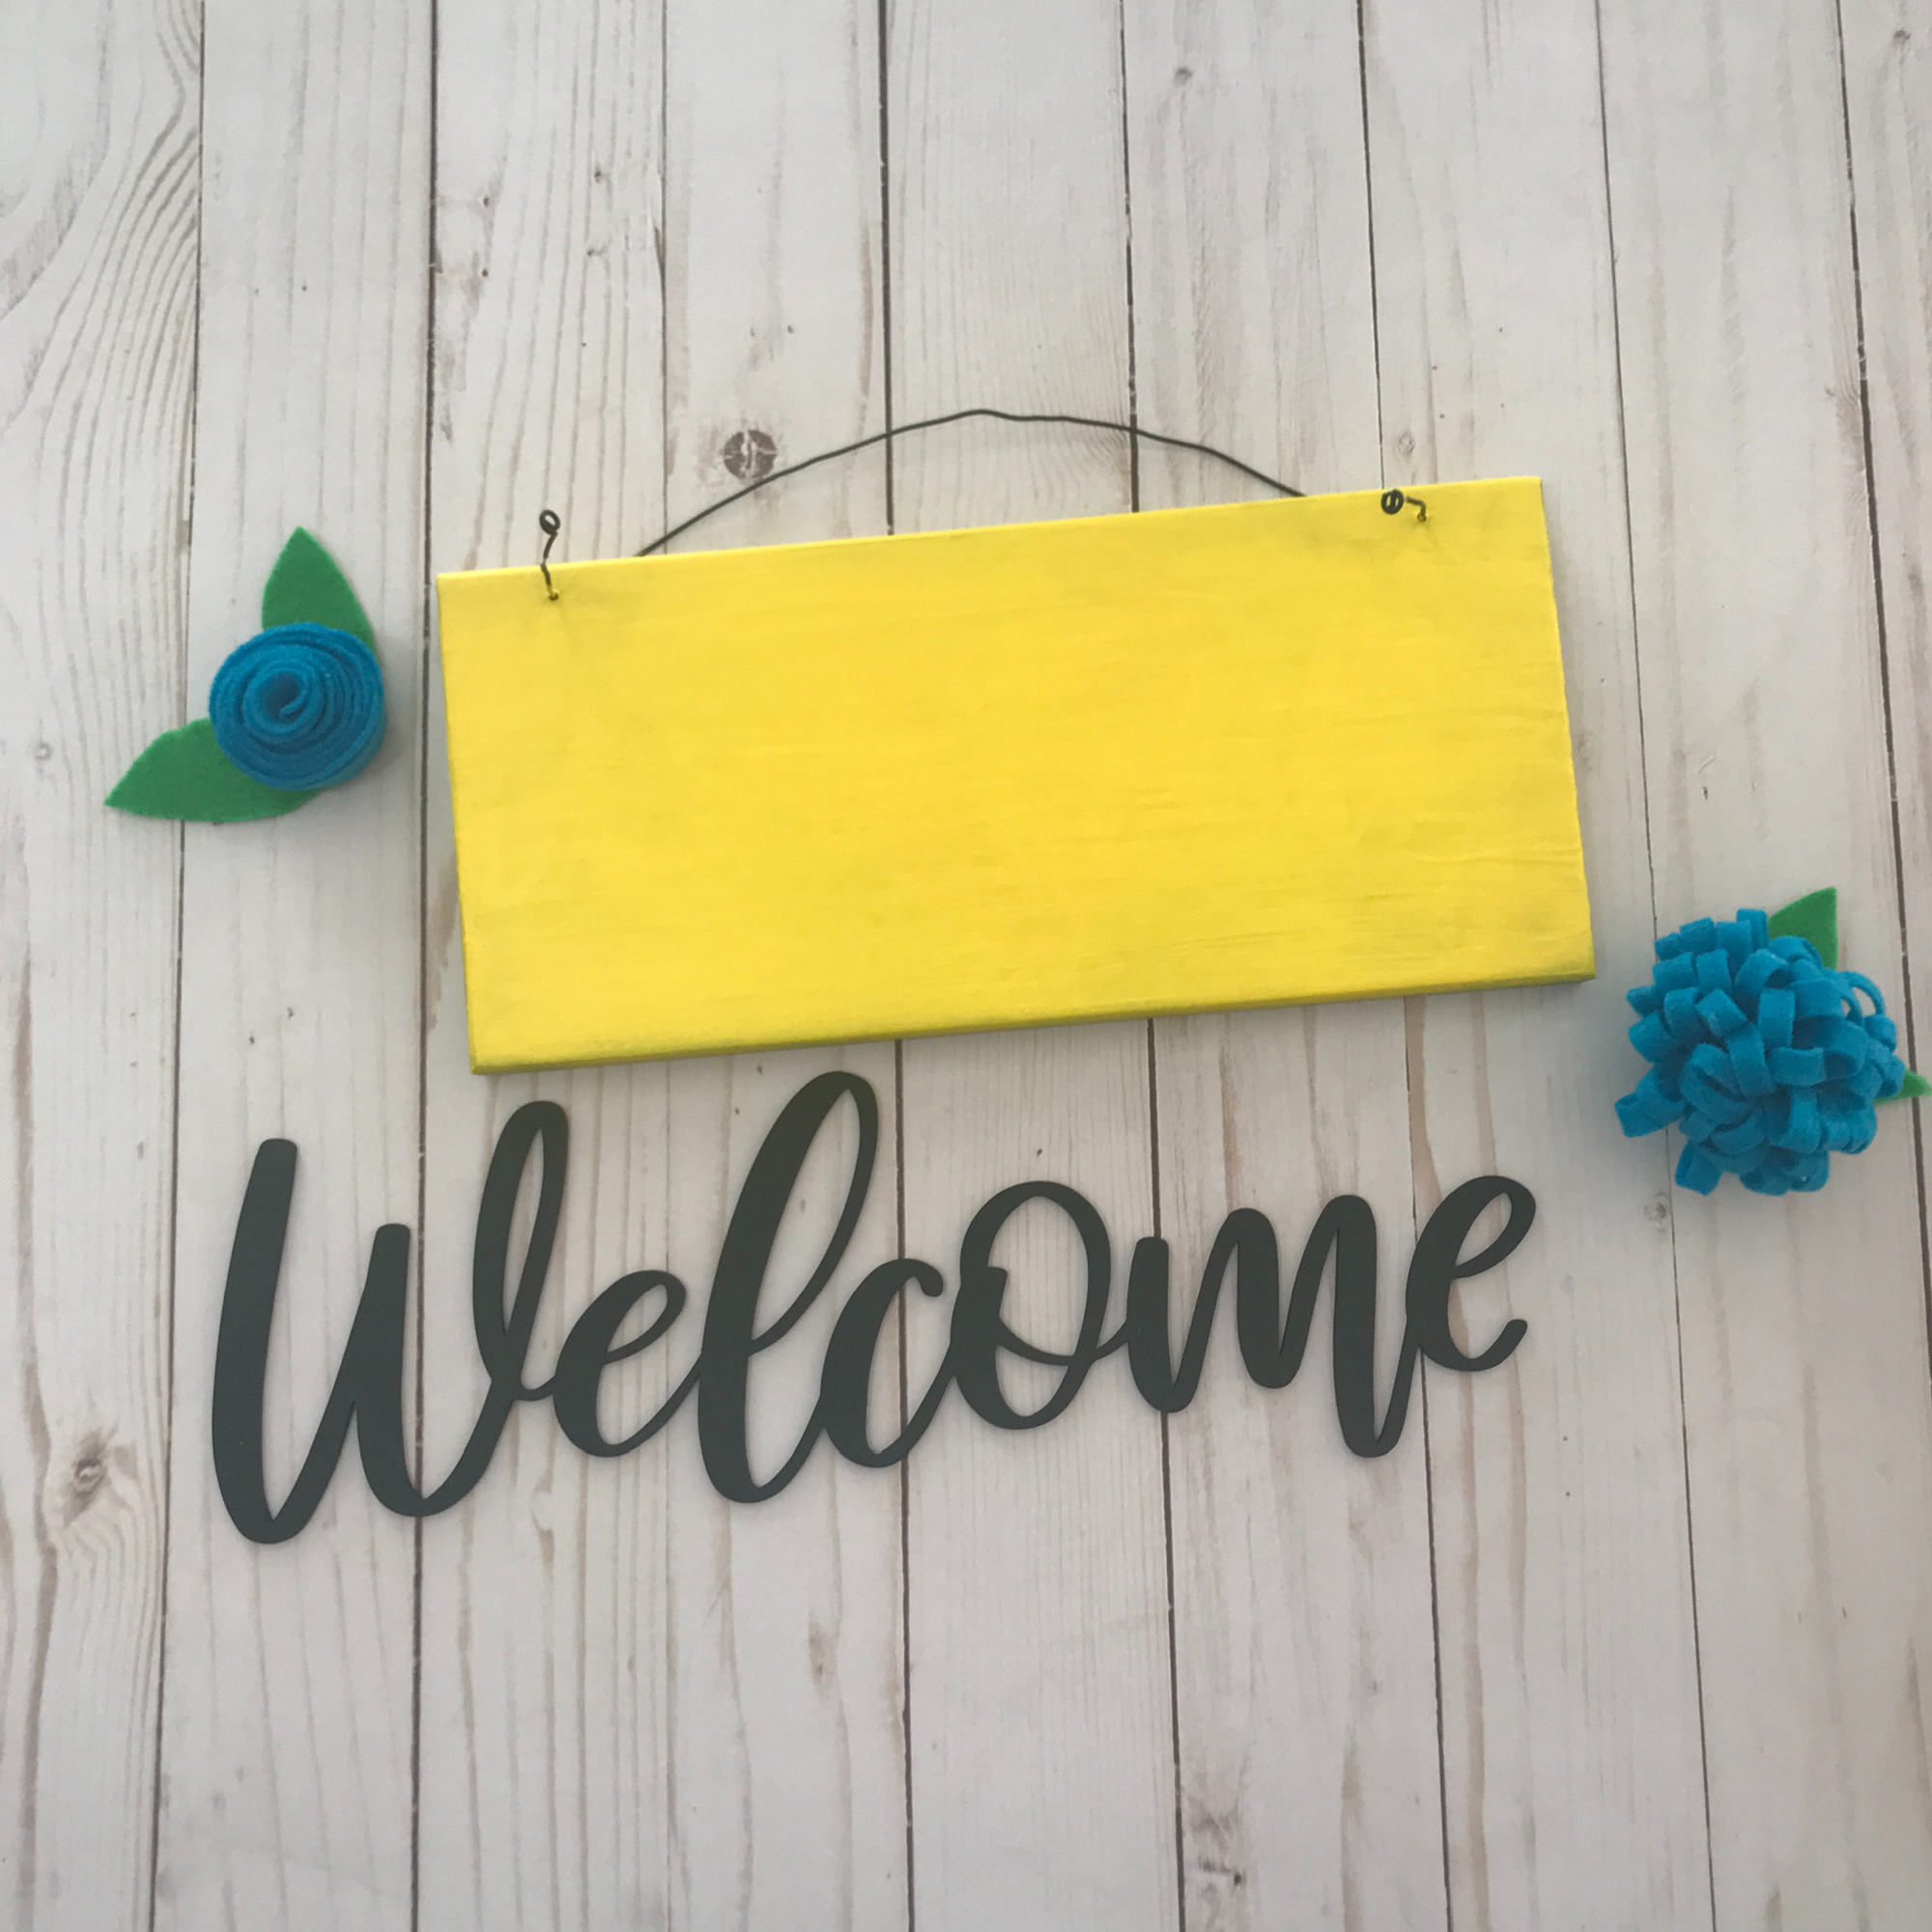
- Pre-made Wood Sign
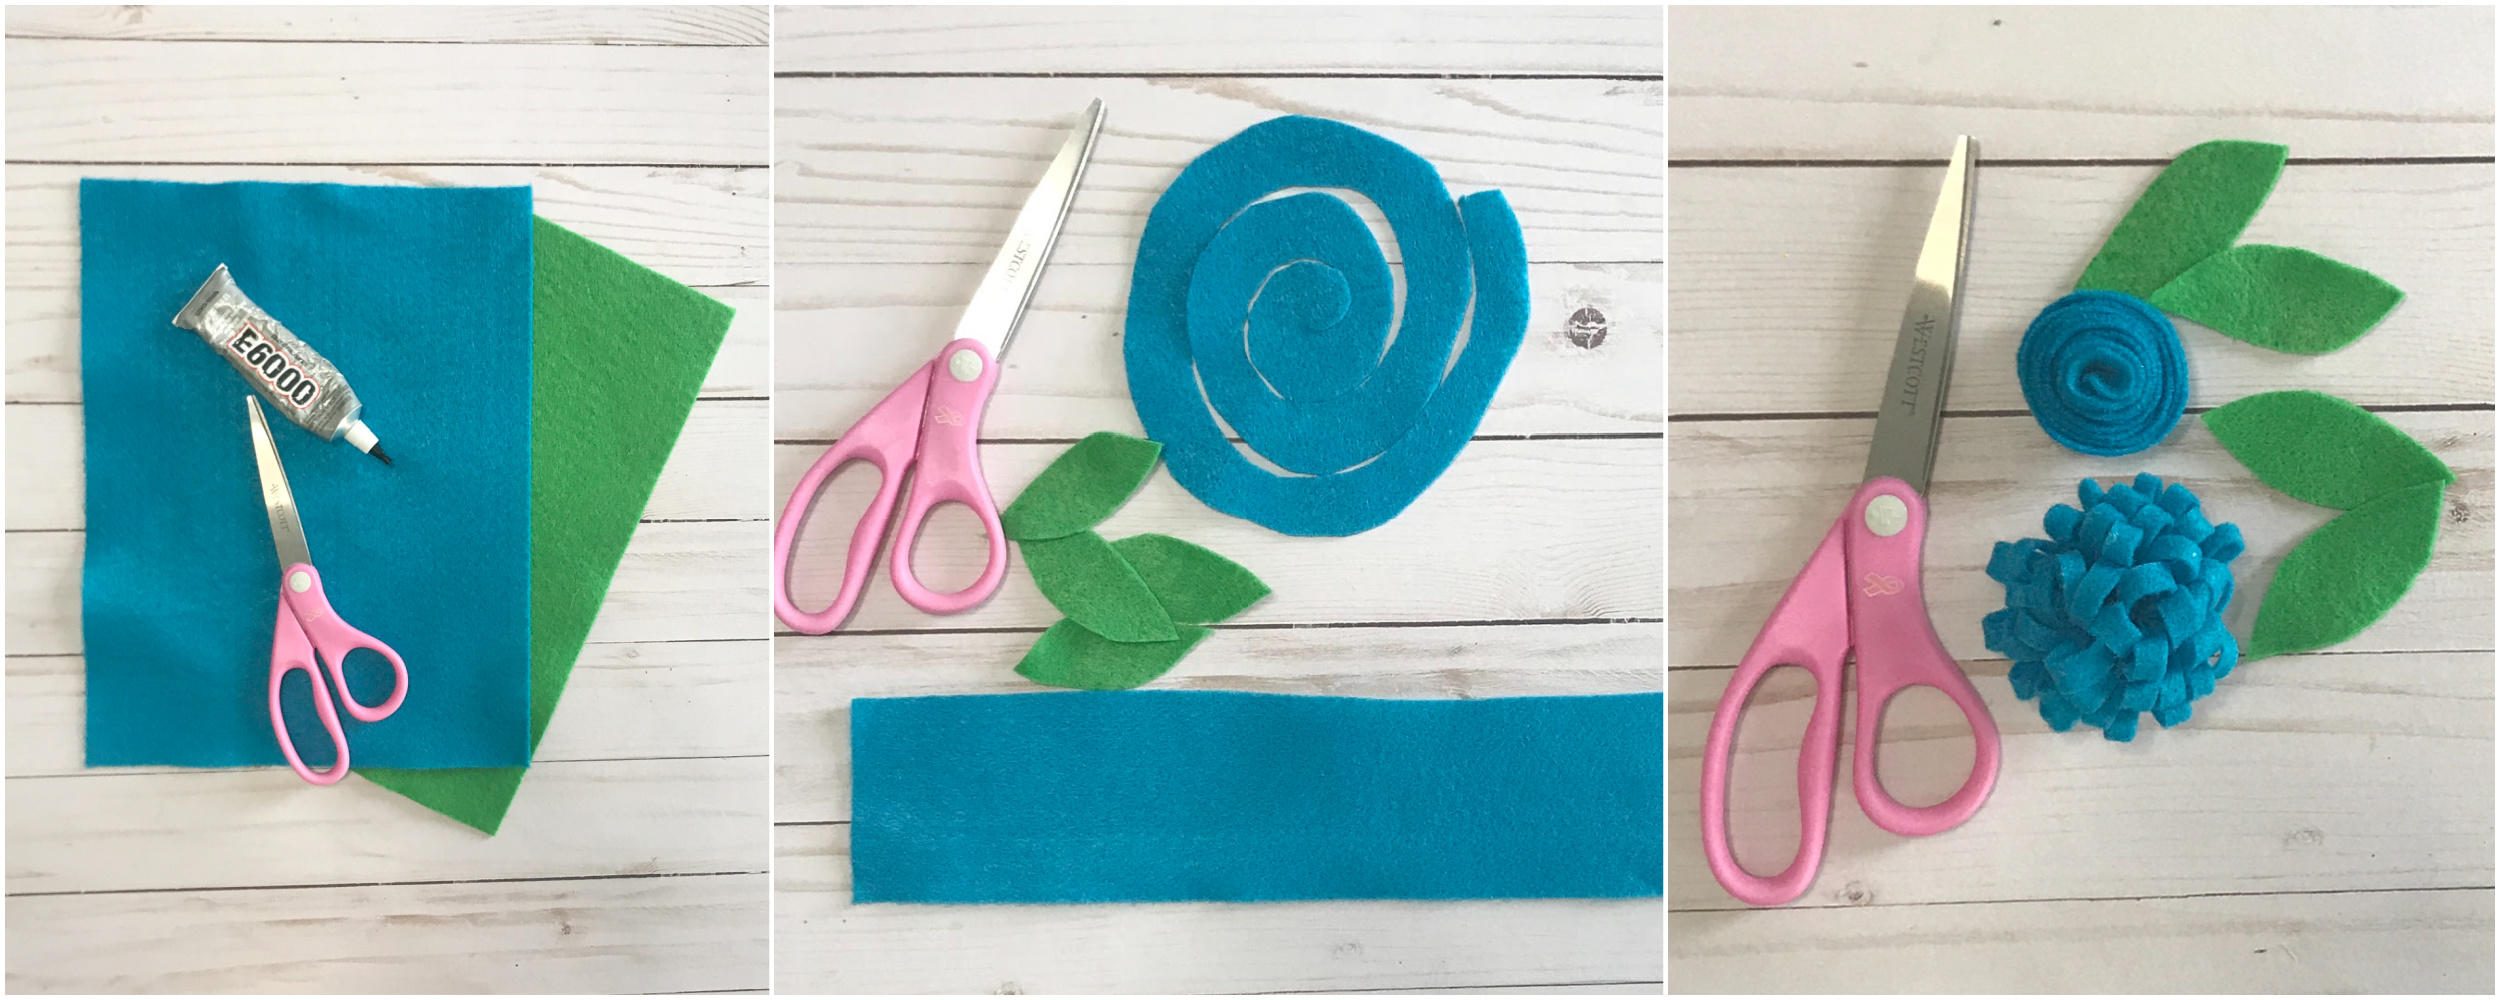
- Scissors
- Sewing Machine
- Glue (I used E6000)
- Wood Letters (I cut mine on a laser, but you can purchase them)
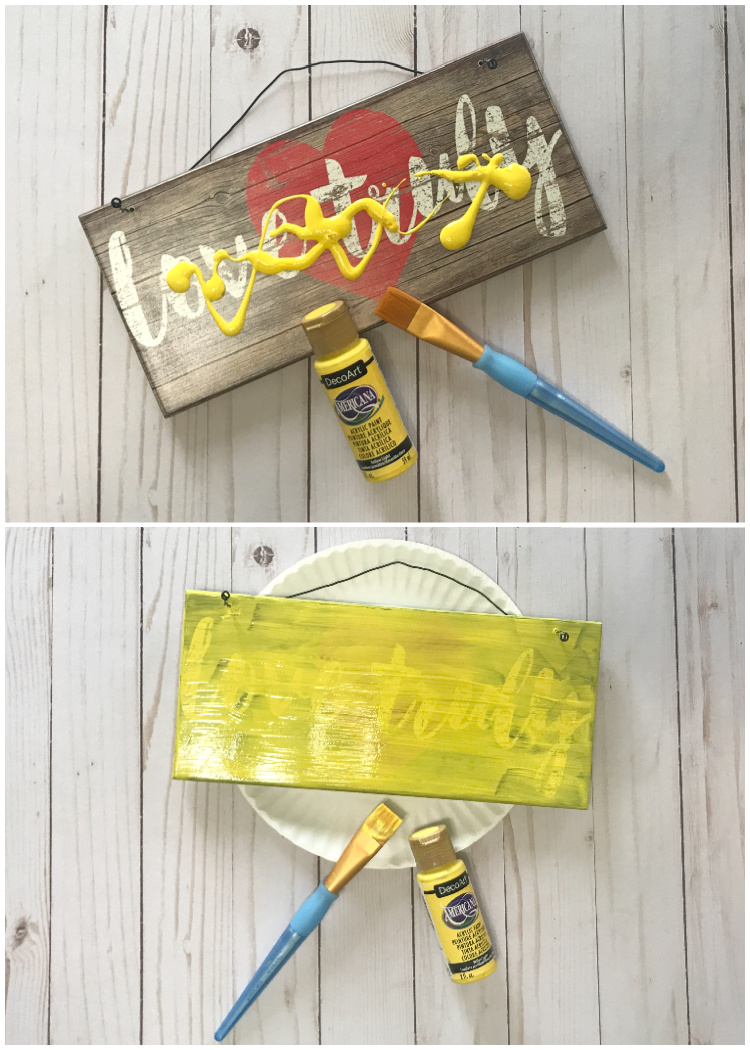
- Paint for the letters
How I made it:
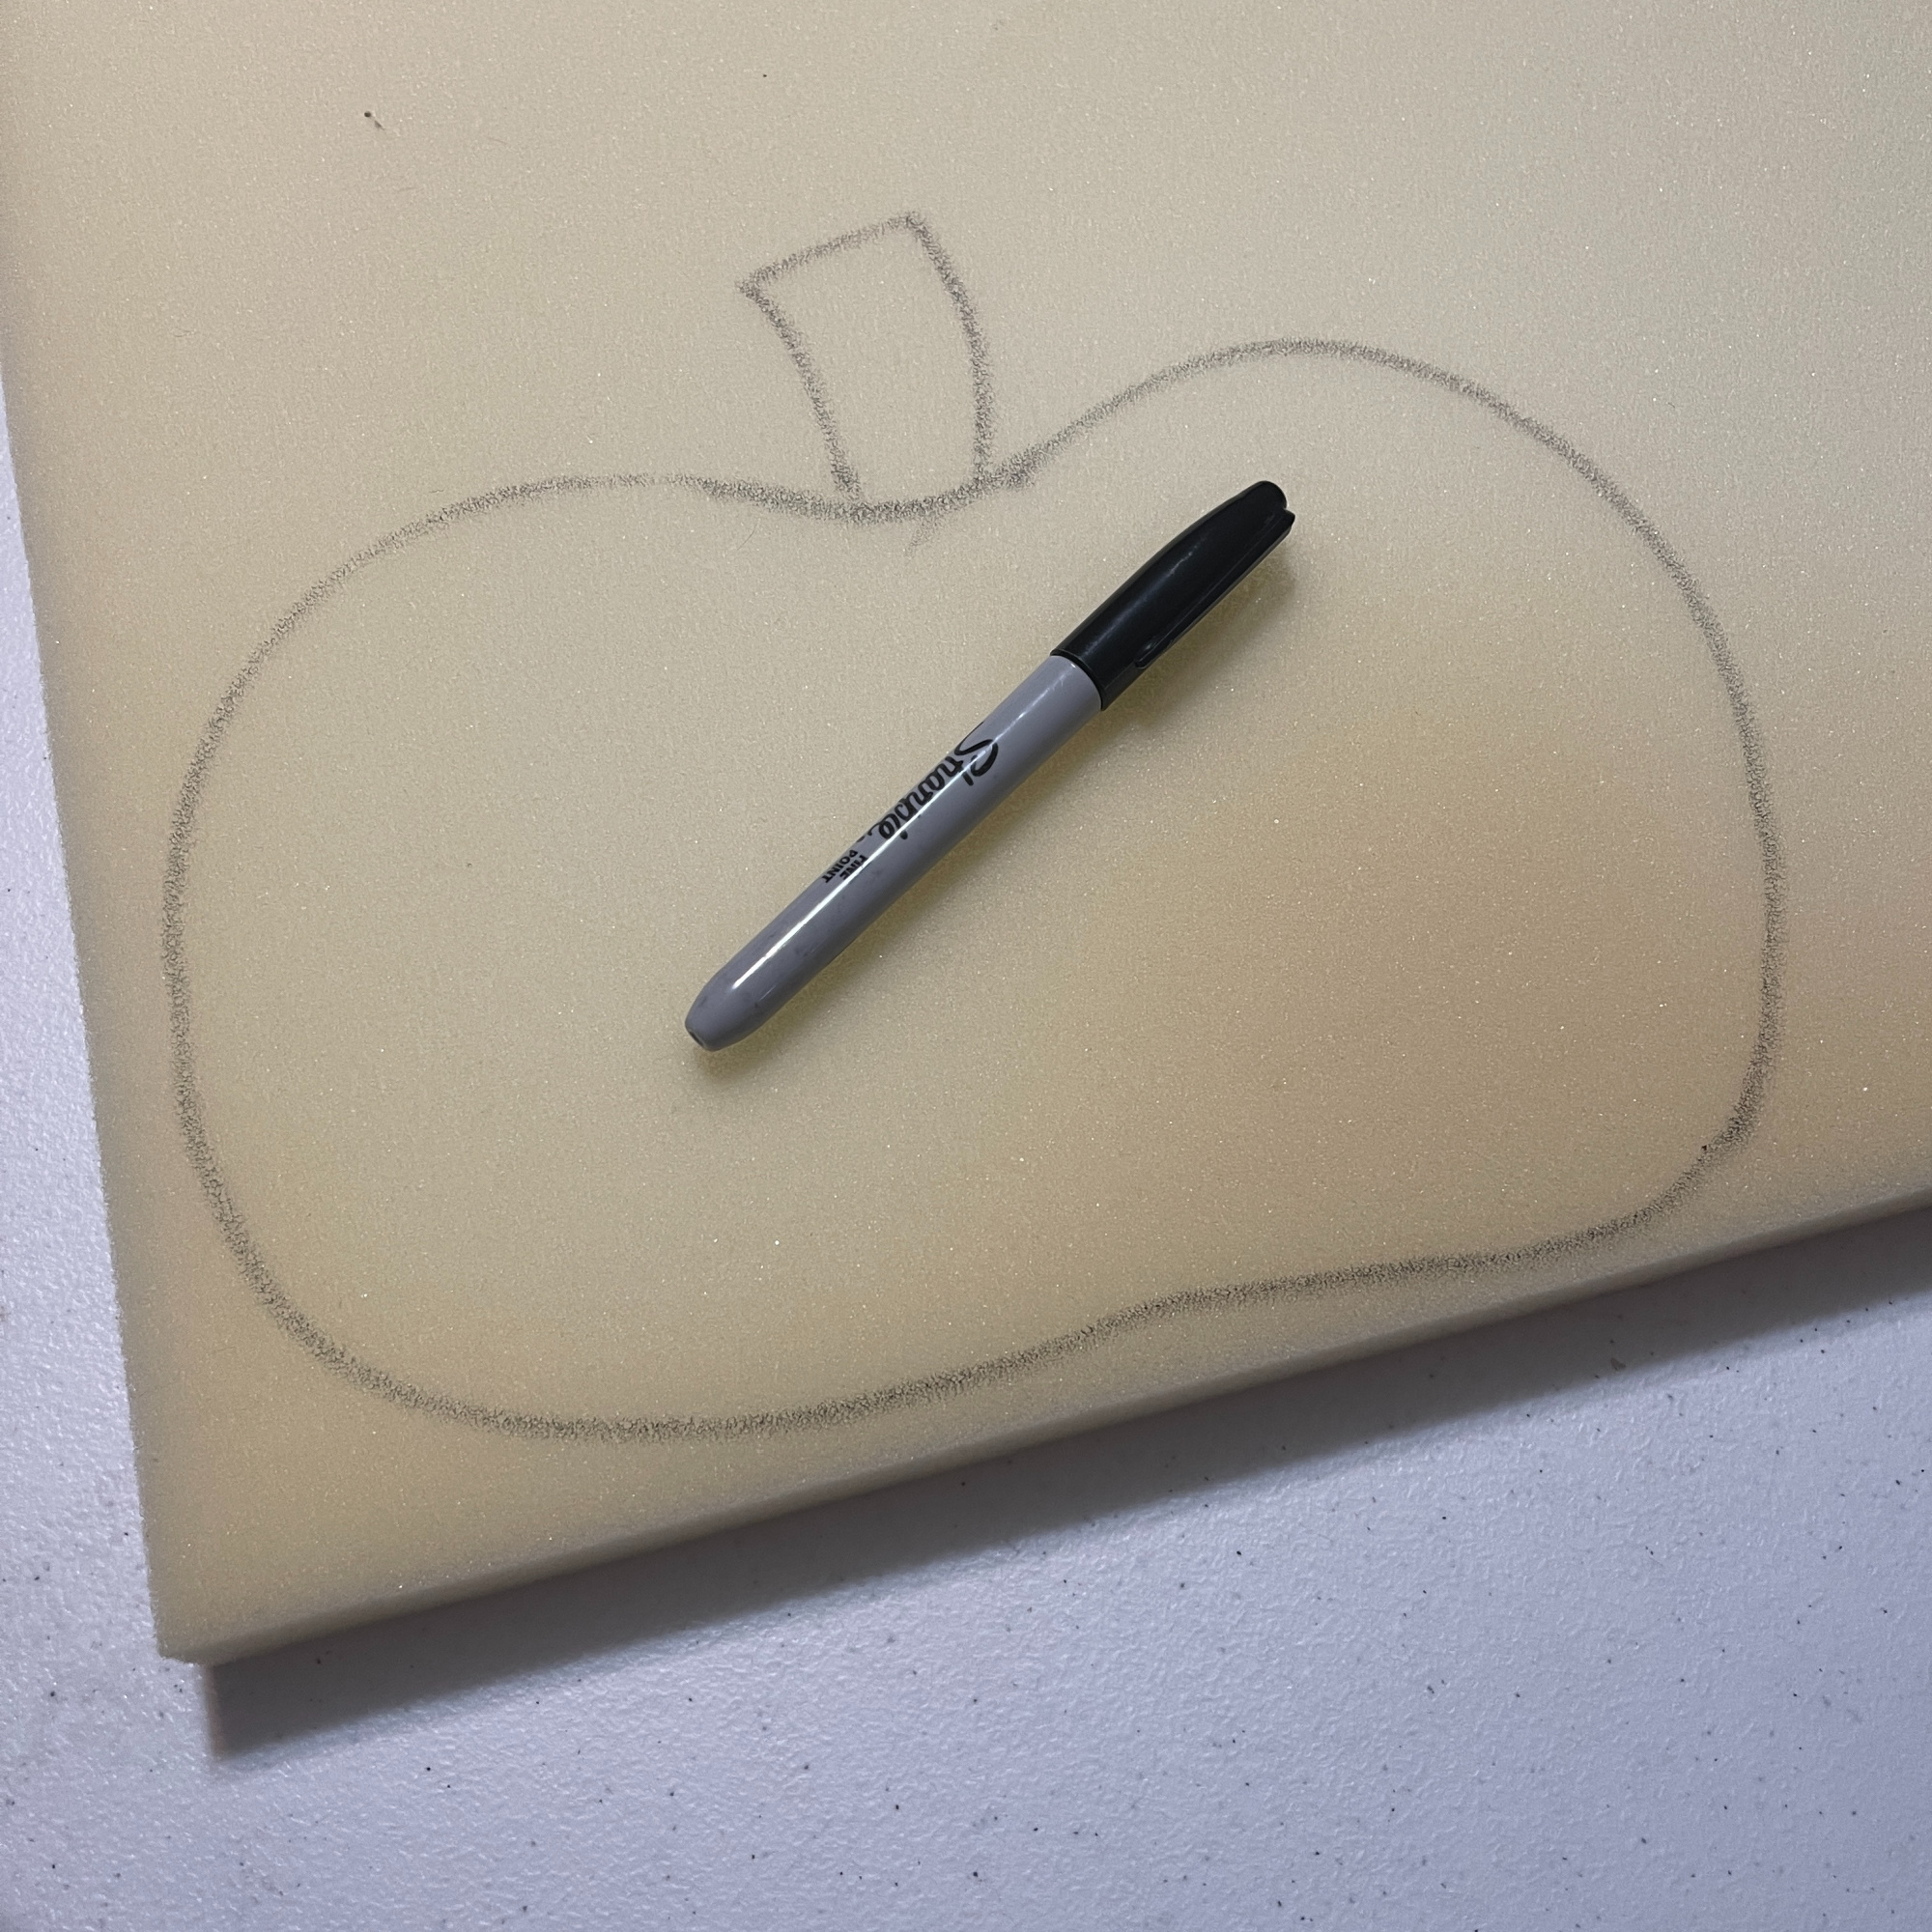
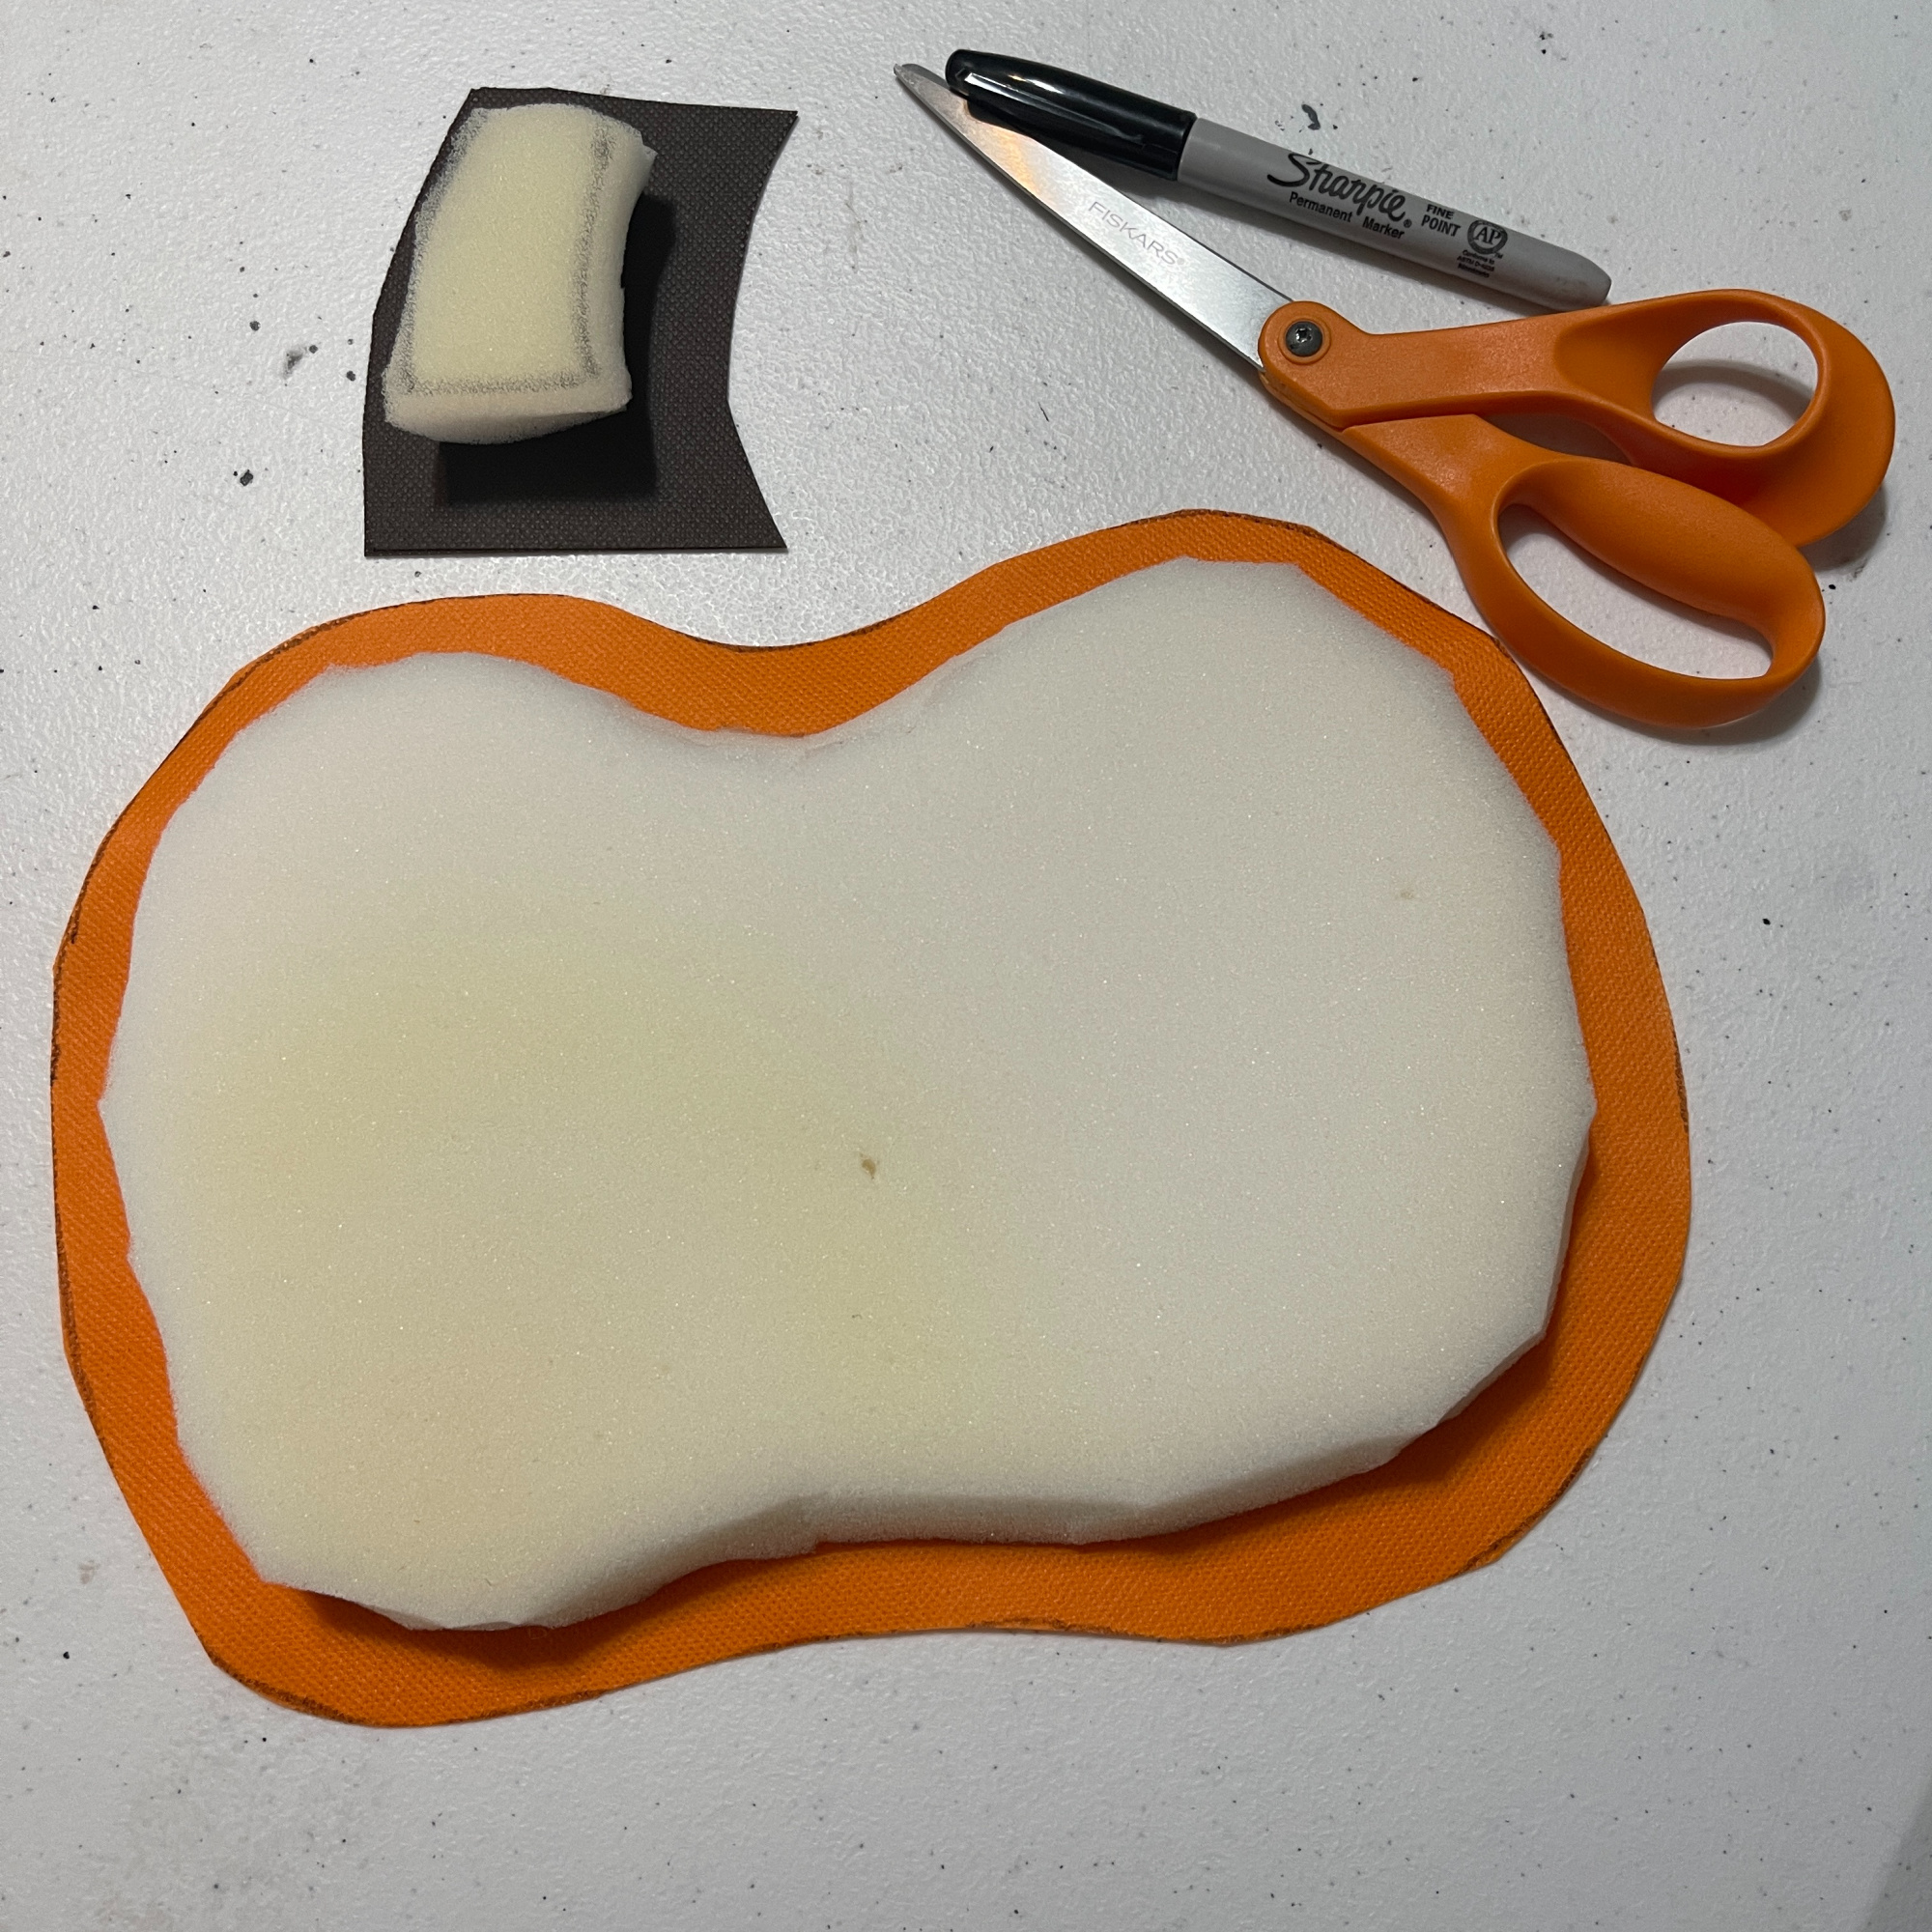
I first started by drawing a pumpkin and stem with a marker on the Project Foam. I knew that my sign was only 14″x14″ so I needed to make it smaller than that. I cut it out with my scissors.
I laid the foam pumpkin and stem shapes on the orange and brown Oly*Fun® and traced around them, adding about a 1/2″.
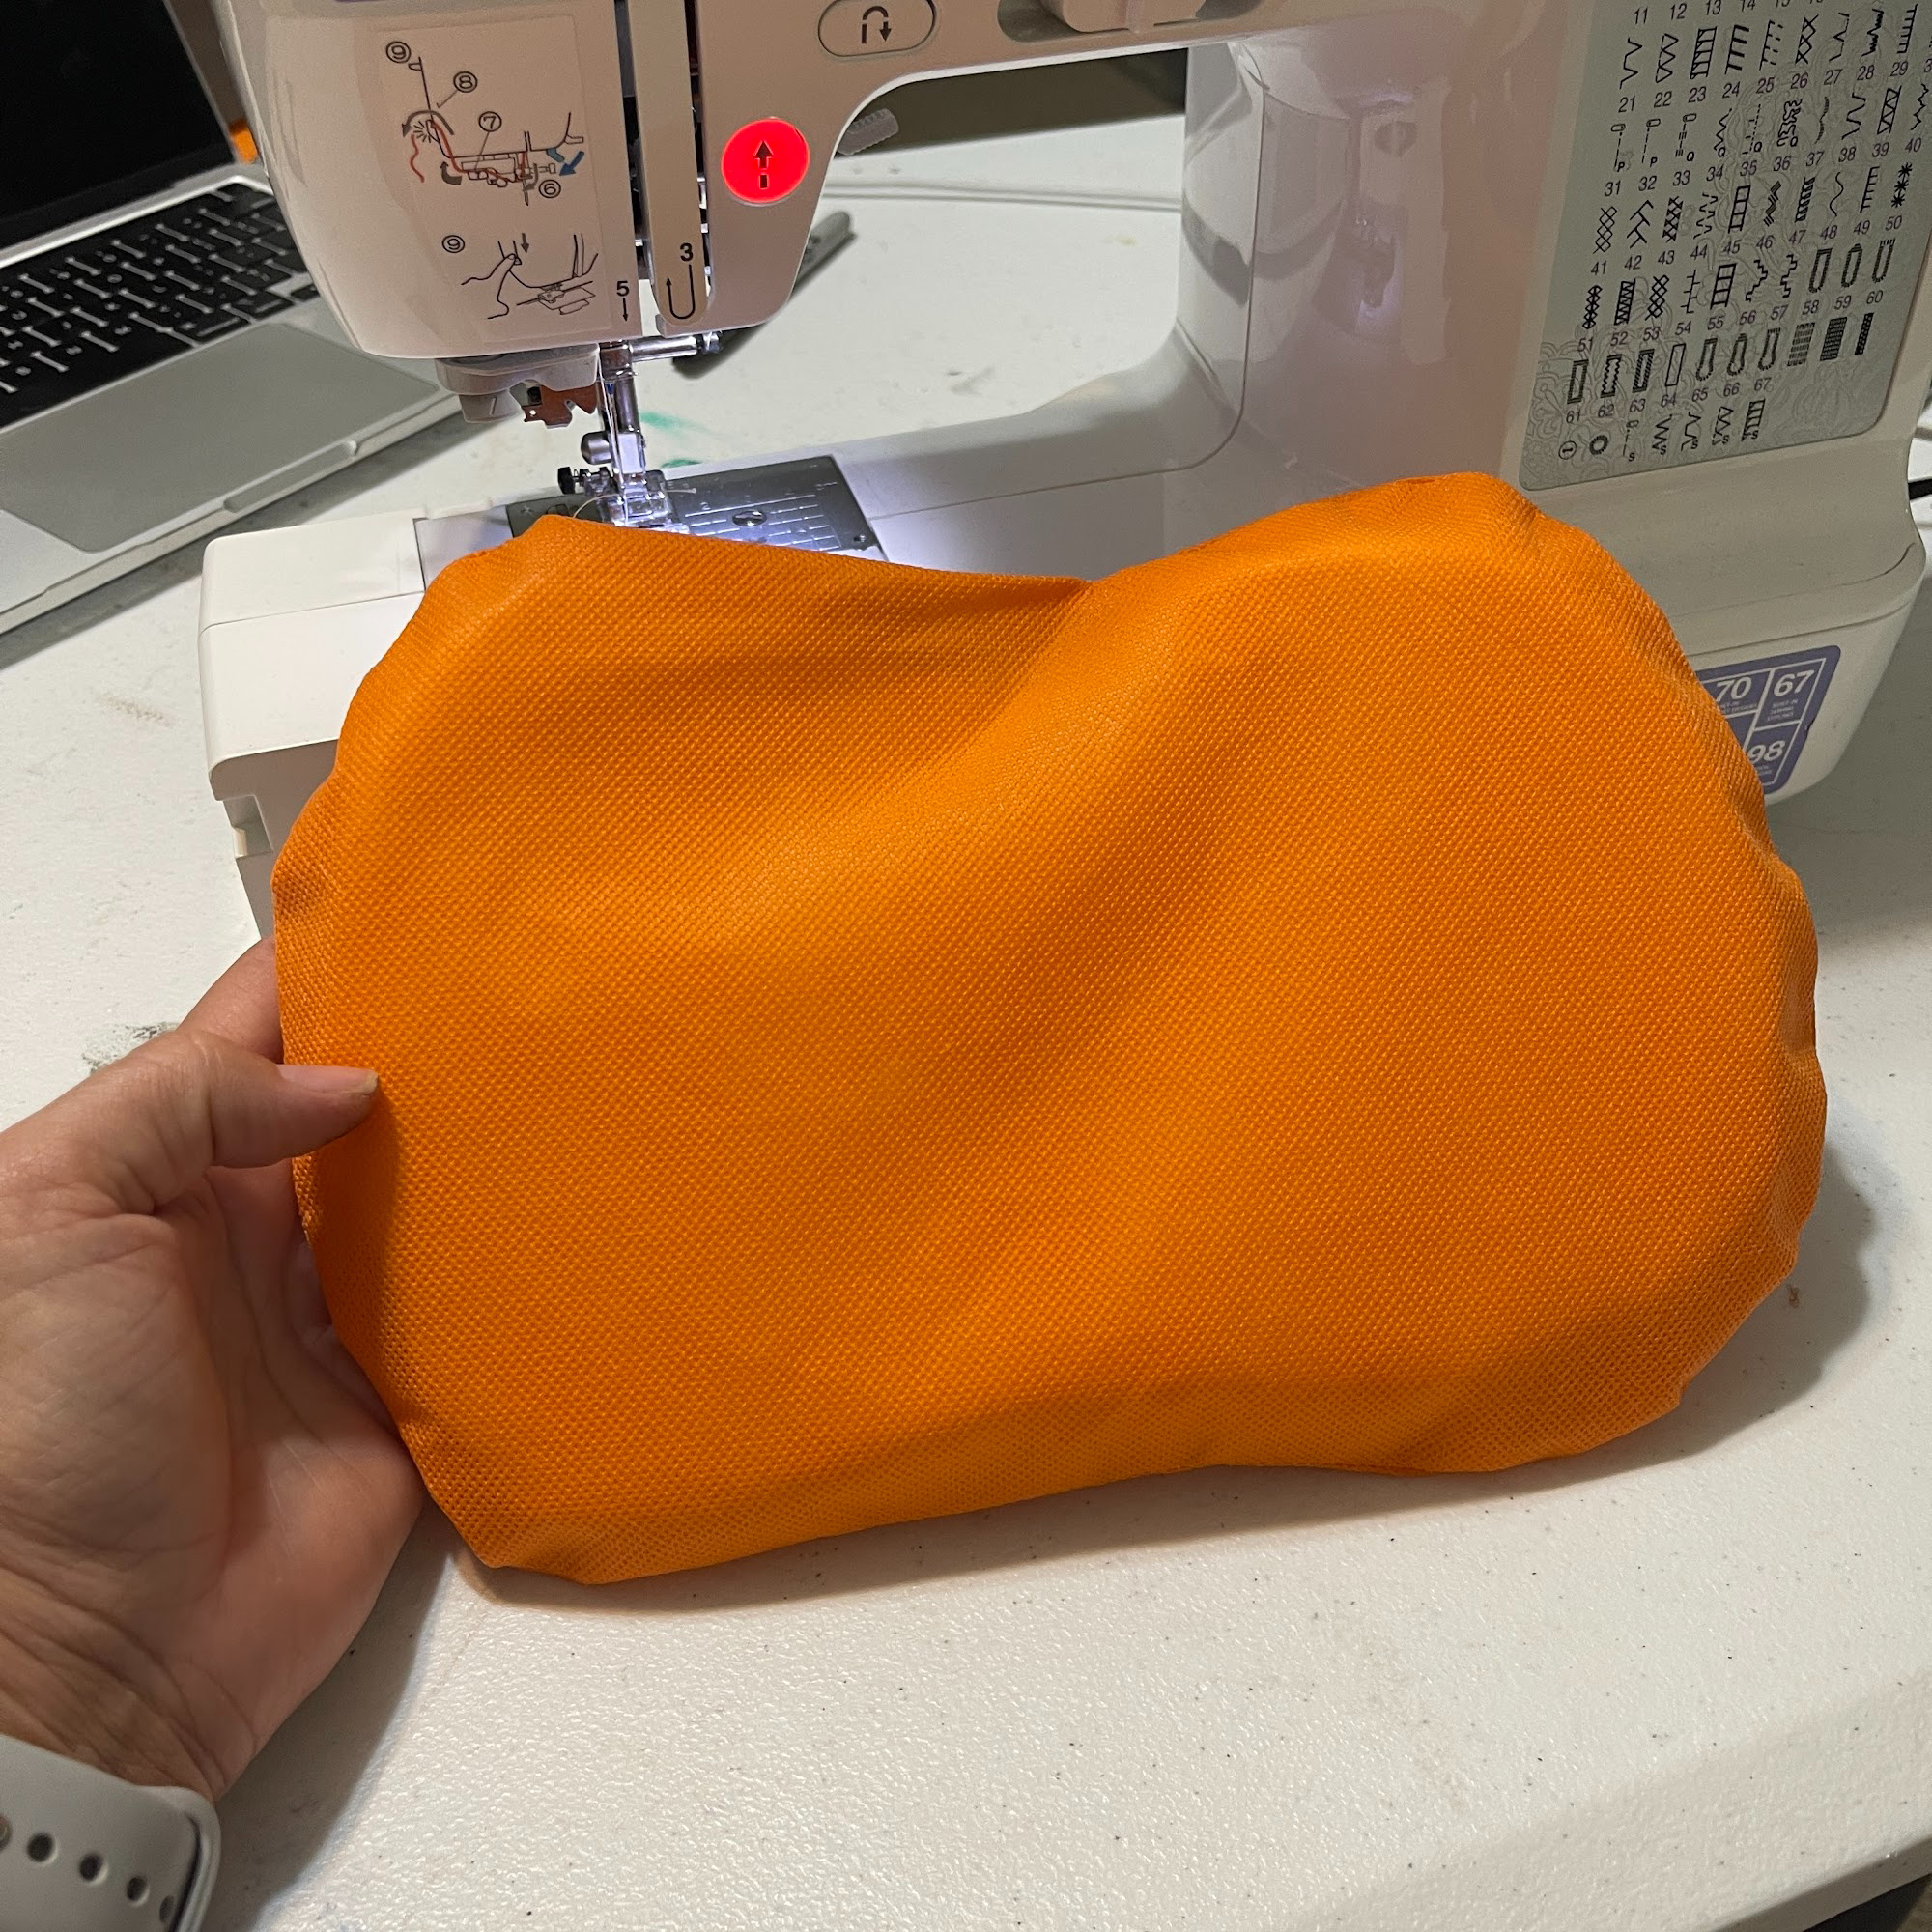
Once everything was cut out, I sewed the pieces together with a 1/4″ seem and leaving an opening for inserting the foam.
I flipped the sewn Oly*Fun® so the seam was inside and them inserted the foam.
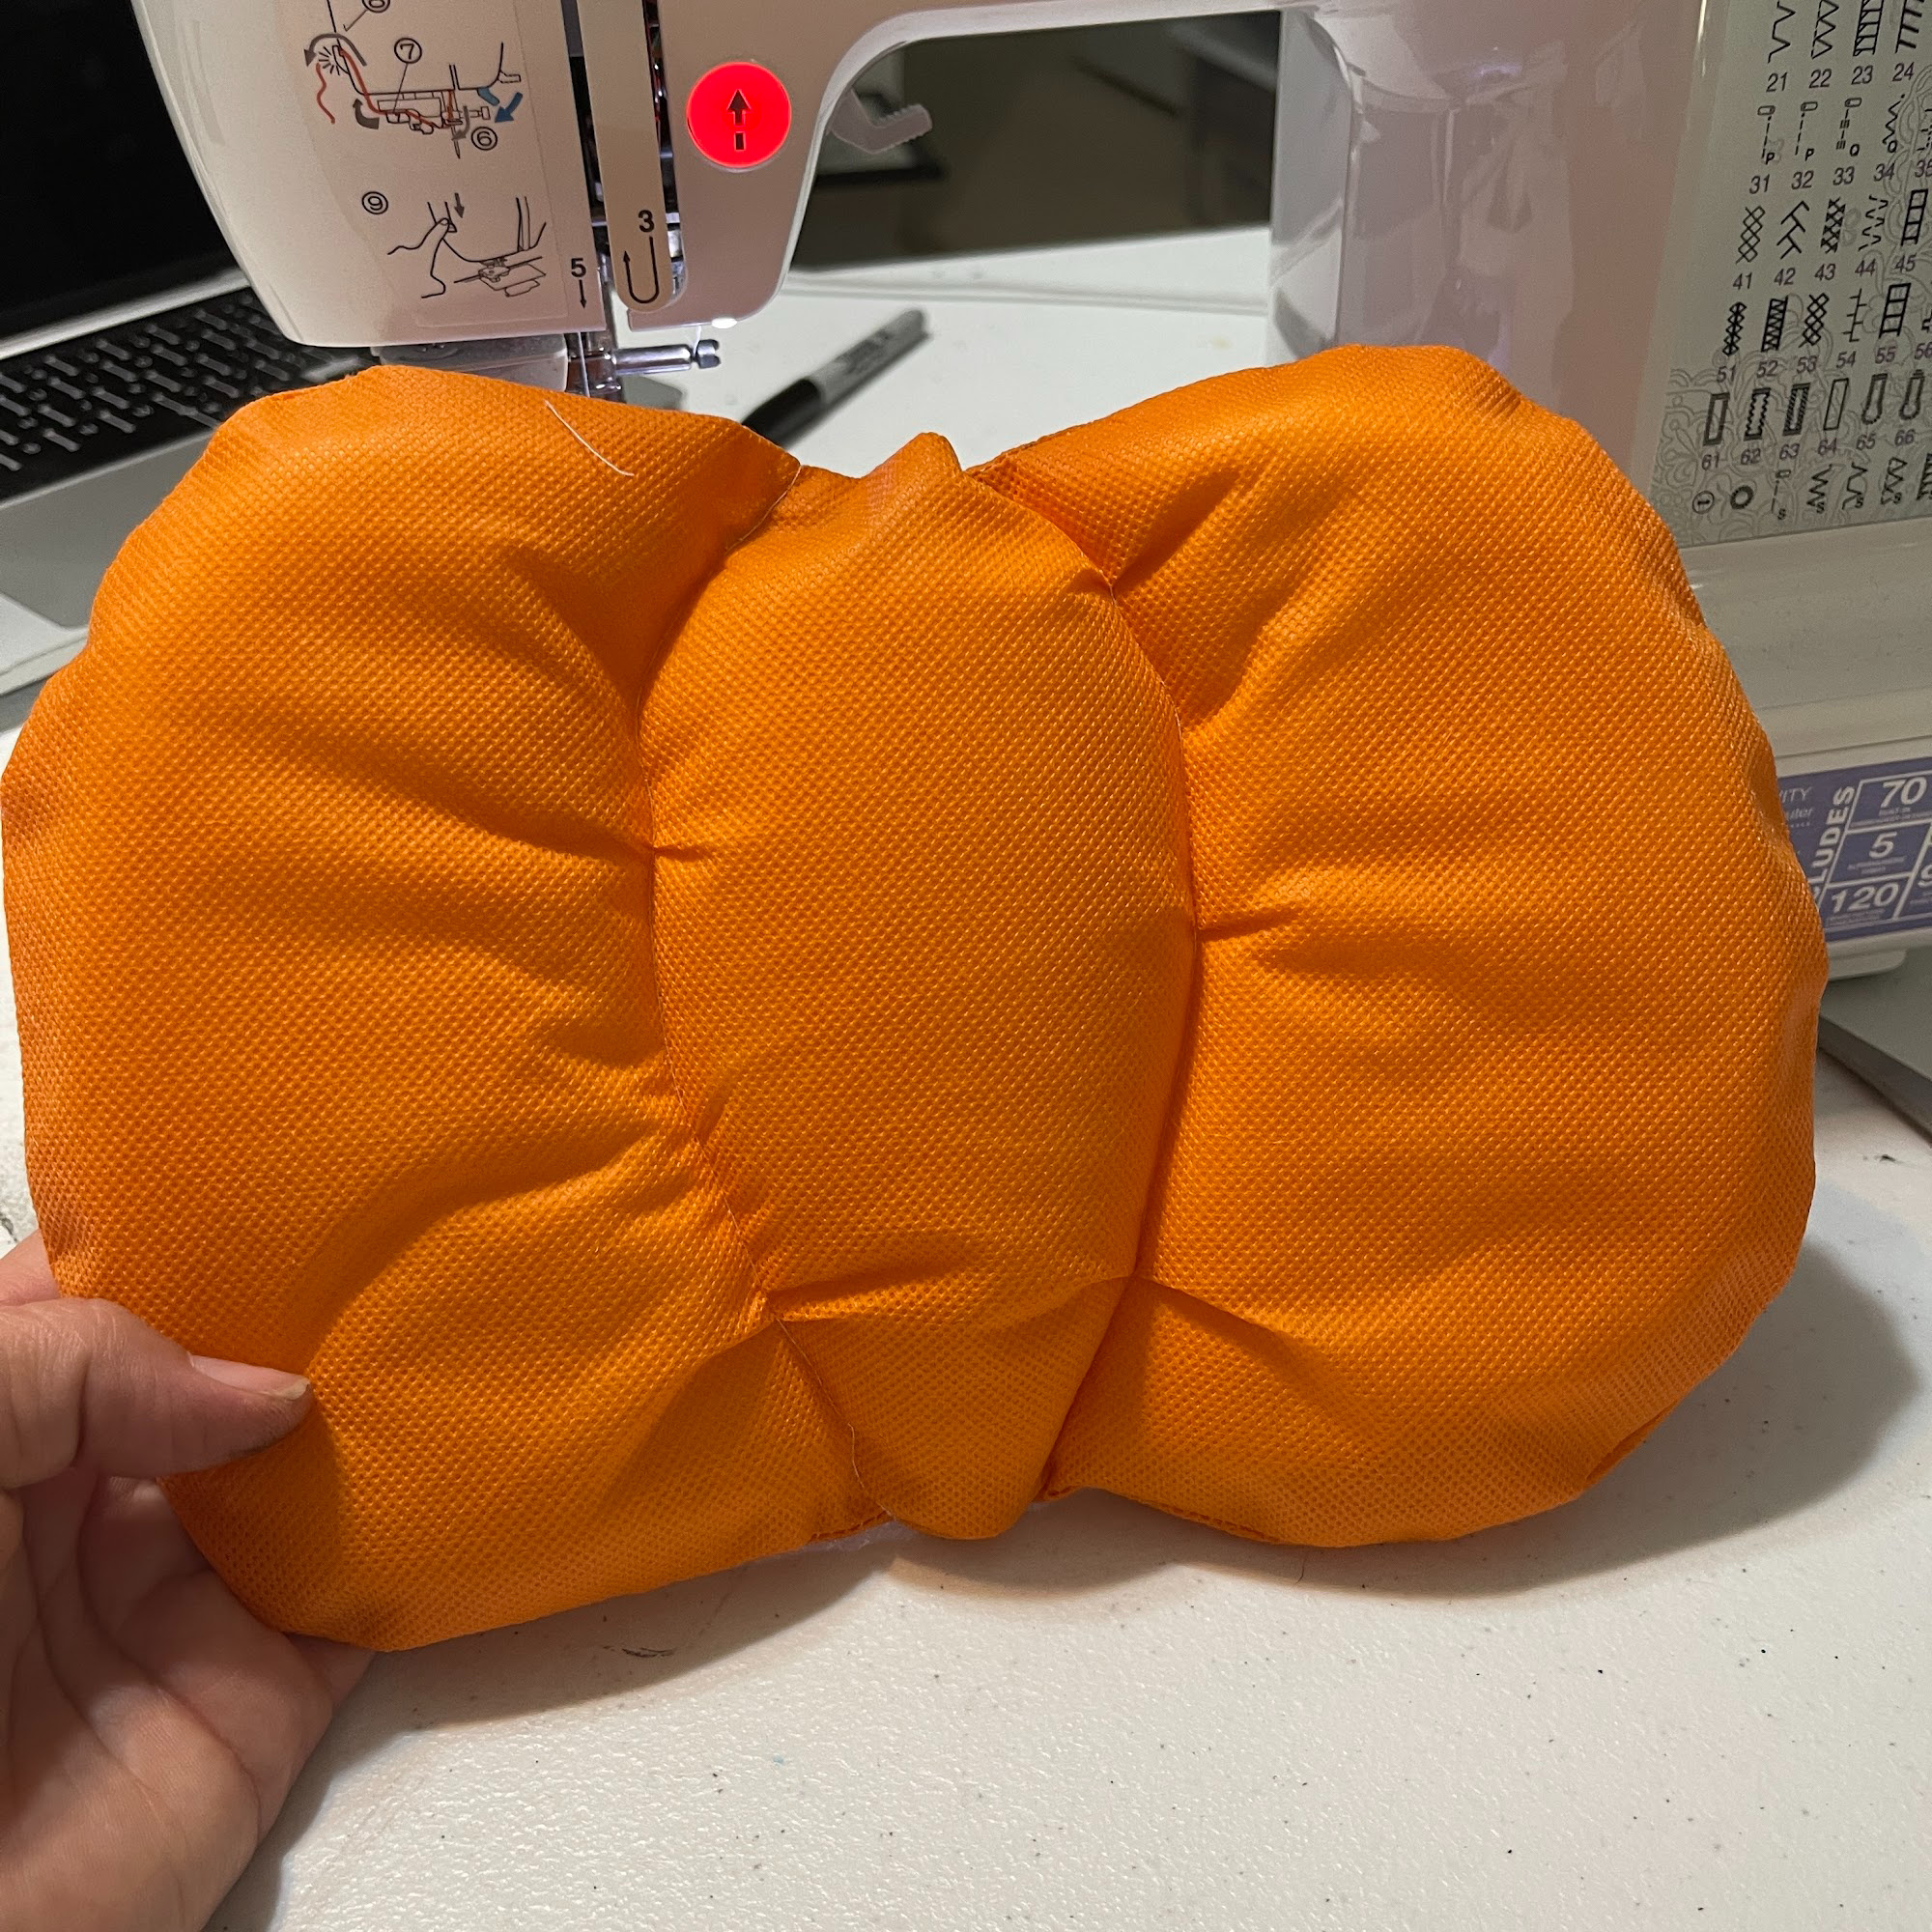
I sewed the openings closed. I then sewed a curved line on each side, giving it a more realistic pumpkin look.
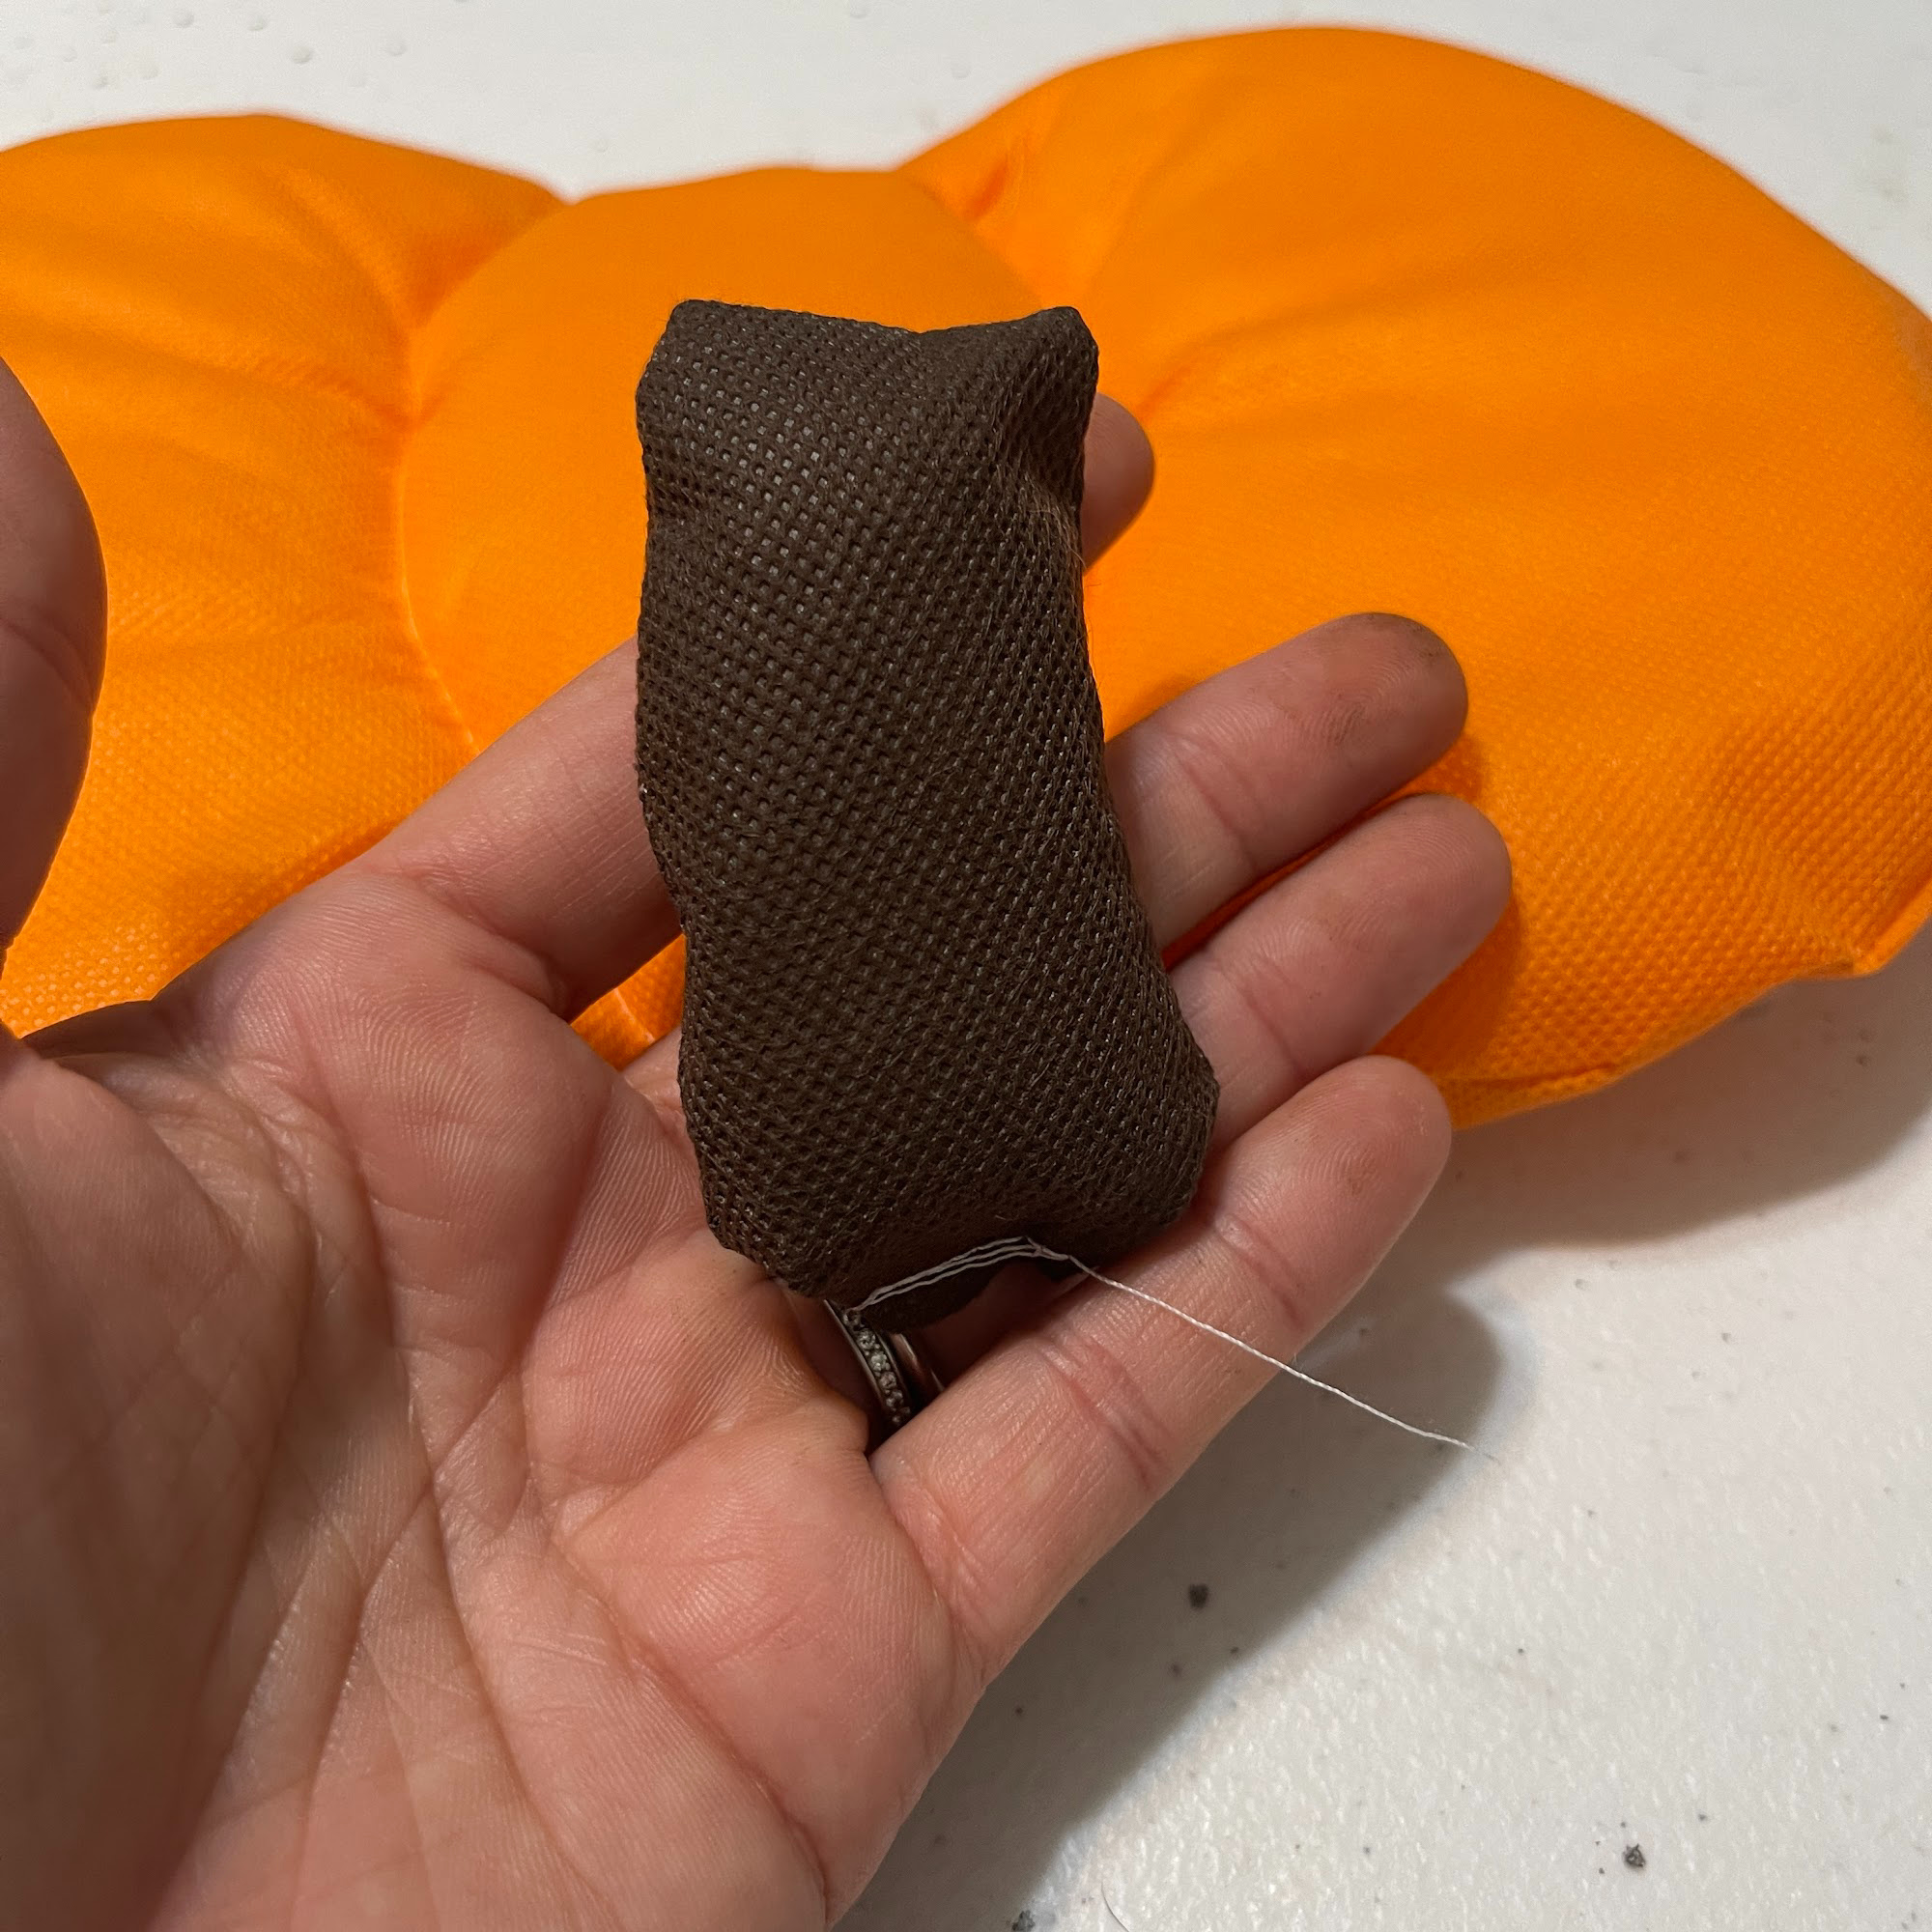
Then I glued the stem to the pumpkin.
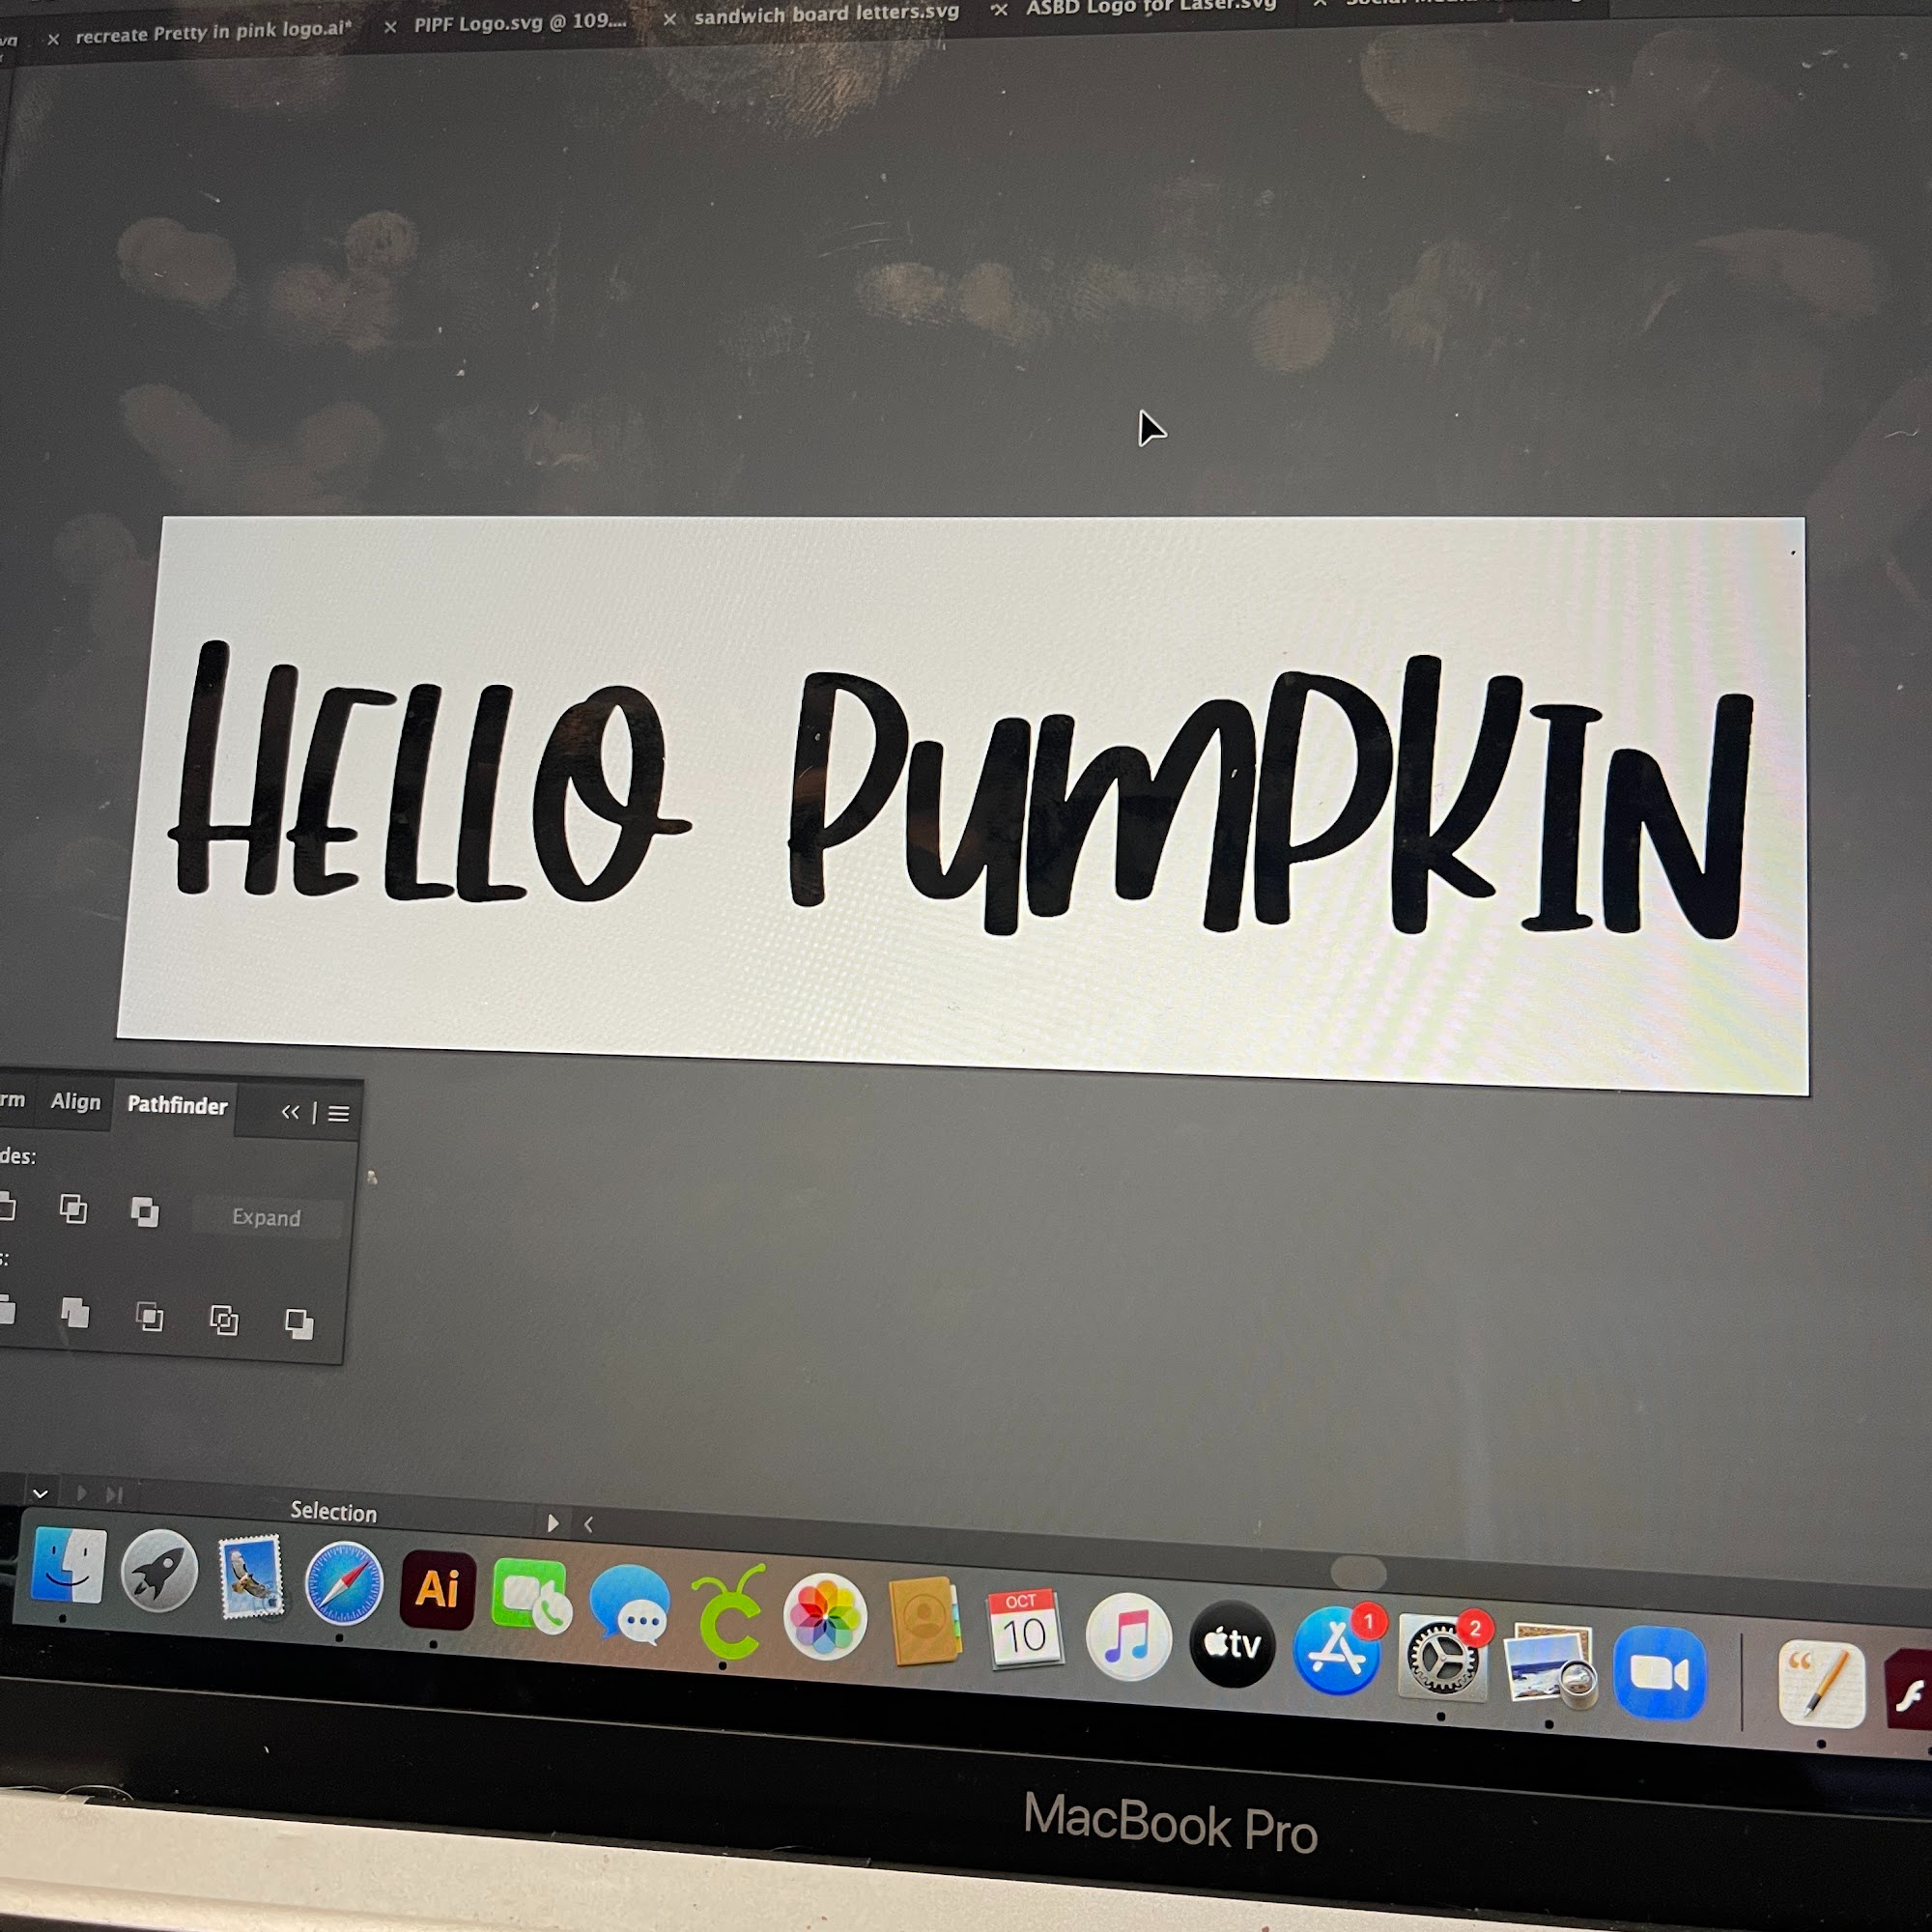
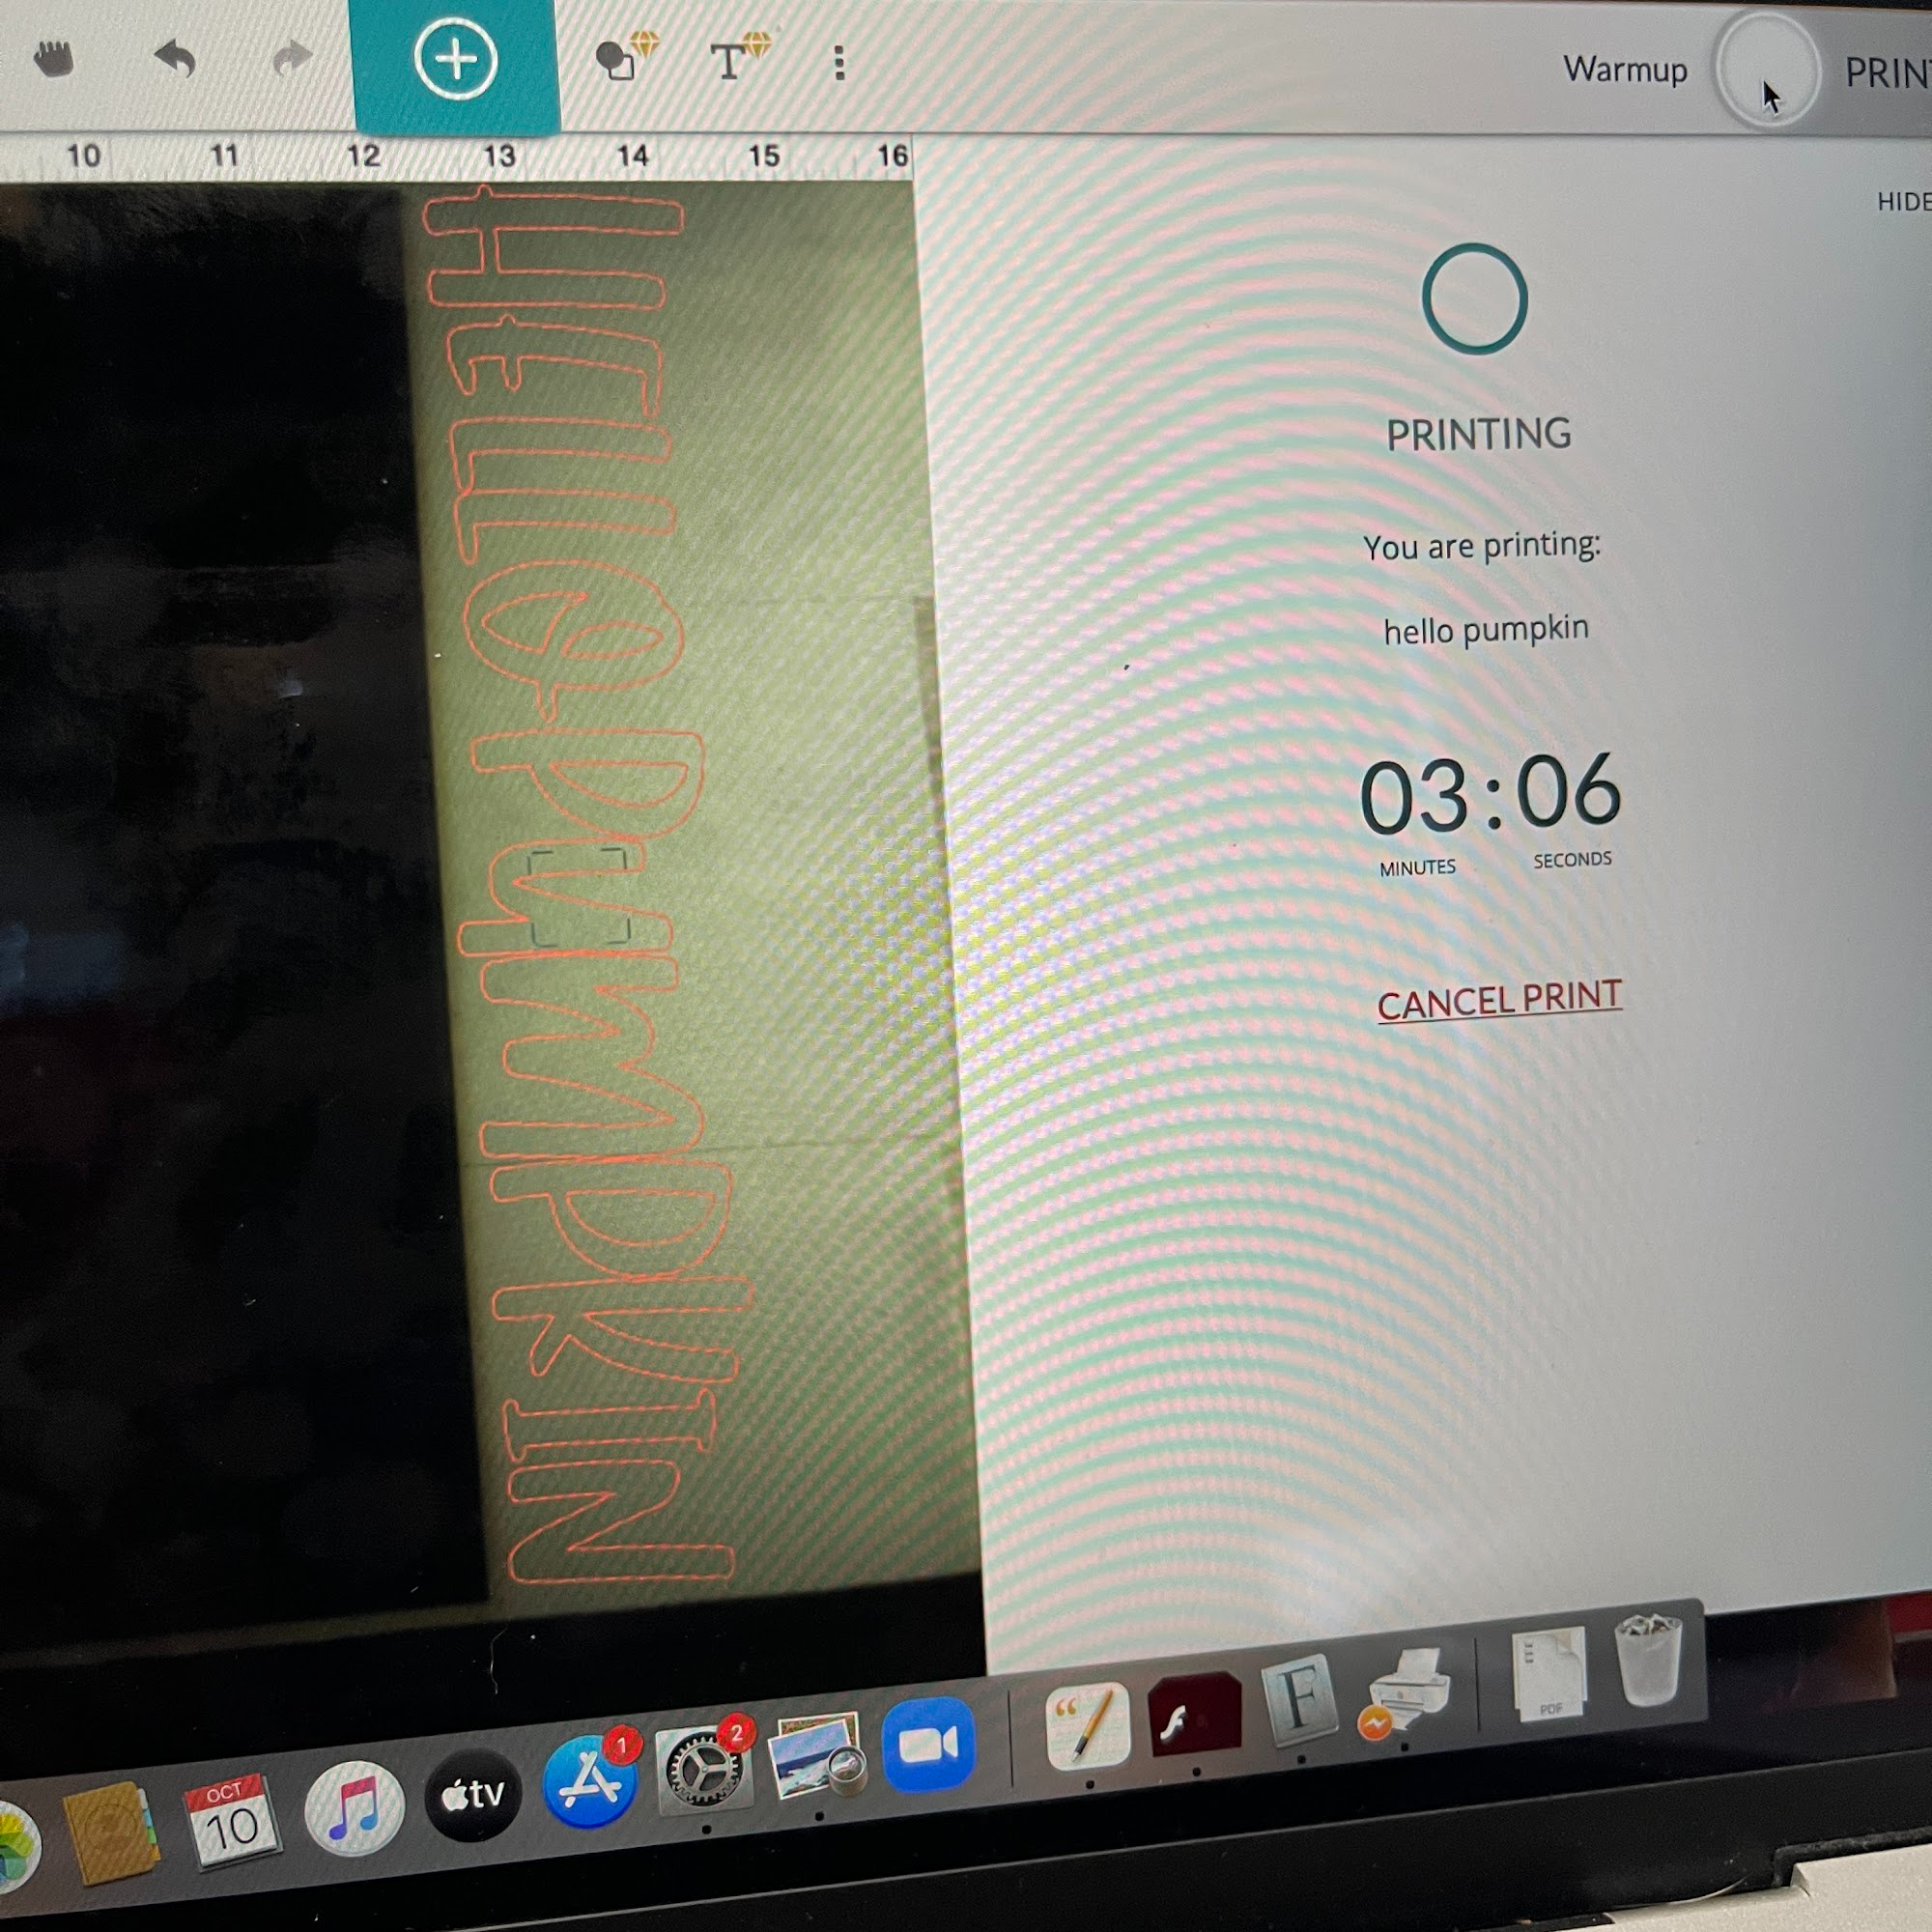
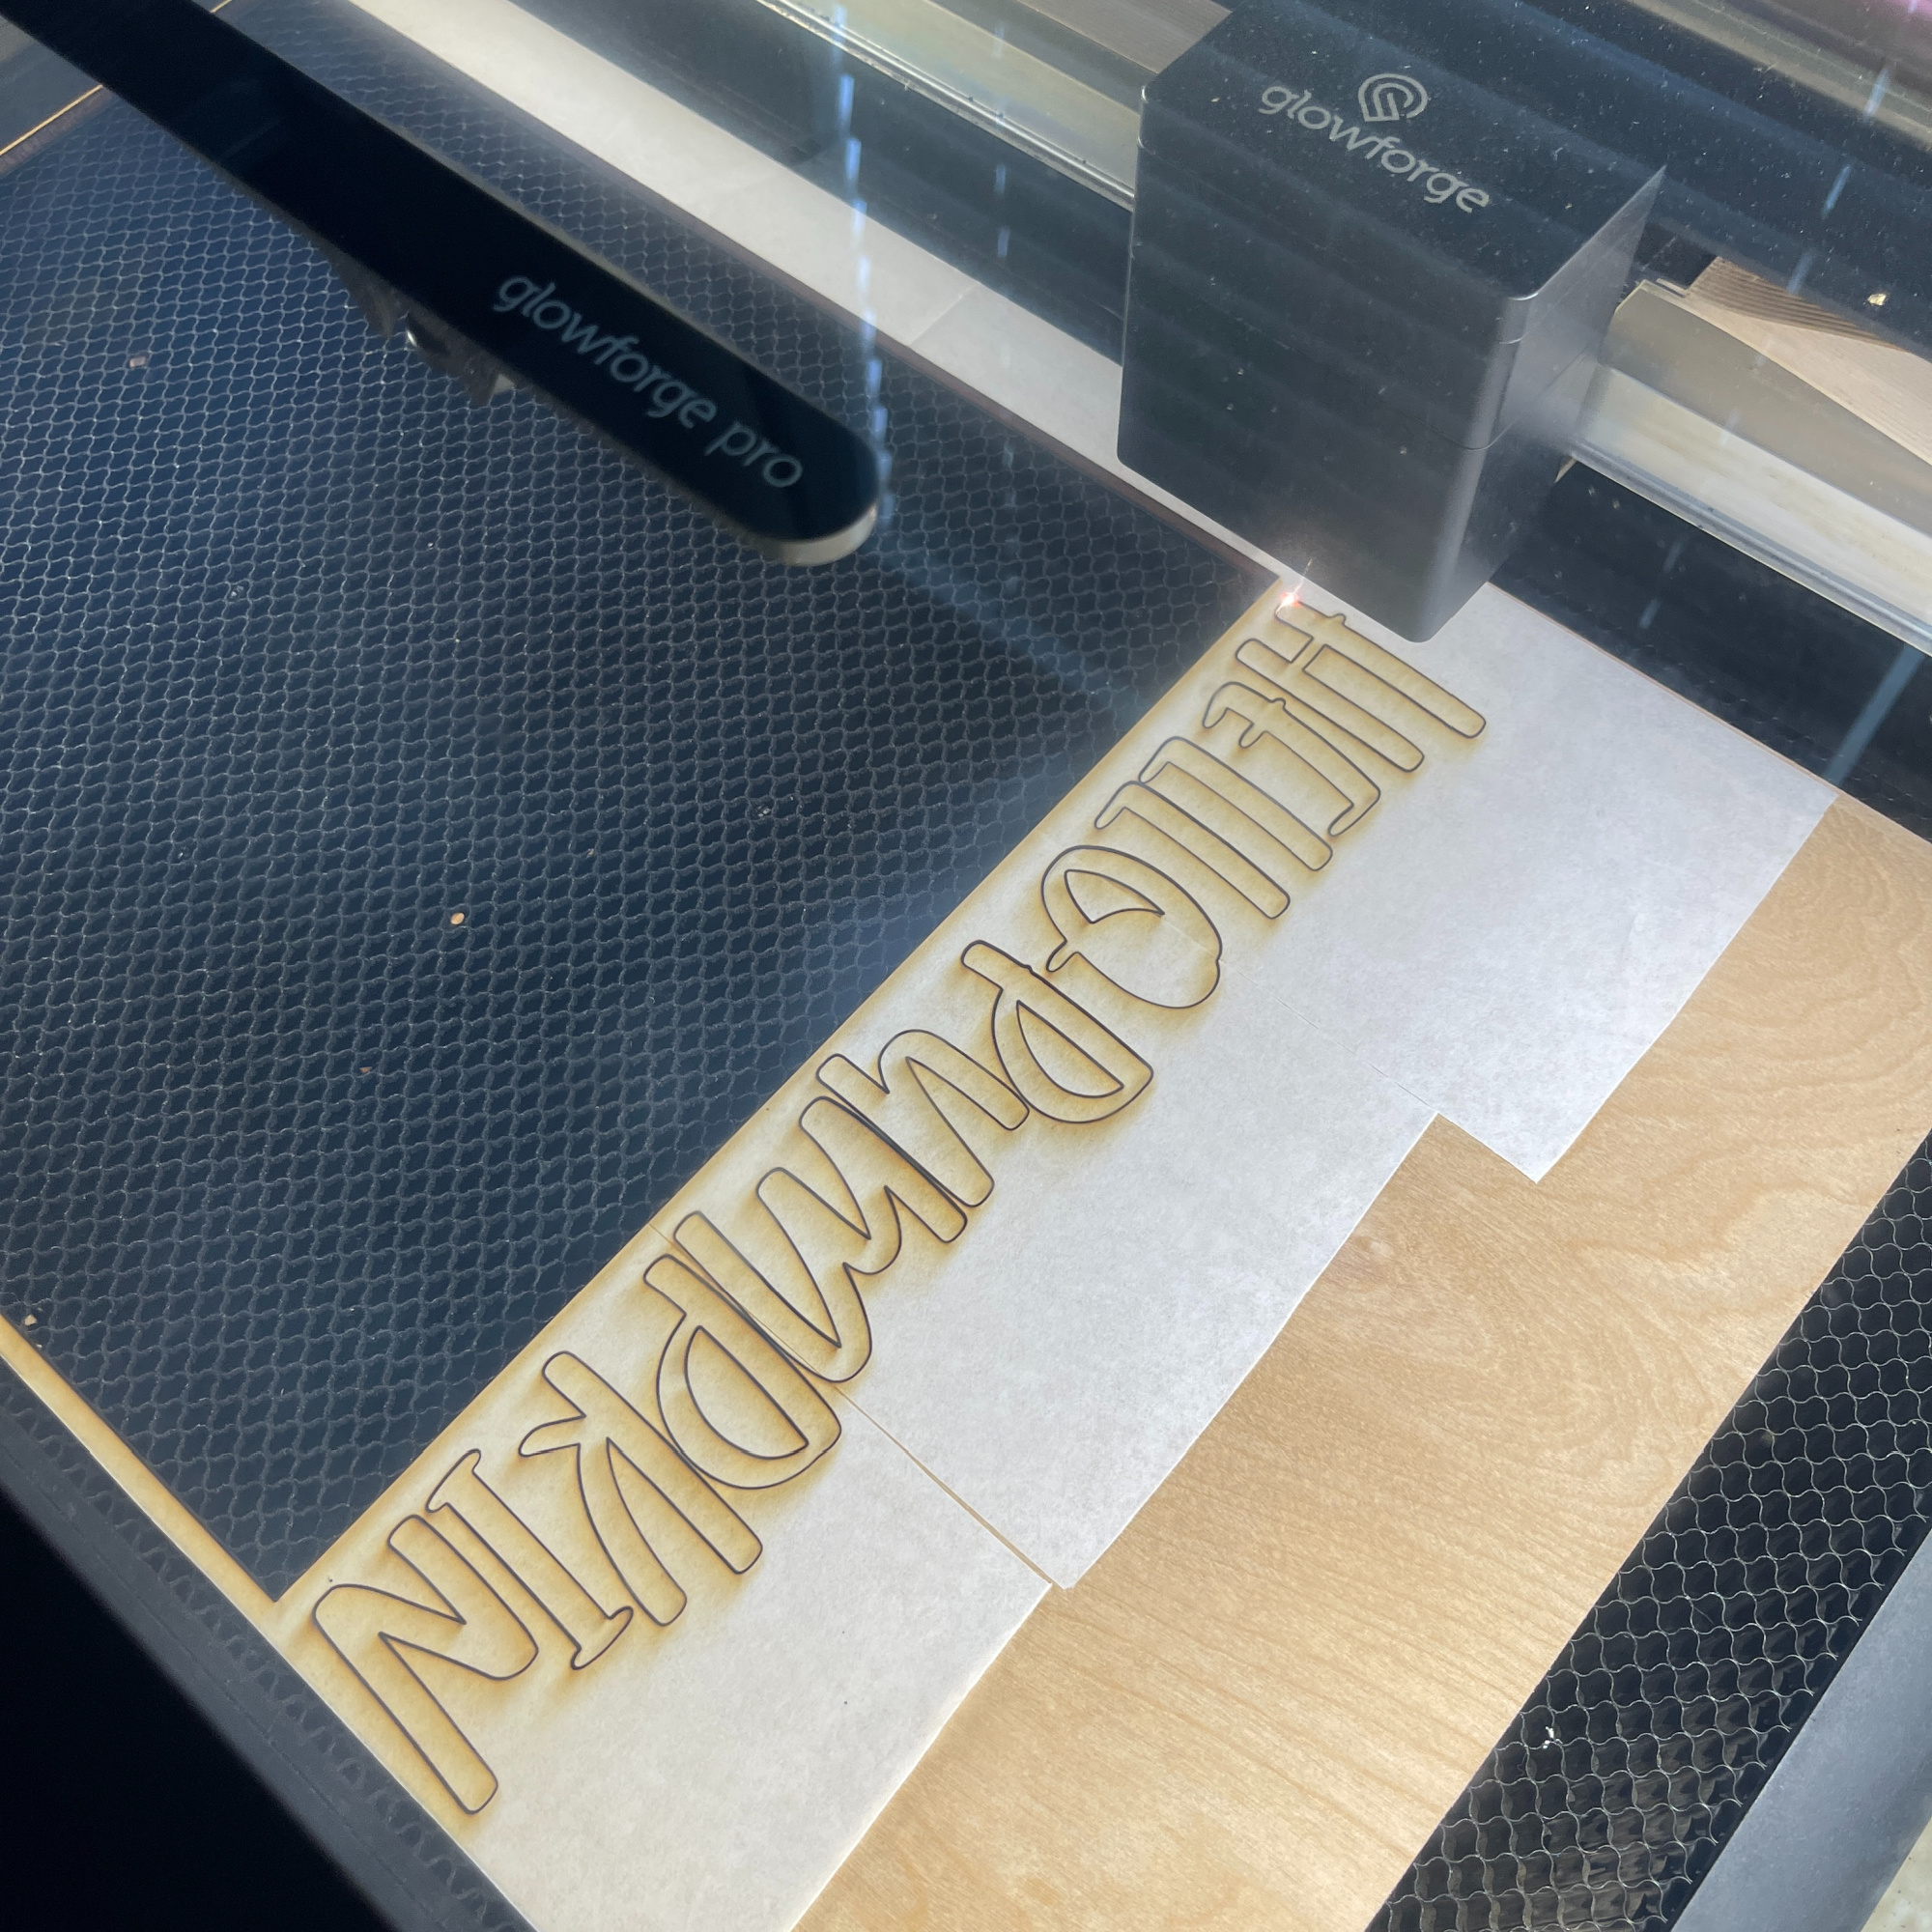
Using my Glowforge, I cut out the Hello Pumpkin letters and painted them orange.
Then it was time to glue everything down to the sign.

I love how the sign turned out! Fall decorations are my favorite decorations! I hope you like it too! You could make lots of different size pumpkin signs and make a collage! There is a variety of Oly-Fun® colors!
Until next time….Happy Crafting!