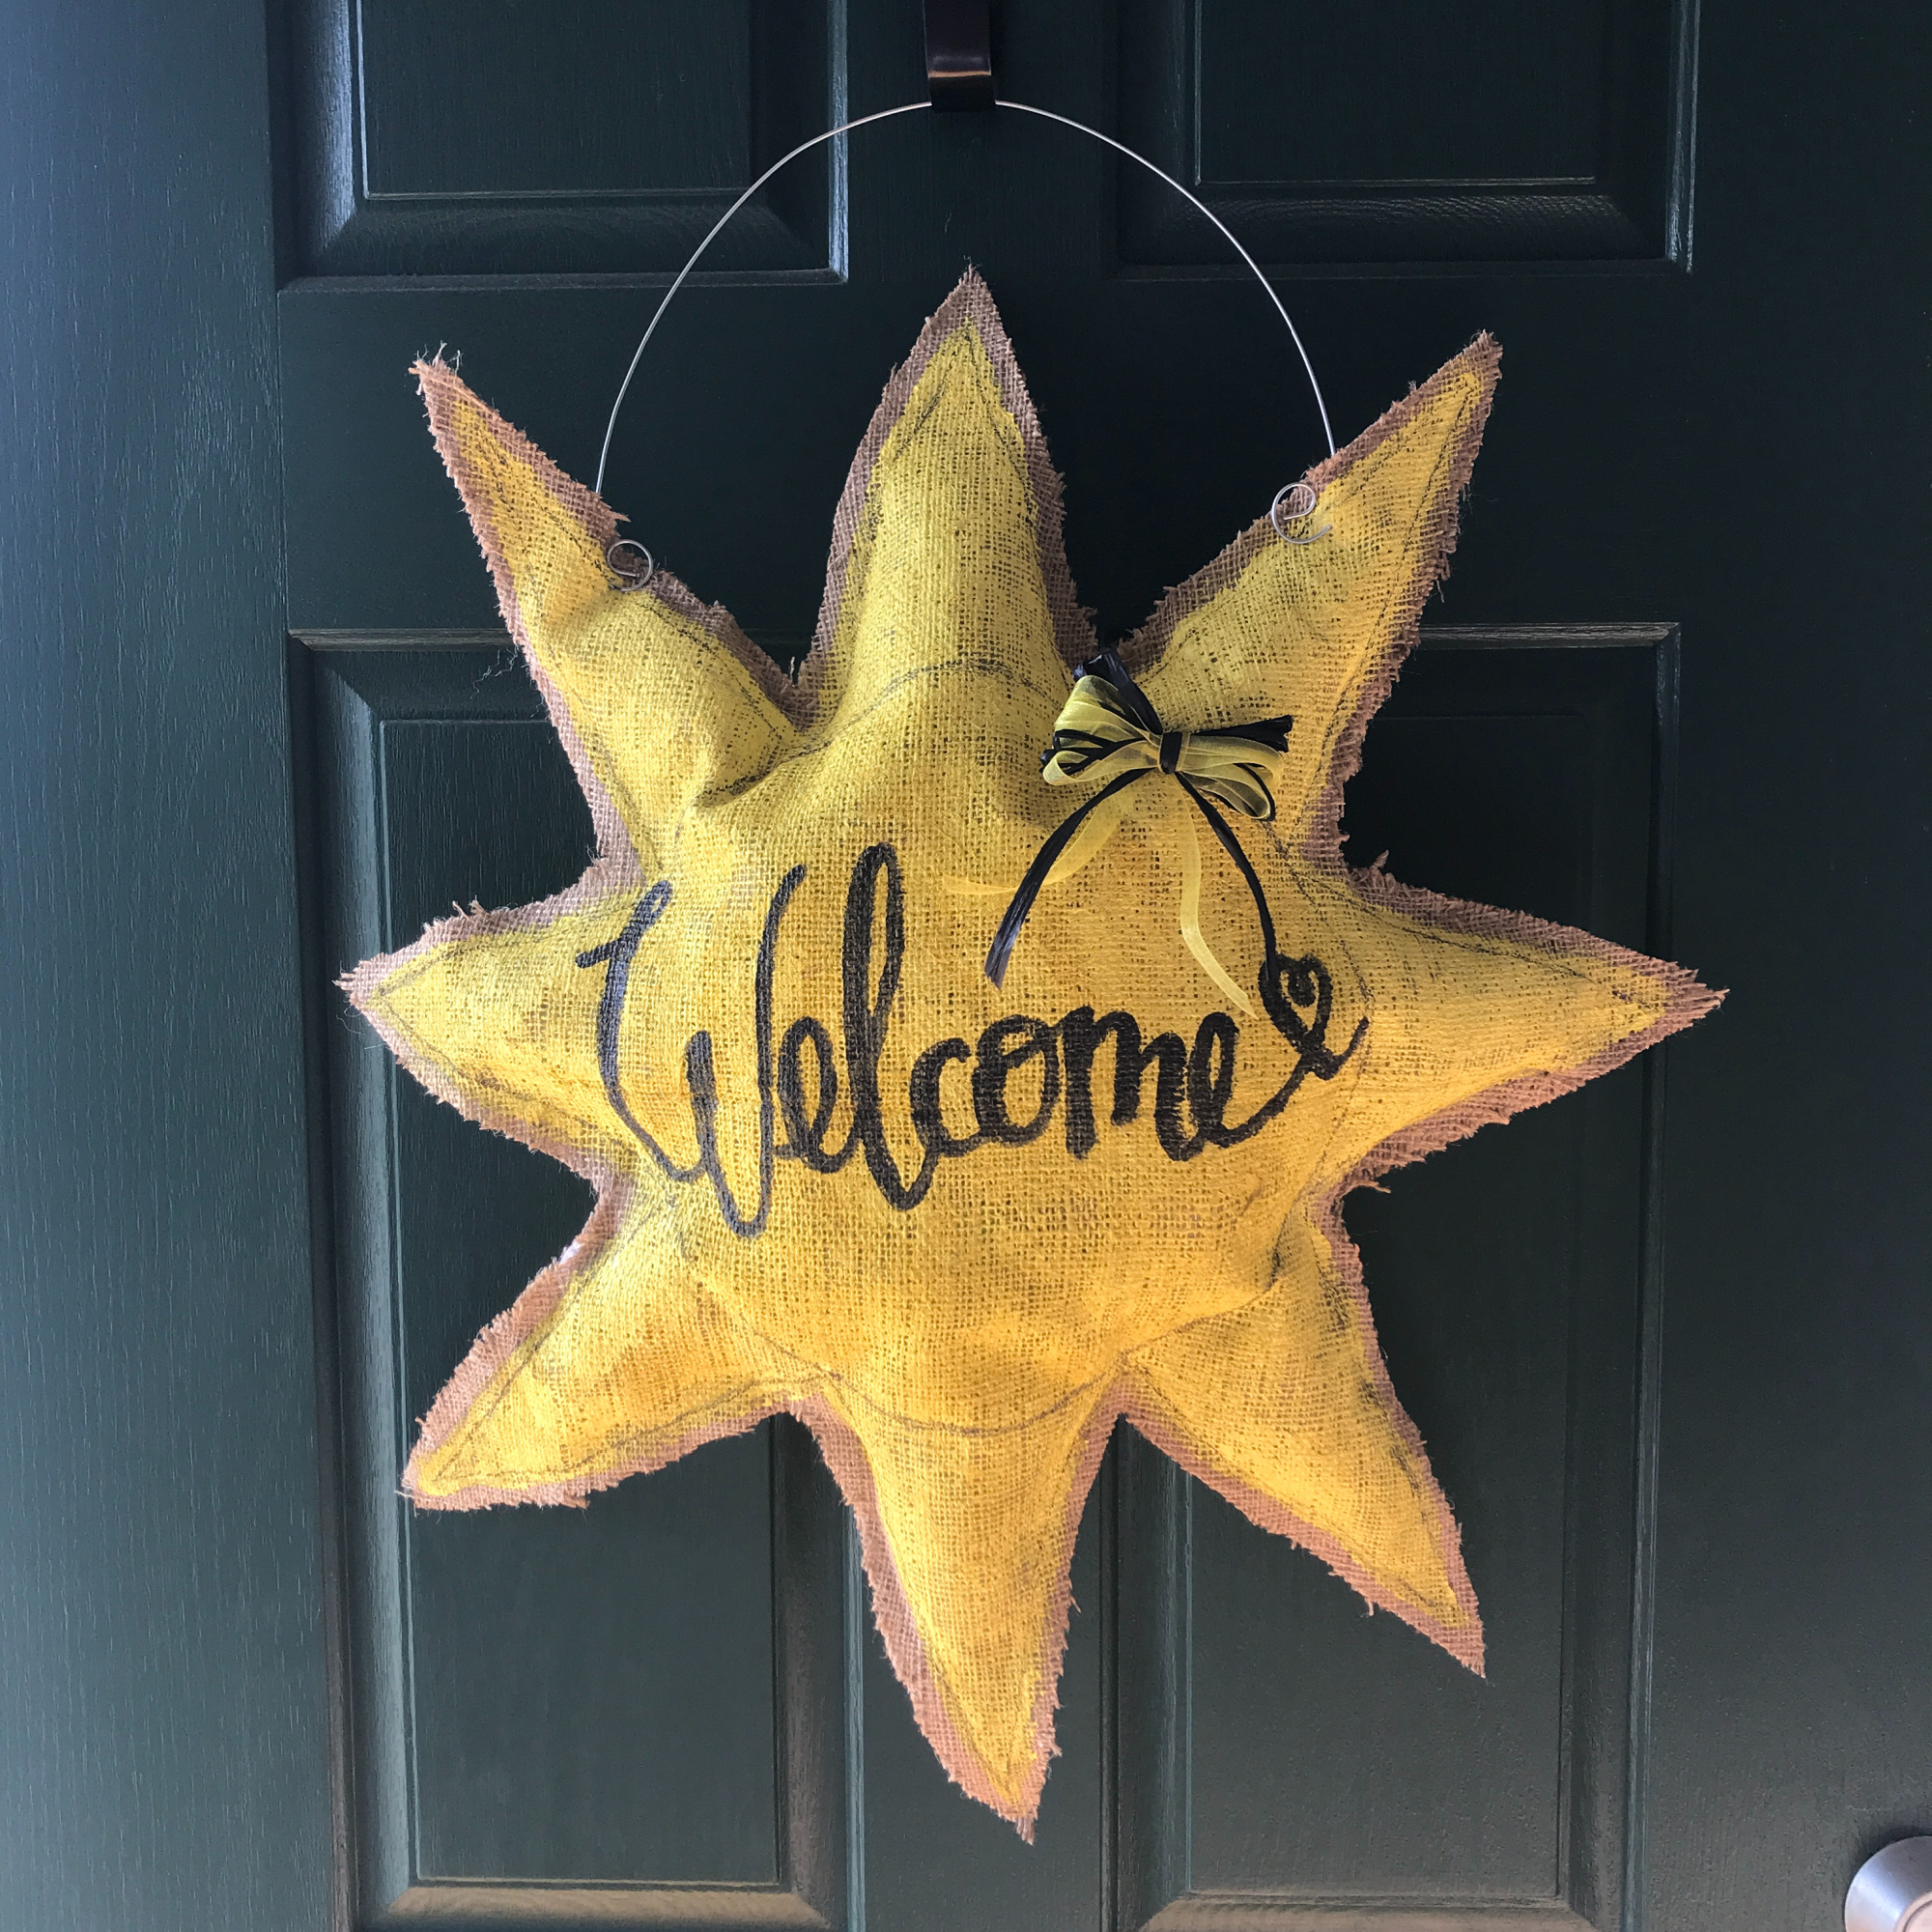
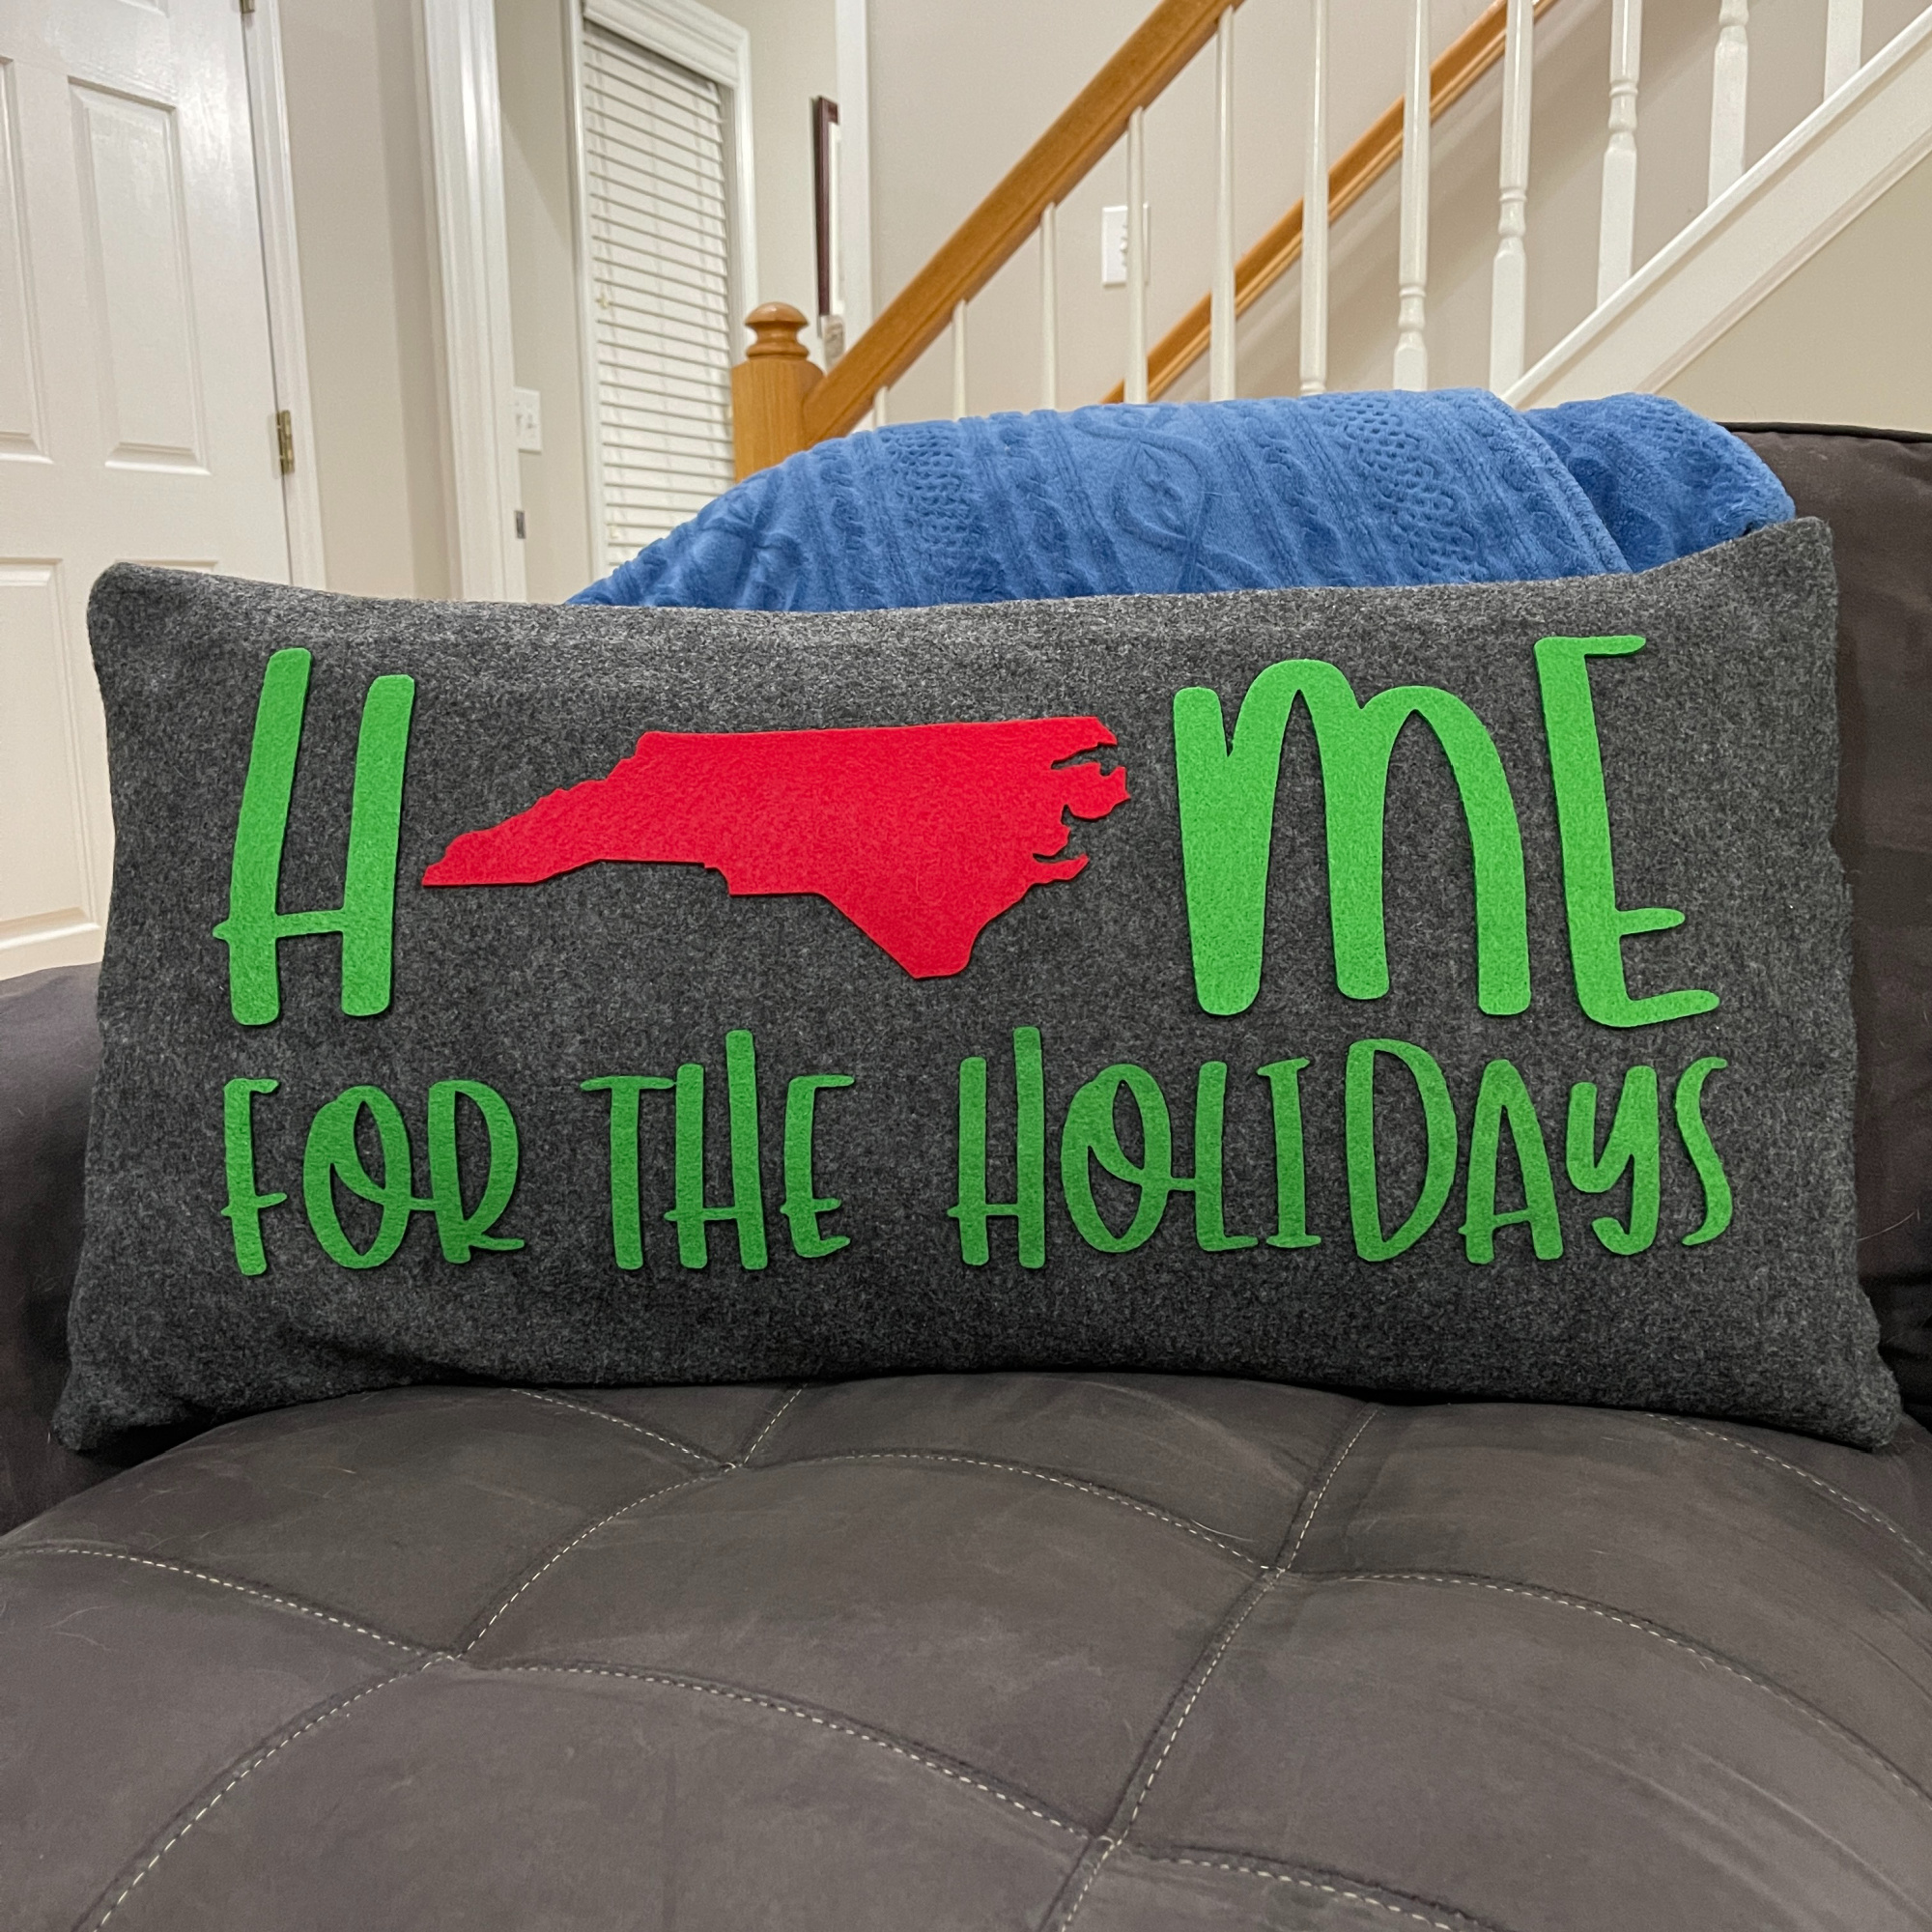
Today is the kick off of the Fairfield World Pillow Party and I made this Home For The Holidays Pillow to celebrate! I joined other crafty friends in making a pillow for the party. And believe me, they are all cute! I’m all about Home and being home for the holidays so I thought, what a great pillow idea. I even made it festive colors!
Materials:
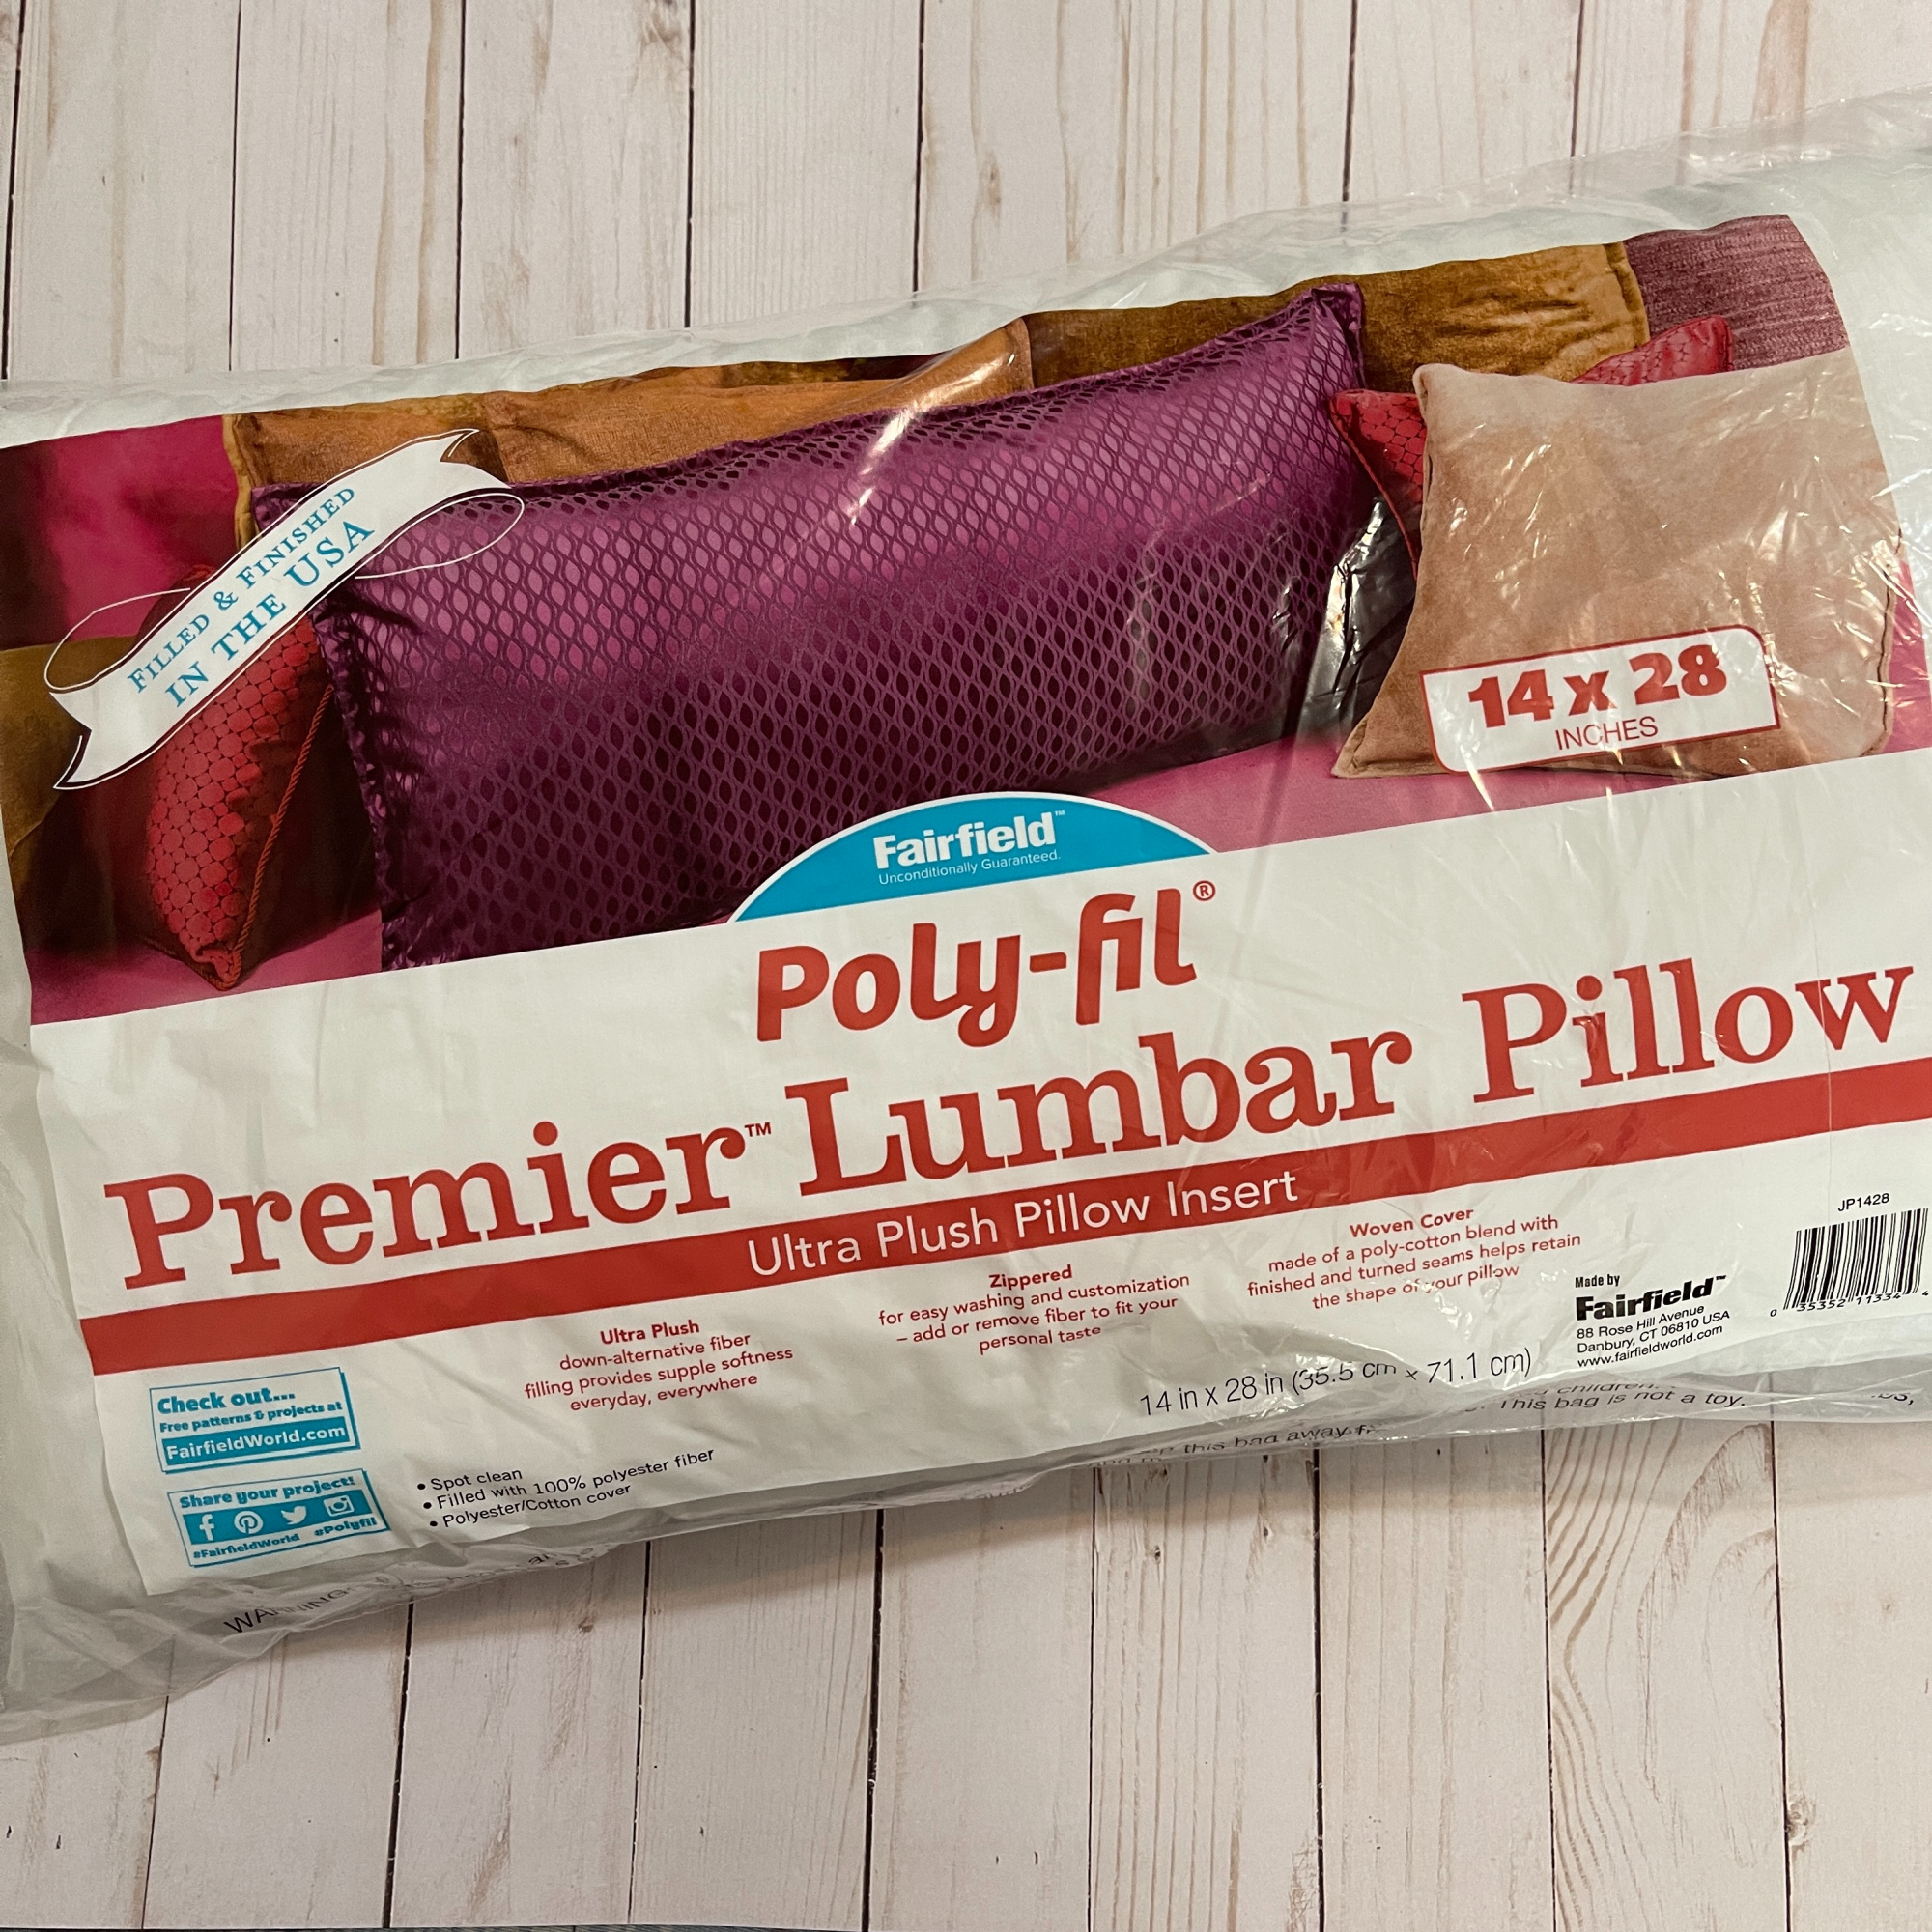
- Fairfield World Poly-fil Premier Lumbar Pillow
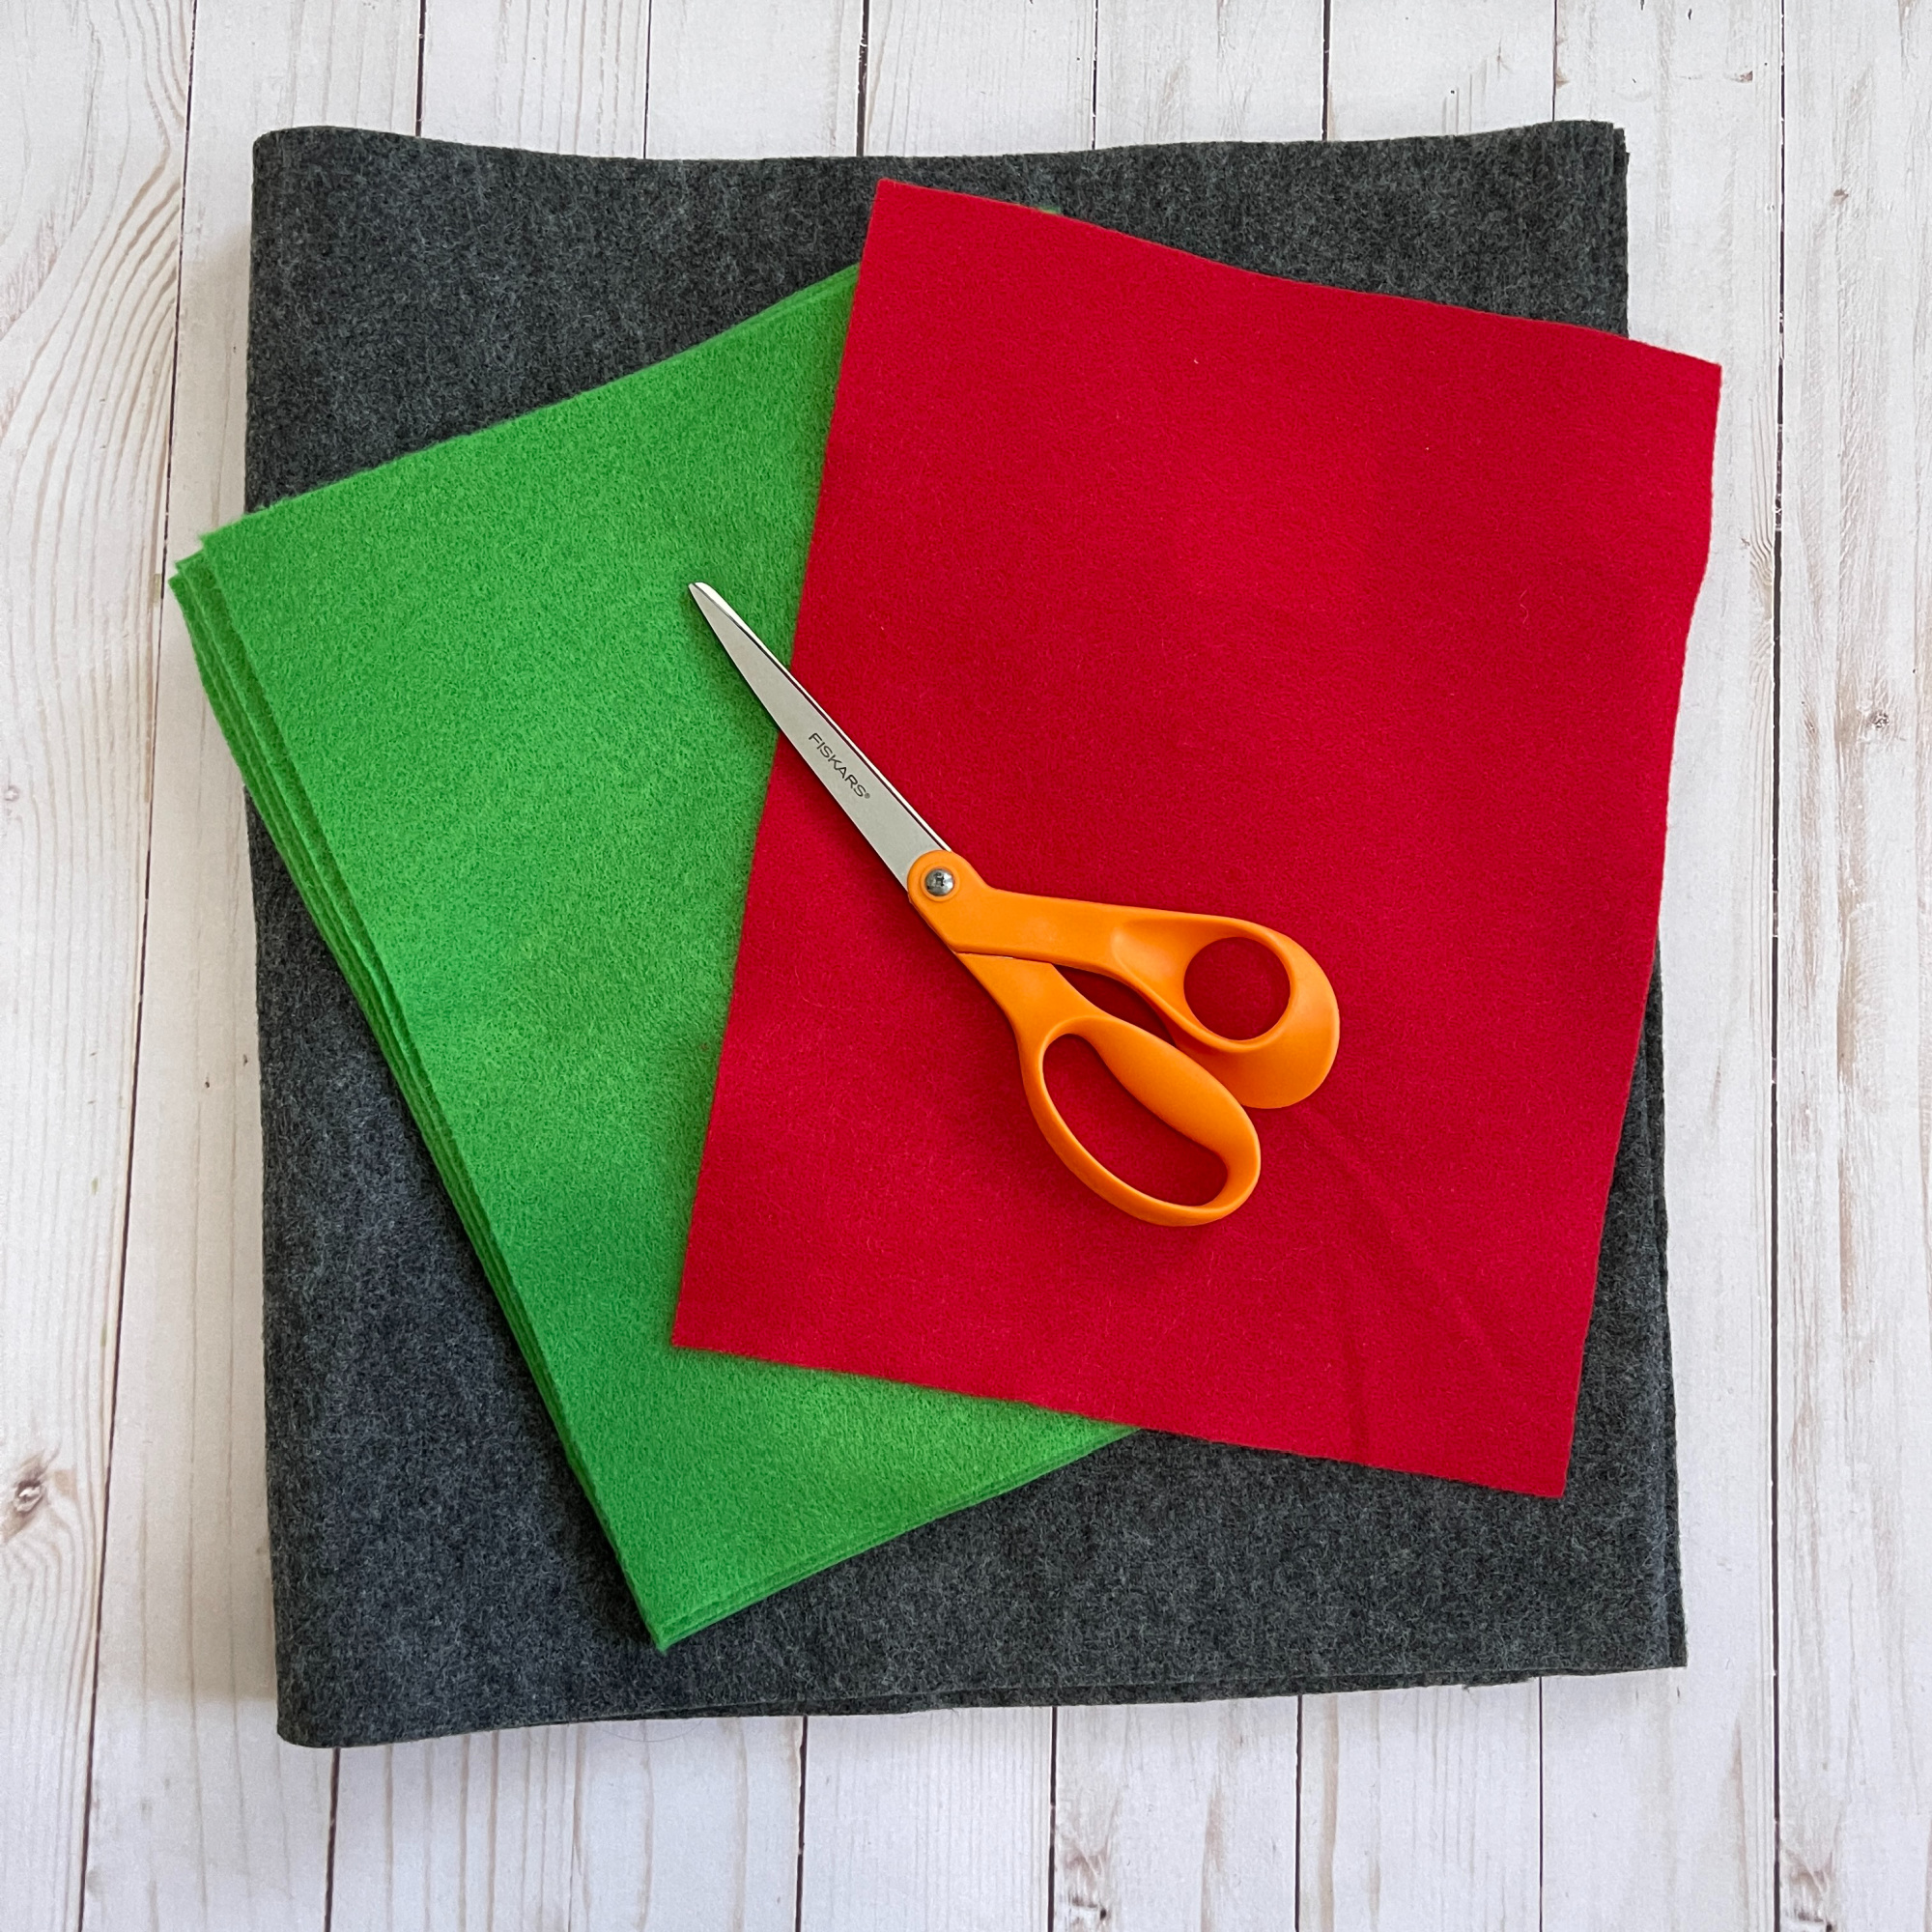
- Kunin Felt: Premium Felt on the bolt: Smoke, Classic Felt: Red, Apple
- Glowforge (not necessary.
- Home For The Holidays SVG
- Scissors
- Cutting Mat, Ruler, Rotary Cutter
- E6000 Fabri-Fuse
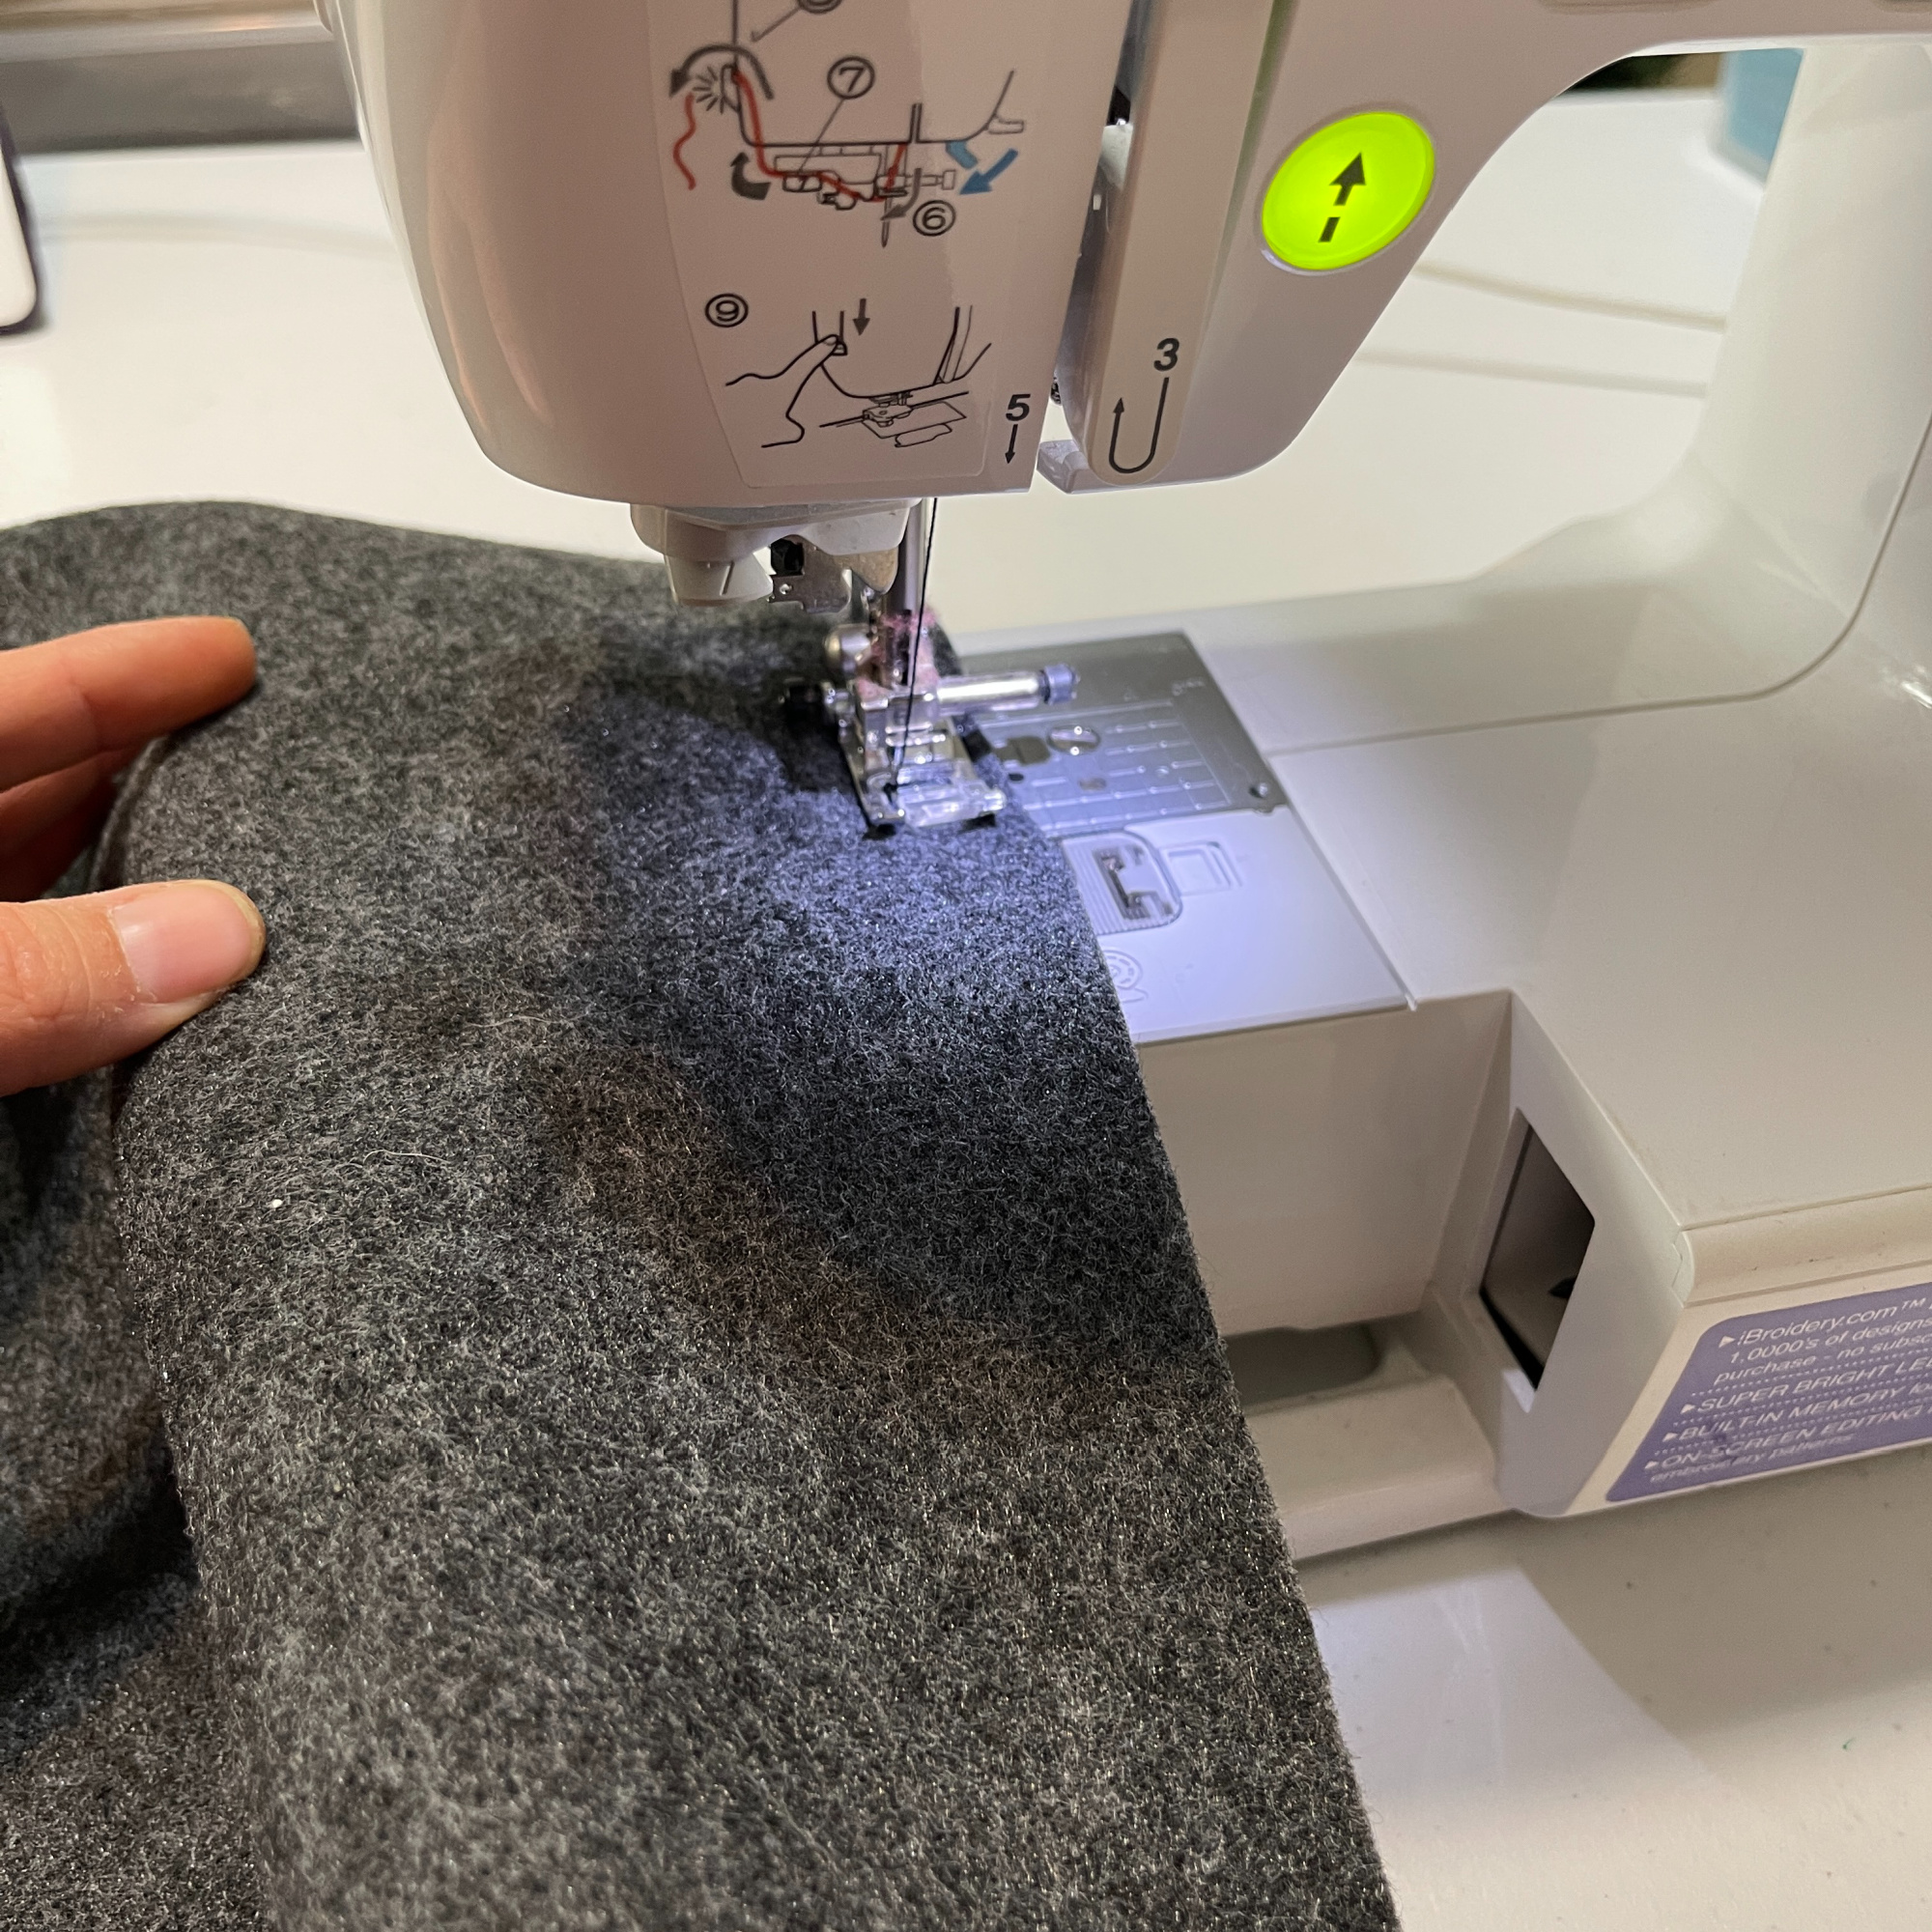
- Sewing Machine
- Pins
How I made it:
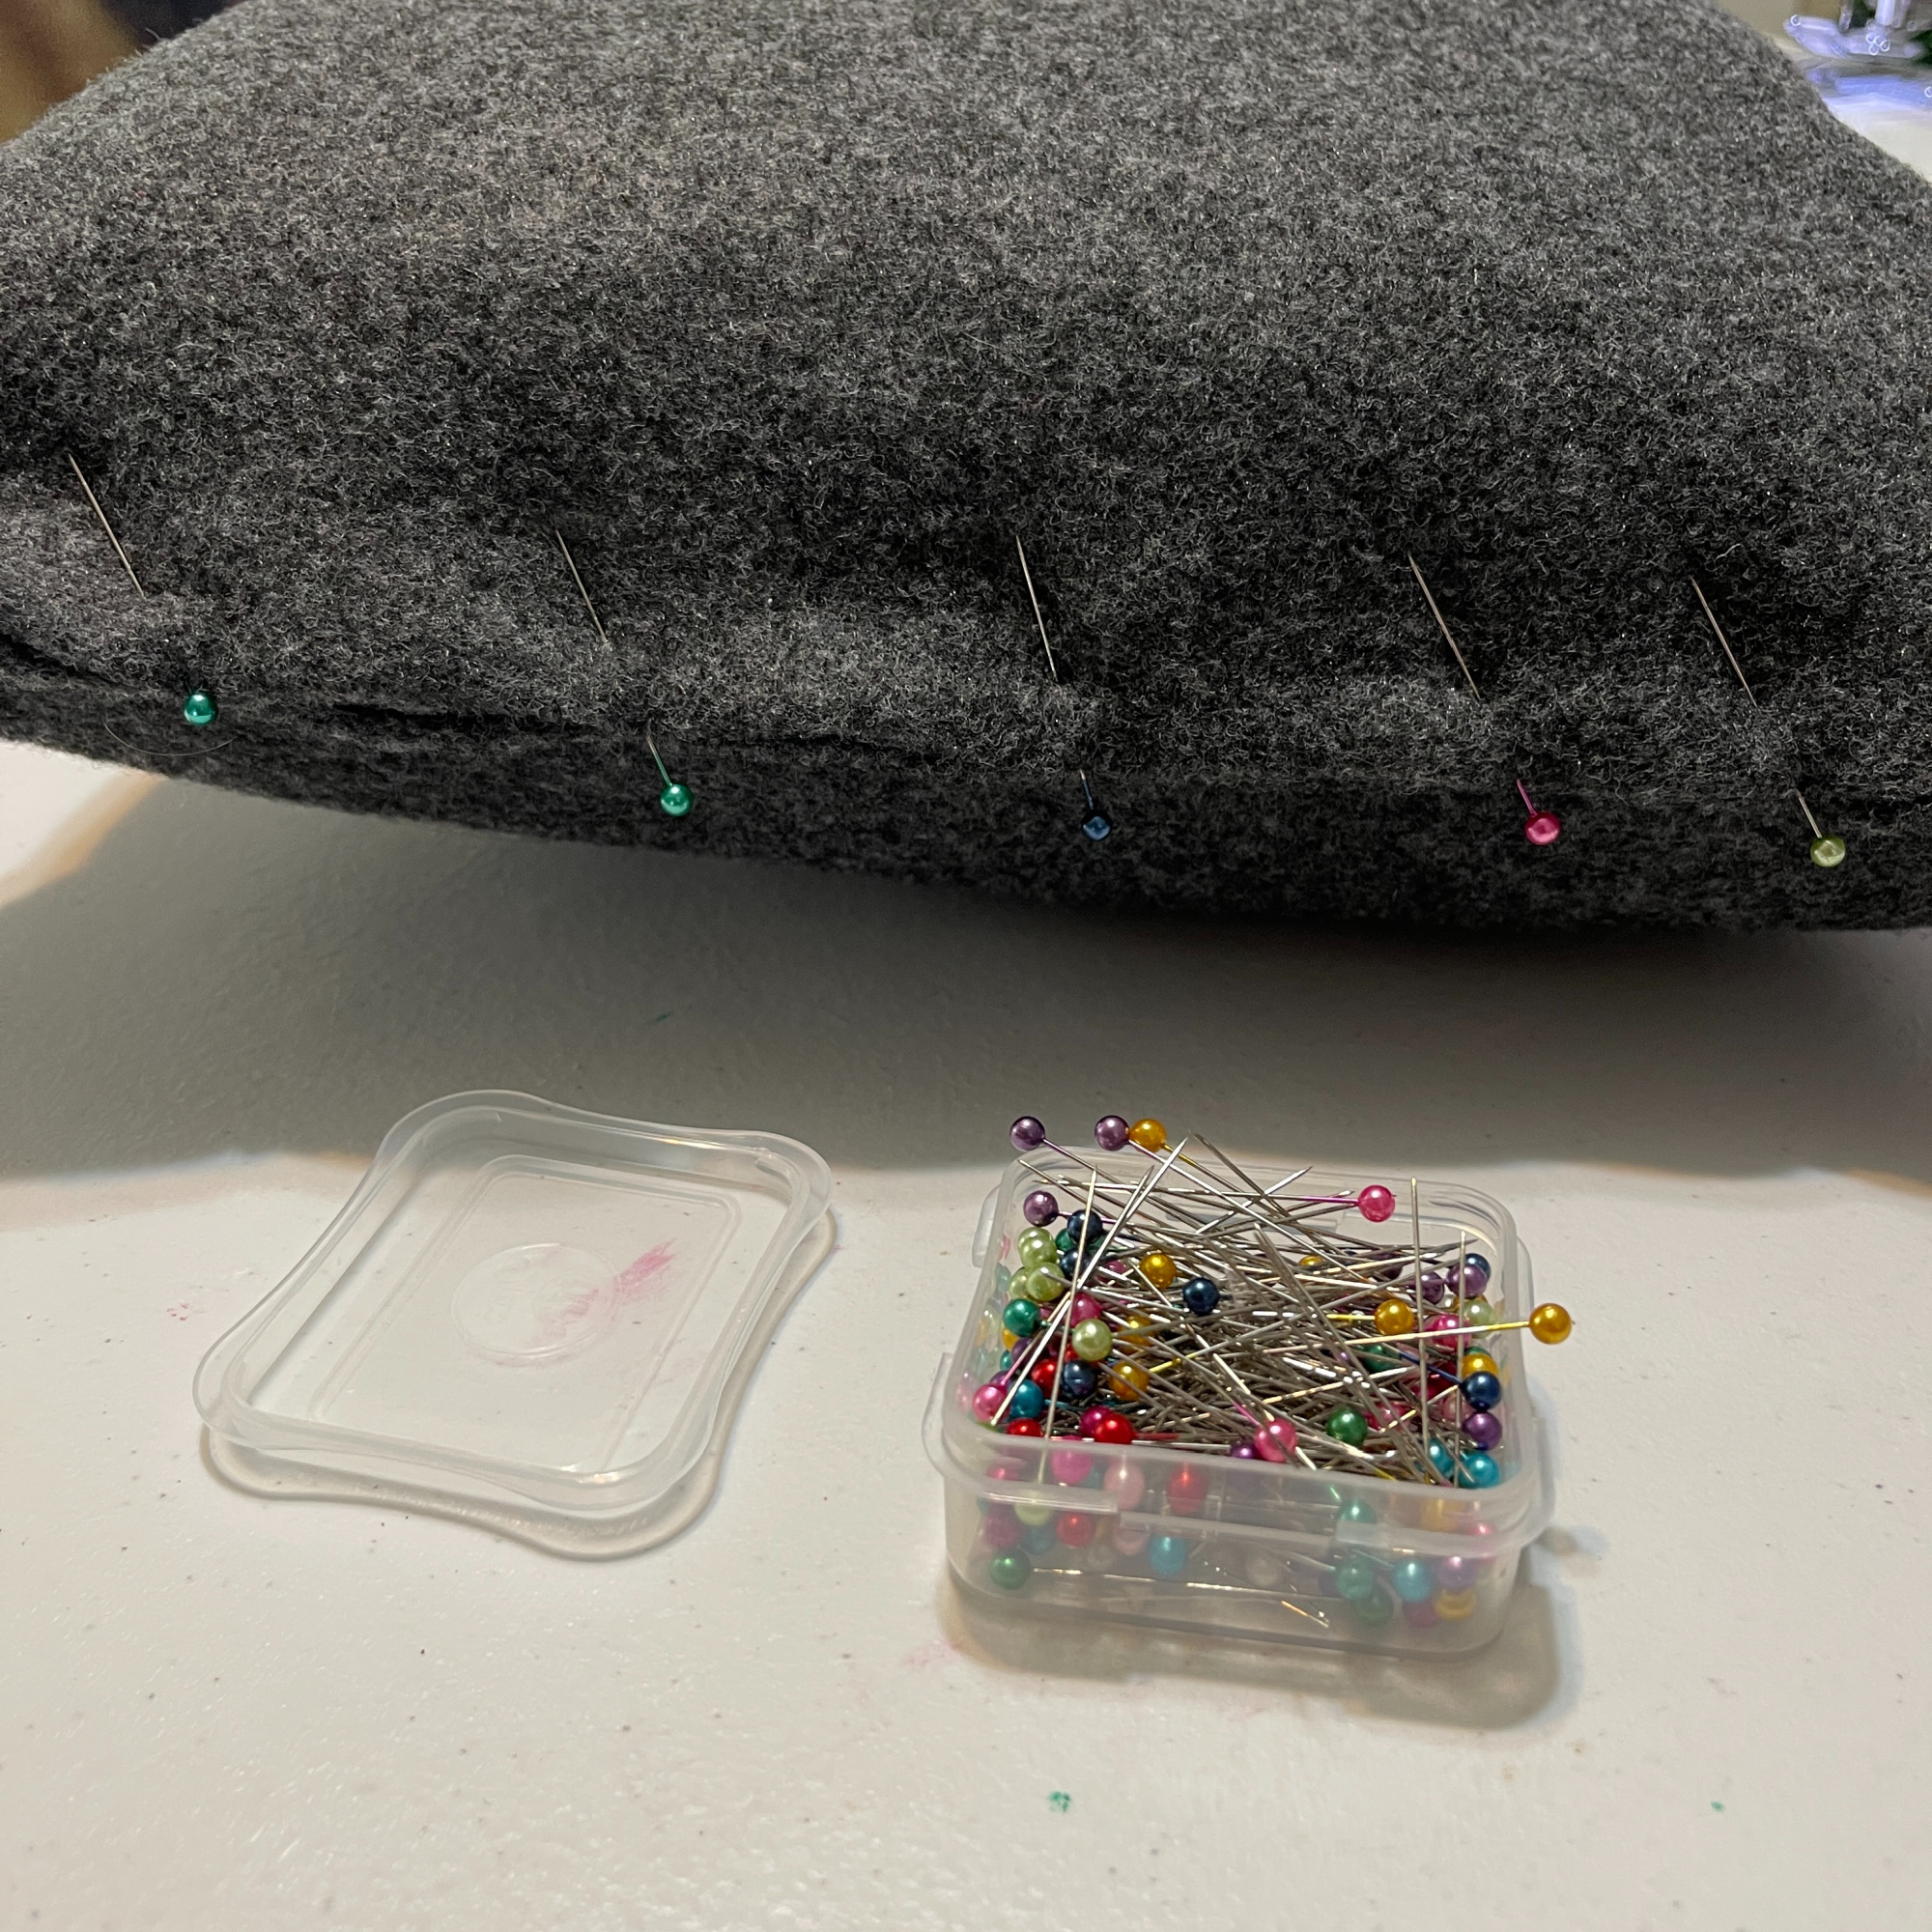
I started by cutting my felt. The pillow measures 14″x28″ so I cut my grey felt at 15″x19″. I then sewed that together with a 1/2″ seem, leaving a gap big enough to put my pillow in once the case was flipped right side out. Speaking of that, once I was done sewing the three sides, I flipped the right side out.
Next, I inserted the pillow into the pillow case.
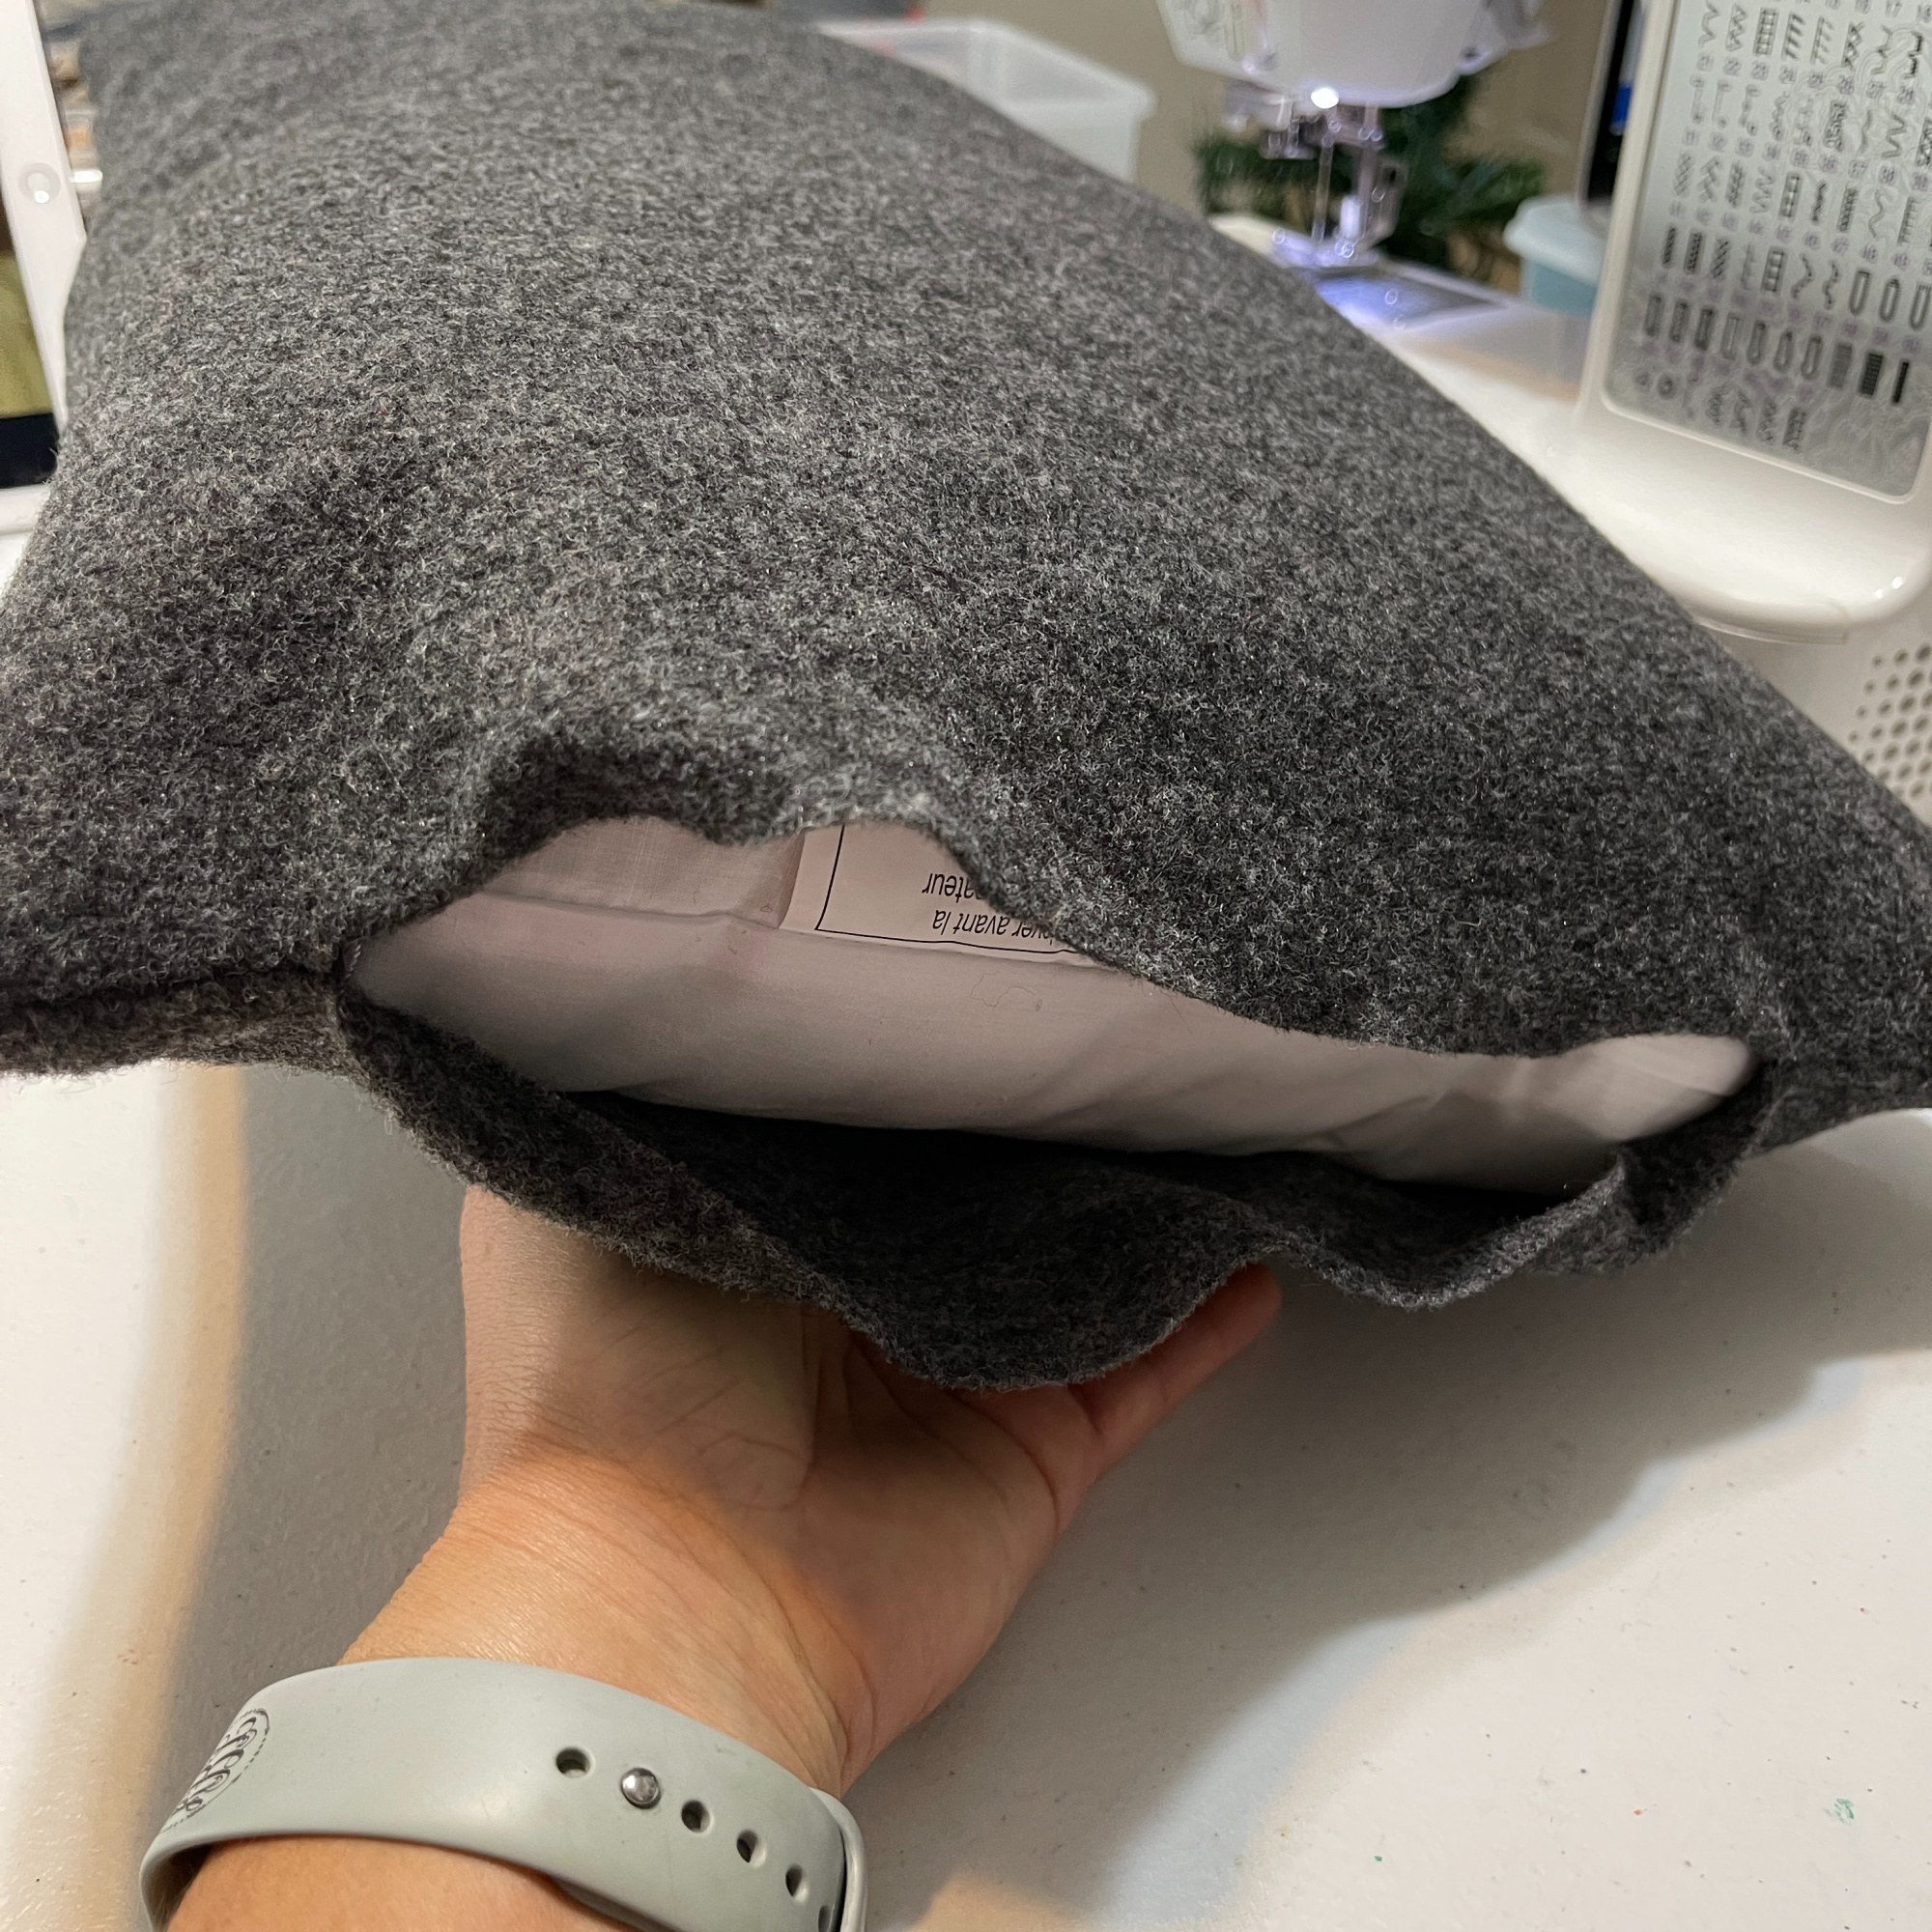
With pins, I closed up the gap so that I could get ready to sew it up.
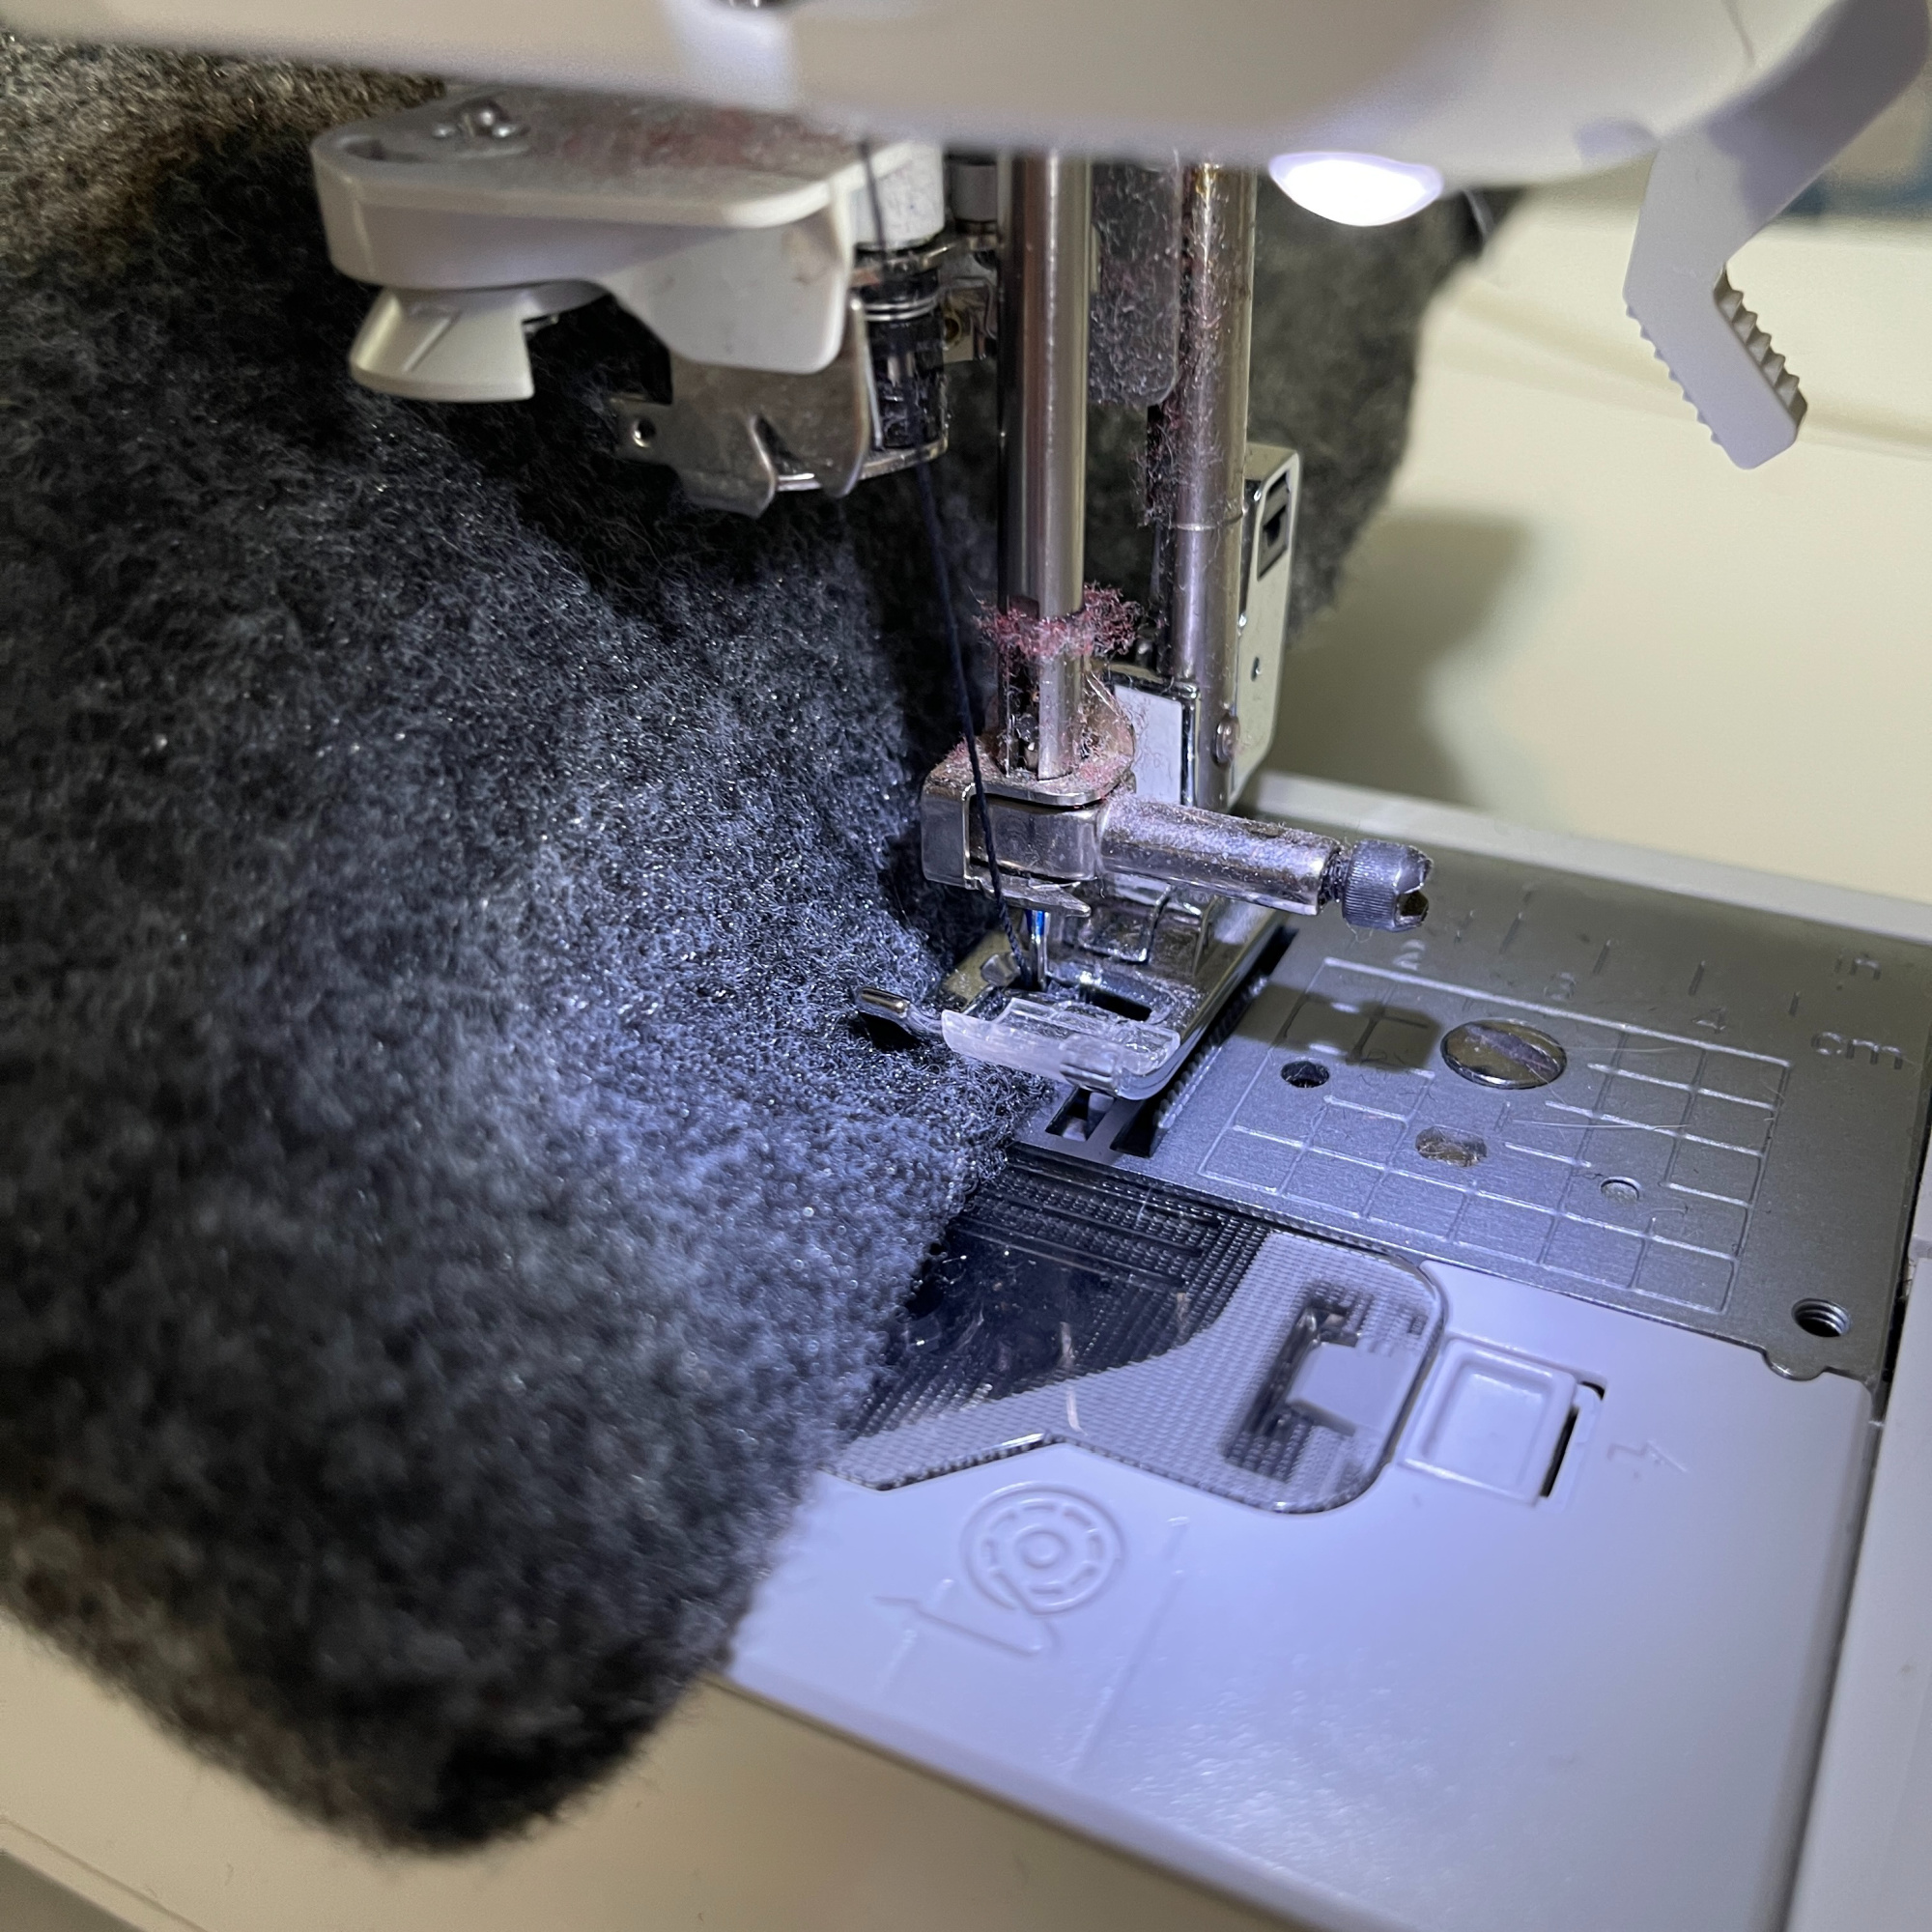
Carefully, I sewed the gap closed with my sewing machine.
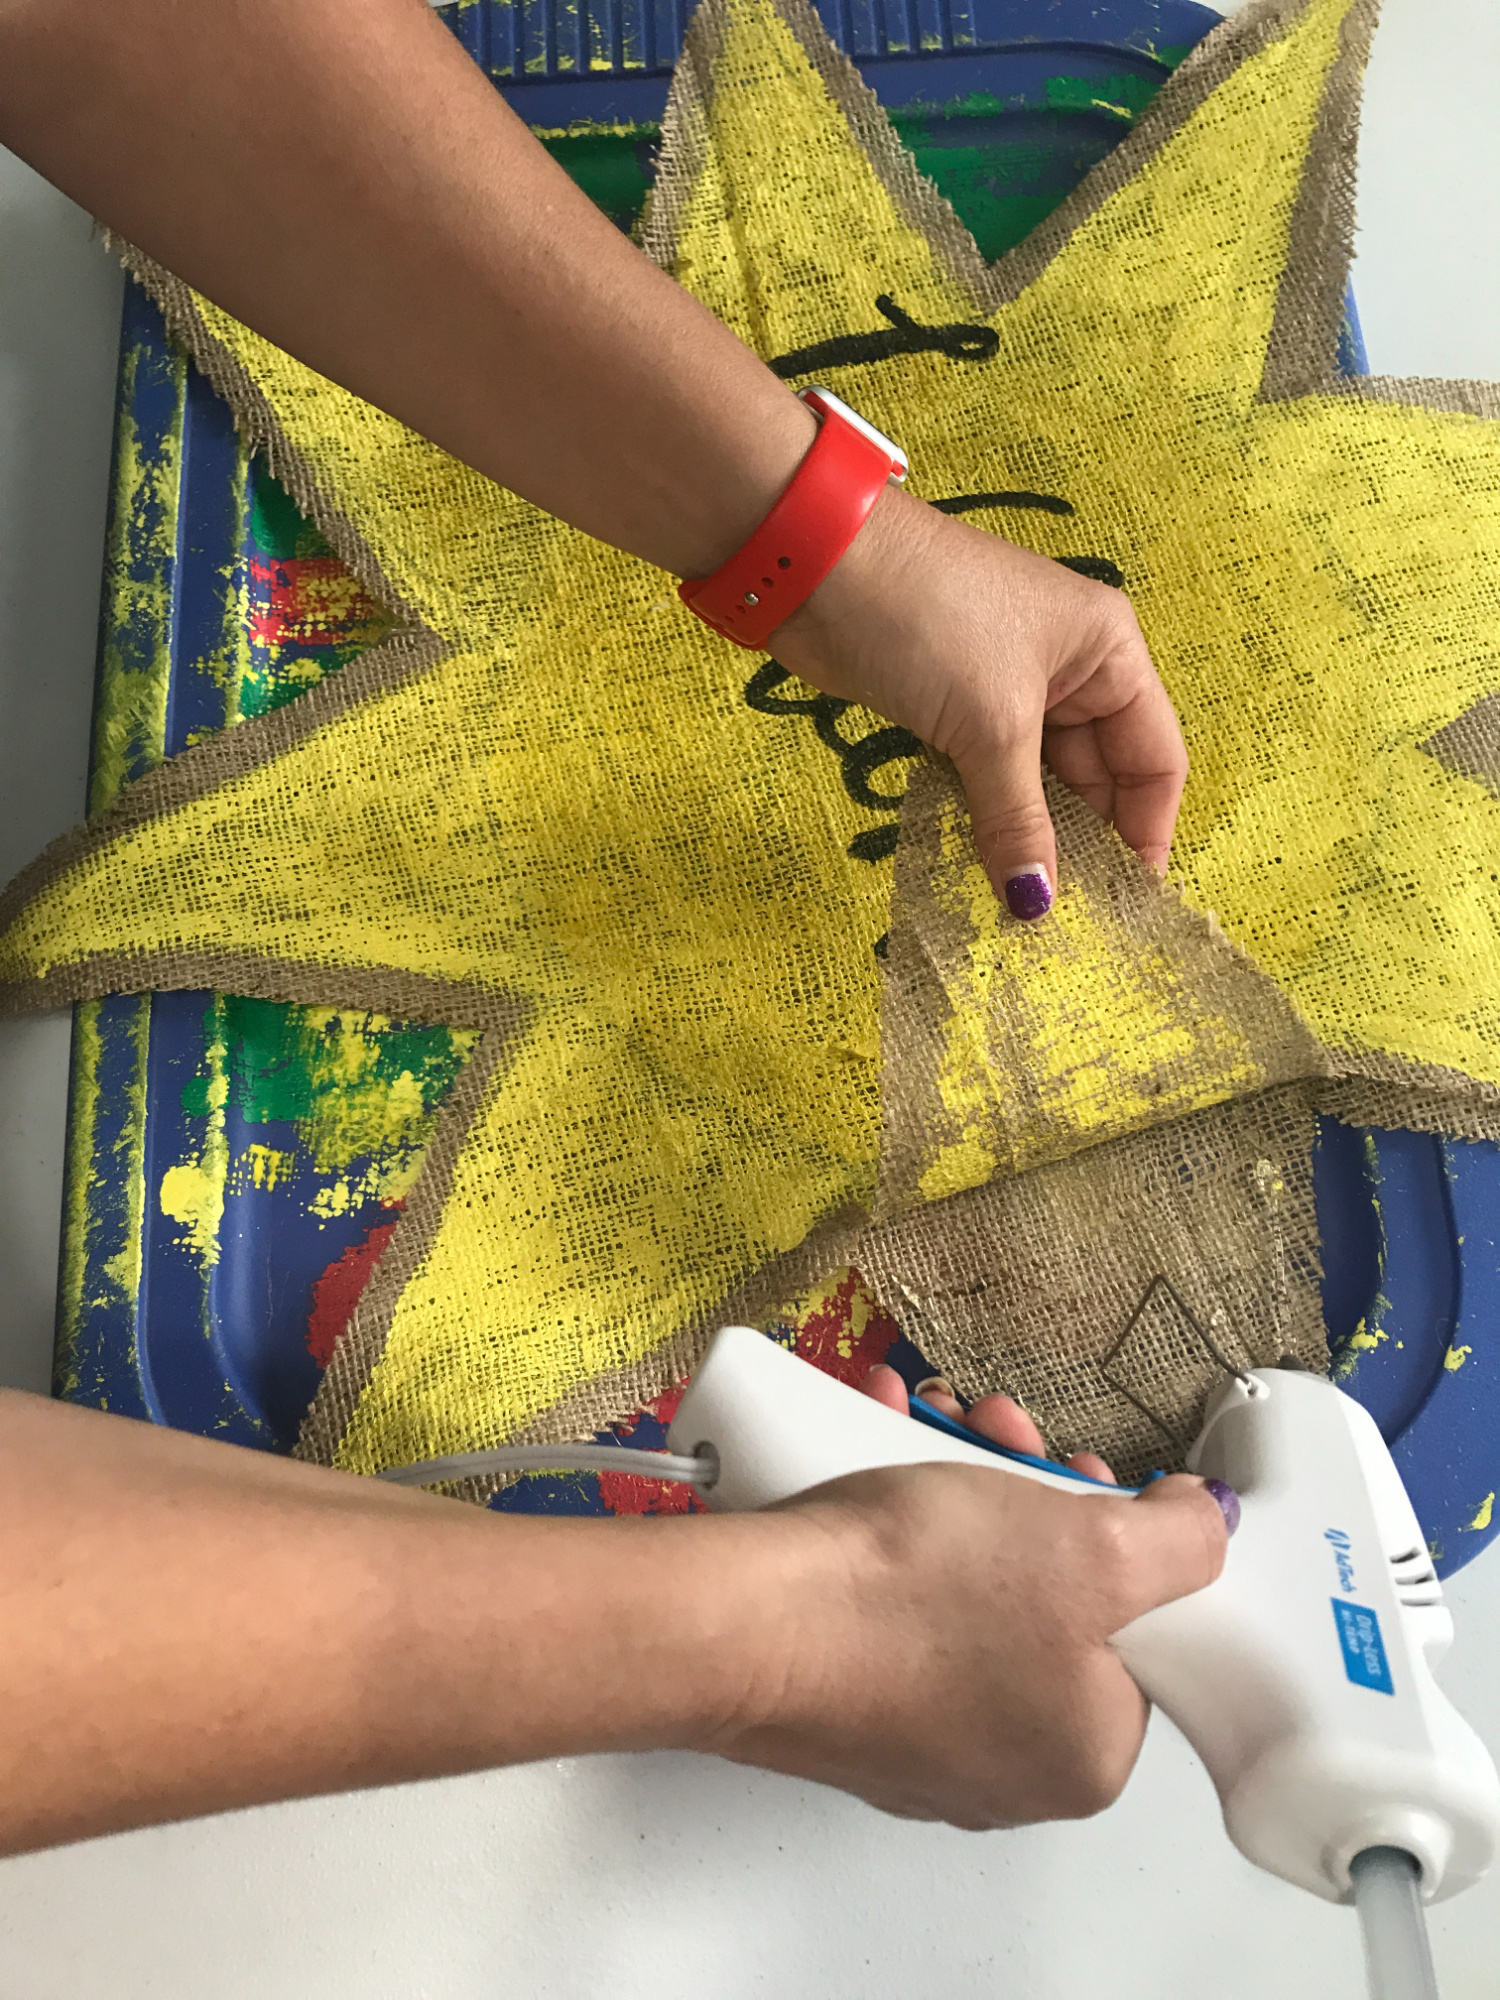
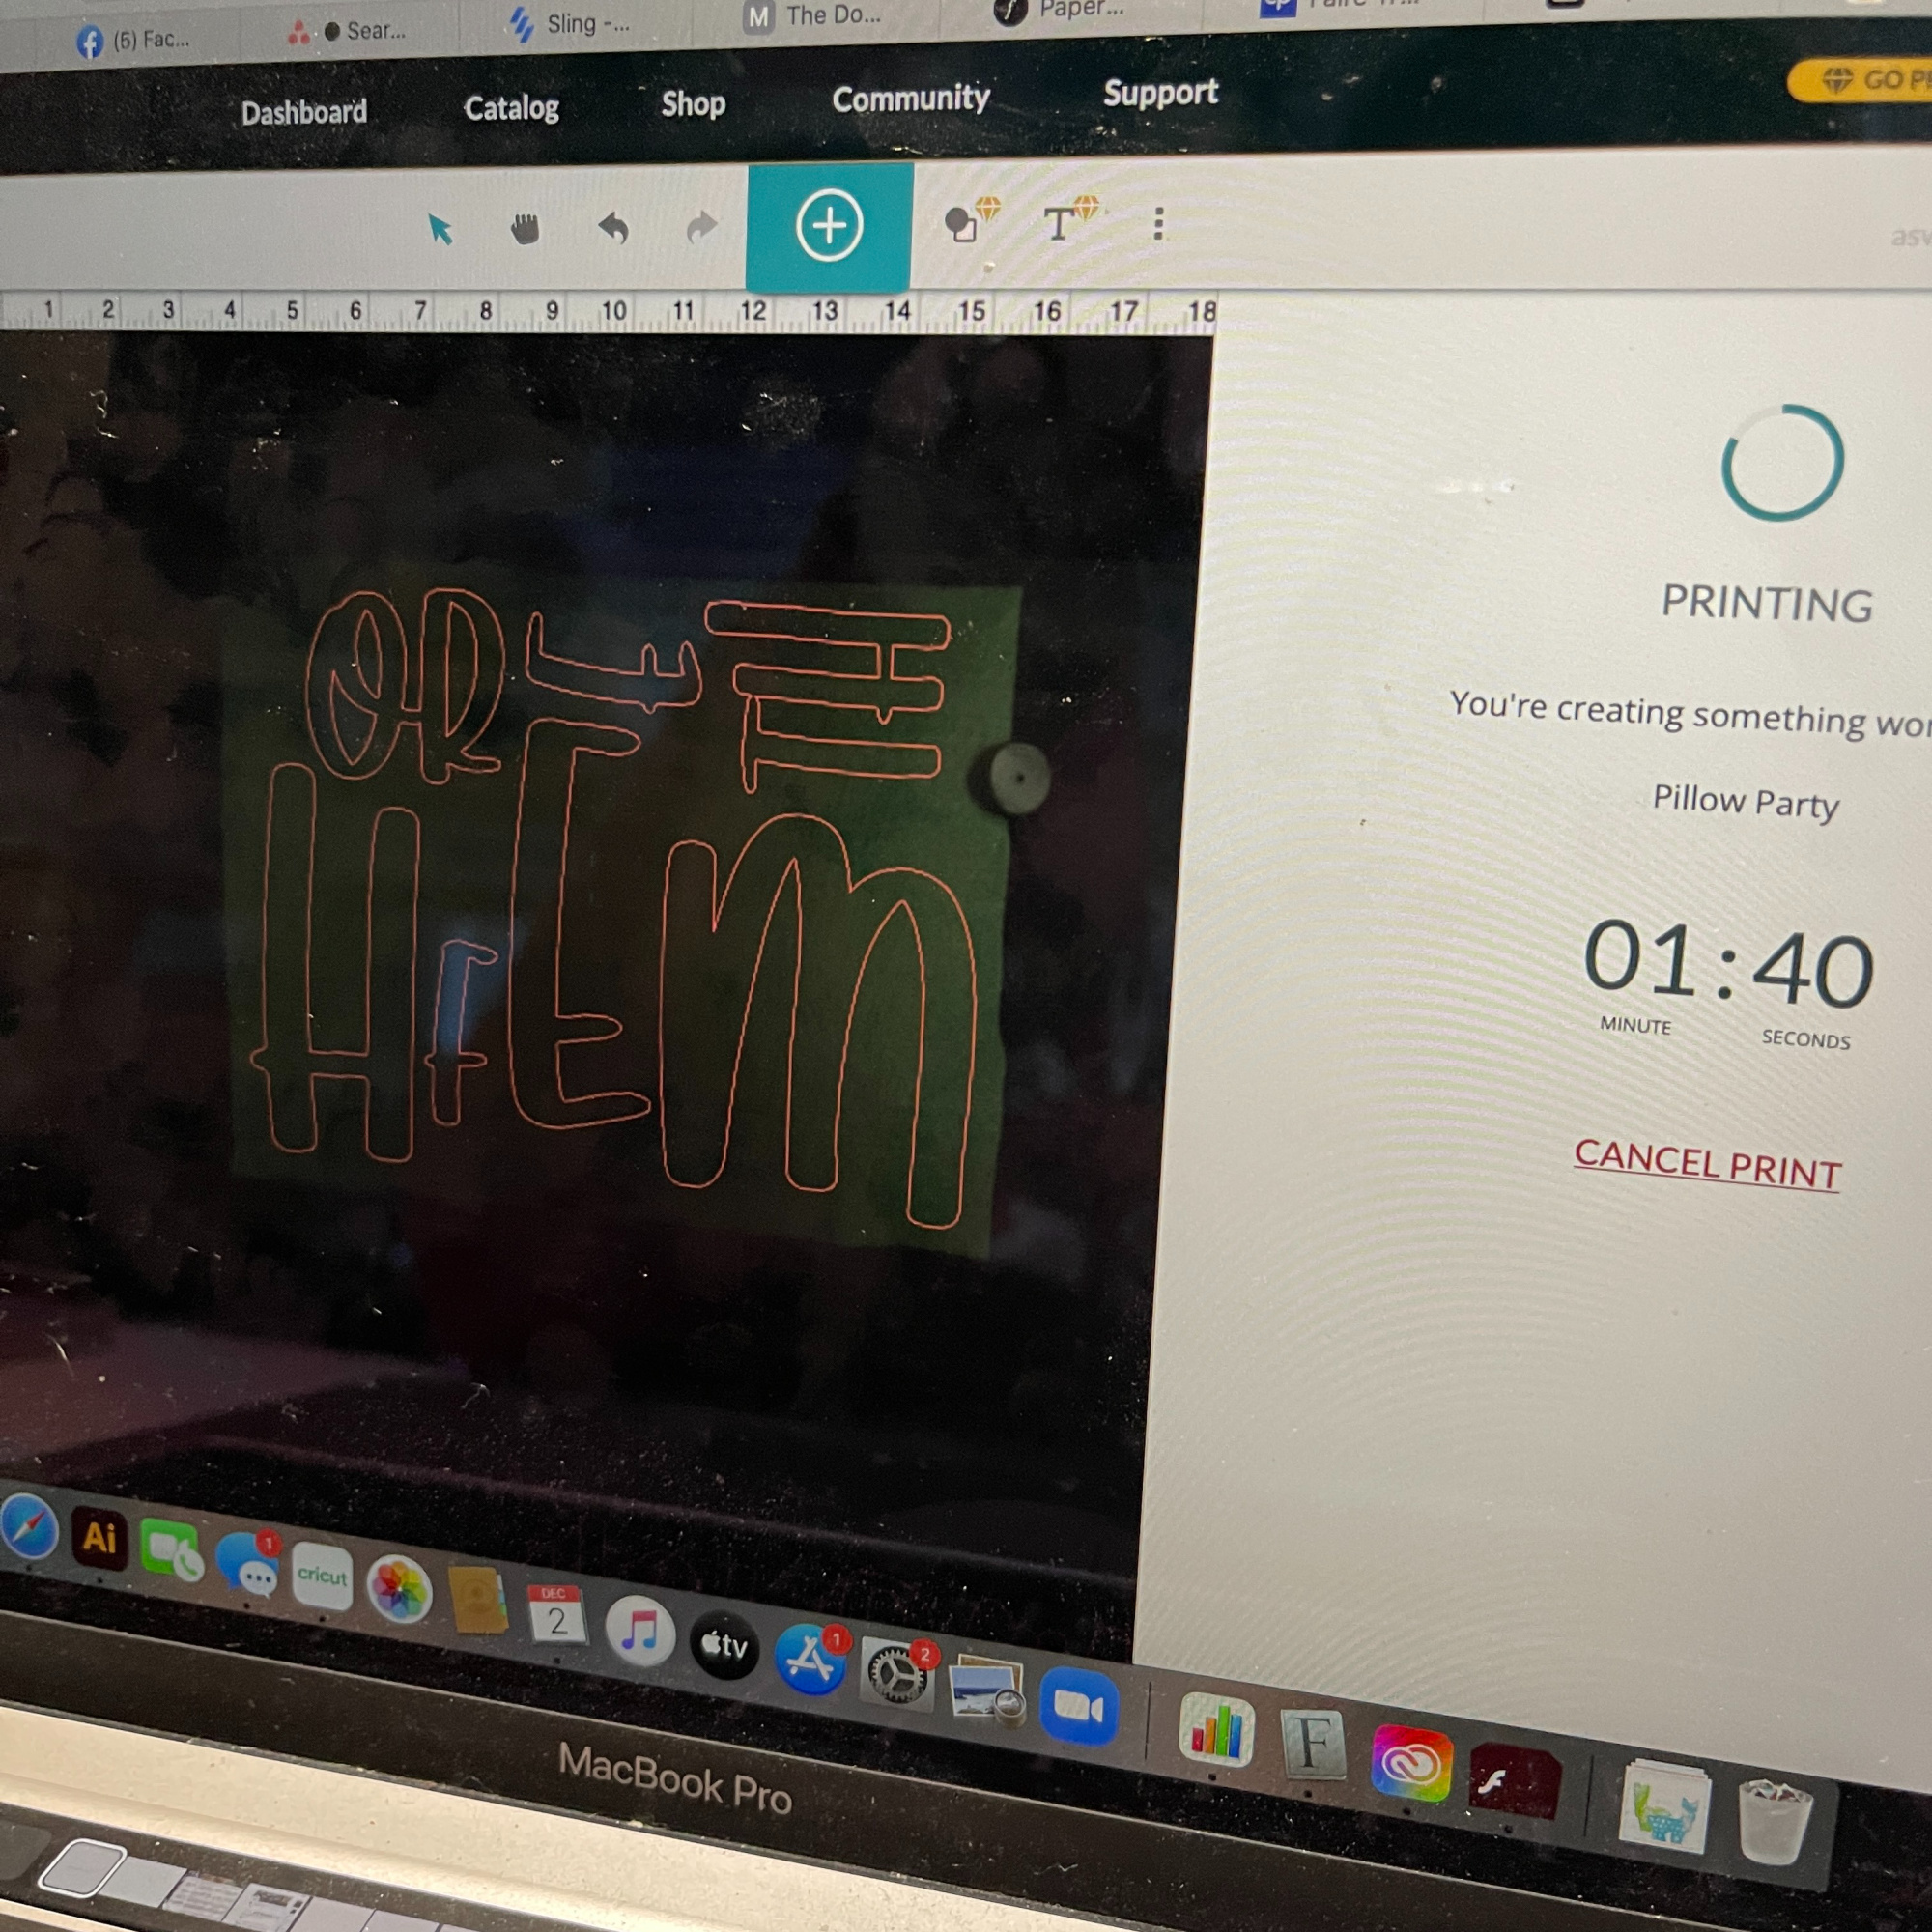
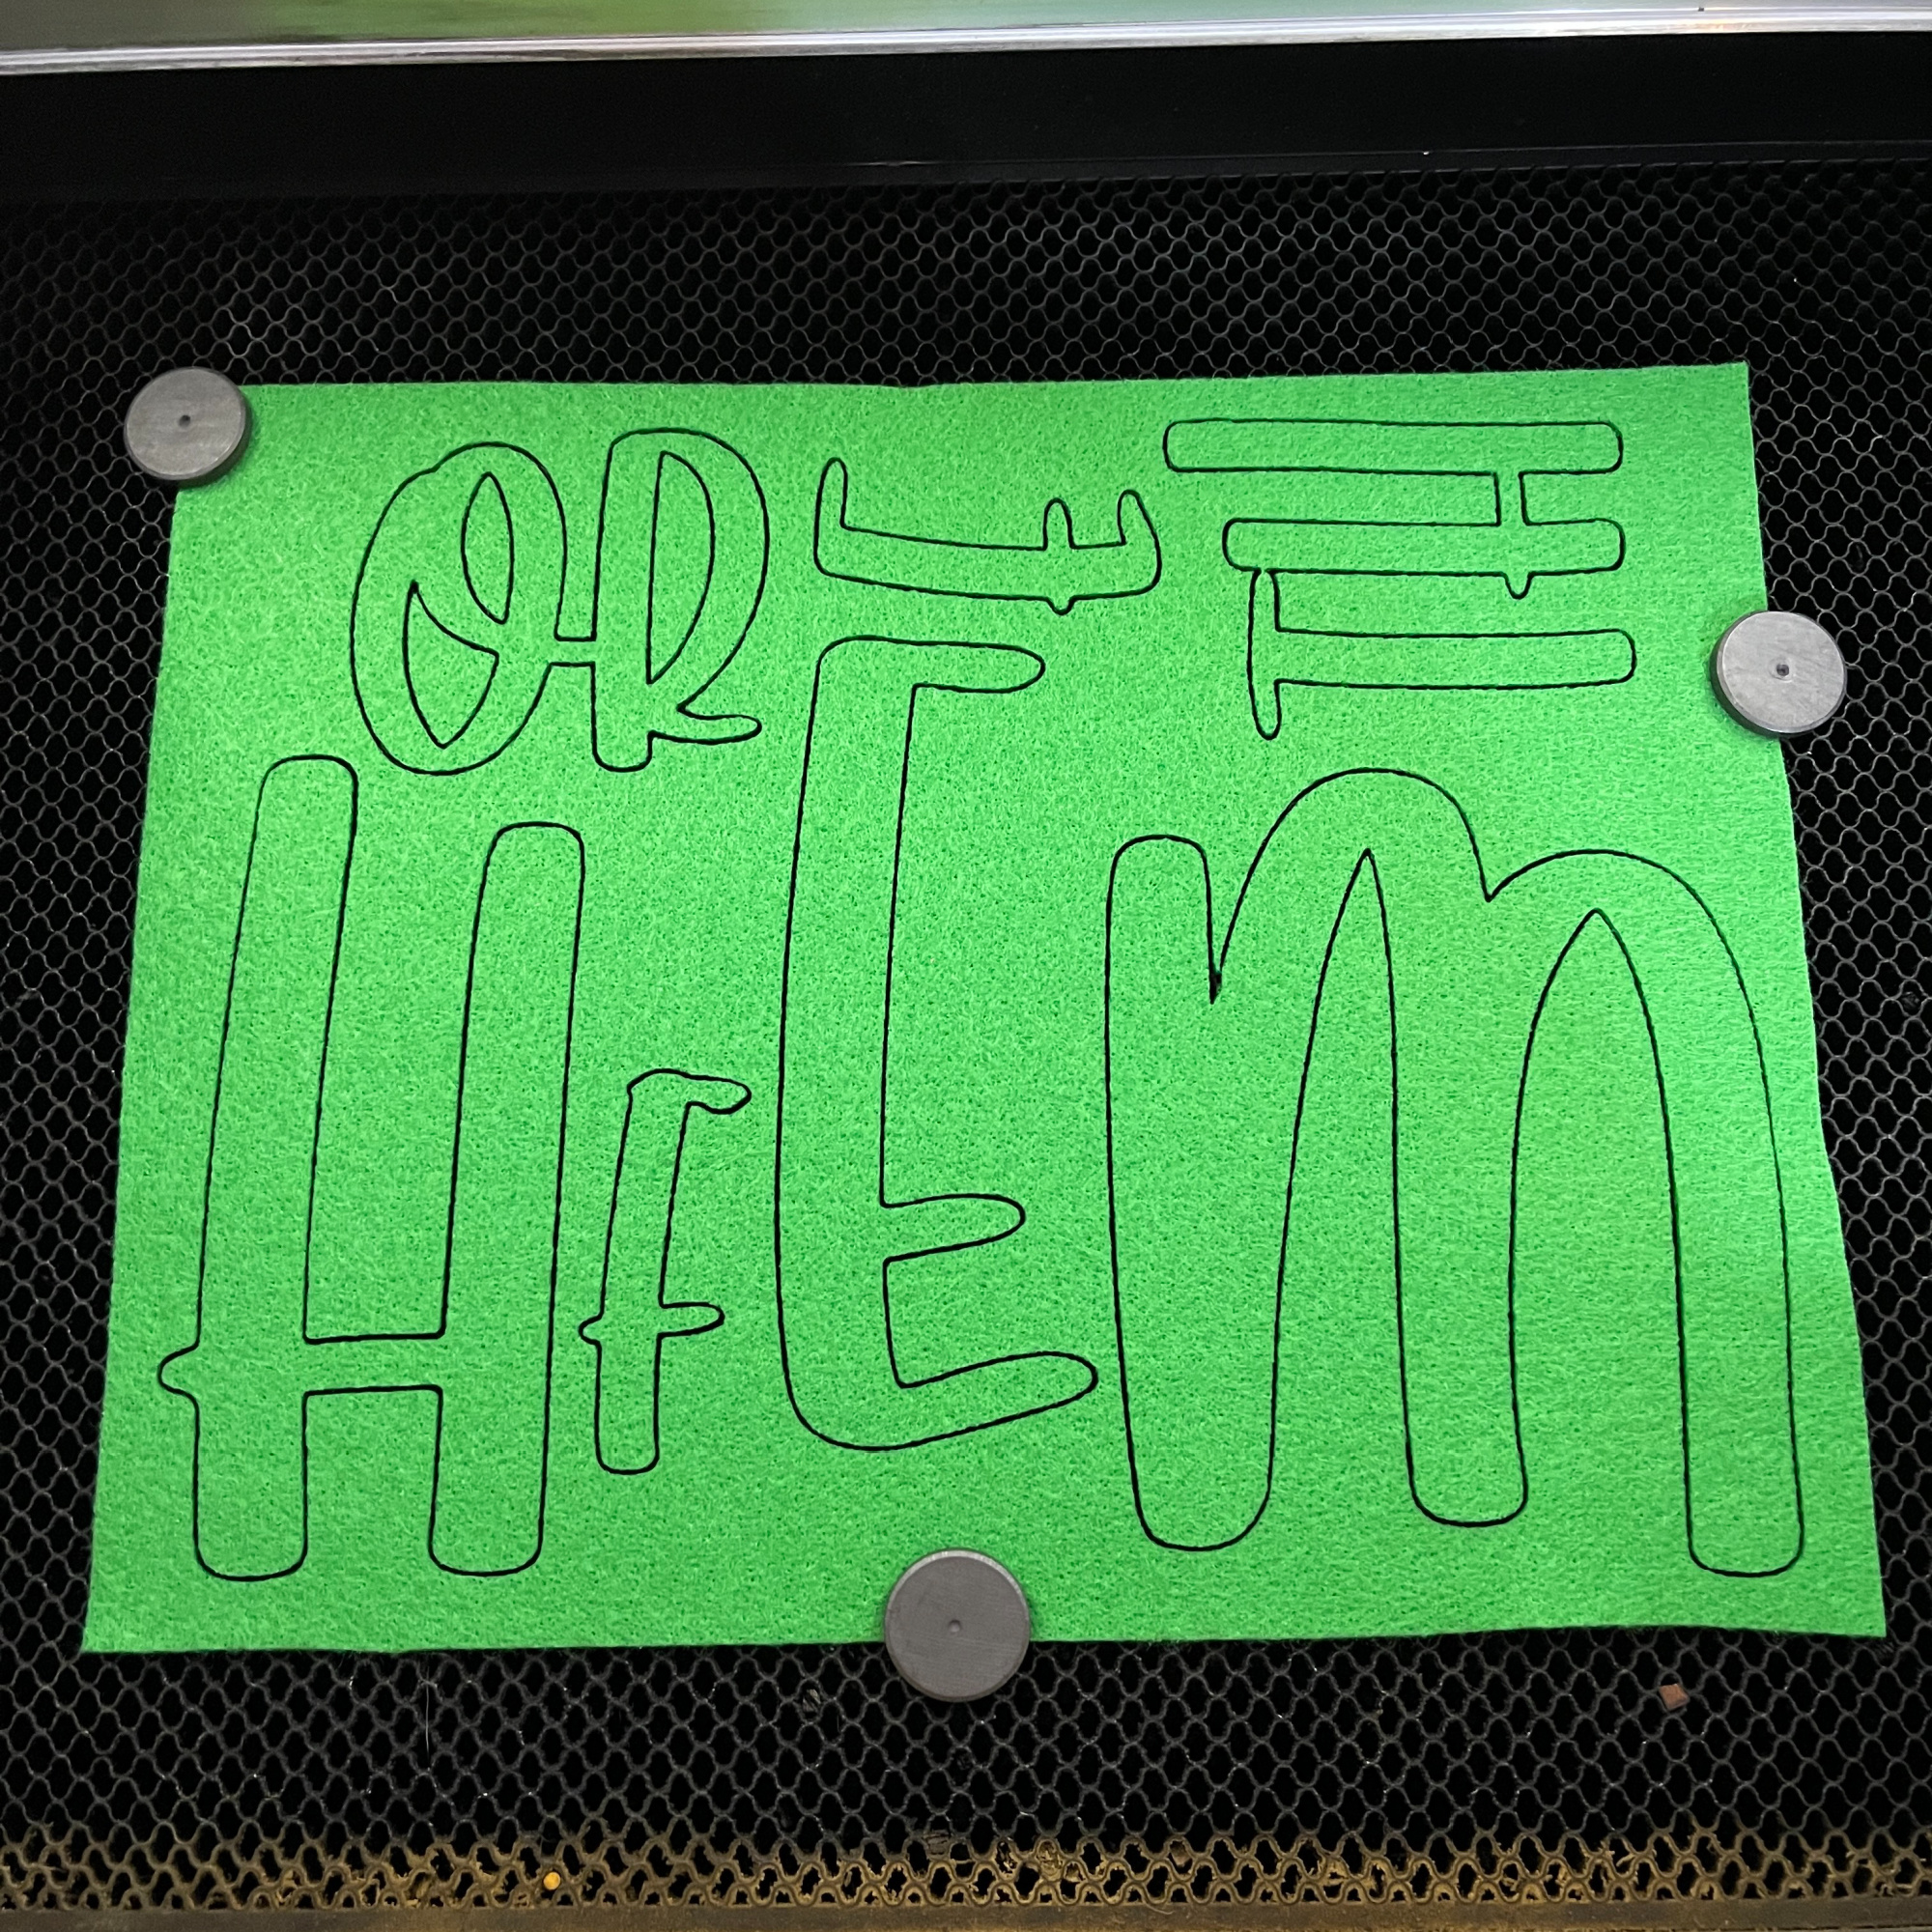
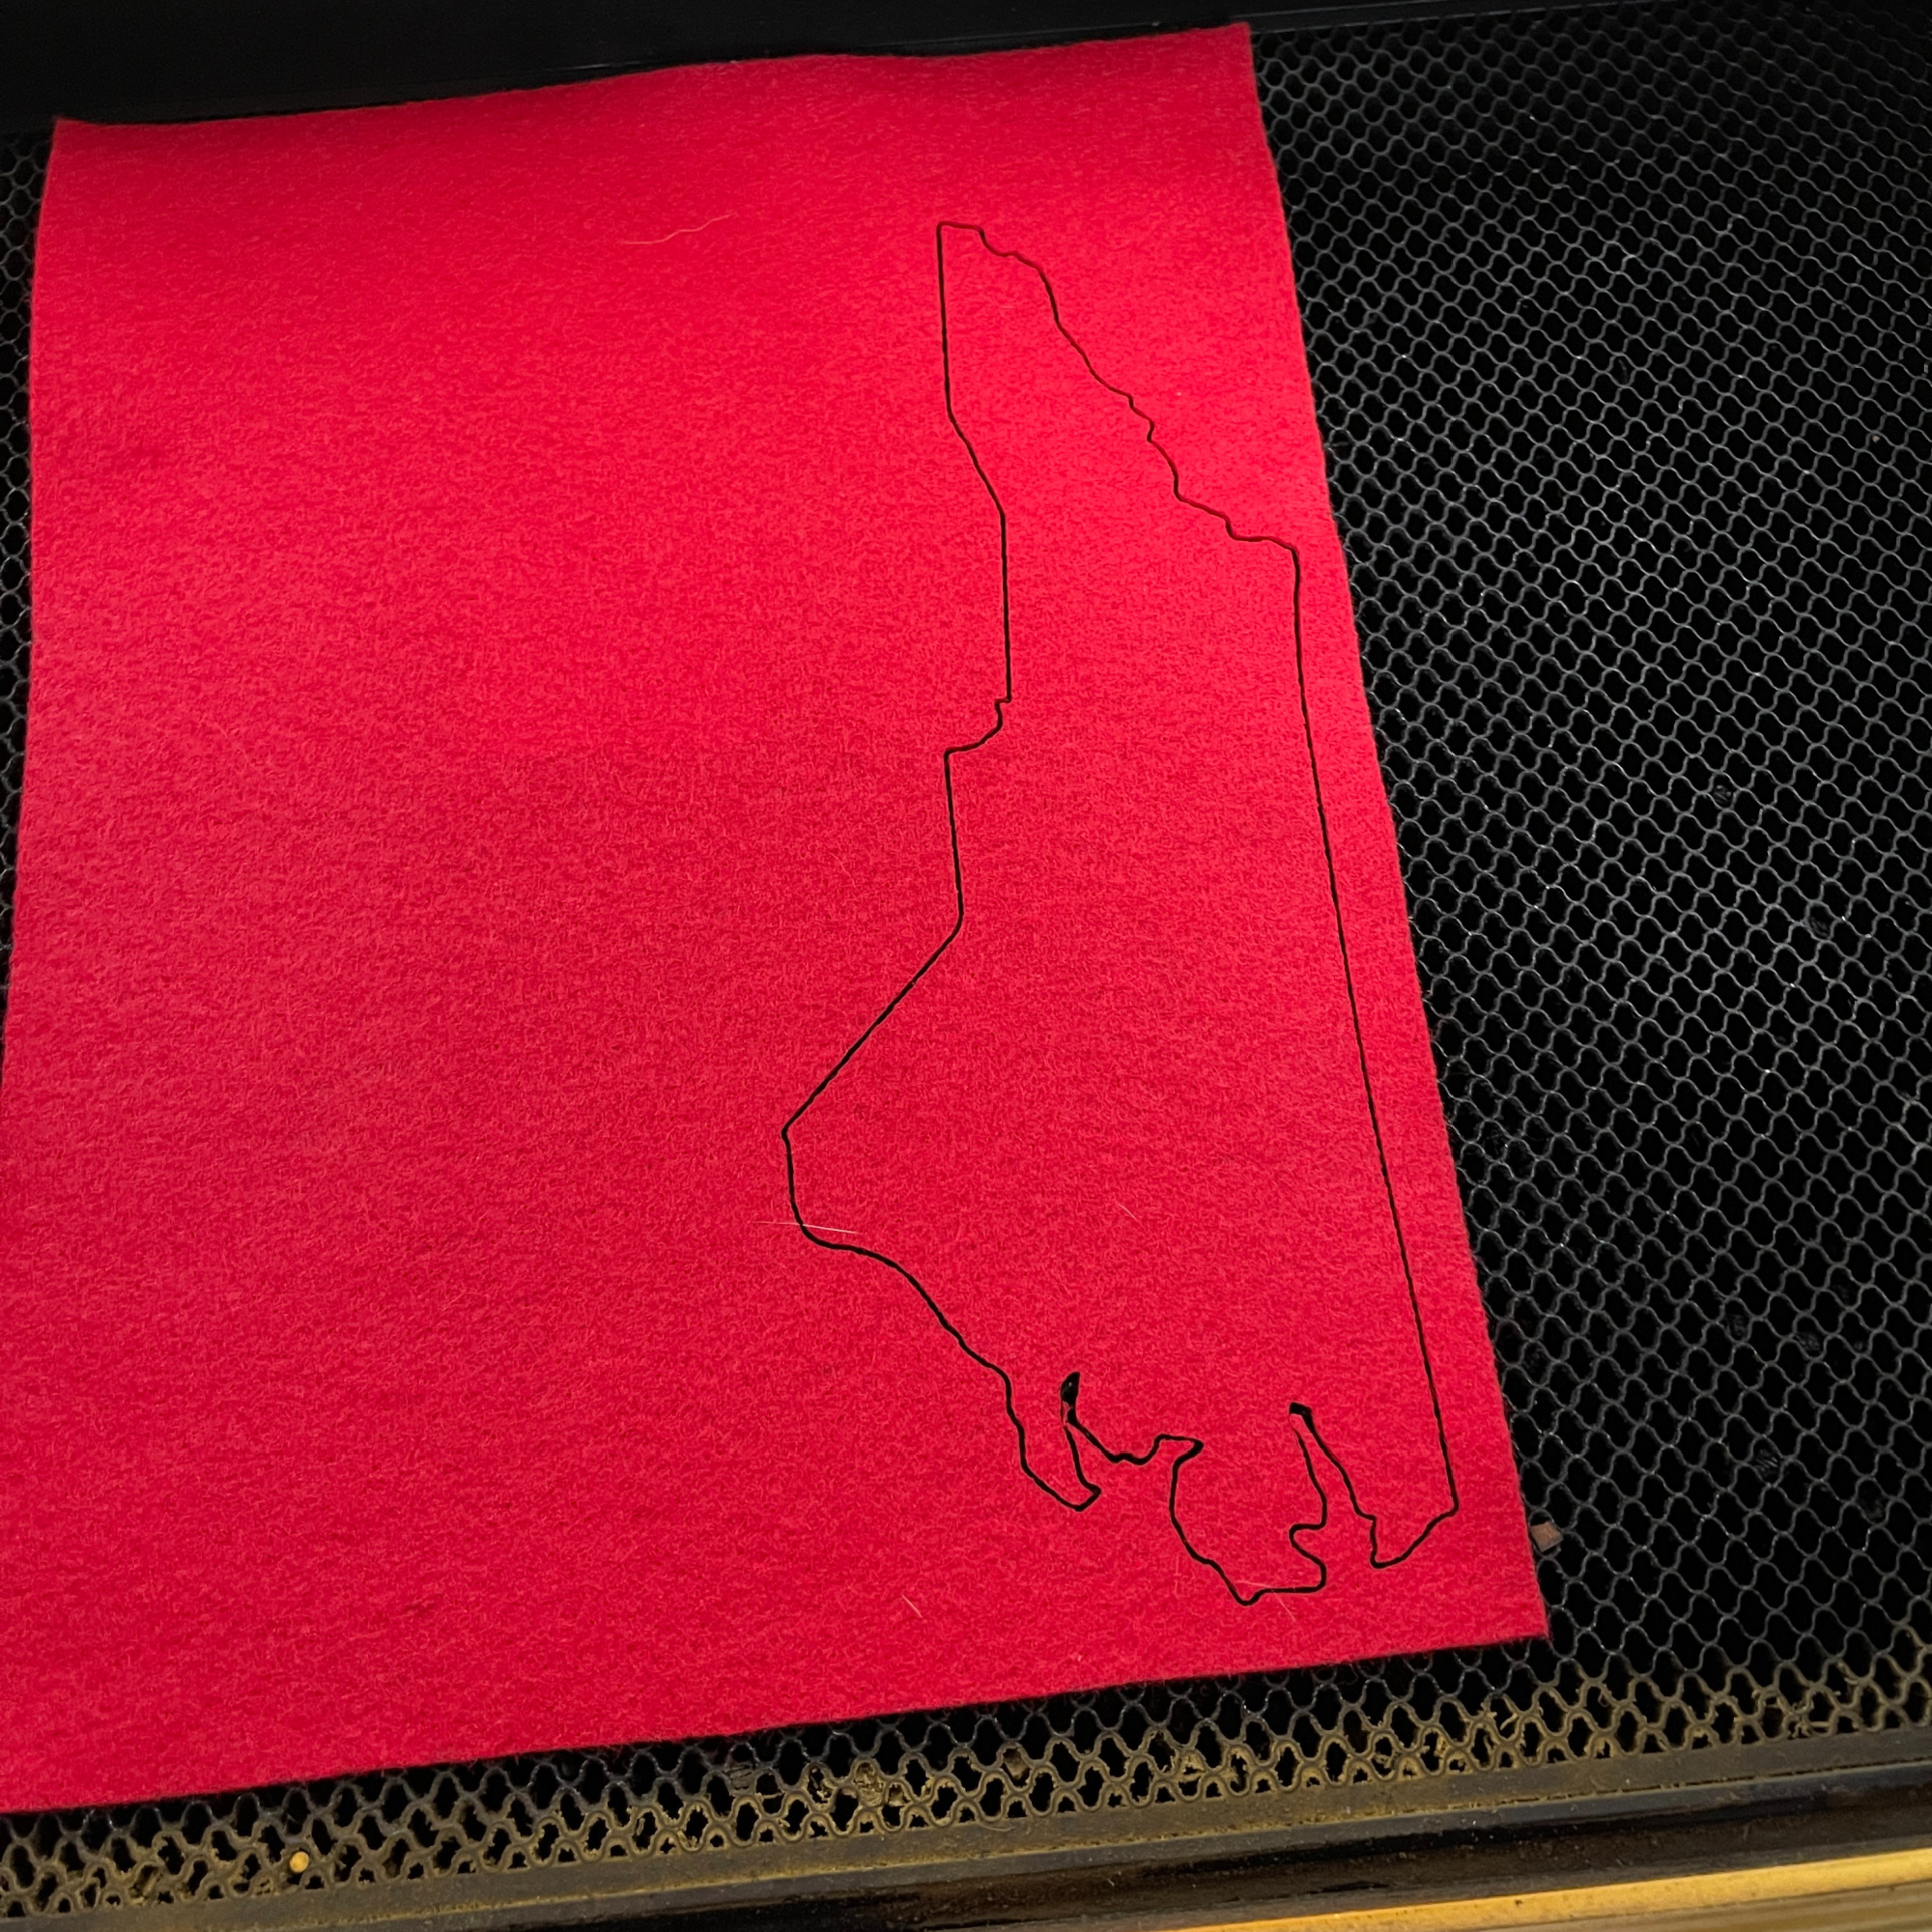
I know that not everyone has a Glowforge, but I do and I love to use it to cut felt. It cuts so easily and it’s quick. TIP: You could also print and cut the pattern out or you could use a Cricut.
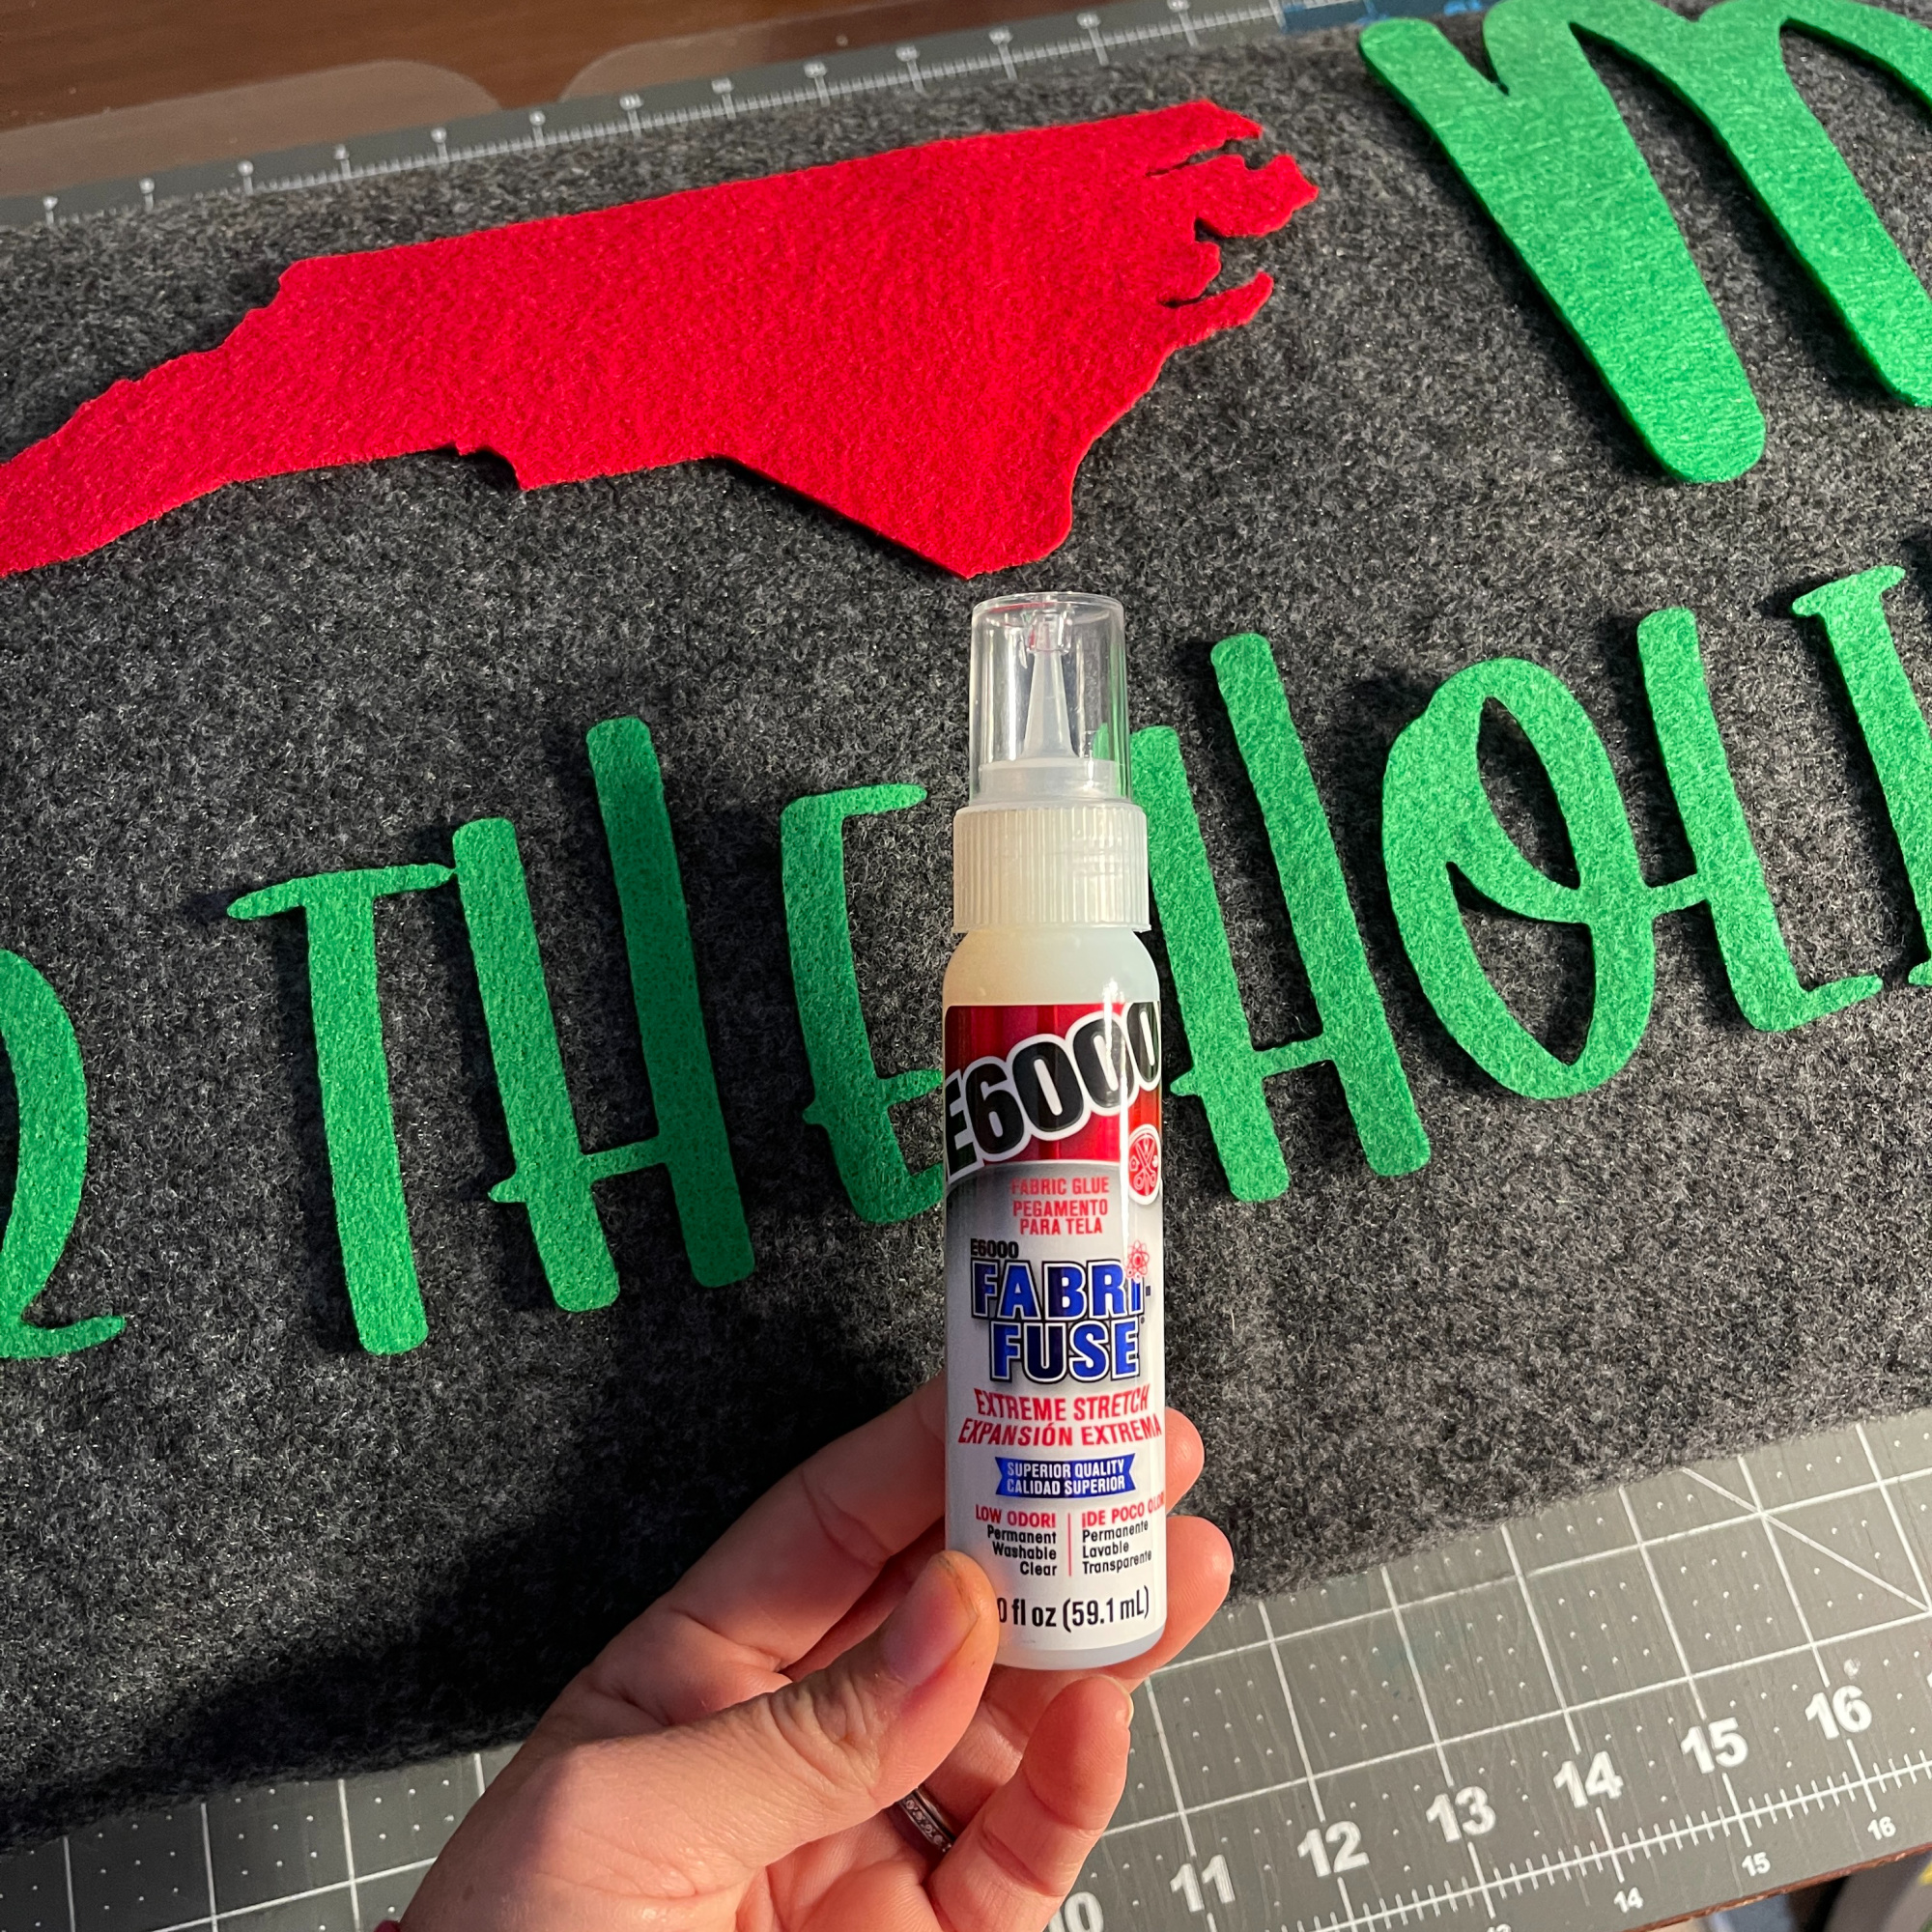
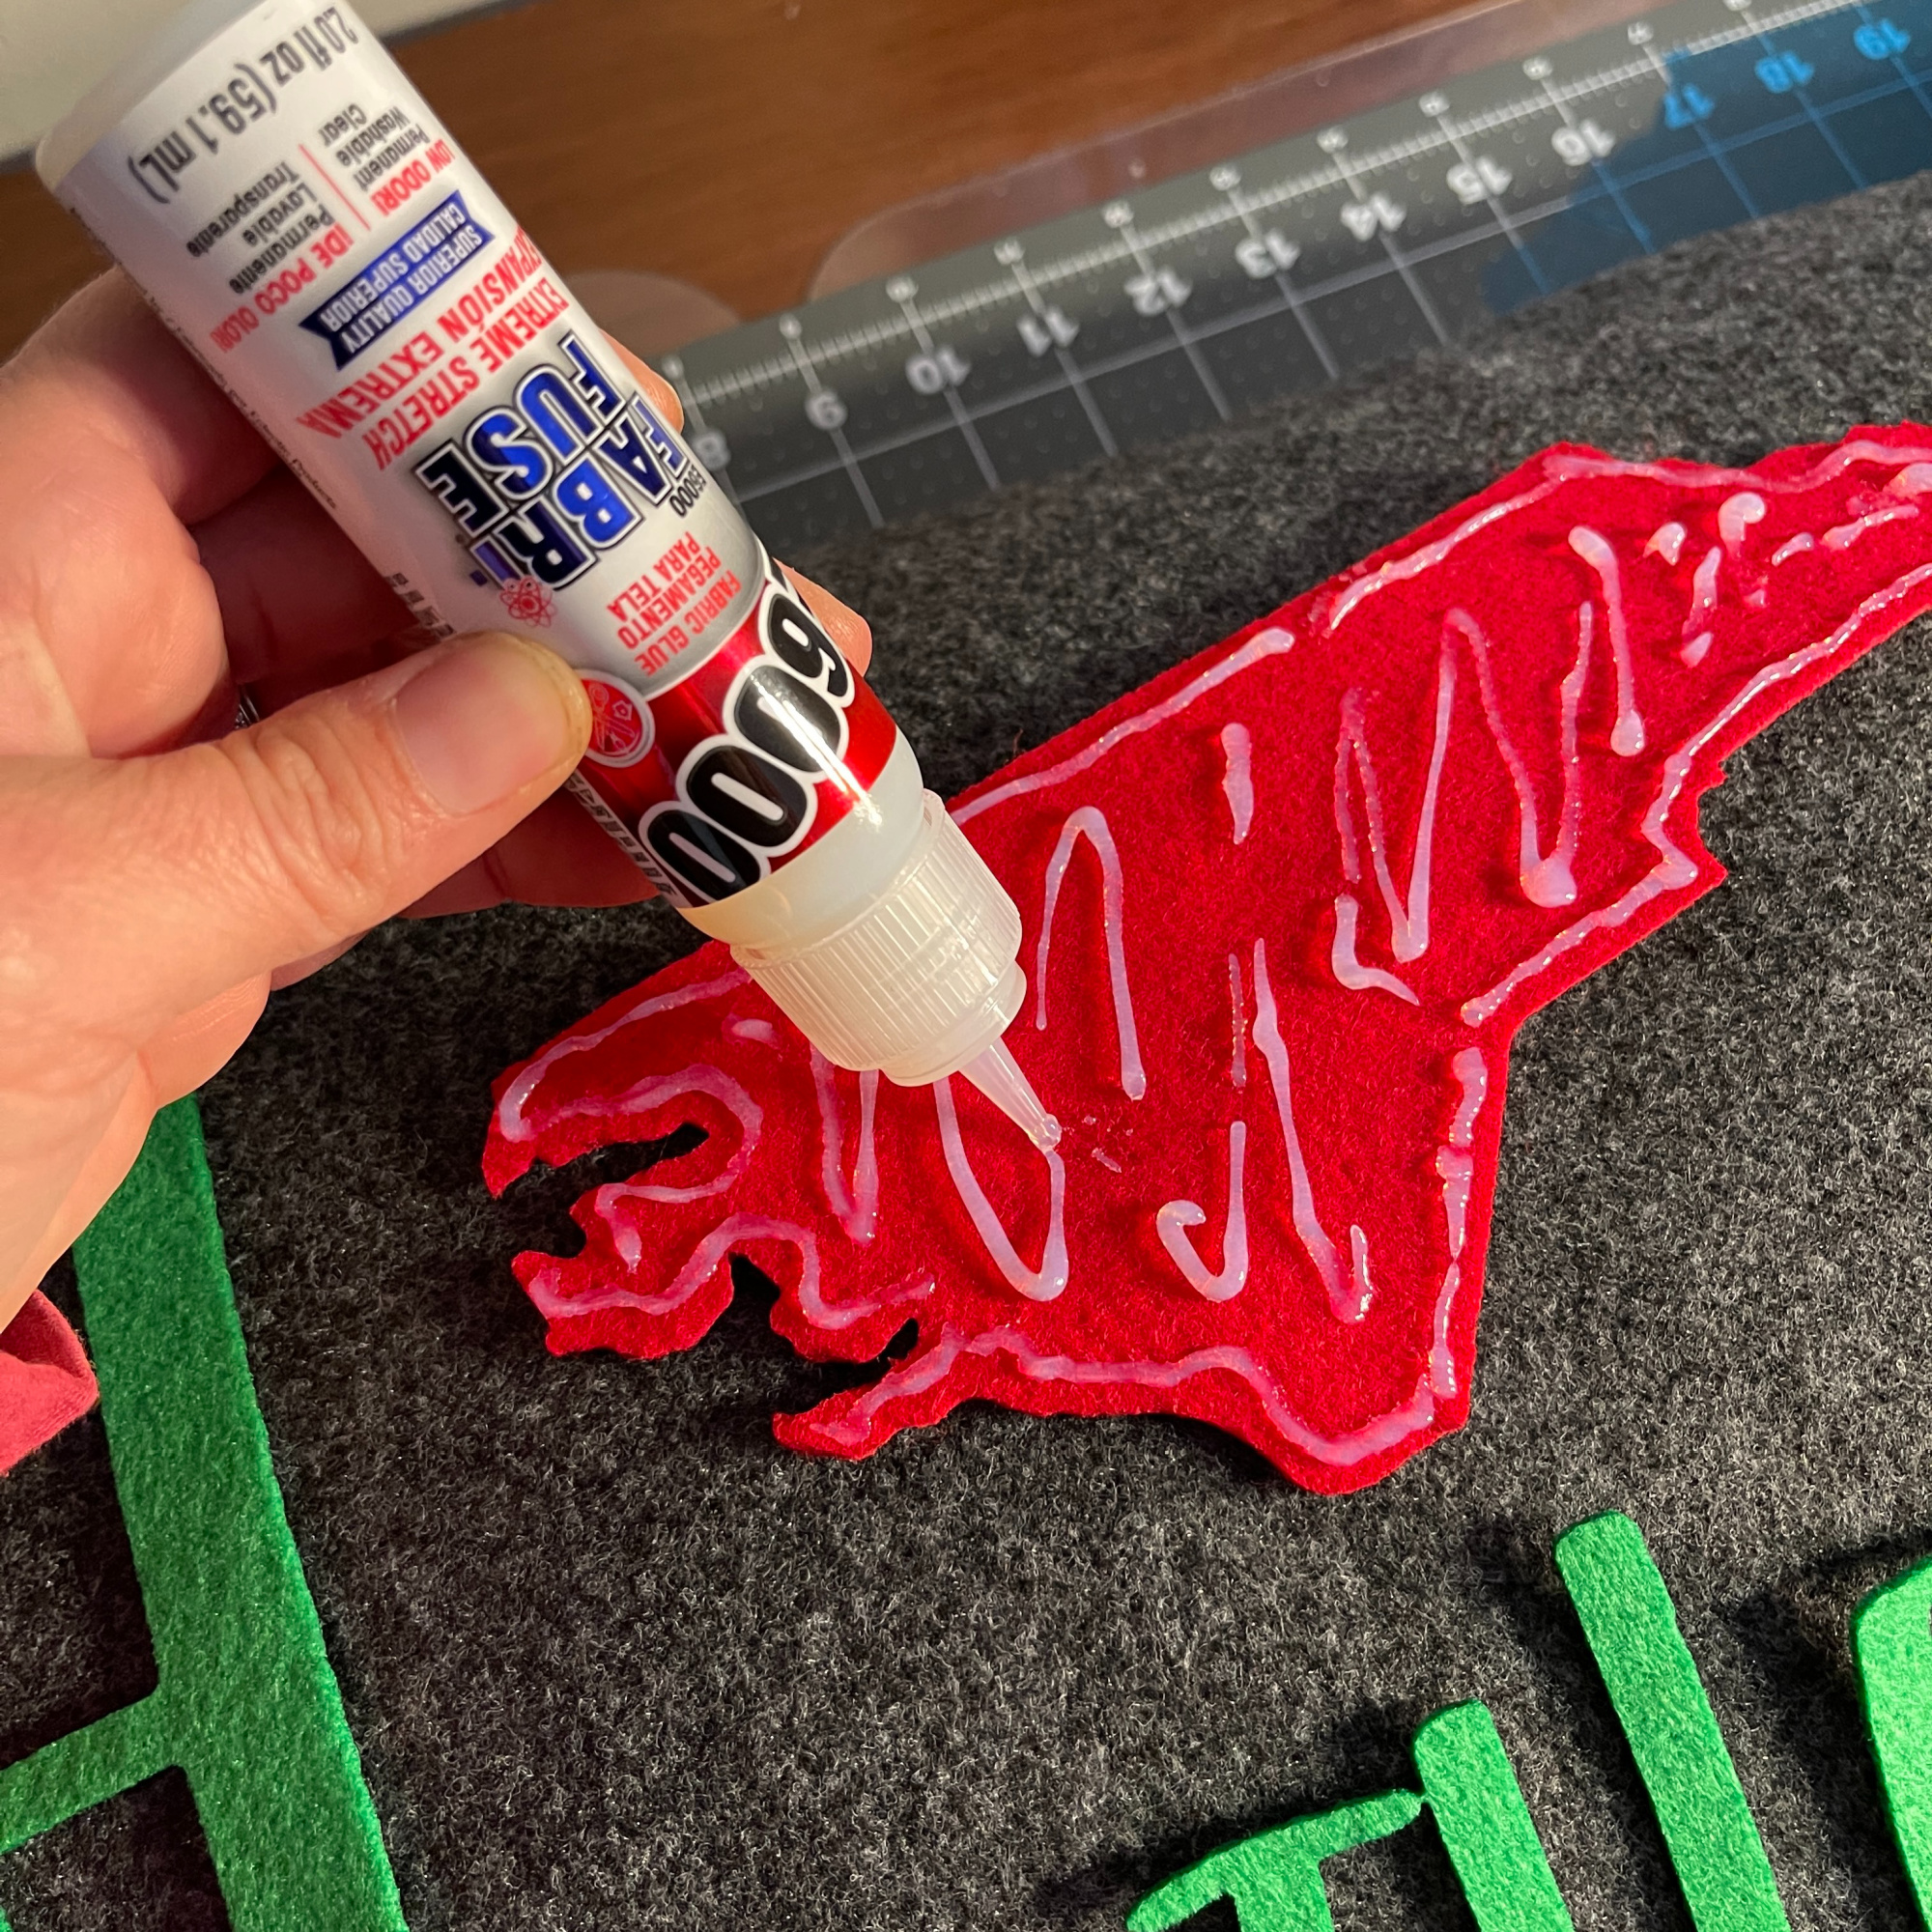
I laid out all of my pieces in place on my pillow before I glued them down.
I’m obsessed with E6000. I seriously use it daily. This Fabri-Fuse is awesome.
I let the pillow dry flat and then I added the pillow to my couch for a quick festive project!

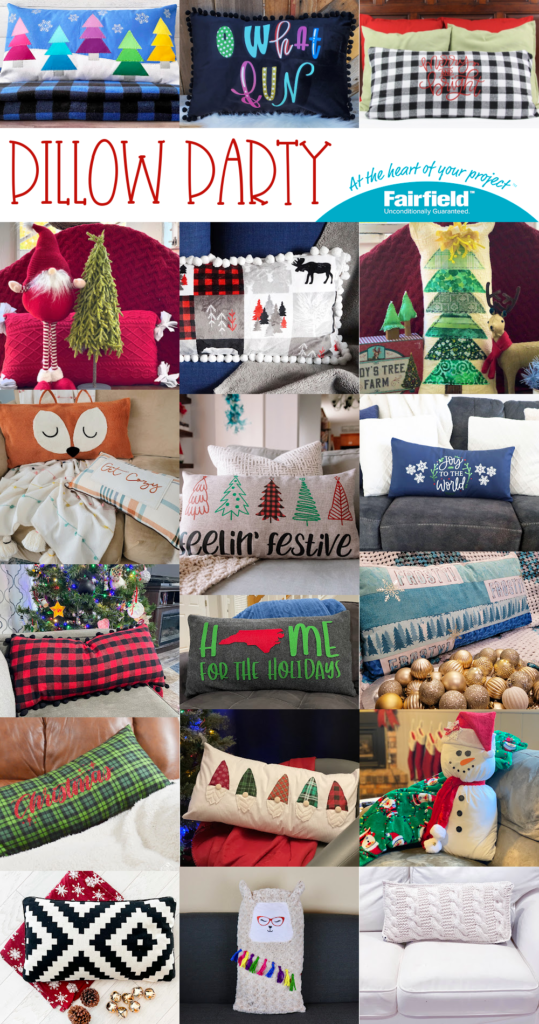
Be sure to check out lots of the other Pillow Party fun below! You can click on the photo below for more!
Be sure to enter the giveaway!
Until next time, Happy Crafting!