Monthly Archives: October 2014

Halloween Popcorn Box Blog Hop

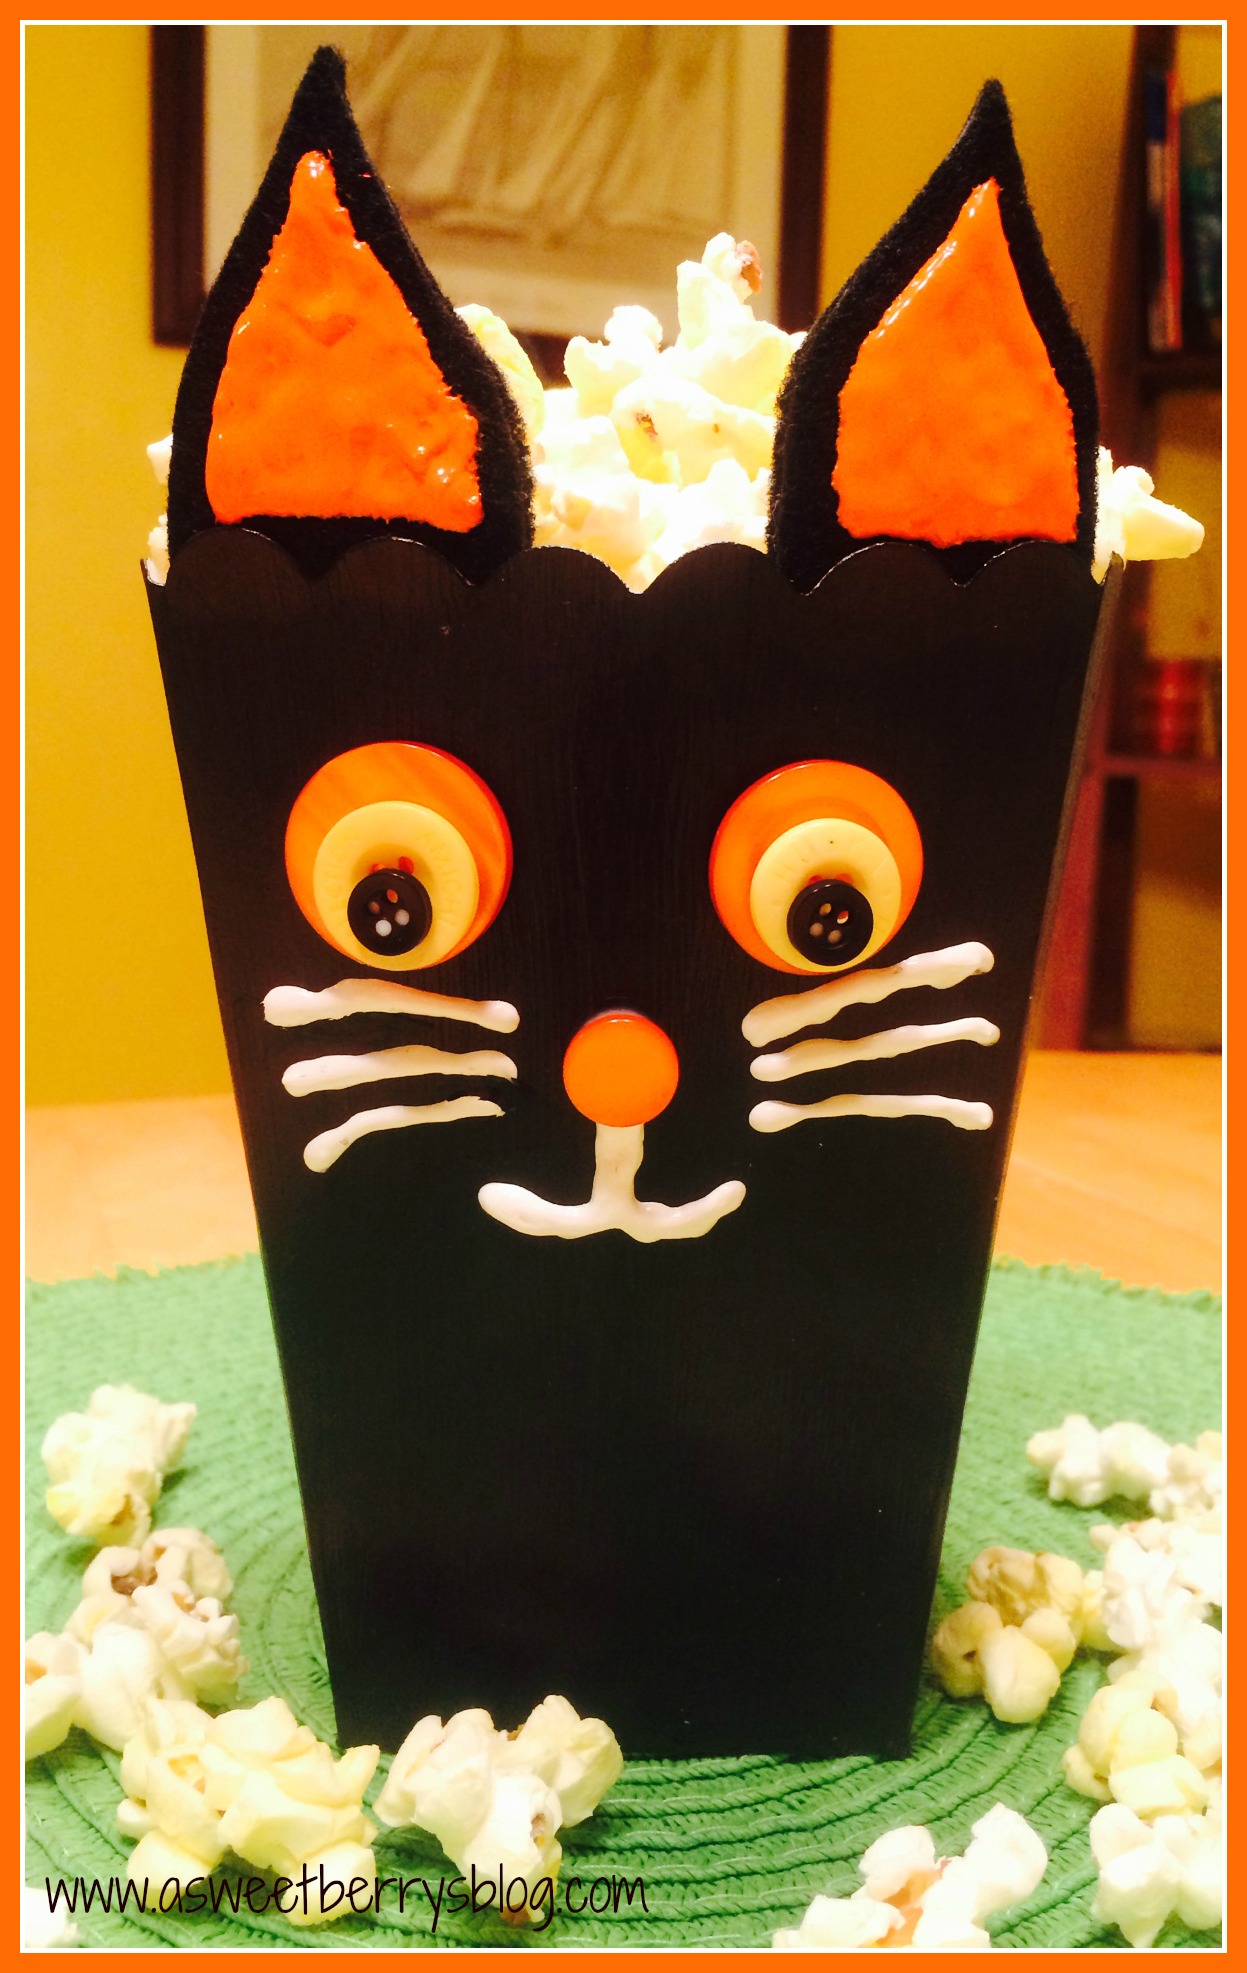
A year ago, my friend Laura Kelly started this Halloween Popcorn Box Blog Hop and then decided to do it again this year. I was so excited to get my box of goodies to do this project! It’s so much fun and exciting to see what everyone comes up with! This year, I decided to make a Cat!

popcornbox2014

Items I used:
Popcorn Box
Black Felt from Kunin
Phoomph for Fabric from Coats & Clark
Tulip Soft Black Fabric Paint
Scribbles 3D Fabric Paint
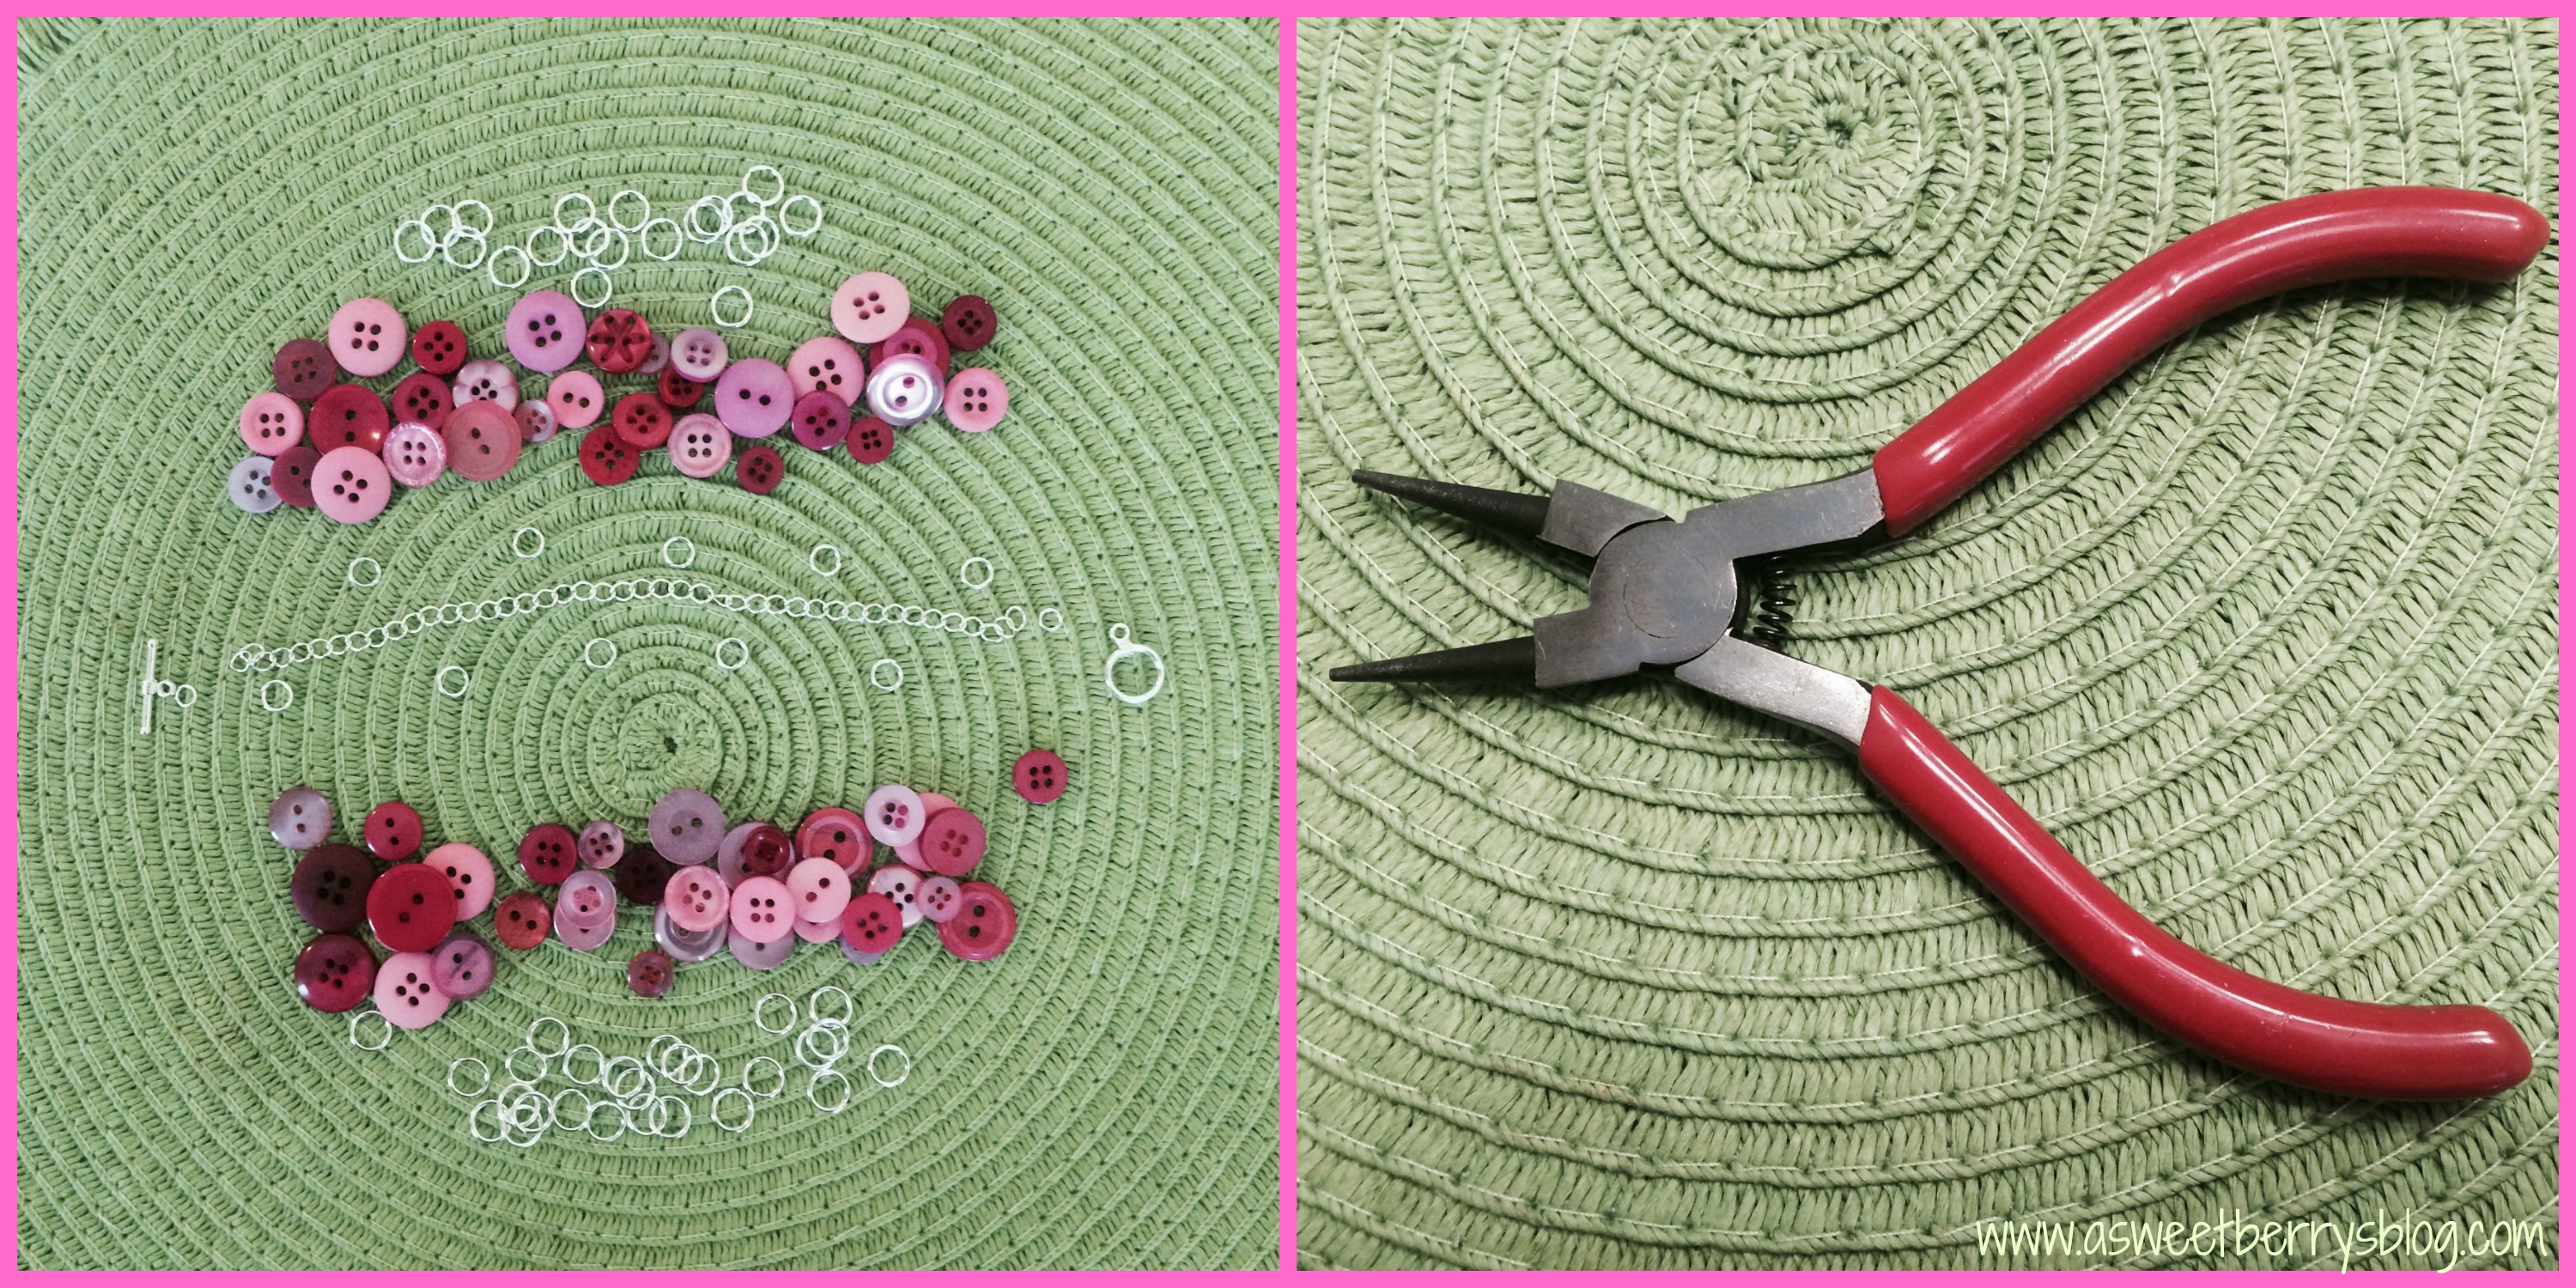
Laura Kelly Buttons from Buttons Galore & More
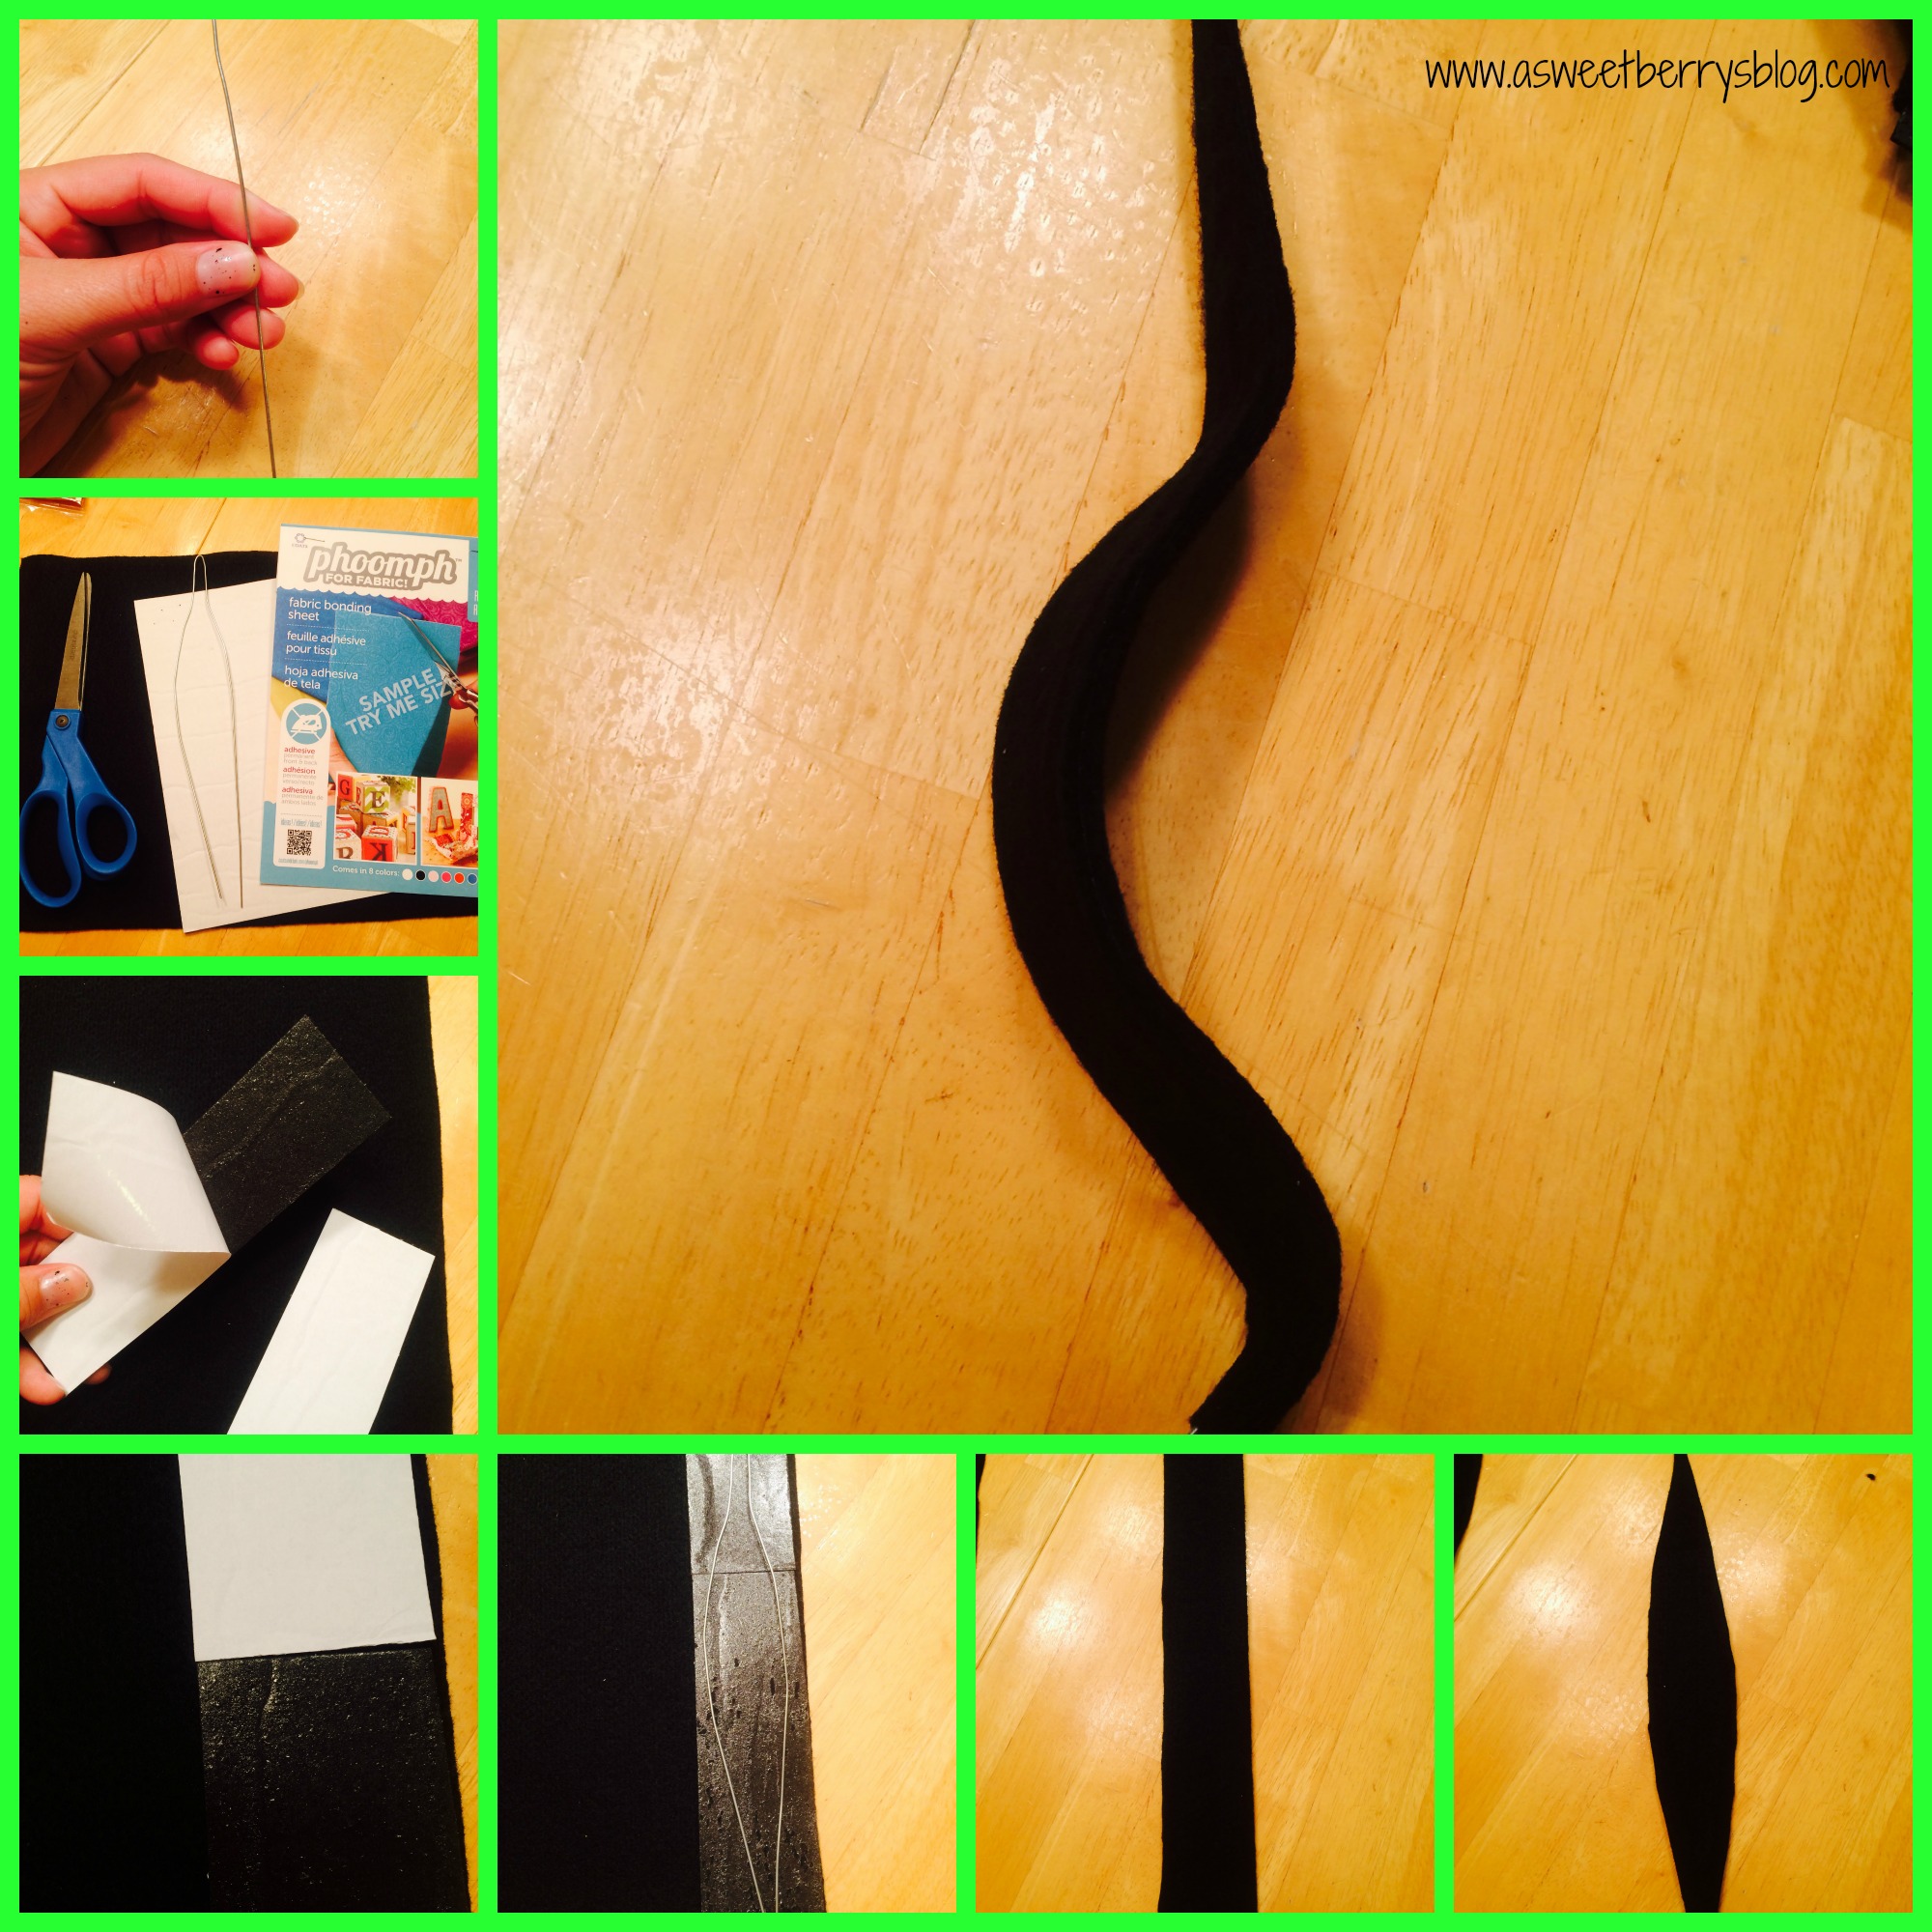
Floral Wire
Paint Brush
Aleene’s Turbo Tacky Glue

First, I painted my box using the Tulip Soft Black Fabric Paint. Yes, I know it’s fabric paint, but it still worked great on my box! I let it dry and then painted on another coat.
painted box
Next, I made my cats tail. I thought about this for a little while! I took a piece of floral wire and folded it in half and manipulated it to look a little like how a real cats tail would look. I placed black Phoomph onto some felt, placed the wire onto the Phoomph and then folded my felt in half. Then, I cut around the wire making the felt the same shape as the wire. Then i manipulated the wire with the felt again to make the tail curved.
Tail
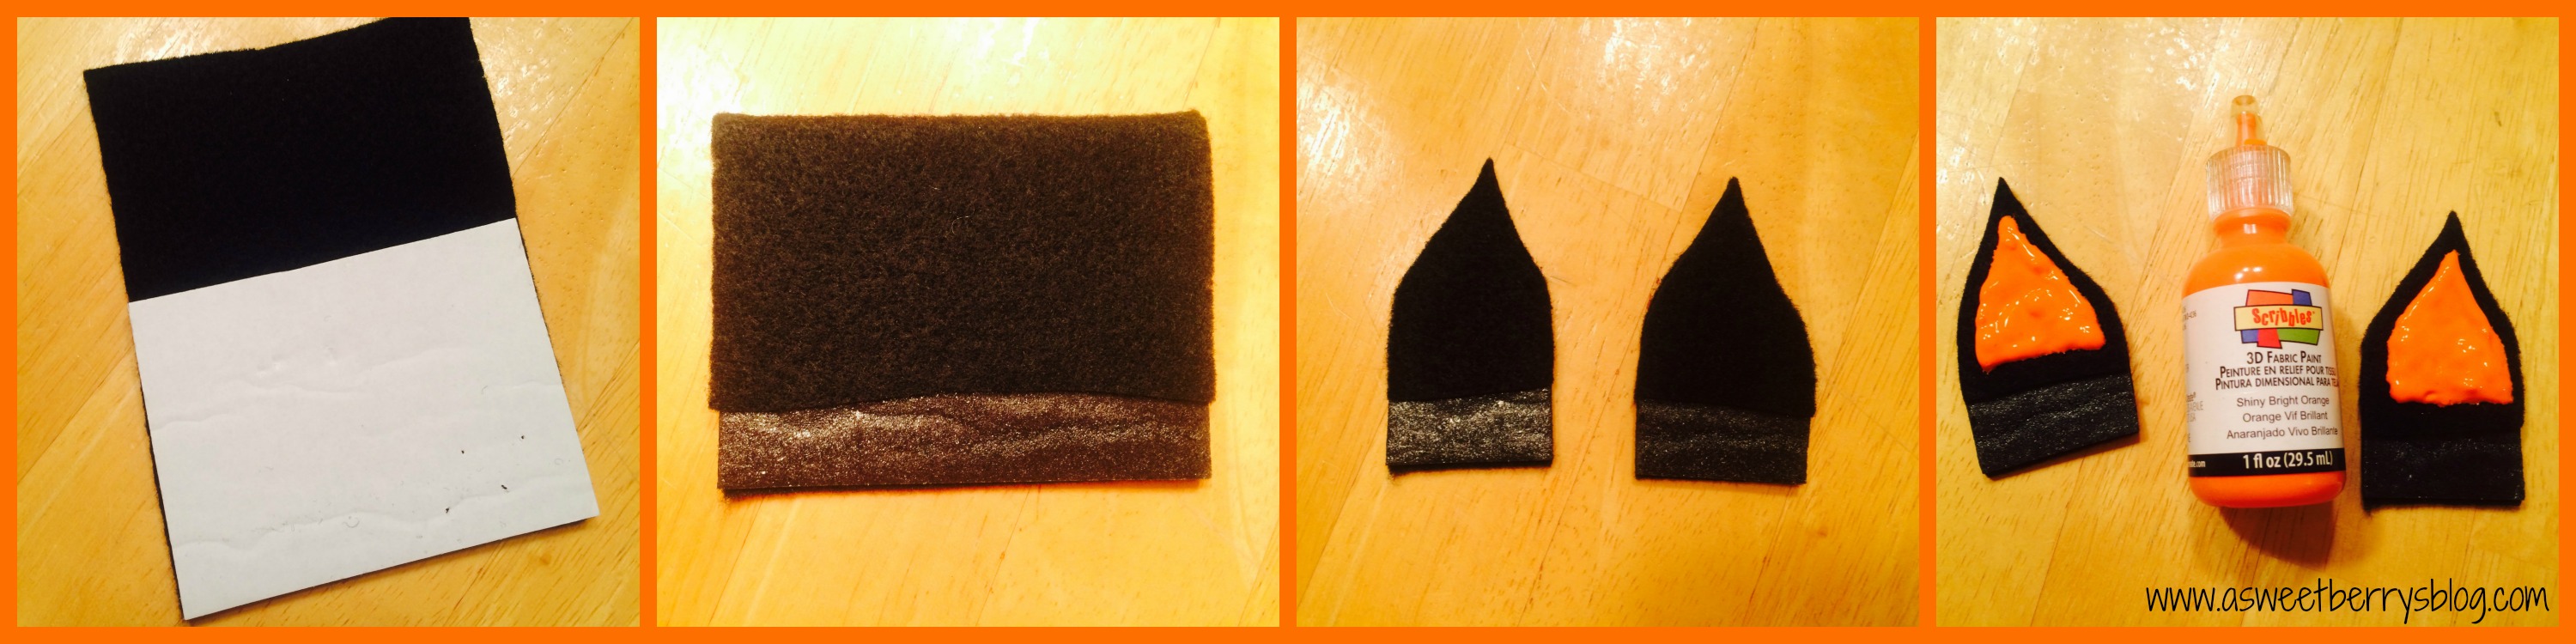
Next was my cats ears. Again, I used black felt and Phoomph. I placed the Phoomph onto a black piece of felt. When I folded the felt over, I made sure that it didn’t completely cover the Phoomph because I knew that I wanted to use the exposed part of the Phoomph to attach the ears to the popcorn box. I used the orange Scribbles Fabric Paint to make the inside of the cats ears.
ears
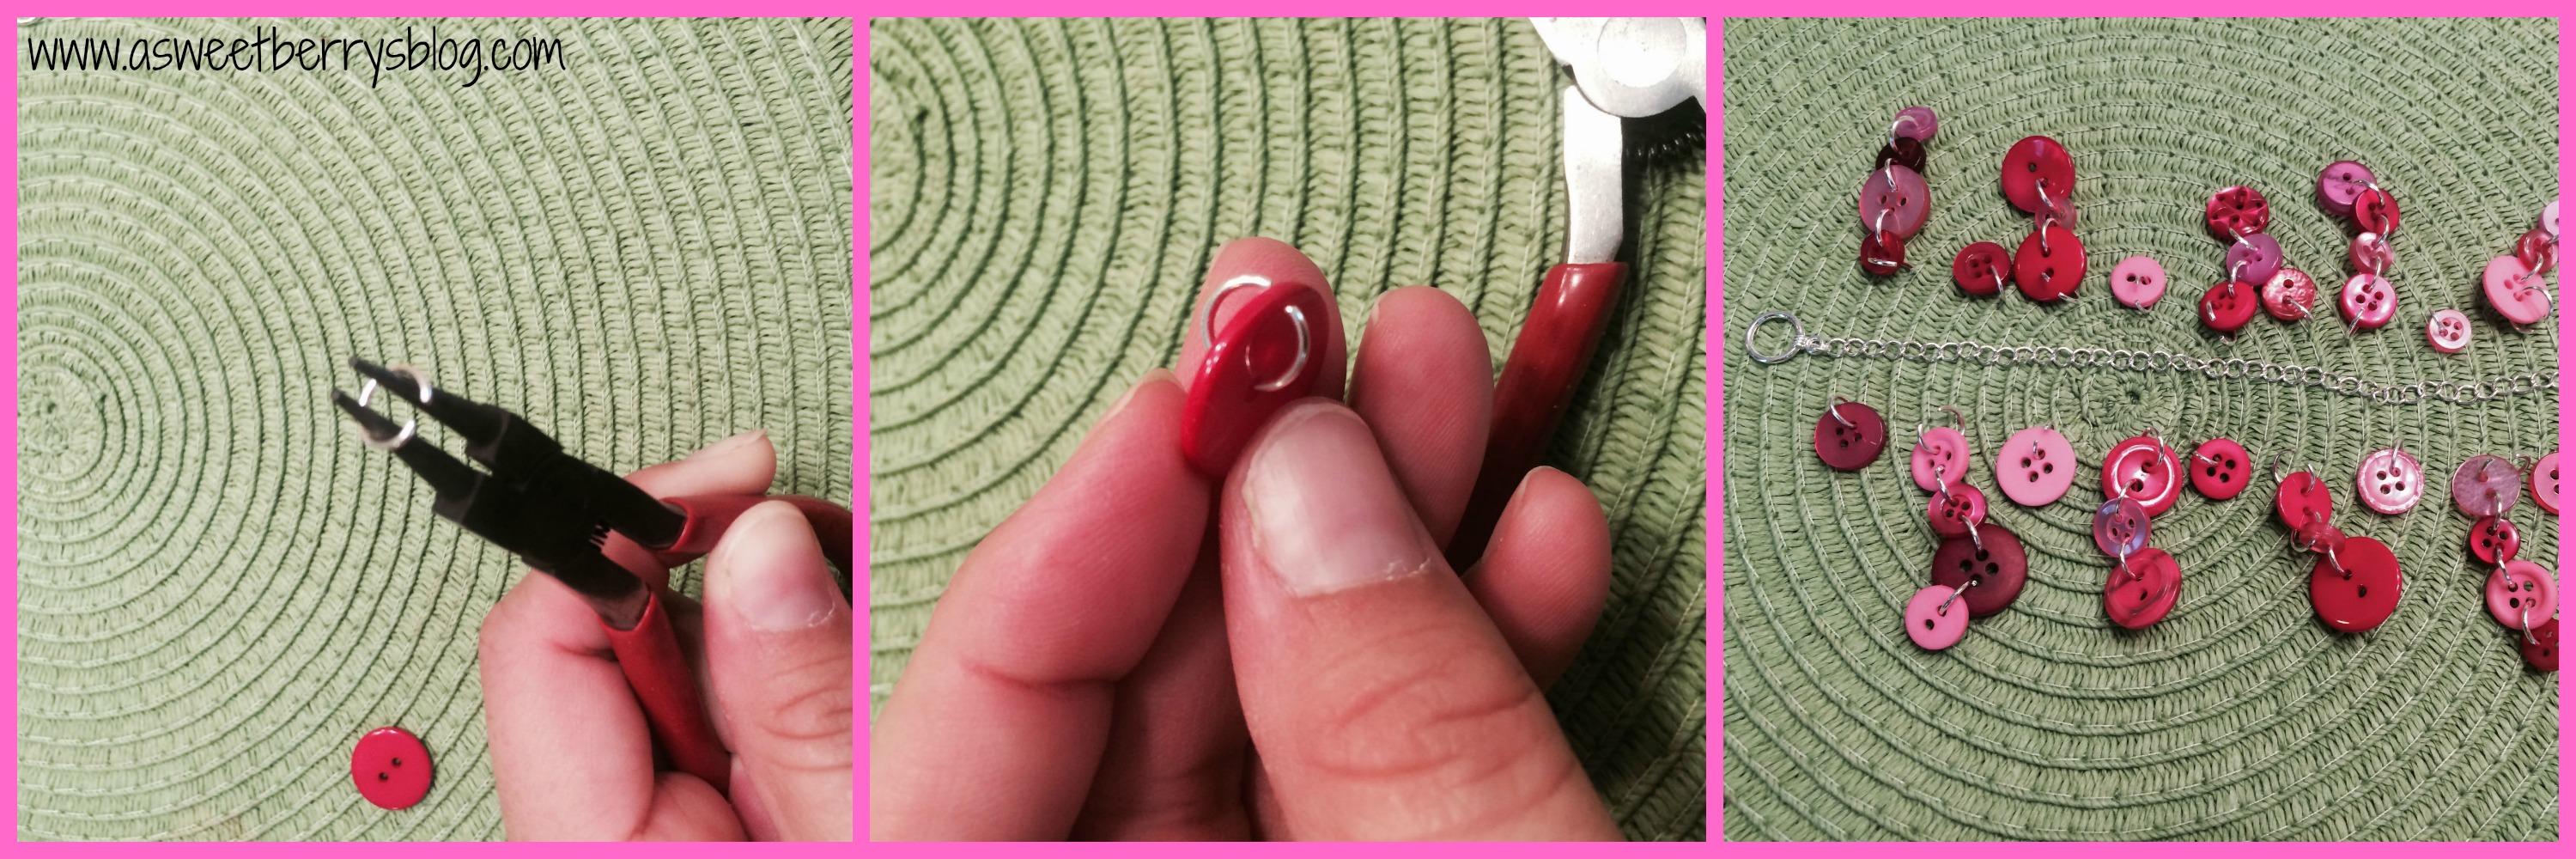
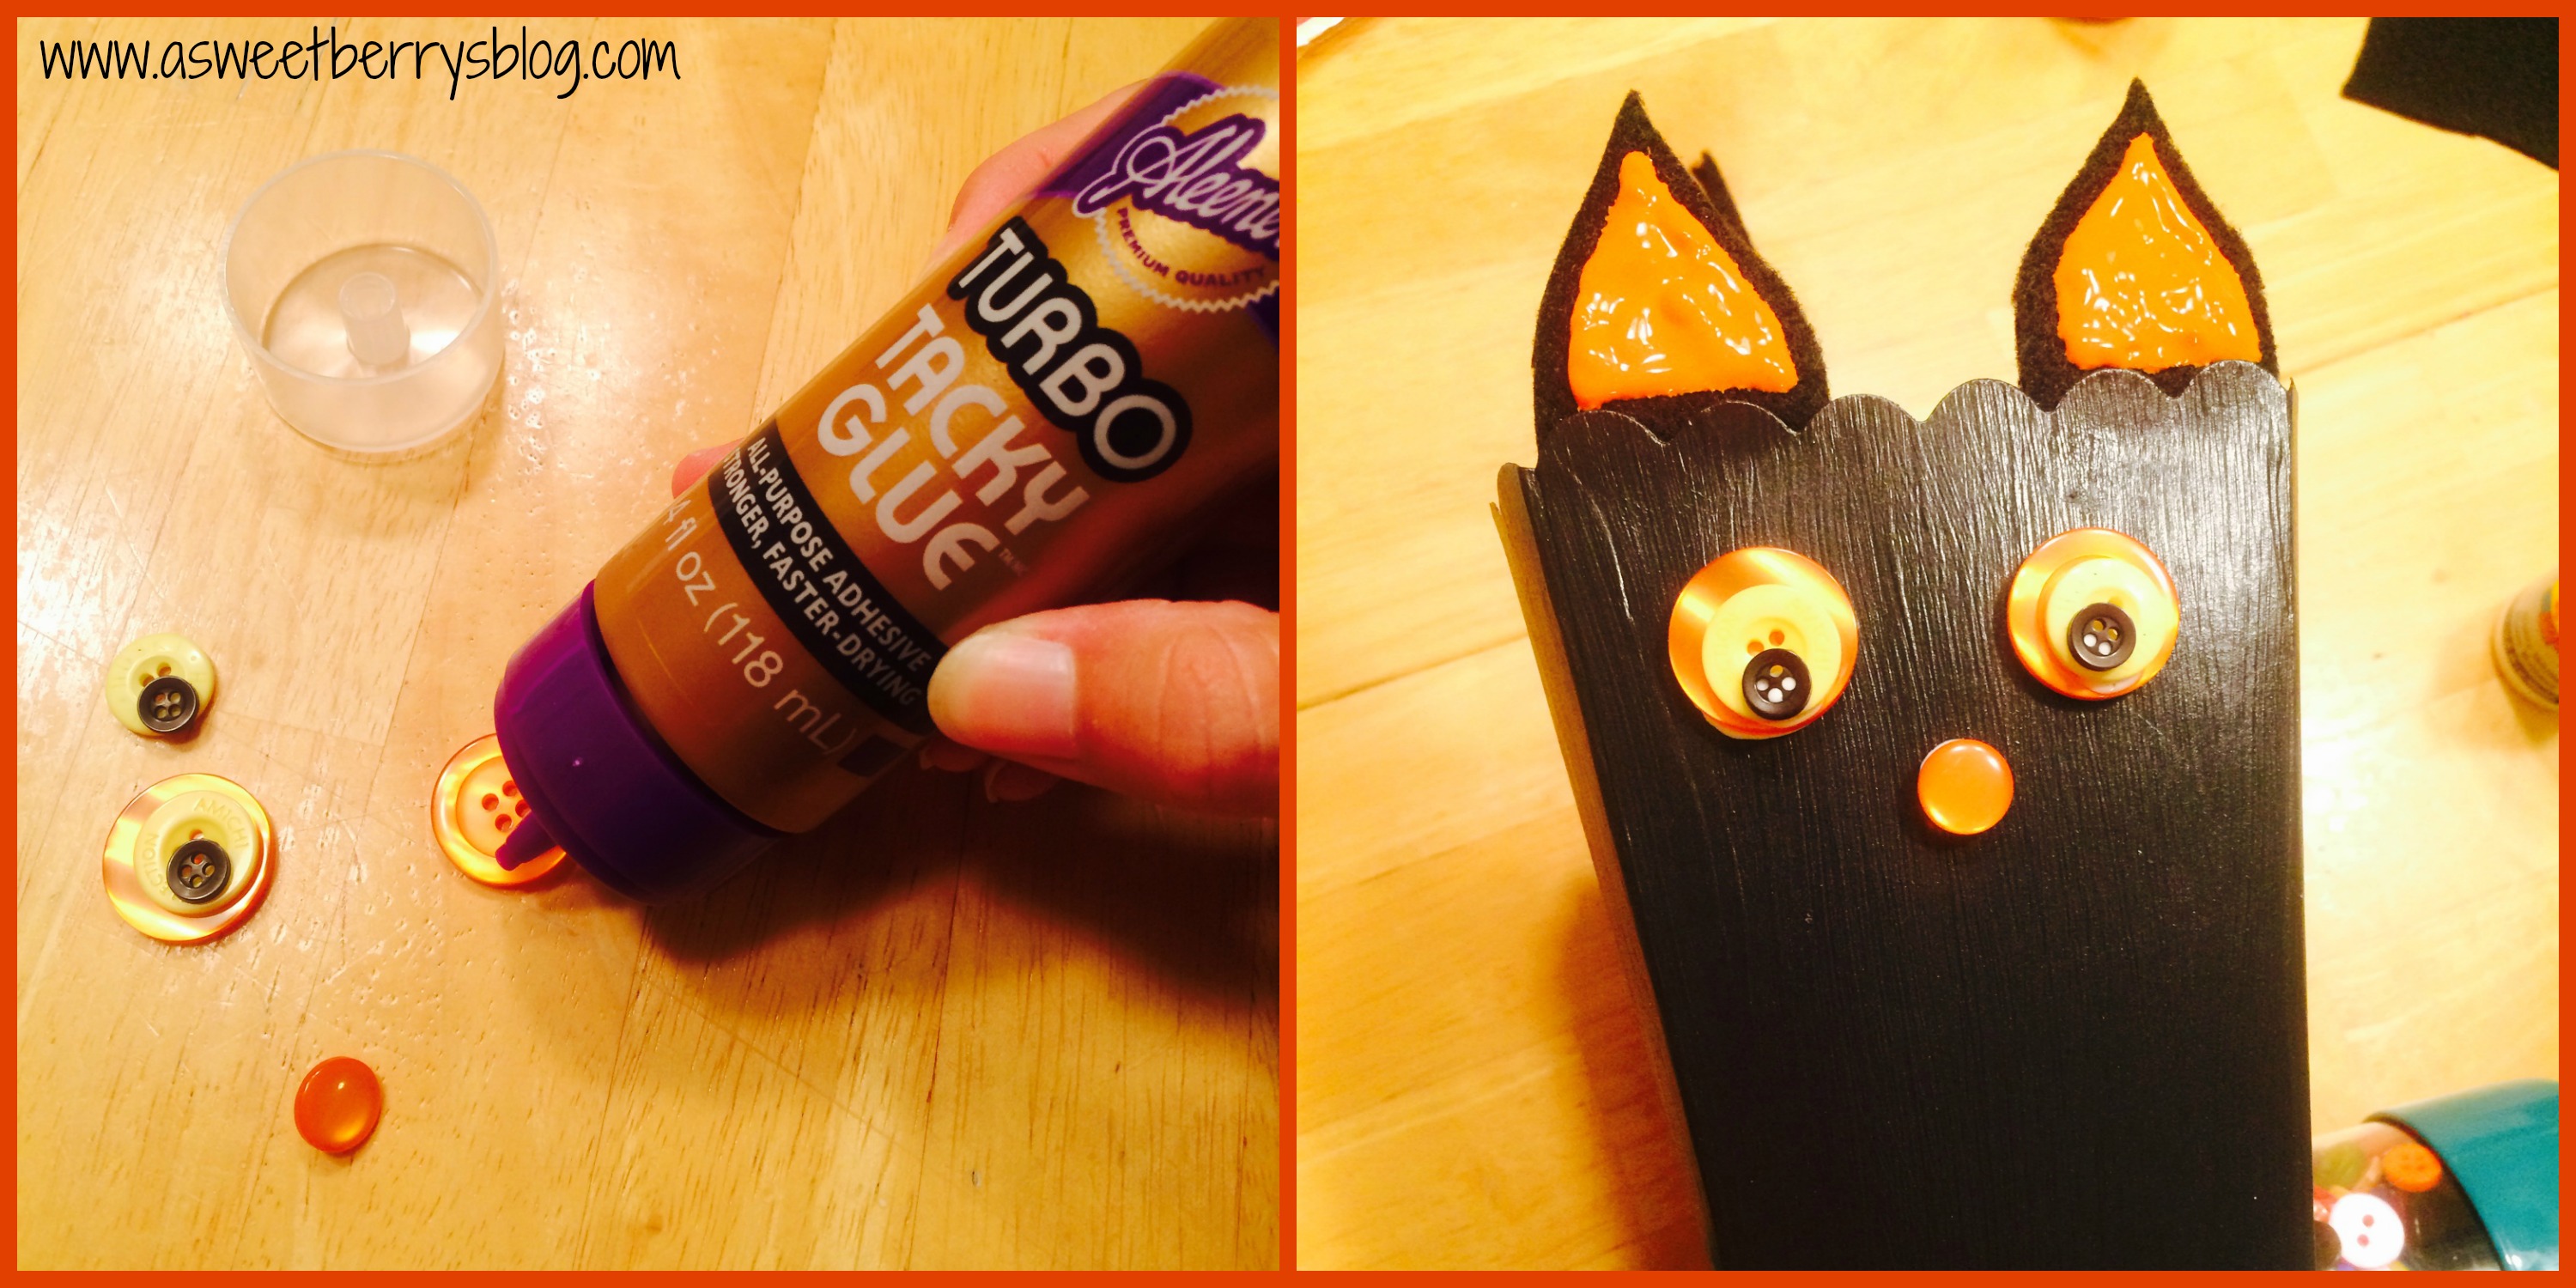
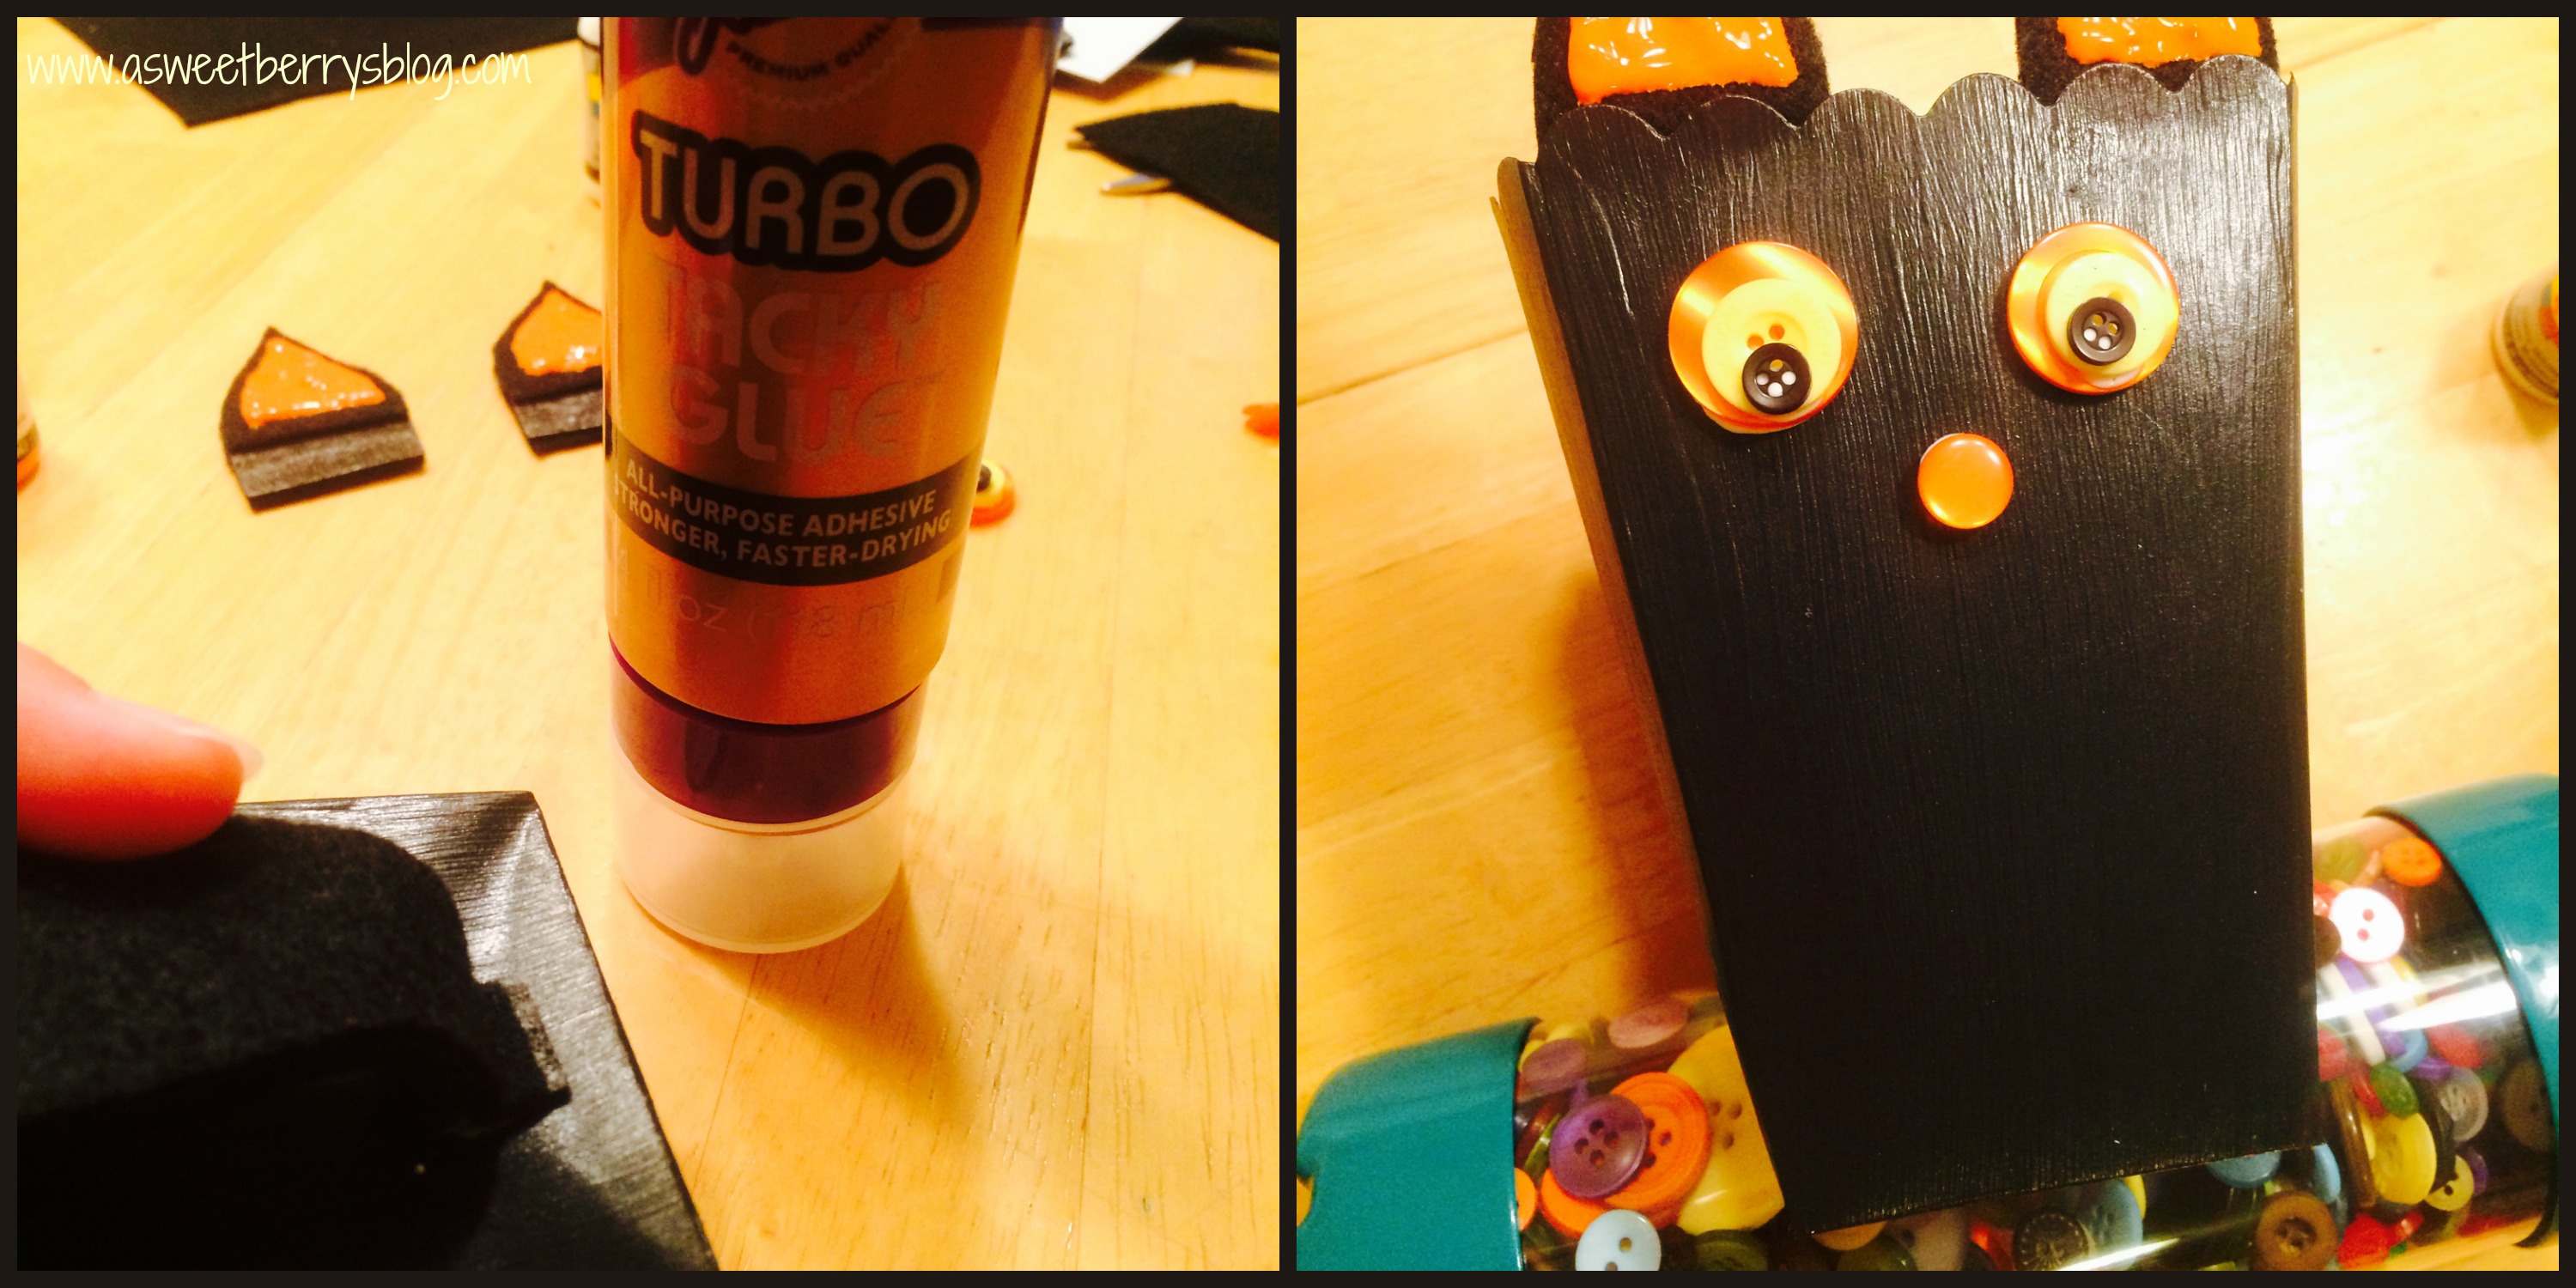
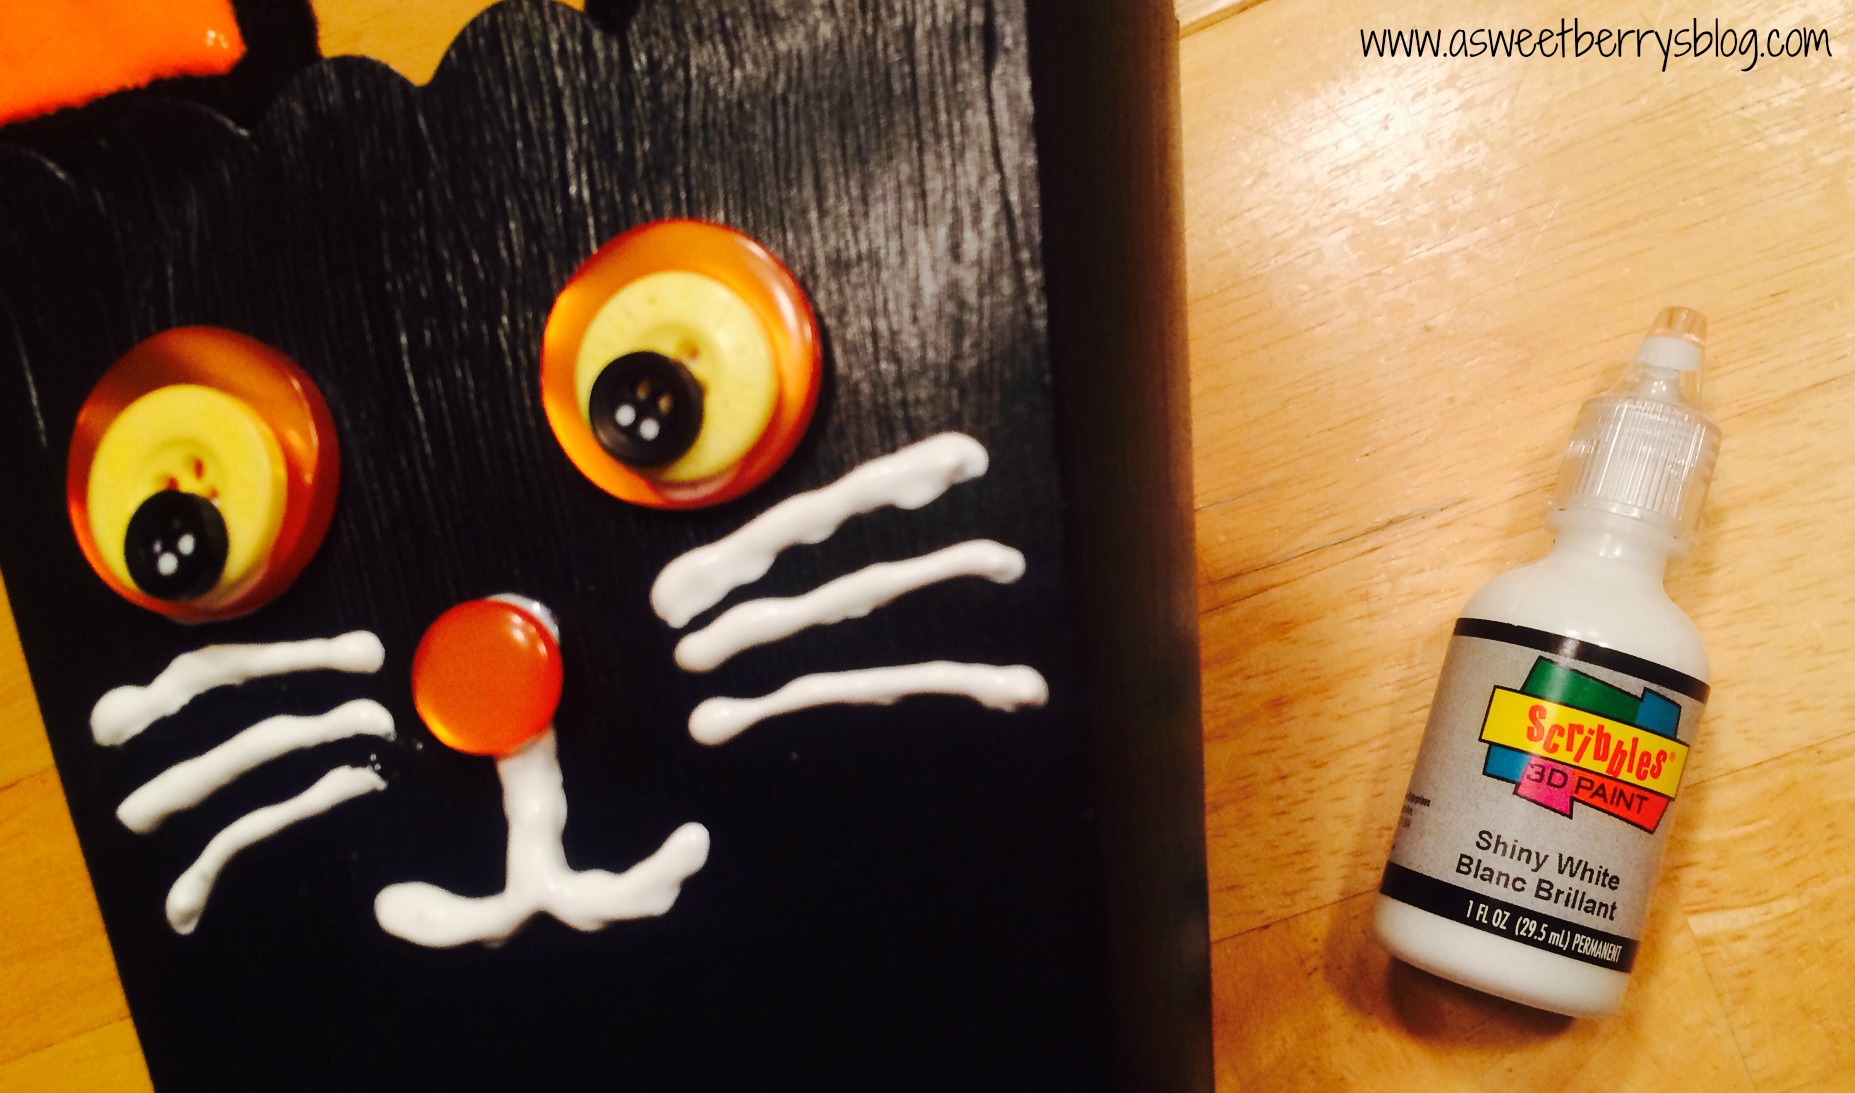
Using Laura Kelly’s buttons, I fold some orange, yellow and black beads to use for the eye and then an orange one to use for the nose. Using Aleene’s Turbo Tacky Glue, I attached them to the box.
eyes
Using the end of the wire from the tail, I inserted it into the back of the box and bent it upward helping it stay in place. I then used the Aleene’s tacky glue to glue the tail in place, to give it an extra hold.
Glue tail and dry
Once everything was dry, I used White Scribbles Fabric Paint to create the mouth and the whiskers of my cat!
whiskers
And then he was complete!
popcornbox2014
I hope you liked my Halloween Cat Popcorn Box!
Until next time…….
Print
Be sure to enter for a chance to win some great prizes!
a Rafflecopter giveaway
Also, check out the other great Halloween Popcorn Box Blog Hop entries!!!


Simple At Home Huevos Rancheros My Way!

Huevos Rancheros
I am a huge fan of Mexican Food.  I love authentic, but enjoy the American versions as well.   A few months ago, I had Huevos Rancheros at a local restaurant and have craved it every since, so after dropping the boys off at school one morning, I decided to make it at home, with whatever I had in my cabinets!   I didn’t have many ingredients, but I made due with what I had and it turned out great!  It was super yummy and Gluten Free too!
ingredients
My ingredients:
Santitas Corn Chips
Pace Picante Sauce
Eggs
Boars Head Havarti Cheese
Pam Cooking Spray

Using the Pam Cooking Spray, I fried two eggs.
cooking
And then I assembled my dish, layering everything starting with the chips, then the eggs, then the cheese and lastly the Pace Picante Sauce!
assembly
And there you have it…..my Simple At Home Huevos Rancheros with the ingredients that I had at home!
Huevos Rancheros It was super yummy and gluten free too!!!!!
Until next time………
Print

Halloween Wreath Re-do

So, I love the $1/$3 section at my local Target.   Every time I go into Target, I have to take a peek at what is there.  I don’t usually buy anything, but on occasion I can find something that I can use!

The wreath pictured below is one that I made a few years ago, using a styrofoam wreath, black tulle, some ribbons and a styrofoam “BOO” that I found in the $1 section at Target.  In the past few years of using this wreath, the styrofoam “BOO” has started to wear away.  So…….. old wreath

I just happened to walk through the $1/$3 section at Target the other day and saw some things I could use to spruce up my Halloween Wreath!   I found a wooden “BEWARE” and a witches broom.  Wondering how I was going to attached these new items to my wreath, I knew I had the materials to do that at home.

materials Wooden “Beware”, witches broom, garden wire, wire cutters, small screws and a screwdriver

Using my screwdriver, I screwed my two small screws into the back of the “BEWARE”.   I then cut my wire to size so that I could attached it to the word and then to the wreath.  I twisted the wire around the screws and then attached it to my wreath.

beware

Using a piece of the gardening wire, I twisted it around the broom and then stuck the ends of the wire into the foam of the wreath. broom

Then, I hung it up and how the rest of the Halloween decorating begins!!!   Isn’t it cute?!?!?!

Halloween Wreath

Hope you like my Halloween Wreath Re-do, using items for the Target $1/$3 section!!!

Until next time…………

Print


Pink Button Bracelet

Pink Button Bracelet

I love dangly bracelets and this pink button bracelet is super cute and super easy!  And it can be worn in October to show your support for Breast Cancer Awareness.   Finished Bracelet

What you need:
Pink Button Bracelet Supplies
Laura Kelly’s Sweet Blush Collection Buttons from Buttons Galore & More
Jump Rings (two different sizes)
Chain (sized to fit your wrist)
2 piece toggle clasp set
Wire Looping pliers (round nose pliers)

Using my wire looping pliers, I opened all of my jump rings slightly, most of them big enough to get a button on them and then connect them to another button and the rest of them only big enough to connect to the chain.  As you can see in the picture below, I connected a few buttons to make a strand or just left them as singles.  I did try to make it even, so that it would not be too heavy on one end. I also used two jump rings to connect each piece of the toggle clasp to the ends of the chains.
Putting it together
After I had all of my buttons together with jump rings, I attached them to the chain.  And then it was complete!
Finished Bracelet
Hope you like my Pink Button Bracelet. Thanks for reading, and

Until next time…………
ASWEETBERRYLOGO