It’s time for Craft Lightning again! I love quick and easy crafts and there are some great ones that can be done in 15 minutes or less. The theme of this Craft Lightning is Mother’s Day! As a mother, I love getting little handmade gifts from my boys.
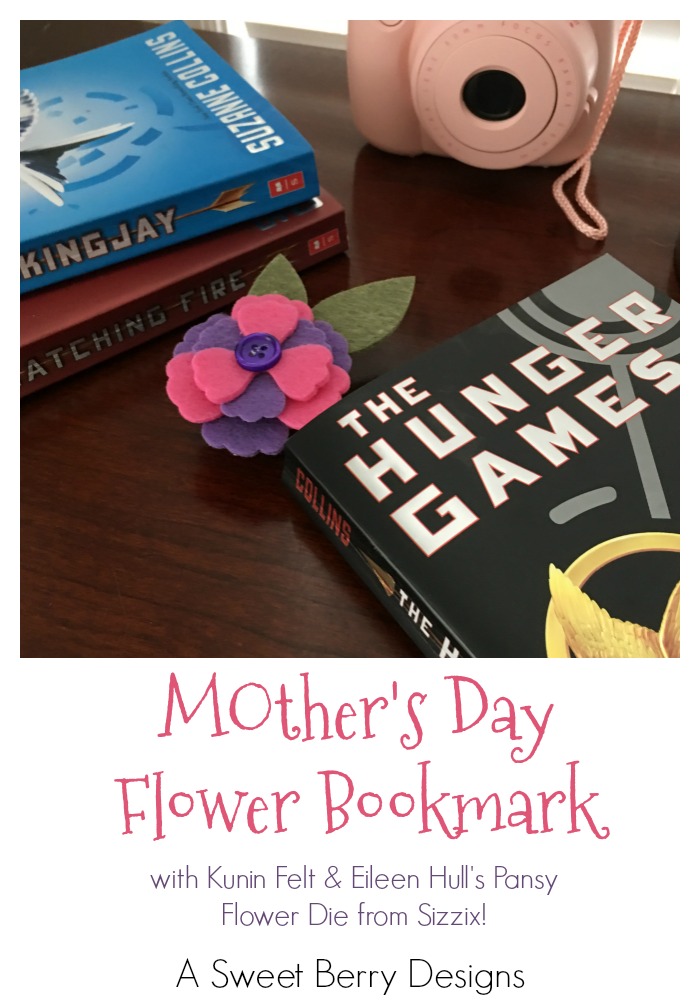
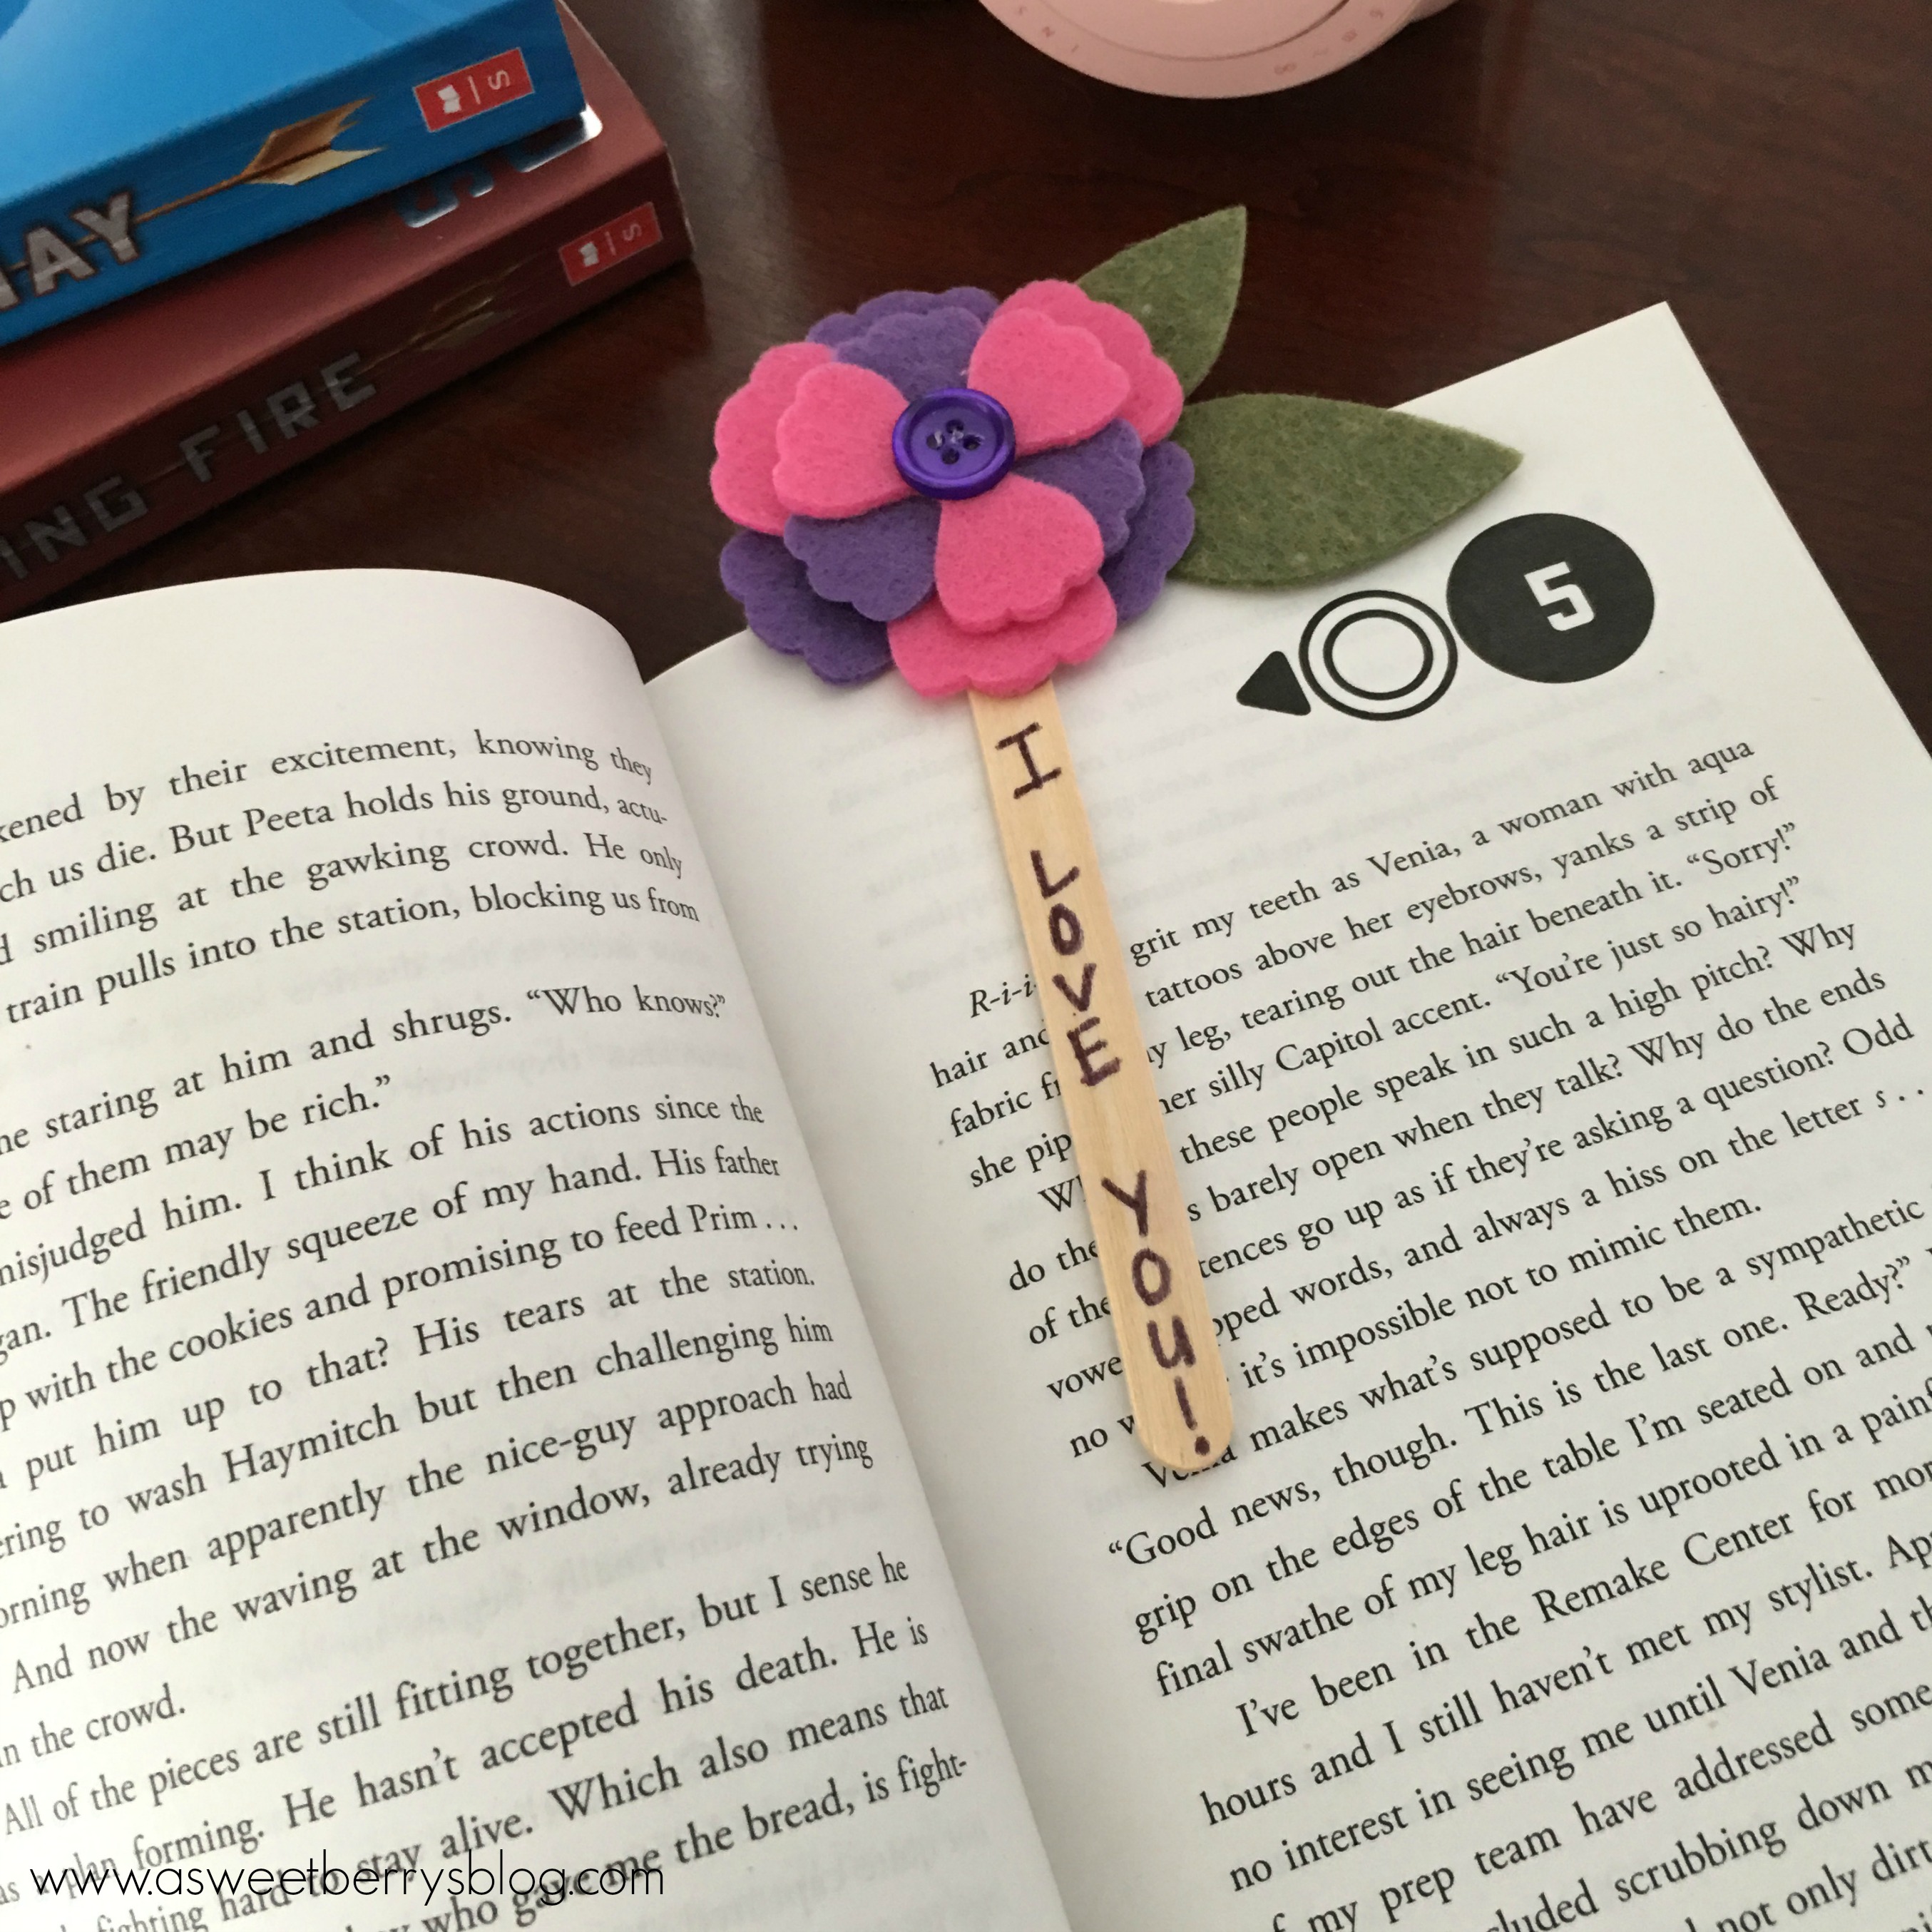
For my Craft Lightning craft, I did a Mother’s Day Flower Bookmark using Eileen Hull’s Pansy Flower die (which I am obsessed with) and Kunin Felt!
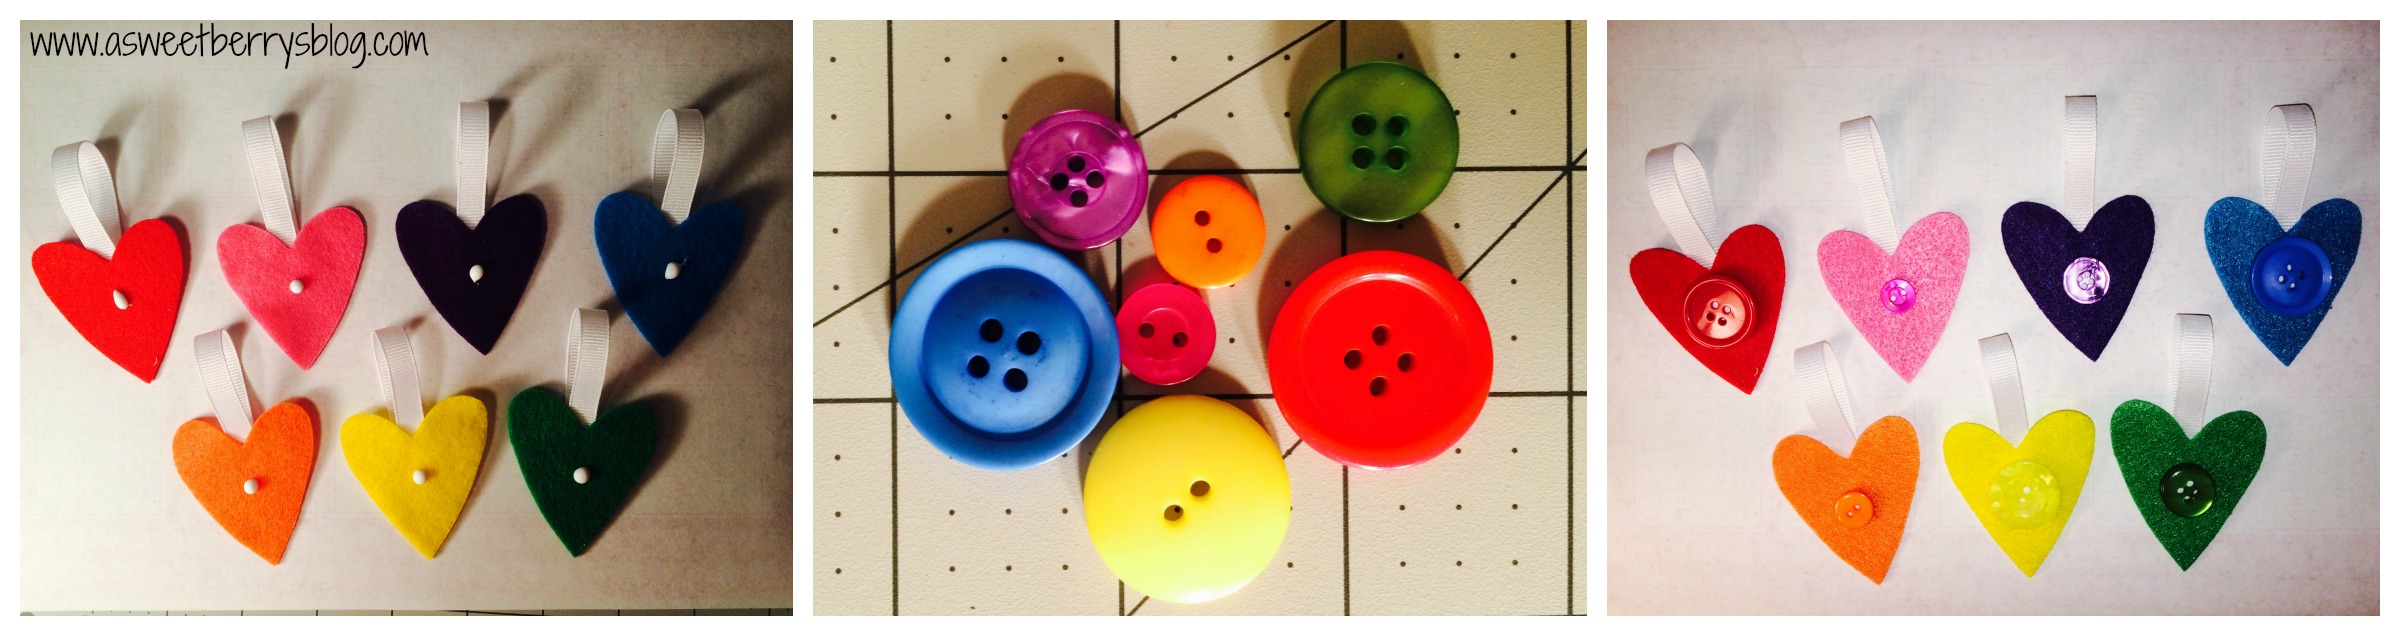
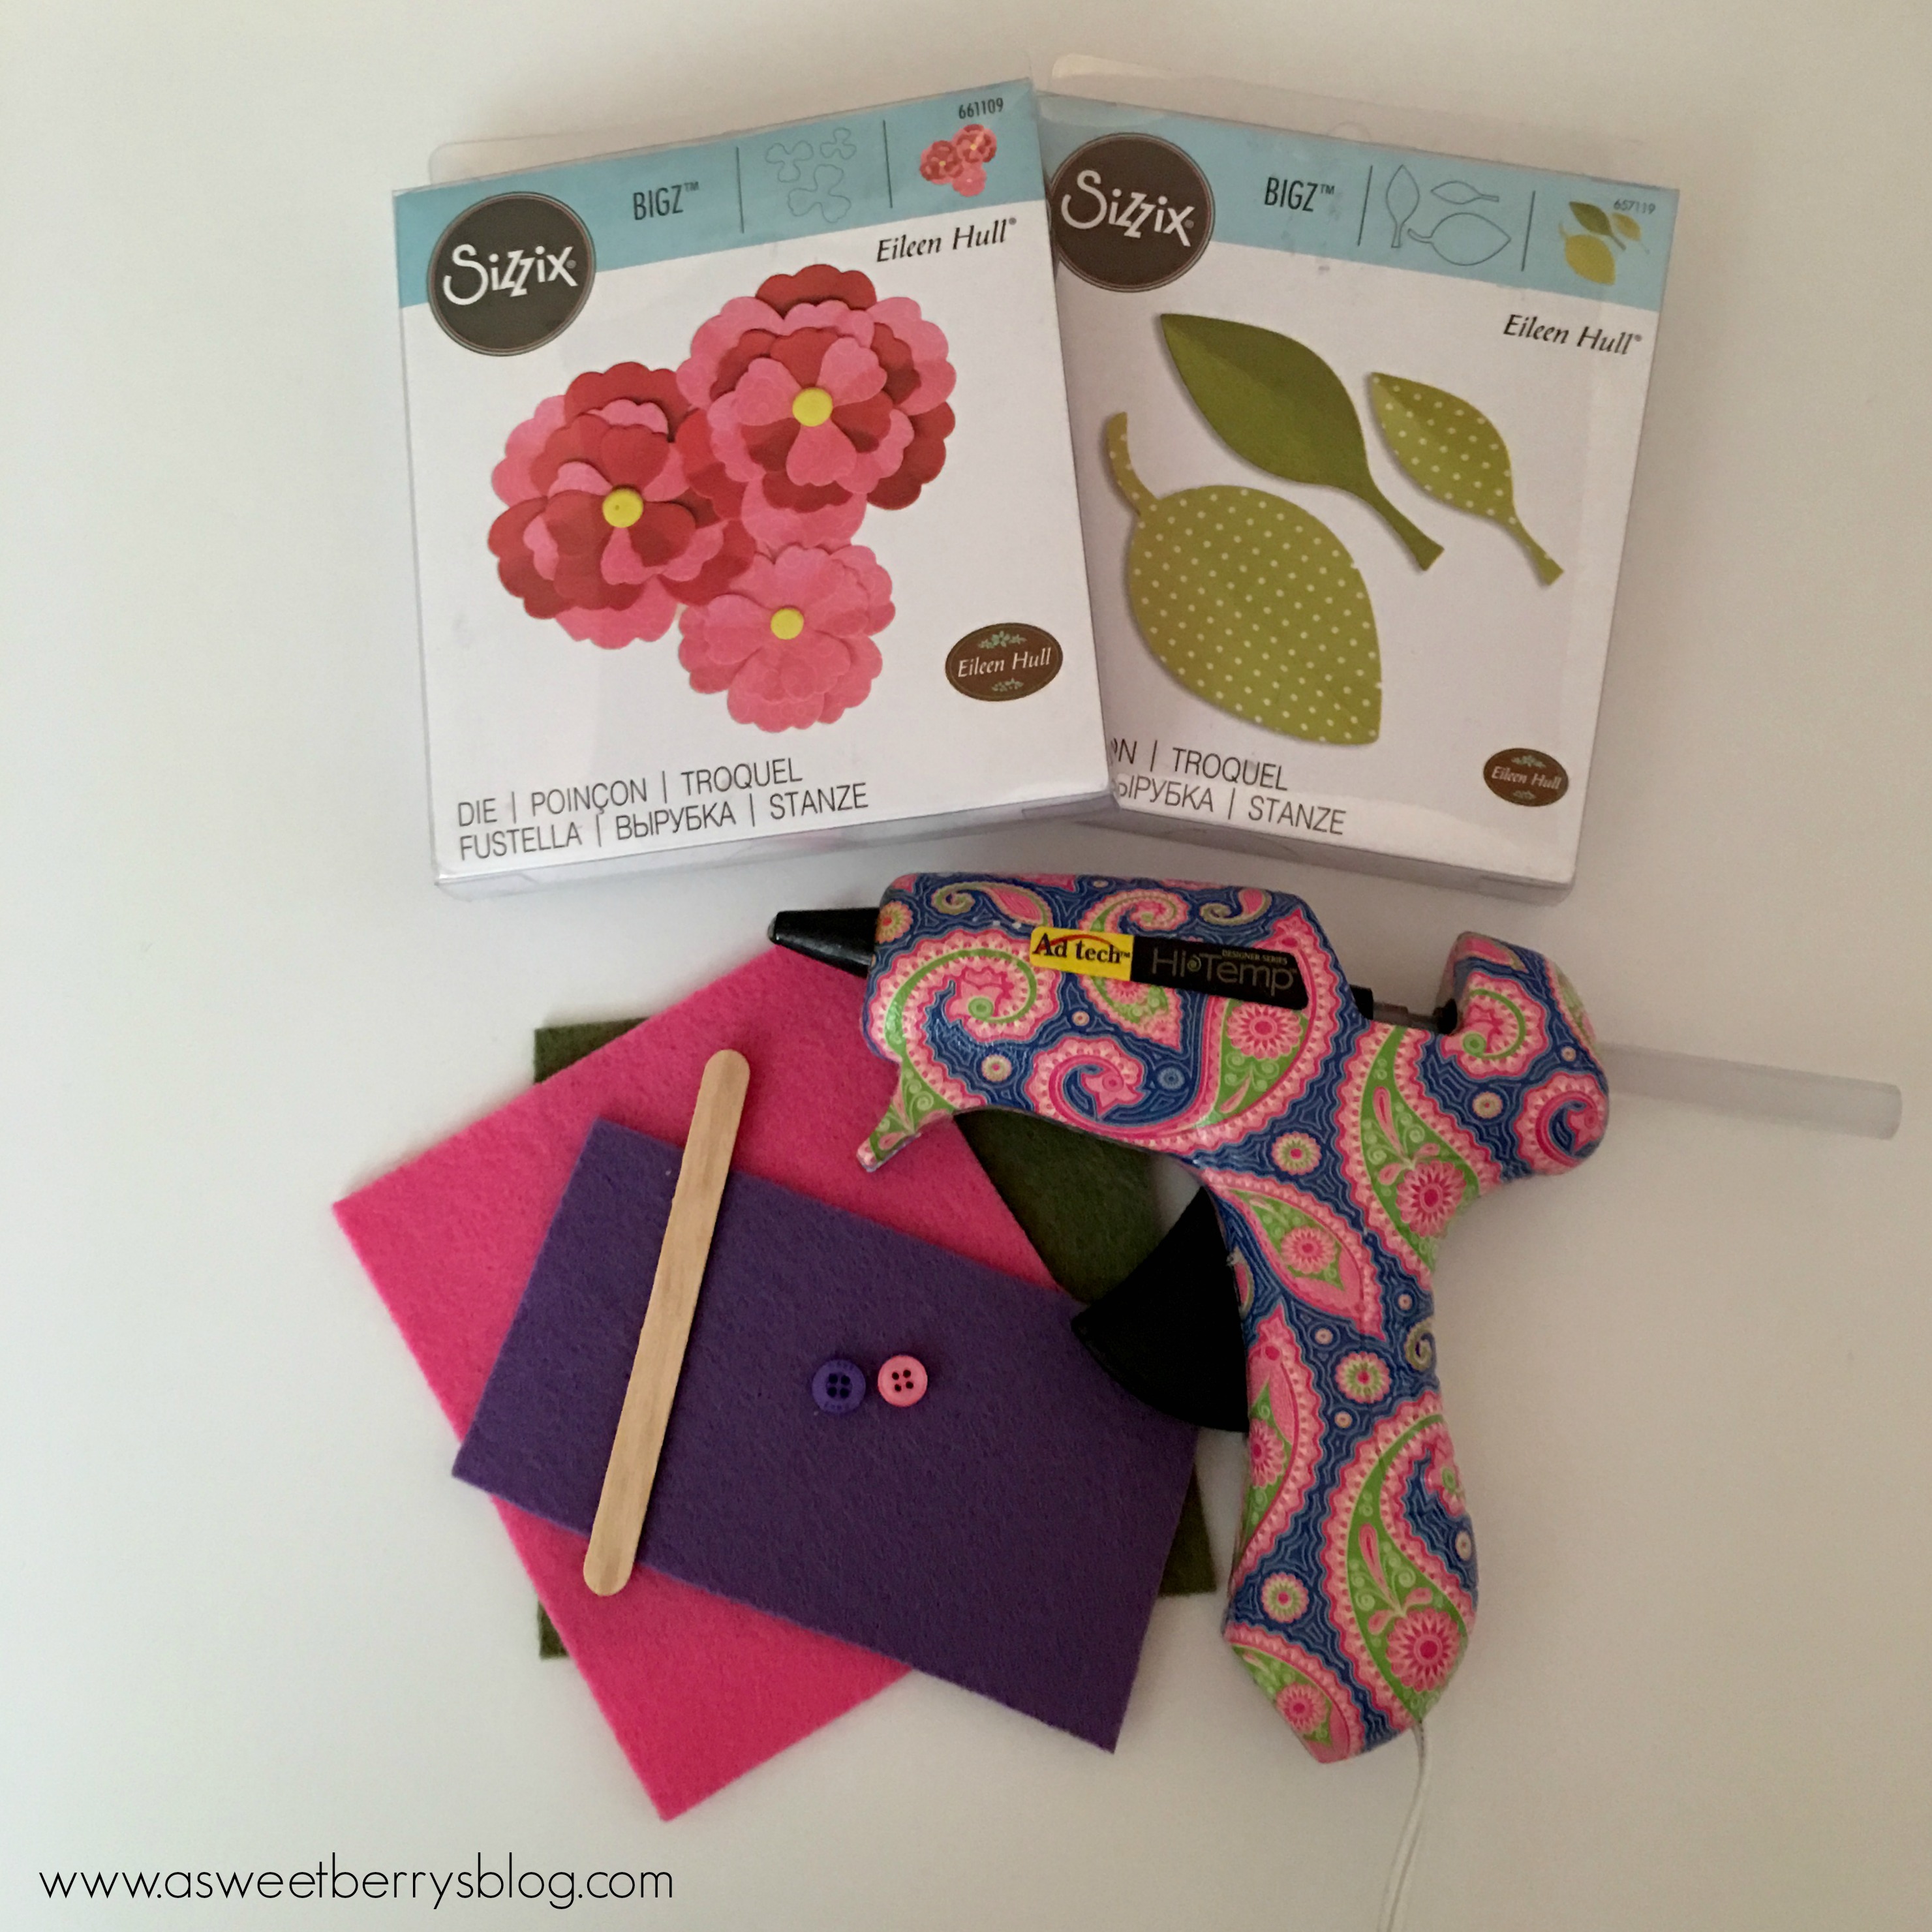
Materials Used:
- 12” x 18” craft cut of Kunin Premiumfelt™ (1) Violet Sky, (1) Olive, (1) Candy Pink
- Ellison/Sizzix Die Cut Machine with cutting pads
- Eileen Hull’s Pansy Flower and Leaf dies from Sizzix
- Hot Glue Gun and Glue Stick
- Popsicle Stick
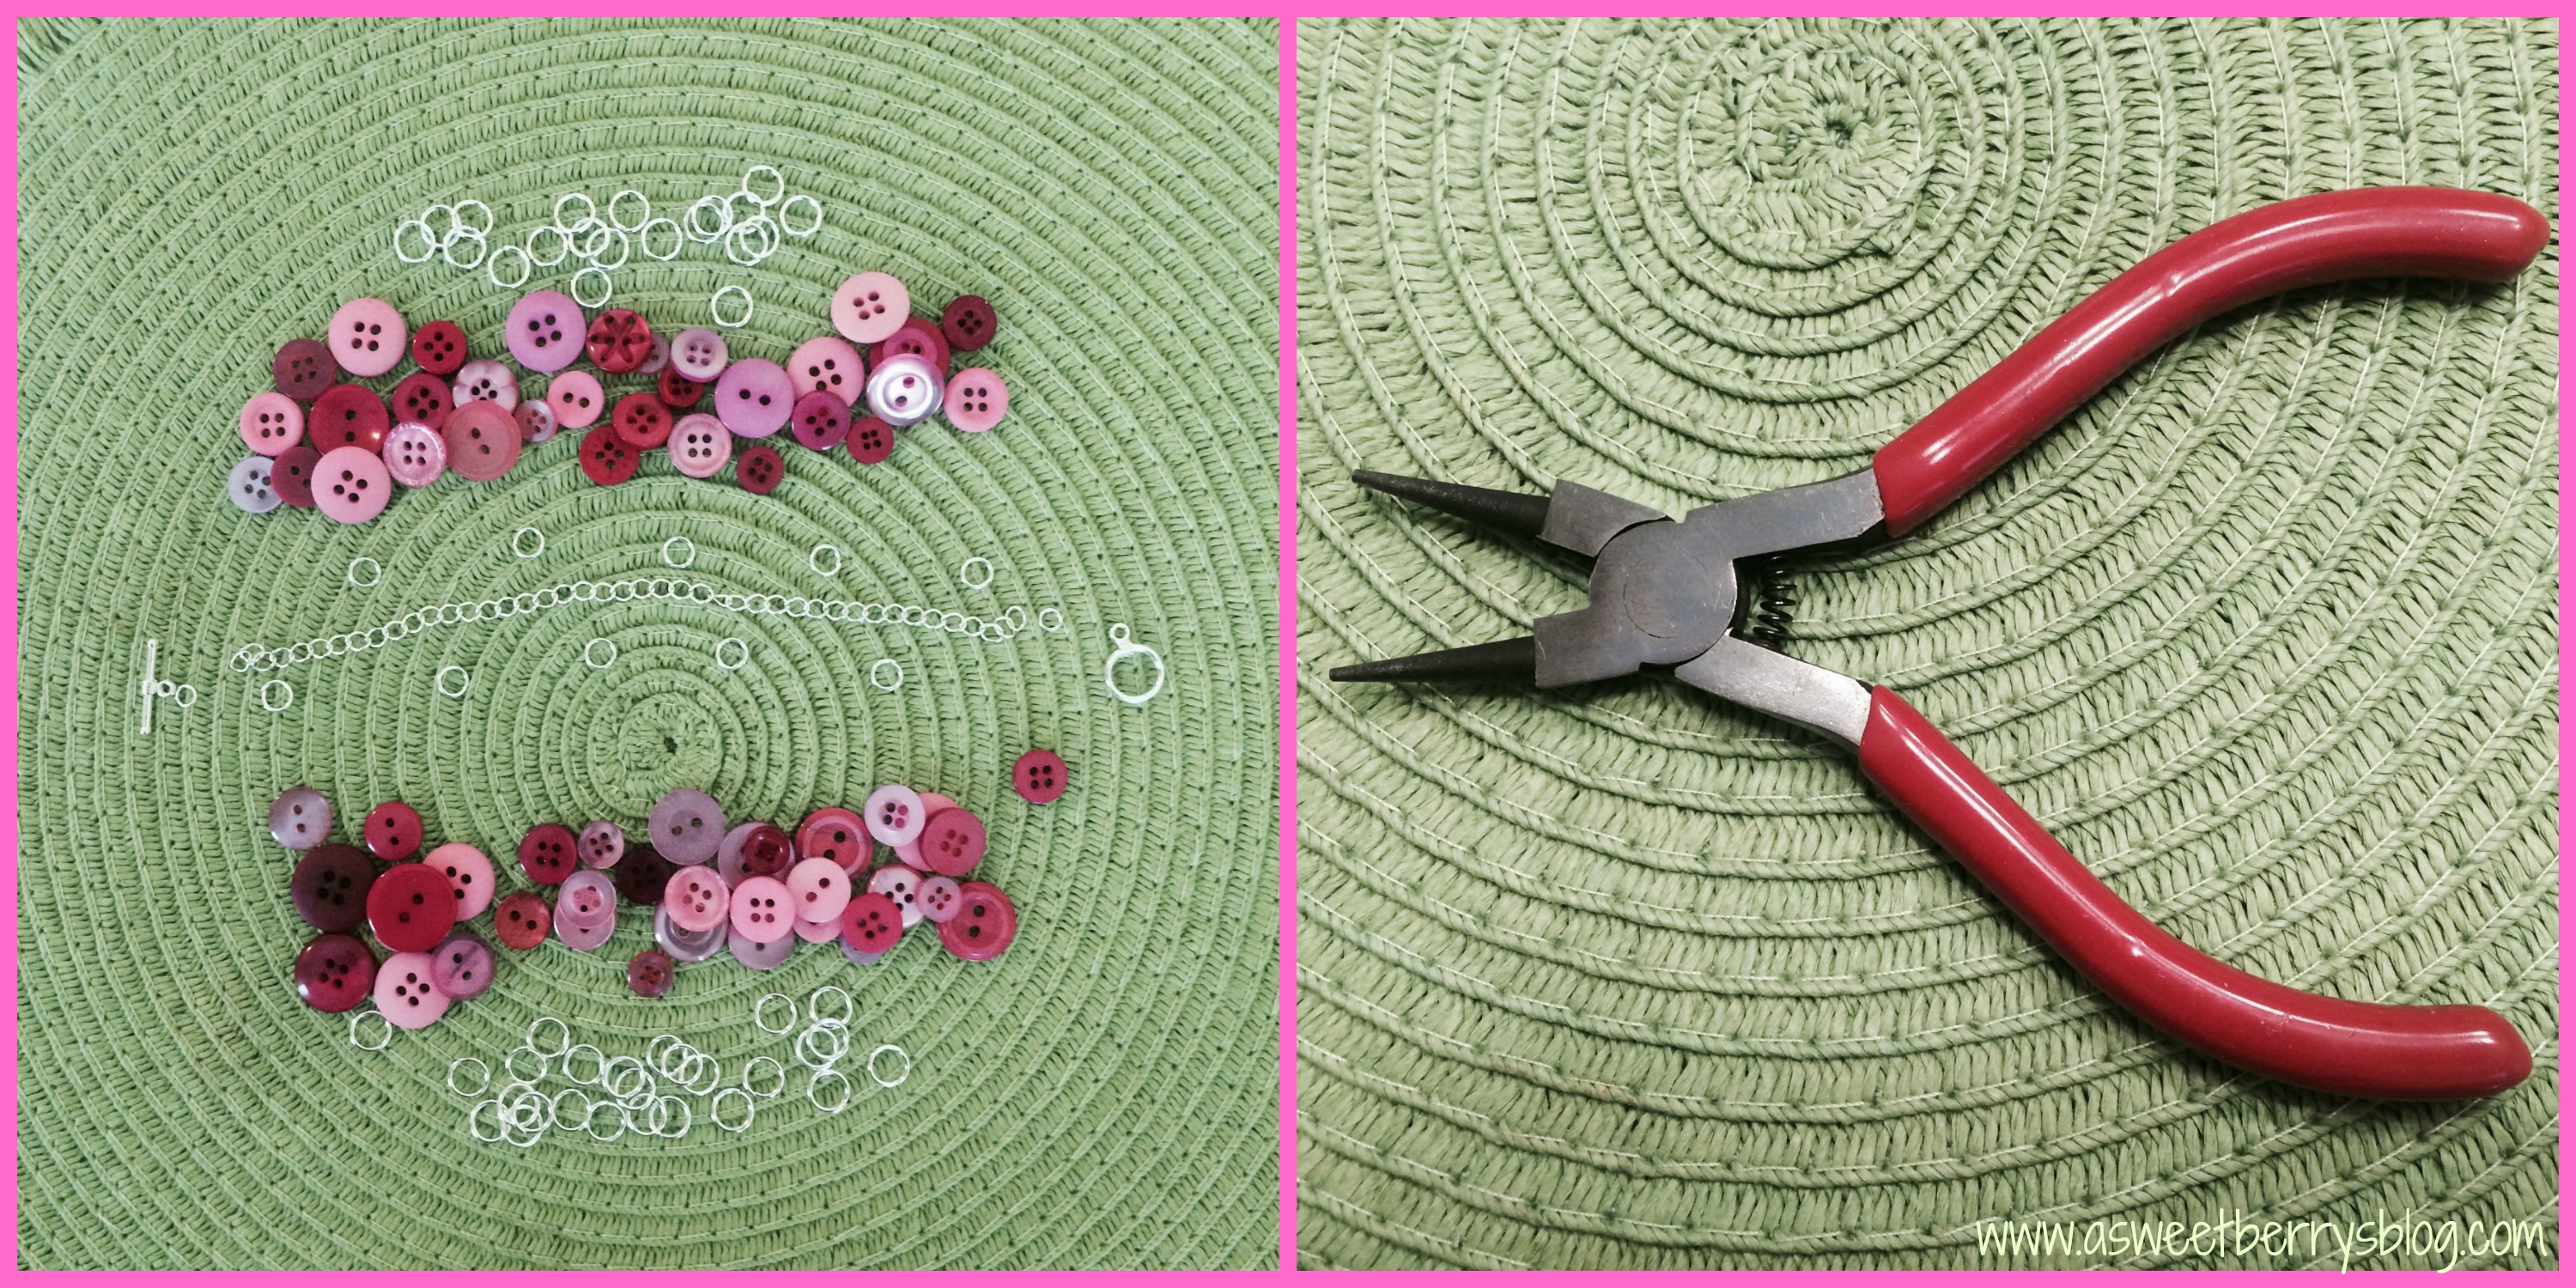
- Buttons
How to make it:
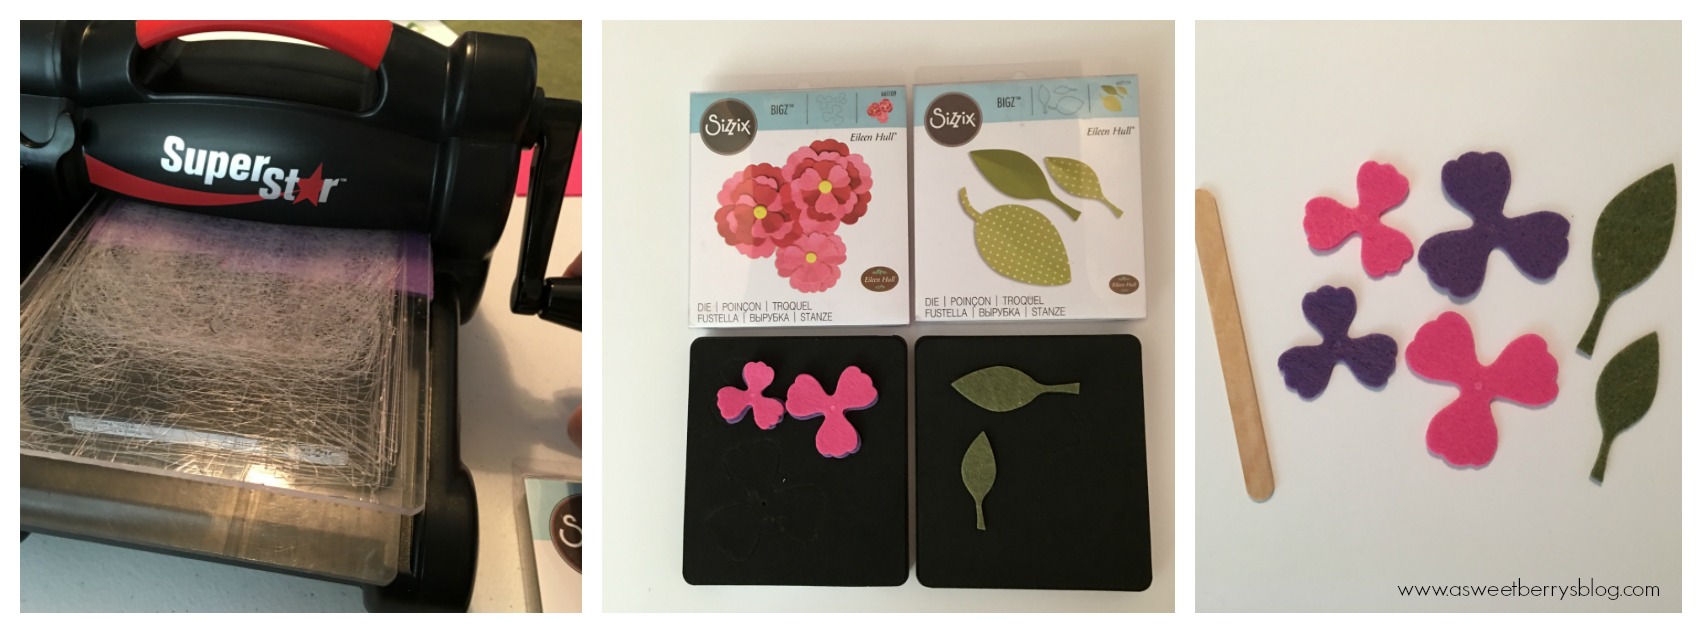
- Cut your felt pieces using the Sizzix/Ellison die cutting machine, cutting pads and the flower and leaf dies.
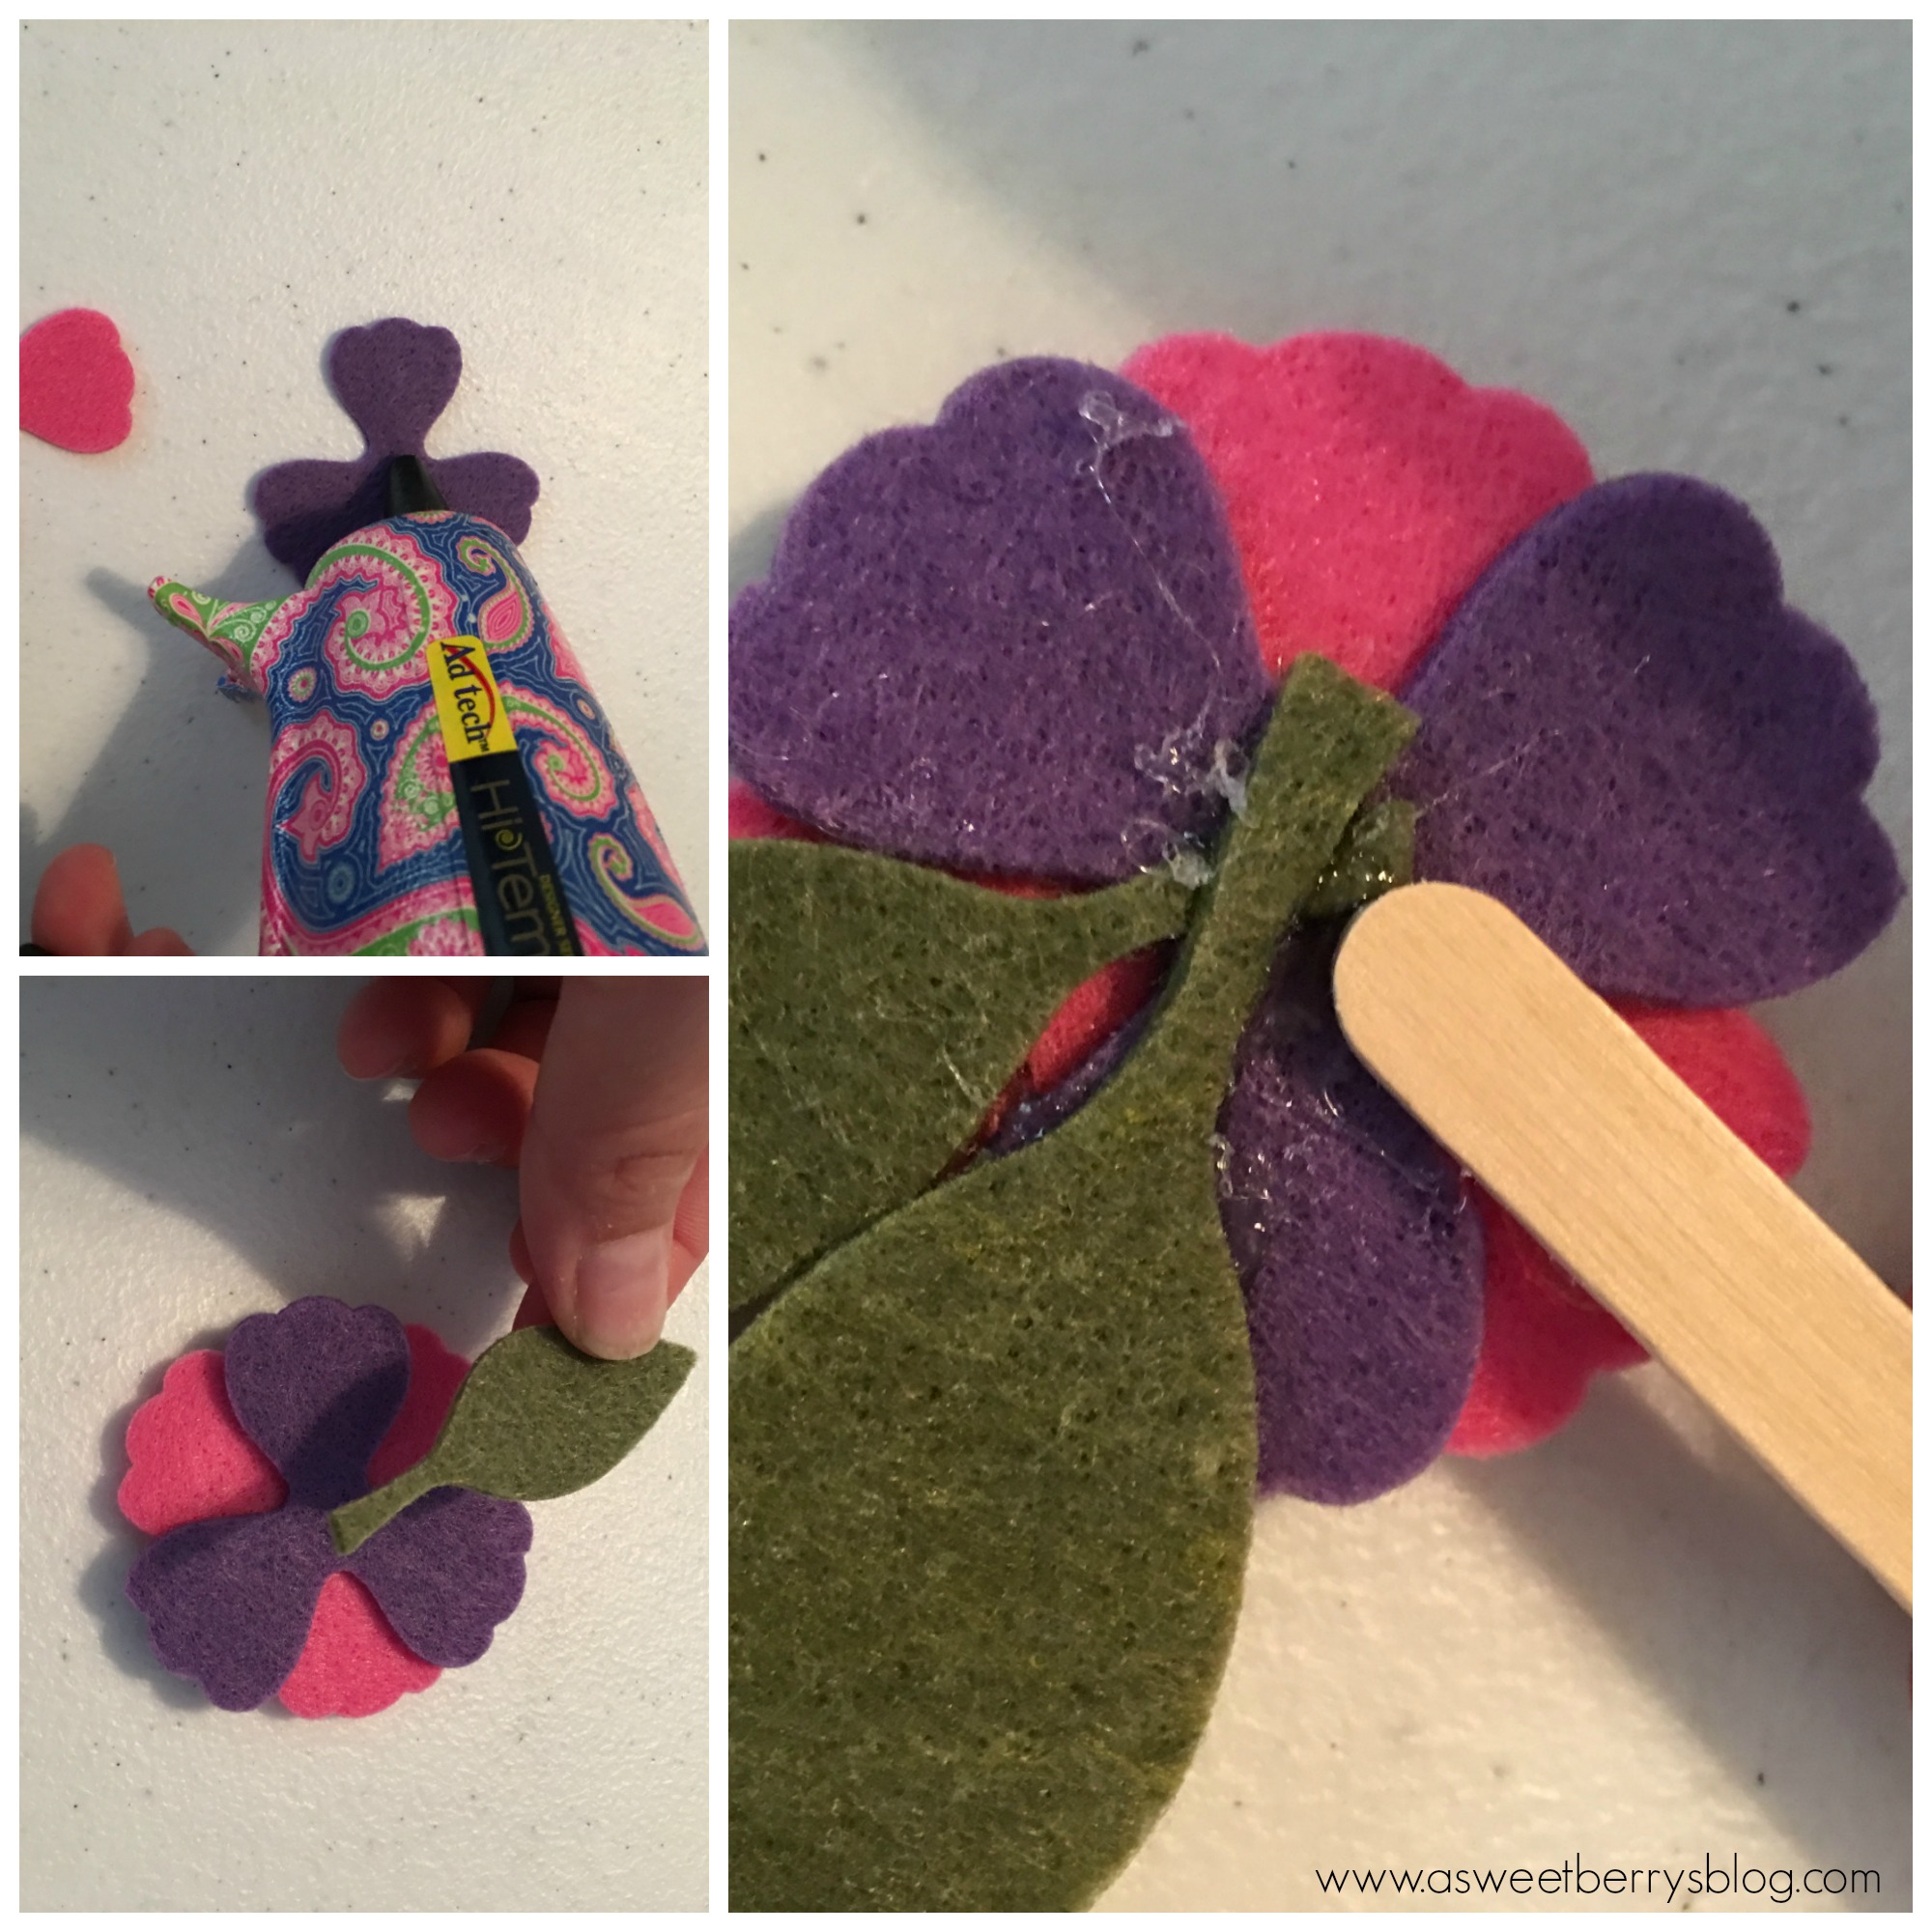
- Using a hot glue gun, layer the flower petals and glue them together in the center.
- Glue the leaves to the back of the completed flower.
- Glue the popsicle stick to the back of the flower.
- Glue a button to the center of the flower.
- Using a marker, write a little note on the popsicle stick.
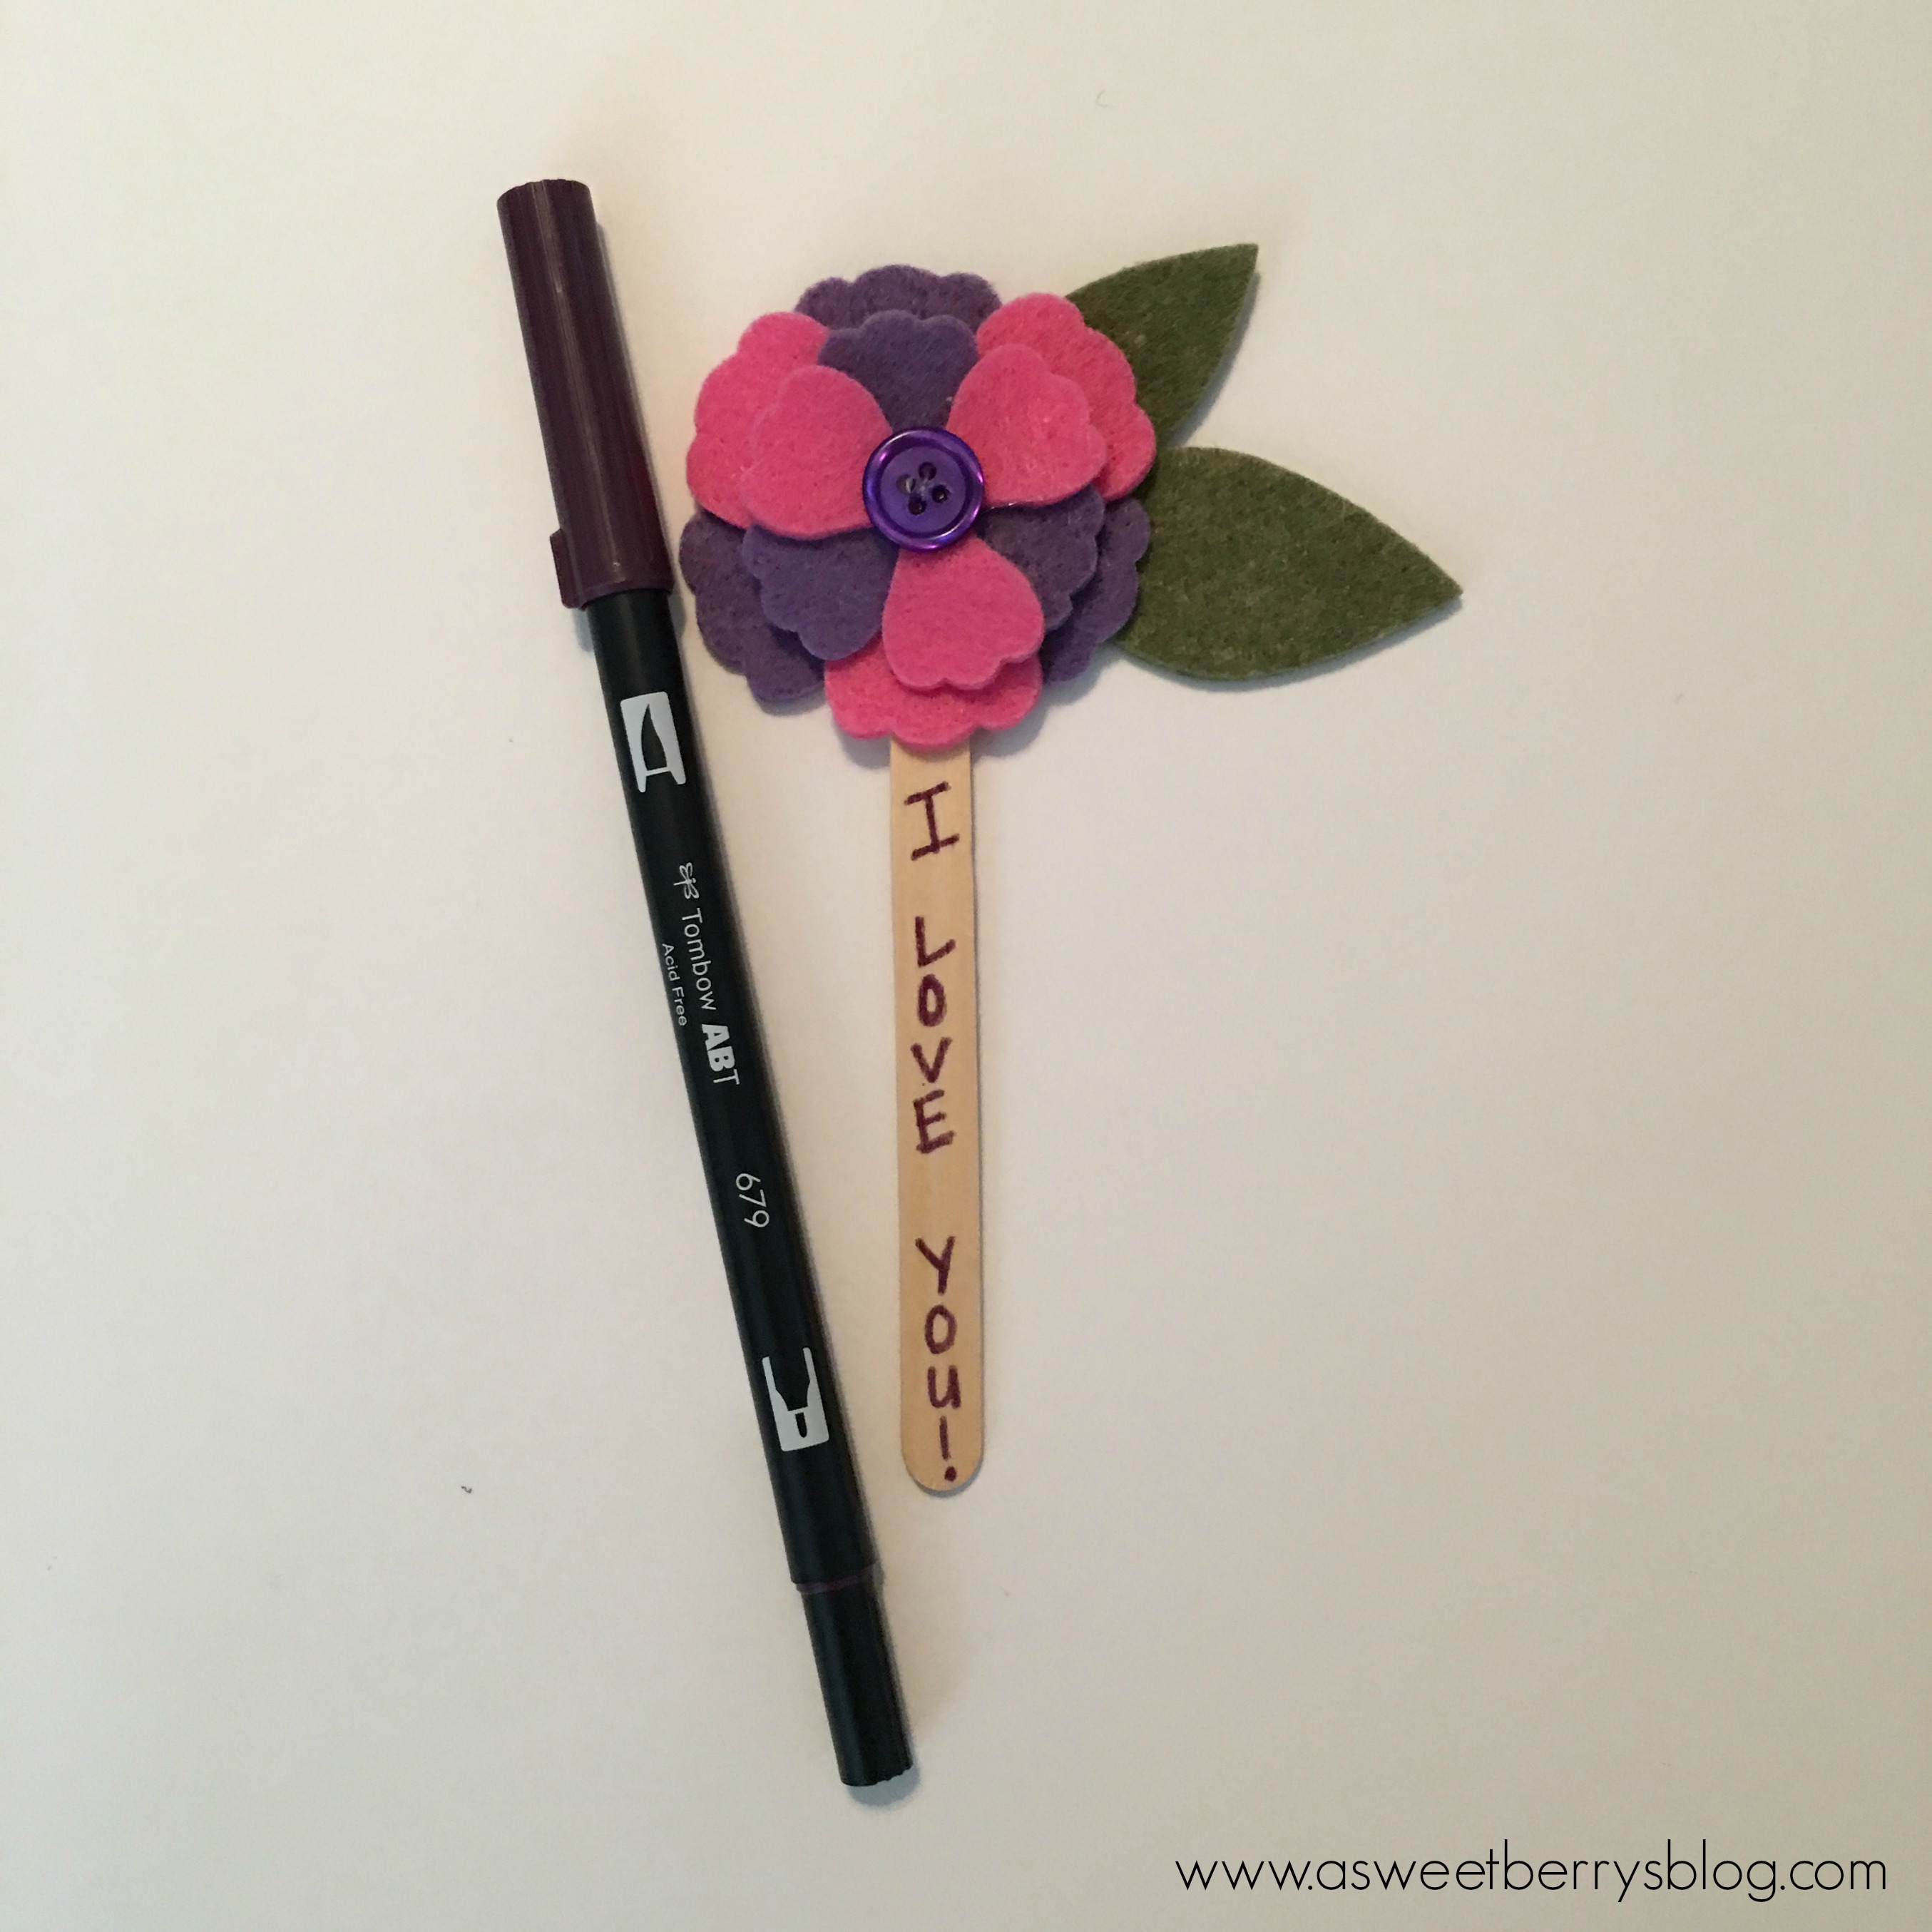
Now you have a quick and easy Mother’s Day gift!
I hope you liked my Mother’s Day Flower Bookmark!
Be sure to check out other great Craft Lightning Mother’s Day crafts by clicking the picture below!

Until next time………