Monthly Archives: June 2015

Expressionery Bakes!

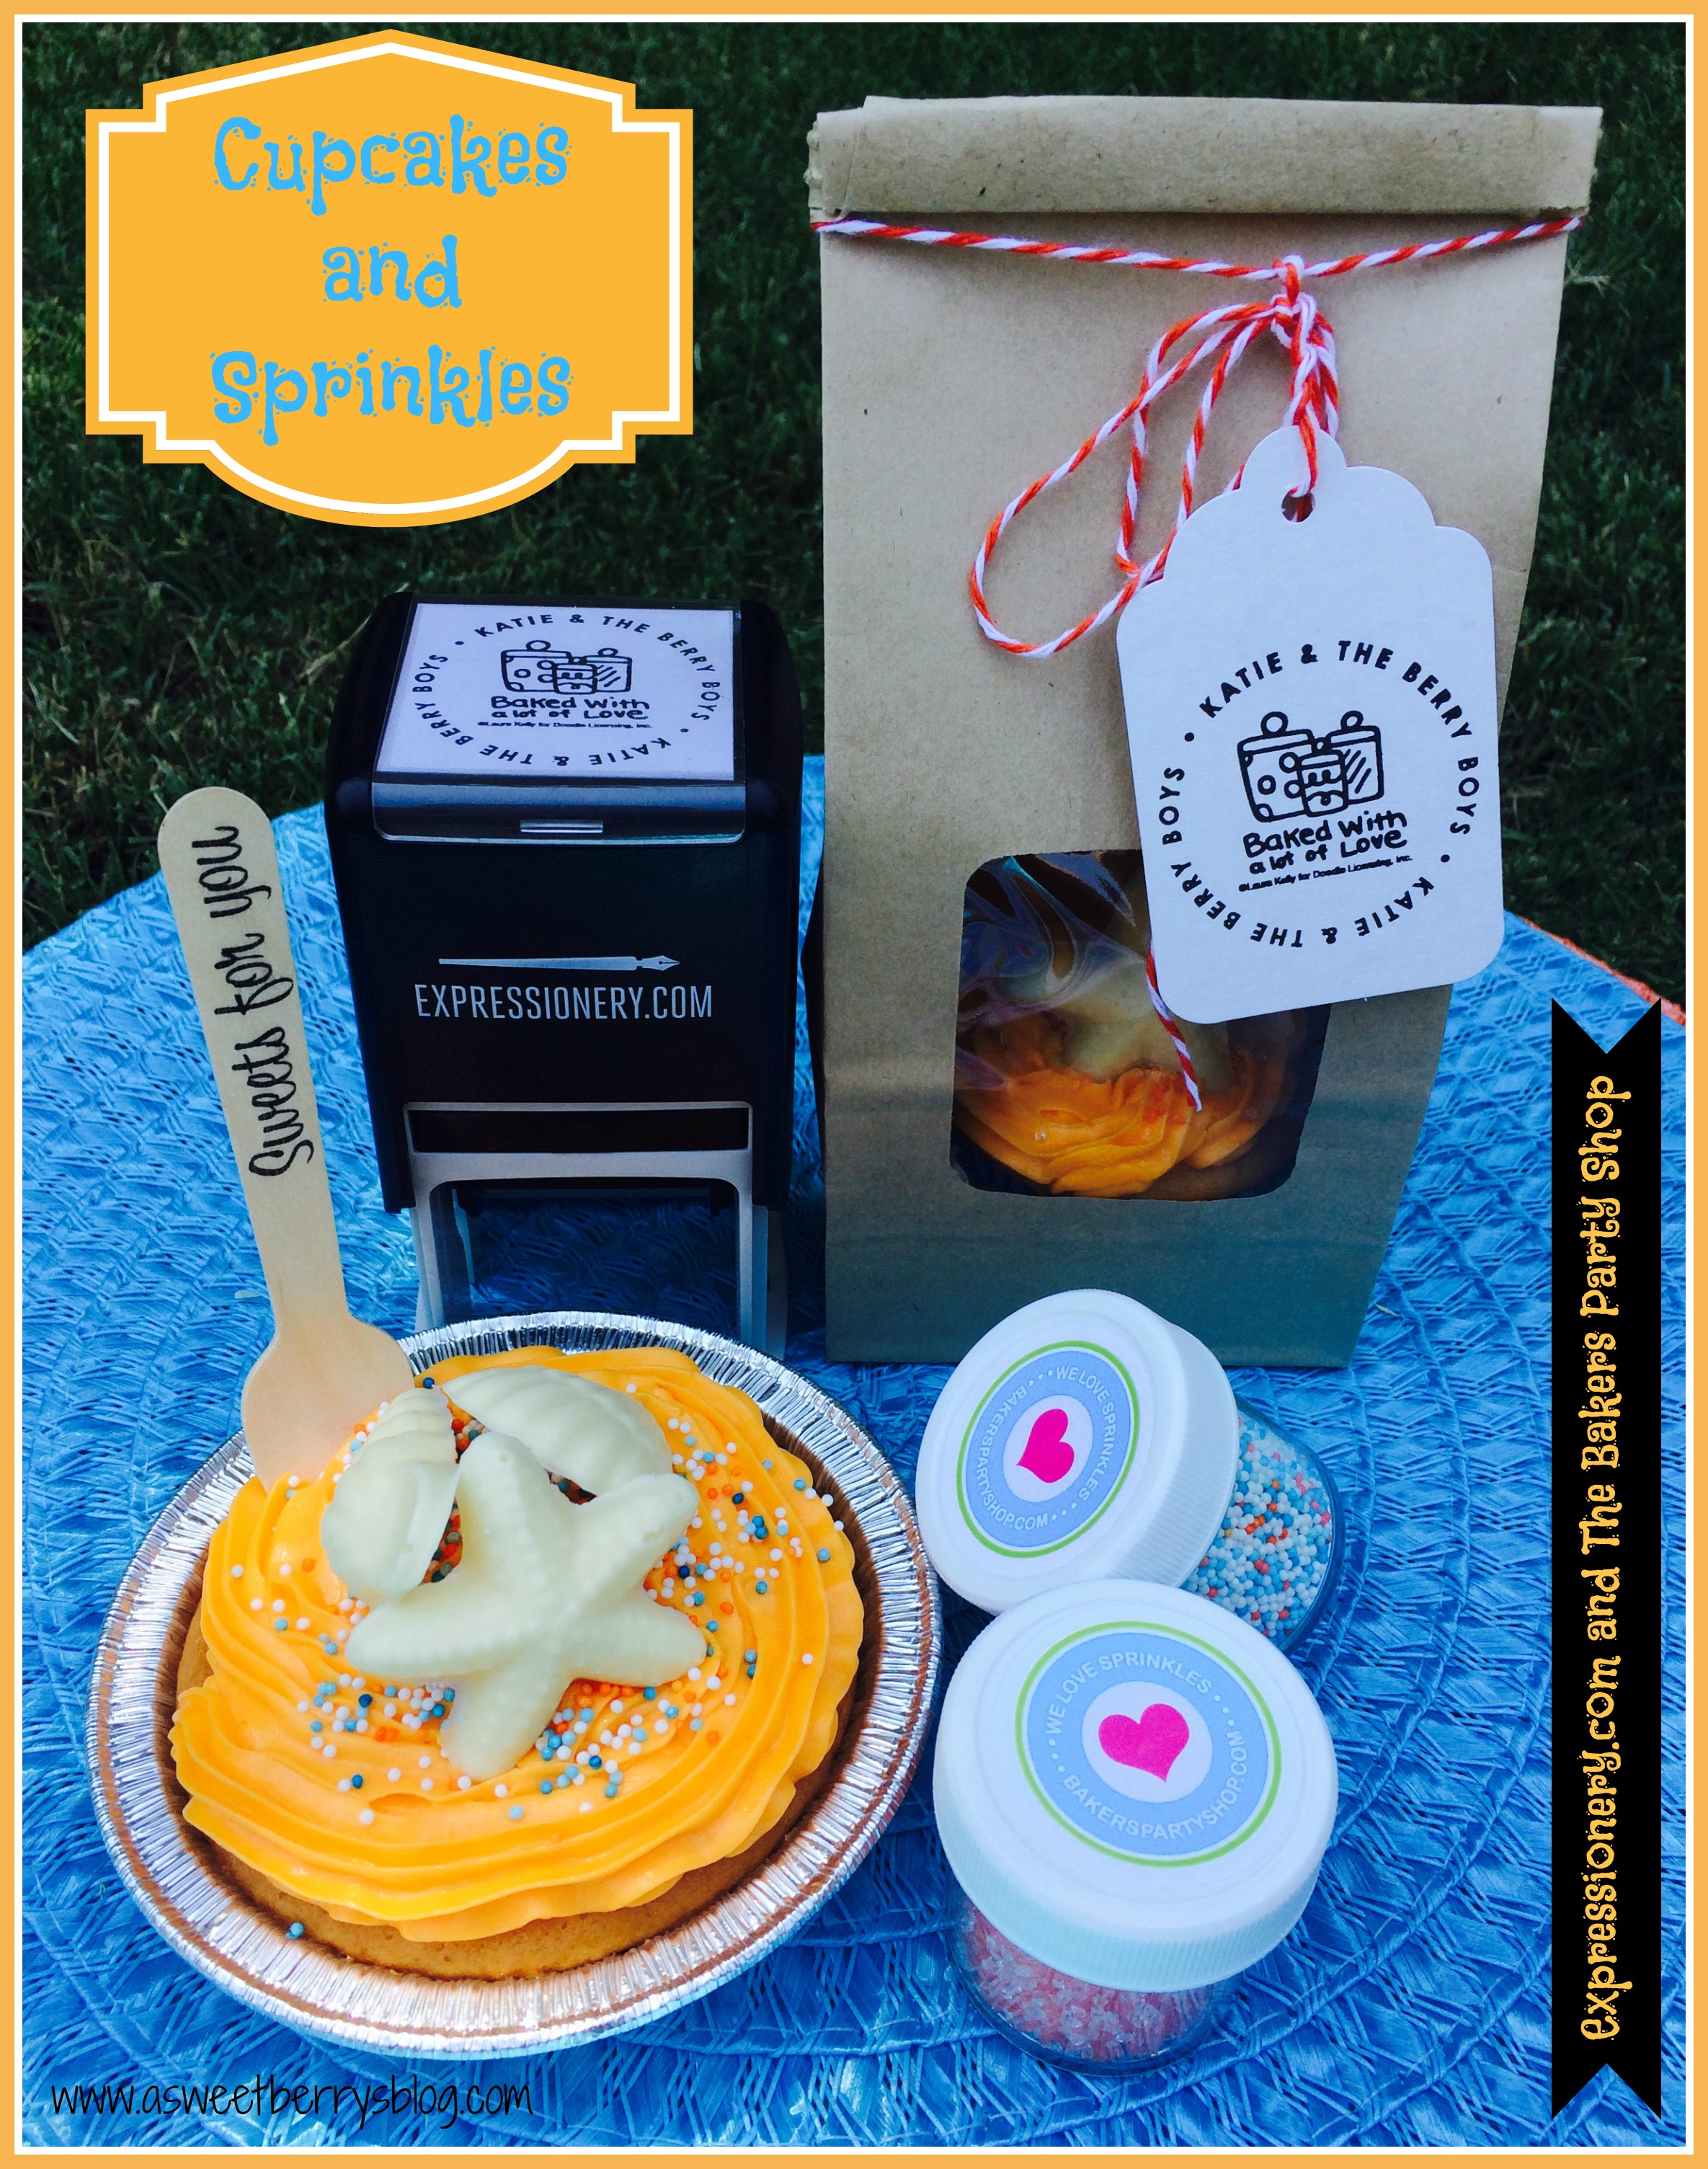
Sweets, Sweets, Sweets!   I love to bake them and with the help of Expressionery.com, Laura Kelly and The Bakers Party Shop sponsoring this awesome post, I was able to bake and decorate with awesome baking supplies and an adorable personalized self-inking stamp!
Final
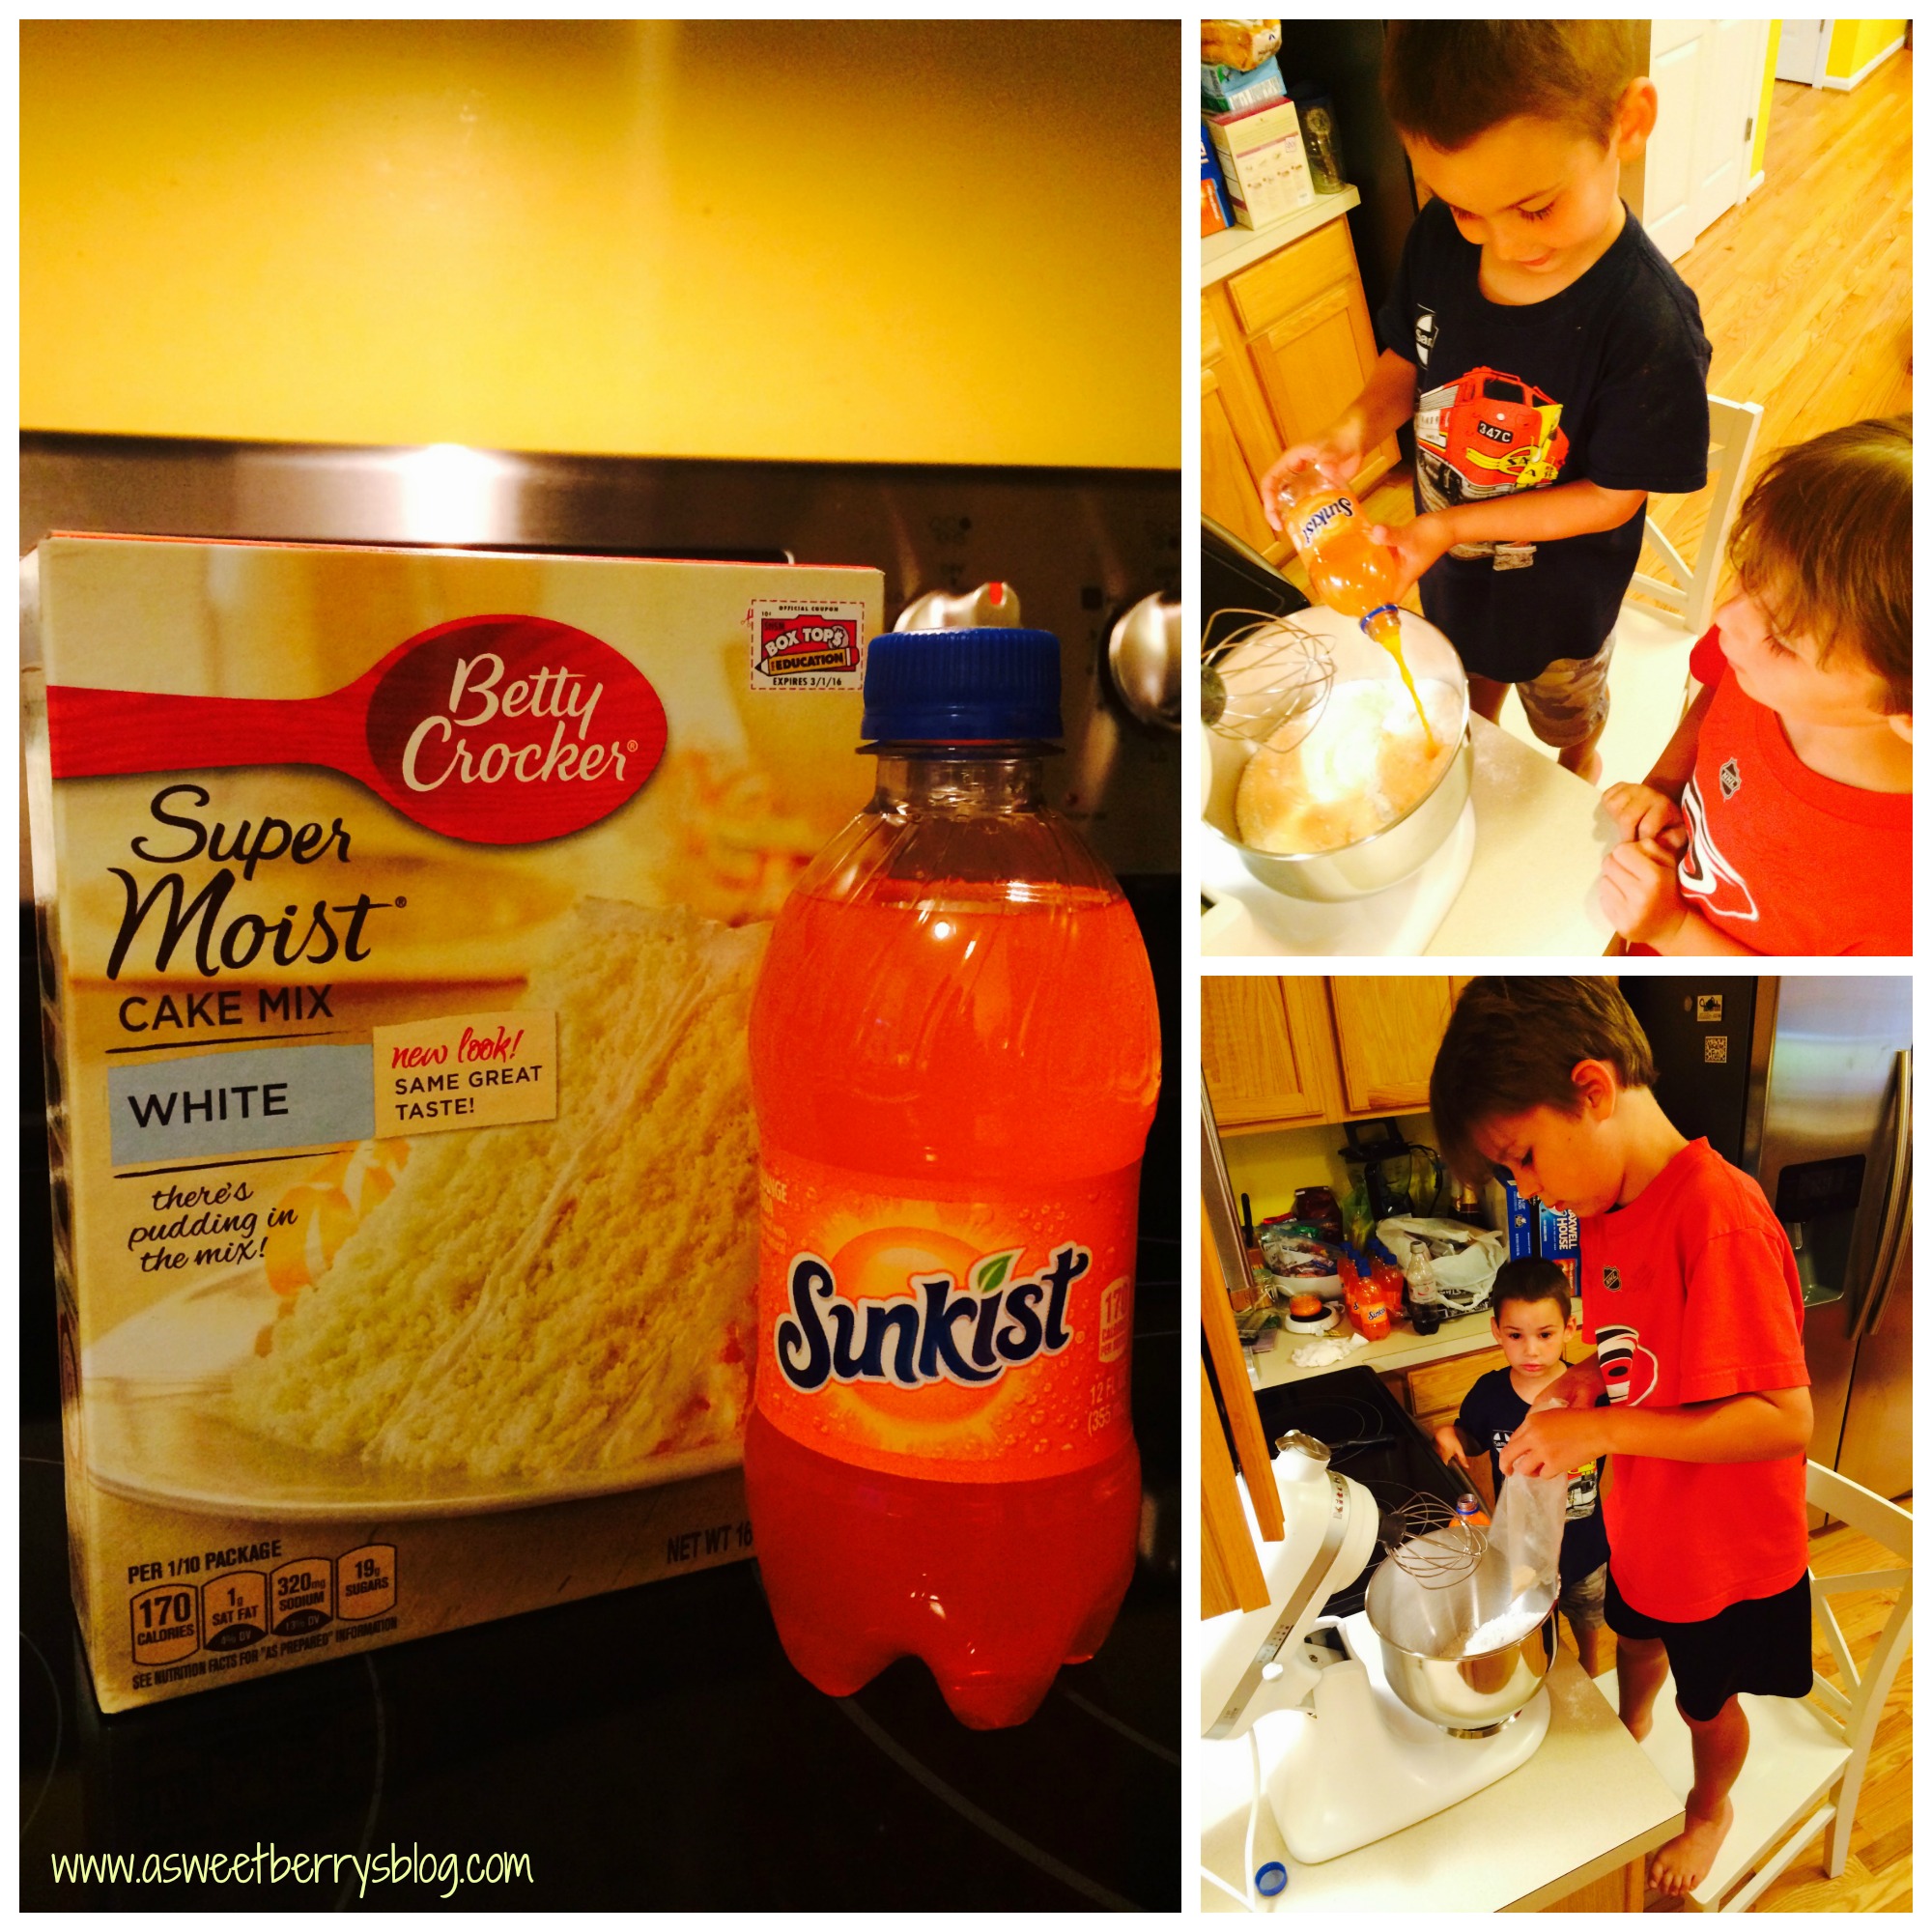
Getting inspiration from Pinterest, I made a Sunkist flavored cake, using a Betty Crocker box mix and a 12oz Sunkist.   My boys love helping me bake, especially when I am using my Kitchenaid Mixer!  
Ingredients:
1 Box of cake mix  (do not add egg, oil, water)
12 oz of Sunkist

Follow instructions on the box for baking.   cake mix
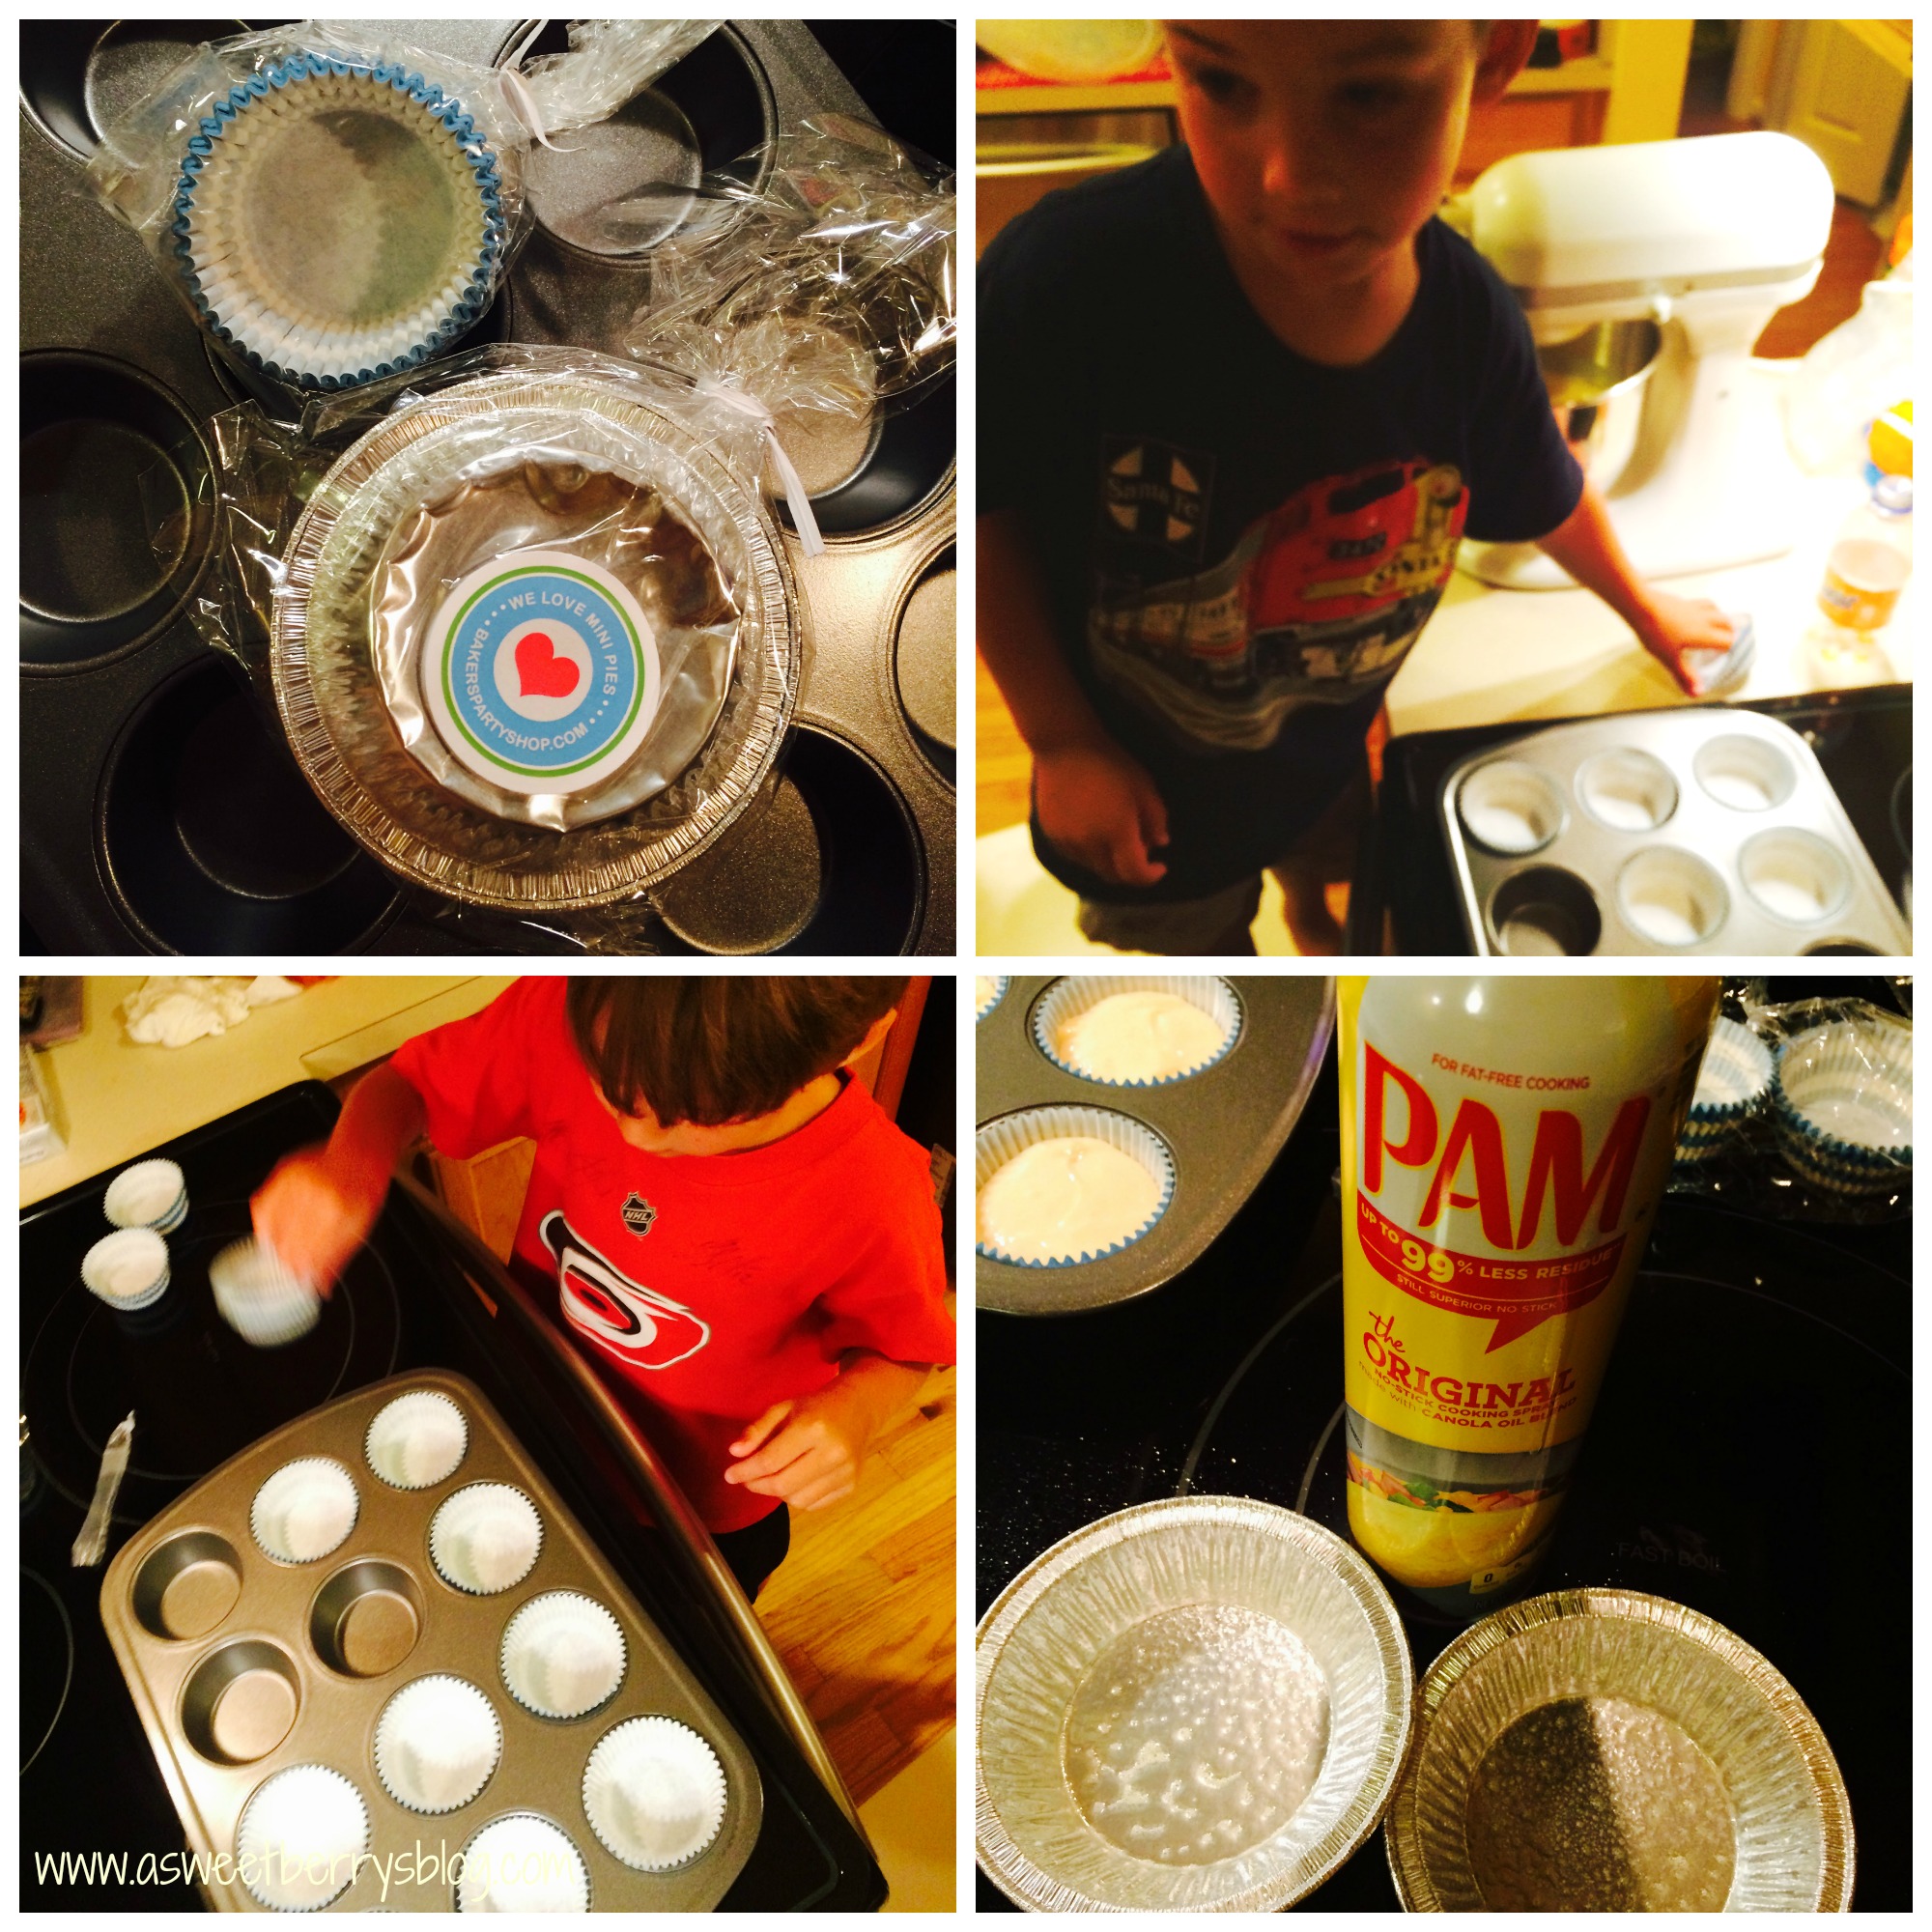
The Bakers Party Shop sent me adorable cupcake liners and mini pie pans.  We decided to use them both, creating cupcakes and cupcake pies! cups
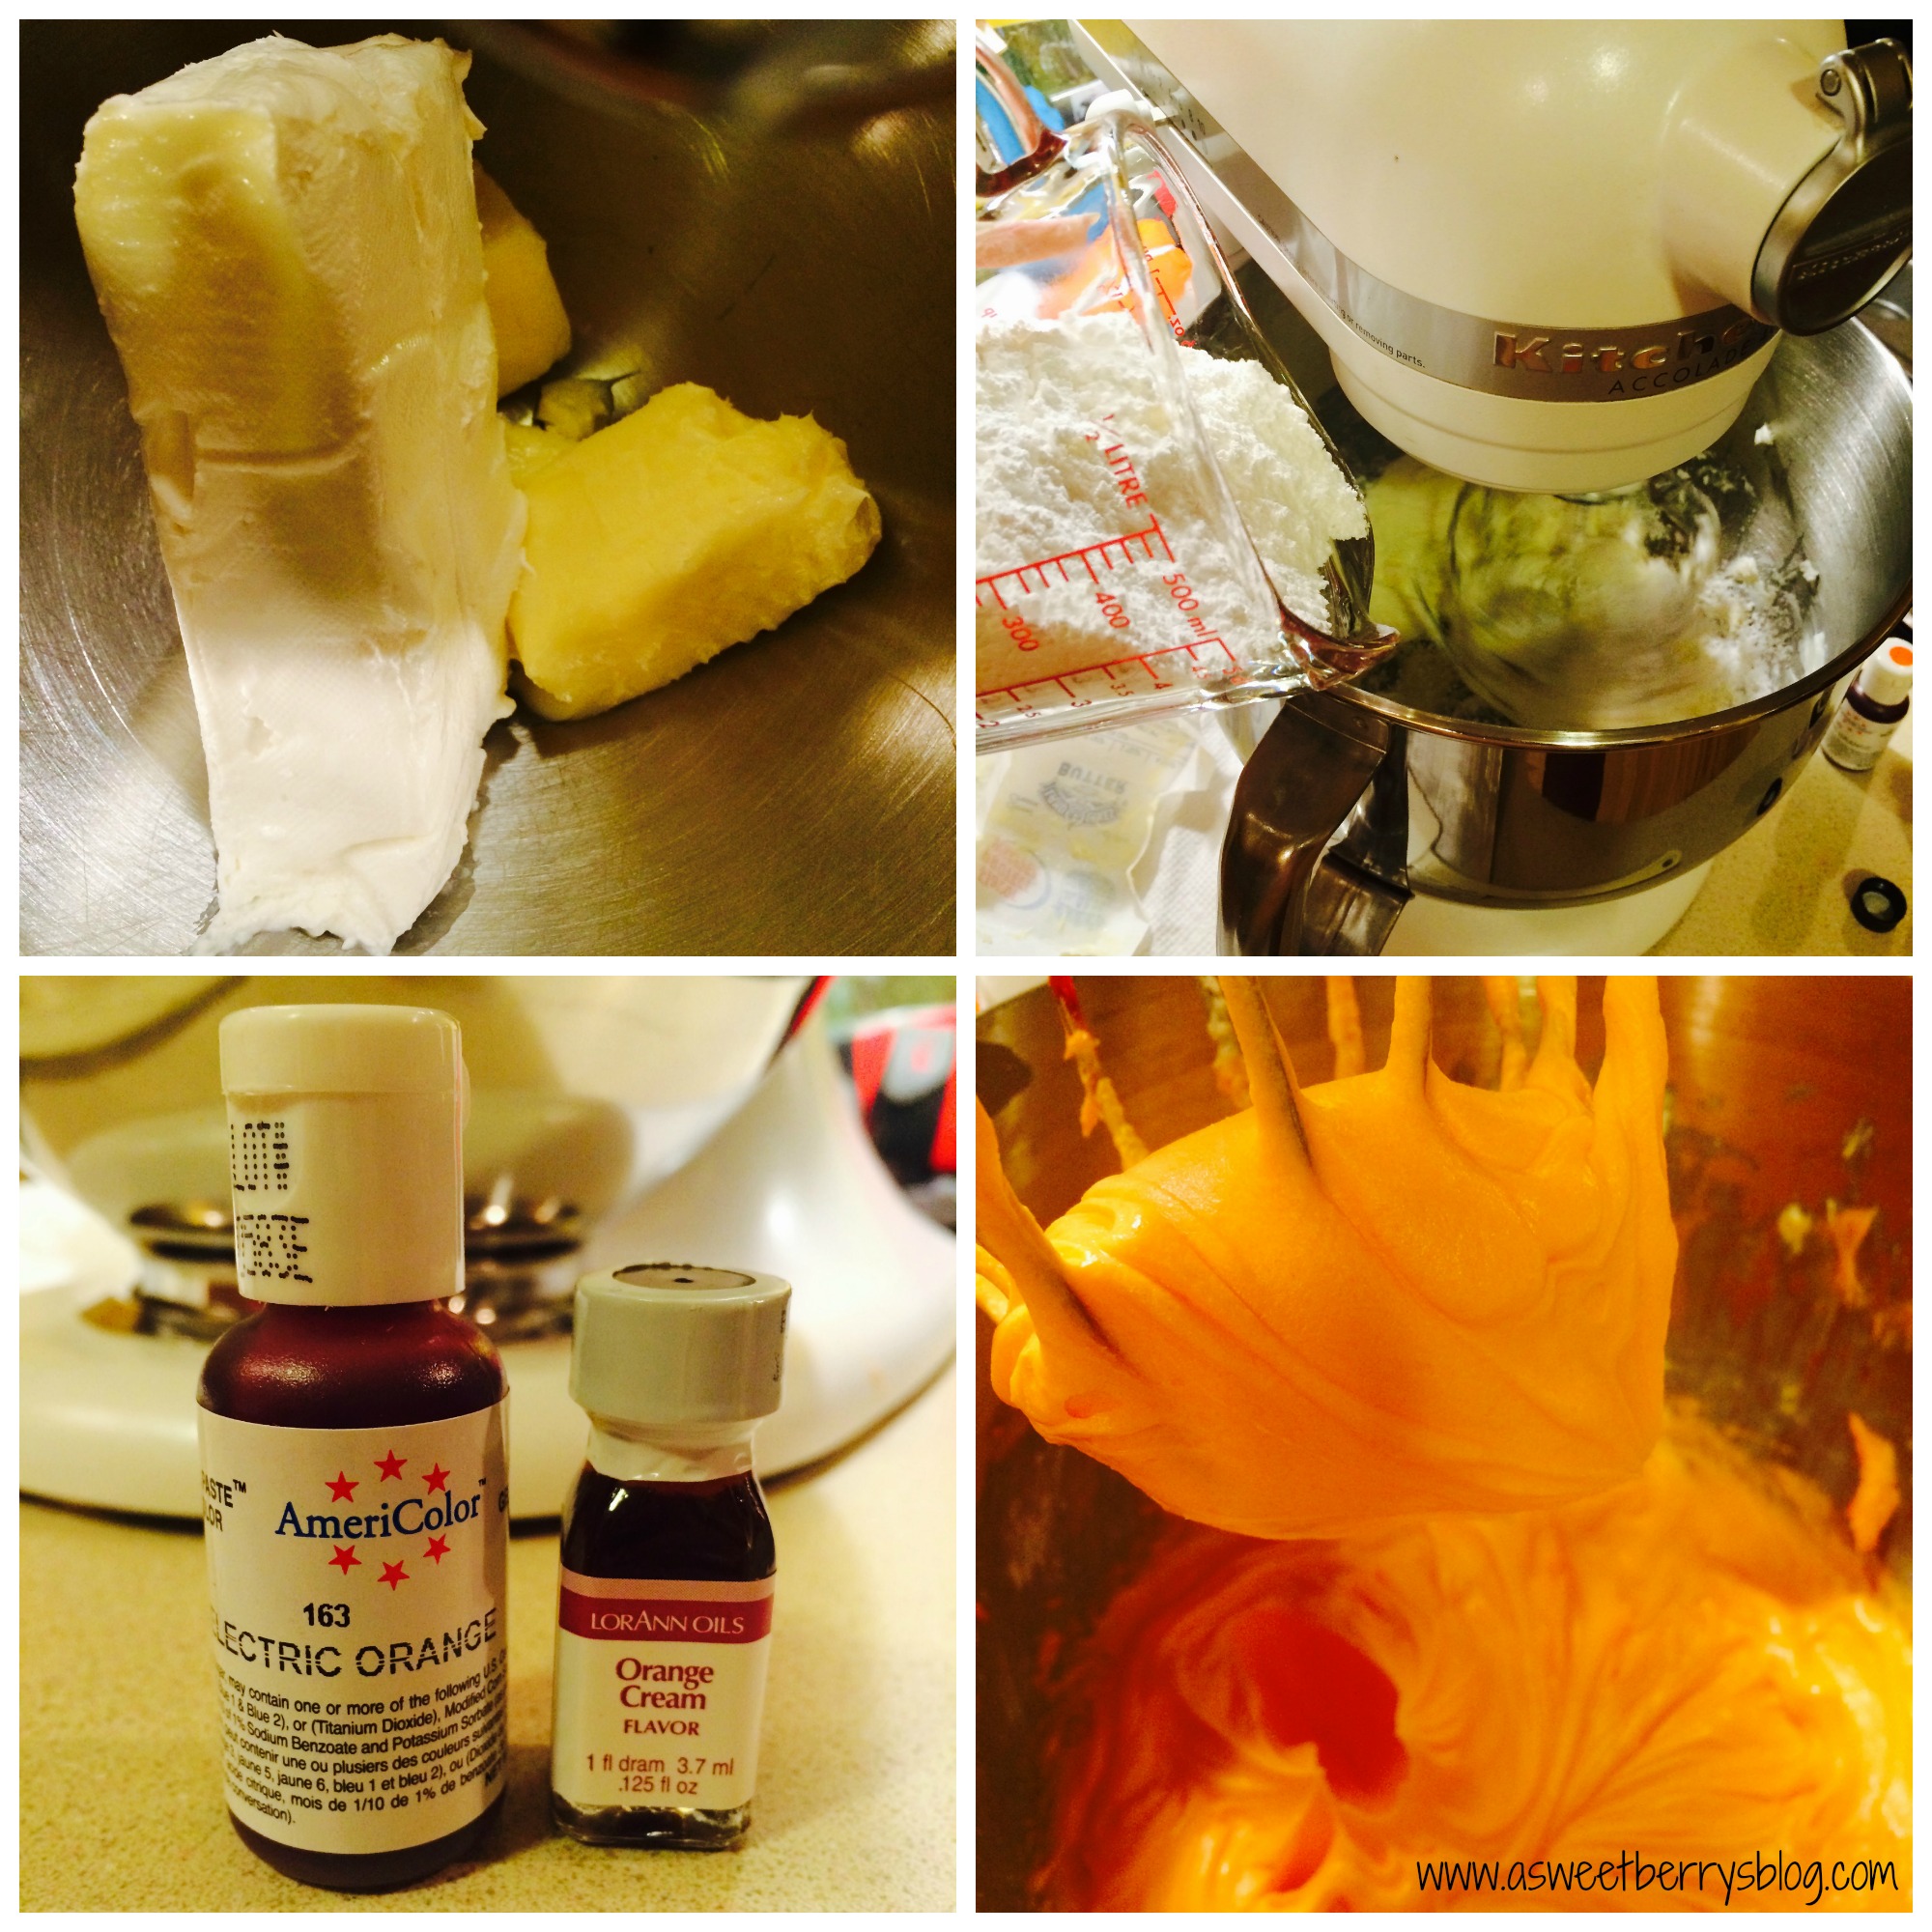
I love homemade cream cheese frosting, so I decided to make that and add the Orange Cream Flavoring and Electric Orange gel food coloring to make my frosting taste like and look oranges!  Of course, they boys were excited to be able to eat any frosting that wasn’t being used!
Recipe:
8oz cream cheese, softened
1 stick of butter, softened
4 cups of powdered sugar
Orange Cream Flavoring, to taste
Electric Orange gel food coloring, to coloring liking

Mix the cream cheese and butter until smooth.  Slowly add the powdered sugar.   Once all combined, add in the flavoring and the food coloring. cream cheese icing
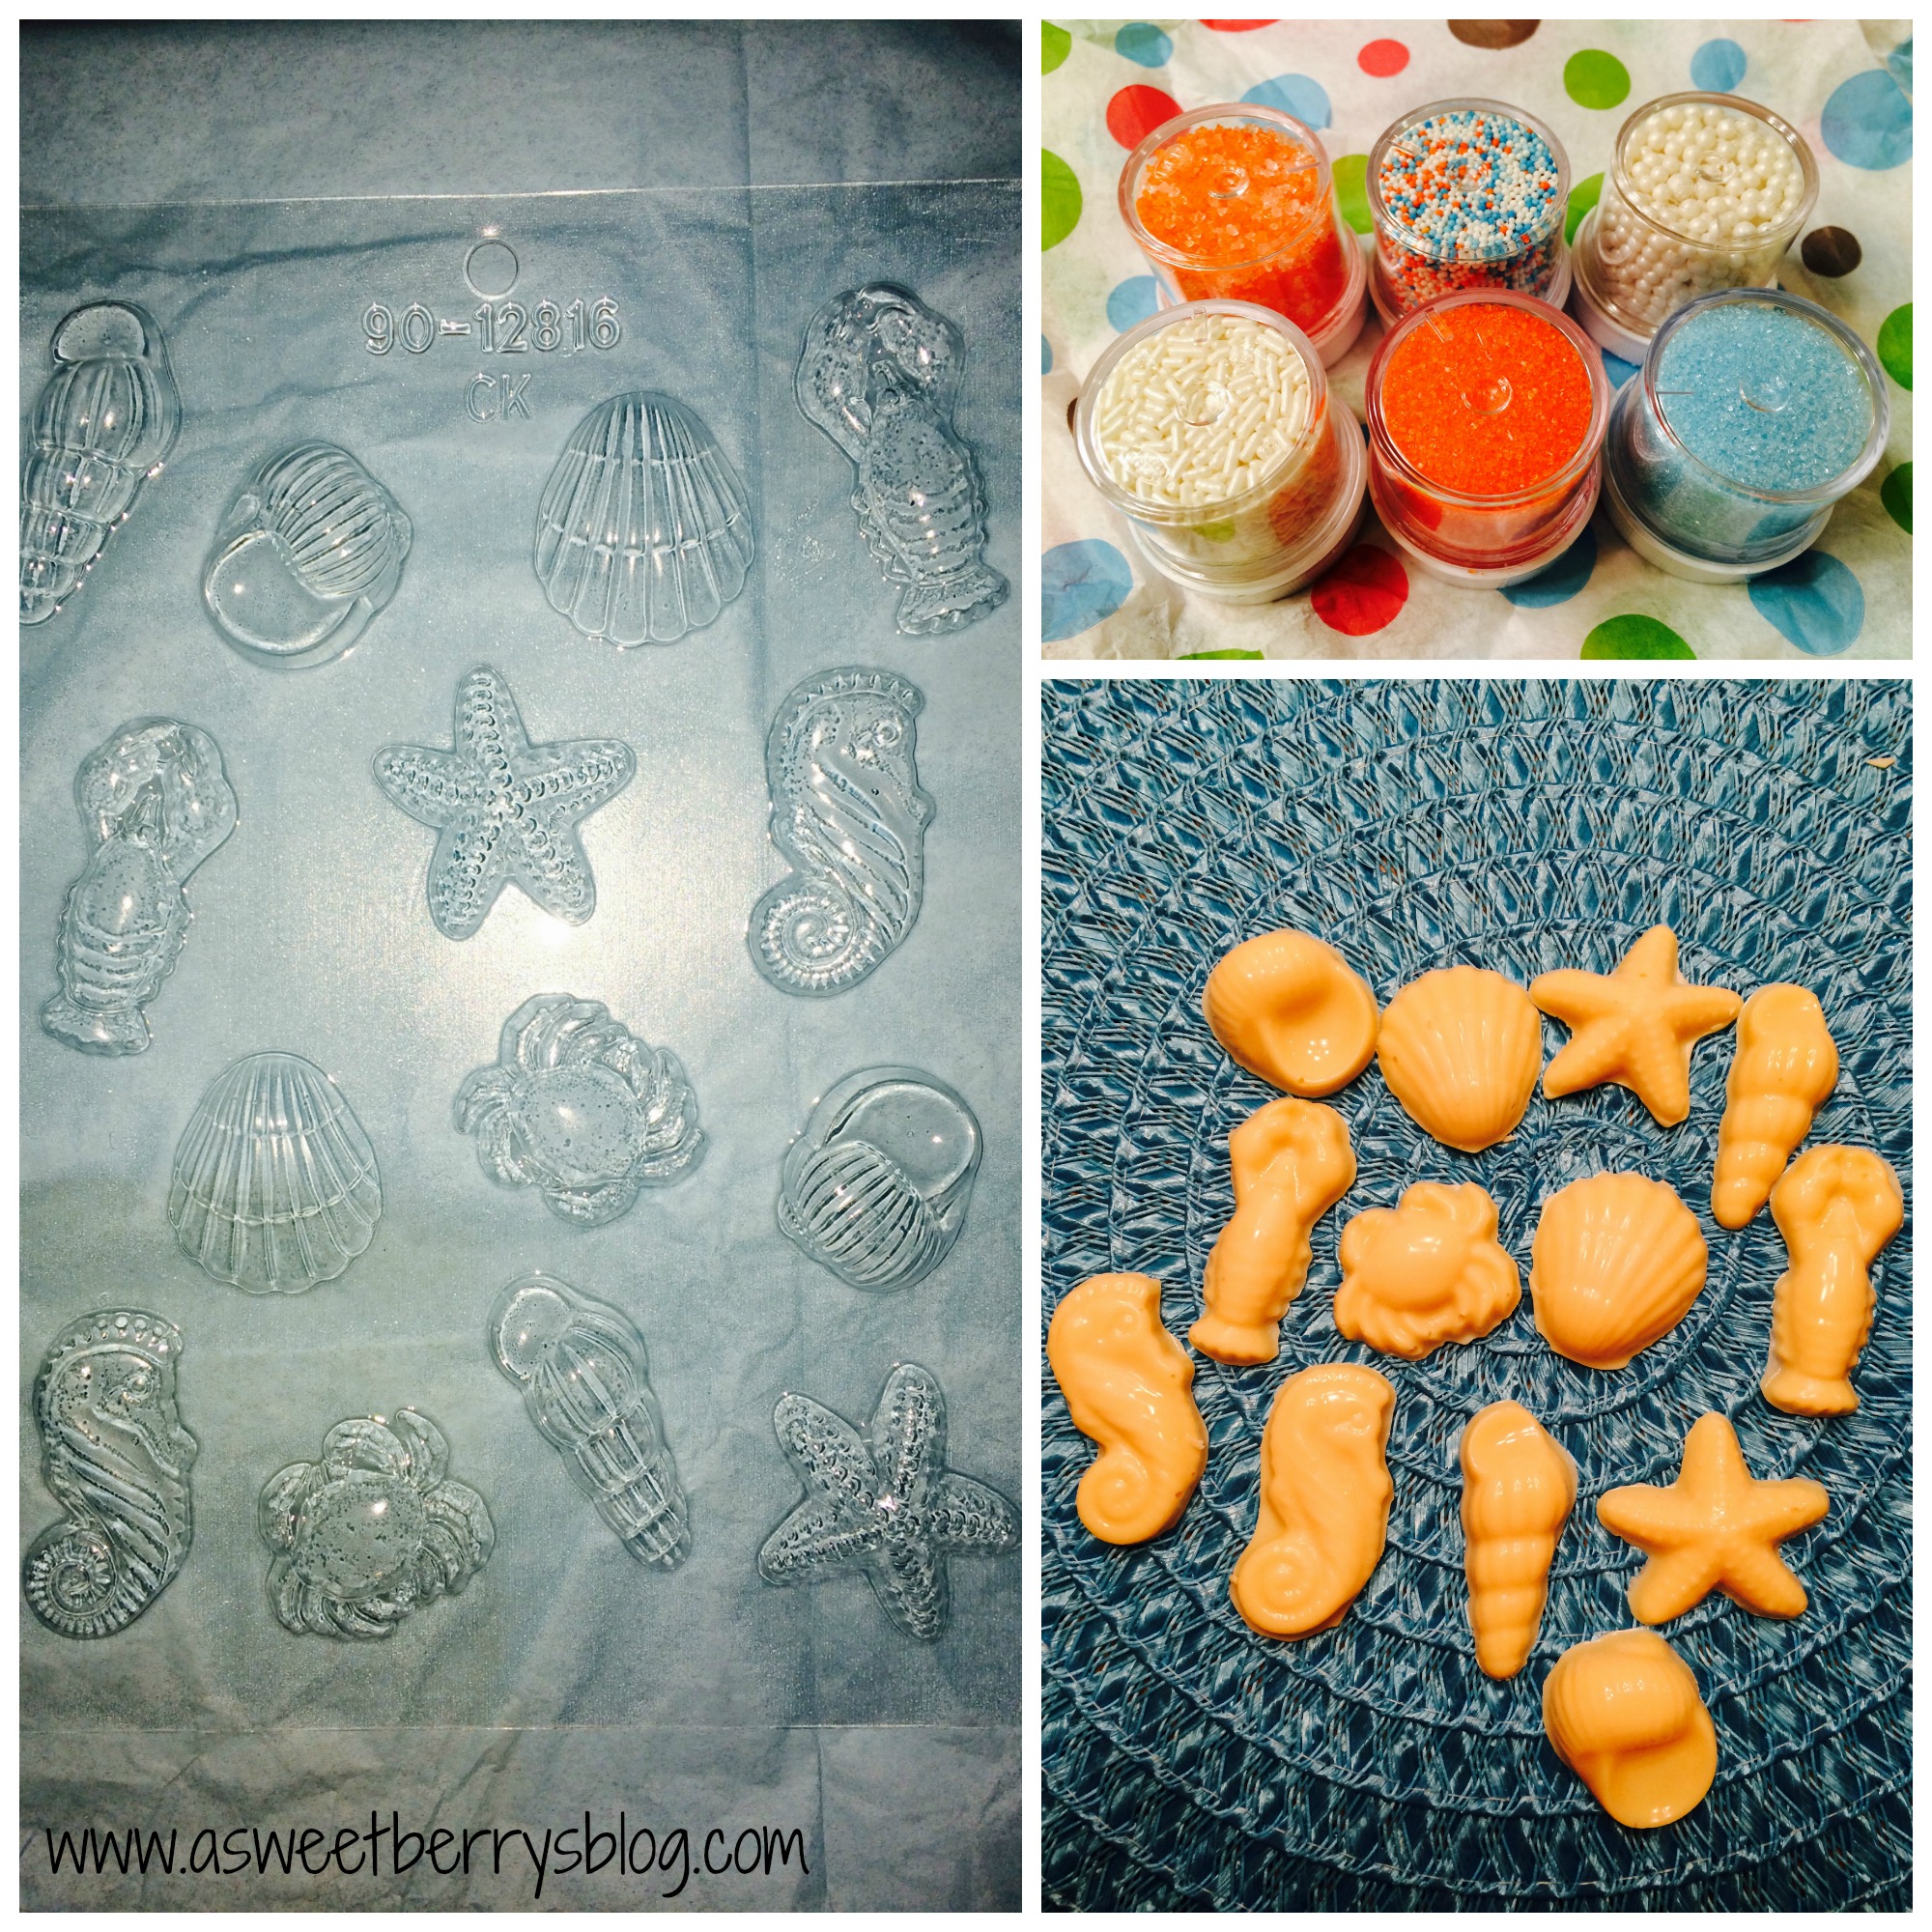
The Bakers Party Shop also sent these beach themed candy molds and these adorable sprinkles!  Using vanilla candies, I made candied shells and sea creatures to go on my cupcakes. decorations
Expressionery.com supplied me with this adorable “Baked with a lot of Love – Katie & The Berry Boys” personalized self-inking stamp with art by my best friend, Laura Kelly!  Included in my box of goodies from The Bakers Party Shop was some bakers twine, tags and adorable packaging. stamps
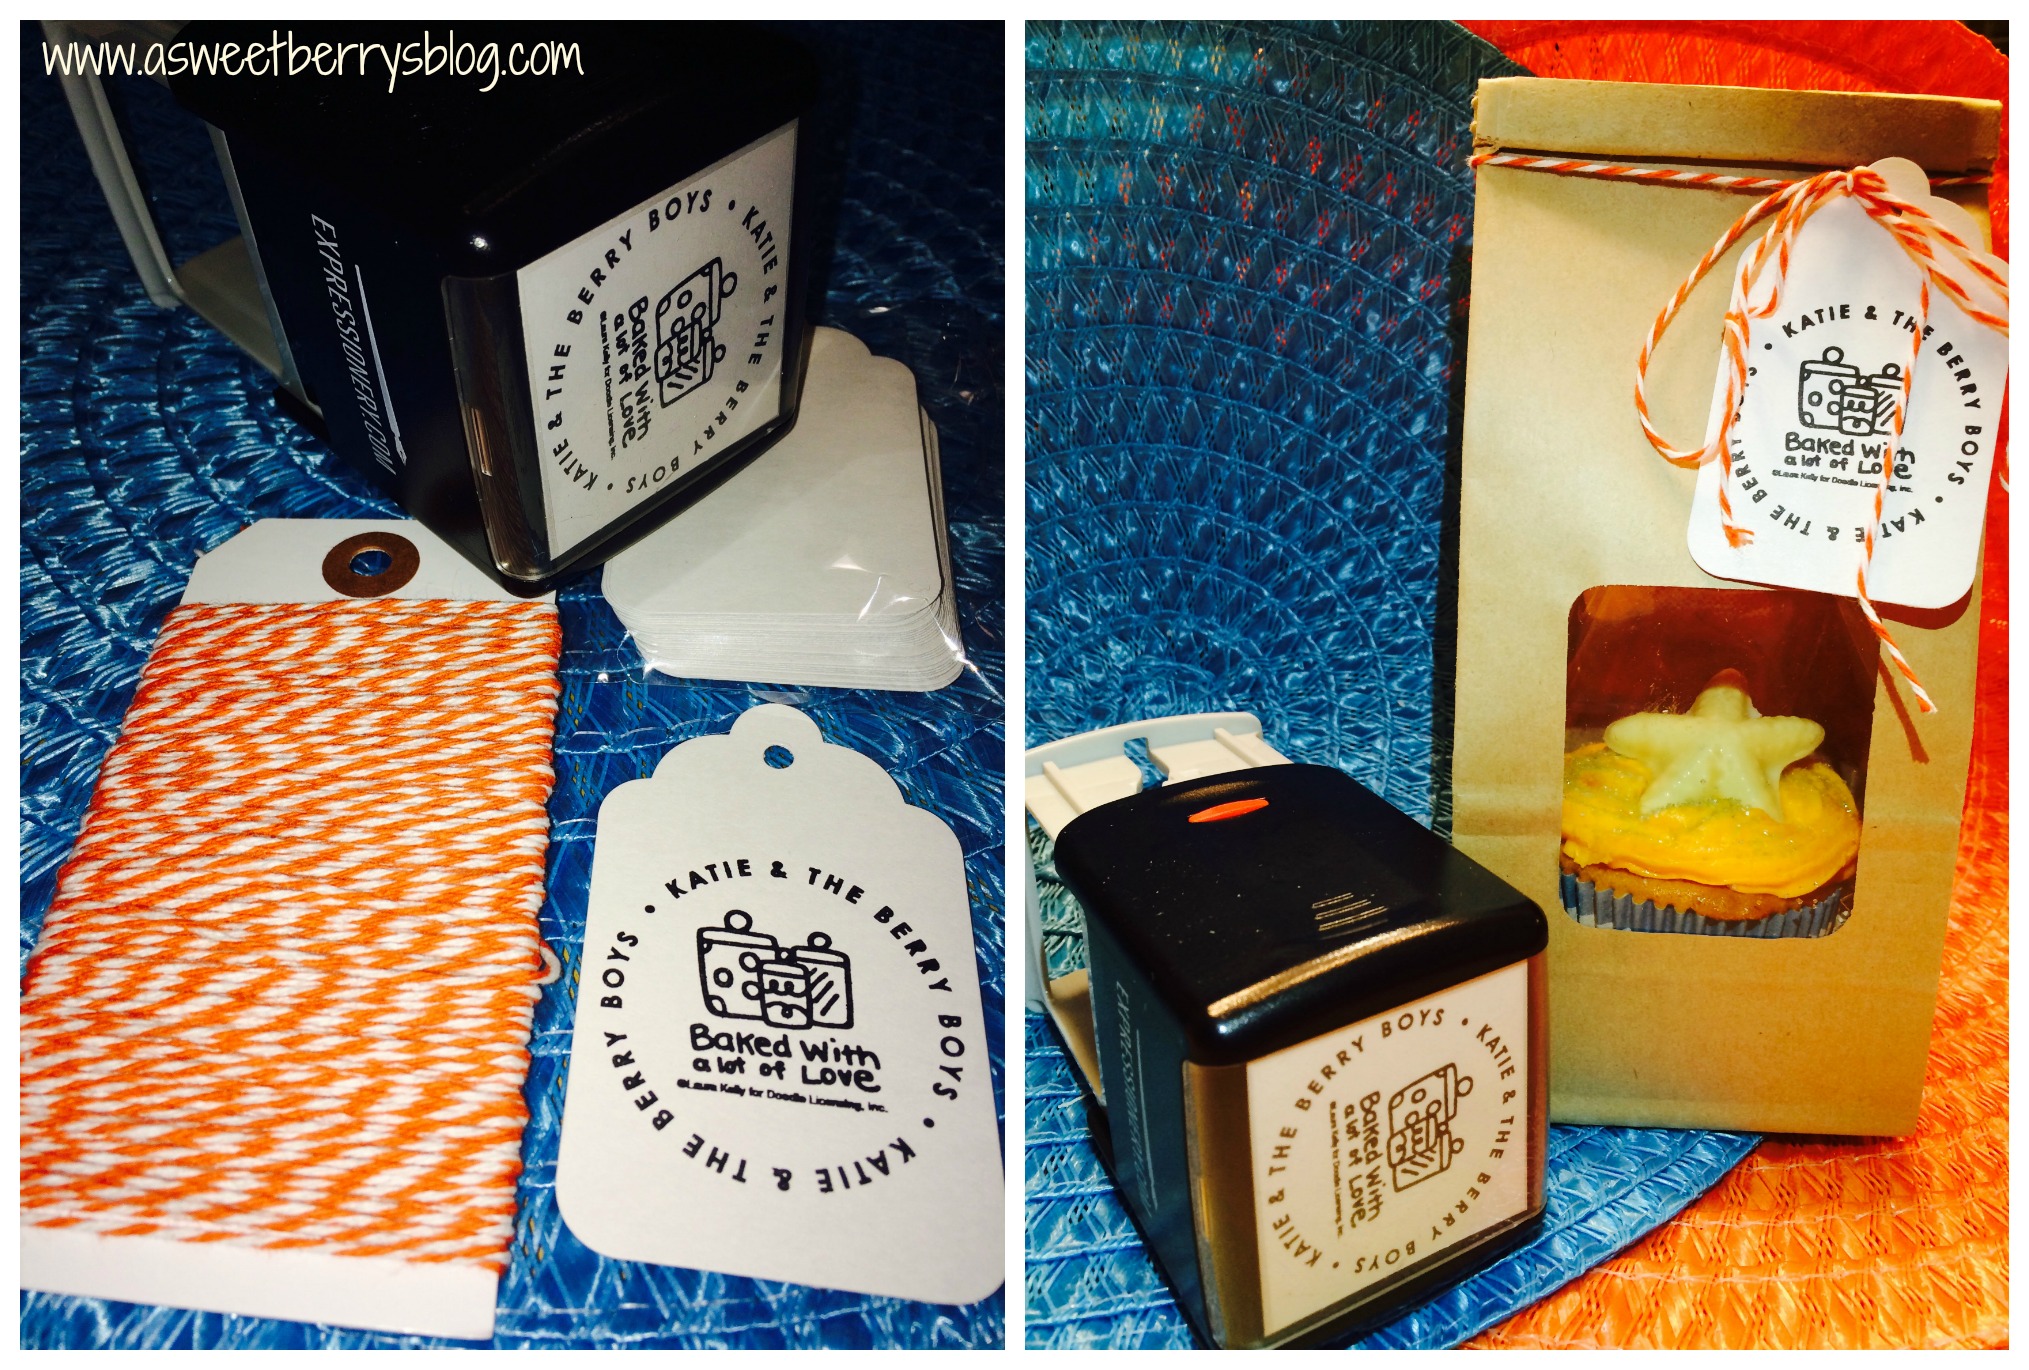
I love all of the goodies from The Bakers Party Shop and the stamp from Expressionery.com. Final
You can get your very own personalized self-inking stamp from Expressionery.com.  
Promotion: 25% off sitewide 
Promo code: SUNSHINE25 
www.expressionery.com/promotion/EXPBLGLKBAKERS
You can get your very own baking supplies from The Bakers Party Shop.  The Bakers Party Shop is offering a 25% off promo with SUNSHINE25.

Be sure to enter to win $250 Visa gift card and a personalized Expressionery Stamp!
a Rafflecopter giveaway
And be sure to check out these other amazing ideas using supplies from The Bakers Party Shop and Personalized Stamps from Expressionery.com!


Mr. and Mrs. Seat Back Wedding Wreaths

Need a quick wedding craft to brighten up the bride and grooms chair at the wedding reception?  These Mr. and Mrs. Seat Back Wedding Wreaths are quick, easy and adorable! final
Materials:
Two foam wreaths (I used FloraCraft Make It Fun Wreath Rings)
Wooden Letters (I picked these up at A.C. Moore)
Burlap Ribbon
Tulle
Krylon ColorMaster – Sea Glass
Hot Glue Gun and Glue
materials
So that it would be dry in time for adding them to my wreaths, I spray painted my letters first.   Krylon
Then, with the help of my craft loving five year old, Benjamin, I wrapped the foam wreath rings with the burlap ribbon and hot glued the end to keep it from unraveling. wrapping wreath
Once my letters were dry, I hot glued them together, slighting overlapping the letters. glued letters
Once the letters were glued together, I took a strip of tulle that was about 6-8 feet long and folded it in half to find the center.  Once I had the center, I hot glued my letters to the tulle.  I only attached the “Mrs” on the “R” and both the “M” and “R” of the “Mr” to the tulle.   I then laid the letters and tulle over the wreath and wrapped the tulle around the wreath near the top.  Once I was happy with the placement of the letters, I wrapped it around the chair and tied it to secure the wreaths to the chairs! individual wreath
I love how these turned out!  And they are actually on their way to a beach wedding this upcoming weekend!
final
Need other super quick and easy wedding ideas?  Be sure to check out this awesome Craft Lightning event for great ideas from some awesome bloggers!

Until next time……

Pirate Fun featuring Laura Kelly’s Pirate Island!!!

Ahoy Matey!
Summer has begun and it going to fly by. With Benjamin heading into kindergarten on the year-round schedule, the boys only have a few weeks off before the new school year begins in July. We are going to make the most of it and plan to spend as much time being active as possible including hitting the beach and the pool. Both boys have tons of energy and love to be busy and on-the-go.

Sometimes finding things to do with two boys in the summer when the weather is poor or we are stuck in the car can be challenging. Of course they would be fine to play on their tablets but I prefer that we have a balance.

They both love to make stuff and solve puzzles so this little Pirate Games printable from Shop Laura Kelly is awesome.
Pirate Sheets
I am printing and packing them to have ready for the car ride tomorrow.
Pirate-Maze   Pirate-Wordsearch
They are a perfect match to the travel activity bags I made for the boys a while back.
Check that out HERE!
Katie_PirateBag
Benjamin saw them and was too excited to wait for the car ride to the beach!
maze word search    all done
Stay tuned for lots more Shop Laura Kelly printable ideas and fun coming soon.

Until next time……

Shop Laura Kelly – Button and Felt Heart Garland

ShopLauraKelly.com has some of the cutest craft kits put together by one of my best friends, Laura Kelly!  One of my favorite kits in the collection is the Button and Felt Heart Garland! banner
Laura is very creative and has licenses with several companies!  The kits that she has put together come with everything you need to put your projects together! kit
This particular kit includes felt hearts, ribbon, colorful embroidery floss, buttons and a needle. supplies
Instead of using my ribbon to hold the hearts for the banner, I decided to cut the ribbon into 4 inch strips and glued them together to make a little loop using Aleene’s Fast Grab Tacky Glue.  I then glued them to the backs of my hearts.  ribbon hooks
Once they were dried, I turned the hearts over and glued a coordinating color button to the front.
adding buttons
Then, I slid them onto my embroidery floss that I left together to look like a rainbow!
banner
It also makes a great necklace!  I love it!  So, go on over to ShopLauraKelly.com and check out Laura’s cute little craft kits!
necklace

Be sure to click through other great ShopLauraKelly project ideas below:


And enter to win!
a Rafflecopter giveaway

Until next time…….