
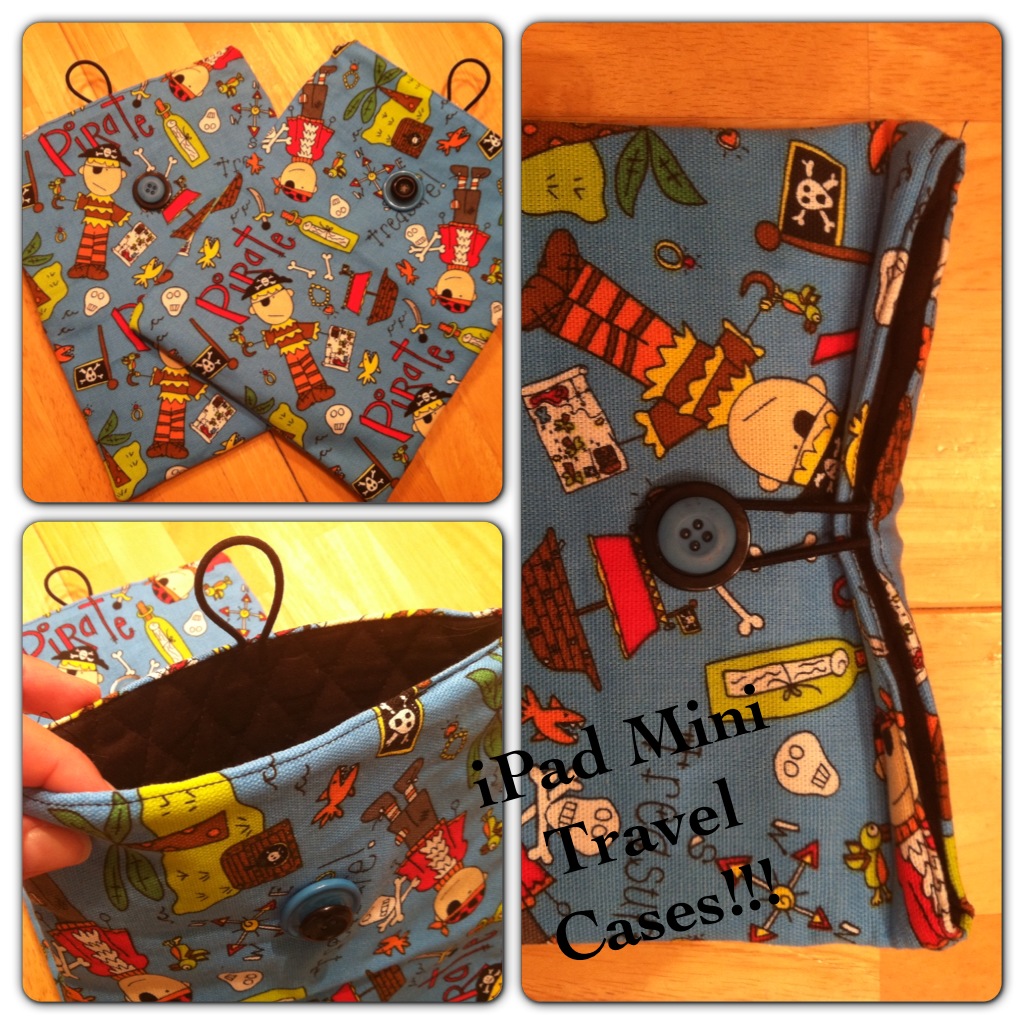
So, in preparing for a trip to New York, I knew we’d be taking the boys iPad Minis with us. Since they were going to be going into their backpacks to carry on the plane, I wanted to make sure that they weren’t going to get all scratched up. So, I put together these super cute little iPad covers. As some of you may know, my friend Laura Kelly Walters has an awesome array of different products, including a few different fabric designs and buttons. I just happen to love her Tossed Pirate fabric! It’s so fun and so boy!!! She is such a creative person and I truly admire her! But here is how I made these awesome iPad Mini travel cases!!!
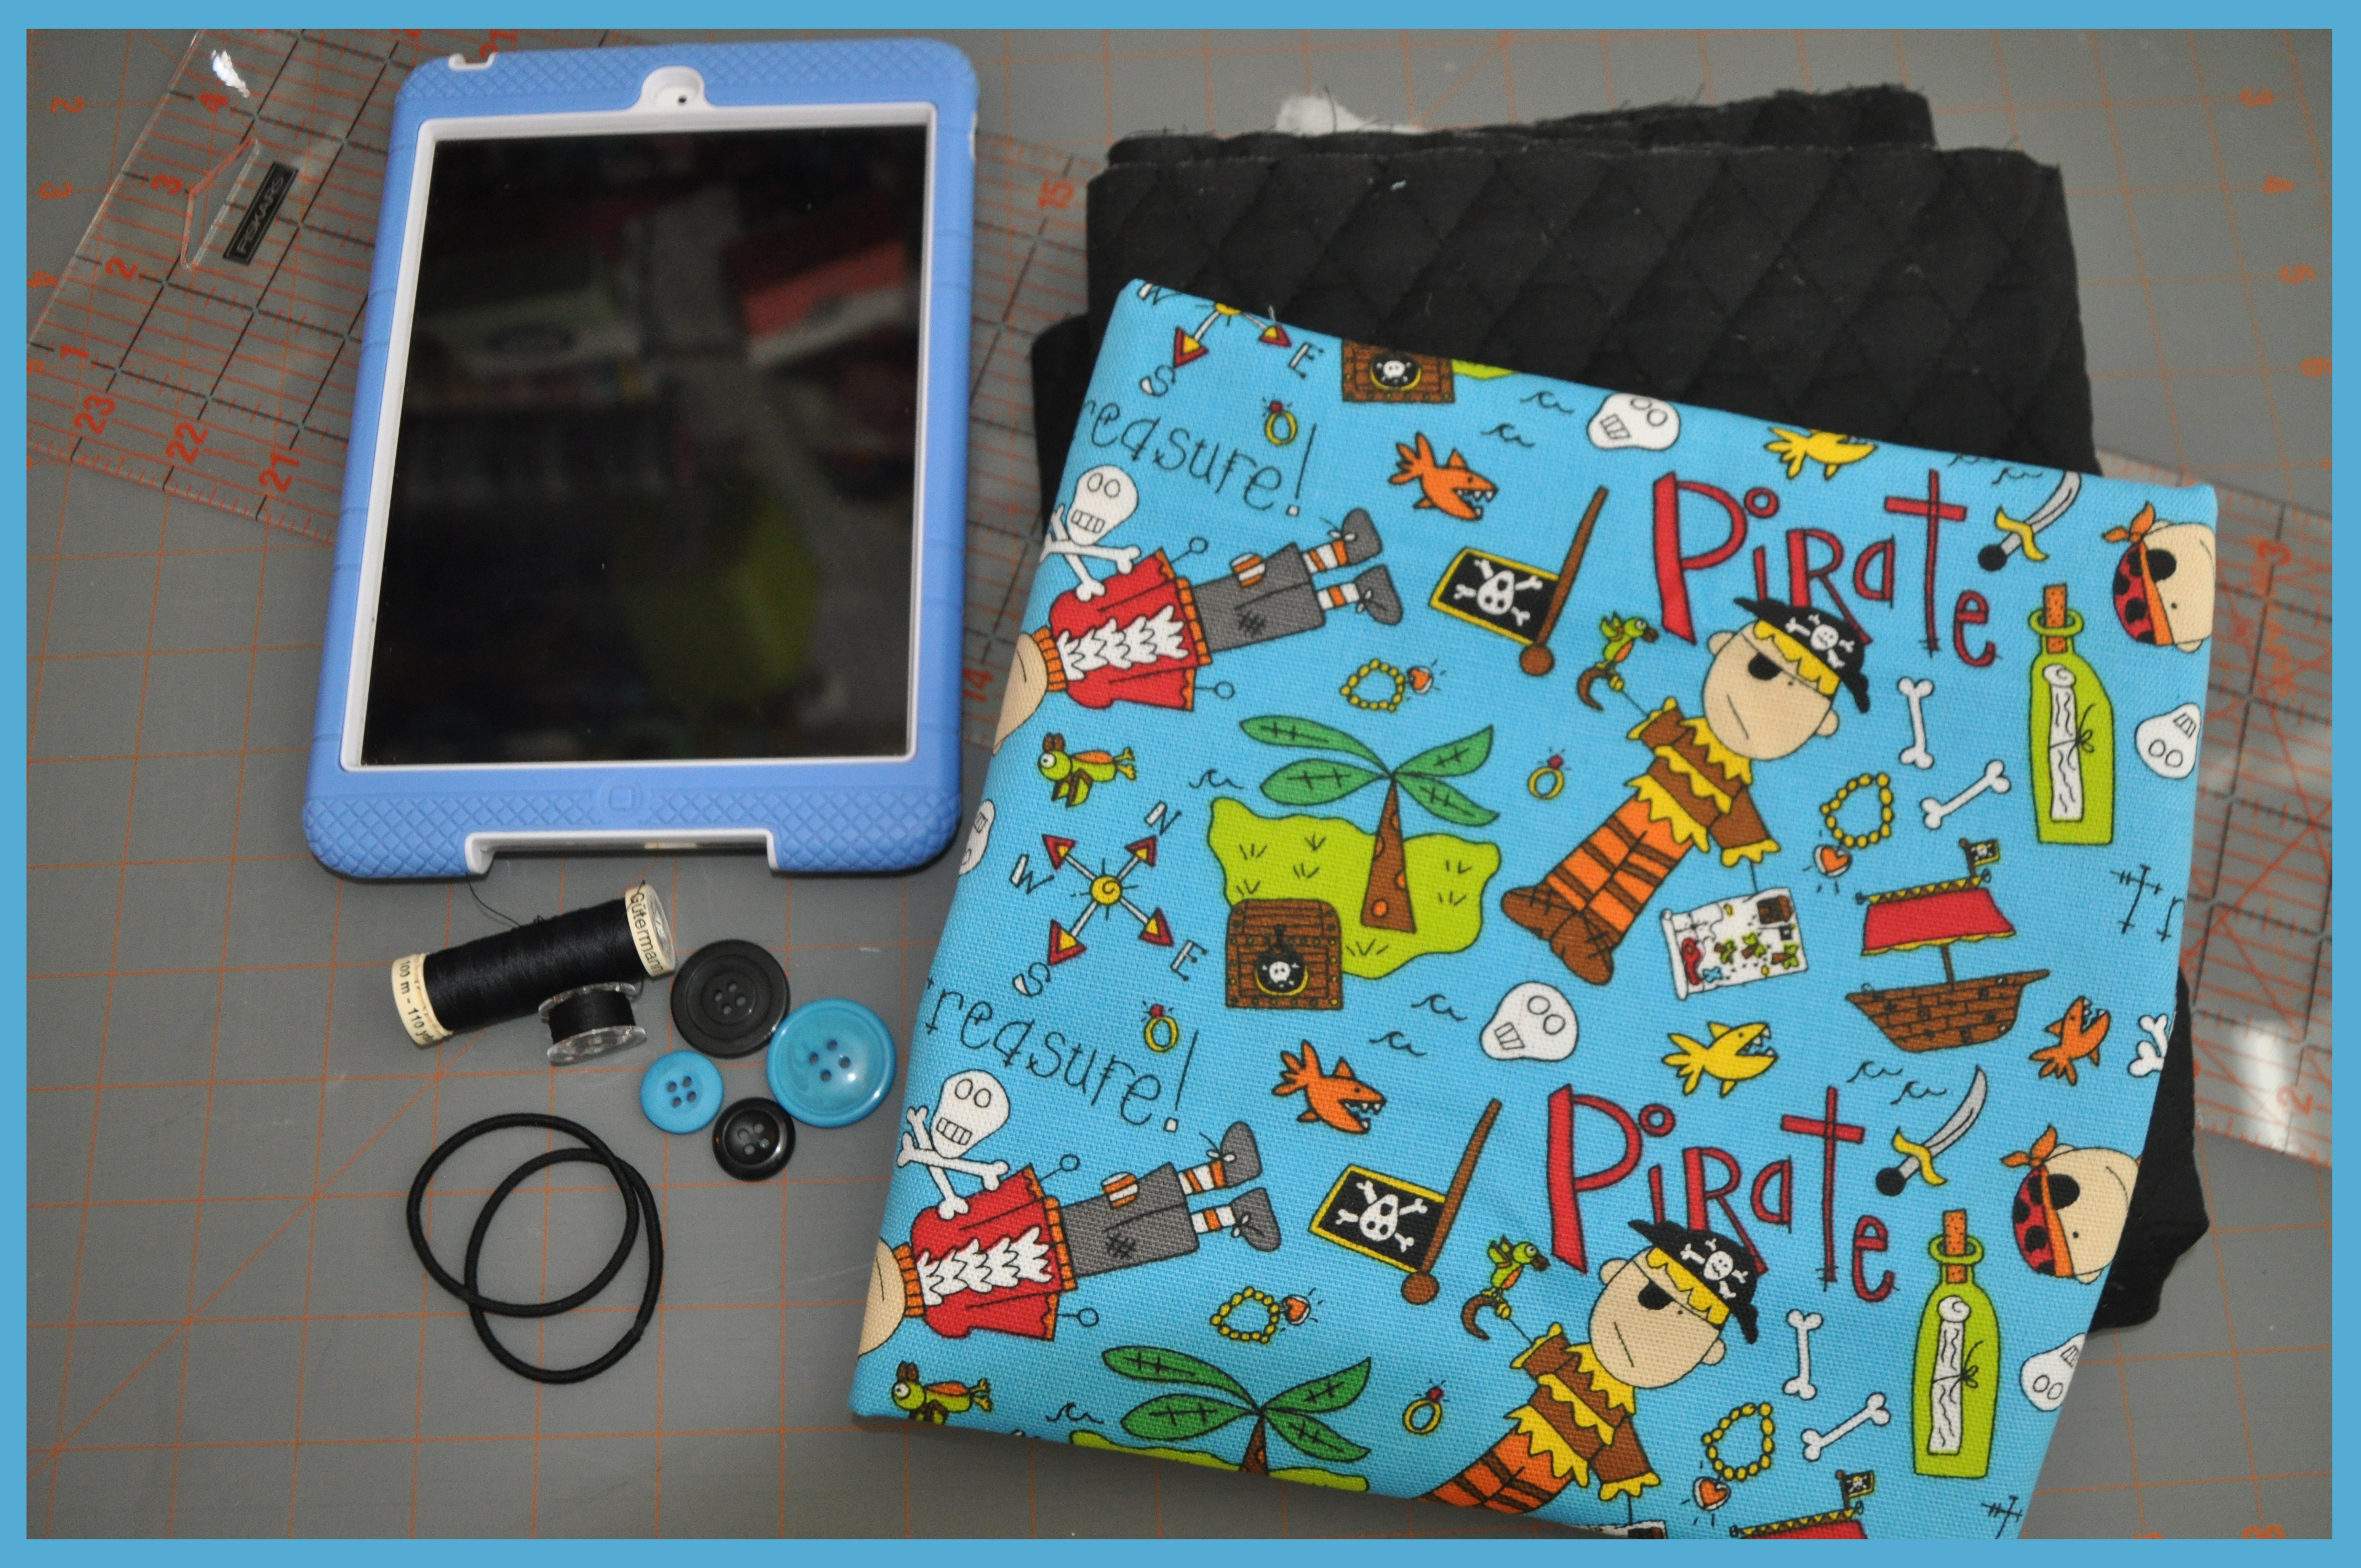
Materials used:
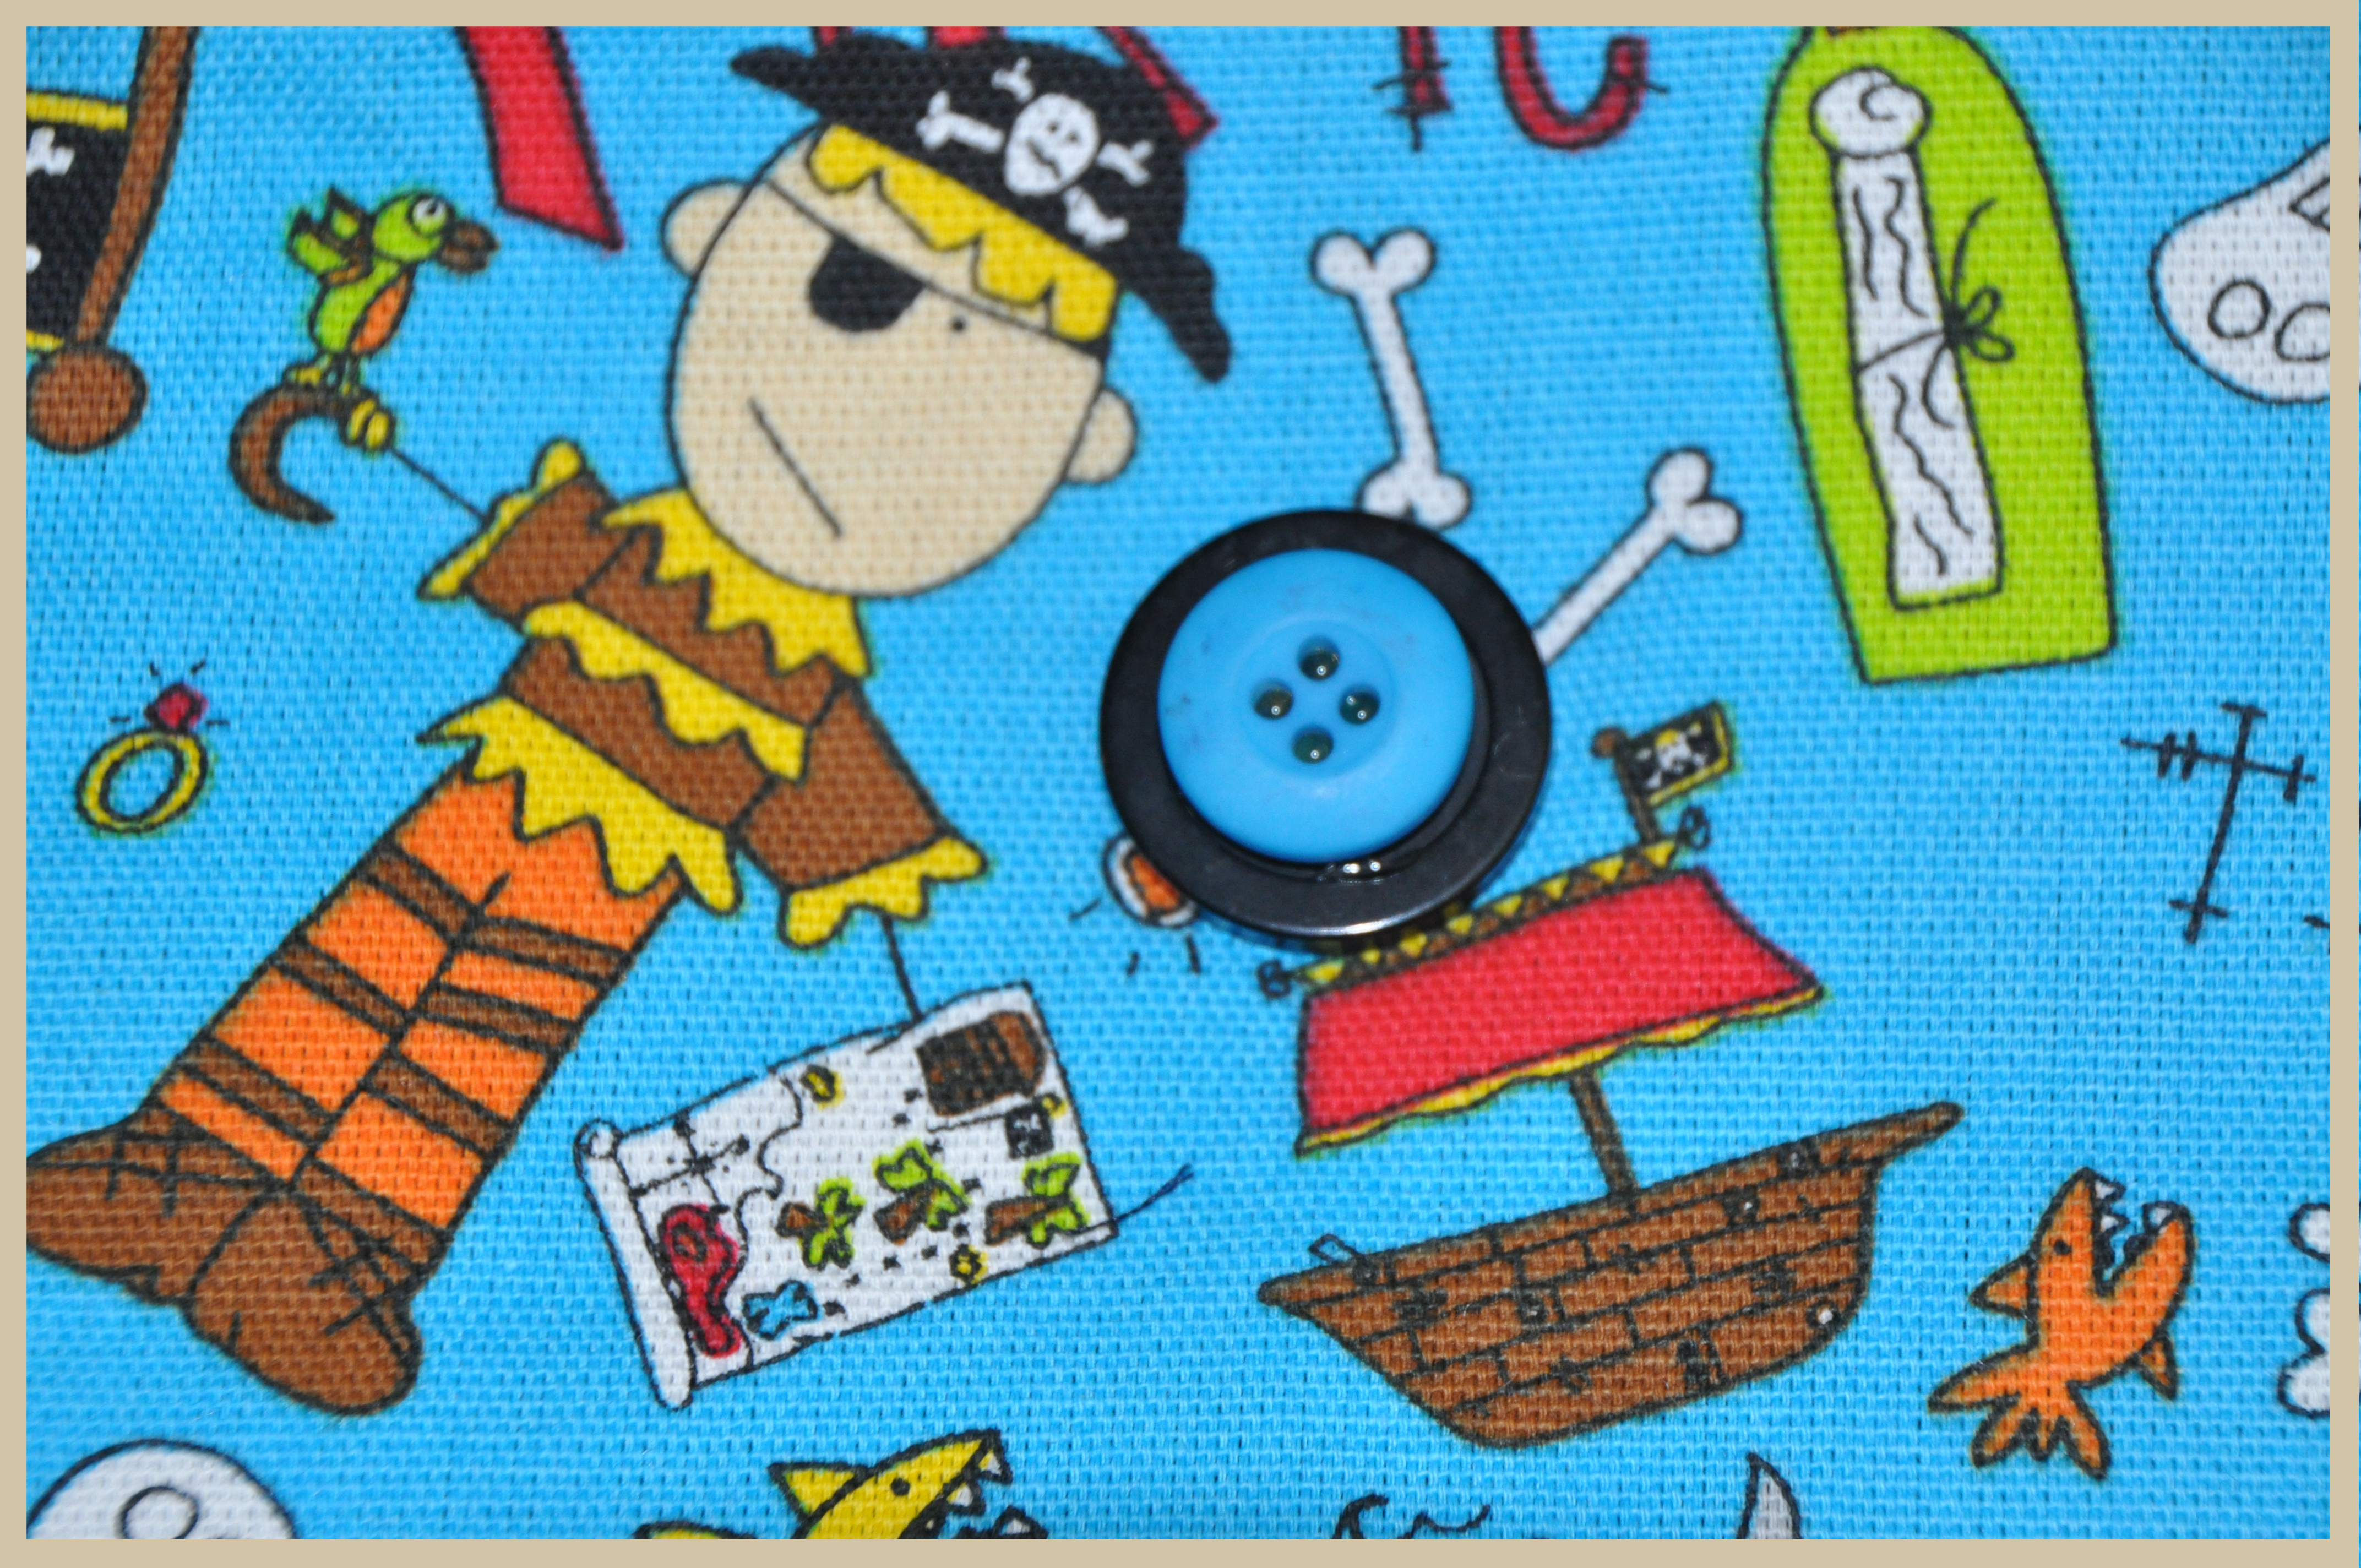
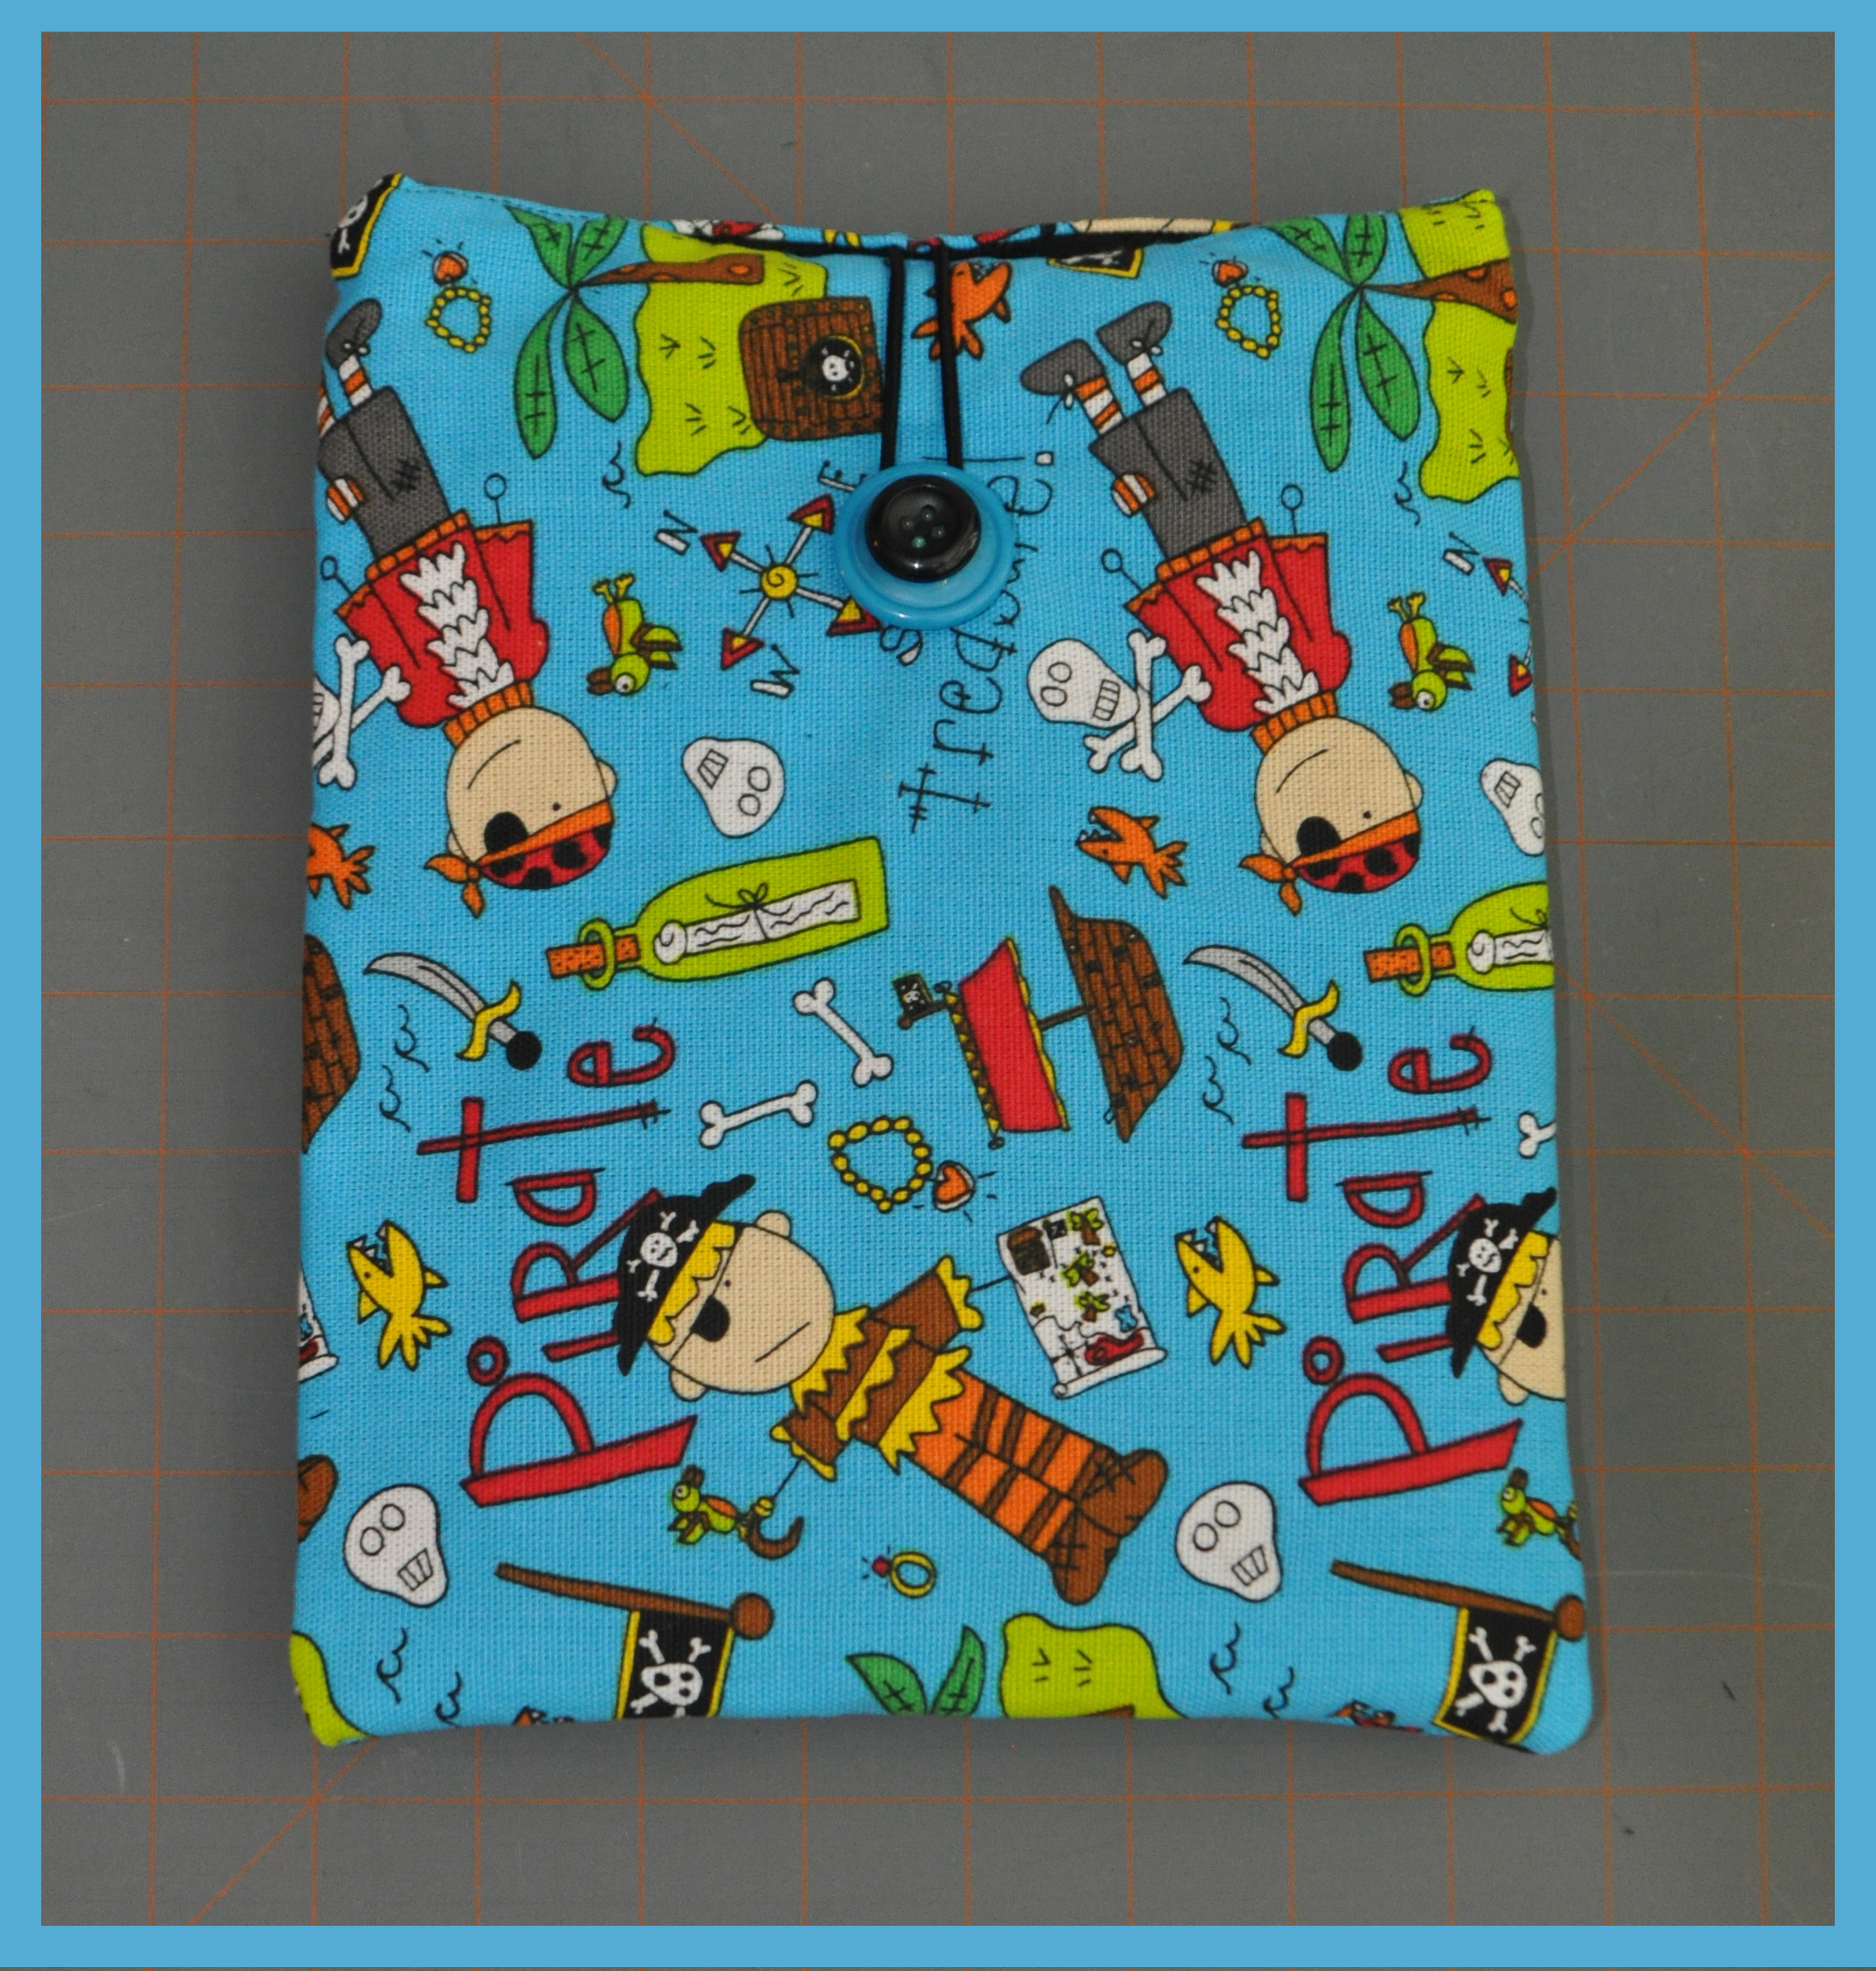
Laura Kelly’s Tossed Pirate on Blue Cotton Fabric, available online at Hancock Fabrics
Black Quilt Material
Guterman thread
A metal-less Hair rubberband
Laura Kelly Mix Buttons, from Buttons Galore & More
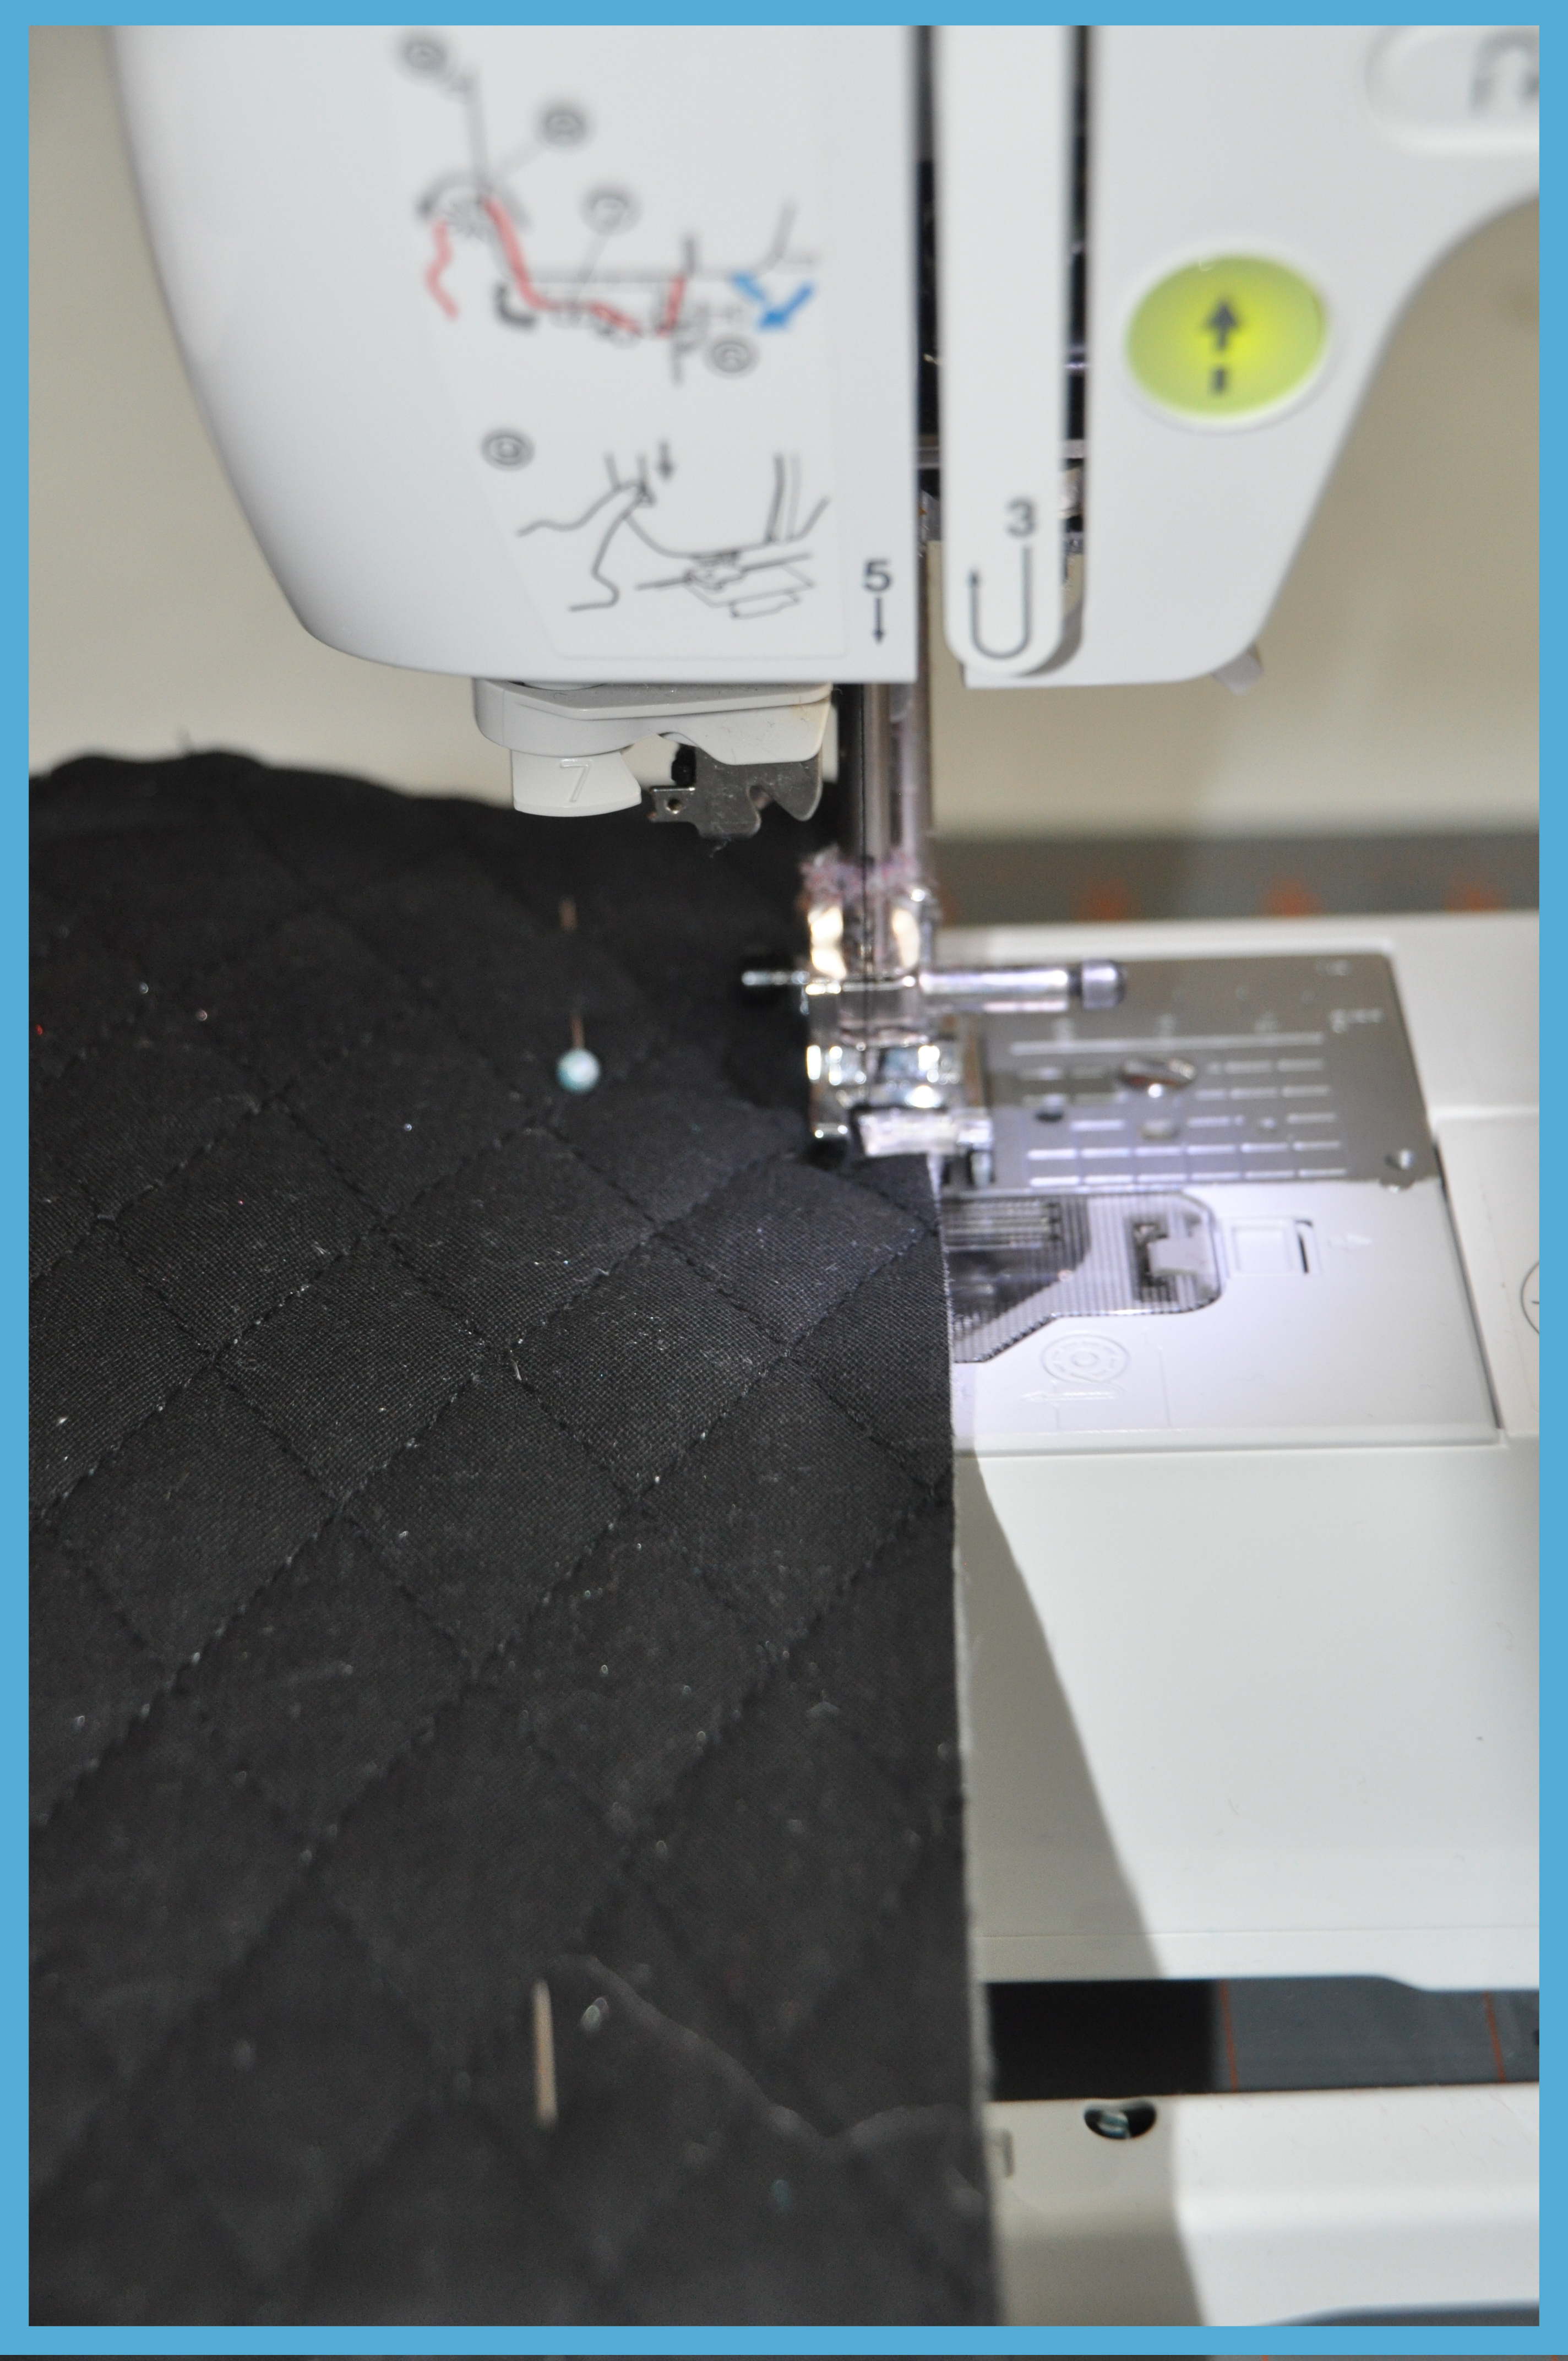
First, I measured the iPad mini itself and the cut my fabrics (8.5×11 inches). I then pinned the quilted fabric together. And since these are the same on both sides, it doesn’t matter which way you pin them.
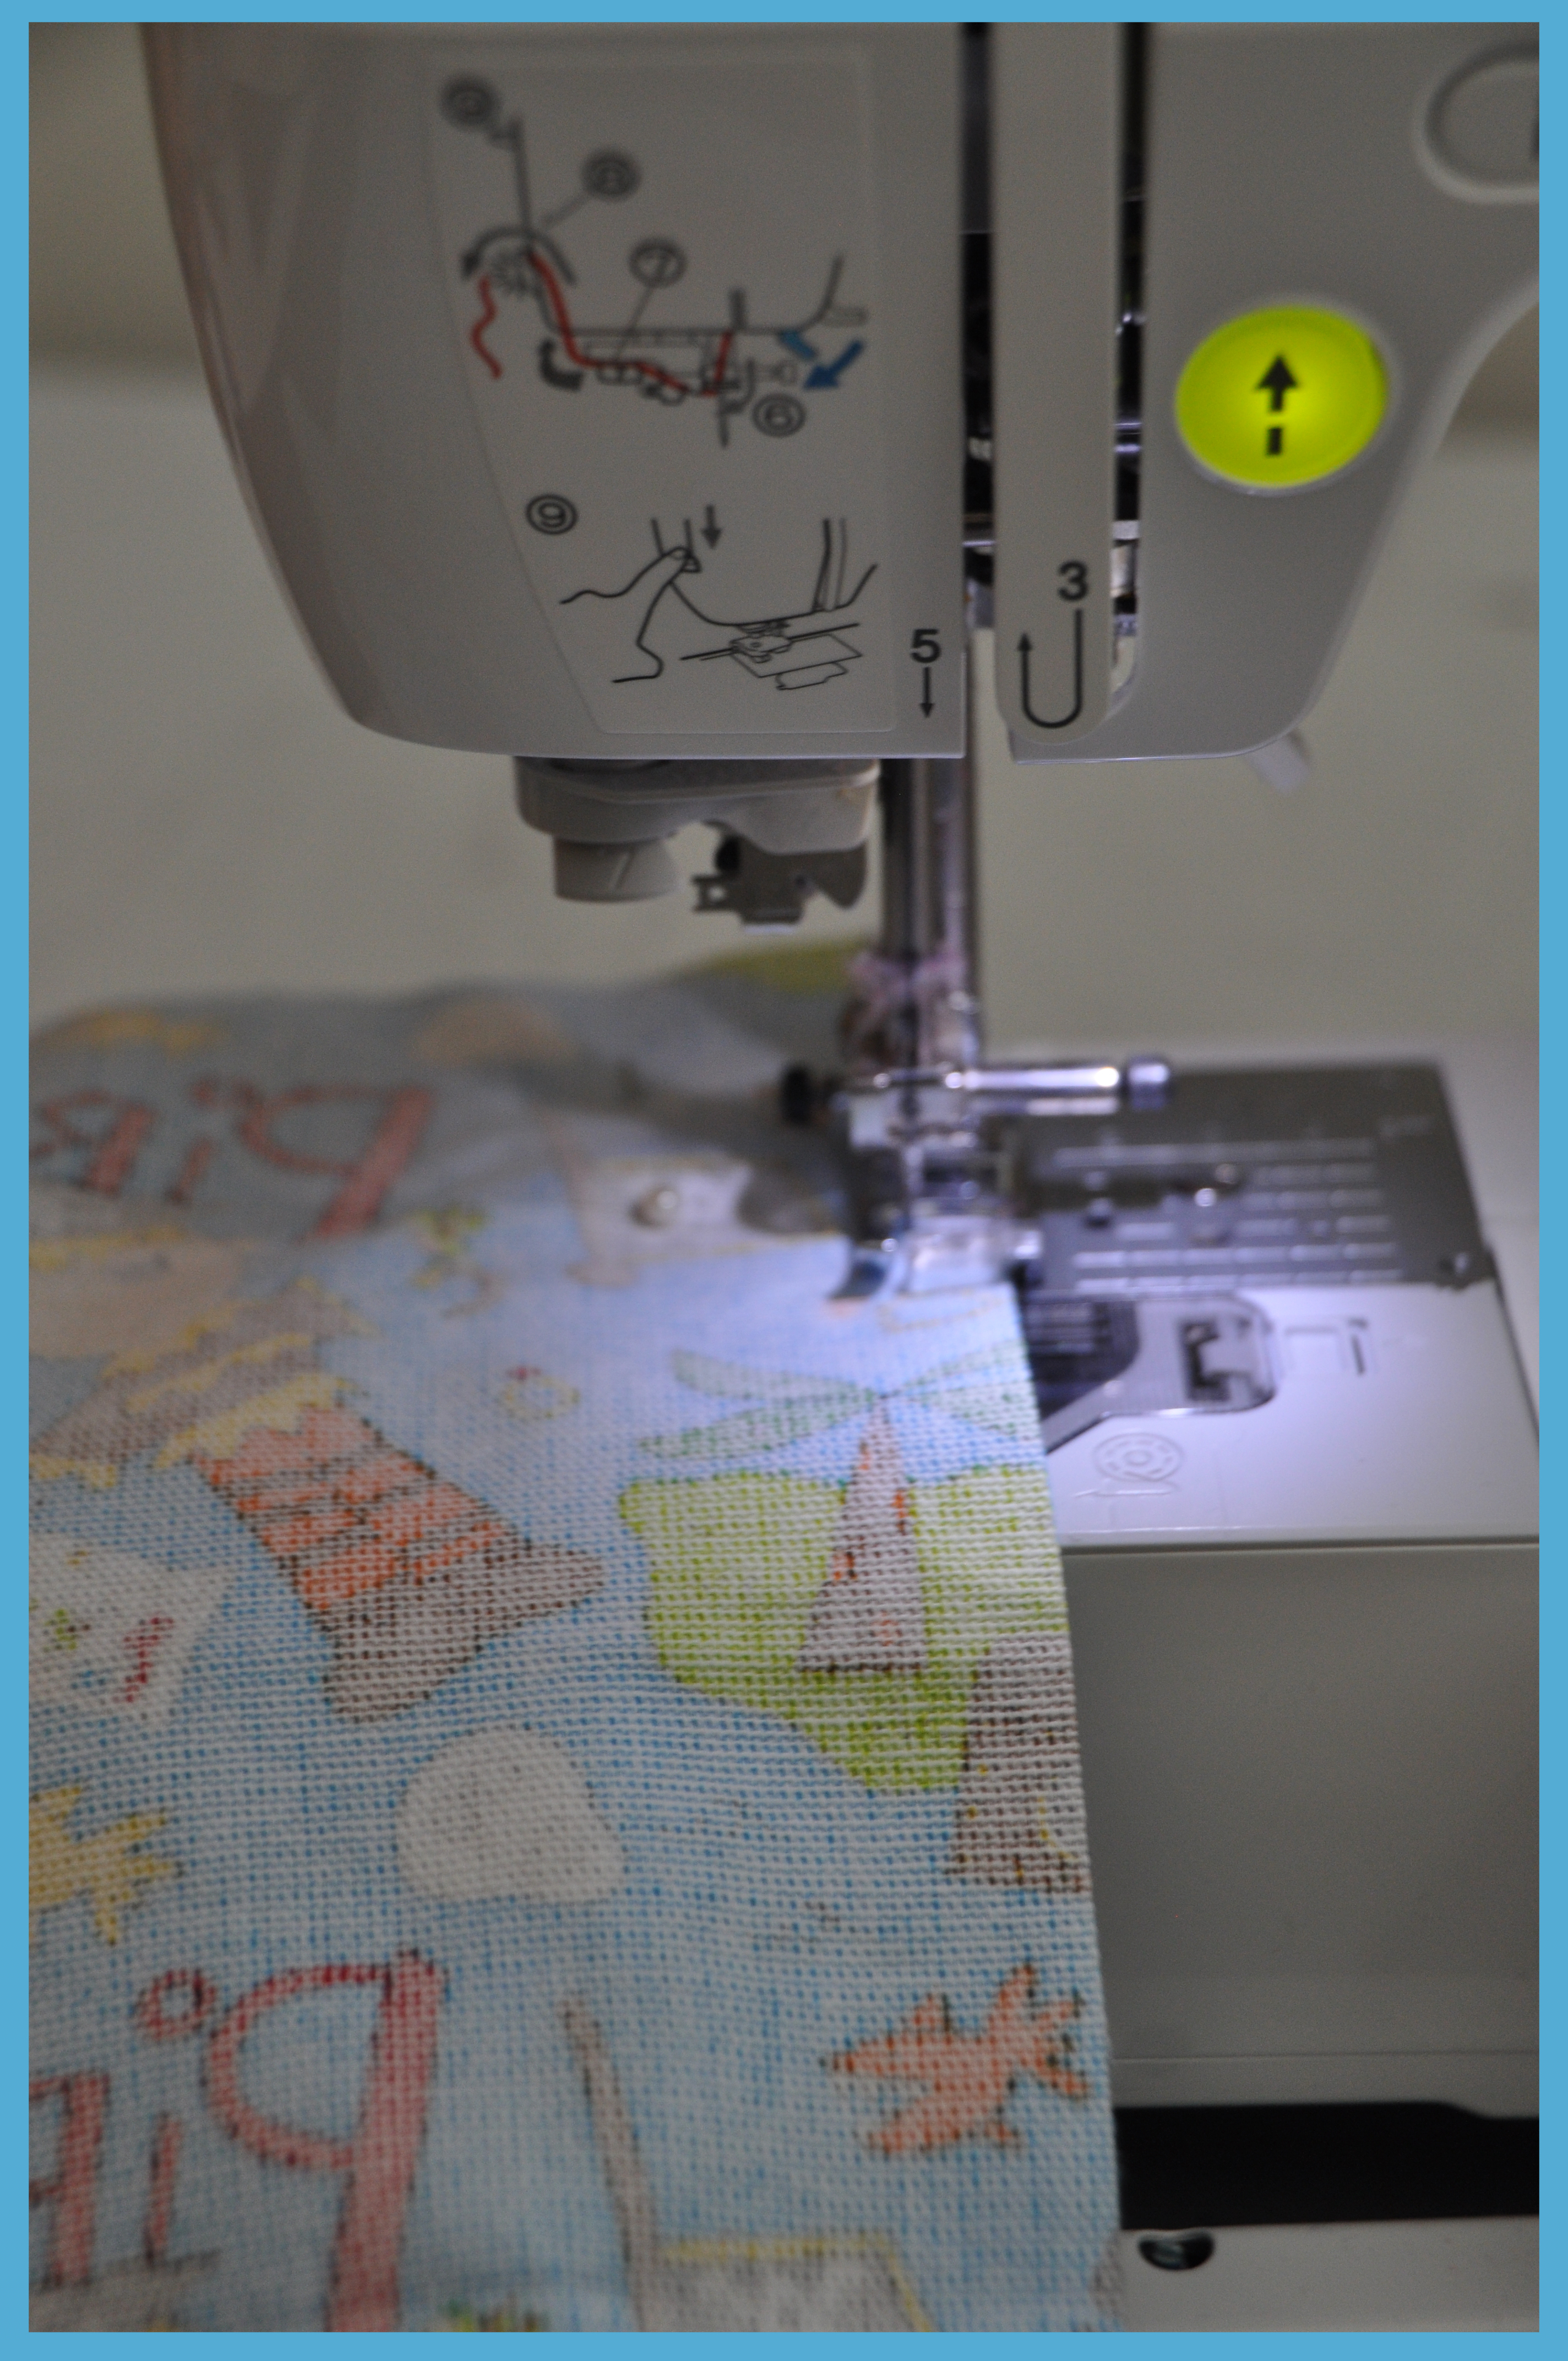
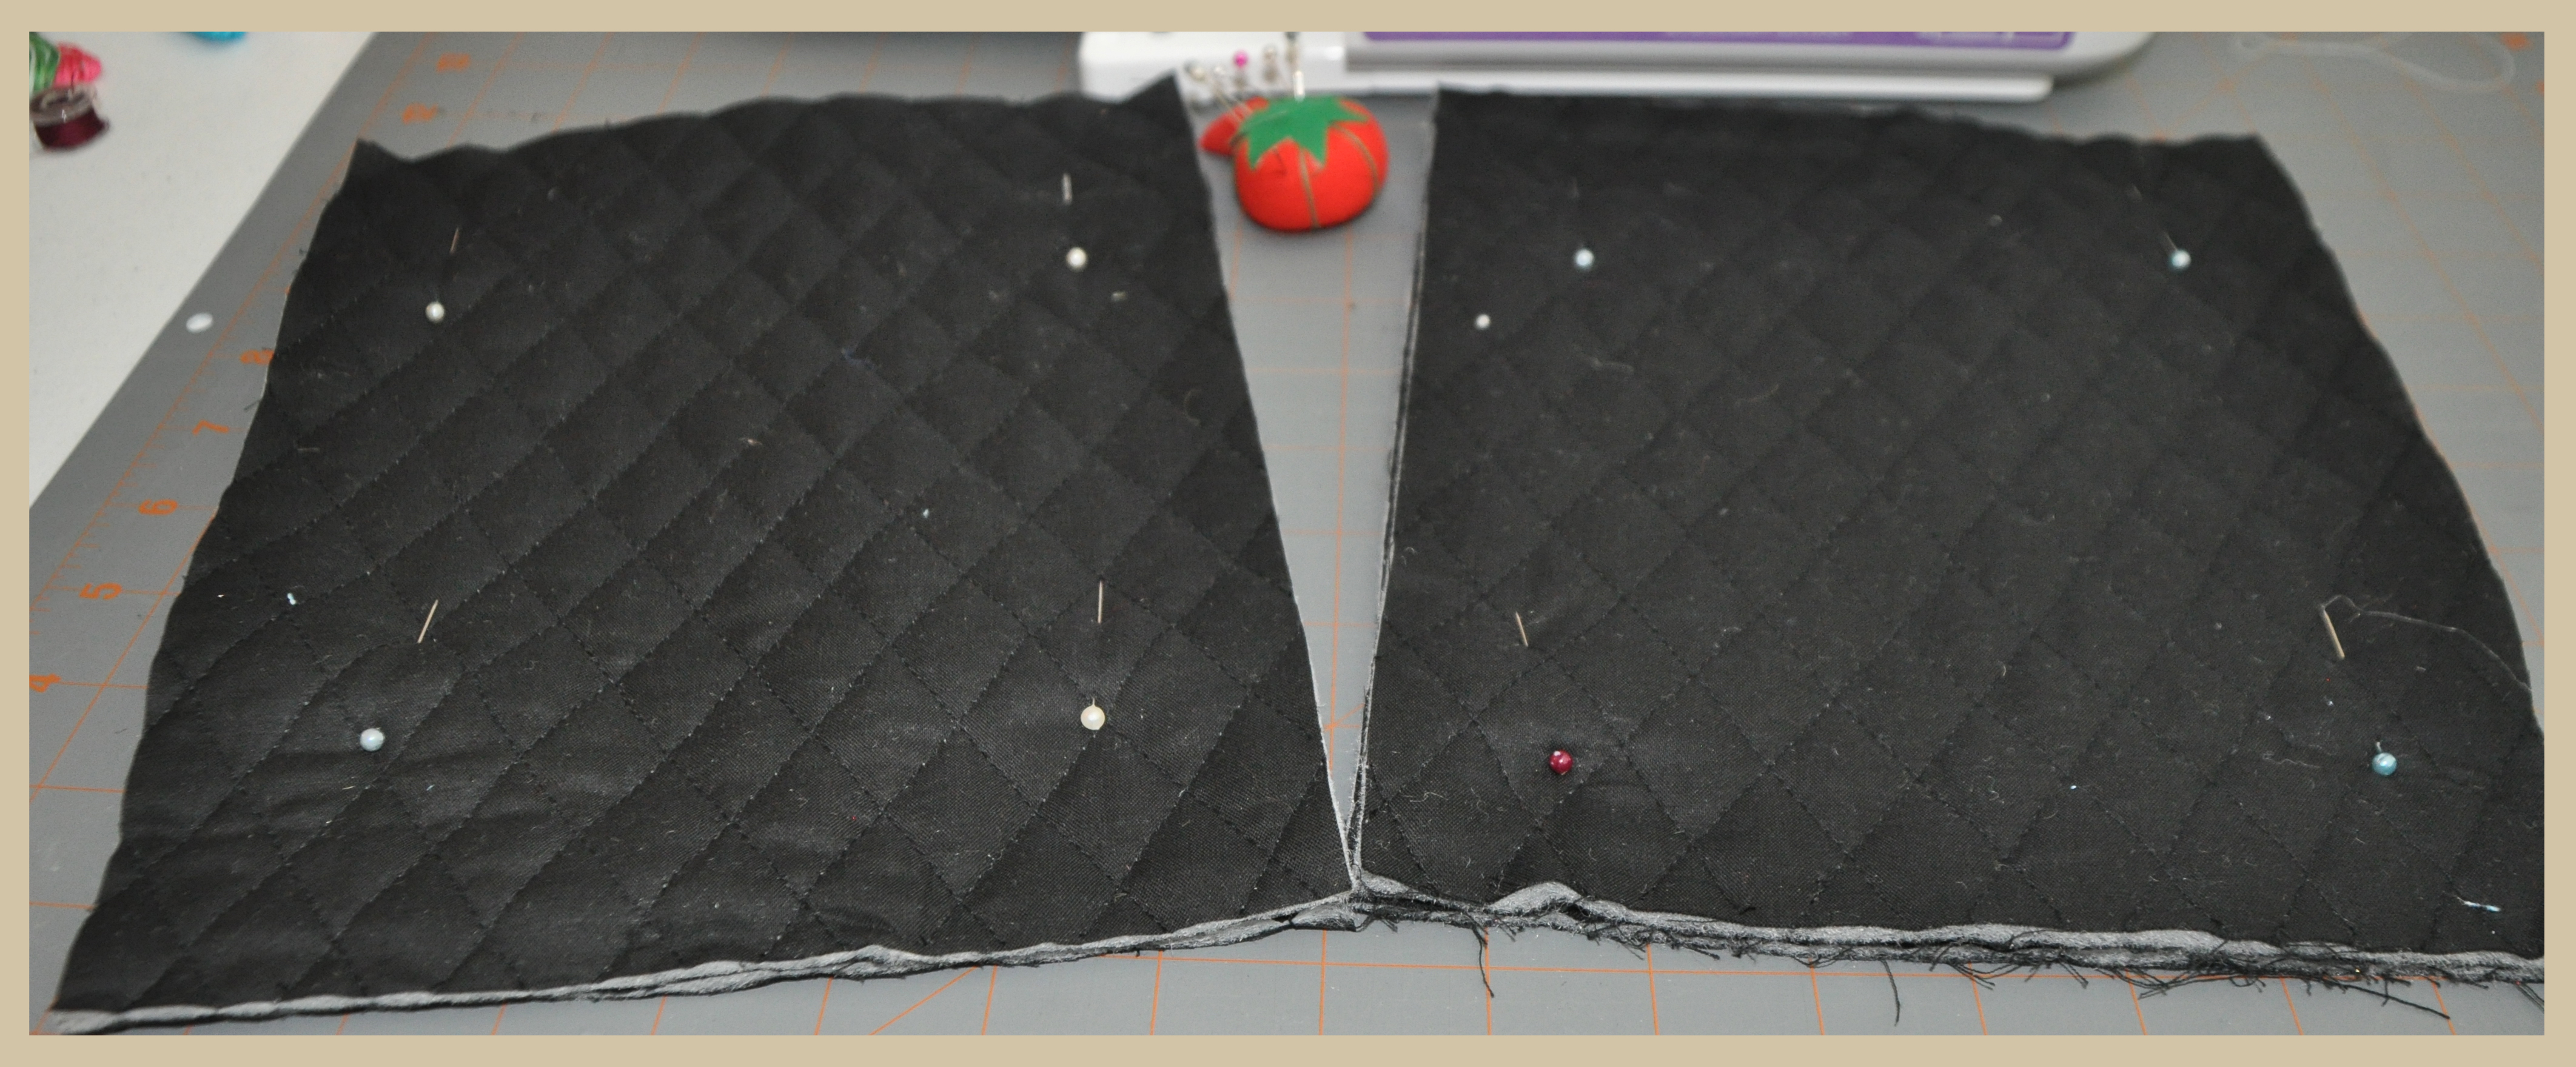 I then sewed them together using the sewing machine, leaving the top open.
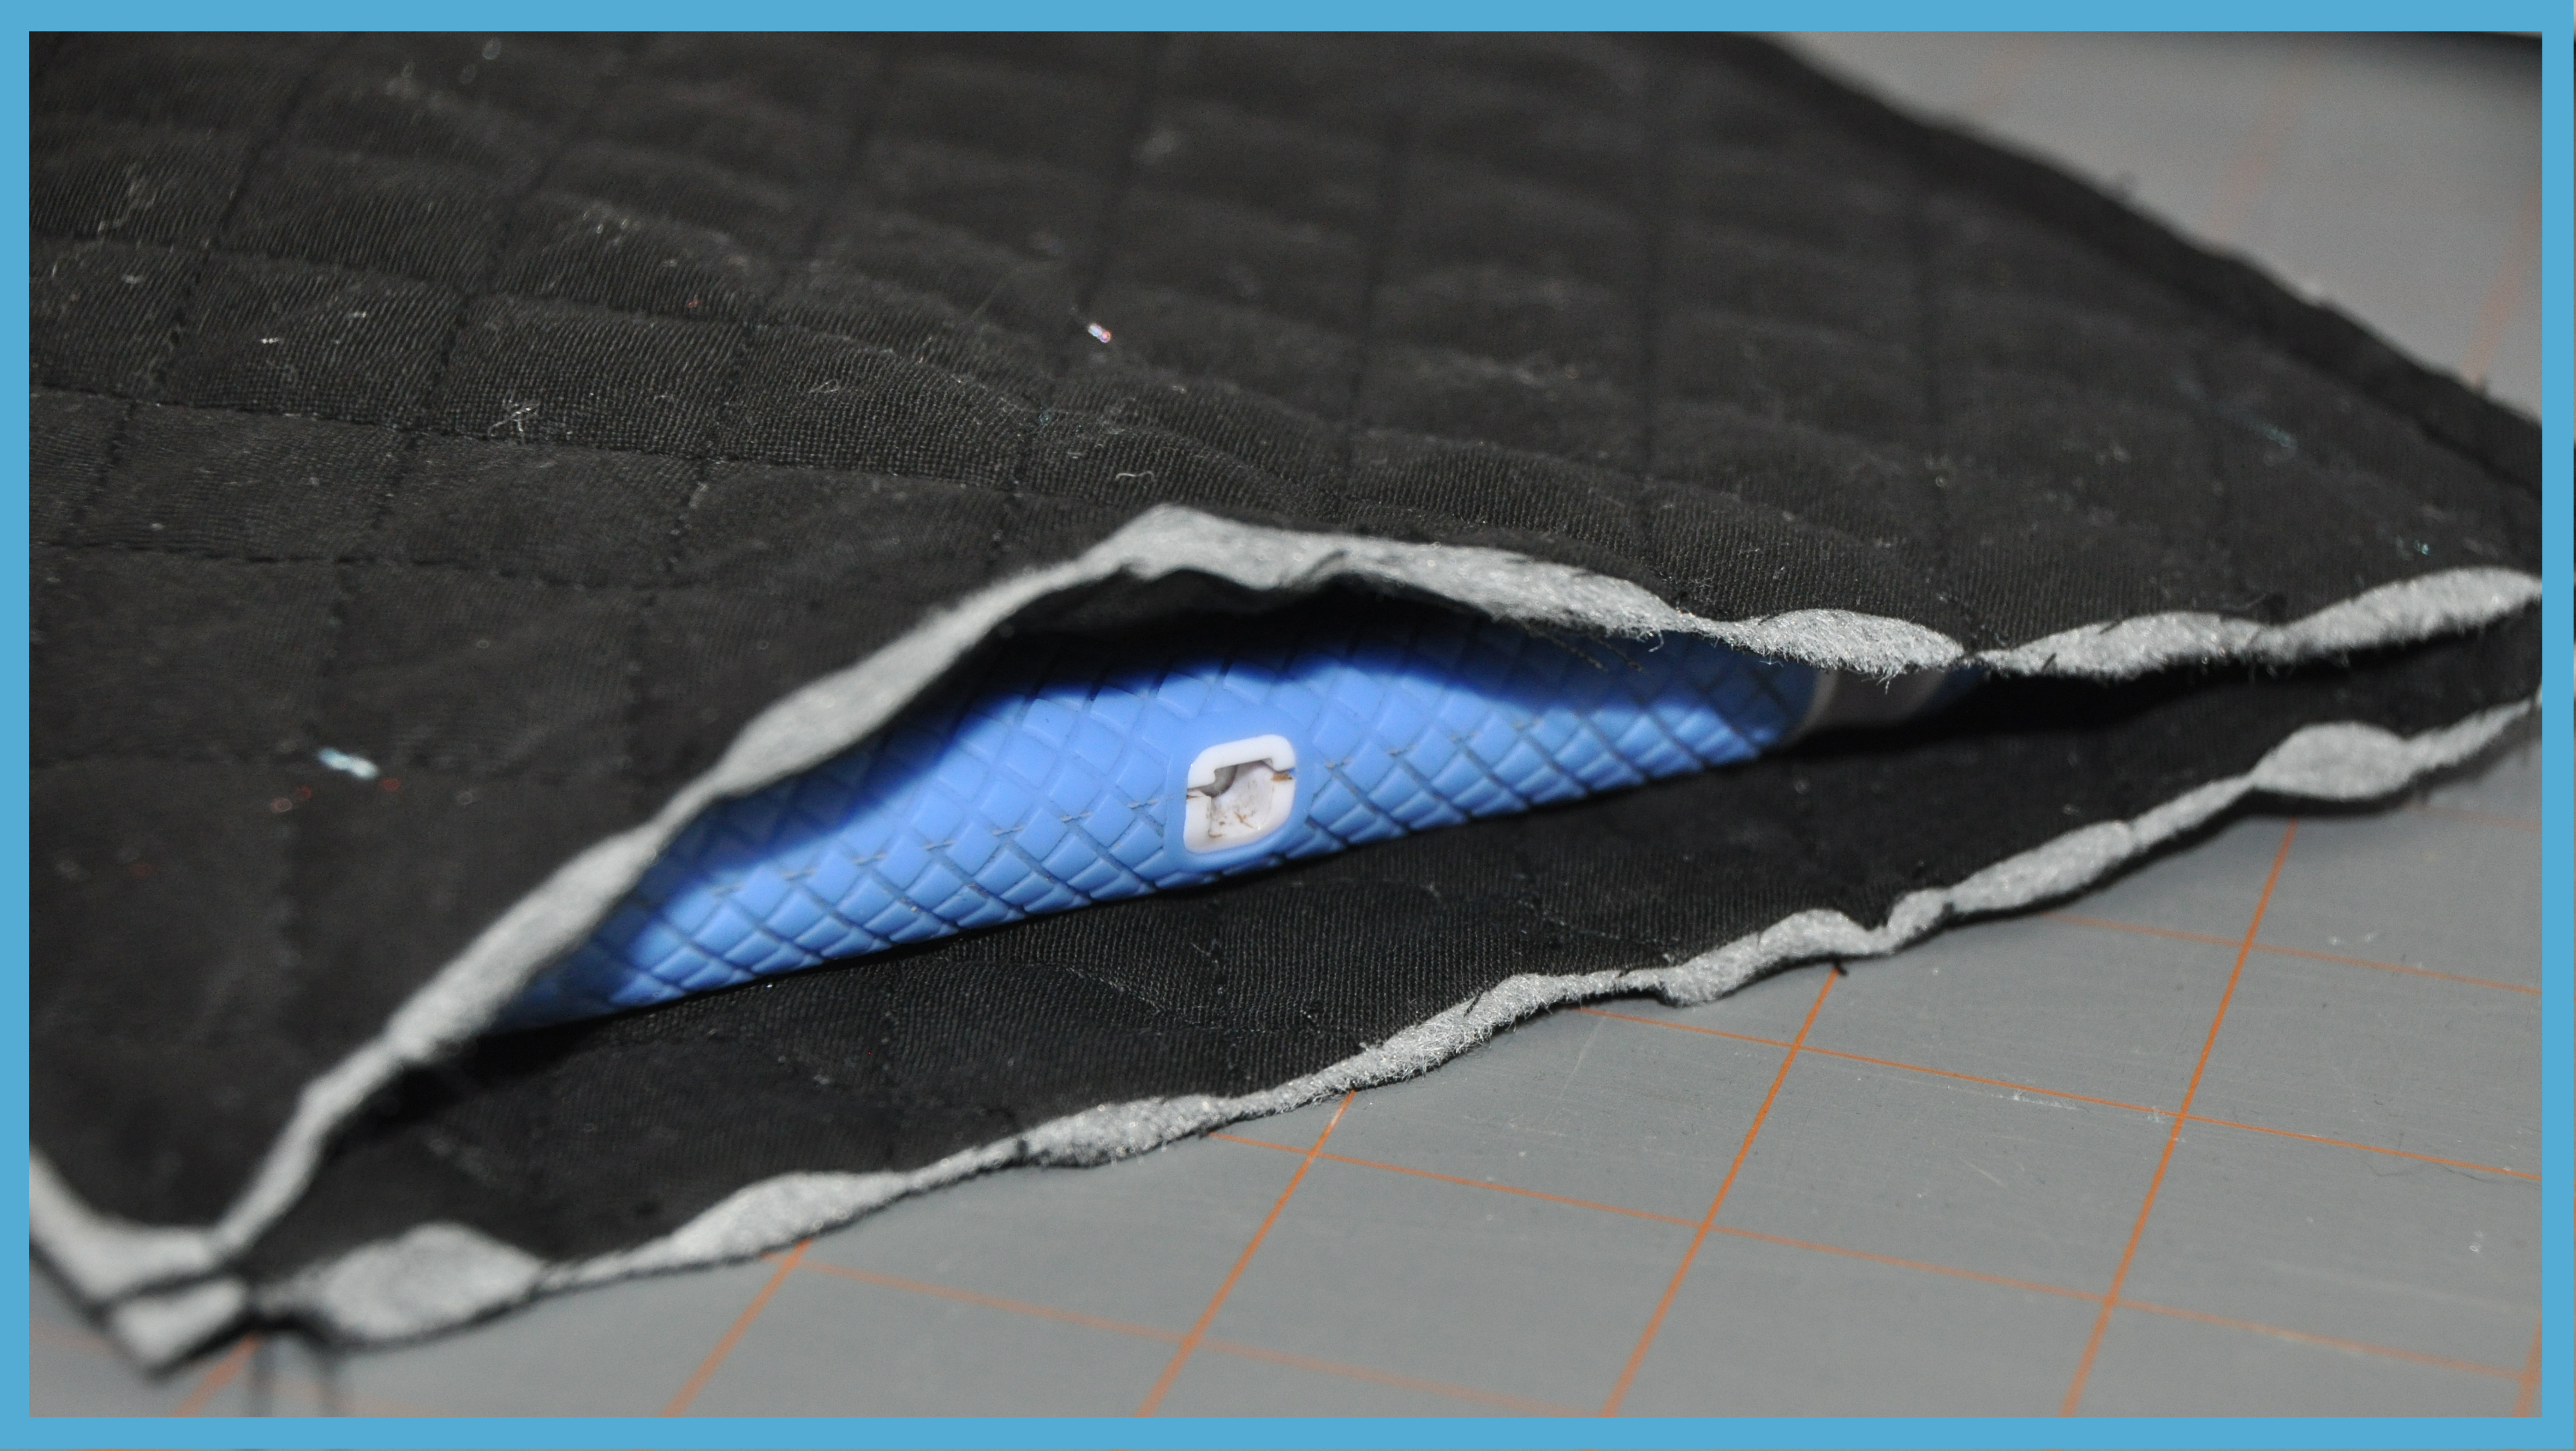
 I wanted to make sure the iPads themselves would fit and of course they did, just right!!
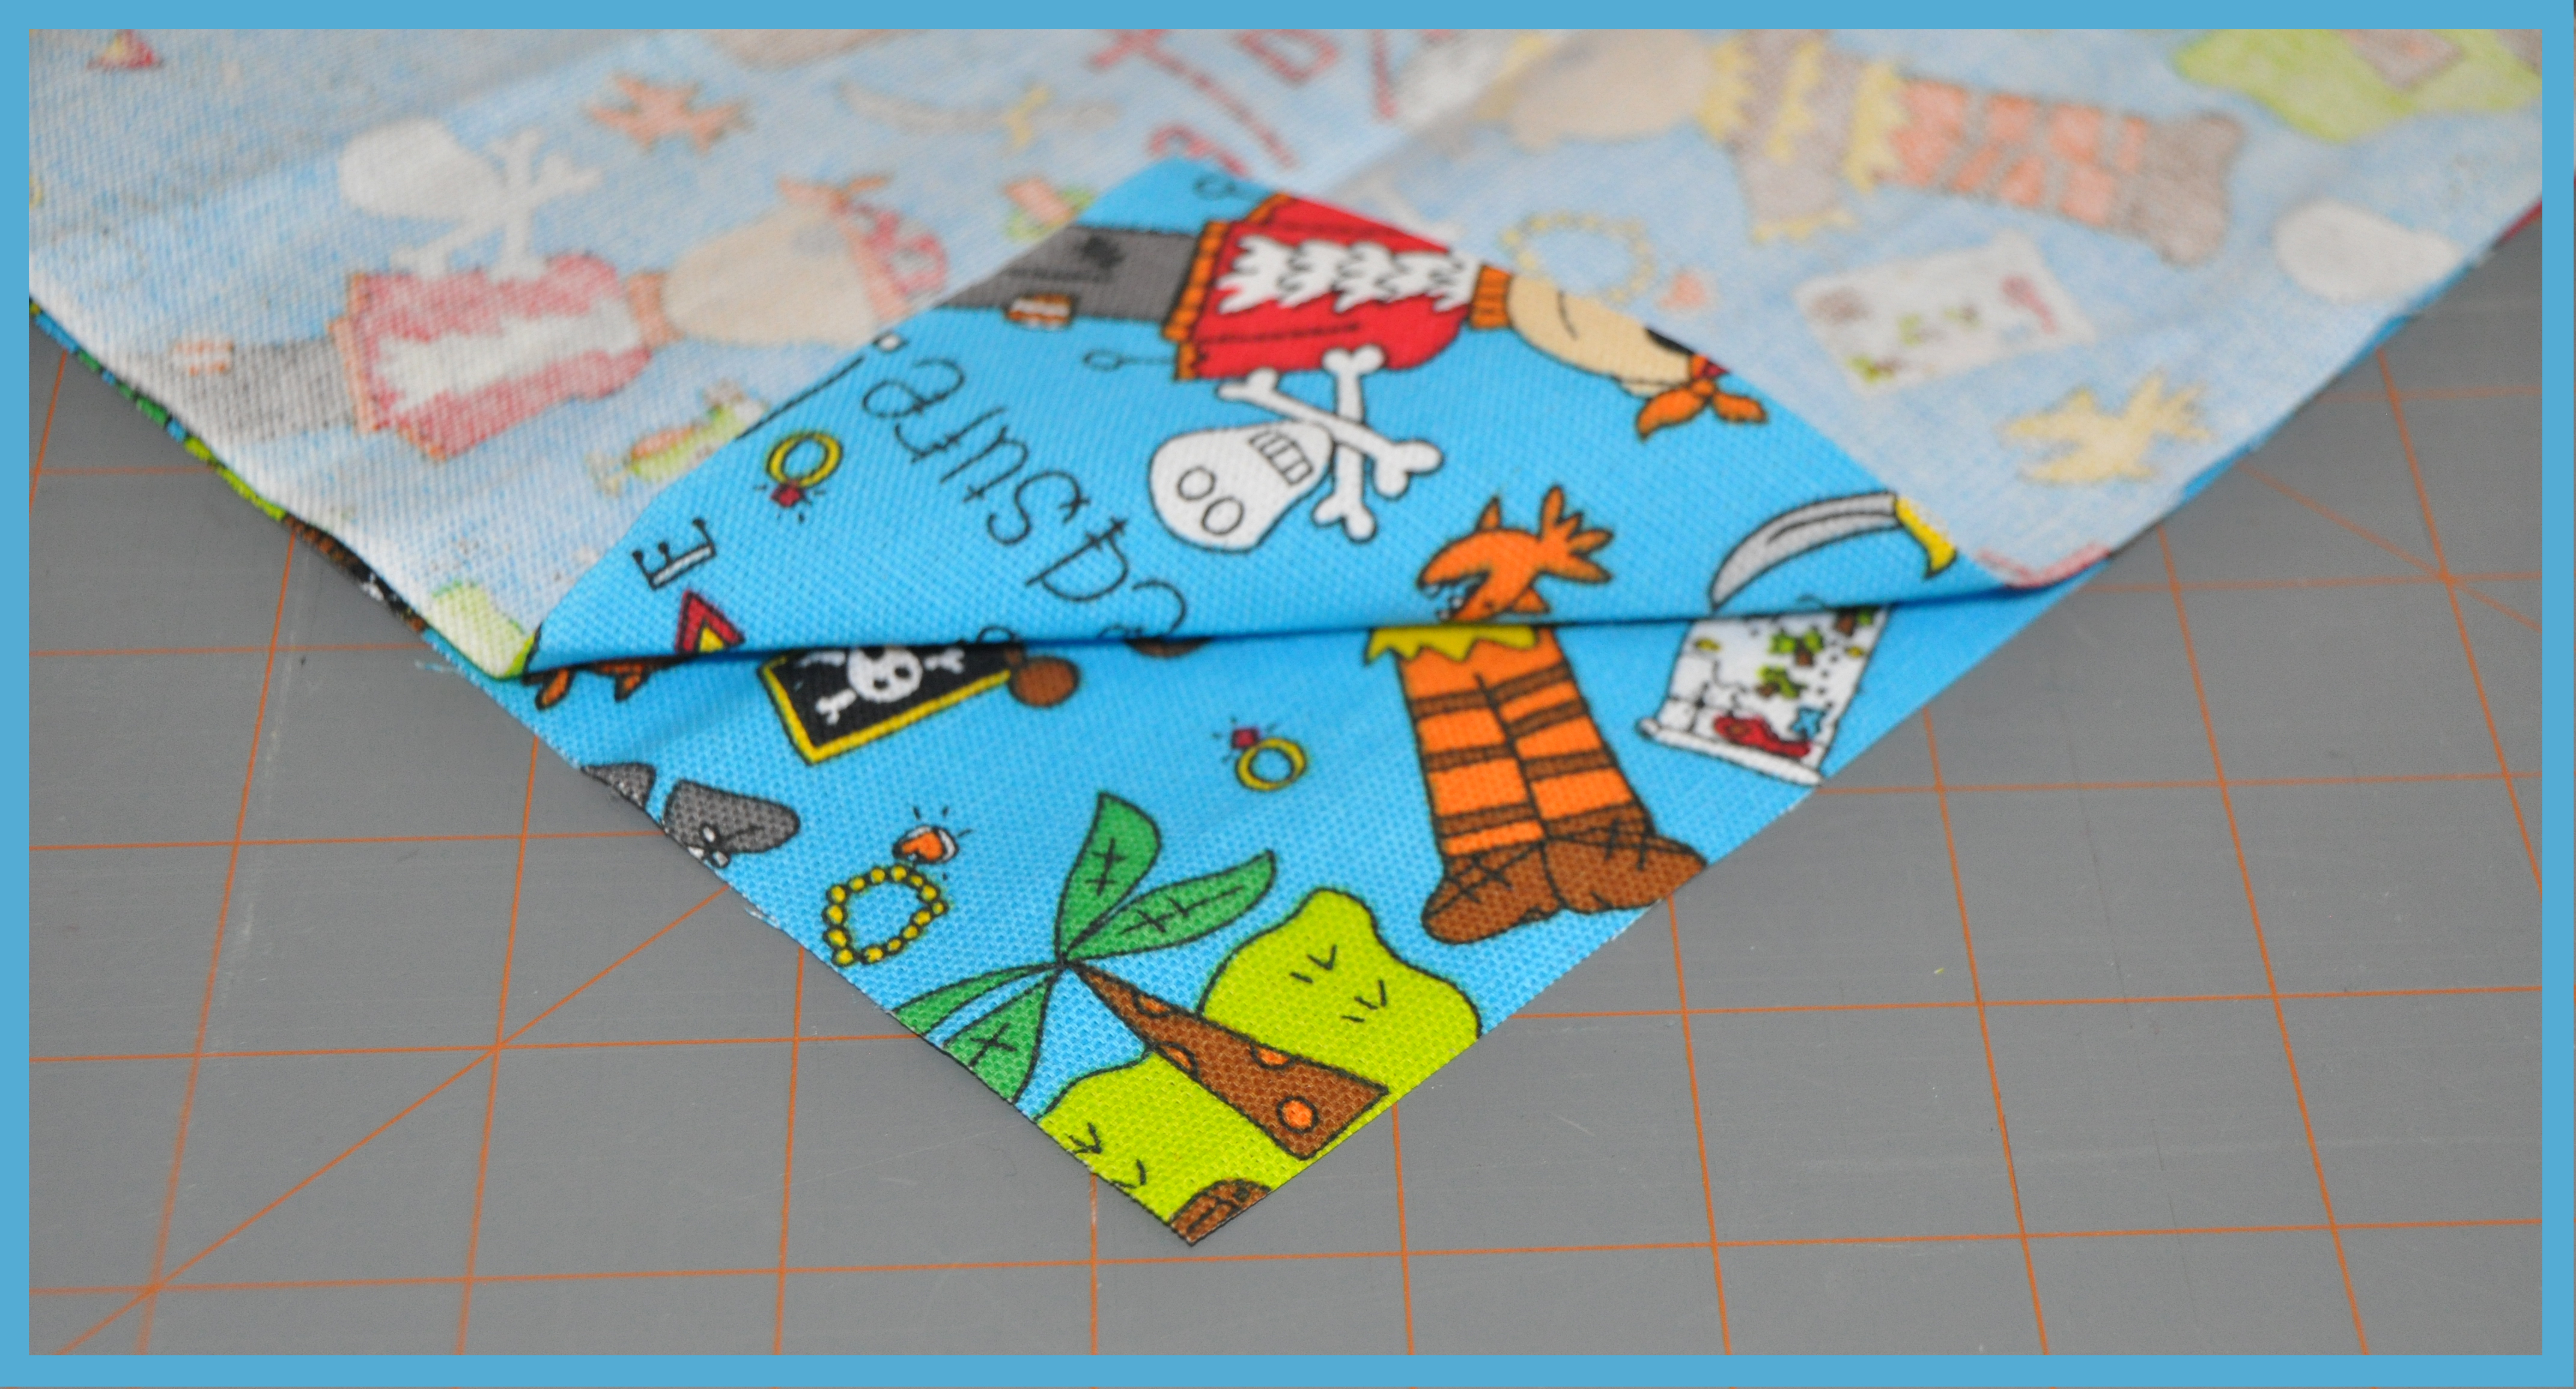
 Then it was on to sewing the fabric together. For the pirate fabric, I put the sides together with the right sides facing together.
 And then I sewed those together, again leaving the top open.
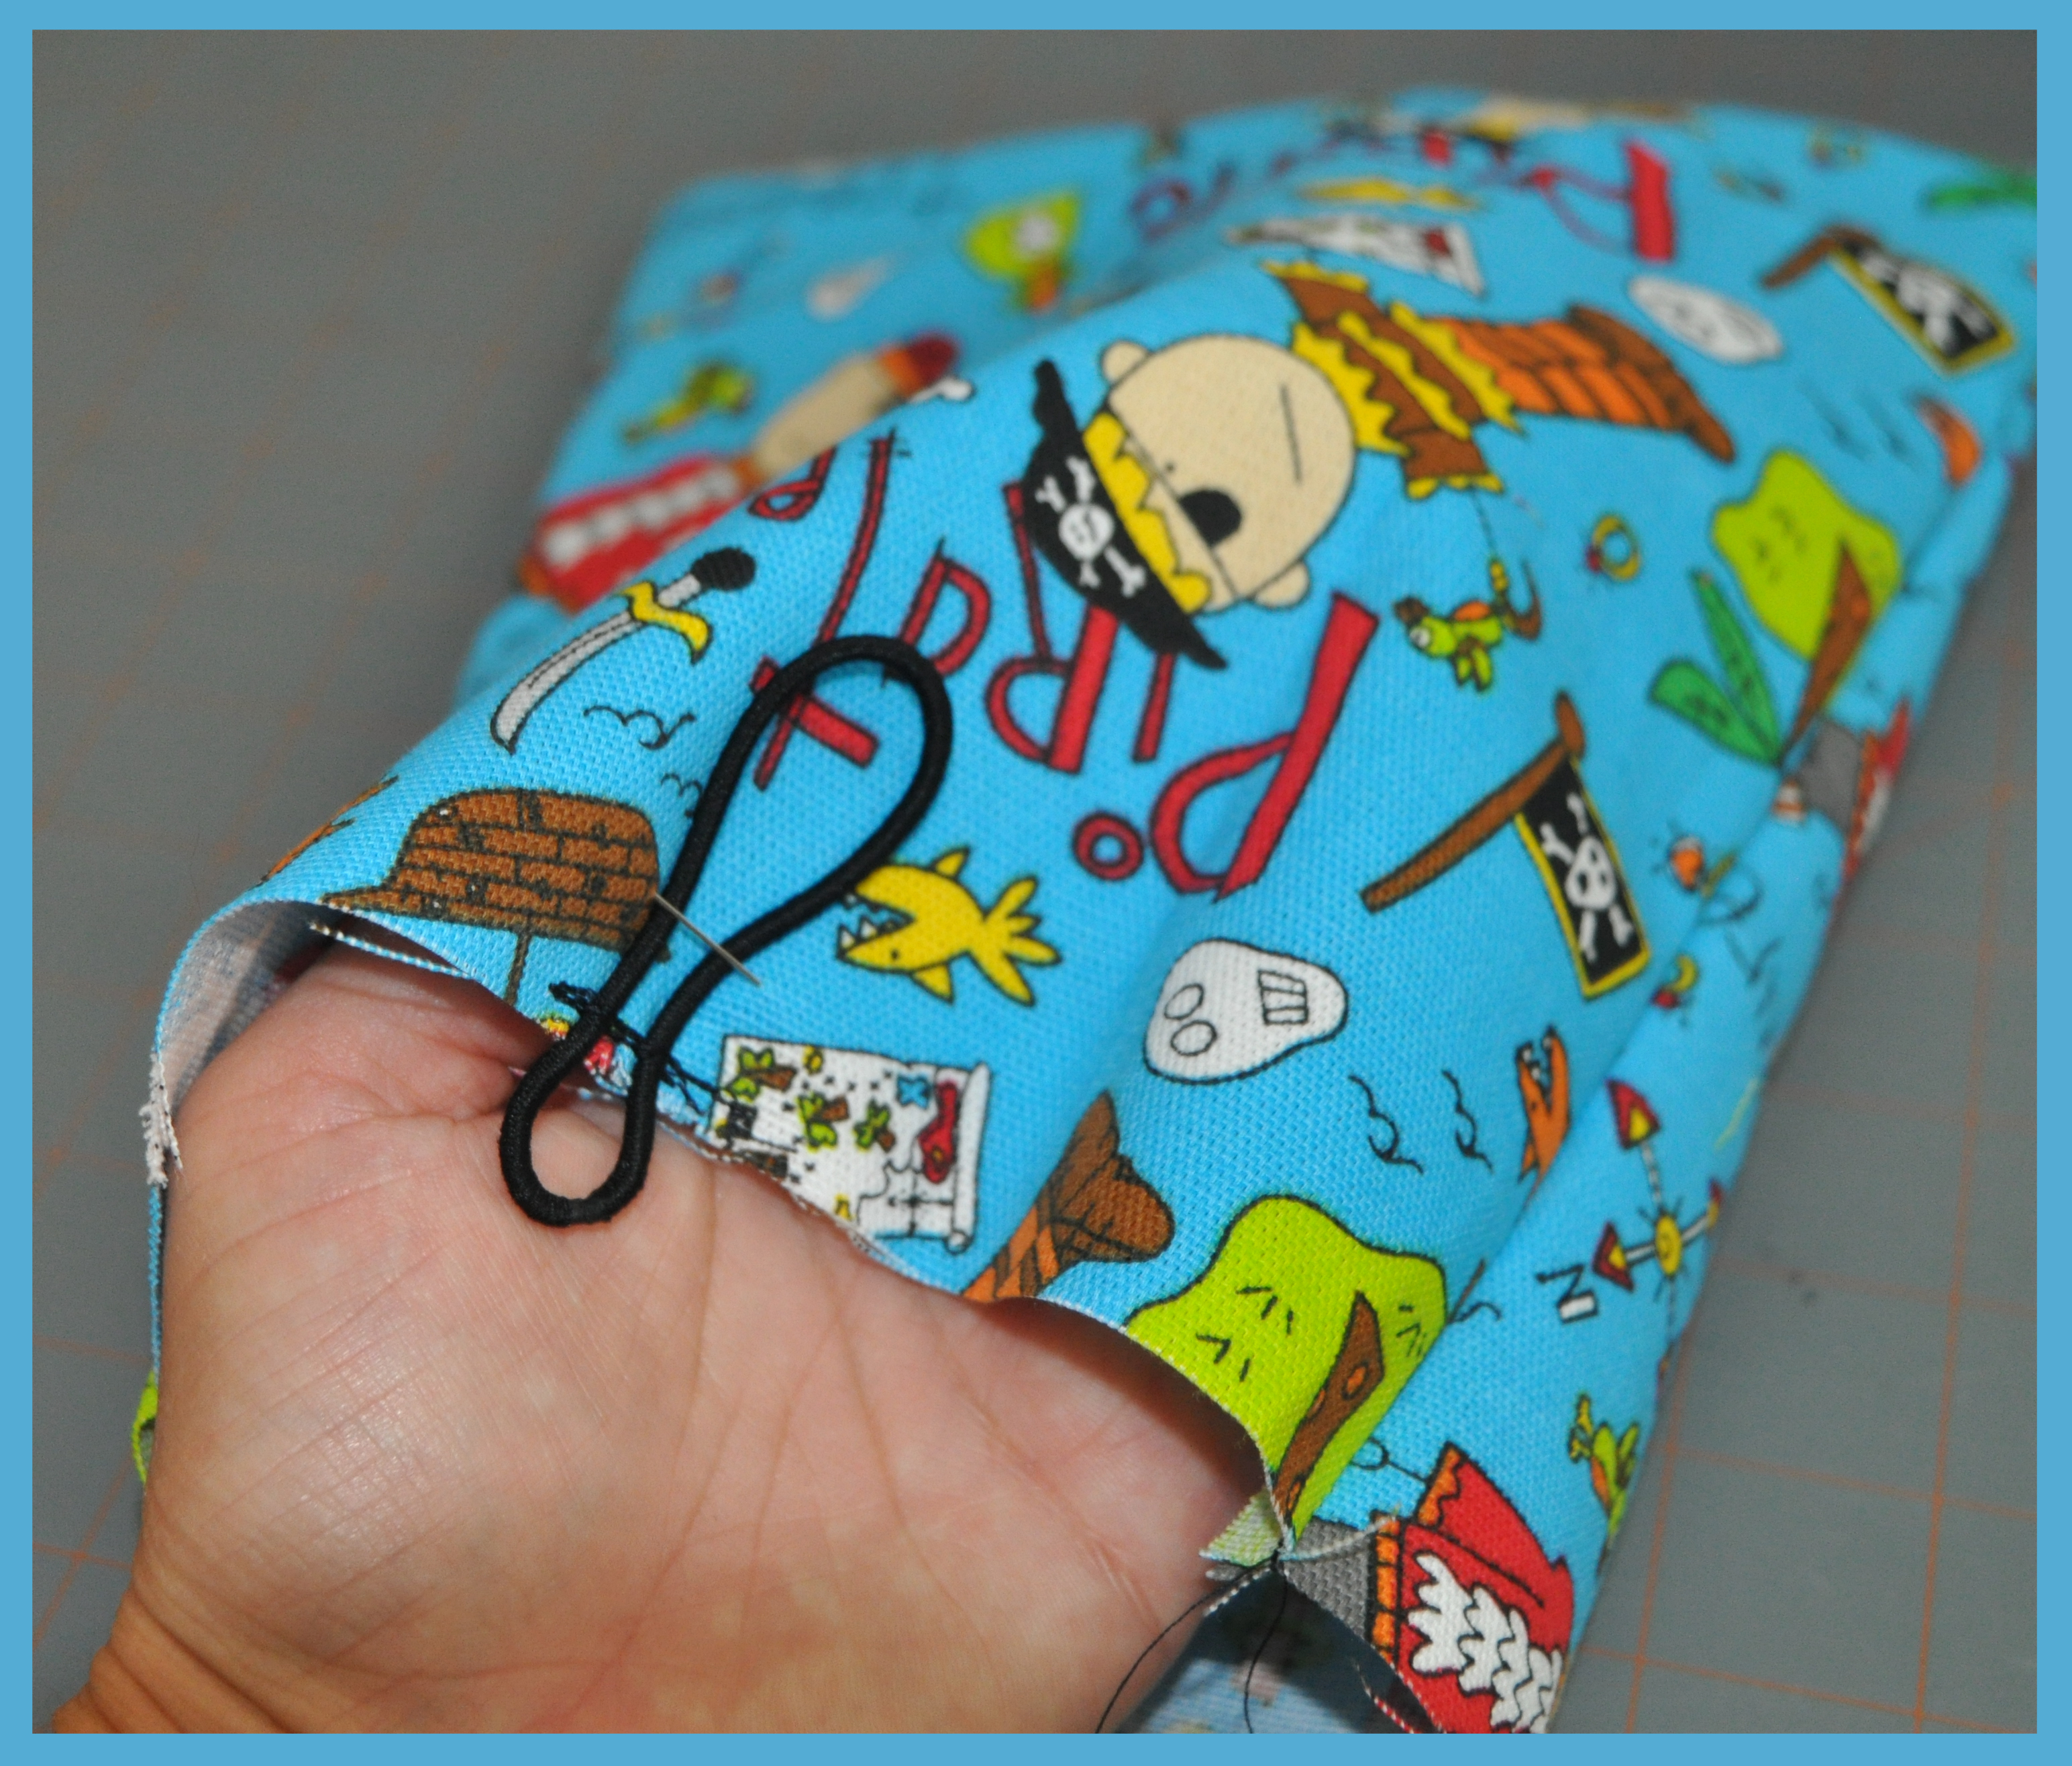
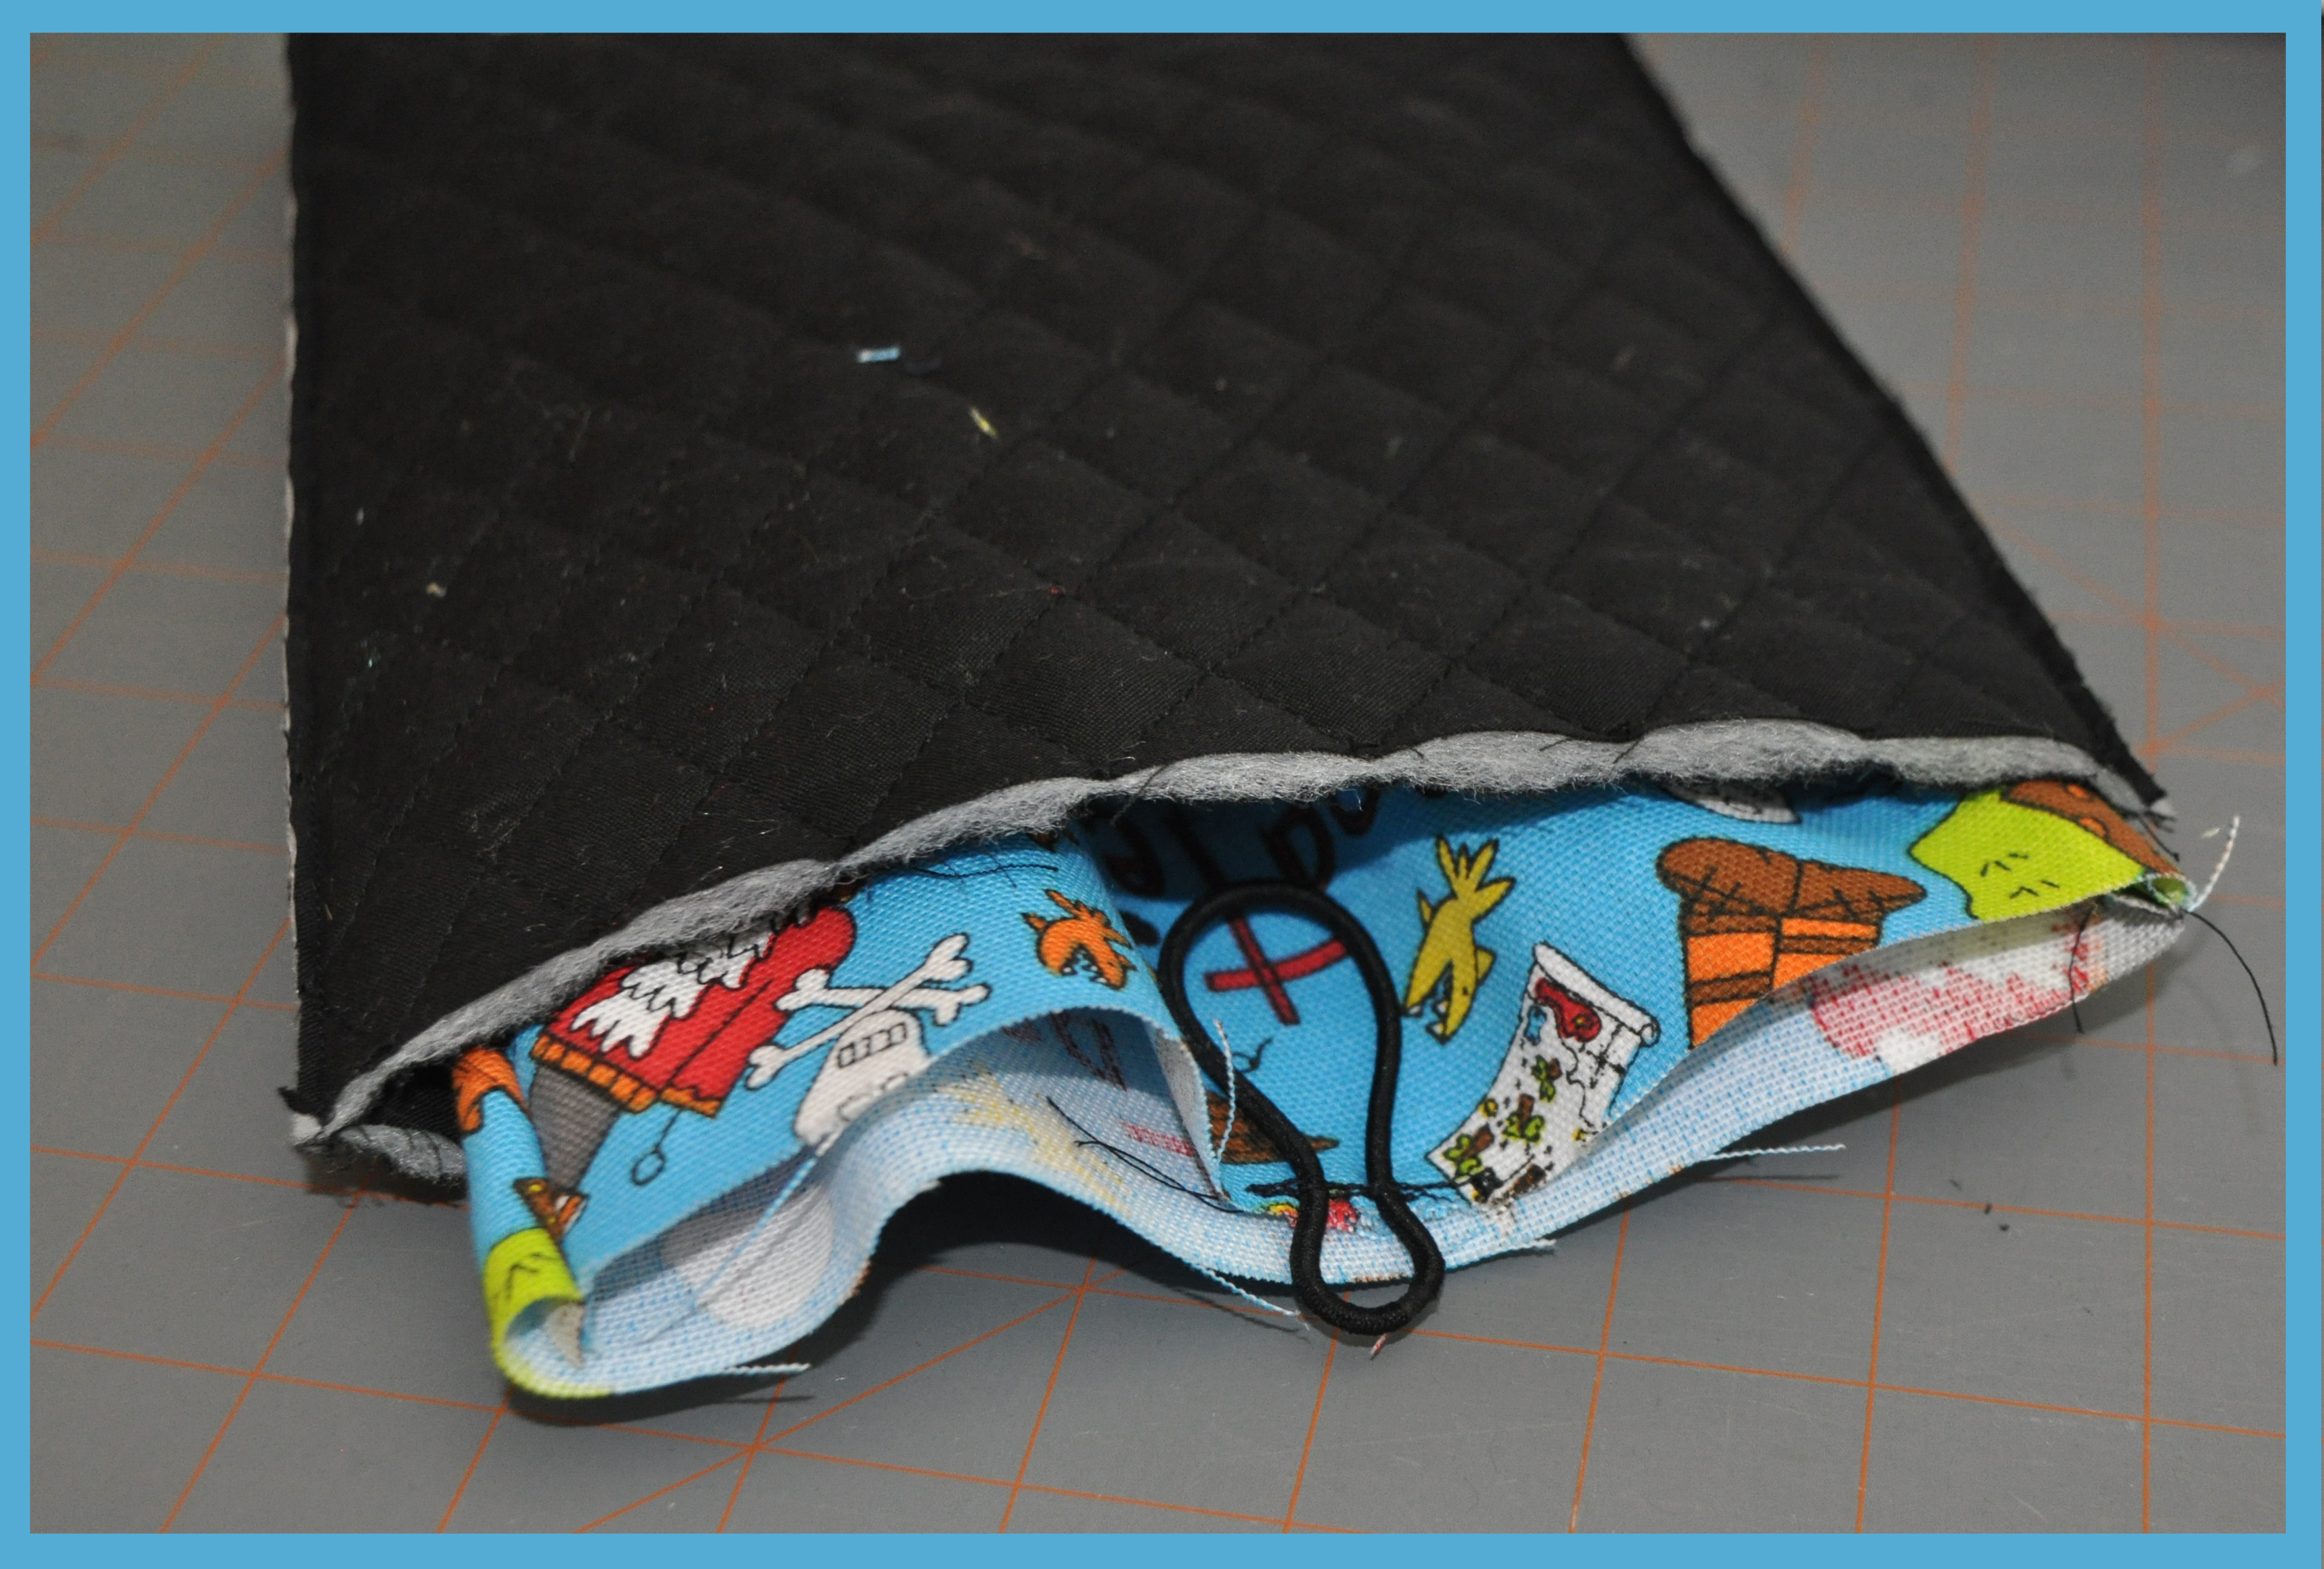
 Then, taking my metal-less hair rubberband, I pinned it in place and sewed it to the outside of the fabric.
 With the pirate fabric the turned right side out, I placed it inside the quilted pocket, making sure that the rubberband was tucked down in between the pockets.
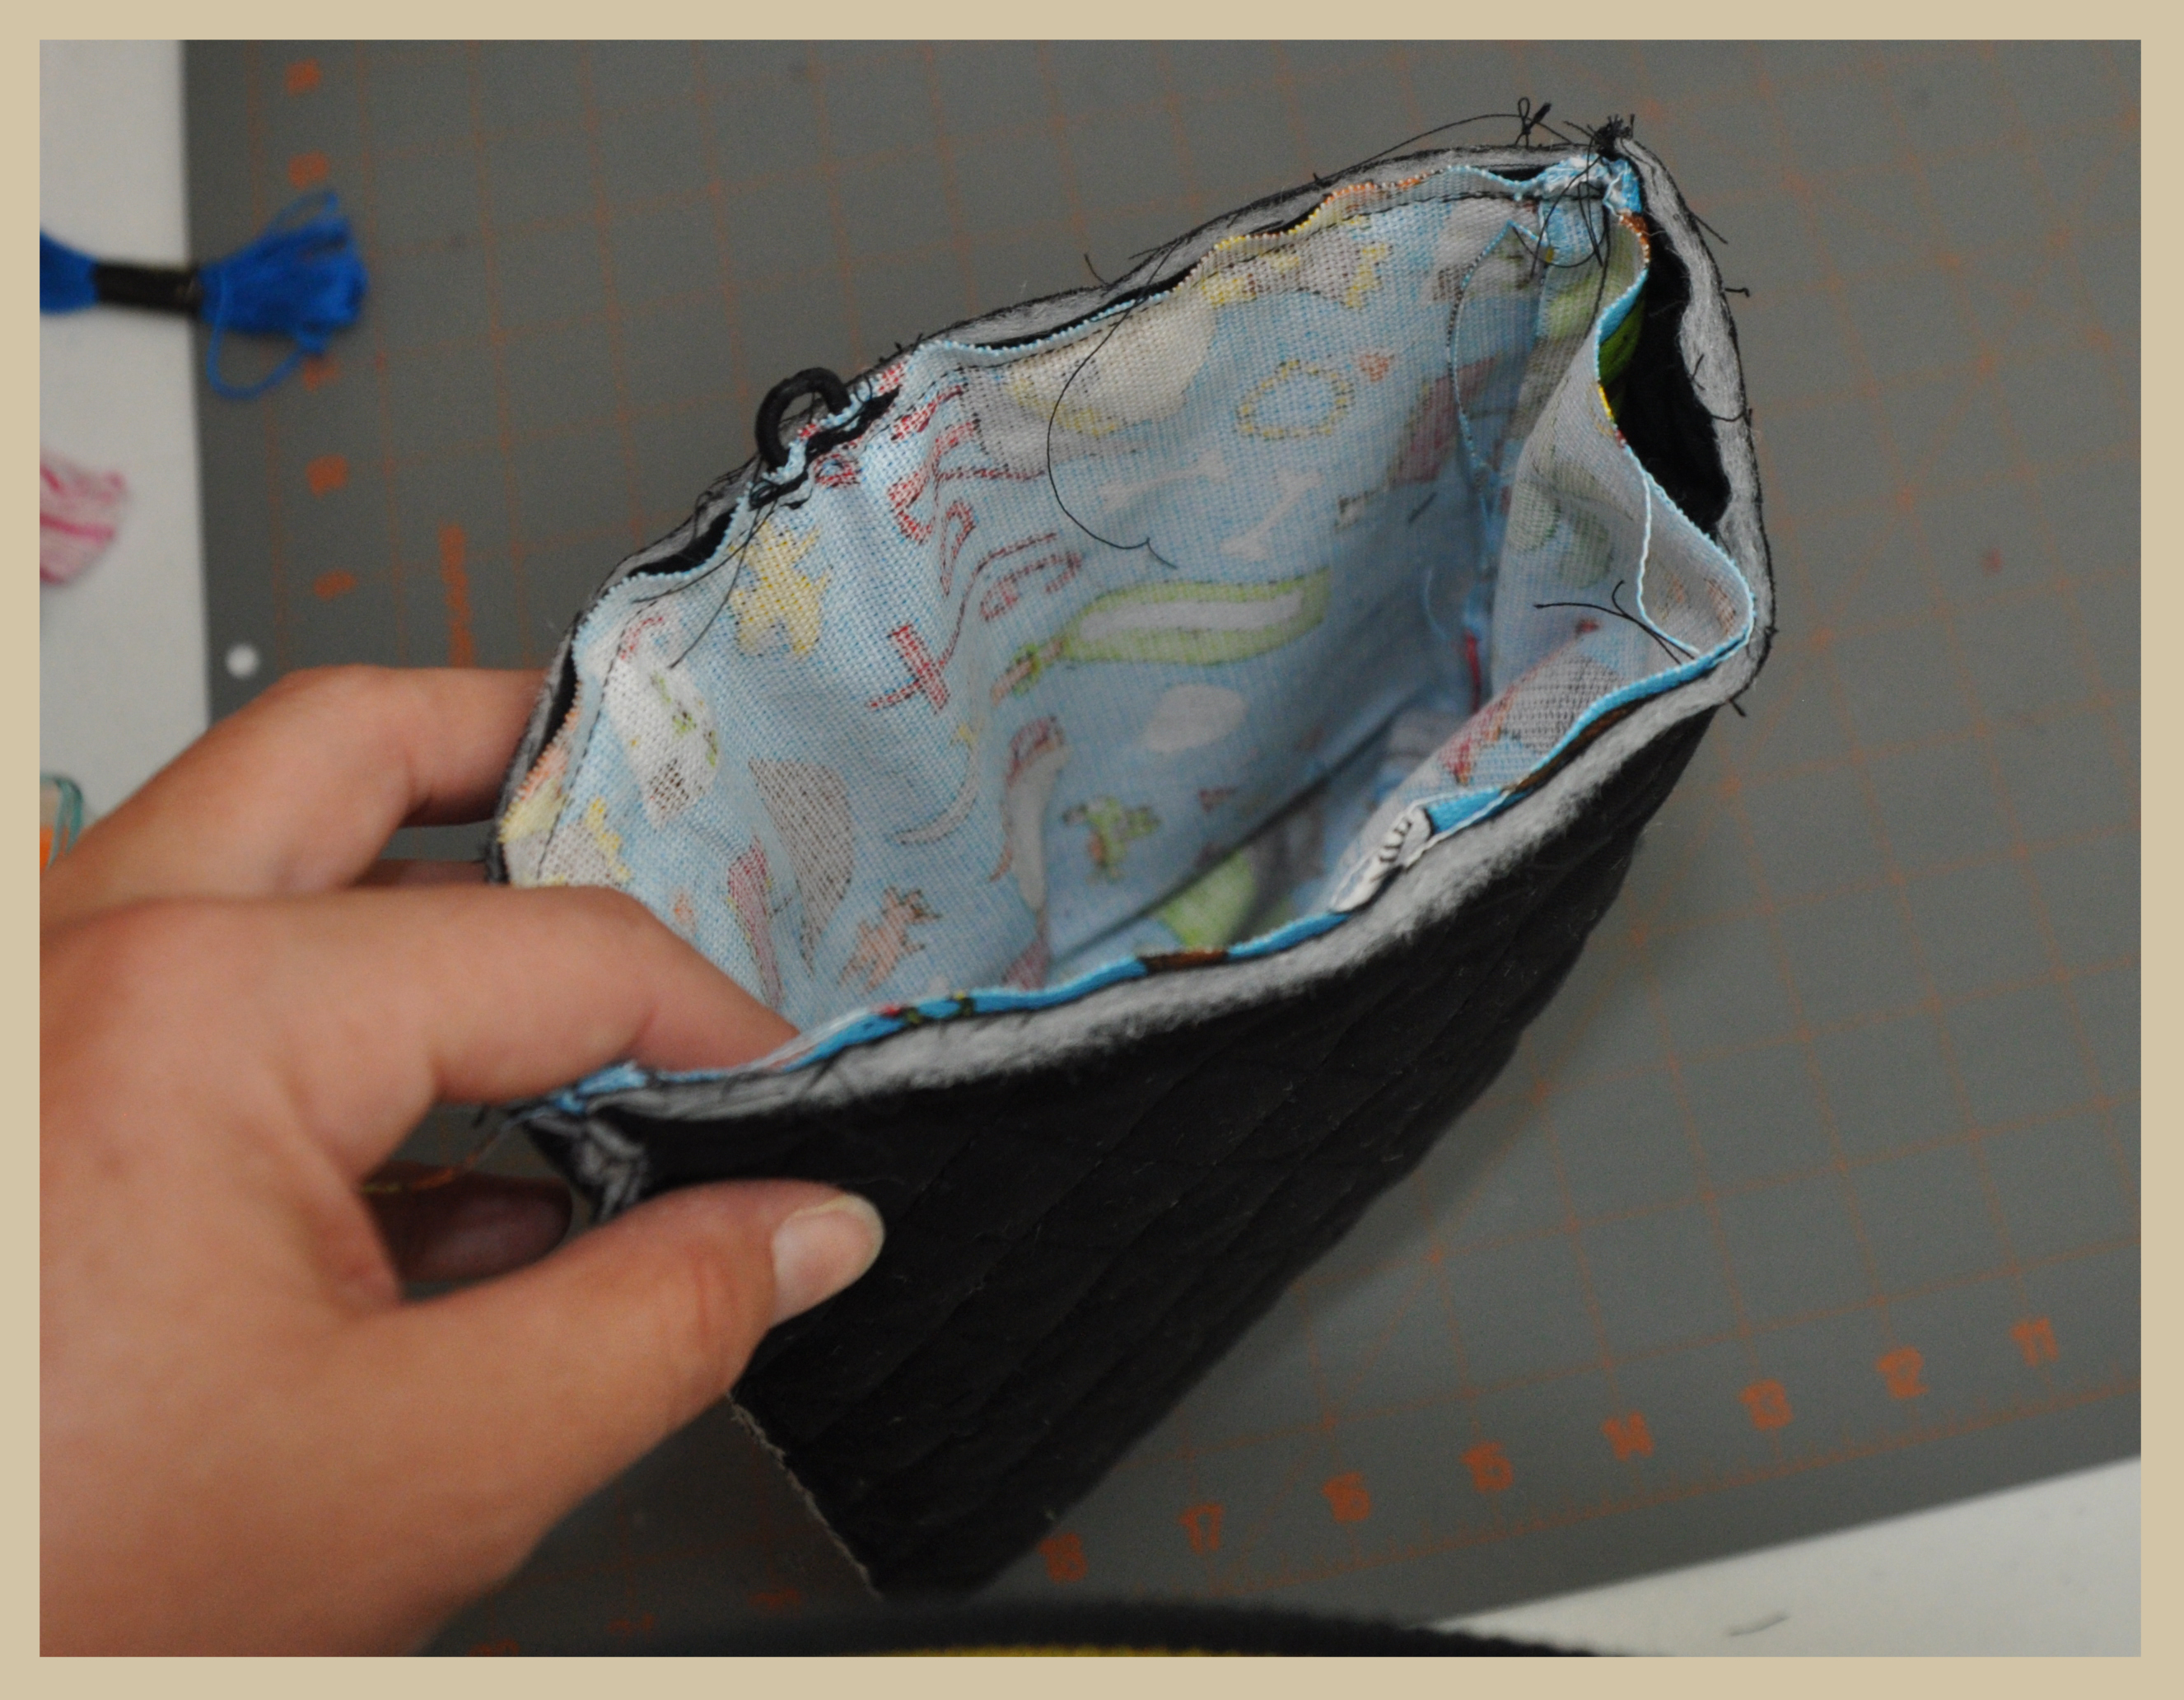
 Then, I pinned the pockets together and began to sew around the top, leaving about two inches open so that I could turn the pirate fabric right side out and then stuff the quilted fabric into the pirate fabric, creating a quilted pocket!
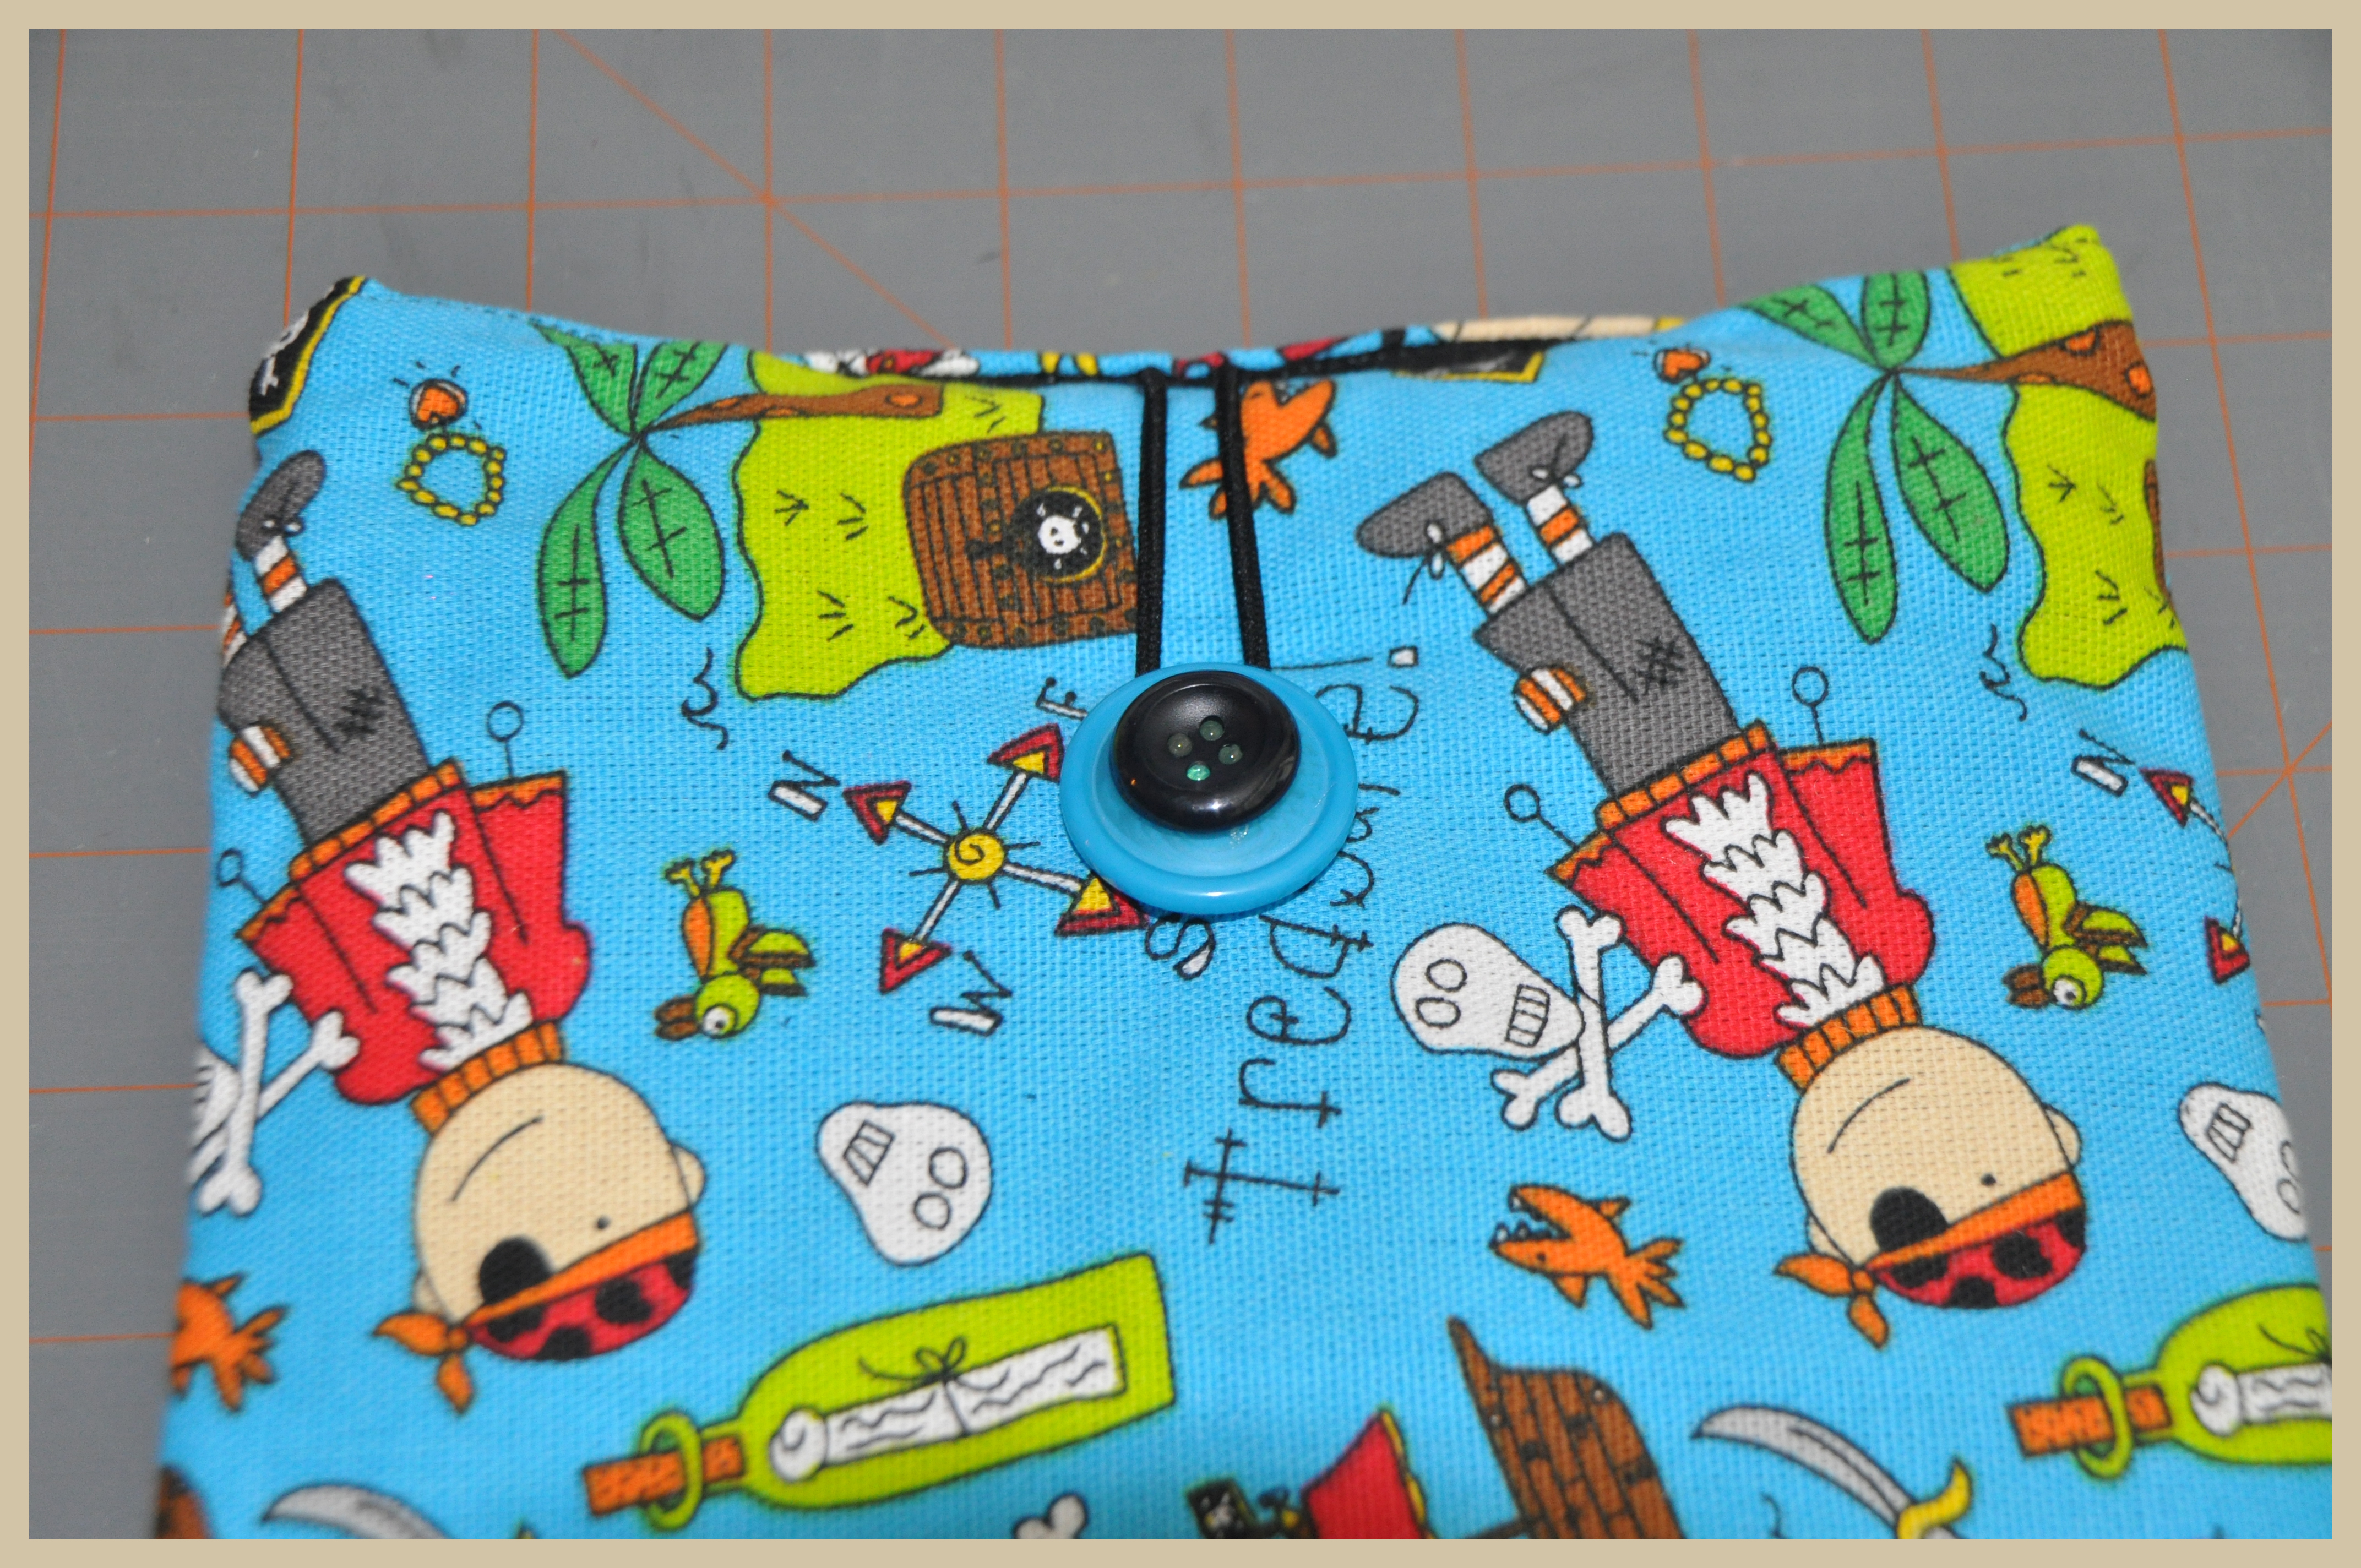
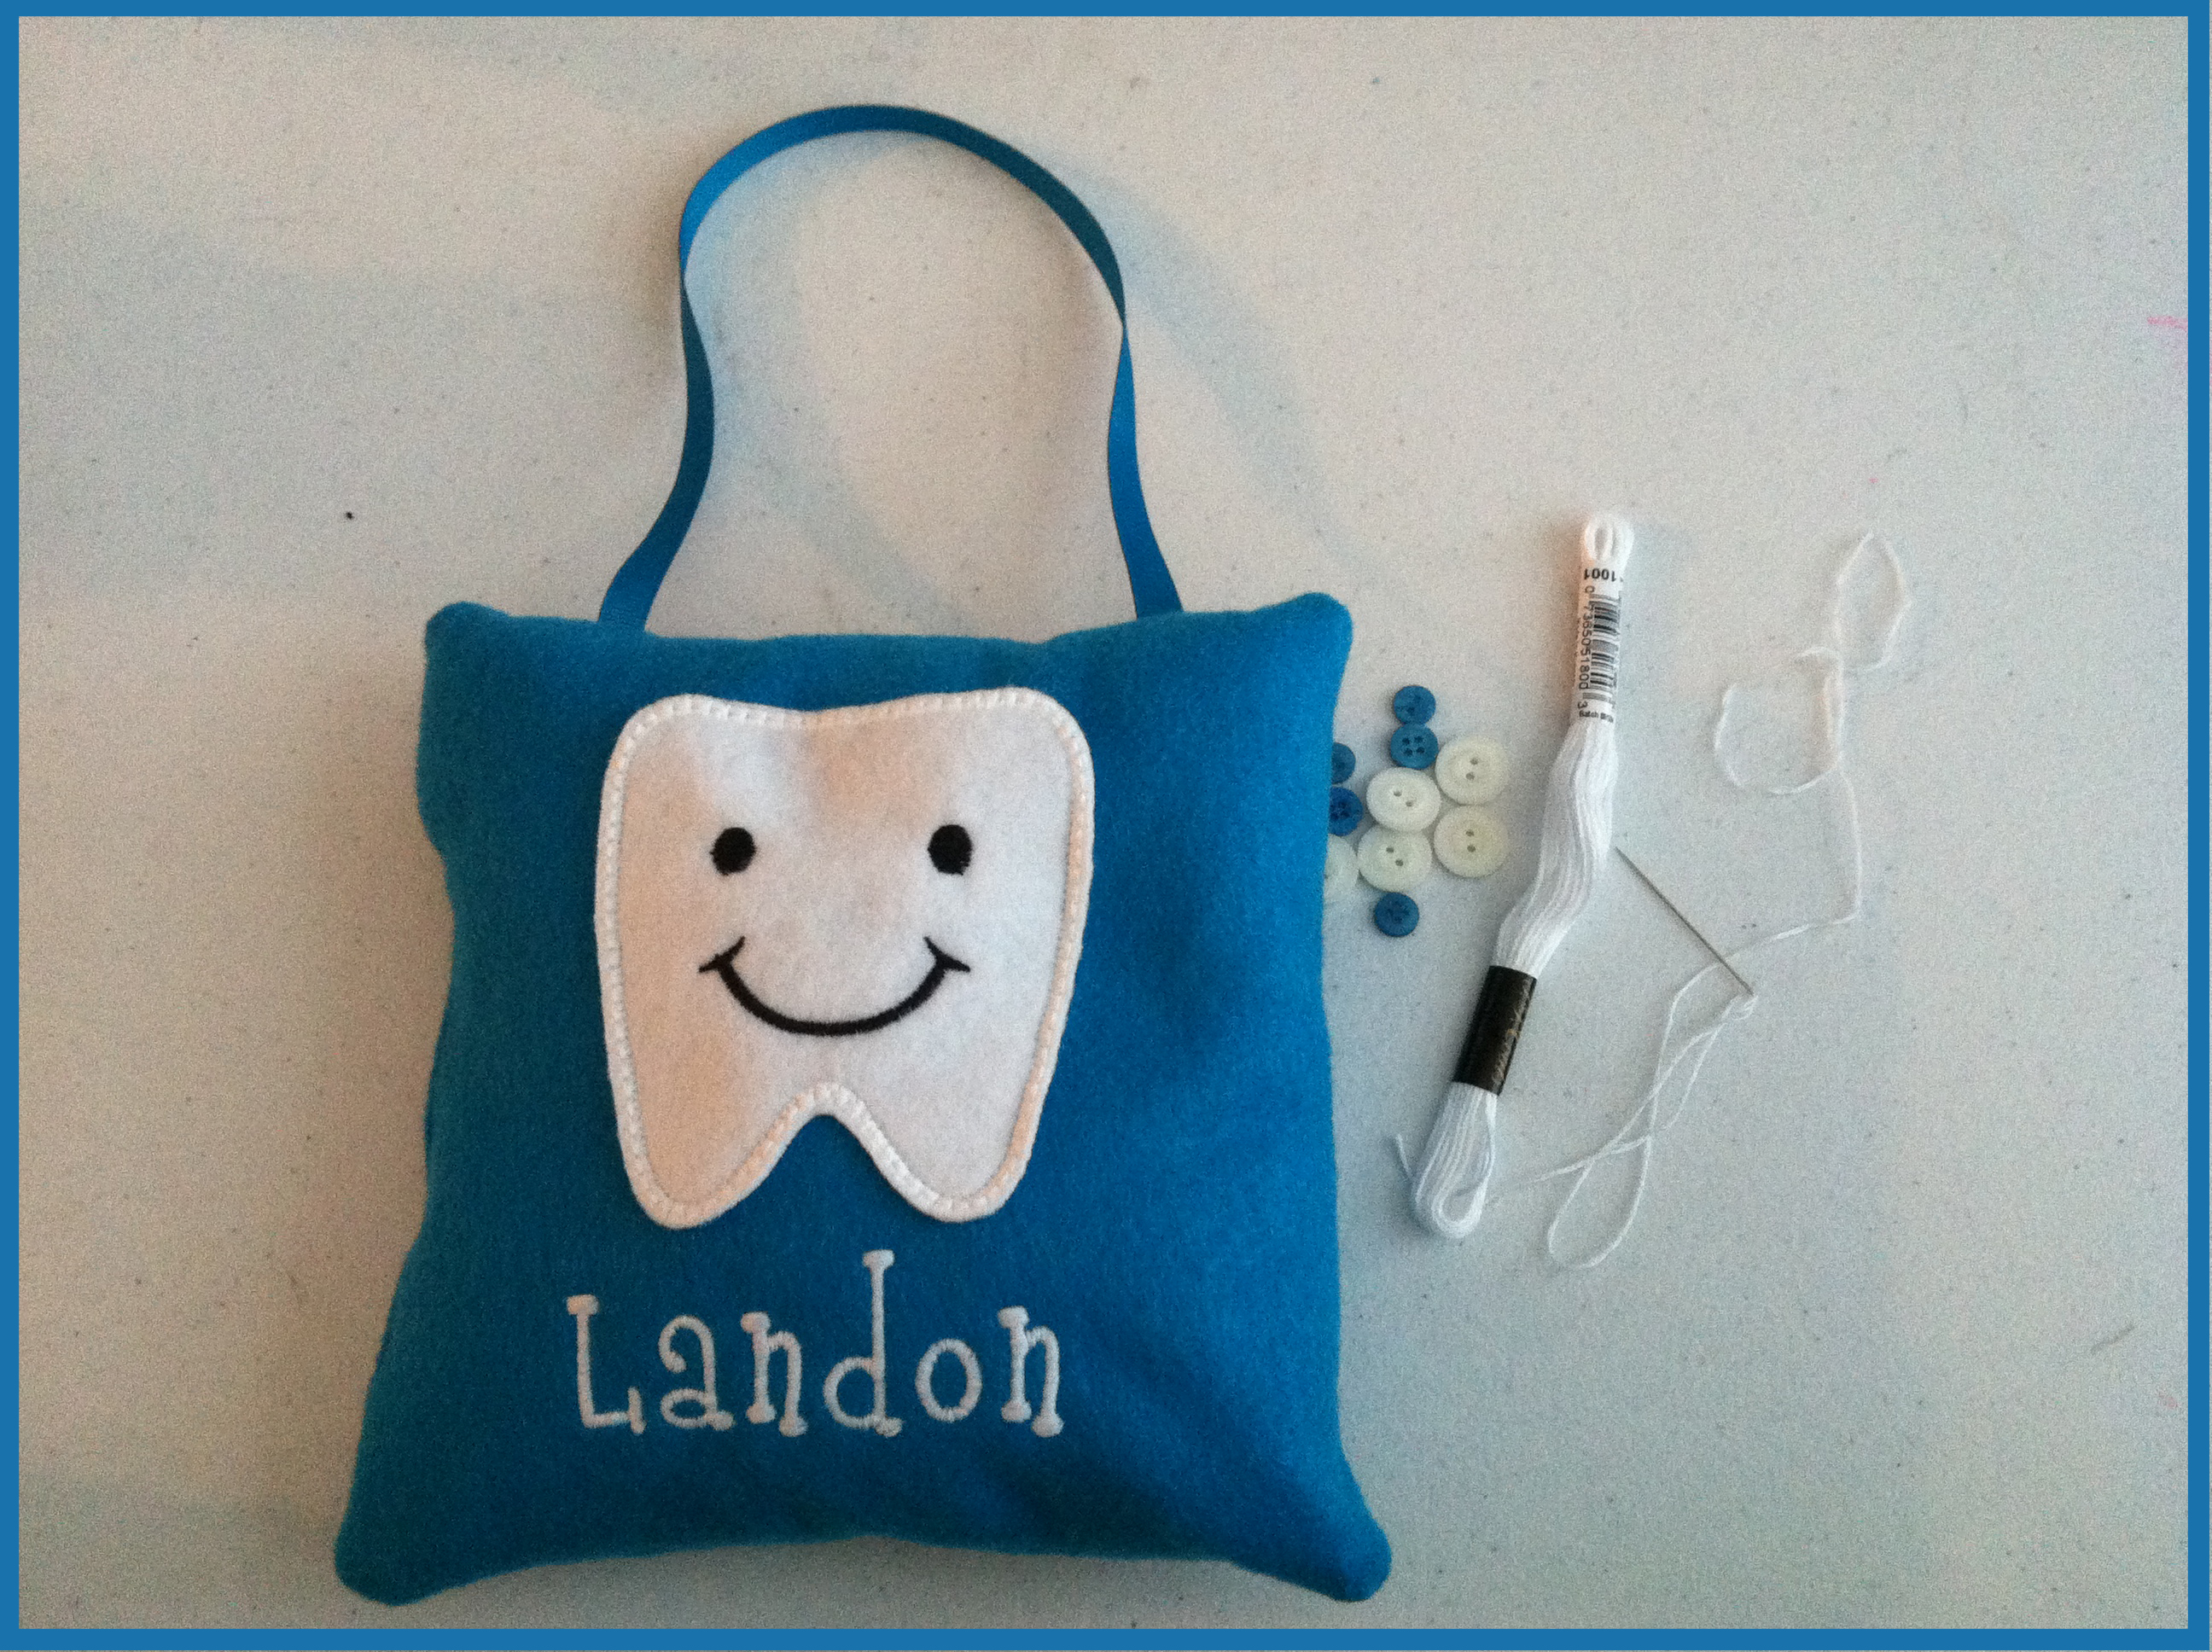
 Lastly, I sewed on a big button from Laura Kelly’s Mix Button collection and then hot glued a coordinating button on top so that the thread was hidden.
 And Voila! After inserting the iPad Mini, you can fold over the top just enough to cover the iPad Mini and hook the rubberband onto the button!
 And there you have it!!!
And there you have it!!!
And there you have it!!!
)
Hope you like my iPad Mini Travel Covers! They were fun to make and were quite easy! I love them and so do the boys!!
Until next time…….

)
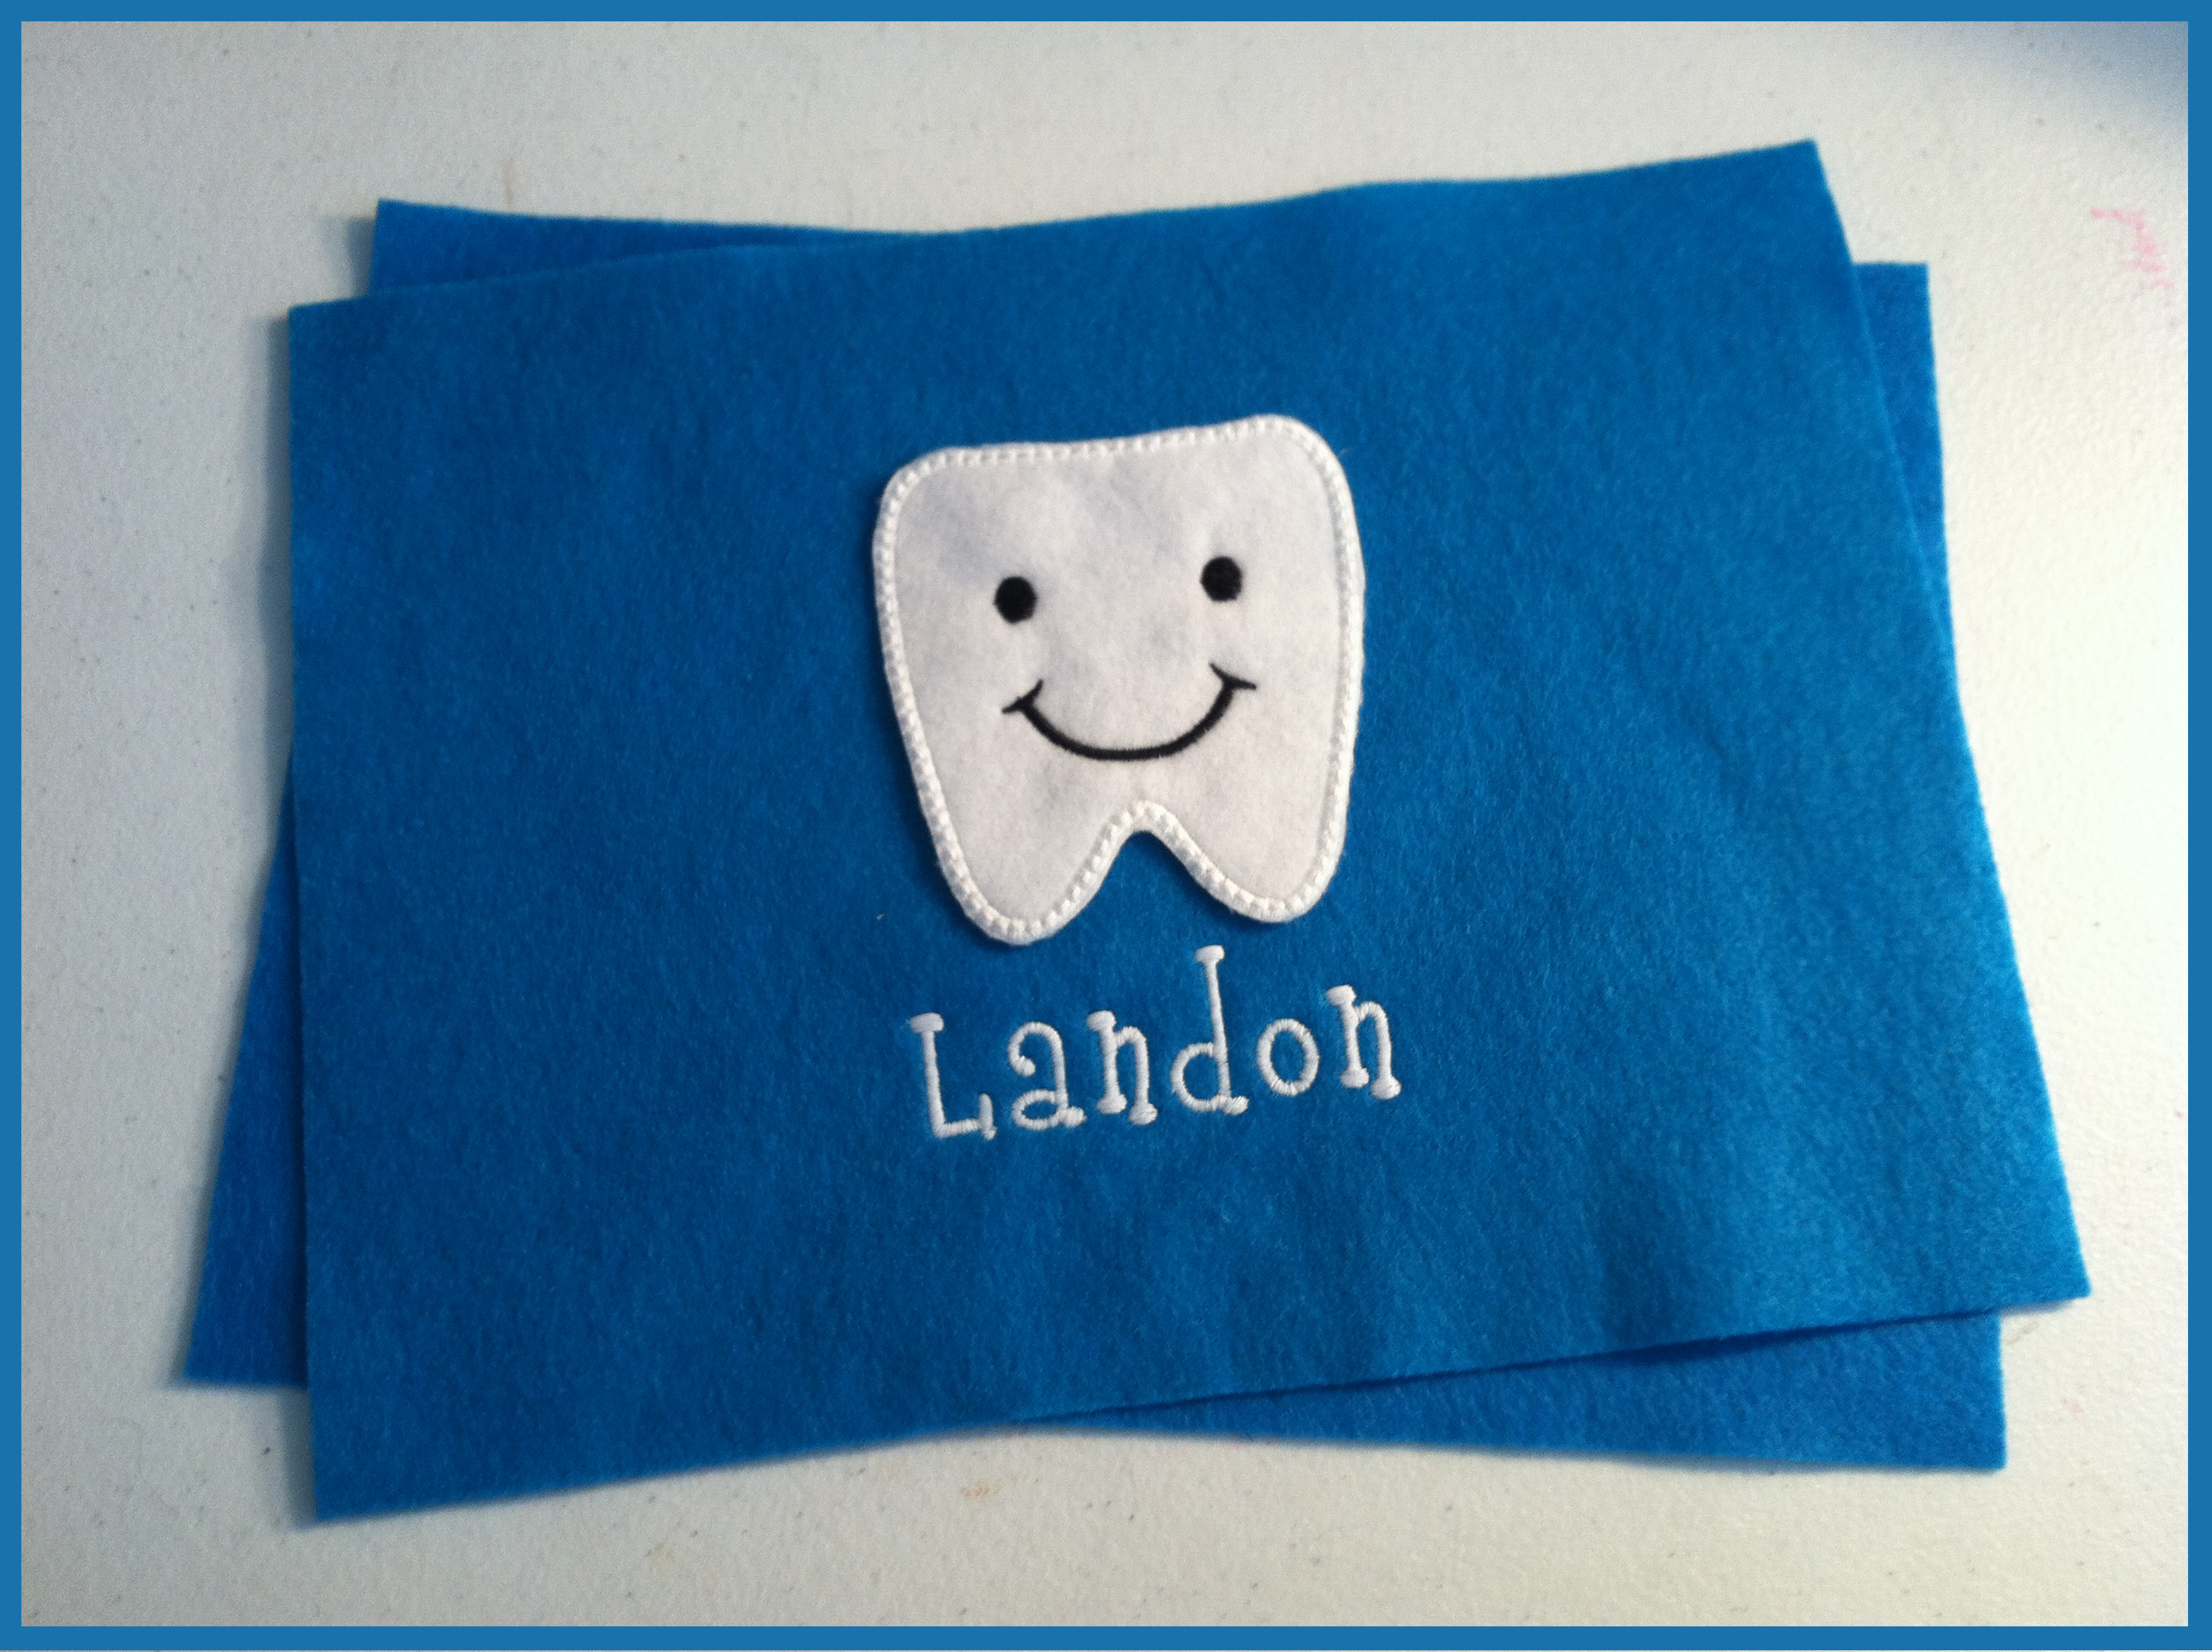
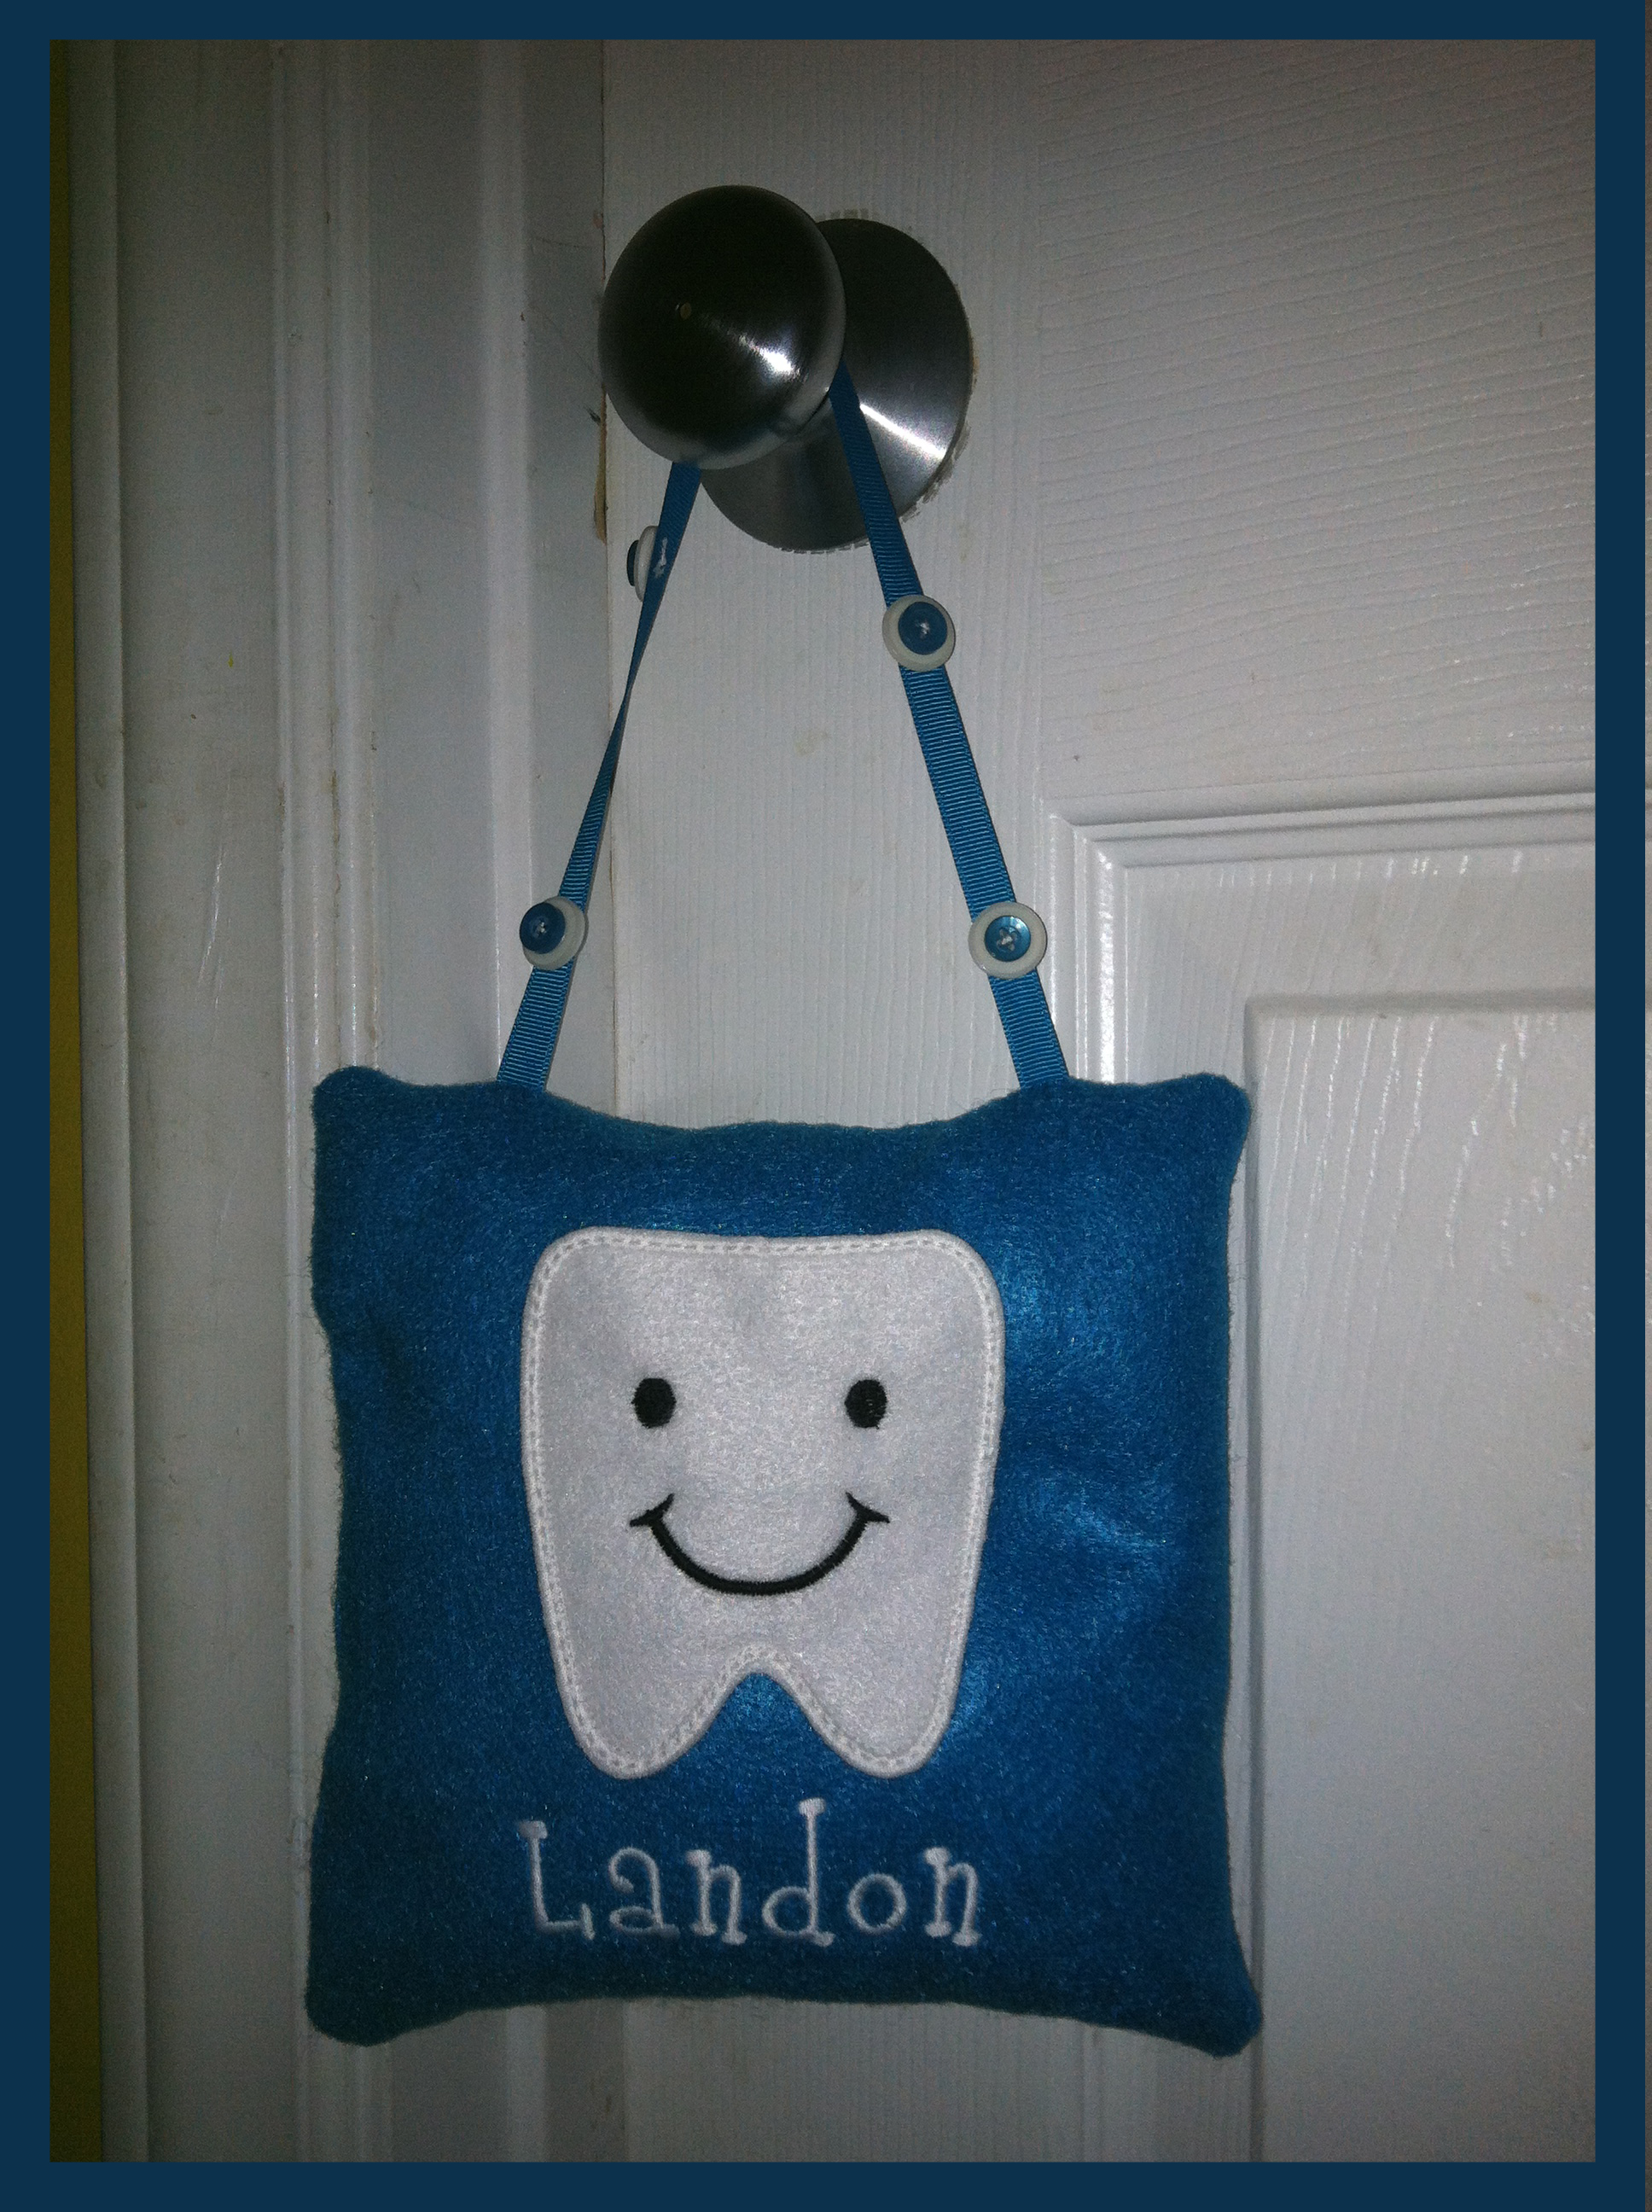
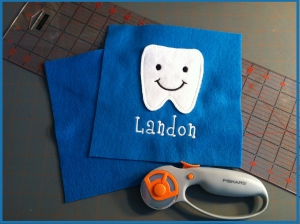 I used ribbon to hang it, so I pinned the ribbon to the right side of the pillow and stitched it back and forth a couple of times at the top of the pillow so that it would stay in place once I began to sew it.
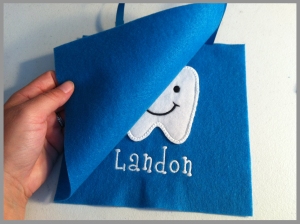 Then, I sewed the edges together leaving about a 2 inch opening on the side, so that I could flip it right side out and stuff it.
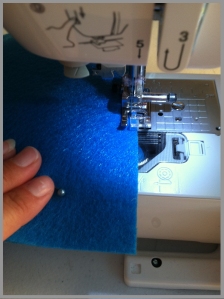 Once it was flipped right side out, it was ready for some stuffing!
 I used Poly-fil, which you can get from any fabric store, even Wal-mart carries it.
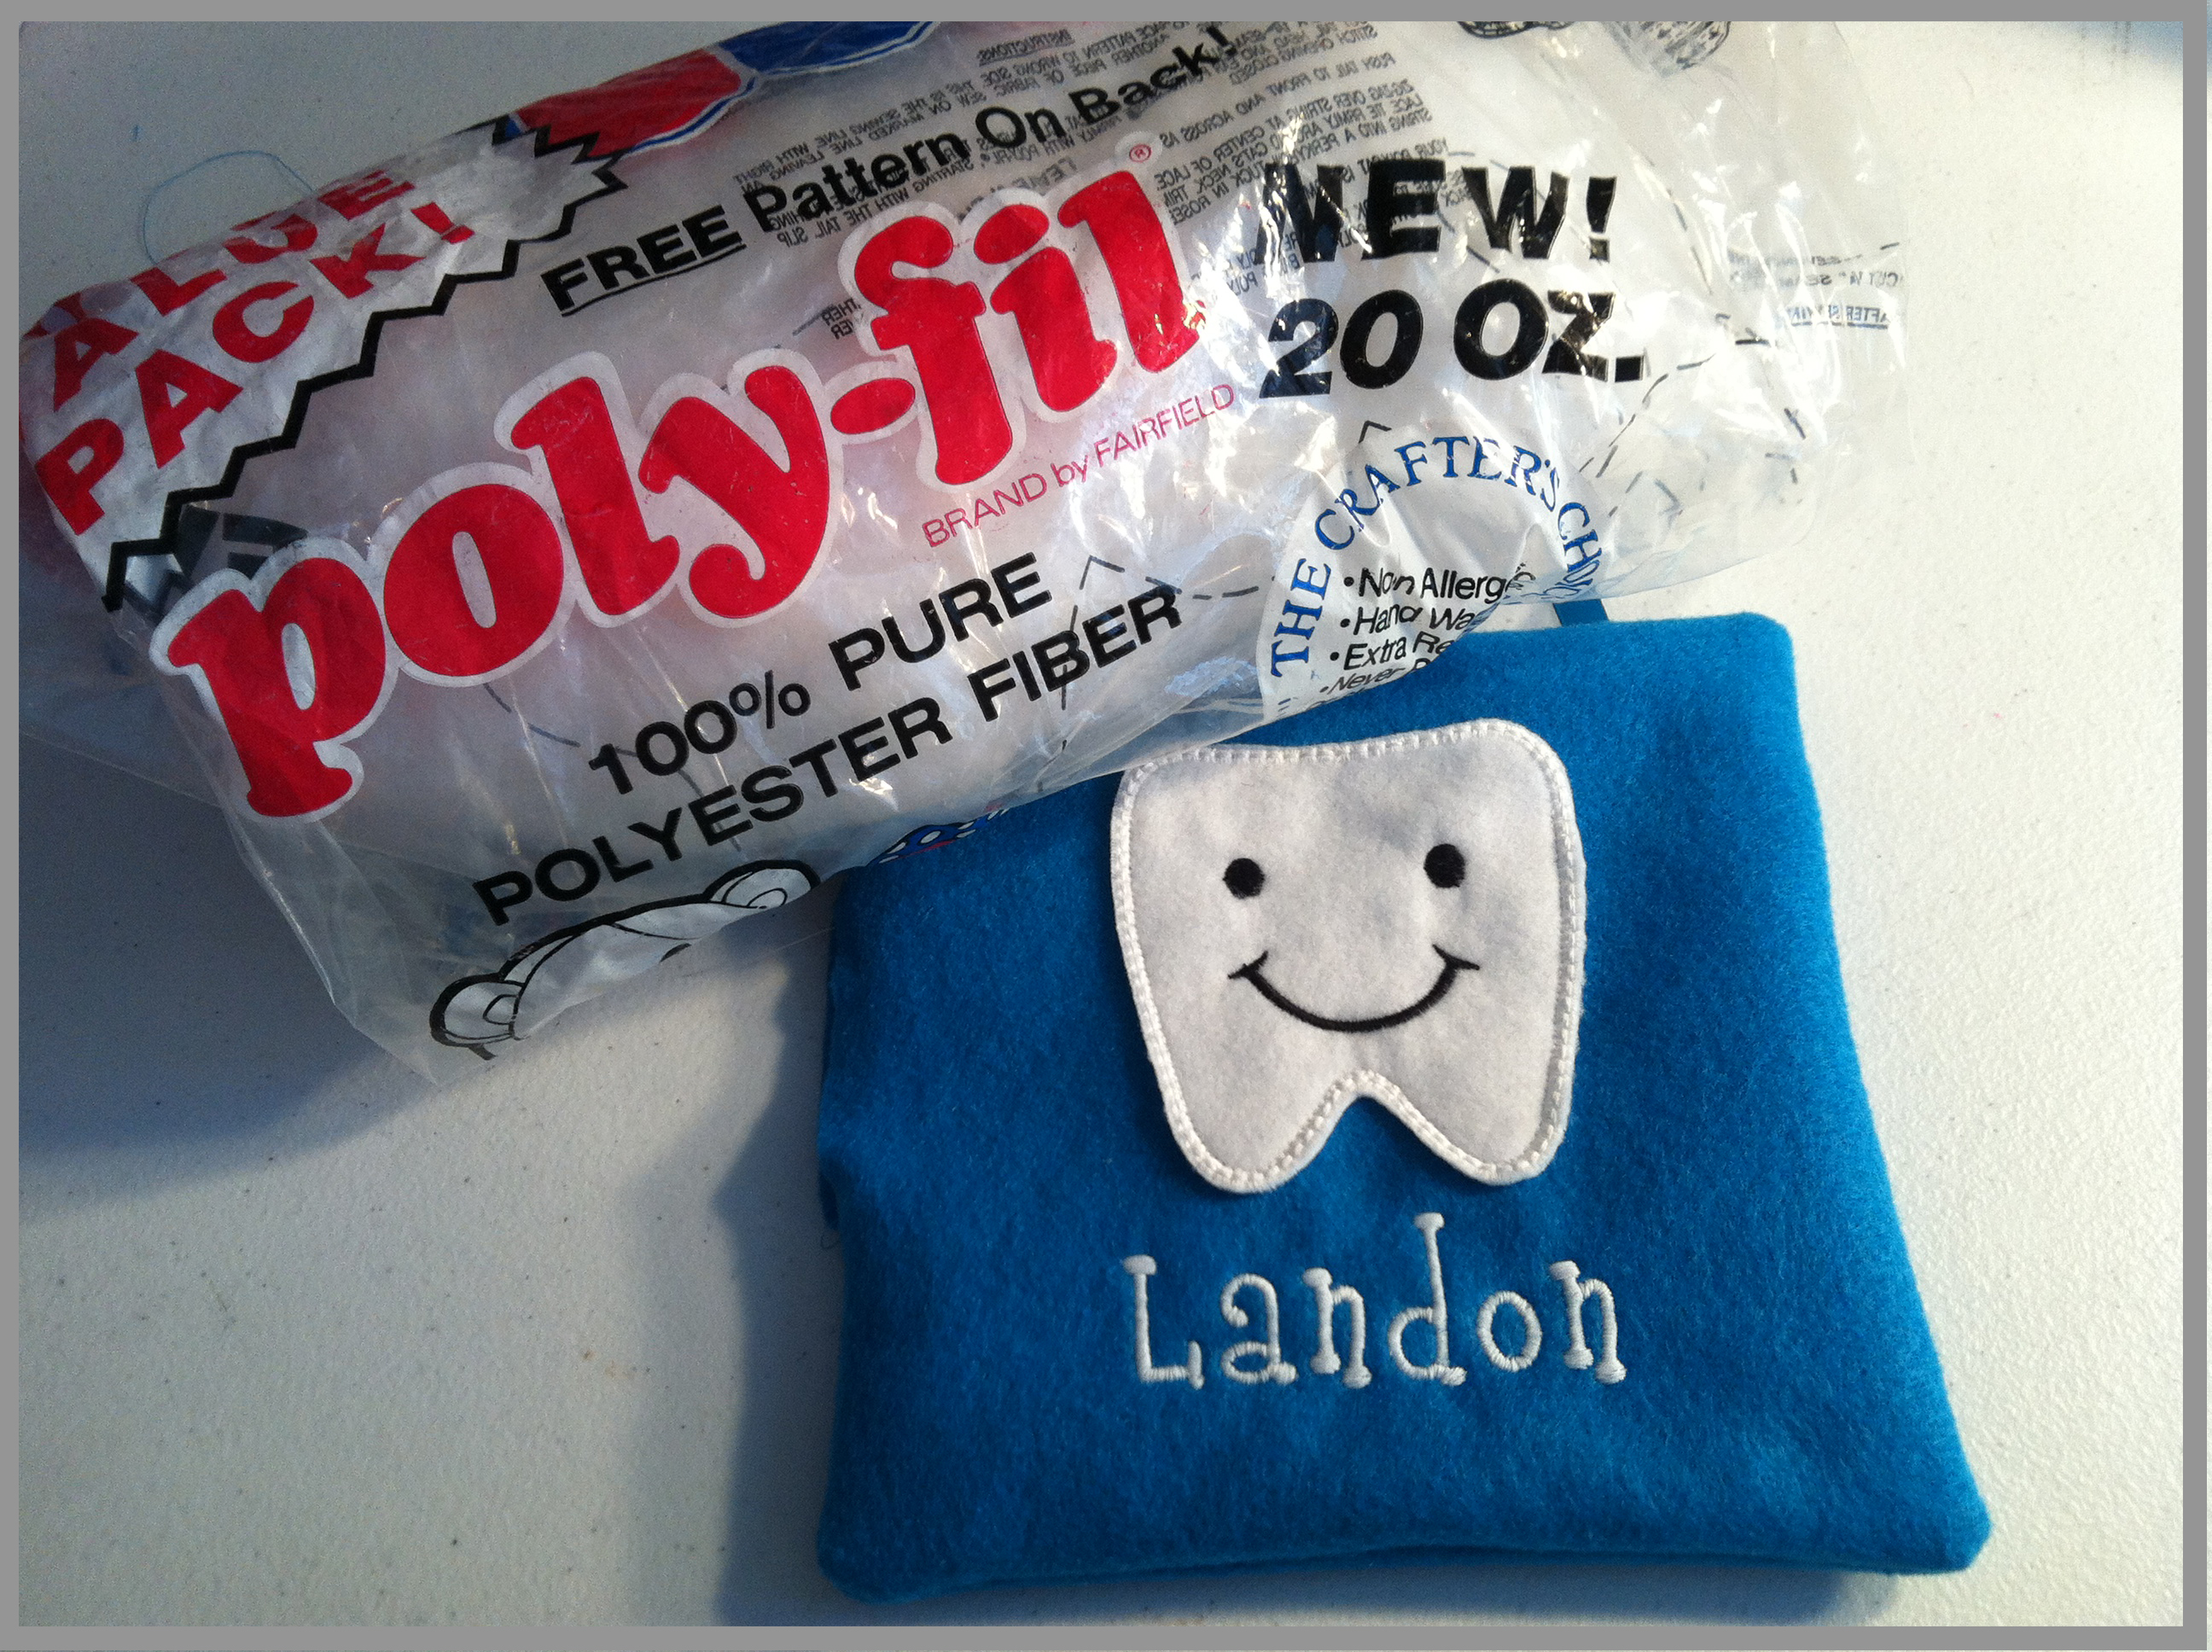
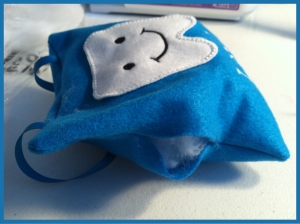

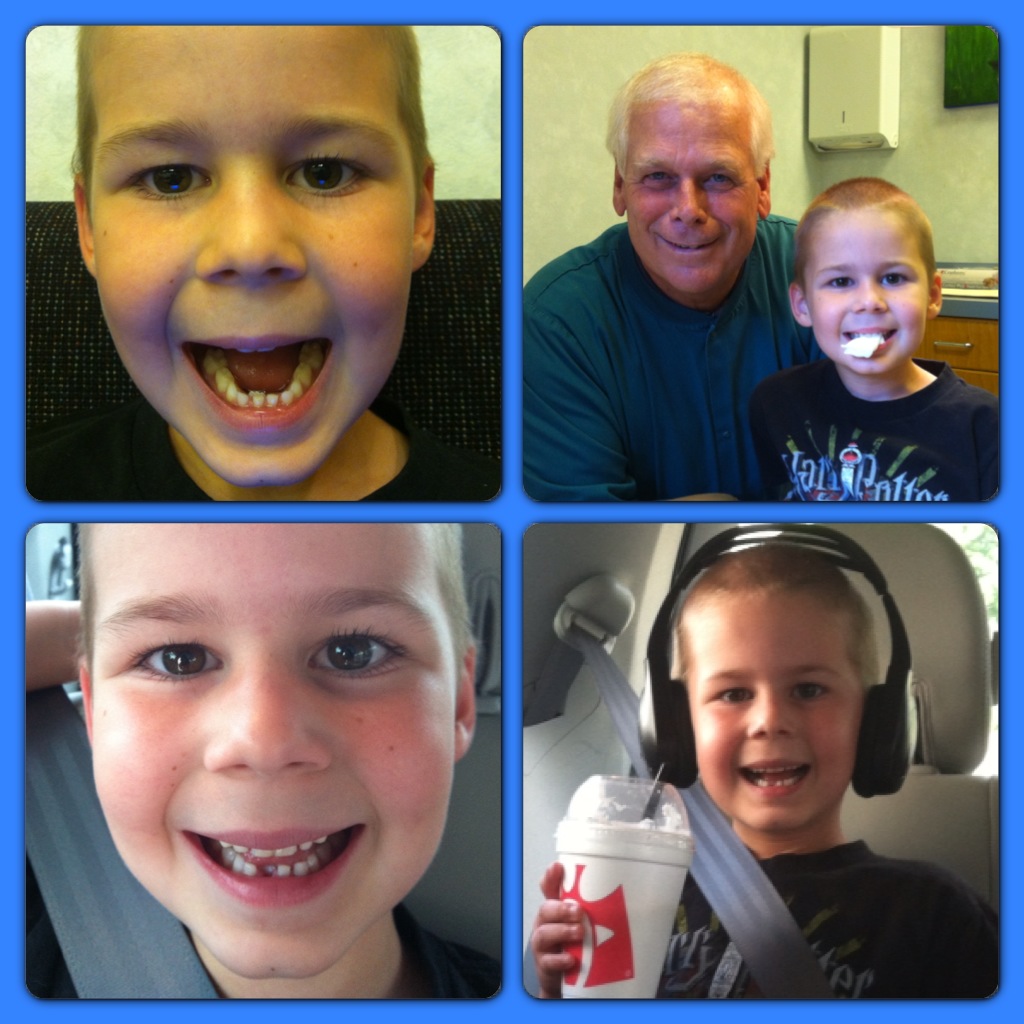
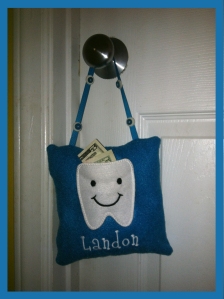
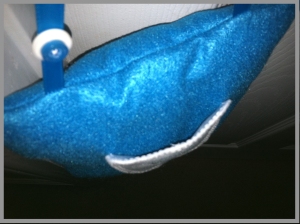 In went the tooth in a little baggie that the dentist put it in.
)