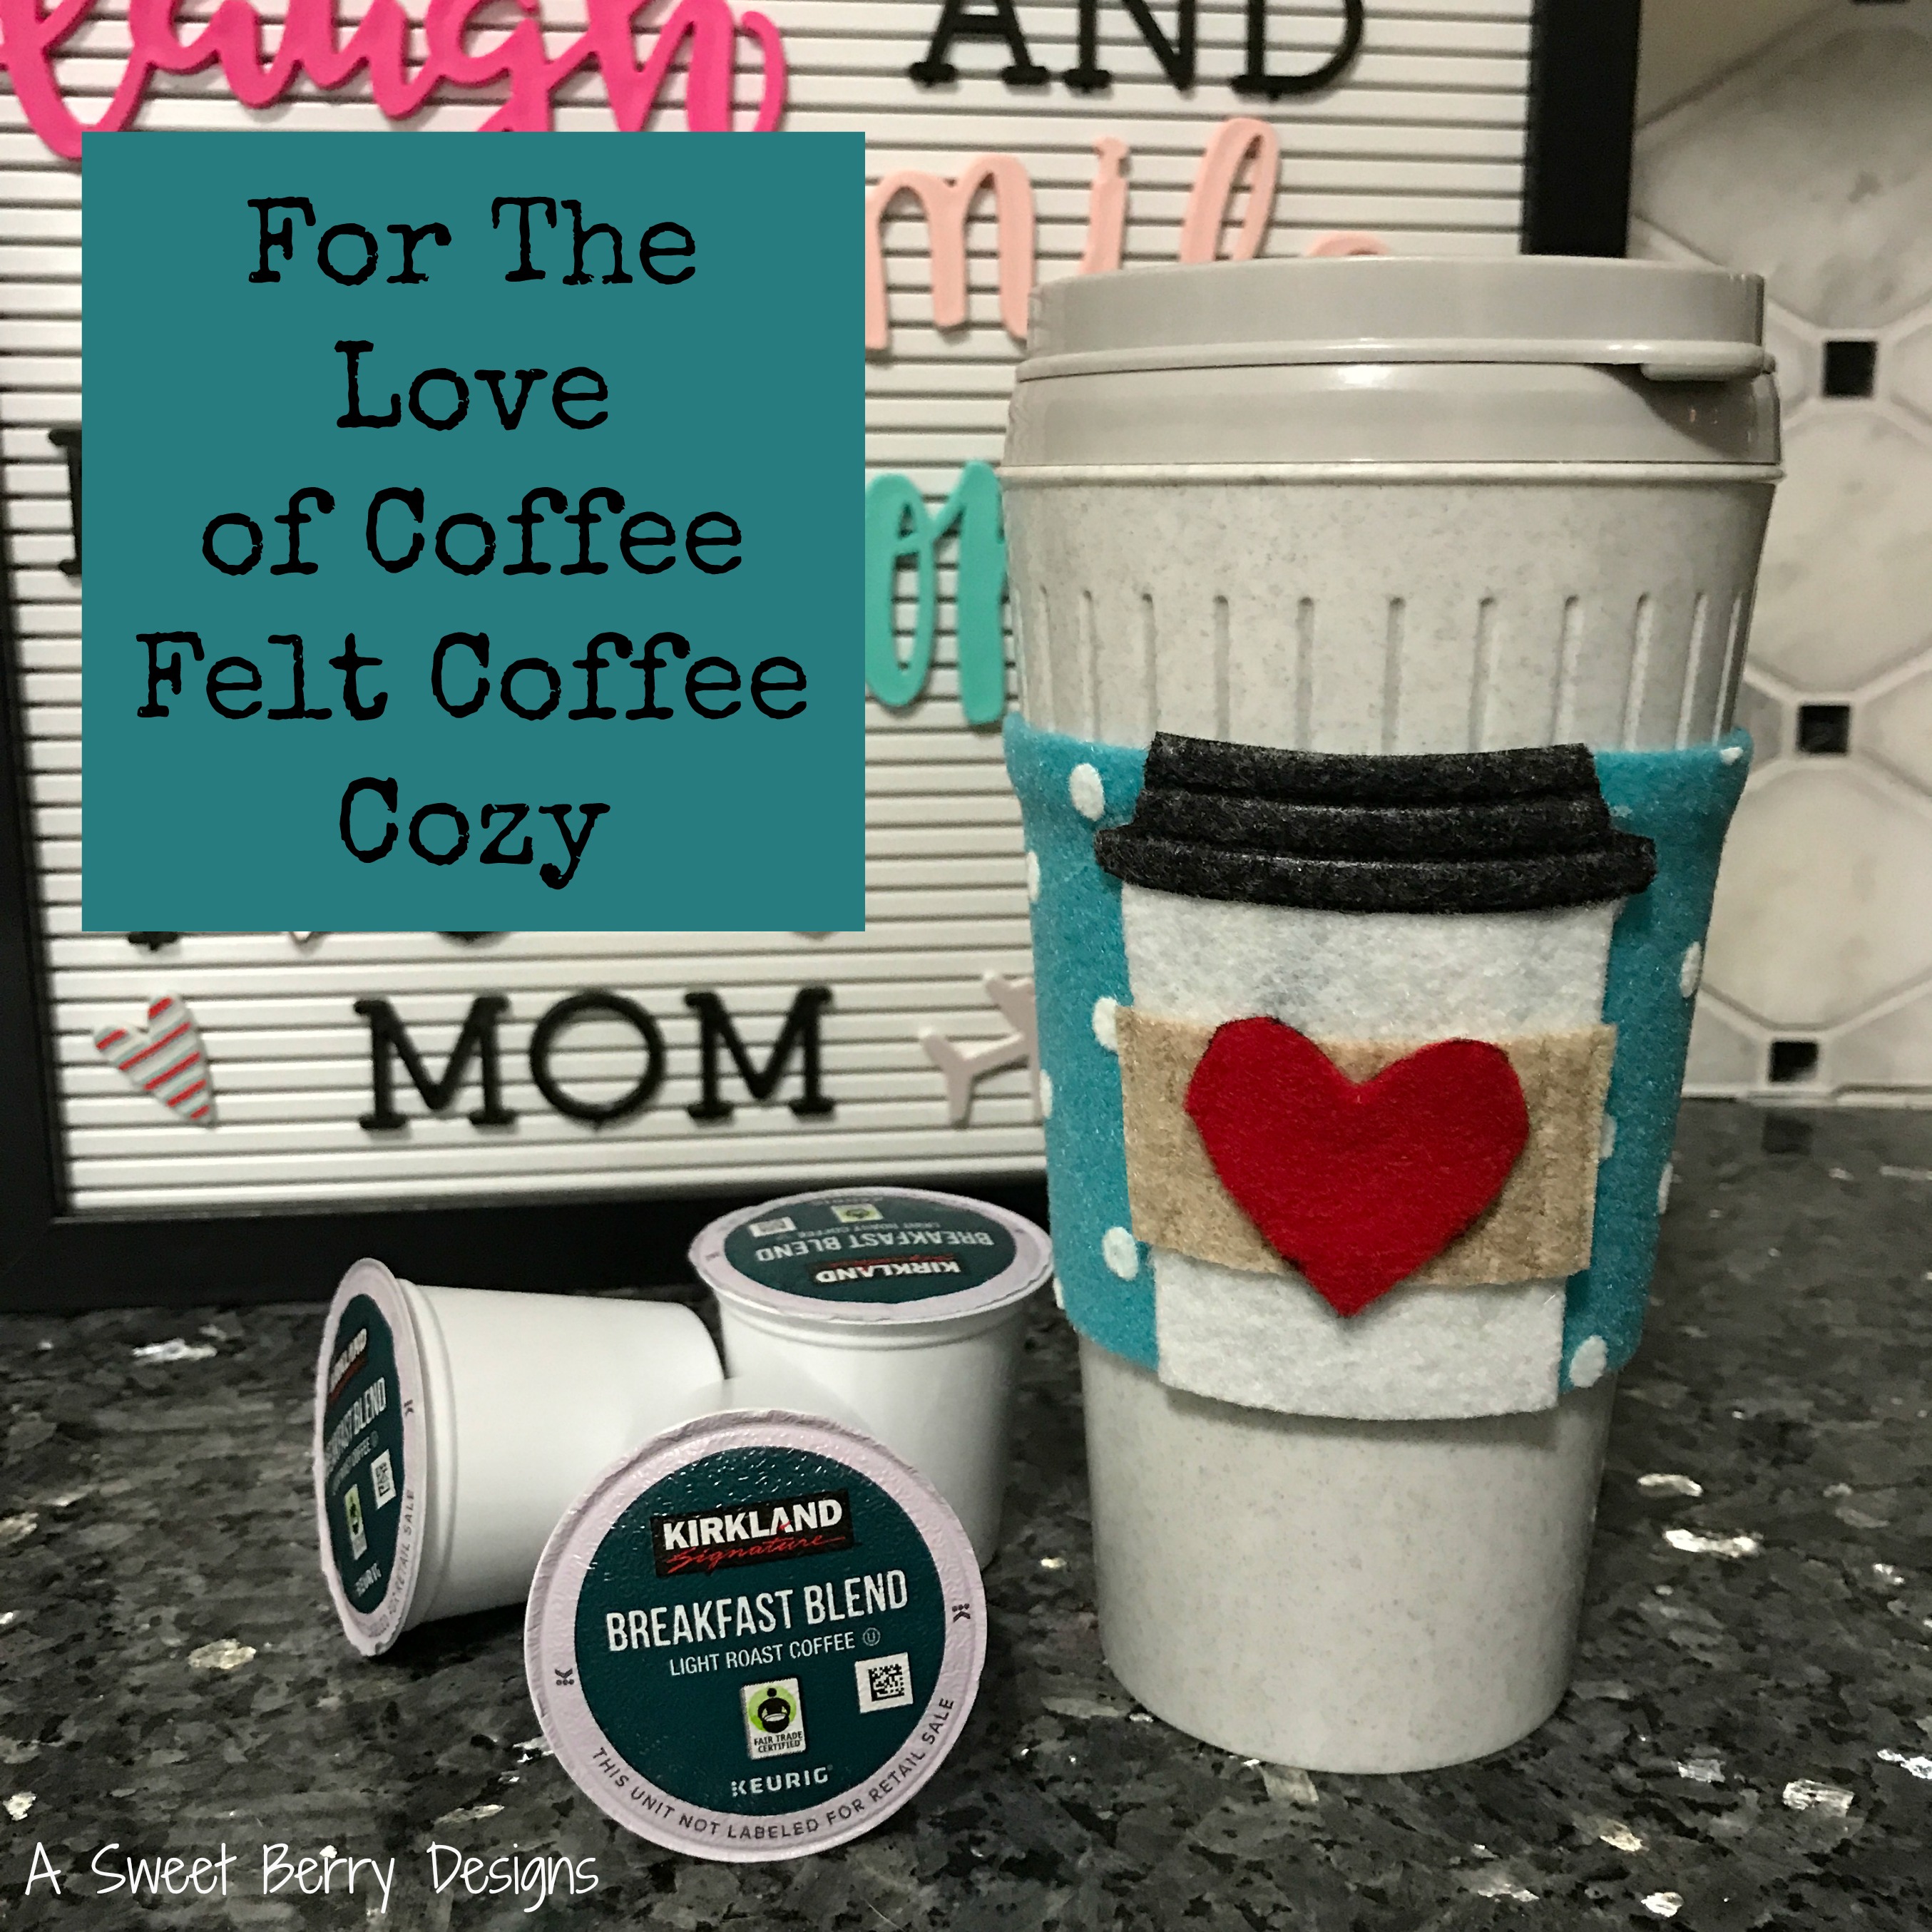
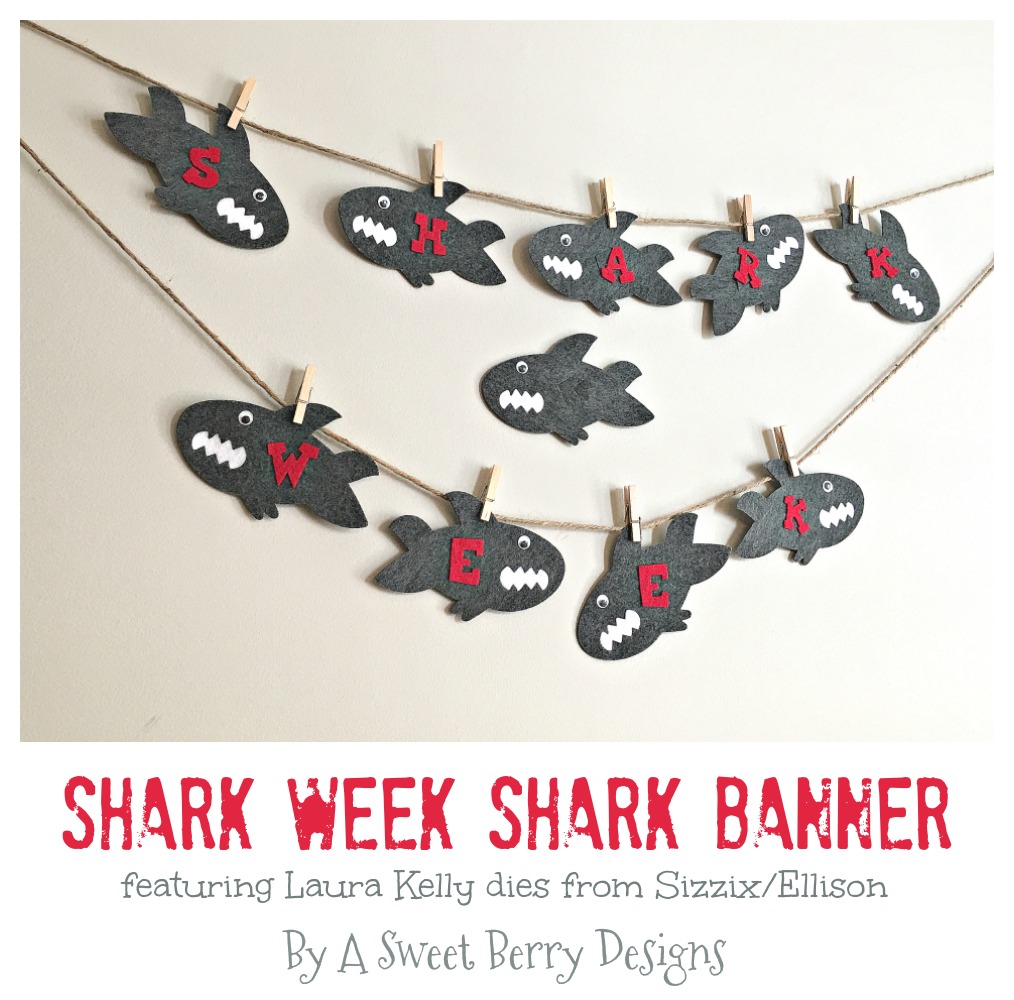
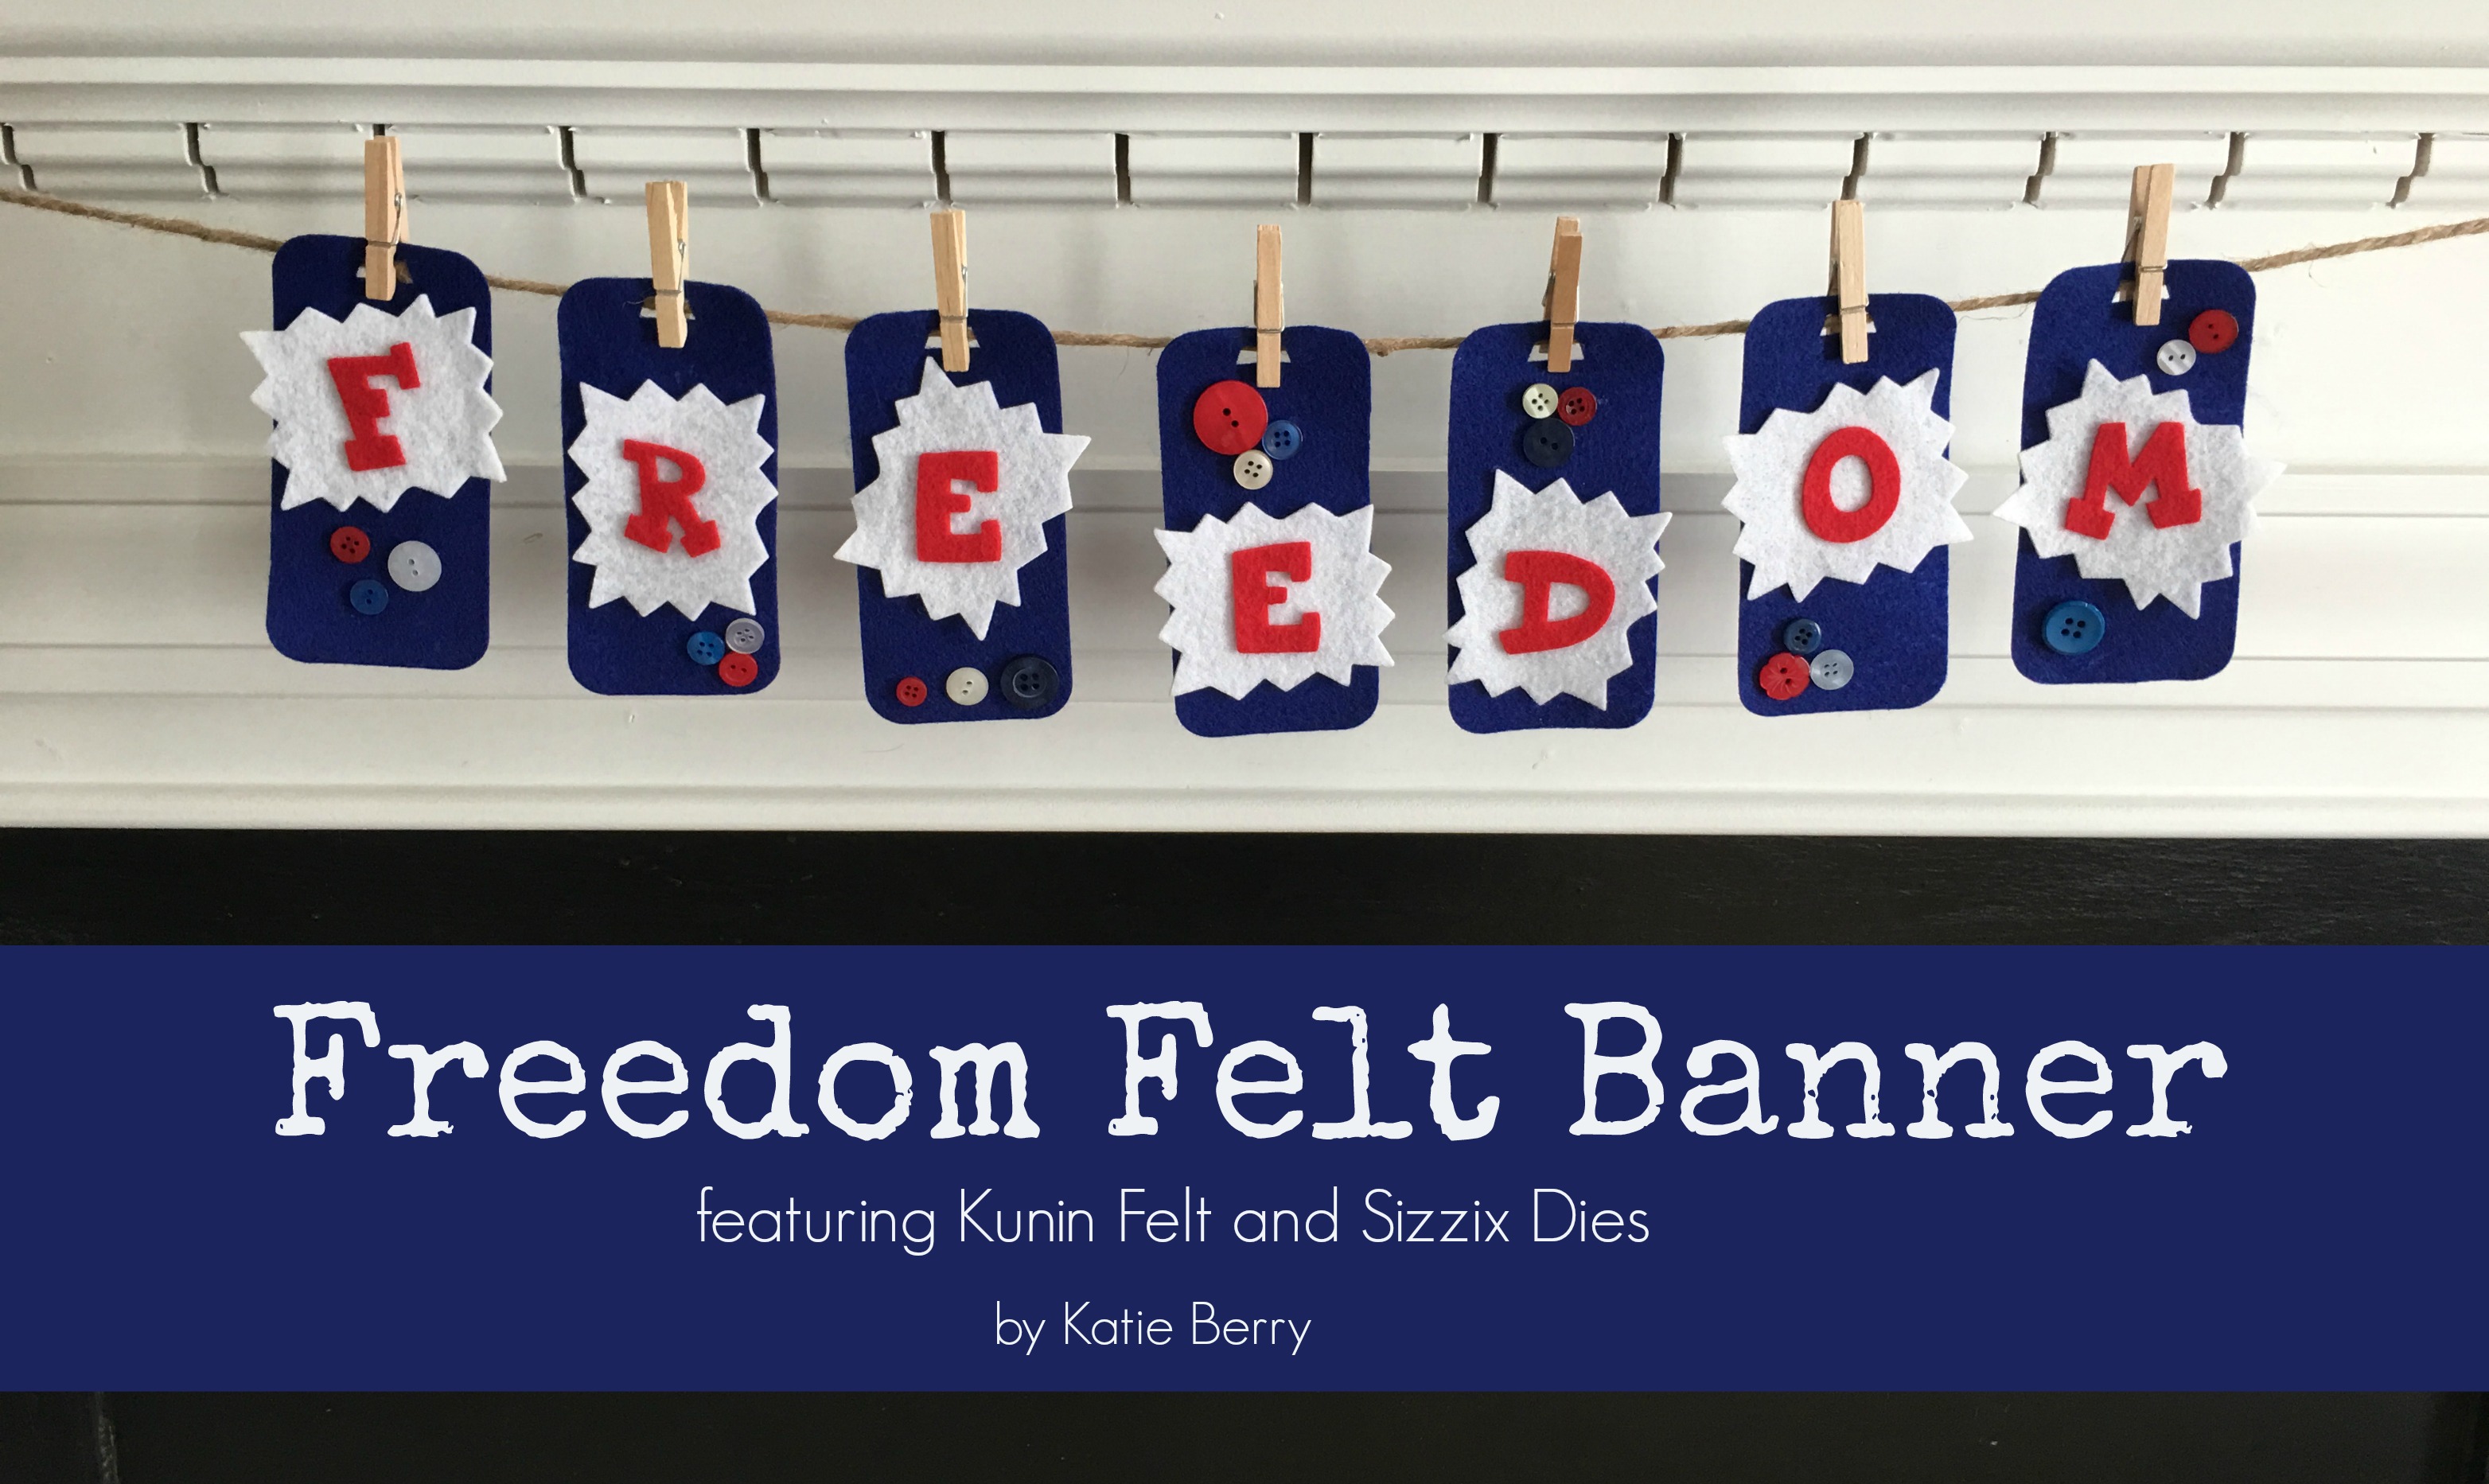
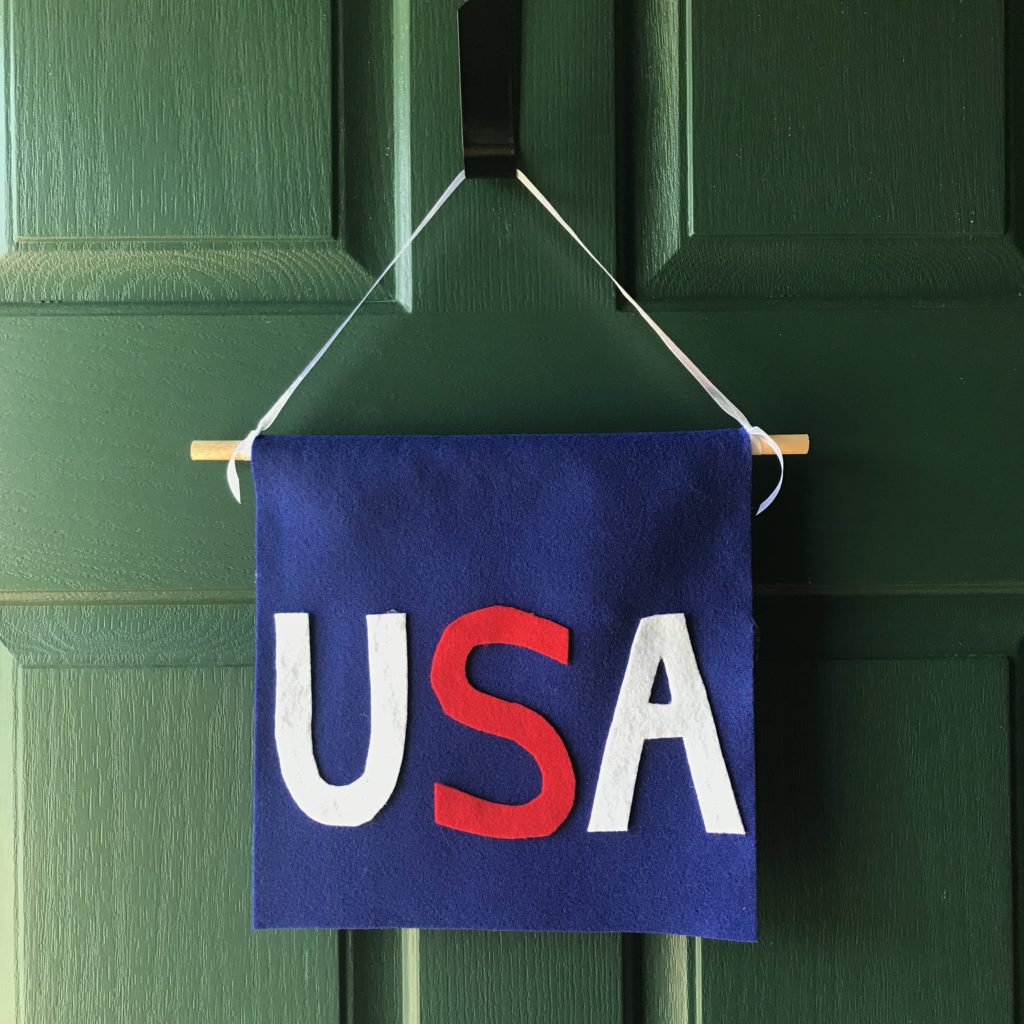
Craft Lightning is here and the theme this time is Patriotic! I’ve created this super simple USA banner that can be left as is or it can be jazzed up with whatever decorations you’d like!
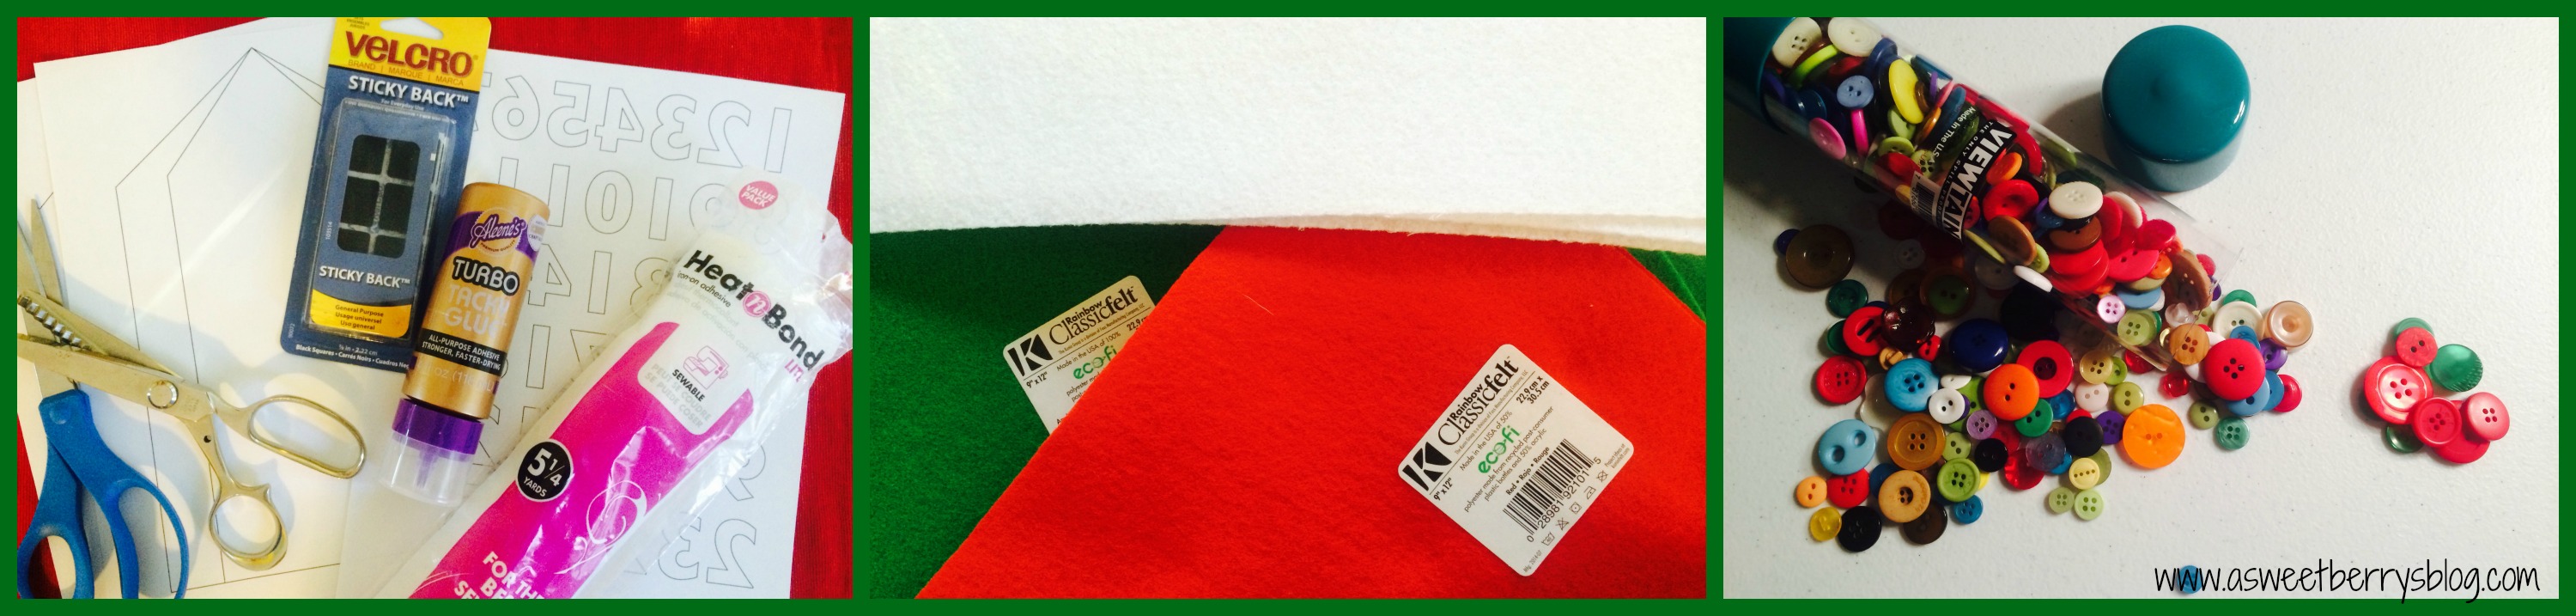
Materials:
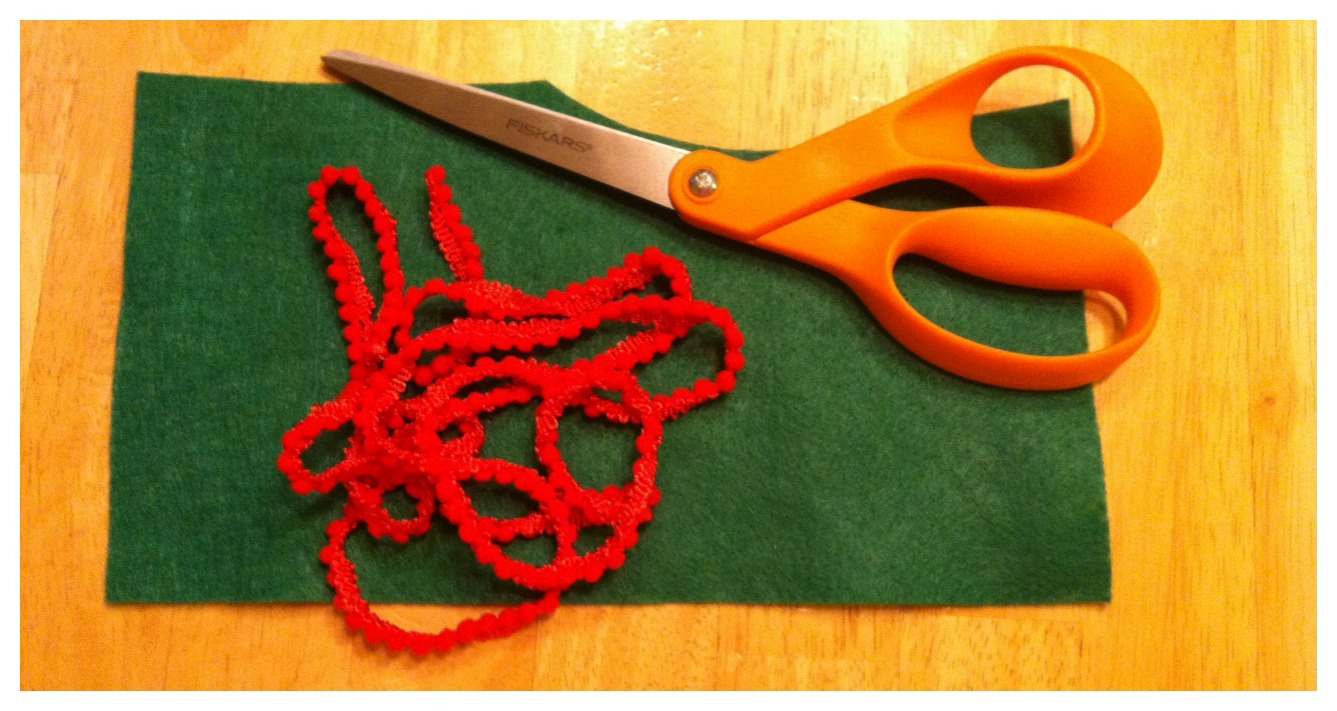
- Kunin Felt: Red, White and Blue
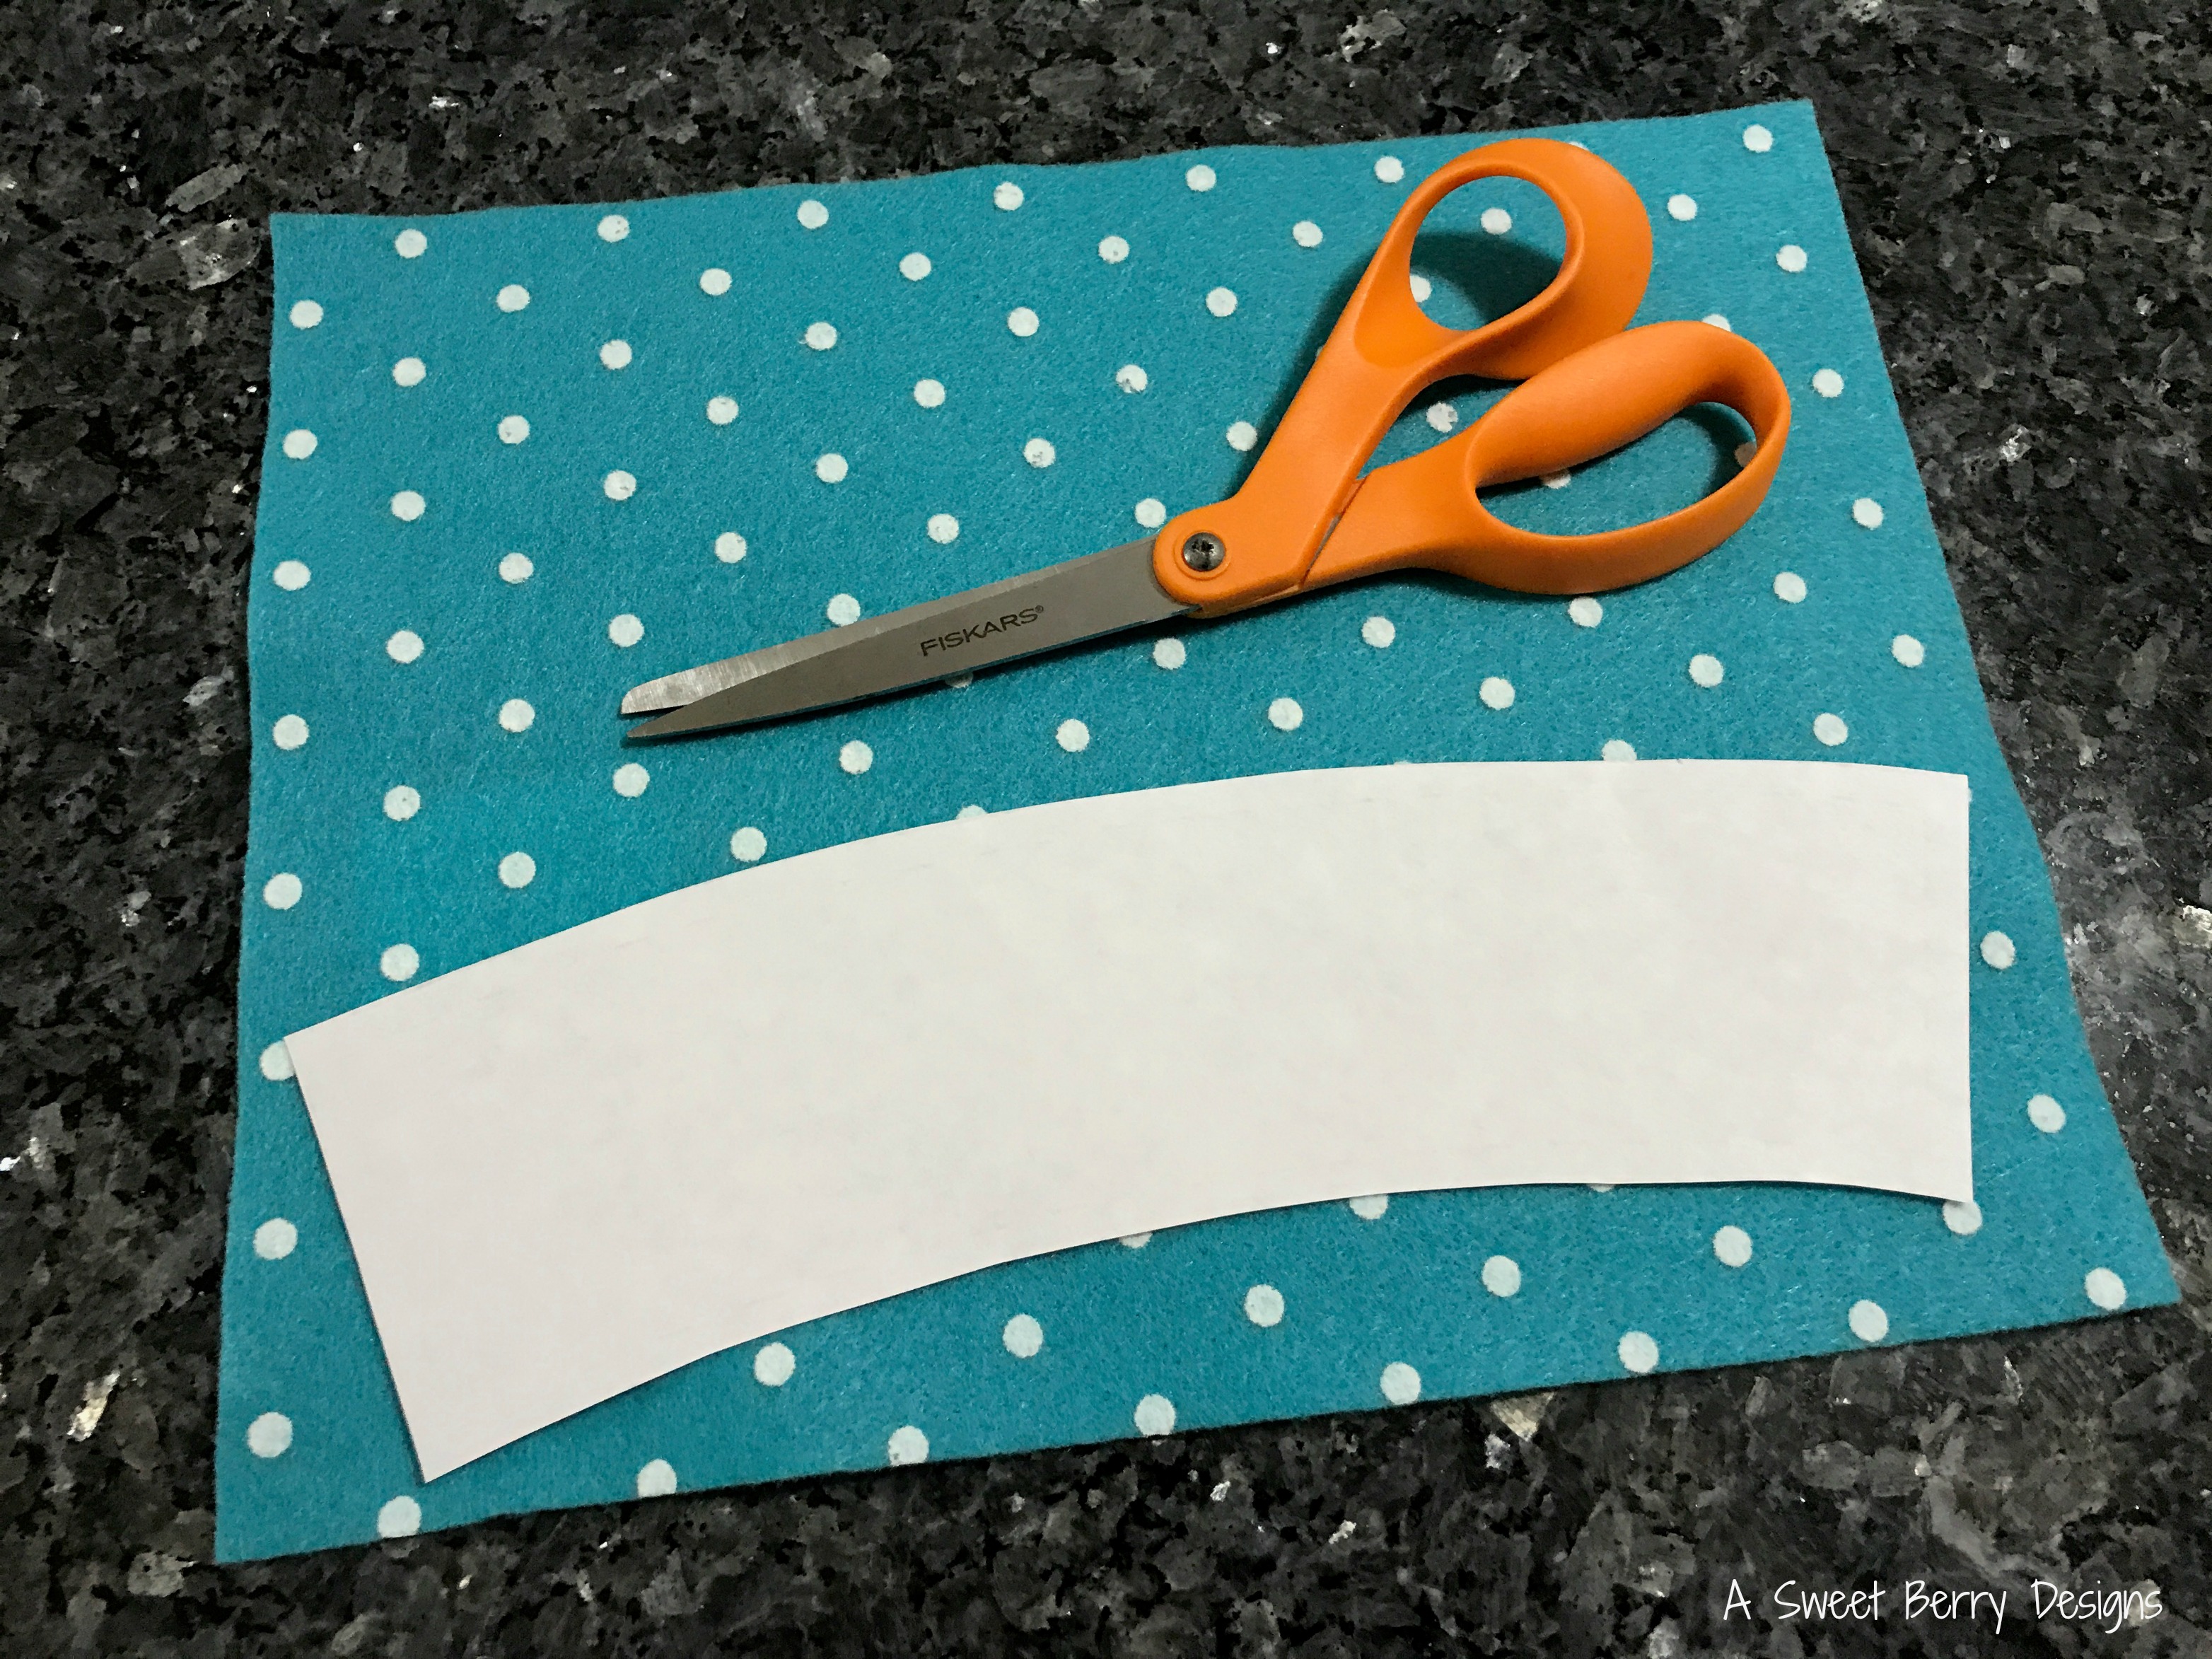
- Scissors
- A wooden dowel
- Ribbon
- Hot Glue Gun and Hot Glue Stick
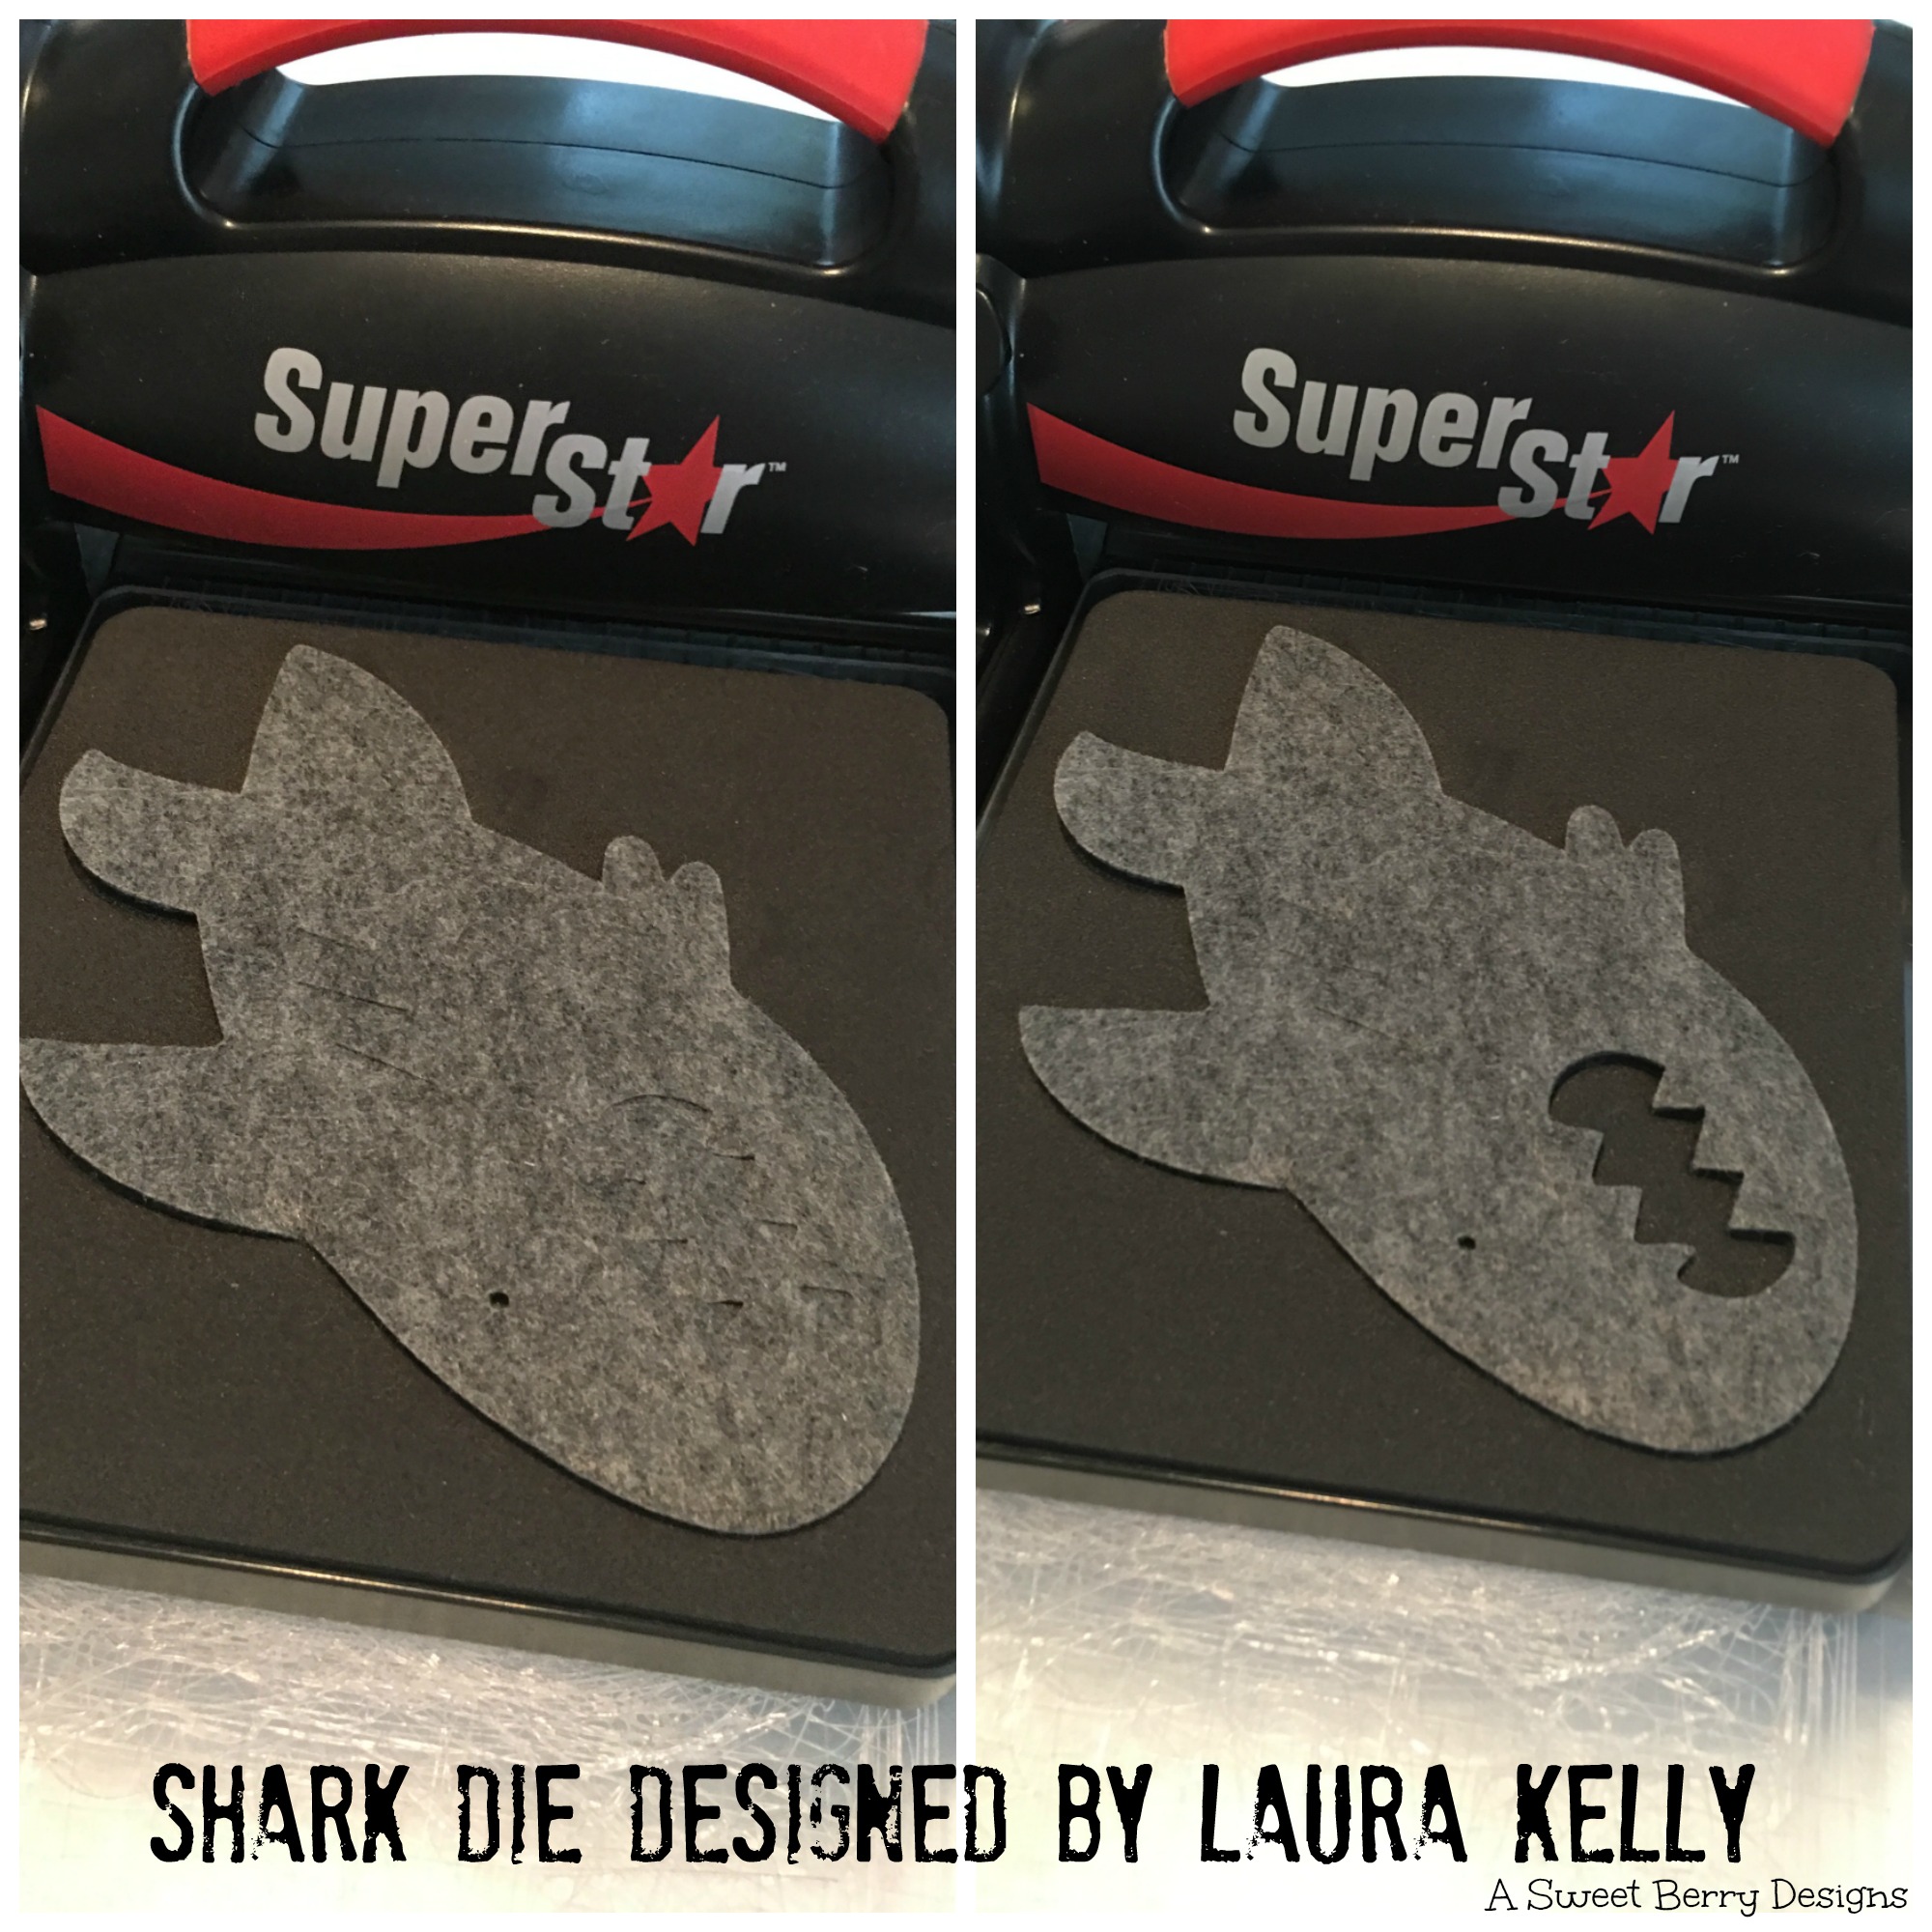
How I made it:
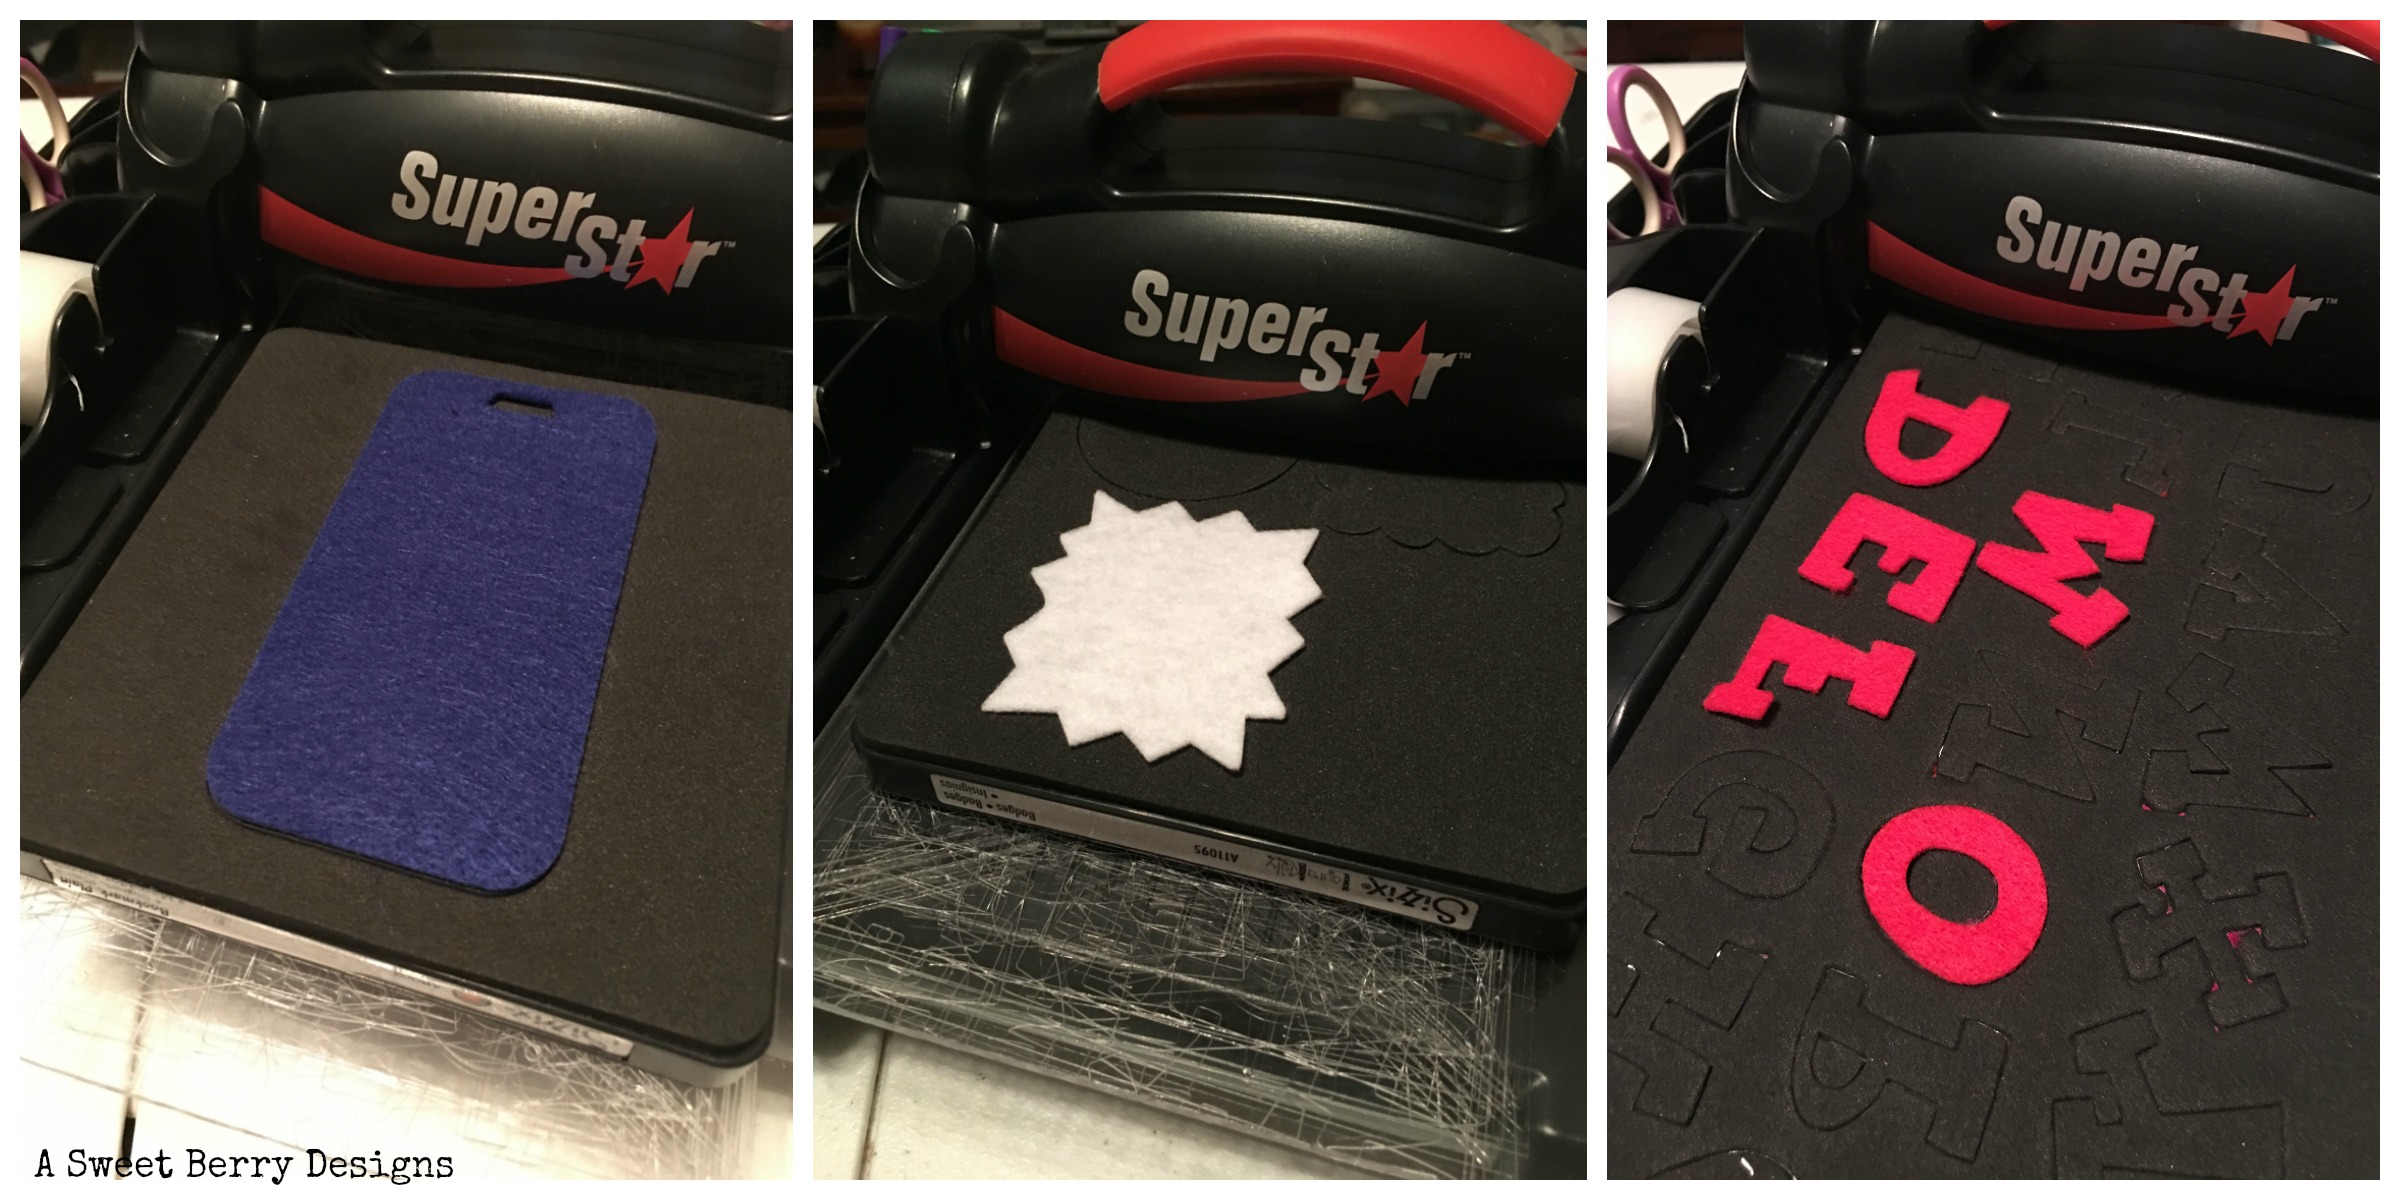
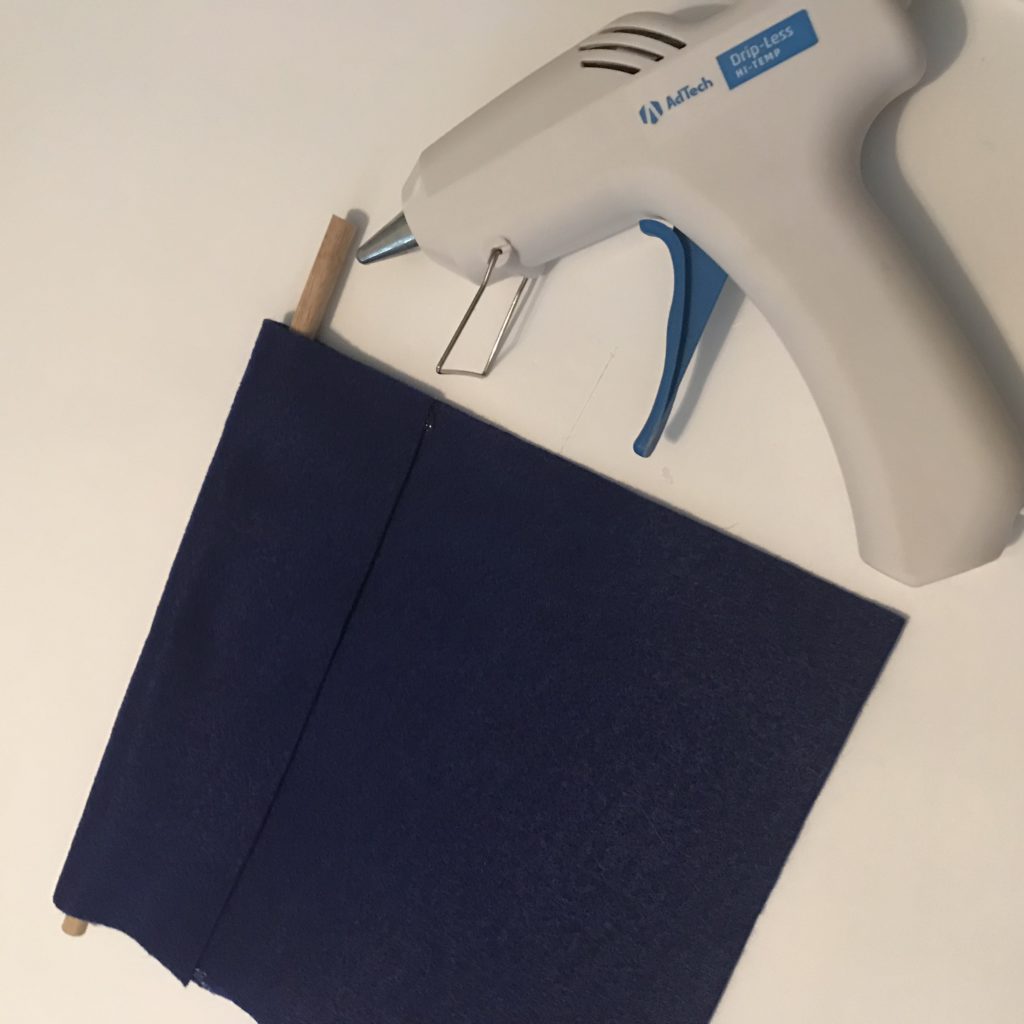
With a 9″ x 12″ piece of blue felt, fold it over a wooden dowel and glue it done on the ends.
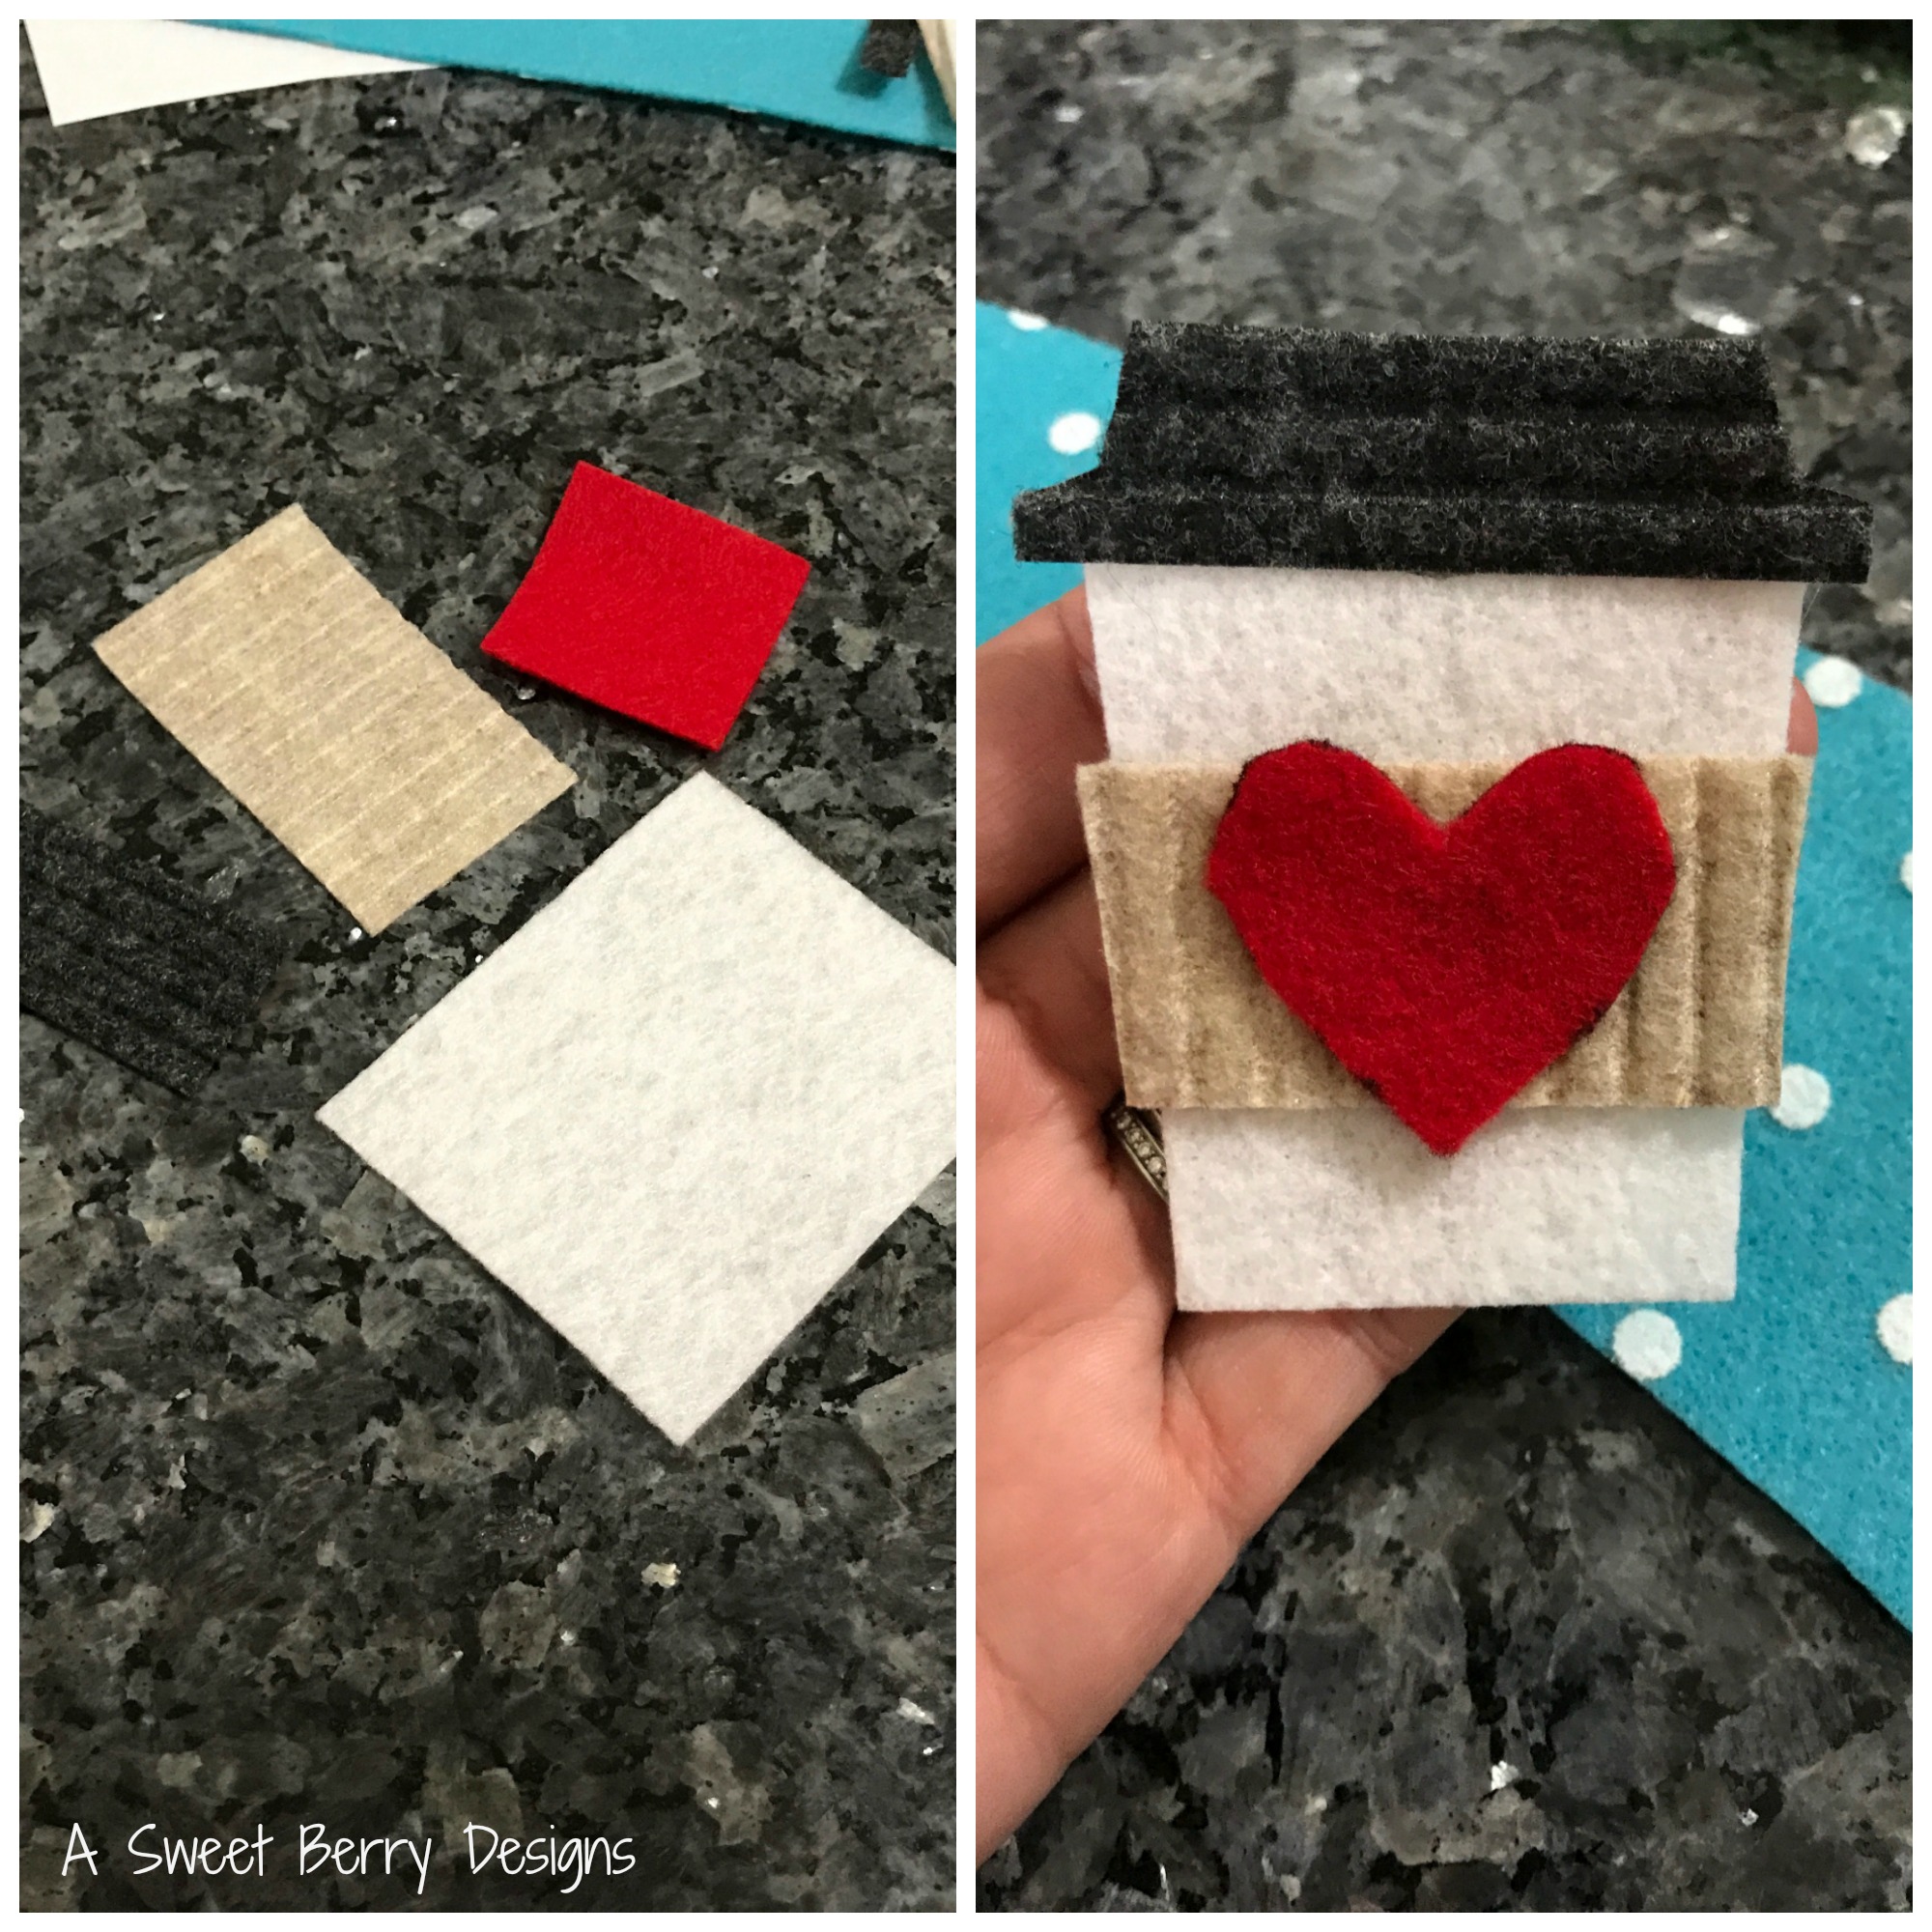
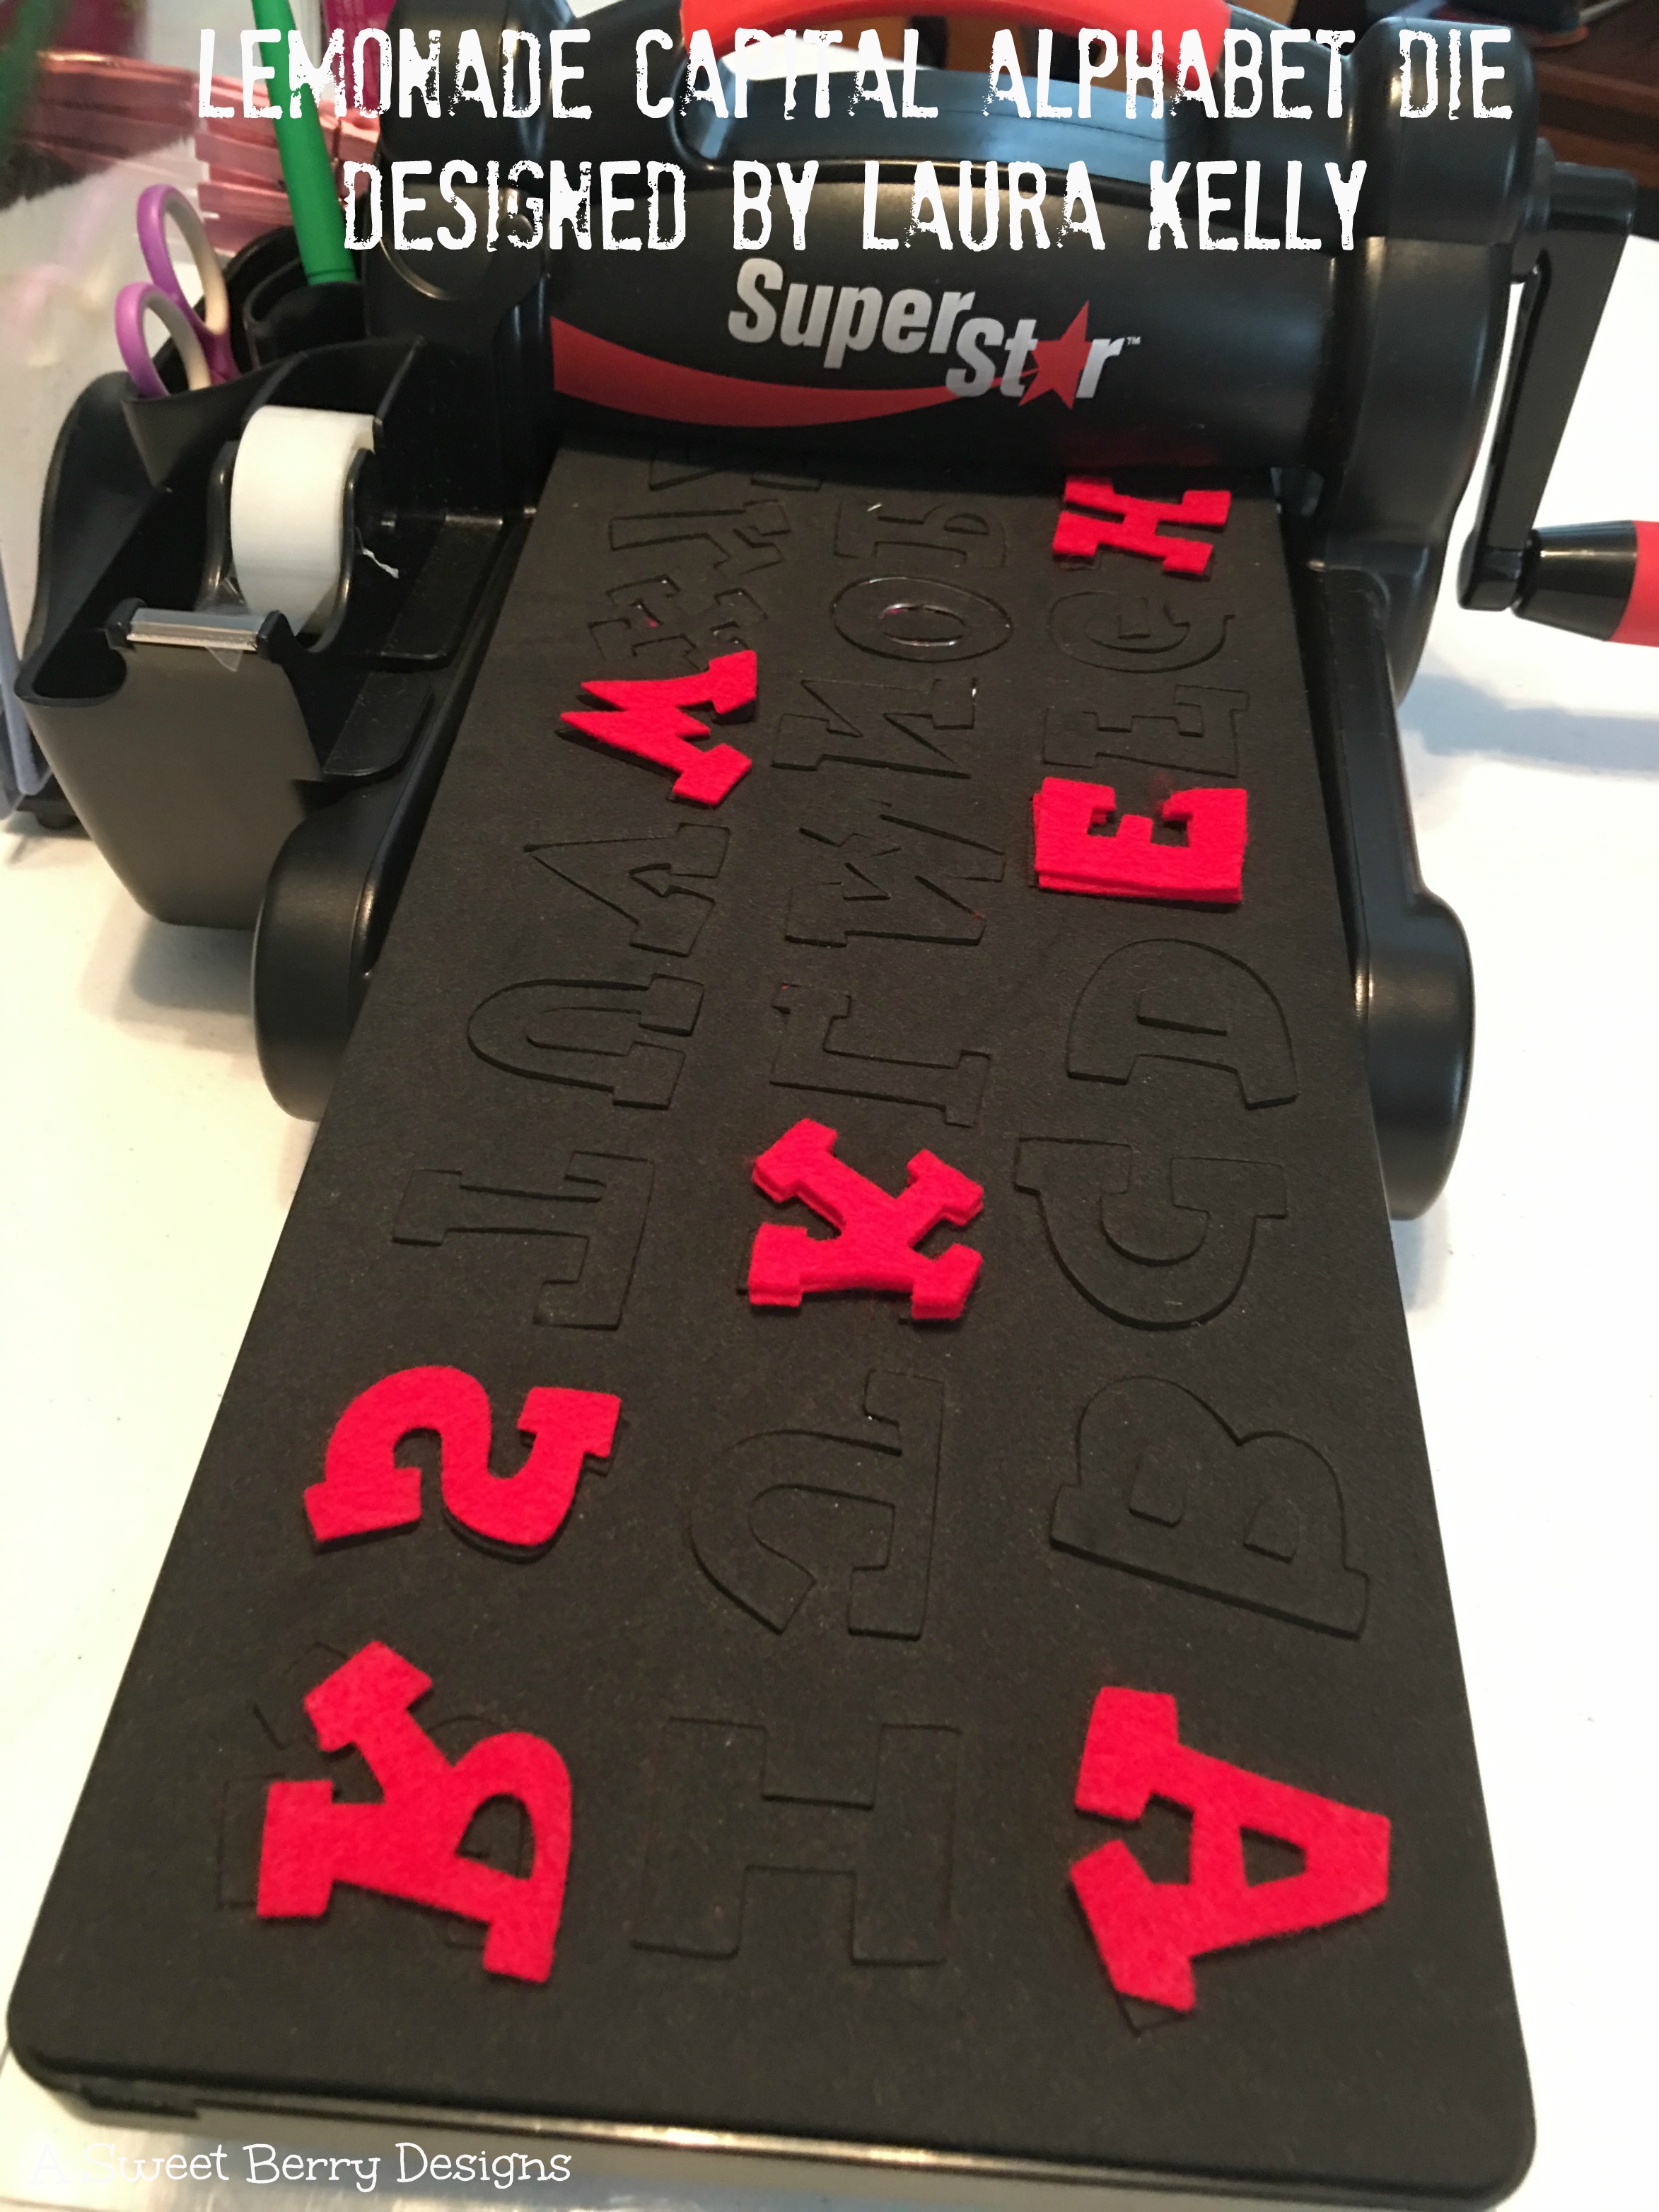
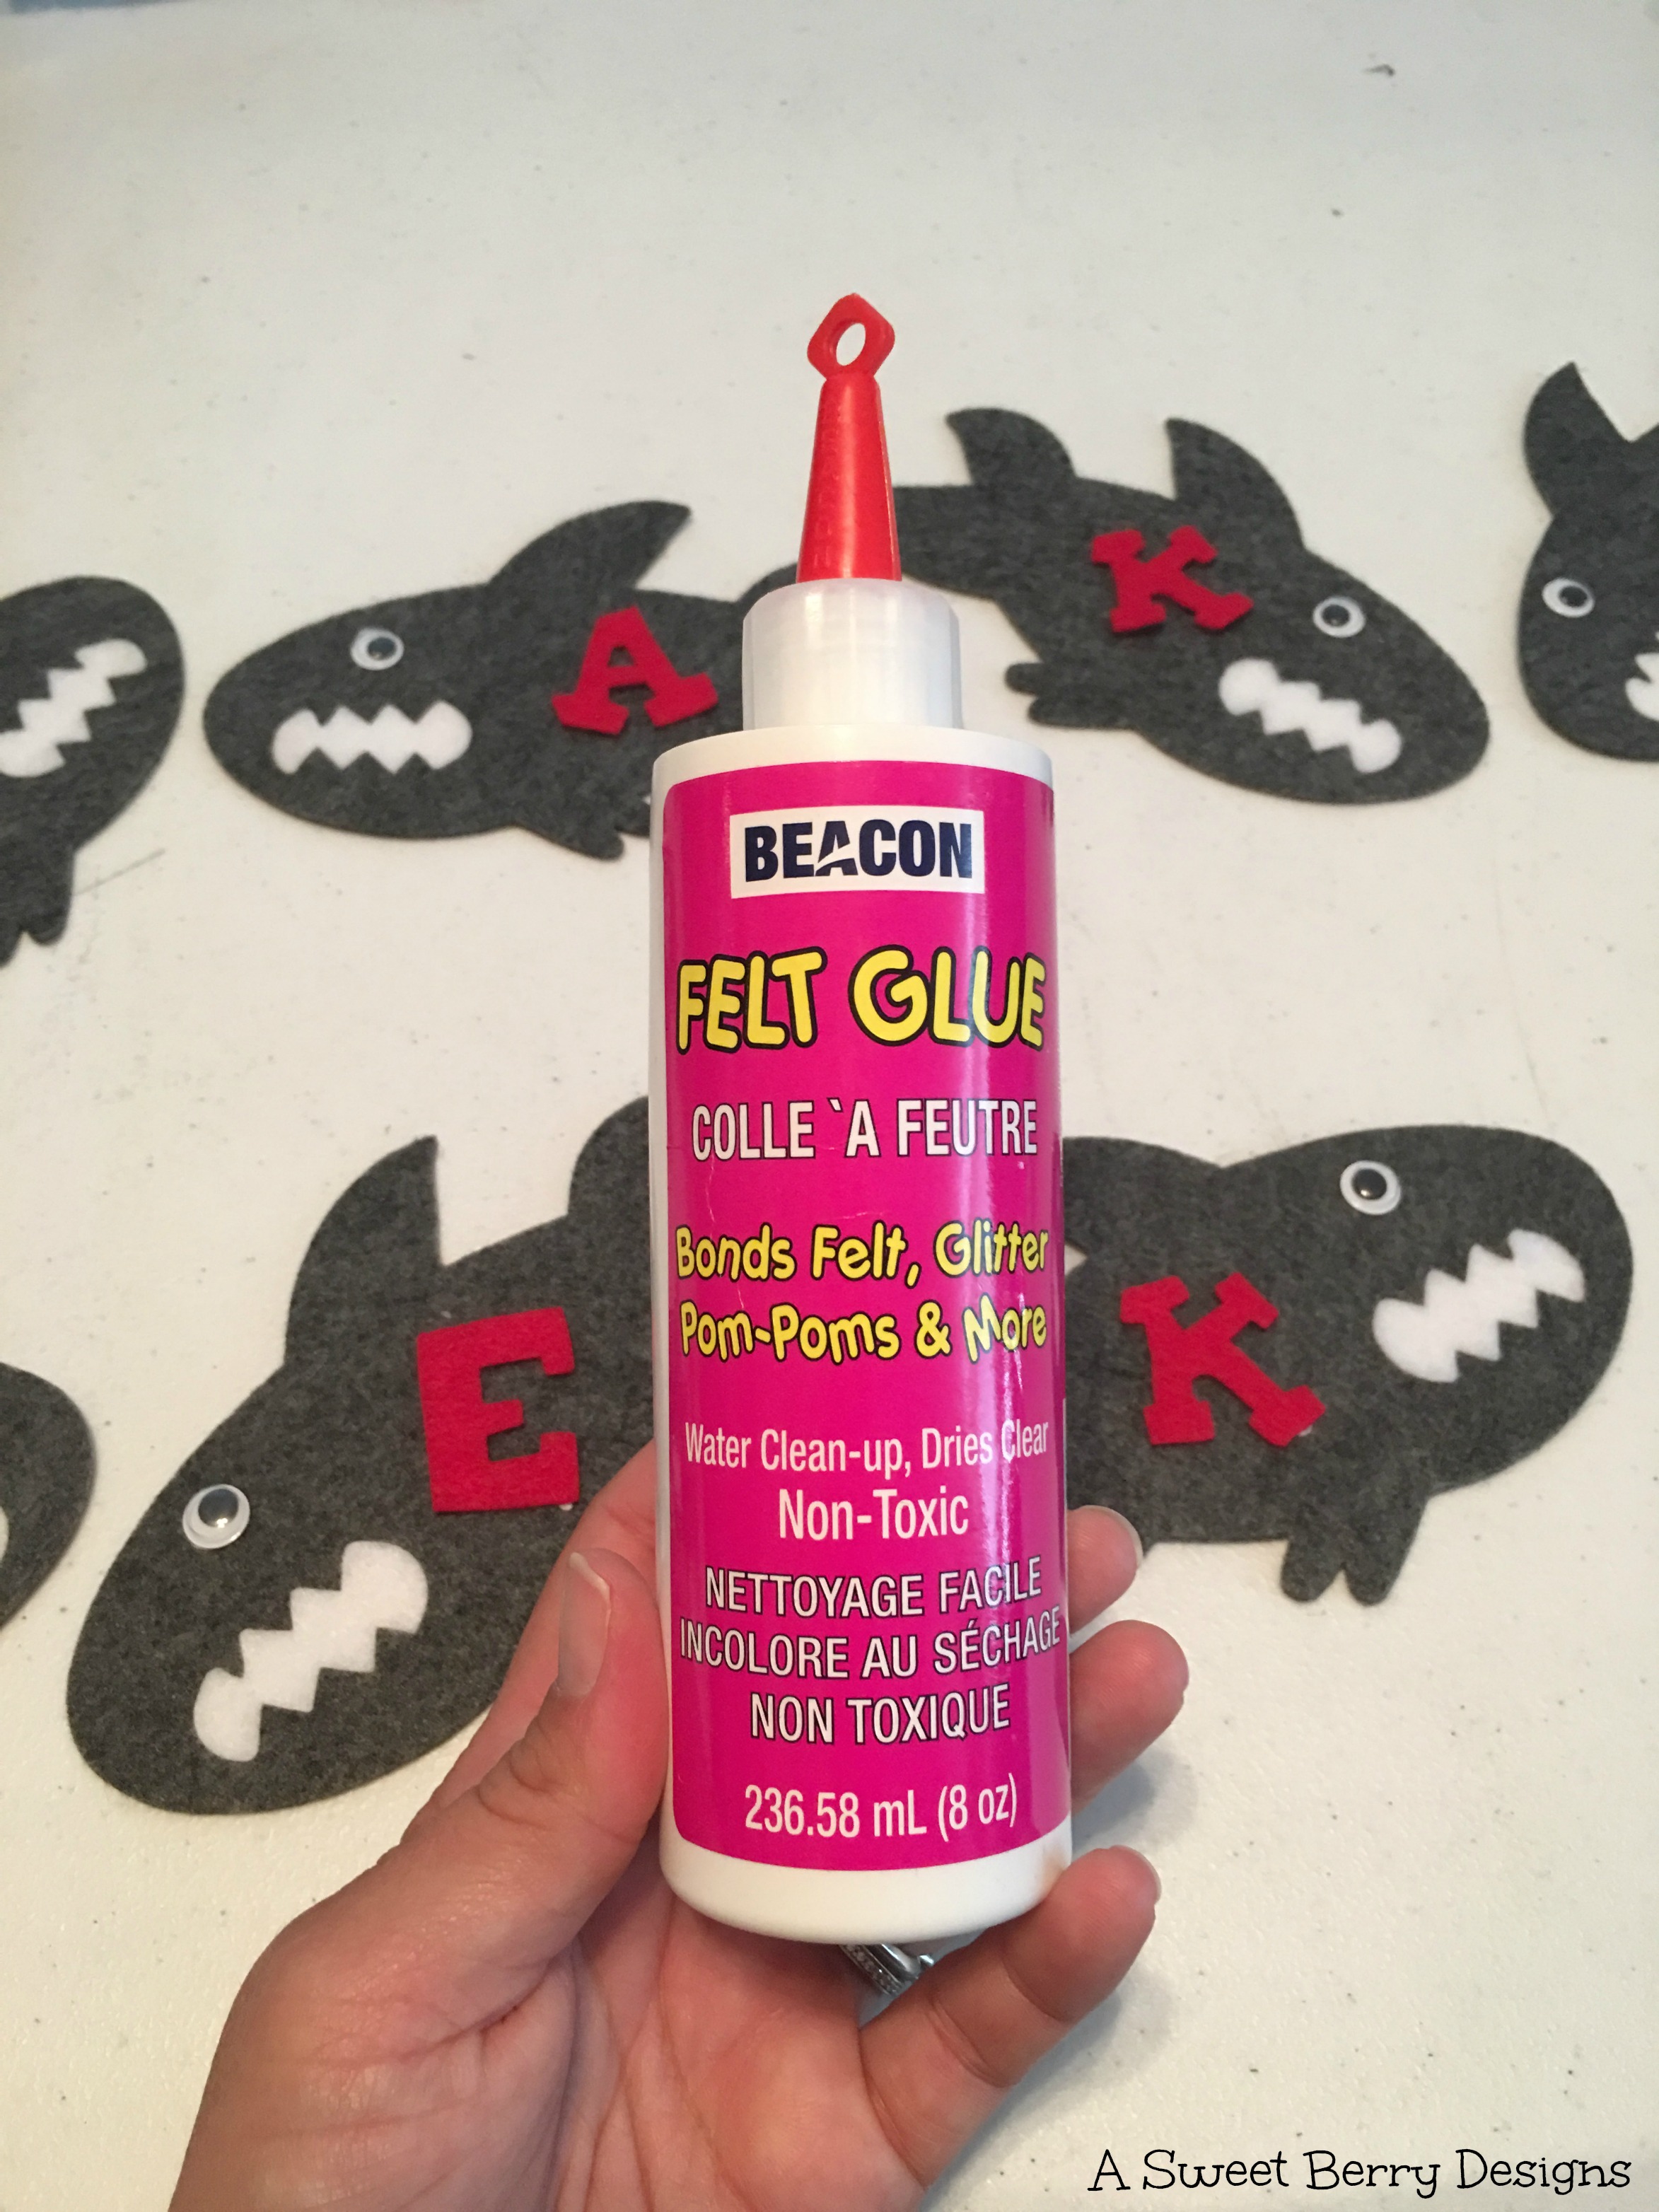
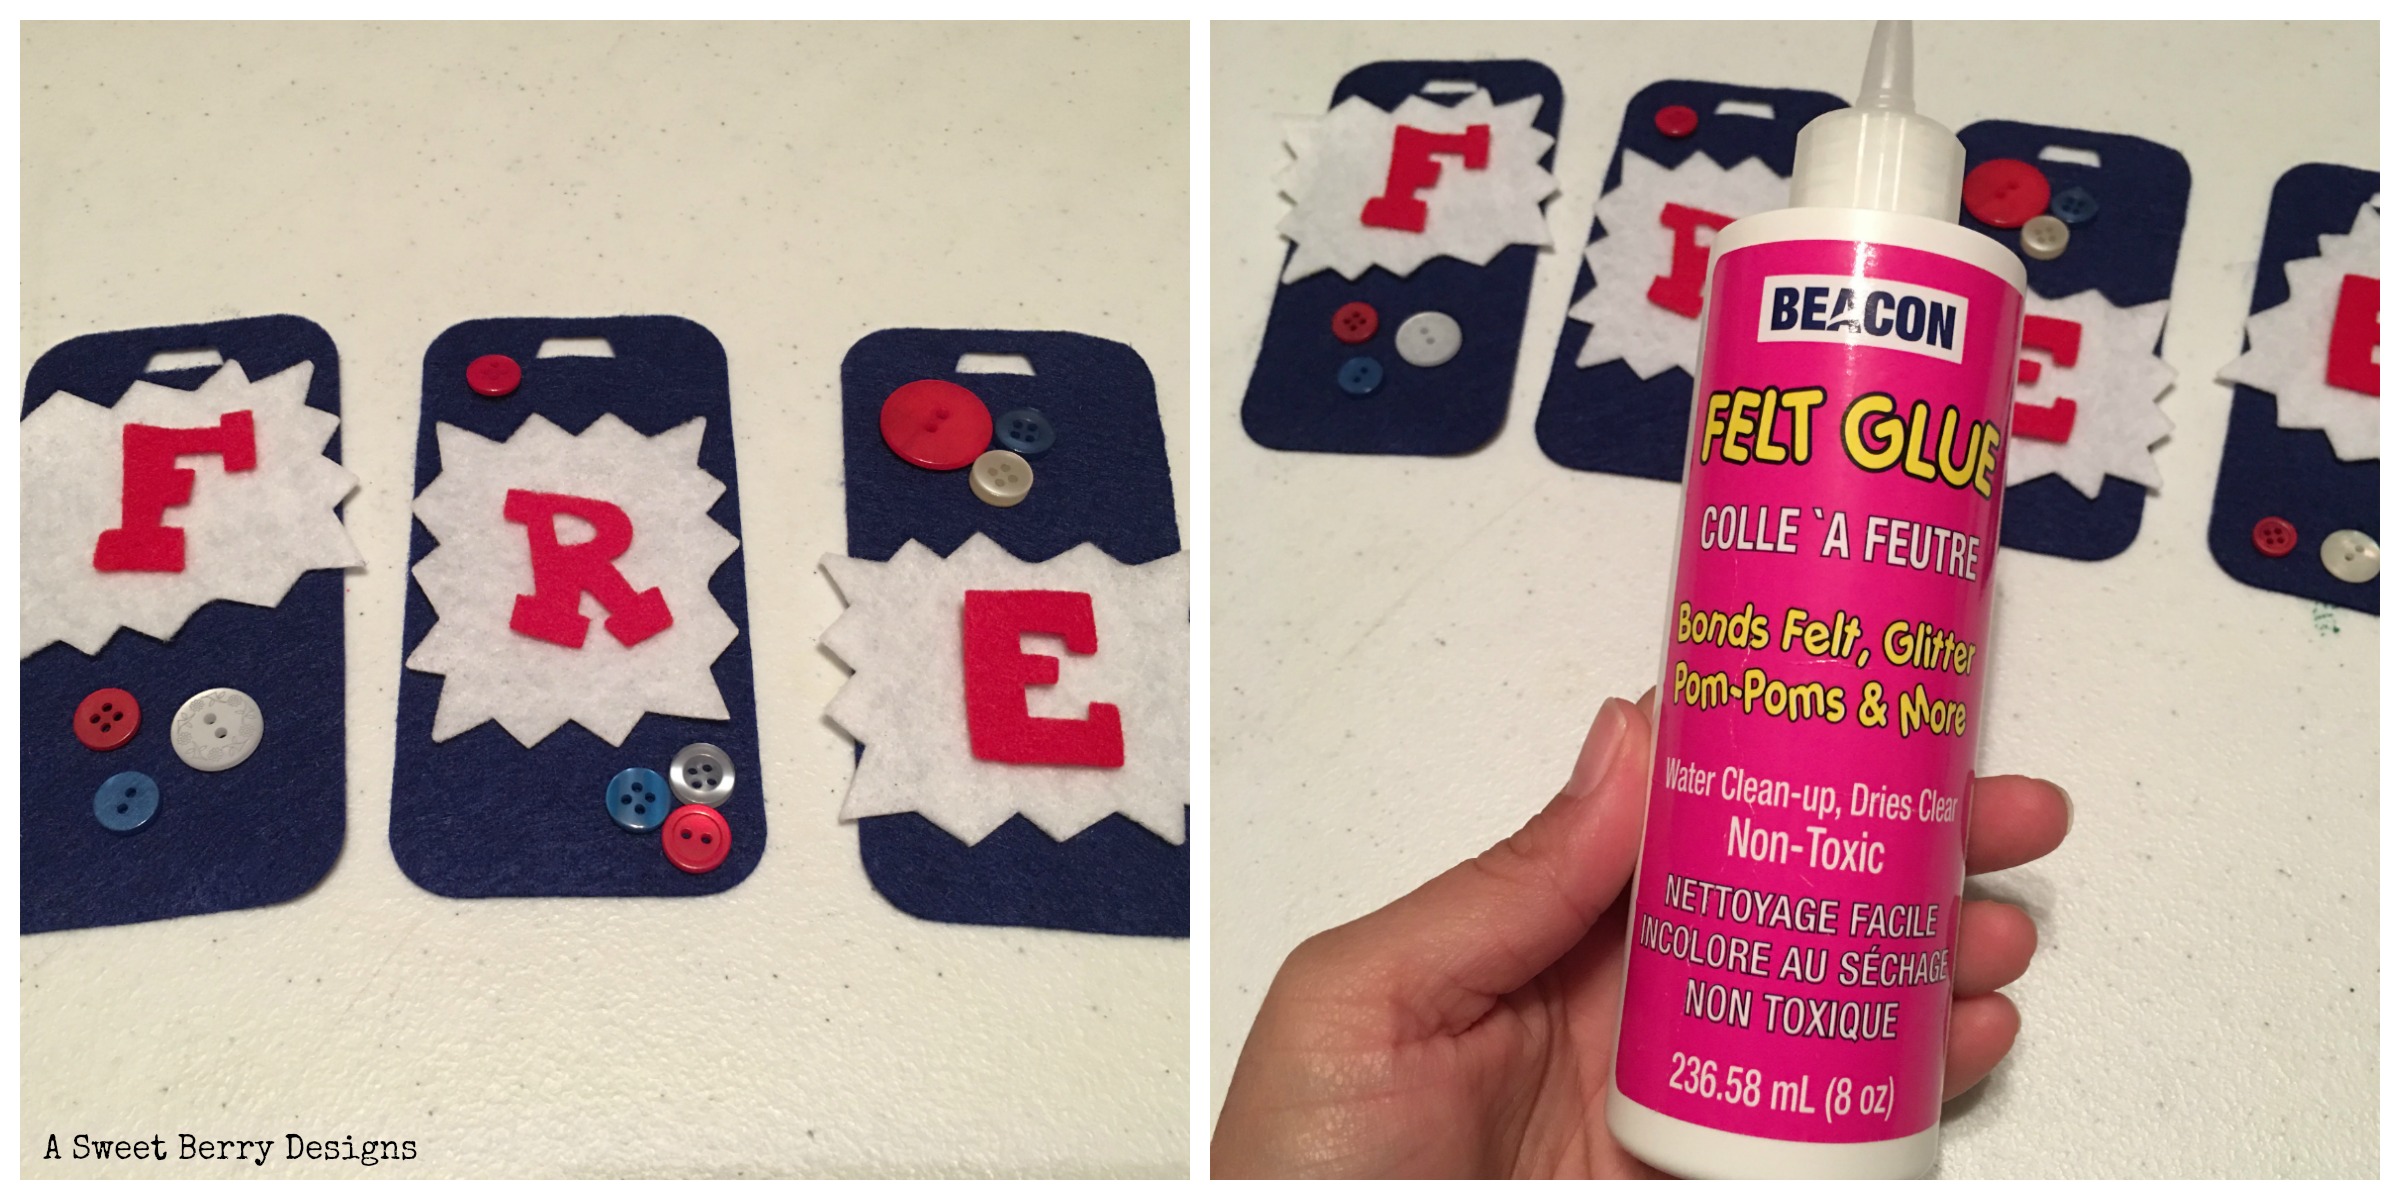
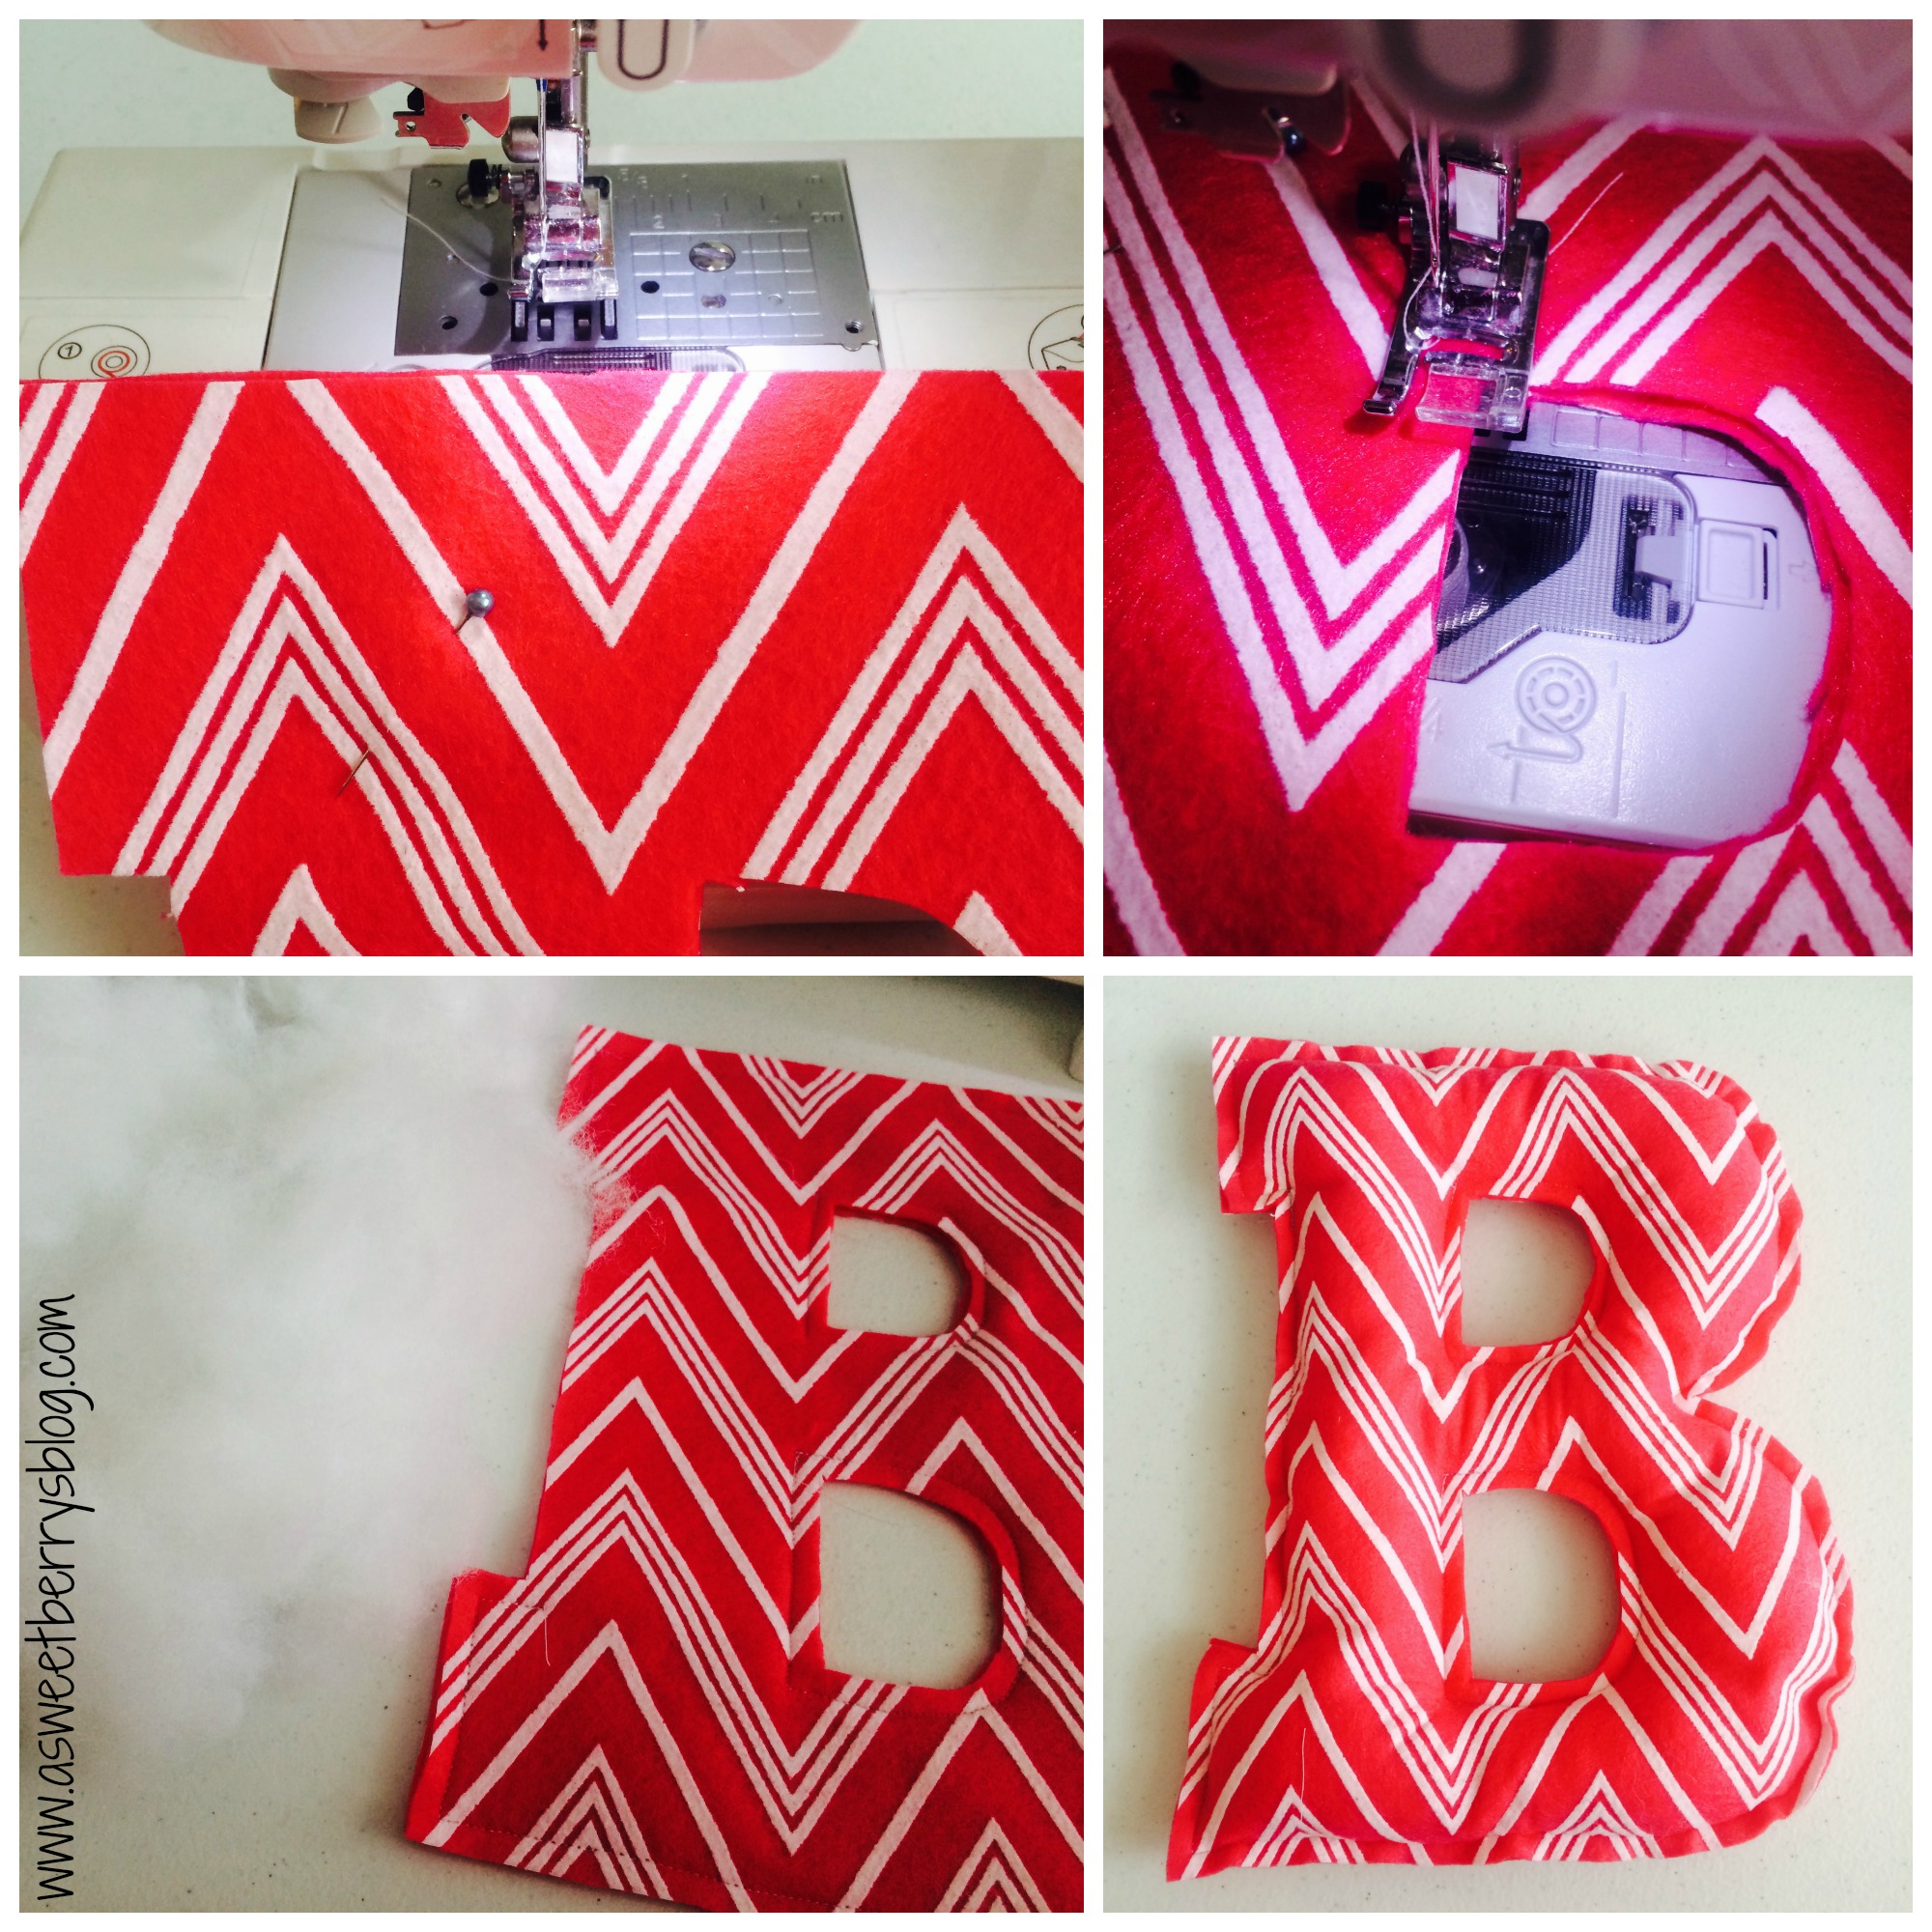
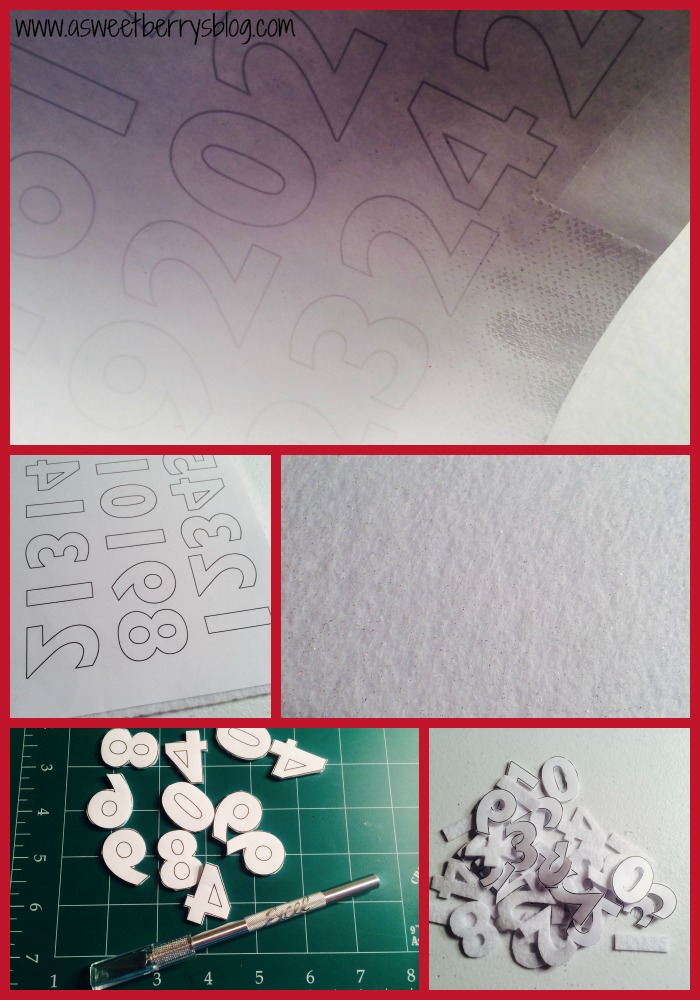
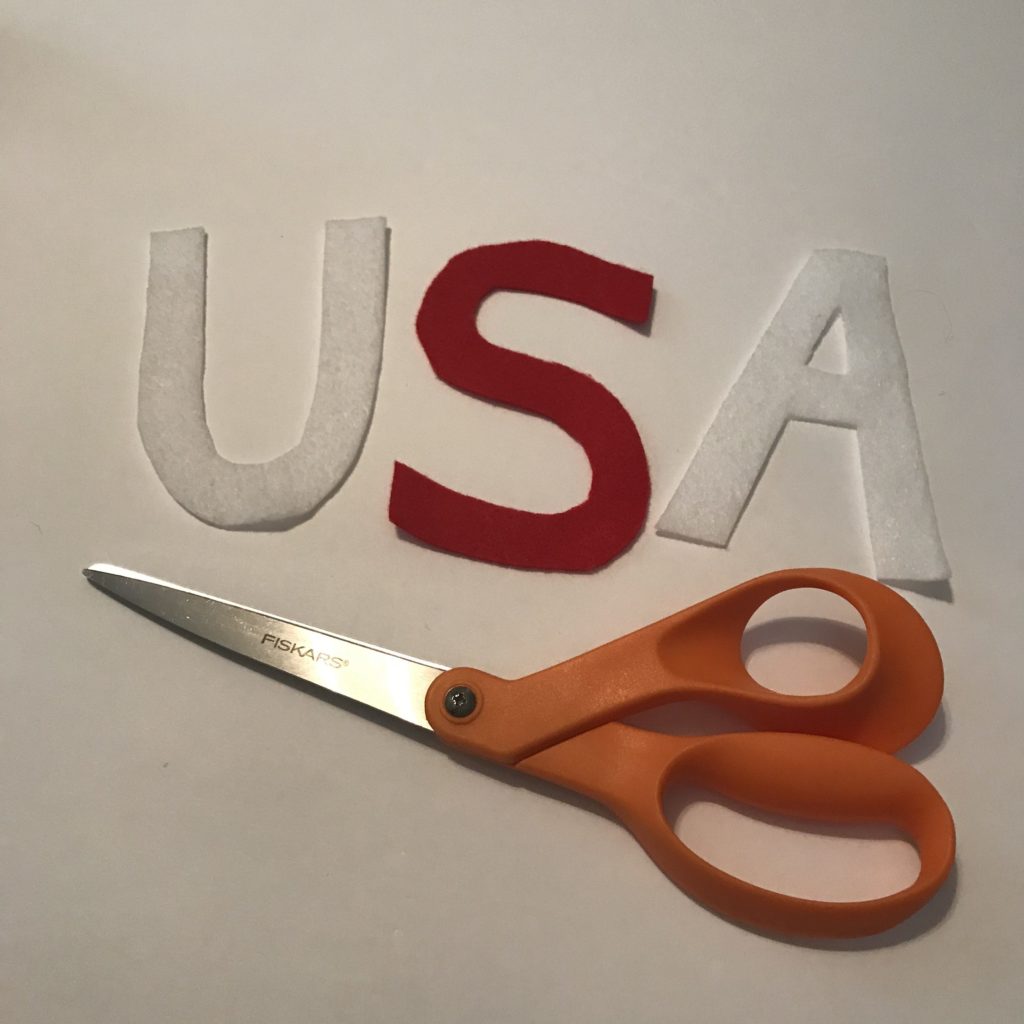
Using scissors, cut the letters USA from the red and white felt. Glue them in place on the front of the banner.
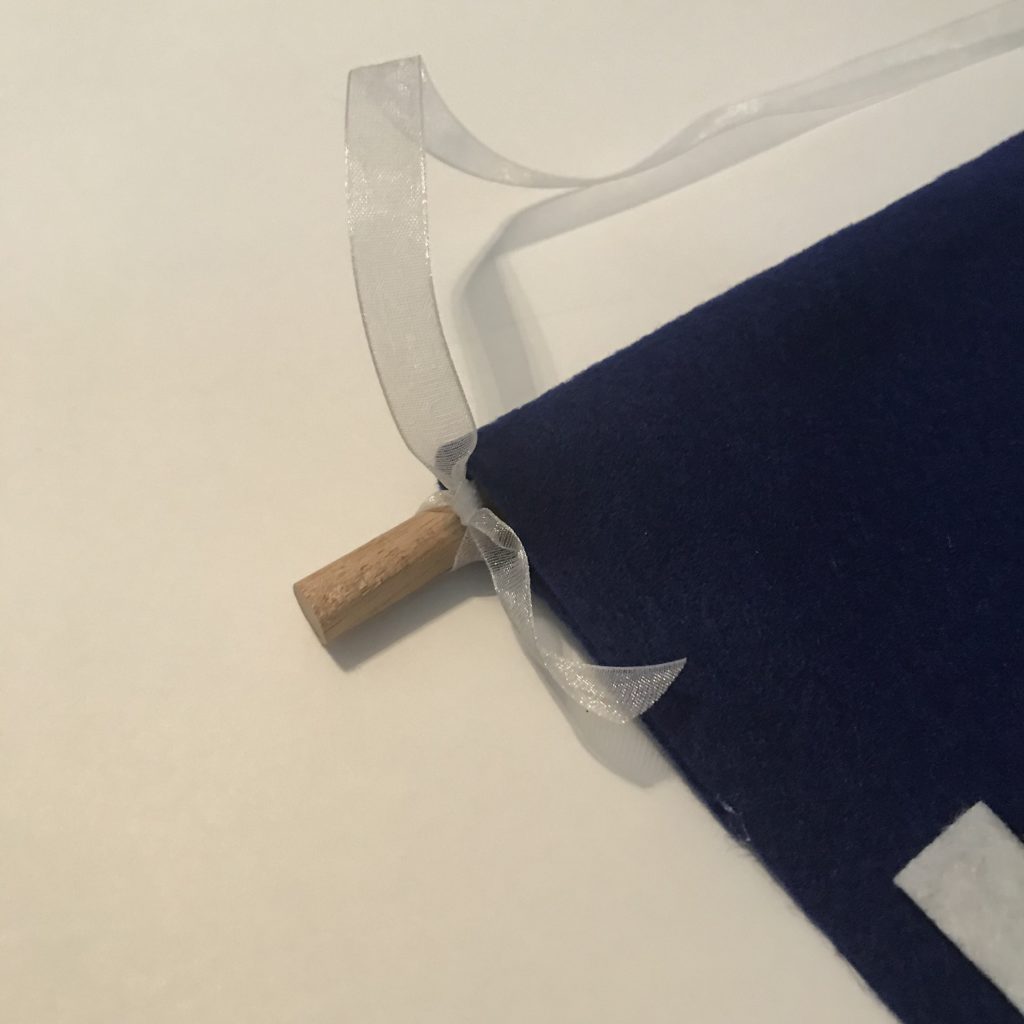
Tie a piece of ribbon to the dowel on each side of the banner.
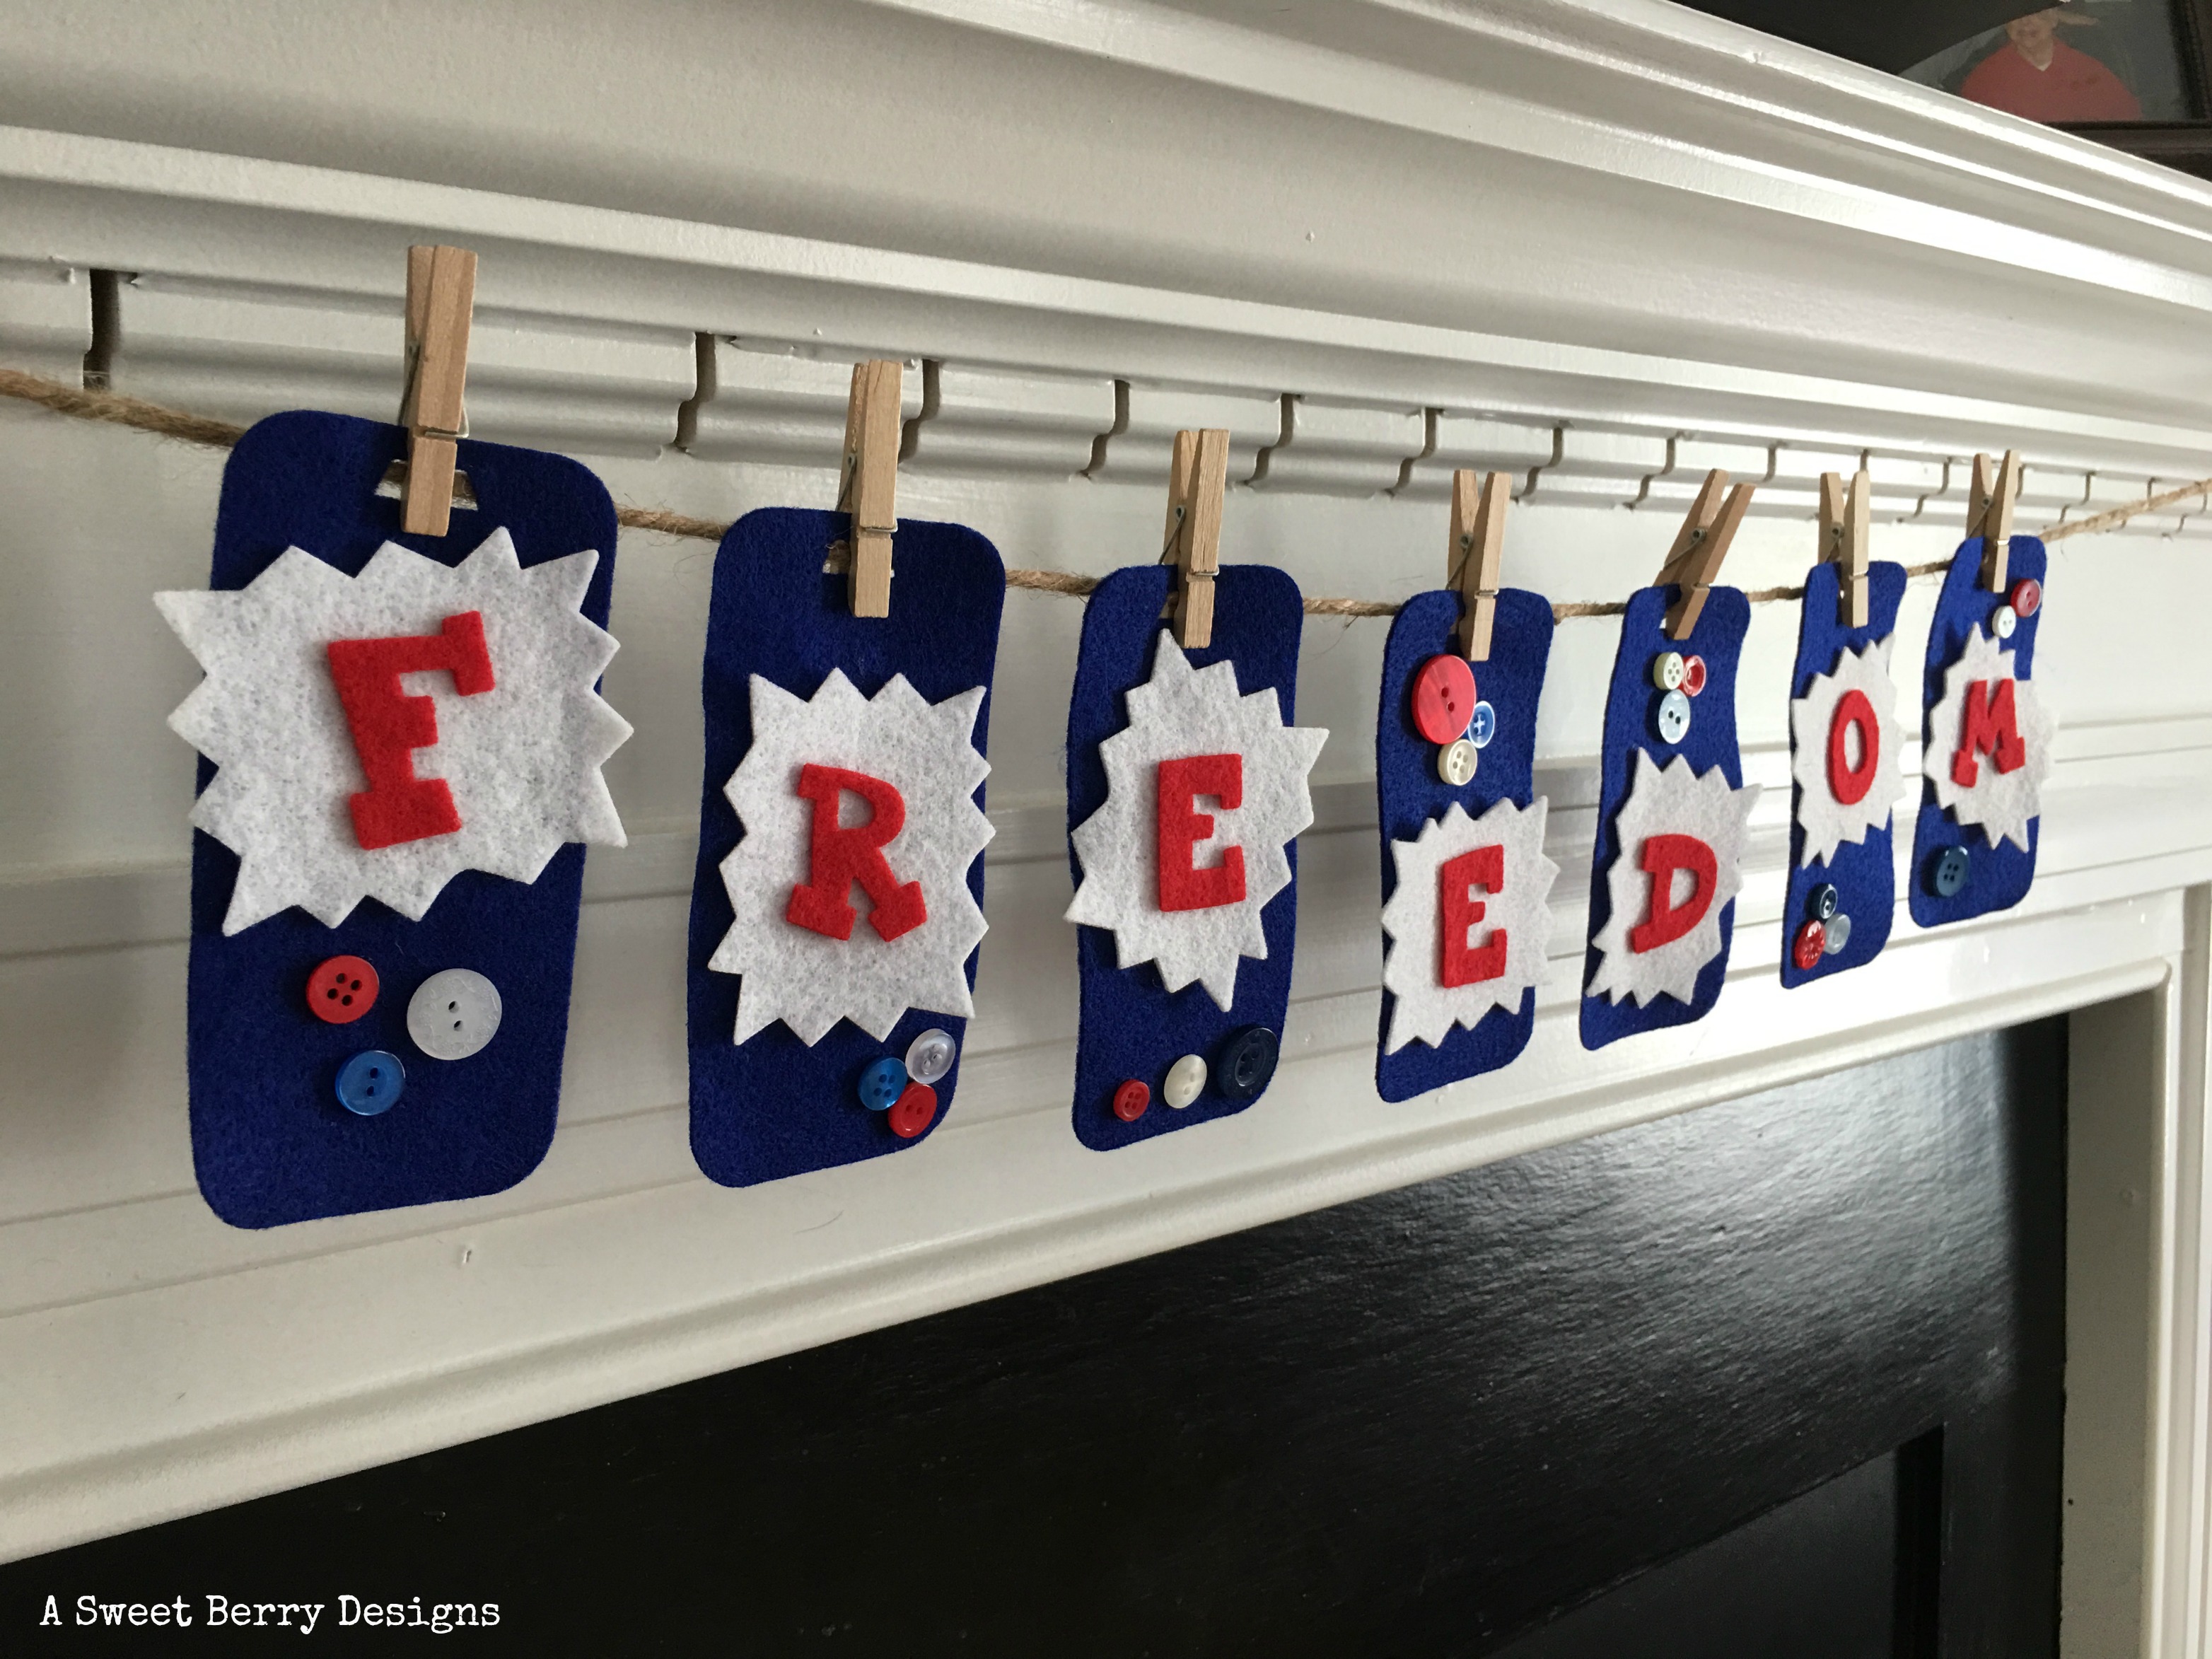
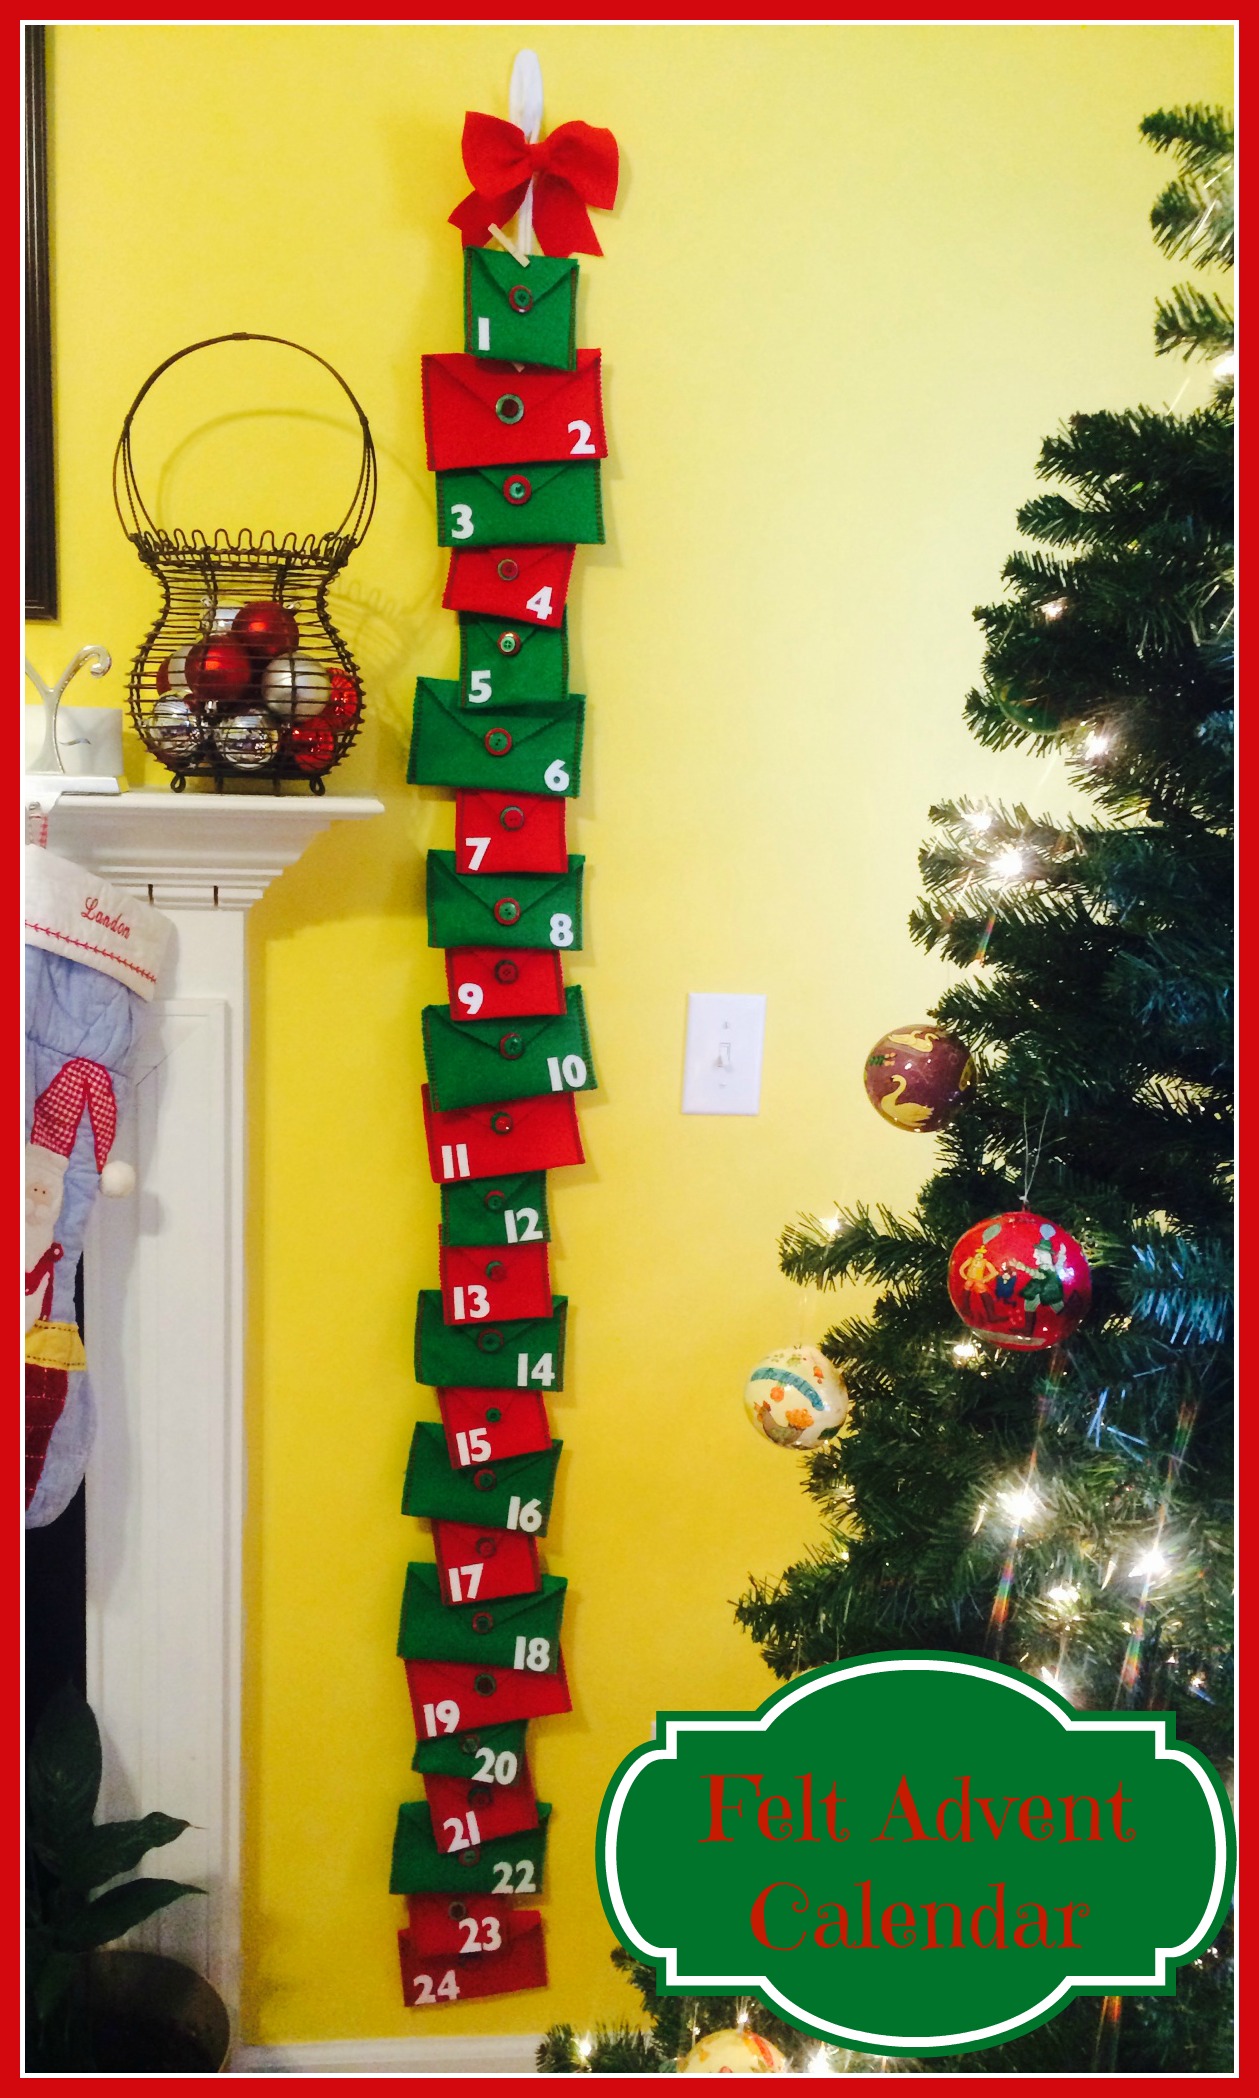
Now it’s ready to hang up! You can hang it on the wall or on your front door!
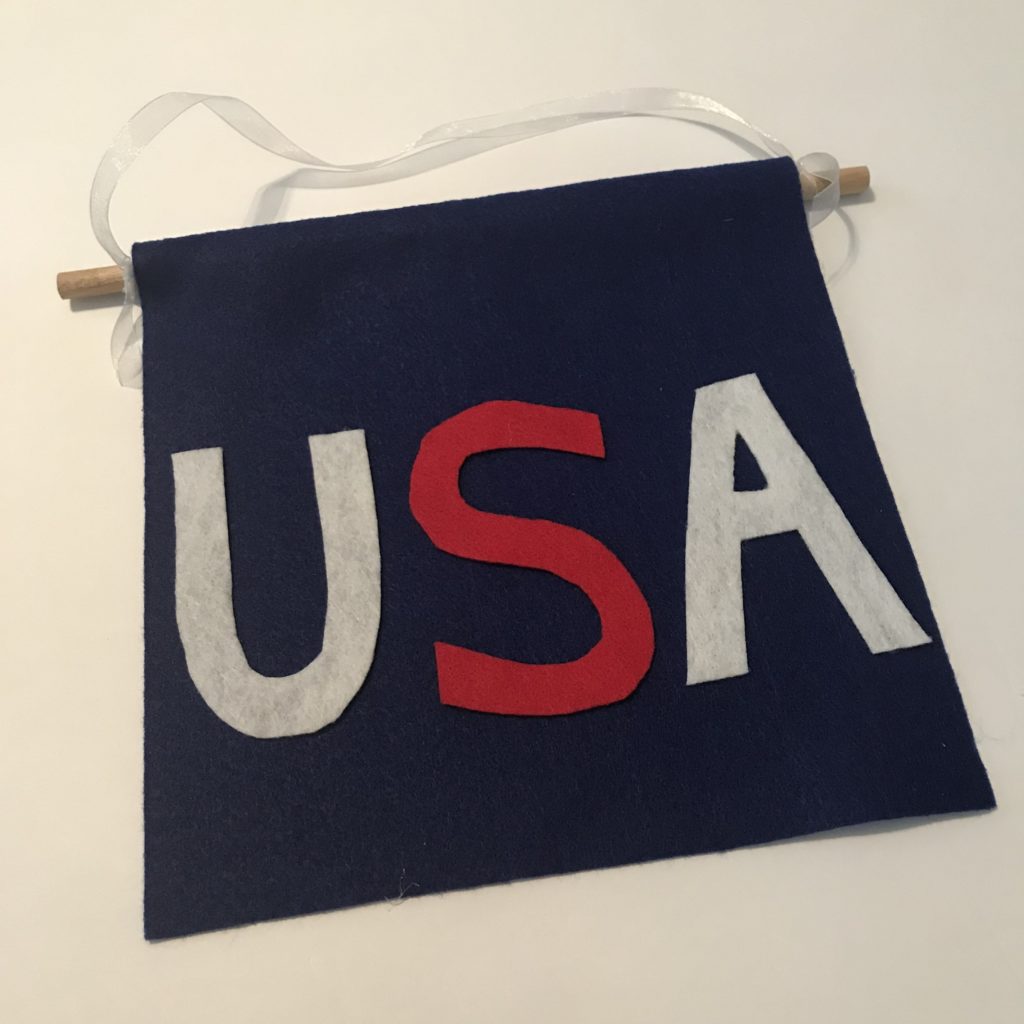
I hope you like this super simple USA banner.
You can see other Craft Lightning Patriotic projects by clicking on the image below!

Until next time……