Tag Archives: Aleene’s

Easy Valentine’s Day Heart Card

Disclaimer:  This post contains an affiliate link.

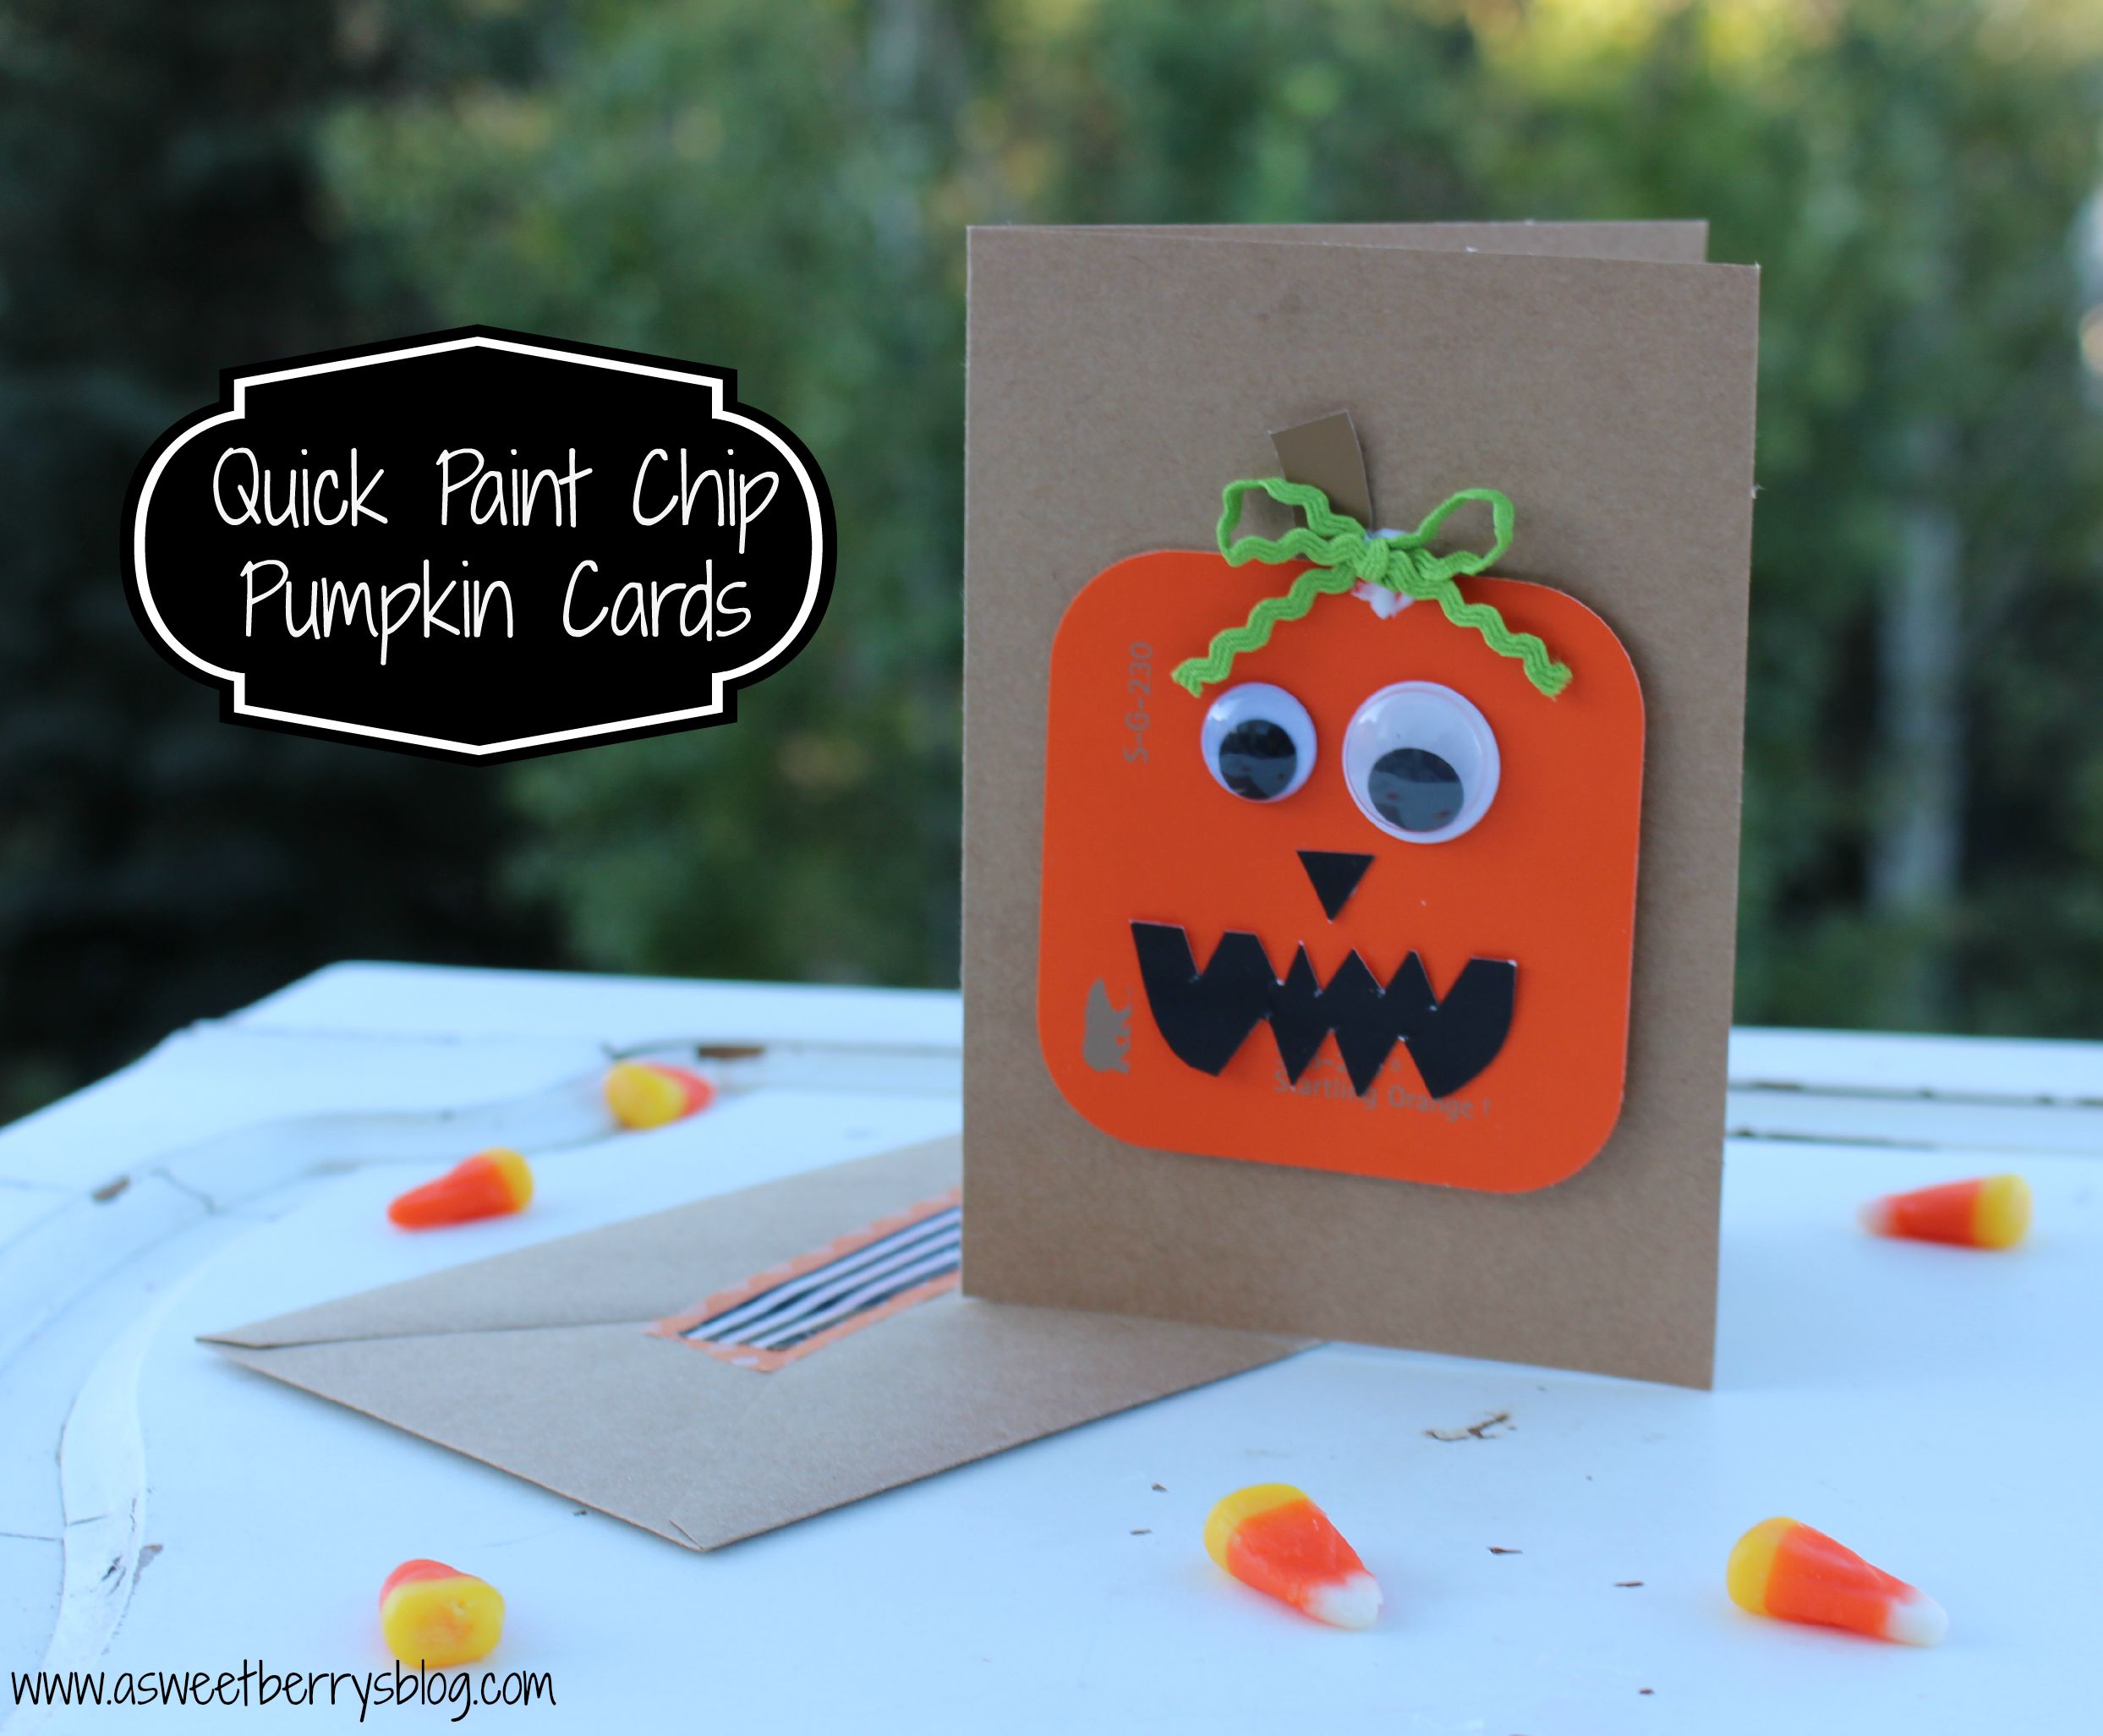
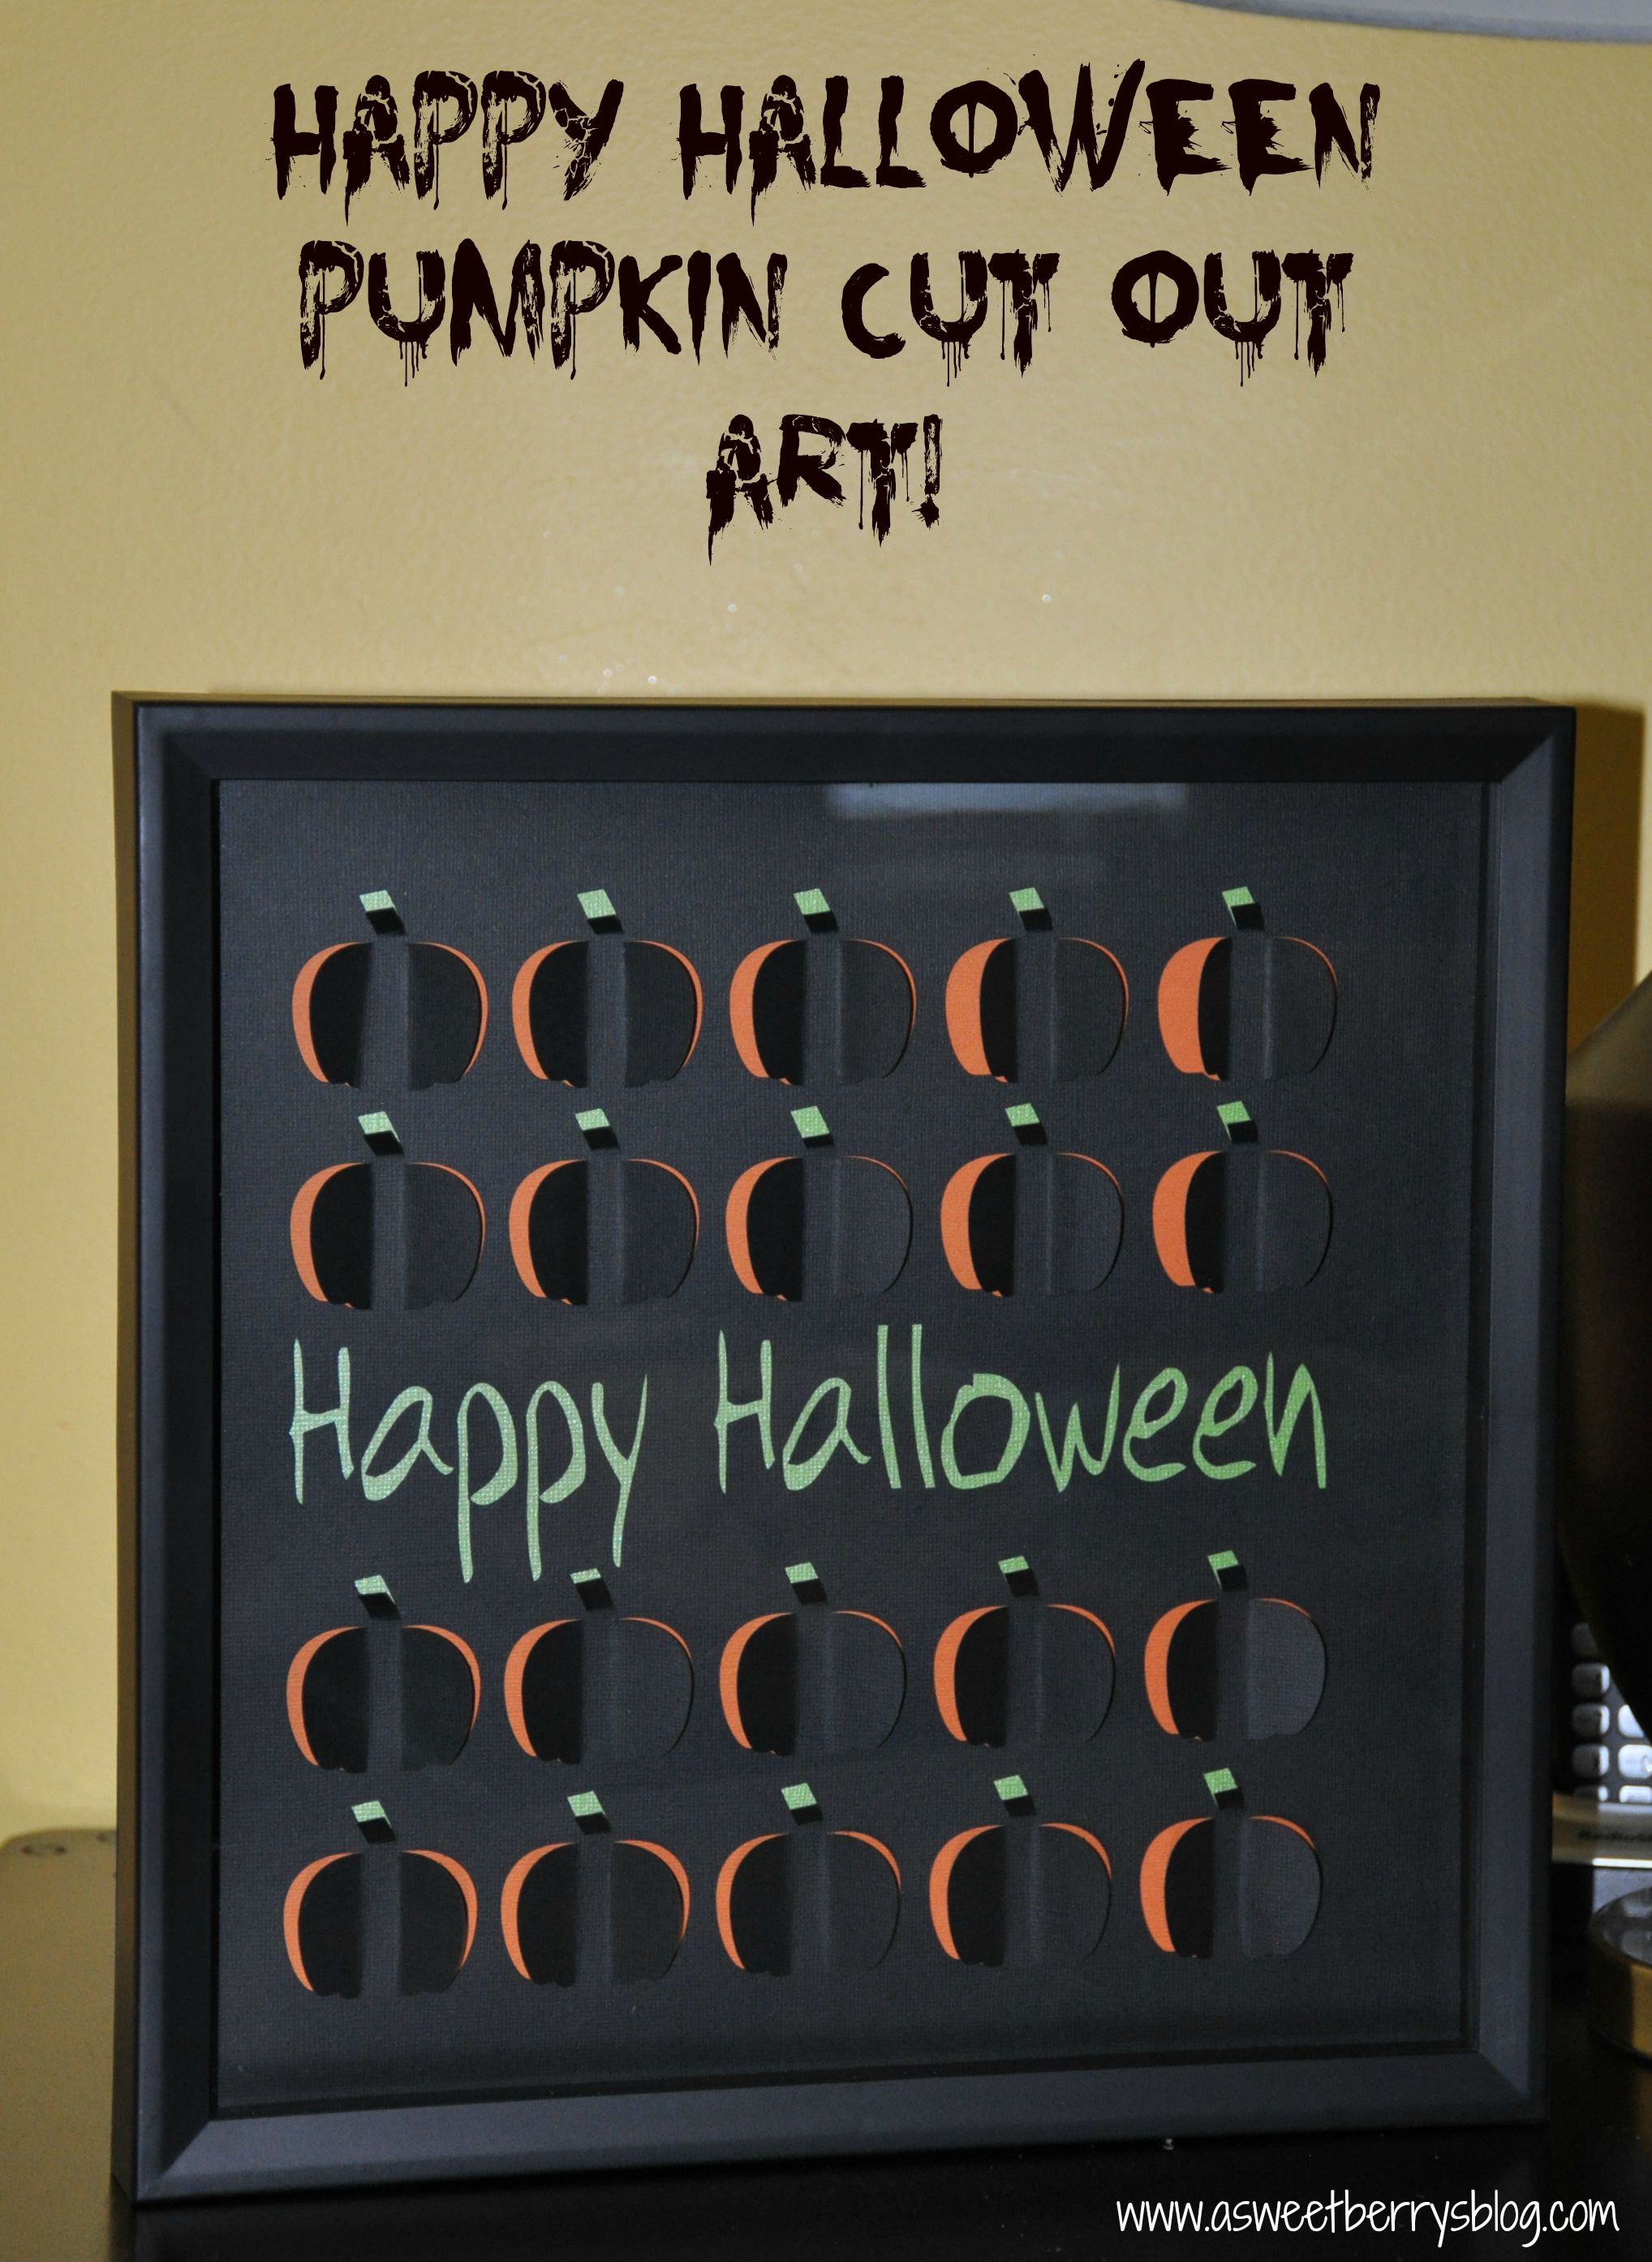
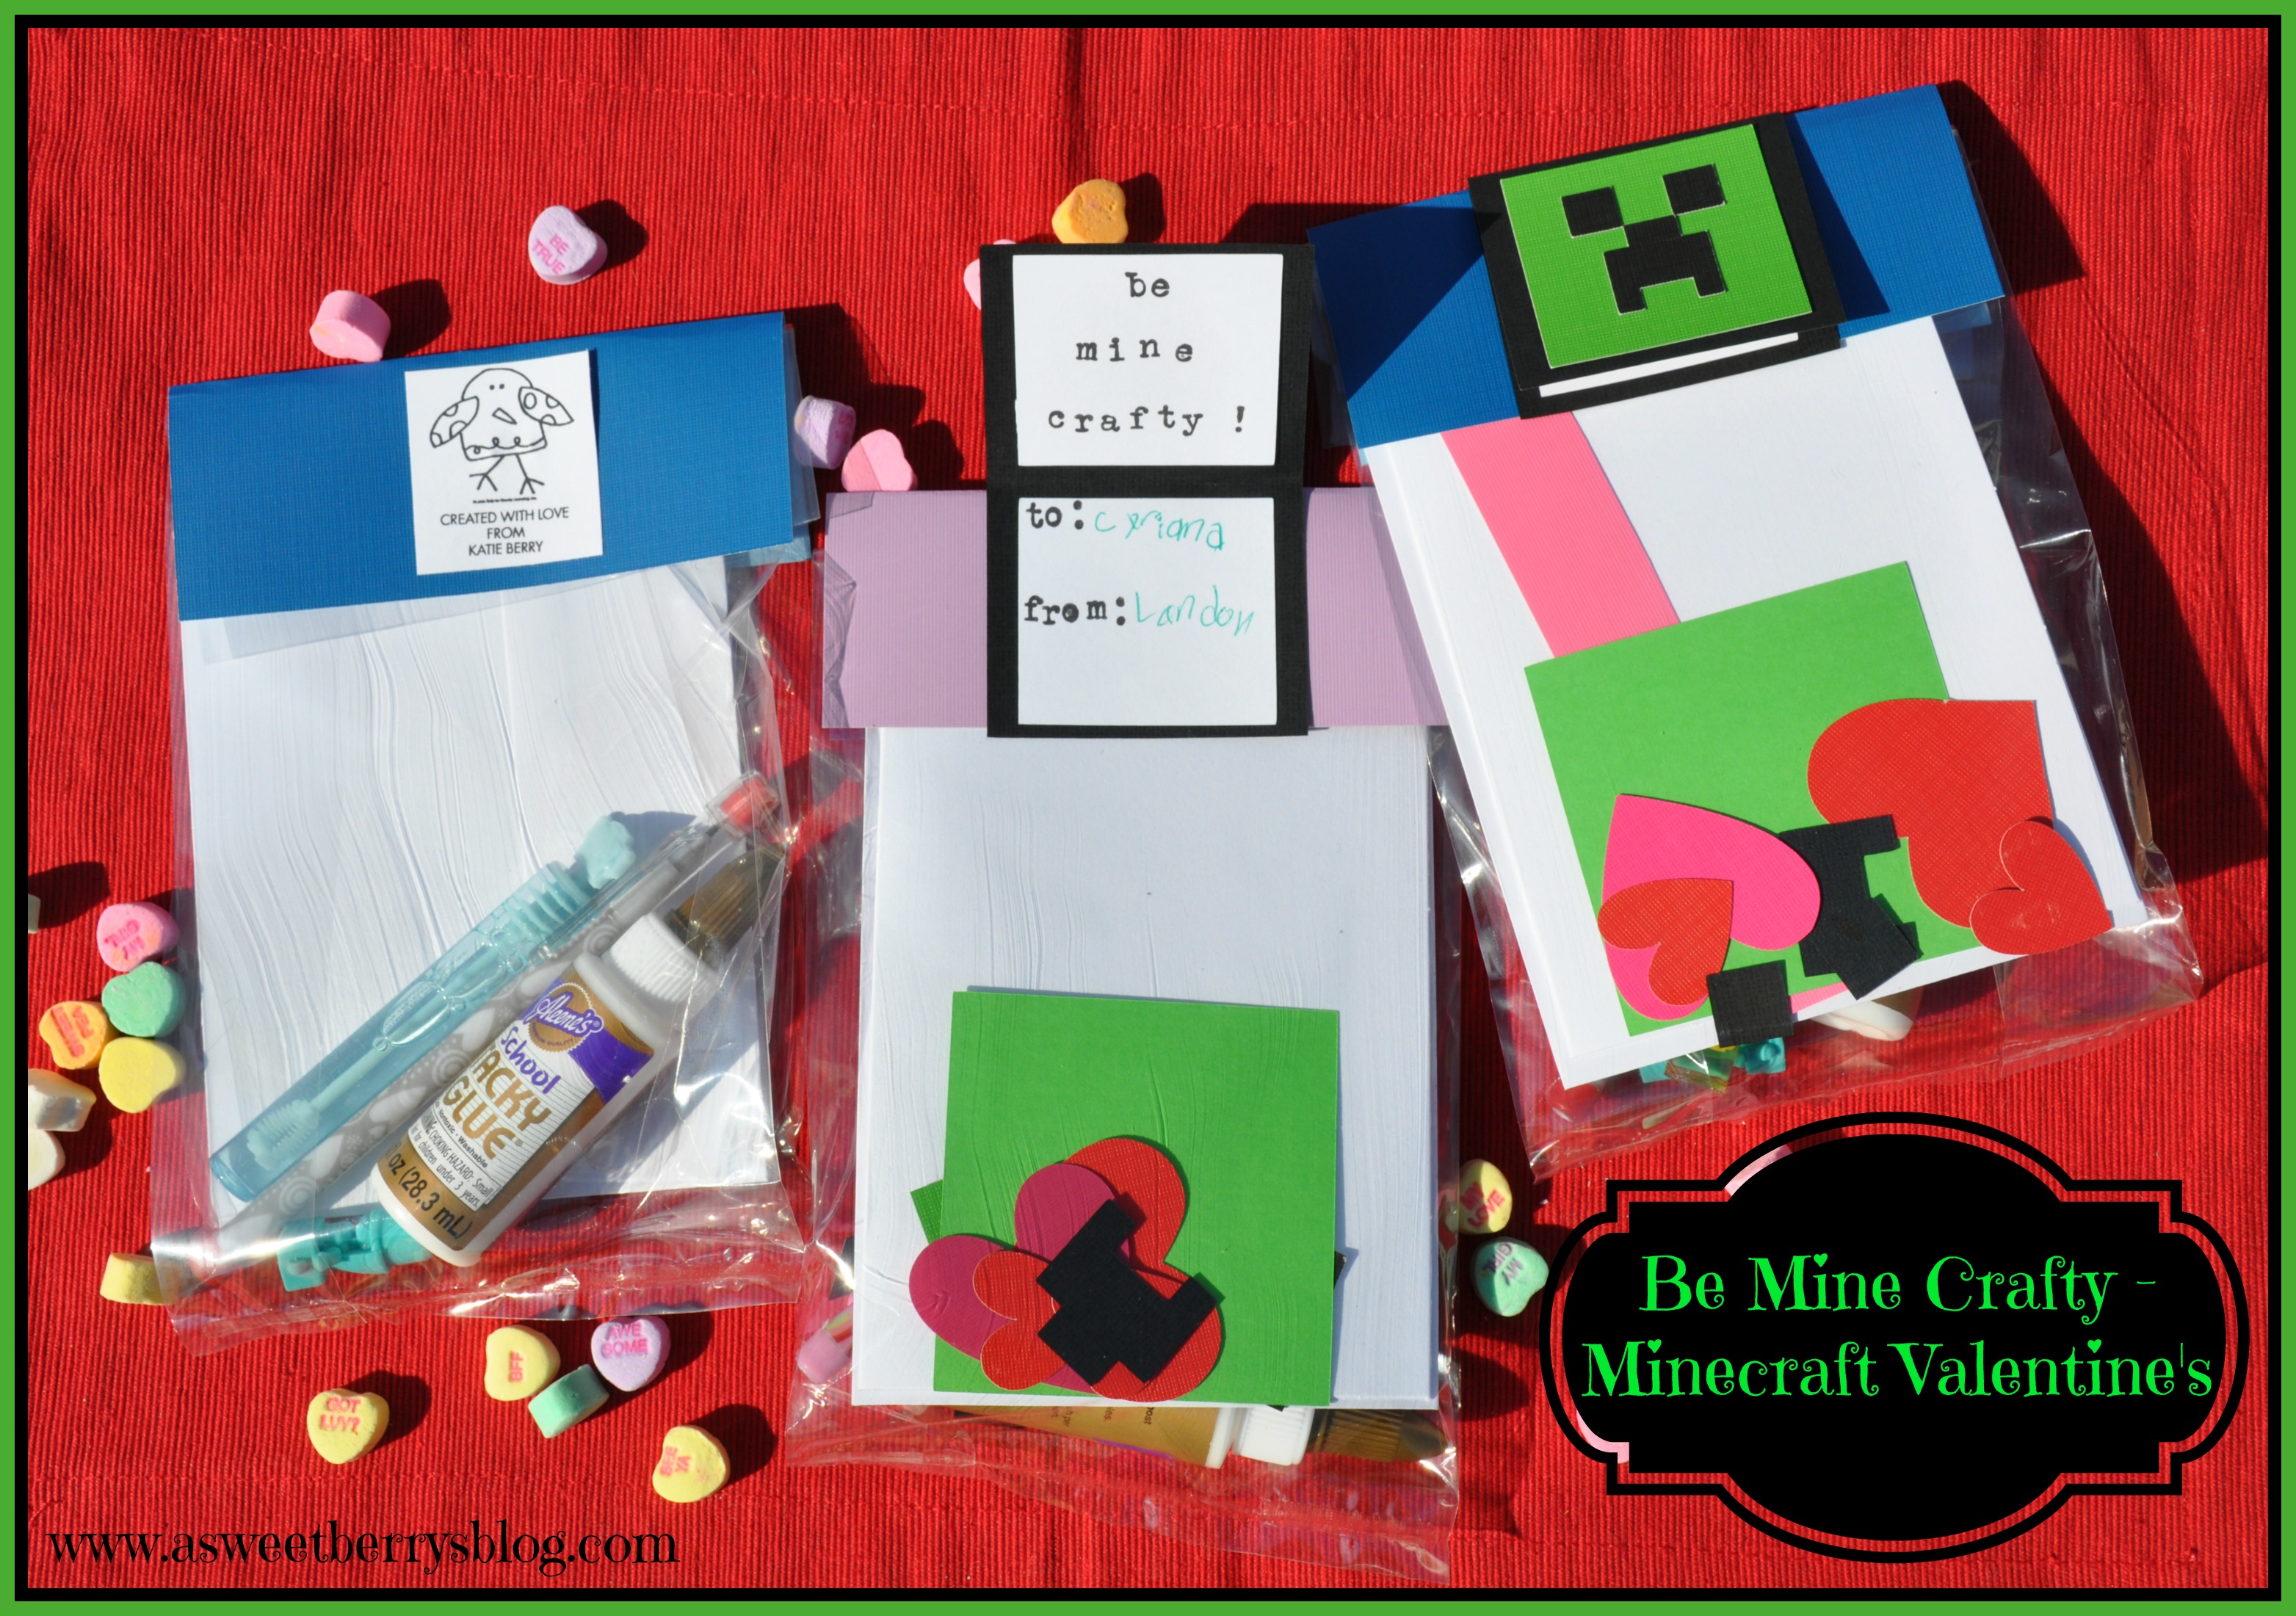
Valentine’s Day is right around the corner!  Need a super easy card?  Here is one for you!  It’s a Valentine’s Day Heart Card!
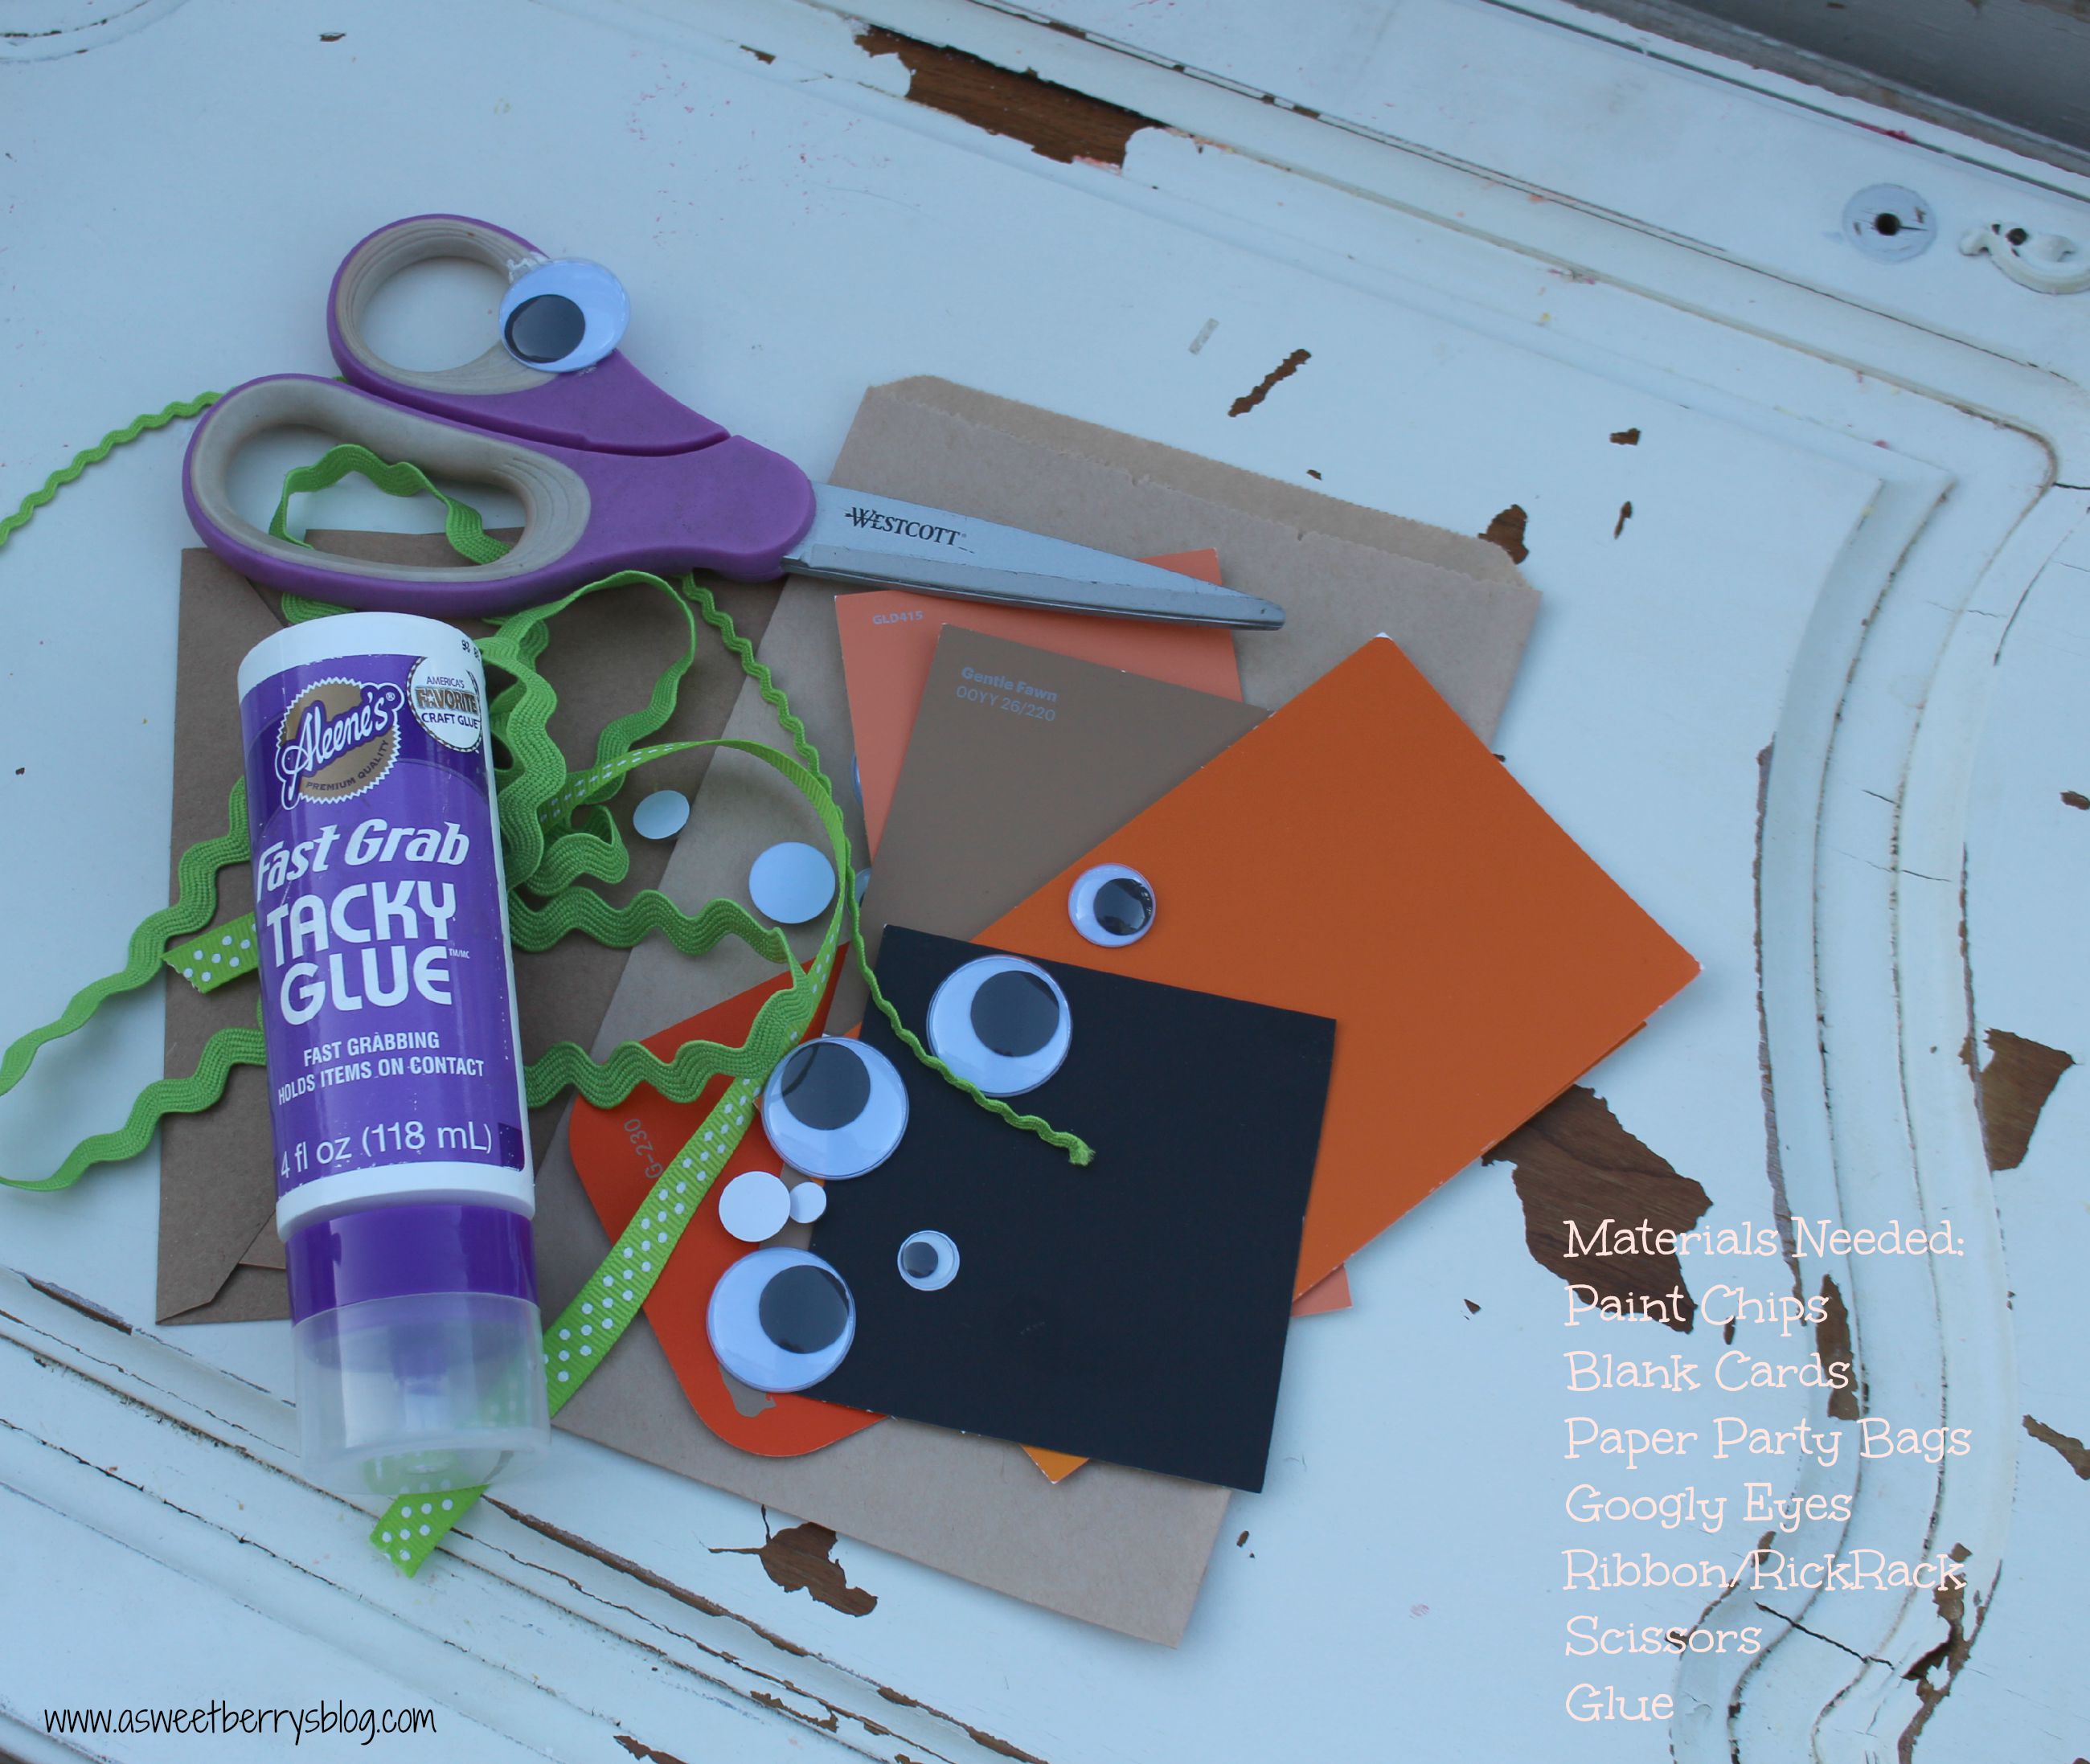
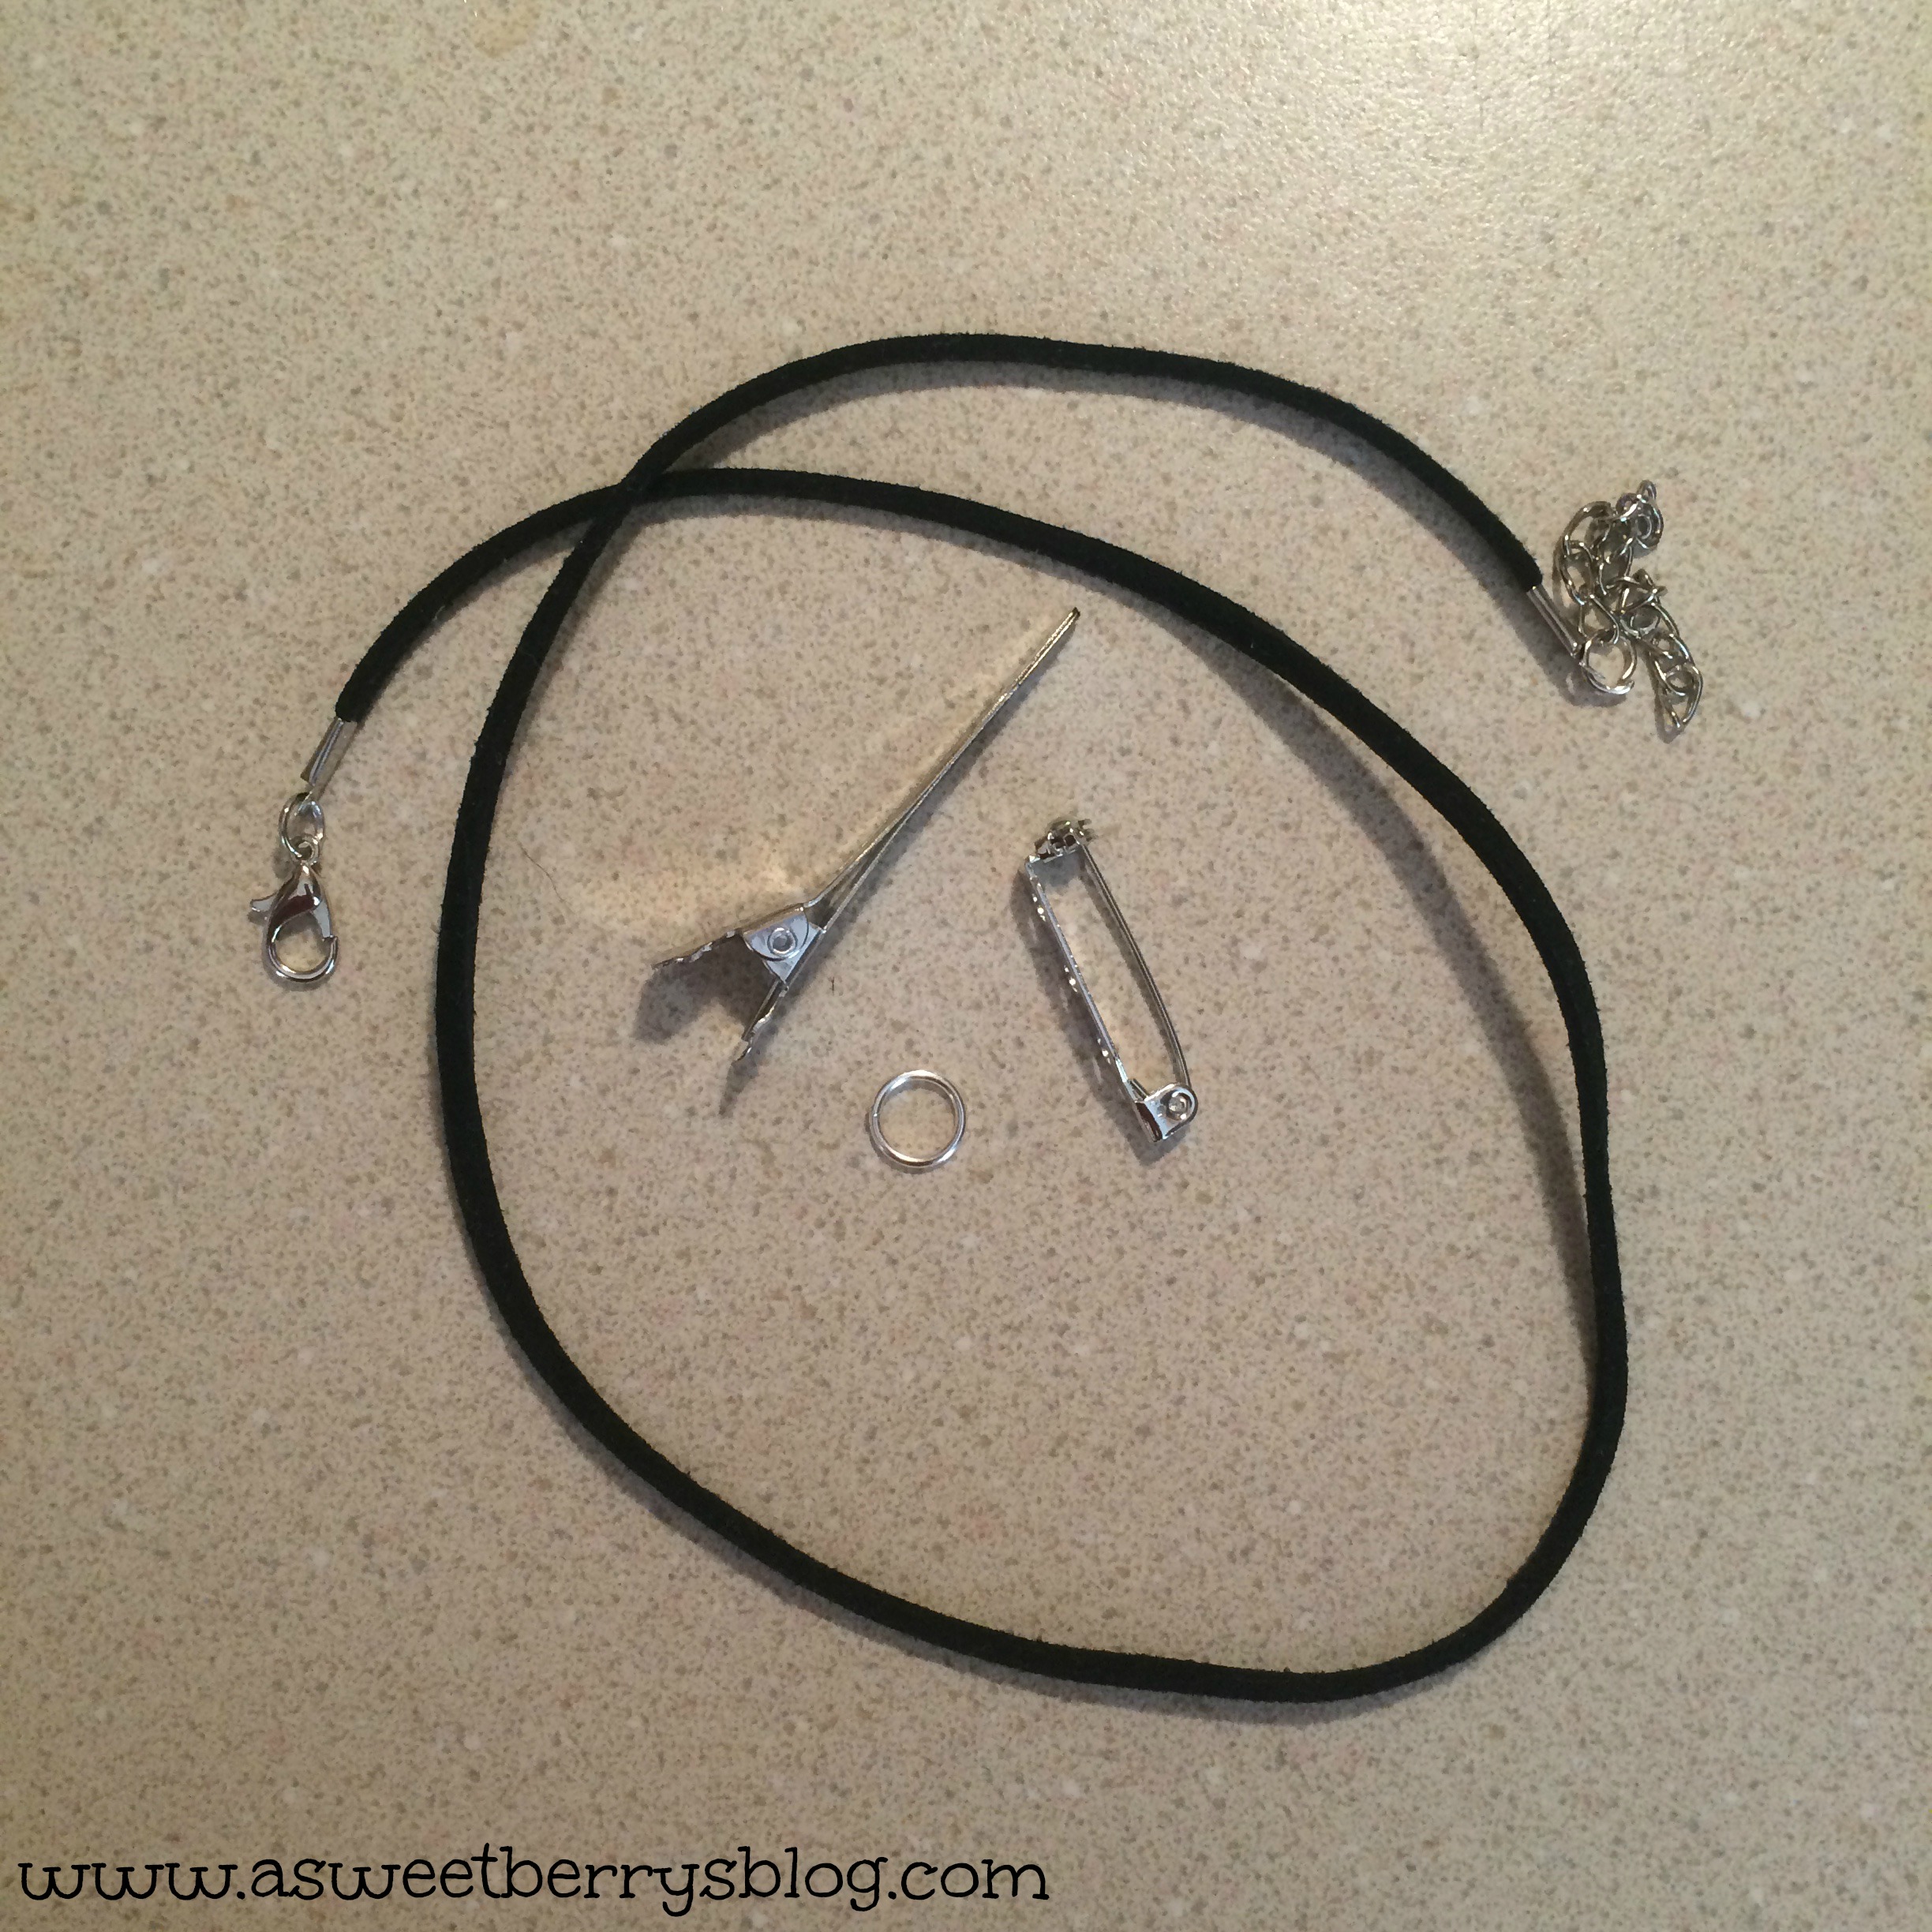
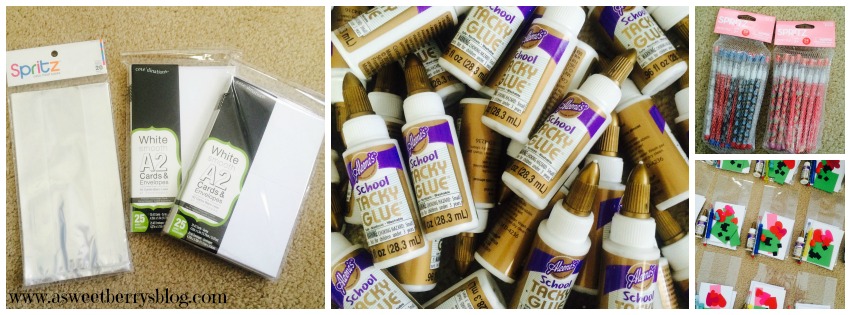
Heart Card

Materials Need:
Ellison SuperStar Machine
Cutting Pads
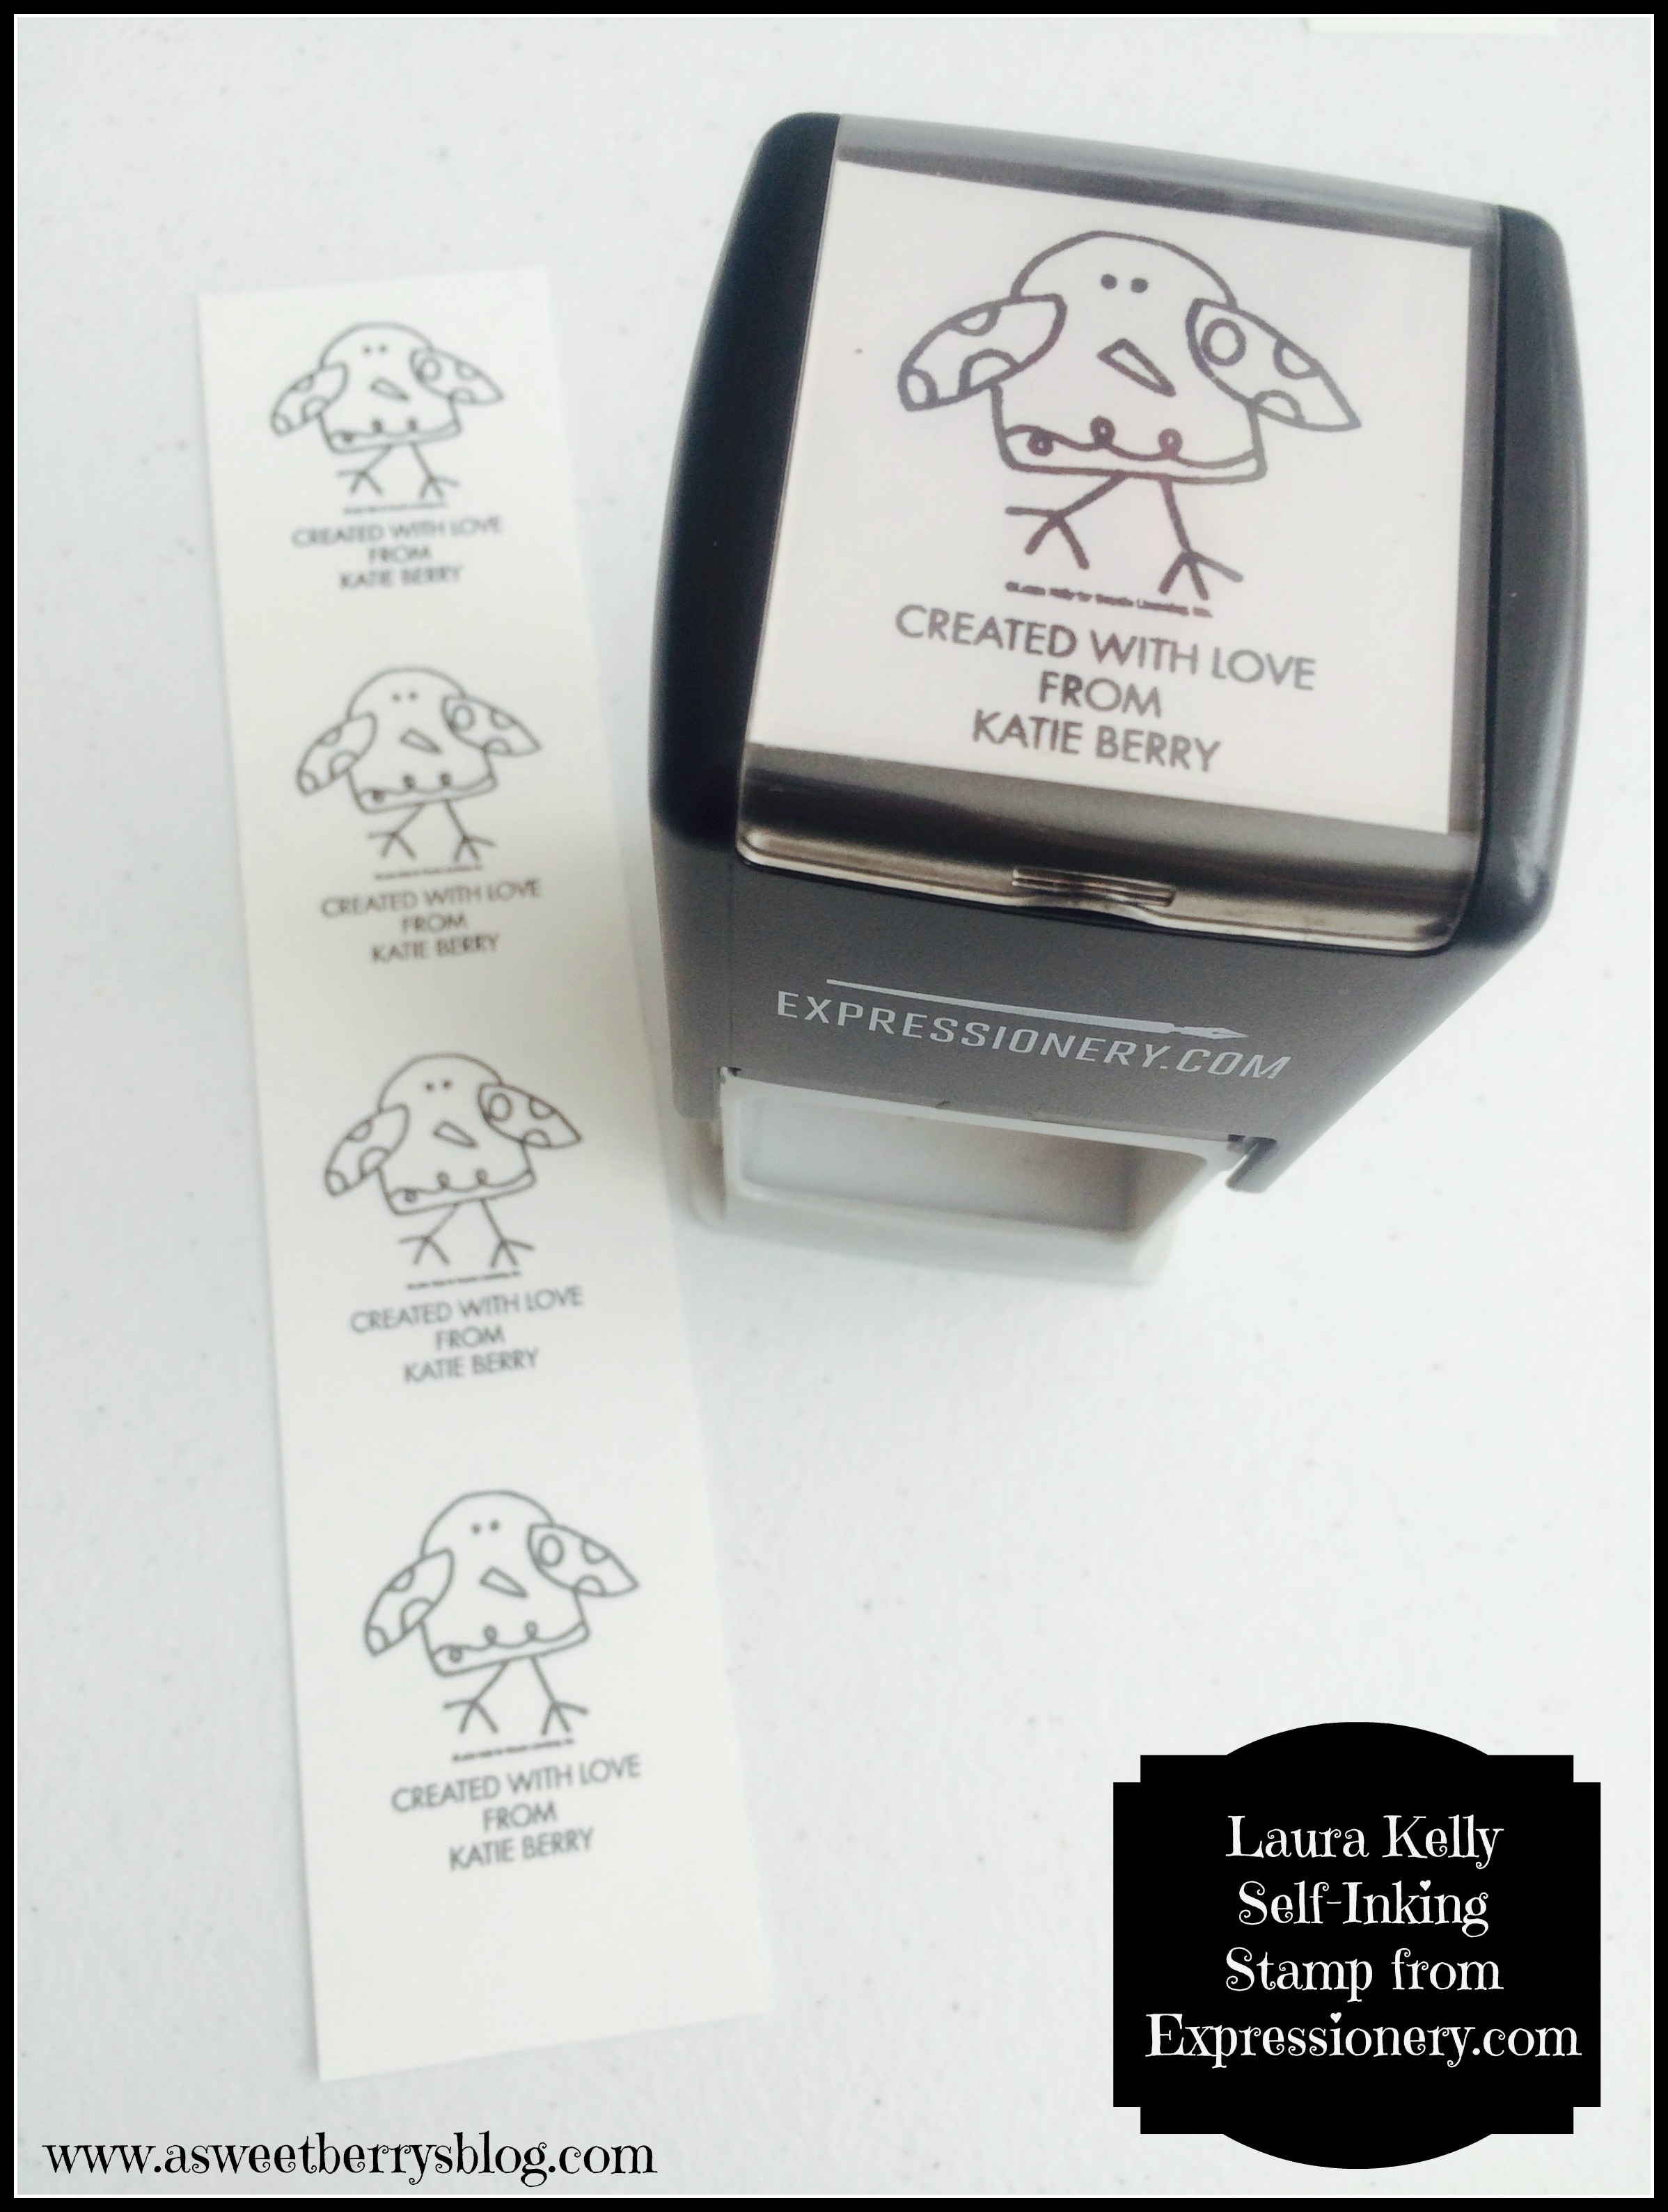
Laura Kelly’s Sizzix Heart #5
White Card Stock
Cute Valentin’e Day Card Stock
Tape Runner

Card

Directions:

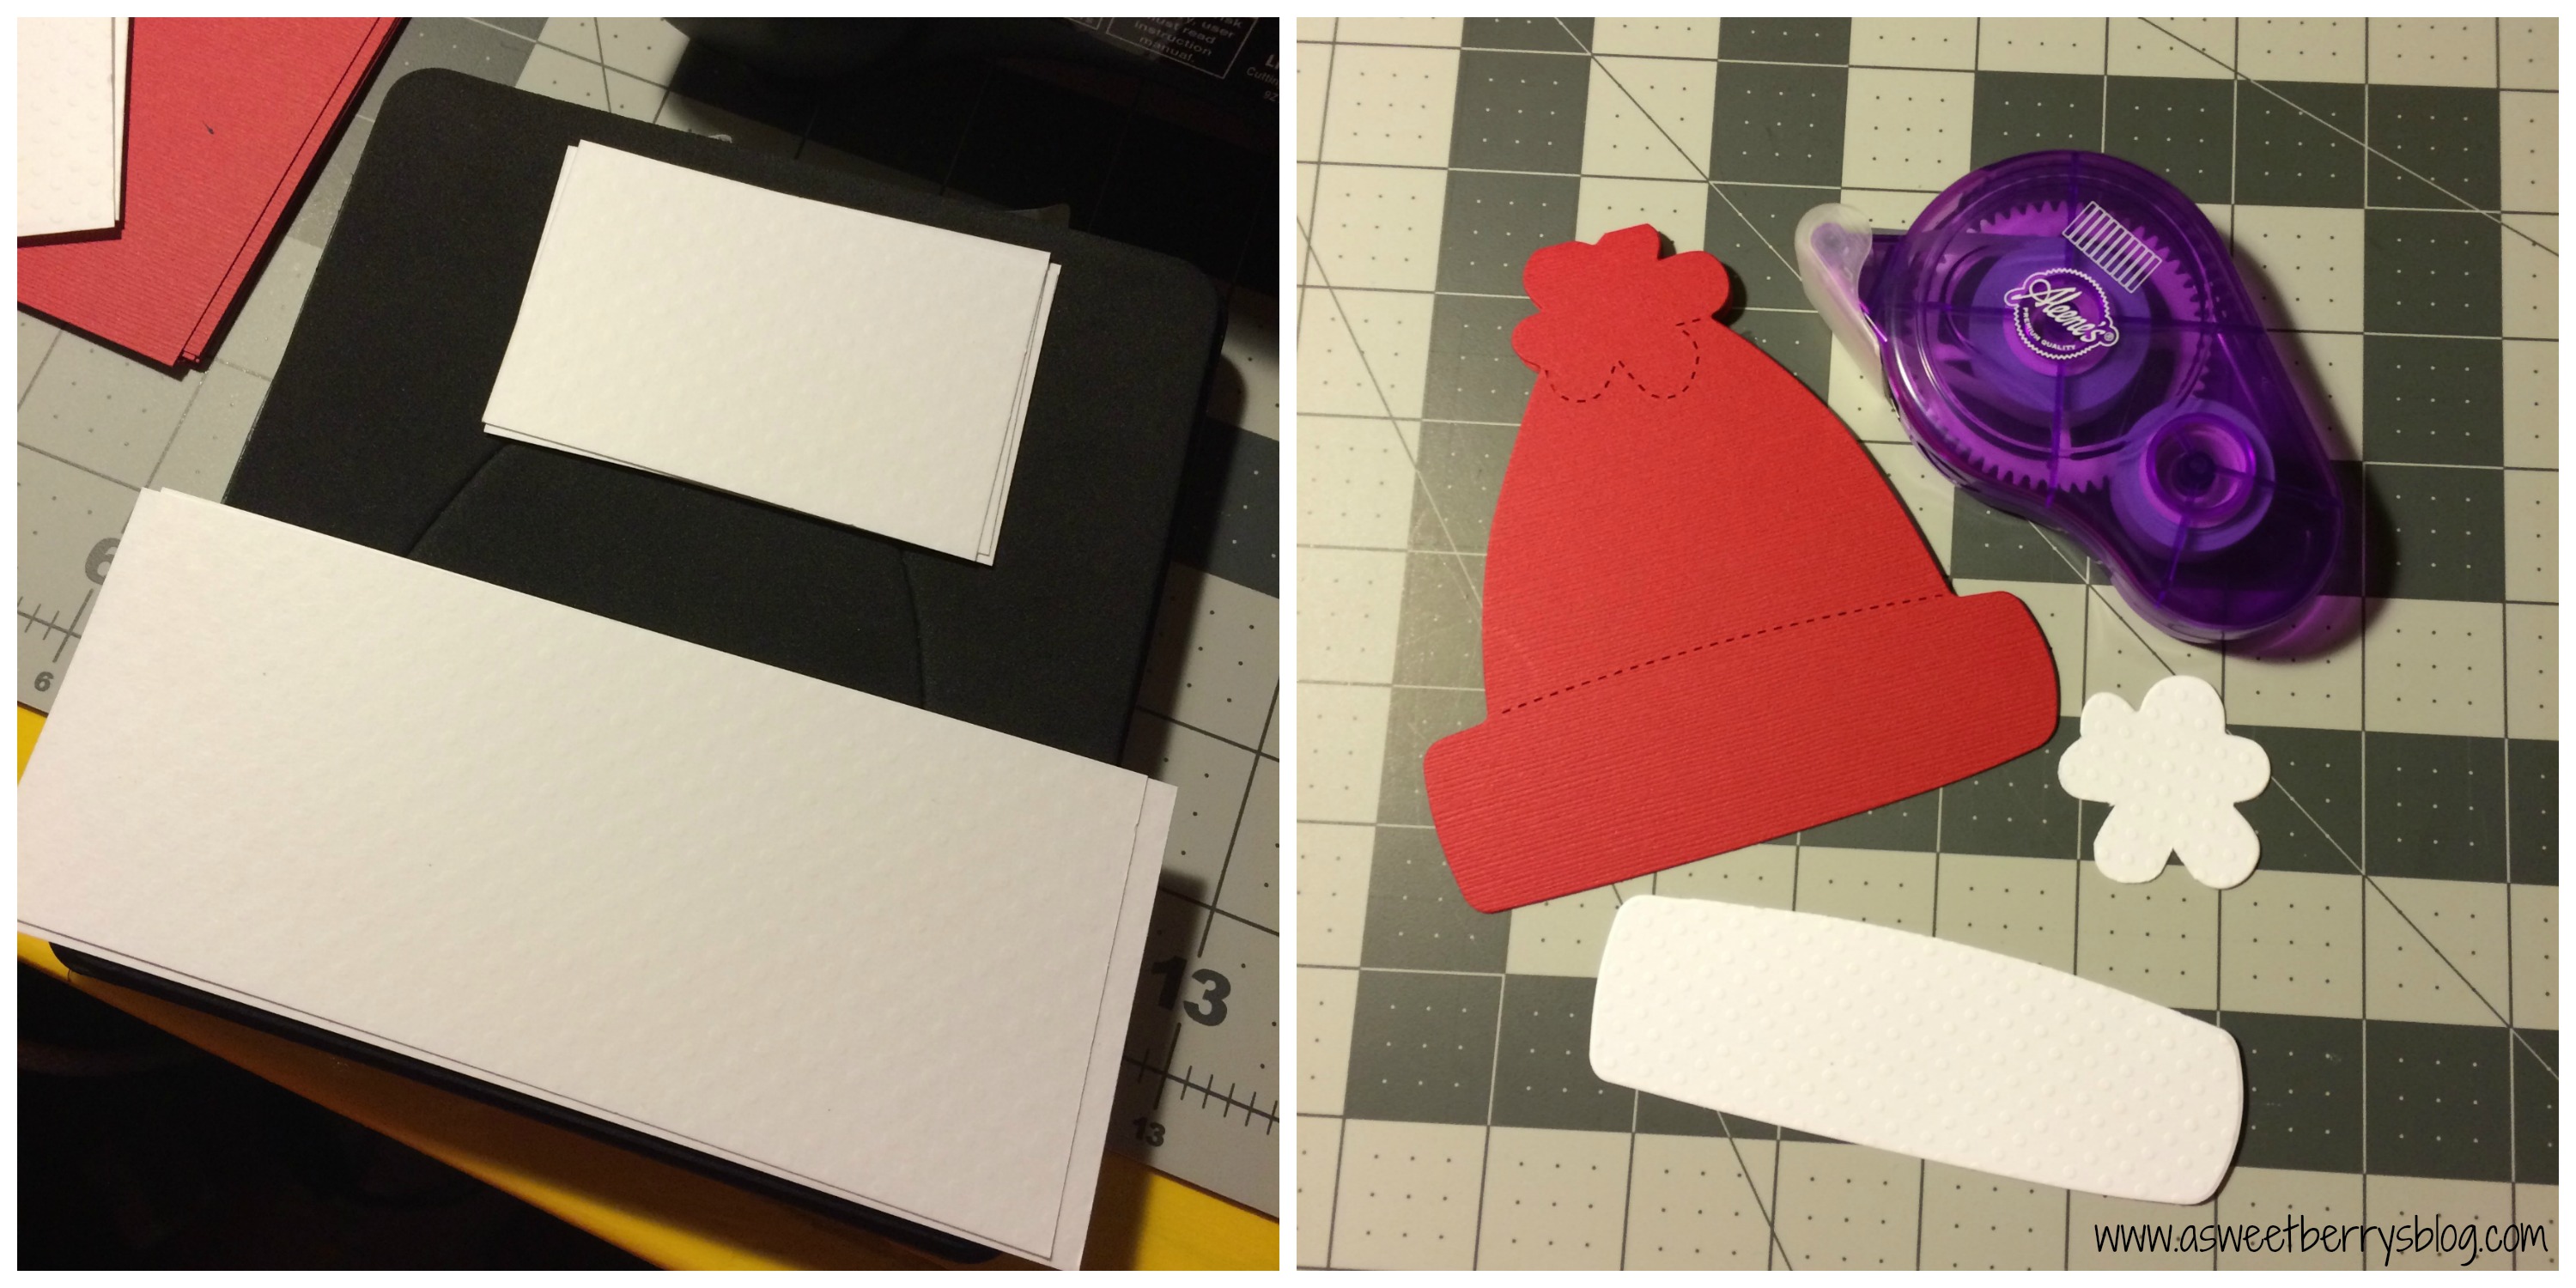
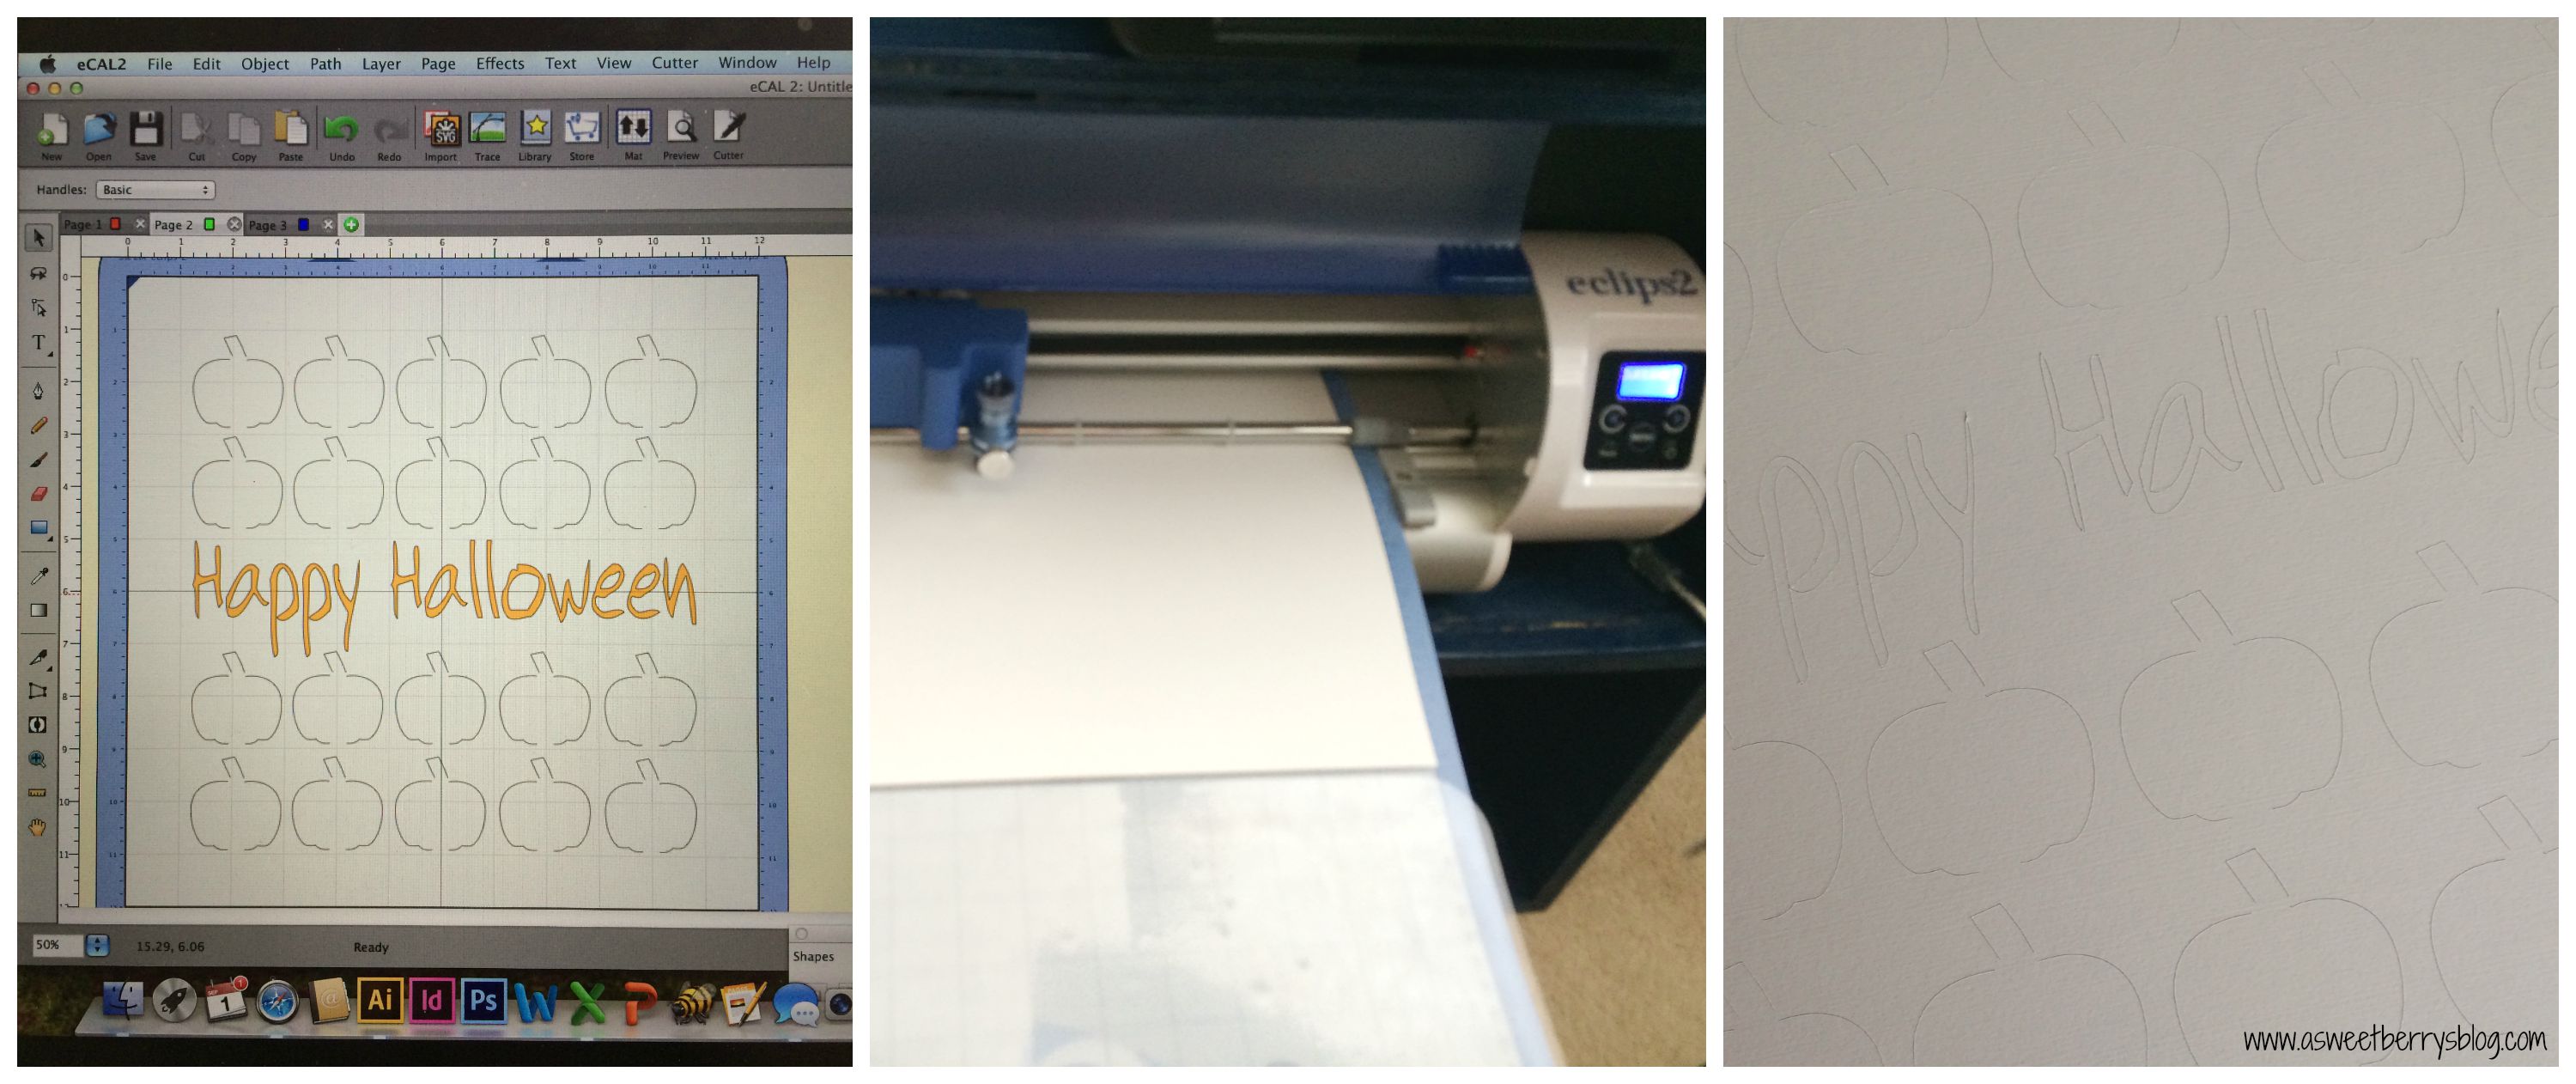
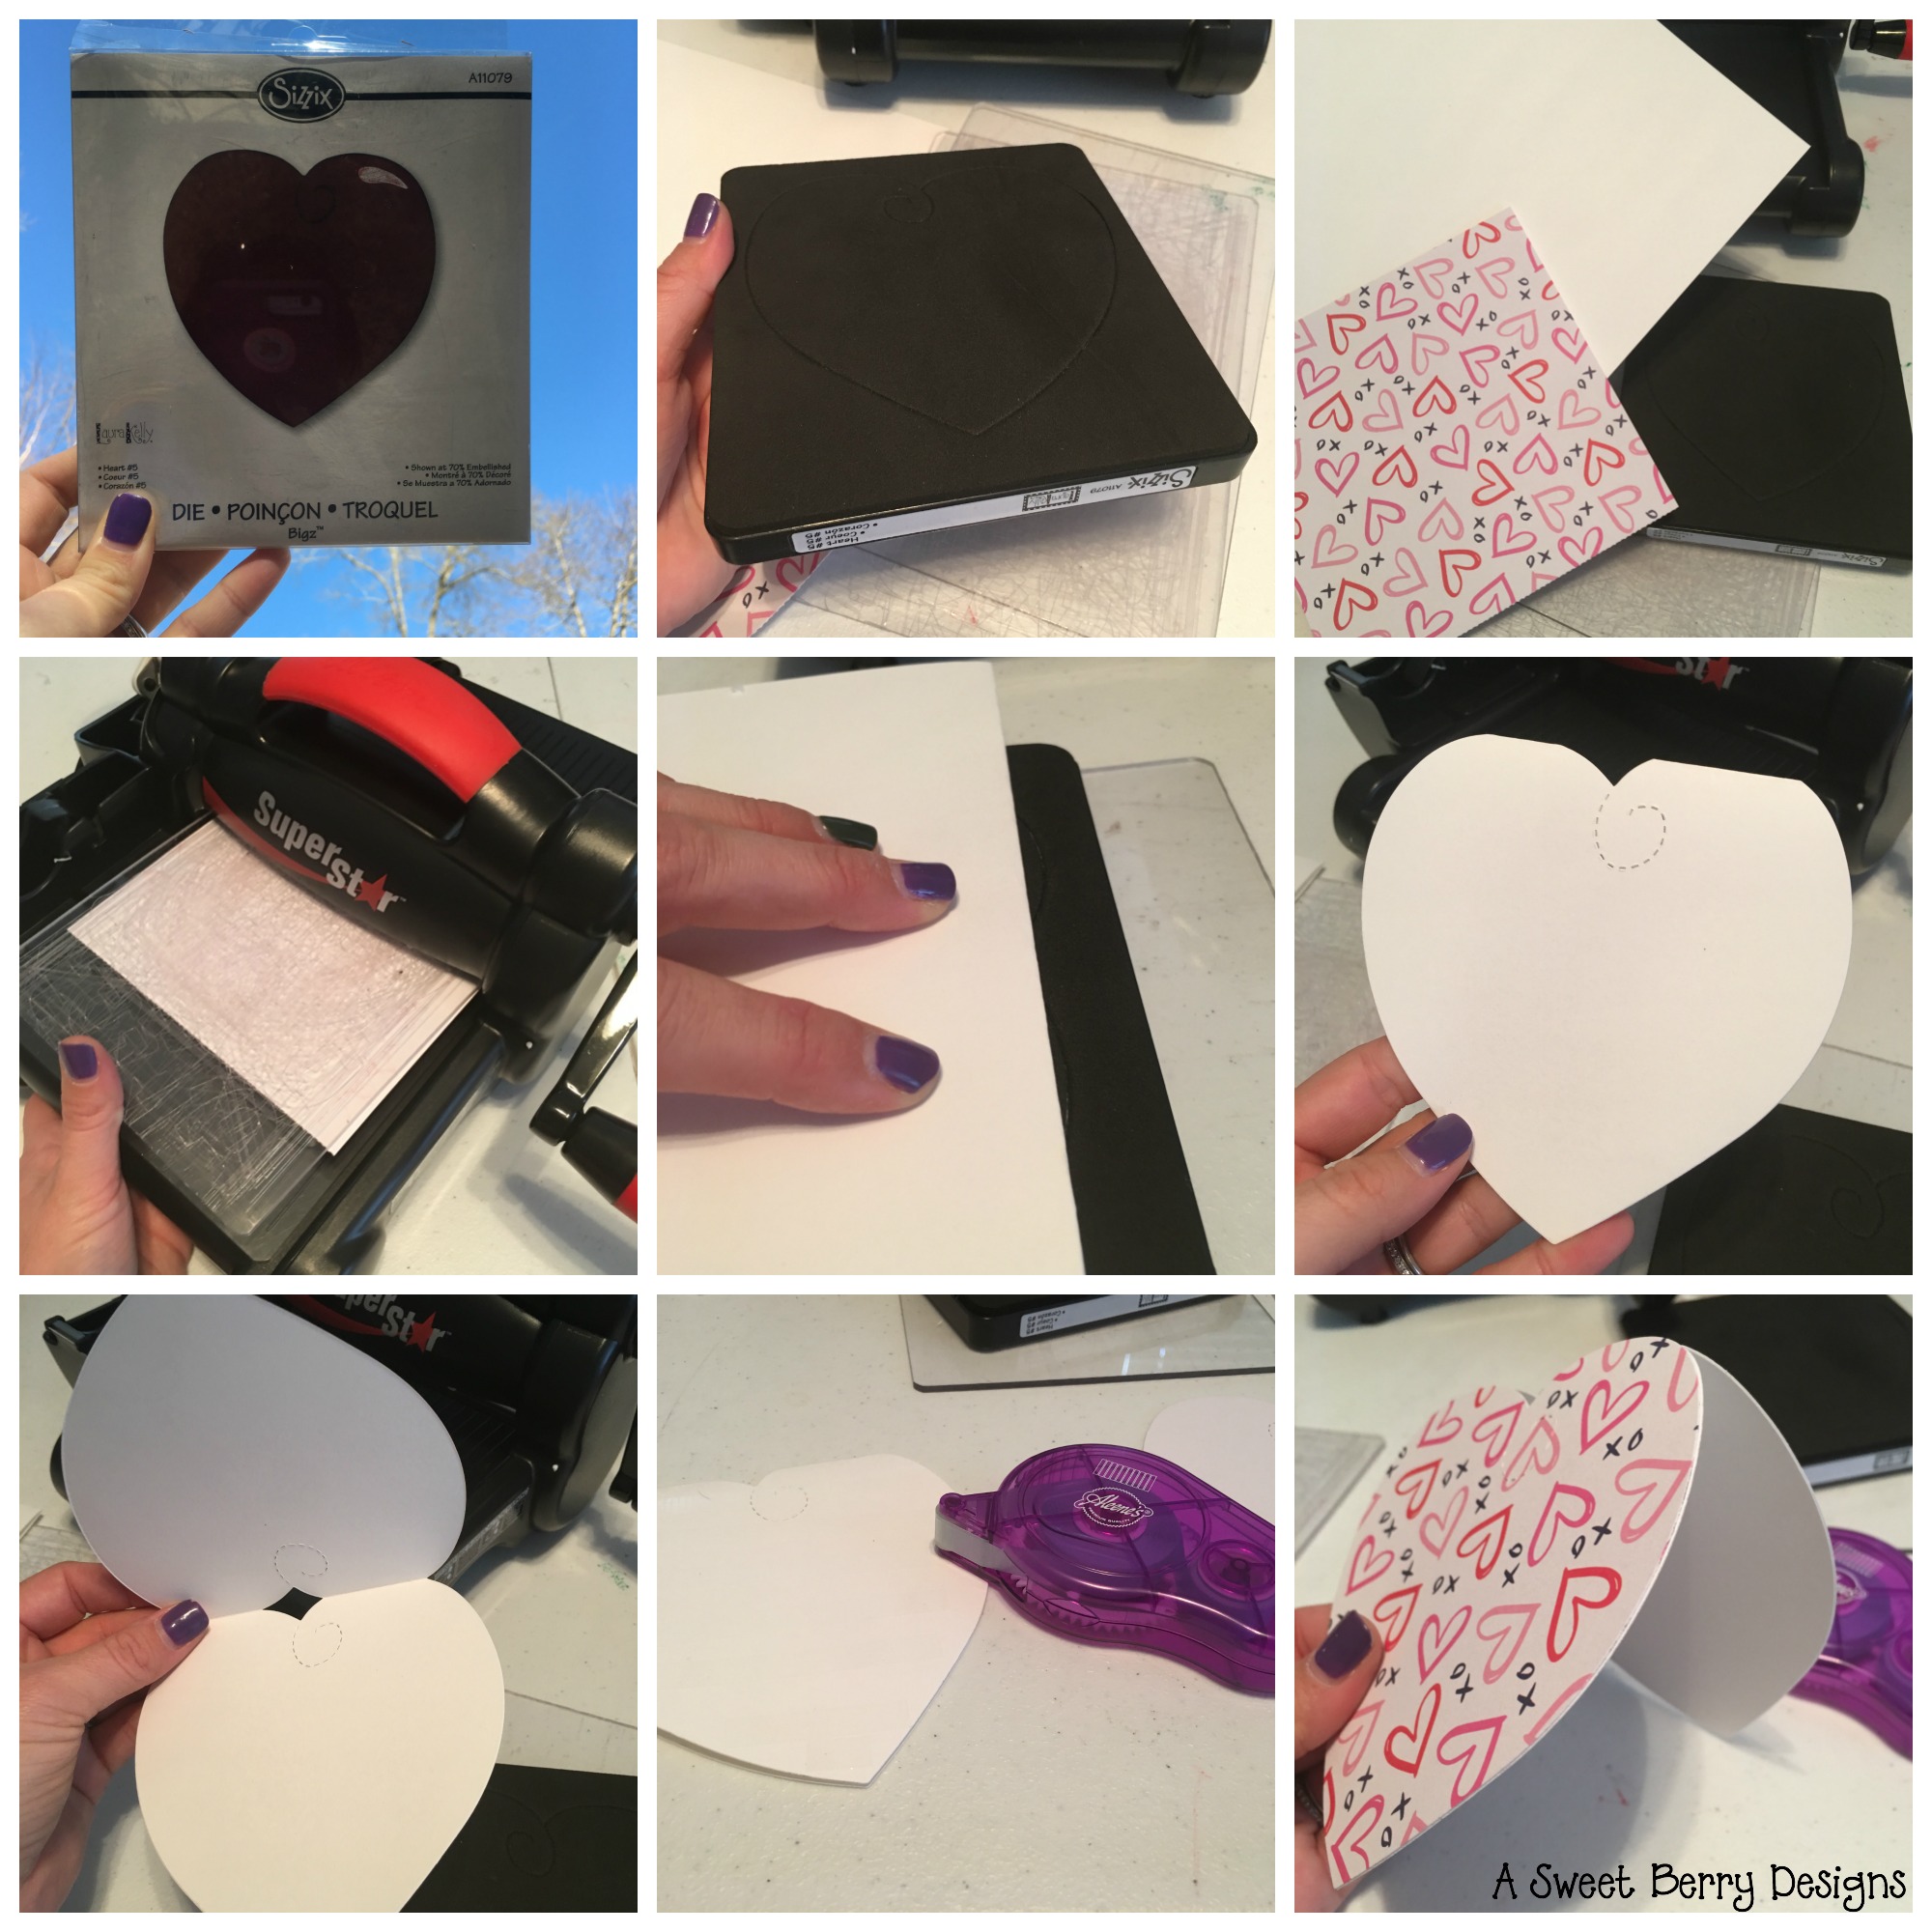
  1.  First, using the Ellison SuperStar Machine, the cutting dies, the heart die and your cute Valentine’s Day paper, cut a heart.  Be sure to place your paper cute side down.
  2. Fold your piece of white card stock in half.  
  3. Place the folded side down at the top of the heart, moving it down to right below the cut lines of the heart.  This will create the fold in your heart card.
  4. You may need to trim off the extra paper on the sides.
  5. Place the die and paper on the cutting pads and run it through the machine.
  6. This step is important:   See which side of your fold card heart matches up to the cute card stock heart.
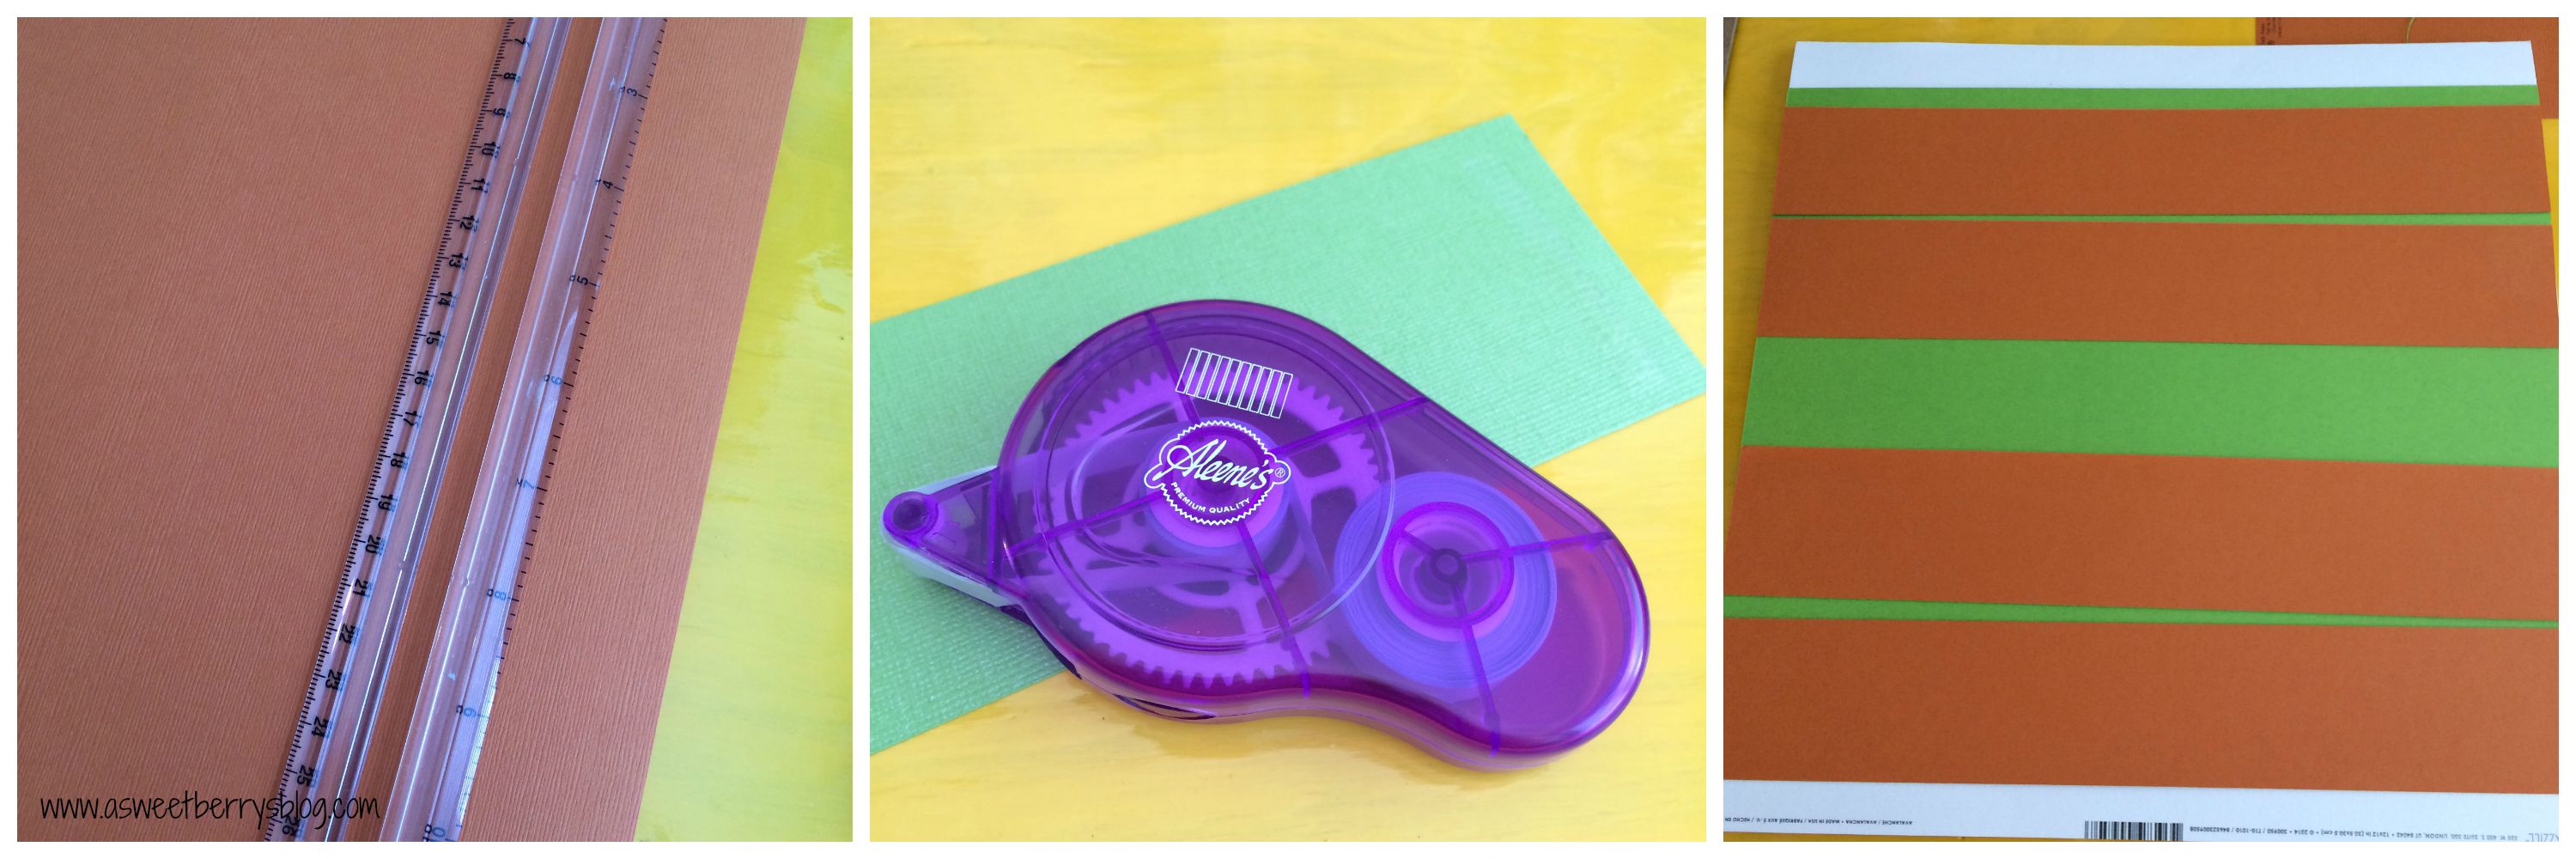
  7. Using a tape runner, place tape on the front part of your white card stock. 
  8. Place the cute card stock heart on the front side of the card, making sure to line it up with the bottom of the heart.  Know that the top of the card and the cute card stock will not touch because you created that fold below the cut line of the die.
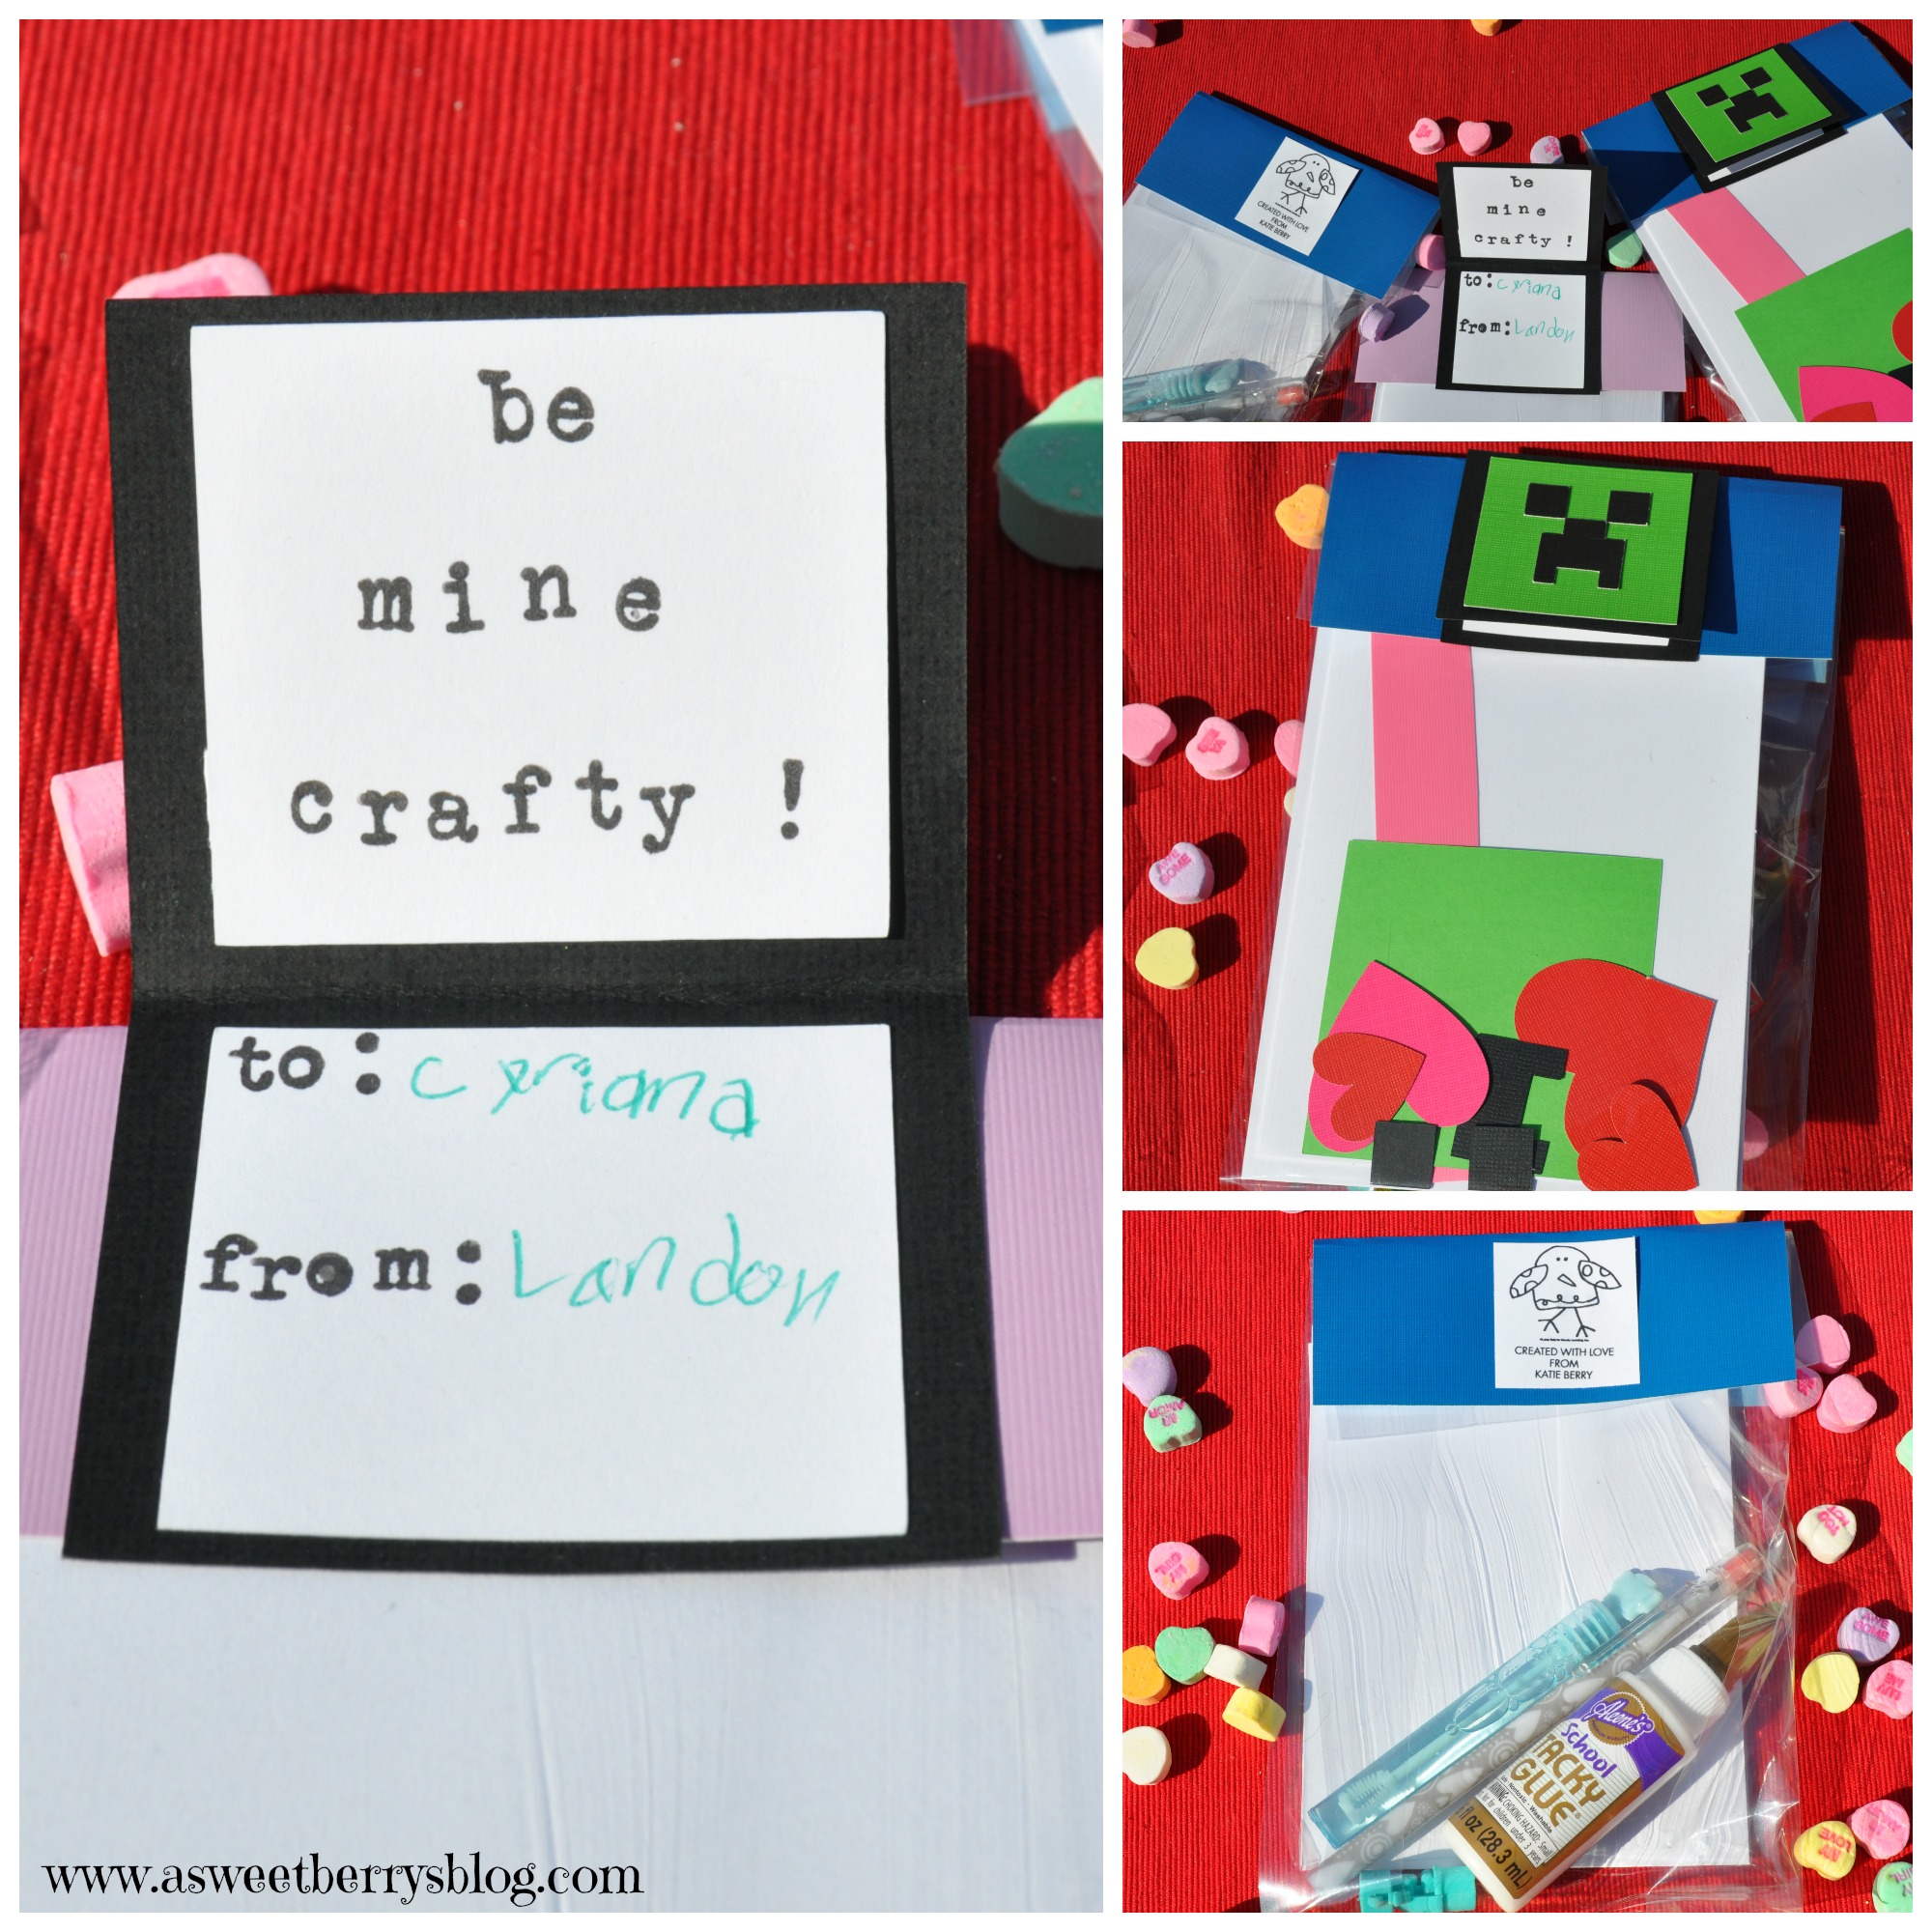
  9. Write a sweet little note inside and send it to someone special!

Hope you like this cute and super easy Valentine’s Day Heart Card!  

Until next time…..

Pikachu Popcorn Box

It’s time for Laura Kelly’s annual Popcorn Box Blog Hop!  Pokemon has been really popular in our house this year, especially with the release of the PokemonGo app.  My youngest son just had a Pokemon themed birthday party.  So, for this years blog hop, I thought I’d dress my popcorn box up as Pikachu!
box-final
Materials:
Popcorn Box from Cost Plus World Market
Pikachu Ears and Tail PDF (I created the tail and ears pdf, so click the photo below to print your own!)
Yellow Paint (I used DecoArt Americana Sunny Days)
Paint Brush
Red, black and white scrap paper
Scissors
Marker (I used a Tomboy Mono Twin Marker)
Glue (I used Aleene’s Fast Grab Tacky Glue
screen-shot-2016-10-16-at-8-54-31-pm
First, you need to paint the popcorn box.  I did three layers to cover the red lines really good.  Once it was dry, I cut out the ears, tail, cheeks and eyes.   When everything was cut out, I glued everything to the box and then I had an adorable little Pikachu Popcorn Box!
instructions
I hope you enjoyed my Pikachu Popcorn Box!  It was super quick and easy!

Be sure to click below to check out other awesome 2016 Popcorn Box ideas!


<!– end InLin>kz script —
Also, enter to win
a Rafflecopter giveaway

Winter Hat Note Cards

This is the perfect time for an adorable little Winter Hat Note Card.  The weather is getting colder and the holiday gift giving has started.  This cute little note card would be perfect for attaching to a gift to give to someone special! Winter Hat Note Cards
This is how I made them!
Materials:
Sizzix Big Shot
Laura Kelly’s Snow Hat Sizzix Die
Cardstock
Aleene’s Tacky Line Runner or other glue
Plain white printer paper 

  1.  I cut my red paper to 12″x6″.  For my white paper, I cut it to 2″x6″ and roughly 2″x2″.

die and papers
2.  I folded the red pieces in half and placed it on the hat die just at the top edge of the pompom so that it cut just a little “v” into the top of the hat, but didn’t cut all the way through the top curves of the pompom.   red cardstock 3.  Using my little white pieces of paper, I cut just the pompom and the bottom of the hat out.  Then I trimmed at the perforation marks, leaving just the bottom of the hat and the pompom.   
4.  Using my Aleene’s Tacky Line Runner, I attached the bottom of the hat and the pompom to the folded piece.
bottom of hat and puff
5.  Using regular white printer paper, I folded and cut it the same way that I cut the red folded hat.   Once it was cut, I opened it and cut it it in half so that I had half of the cut out.
6.  Using the Aleene’s Tacky Line Runner, I attached the printer paper cut out on the inside of the card.   The white printer paper is to have a place to write your note!
inside
I hope you like these adorable little Winter Hat Note Cards!  I love them.  They were perfect little gifts for my children’s teachers.
Winter Hat Note Cards

You can buy them in my Etsy Shop!   Click HERE!!!
Happy Holidays!!!

Until next time……….

Easy Christmas Gift Tags

Christmas Tags

Christmas is upon us and the shopping has begun! These adorable and super easy gift tags are going to look awesome on the gifts below my Christmas tree!   If you have a Sizzix Eclips2, then you most likely use Sure Cuts A Lot eCAL2 for your software.  Well, if you do then all of these cut outs are included in the software.

collage

The process was pretty easy……

The snowflake:  I just cut the tag and snow flakes out separately.  I used a foam dot to get the snowflake a little dimension.  Then, I added a white ribbon.

The Christmas tree cutout:  I cut the tags with the Christmas Tree Cut out together and then cut the same tag, minus the tree.  I put them together using an Aleene’s tape runner.  Then, I added a piece of twine.

The Gingerbread Man:  I cut out a tag.  Then I cut out the gingerbread man on brown card stock.  Then, in the software, I removed the face and buttons from the gingerbread man and just cut out the outline on white card stock.   Using the tape runner, I attached the white gingerbread man cut out to the back of the brown one.  Then using a foam dot, I added it to the tag.  To finish it up, I added a piece of twine.

The Raised Christmas Tree:  I cut out some tags.  Using the Christmas Tree scraps from the Christmas Tree cutout tag, I just added a foam dot to the back of the tree and added it to the tag. Then, I added a piece of twine.

The Holly Tag:   I cut out some tags.  Cut the Holly leaves and berries out and used a foam dot on each piece and then attached it to the tag.   Then I added a piece of twine.

Christmas Tags

I hope you like these adorable little Christmas Tree Tags!   I made some last week and sold them at an Artisan Fair that my Church was hosting and everyone loved them!

Until next time………..

Craft Lightning Paint Chip Pumpkin Card and Party Bag


I’m so excited to be joining 15 minute Craft Lightning again!   The theme for this Craft Lightning by The Country Chic Cottage, 30 Minute Crafts and 100 Directions is Halloween!   My 15 minute craft was inspired by my awesome friend Laura Kelly!
Paint Chip Pumpkins
If you are like me, you probably have paint chips lying around in your house!  These orange, black and brown ones were perfect for these quick and super easy Paint Chip Pumpkins! materials
All you have to do is create your little pumpkin with the paint chips, goggly eyes, ribbon and glue (I used Aleene’s!) and stick it right on to your blank card!   And then write you a spooky little note inside!
card
The same was done here using a cute little brown paper party bag!  Perfect for Halloween Party Goody Bags!   Inside this little party bag are a few little Halloween Lollipops from Lollipics! bag
Hope you liked these cute little Paint Chip Pumpkin Card and Bag decorations!    These are quick and easy and perfect for the little ones to do!

Until next time……..

Happy Halloween Pumpkin Cut Out Art

Halloween will be here before we know it!   And I am super excited.  I love to pull out the Halloween decorations!

While I was at Target one day, I saw a popup heart piece in the framed art section and I thought it was so cute.  I had not seen anything like it with Halloween designs and I don’t think the heart one had any words.   I thought I’d make a Halloween one with cute little pumpkins and a font that was a little ghoulish! final
Materials needed:
A shadowbox frame
cardstock (I used four pieces….black, white, green, orange)
Aleene’s glue and a adhesive runner,
Electronic Cutting Machine (I used the Sizzix Eclips2)
Halloween .svg file that I created.   (comment if you’d like the file) cutting
Once my file was cut and removed from the cutting mat, I lightly folded the cut parts upwards.  I also saved the inside pieces of the letters. bending
Once all of my pieces were folded up, I cut strips of orange and green just big enough to fit across the back of my 12×12 piece.  I used green for the stems and orange for the pumpkins.  Using an Aleene’s adhesive runner, I attached the strips to the back, being careful not the squash my folded up pieces flat. aleenes
Because the insides of the letters were small, I used Aleene’s Tacky Glue to glue those to the green.
letters
After all of my pieces were put together, I placed them into 12×12 shadowbox frames.   black and white
This photo is just to show them from each side, so that you can see that the orange and green can be seen from under the folded upward pieces of pumpkin. both at different angles
I love them both, but truth be told, the black one is my favorite.  It looks more Halloween-ish!
final
I hope you liked my Happy Halloween Pumpkin Cut Art.  If you’d like the .svg file, just let me know in a comment and I will be sure to get that to you!

Until next time……

Shop Laura Kelly – Button and Felt Heart Garland

ShopLauraKelly.com has some of the cutest craft kits put together by one of my best friends, Laura Kelly!  One of my favorite kits in the collection is the Button and Felt Heart Garland! banner
Laura is very creative and has licenses with several companies!  The kits that she has put together come with everything you need to put your projects together! kit
This particular kit includes felt hearts, ribbon, colorful embroidery floss, buttons and a needle. supplies
Instead of using my ribbon to hold the hearts for the banner, I decided to cut the ribbon into 4 inch strips and glued them together to make a little loop using Aleene’s Fast Grab Tacky Glue.  I then glued them to the backs of my hearts.  ribbon hooks
Once they were dried, I turned the hearts over and glued a coordinating color button to the front.
adding buttons
Then, I slid them onto my embroidery floss that I left together to look like a rainbow!
banner
It also makes a great necklace!  I love it!  So, go on over to ShopLauraKelly.com and check out Laura’s cute little craft kits!
necklace

Be sure to click through other great ShopLauraKelly project ideas below:


And enter to win!
a Rafflecopter giveaway

Until next time…….

Happy Spring Button Greeting Card

I love Spring and I love Buttons!   I created this adorable Happy Spring greeting card using Laura Kelly’s Buttons and Lady Bug Buttons from Buttons Galore & More!
Final
Materials used:
Laura Kelly Buttons from Buttons Galore & More
Lady Bug Buttons from Buttons Galore & More
Card stock from Core-dination from Darice
Card/Envelope from Core-dination from Darice
Fabric Tag
Tulip Fabric Markers from ILoveToCreate
Hot glue gun and hot glue
Aleene’s Fast Grab Tacky Glue
Aleene’s Paper Glaze
I started by making paper rosette flowers.   I cut 3/4″ and 1/2″ paper strips with cute card stock.  Bending the paper back and forth, I created a zigzag strip.   Once I had them all folded, I used a hot glut gun to glue the strips to each other, connecting two strips together on each end.  Once they were connected and formed a circle, I positioned the sides together to form the rosette and hot glued the center and let it dry. rosettes
I cut my stems and leaves from a green striped card stock and glued them to a card using my Aleene’s Fast Grab Tacky Glue.  I added buttons to the paper rosette flowers!  I used green buttons for the grass!
puttingtogether
Buttons Galore & More has adorable little lady bug buttons, so I attached them to my card using Aleene’s Fast Grab Tacky Glue.  I added them to the paper rosette flowers, the stem and the grass! ladybugs
Using a fabric tag and Tulip Fabric Markers, I wrote Happy Spring and added lines and dots!  I applied it to the card using Aleene’s Paper Glaze and added a little ladybug to cover the hole on the tag. tulip fabric markers
I love this adorable little Happy Spring card and someone special will be receiving it soon! Final

Buttons Galore & More is offering free shipping on orders over $30!    They also offer Coupons for their buttons!

Once I completed my card, I used my Laura Kelly personalized self-inking stamp from Expressionery.com to stamp the back showing that I created this card with love! Expressionery.com

Expressionery.com is currently running a special of 25% off Sitewide with the code:  SPRINGSALE.   They are also offering free shipping with a purchase of $50 or more!

Hope you like this adorable card as much as I do!  You can make one yourself!

Until next time……

Quick and Easy Felt St. Patrick’s Day Jewelry

Worried about getting pinched on St. Patrick’s Day?  This quick and easy felt jewelry can help keep you from getting that unfriendly pinch! Felt Jewelry
Using my Sizzix Eclips2 and a free shamrock template included in the software, I cut different size shamrocks for templates.  Once they were cut, I pinned them to my green felt and then cut them out.   eclips2
Using Tulip Slick Fabric Paint, I drew along the edges of the shamrocks just give it a little something extra!
tulip
Once the fabric paint was dried, I glued some of Laura Kelly’s green buttons from Buttons Galore & More to the middles using Aleene’s Tacky Glue. buttons and tacky glue
I knew that I wanted to make a necklace, a hair clip, a broach type pin and some earrings, so I gathered the materials needed for those pieces. pieces
Using a jump ring, I opened it and stuck it through the top of my largest shamrock.   I used pliers to close the jump ring and then threaded the necklace through. necklace
Using hot glue, I attached the alligator clip to the back of one of the middle sized shamrocks. hairbow
And I did the same with the pin back…. pin
Using earrings that I had in my jewelry making stash, I poked a hole through the felt with the end.  No jump rings necessary! earrings  Now, I know that I won’t be pinched on St. Patty’s Day!   Hope you like my quick and easy St. Patrick’s Day Jewelry!

Until next time…..

Be Mine Crafty – MineCraft Valentine’s

It’s finally the week of Valentine’s Day!  And my boys are super obsessed with Minecraft, so this year they wanted Minecraft Valentine’s!  Well, after looking, homemade Minecarft Valentine’s were the only ones that could be found.  No stores sold them!  So, I decided to make them!   Final
Recently, I was sent a Sizzix Eclips2!  And let me tell you…..I AM IN LOVE!!!!!   It makes cutting super easy!  So, I created my little Minecraft creeper faces in Adobe Illustrator, which I have as a graphic designer.  I converted the file to an .SVG file, imported it into the ECal2 software that works with the Sizzix and got right to cutting!  I also cut black rectangles for the cards, green squares for the creepers face and white light card stock (not DCWV) squares for the inside of my cards, since the cards were black.  I used DCWV card stock, in which ACMoore sells and they sell it in a pack of 12×12 inches pieces.   creeper faces
Using Inkadinkado stamps and ink, I stamped the inside of the cards.  I knew that my treats were going to be a craft, so I used a crafty saying:  “Be Mine Crafty!”  Inkadinkado
After getting everything cut out for my cards, I used Aleene’s Tacky 2-sided adhesive sheets to put the cards together.  I just cut the sheets up into smaller pieces and it worked great! creeper card
So, the treats to go along with the cards are Make It Yourself Cards.  I included a green square, a creeper face, some hearts and some scrap pieces of the DCWV card stock from what had already been cut. paperandhearts
On the left over white scraps that I had from the squares inside my cards, I used my adorable Laura Kelly Self-Inking Stamp from Expressionery.com!  How cute is that stamp?!?!
Stamp
Then it was time to stuff my bags.  I just picked up some clear bags from the party section at Target.  I also got plain white cards with envelopes from ACMoore.  I also included an mini bottle of Aleene’s School Tacky Glue for their card making, a pencil, a small thing of bubbles and a pencil topper eraser!    I decided that I wanted this years Valentine’s to be Candy Free because we also end up having way too much candy anyway and it ends up going to waste.  I folded the bags and stapled a folded piece of DCWV card stock rectangle to close the bag and added the card and the piece white cardstock with my stamp on it to the front and back to cover the staples puttingtogetherbags
How cute did these turn out?   I hope the kids like them!   all shots My idea for a Make It Yourself Card idea came from my super crafty friend Mothership Scrapbook Gal, Rina Gonzales!  Check out her Facebook page and her Etsy Shop!!!!!

Until next time…..

XOXO