
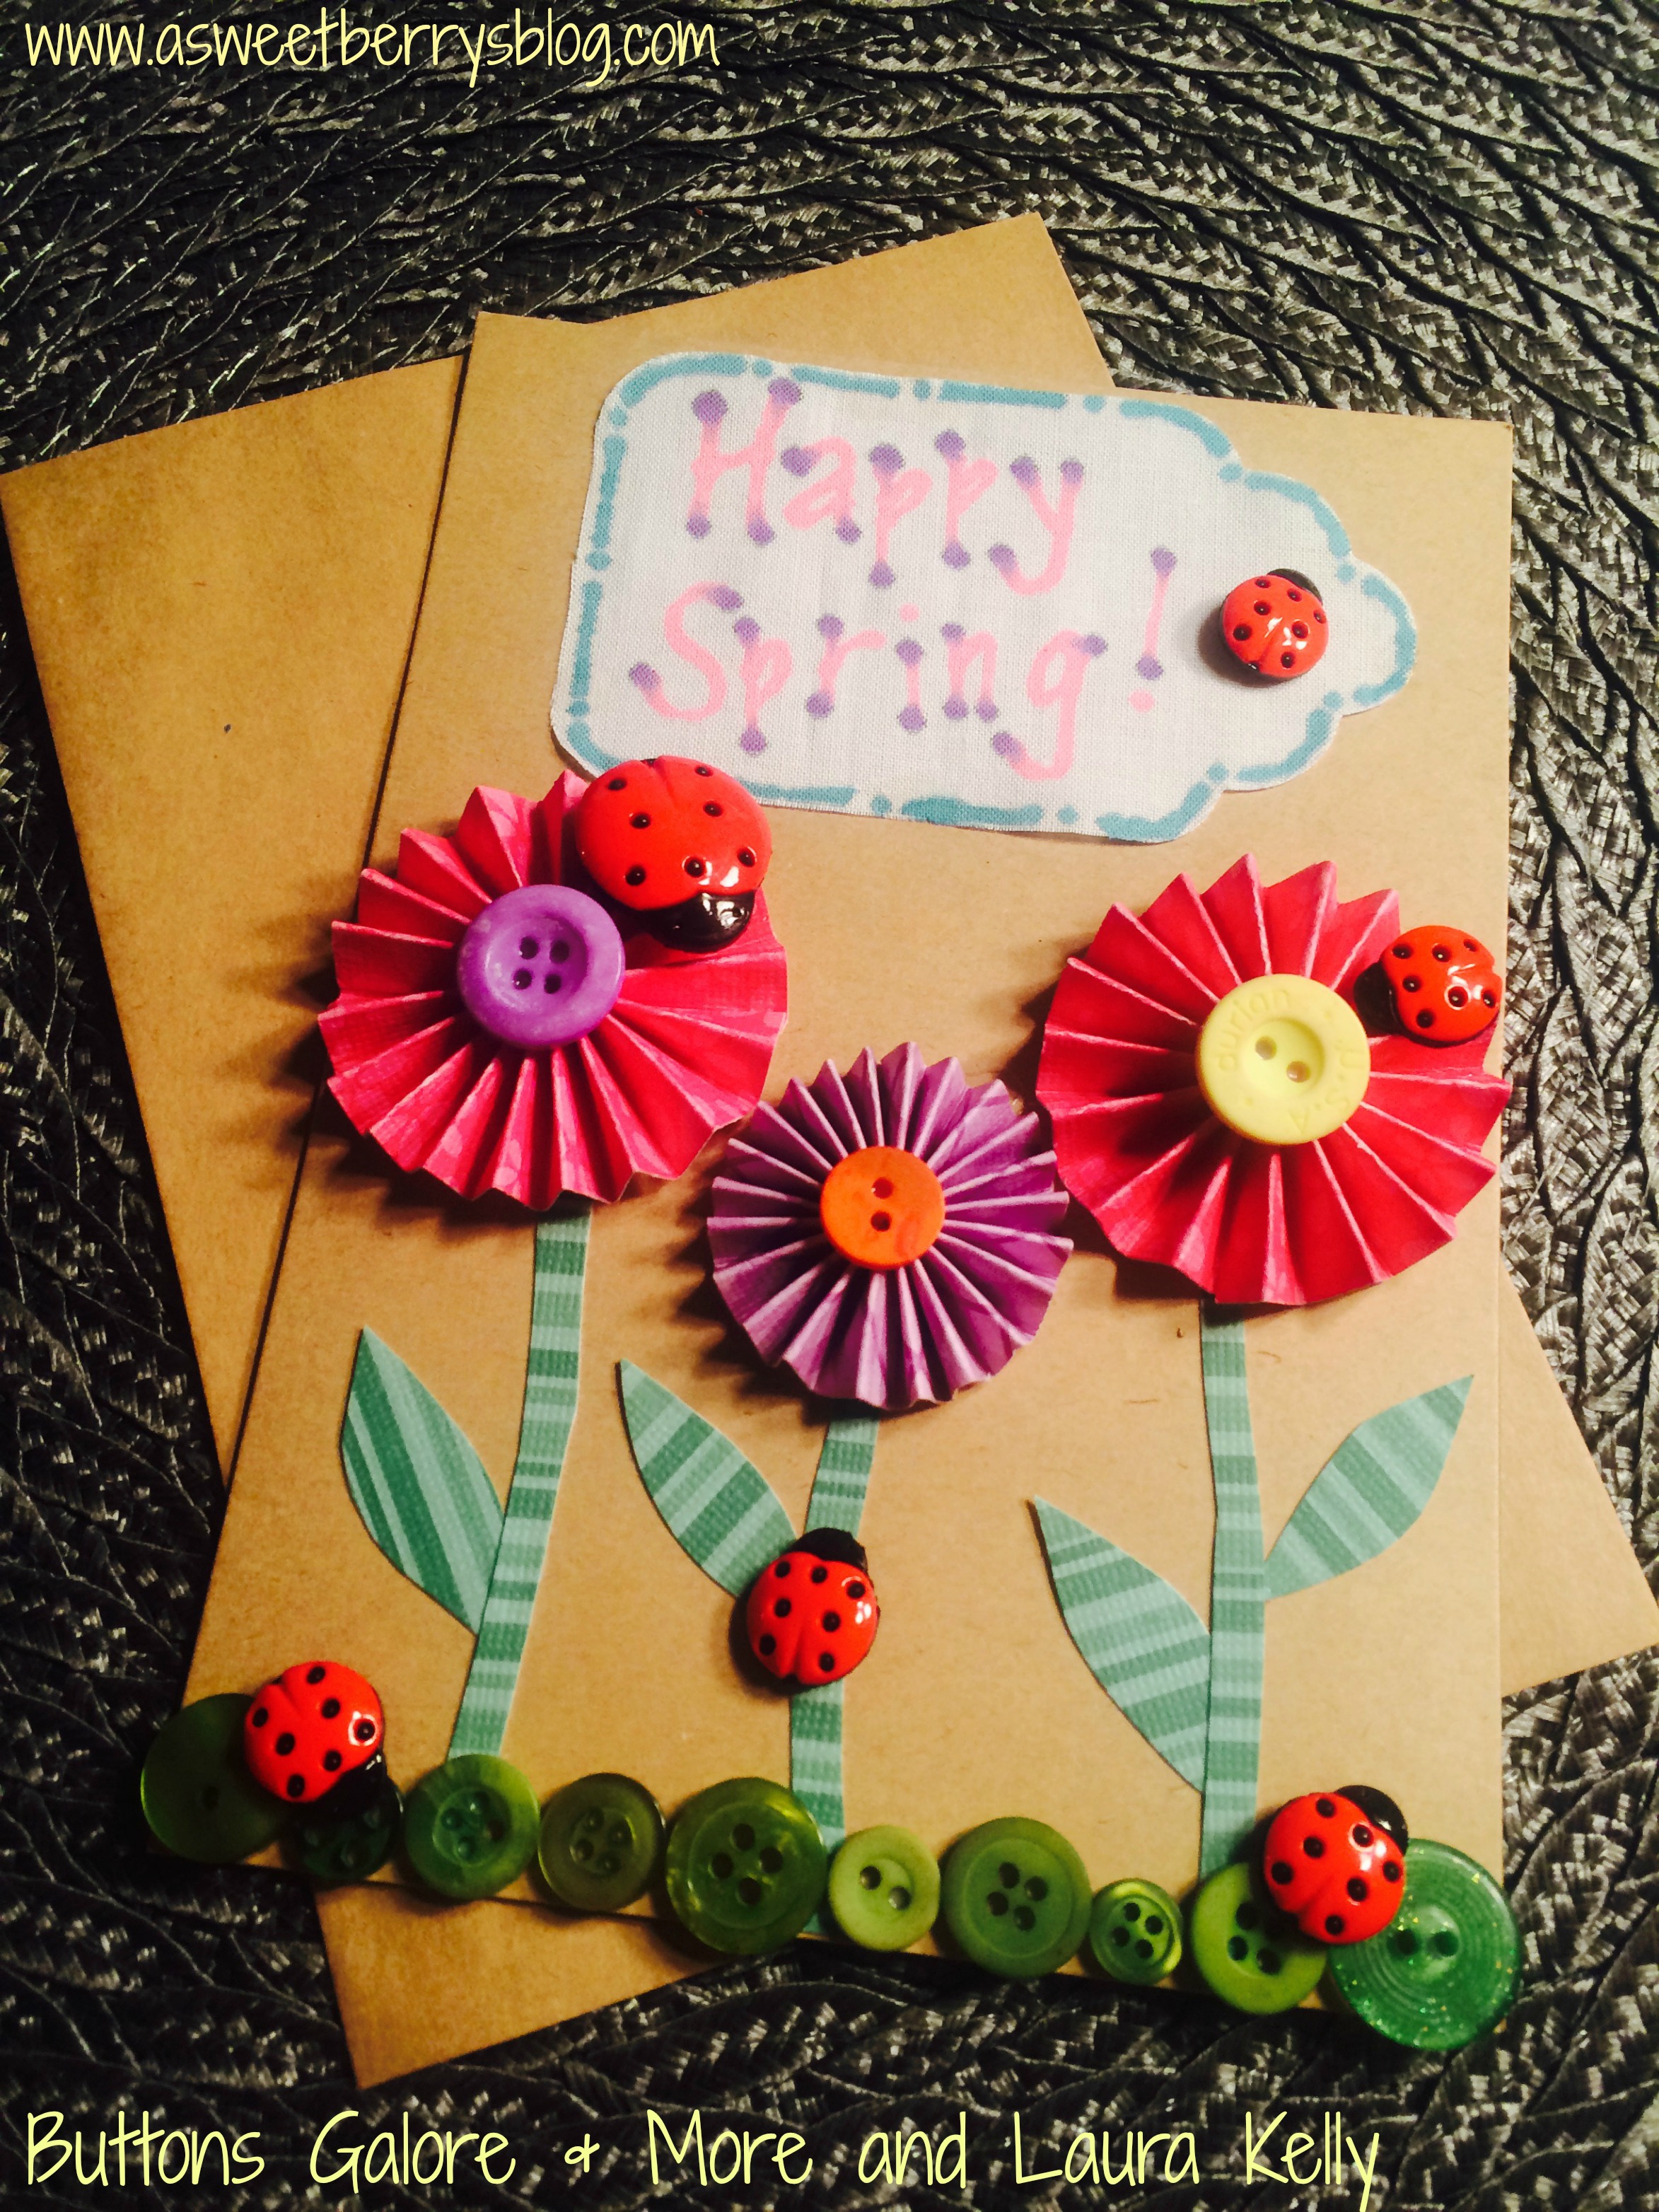
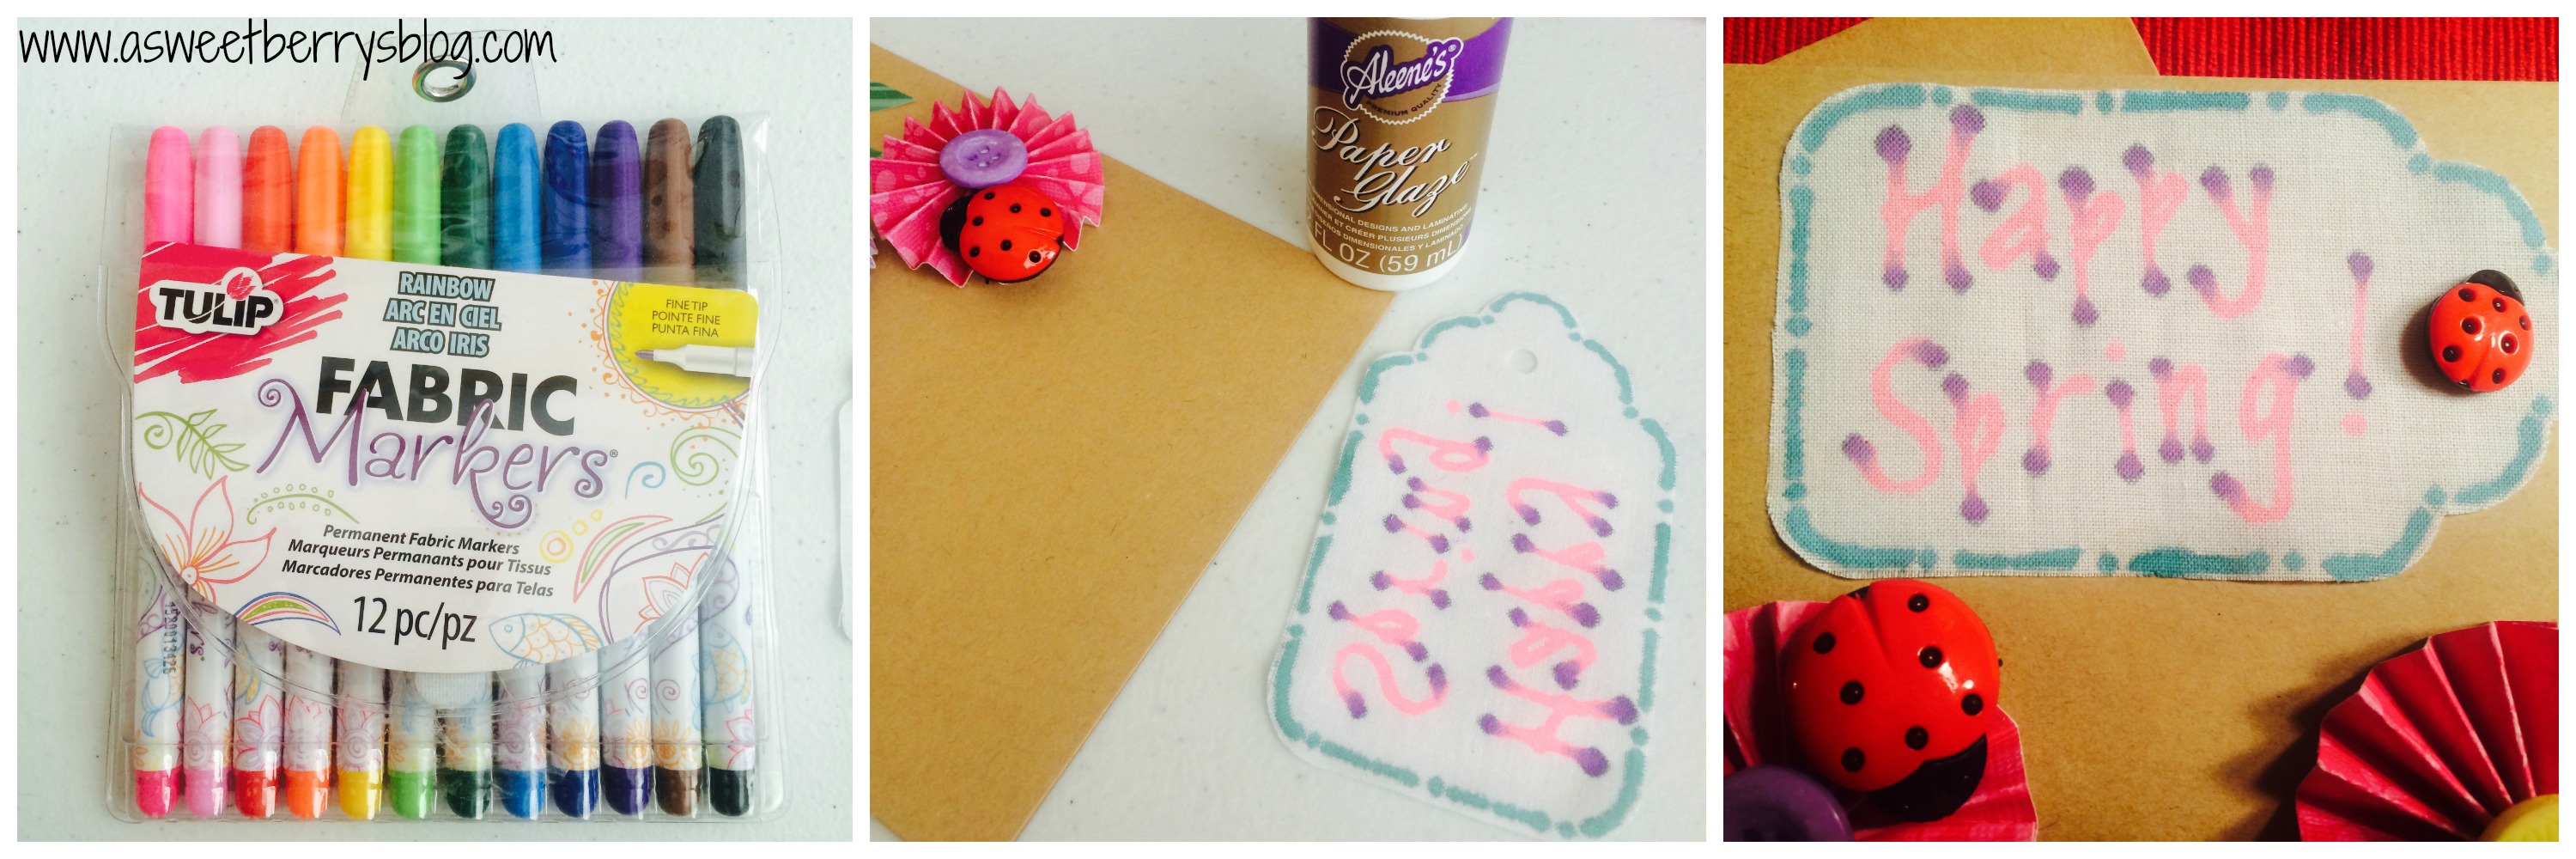
I love Spring and I love Buttons! I created this adorable Happy Spring greeting card using Laura Kelly’s Buttons and Lady Bug Buttons from Buttons Galore & More!
Materials used:
Laura Kelly Buttons from Buttons Galore & More
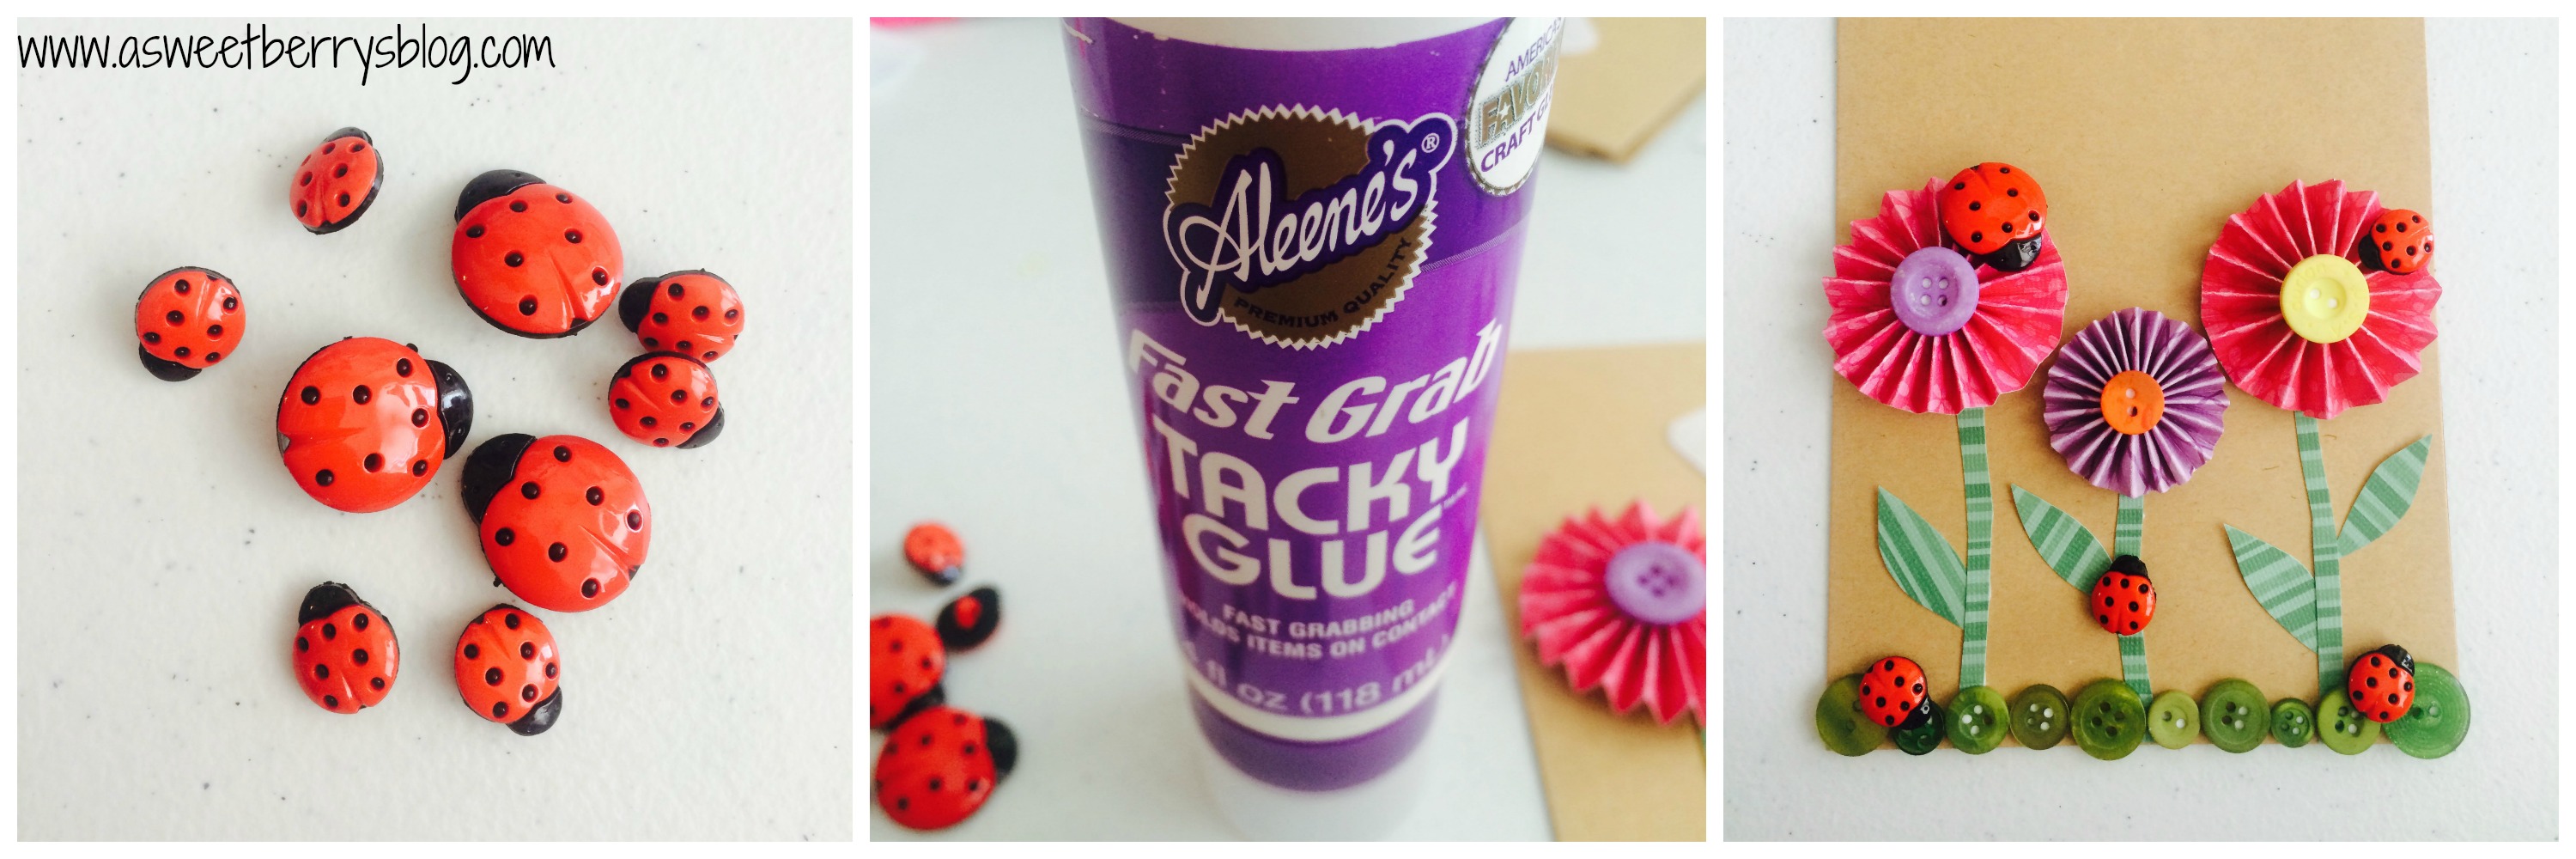
Lady Bug Buttons from Buttons Galore & More
Card stock from Core-dination from Darice
Card/Envelope from Core-dination from Darice
Fabric Tag
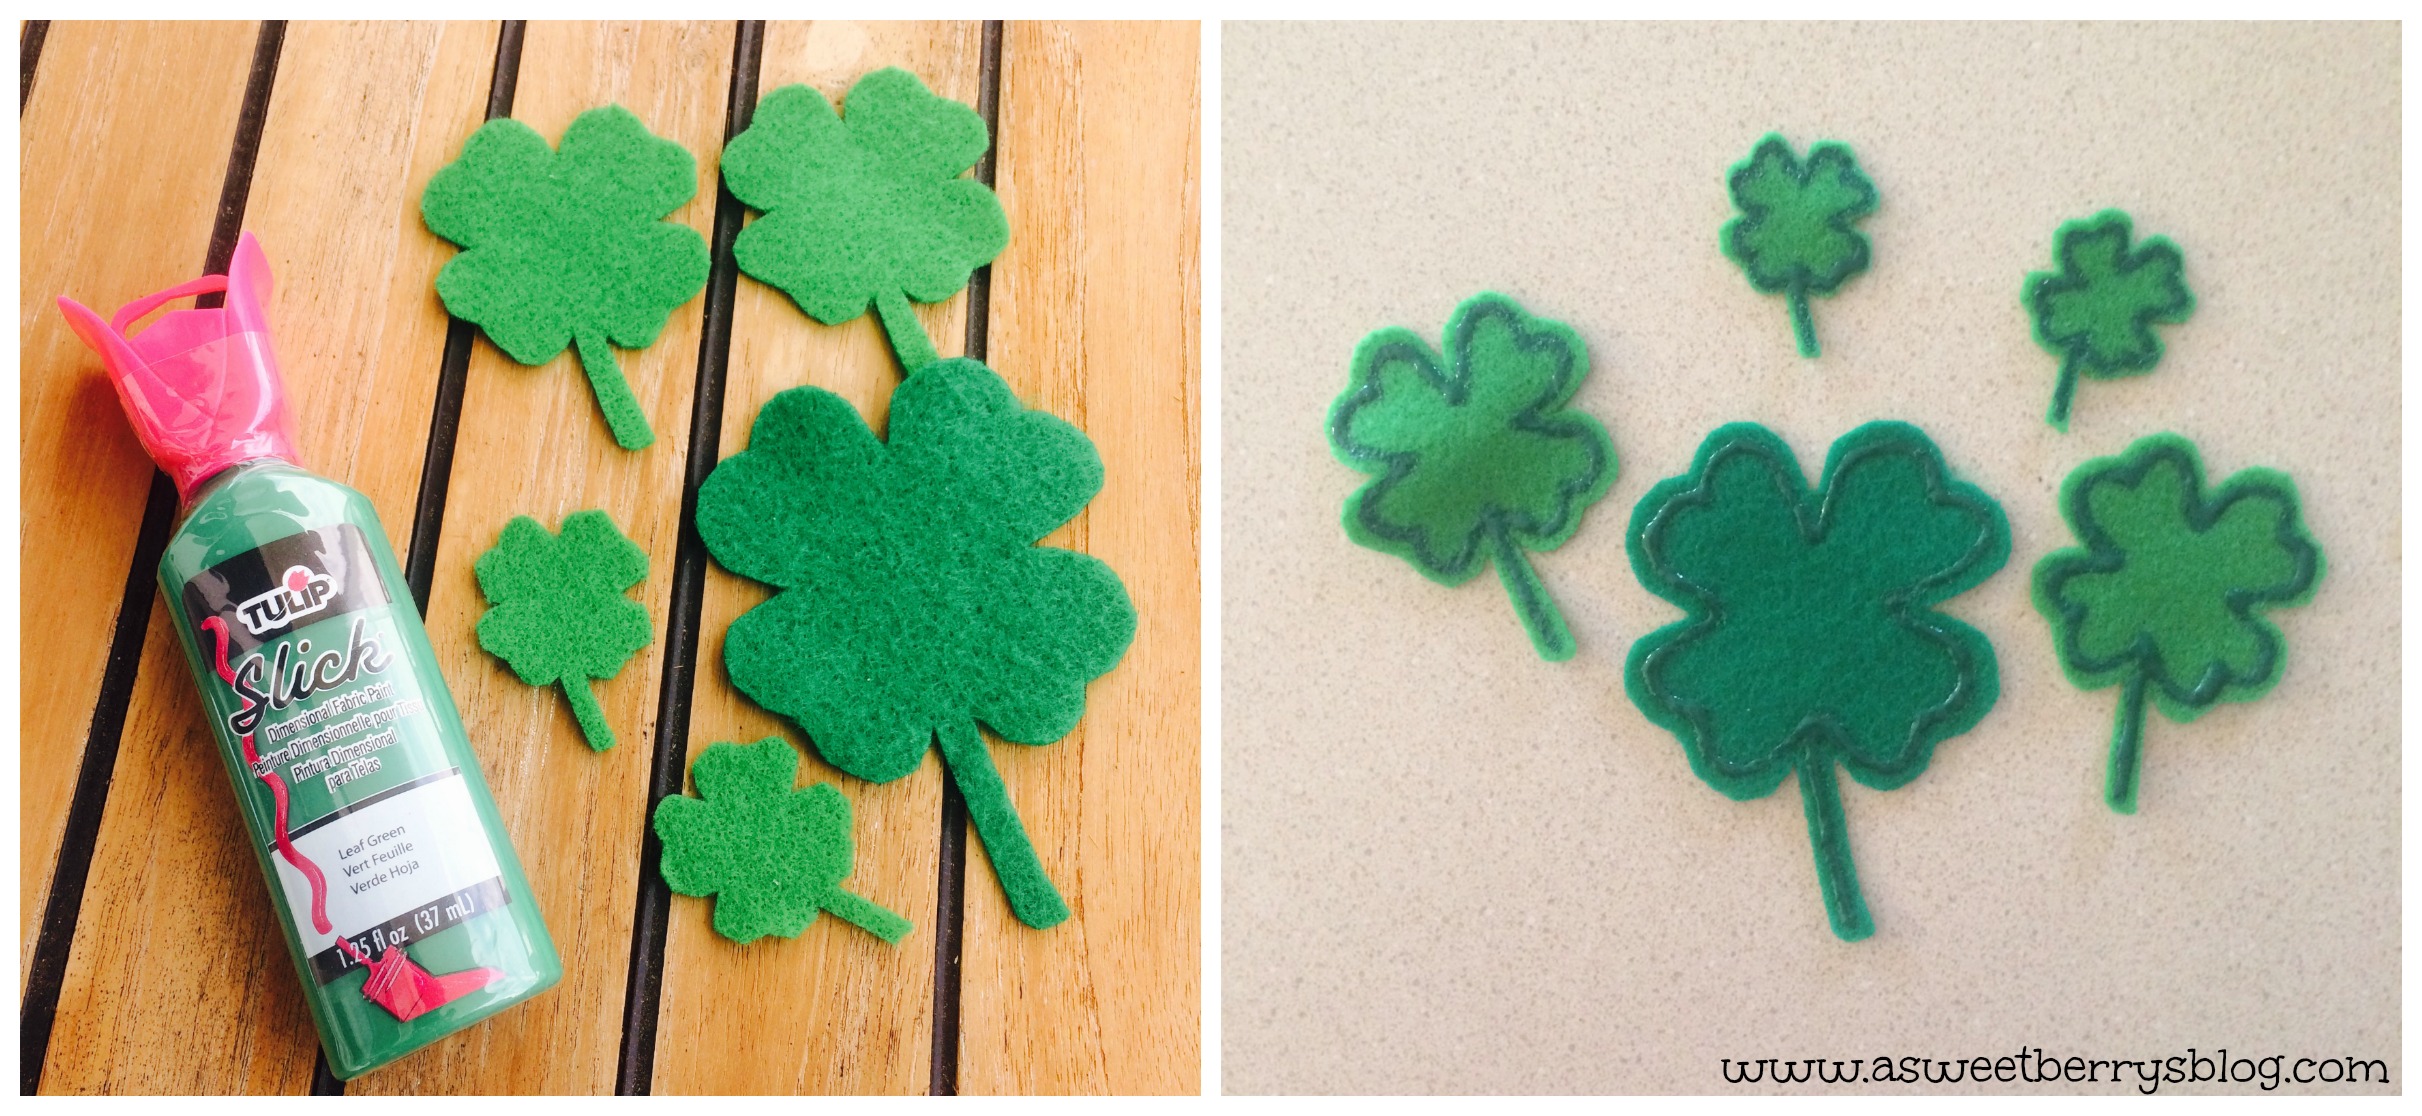
Tulip Fabric Markers from ILoveToCreate
Hot glue gun and hot glue
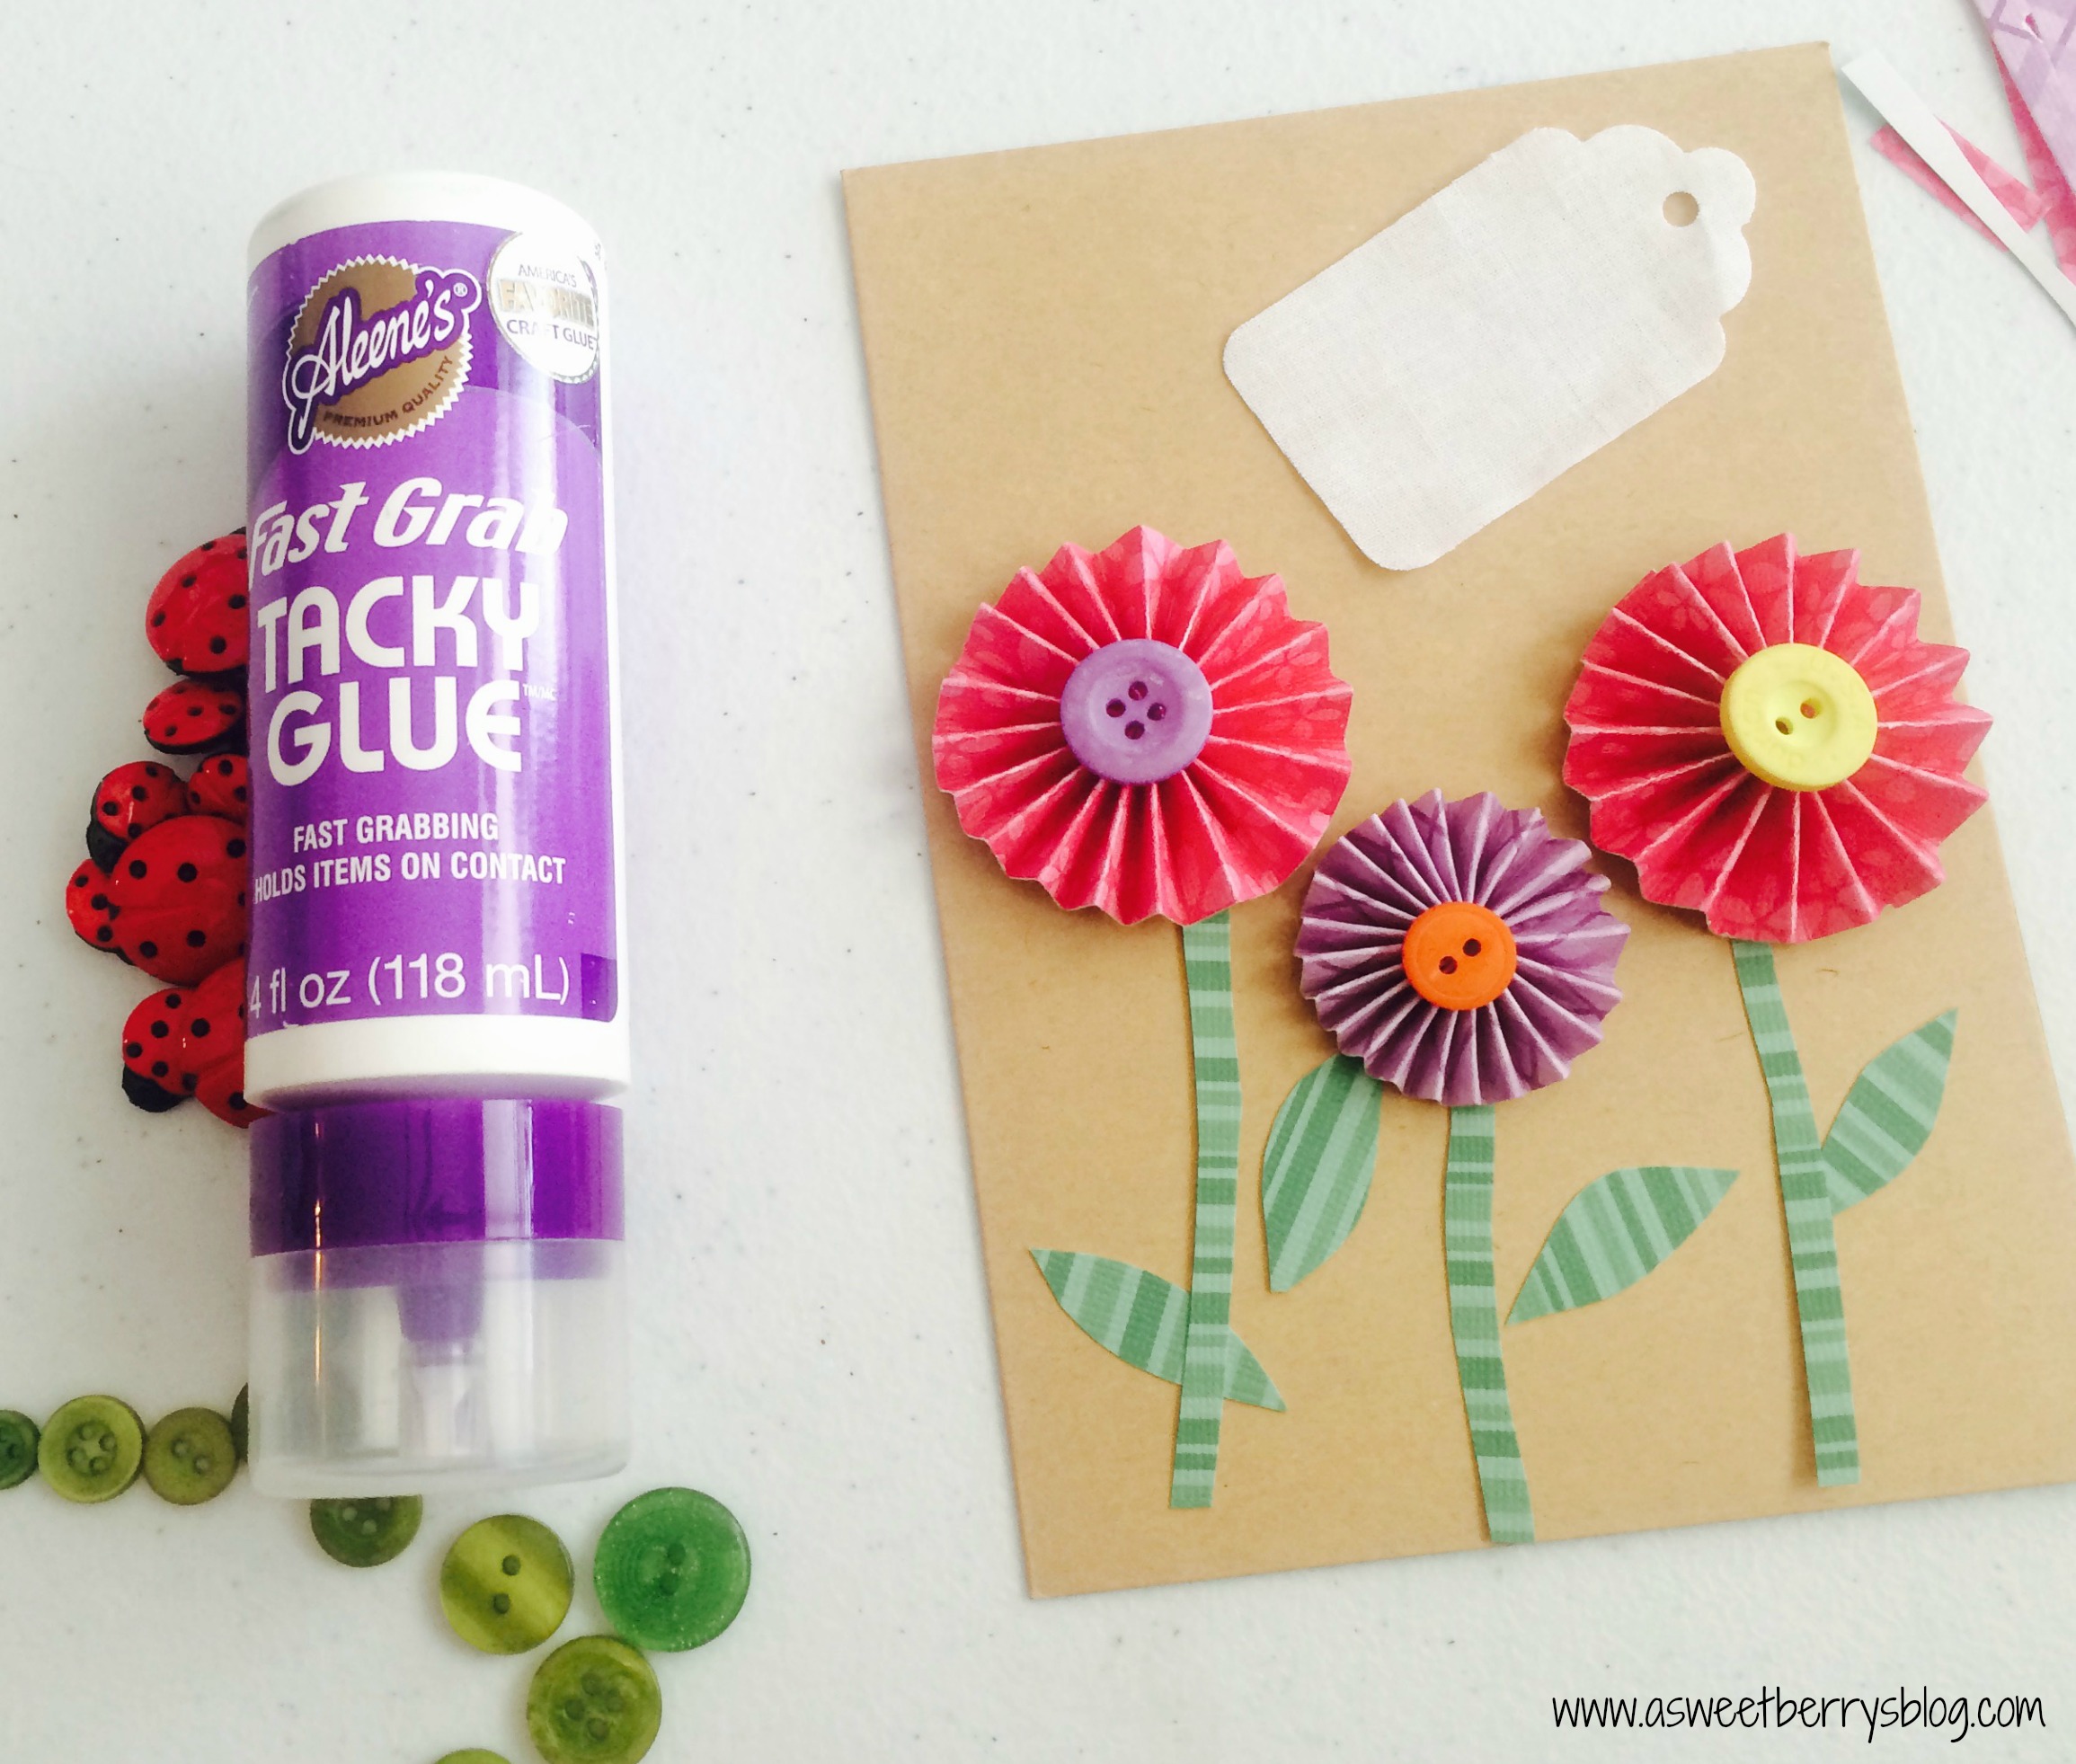
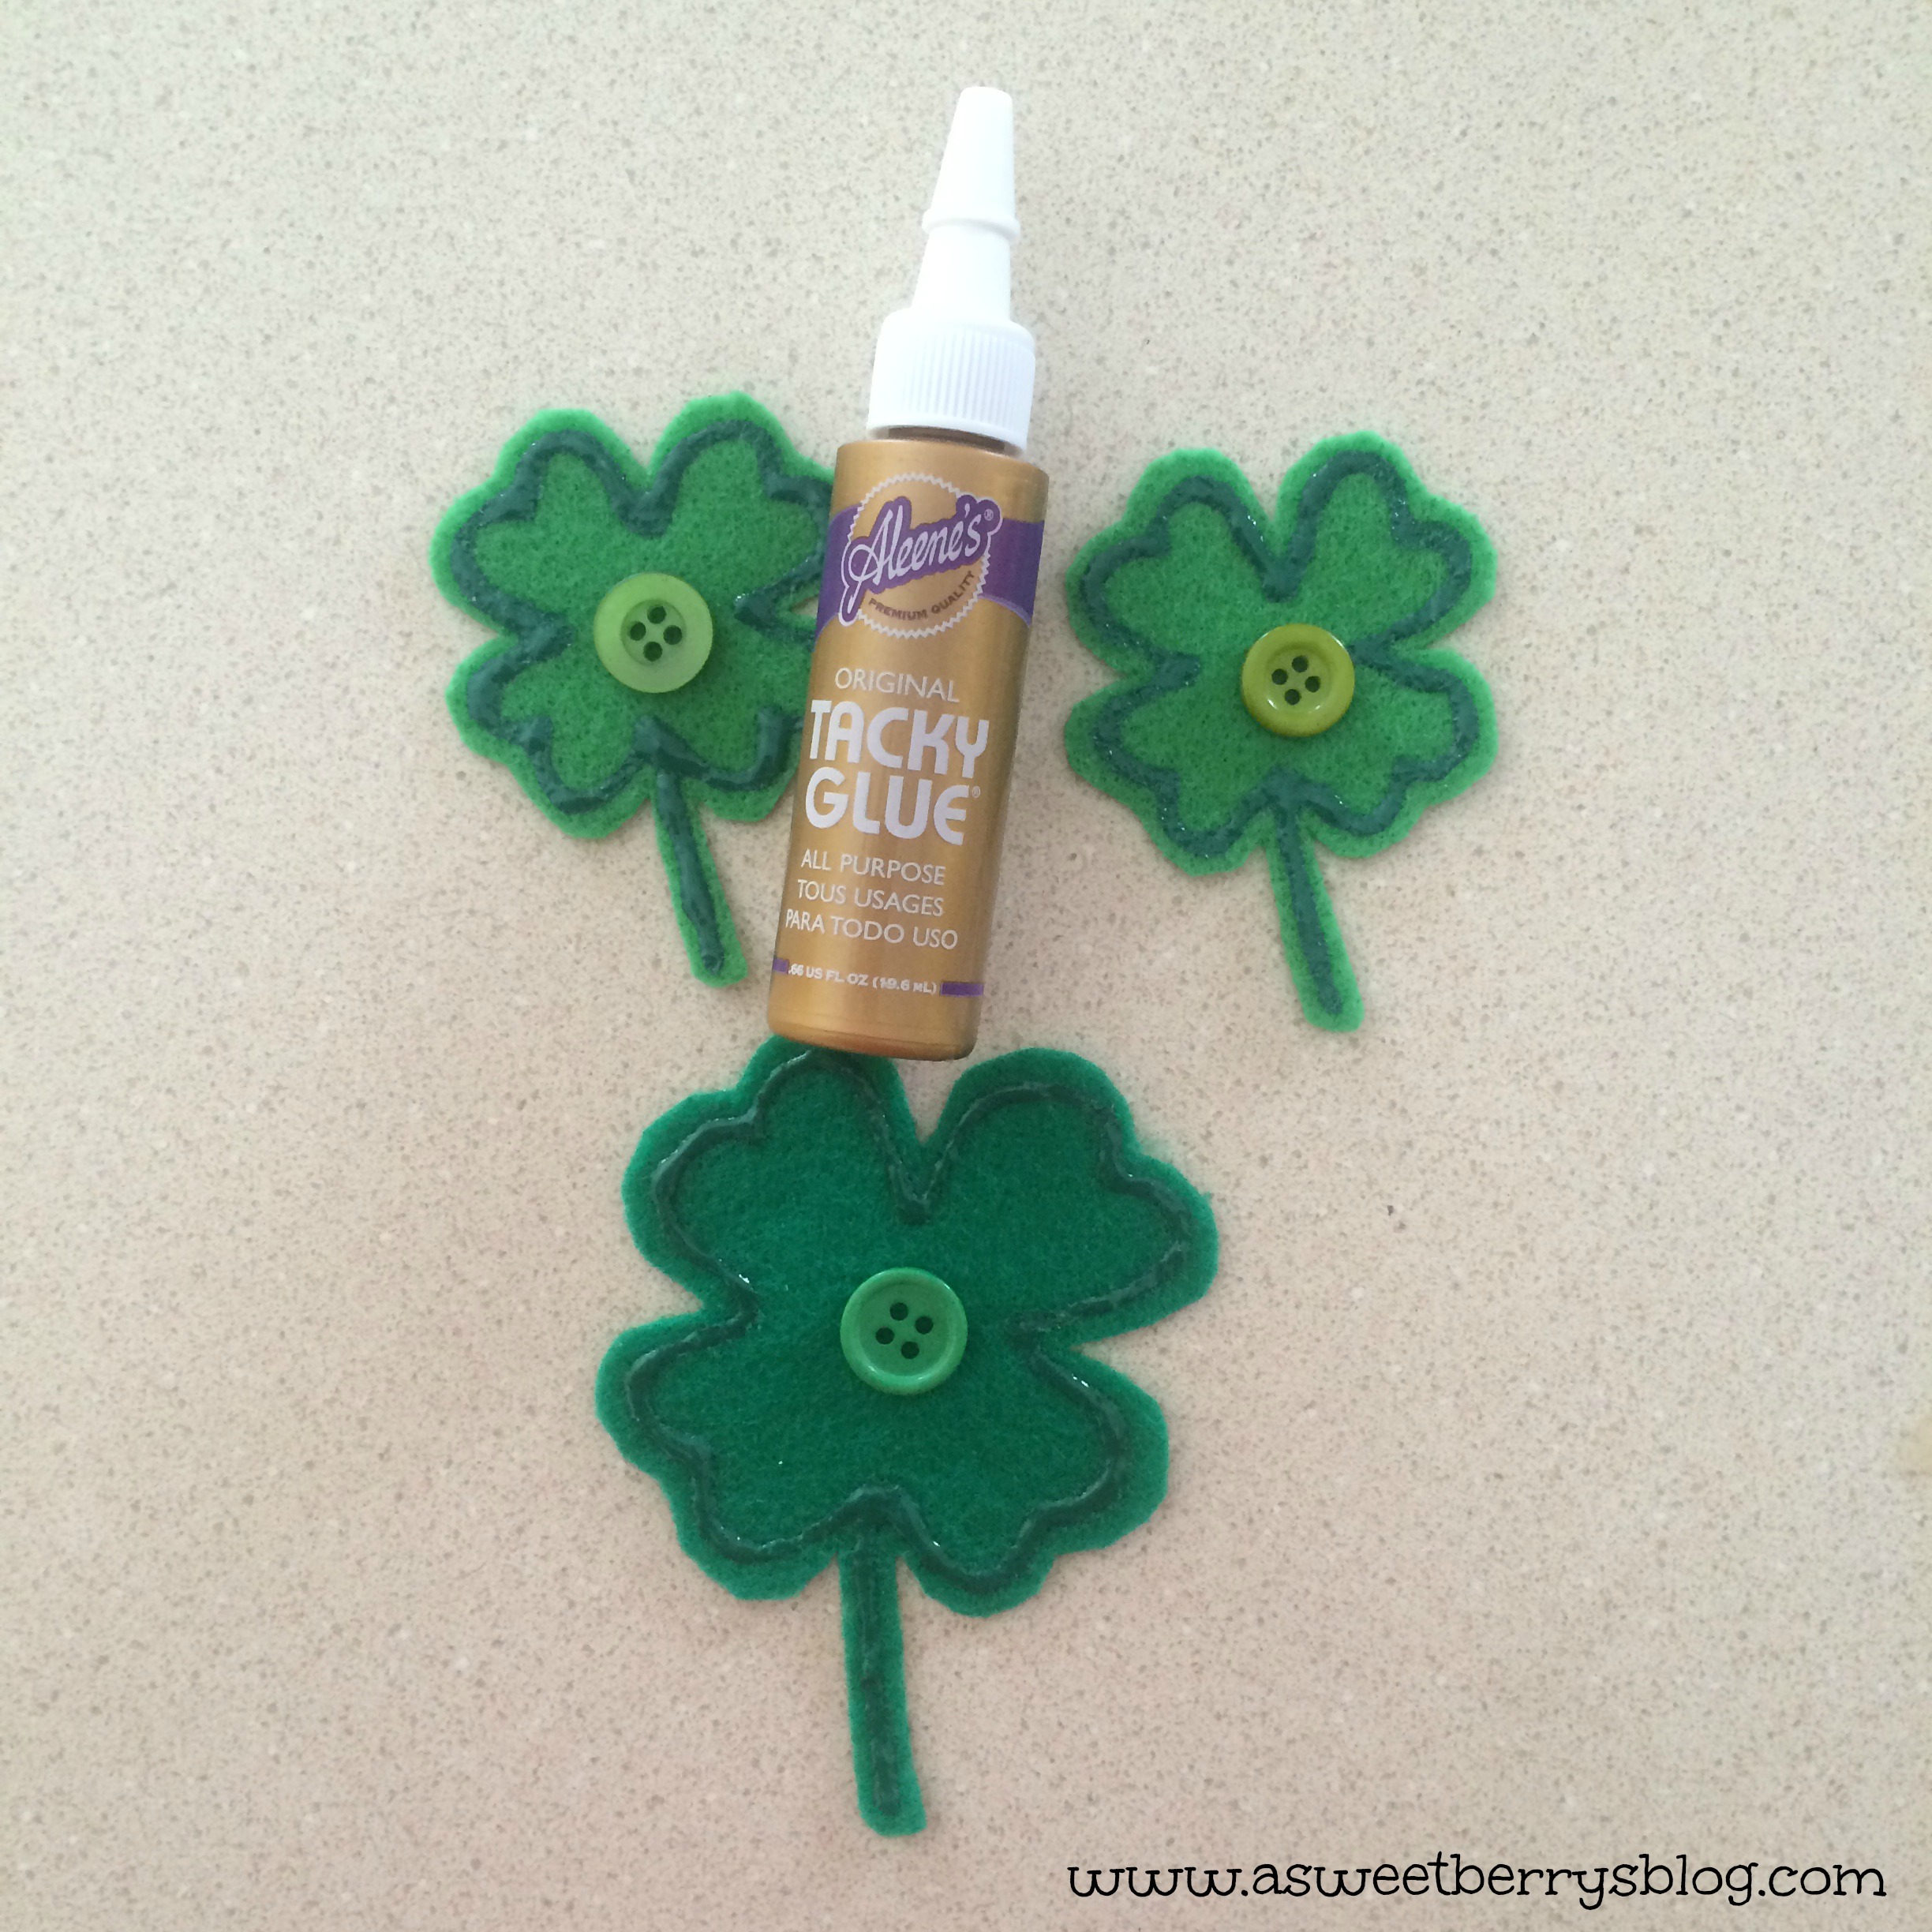
Aleene’s Fast Grab Tacky Glue
Aleene’s Paper Glaze
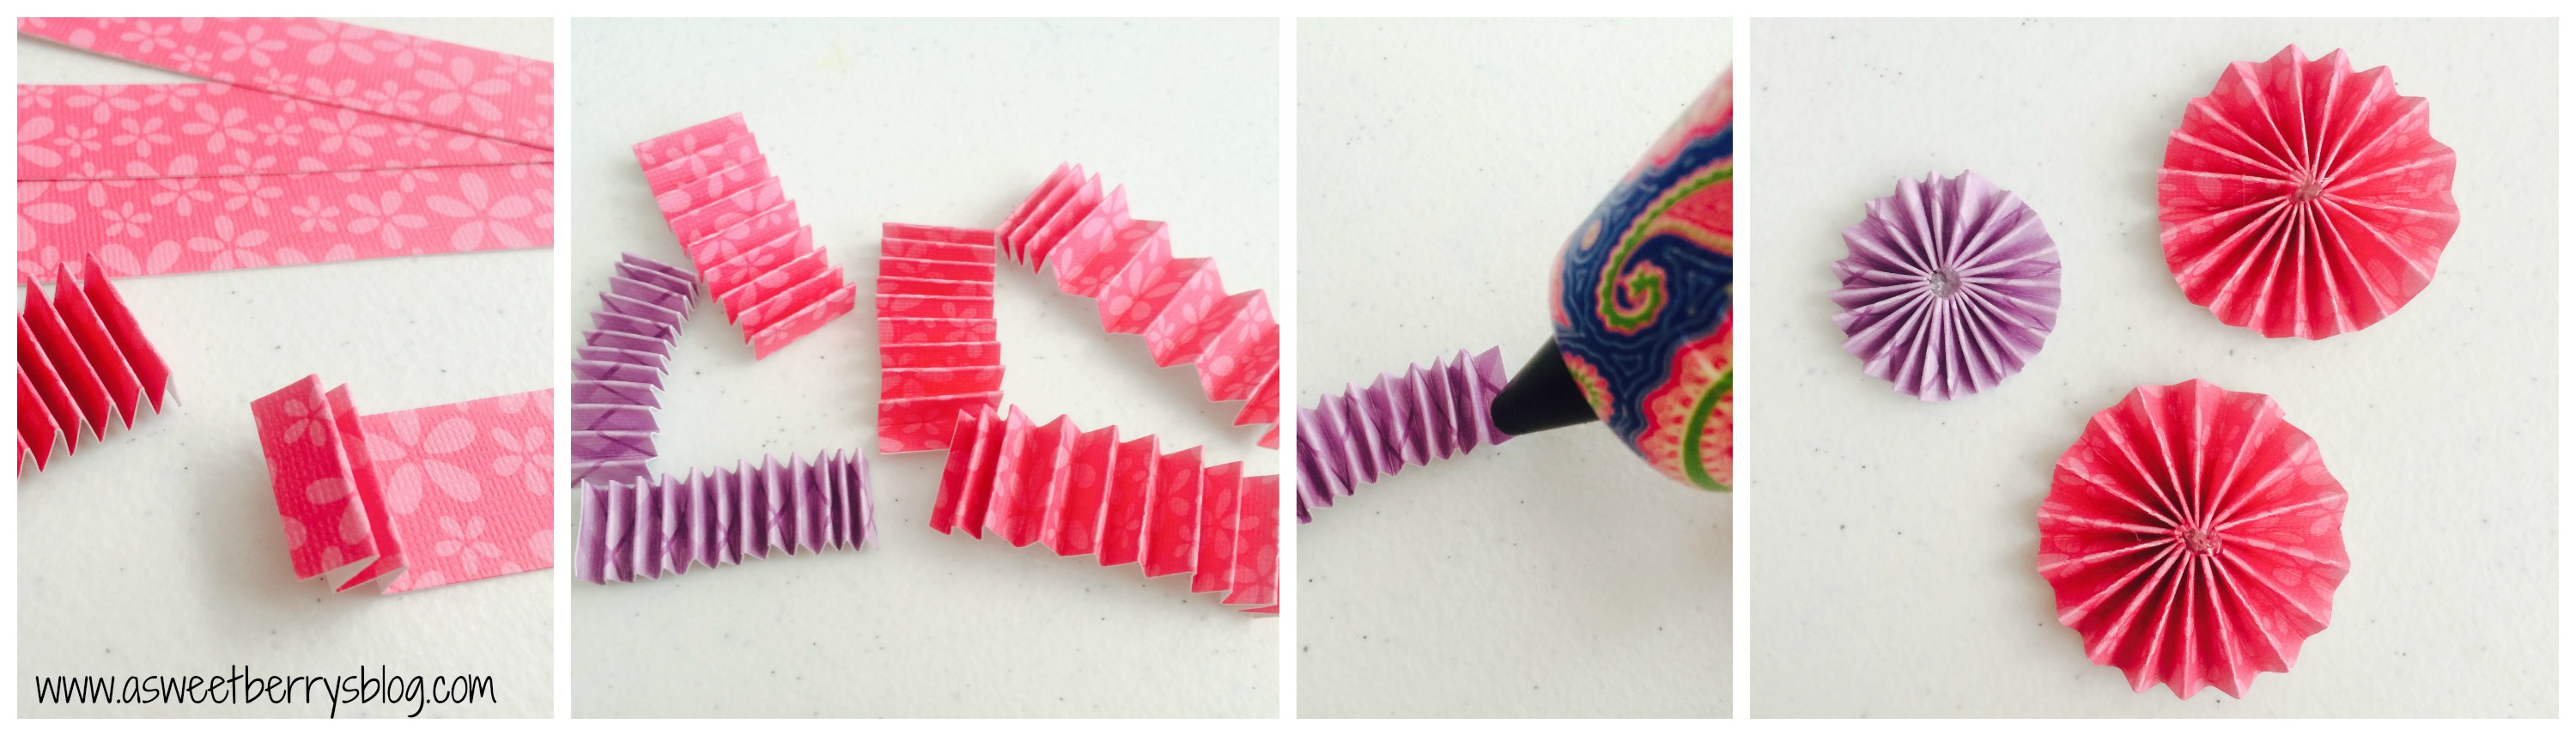
I started by making paper rosette flowers. I cut 3/4″ and 1/2″ paper strips with cute card stock. Bending the paper back and forth, I created a zigzag strip. Once I had them all folded, I used a hot glut gun to glue the strips to each other, connecting two strips together on each end. Once they were connected and formed a circle, I positioned the sides together to form the rosette and hot glued the center and let it dry.
I cut my stems and leaves from a green striped card stock and glued them to a card using my Aleene’s Fast Grab Tacky Glue. I added buttons to the paper rosette flowers! I used green buttons for the grass!
Buttons Galore & More has adorable little lady bug buttons, so I attached them to my card using Aleene’s Fast Grab Tacky Glue. I added them to the paper rosette flowers, the stem and the grass!
Using a fabric tag and Tulip Fabric Markers, I wrote Happy Spring and added lines and dots! I applied it to the card using Aleene’s Paper Glaze and added a little ladybug to cover the hole on the tag.
I love this adorable little Happy Spring card and someone special will be receiving it soon!
Buttons Galore & More is offering free shipping on orders over $30! They also offer Coupons for their buttons!
Once I completed my card, I used my Laura Kelly personalized self-inking stamp from Expressionery.com to stamp the back showing that I created this card with love!
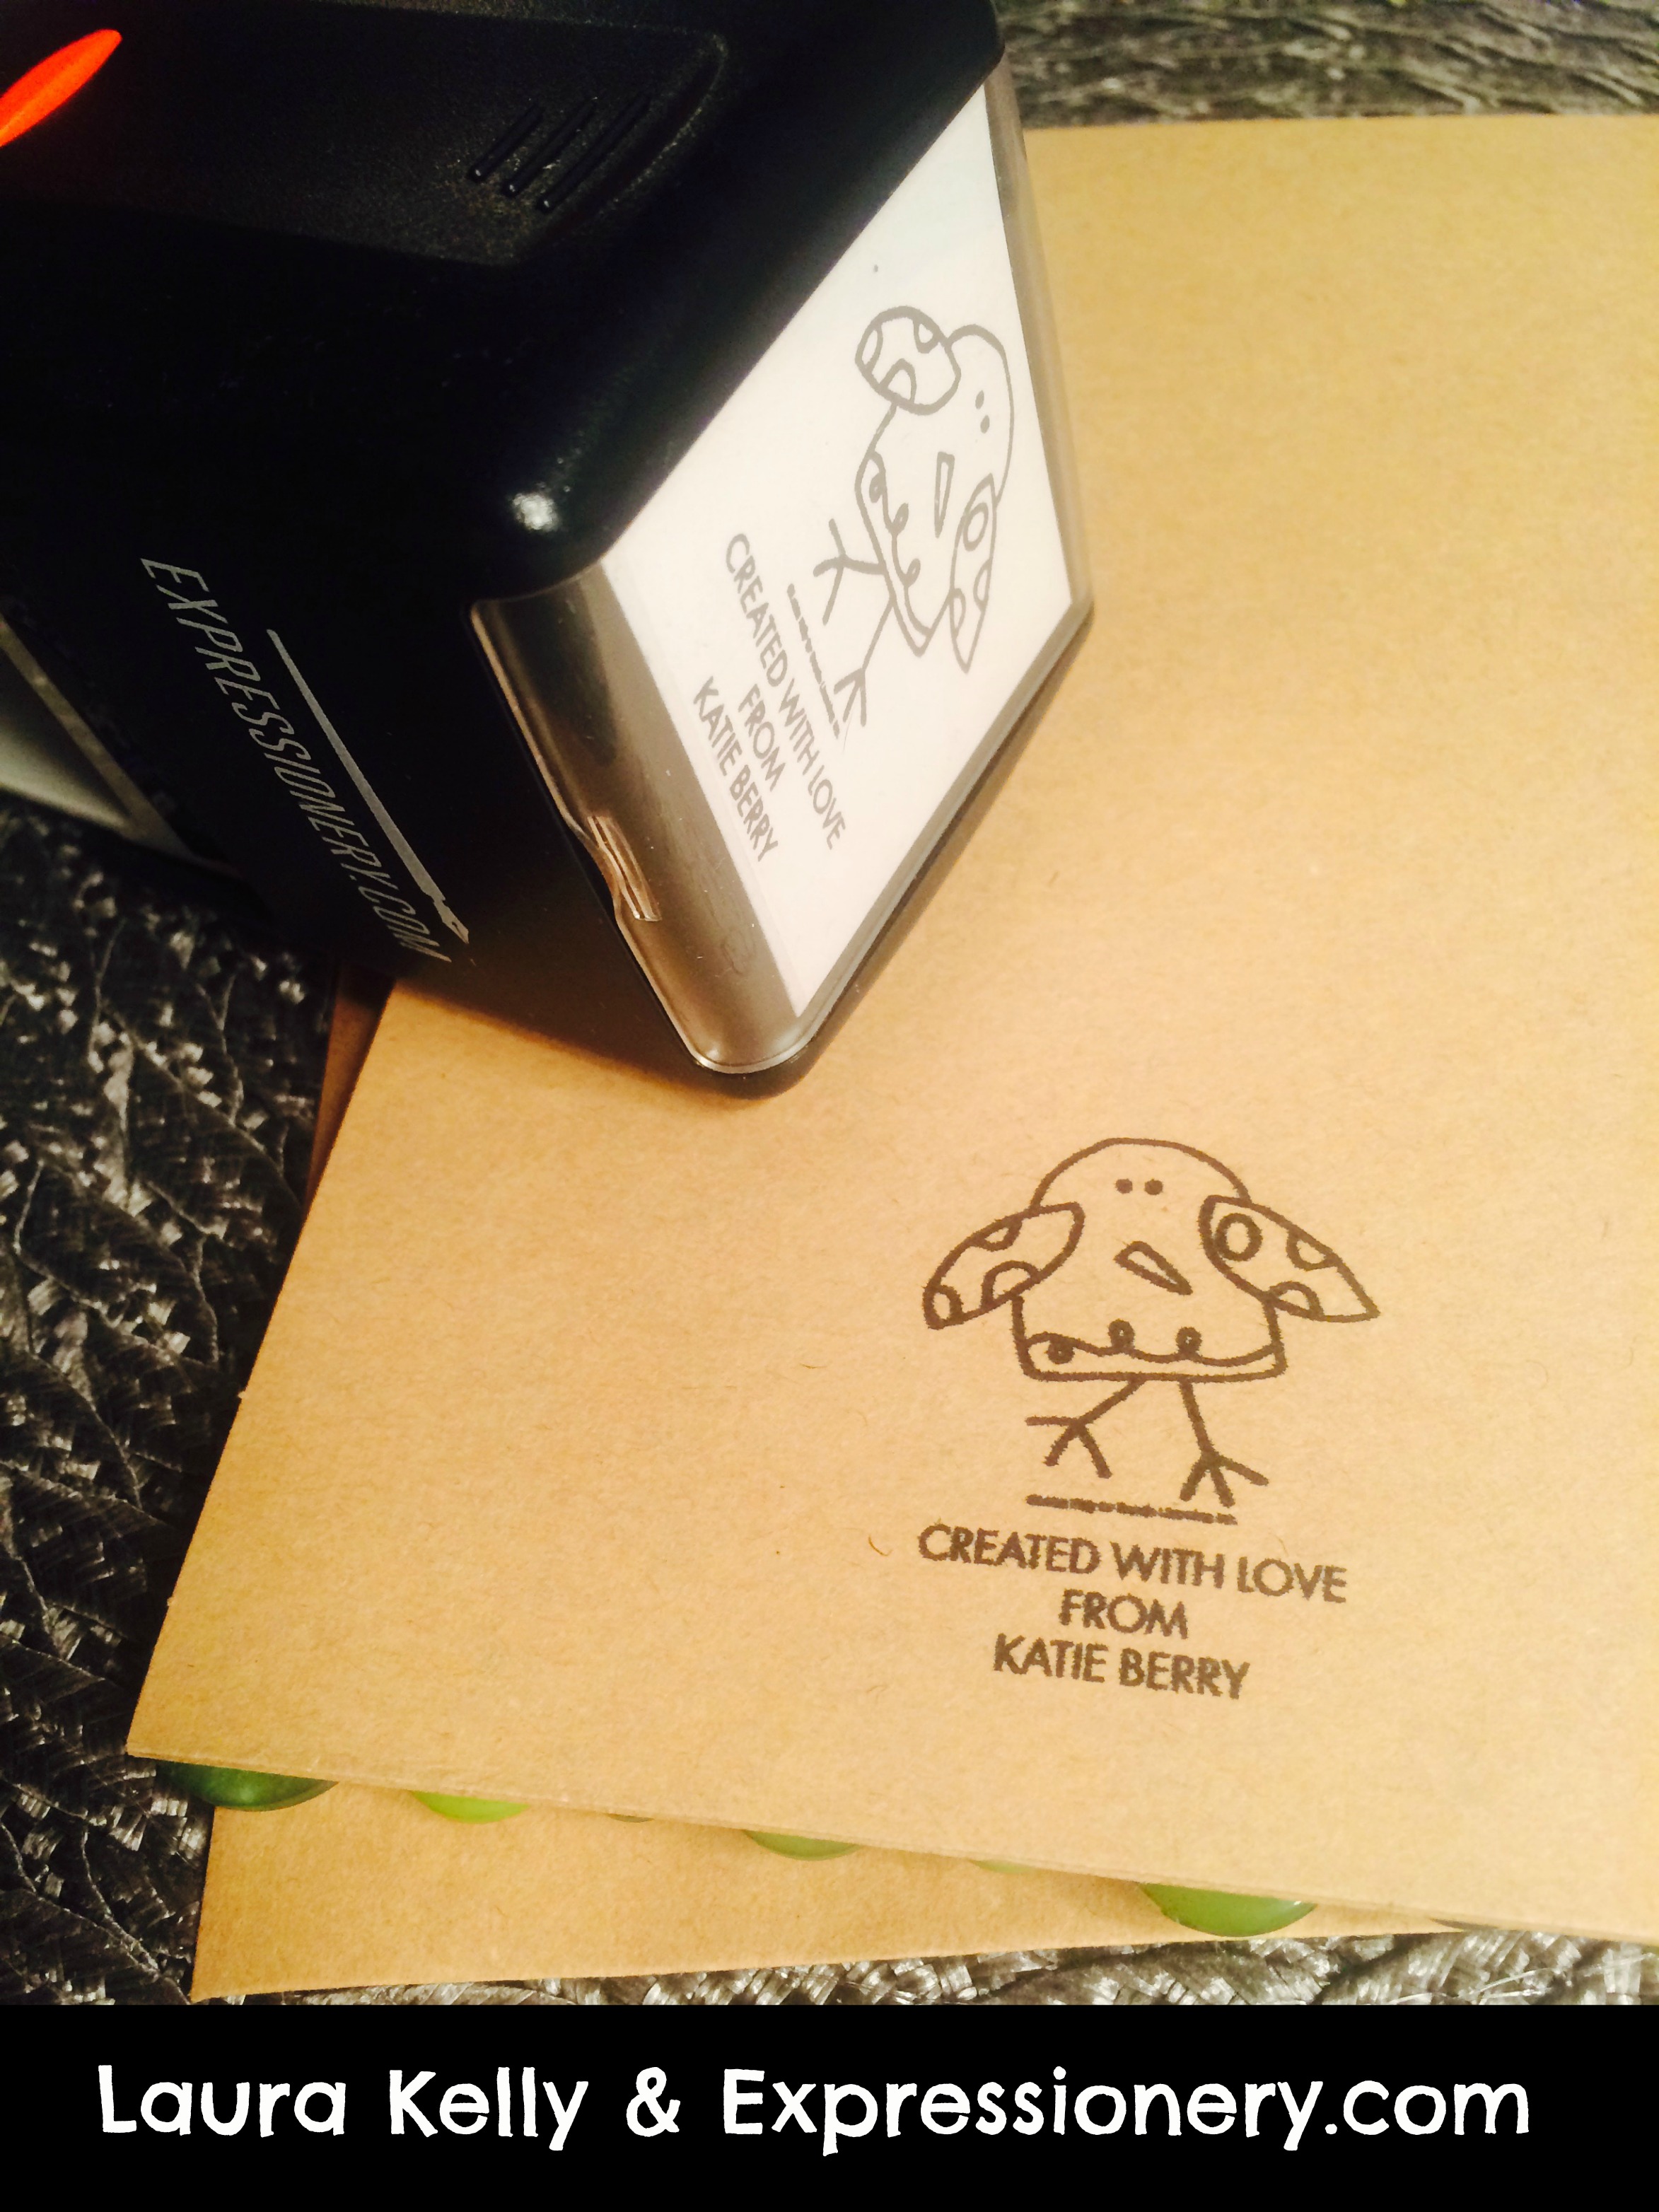
Expressionery.com is currently running a special of 25% off Sitewide with the code: SPRINGSALE. They are also offering free shipping with a purchase of $50 or more!
Hope you like this adorable card as much as I do! You can make one yourself!
Until next time……


)

)
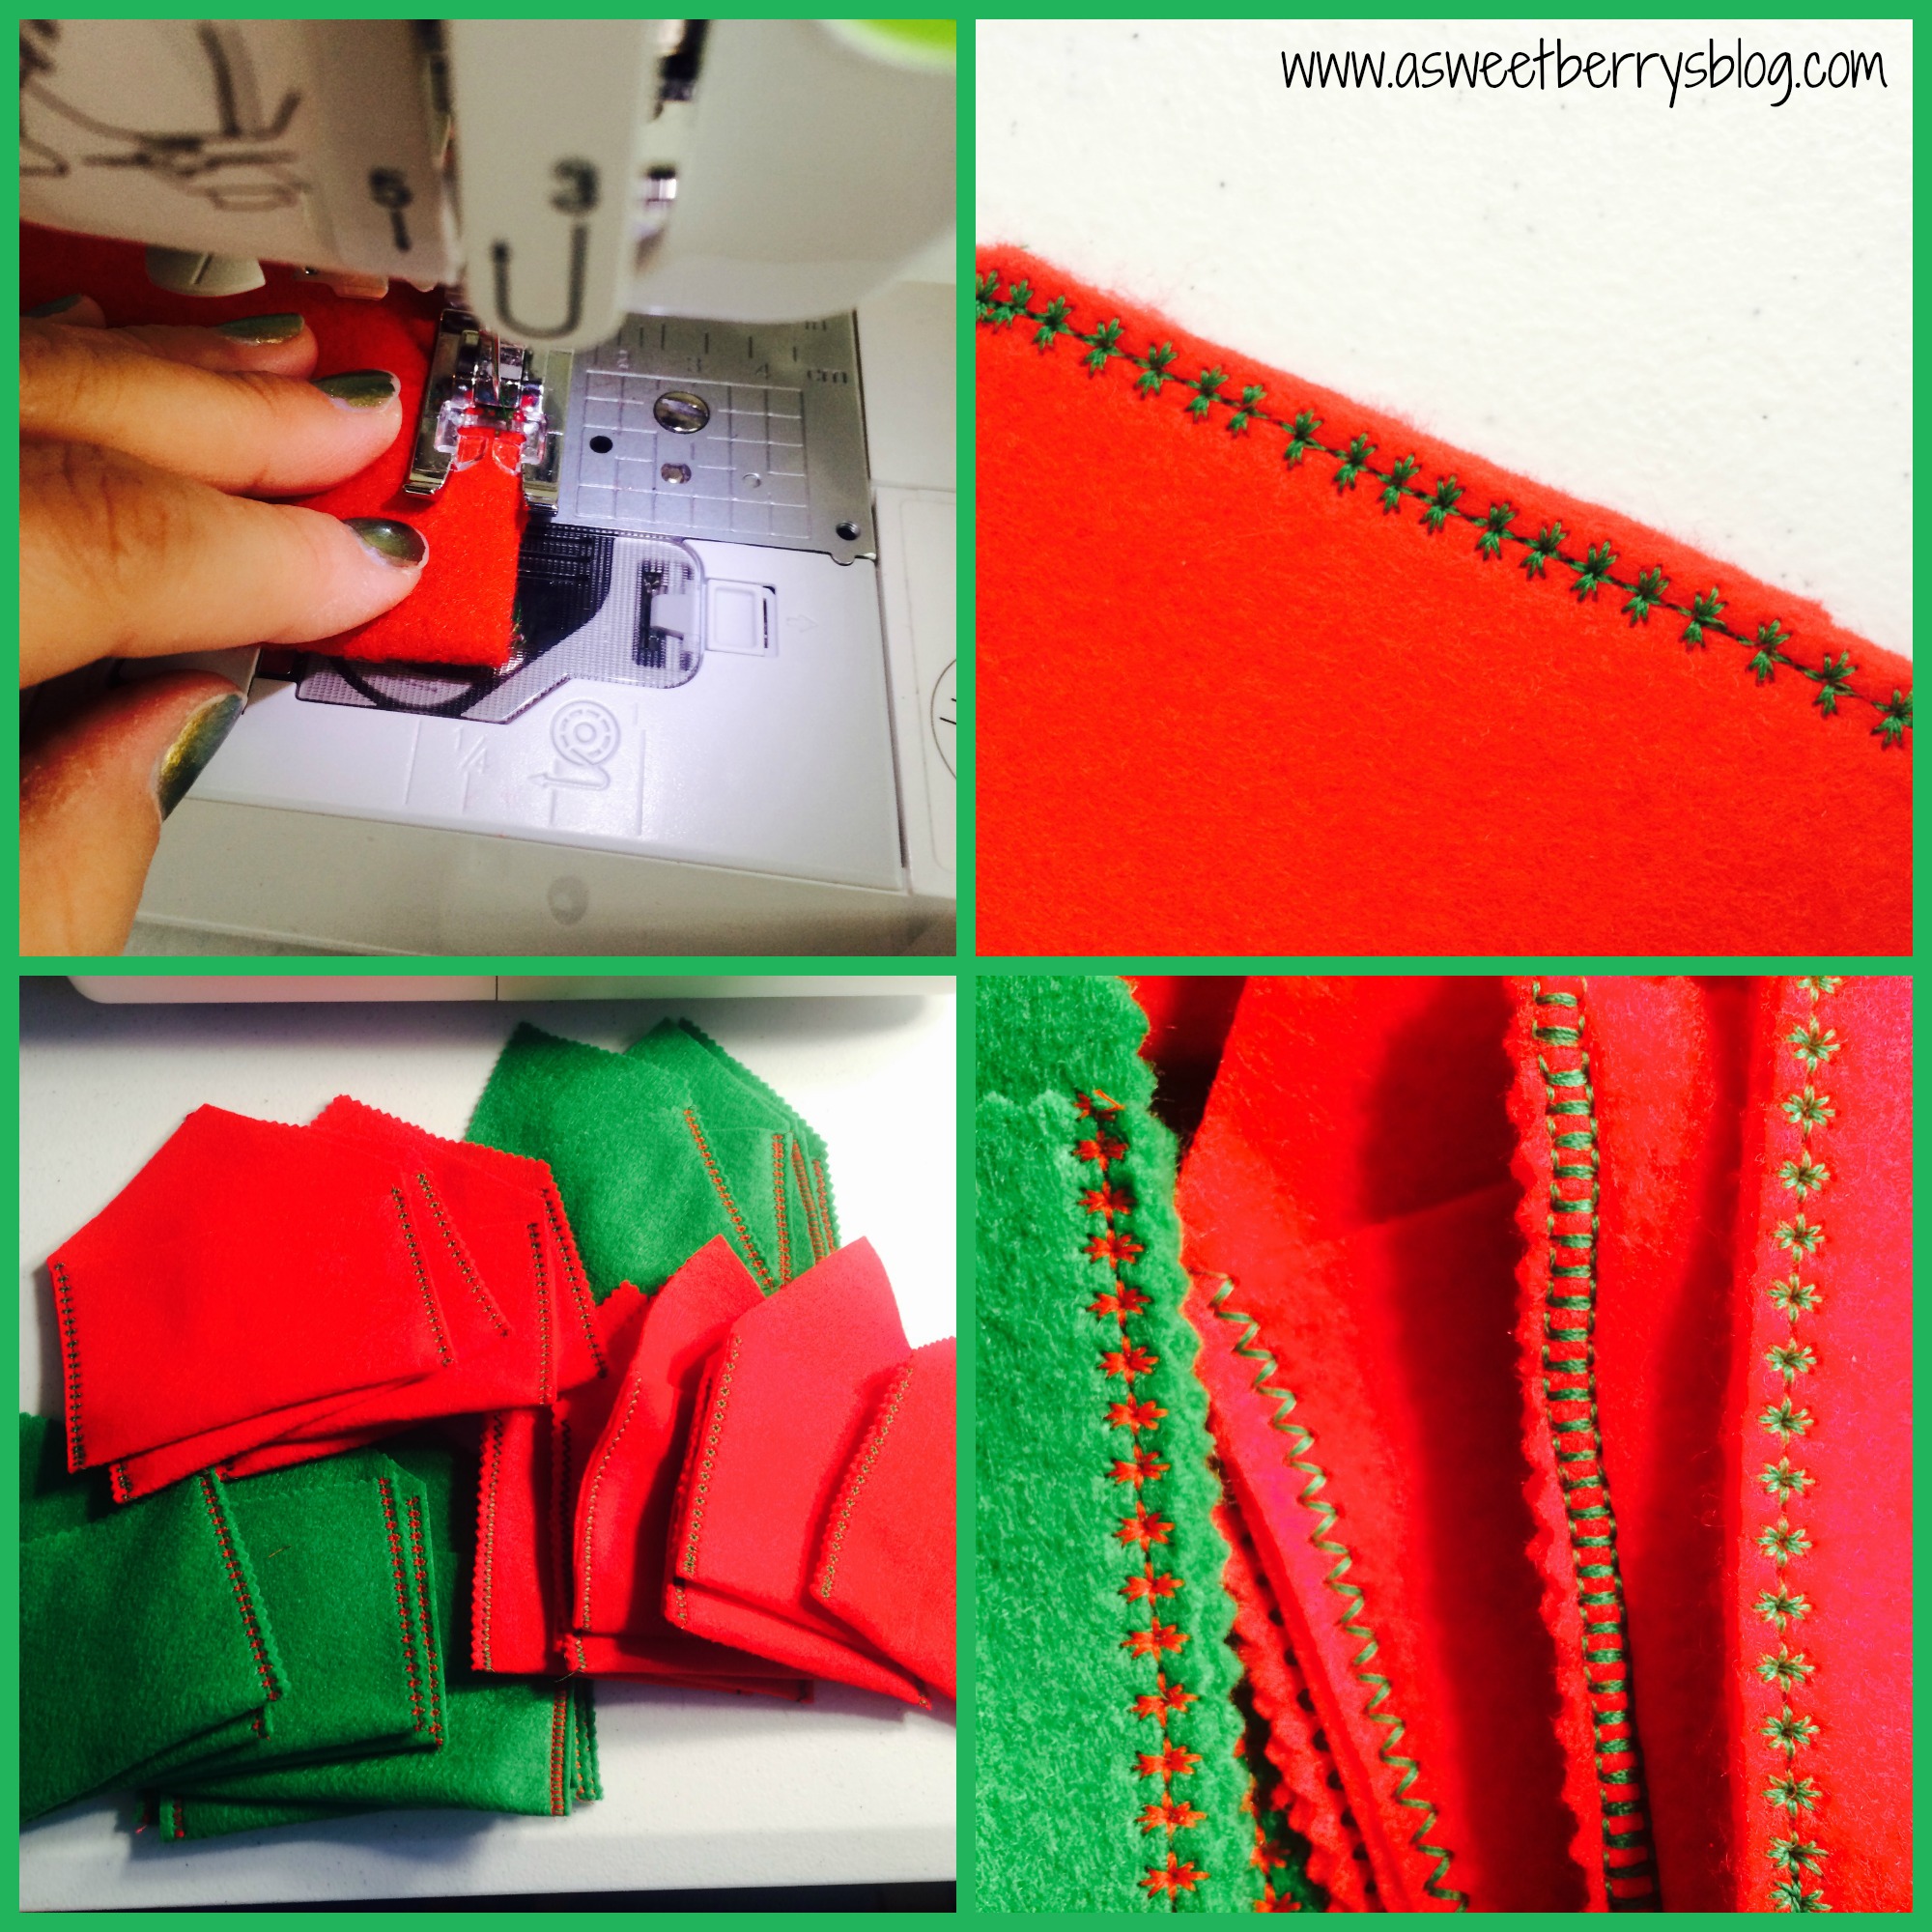
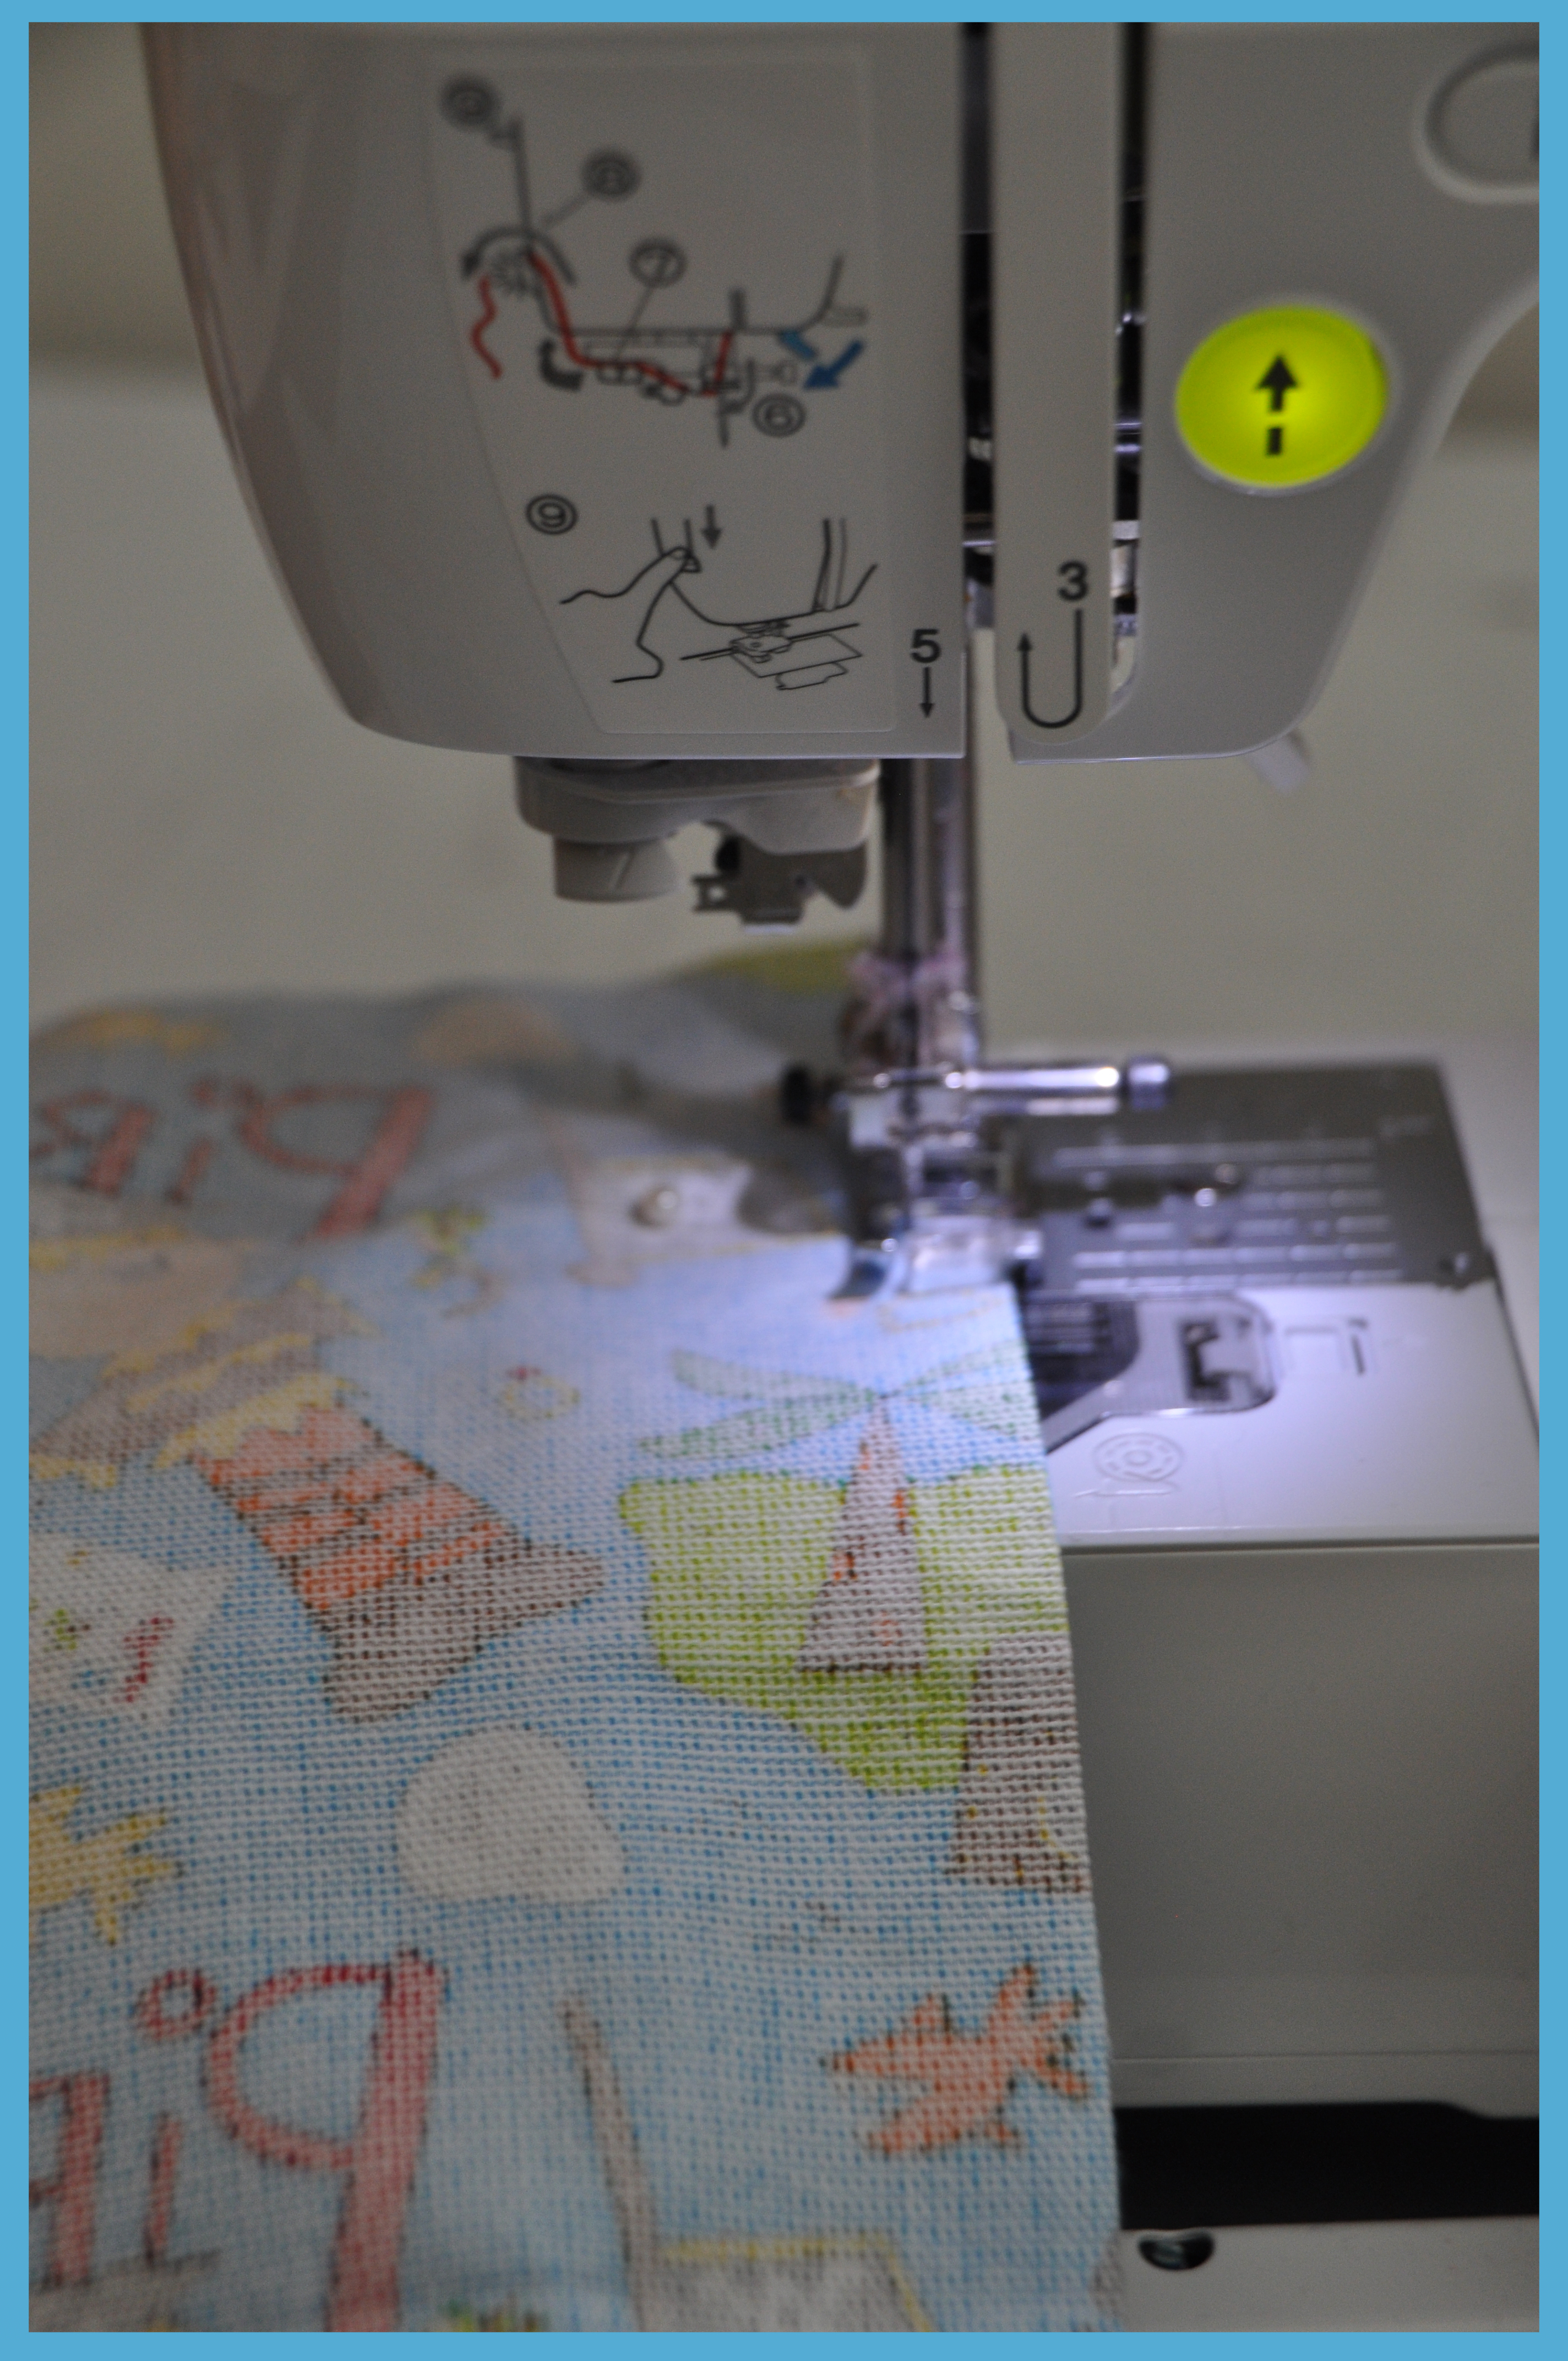
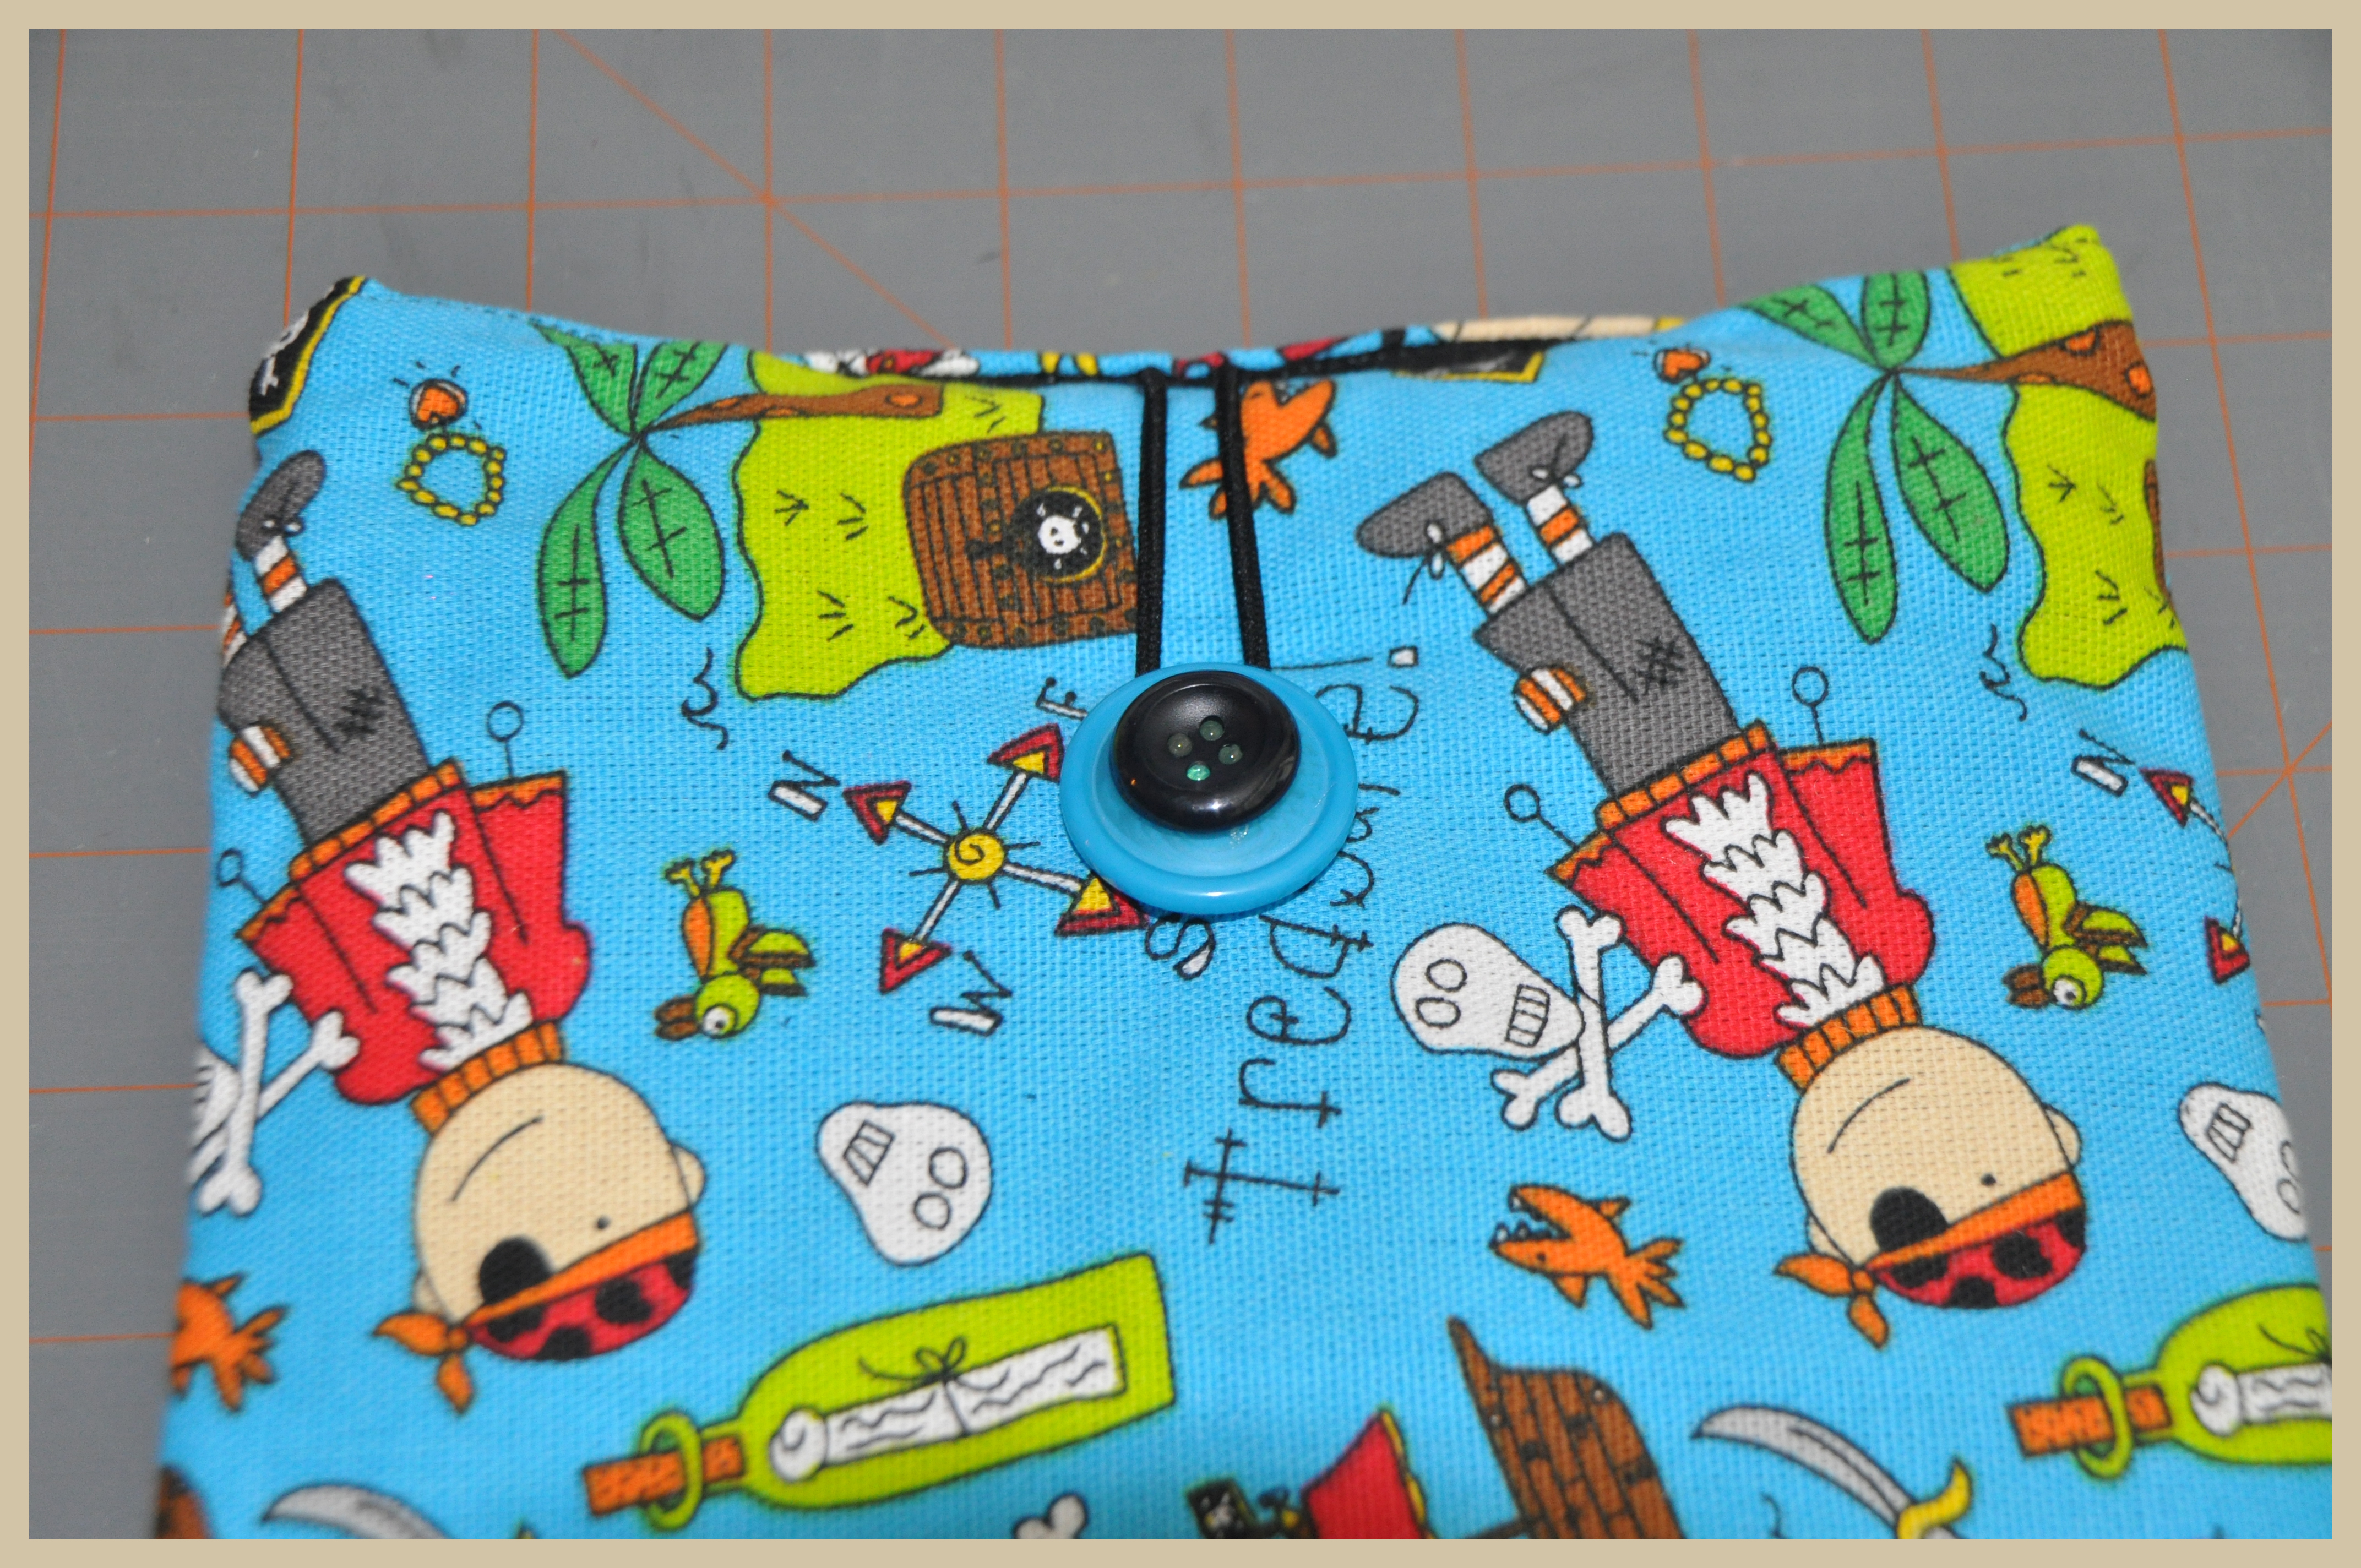
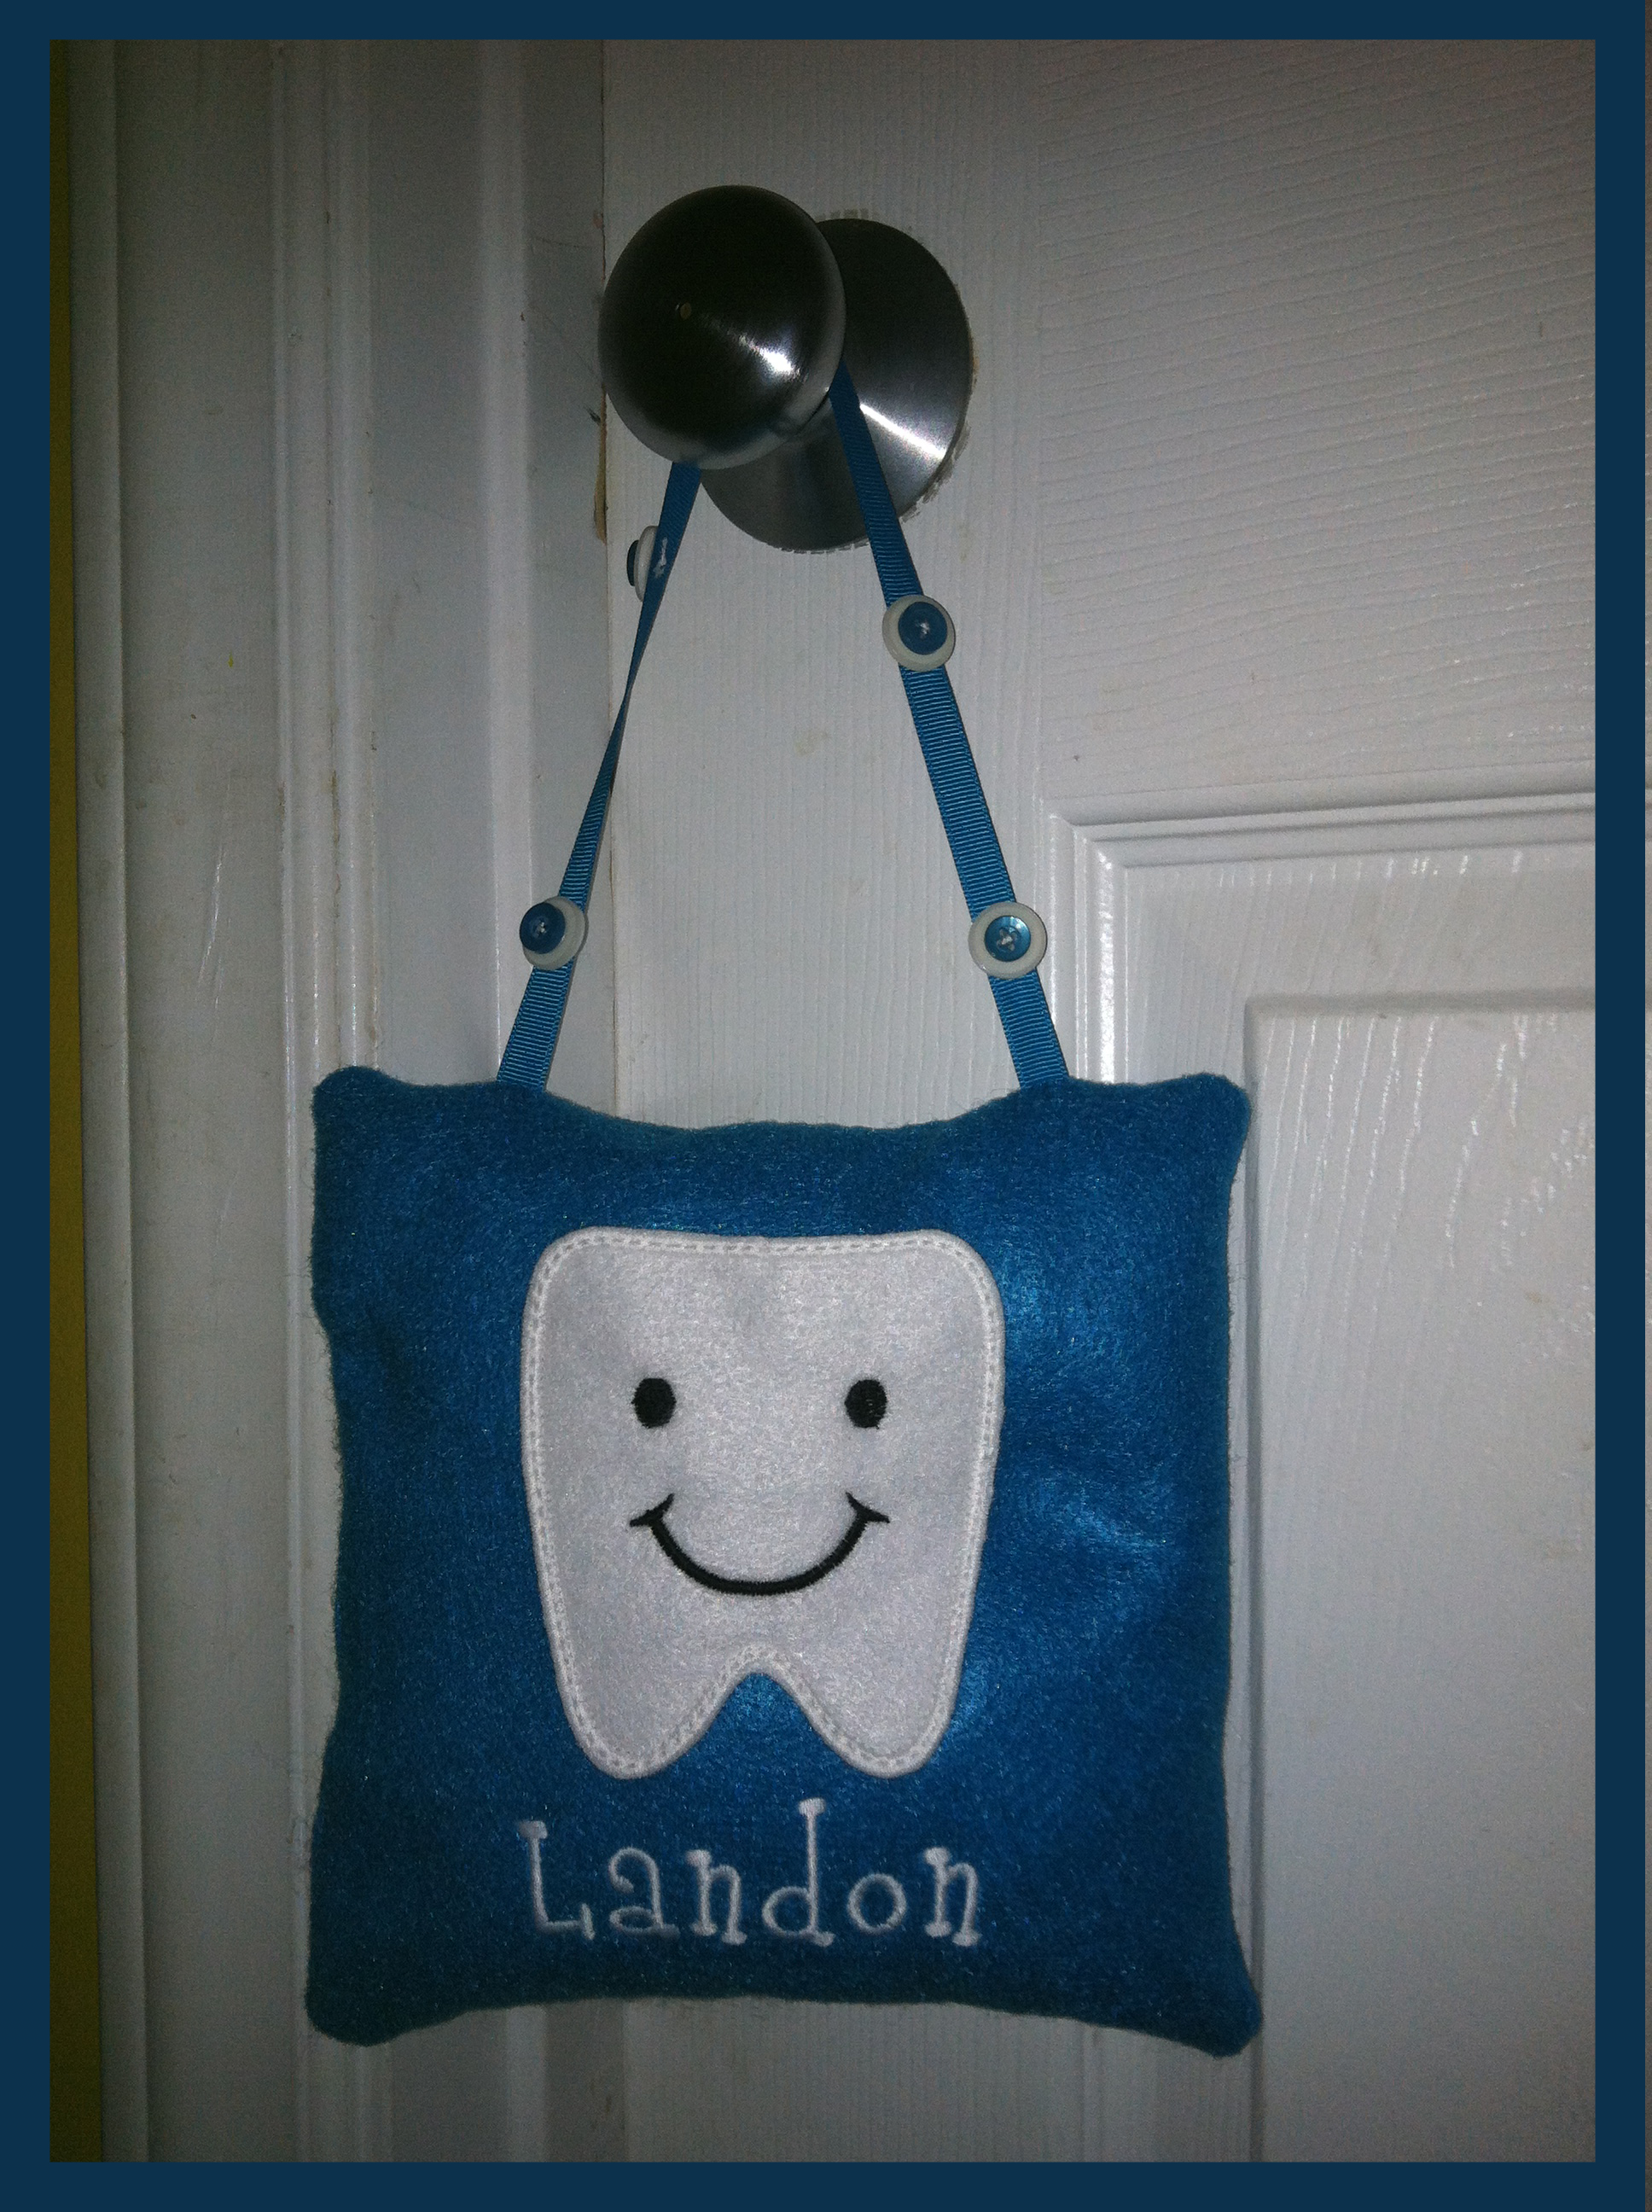
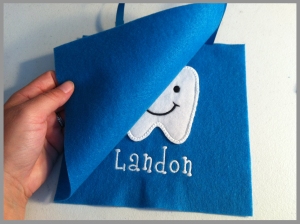
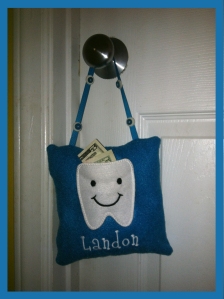
 I used ribbon to hang it, so I pinned the ribbon to the right side of the pillow and stitched it back and forth a couple of times at the top of the pillow so that it would stay in place once I began to sew it.
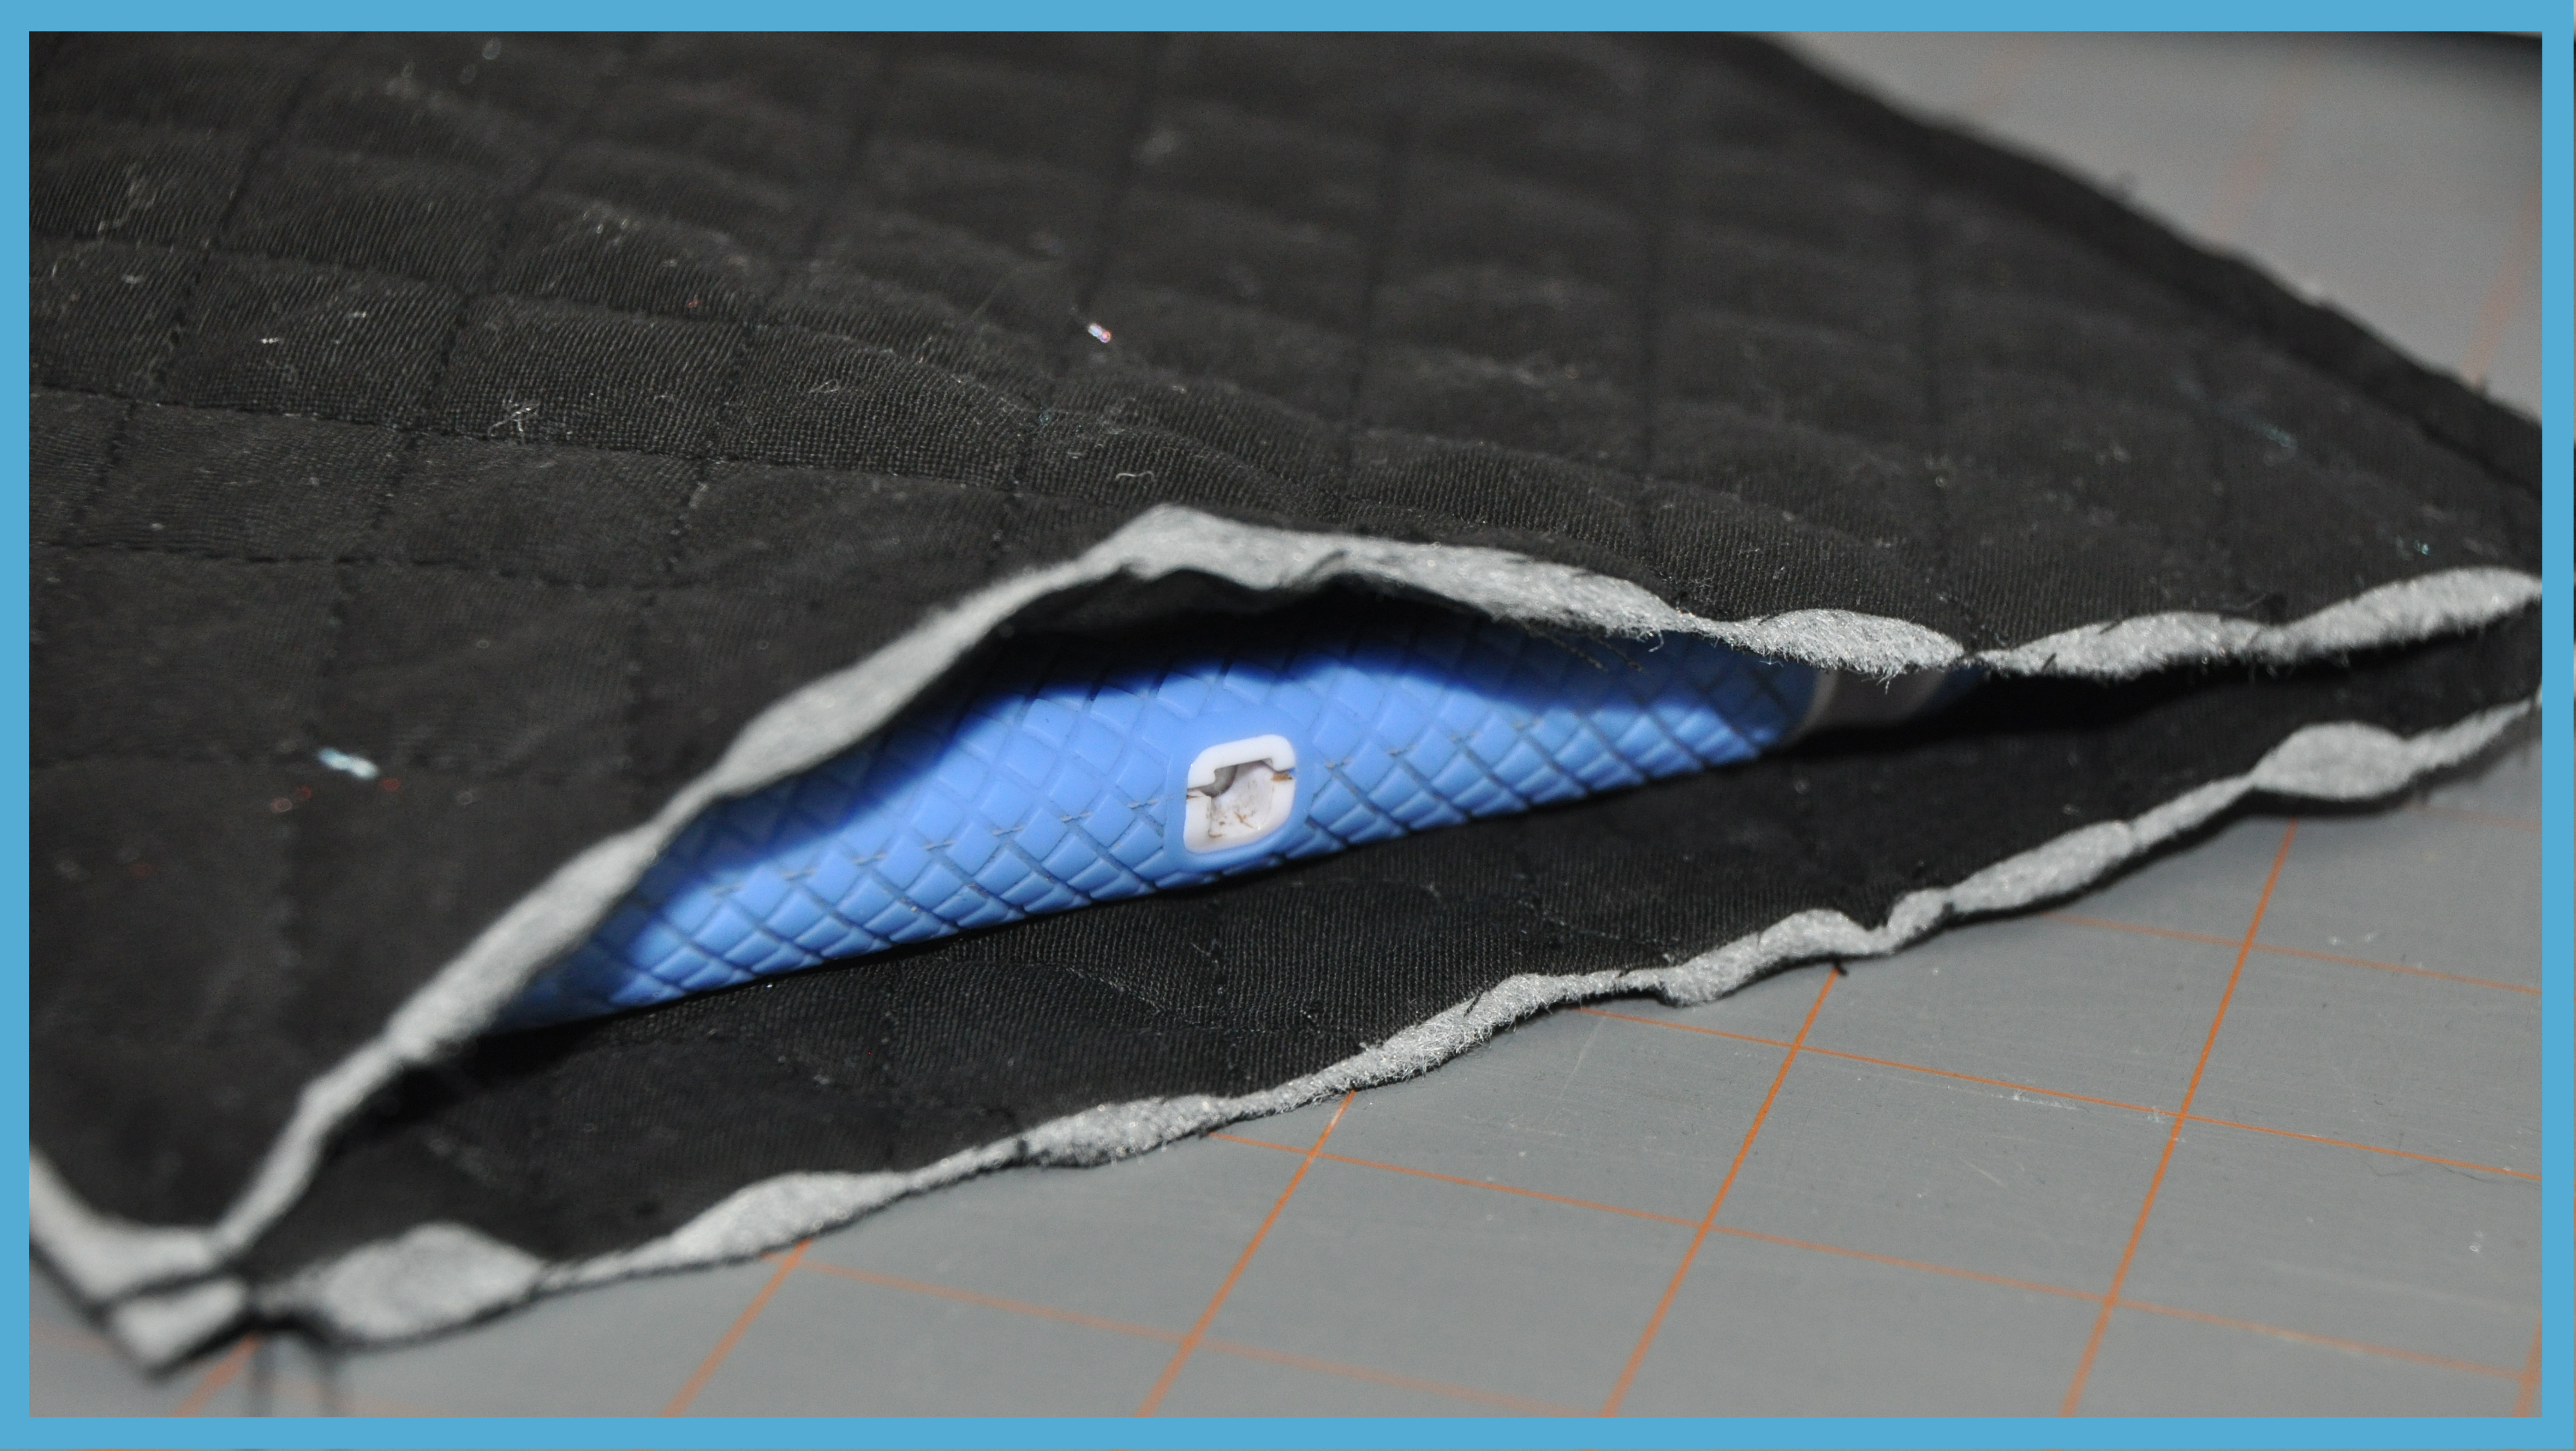
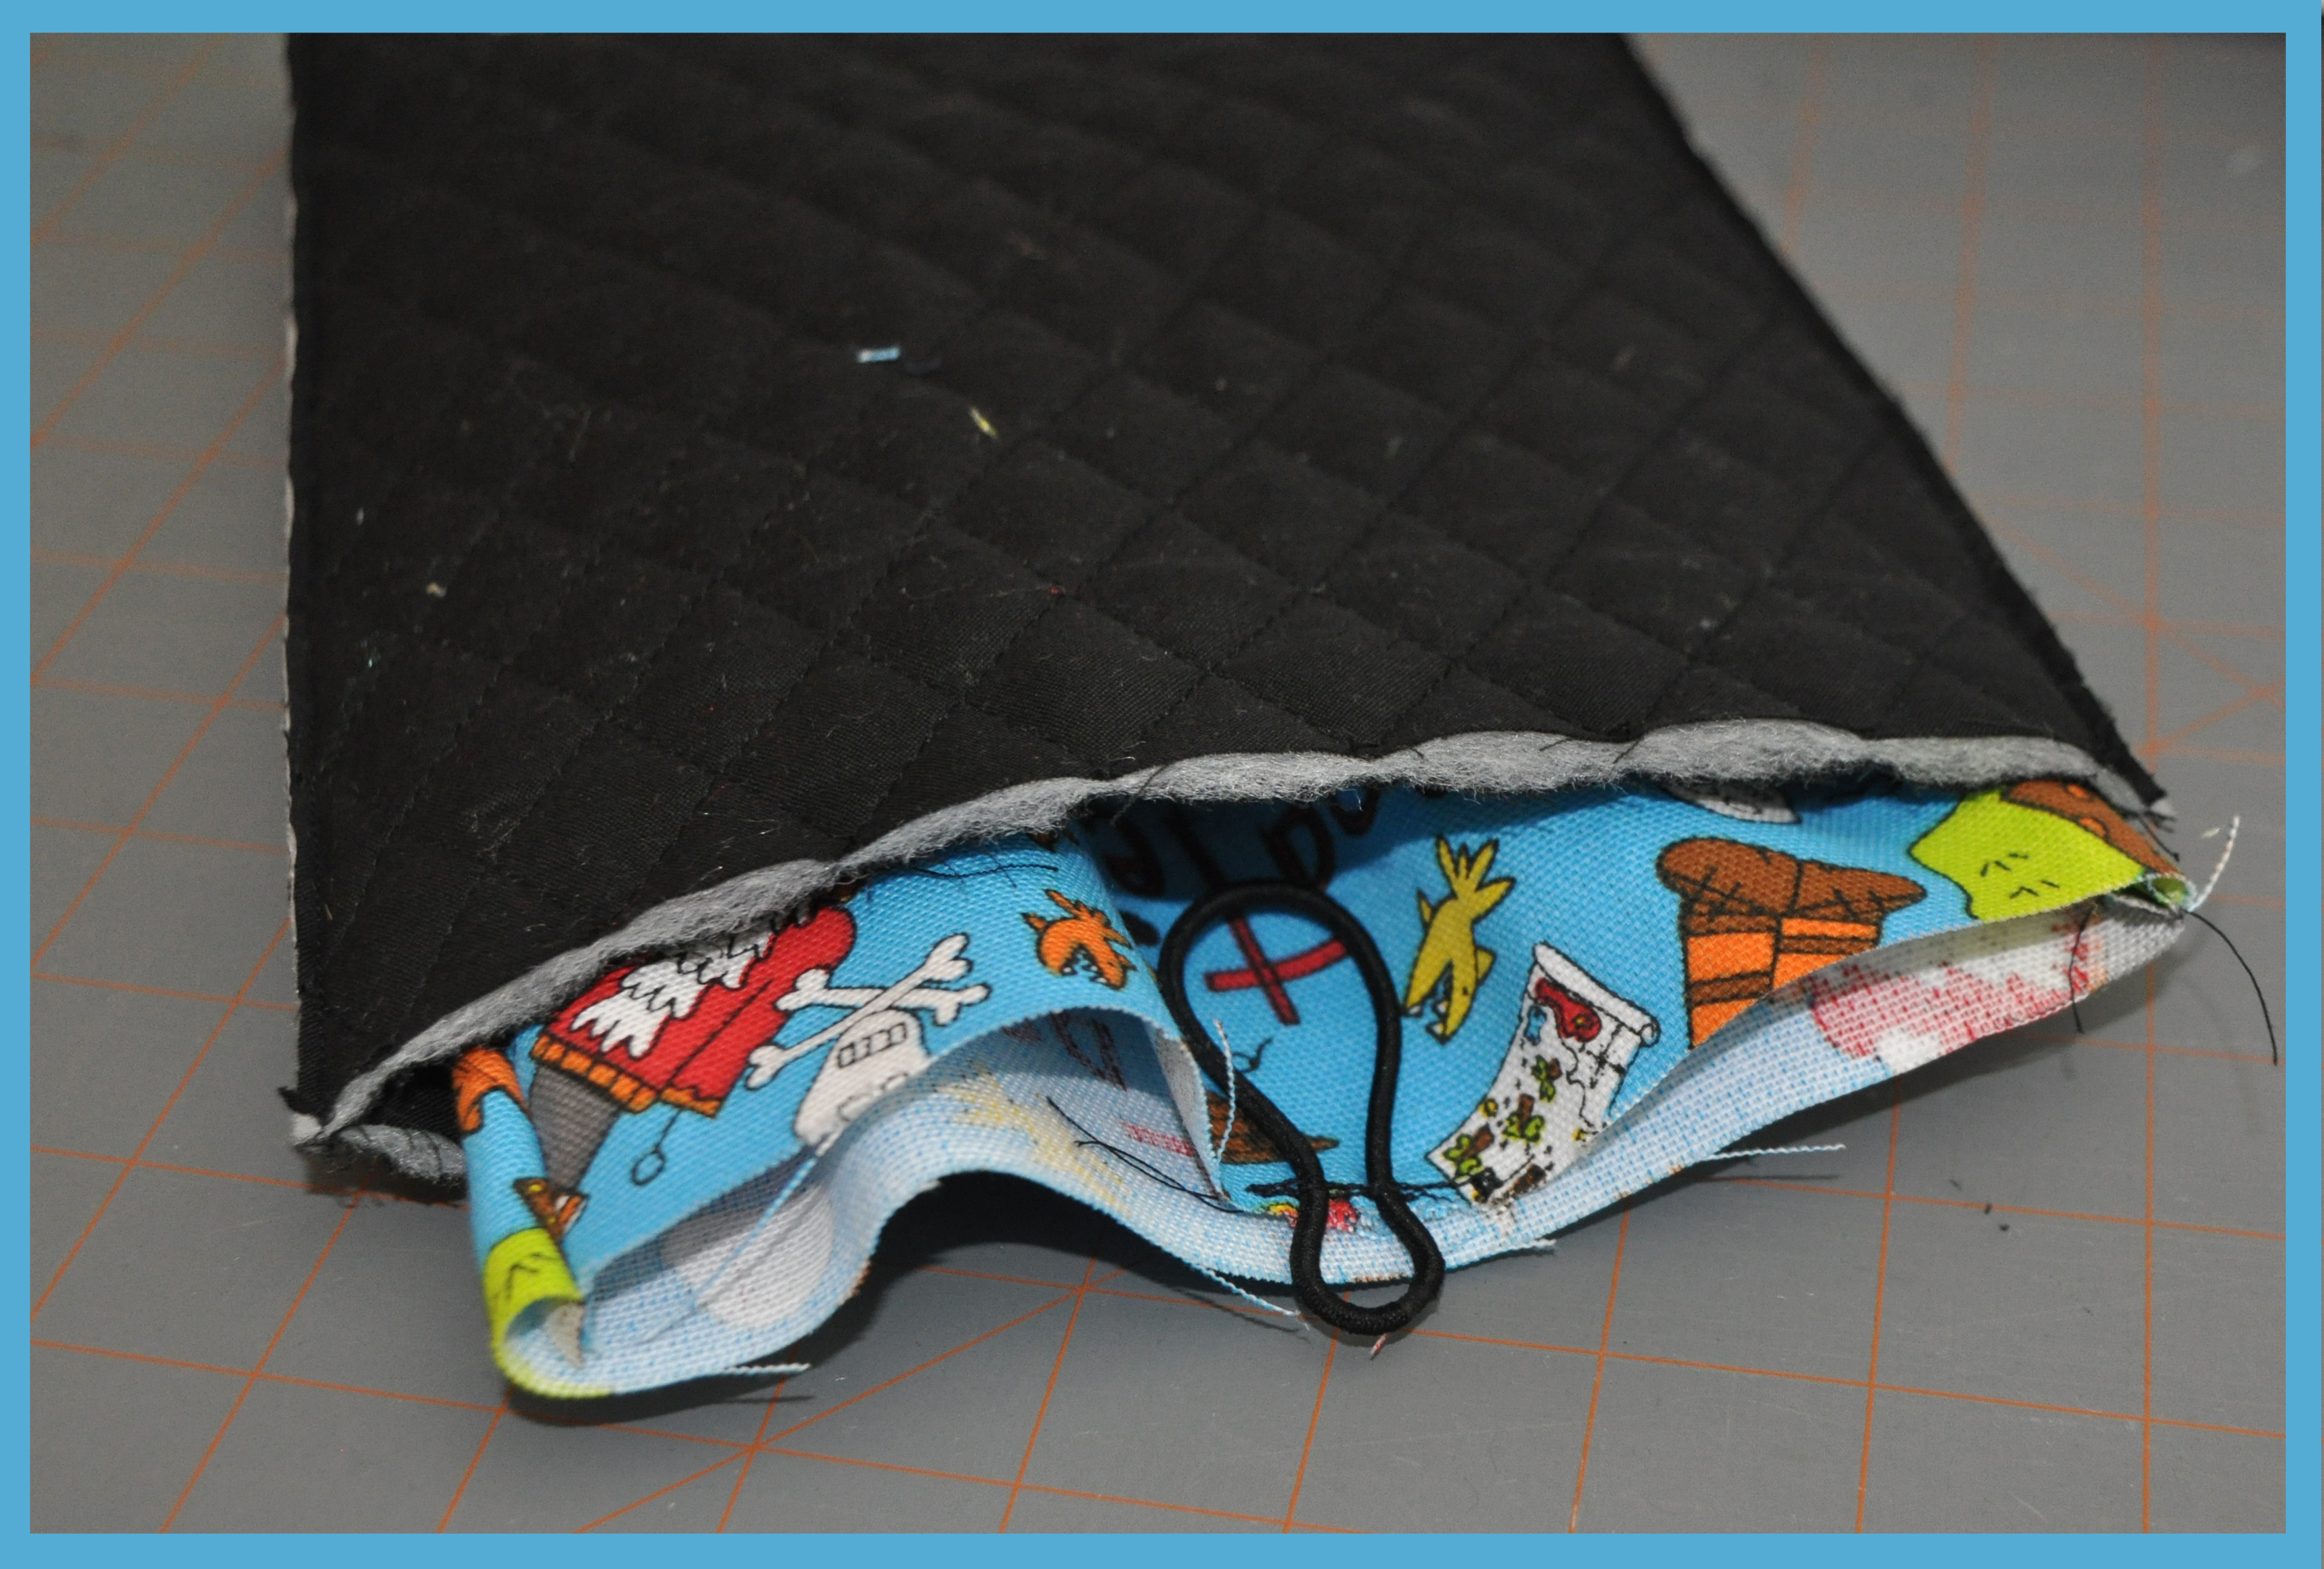
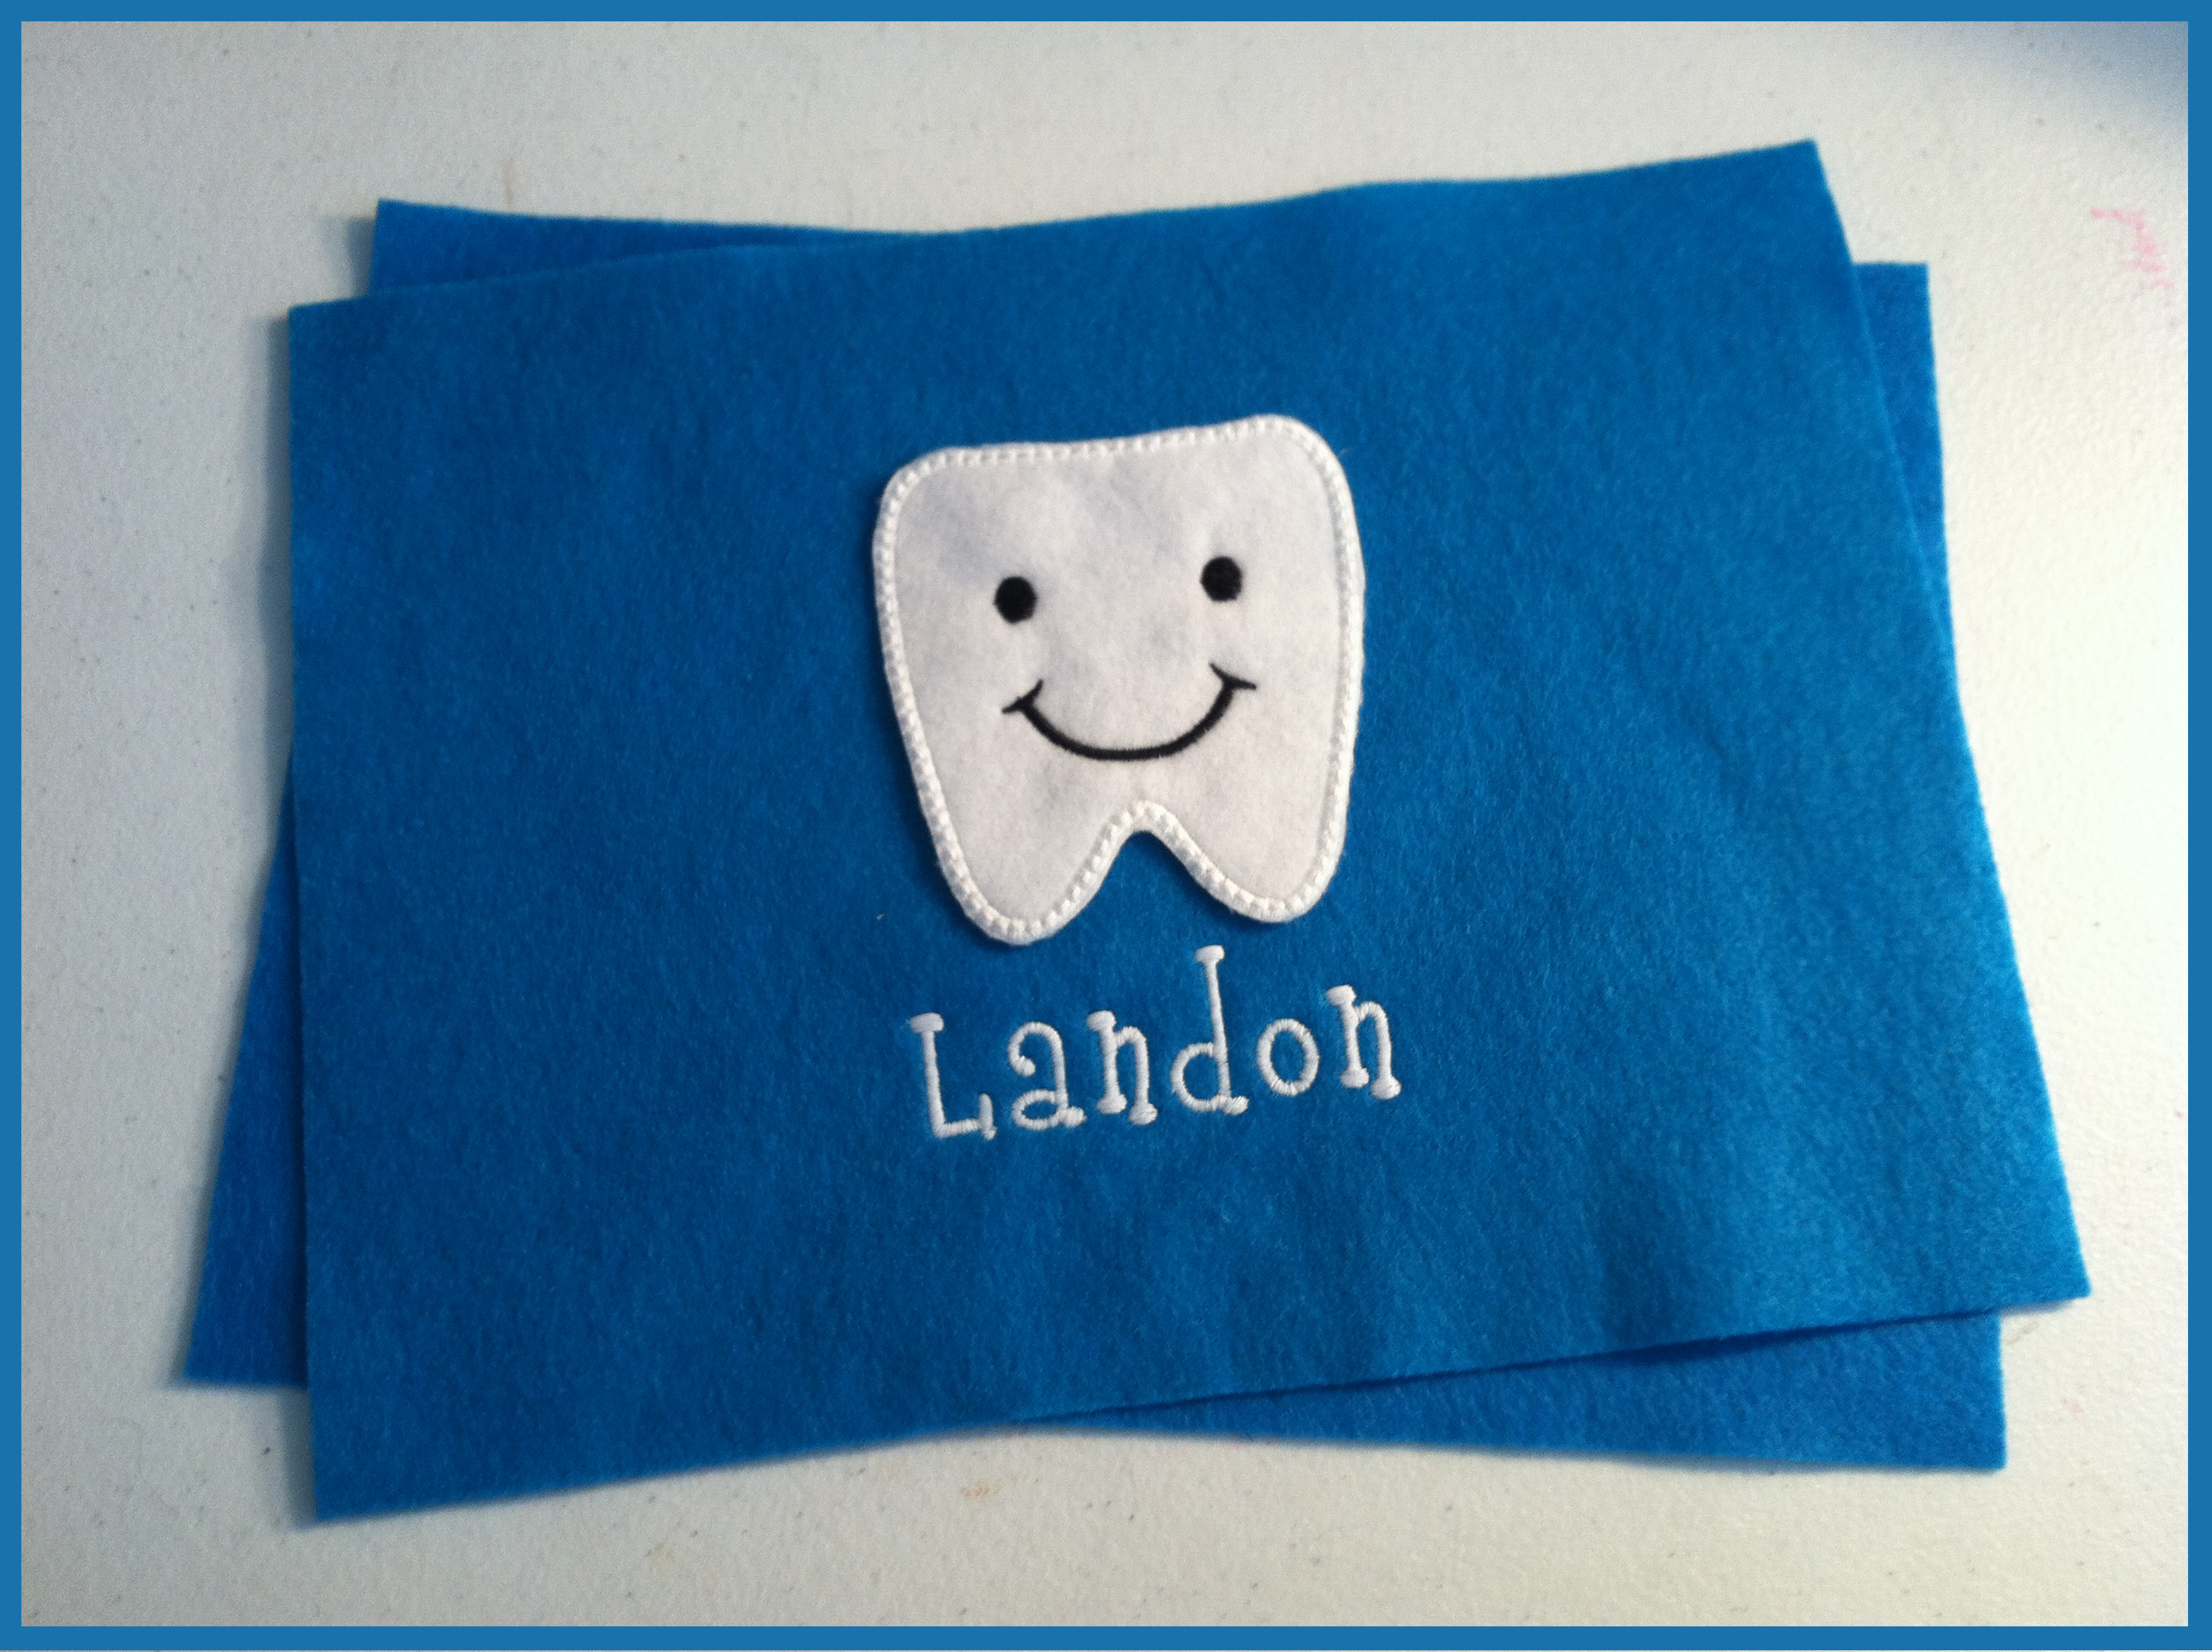
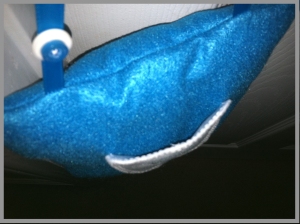
 Then, I sewed the edges together leaving about a 2 inch opening on the side, so that I could flip it right side out and stuff it.
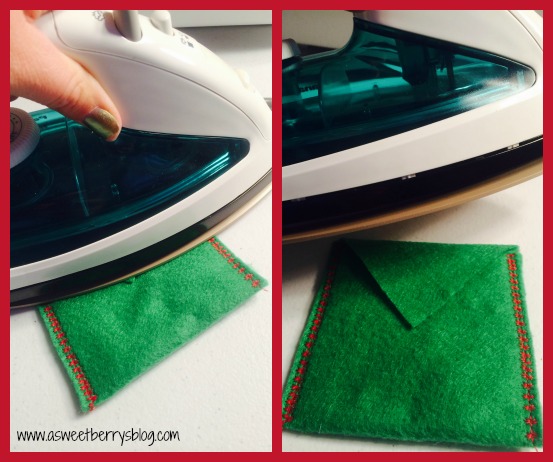
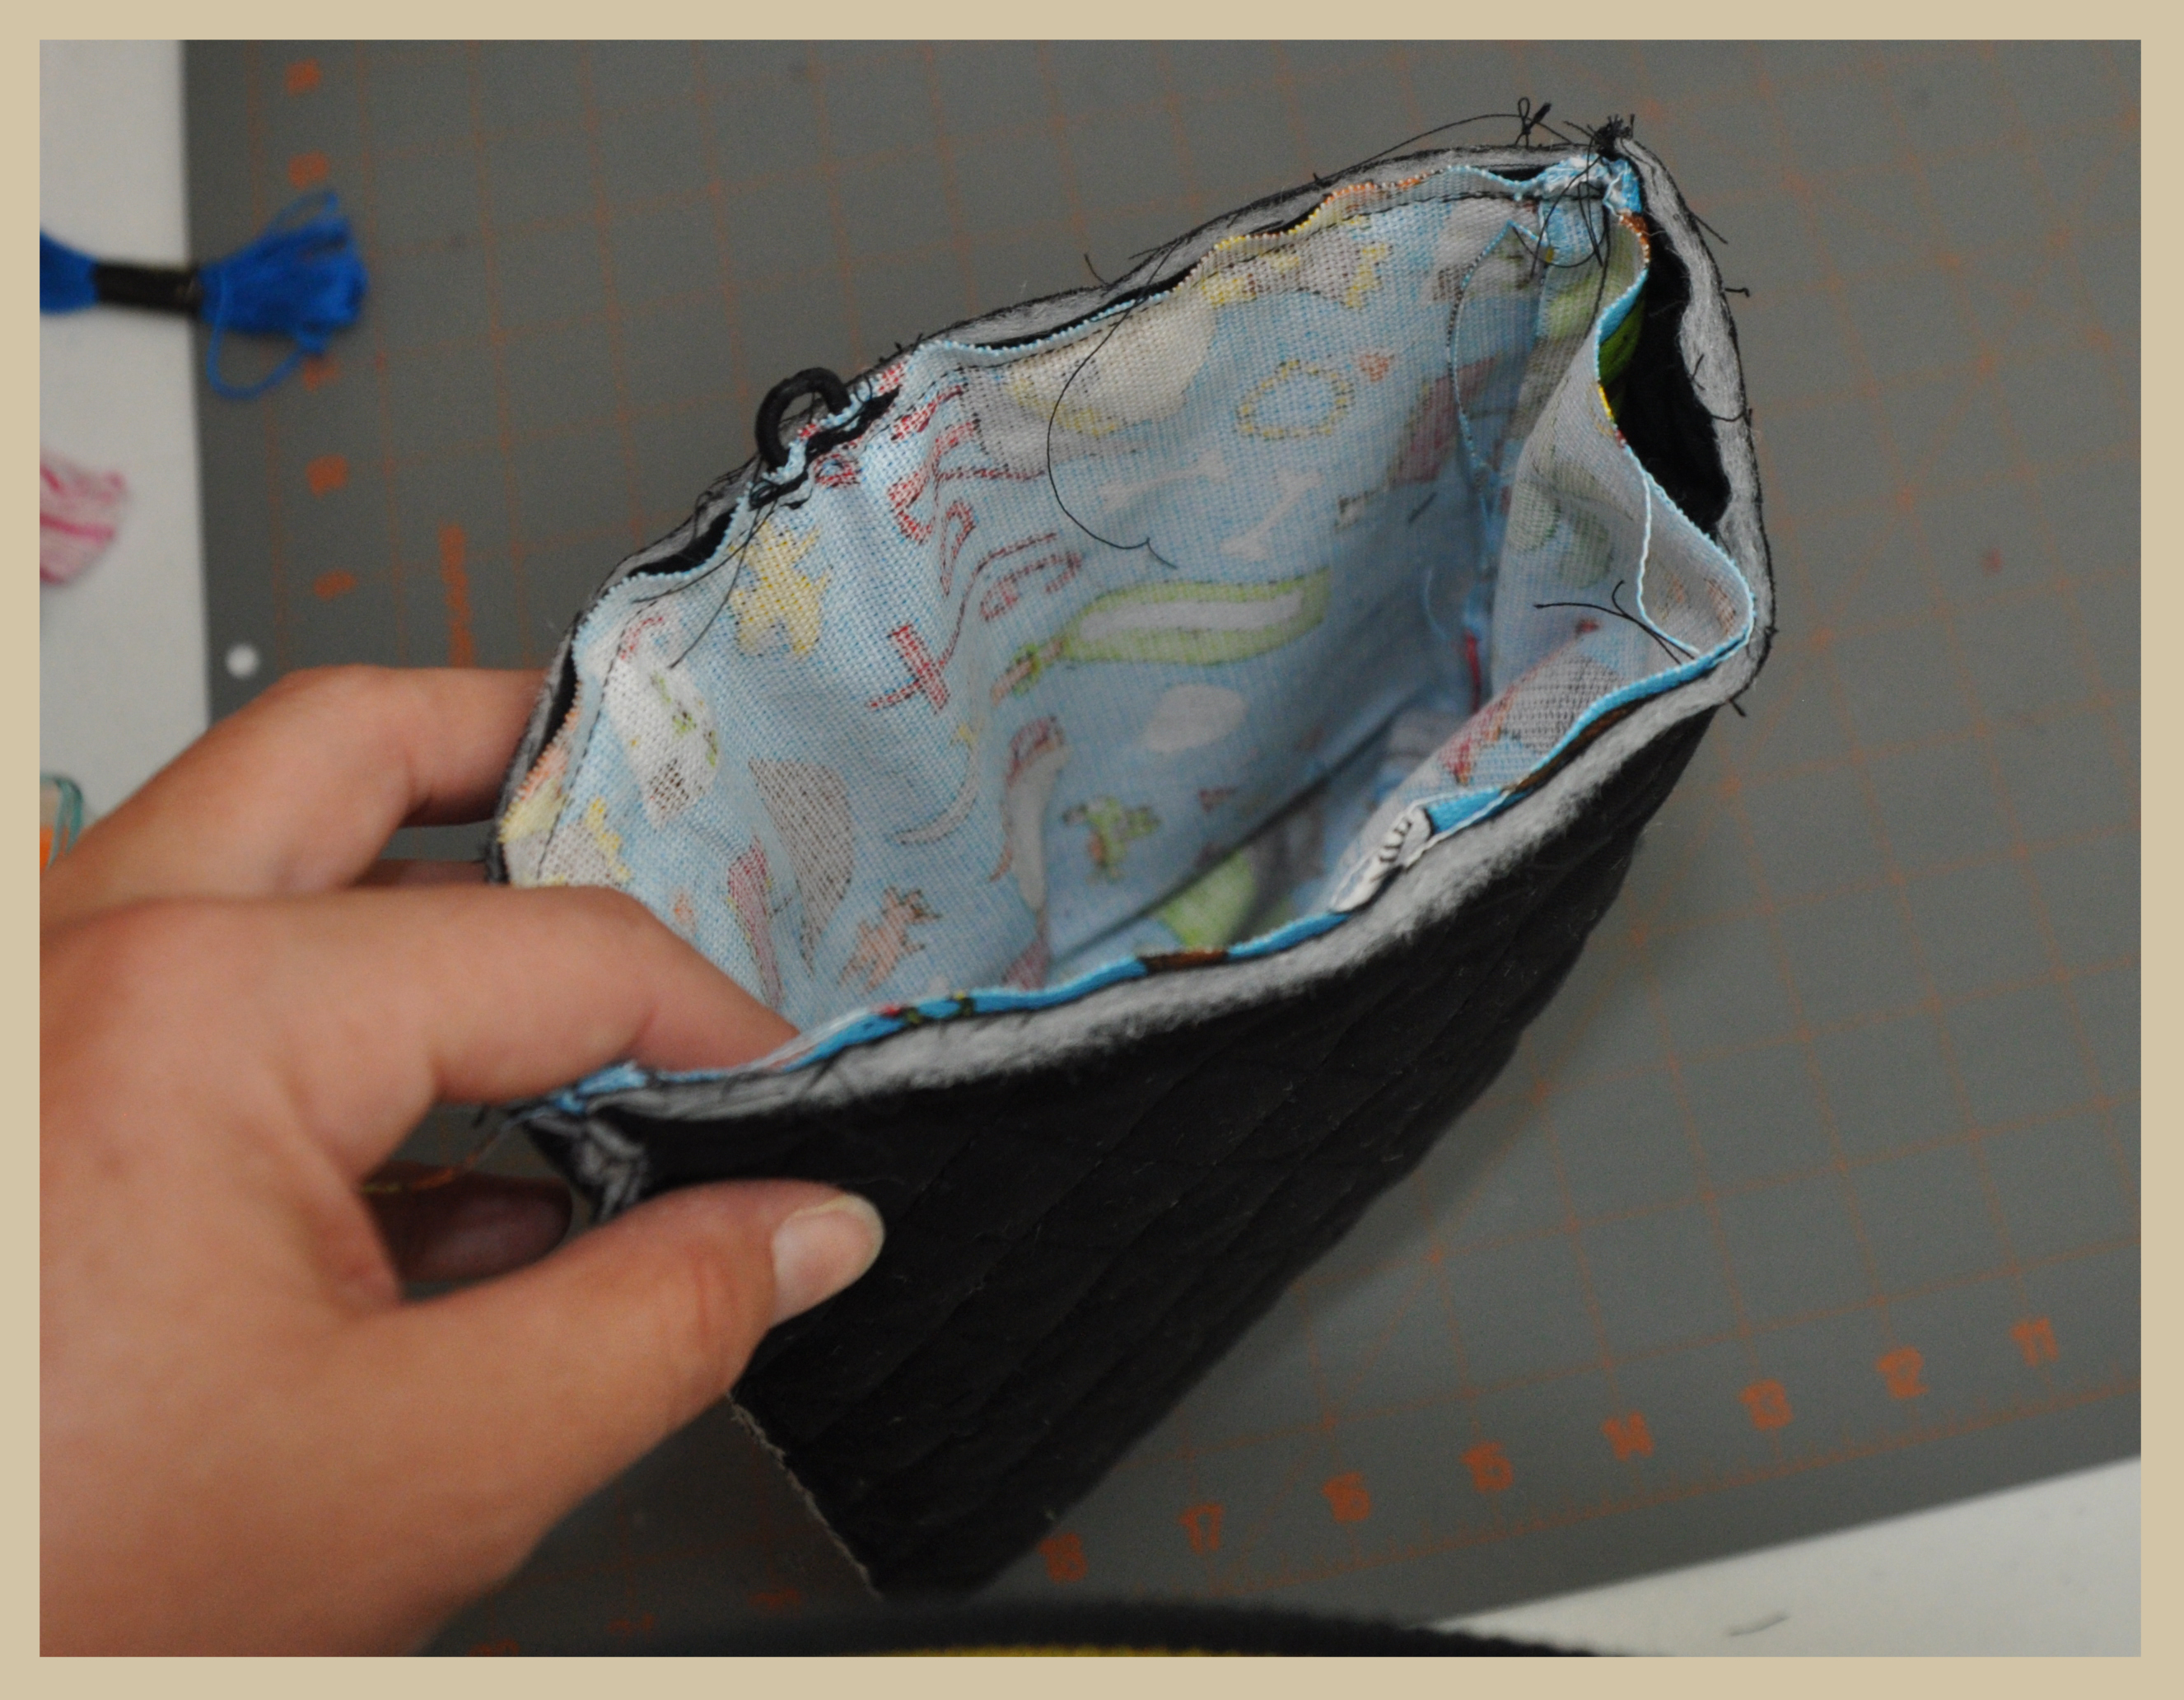
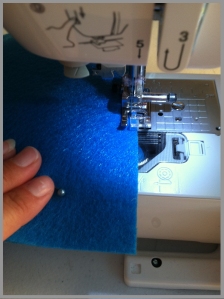 Once it was flipped right side out, it was ready for some stuffing!
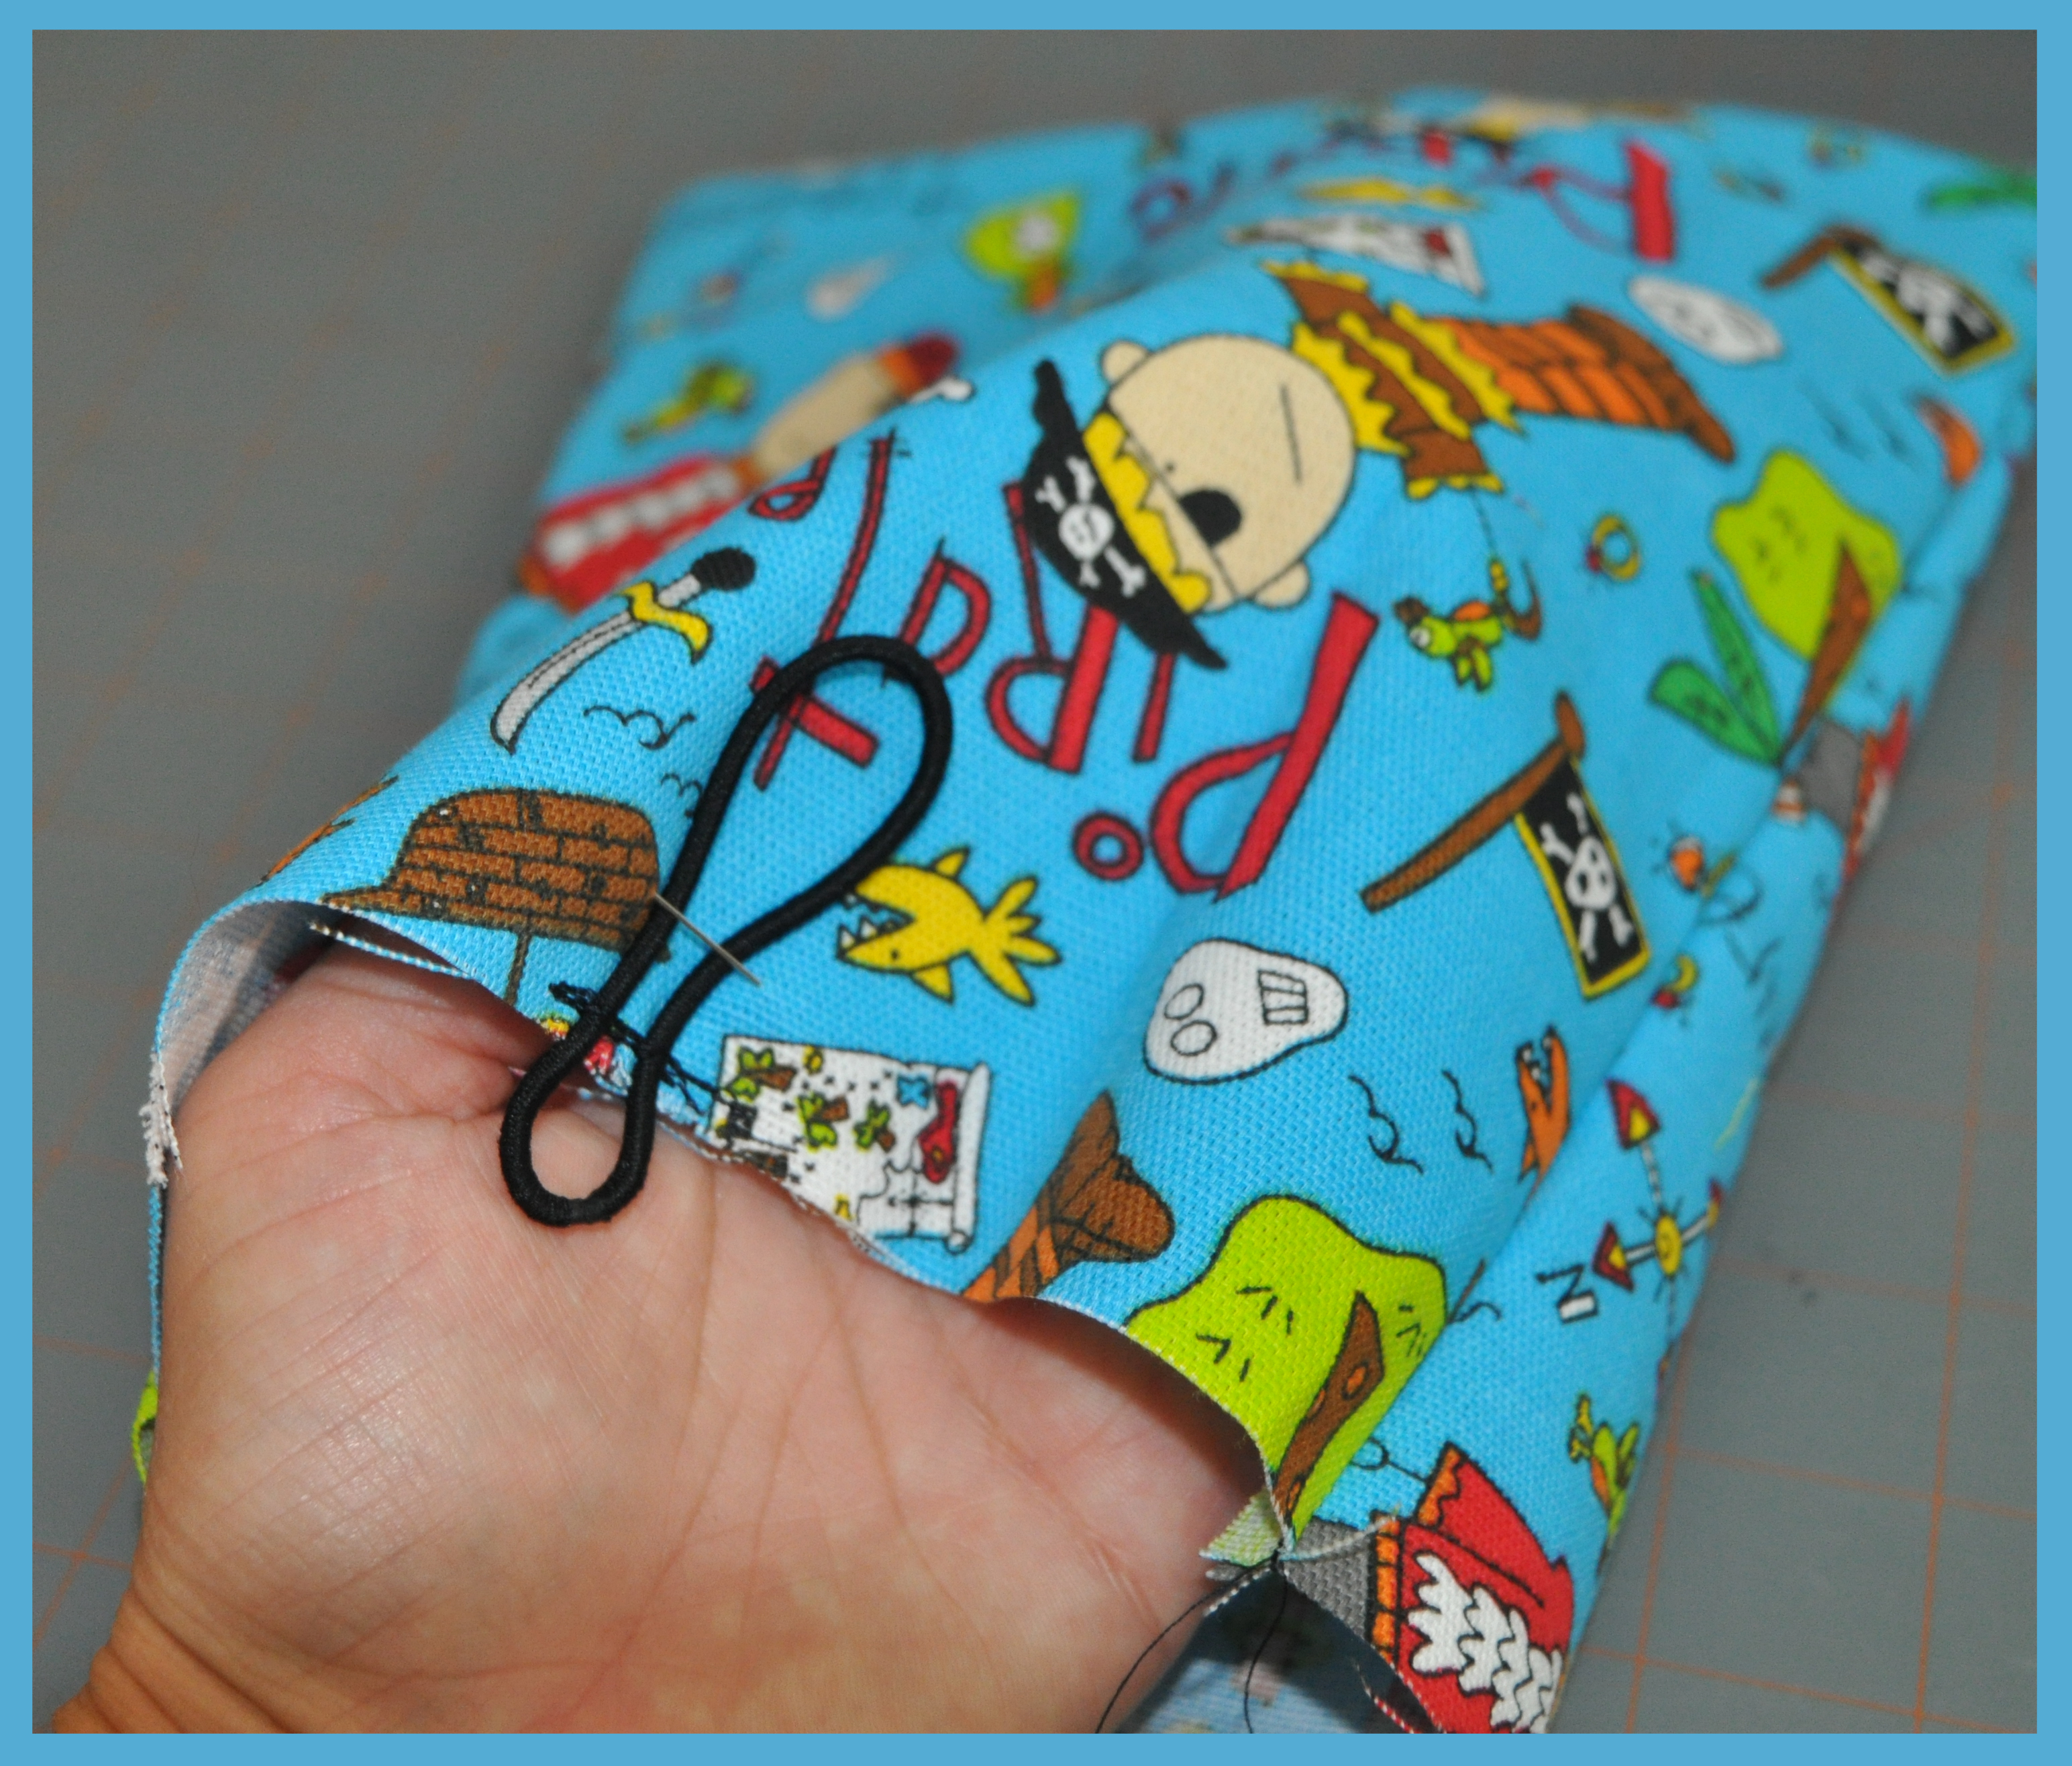
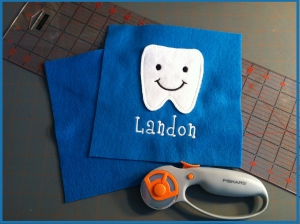
 I used Poly-fil, which you can get from any fabric store, even Wal-mart carries it.
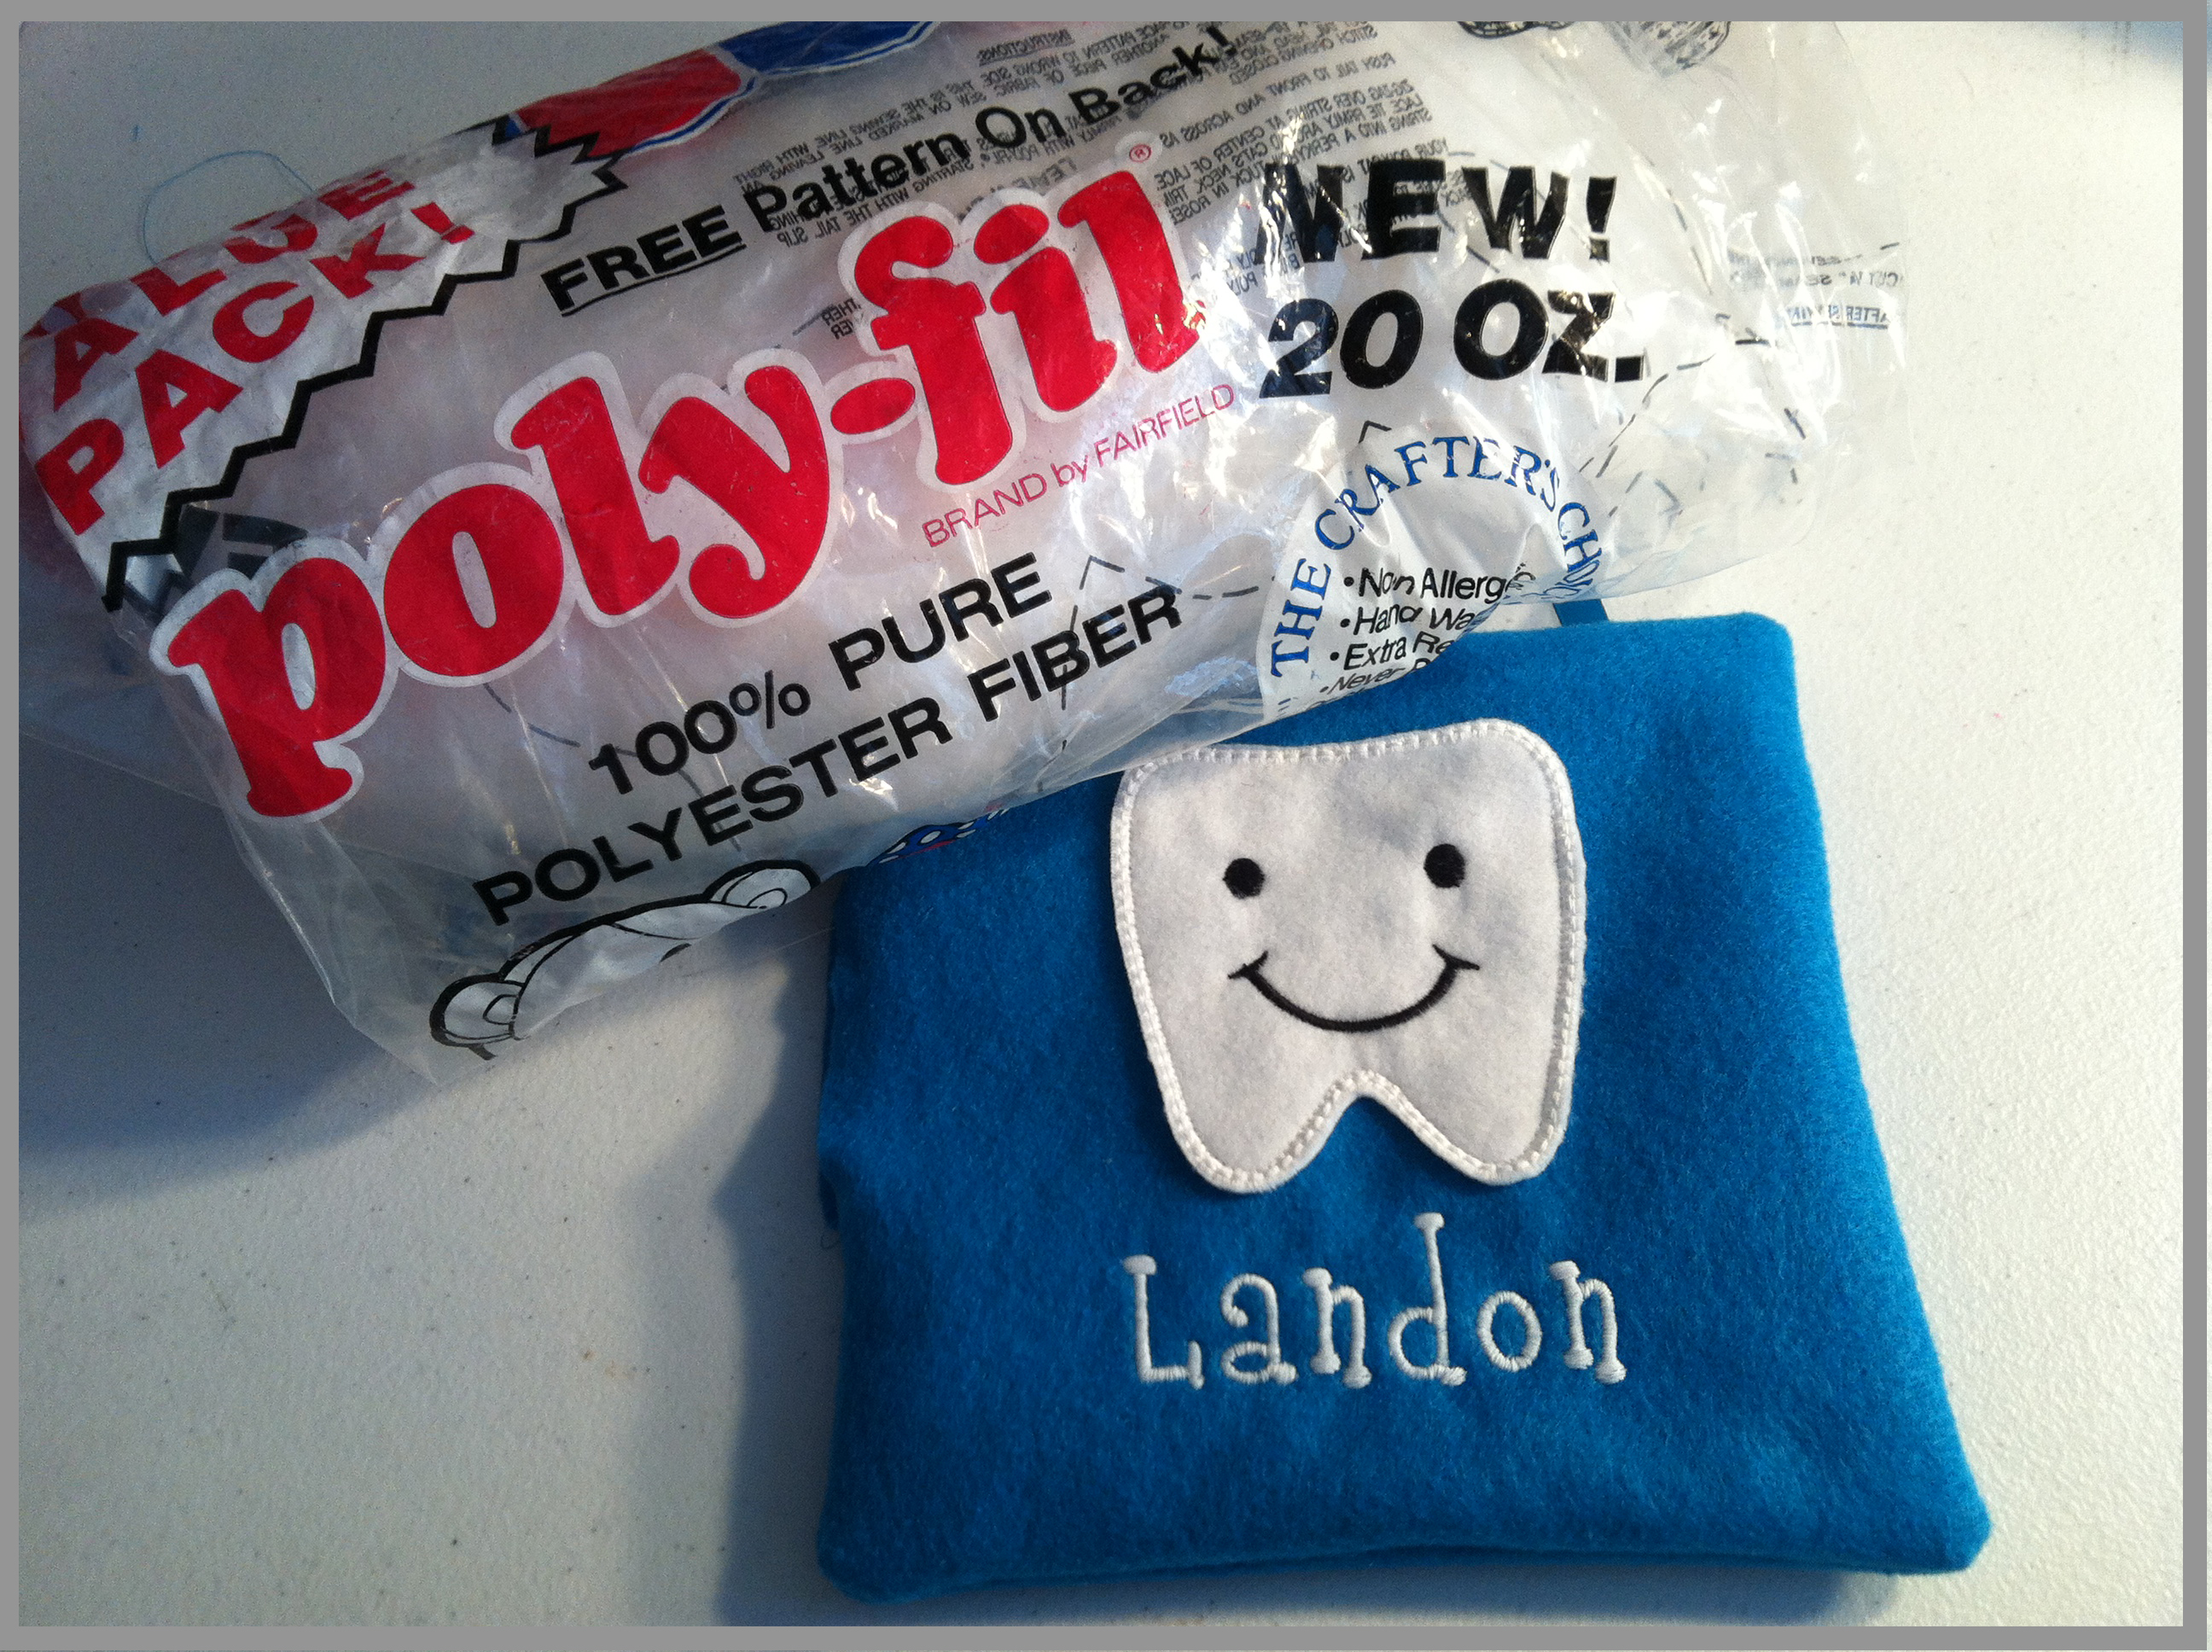
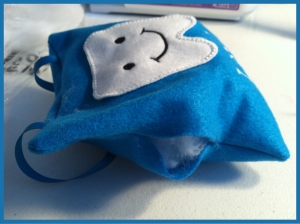
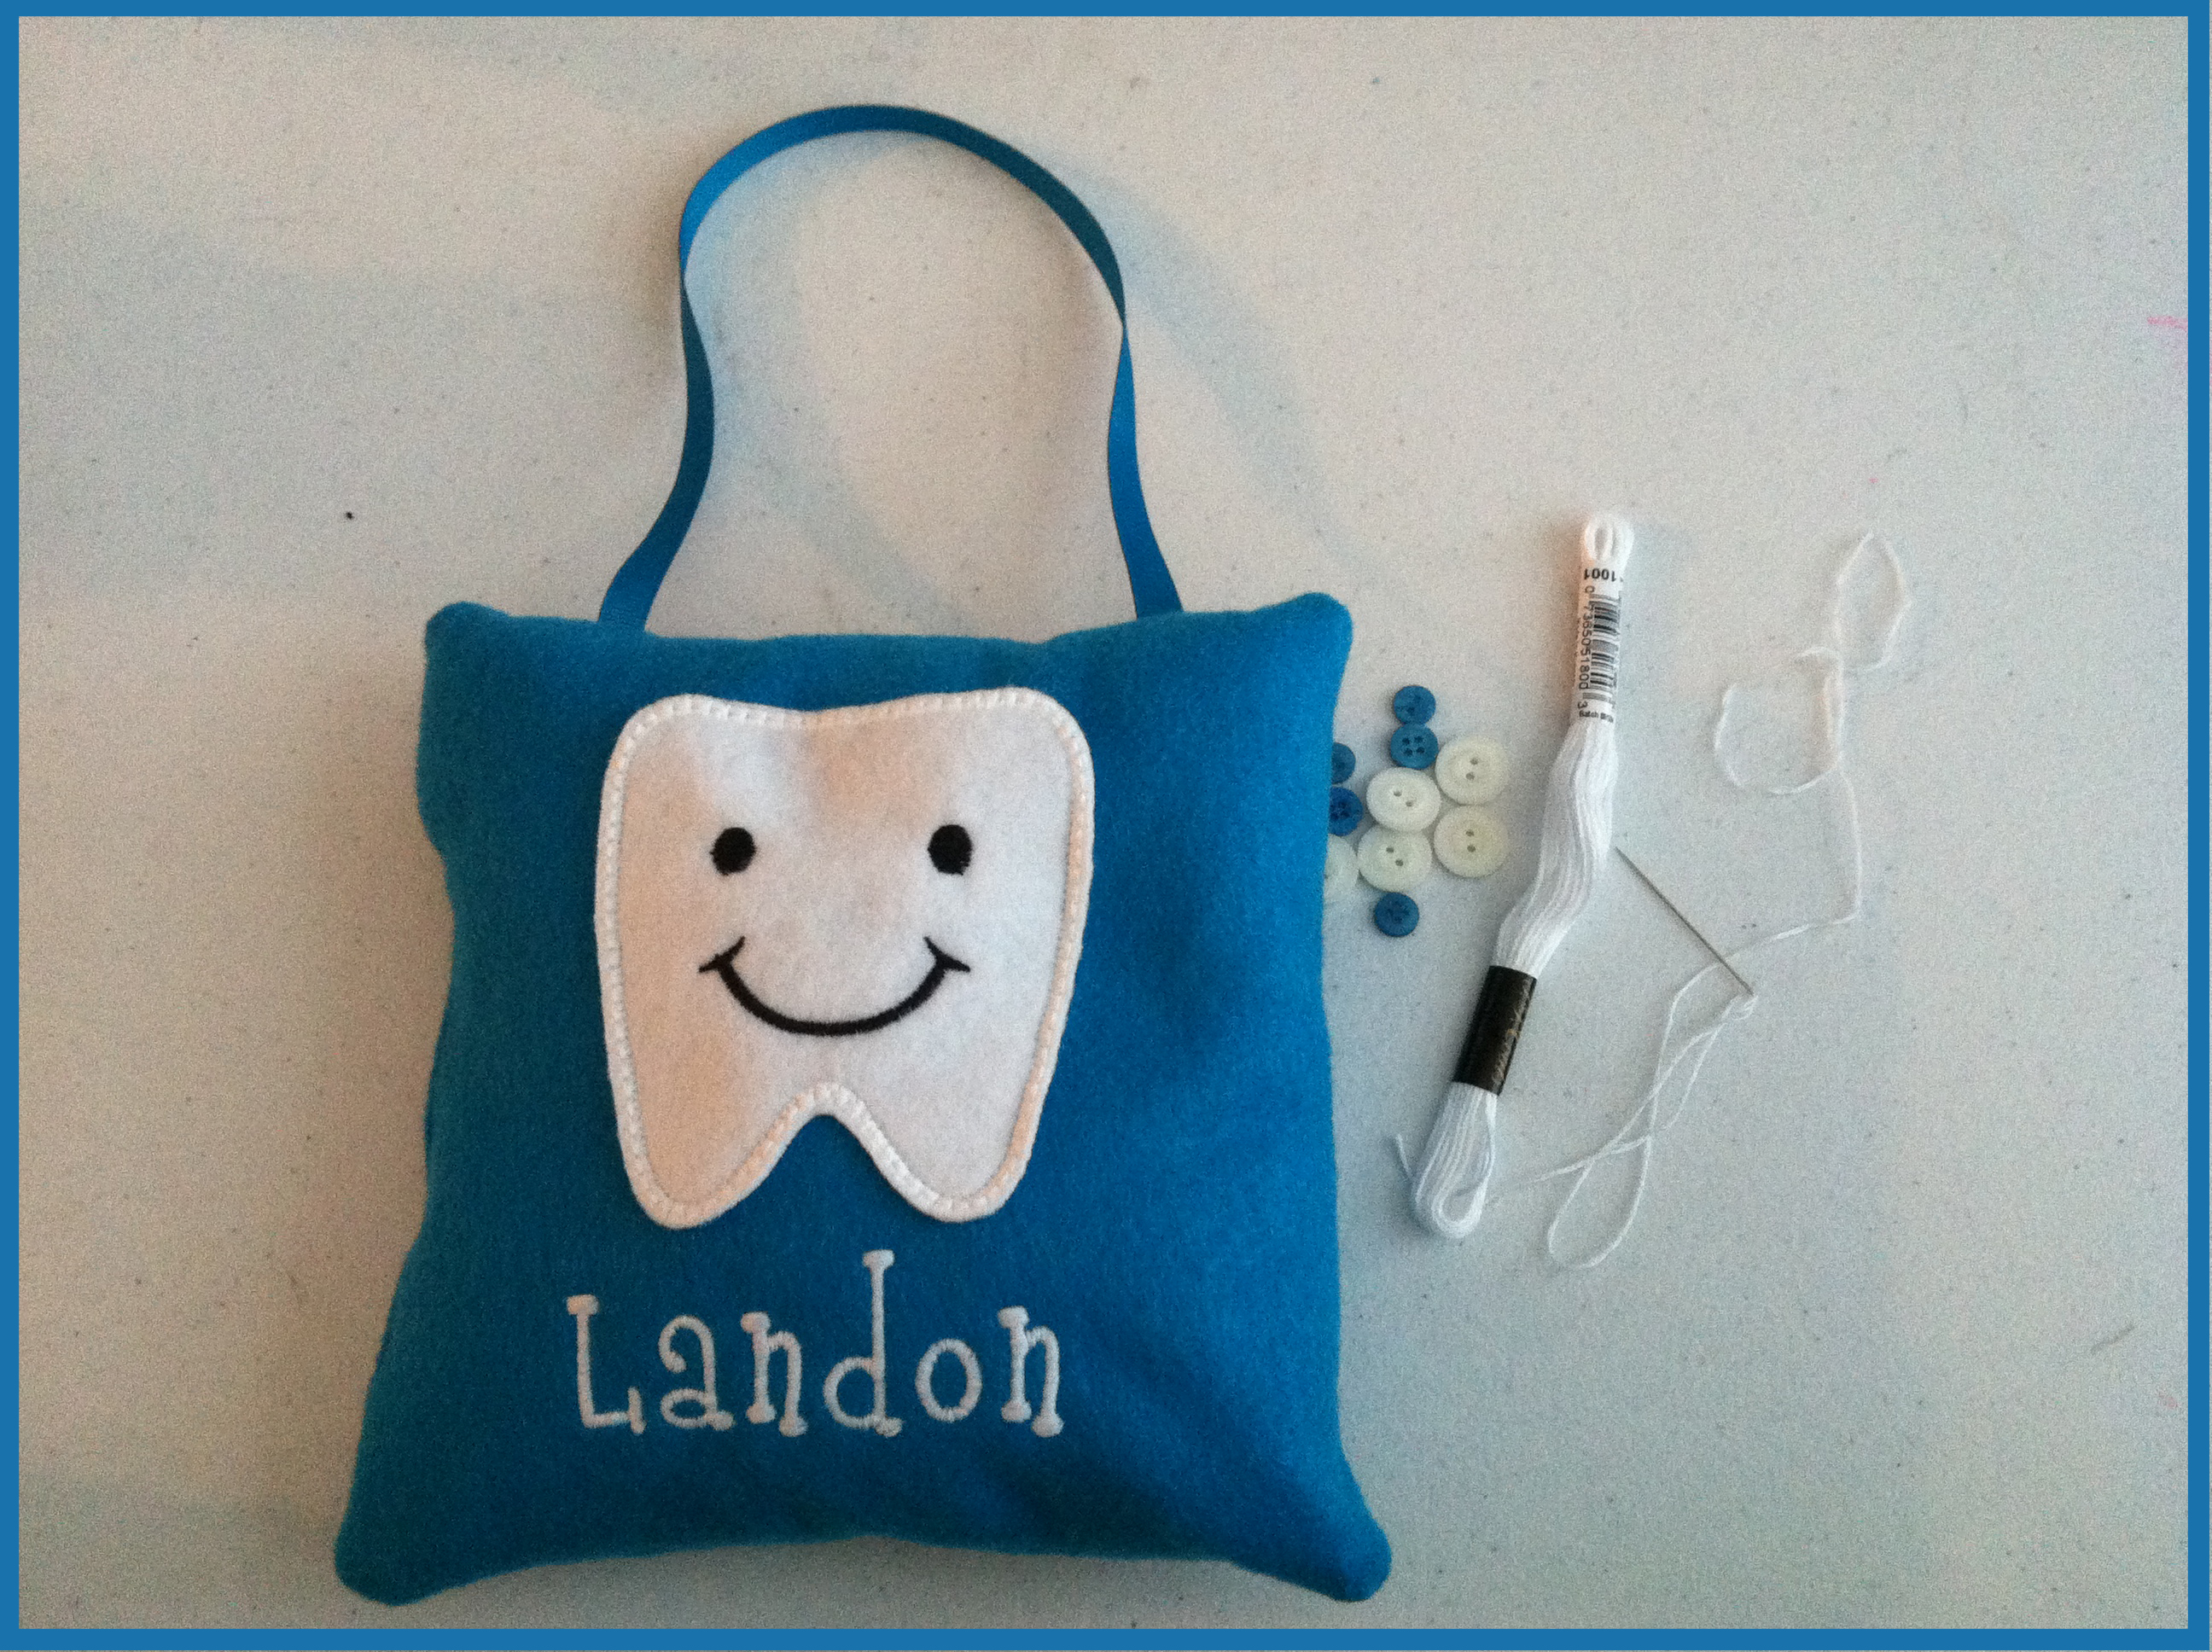

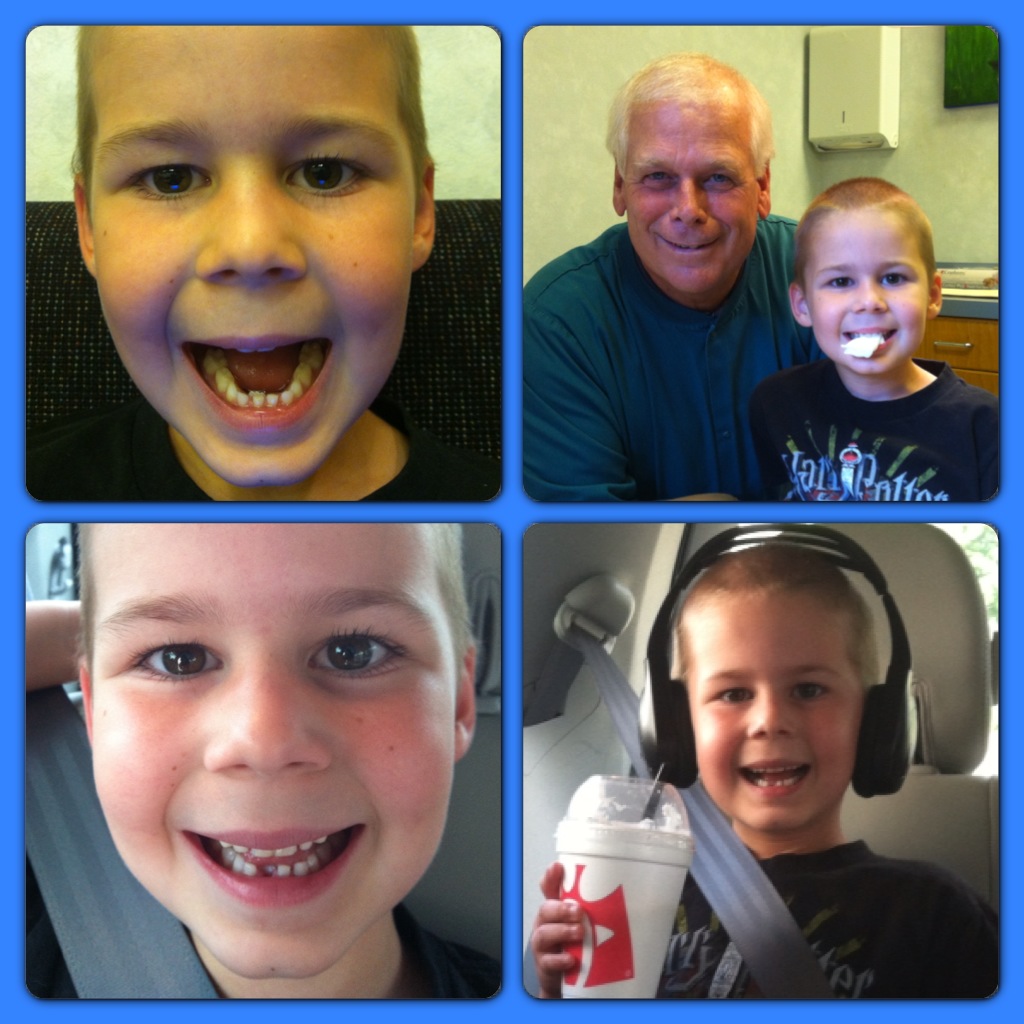
 In went the tooth in a little baggie that the dentist put it in.
)