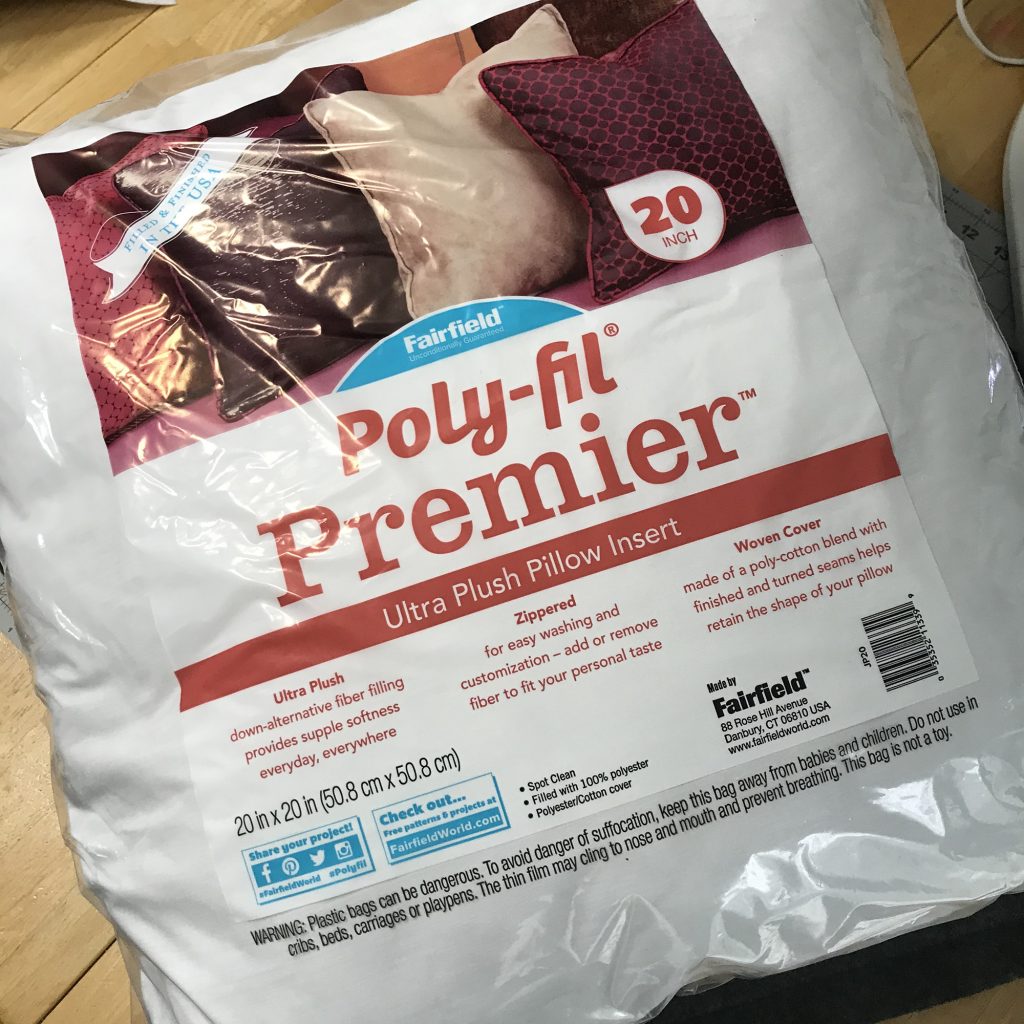
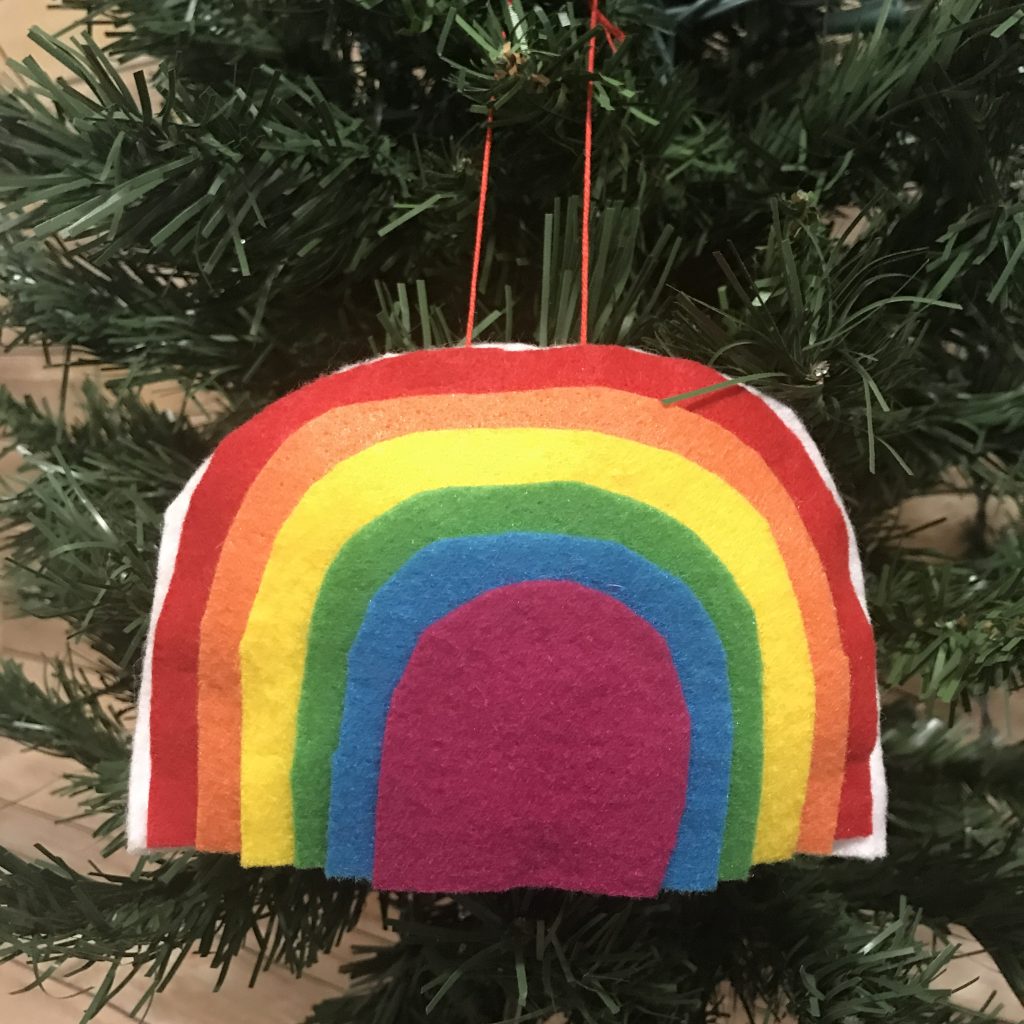
Fairfield World is celebrating their 80th birthday, so I’m celebrating with them by making a felt rainbow ornament filled with Fairfield Poly-fil Fiber Fill! I absolutely love Fairfield World products and I have been using the fiber fill forever!
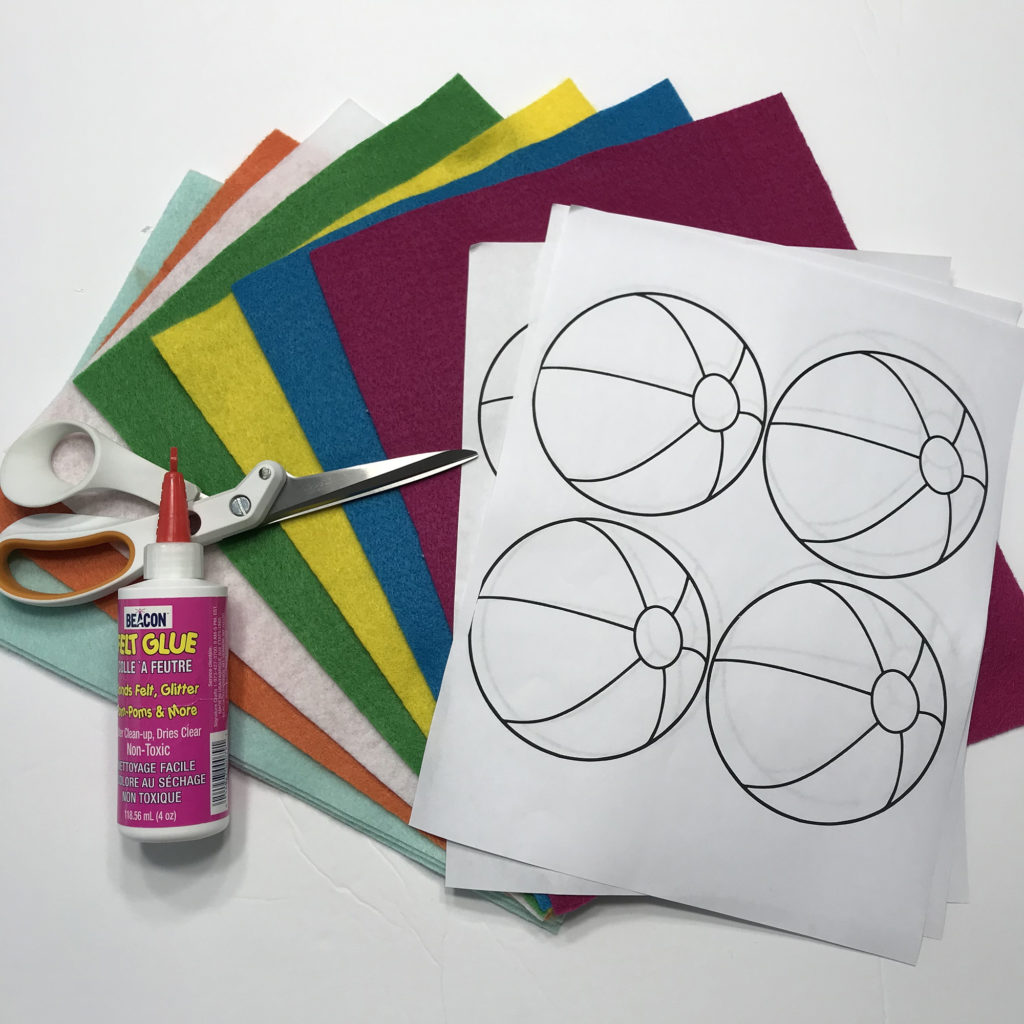
Materials used:
- Fairfield World Poly-fil Fiber Fill
- Kunin Felt Classic Felt 9″x12″ craft cuts: (1) Red, (1) Orange, (1) Yellow, (1)Apple Green, (1) Peacock, (1) Fuchsia, (1) White
- Scissors
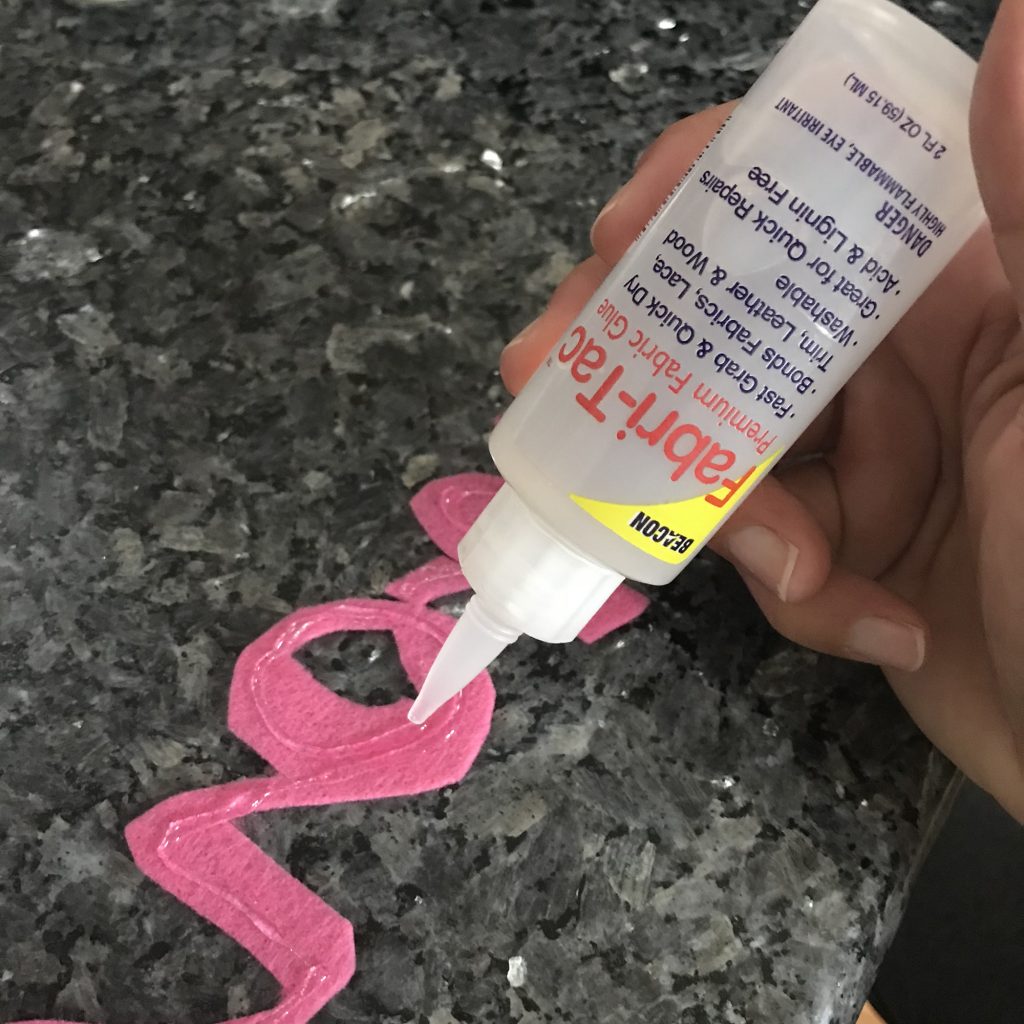
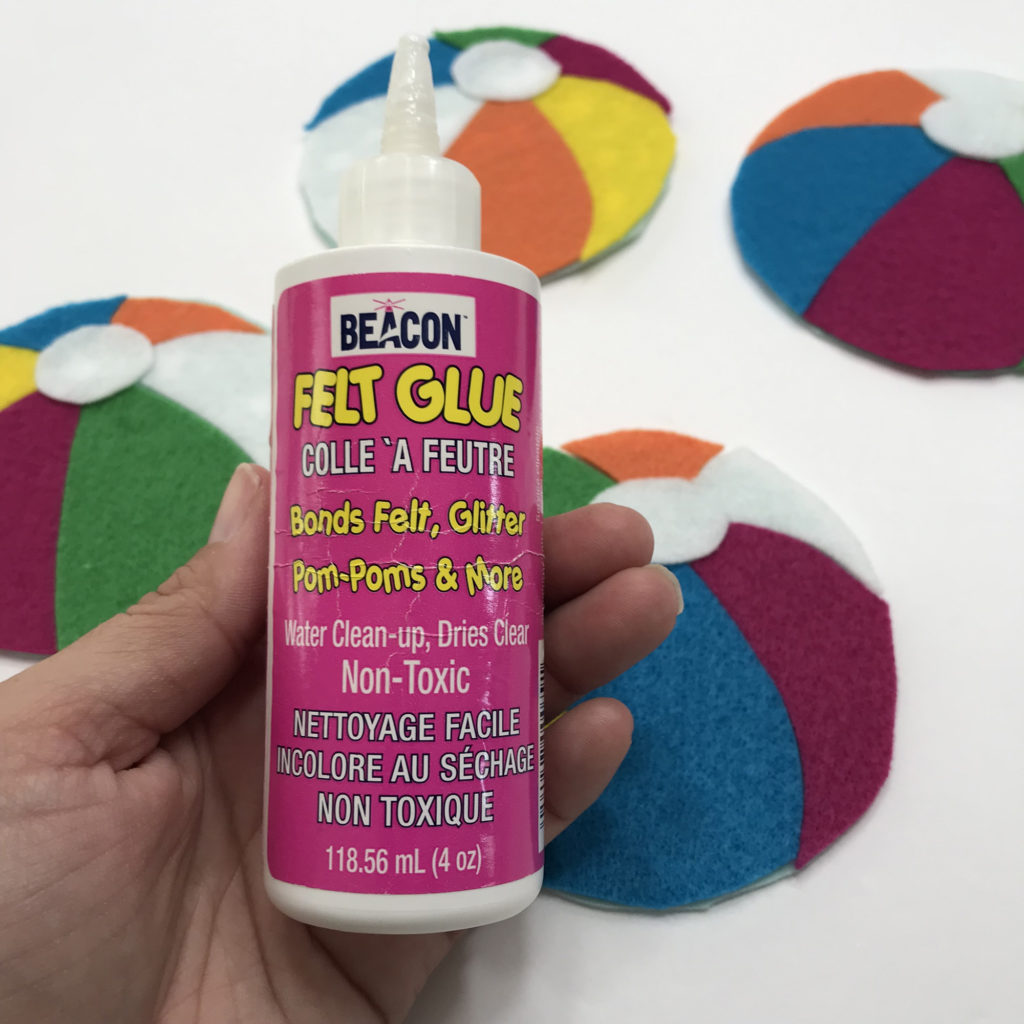
- Felt Glue (I use Beacon Felt Glue)
- Sewing Machine
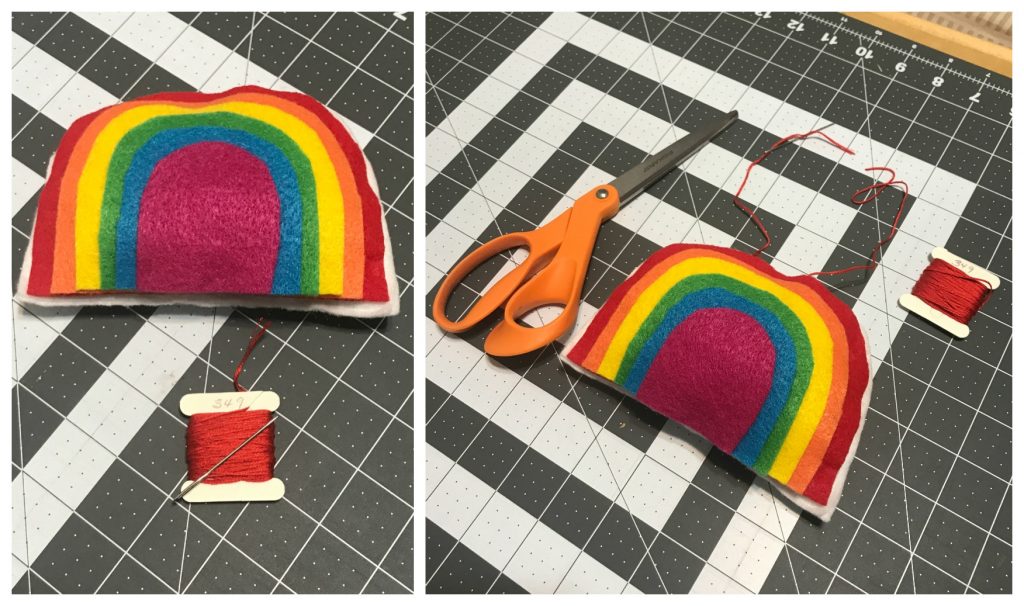
- Embroidery Floss
- Needle
How I made it:
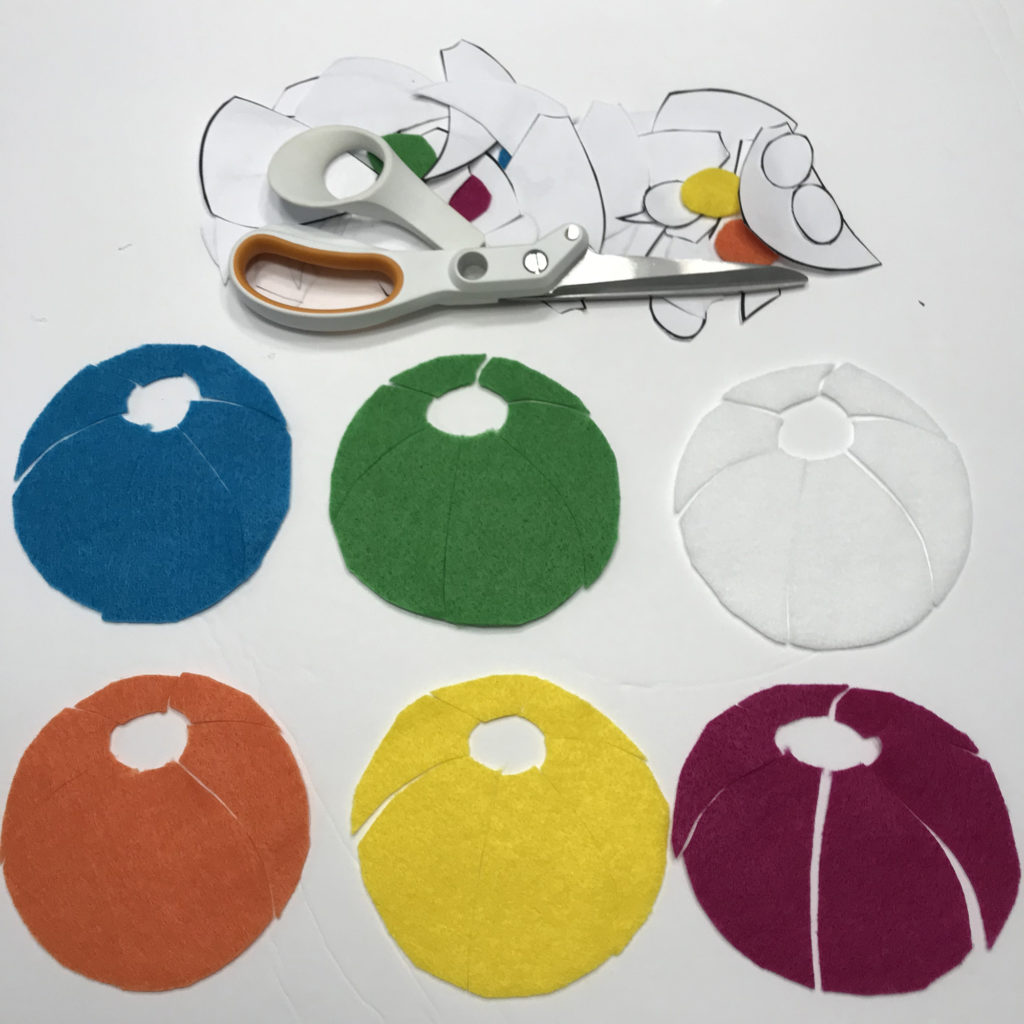
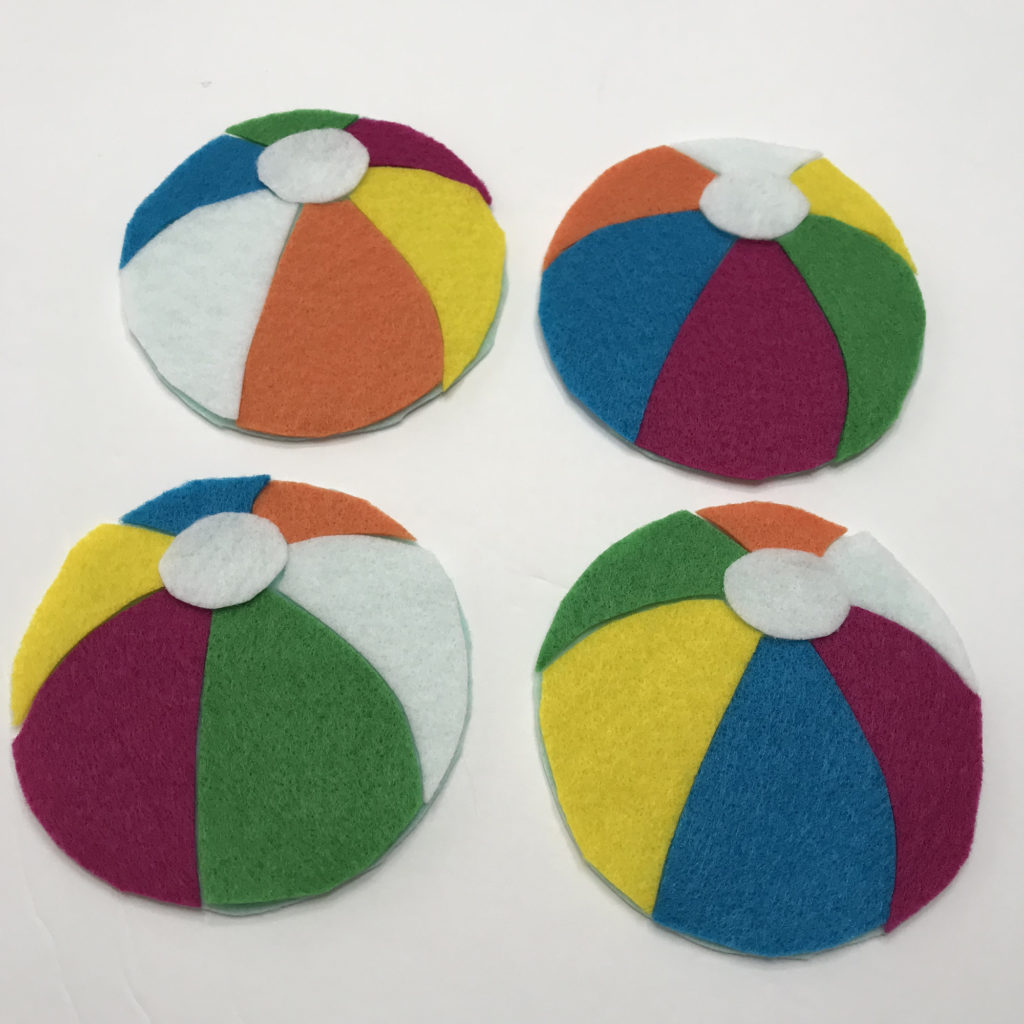
I began by cutting my red felt into to half circles at a length of 5.5 inches. I then cut the orange, yellow, green, blue and fuchsia into the same size half circles using the red one as a pattern.
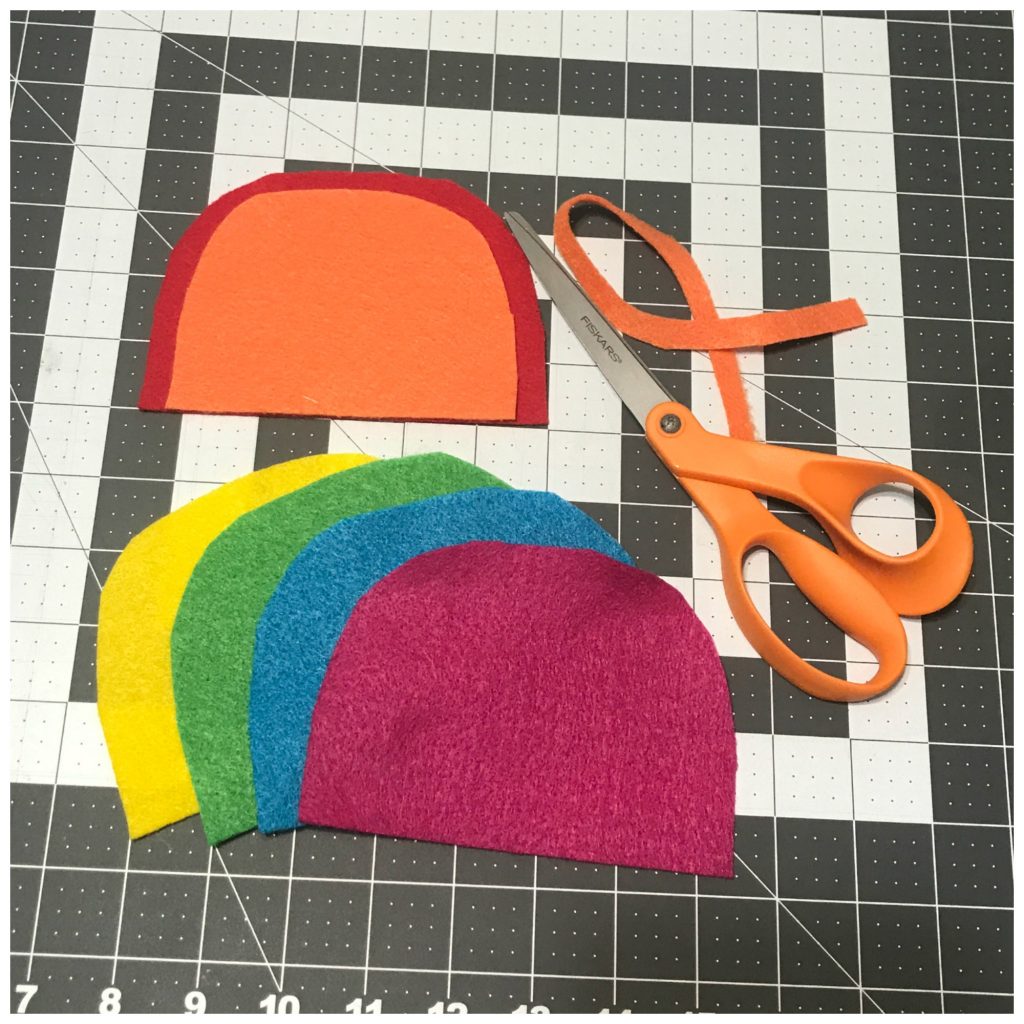
Then I arranged them in the order of the rainbow and then cut each one a little smaller, creating a rainbow look. Then I cut two white half circles at six inches, slightly larger than the red one.
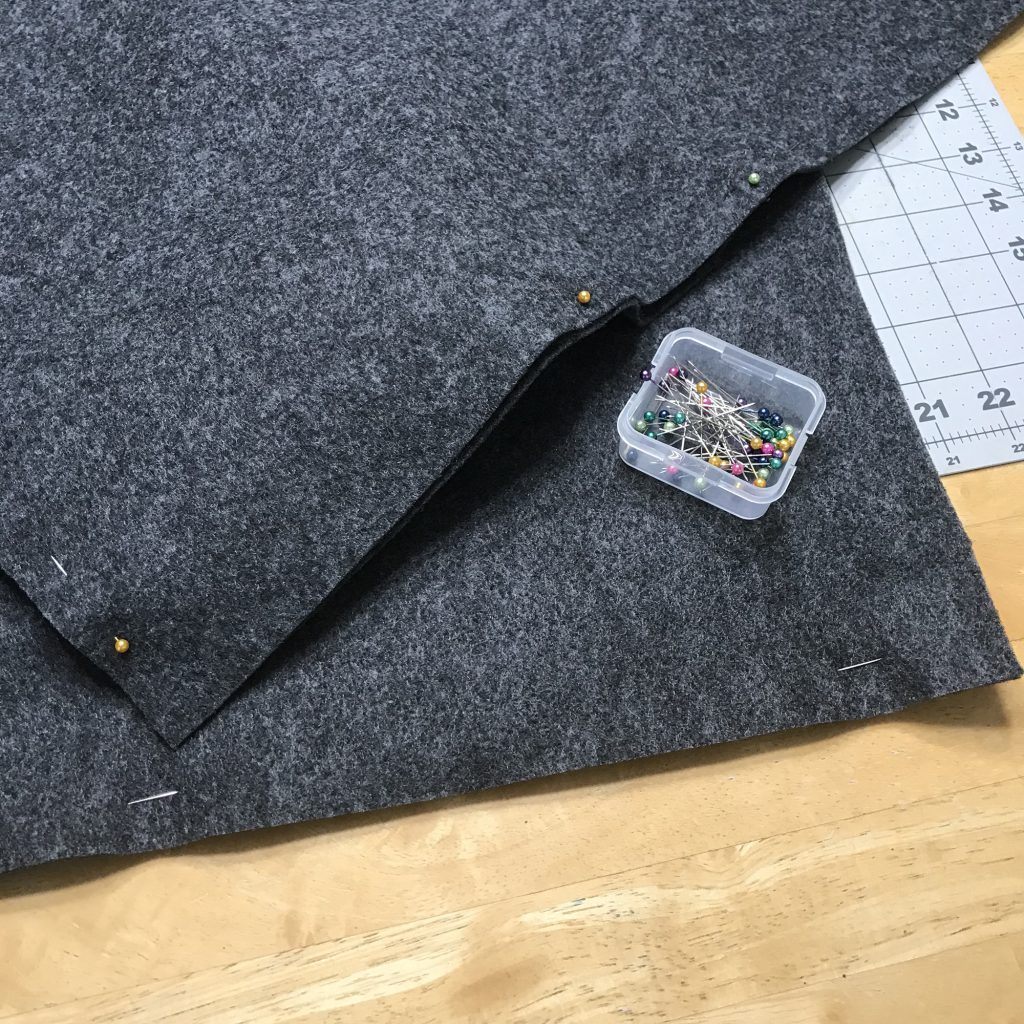
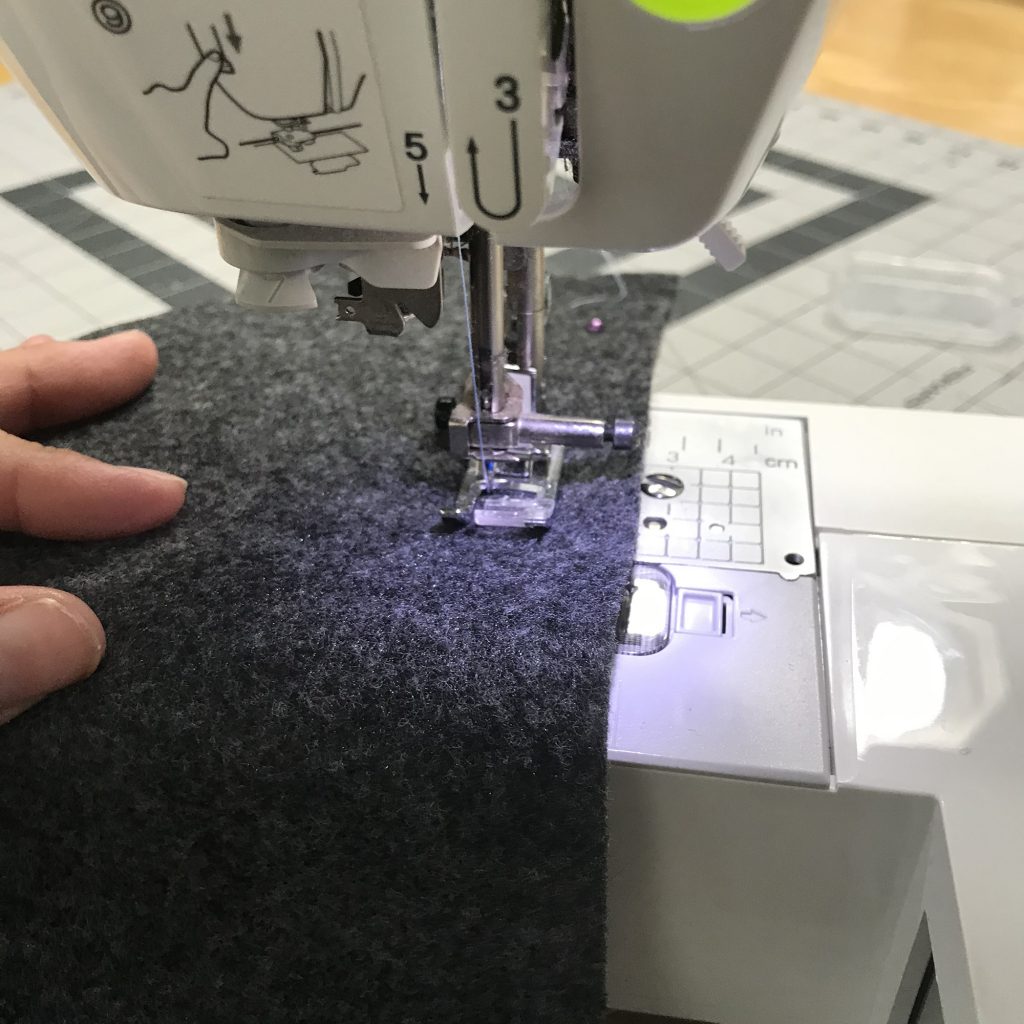
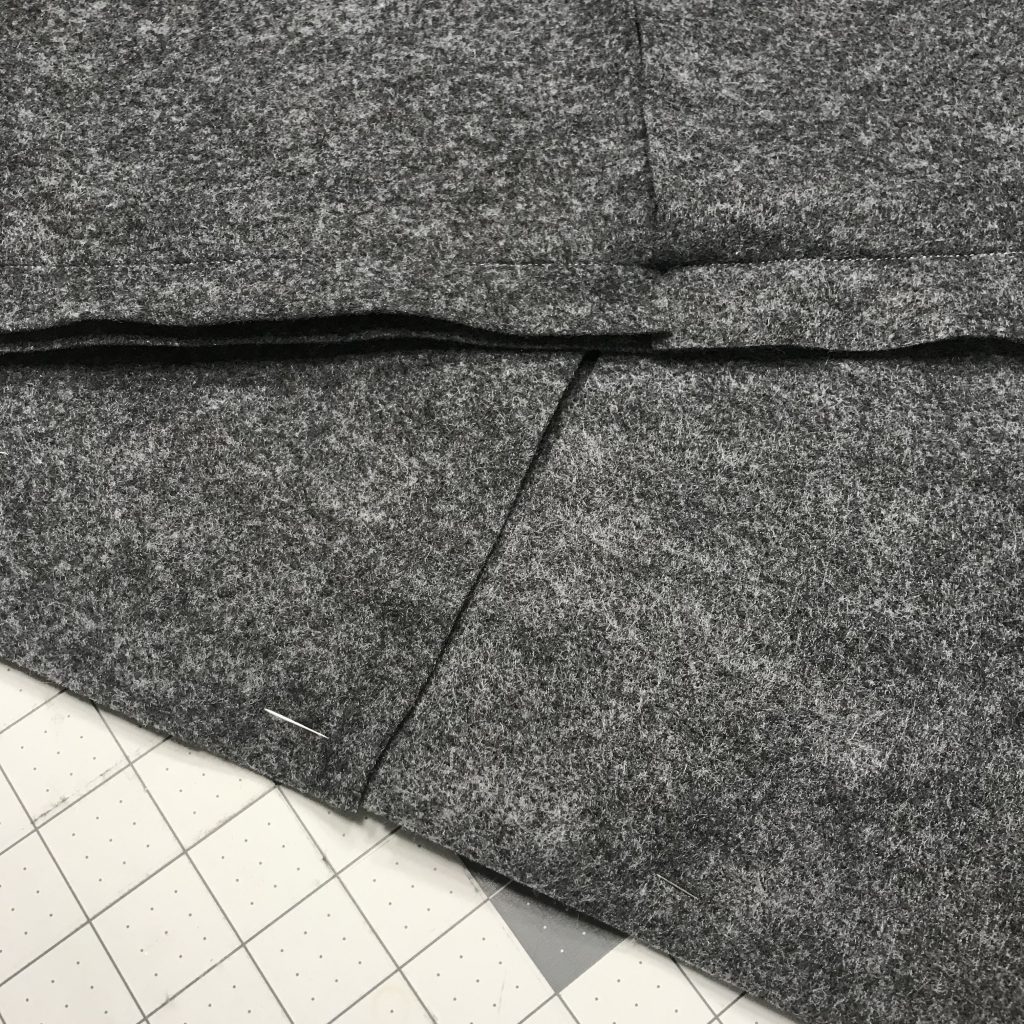
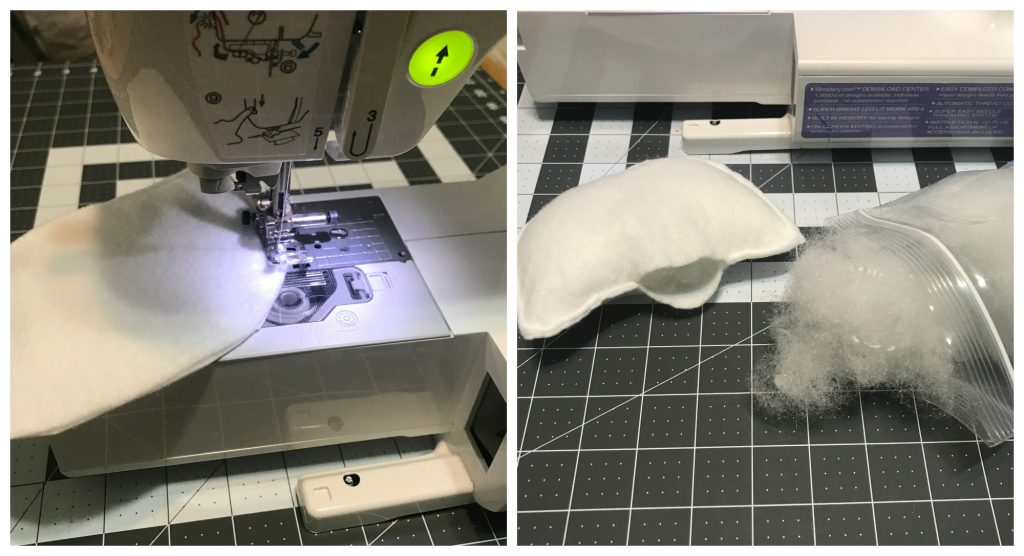
Using my sewing machine, I sewed the two white pieces together, leaving just a quarter inch seam and a two inch opening at the bottom. I then stuffed it with the Fairfield Poly-fil Fiber Fill and sewed it up!
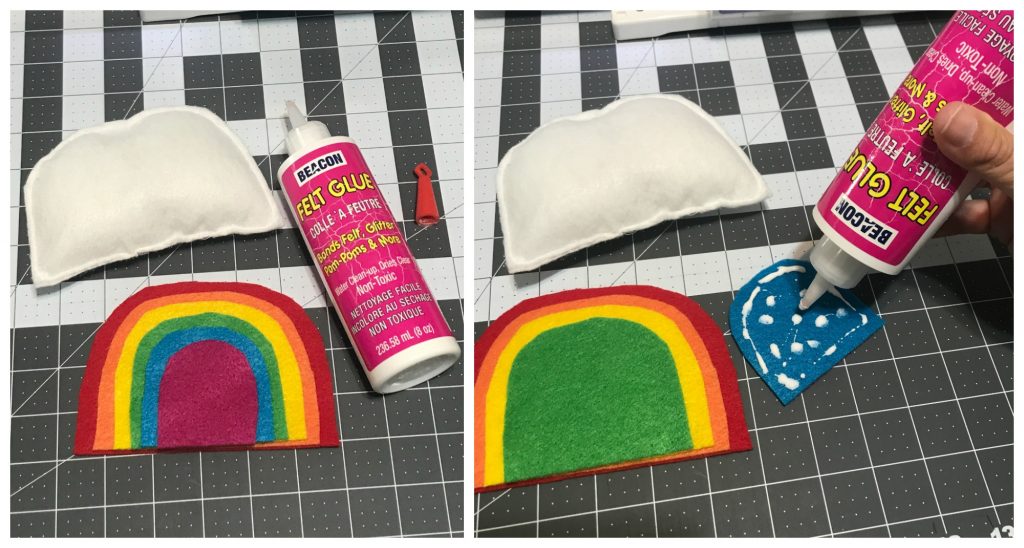
I glued together the rainbow using Beacon Felt Glue. Next I glued the rainbow to the stuffed white piece and let it dry completely.
Once it was dry, using the needle and embroidery floss, I put the floss through the seam of the white pieces and tied the ends together so that I could hang it on the tree!

Happy 80th Birthday Fairfield World!!!!
Happy Crafting. Until next time…..