Tag Archives: 15 minute crafts

Decorated Letter Decor

Craft Lightning is happening and the theme this month is Wood.  Wood is my favorite material to work with.   I usually like to do the cutting and designing, but today I’m using a wooden letter that I got from my local craft store.
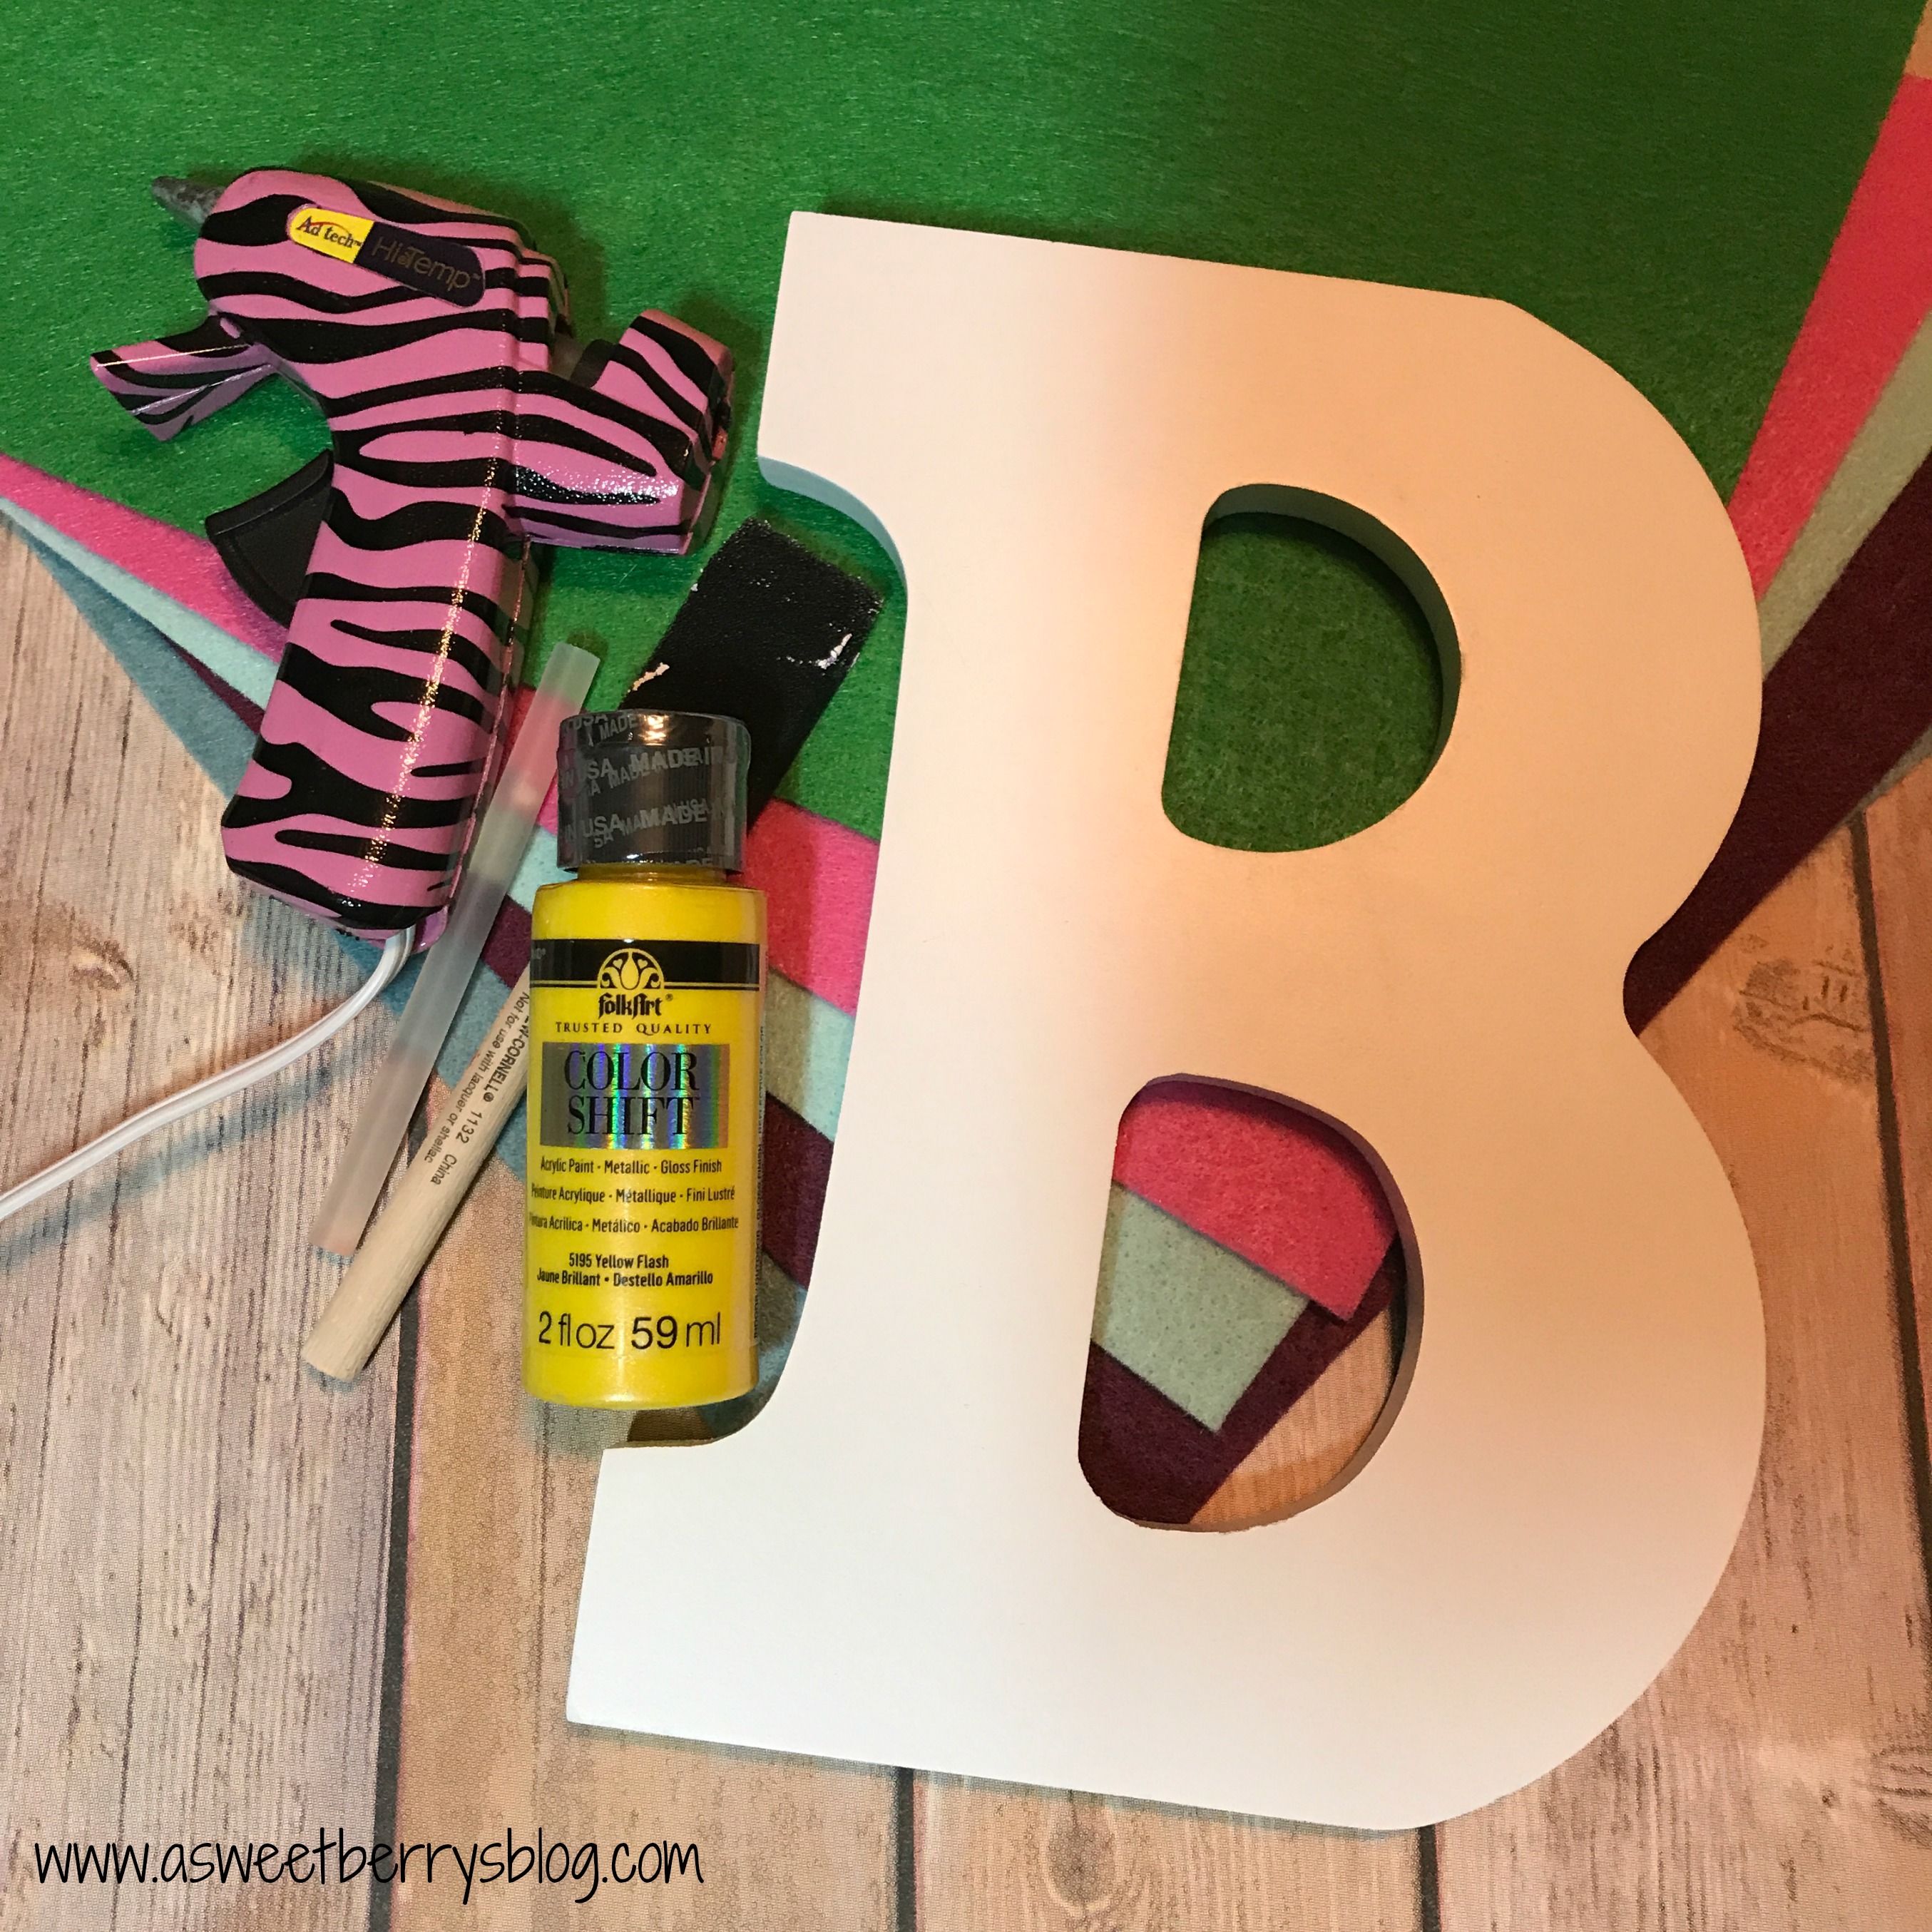
Materials used:

Wooden Letter
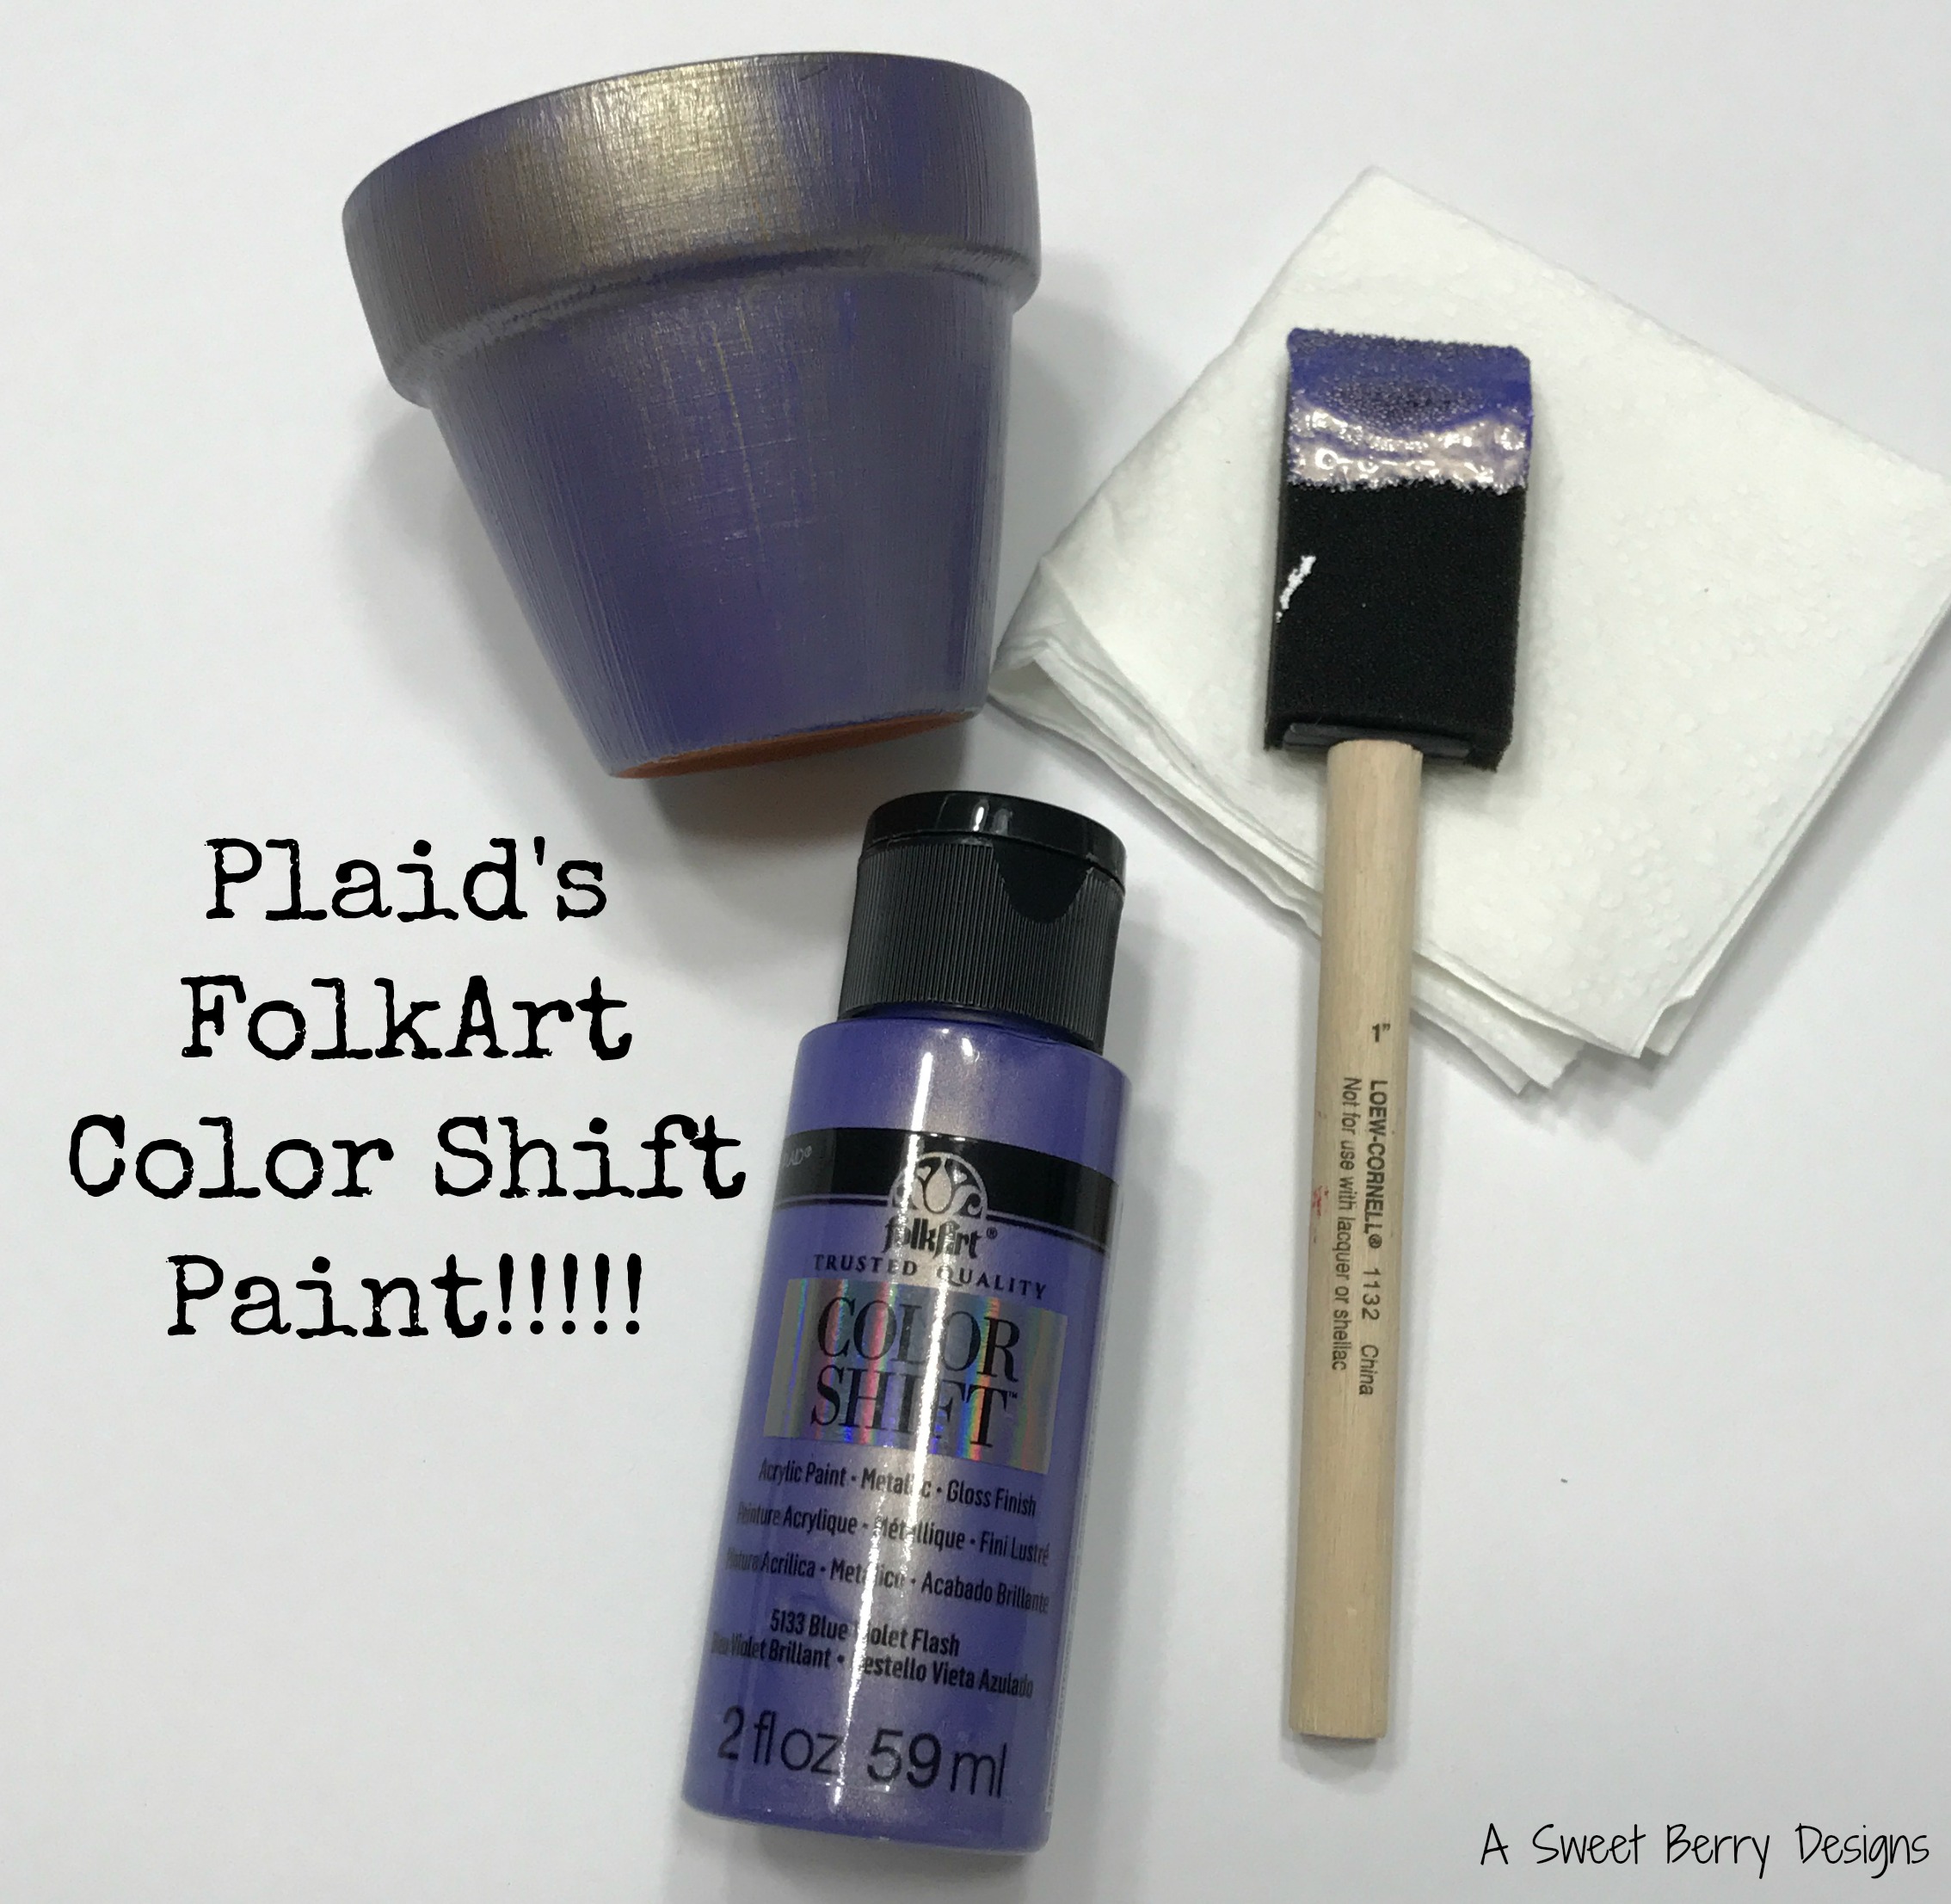
Paint (I used Plaid’s FolkArt Color Shift in Yellow Flash)
Paint Brush
Felt (I use KuninFelt)
Hot Glue Gun and Hot Glue Stick
Scissors

How I decorated it:

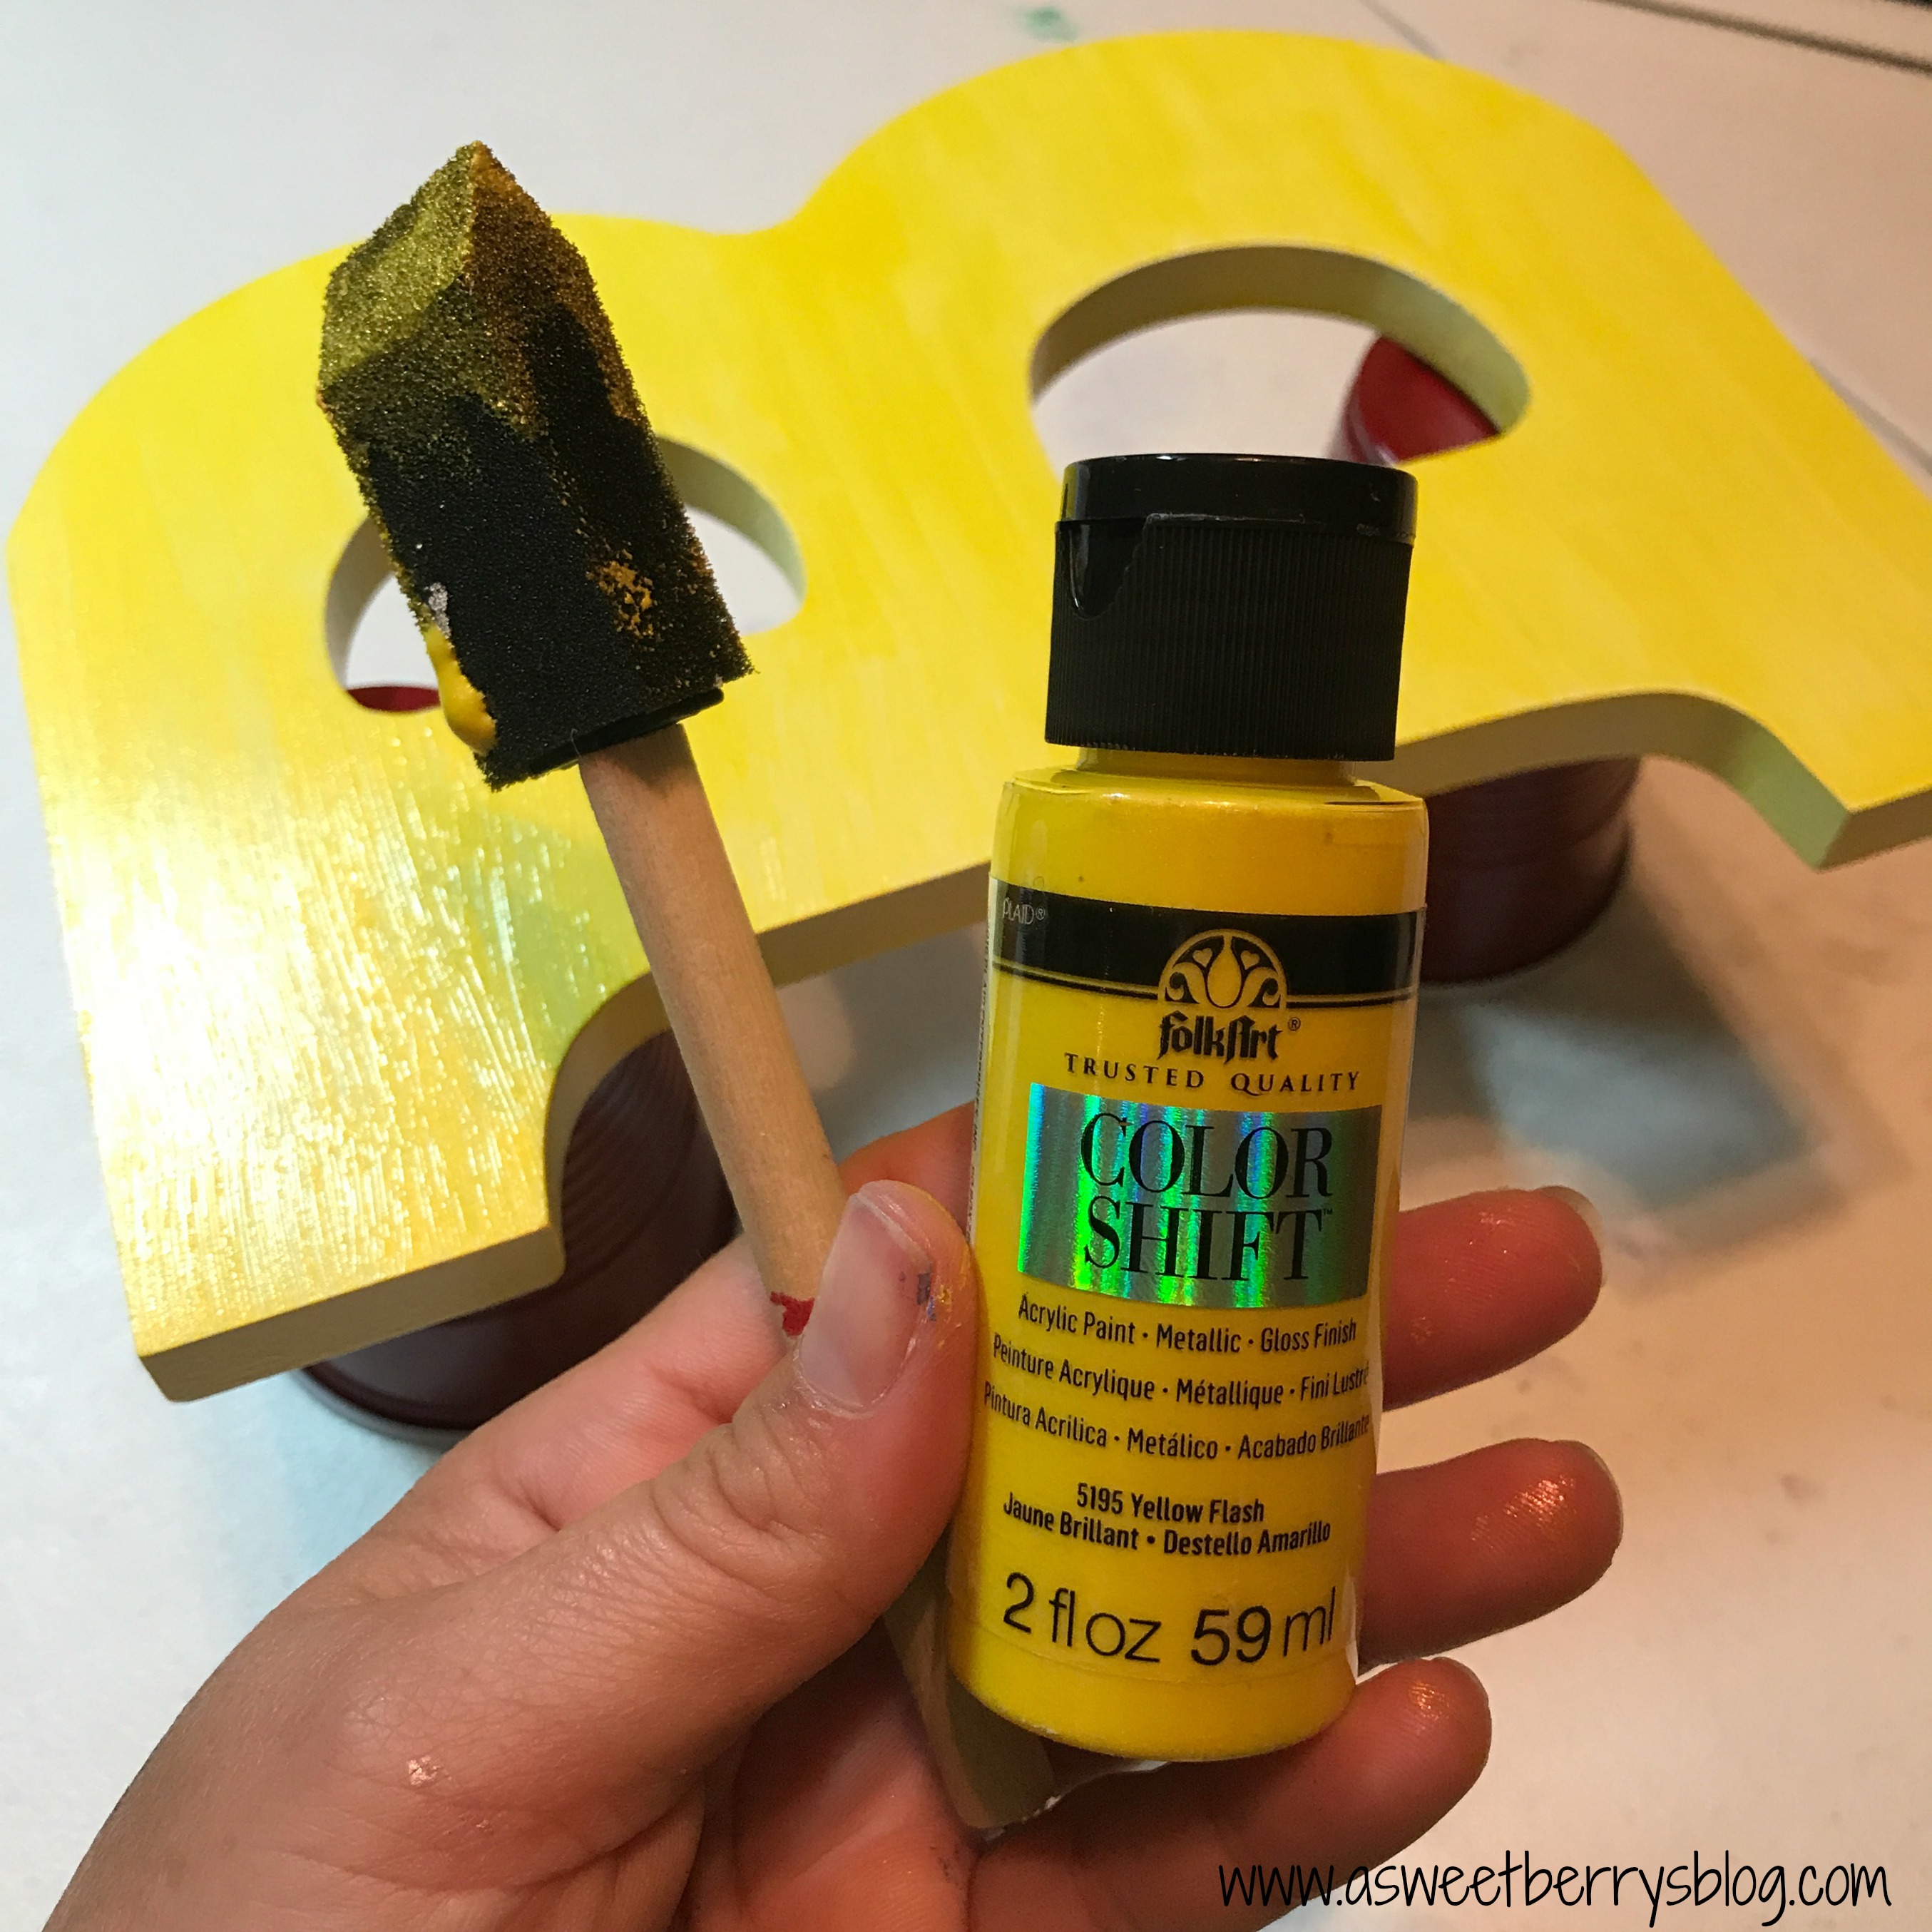
I applied two coats of paint to the letter, allowing the first coat to dry before applying the second coat.

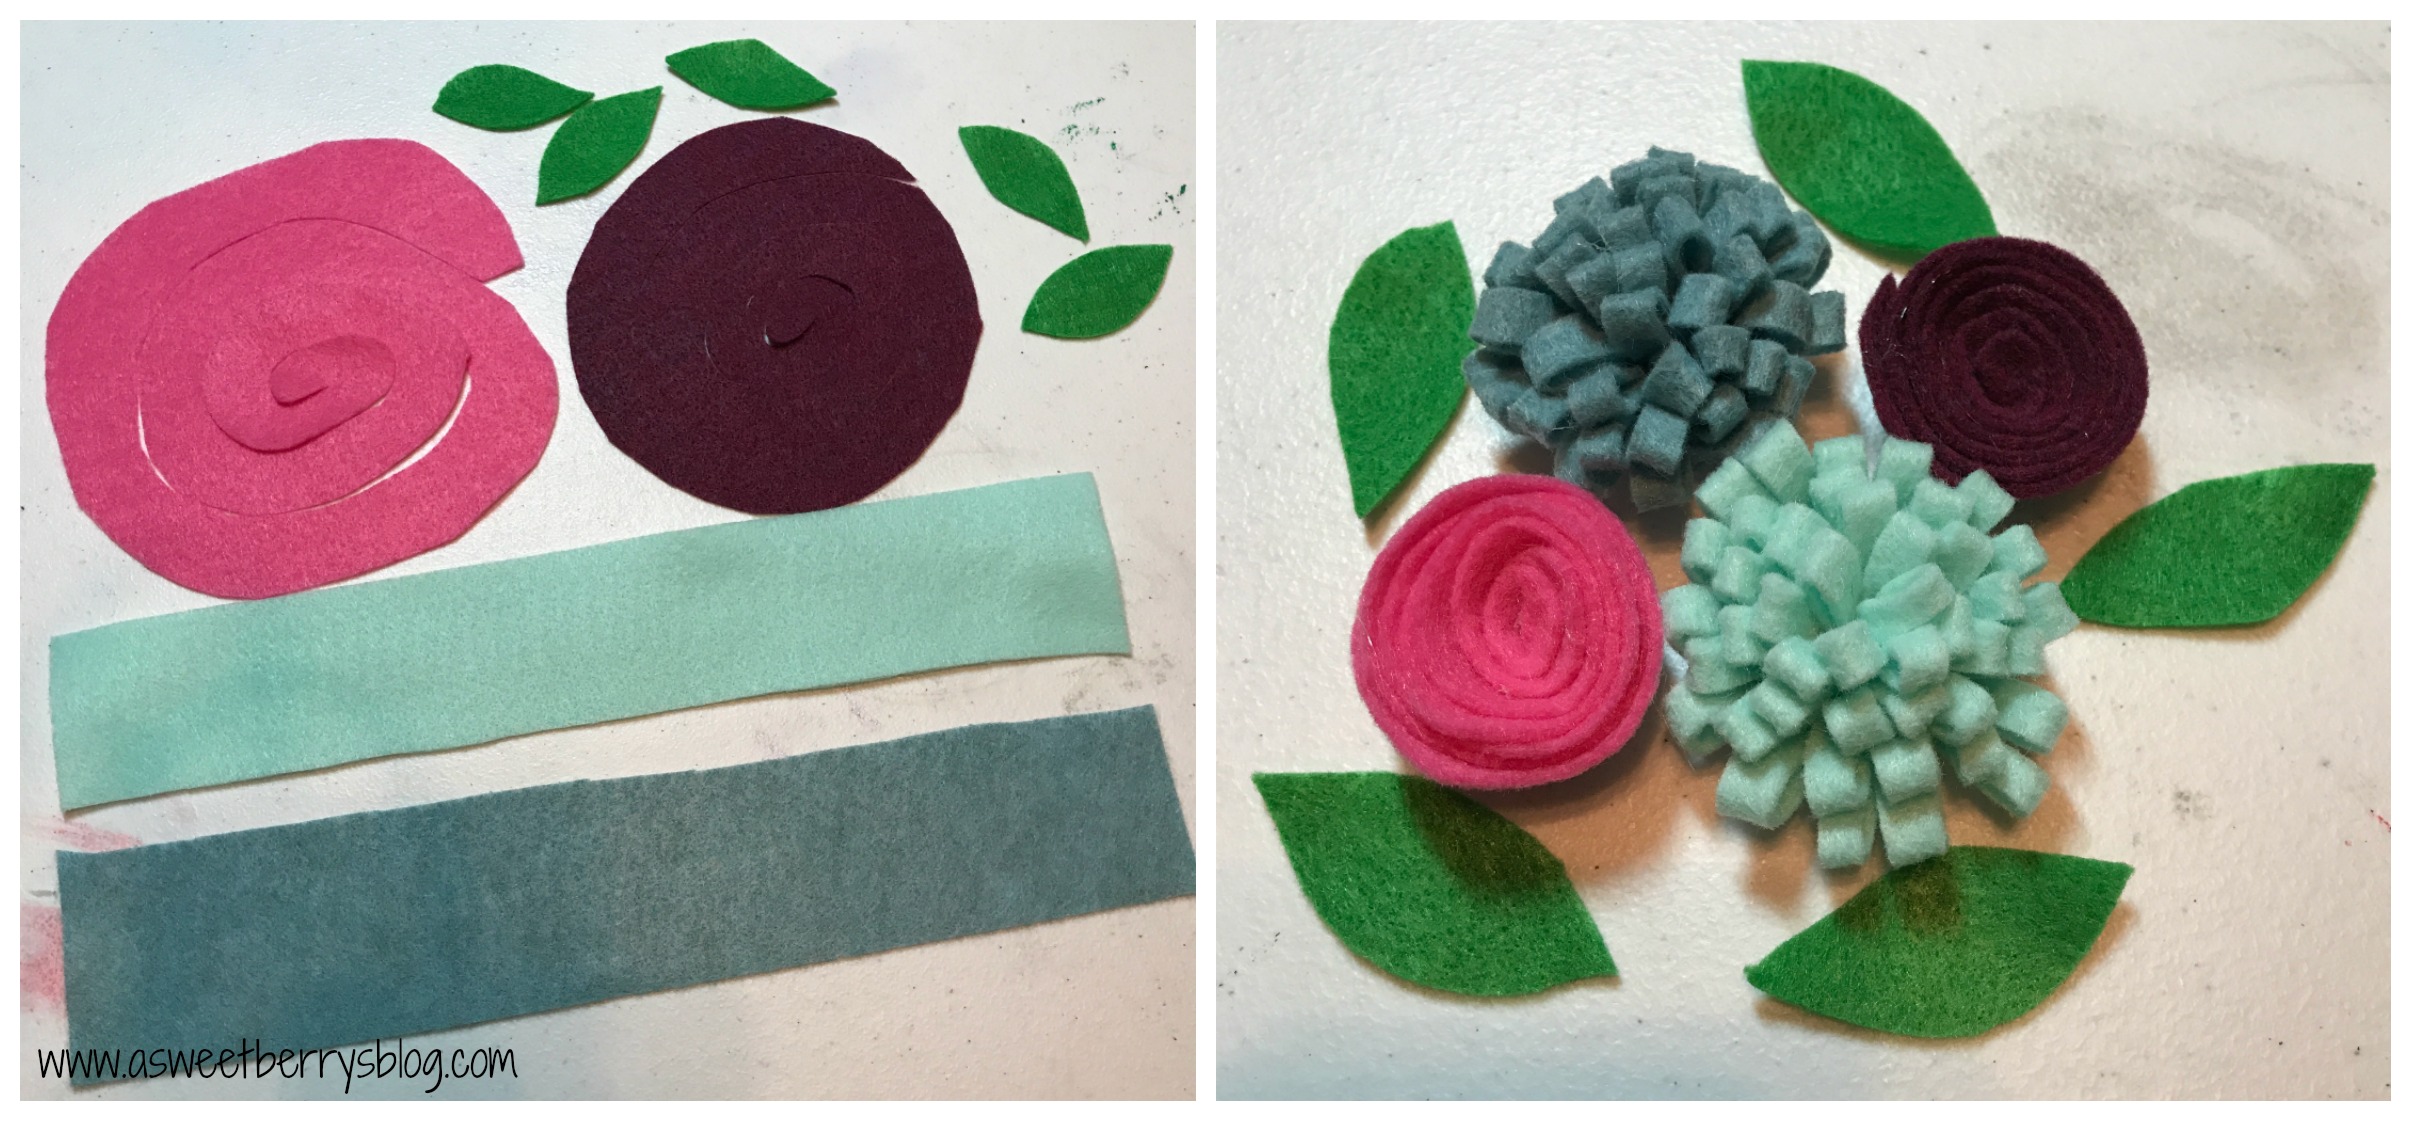
I cut the felt for my felt flowers.  I just used a simple tutorial that I found online.

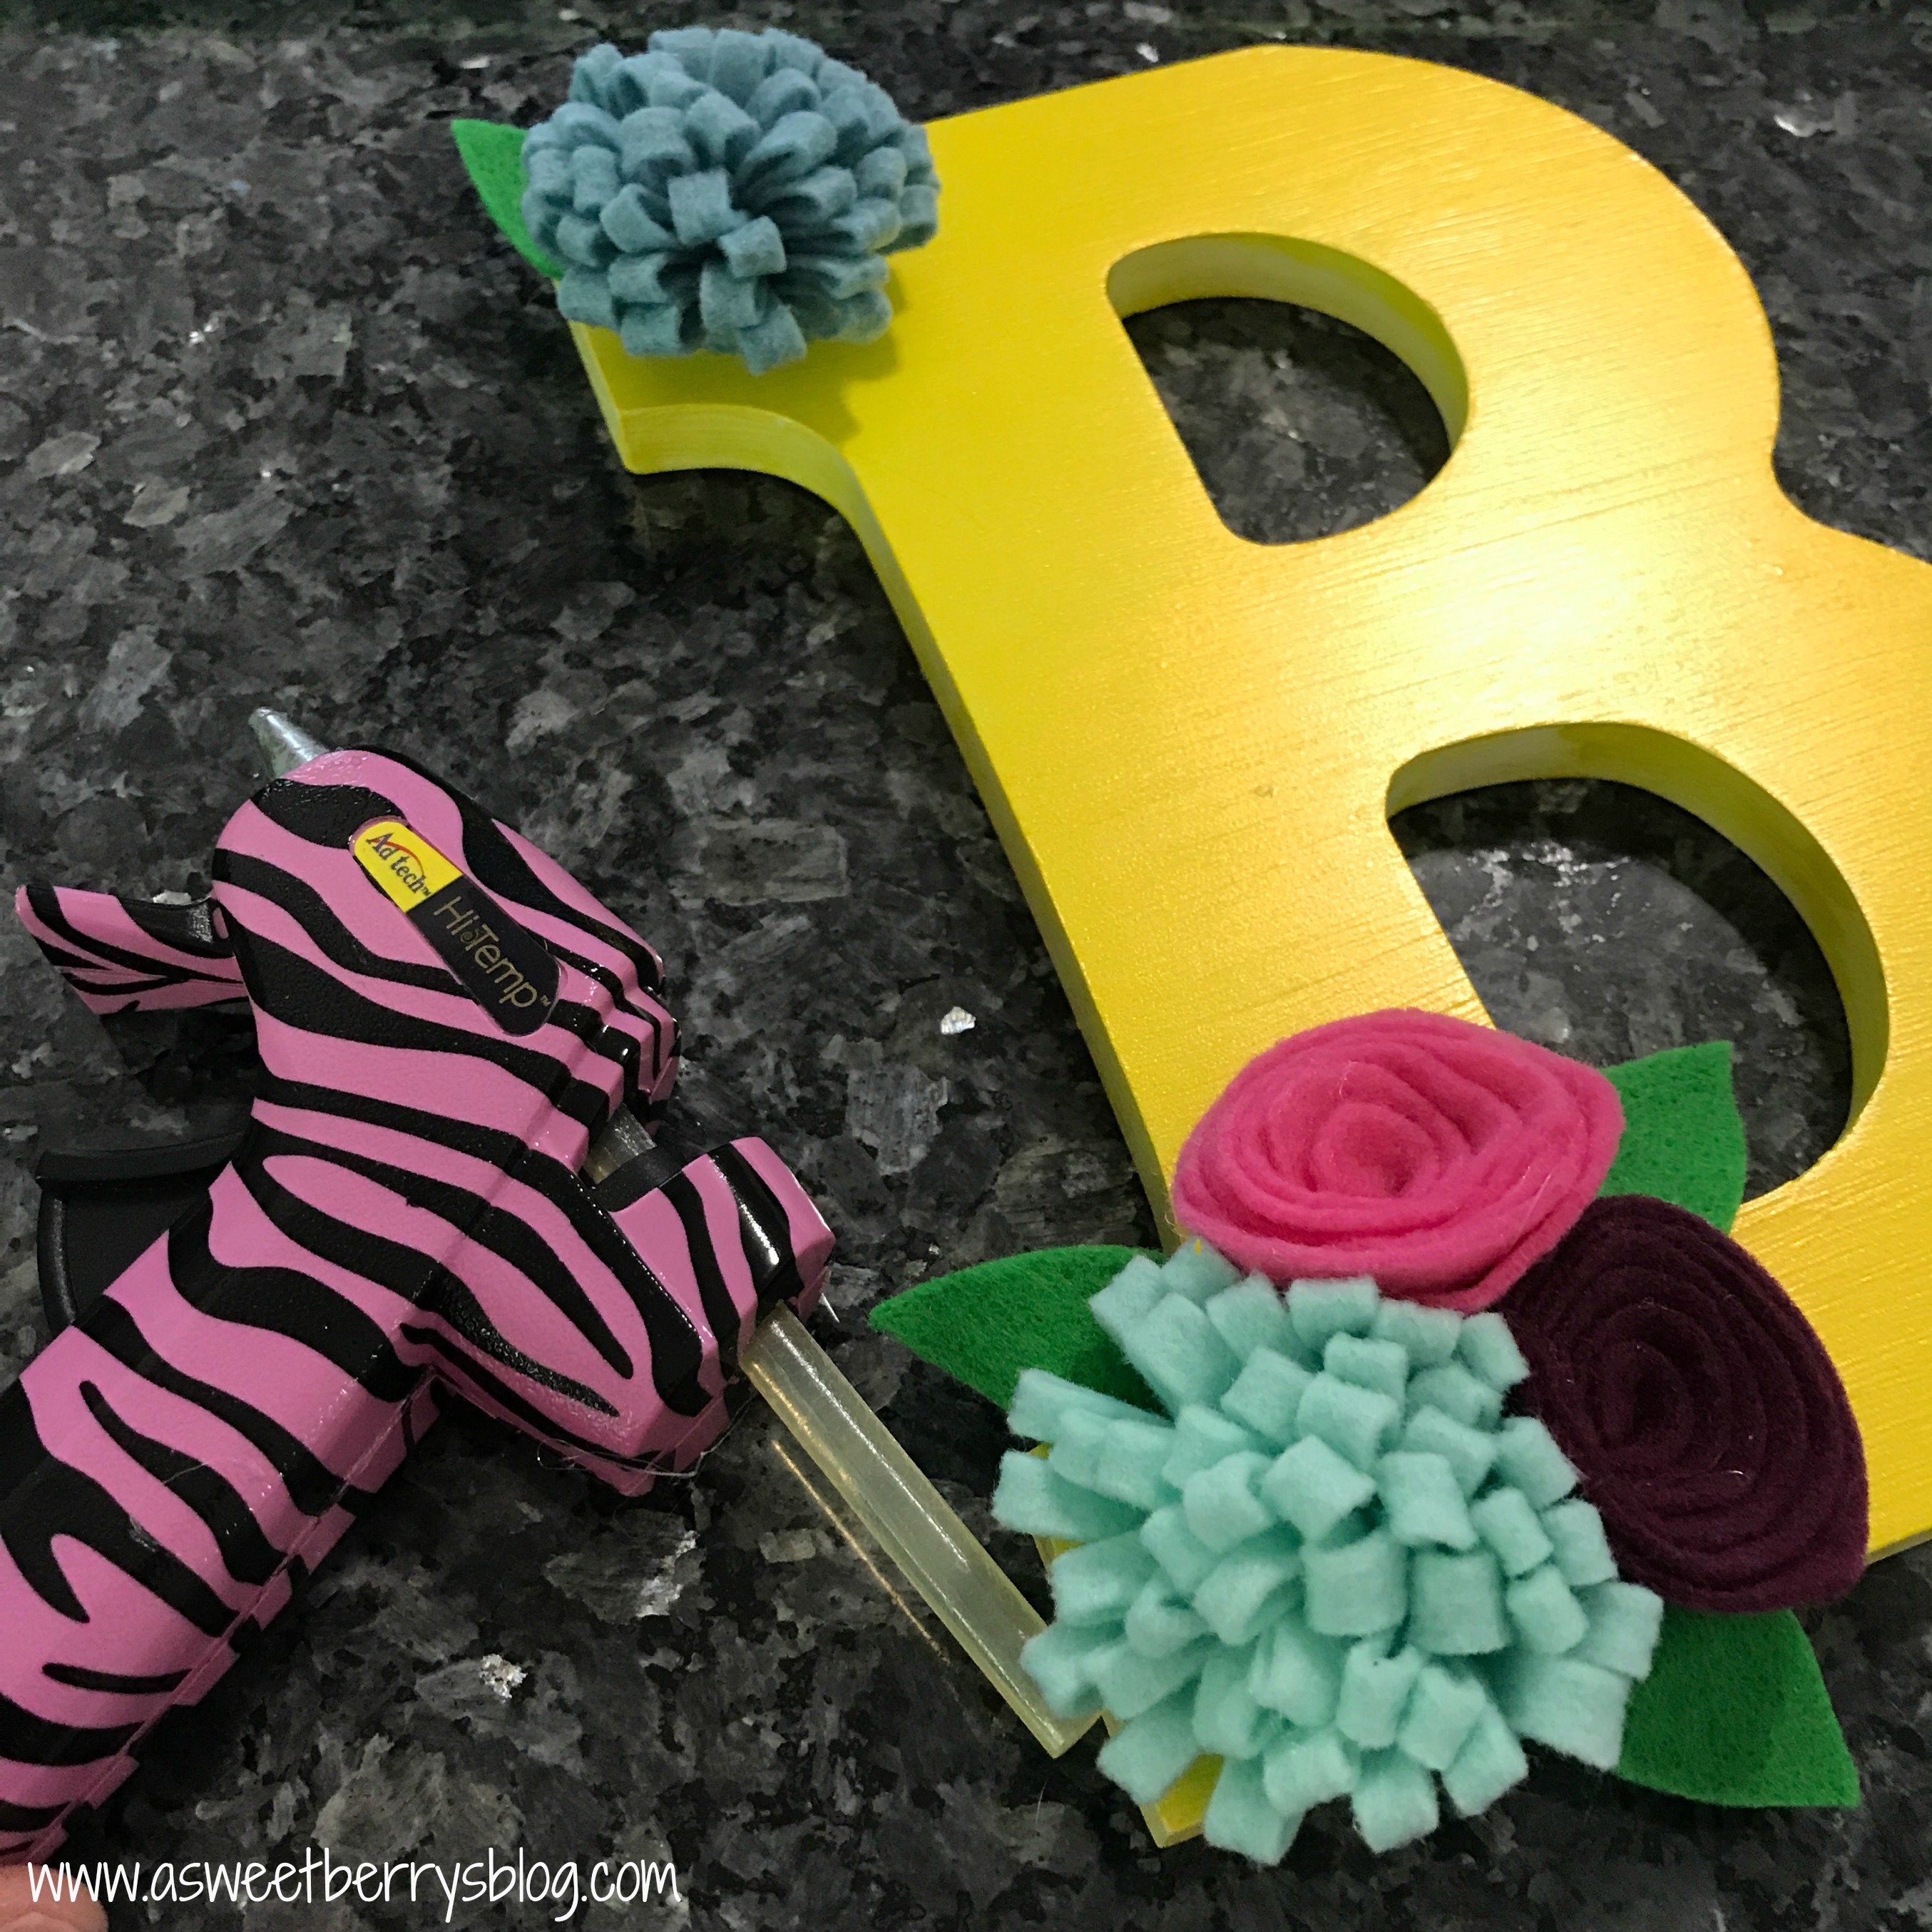
Then I put the flowers together using the hot glue gun.

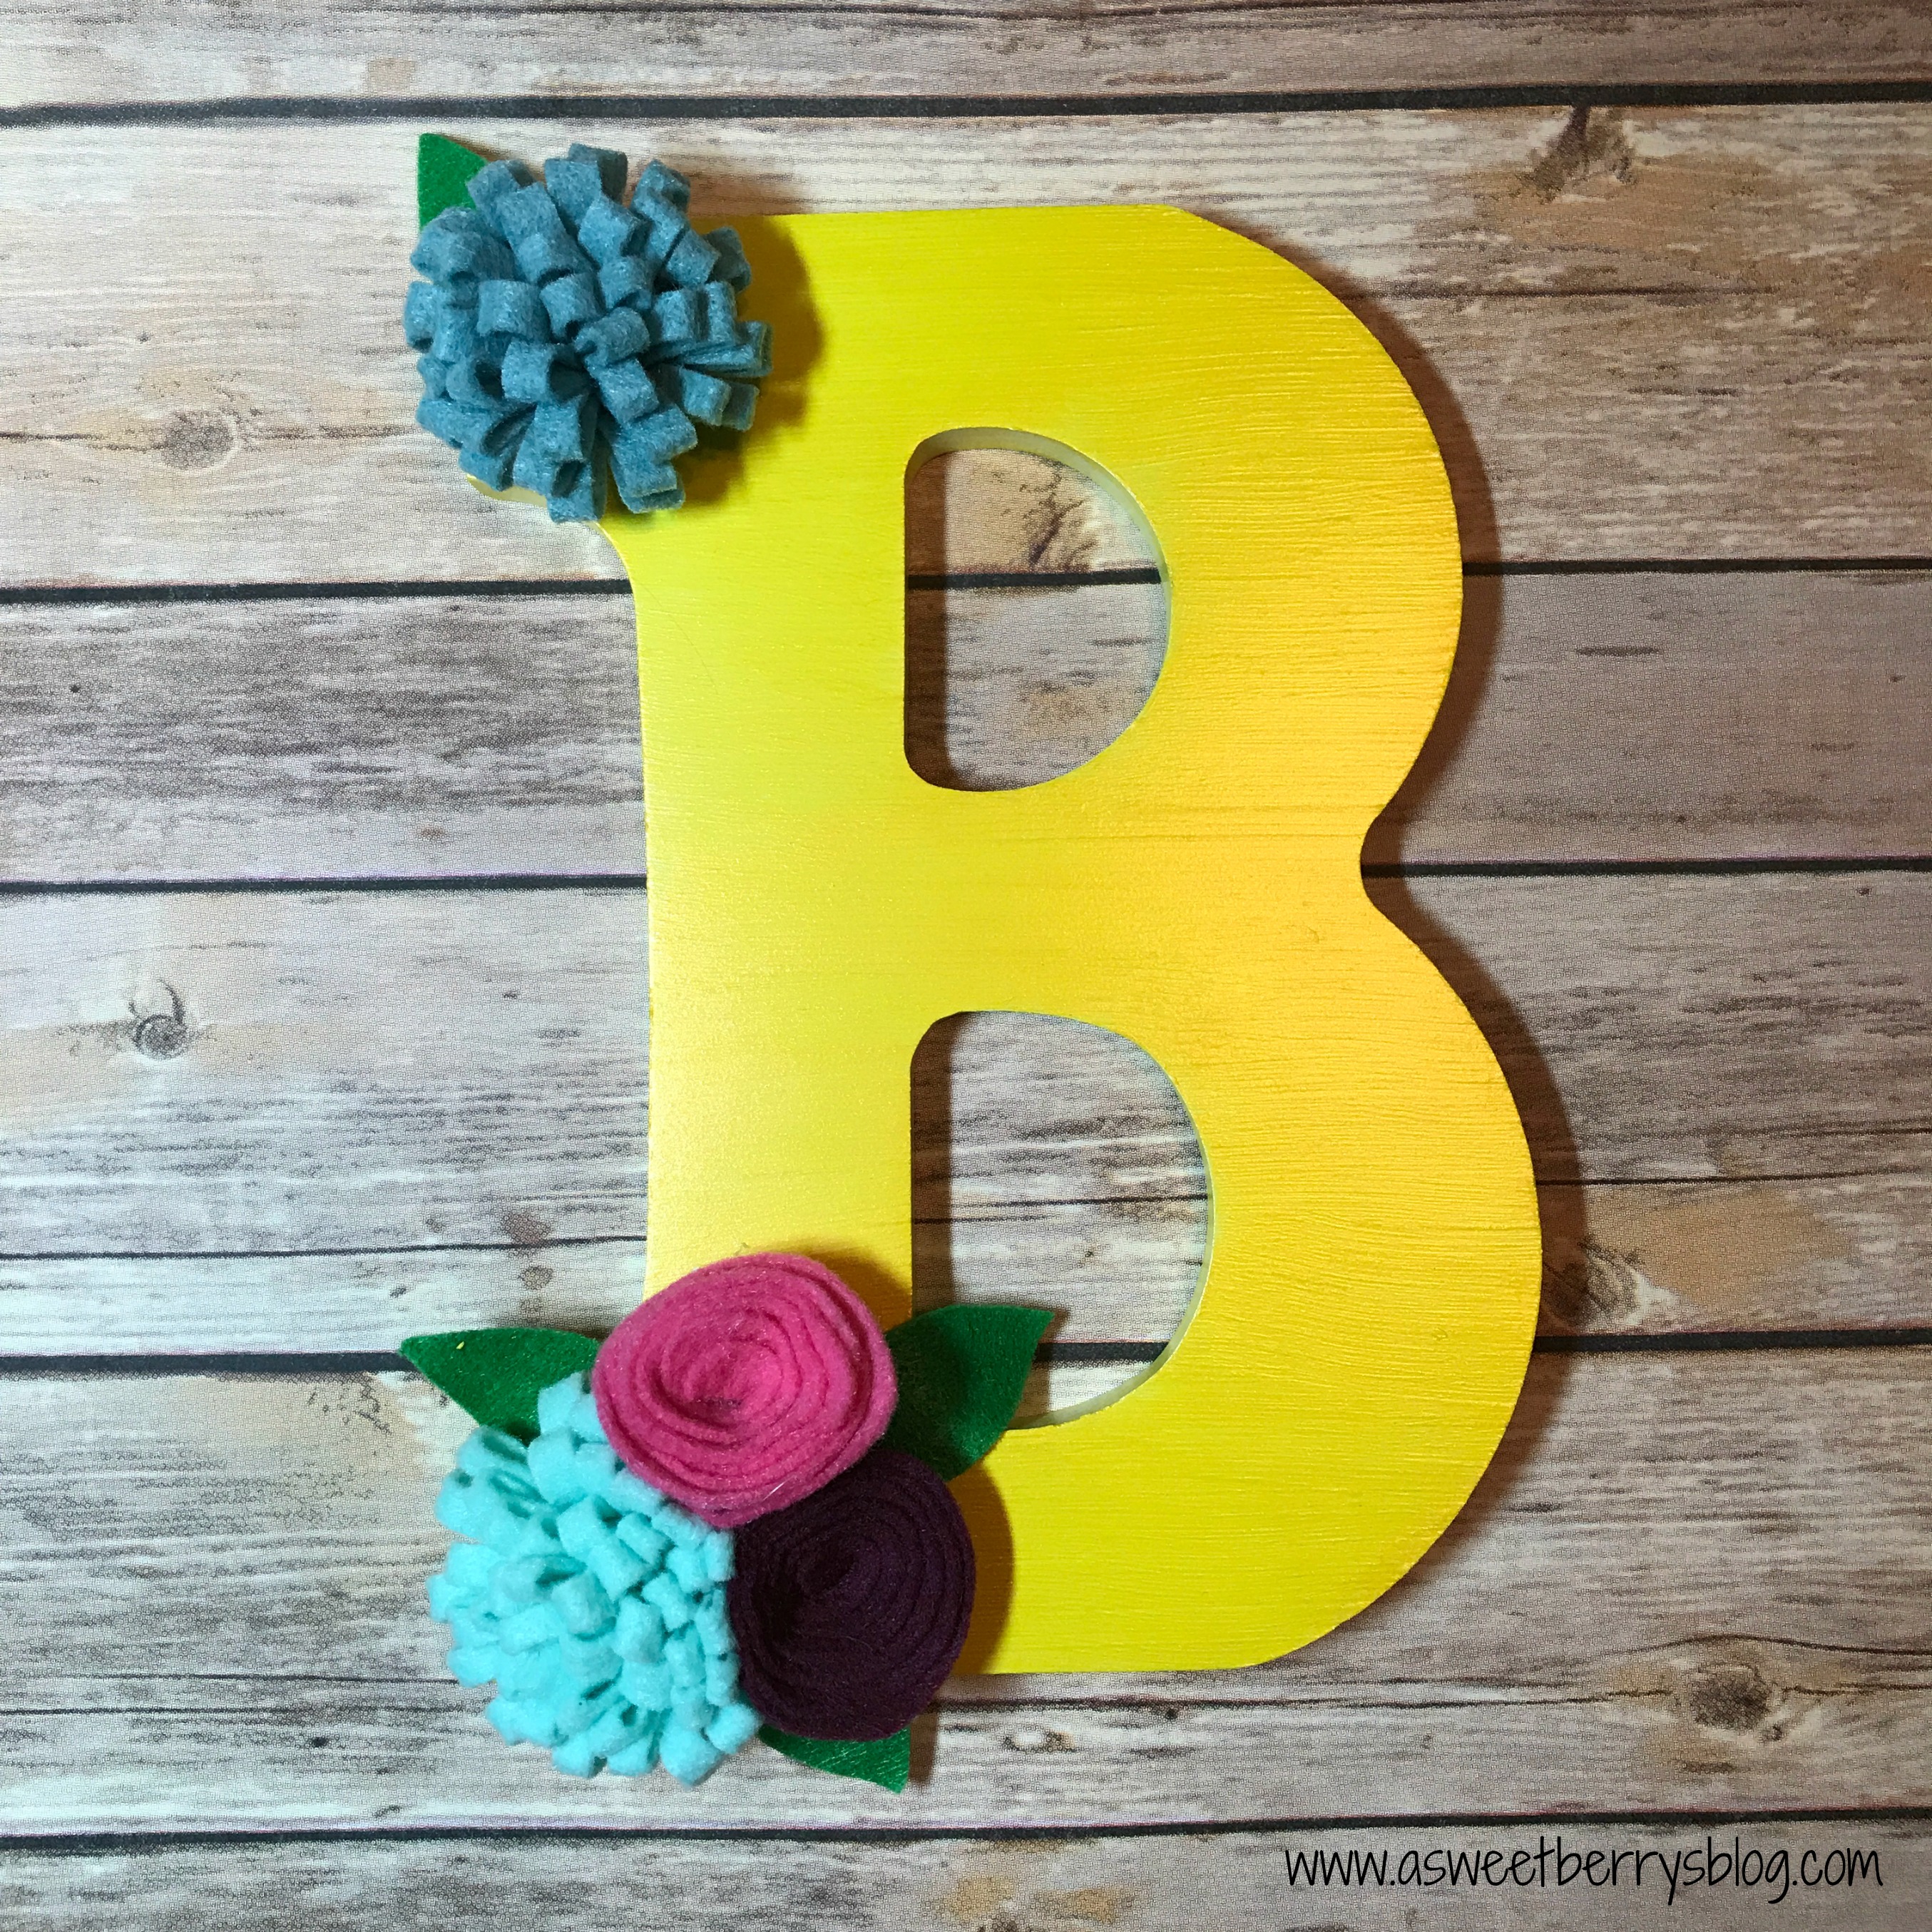
I glued the flowers to the letter.

And then it was time to hang it up!!!!   This particular letter had a hanging hole on the back but you could also hang it by using ribbon or jute rope! 

This decorated flower decor took less than 15 minutes, excluding the drying time.  This would be a super easy project for a kids party or a girls night in!

Be sure to click the photo below for more Craft Lightning Wood projects!

Until next time….


Clay Pot Cupcake Pin Cushion

Craft Lightning is here again!!!!   I love it!   The theme this time was Clay Pots!   There are so many things that you can do with clay pots other than using them as flower pots!   I made this adorable little Cupcake Pin Cushion with mine!   It took less than 15 minutes!!!

Materials used:
9″ x 12″ craft cut of Kunin Felt Cooridnates:  1 White Dot of Candy Pink
Fairfield Poly-fil Poly-Pellets
Hot Glue Gun and Hot Glue Stick
Plaid’s FolkArt Color Shift Paint:  Blue Violet Flash
Paint Brush
Embroidery Floss and Needle
Scissors
Red Pom Pom

How I made it:
Paint the Pot!!!  I used this awesome FolkArt Color Shift Paint from Plaid!


  1. I cut a circle from my felt.  It didn’t have to be a perfect circle.  It’s about 8 inches across.  I also ran a quick stitch around the edge with the embroidery floss.
  2.  I flipped the felt over and added the Poly-pellets to the middle.
  3.  I pulled the embroidery floss until the circle closed up around the Poly-pellets.  I also just did a few quick stitches over the hole to close it up.
  4.  Using the hot glue gun, I added glue to the inside of my pot and stuffed the Poly-pellet filled felt down into the pot.

5.  Using the hot glue gun, I glued the red pom-pom on the top!   And then I added my pins!

I hope you like this Clay Pot Pin Cushion!   

Be sure to check out other Craft Lightning Clay Pot ideas by clicking the photo below!

Until next time……