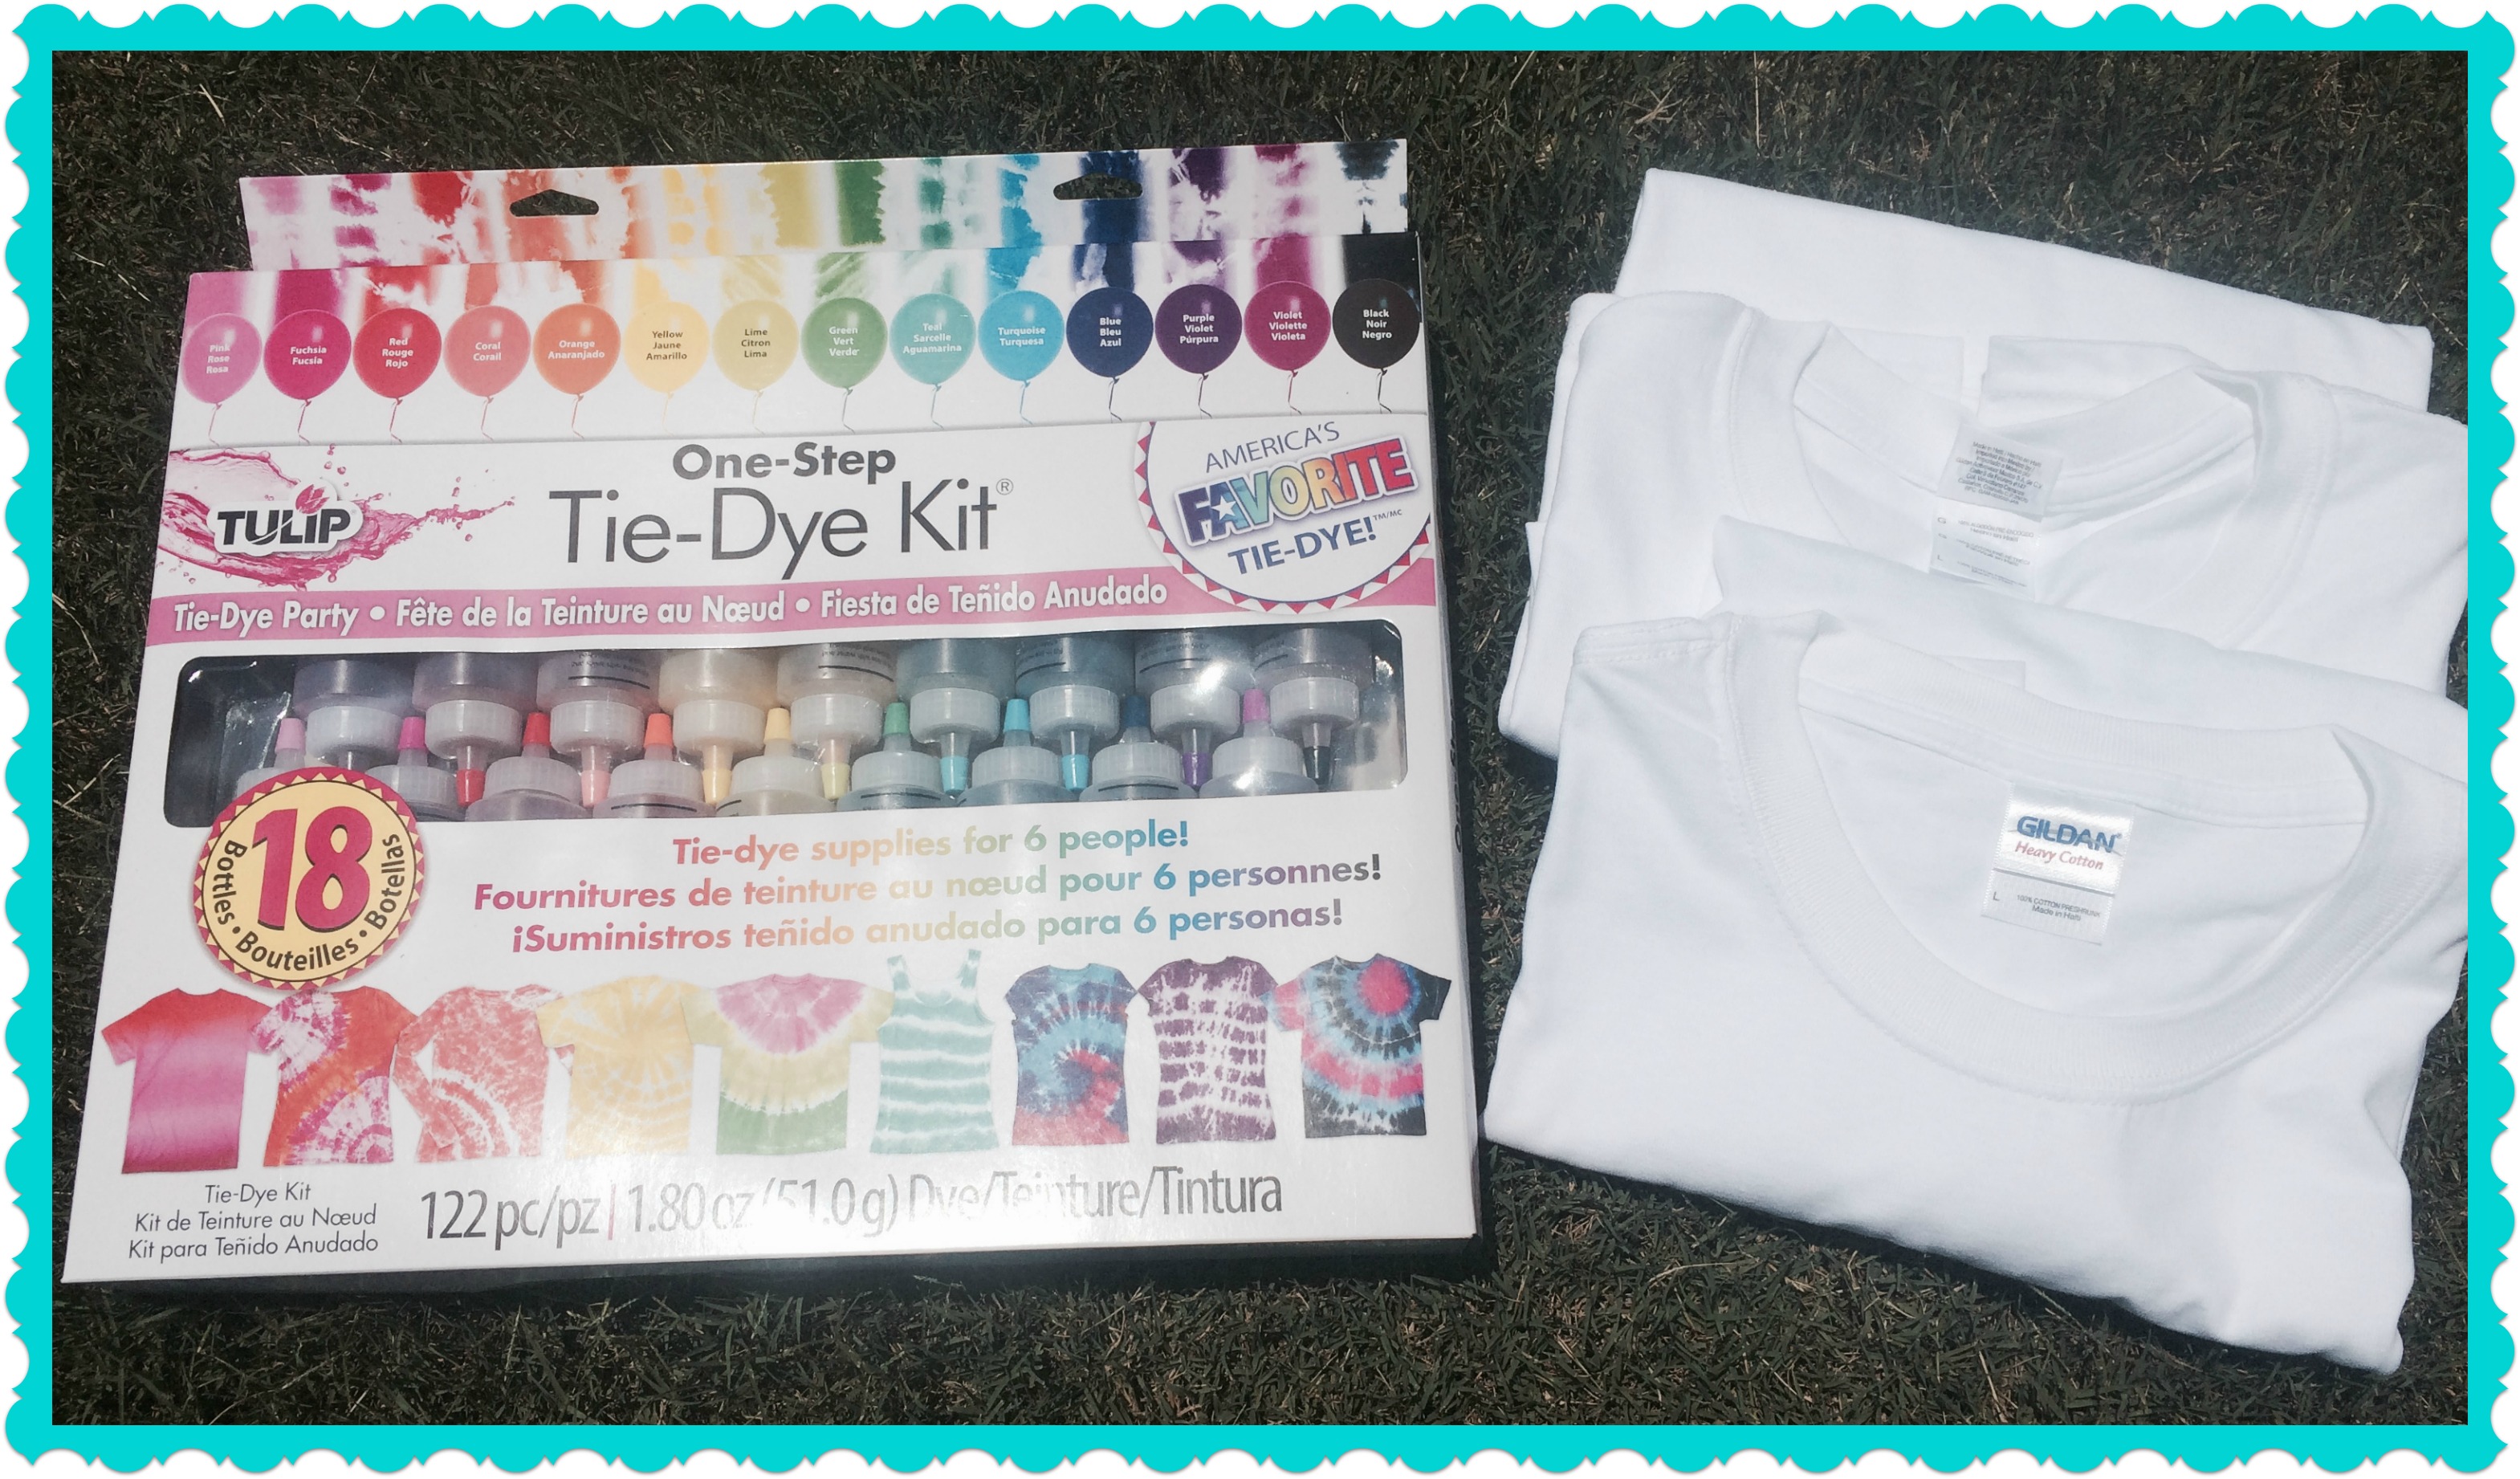
Together with I love to Create, Laura Kelly put together yet another awesome blog hop! This one is a Tie-Dye Party! Each blogger was sent an awesome One-Step Tie-Dye Kit for 6 people and two Gildan t-shirts. The t-shirts could be used for practicing or for the actual project. I chose to use mine for the project, along with some other size Gildan t-shirts I had. We had a family tie-dye party!!
Tulip Tie-Dye T-Shirt Summer Necklace!

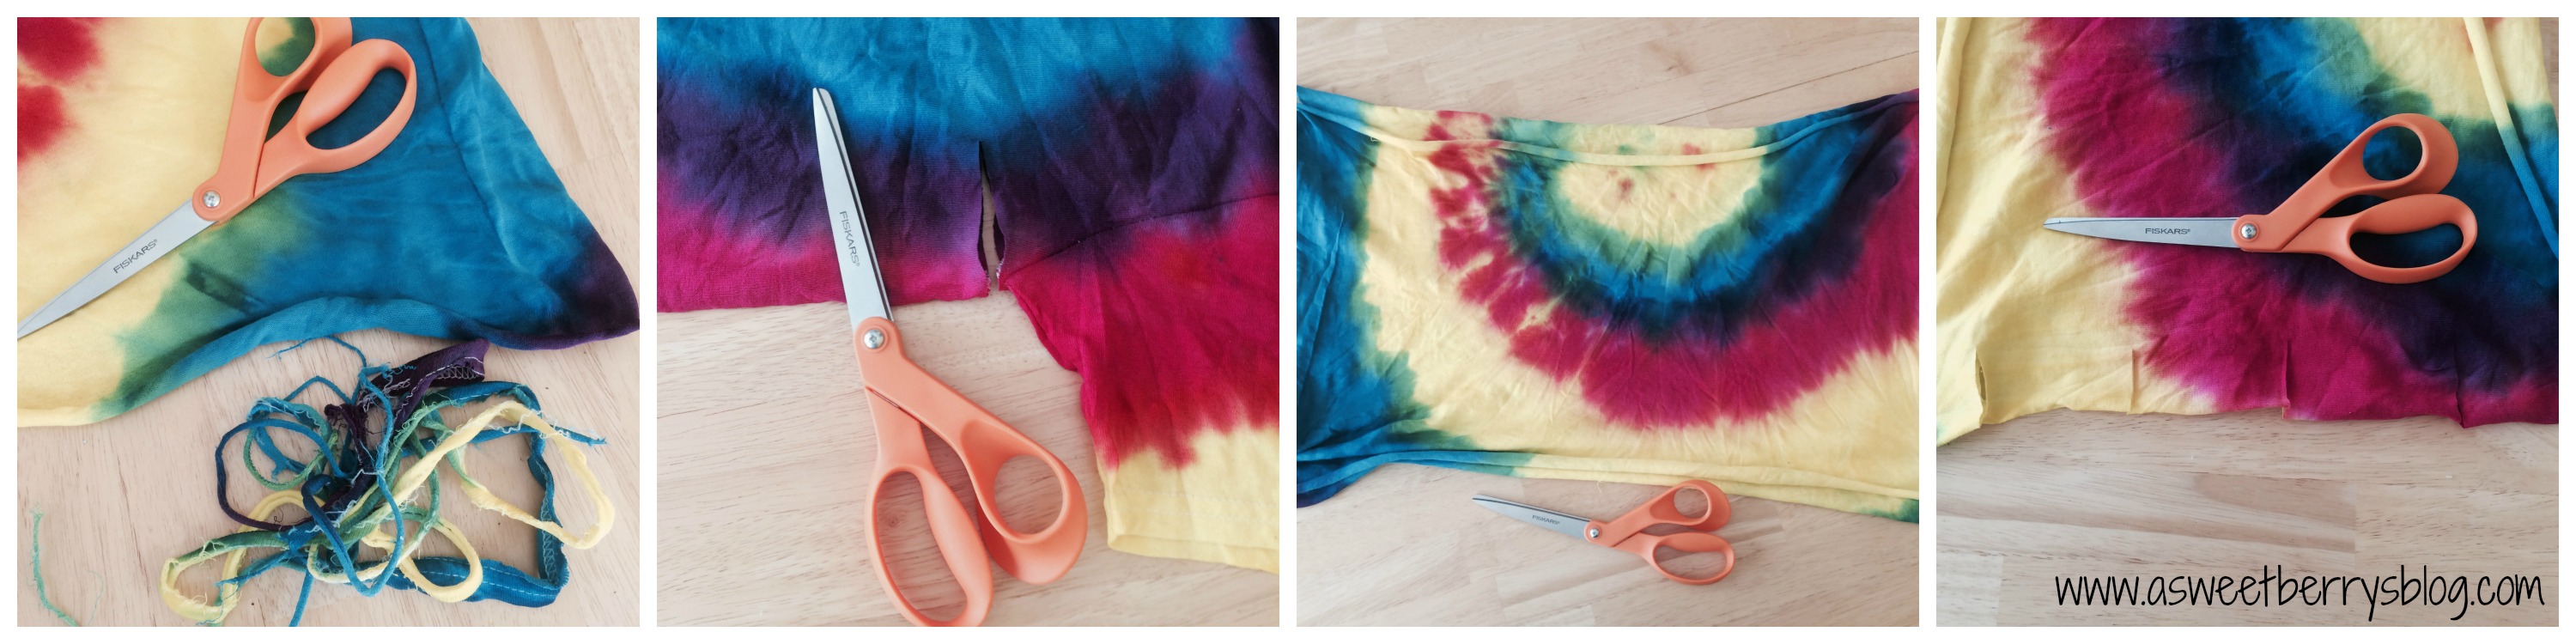
I have always wanted to make a t-shirt necklace! I love bright and bold colors so I thought I’d tie dye one of my Gilden t-shirt with nice bright Tulip Tie-Dye colors (Fuchsia, Purple, Turquoise, and Yellow)! I am obsessed with the swirl pattern for some reason, so that’s the one I used.
After my shirt was tie-dyed, set, washed and dried, I ripped the bottom of the shirt off, cutting just the side of the shirt so that I could get a good start for ripping. Sometimes ripping through the seam can be a little difficult. Next I cut just under the arm and ripped it across, so that I was left with just the bottom half of the shirt. Then I cut 5 cuts on the sides, so that I could rip them across.
Once I had my strips, I grabbed the top piece of the shirt and did the same thing, making a cut by the seam and ripping it, giving me another strip. I made one cut on the strip so that it was open. I then gathered all of my strips, used my cut strip to wrap around my gathered strips, so that they would all stay together.
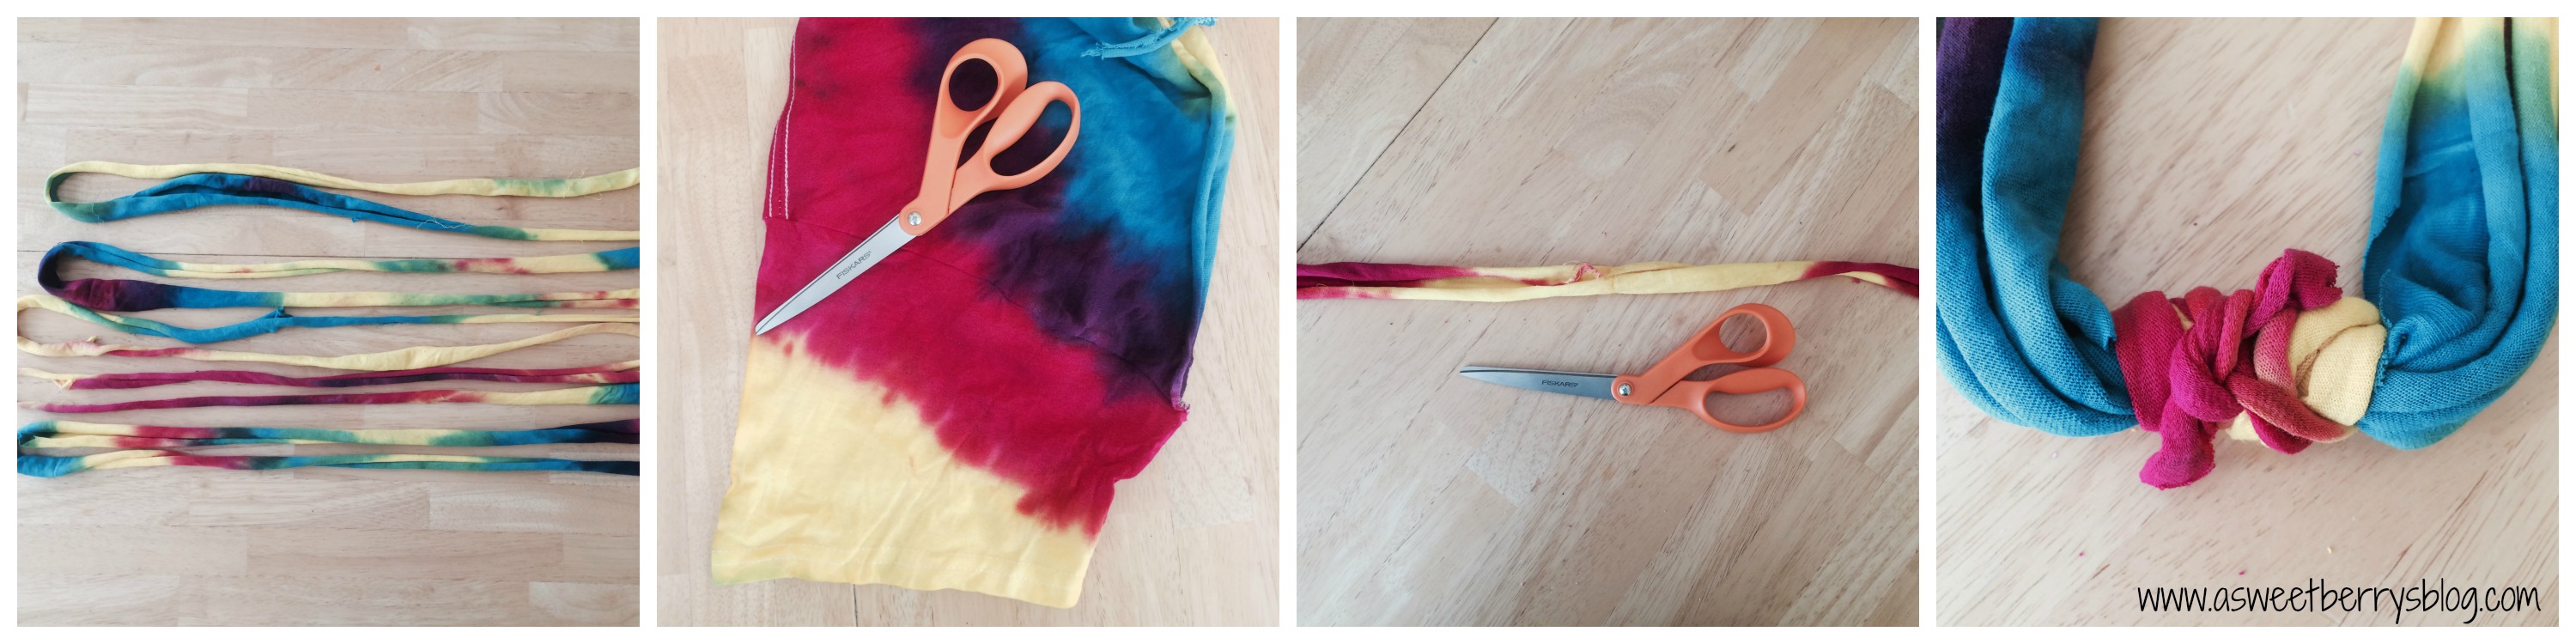
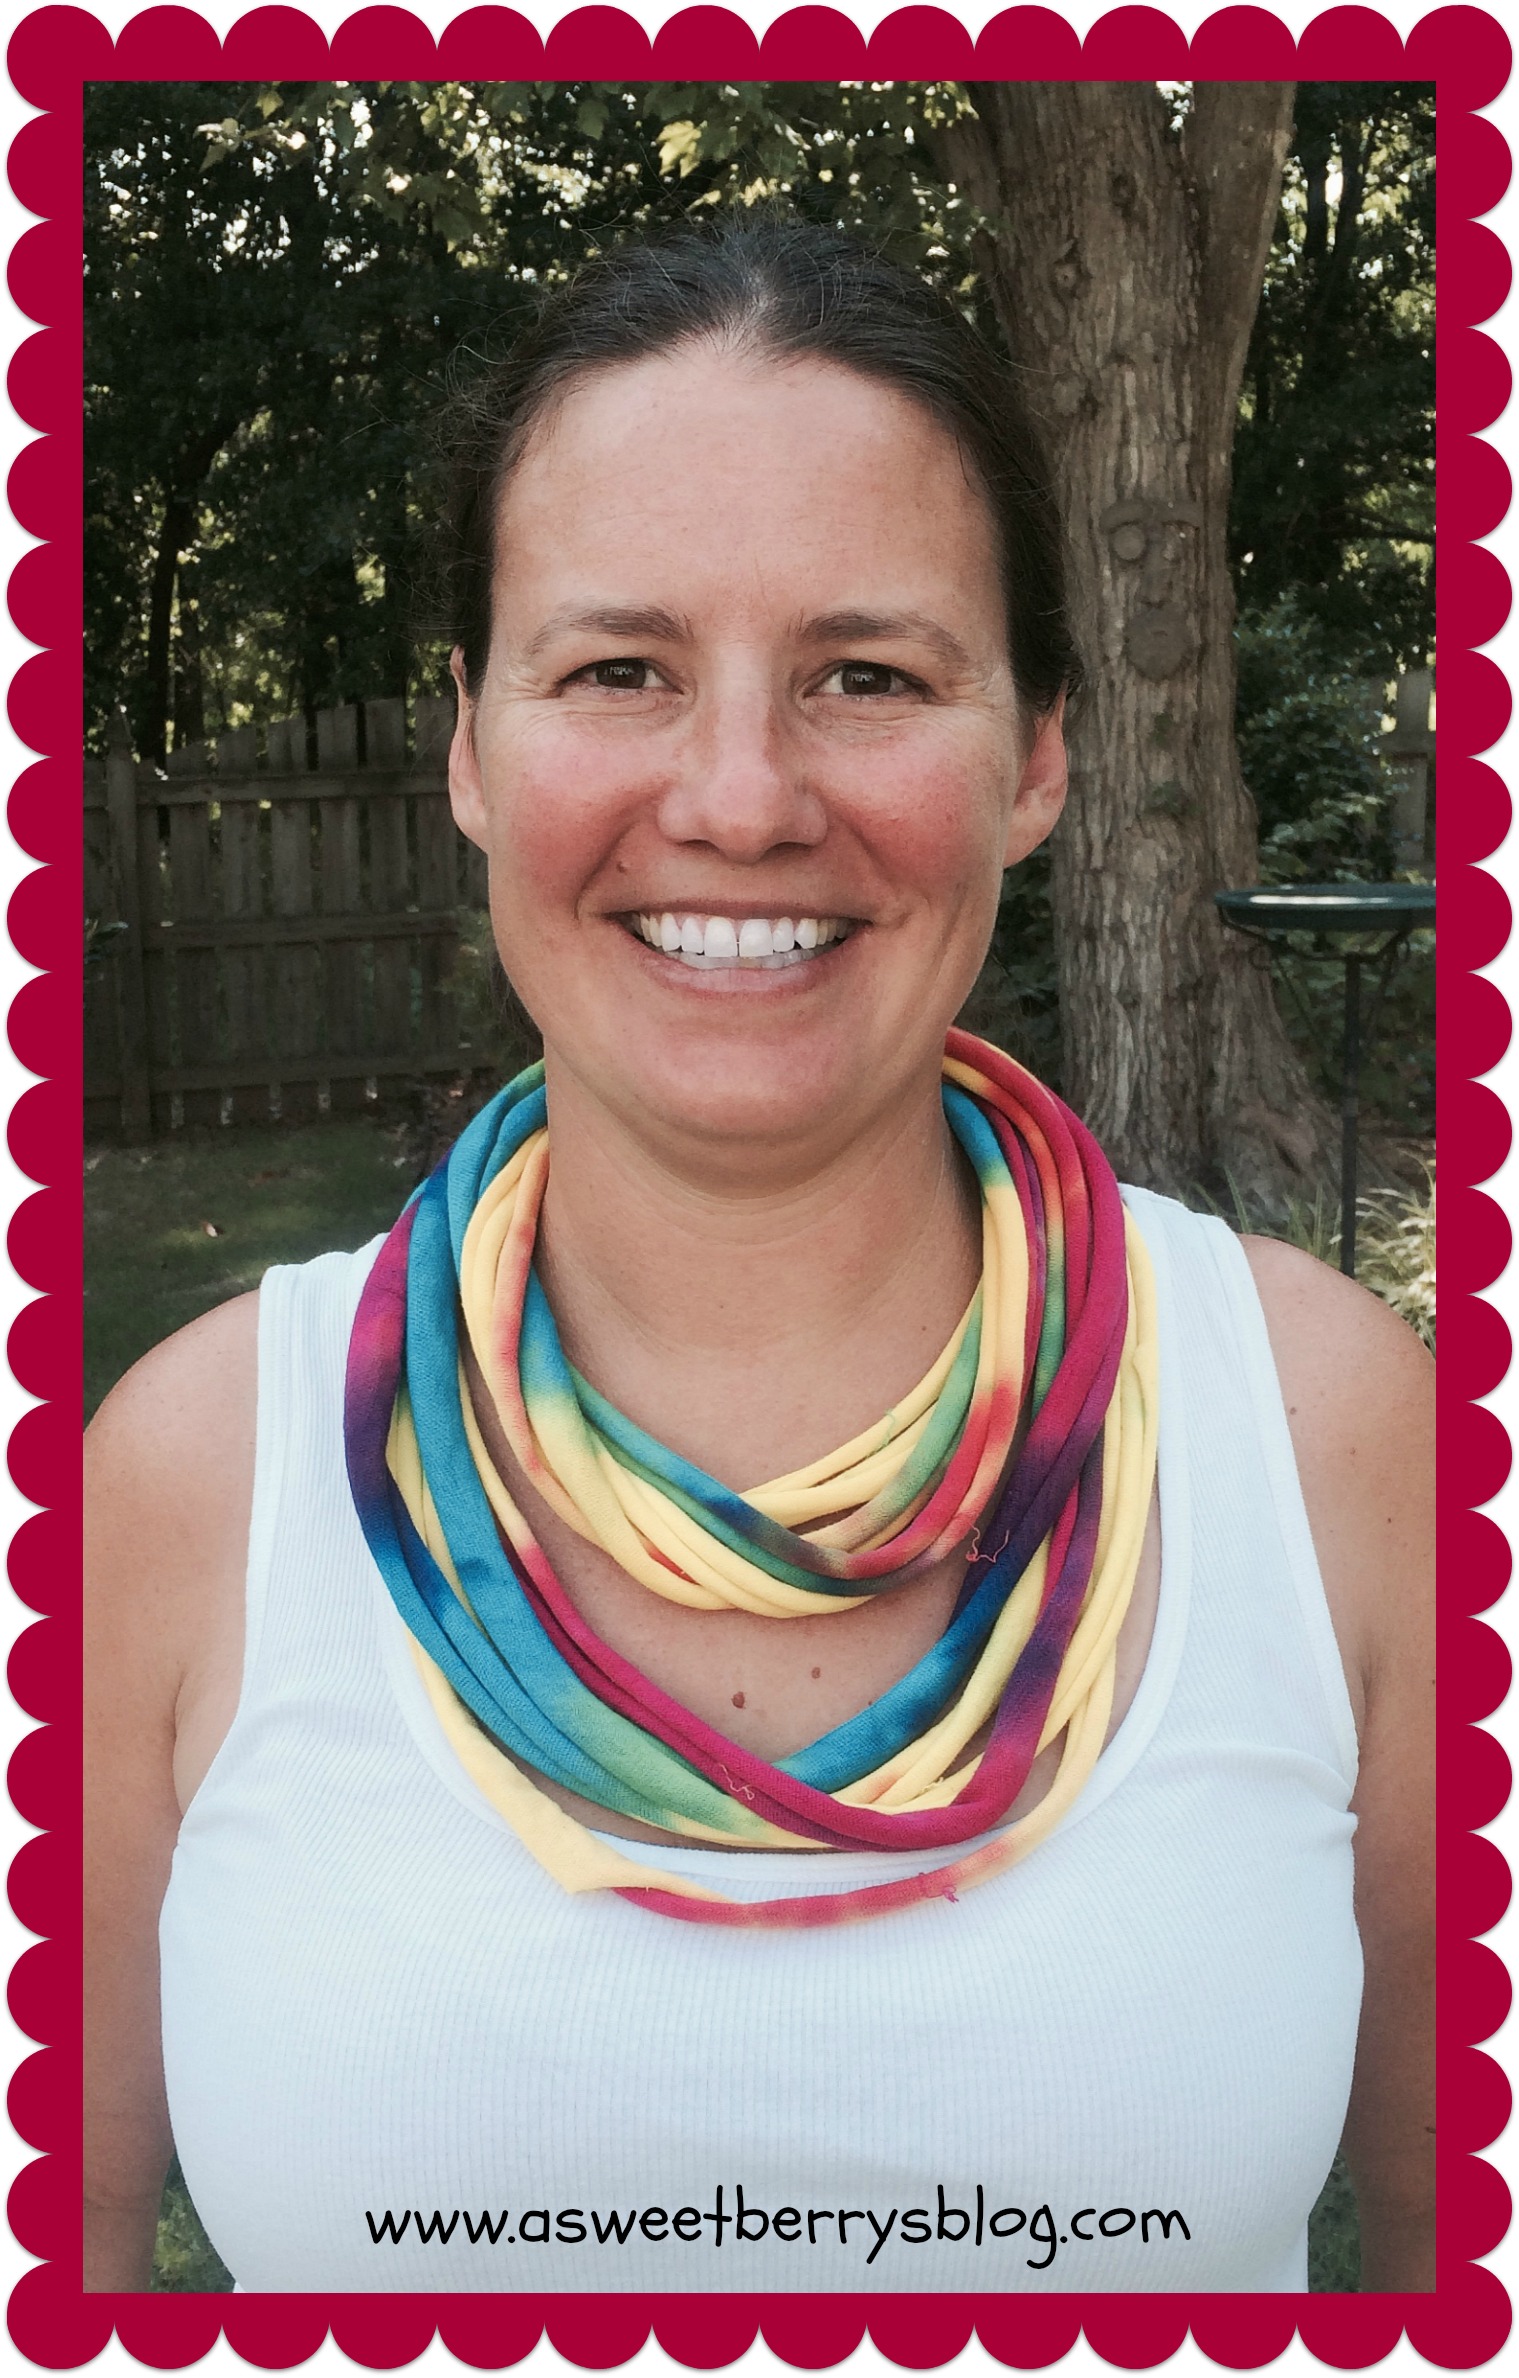
Then my necklace was complete! It was long enough that I wrapped it around my neck twice and made one shorter than the other, almost like an infinite scarf!!
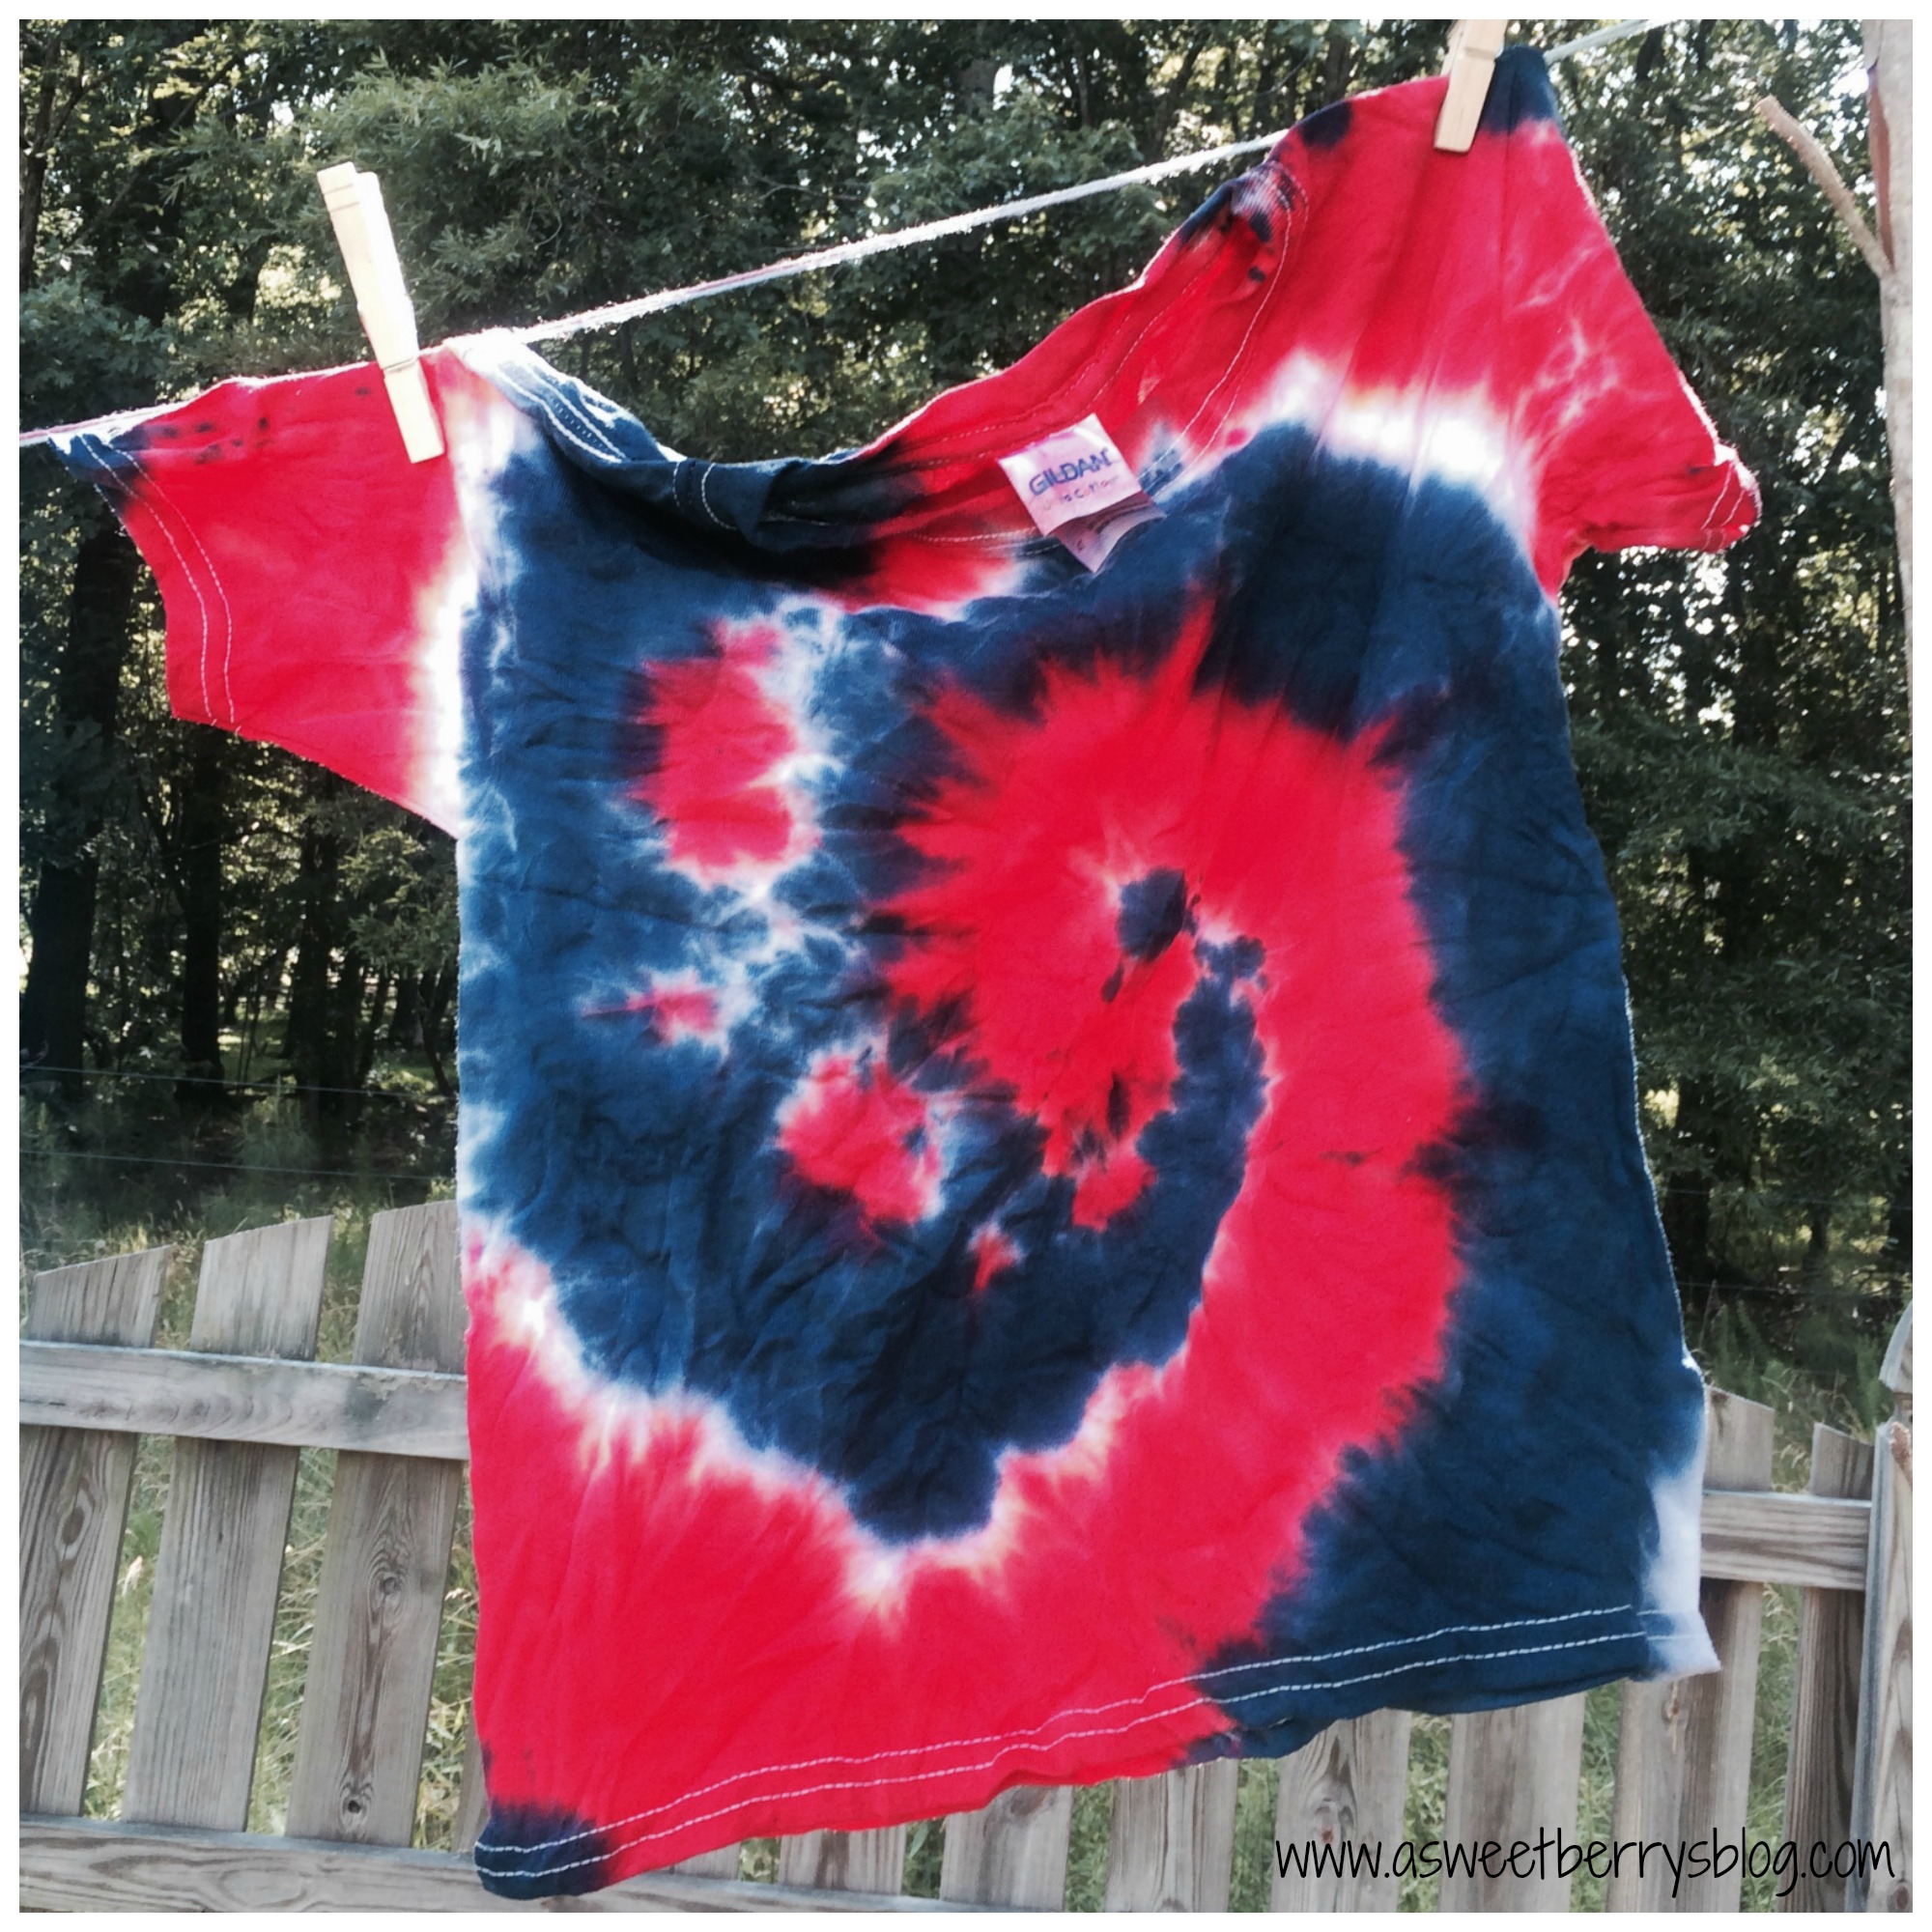
Dad 4th of July Shirt!
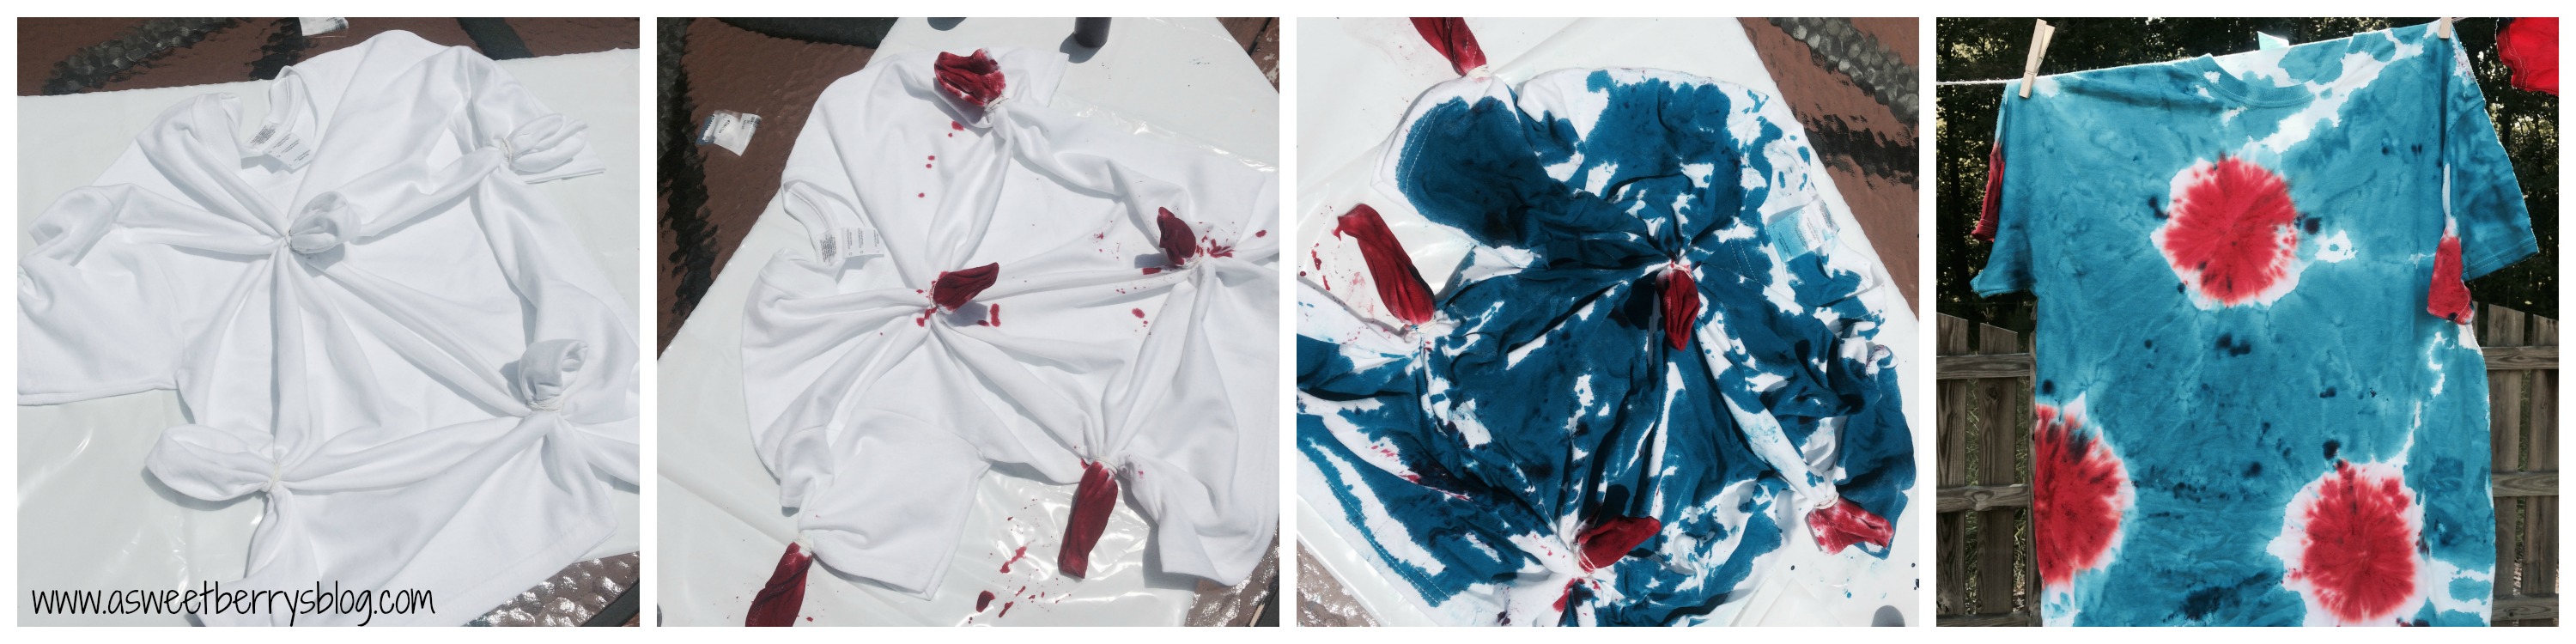
Dad’s shirt was made using the starburst method. Pieces of fabric were gathered, making sure to grab both the front and the back of the shirt and wrapped a rubber band around it. The gathered pieces were tie-dyed with red and then the rest of the shirt was tie-dyed with blue!
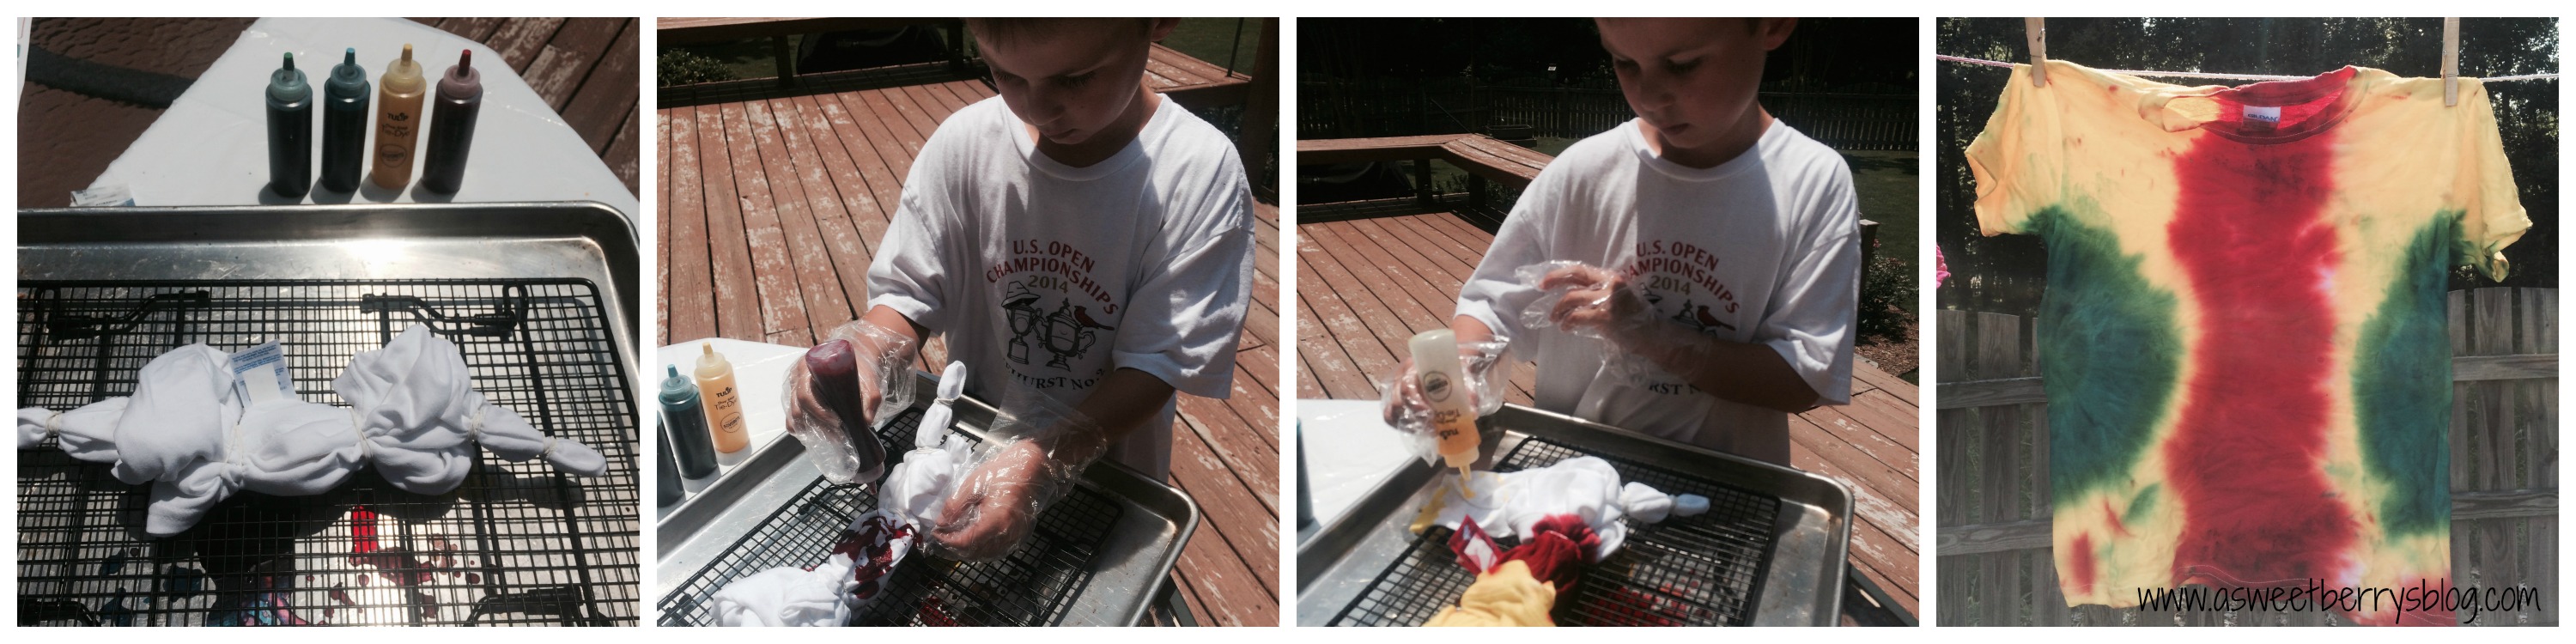
Big Brother’s Tie-Dye Master Piece!
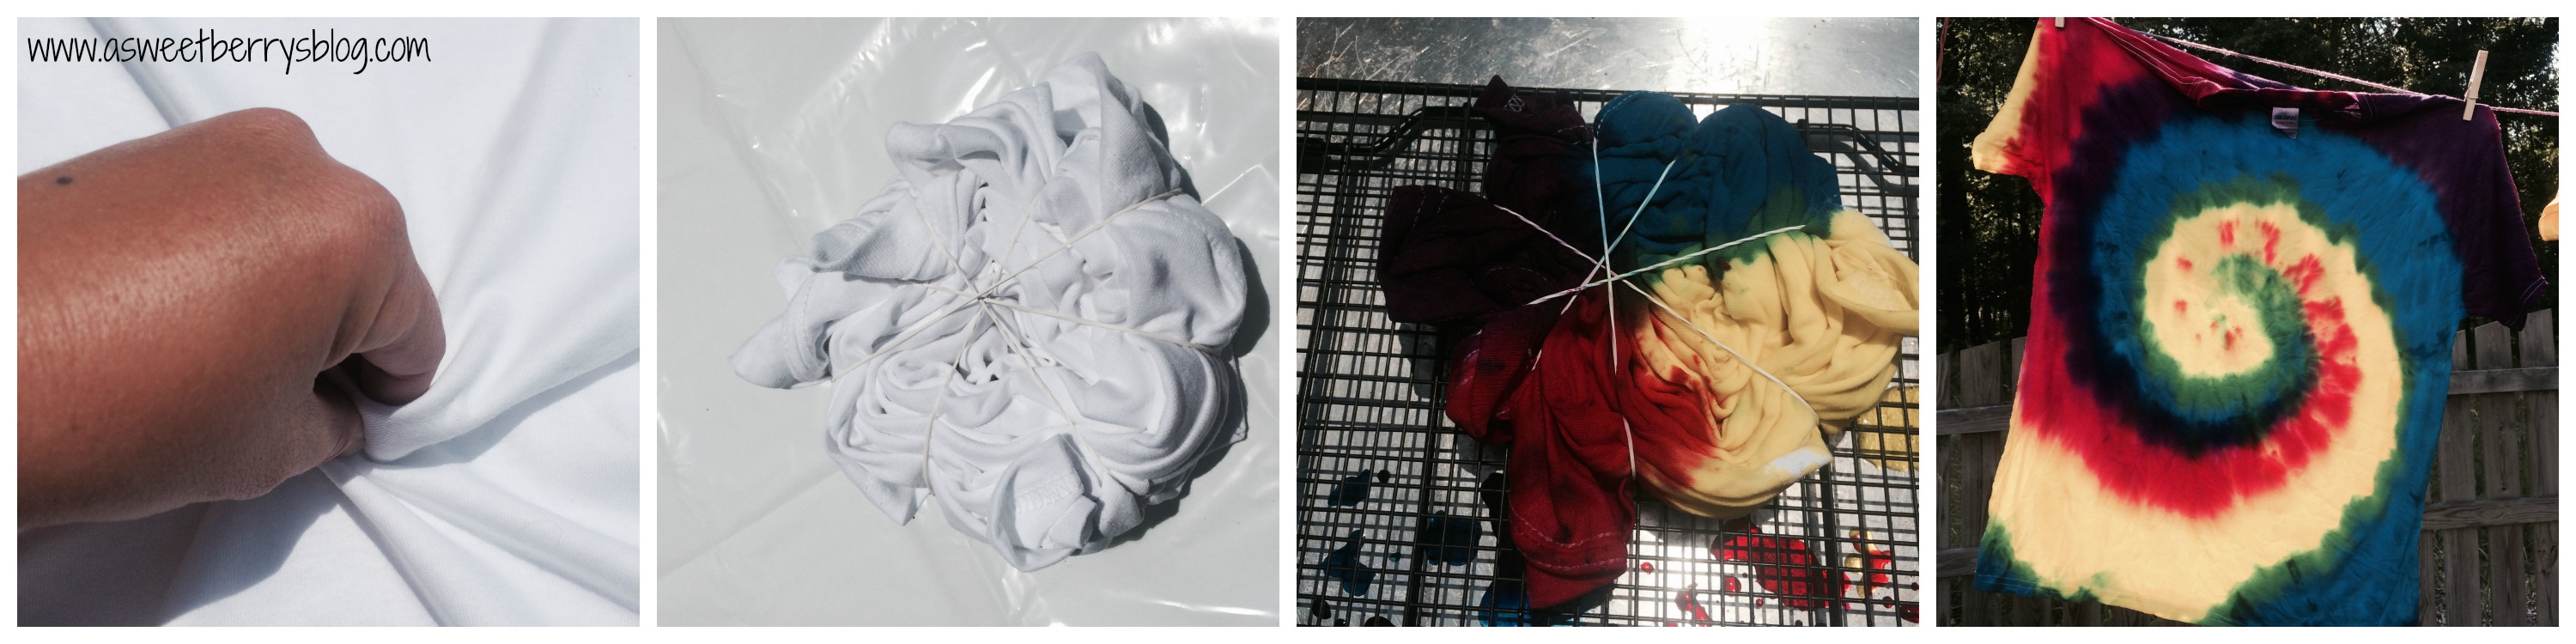
Landon wanted to create something different with his shirt. He loves how it turned out, with his favorite colors of blue, green, yellow and red!
Little Brother’s 4th of July Shirt
Benjamin loves the swirl method as well, so he will be rocking his shirt come the 4th of July!!! This kid loves to tie-dye as much as I do!
This one-step tie dye kit is perfect for a party of friends! It comes with everything you need…bottles with dye, rubber bands, gloves and a plastic table cloth.
For other great summer tie dye ideas, hop on over to some other blog sites and see what they created using this great product!
Also, enter for a chance to win a Tulip One-Step Tie Dye Party Kit for 10!
a Rafflecopter giveaway