Disclosure: As a member of the Laura Kelly Design Team, I received product from Sizzix/Ellison for use in my blog posts. The opinions are my own. This post may contain affiliate links.
Thanksgiving is upon us. And I’m feeling really thankful this season. I’m thankful for my family and my friends. I’m thankful for a house to live in, food to put on the table and a bed to sleep in. I’m thankful for a car to drive. I’m thankful for my husband’s job and for my job. I’m thankful for my church and church family. I’m thankful that my children go to a great school. And I’m thankful to be healthy! My list of thankfulness could go on and on and on.
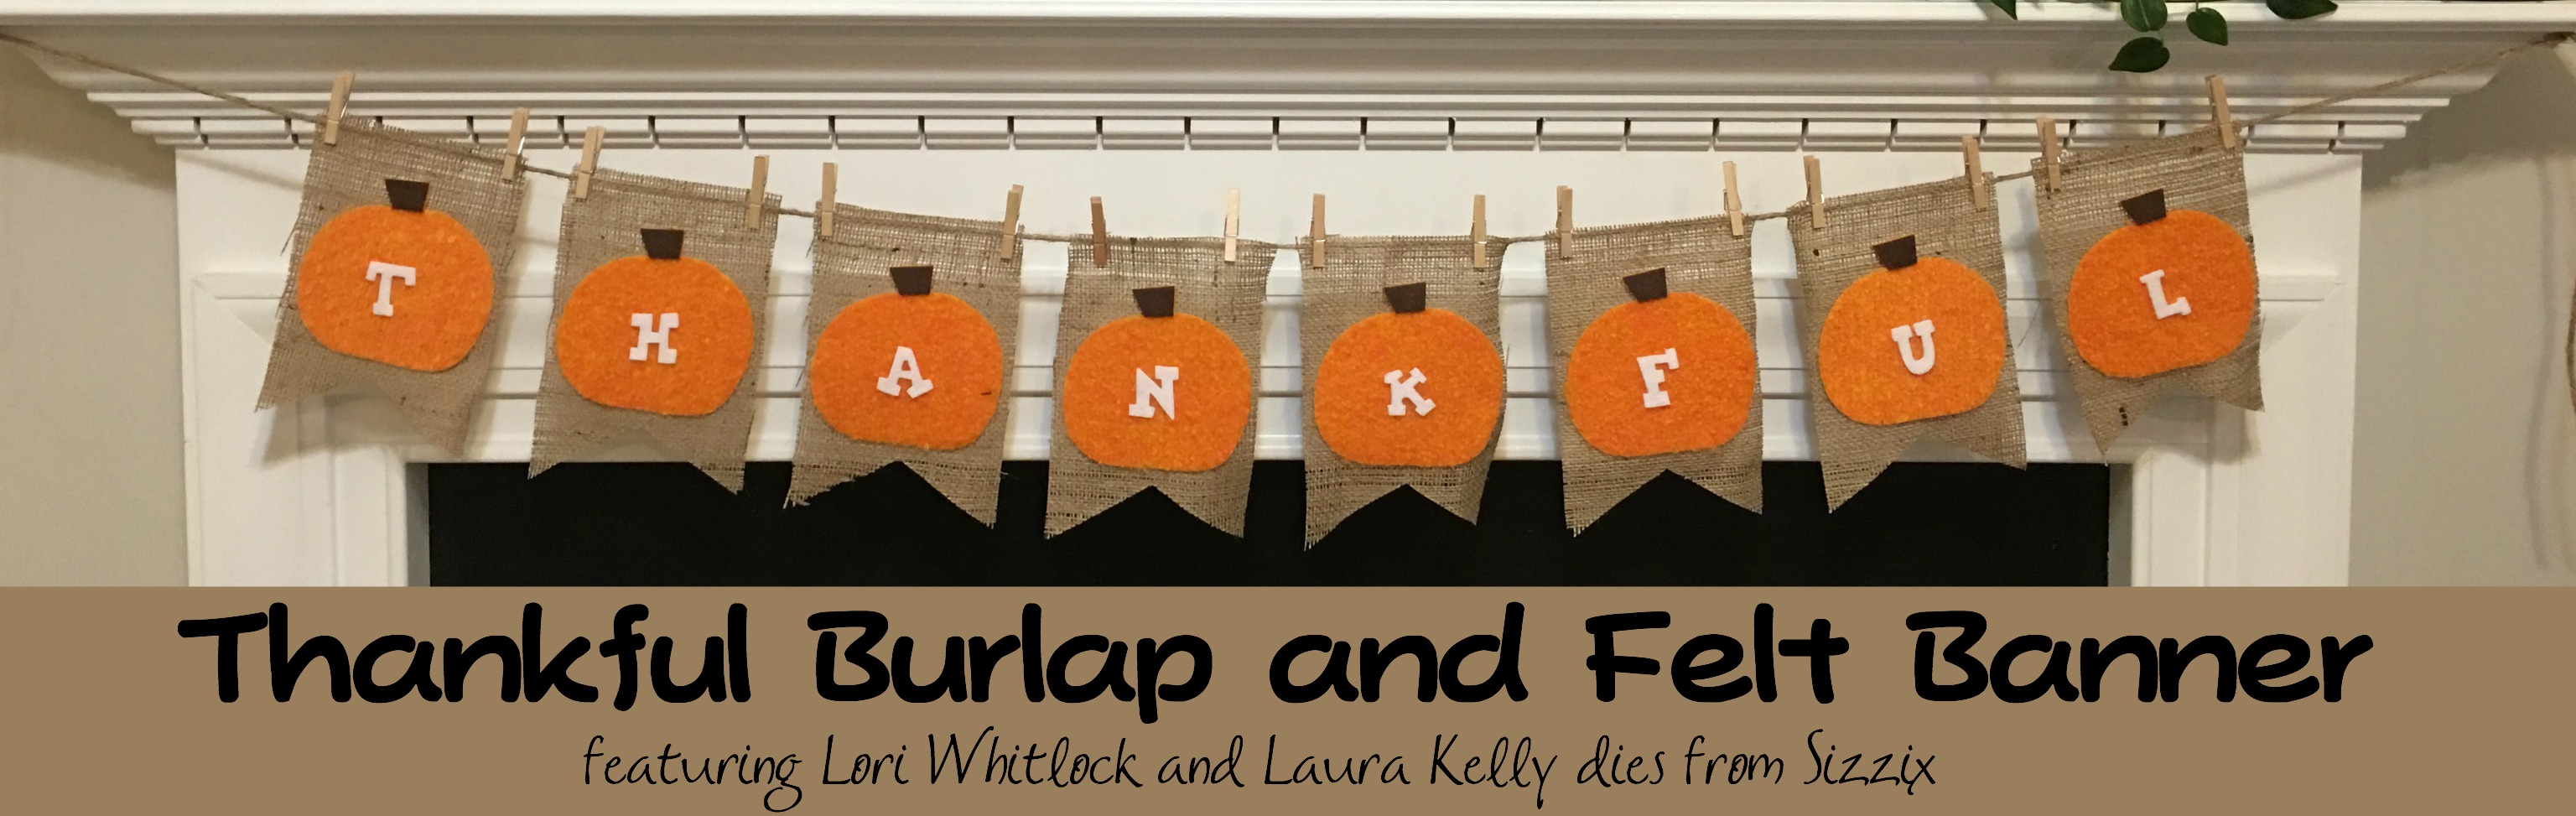
Lately I’m obsessed with banners! I love to make them as much as I love hang them in my house! They are easy to make and you can make them any ways that you want! They can really make a difference in your home, even if it’s just for a little color!
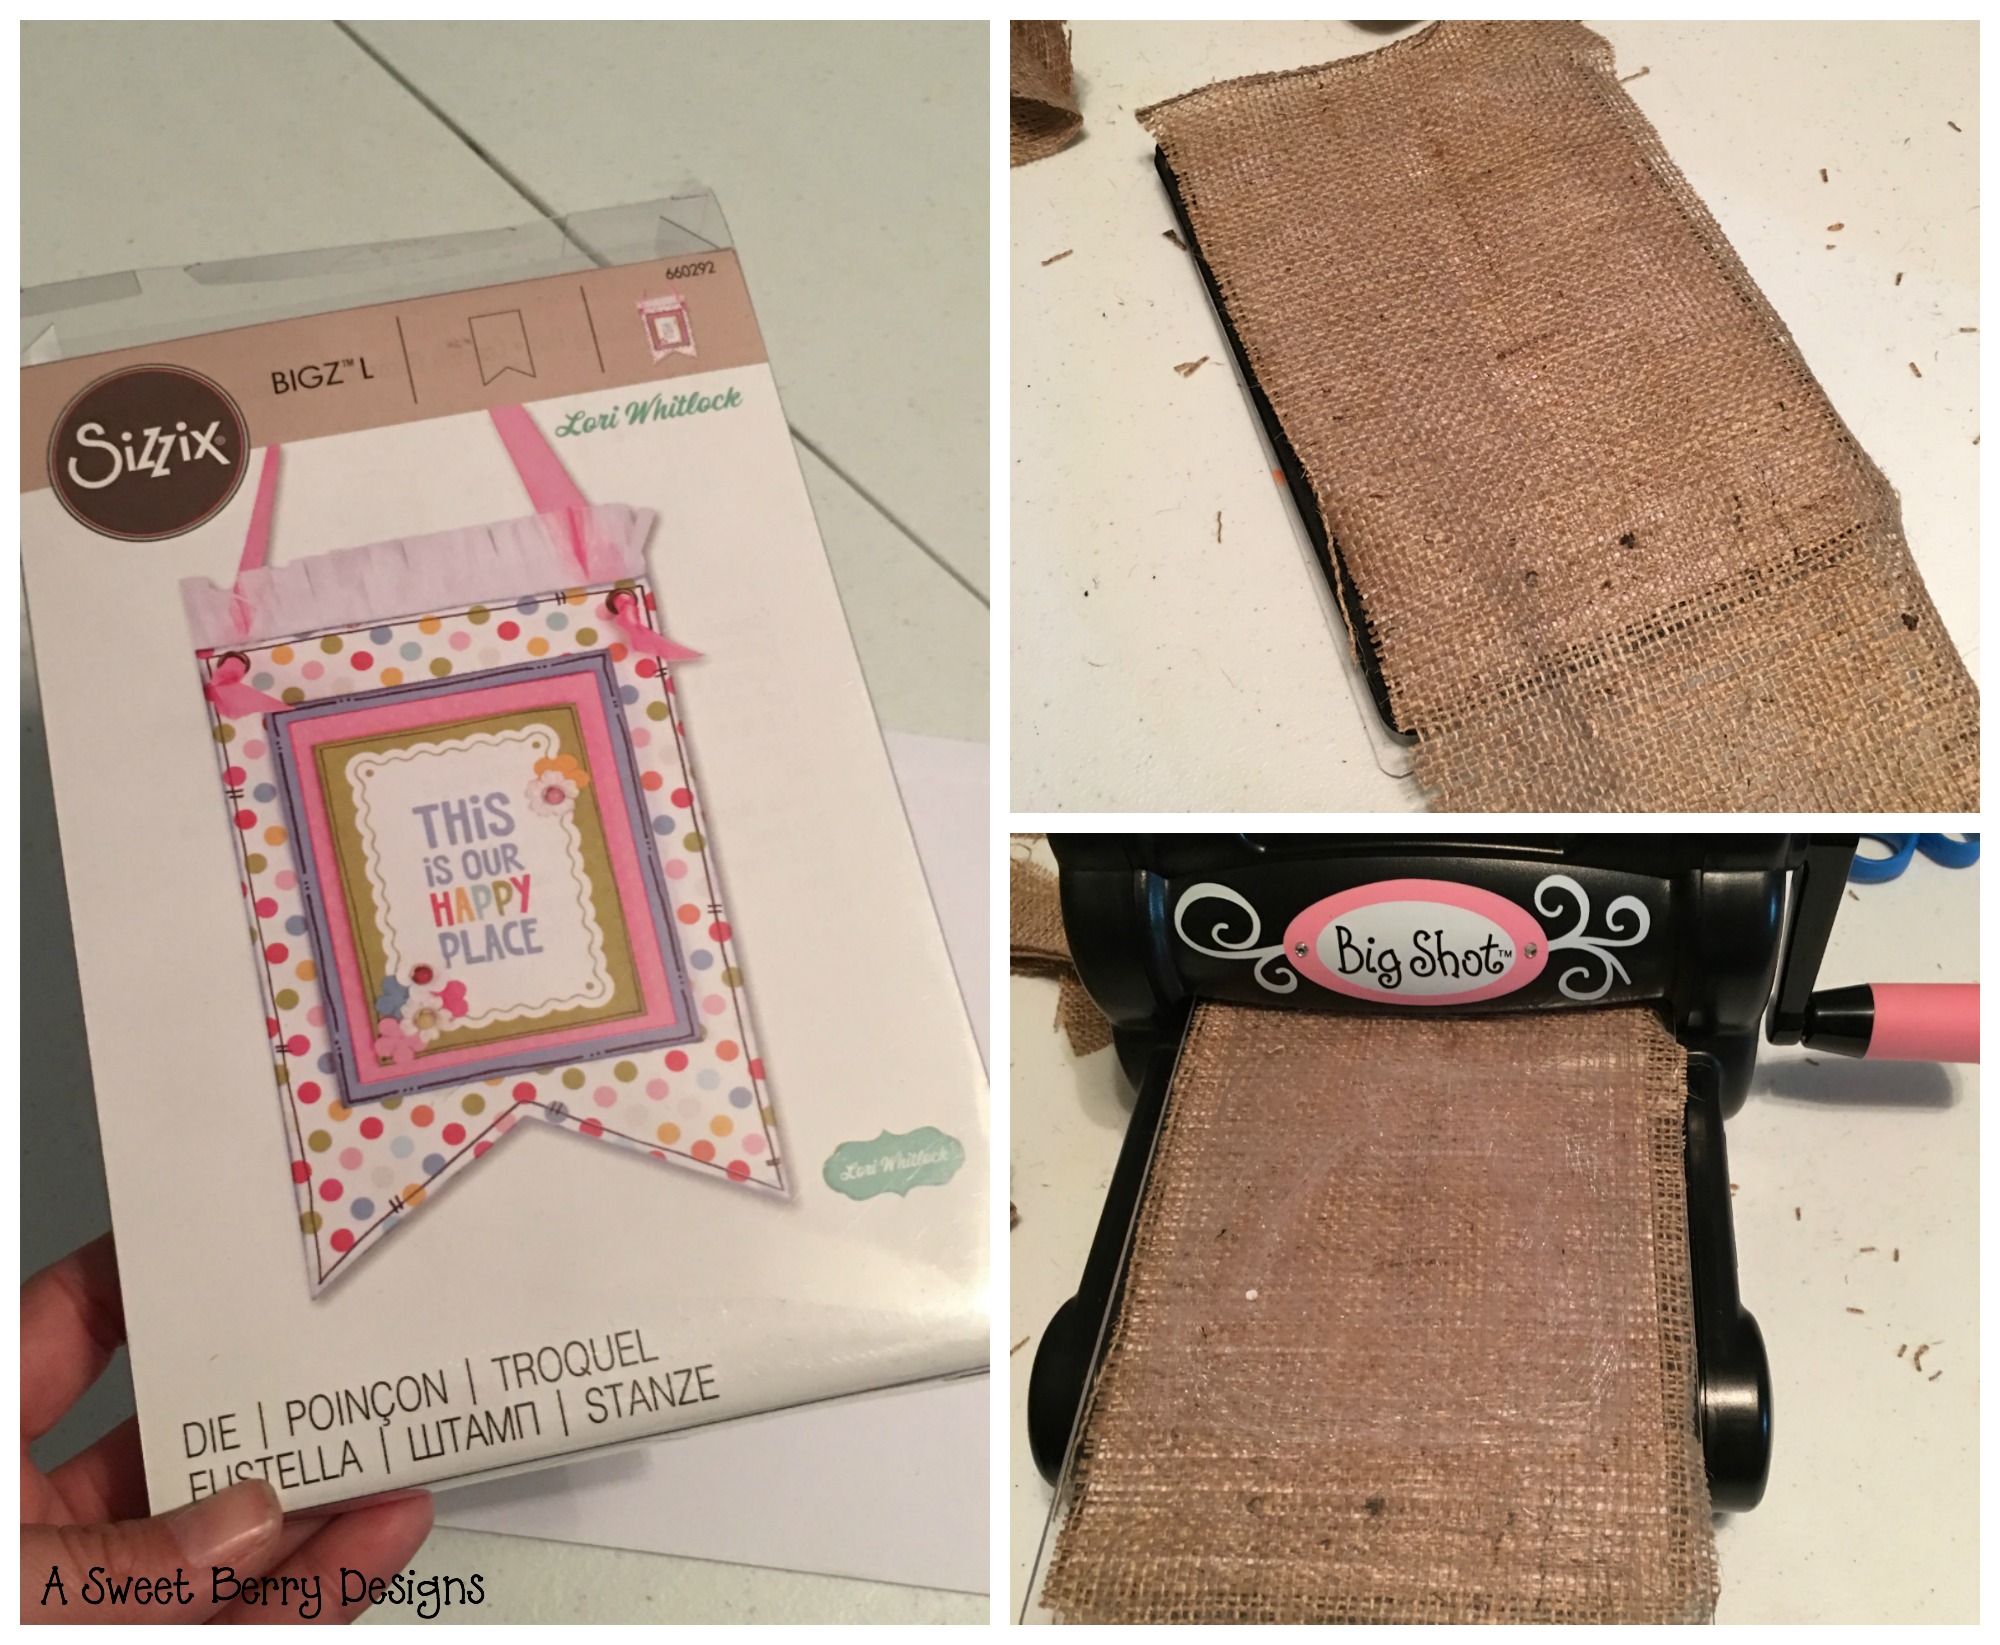
Just recently Sizzix sent me this amazing banner die designed by Lori Whitlock. I used it, along with some of my favorite dies by Laura Kelly, to create this amazing Thankful banner! This banner die might be one of my favorite dies ever!
Materials used:
- Laura Kelly’s Dies:
- Lori Whitlock Die:
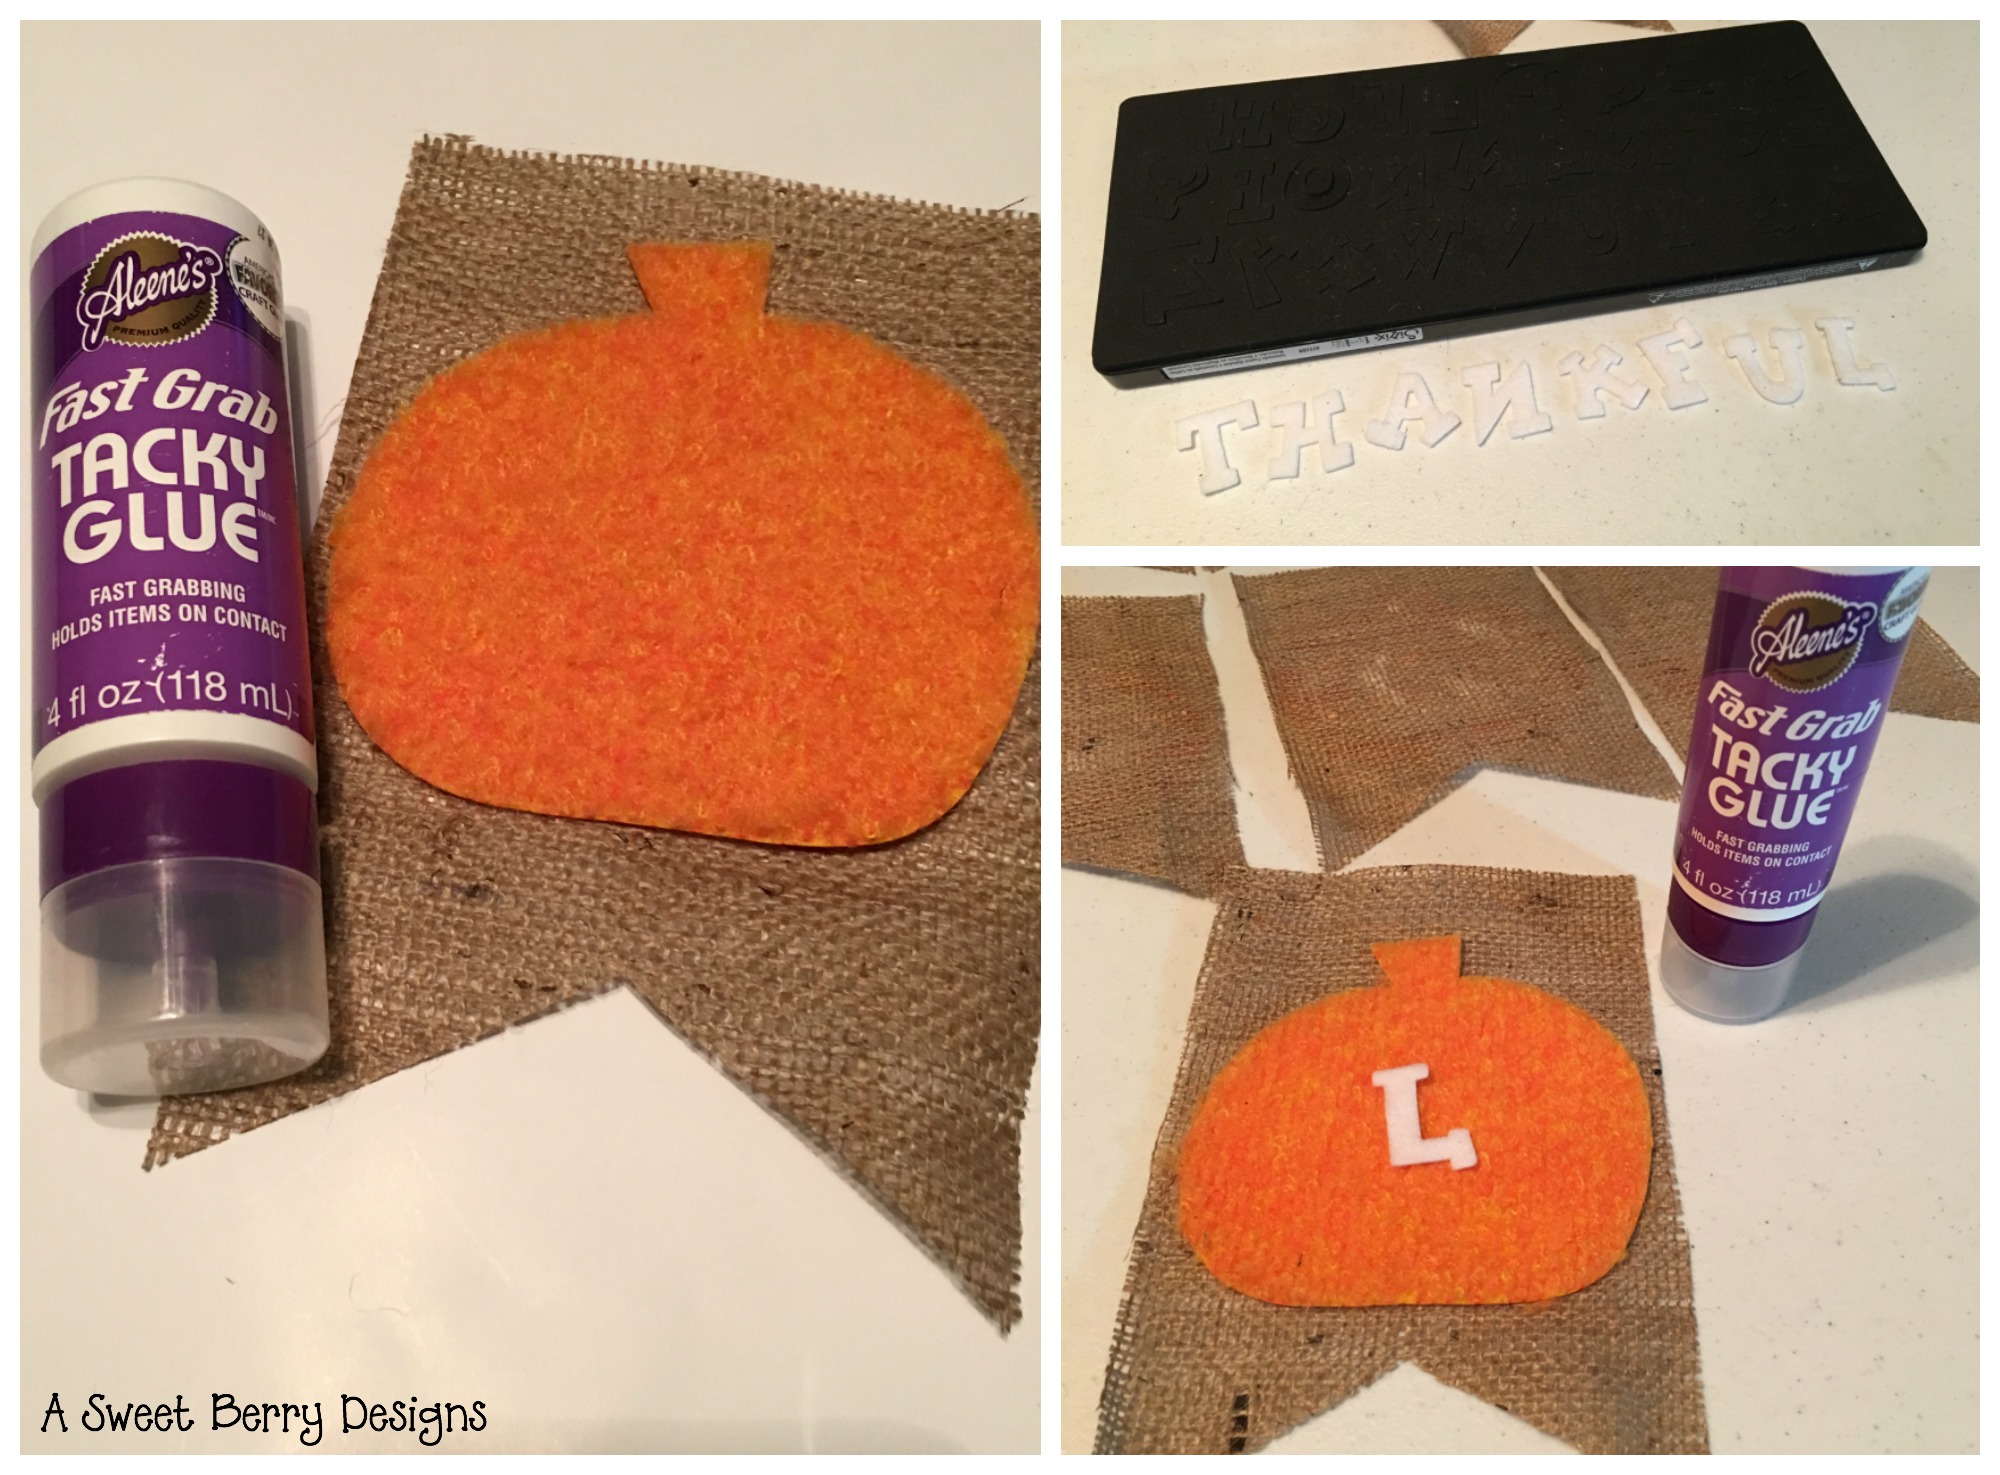
- Glue (I used Aleene’s Fast Grab Tacky Glue)
- Burlap
- Felt
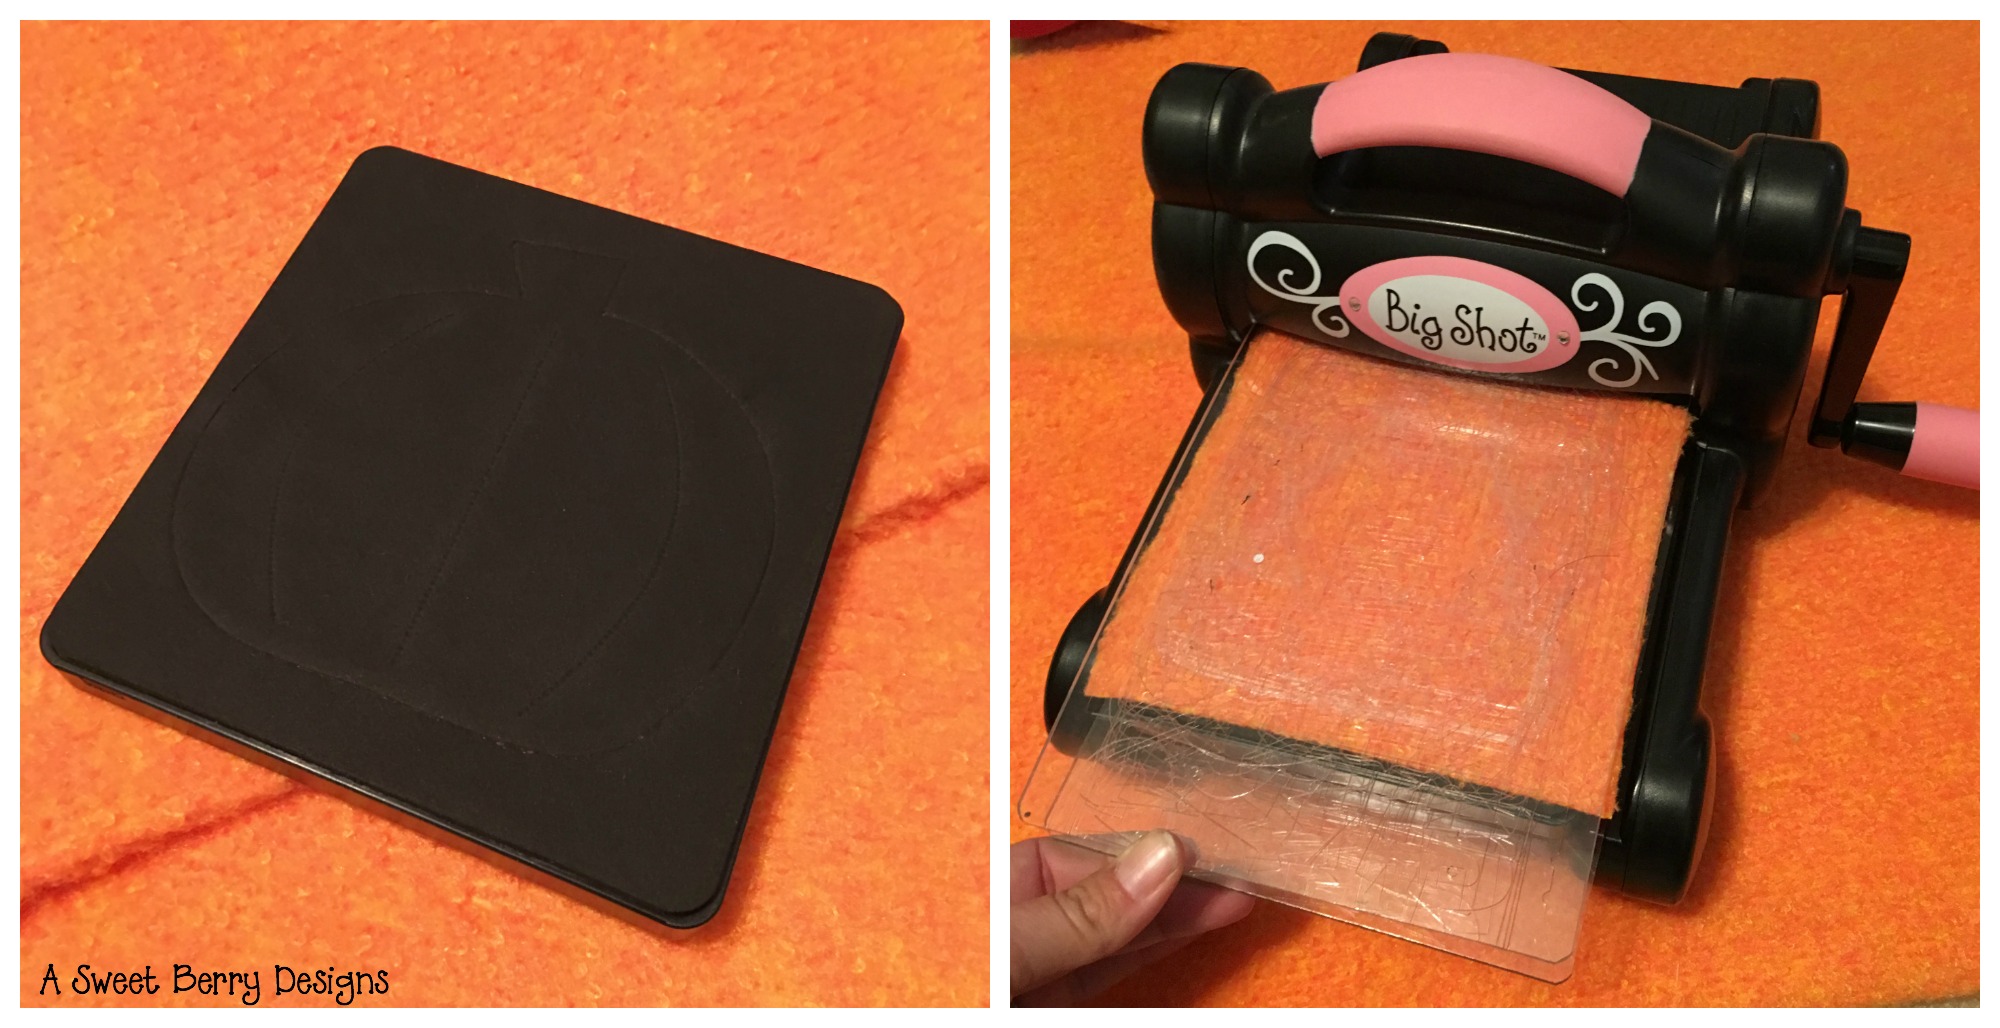
- I used Kunin Group’s Eco-fi ShaggiChic for the pumpkin
- I also used Kunin Group’s Eco-fi Classicfelt for the stem of the pumpkin and the letters
- Sizzix Big Shot and Cutting Pads
- Paper to put under the burlap when cutting
- Jute Rope
- Small clothes pins
Directions:
- First, I cut out all of the pieces needed for the banner. The ShaggiChic felt is a little thicker so I cut them individually. Sometimes you can cut multiple pieces in one run through of the Big Shot.
With the burlap I placed a piece of paper underneath the burlap each time I did a cut. I didn’t want the fibers of the burlap to get all over the die. Putting the paper underneath really helped.
2. Once all of my pieces were cut out, I started putting the banner together. I glued the pumpkins to the burlap banner pieces. Then I added the letter and the stem.
3. Usually I like to use ribbon for my banners, but lately I’ve liked using jute rope. Jute rope goes really well with the burlap! And I love the natural look of the jute rope!
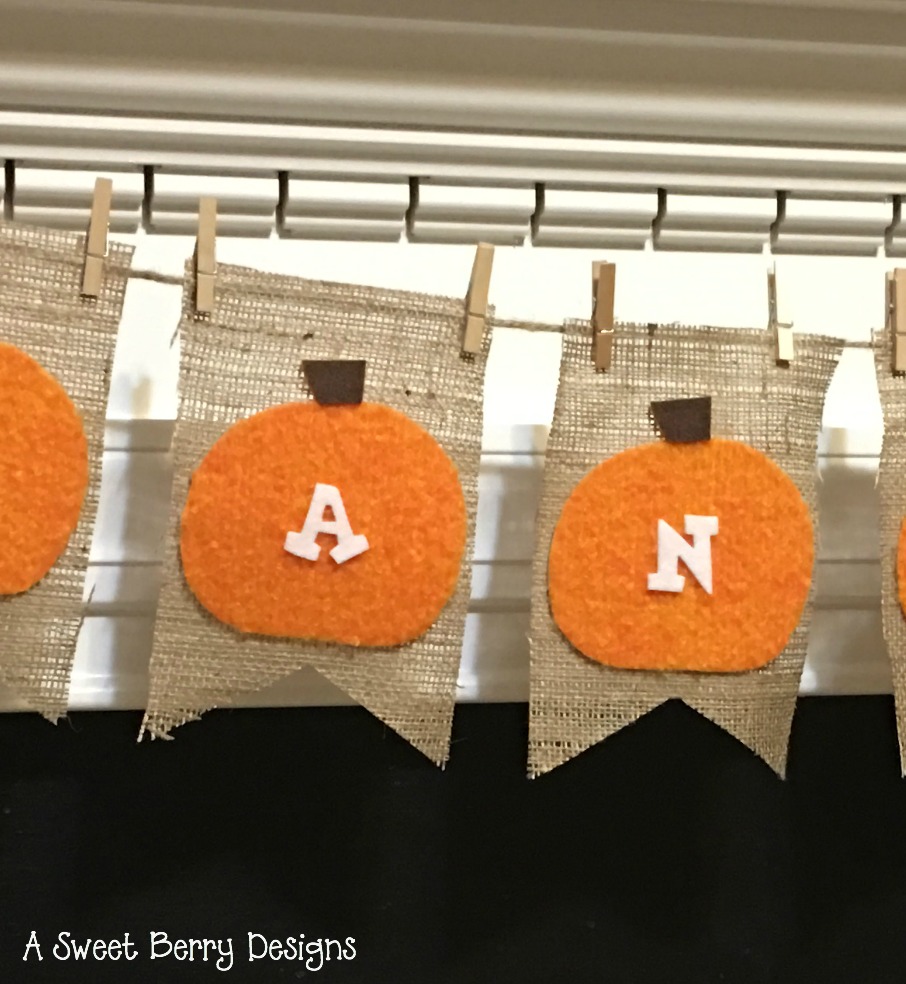
I hope you like my Thankful burlap and felt banner. I love it so much that I want to keep it out longer than just the Thanksgiving season. I hope that you and your family have a Happy Thanksgiving!