Tag Archives: DIY

Quick Be Mine Valentine Banner

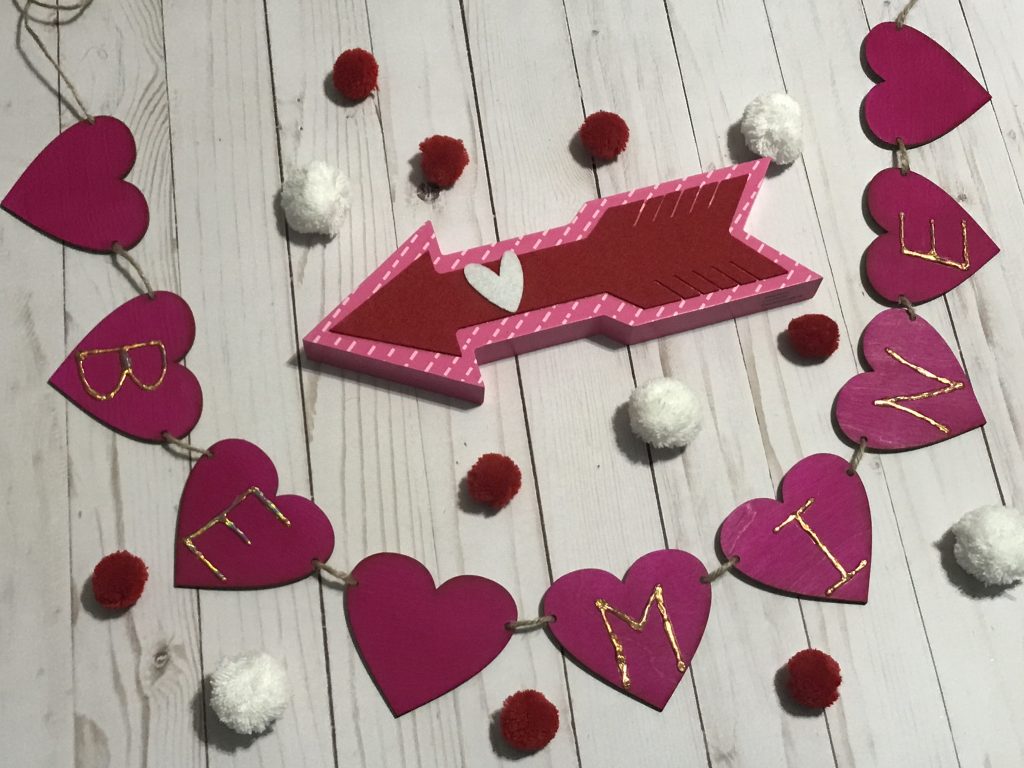
Woah! Valentine’s Day is coming up quick and an easy Be Mine banner is the perfect addition to your decor. You can get heart cut outs of wood or even felt and make this banner! I just happened to make my hearts on the Glowforge and I’m using Therm O Web’s deco foil® to decorate it!
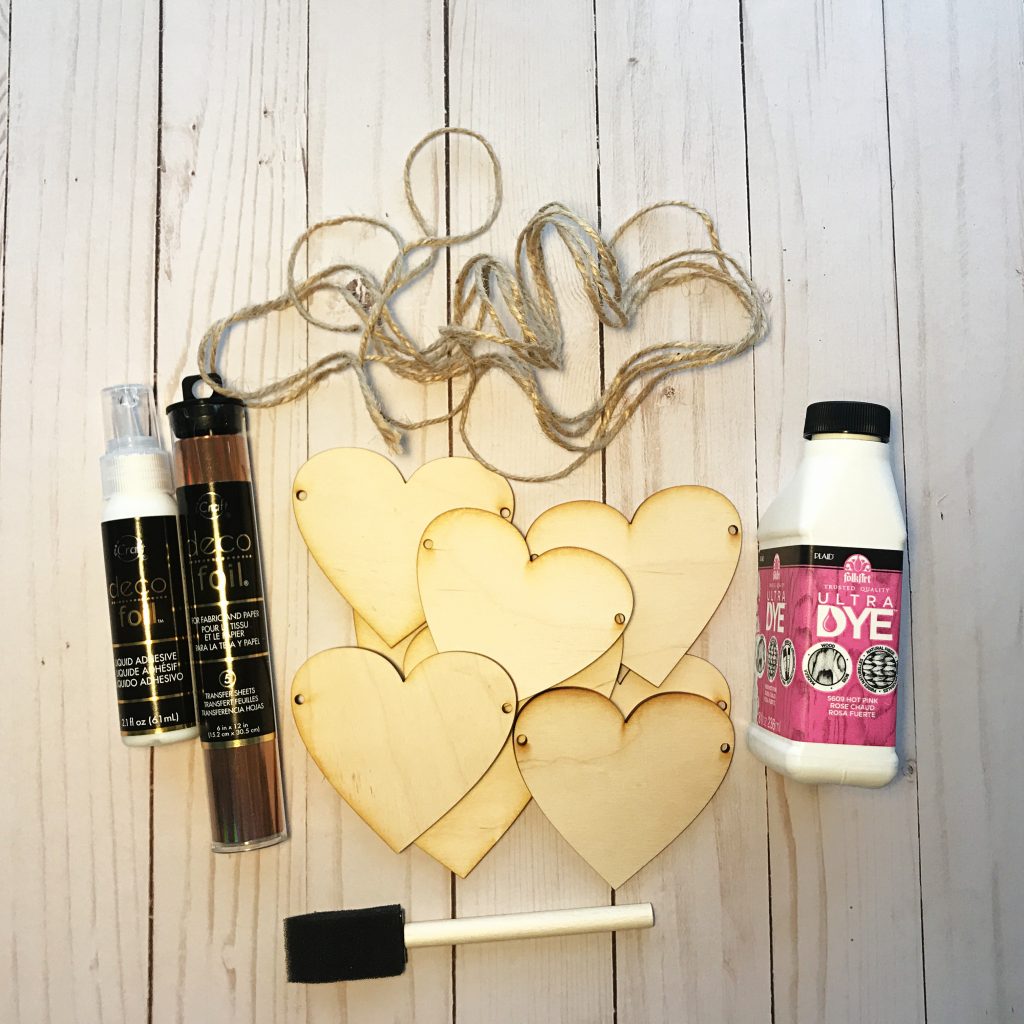
Materials I used:


How I made it:

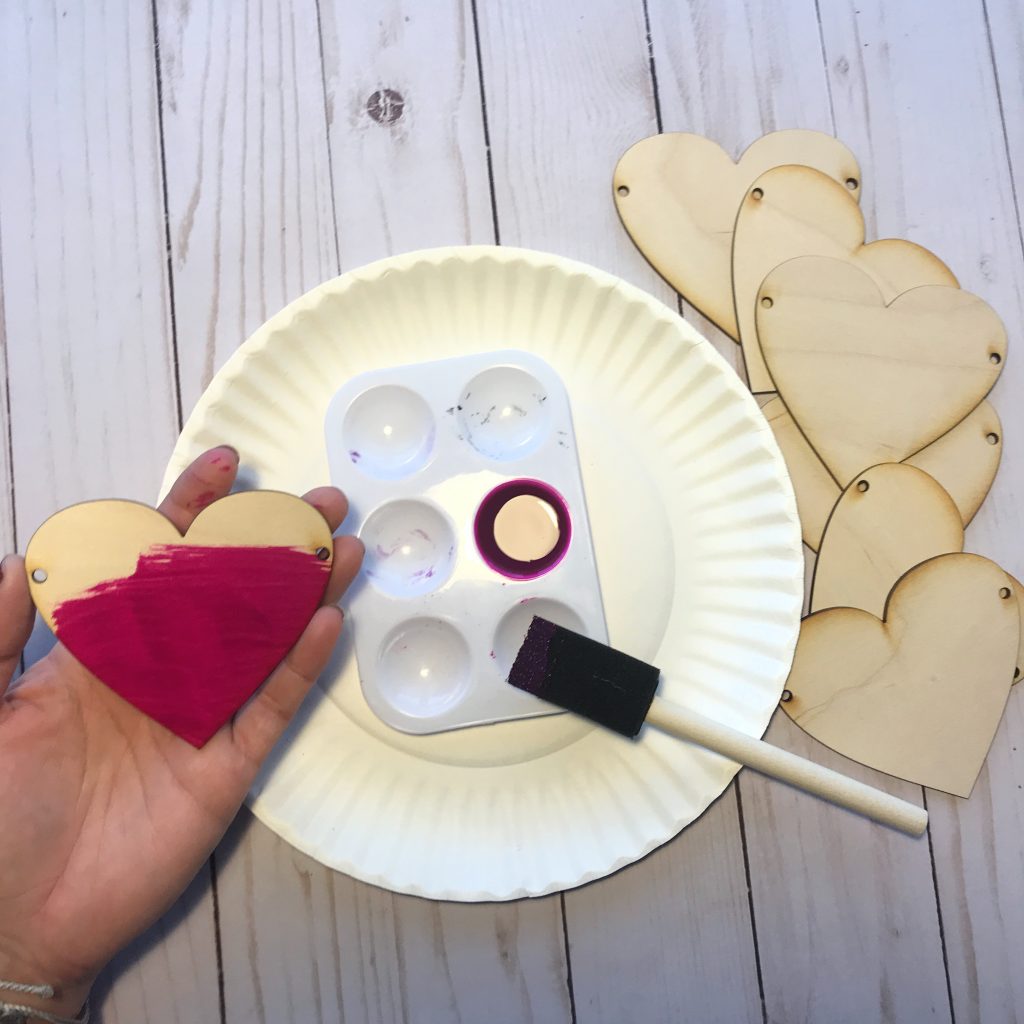
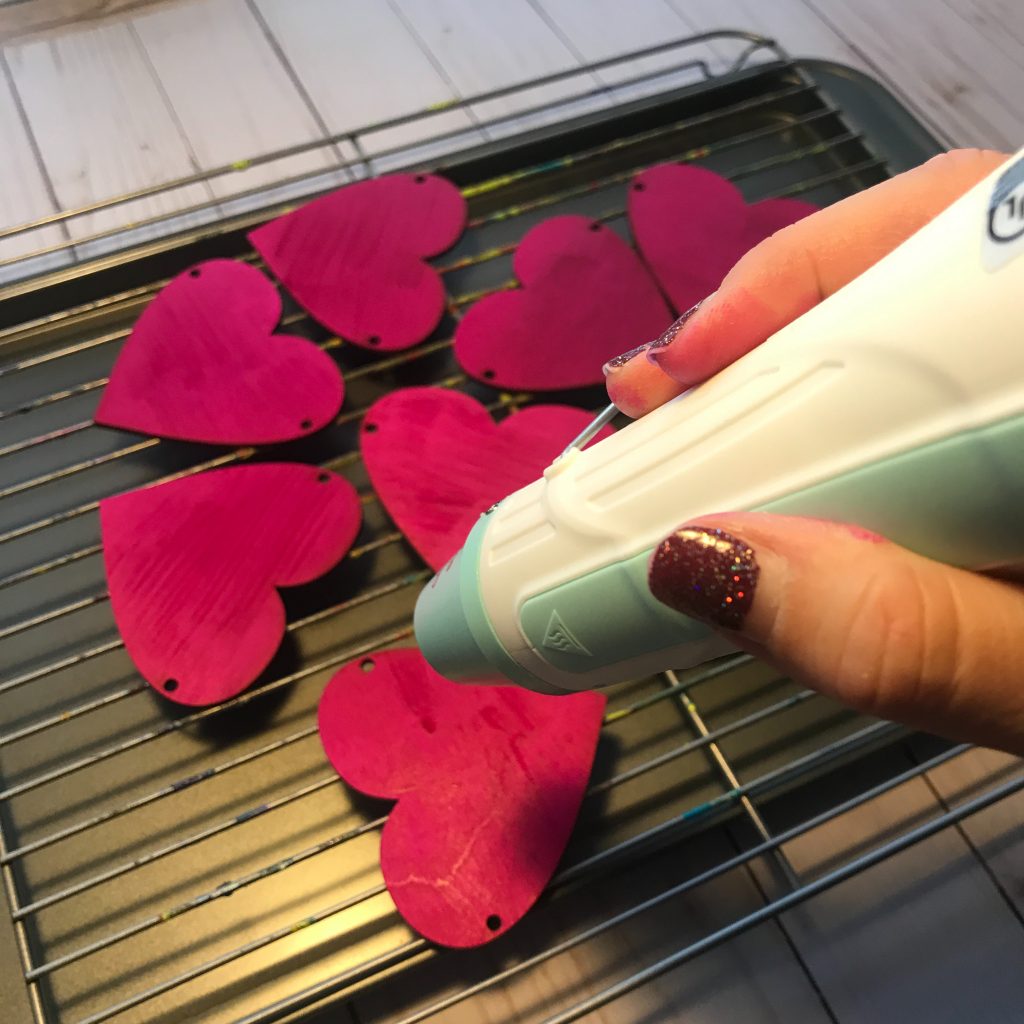
  1. I painted the hearts with the dye. And let it dry. TIP: I used a heat gun to help the drying process go a little faster!
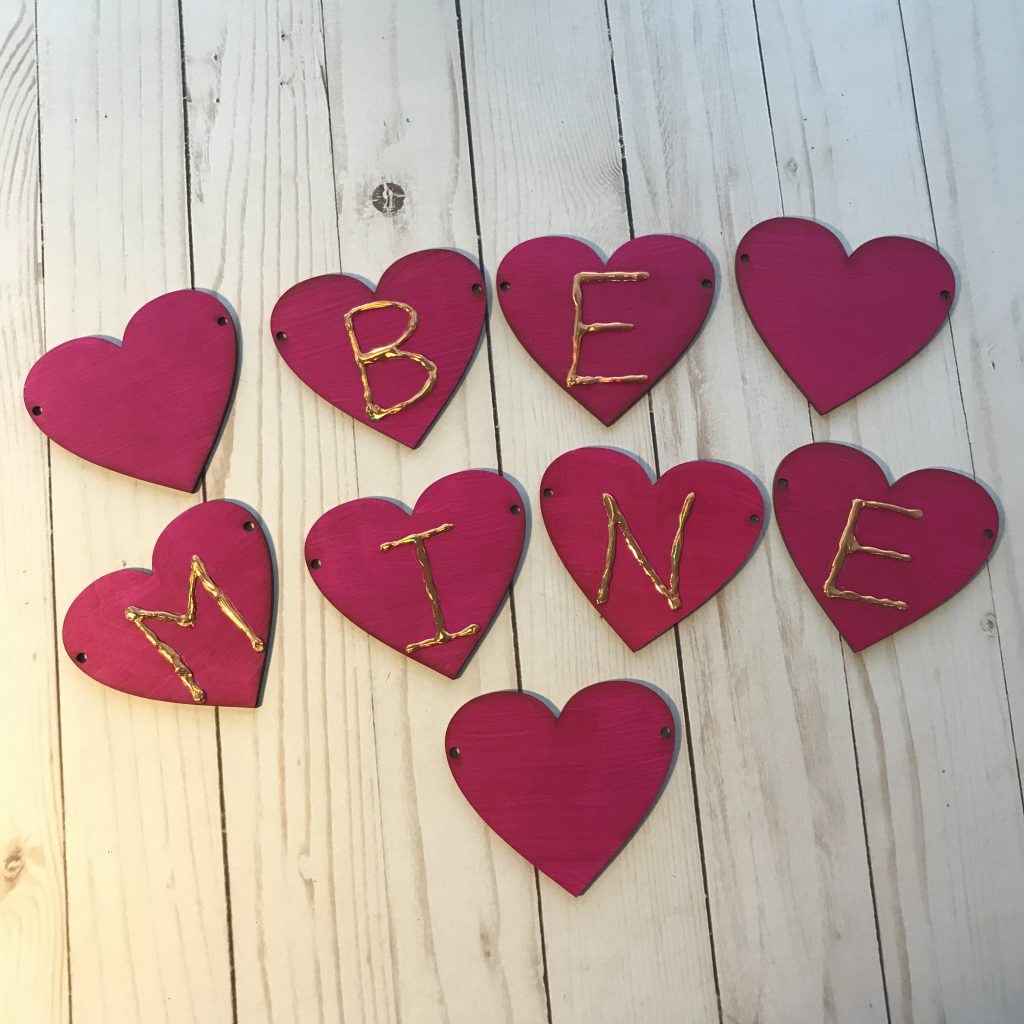
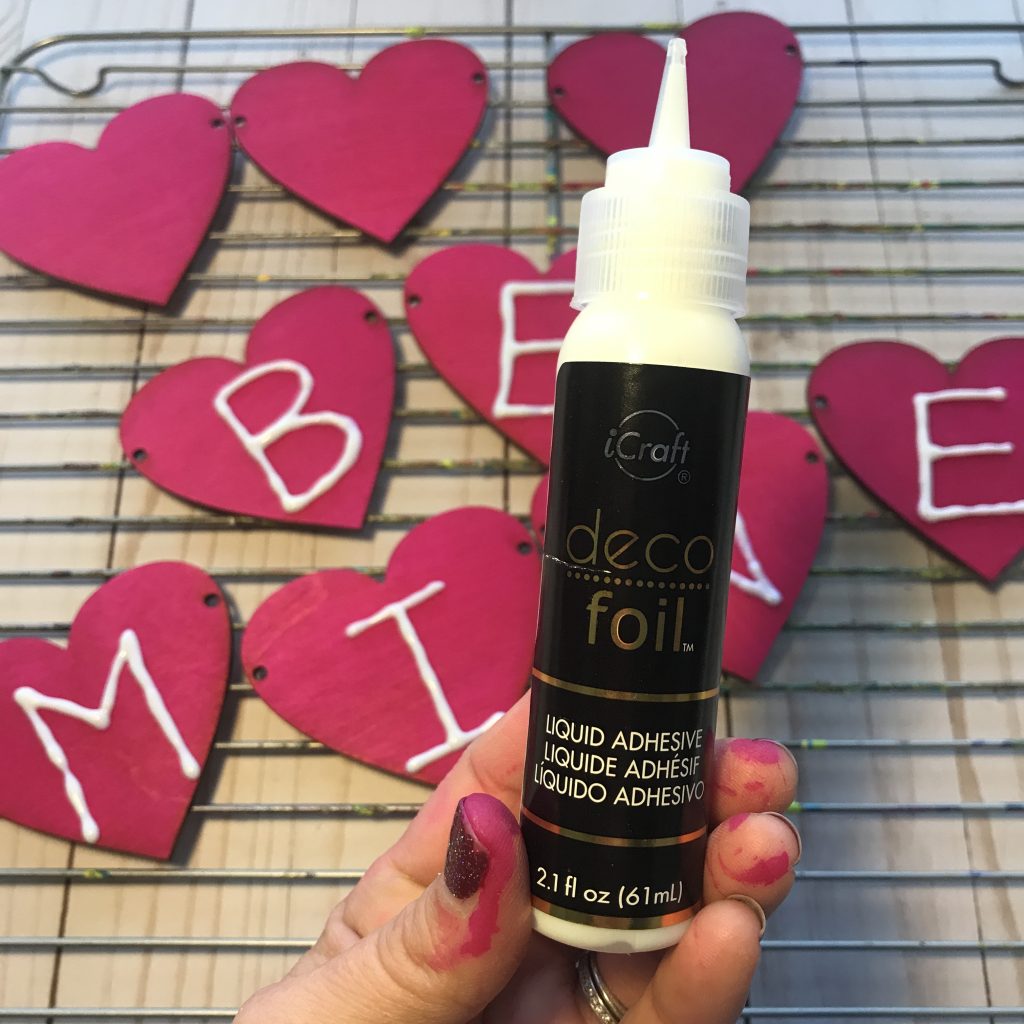
2. Once the dye was dry, I used the deco foil® Liquid Adhesive to draw out the letters for BE MINE. This adhesive does have to dry before you can apply the foil. So, let it dry about an hour.
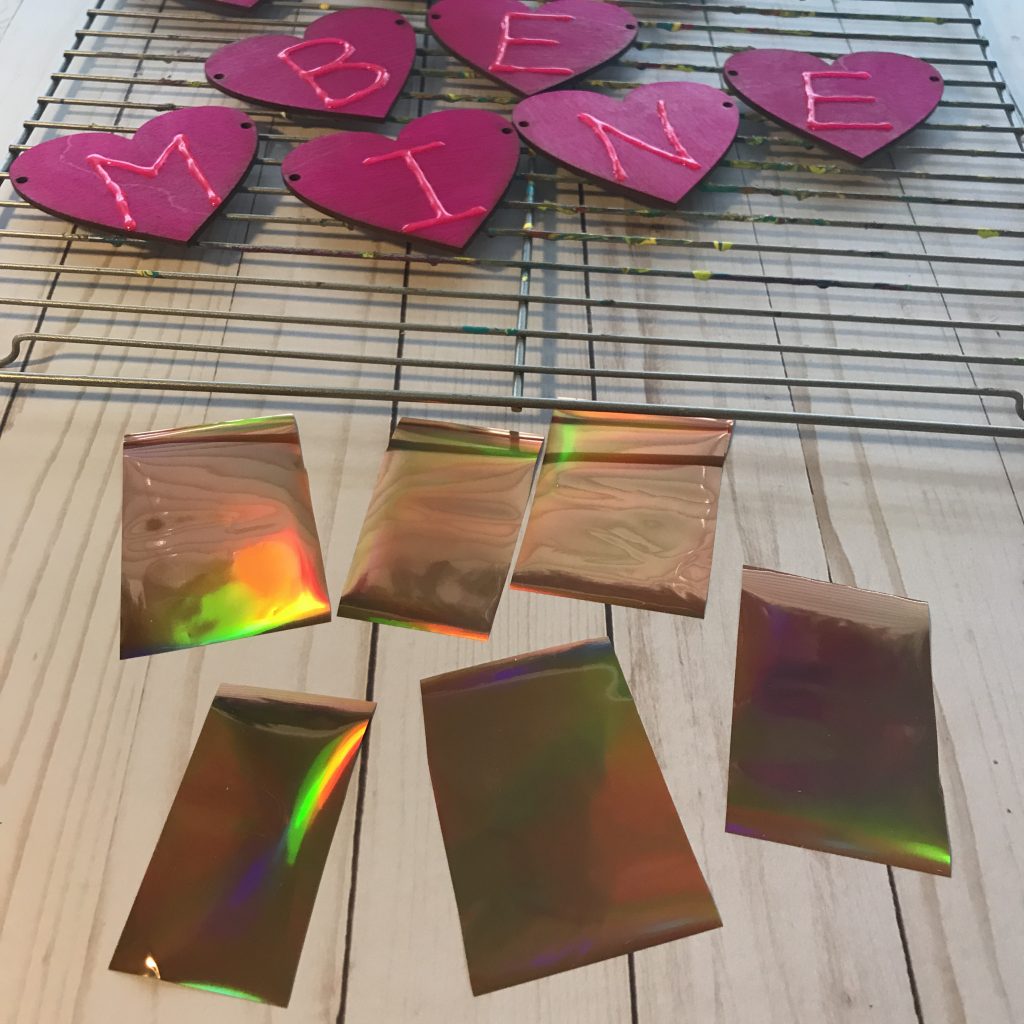
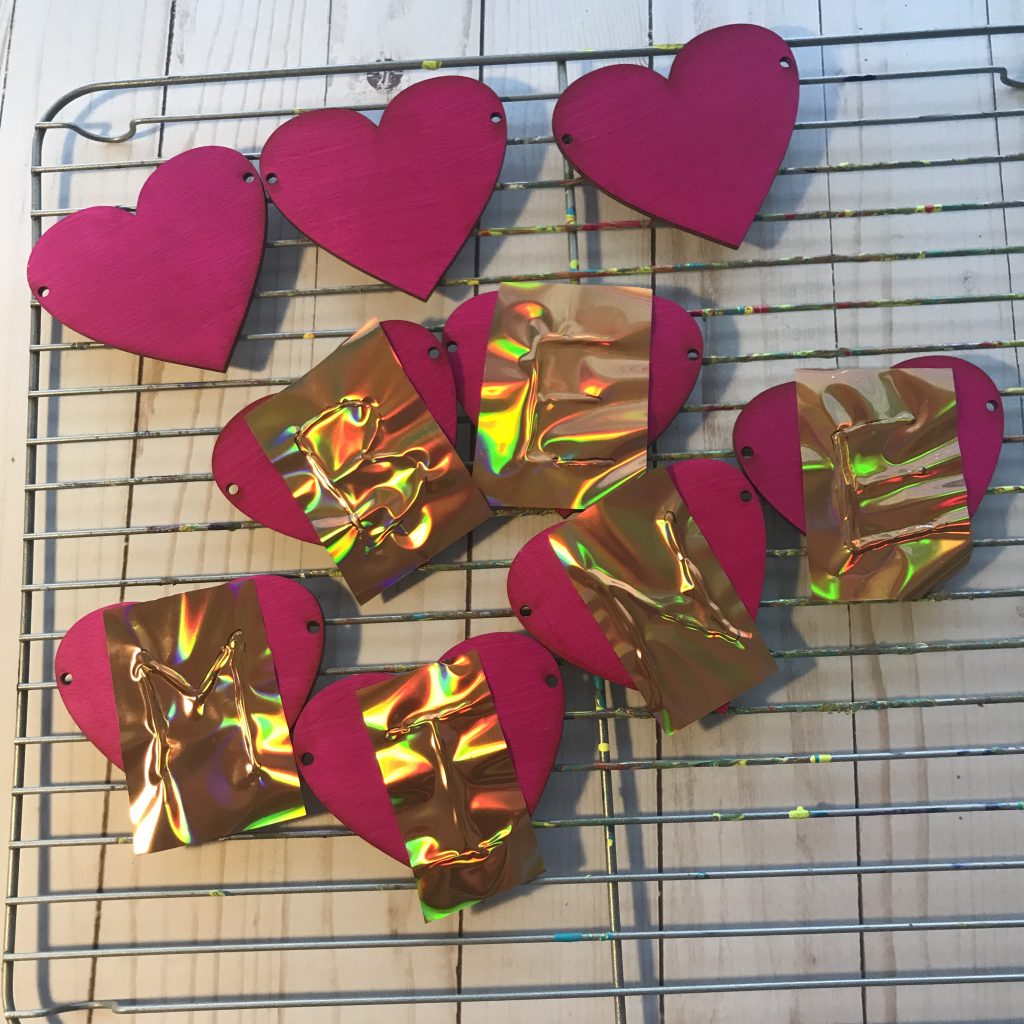
3. Cut the foil into pieces that would fit on your adhesive. Cutting it to size helps cut down on waste of the extra foil. Apply the foil over the dry adhesive and smooth down making sure to get the sides of the glue as well. Remove the waste.
4. String the hearts on the twine. TIP: If you are using hearts from felt or store bought hearts that don’t have holes in it, you an just hot glue the hearts to the twine or ribbon.
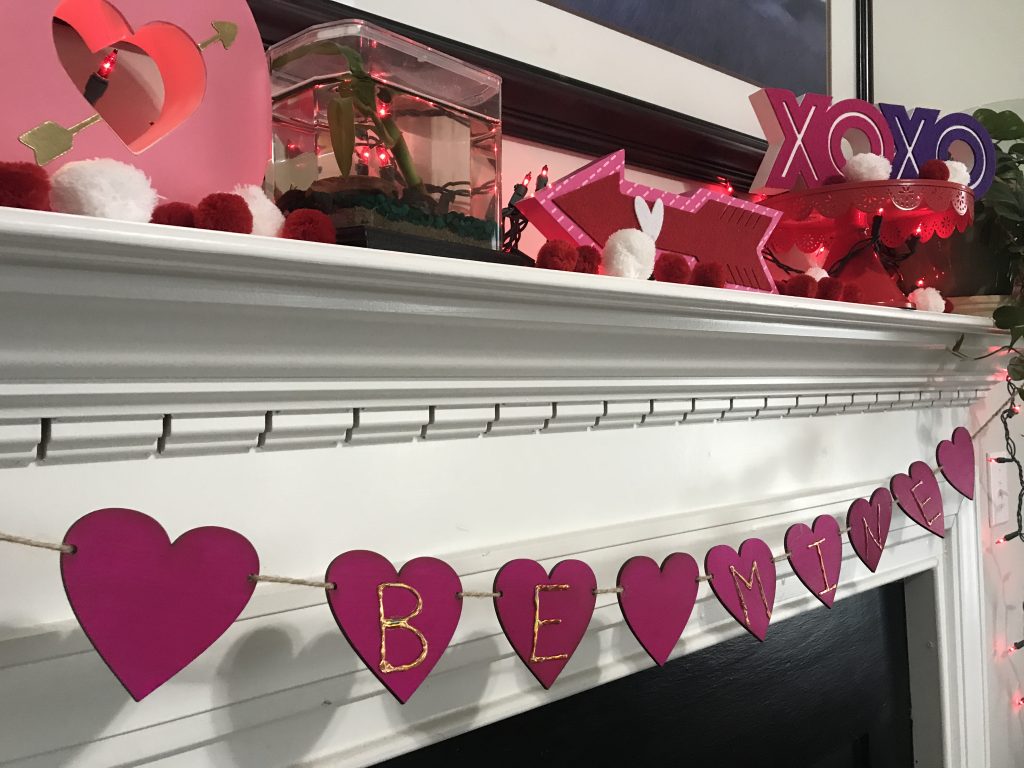
5. Then hang it up and look at your quick, easy and cute project!!!
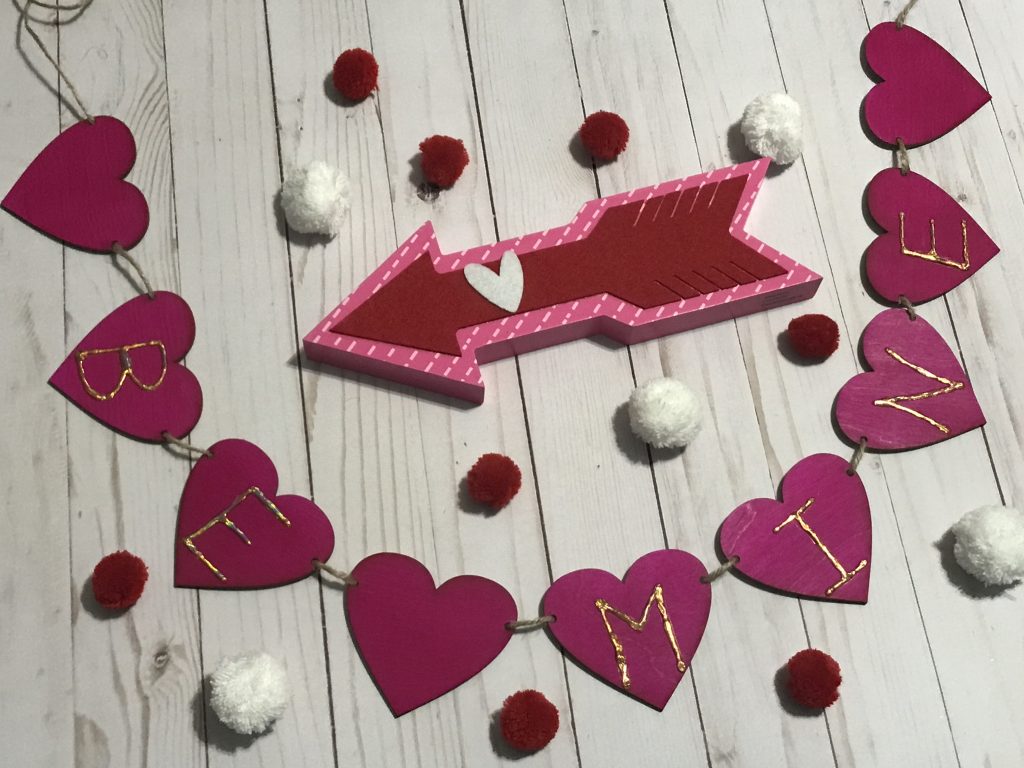
Be sure to click the button below to check out other last minute Valentine craft ideas!

Also, be sure to enter to win this awesome craft supply stash!!!

a Rafflecopter giveaway

Thankful Burlap and Felt Banner

Disclosure:   As a member of the Laura Kelly Design Team, I received product from Sizzix/Ellison for use in my blog posts.  The opinions are my own.  This post may contain affiliate links.

Thanksgiving is upon us.  And I’m feeling really thankful this season.   I’m thankful for my family and my friends.  I’m thankful for a house to live in, food to put on the table and a bed to sleep in.  I’m thankful for a car to drive.  I’m thankful for my husband’s job and for my job.  I’m thankful for my church and church family.  I’m thankful that my children go to a great school.  And I’m thankful to be healthy!  My list of thankfulness could go on and on and on.

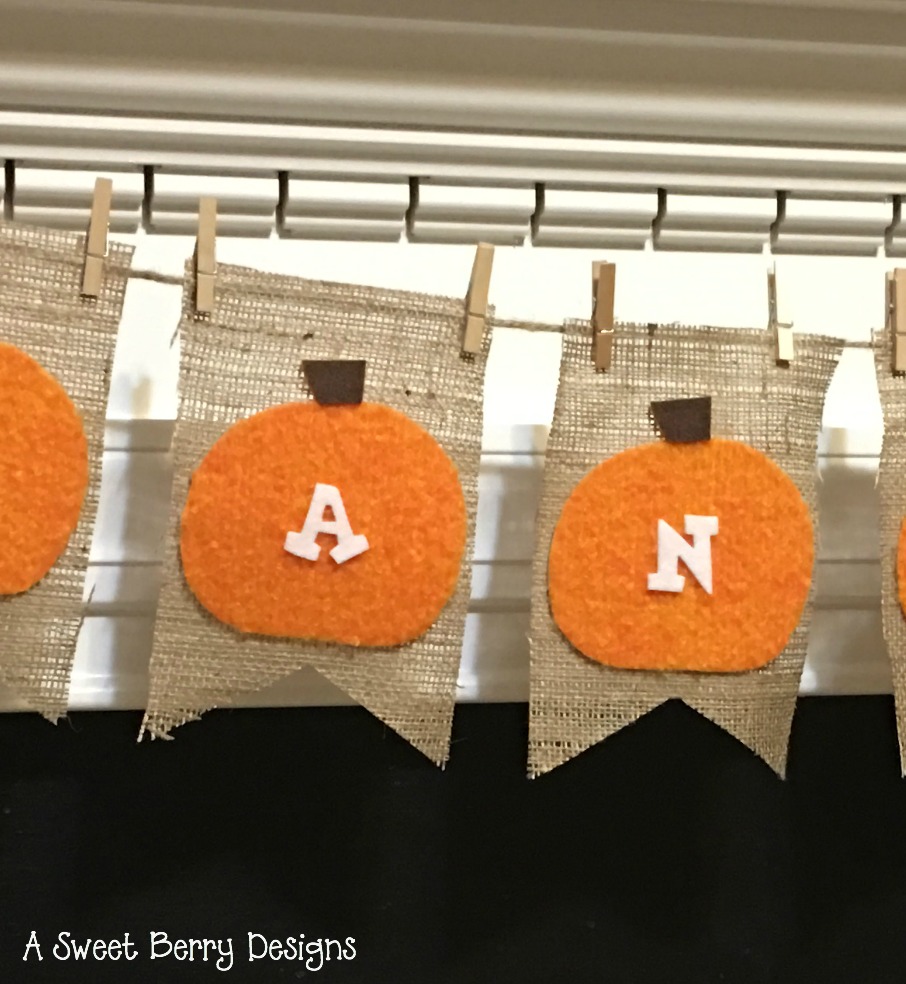
banner-final

Lately I’m obsessed with banners!  I love to make them as much as I love hang them in my house!  They are easy to make and you can make them any ways that you want!   They can really make a difference in your home, even if it’s just for a little color!

Just recently Sizzix sent me this amazing banner die designed by Lori Whitlock.  I used it, along with some of my favorite dies by Laura Kelly, to create this amazing Thankful banner!  This banner die might be one of my favorite dies ever!

Materials used:

Directions:

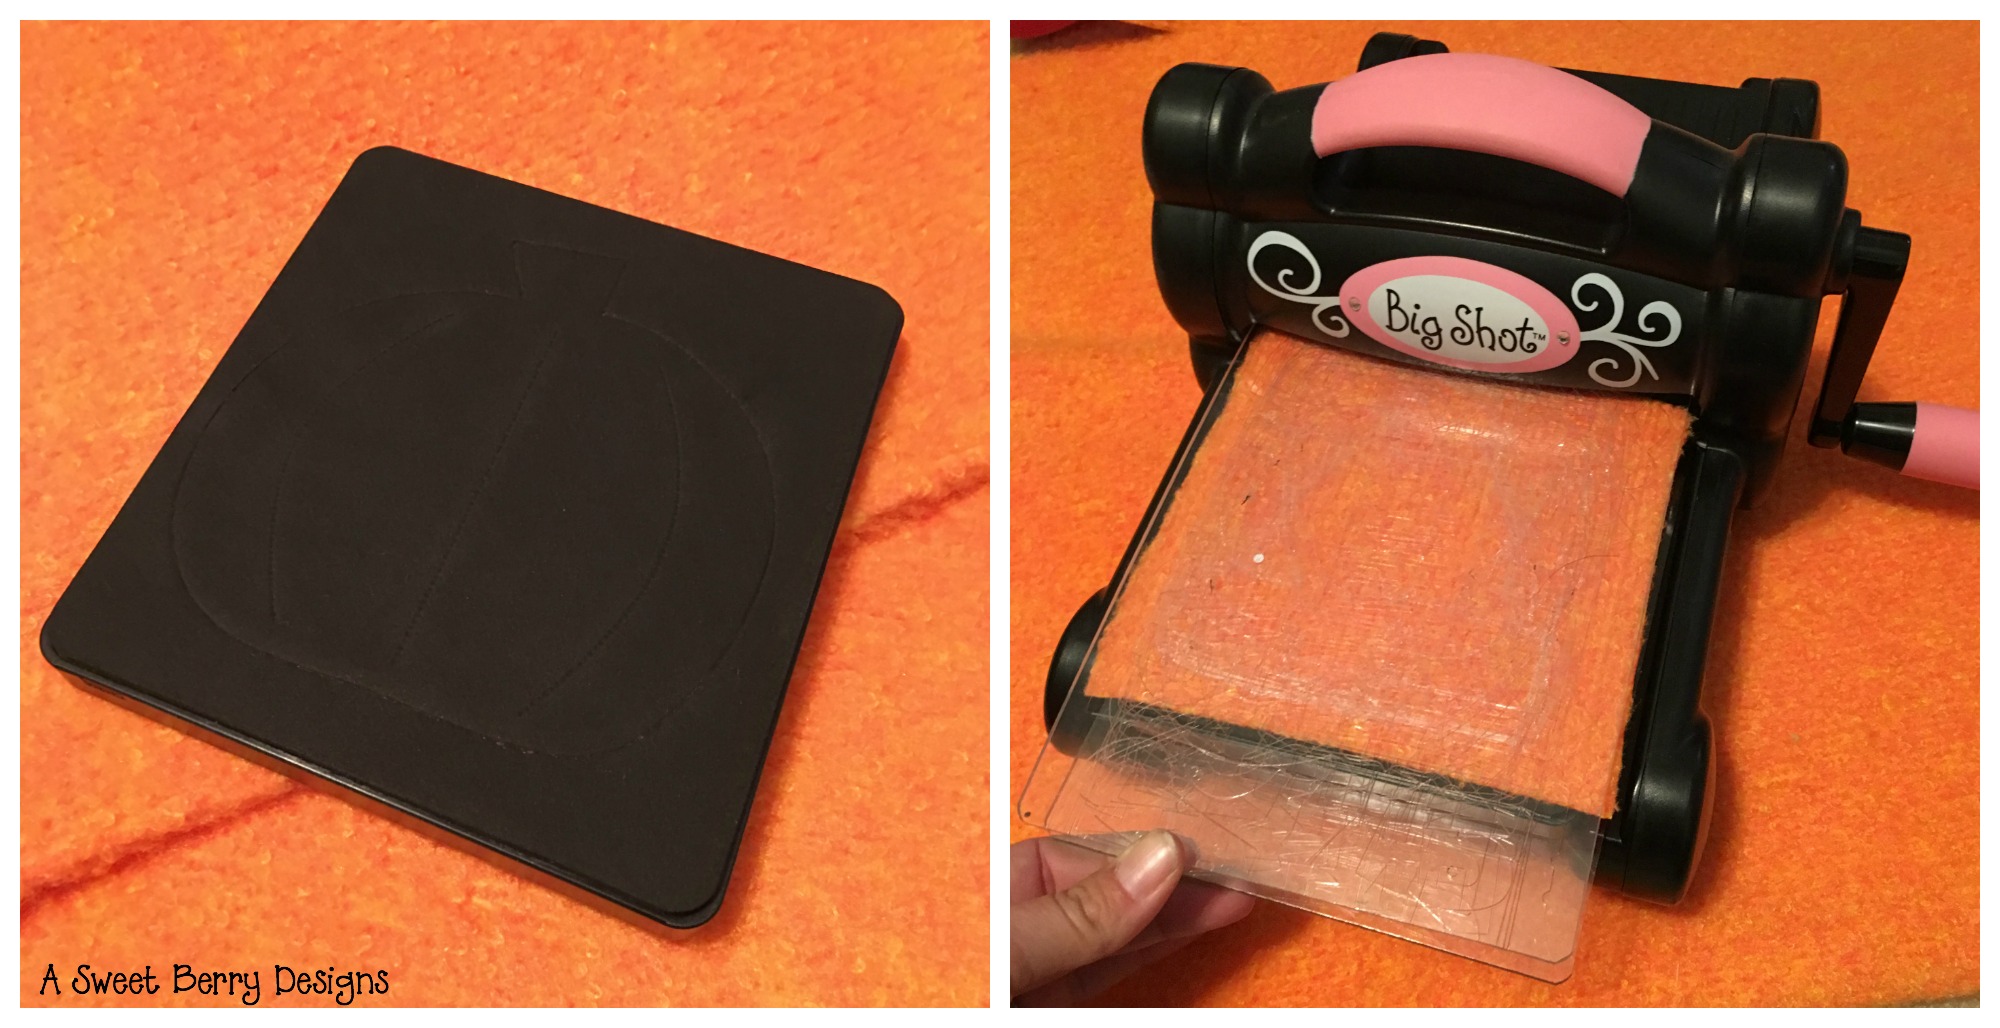
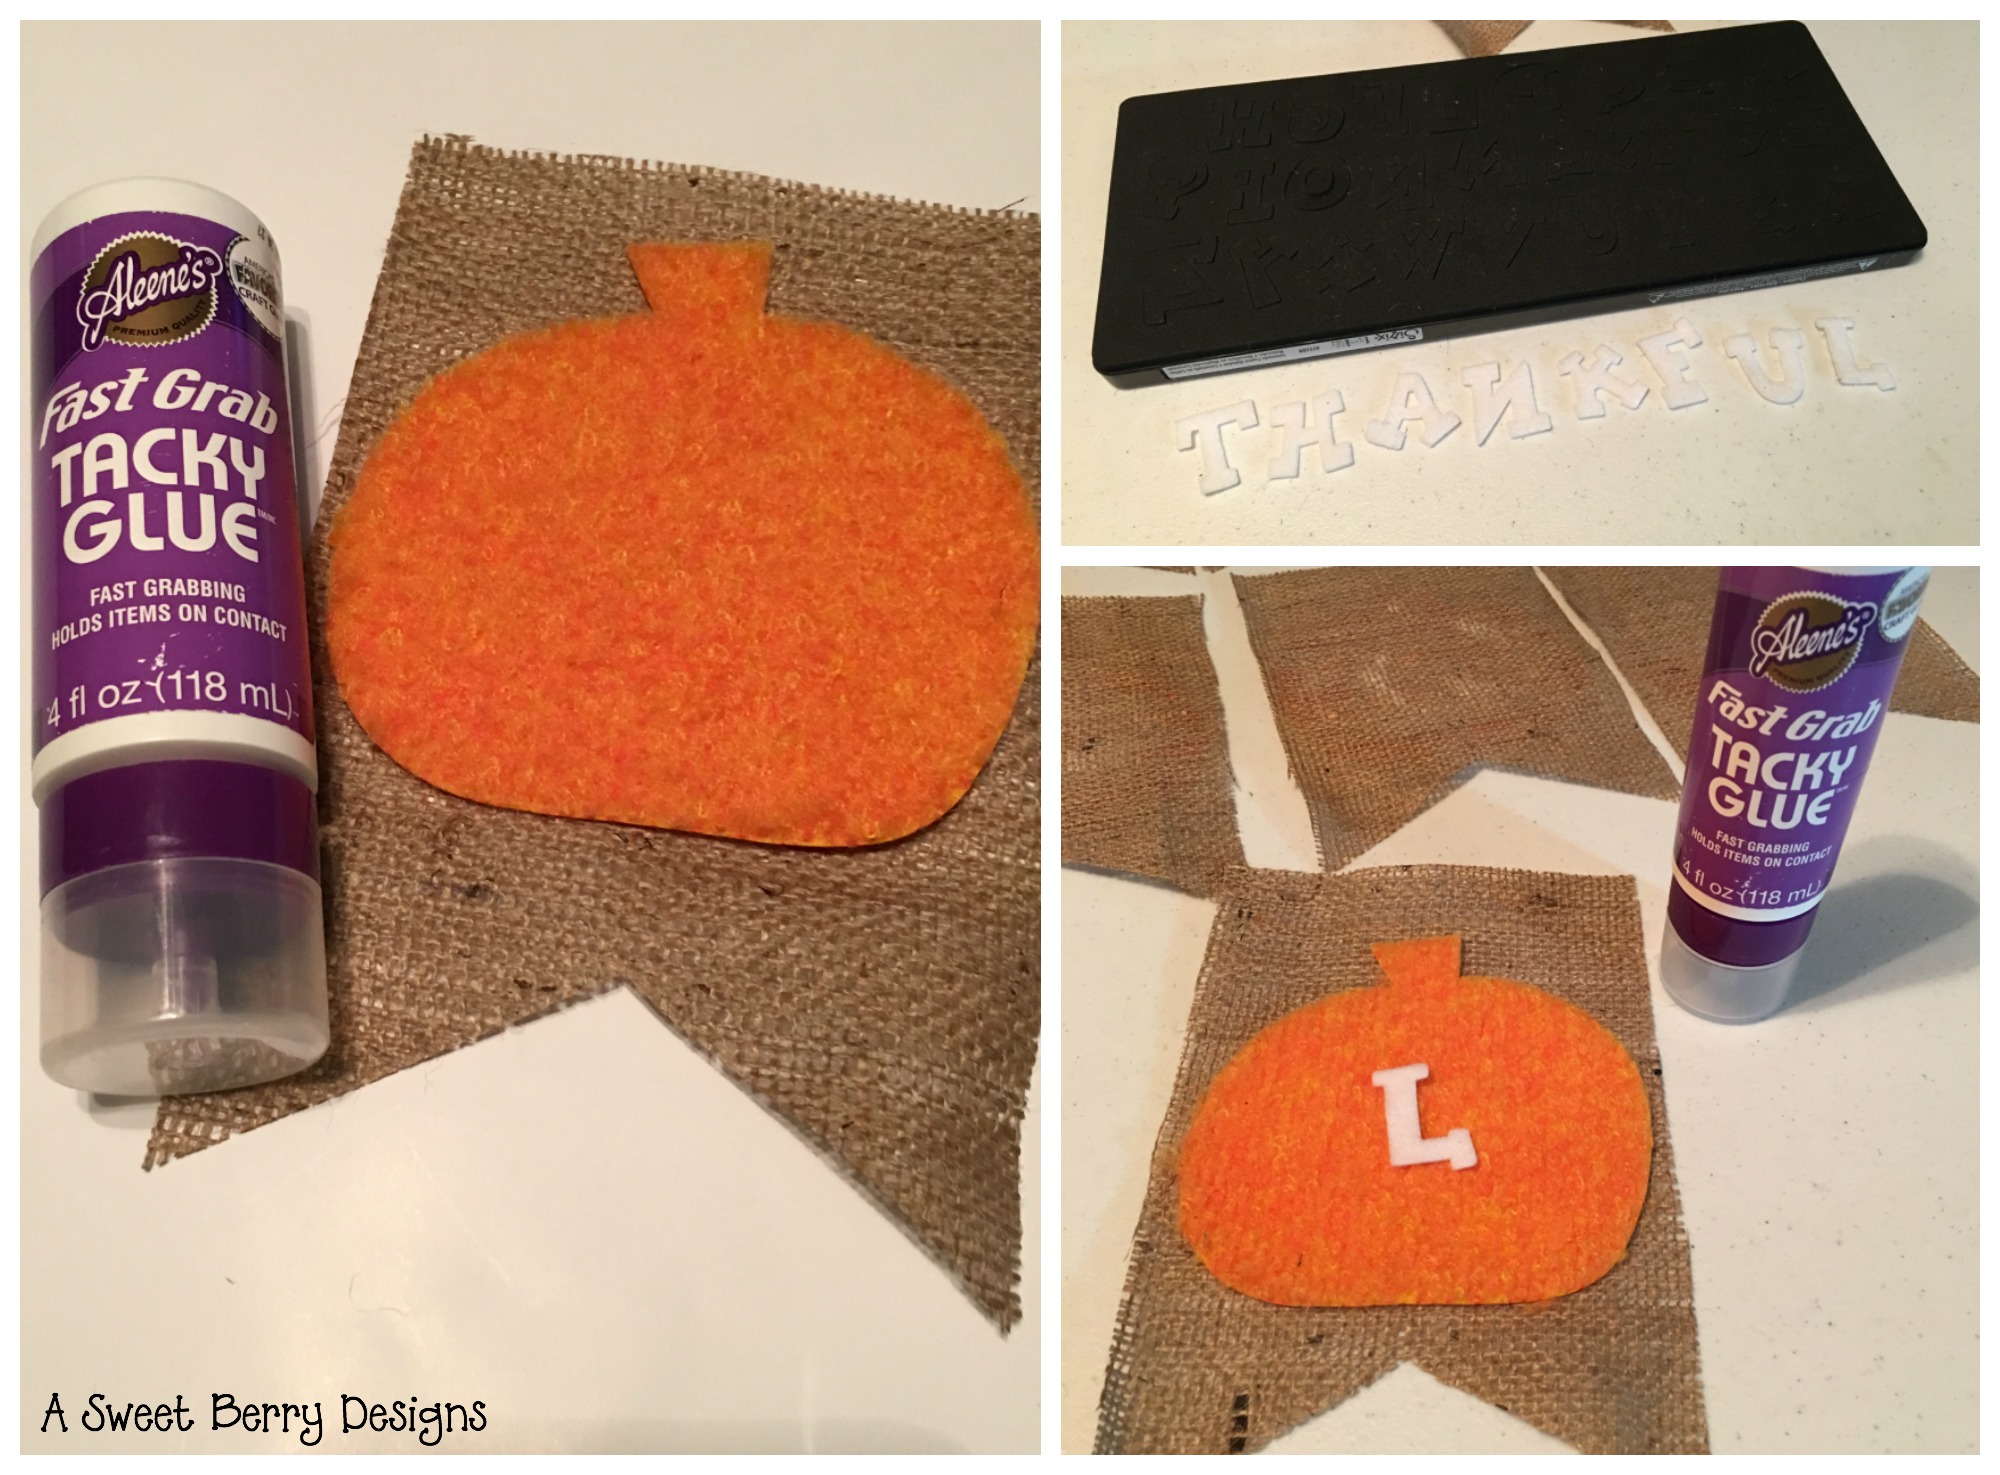
  1. First, I cut out all of the pieces needed for the banner.   The ShaggiChic felt is a little thicker so I cut them individually.  Sometimes you can cut multiple pieces in one run through of the Big Shot. 

pumpkin-die

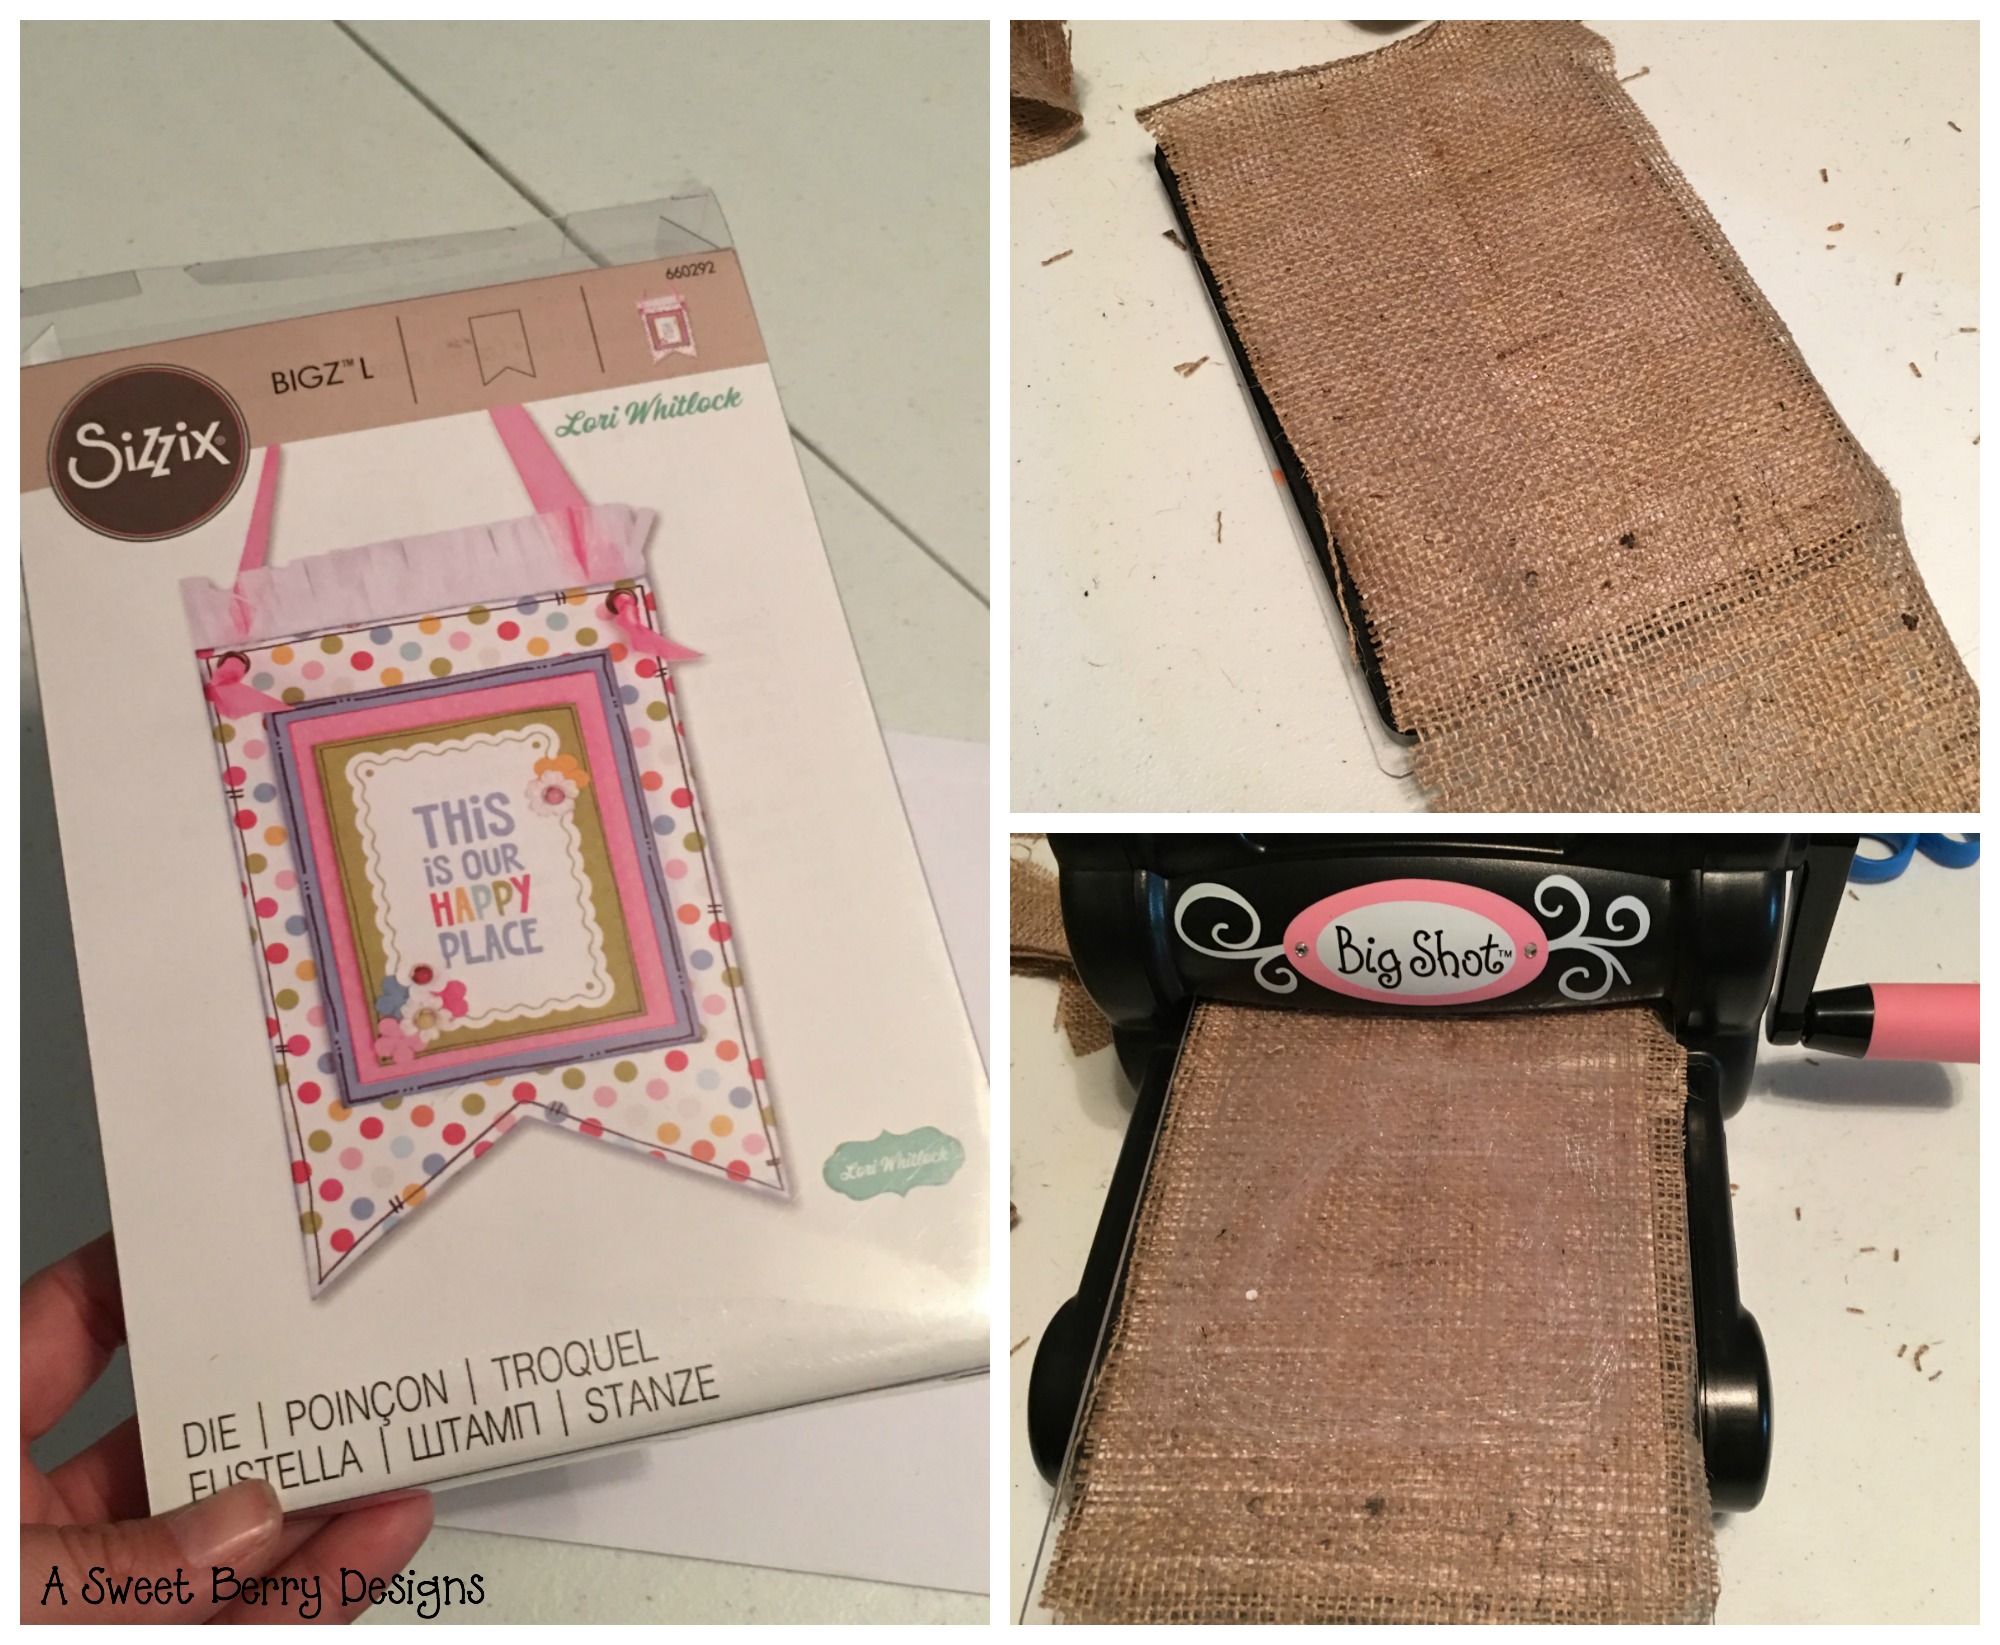
With the burlap I placed a piece of paper underneath the burlap each time I did a cut.  I didn’t want the fibers of the burlap to get all over the die.   Putting the paper underneath really helped.

banner-die

2.  Once all of my pieces were cut out, I started putting the banner together.  I glued the pumpkins to the burlap banner pieces.  Then I added the letter and the stem.

letters-and-gluing

3.   Usually I like to use ribbon for my banners, but lately I’ve liked using jute rope.  Jute rope goes really well with the burlap!  And I love the natural look of the jute rope!

unclose

I hope you like my Thankful burlap and felt banner.   I love it so much that I want to keep it out longer than just the Thanksgiving season.  I hope that you and your family have a Happy Thanksgiving!

Katie-Signature-2

Mason Jar Lid Fabric Wreath

Yay!  It’s Craft Lightning time again!   And this one is Christmas and Holiday crafts!  Christmas is one of my favorite times of the year!  Especially now that I have kids!  This Mason Jar Lid Fabric Wreath could even be done with the kids! final
Materials:
Green Fabric
Mason Jar Lid
Fiskars Scissors
Ad-tech Hot Glue Gun
Holly Berries (I got these from A.C. Moore)
Ribbon
materials
The steps for this Mason Jar Lid Fabric Wreath are pretty easy!  And it only took about 15 minutes to do!
putting-it-together
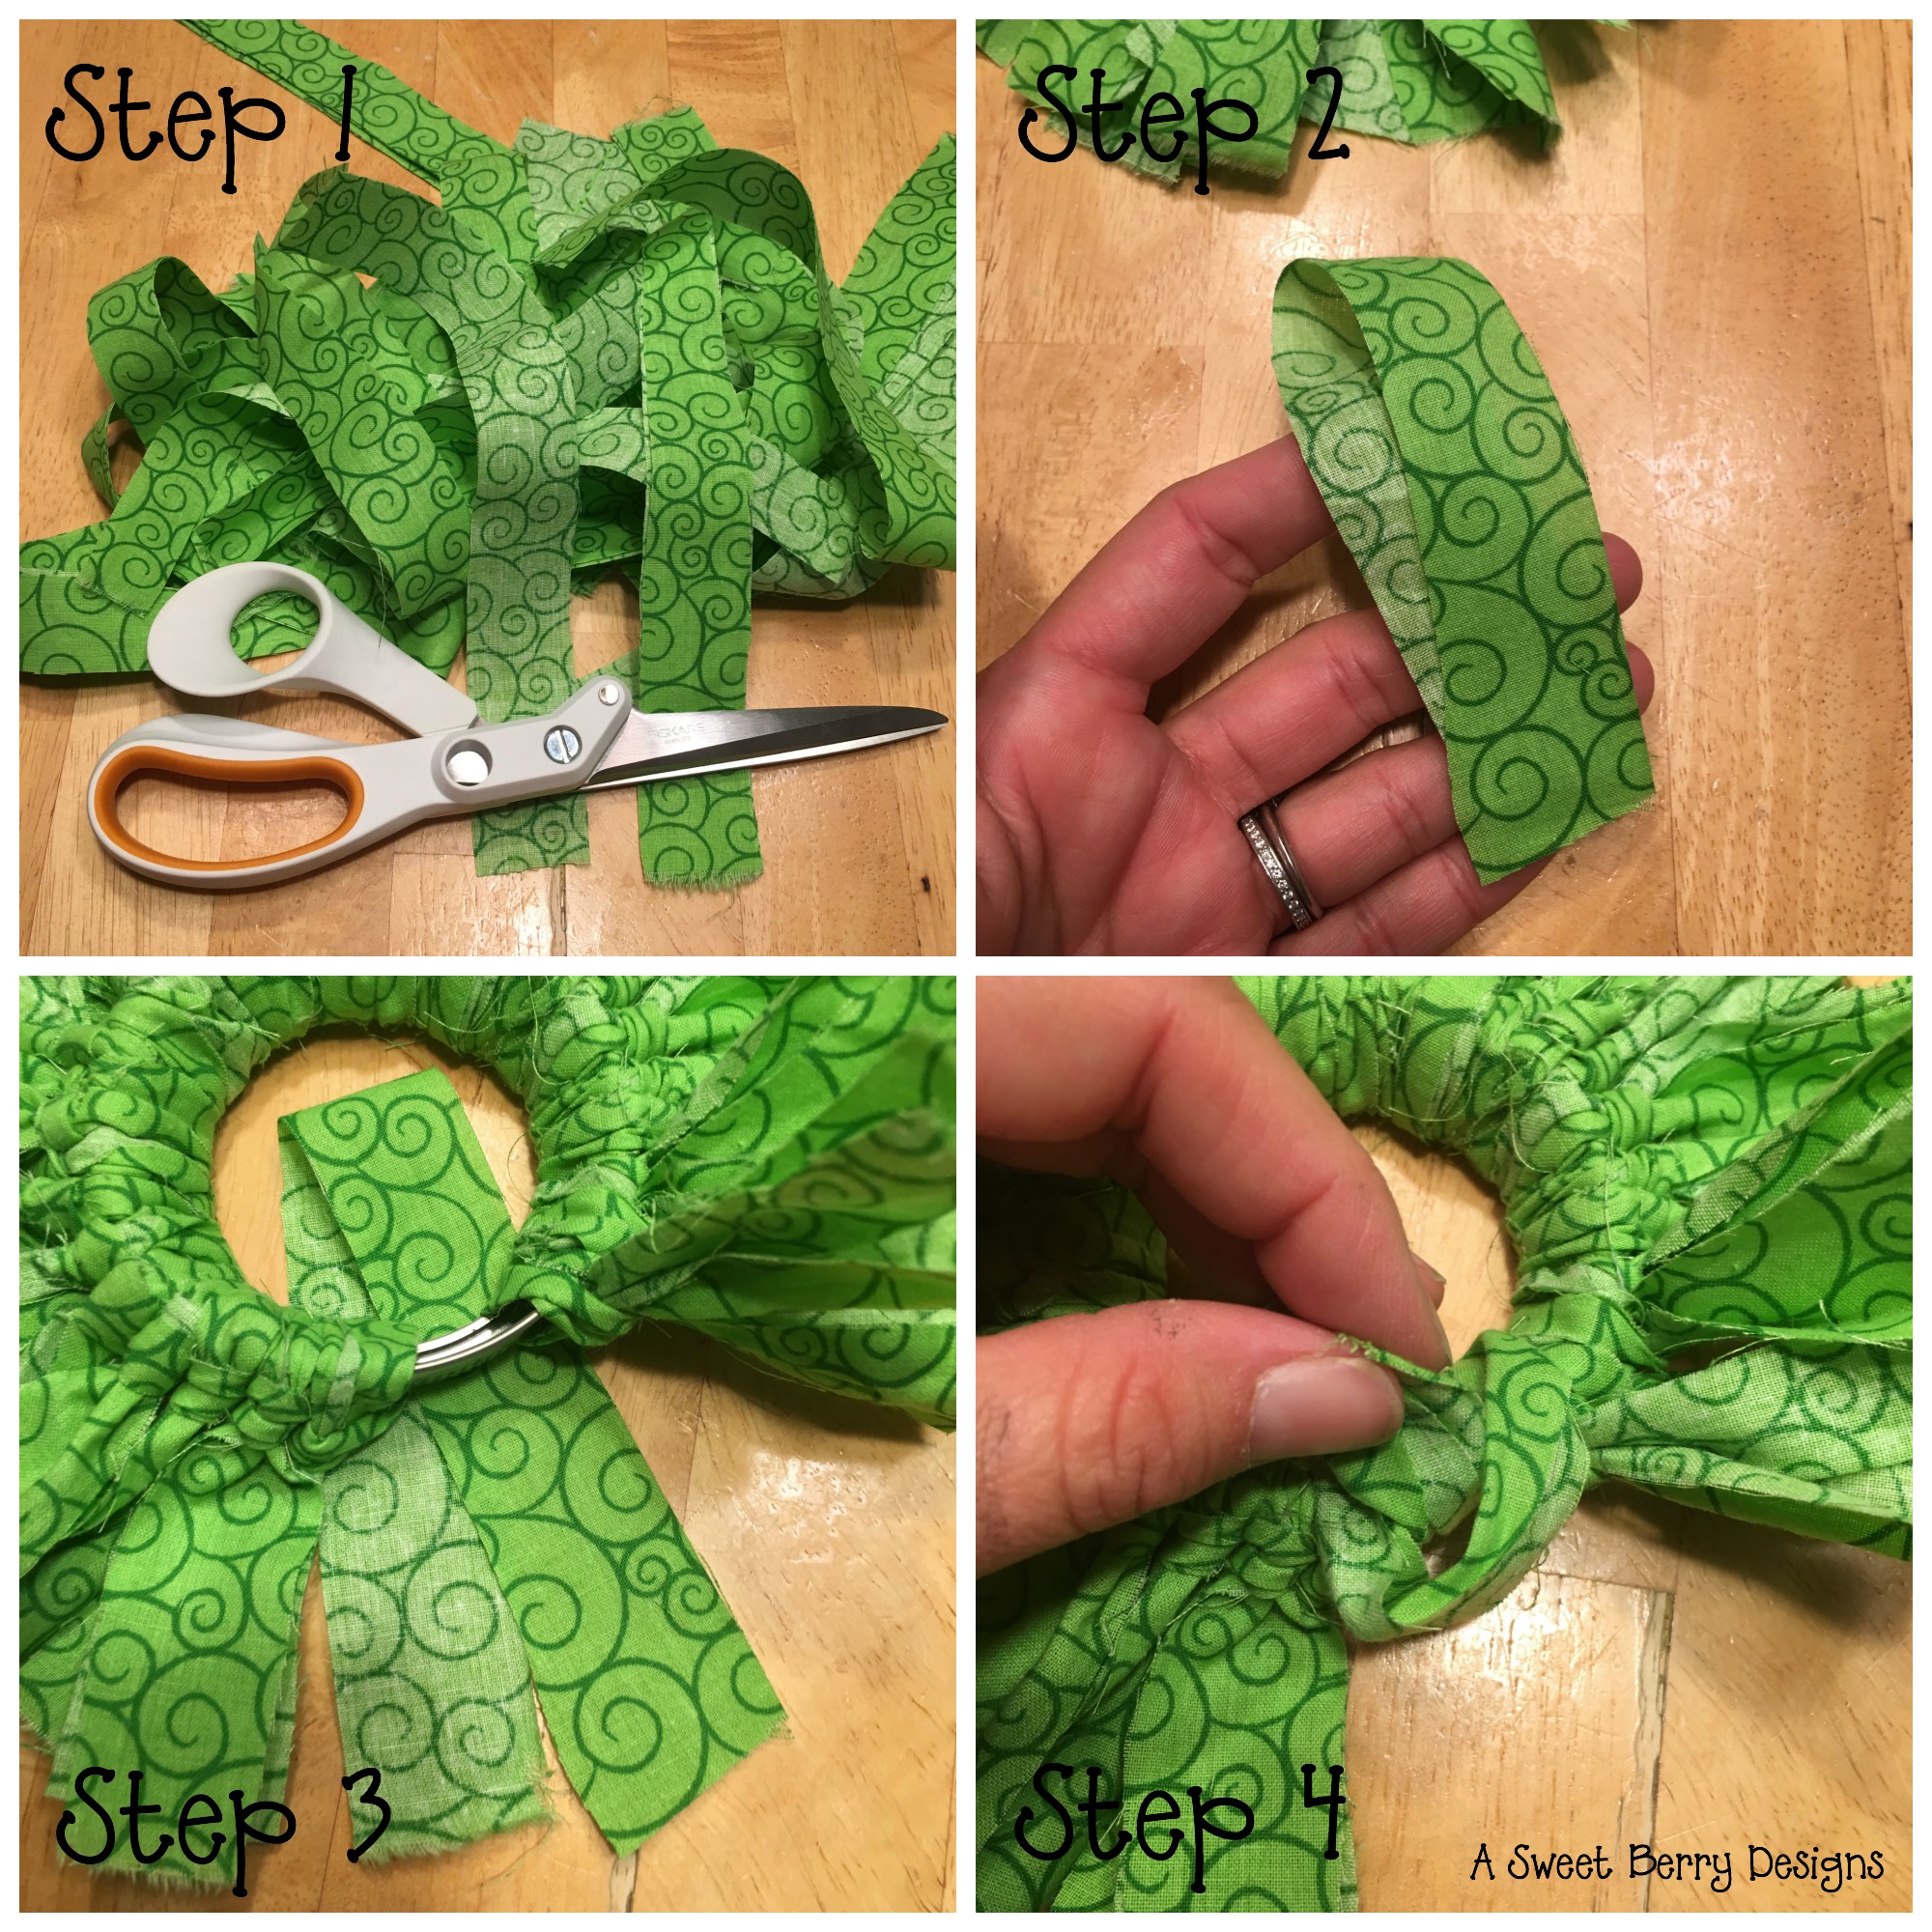
Step 1 – Cut your fabric into strips.  I just did a rough cut making the strips about 10 inches long and .75 – 1 inch wide.
Step 2 – Fold the pieces in half.
Step 3 – Place the folded strip under the lid.
Step 4 –  Feed the lose ends through the folded end and pull tight.
last-steps
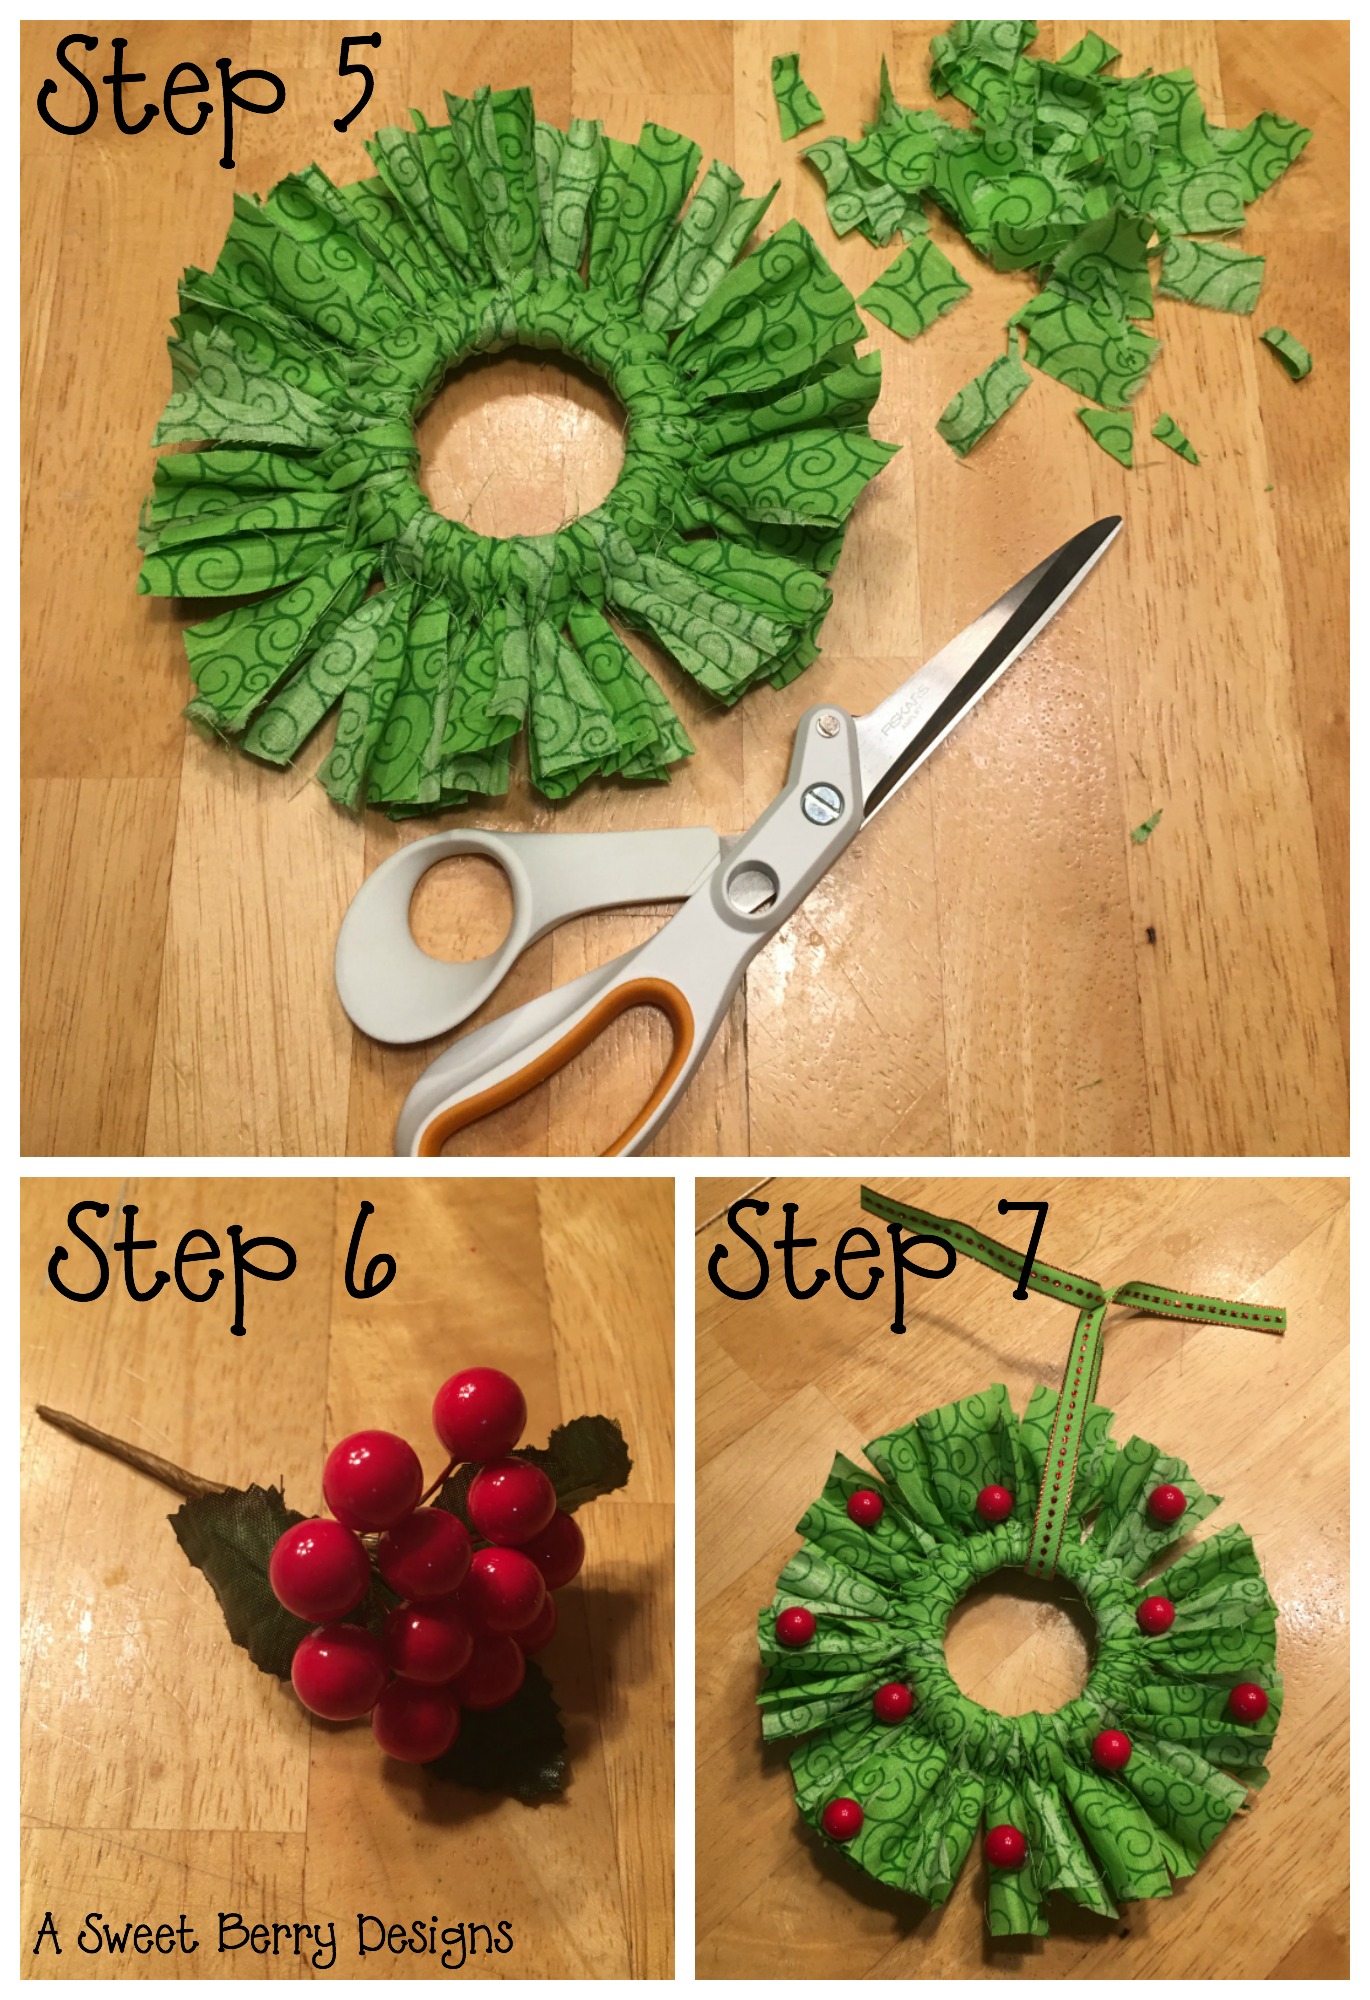
Step 5 – Trim your wreath to your liking!  I trimmed my wreath so that it wasn’t so big.
Step 6 – Remove the berries from the stem.
Sept 7 – Hot glue the berries onto the wreath!  Parents, do this if you are doing this project with the kids.

I added a piece of ribbon to hang it on the tree!
wreath
I hope you enjoyed my Mason Jar Lid Fabric Wreath!

Be sure to click below and check out other Craft Lightning Crafts!

Until next time……

Dresser Makeover with Modern Masters Metallic Paint

Do you have an old piece of furniture that was either passed down from a family member or belonged to you or your spouse as a child?   Does that piece of furniture need a makeover?   Modern Masters Paint Company can help!

dresser2

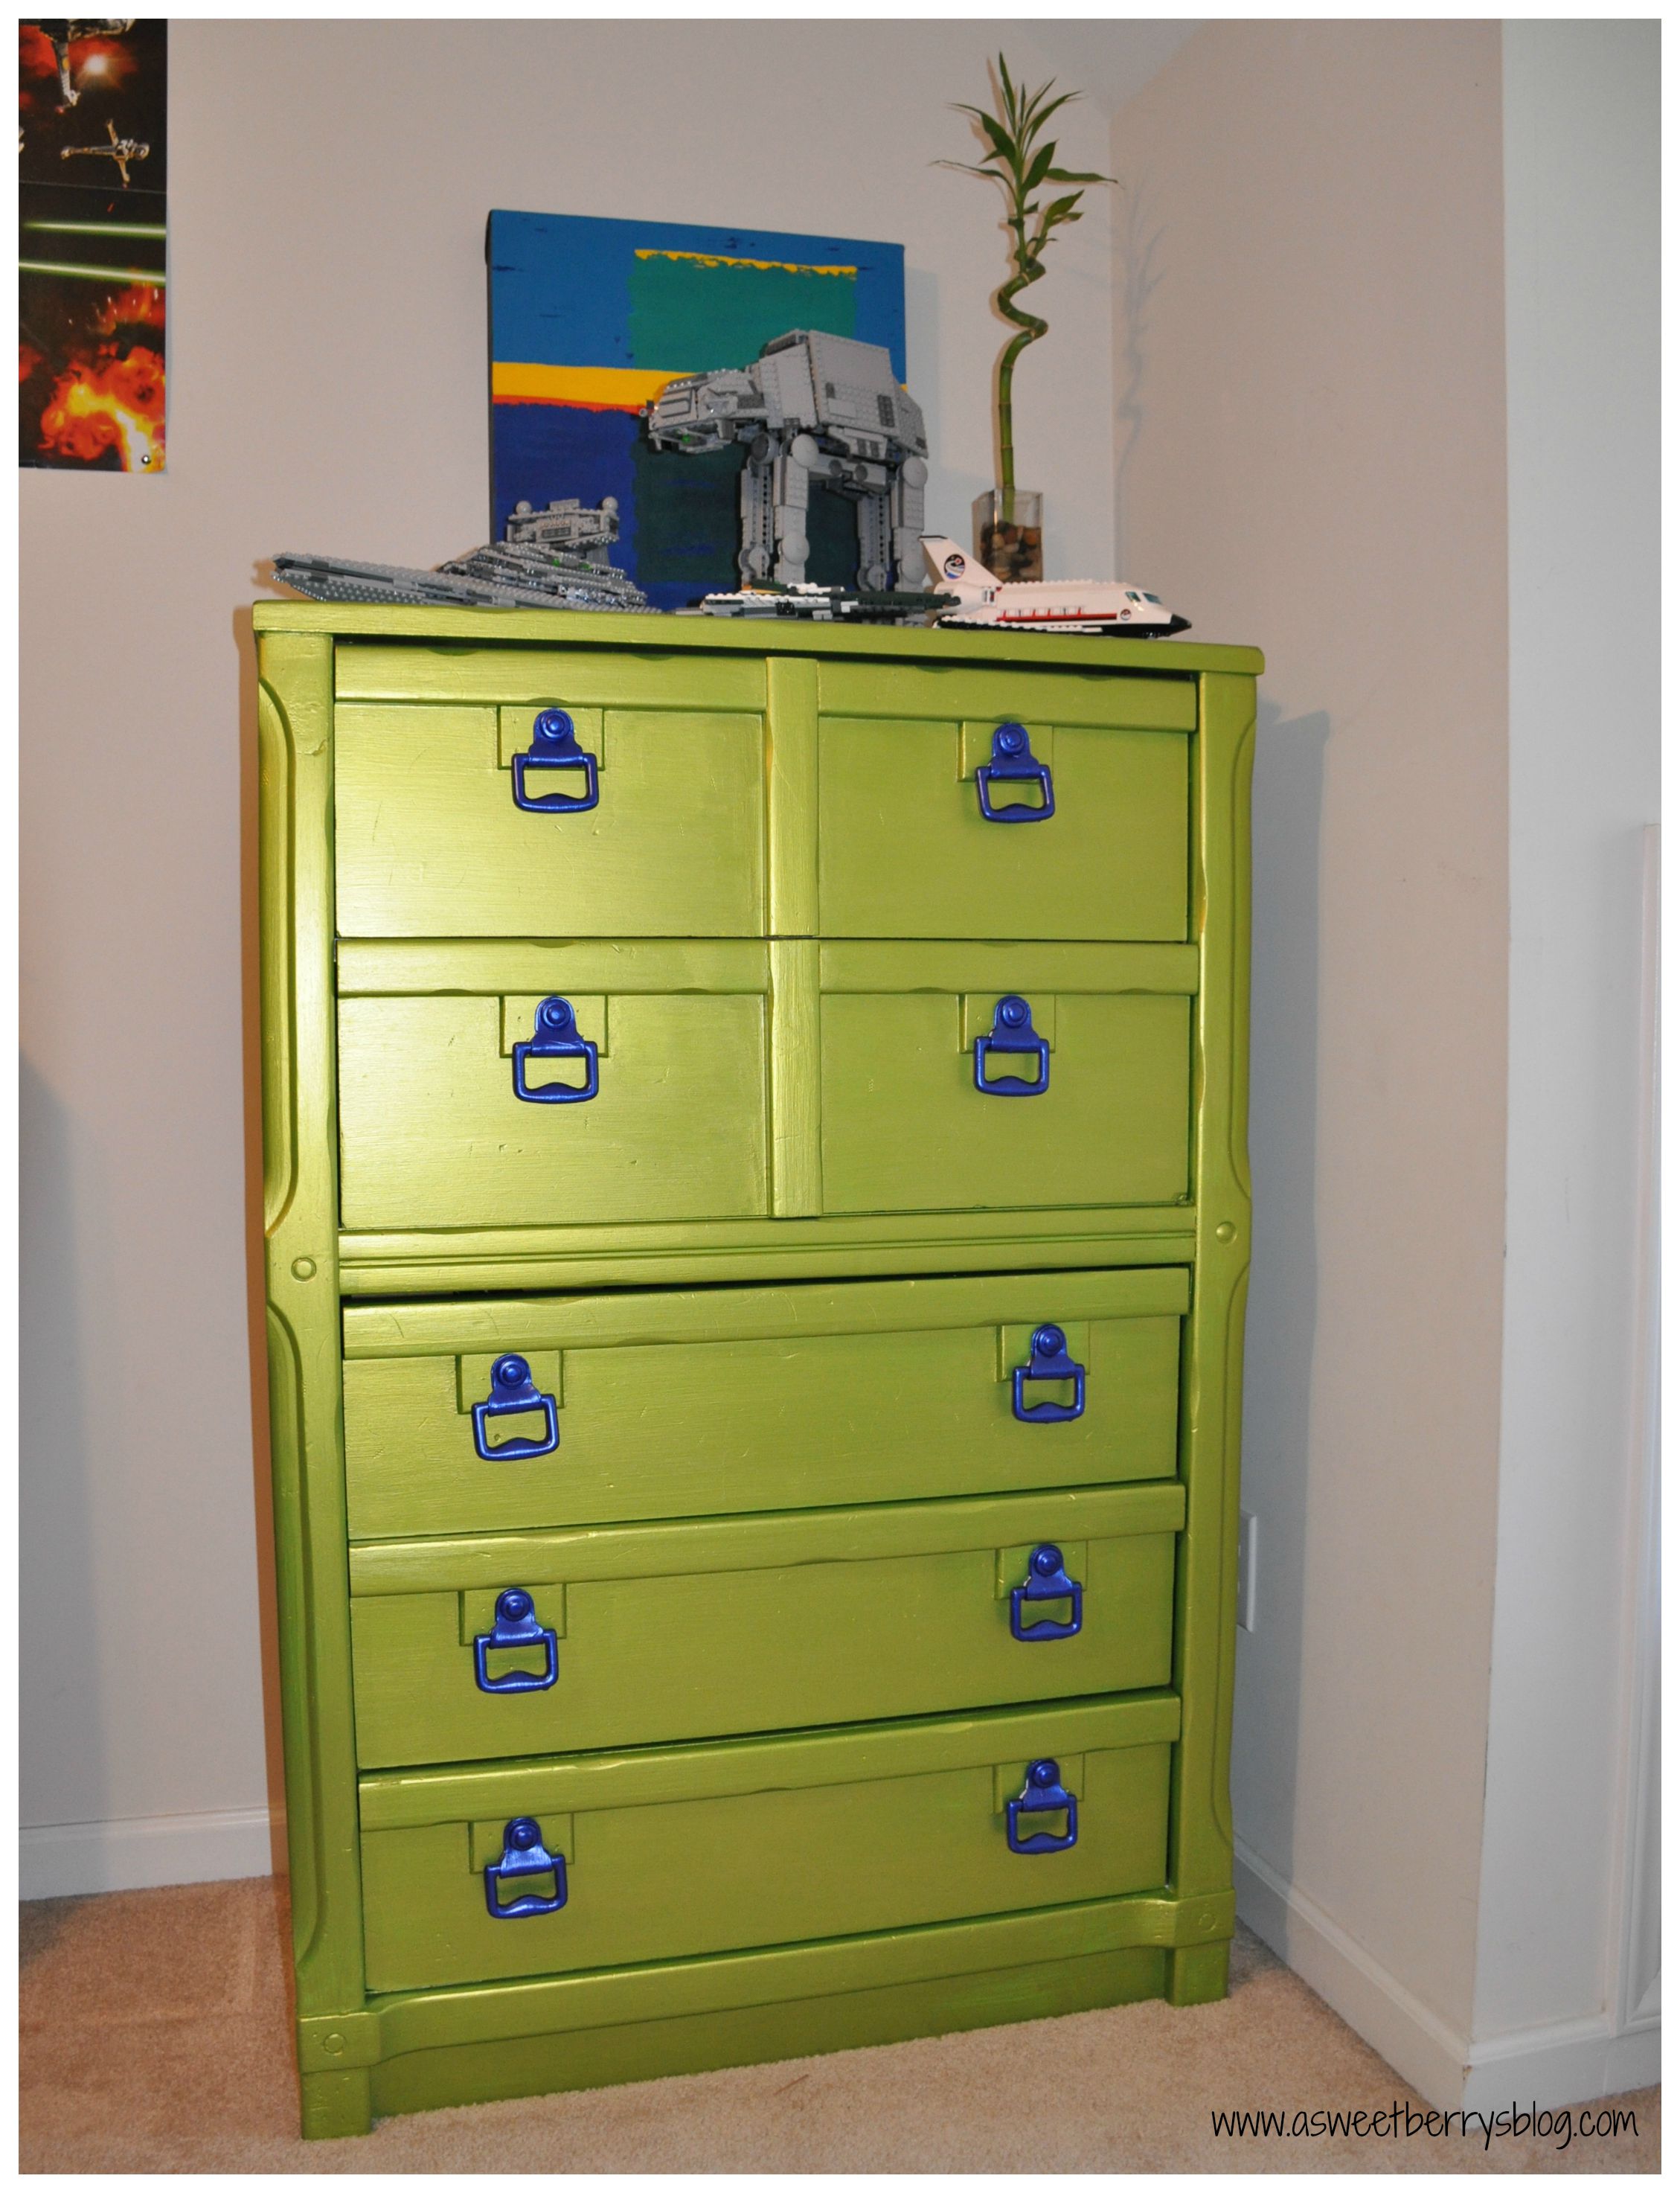
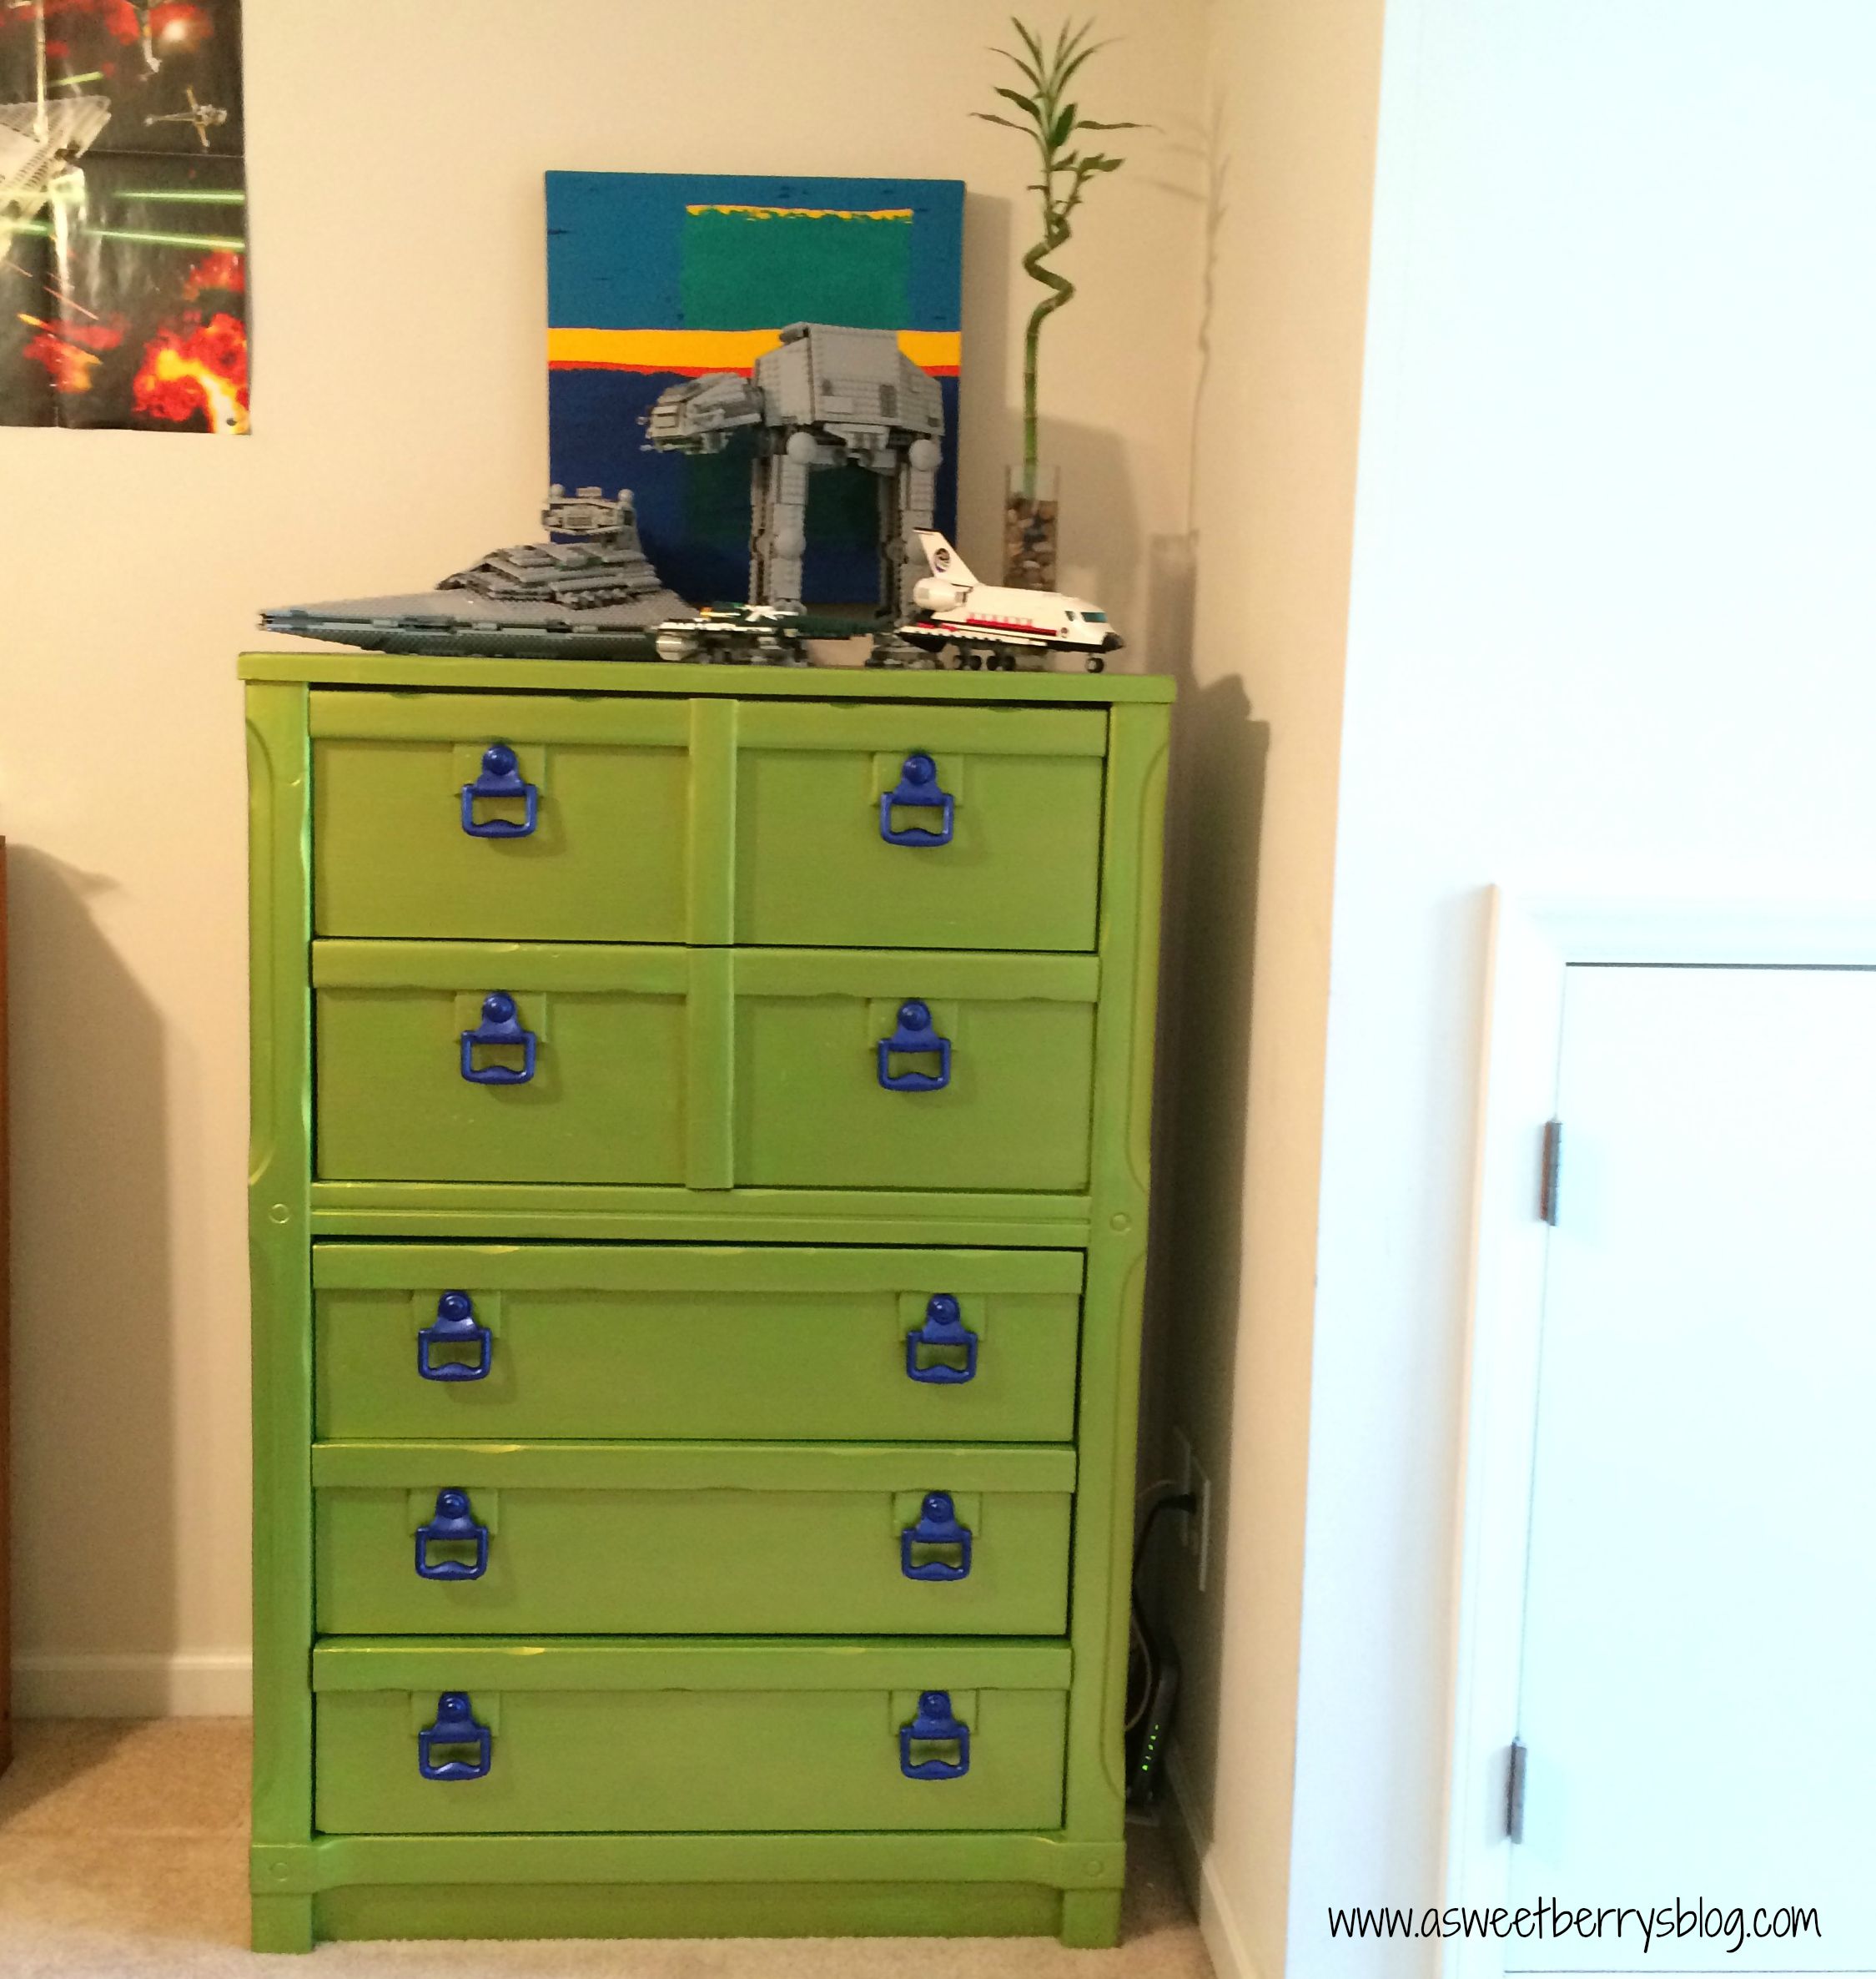
We have an old dresser that belonged to my husband when he was a child.  It now sits in my eight year old’s room.   It was originally a dark brown and I thought that it needed to be brightened up!

before


Landon’s favorite color right now is green.  He likes any color green, but his favorite color is a bright green.   Modern Masters had just the right color in their Metallics Collection.  The color is Green Apple to be exact!  And it is AWESOME!   I also wanted to paint the handles, but I chose a different color to give it a little something extra.  Landon is also a fan of the color blue and Modern Masters Venetian Blue was perfect.

paints

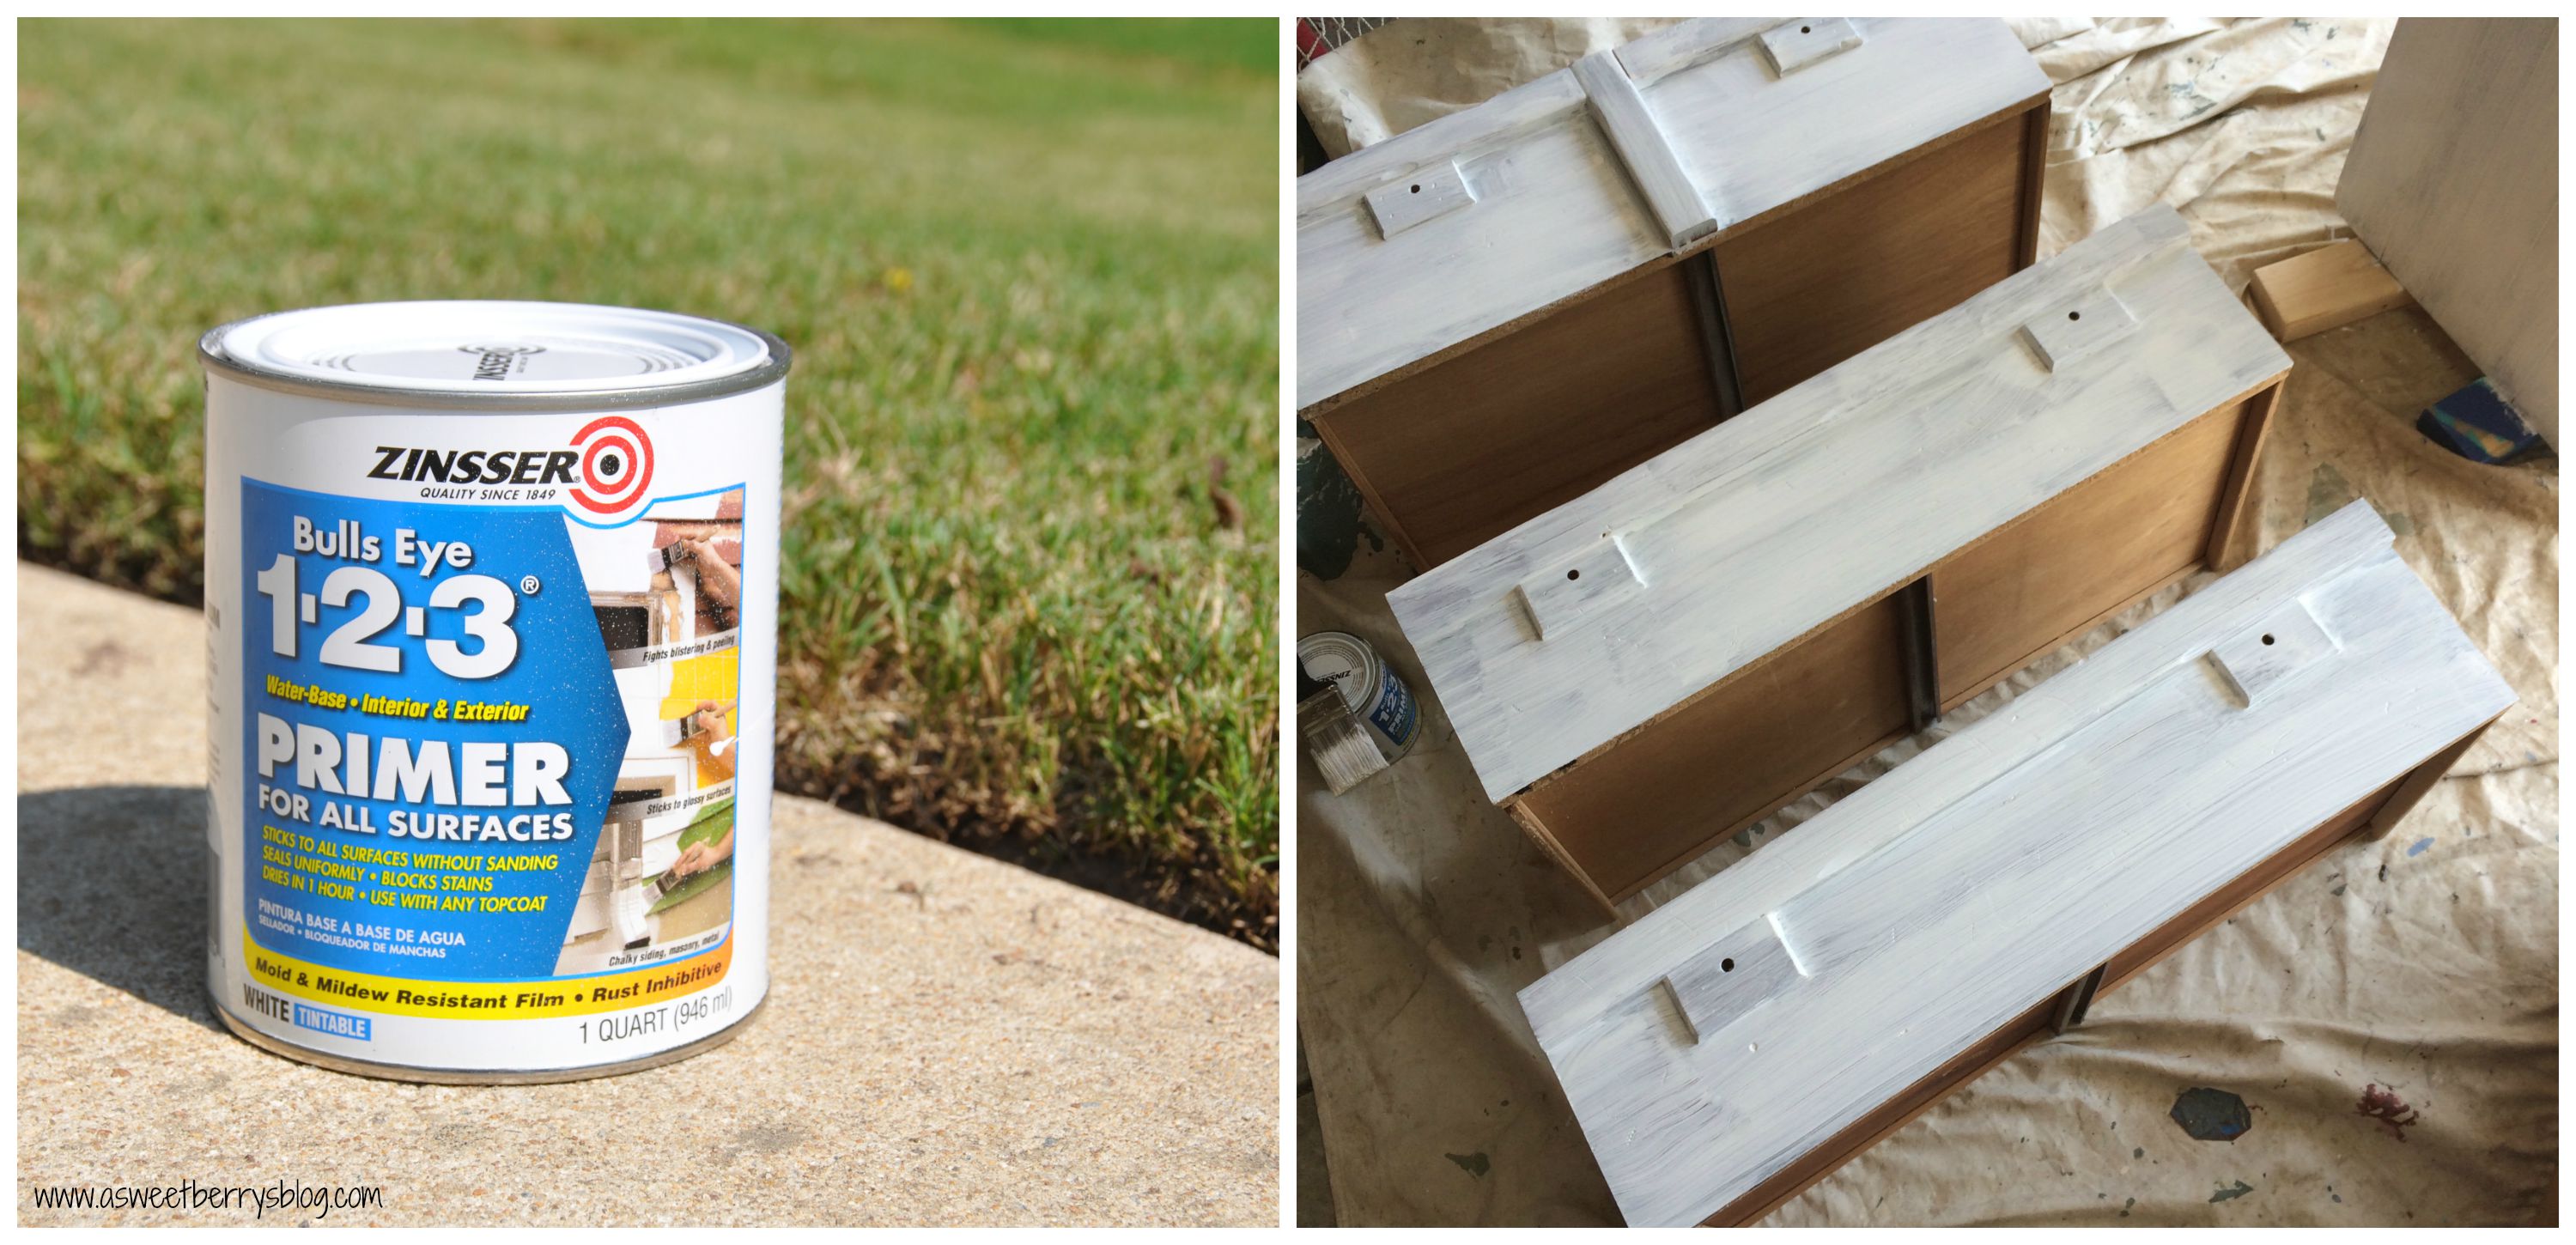
I started this project by removing all of my handles and by priming all of the pieces that I was going to paint.  On the jar of Metallic paint, the recommended primer was Zinsser’s Bulls Eye 1-2-3 Water-Base Primer.   This was available at Lowes.

Primer

Once my primer was dry, I started applying the green apple metallic paint.  Once it was dry, I painted another coat.  I continued this until I was satisfied with the color covering.

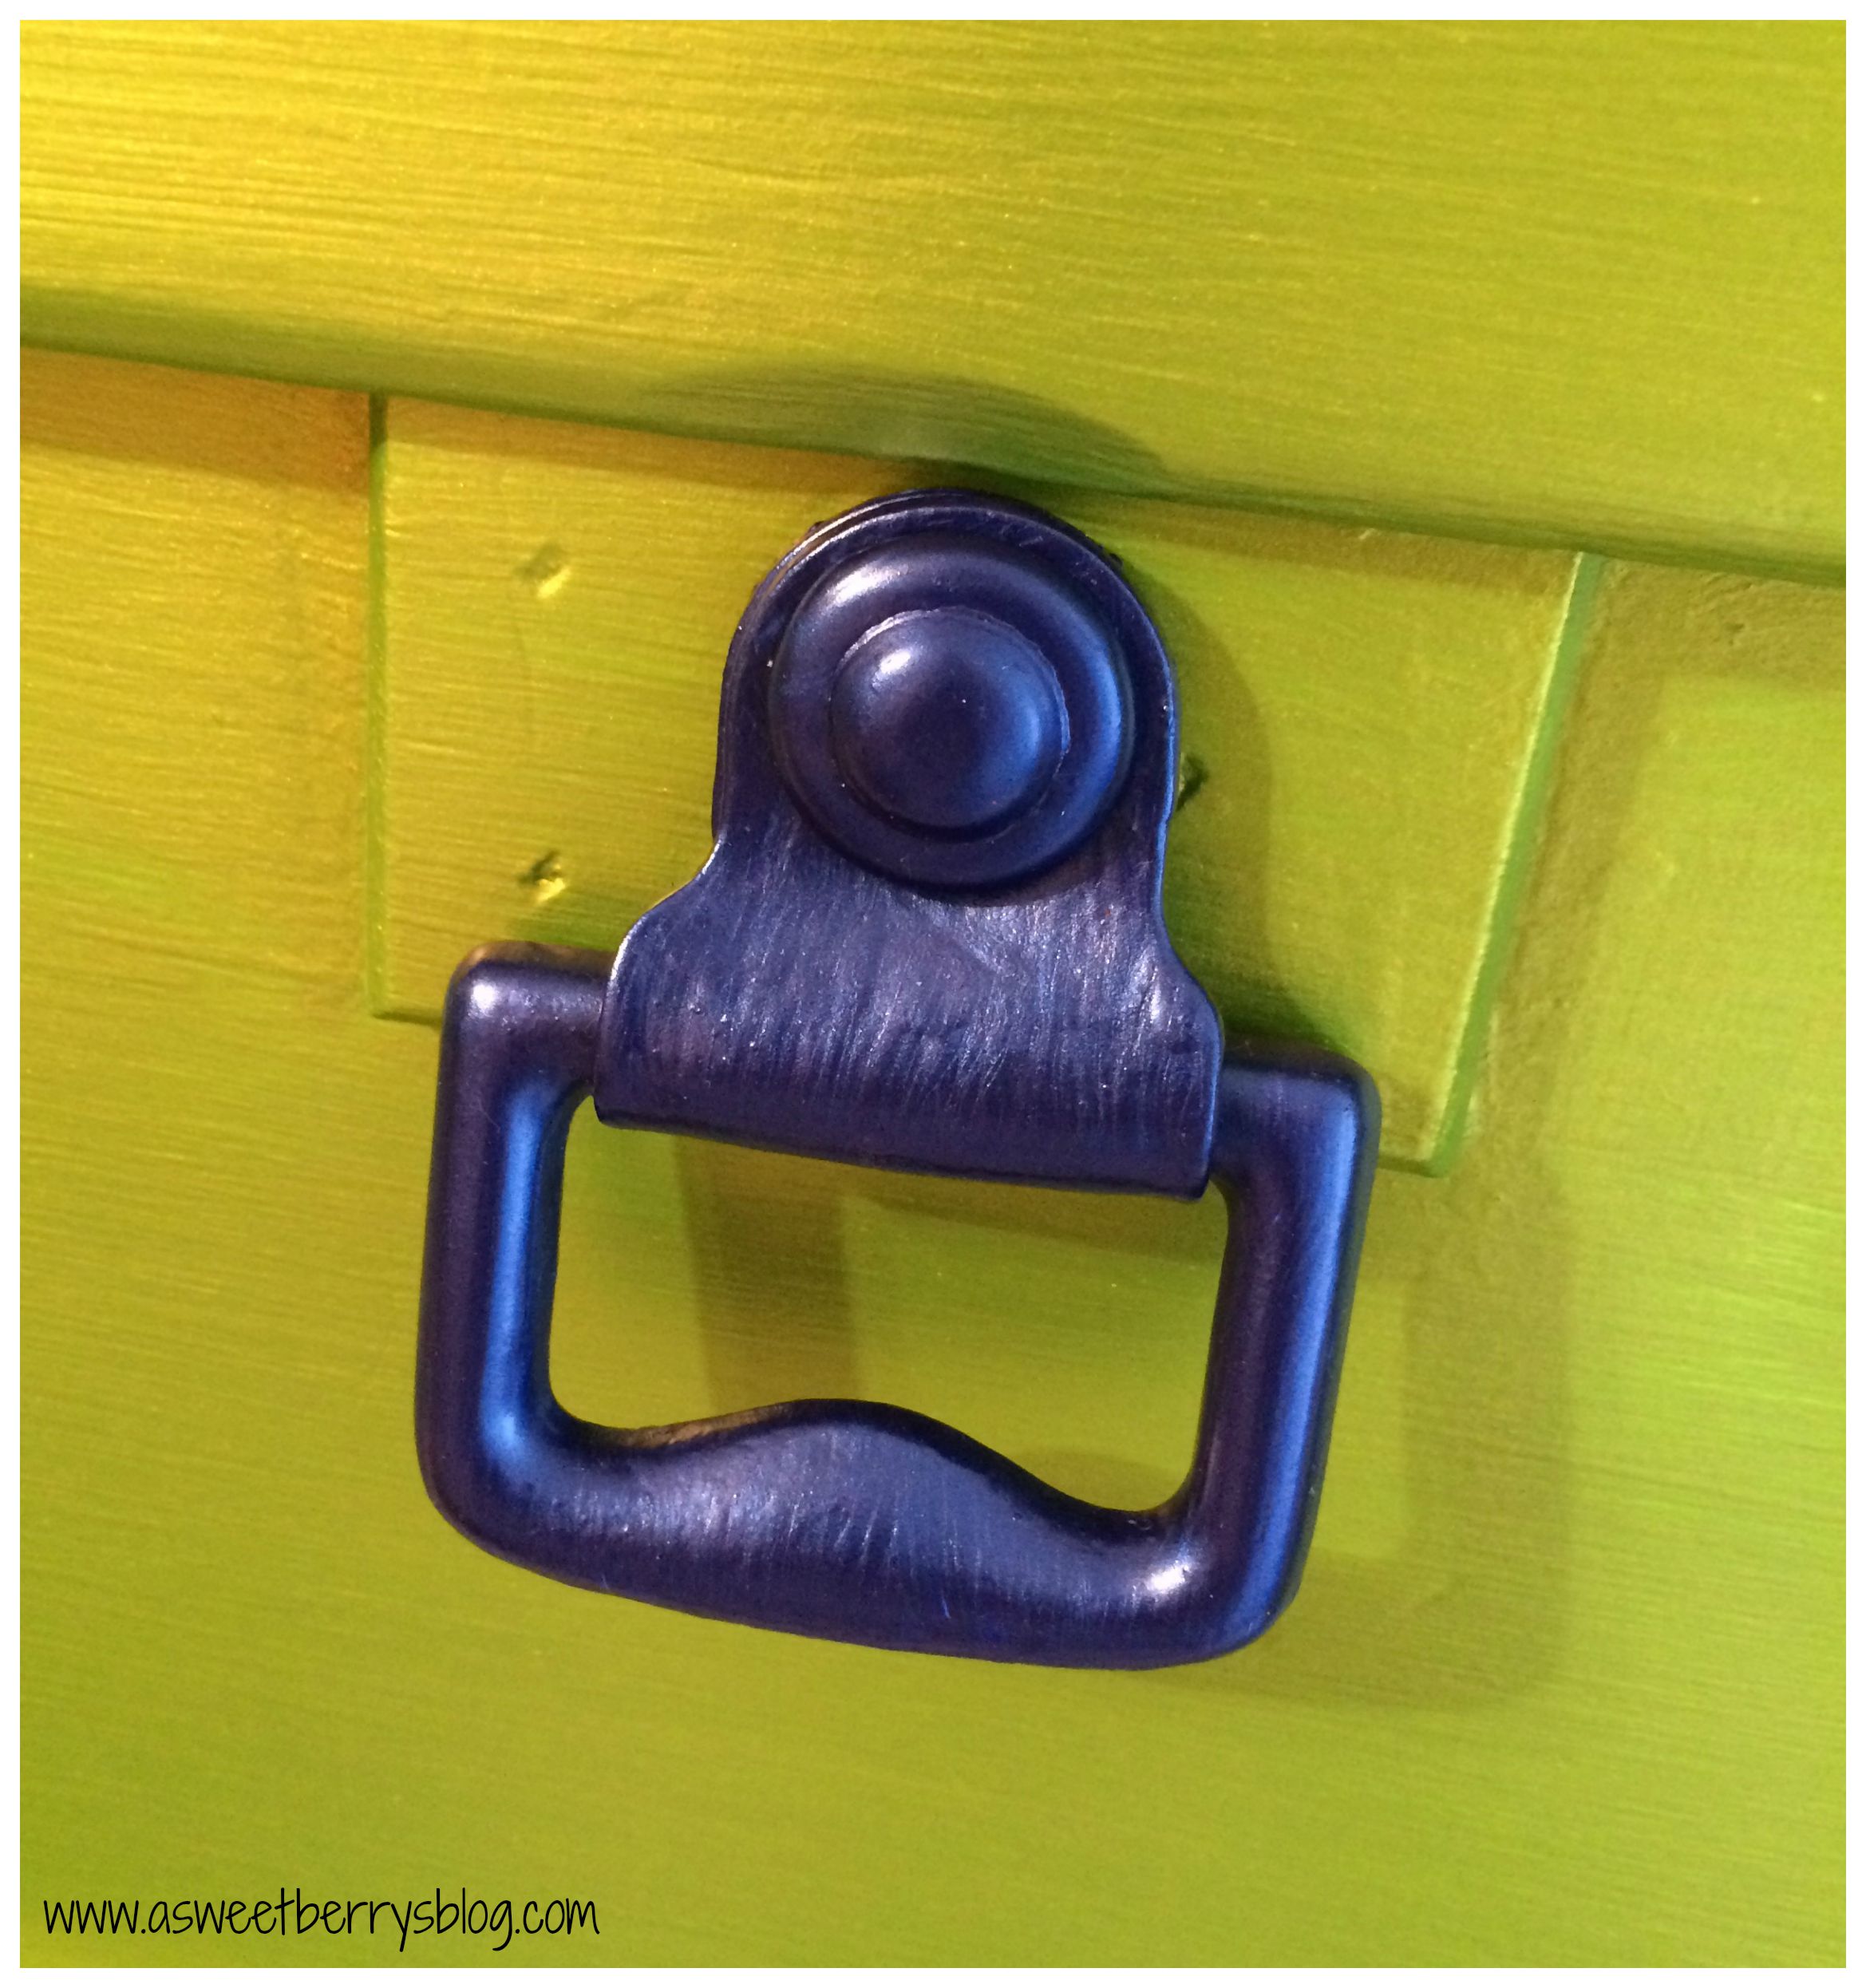
Once my dresser and drawers were completely painted and drying, I painted my handles using the Venetian Blue.  Then, I let everything dry over night.

hardware

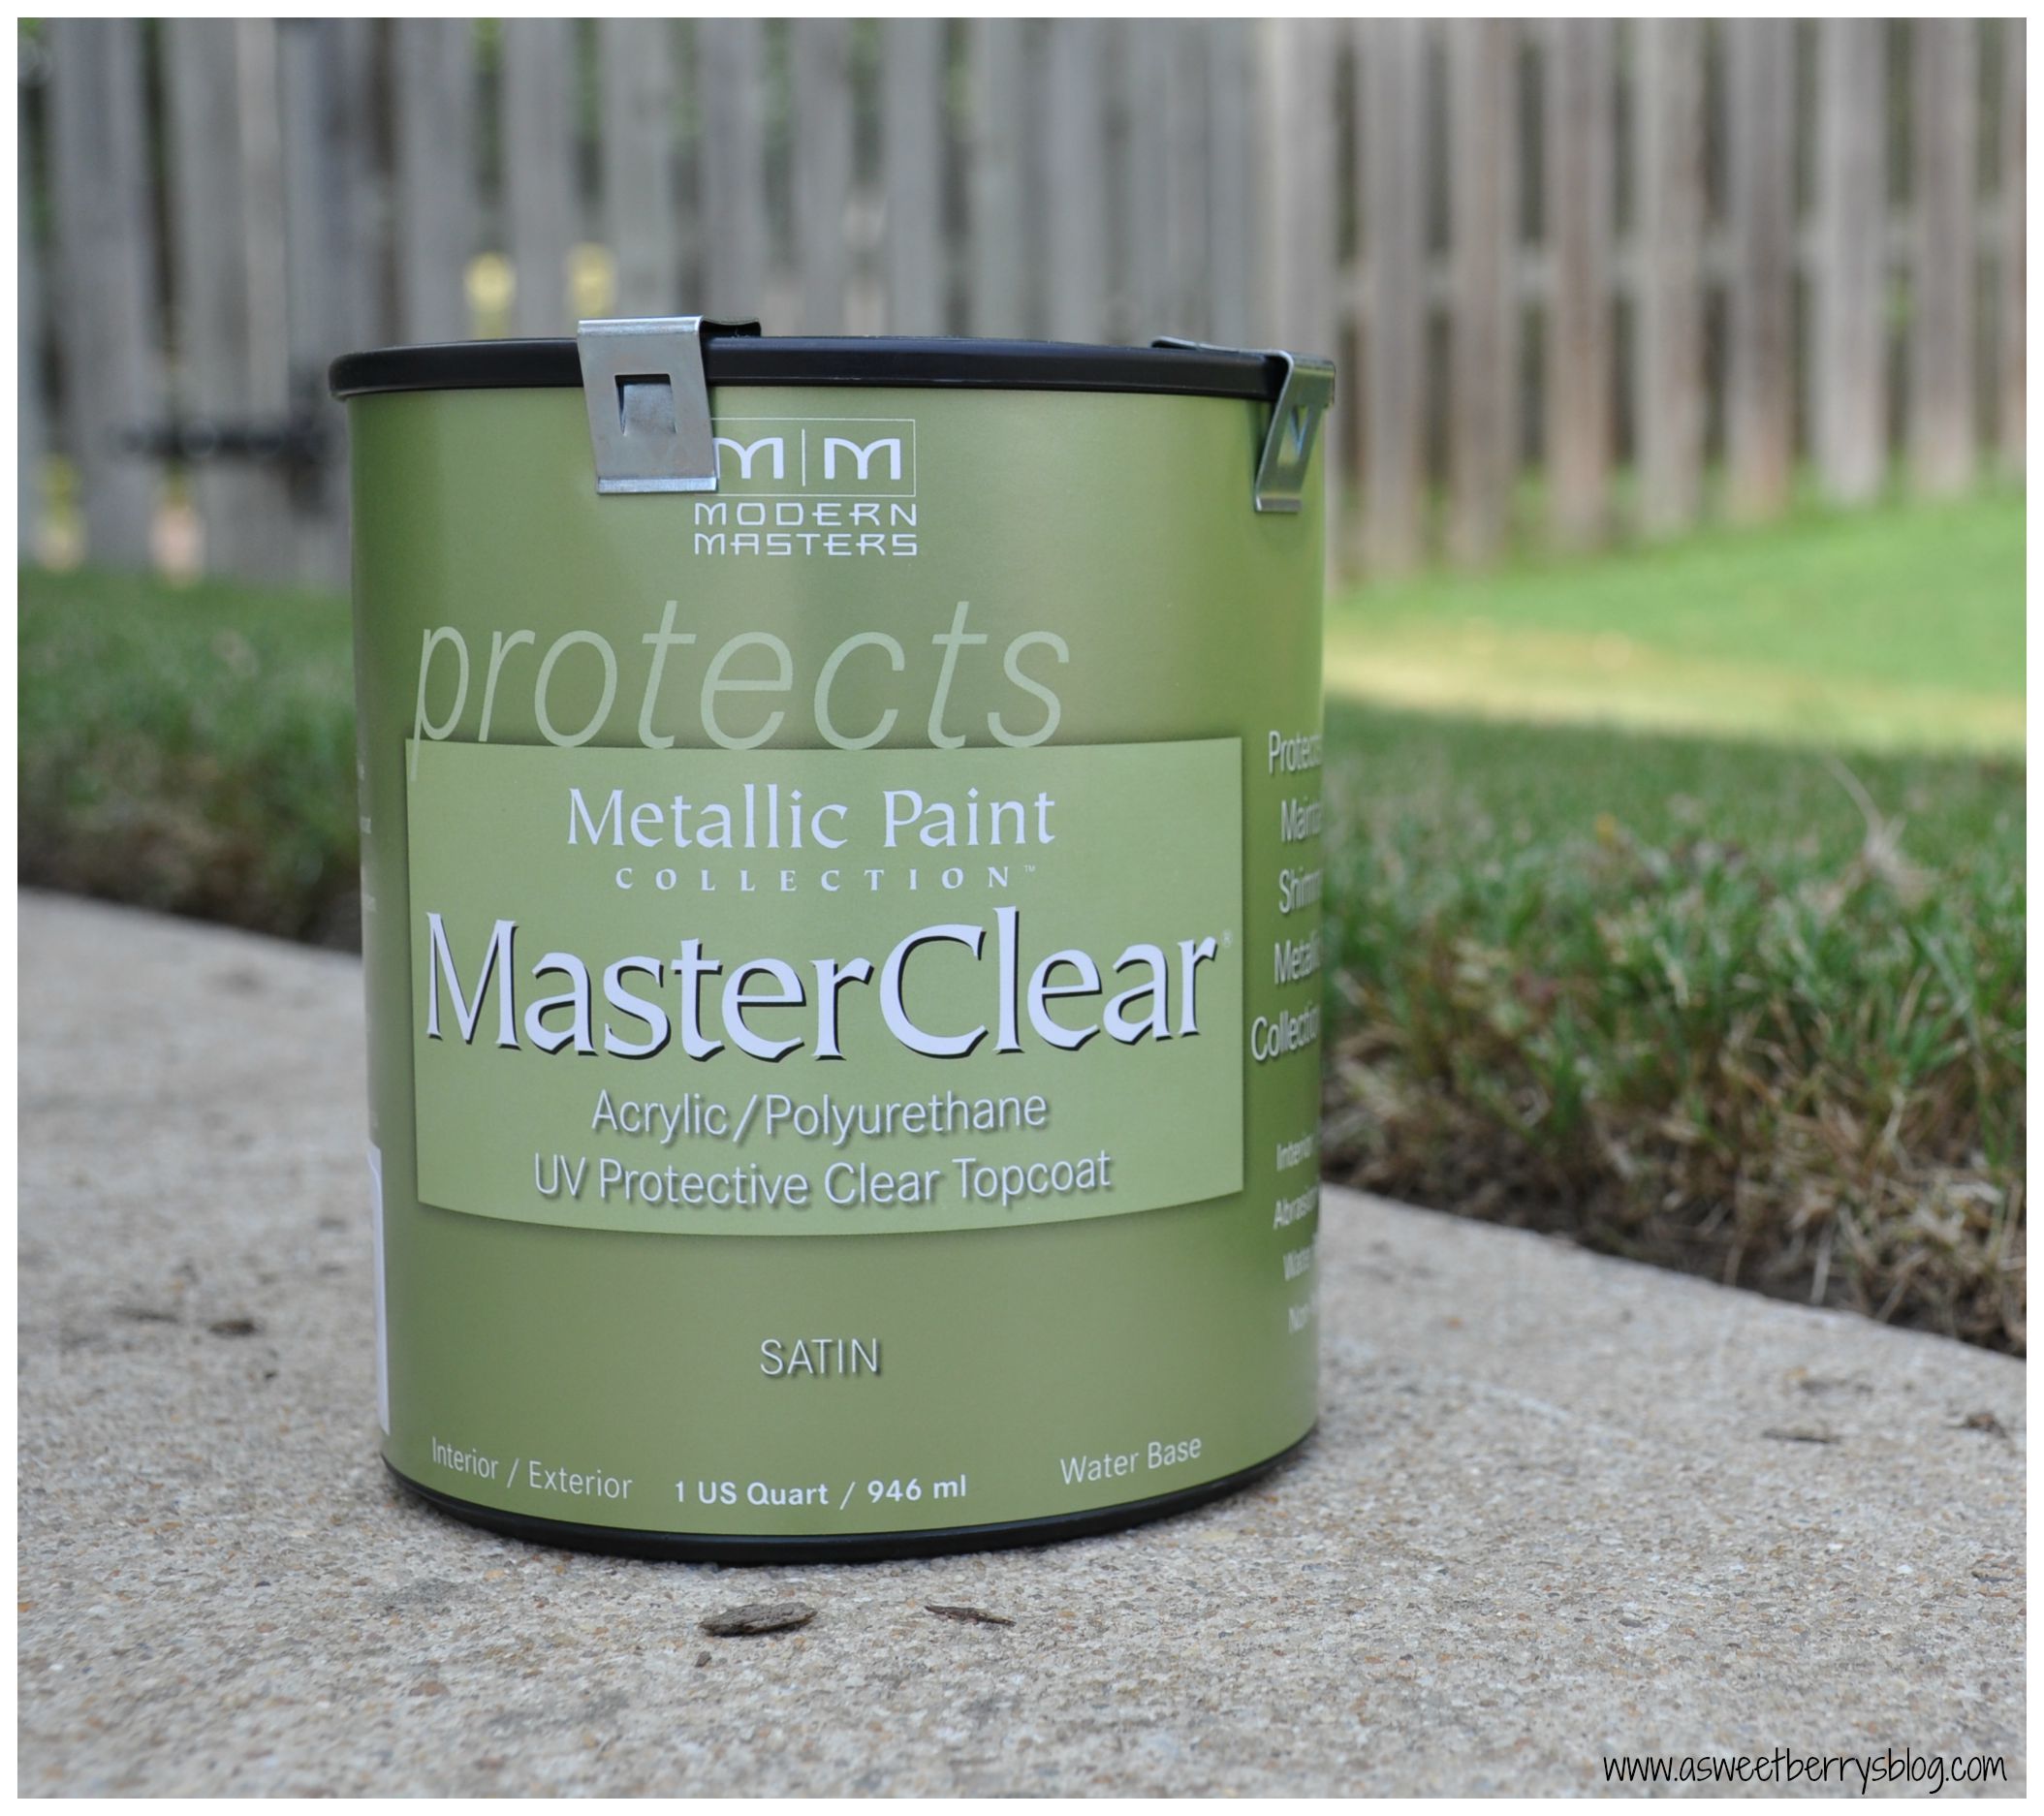
To help seal and protect the Modern Masters Metallic Paint, I used Modern Masters Metallic Paint Collection’s Master Clear Acrylic/Polyurethane UV Protective Clear Topcoat.  It made my project nice and smooth and dried completely clear.

polyurethane

Once everything was completely dry, I put my handles back together and screwed them back onto the drawers.  I replaced the drawers into the dresser and voila!  It was done and I fell in love with it!

painted hardware


dresser square

I absolutely love Modern Masters Paints.  They cover well and look fantastic.   Landon had the biggest smile on his face when he saw the makeover that his dresser got.   And it gives his room a great pop of color!  There is just the right amount of shimmer in the paint for a kids room.

before and after

To find a Modern Masters Retailer near you, click here or you can purchase paints at their online shop.

Until next time…….

Personalized Felt Coasters with Kunin Felt

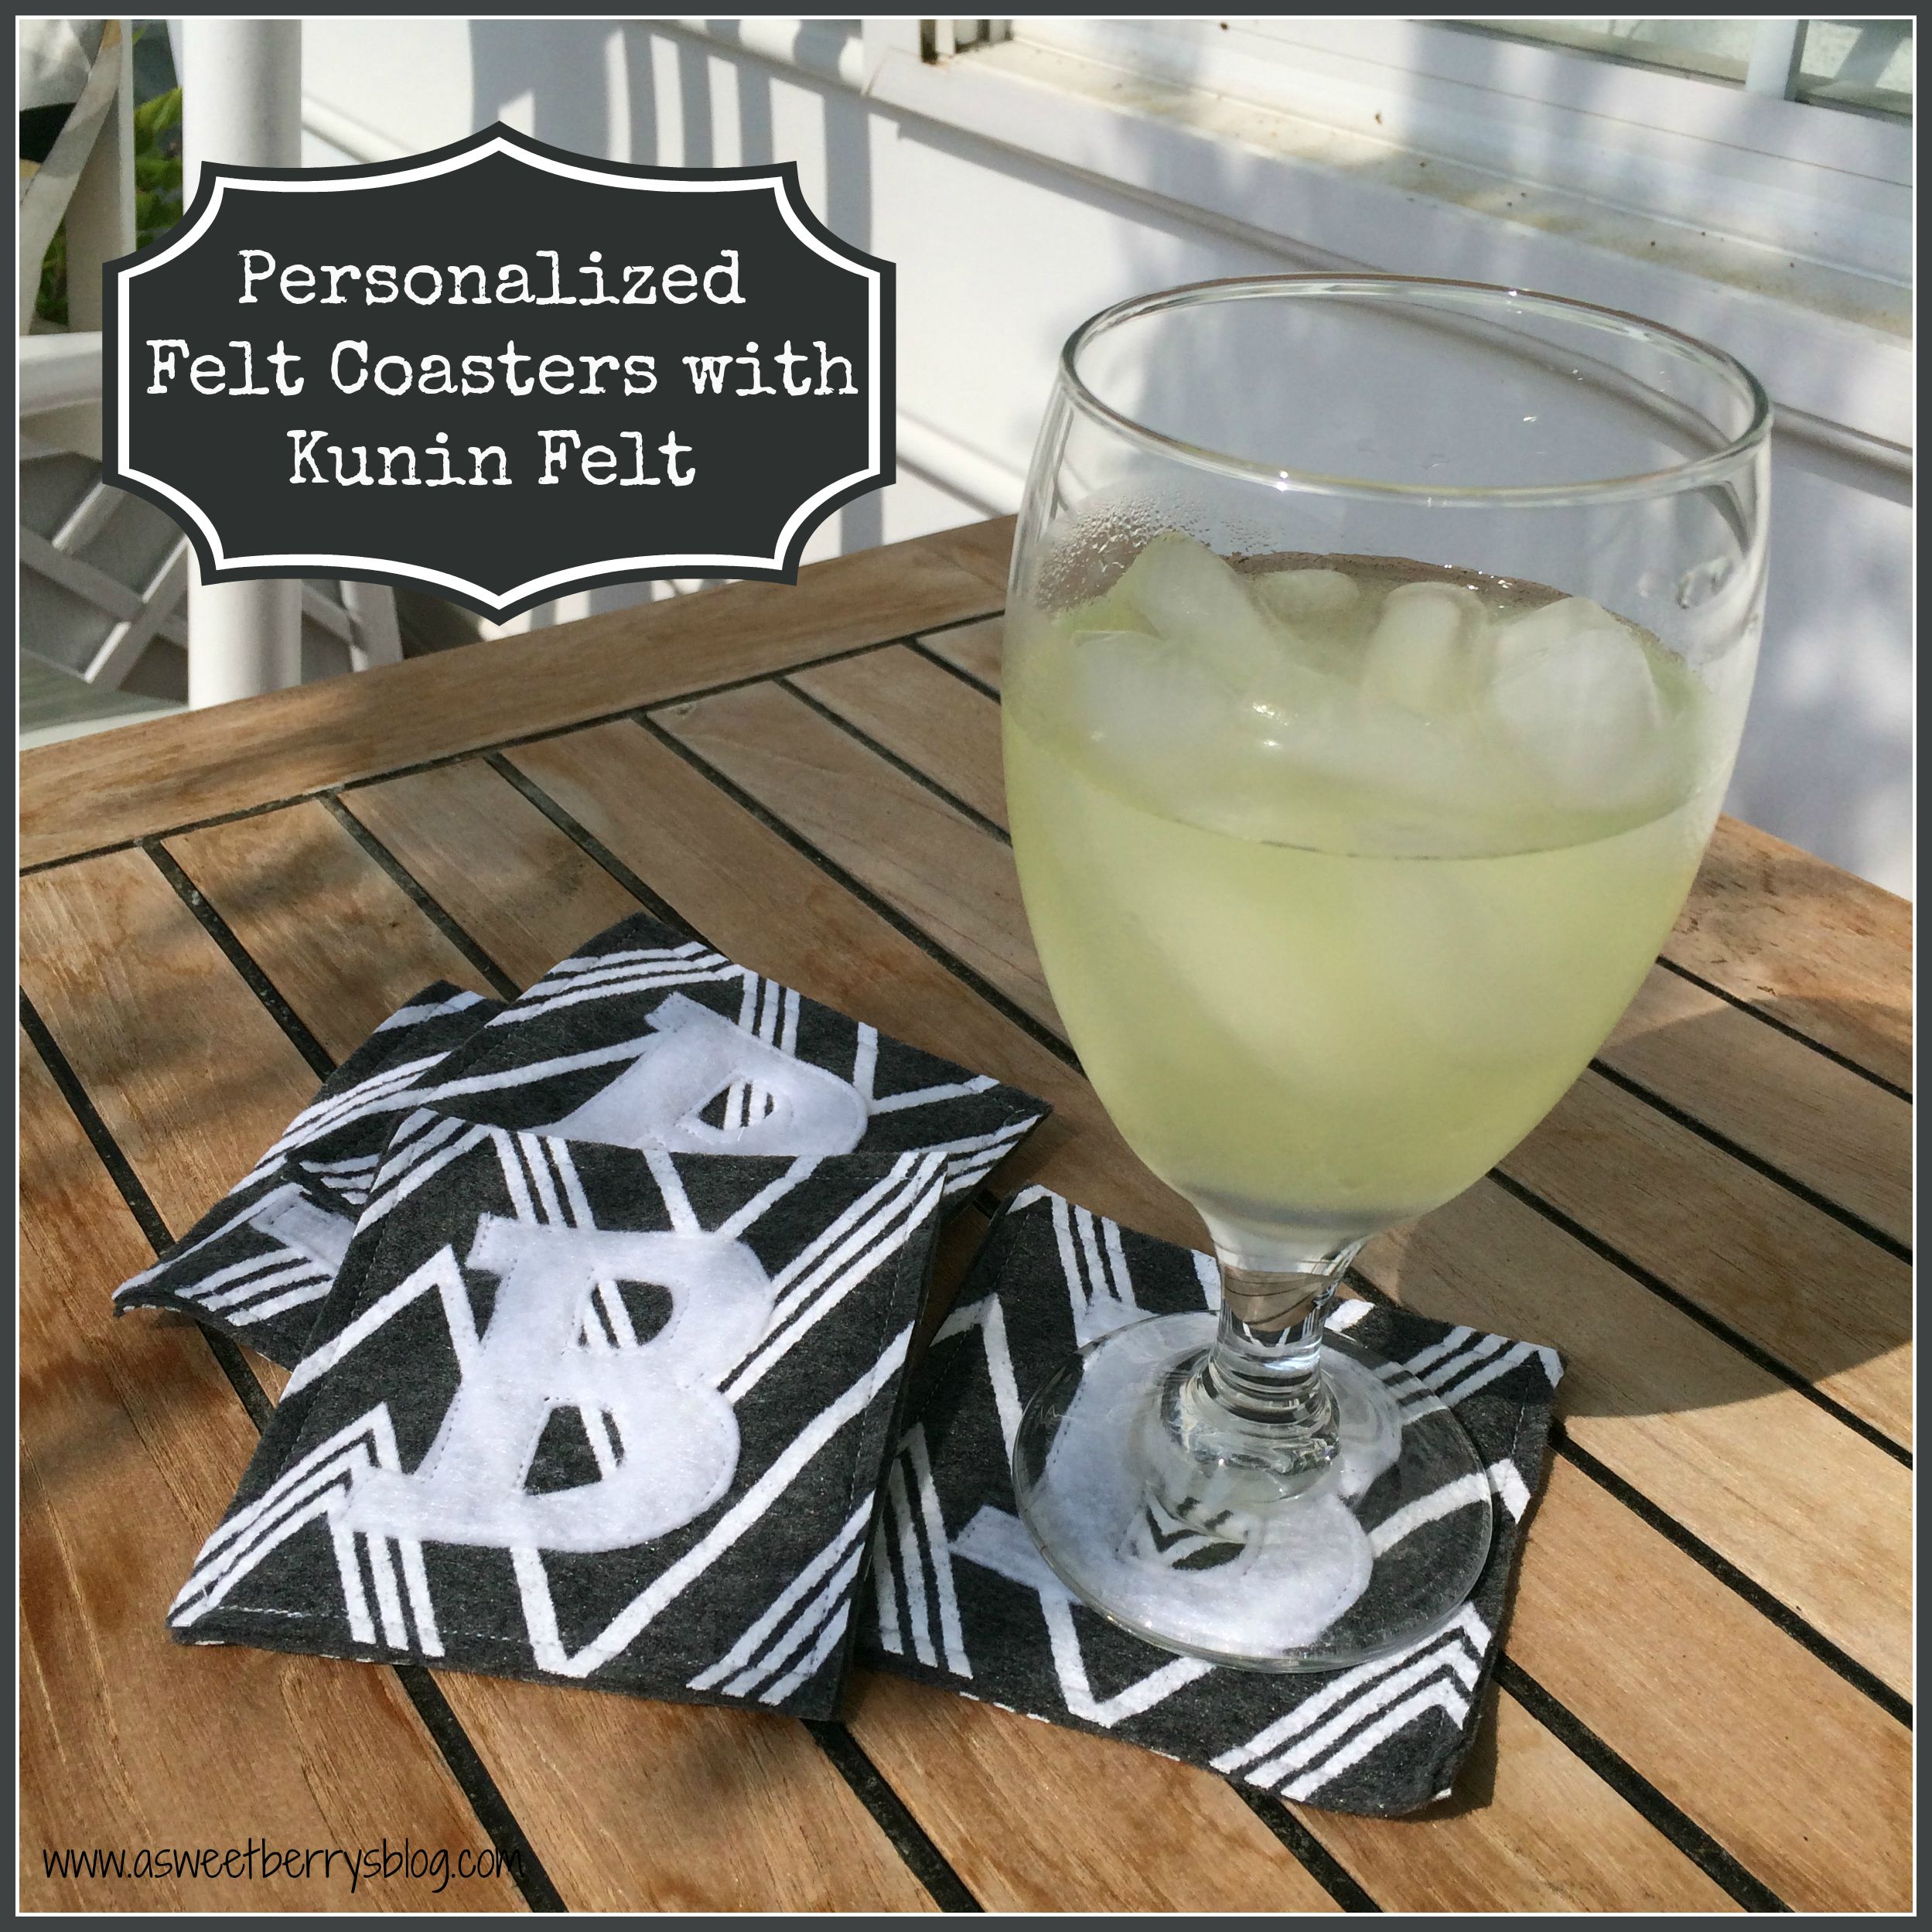
I love coasters, especially personalized ones.   And Kunin Felt is the perfect way to make your own personalized coasters!   Check out these Letter B coasters I made using KuninGroups gray and white chevron felt and a traditional white felt. Coasters
First, I cut eight 4 inch by 4 inch squares using my Fiskars rotary cutter, mat and ruler. cutting
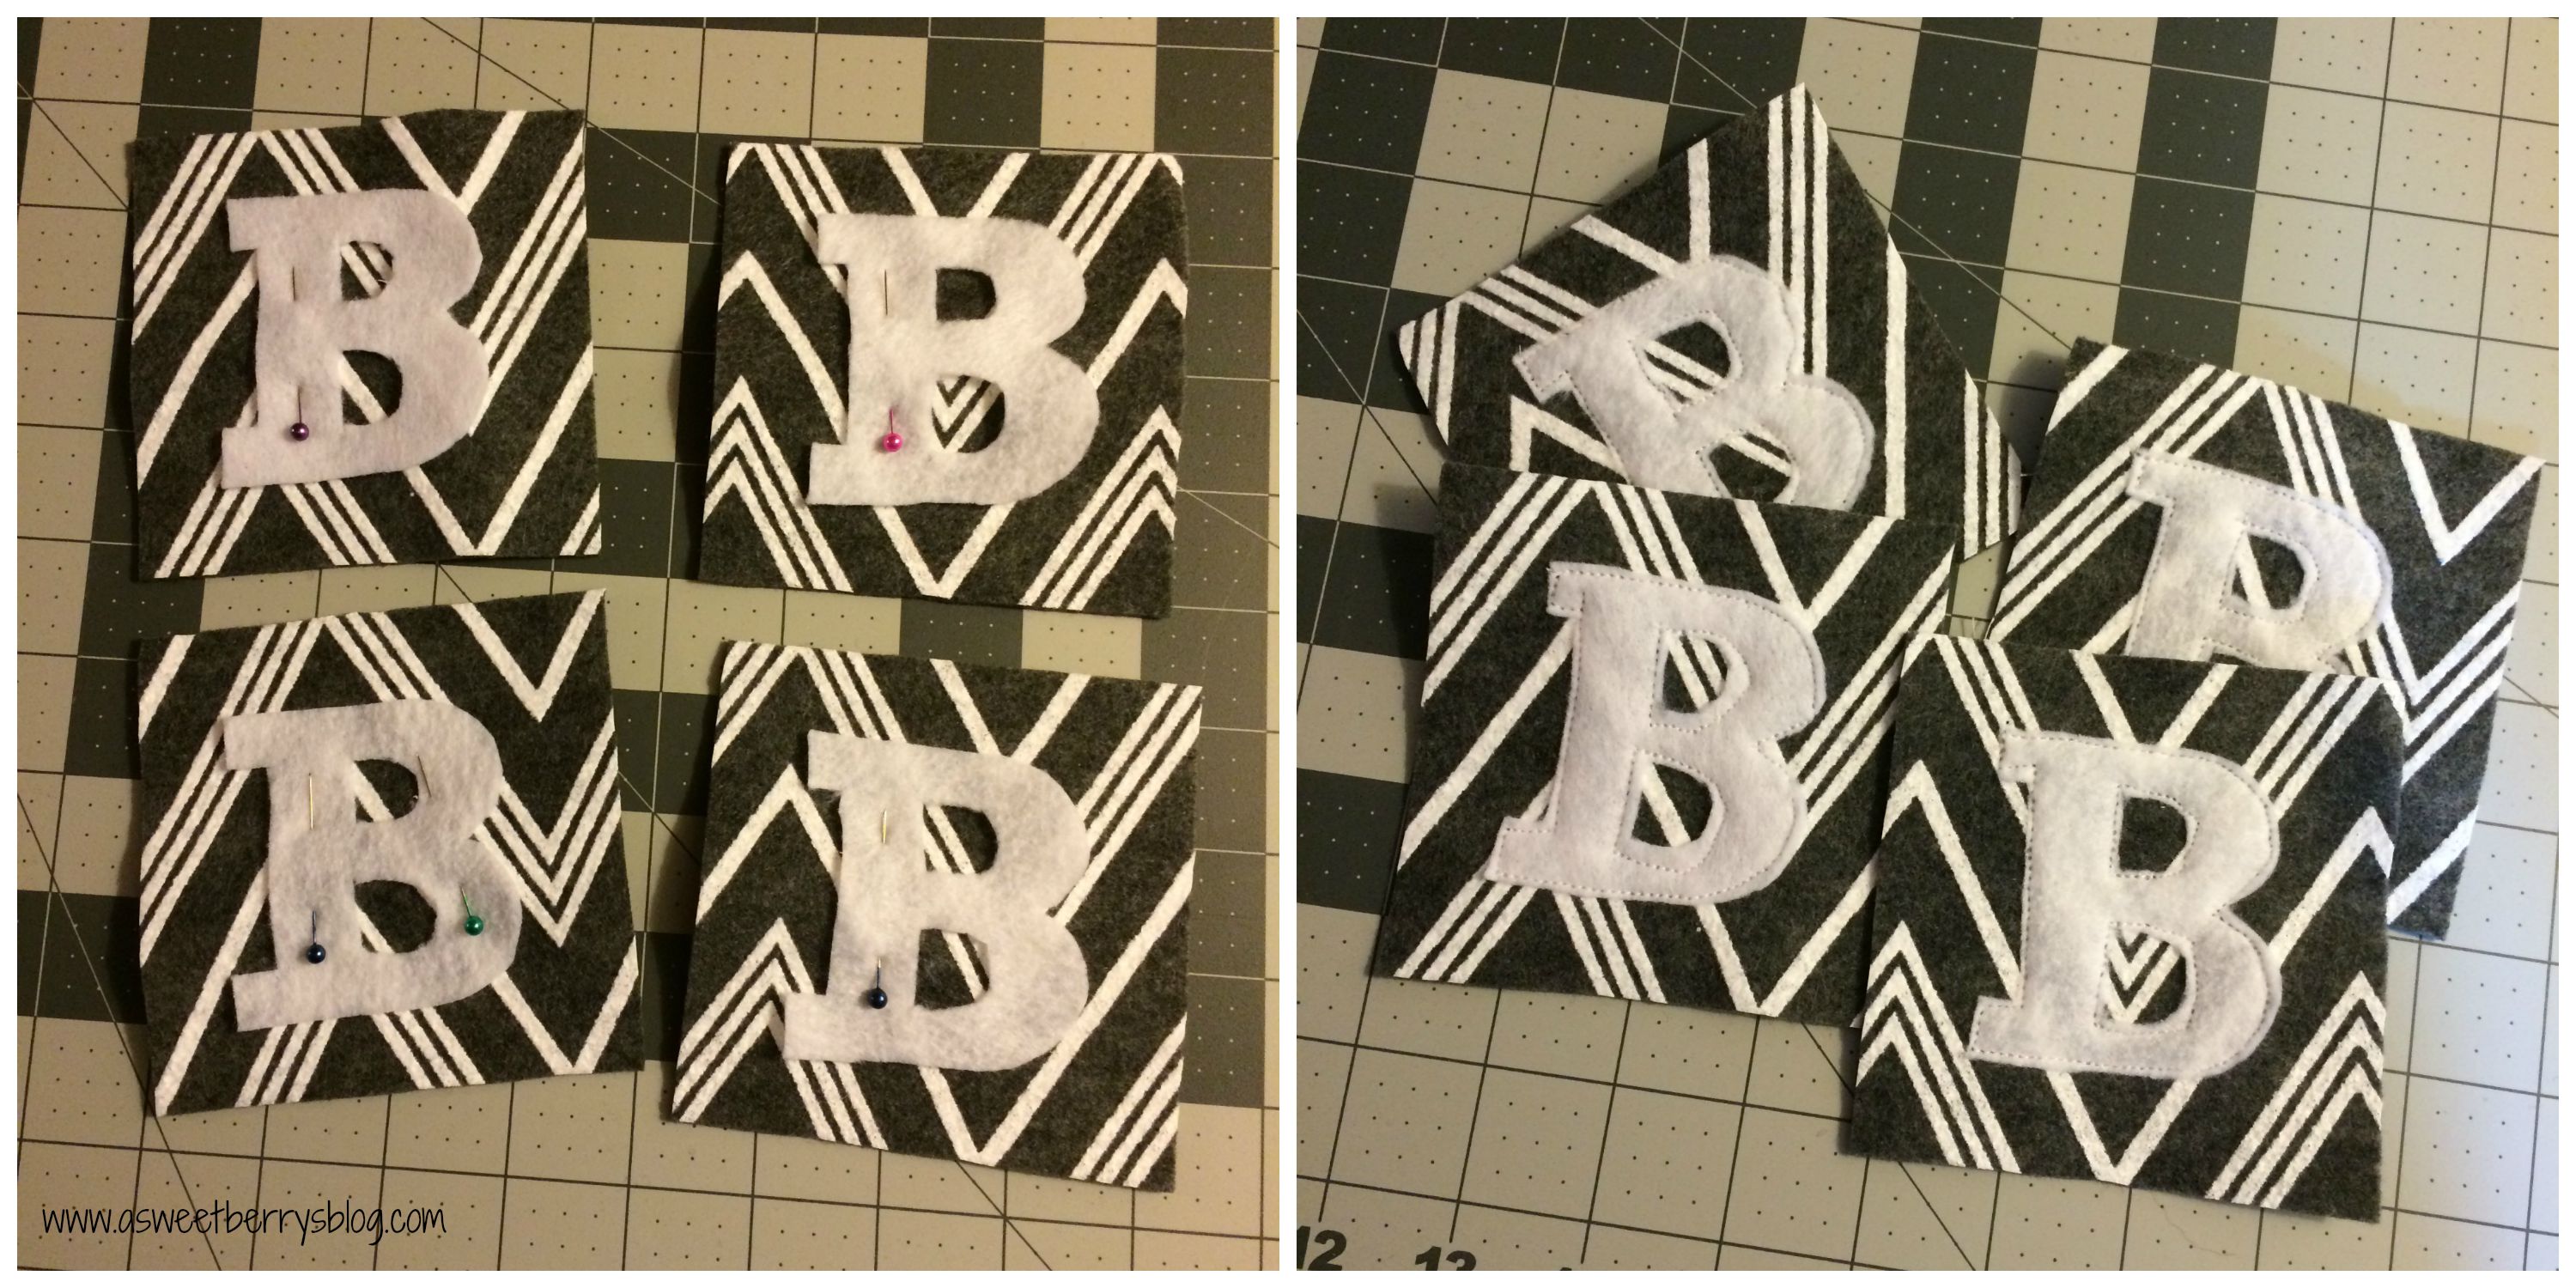
Then, using the eCal2 software, I cut out the letter “B” using my Sizzix Eclips2 and cardstock.  Once my cardstock “B” was cut out, I pinned it to my white felt and then cut out four felt B’s. Letter B
I pinned the felt B’s to four of the felt squares and sewed them on. letters on
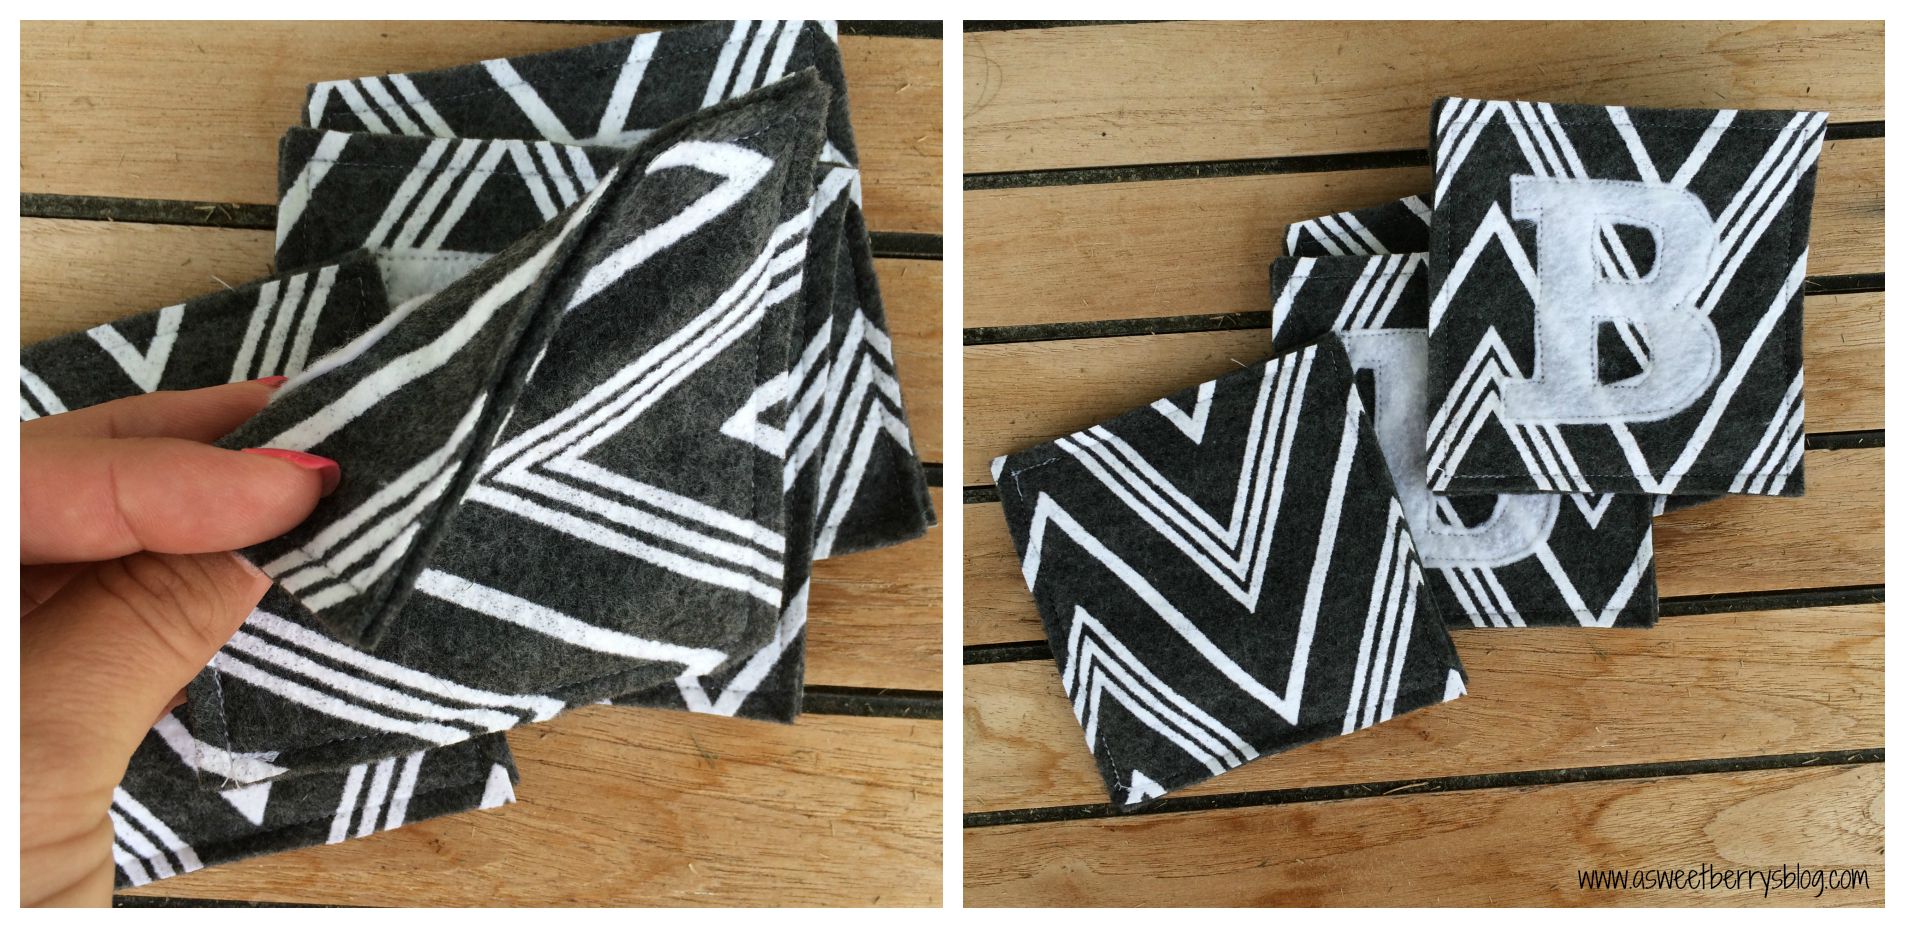
Once my letters were sewn on, I placed a second piece of felt the same size to the back and sewed it together to make it a little thicker! flip it over Hope you like my personalized felt coasters!

Until next time…..

Peeps Hair Clips

20130606-221033.jpg

Peeps Hair Clips

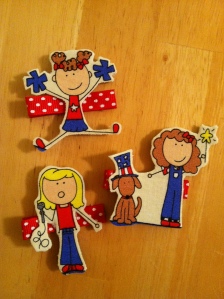
To go with my Patriotic Peeps Pillow Case Dress, I decided to make Peeps Hair Clips!  How stinkin’ cute are these?!?!

IMG_7408

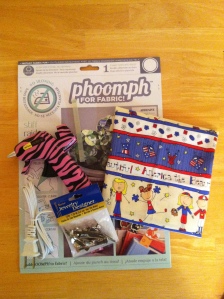
Materials need:

Laura Kelly’s Patriotic Fabric, available at JoAnn Stores

Coats & Clark Phoomph for Fabric

Hair Clips

Red Ribbon

Ad-Tech glue gun and glue stick

Fiskars Scissors

Until I received my box of goodies for the I Love the USA Blog Hop, I had never heard of Phoomph.  But this is some awesome stuff!

So, Phoomph is a double sided, fabric bonding sheet that creates a brand new way to craft with fabric.  There is no ironing needed.  I love this stuff!!!!

IMG_7400

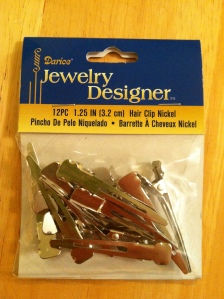
On one of my many trips to JoAnn’s, I picked up these hair clips.

IMG_7401

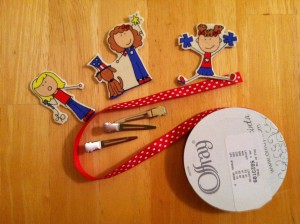
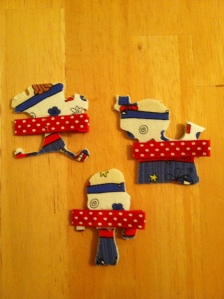
I took the Phoomph and covered both sides with Laura Kelly’s Patriotic Peeps fabric and then cut out some of the Patriotic Peeps.

IMG_7404

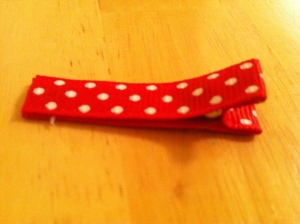
Next I covered the hair clips with ribbons, using hot glue.  Just make sure not to glue the clip sides together!!

IMG_7406

Then, I hot glued the Phoomph’ed Peeps to the ribbon covered clips!

IMG_7409

IMG_7408

These were super easy and they turned out super cute!  The would look adorable with the matching Patriotic Peeps Pillow Case Dress!!

Click here to return to my original I Love the USA Blog Hop page!