Monthly Archives: November 2020

Creative Christmas Crafting featuring Sculpey

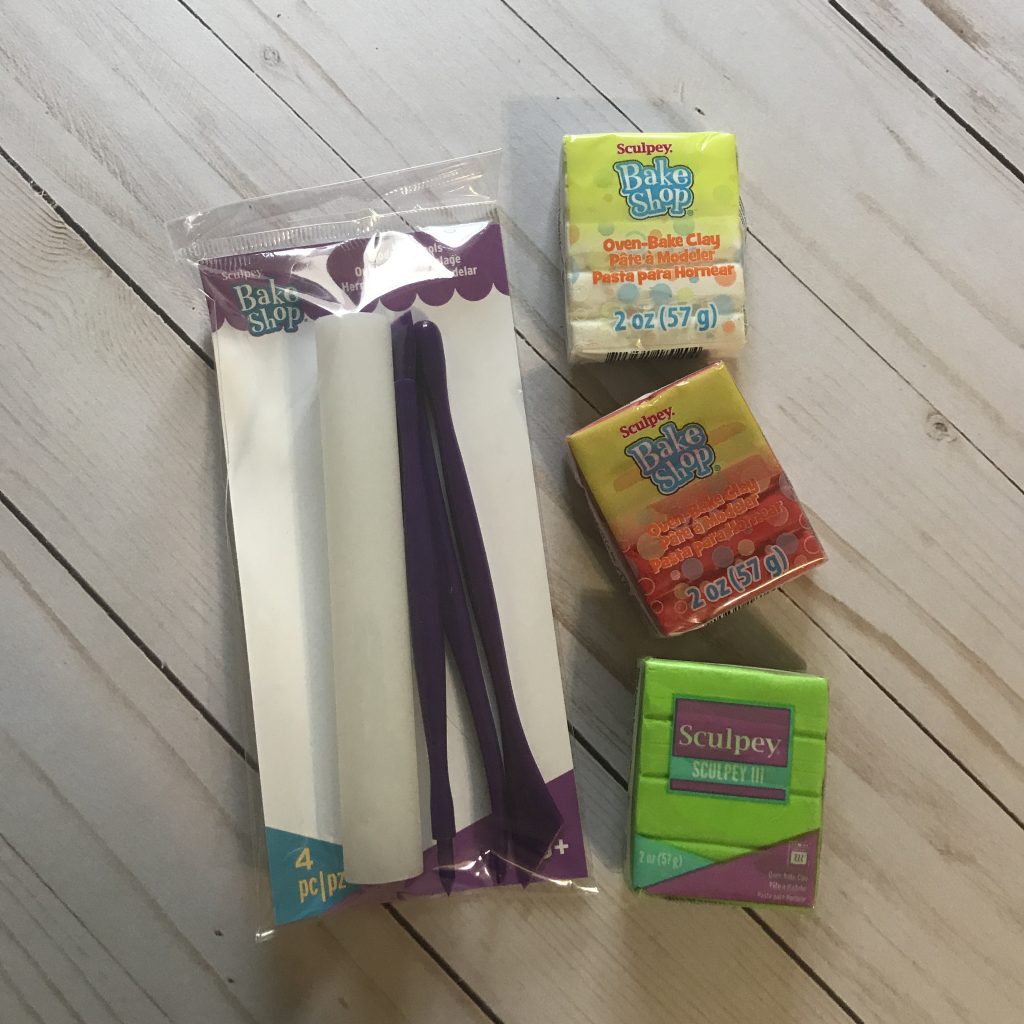
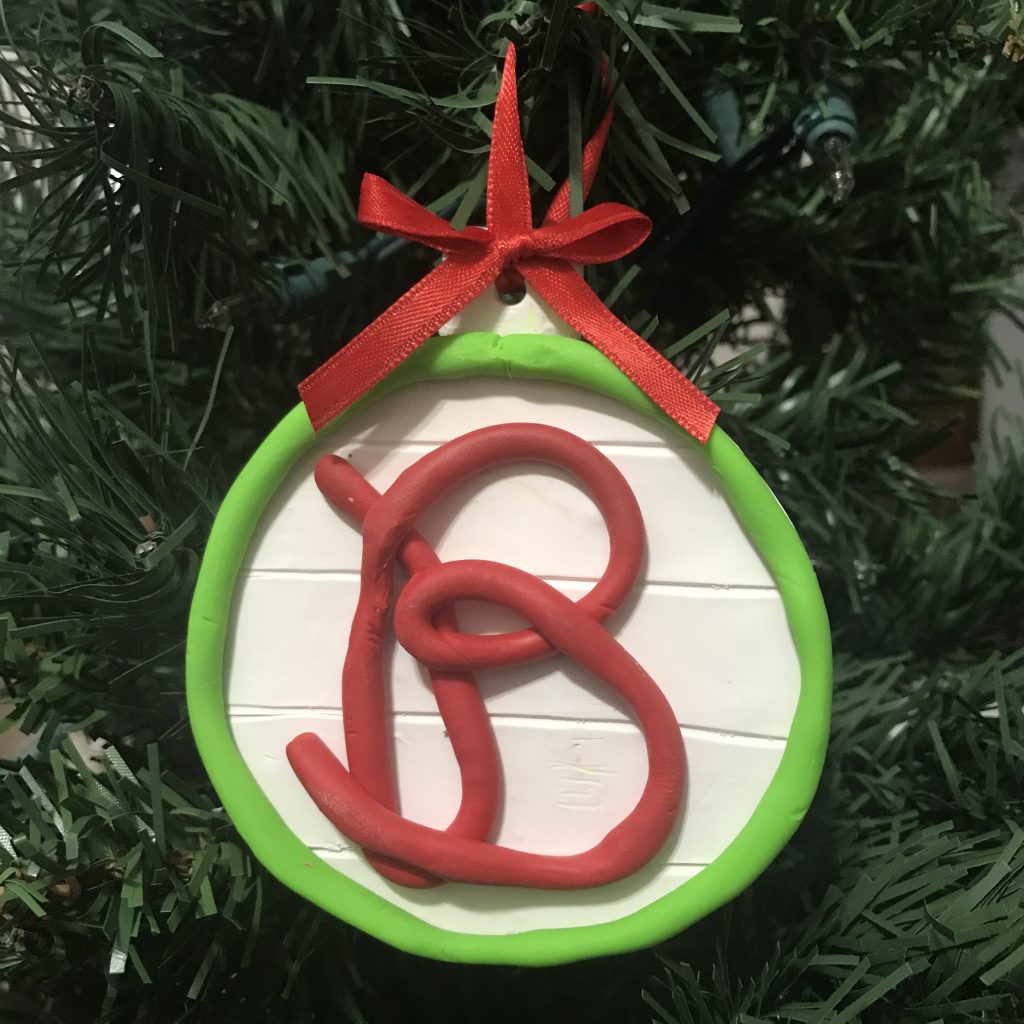
It’s time for the Creative Crafts Christmas Edition and together with Sculpey, we are creating for the holidays! Sculpey is the perfect medium to make Christmas ornaments with. Here in the south, monograms are all the rage and everyone loves a monogram. Sculpey® provided me with with Sculpey III and Sculpey Bake Shop clay and a modeling tool kit to create this adorable monogram ornament. This ornament could be attached to a gift and then placed on the tree afterwards!

Materials:

  • Sculpey® Clays: Sculpey III in Granny Smith, Sculpey Bake Shop® in White and Red
  • Sculpey Bake Shop® Modeling Tools
  • Round Cookie Cutter
  • Parchment Paper
  • String or Ribbon
  • Oven or Toaster Oven

How I made it:

I started by cutting the amount of clay that I thought I would need from each block and kneading it to soften it.

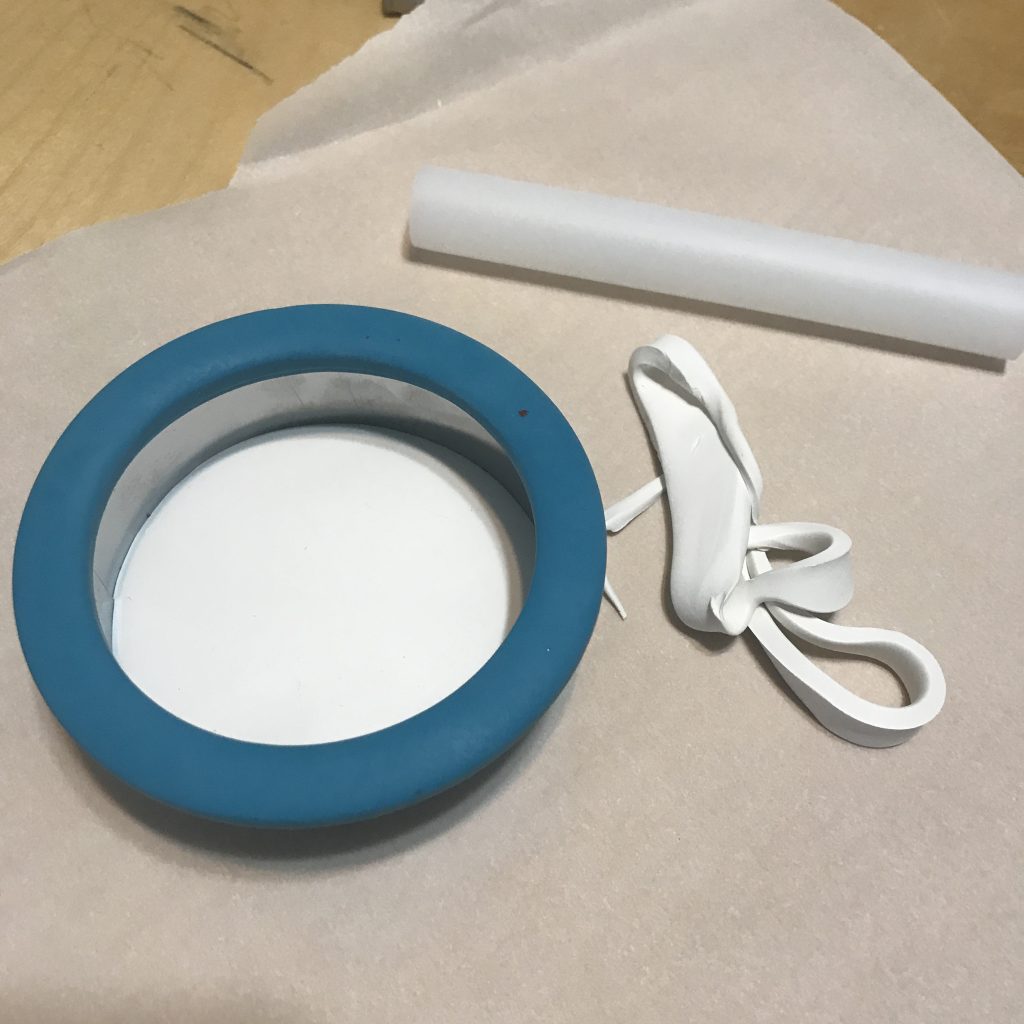
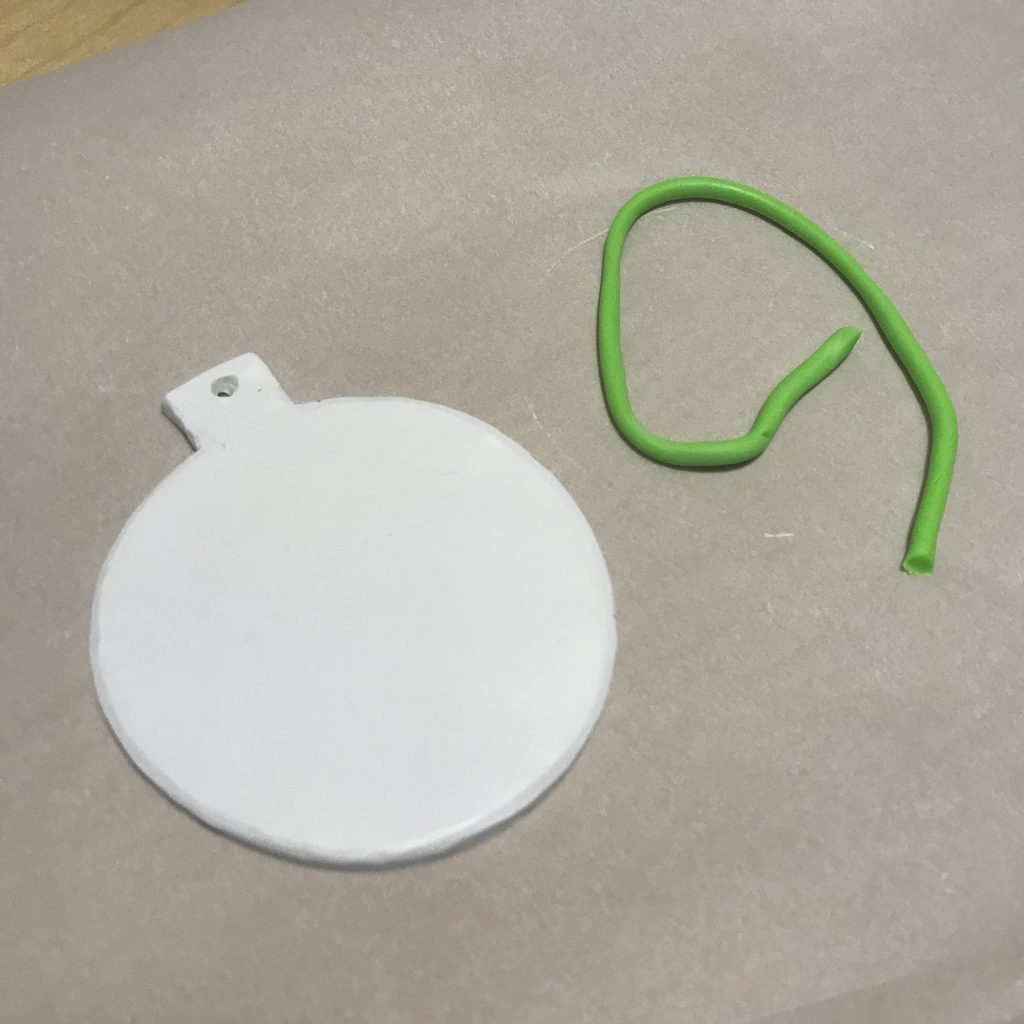
Once the clay was soft and easy to work with, I rolled out the white clay until it was about 1/4″ thick using the roller that came in the modeling tools pack. I also cut a small square piece to create the top of the ornament.
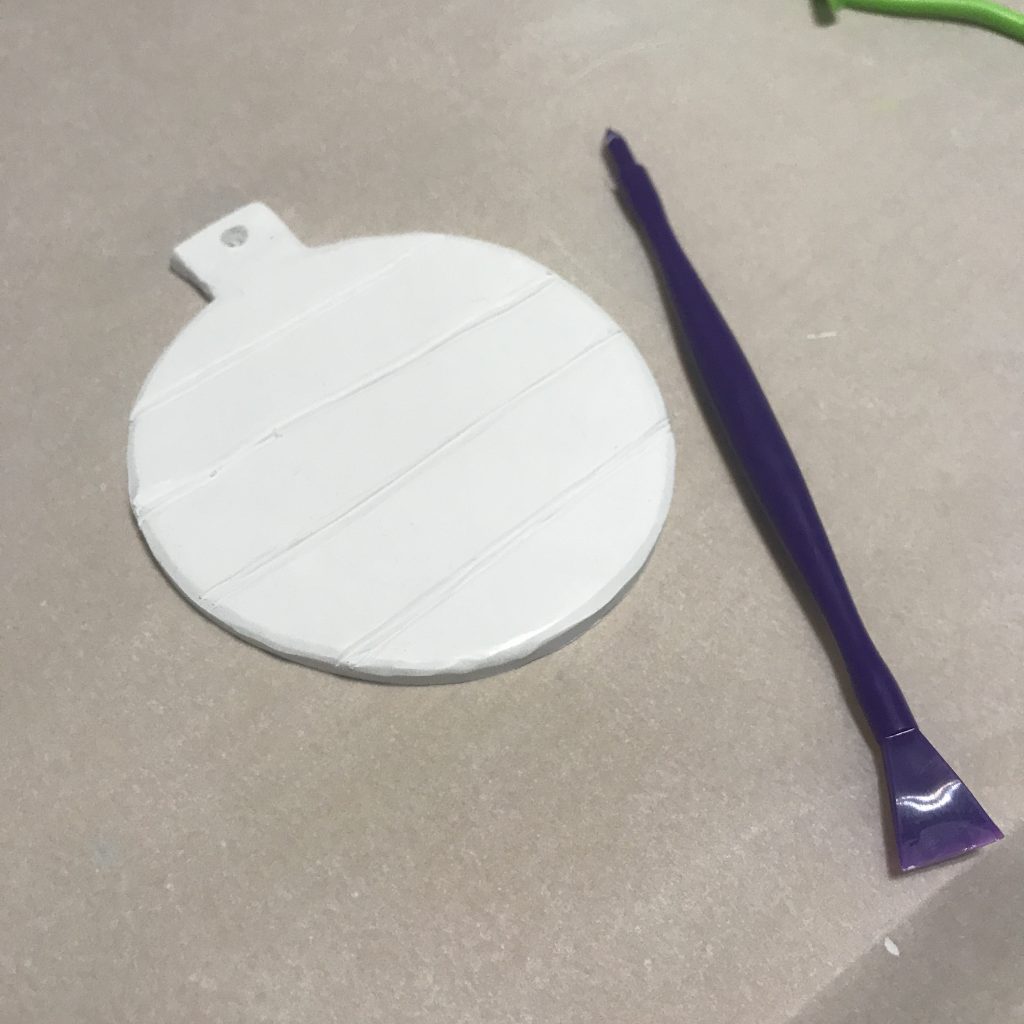
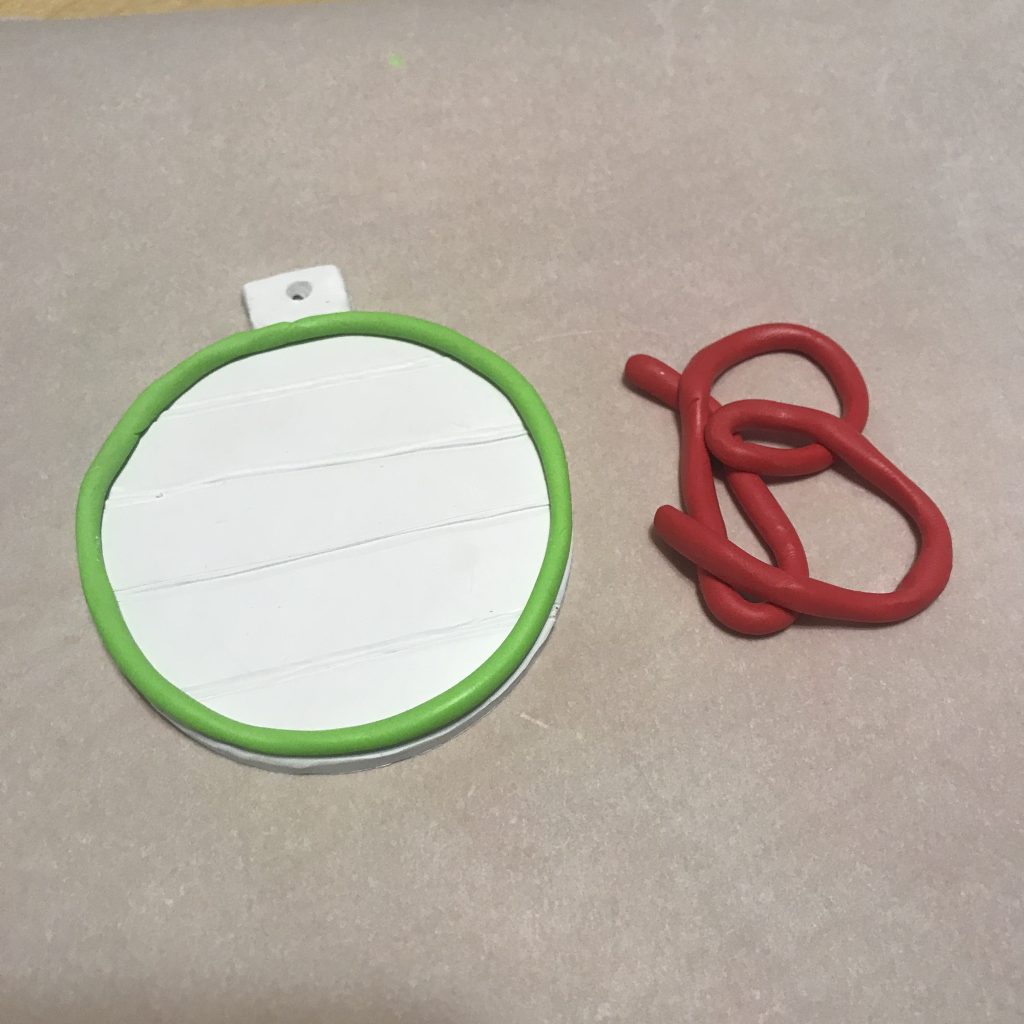
Using the pointed tool stick, I created a hole in the top part and then I scored the ornament to give it a shiplap look.
I then rolled out the green clay to create the border and then the red clay to create the monogram. I then added them to the white clay and pressed them down gently so that they stuck.
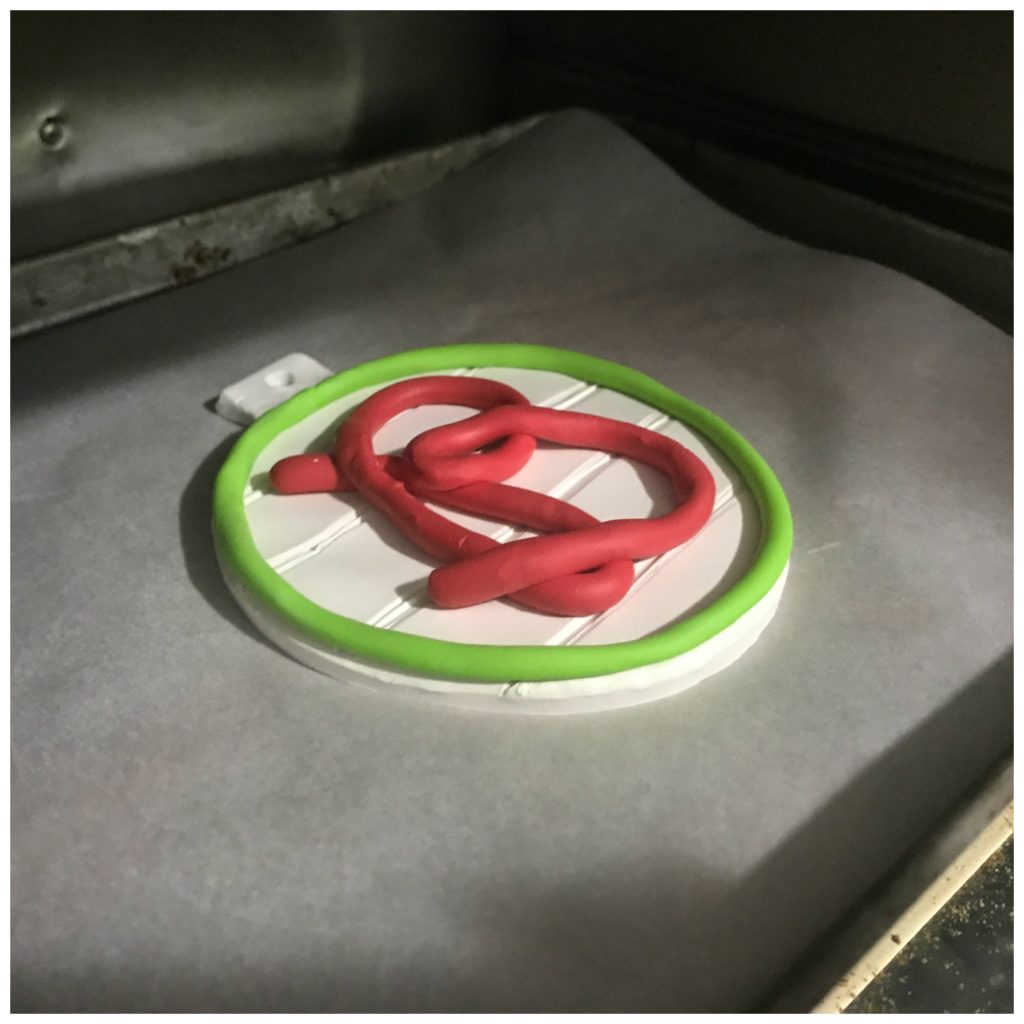
I preheated my toaster oven to 275 degrees and baked my clay for about 15 minutes per the instructions. Then I let it cool and added the ribbon.
Be sure to click the Creative Christmas Crafts button below to check out other Christmas crafts!

Happy Crafting! Until next time…..

Felt Rainbow Ornament featuring Fairfield World Poly-fil

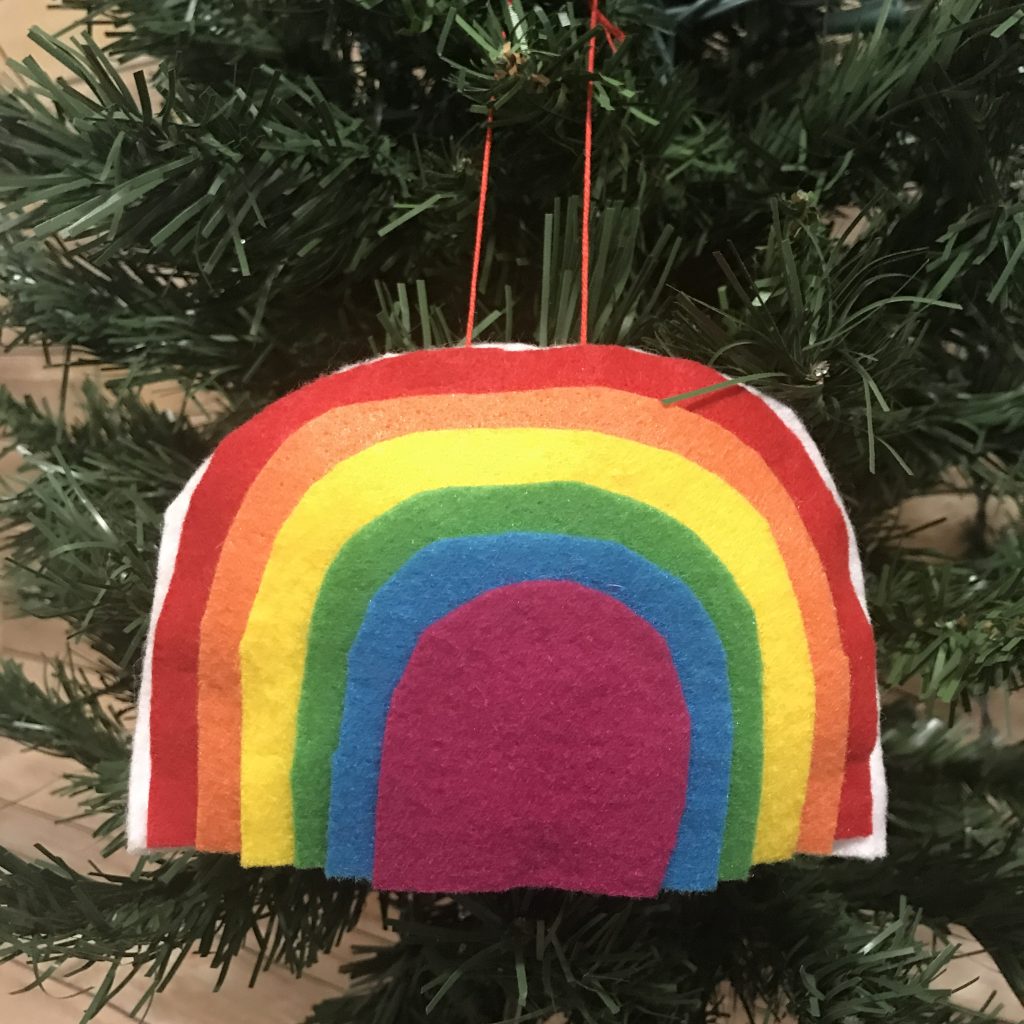
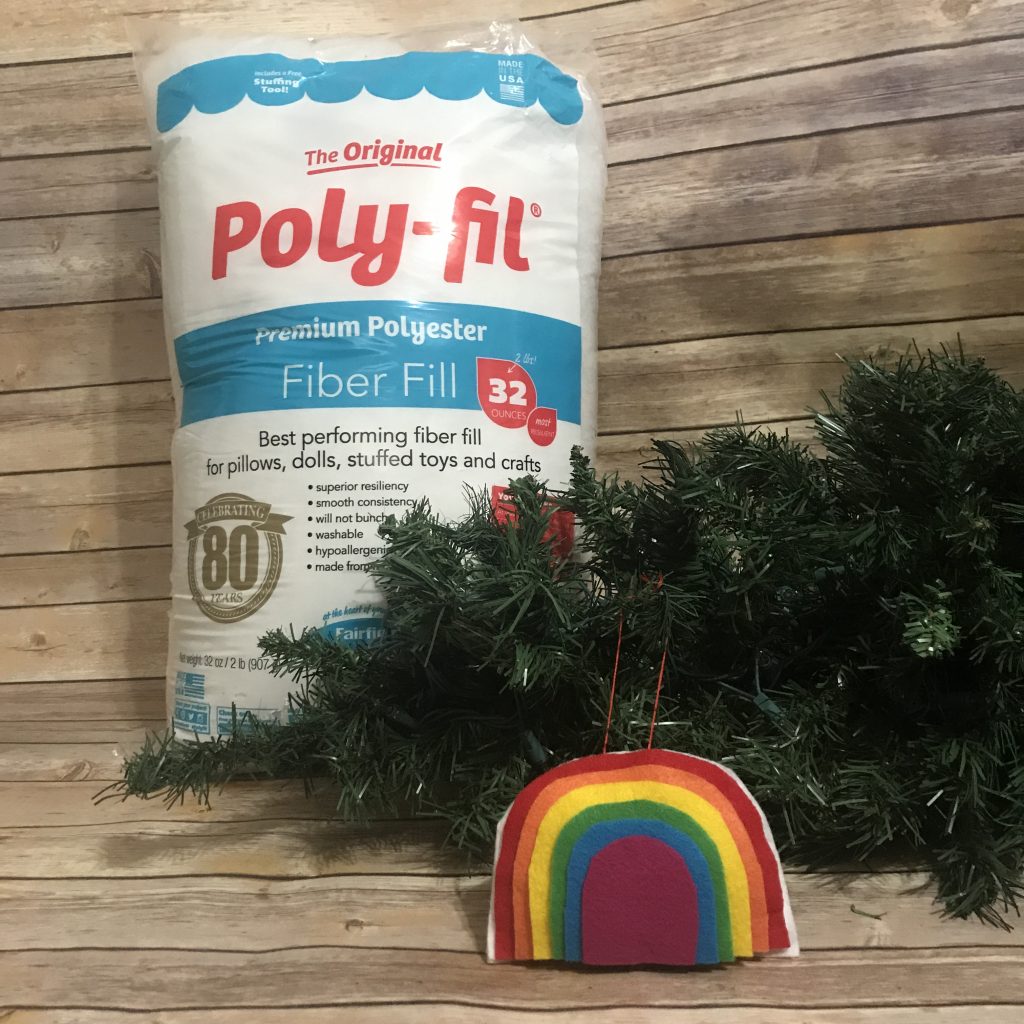
Fairfield World is celebrating their 80th birthday, so I’m celebrating with them by making a felt rainbow ornament filled with Fairfield Poly-fil Fiber Fill! I absolutely love Fairfield World products and I have been using the fiber fill forever!

Materials used:

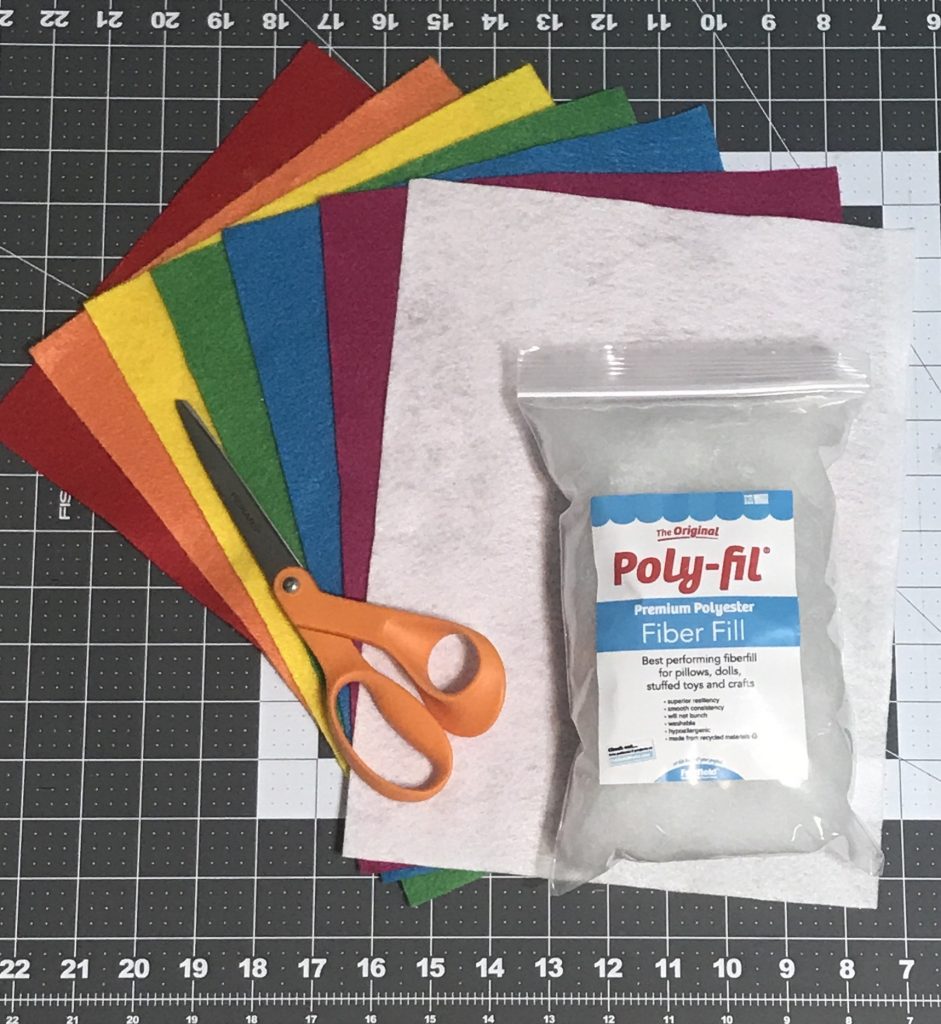
  • Fairfield World Poly-fil Fiber Fill
  • Kunin Felt Classic Felt 9″x12″ craft cuts: (1) Red, (1) Orange, (1) Yellow, (1)Apple Green, (1) Peacock, (1) Fuchsia, (1) White
  • Scissors
  • Felt Glue (I use Beacon Felt Glue)
  • Sewing Machine
  • Embroidery Floss
  • Needle

How I made it:

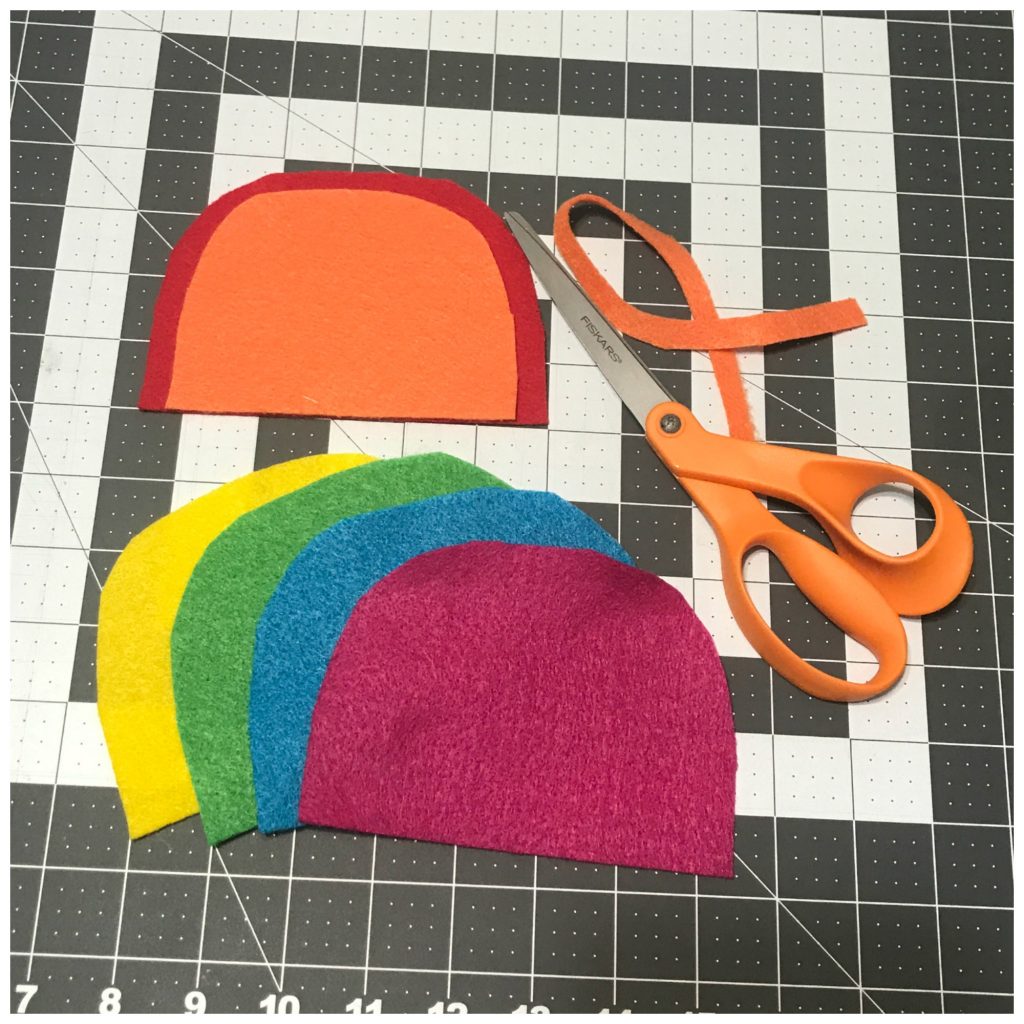
I began by cutting my red felt into to half circles at a length of 5.5 inches. I then cut the orange, yellow, green, blue and fuchsia into the same size half circles using the red one as a pattern.

Then I arranged them in the order of the rainbow and then cut each one a little smaller, creating a rainbow look. Then I cut two white half circles at six inches, slightly larger than the red one.

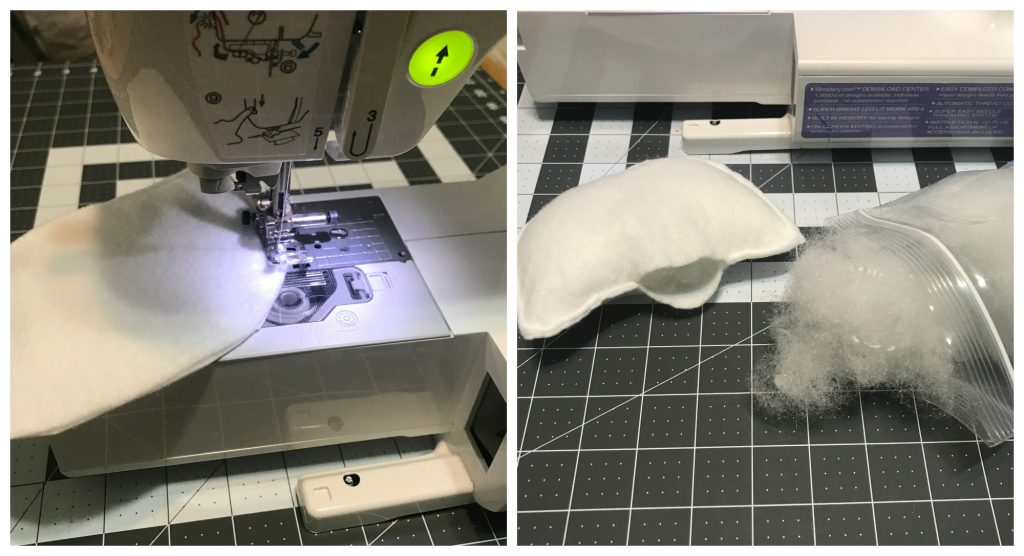
Using my sewing machine, I sewed the two white pieces together, leaving just a quarter inch seam and a two inch opening at the bottom. I then stuffed it with the Fairfield Poly-fil Fiber Fill and sewed it up!

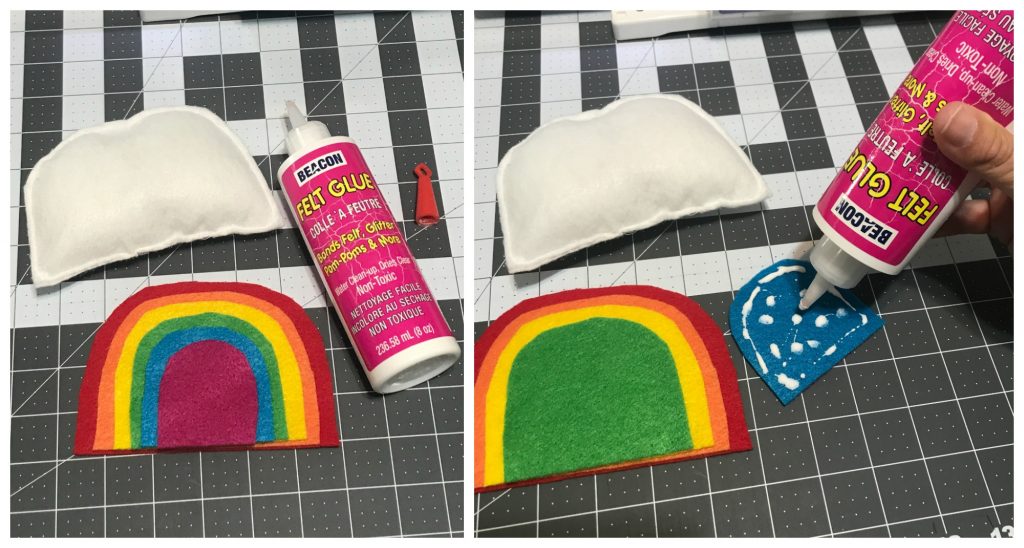
I glued together the rainbow using Beacon Felt Glue. Next I glued the rainbow to the stuffed white piece and let it dry completely.

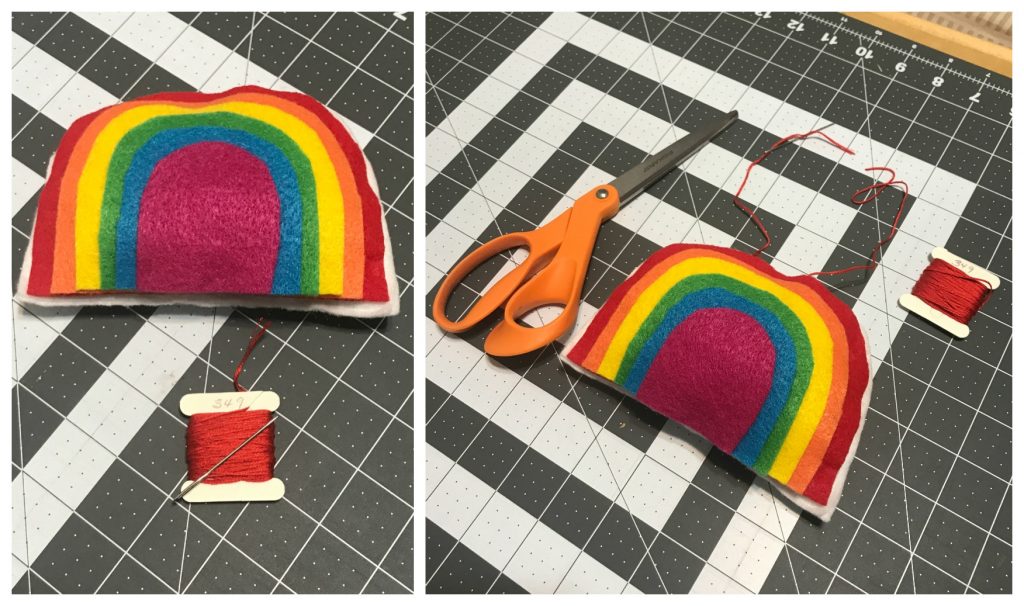
Once it was dry, using the needle and embroidery floss, I put the floss through the seam of the white pieces and tied the ends together so that I could hang it on the tree!

Happy 80th Birthday Fairfield World!!!!

Happy Crafting. Until next time…..