Category Archives: 2020

Creative Christmas Crafting featuring Sculpey

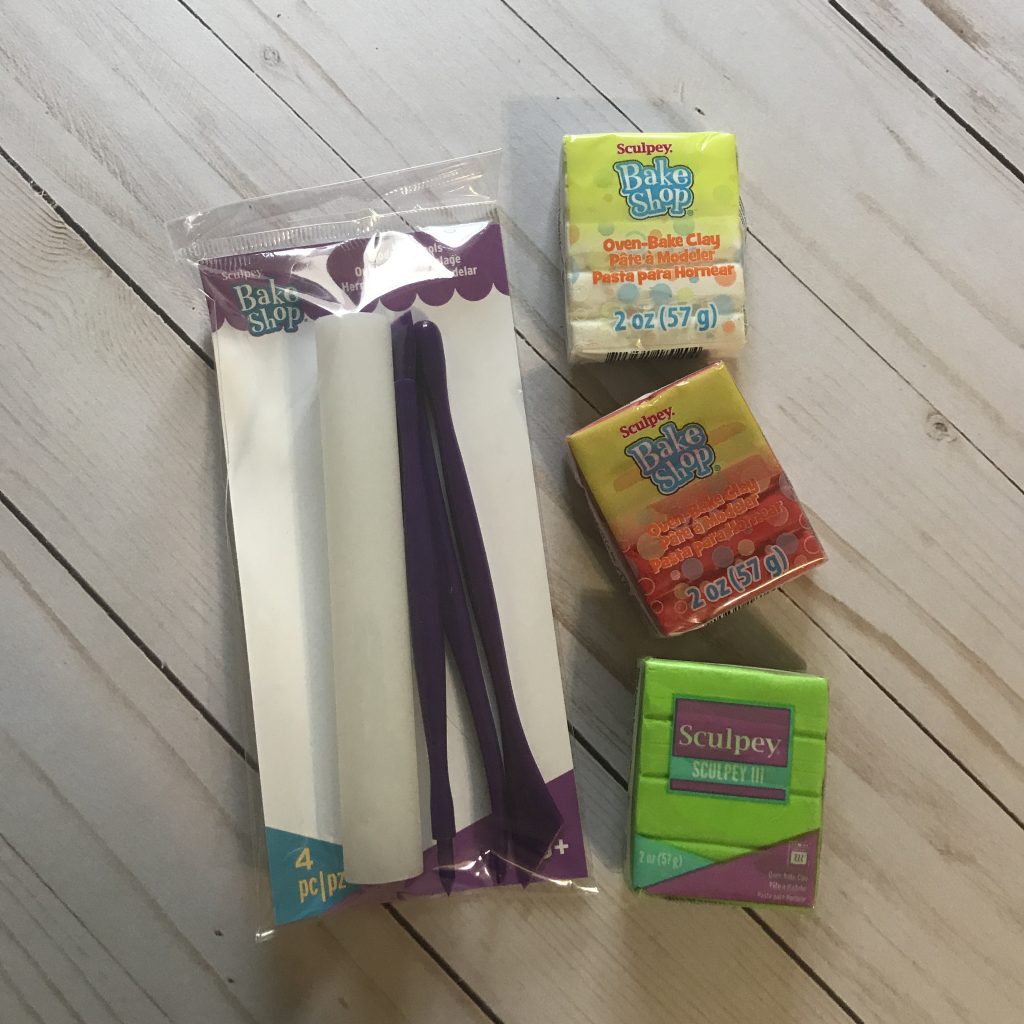
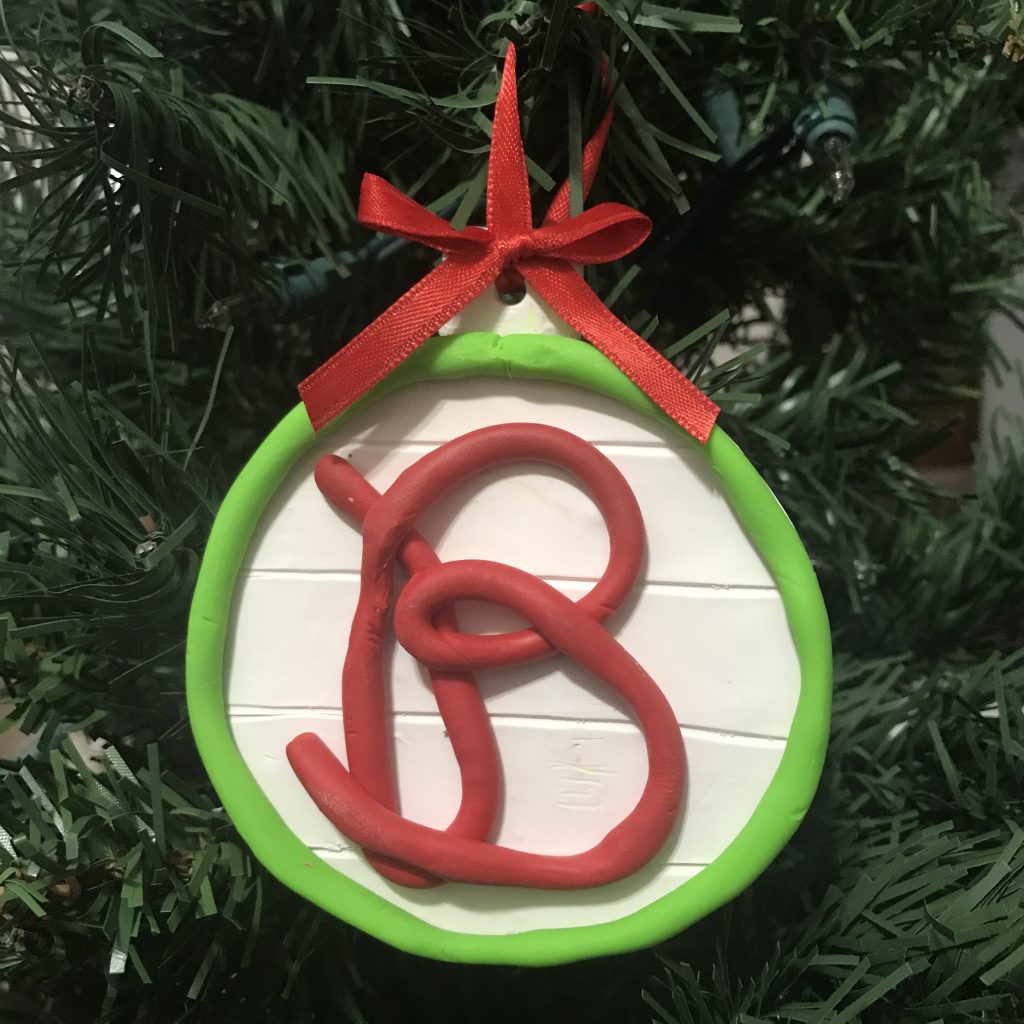
It’s time for the Creative Crafts Christmas Edition and together with Sculpey, we are creating for the holidays! Sculpey is the perfect medium to make Christmas ornaments with. Here in the south, monograms are all the rage and everyone loves a monogram. Sculpey® provided me with with Sculpey III and Sculpey Bake Shop clay and a modeling tool kit to create this adorable monogram ornament. This ornament could be attached to a gift and then placed on the tree afterwards!

Materials:

  • Sculpey® Clays: Sculpey III in Granny Smith, Sculpey Bake Shop® in White and Red
  • Sculpey Bake Shop® Modeling Tools
  • Round Cookie Cutter
  • Parchment Paper
  • String or Ribbon
  • Oven or Toaster Oven

How I made it:

I started by cutting the amount of clay that I thought I would need from each block and kneading it to soften it.

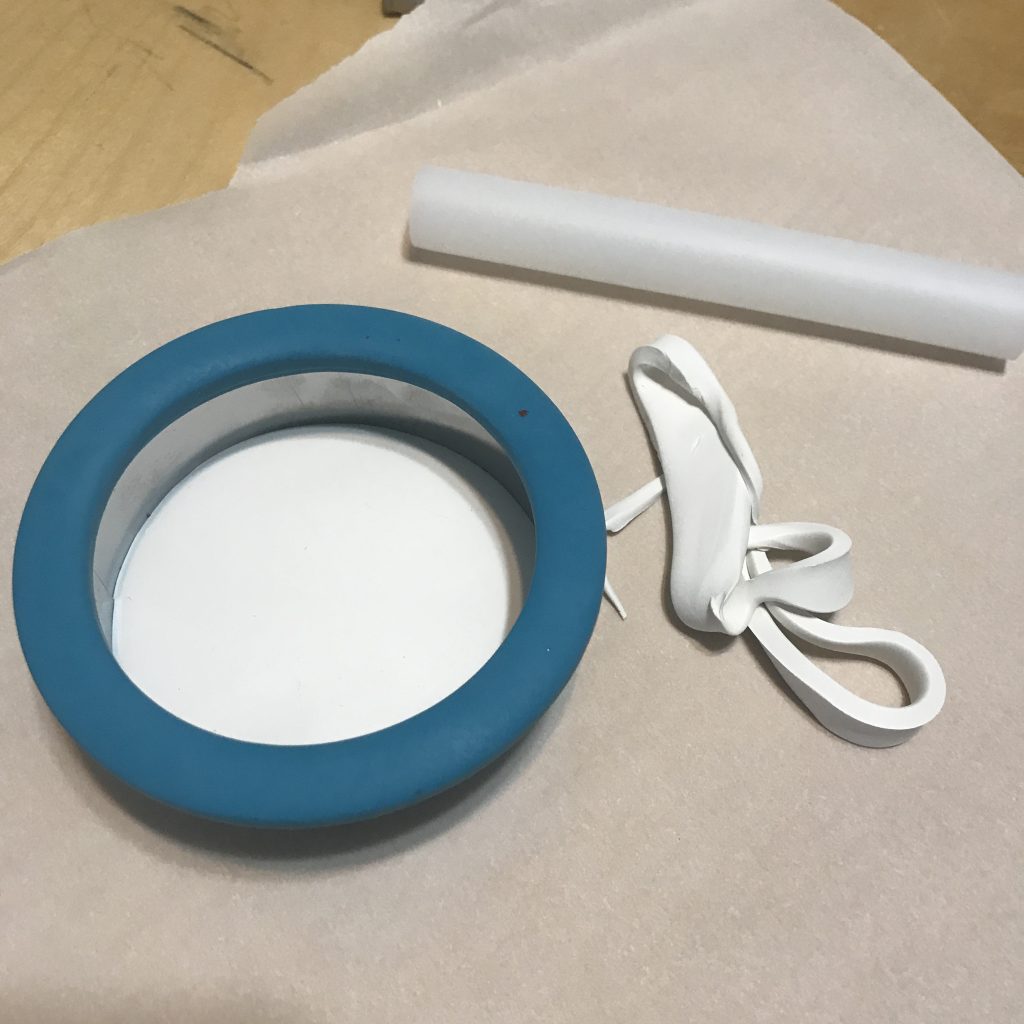
Once the clay was soft and easy to work with, I rolled out the white clay until it was about 1/4″ thick using the roller that came in the modeling tools pack. I also cut a small square piece to create the top of the ornament.
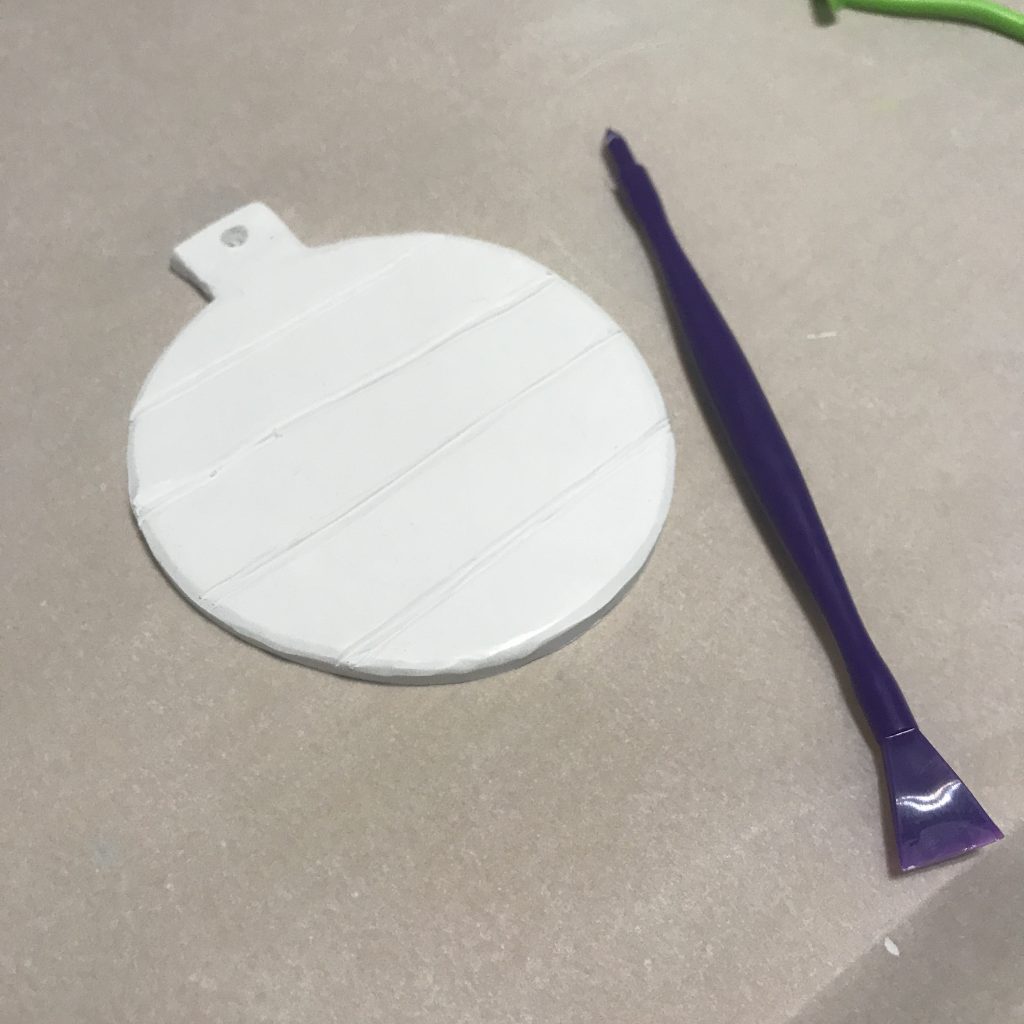
Using the pointed tool stick, I created a hole in the top part and then I scored the ornament to give it a shiplap look.
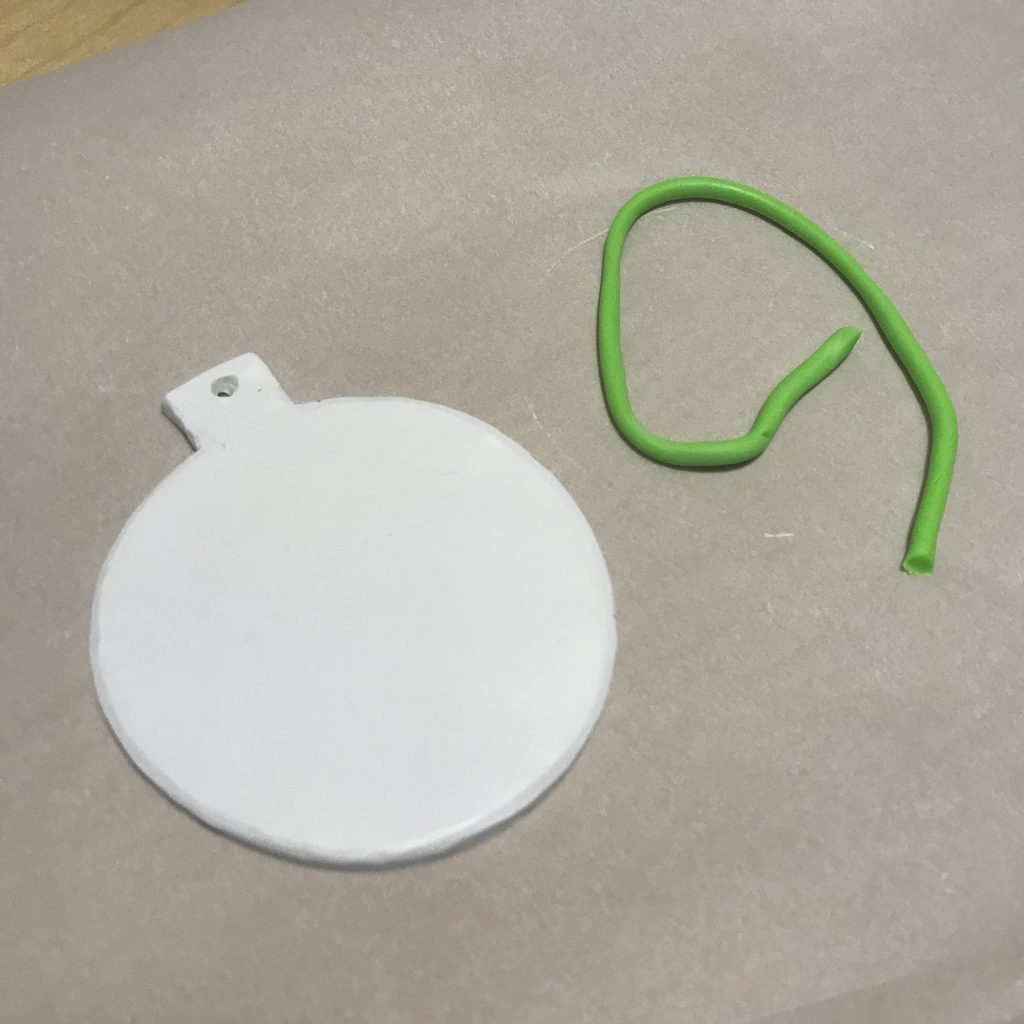
I then rolled out the green clay to create the border and then the red clay to create the monogram. I then added them to the white clay and pressed them down gently so that they stuck.
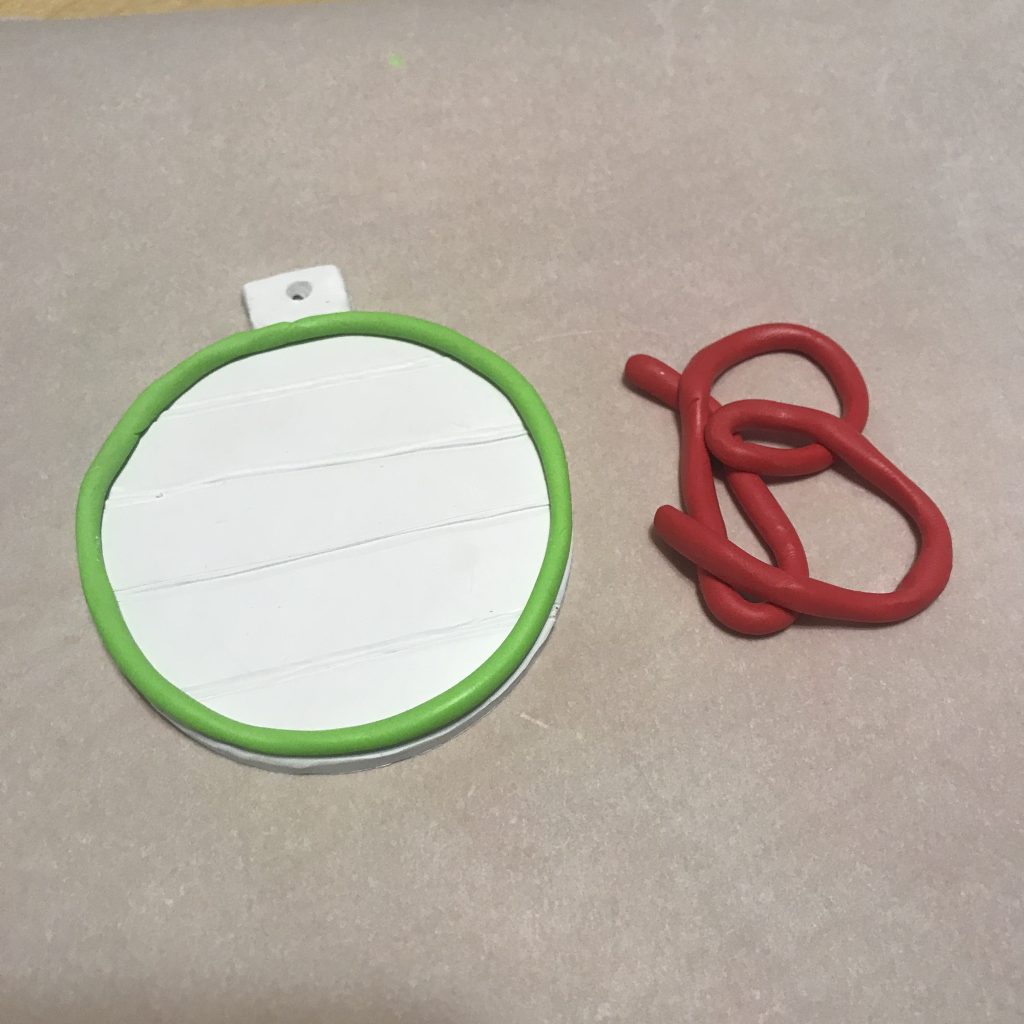
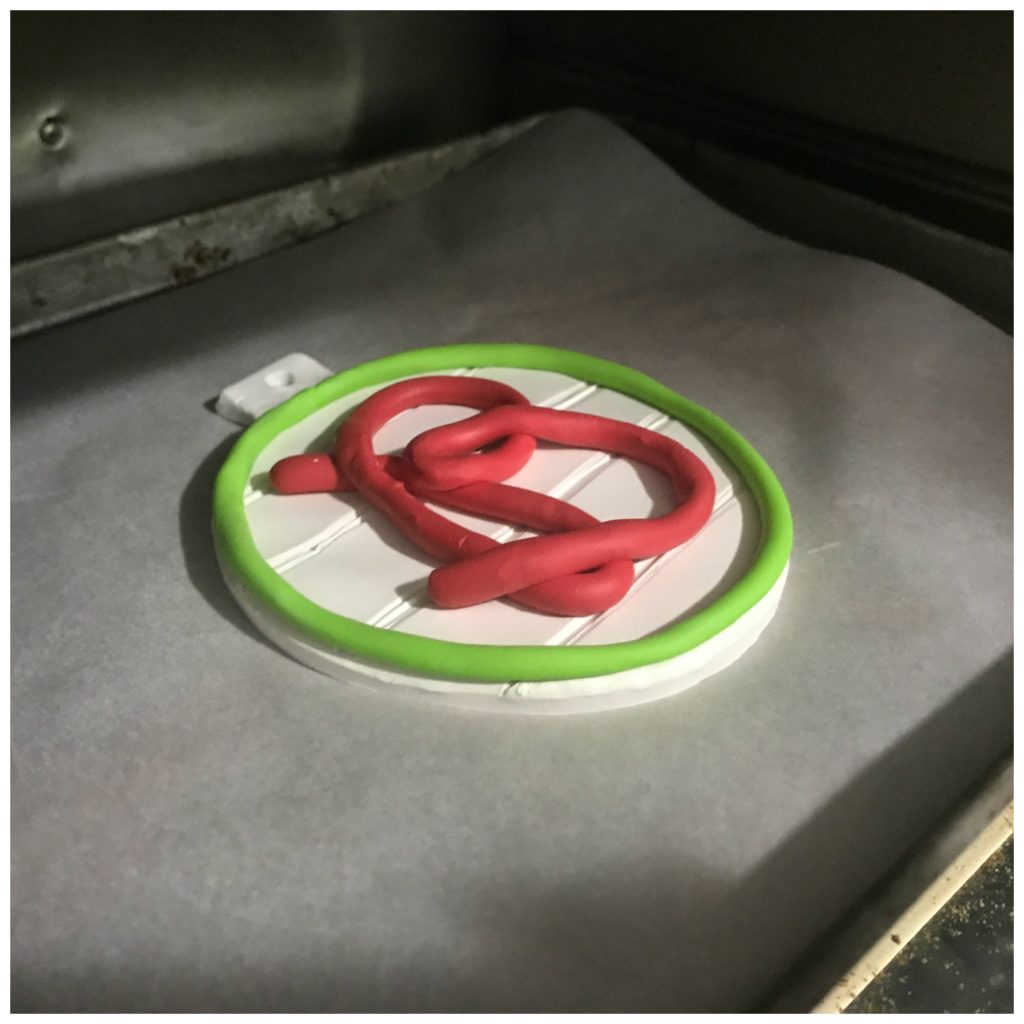
I preheated my toaster oven to 275 degrees and baked my clay for about 15 minutes per the instructions. Then I let it cool and added the ribbon.
Be sure to click the Creative Christmas Crafts button below to check out other Christmas crafts!

Happy Crafting! Until next time…..

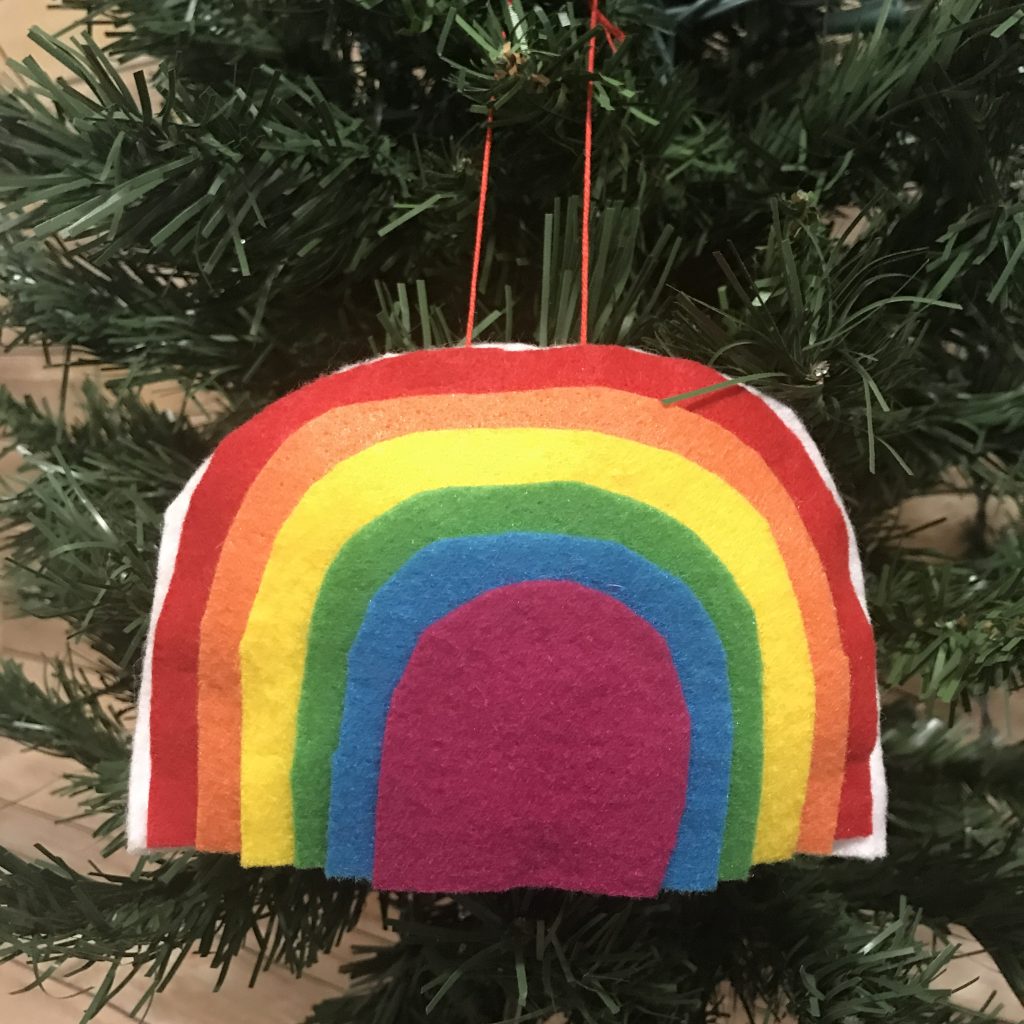
Felt Rainbow Ornament featuring Fairfield World Poly-fil

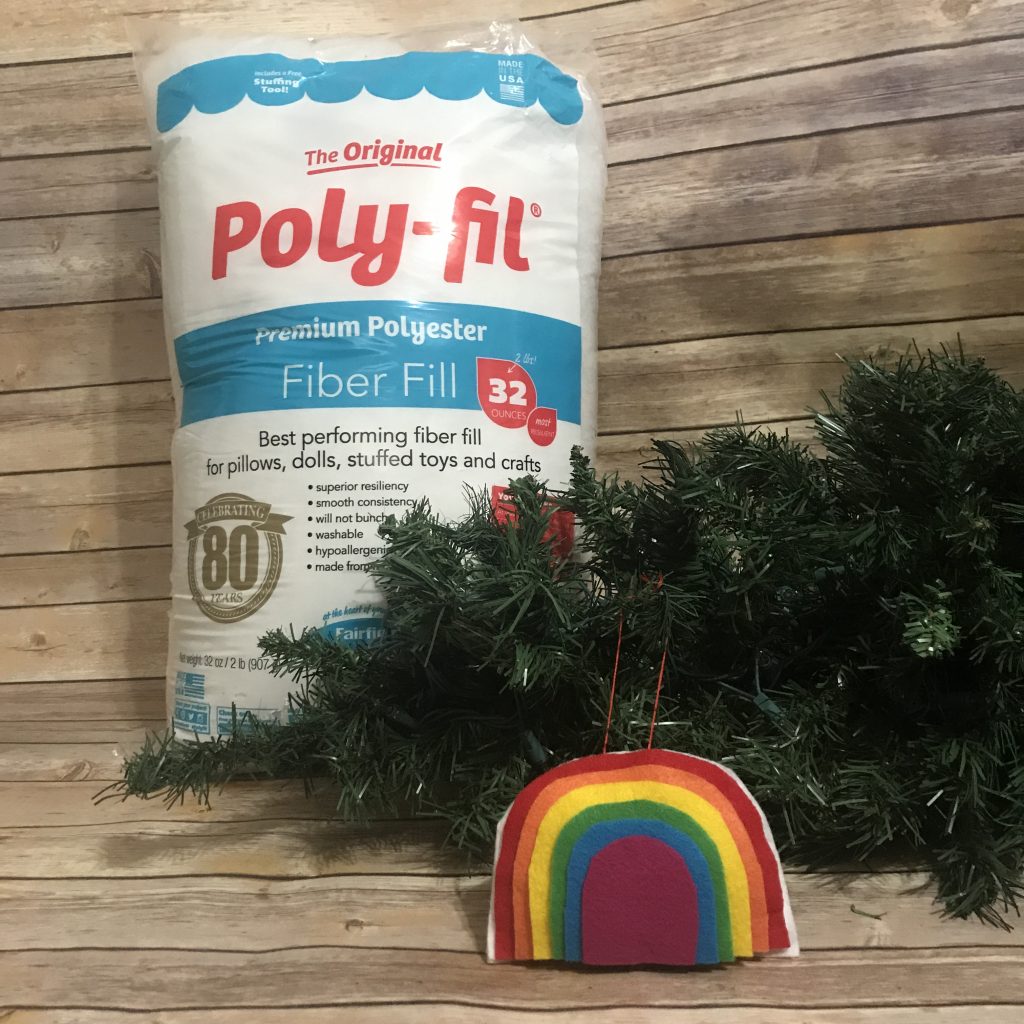
Fairfield World is celebrating their 80th birthday, so I’m celebrating with them by making a felt rainbow ornament filled with Fairfield Poly-fil Fiber Fill! I absolutely love Fairfield World products and I have been using the fiber fill forever!

Materials used:

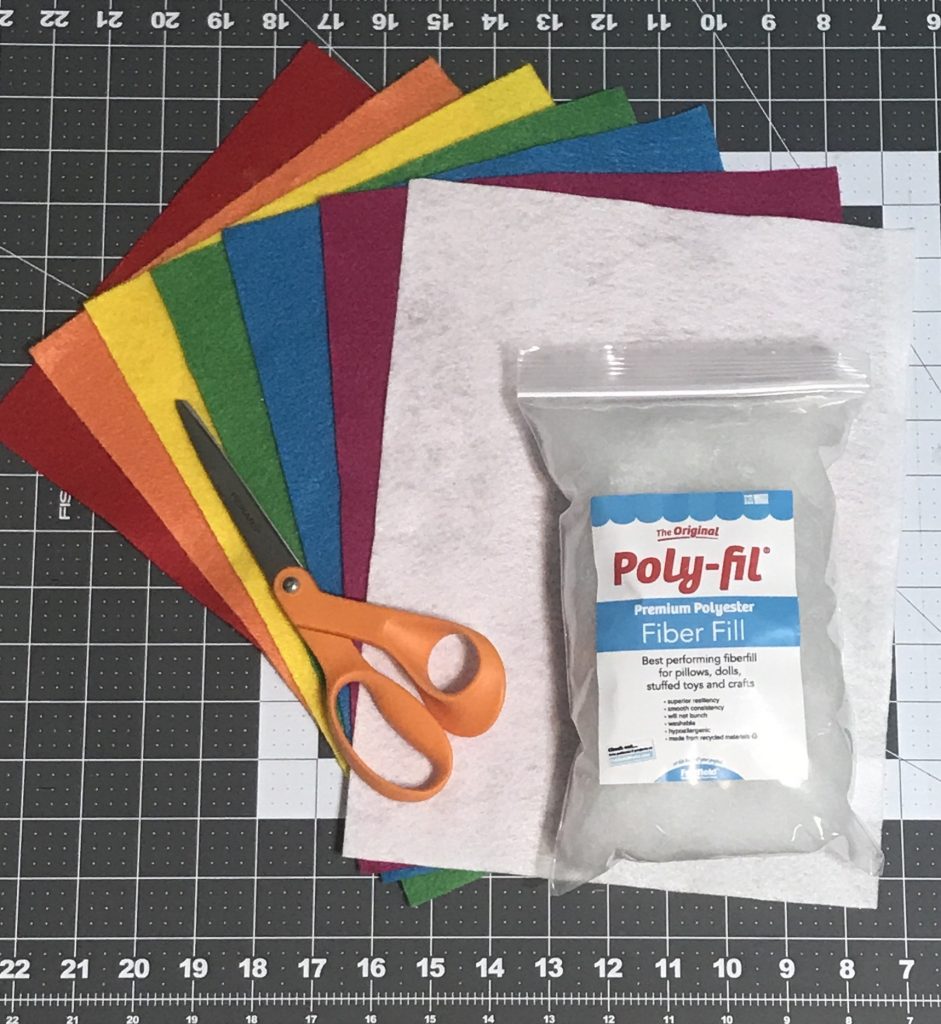
  • Fairfield World Poly-fil Fiber Fill
  • Kunin Felt Classic Felt 9″x12″ craft cuts: (1) Red, (1) Orange, (1) Yellow, (1)Apple Green, (1) Peacock, (1) Fuchsia, (1) White
  • Scissors
  • Felt Glue (I use Beacon Felt Glue)
  • Sewing Machine
  • Embroidery Floss
  • Needle

How I made it:

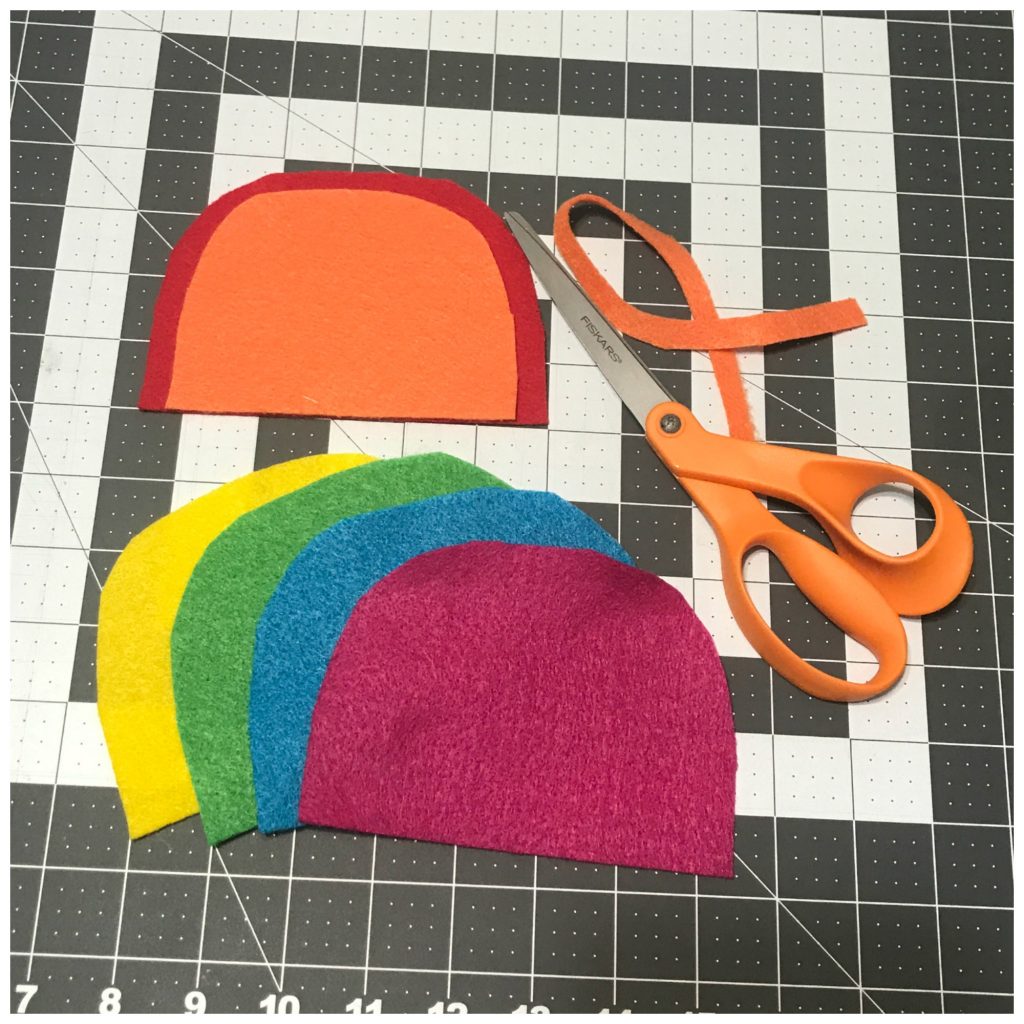
I began by cutting my red felt into to half circles at a length of 5.5 inches. I then cut the orange, yellow, green, blue and fuchsia into the same size half circles using the red one as a pattern.

Then I arranged them in the order of the rainbow and then cut each one a little smaller, creating a rainbow look. Then I cut two white half circles at six inches, slightly larger than the red one.

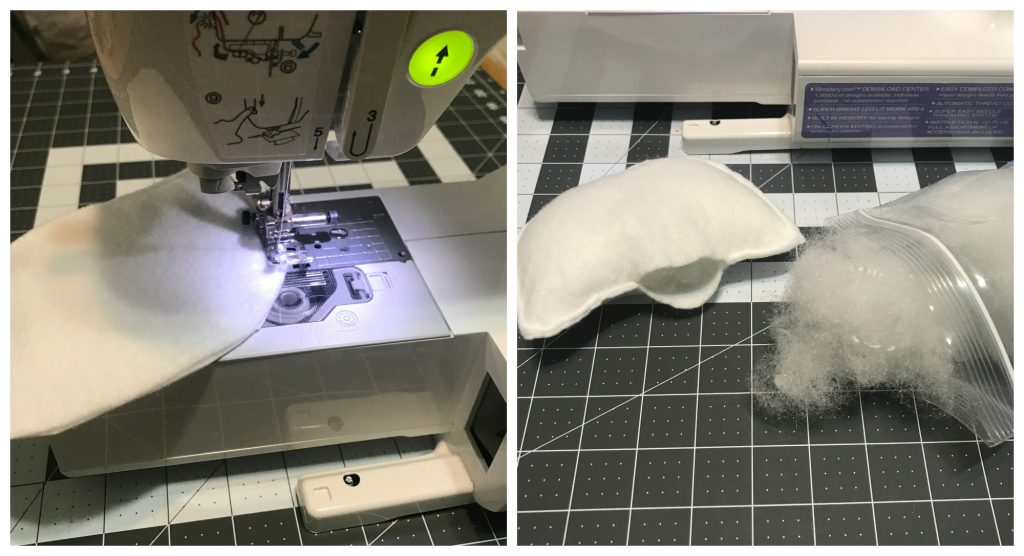
Using my sewing machine, I sewed the two white pieces together, leaving just a quarter inch seam and a two inch opening at the bottom. I then stuffed it with the Fairfield Poly-fil Fiber Fill and sewed it up!

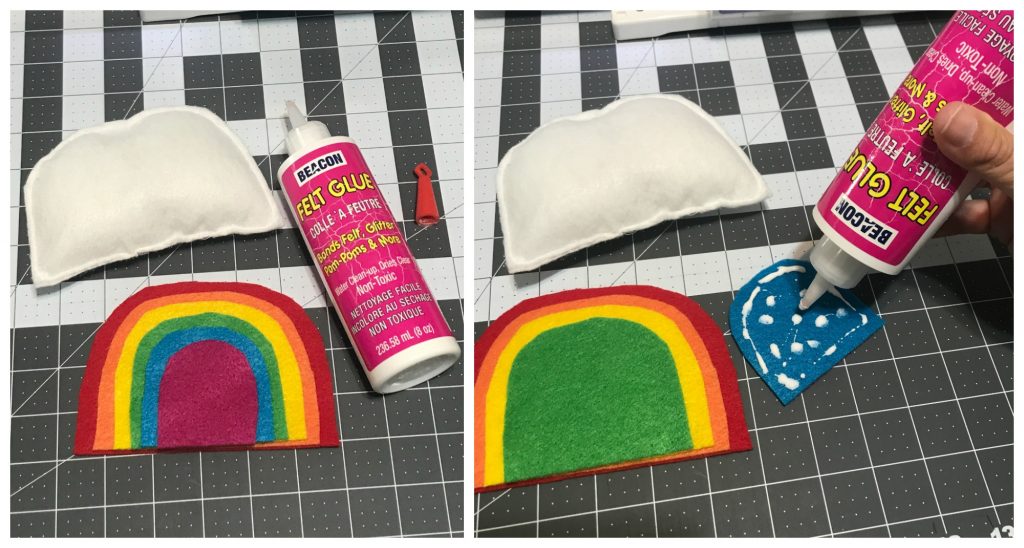
I glued together the rainbow using Beacon Felt Glue. Next I glued the rainbow to the stuffed white piece and let it dry completely.

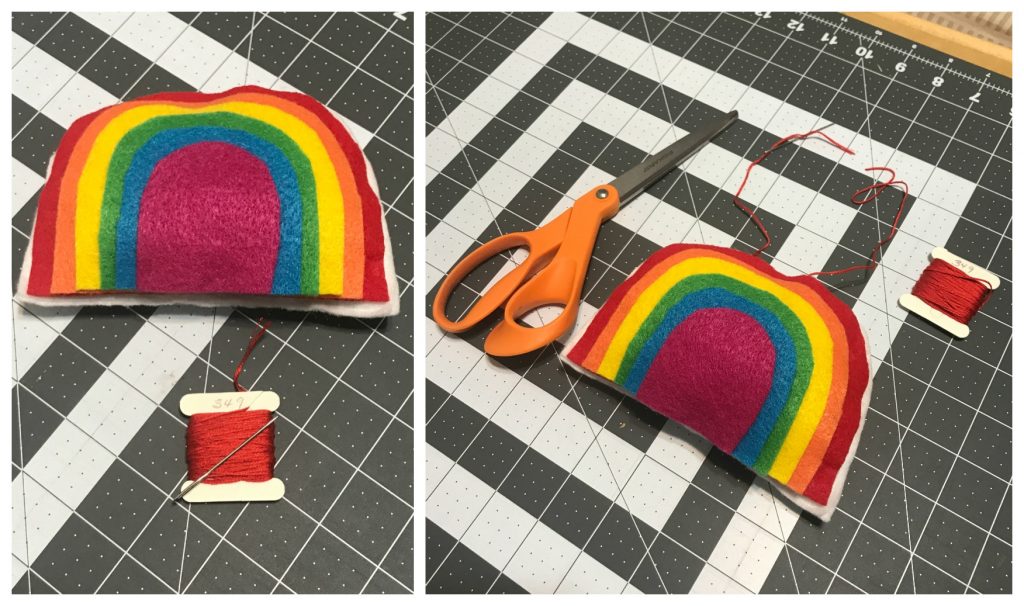
Once it was dry, using the needle and embroidery floss, I put the floss through the seam of the white pieces and tied the ends together so that I could hang it on the tree!

Happy 80th Birthday Fairfield World!!!!

Happy Crafting. Until next time…..

Wooden Pumpkin Door Hanger

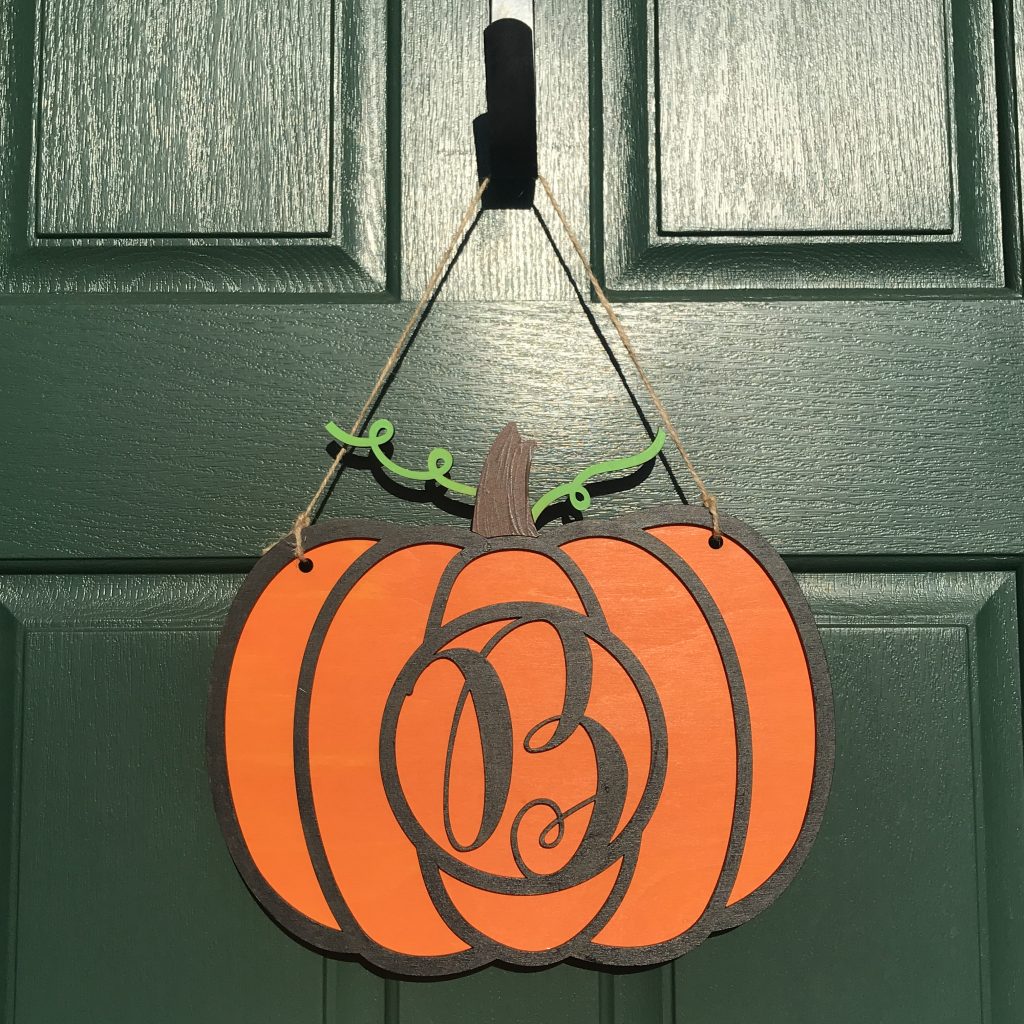
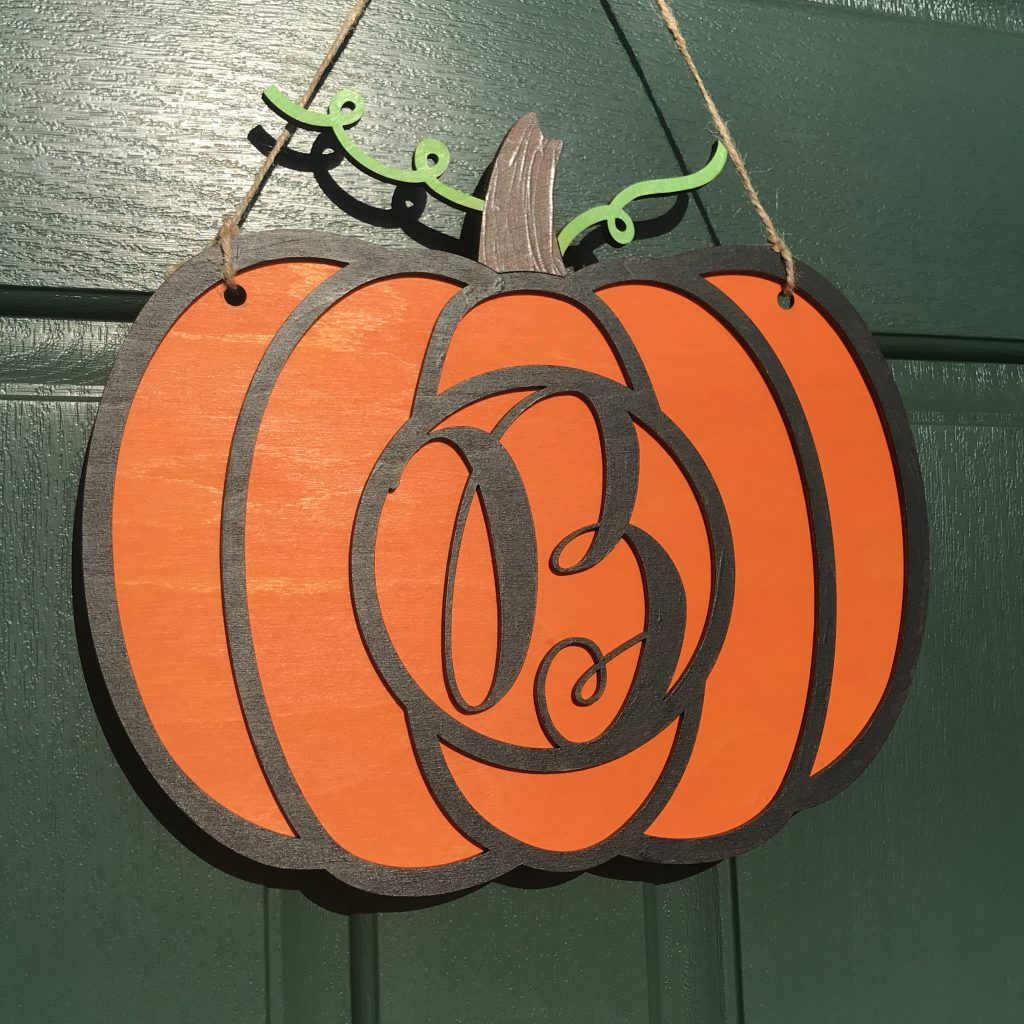
This week I’m joining my creative friends for the Creative Crafts Halloween Edition and my craft is this adorable little wooden pumpkin door hanger with a “B” in the middle. I am one of those crazy pumpkin lovers! I love the way they look, I love the way they taste and I love the way they smell!

As most of you may know, I love to work with wood. My Glowforge laser is like one of my best friends! So, my craft was created using the Glowforge.

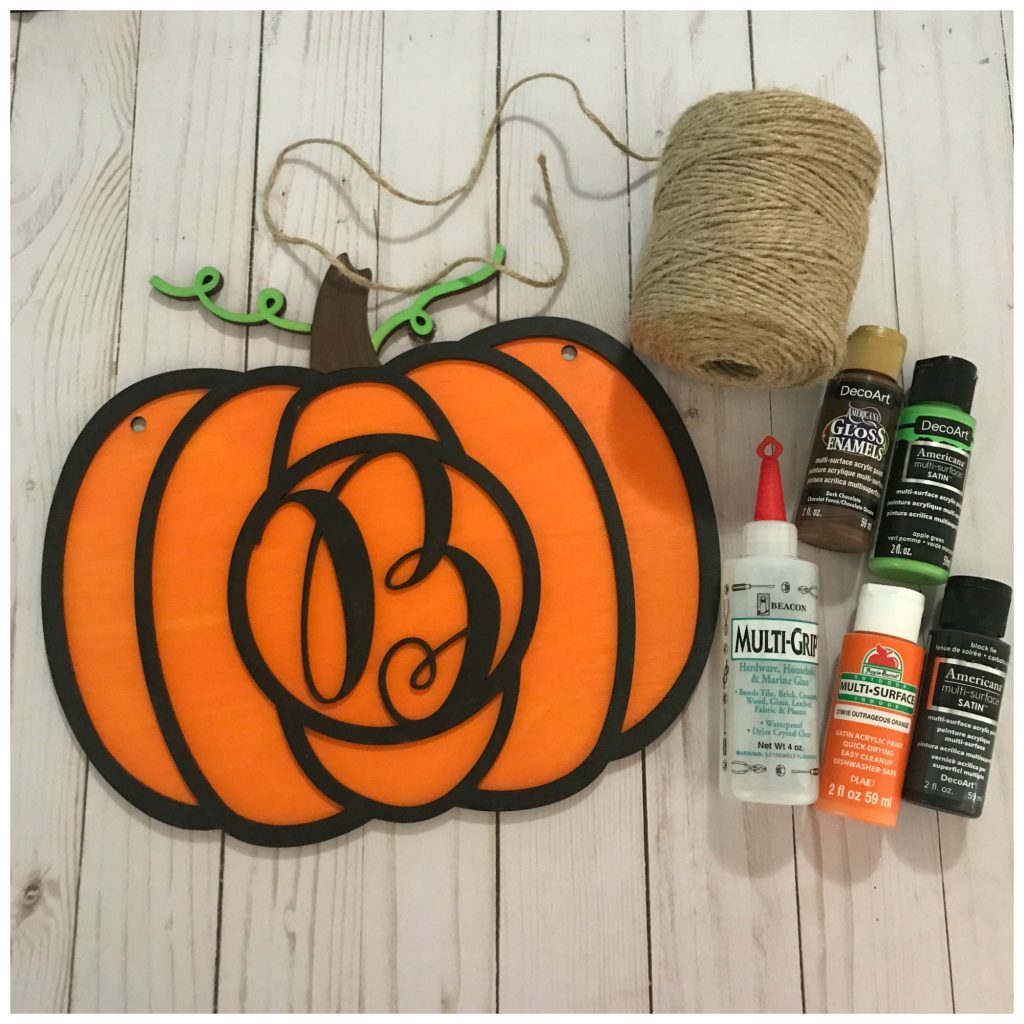
Materials:

  • Plywood (This is 1/8″ Baltic Birch)
  • Glowforge or other laser machine. (If you cut thinner wood, you could possibly do this on the Cricut Maker)
  • Computer with software to add letter and weld it (I use Illustrator)
  • Pumpkin SVG file (I got this one from Etsy, and the file comes with 6 different pumpkins!)
  • Paint
  • Paint Brushes
  • Strong gripping glue (I used Beacon Multi-Grip)
  • Twine, Ribbon or String

Here is how I made it:

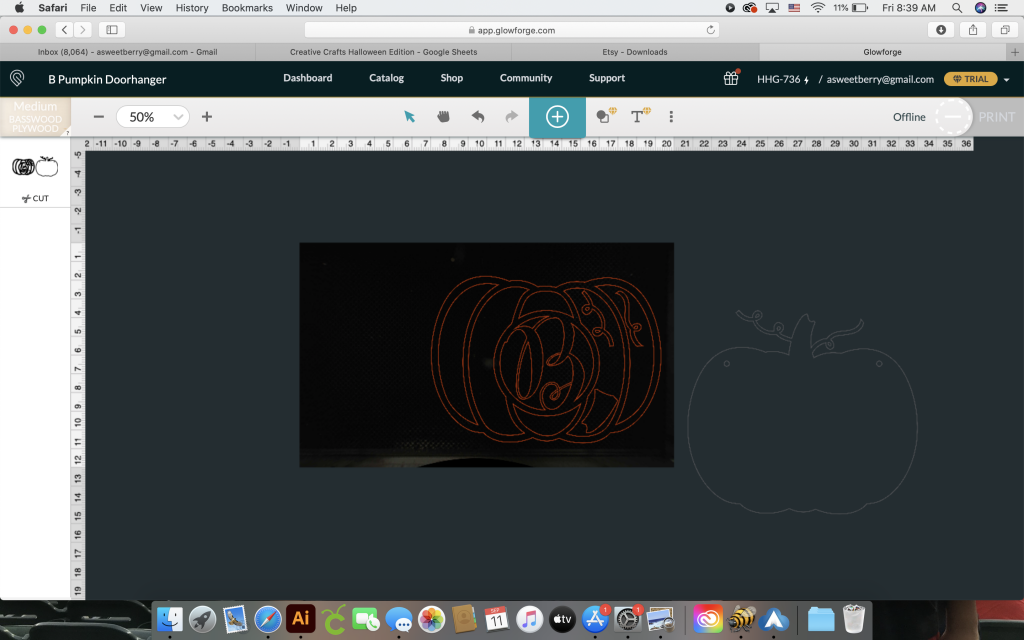
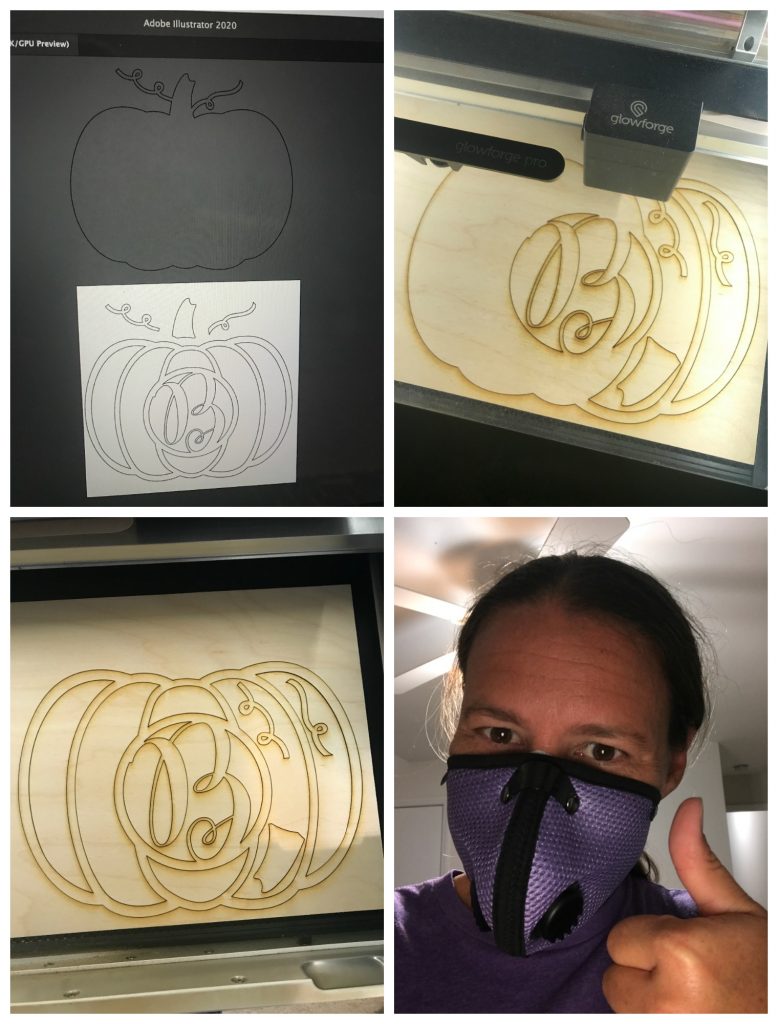
I downloaded the pumpkin svg file that I purchased from Etsy. I added the letter that I wanted in the middle and made sure to weld it to the center circle. I wanted this pumpkin to look layered so I created an offset path (set to 0) the same size as the original pumpkin. That gave me an extra pumpkin to use as a backing. I removed all of the extra pieces from the extra one. I then welded the stem and vines in place. I also added two circles to the solid pumpkin backing.

Next, I uploaded the file into the Glowforge Software, resized it to the biggest size that I could make it and hit the magic button to cut.

Don’t mind the silly mask. It keeps me from inhaling the fumes from the Glowforge! And well, mask are a thing now!

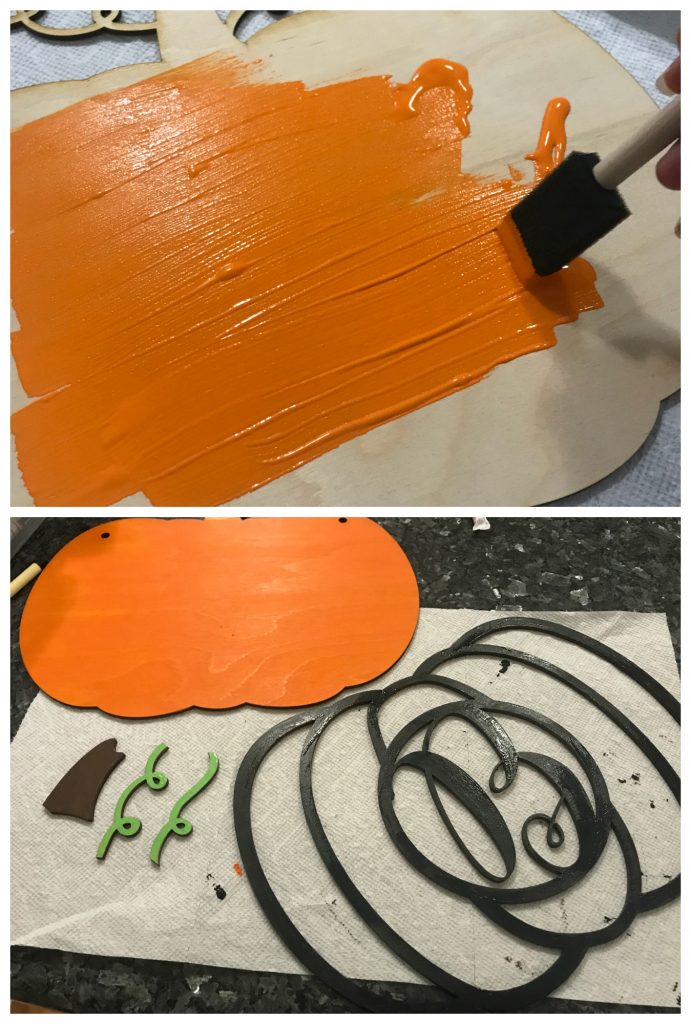
Once everything was cut out , it was time to paint it. I painted each piece individually.

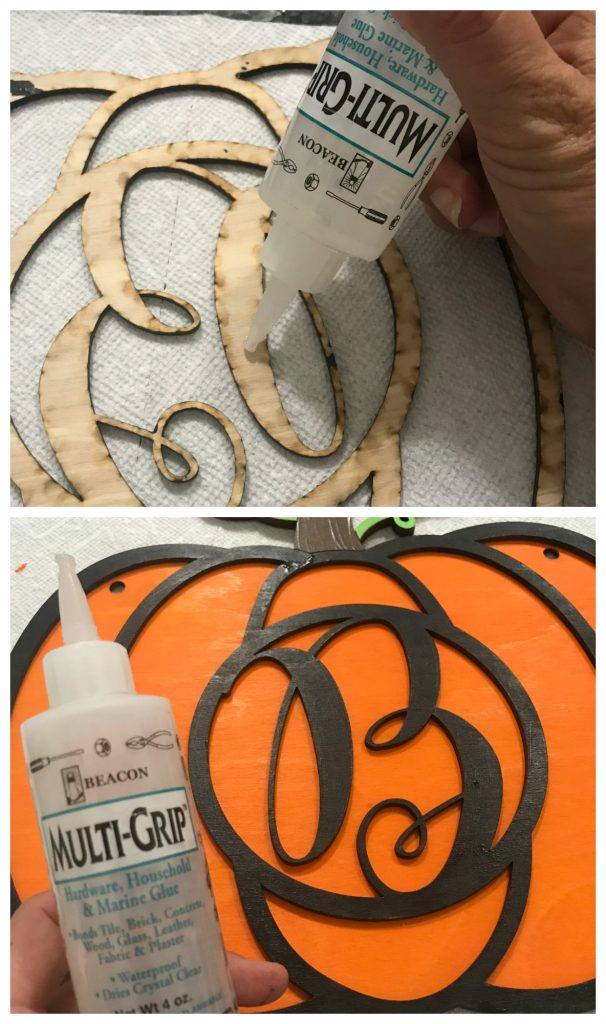
Once the paint was dry, I used Beacon Multi-Grip glue to glue it all together.

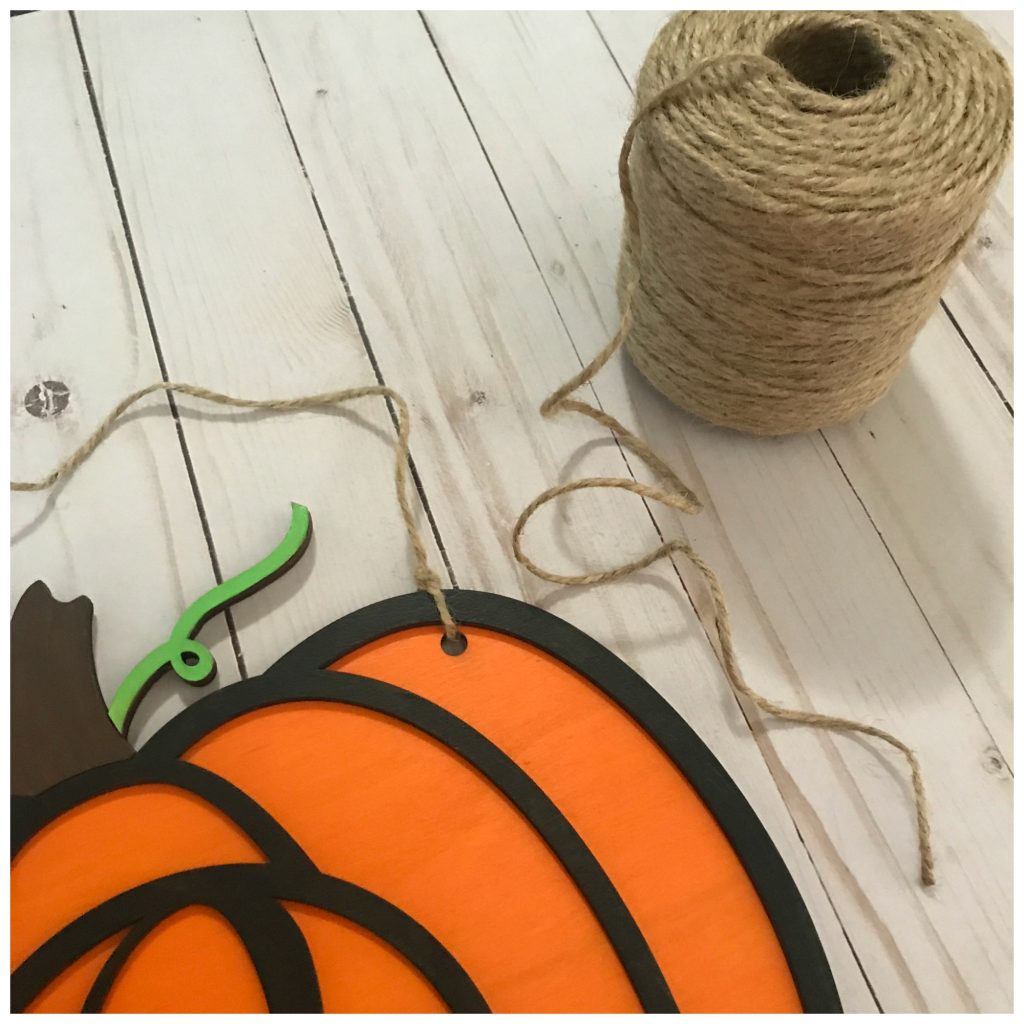
Next was my favorite part…..adding the twine and hanging it up!

Oh my goodness, I love it so much!!!!! It’s definitely going to be hanging on my door for the next couple of months!

Be sure to click below to see other Creative Halloween Crafts.

A special thanks to my crafty friends Laura Kelly Designs, Makeable Crafts, Ann Butler Designs and Creatively Beth for hosting another addition of Creative Crafts!


Until next time……

Happy New Year 2020 with my Word(s) of the Year

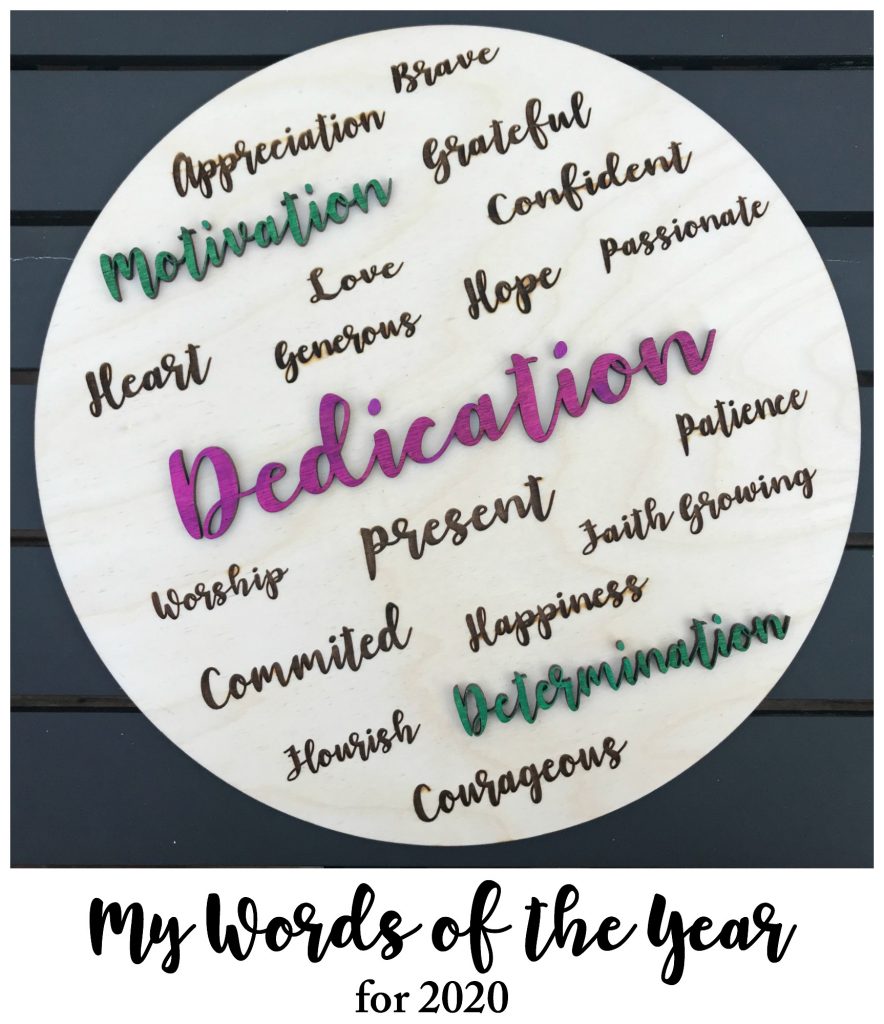
My friend asked me the other day if I had my word of the year picked out yet. I honestly had not even though about it because I had been so busy, but last night as I was waiting for the ball to drop on tv, I contemplated and made a list of words that I could use. There are lots and well, I tried to pick one but several spoke to me.

So, today I decided to fire up the Glowforge (we’ll talk about that in a few) and came up with something. I really couldn’t just pick one word, but I kept going back to three of them. Here is what I did…..I picked one of the three words that would be “my word” and then made the other two words slightly smaller. I also ended up engraving the rest of the words onto a round cutout. And then I added 2020 to the back.

I guess that makes Dedication my word of the year this year. The good thing is that I can be dedicated to all of the other words! I can be dedicated to Determination and Motivation. I can be dedicated to being present with my family and putting away the phone or iPad. I can be dedicated to worshipping and growing my faith. I can be dedicated to Happiness and being courageous, to hope and love and being passionate. I can be dedicated to be confident and committed and having patience. I can be dedicated to appreciating more and having a happy heart and being grateful!

I did realize after making this list that I forgot some words. A big one I forgot is fitness! But I am continuing to go to Weight Watchers weekly and I am dedicated to getting the last 15 or so pounds off that I’ve been struggling with.

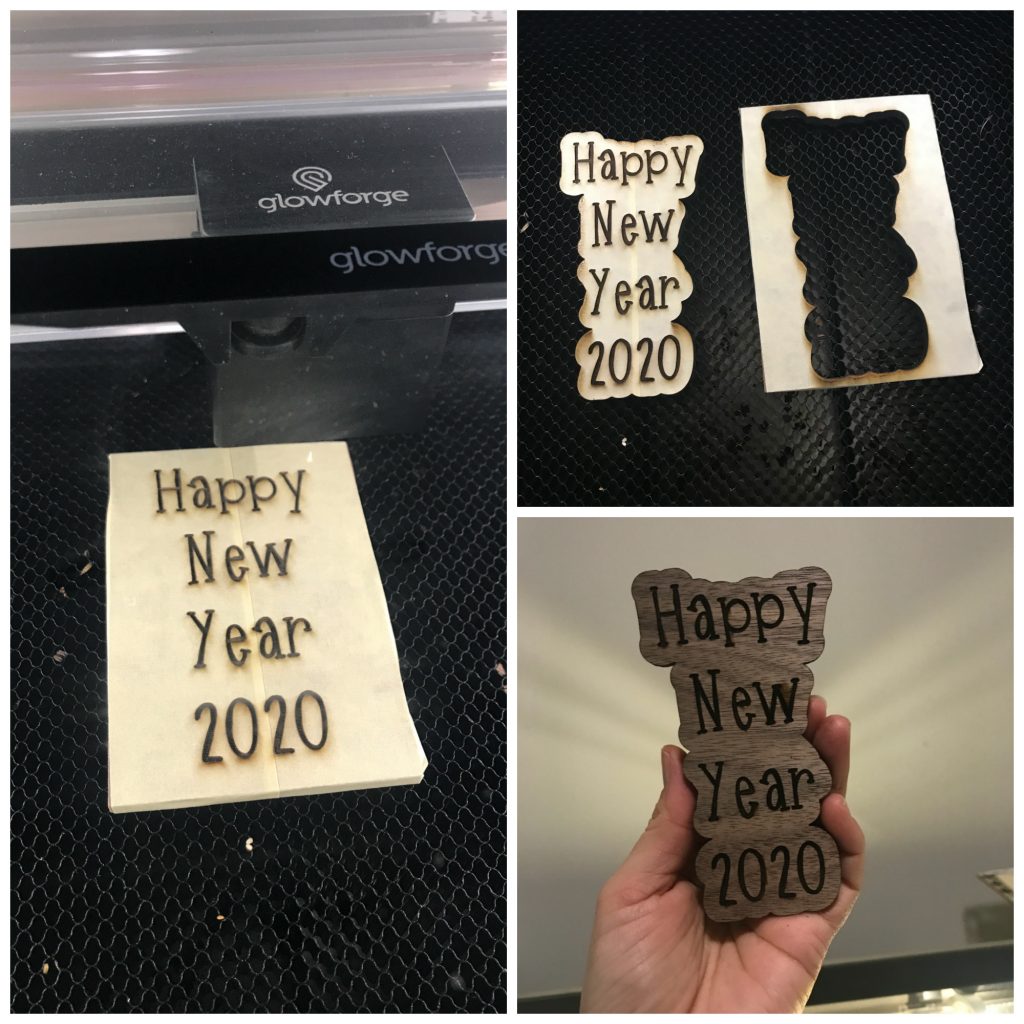
Just for kicks today, I made this little Happy New Year 2020 piece. But to be honest, I was just trying out some settings on the Glowforge for Walnut Hardwood!

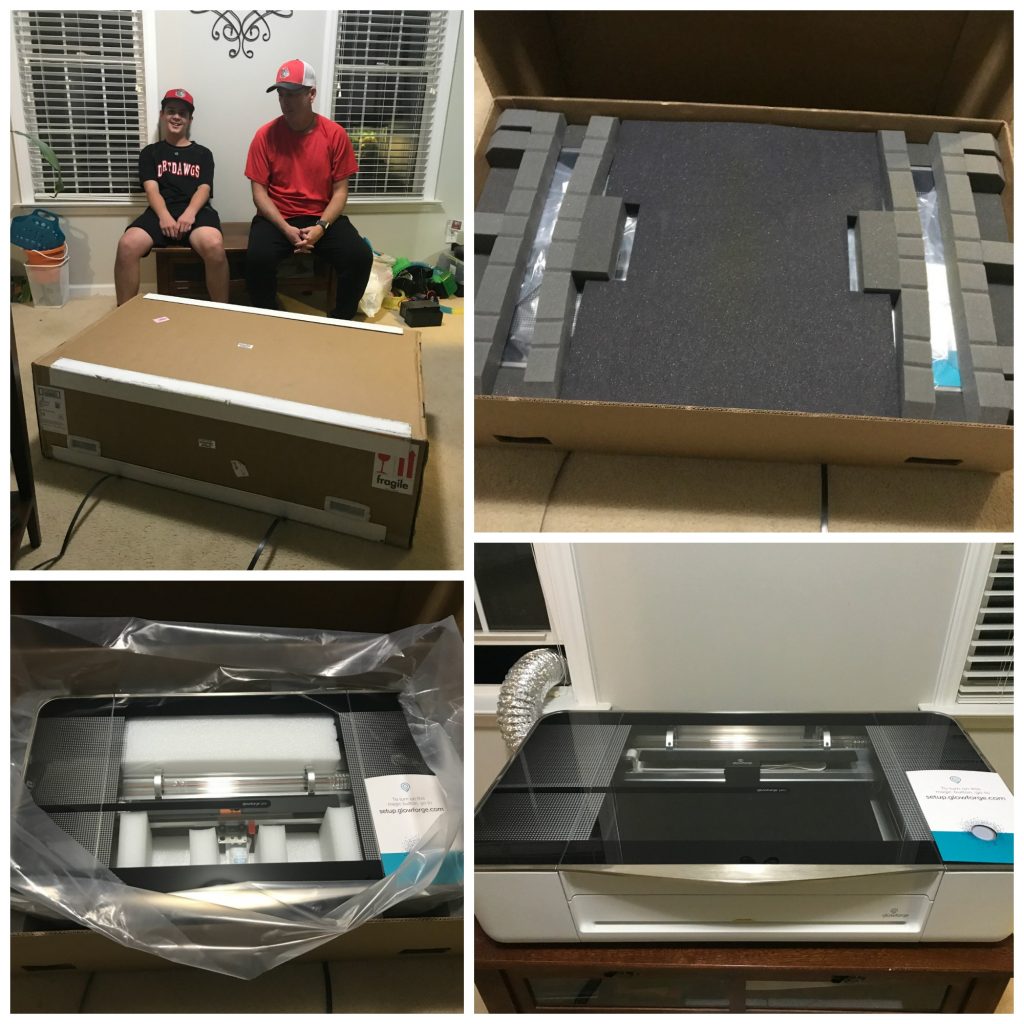
On to the Glowforge. I decided to make a business decision in November to purchase the Glowforge Pro. I still love my Inventables X-Carve, but man the Glowforge is amazing and can do so much! The younger Berry boys were super excited, with the older one thinking of business ideas for himself. Benjamin couldn’t wait to be the first one to press the magic button!!

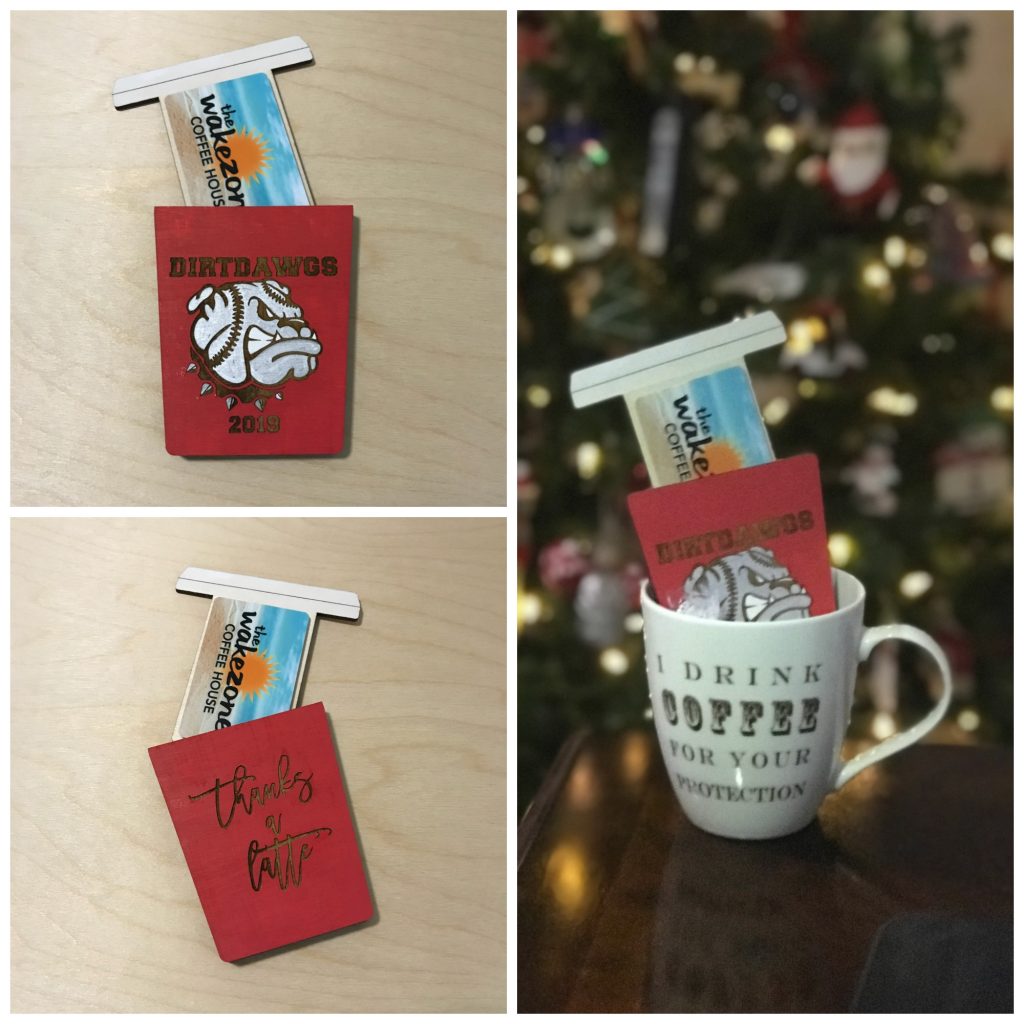
I have made lots of lots of items on the Glowforge in the month that I have had it. I mean, LOTS! I have spent hours and hours upstairs (yes, we put it upstairs!) designing and creating! Below is a gift card holder I created for the Carolina Dirtdawgs 13U Team Manager. I put a gift card to my favorite coffee shop in it and then added it to a coffee mug filled with chocolates! She loved it!

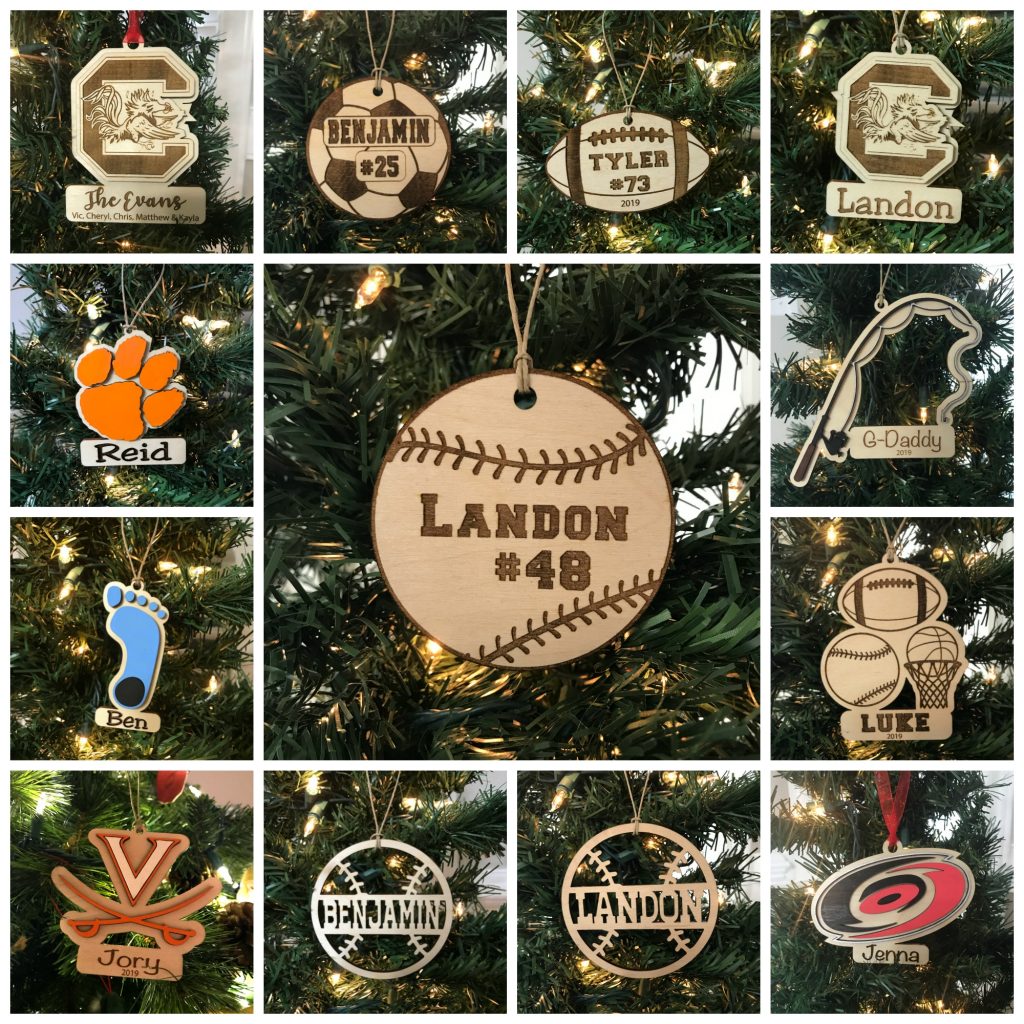
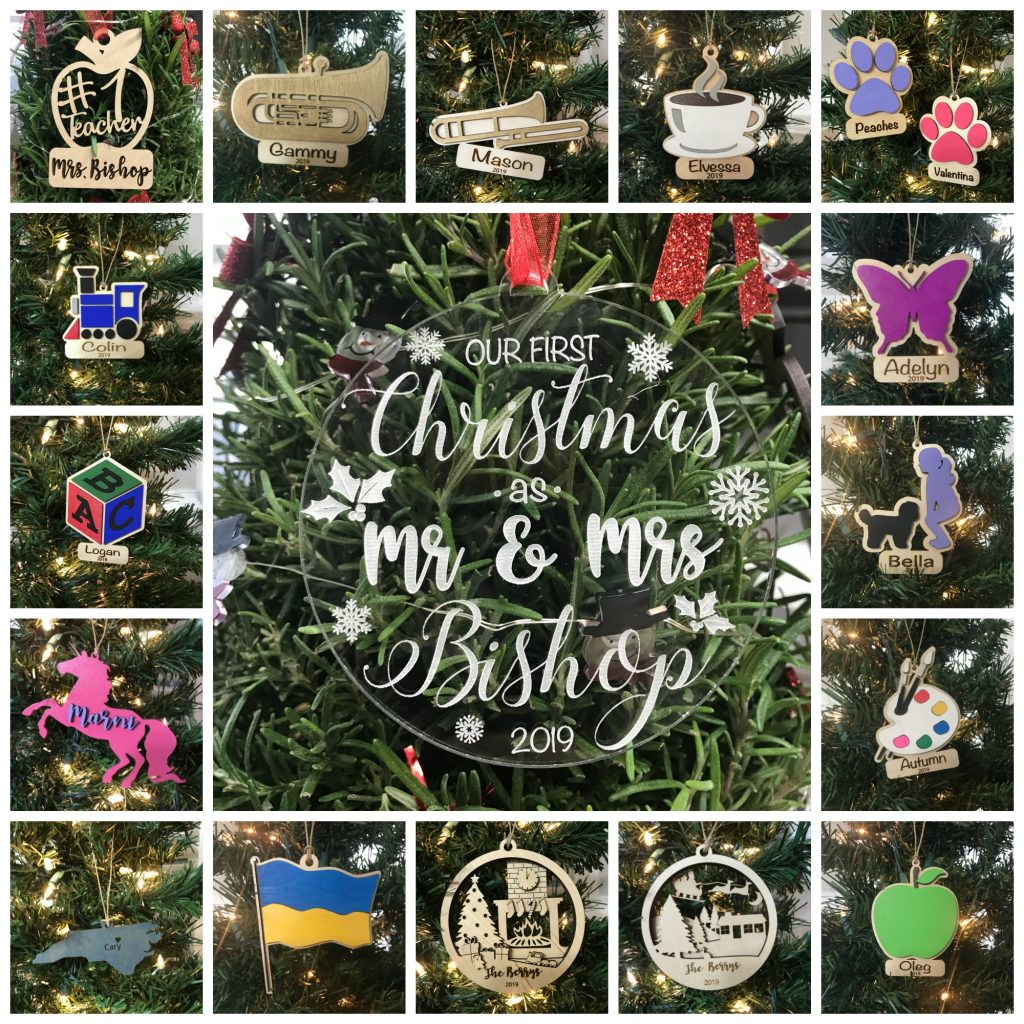
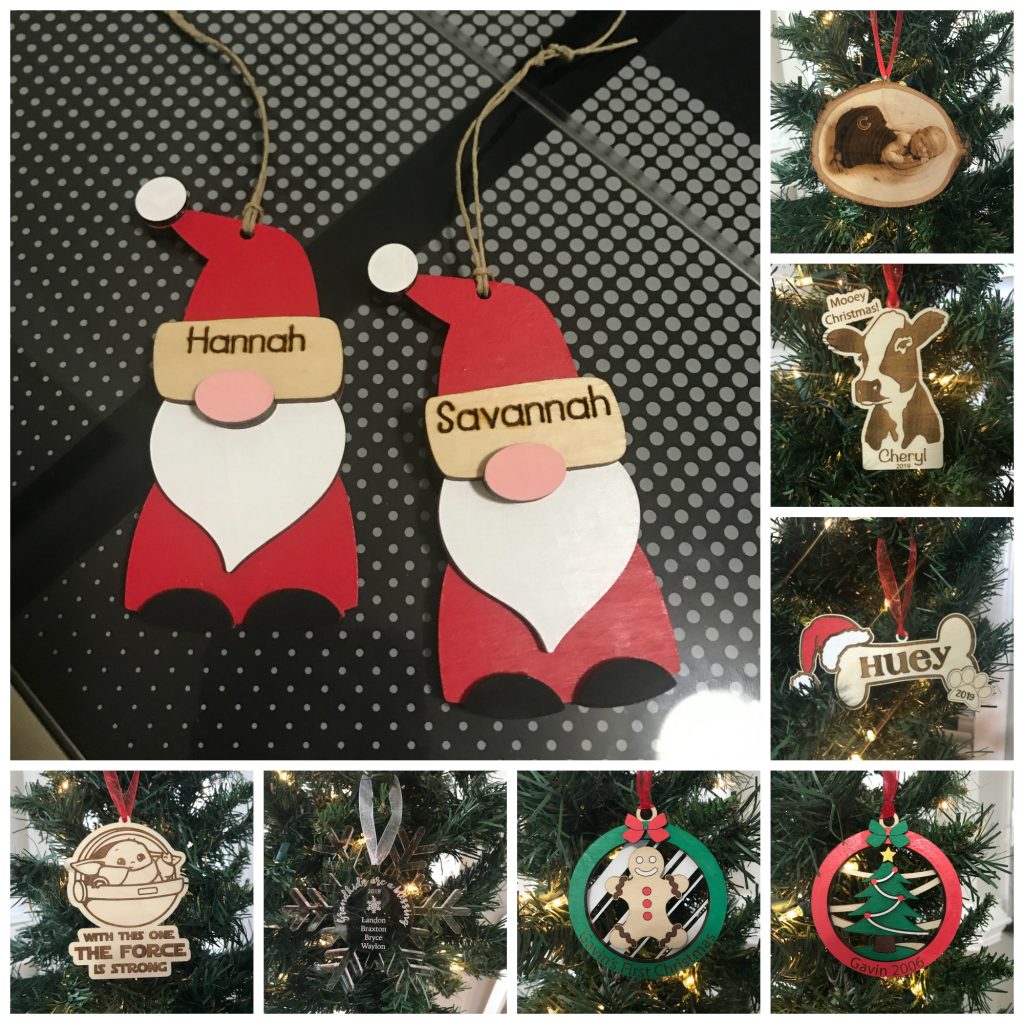
Ornaments!!!! Most of my hours at the Glowforge have been making ornaments! I got lots and lots of ornament orders and I absolutely LOVED it! I had so much fun personalizing them! I found some of the files on Etsy, and I have created some of my own, but I will be creating more of my own files in the New Year! The next three photos are collages of ornaments that I made! Some were gifts and some were orders! I am very thankful for all of the orders that I have received and look forward to future orders!

In the new year, I will be putting together a new online shop, blogging more and creating on the Glowforge (and the X-Carve too)! I hope everyone has a Happy New Year filled with great health and happiness!

Until next time……