Monthly Archives: November 2014

WaterWipes when in need!

This post is sponsored by WaterWipes and Mommy Bag Marketing. Although I received product and financial compensation, all opinions are entirely my own.

WaterWipes are not only awesome for wiping little bottoms, they are awesome when it comes to snack time!   Snack time at our house can get quite messy!    Everyone knows what a mess cheese balls can be.  And even though cheese balls are a special treat in our house, I’m always amused at just how messy they can be.   WaterWipes help clean up the mess quick and easy without the strong smell left behind by other wipes.

wipes

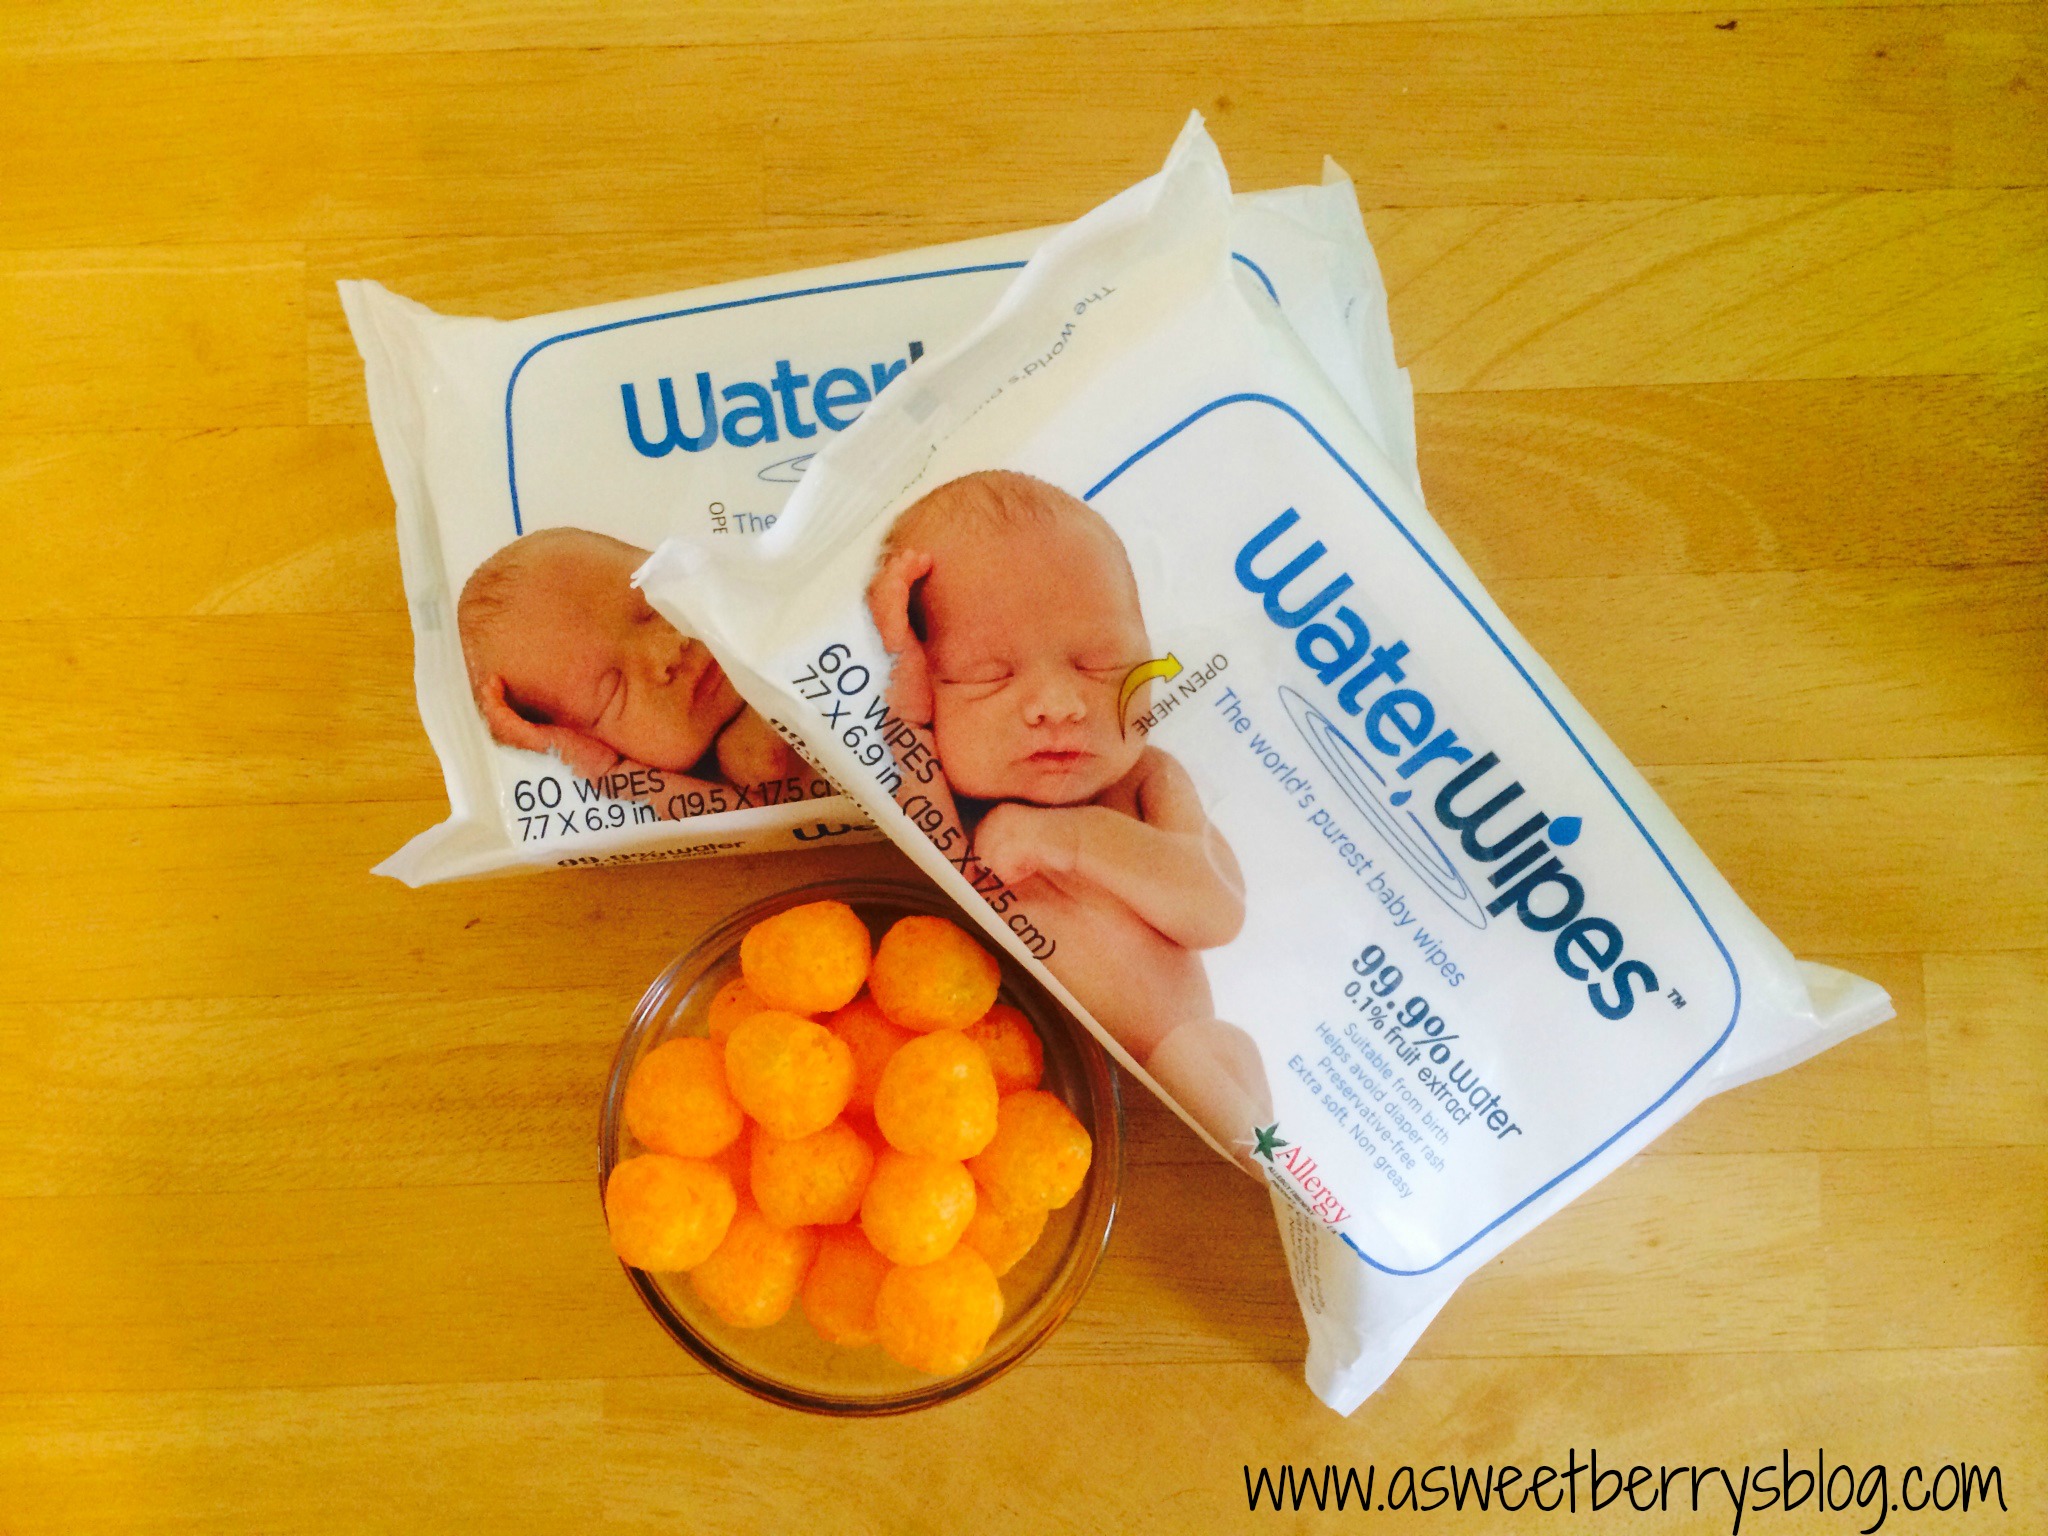
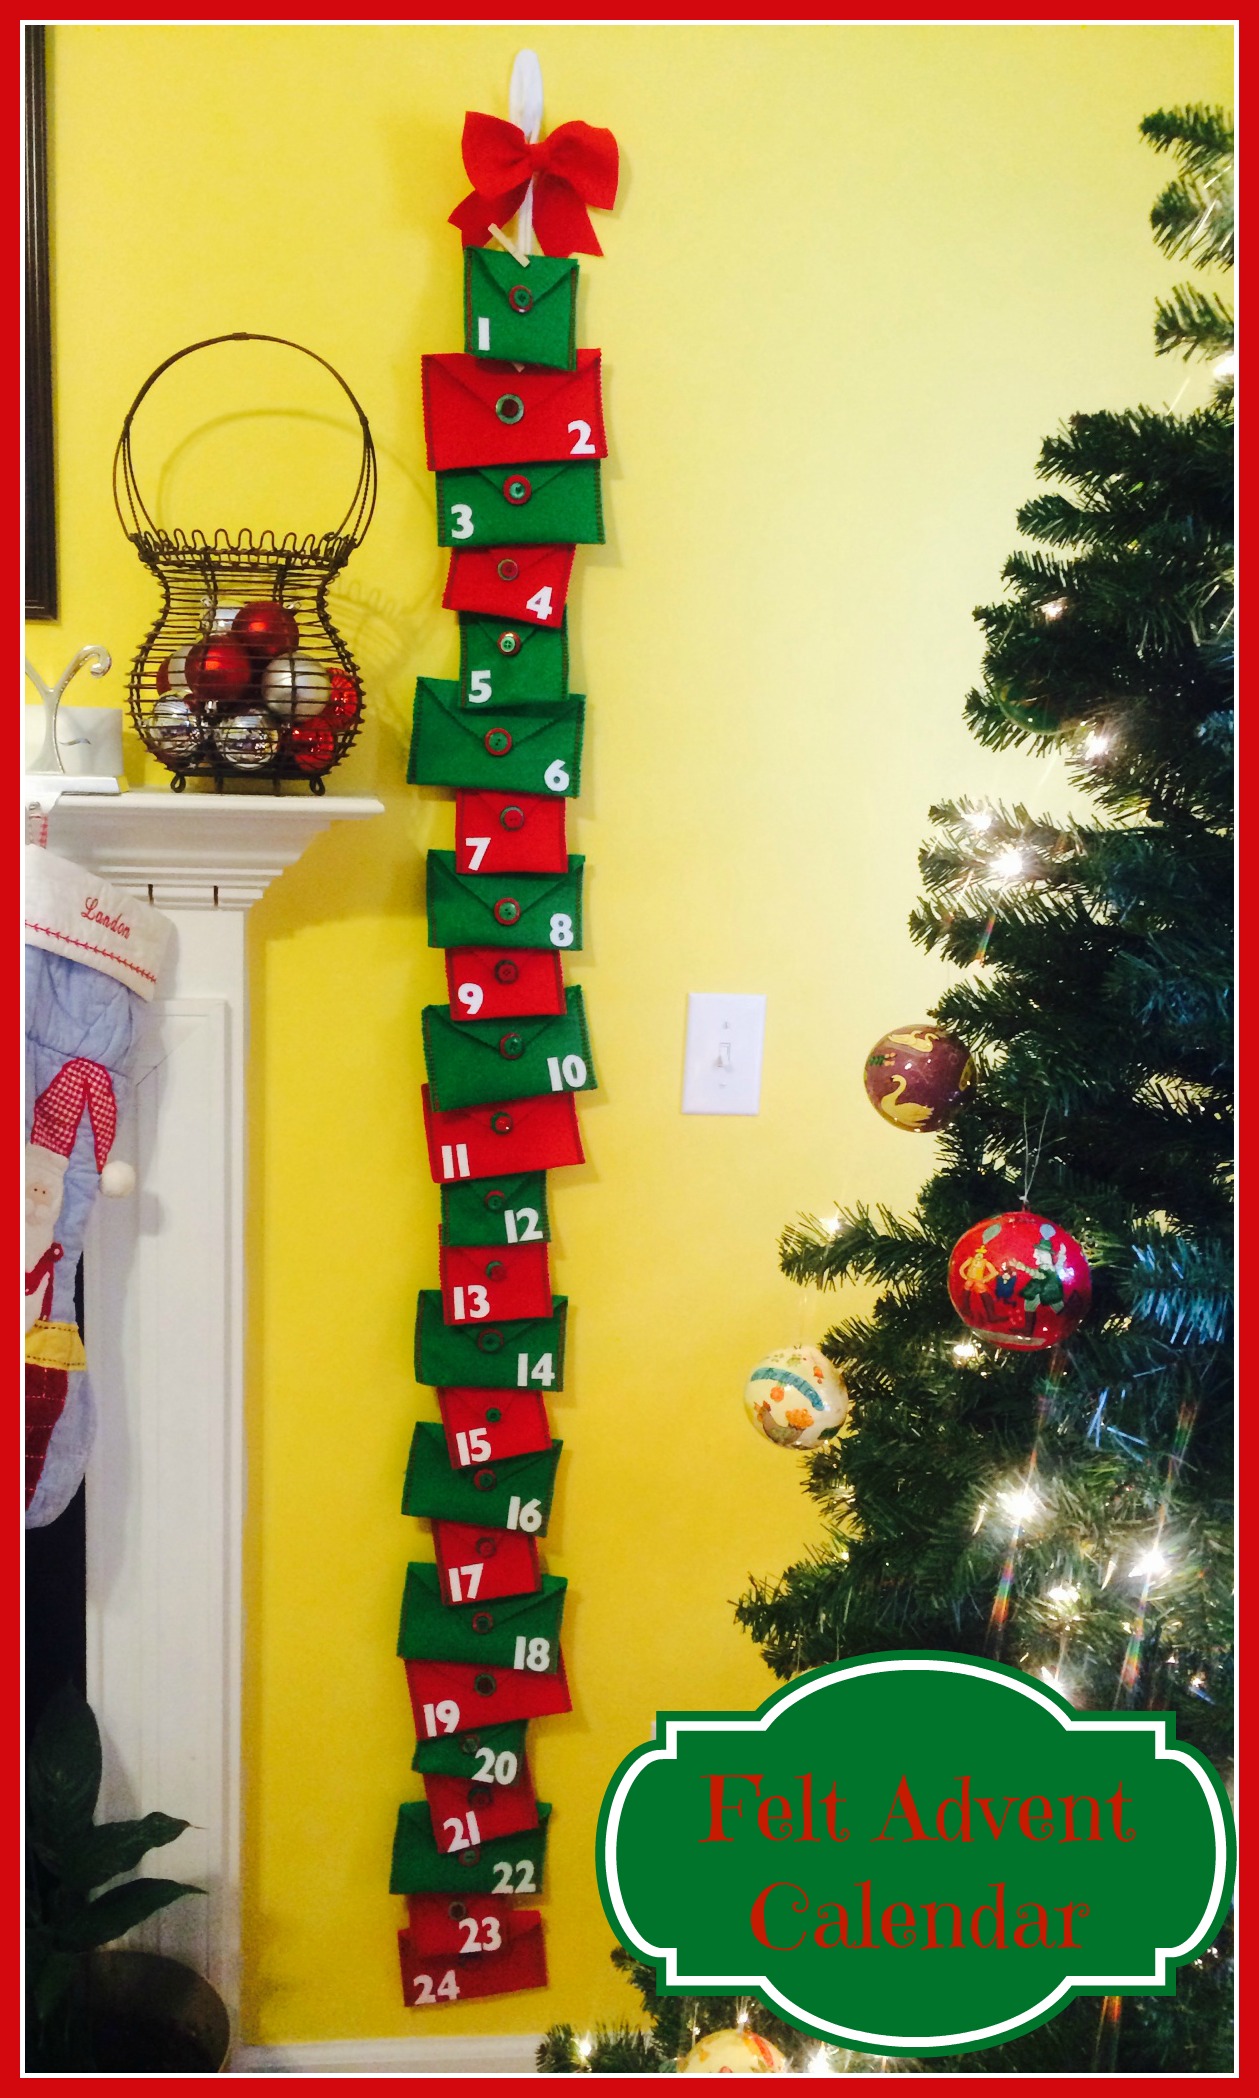
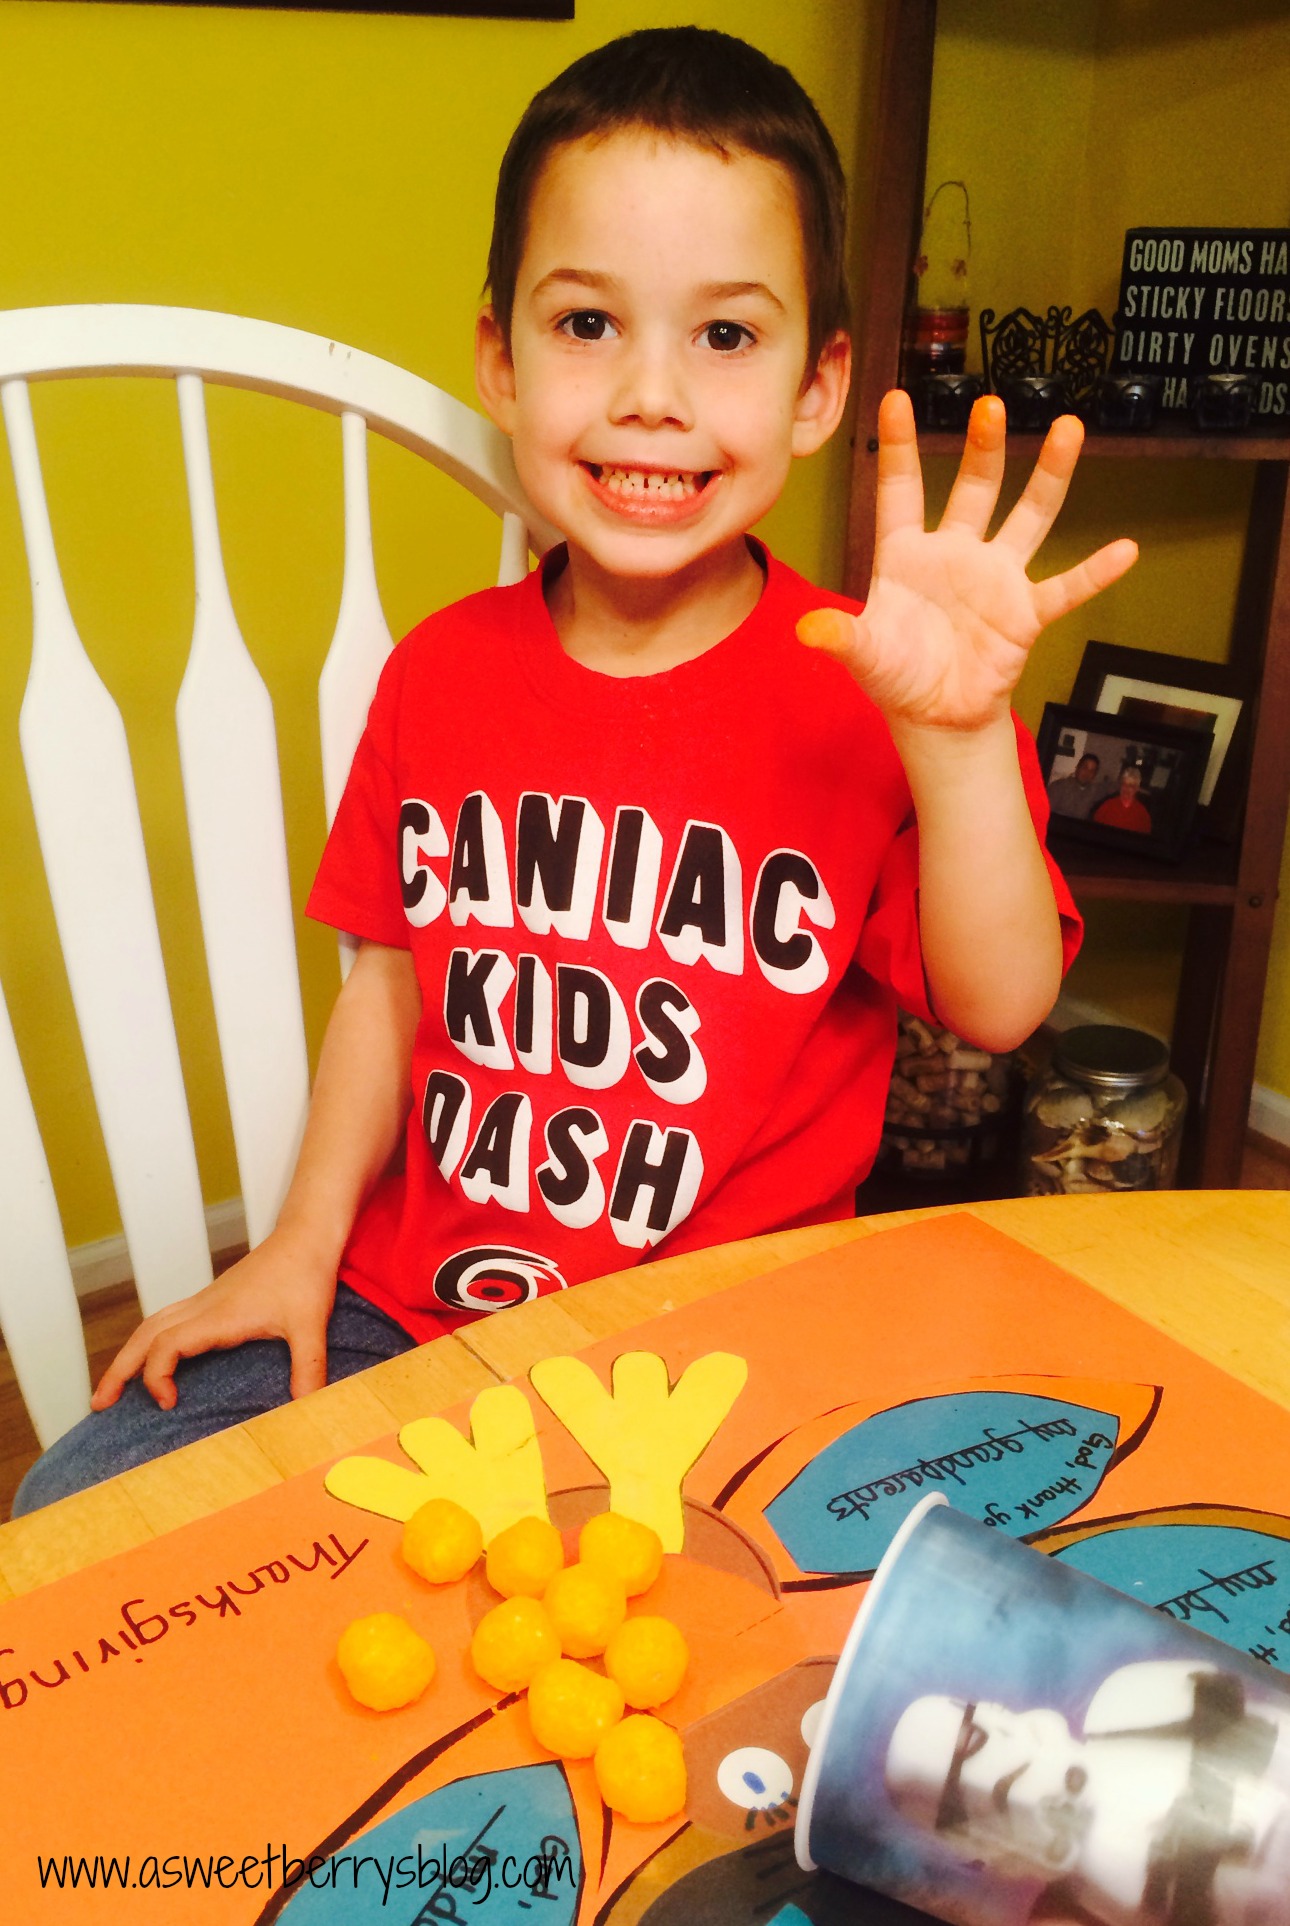
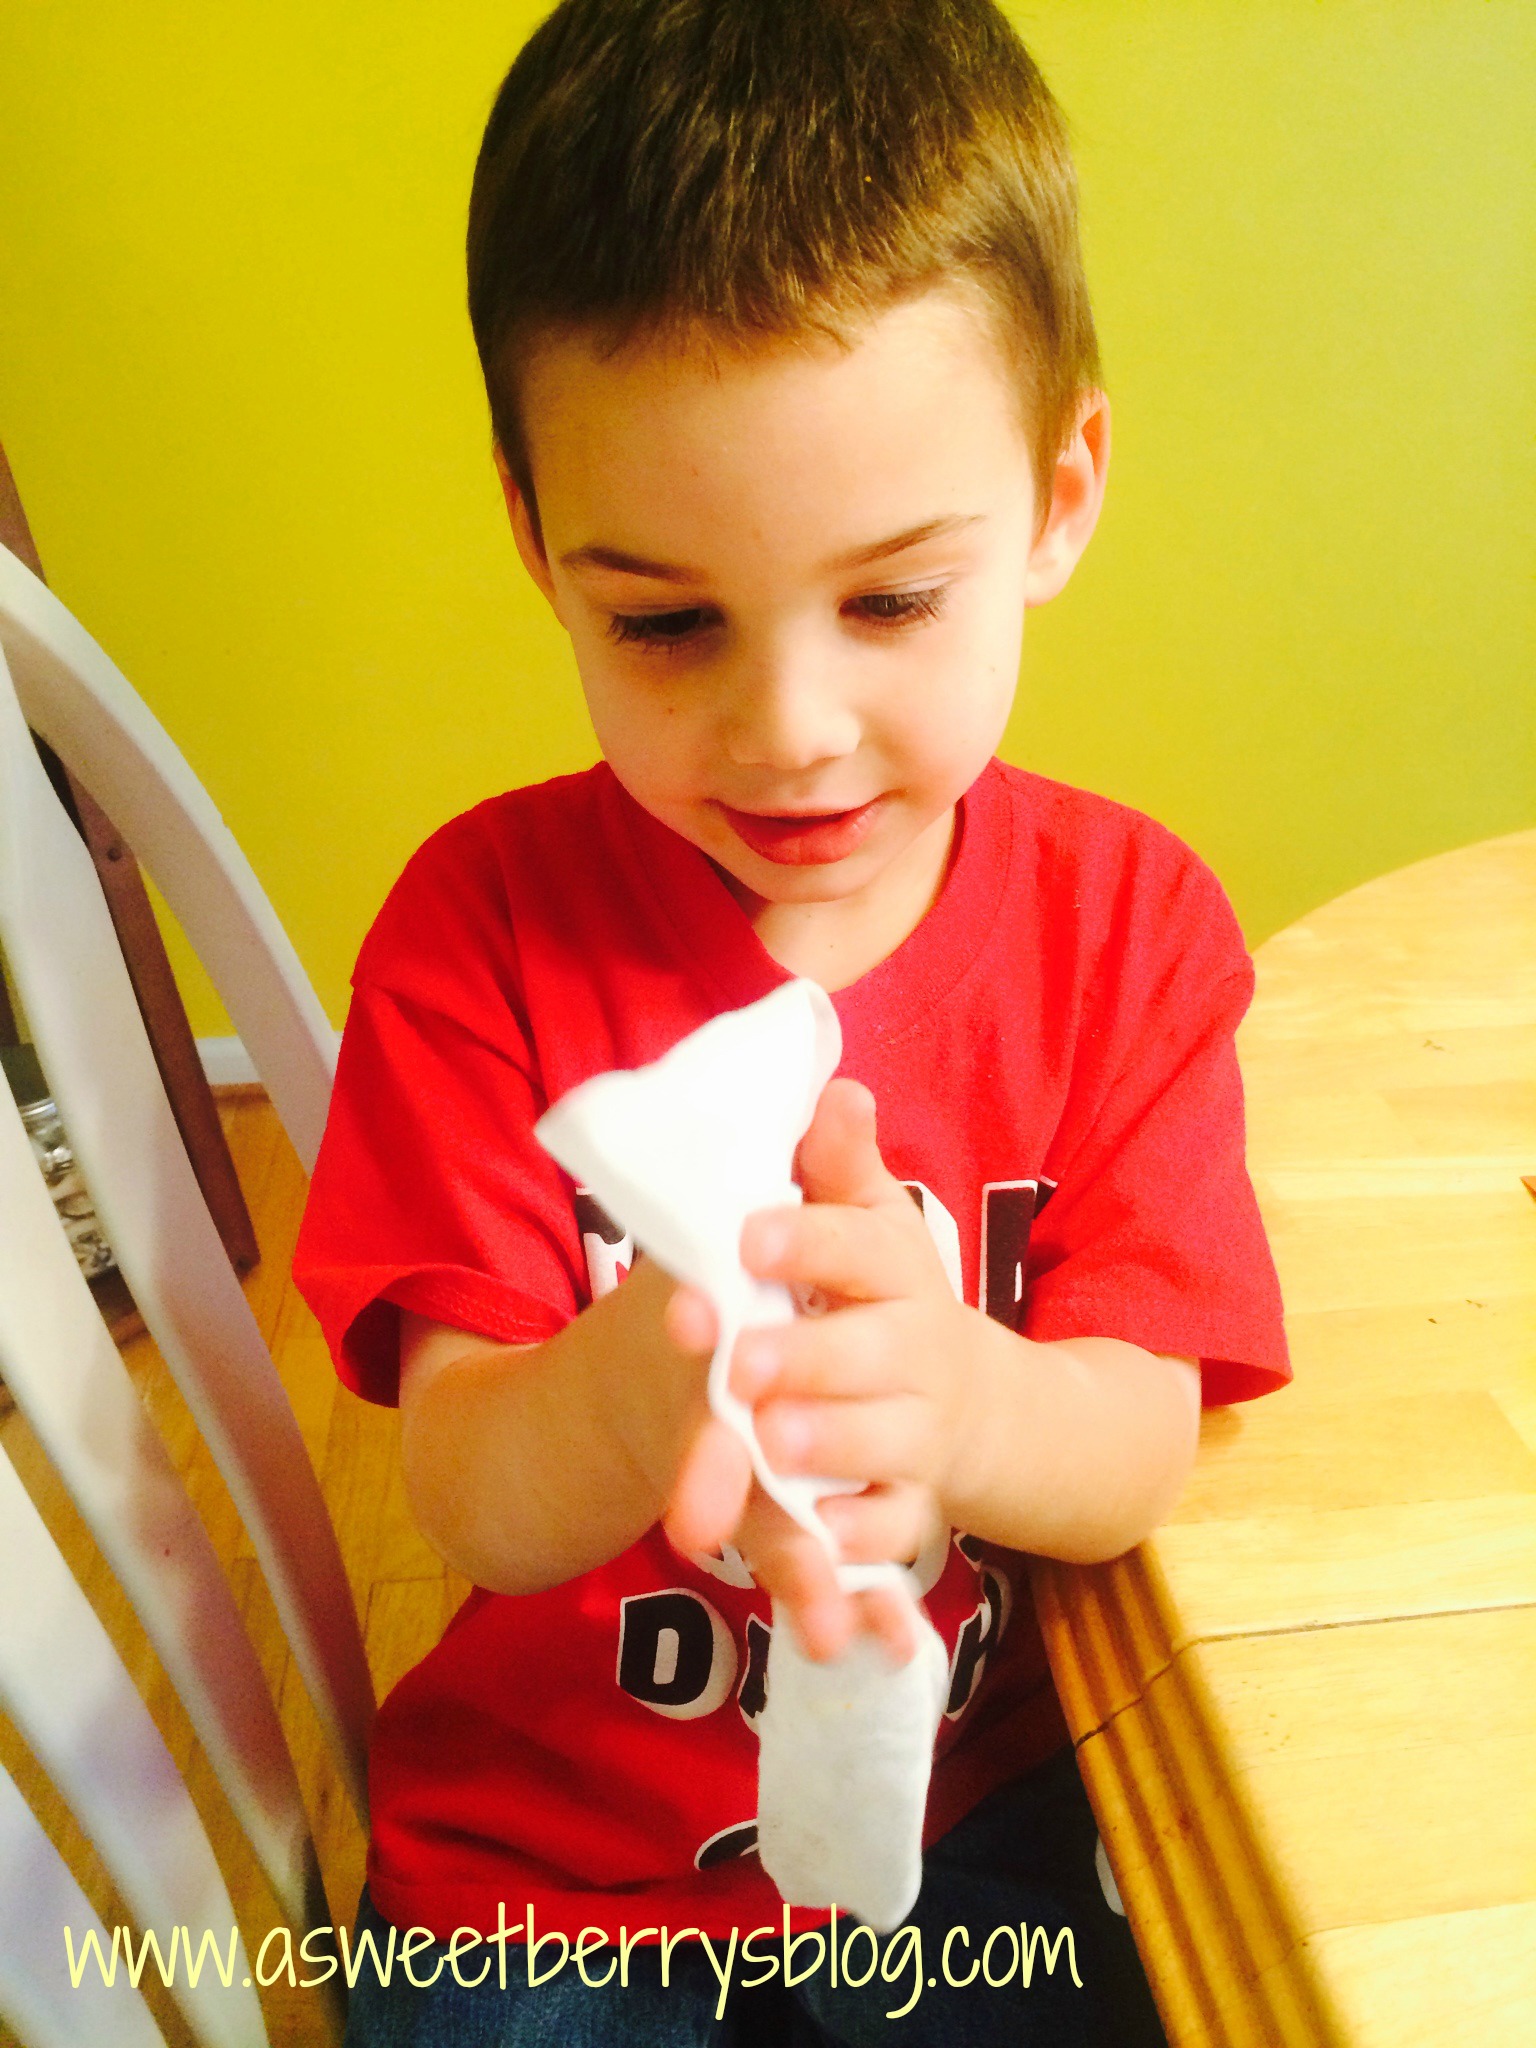
Below is my little Benjamin while eating his yummy cheese balls for his afternoon snack!   Benjaminfingers

Benjamin has a severe case of eczema.  Pretty much anything that contains alcohol or other harsh chemicals causes his skin to break out into a fiery red rash and his skin becomes itchy and feels like and looks like it’s burning.  Thankfully WaterWipes can be used by anyone (babies, toddlers, teens or adults) with sensitive skin.  Anyone with a skin condition like eczema, psoriasis, dermatitis, etc. can use WaterWipes without any negative effects or discomfort.  What a lot of people don’t realize is that most baby wipes contain harsh chemicals, even those that are labeled eco-friendly or organic.  WaterWipes are the only baby wipes containing absolutely no chemicals.  They are made of 99.9% water and 0.1% fruit extract.

clean hands

WaterWipes are primarily used to prevent diaper rash.  They not only can be used to wipe bottoms and clean up after snack time….They can even be used for clean up of craft projects too!  Crafting is something that we are always doing at our house and WaterWipes help clean up the paint from little fingers or glue from off to the table!  WaterWipes are a life saver.   And they are super gentle on Benjamin’s super sensitive skin.  You can keep them in the car, in your craft basket, or in the bathroom!

WaterWipes can be found on Facebook and Twitter.

Until next time…….

Kunin Felt Advent Calendar

No December is complete without an Advent Calendar!   This year, I created my Advent Calendar using Felt from The Kunin Group!   My kids are super excited for December to arrive so that we can start opening them!

FINAL

materials
Materials used:
Felt from The Kunin Group (red, green, glitter white)
Sewing Machine with coordinating thread (green and red)
Envelope Patterns that I created using Adobe Illustrator
Letters that were reflected vertically that I created using Adobe Illustrator
Aleene’s Turbo Tacky Glue
Velcro
Laura Kelly Buttons from Buttons Galore & More
Heat & Bond
Pinking Shears
Scissors
Small clothes pins
Rope purchased from ACMoore

cutting
Using my envelope patterns, I cut out 24 envelopes.   I used both my regular scissors and my pinking shears just to change up the look.    Once I had them all cut out, I folded and pinned the sides to get them ready for sewing. pinning
My sewing machine does all kinds of cute little patterns, so I chose a couple of designs and sewed up the sides only to the top of the sides. sewing
Once they were all sewn up, I used my iron to help the flap on my envelopes to stay down. ironing
I didn’t think that a whole piece of velcro was needed, so I cut them into quarters and applied them to the inside of the flap.   Keeping the velcro pieces together, I closed my envelope so that they would line up.
velcro
Next, I was ready to cut out my numbers!   Using Heat & Bond, I ironed it to the back of my sheet of numbers, removed the backing and then ironed it to the back of the sheet of glitter white felt.  And then they were ready to cut out!  Once they were all cut out, I used an Excel knife to cut out the inside pieces of the numbers.
numbers
I really love Laura Kelly’s buttons from Buttons Galore & More and she has a great set of Christmas colors.   I chose a read and green for each envelope, glued them using Aleene’s Turbo Tacky Glue and then glued them to the flap of the envelope.  I also glued the numbers to the envelopes.
ButtonsAndGlue
After all of my envelopes were done, I decided to make a felt bow to attach to the string where I was going to clip my envelopes. BowAndRope

Once I was done, I attached the envelopes to the rope and hung it up! advent calendar

BrokenUp

   Ready for December!   And until next time…..

How do you do your Ranch?!?!

Just how do you do your Ranch?  I was asked if I wanted to join this fun blog hop using Hidden Valley Ranch packet!   It was fun and the result was super yummy!!!   Ranch Cream Cheese

I absolutely love Philadelphia Cream Cheese.   We always have it in the house.  I decided I would mix the Ranch dip packet with my block of cream cheese.  I only used half of the packet for my 8 oz bar of cream cheese, saving the rest for another time. ingredients

Fortunately for me, the Hidden Valley Ranch dip packet is gluten free!!!!   I have also just recently found Glutino’s Gluten Free Bagel Chips!  They are fantastic and you’d never know they were gluten free.  My family loves them!   And they go perfectly with my Ranch Cream Cheese! IMG_5077

This makes a delicious hors d’oeuvre for a before dinner snack or a get together!

party

Enjoy!

And until next time…..

Check out some other great recipes and ideas using Hidden Valley Ranch Dip Packets!!

Enter for a chance to win a great prize!!! a Rafflecopter giveaway

Sculpey Necklace and Earrings

Clay is not just for kids!  I have always loved to work with clay.   And Sculpey is such an awesome clay to work with!   It’s soft and really easy to use.   And come in some really awesome colors!

Below is a picture of the necklace and earrings that I made!
Final
The materials used for this project are as follows:
SculpeyIII Oven Bake Clay
Sculpey Acrylic Roller
Sculpey Super Slicer
Premo! Circle Cutters
Sculpey Bead Baking Rack
Sculpey Bead Making Kit
Sculpey Gloss Glaze
Paint Brush
Clay Conditioning Machine
Hook Earrings
Thin Head Pins
Rope Necklace
Round Nose Pliers
It’s always important to run your clay through a clay conditioning machine to make sure you get all of the air pockets out of the clay, so that it doesn’t break after it’s baked.  I ran my three different colors through multiple times before I got started.
I rolled my three colors out at the largest opening that the conditioning machine would allow.  Once they were rolled out, I piled them up and then cut to make a rectangle.  I made sure to press them together really good so that the air pockets were released.  Next, I began to roll the clay to make a cane.
getting started
I had a little helper.  He used my trimmings to play with the conditioning machine.  It provided about an hour of fun with just the little bit of leftovers that there were!   He just kept running it through the machine!
Benjamin
Once the cane was rolled, I gave the cane a squeeze to once again remove any air pockets.  Using my hand, I continued to rolled slightly pushing outward to make the cane longer and thinner. rolling
Using the Sculpey Super Slicer, I cut .25″ pieces off of the cane.   I rolled out a piece of white clay and then placed the slices on the white piece.  I didn’t make any specific design.  I just organized them the all fit, with barely any white showing.  The white was more for the back. slices
Using the Sculpey Acrylic Roller, I lightly began to roll over the slices, lightly applying pressure so that the slices began to mold together. flattened
Once I had rolled it out to my liking, I used the Premo! Graduated Circle Cutters to cut two different size circles, one for the necklace and two for the earrings.  I then used a smaller circle cutter to cut a hole near the tops of the my circles. cuts
Once they were cut, I used the clay baking cushion from the Sculpey Bead Making kit to bake the pieces on.   The two pieces on the baking rack are for another project! bake
After the pieces were baked and cooled, I used the Sculpey Gloss Glaze and a paint brush to create a glossy look! glass glaze
Once the glaze was dry, I used a cord necklace to loop through the larger piece to create a necklace. final necklace
Then I used the thin head pins, the round nose pliers and the earring hooks to create my earrings! Earrings
And now they are ready to wear!  And these just happen to be the perfect colors for my favorite football team!   They are perfect for Game Day!! Final I hope that you like my Sculpey Necklace and Earrings!

Tulip For Your Home

pillow
I love Tulip brand by ilovetocreate!  I have been using this brand forever!  This project is a Tulip For Your Home project. It is a pillow that I decorated with a Tulip stencil and Tulip Soft Fabric Paint.   Below is a photo of everything that I used for this project, with the addition of FrogTape to help create my Chevron background.
Materials:
Tulip Pillow Cover
Tulip Paint Roller
Tulip Textile Stencil
Tulip Stencil Spray Adhesive
Tulip Soft Matte Fabric Paint
FrogTape
materials
So, using the Chevron FrogTape, I created a Chevron pattern.  I did my placing with the backing still on before I actually removed the paper and stuck it to my pillow. FrogTape
Once I was done placing my chevron pattern, I laid the owl stencil onto and then marked where my owl overlapped the FrogTape.  I only marked the tape, not the pillow.  After I made my marks, I removed the stencil and cut a section of the tape out so that I’d not have the chevron pattern behind my owl. owl cutout
Using my roller, I applied the fabric paint around the cut out where my owl will be placed. painting chevron
After the paint dries, I removed the chevron FrogTape. readyforowl
Using my Tulip Stencil Spray Adhesive, I sprayed it on the back of the stencil and placed it in the open space on the pillow.   Don’t worry if you misplace it, the spray allows you to reposition the stencil.  Then it was time to paint the owl.   I did this using the roller after I cleaned it. painted owl
Instead of using a pillow to insert into the cover, I used some Poly-fil that I had at home! polyfil
I am totally obsessed with the results of my decorative Tulip pillow!  It was super easy and super fun!   So, why not create your own fun decorative pillows instead of buying them!!! IMG_4768
I hope you liked my Chevron Owl Pillow made using Tulip For Your Home!