Tag Archives: earrings

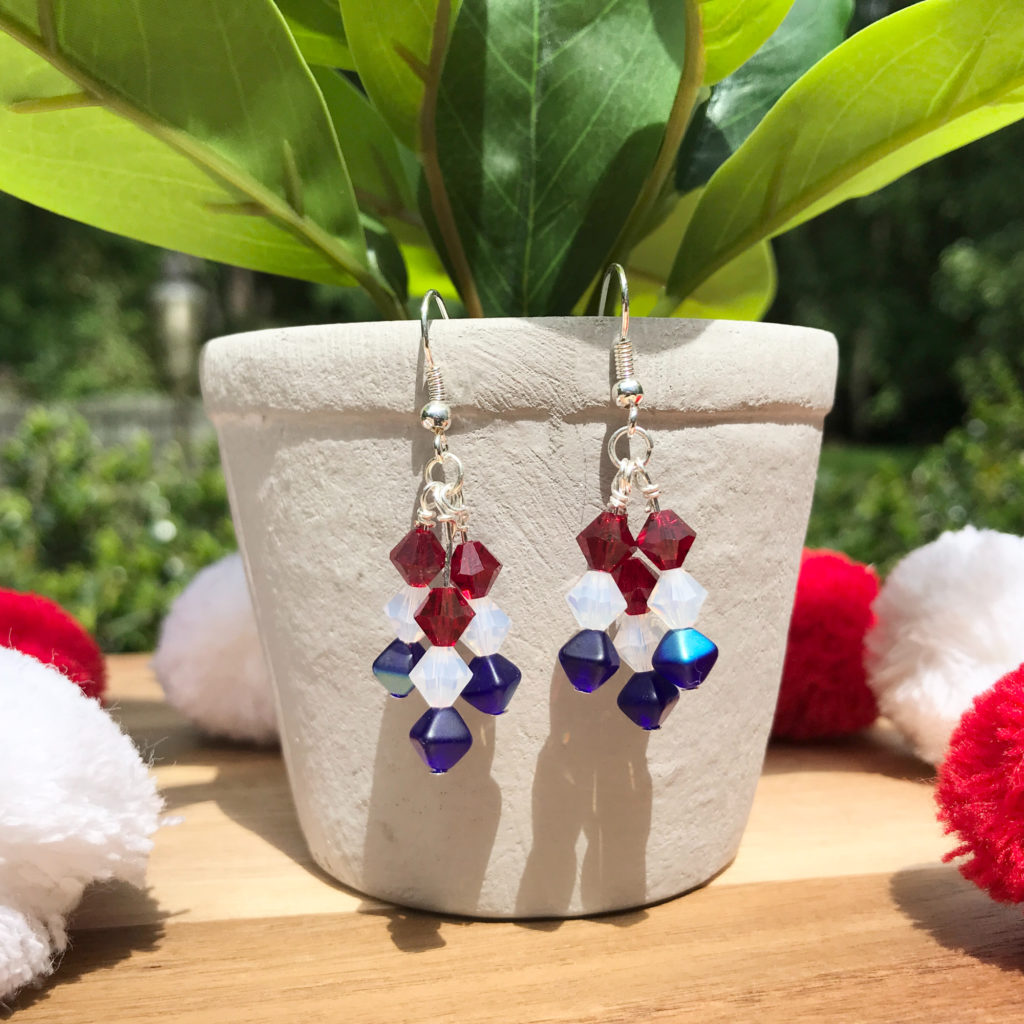
Red, White and Blue Bead Earrings

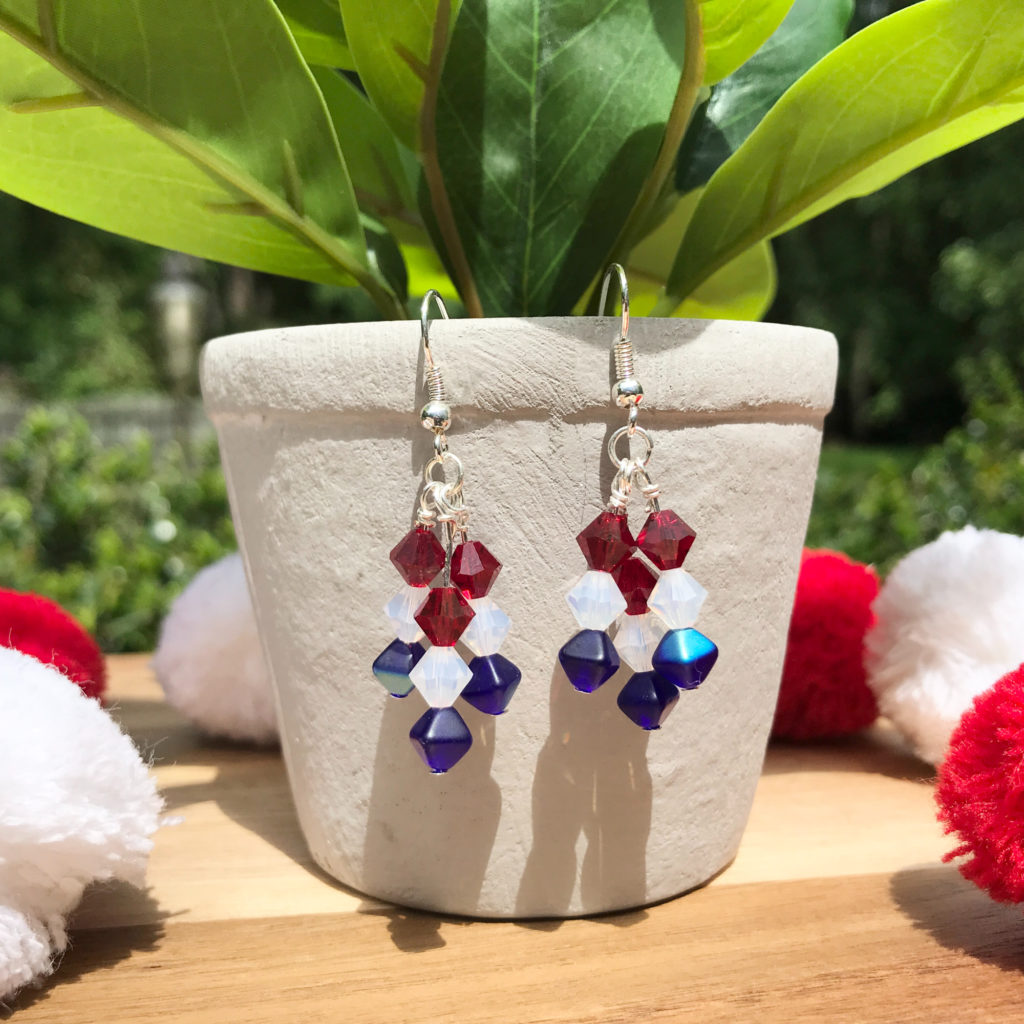
I am joining my crafty friends to create patriotic crafts this month so I decided to make some festive red, white and blue bead earrings! The good thing is that they are cute enough that they can be worn anytime of the year. These were super easy to make and you could do any combination of colors but this Creative Crafts is the Patriotic Edition!
Materials used:

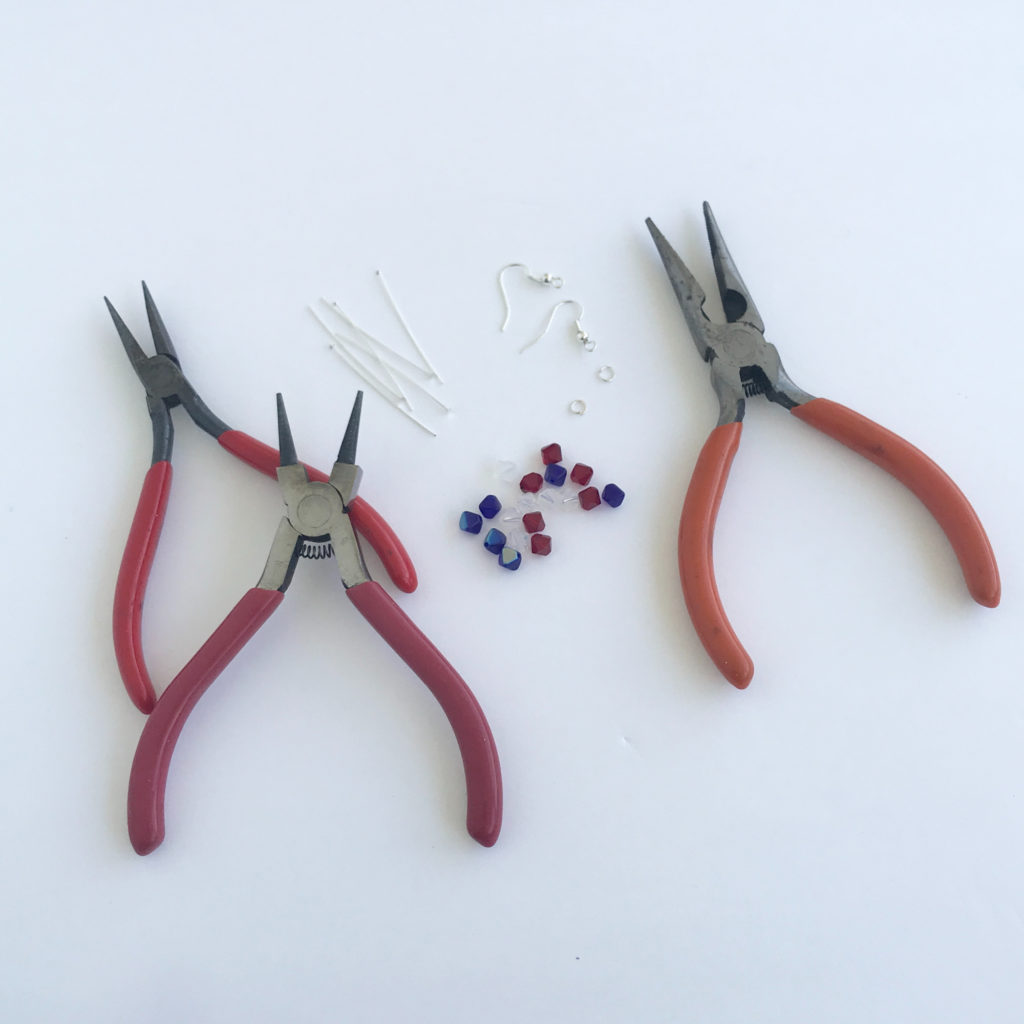
  • Beads of red, white and blue. (They can be any type of beads.)
  • Head Pins (6)
  • Jump Rings (2)
  • Fish Hook Findings (2)
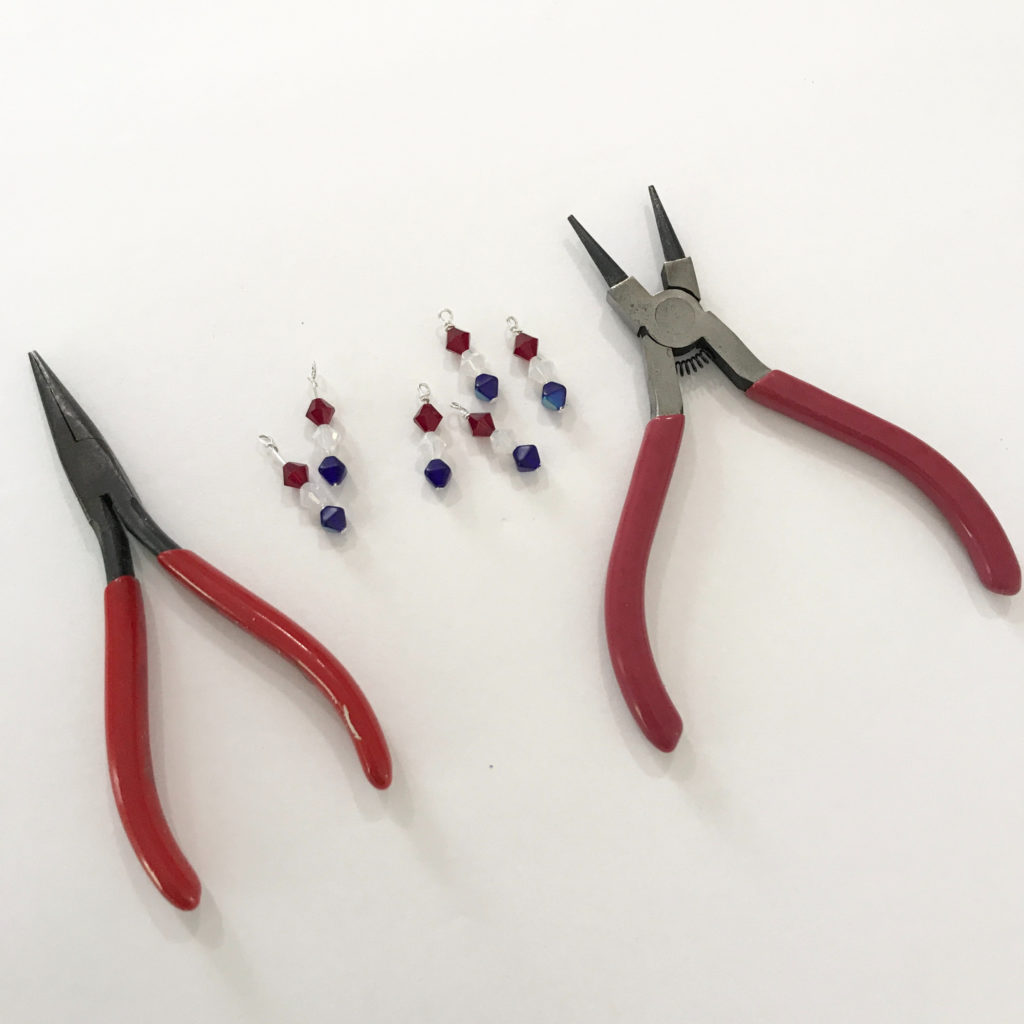
  • Jewelry Making Tools (I used Needle Nose Pliers, Round Nose Pliers)
How I made them:

First, I started by separating my beads and placing them on the head pins in the order that I wanted them.
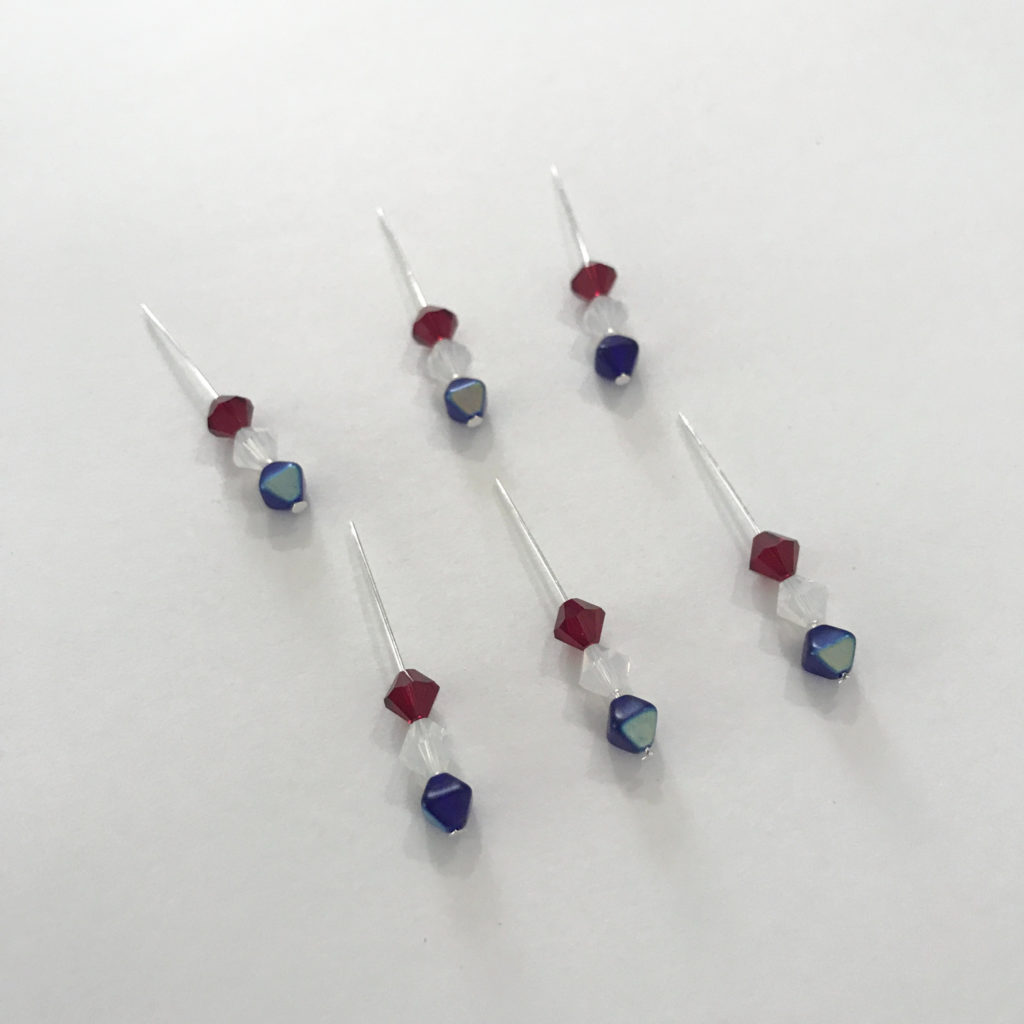
Using my round nose pliers, I created a loop.
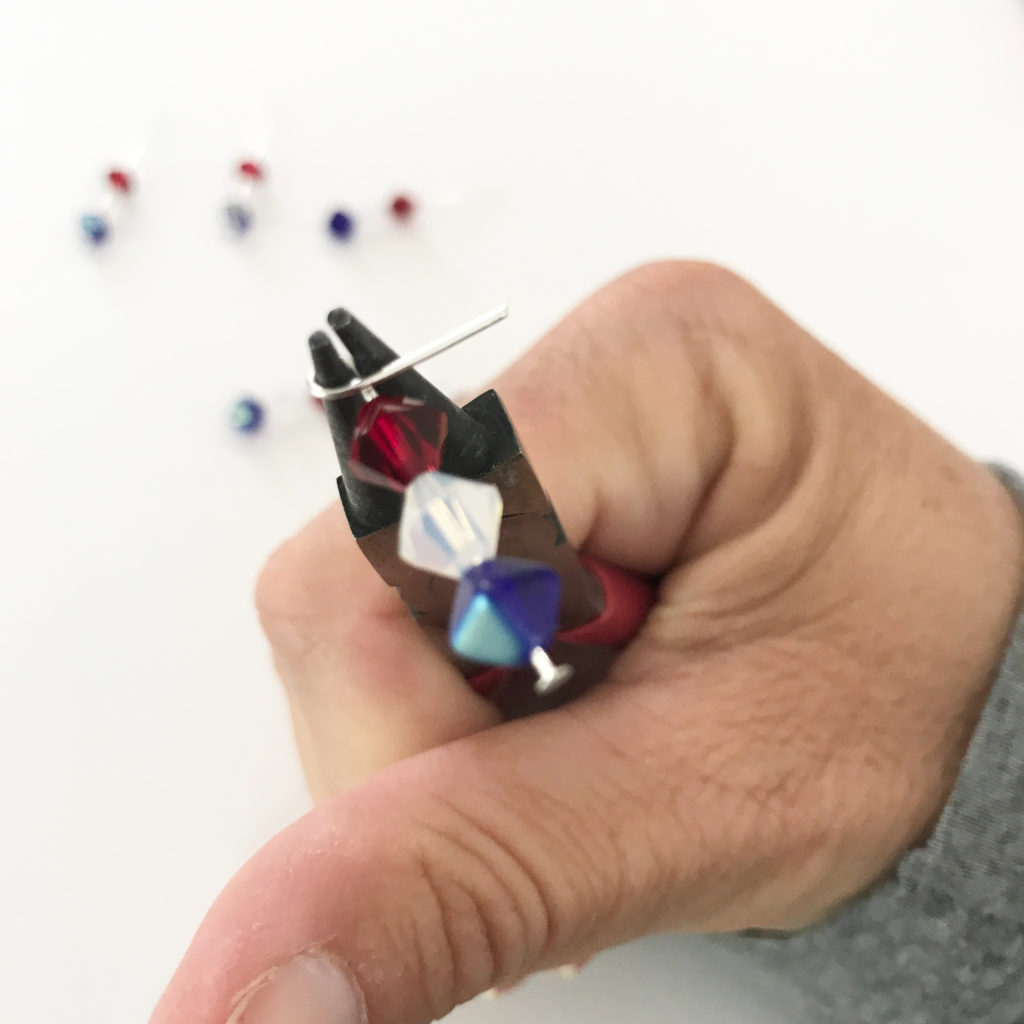
Using my needle nose pliers, I wrapped the remaining wire around the head pin so that it would be secure.
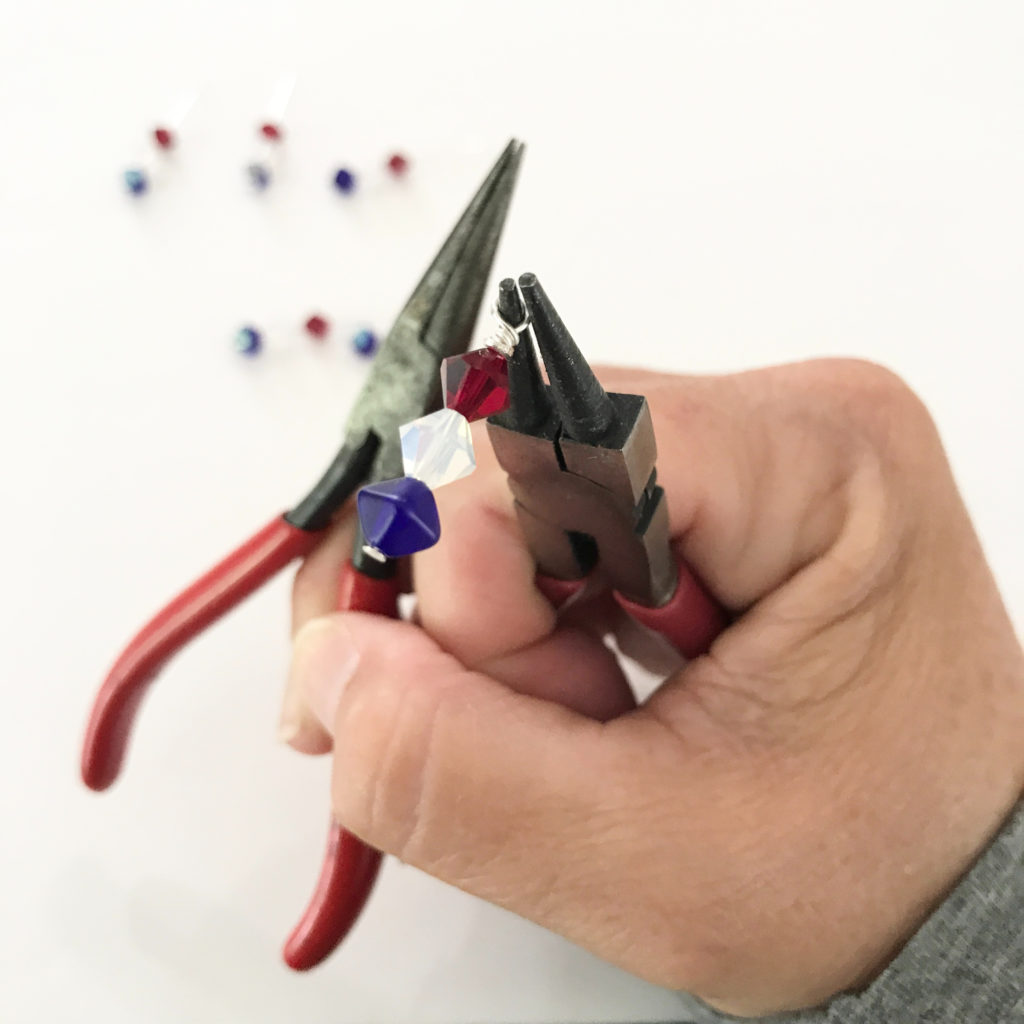
I made four the the head pins about the same size and two of them I left longer so that they would hang at a different length.
With my needle nose pliers, I opened the jump ring and placed the head pins and the fish hook. Using two sets of needle nose pliers, I closed the jump ring.
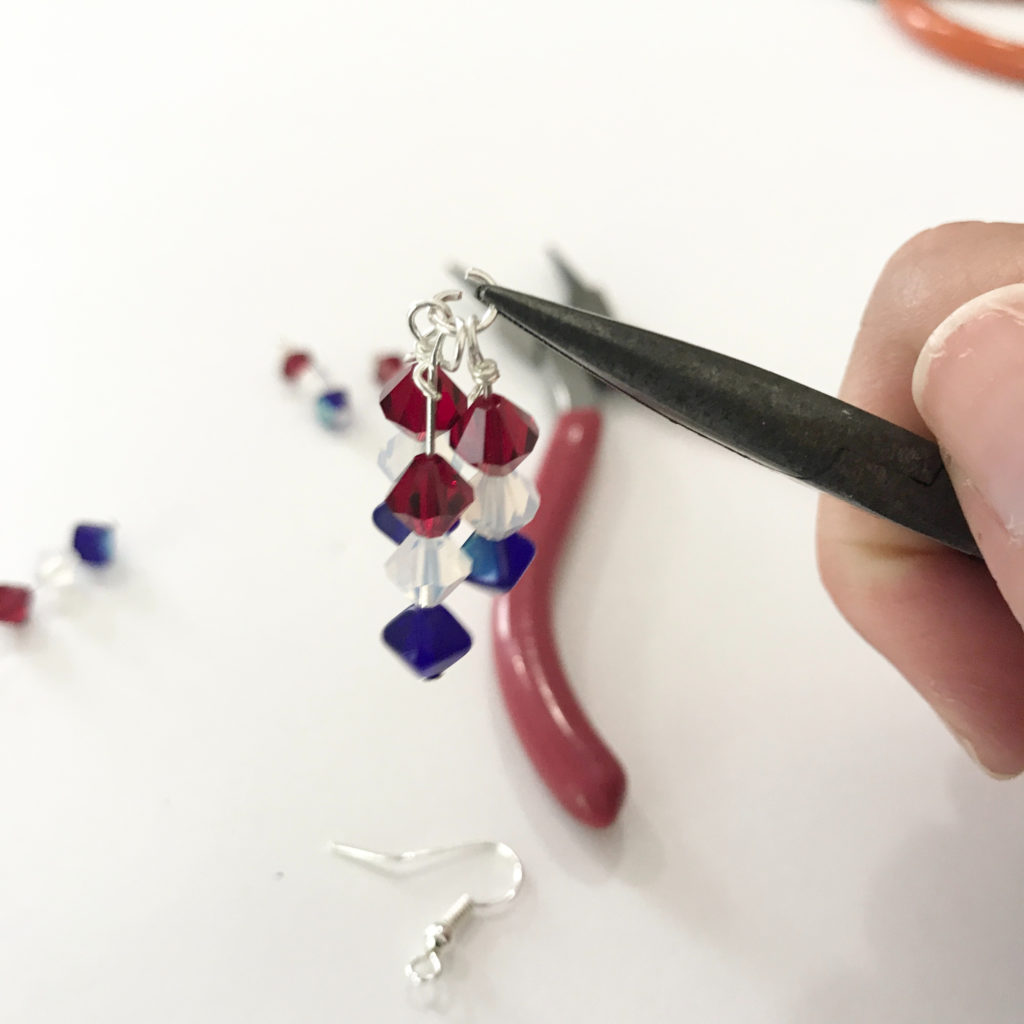
I love how they turned out and they will be super cute to wear on the 4th of July!
Be sure to check out other creative Patriot projects by clicking the button below!

Until next time, Happy Crafting!

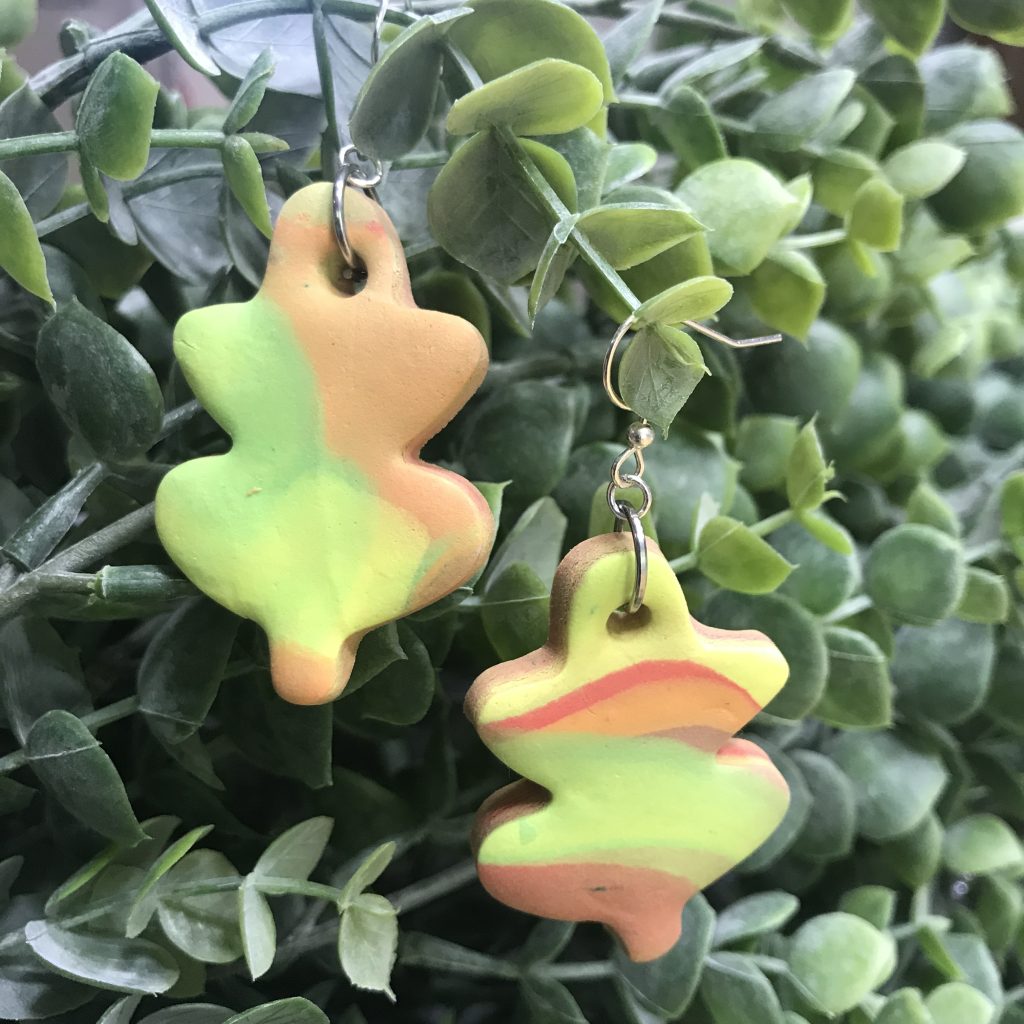
Sculpey’s Pluffly Clay Fall Leaves Earrings

Autumn is a great season to put on a sweater, boots and new earrings.  These clay earrings are super light because they are made with Sculpey’s Pluffy clay.  The great thing is that they are simple to whip up so can be made it batches.  This means you can make a pair for yourself and some for friends too.

Materials Needed:

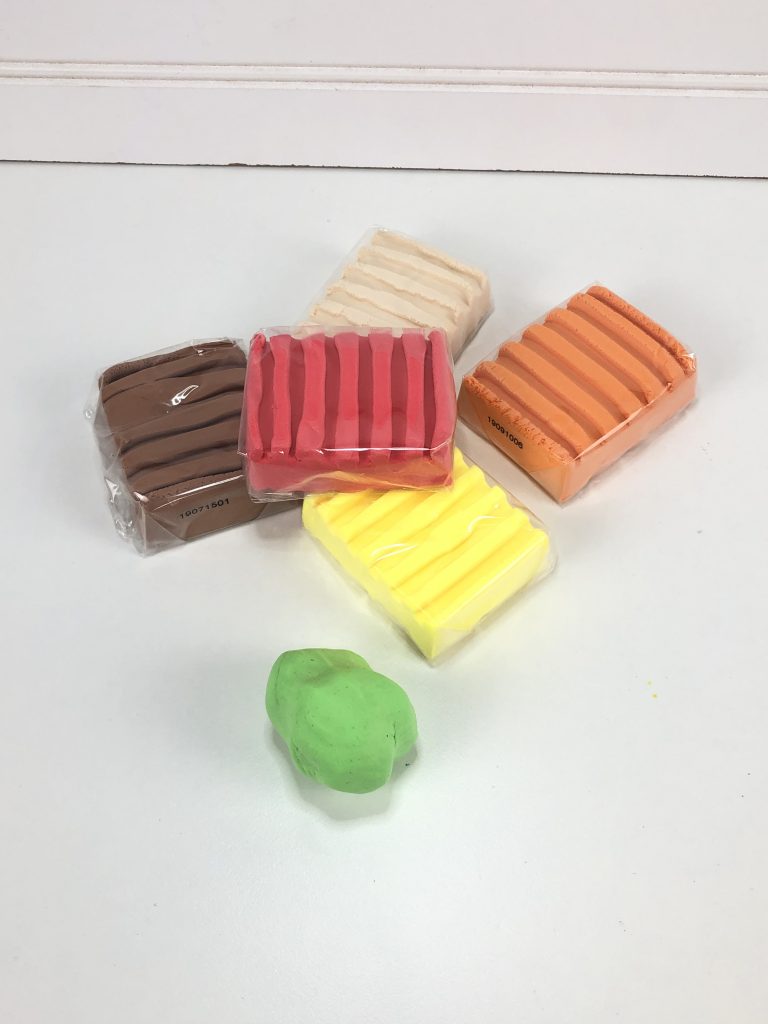
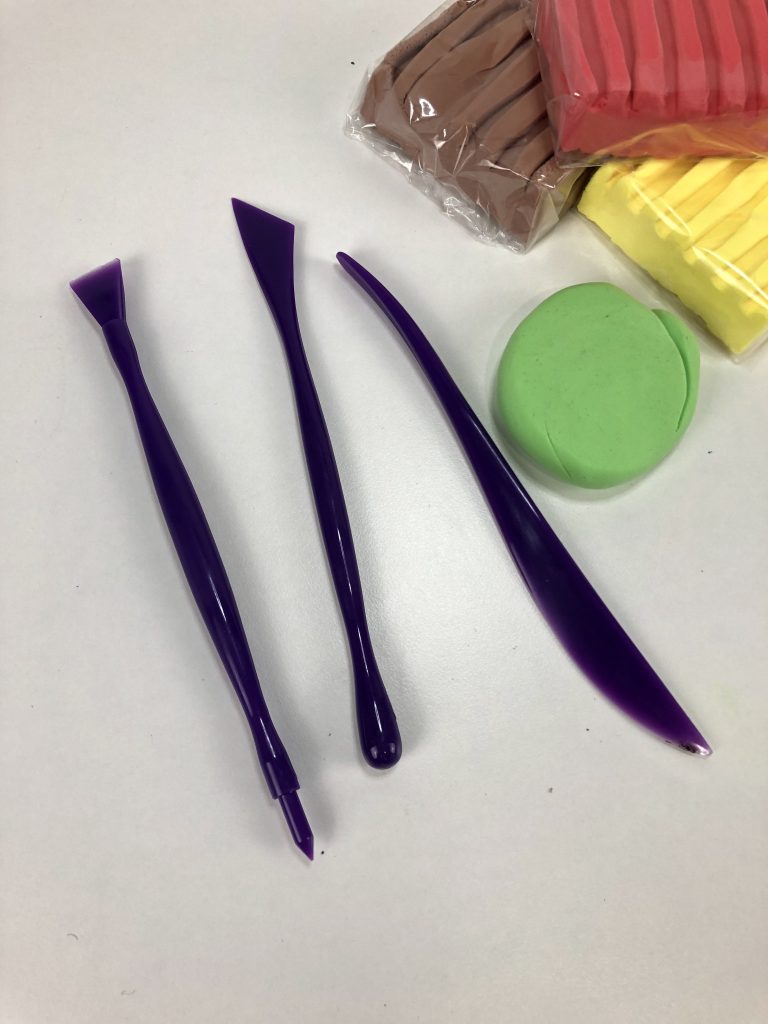
  • Sculpey Pluffy Clay (Red, Orange, Yellow, Brown, Green)
  • Baking Sheet
  • Oven
  • Leaf Cutter
  • Clay Tools (To roll out clay and poke holes)
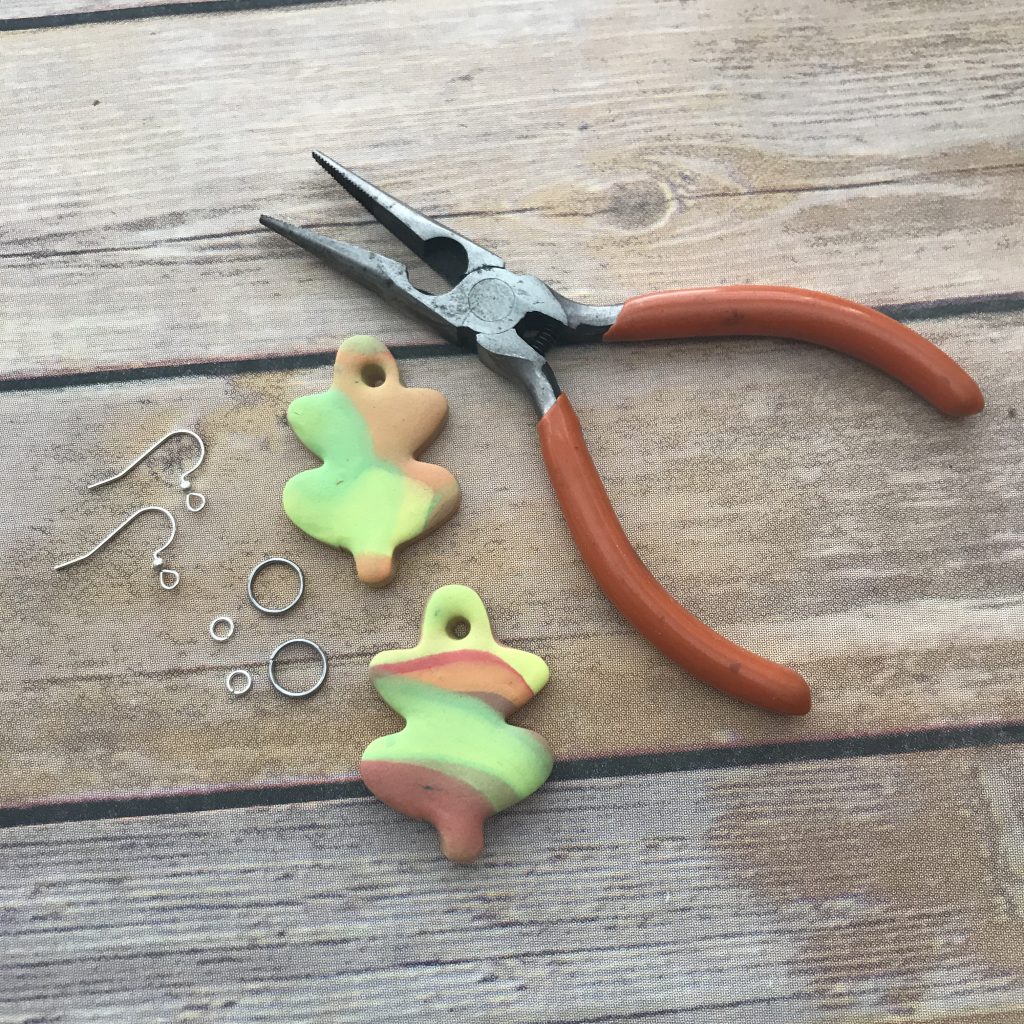
  • Jump Rings
  • Earring Hooks

Directions:

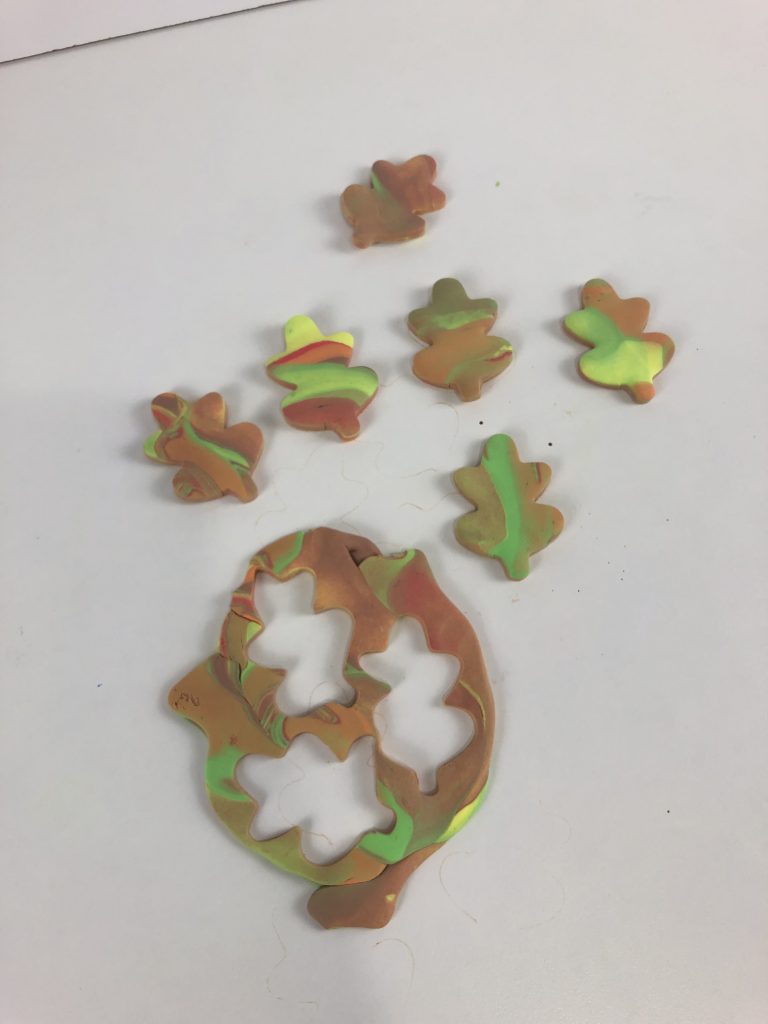
1.      Use the same amount of each color of clay and roll it all together in your hands.

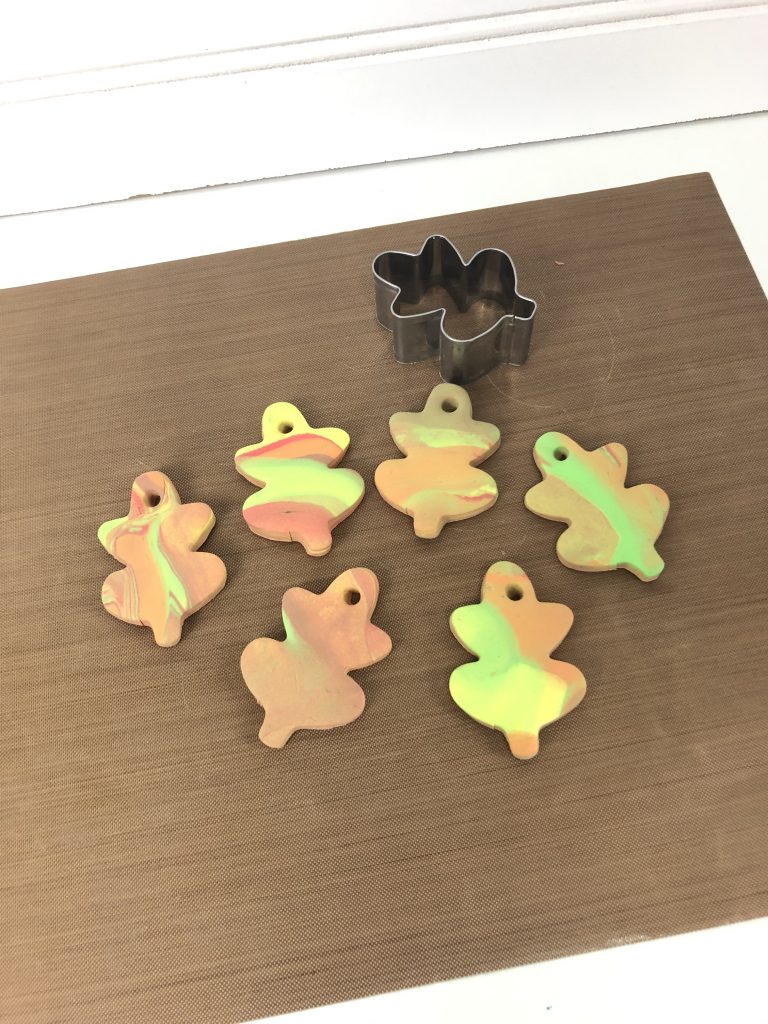
2.      Use a rolling pin to roll it our then fold it over and do this a couple of times.  This marbleizes the look. Stop when you roll it out and like it.  The thickness should be about a quarter inch.

3.      Use a cutter to make your shapes.

4.      Poke a hole through the clay BEFORE baking.

5.      Bake at 250 degrees for about 12-15 minutes.  Follow the directions in the packaging.

6.      Once cool, add the metal pieces to turn your clay creations into jewelry.

Be sure to click the Creative Fall Crafts button below to check out other fall crafts!

Until next time…..

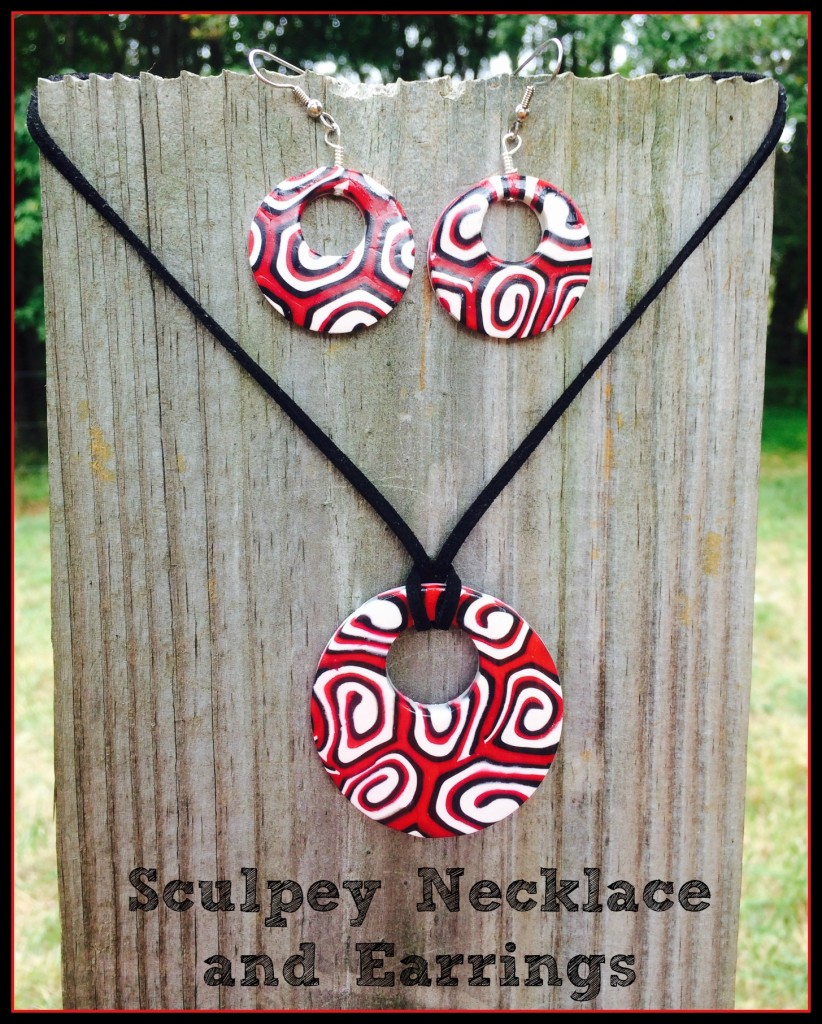
Sculpey Necklace and Earrings

Clay is not just for kids!  I have always loved to work with clay.   And Sculpey is such an awesome clay to work with!   It’s soft and really easy to use.   And come in some really awesome colors!

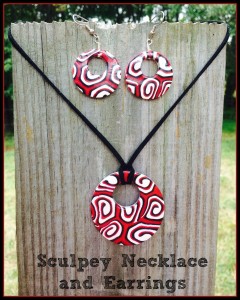
Below is a picture of the necklace and earrings that I made!
Final
The materials used for this project are as follows:
SculpeyIII Oven Bake Clay
Sculpey Acrylic Roller
Sculpey Super Slicer
Premo! Circle Cutters
Sculpey Bead Baking Rack
Sculpey Bead Making Kit
Sculpey Gloss Glaze
Paint Brush
Clay Conditioning Machine
Hook Earrings
Thin Head Pins
Rope Necklace
Round Nose Pliers
It’s always important to run your clay through a clay conditioning machine to make sure you get all of the air pockets out of the clay, so that it doesn’t break after it’s baked.  I ran my three different colors through multiple times before I got started.
I rolled my three colors out at the largest opening that the conditioning machine would allow.  Once they were rolled out, I piled them up and then cut to make a rectangle.  I made sure to press them together really good so that the air pockets were released.  Next, I began to roll the clay to make a cane.
getting started
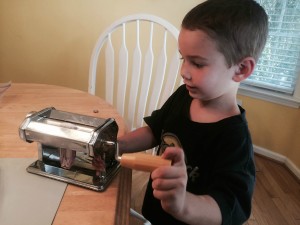
I had a little helper.  He used my trimmings to play with the conditioning machine.  It provided about an hour of fun with just the little bit of leftovers that there were!   He just kept running it through the machine!
Benjamin
Once the cane was rolled, I gave the cane a squeeze to once again remove any air pockets.  Using my hand, I continued to rolled slightly pushing outward to make the cane longer and thinner. rolling
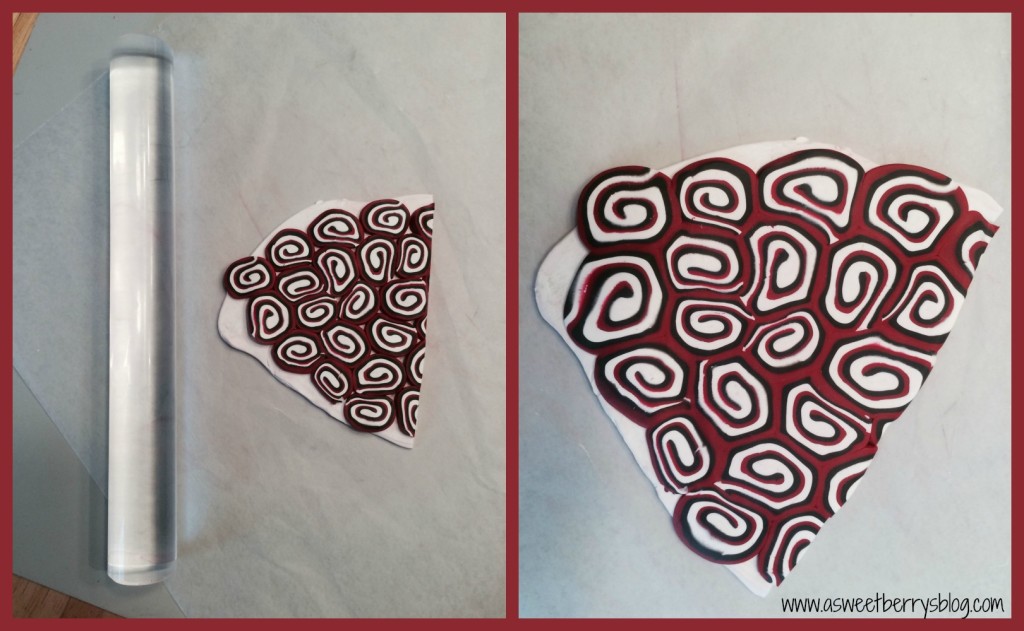
Using the Sculpey Super Slicer, I cut .25″ pieces off of the cane.   I rolled out a piece of white clay and then placed the slices on the white piece.  I didn’t make any specific design.  I just organized them the all fit, with barely any white showing.  The white was more for the back. slices
Using the Sculpey Acrylic Roller, I lightly began to roll over the slices, lightly applying pressure so that the slices began to mold together. flattened
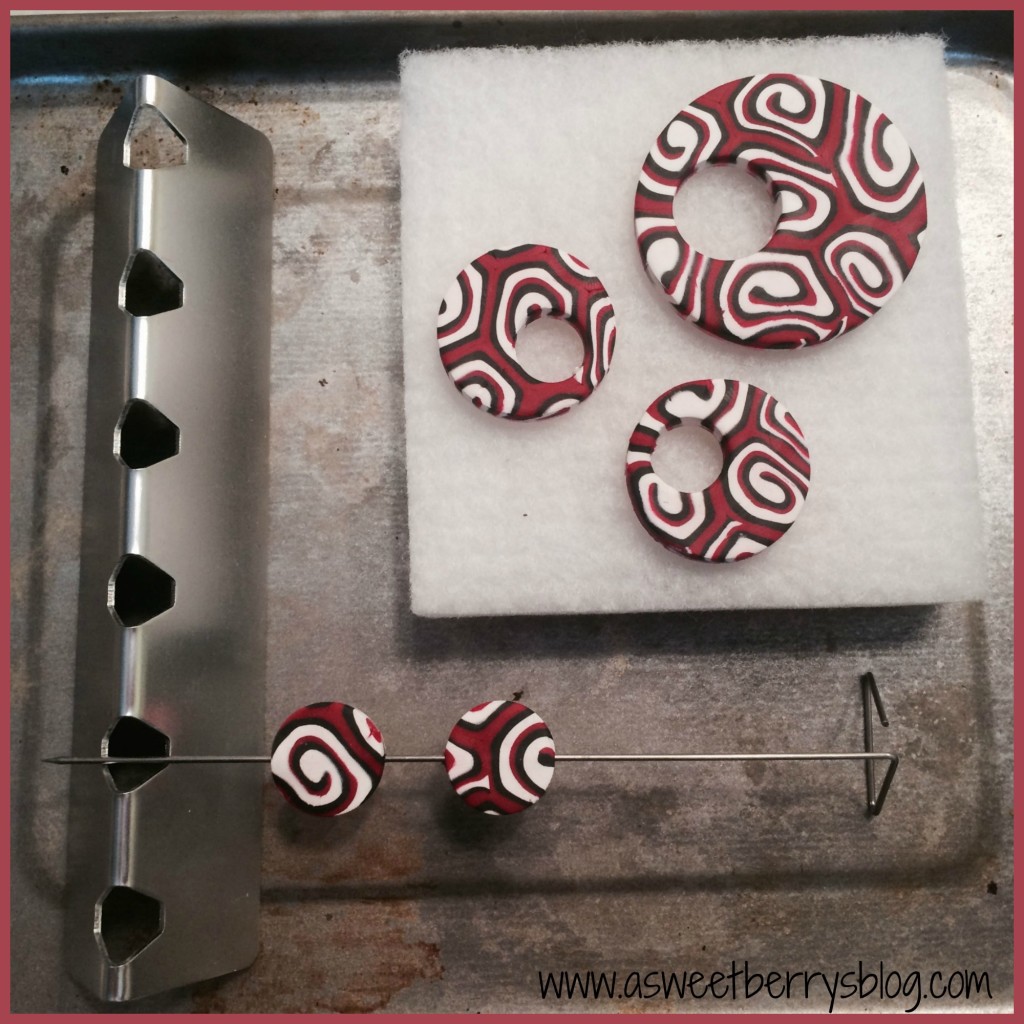
Once I had rolled it out to my liking, I used the Premo! Graduated Circle Cutters to cut two different size circles, one for the necklace and two for the earrings.  I then used a smaller circle cutter to cut a hole near the tops of the my circles. cuts
Once they were cut, I used the clay baking cushion from the Sculpey Bead Making kit to bake the pieces on.   The two pieces on the baking rack are for another project! bake
After the pieces were baked and cooled, I used the Sculpey Gloss Glaze and a paint brush to create a glossy look! glass glaze
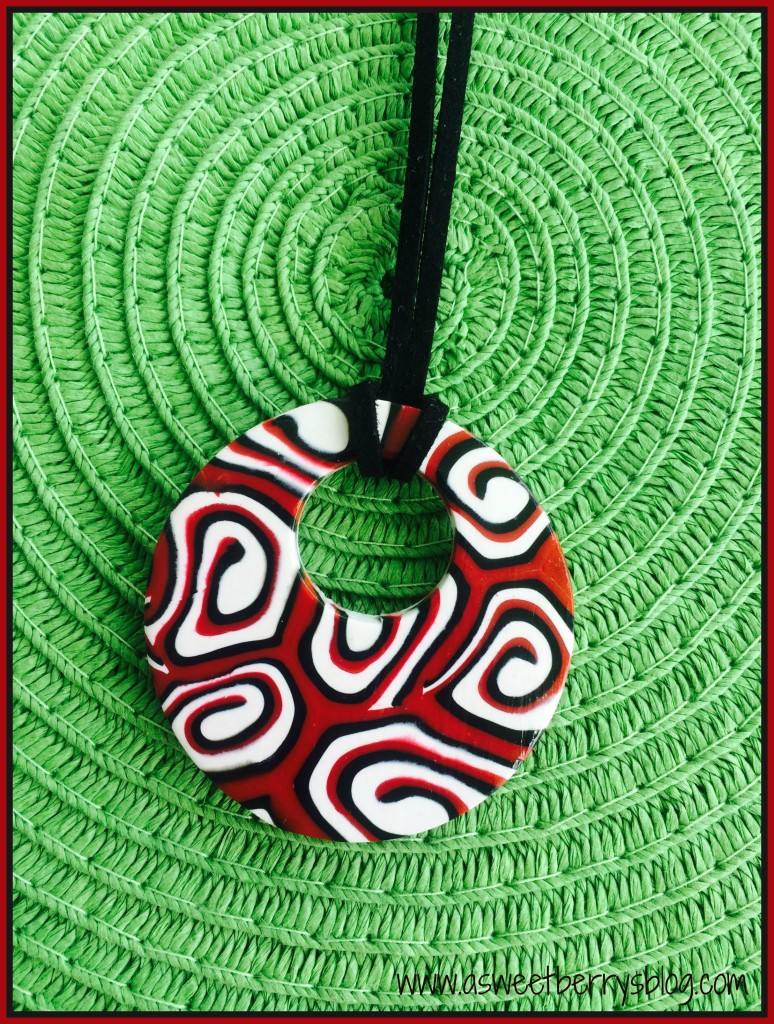
Once the glaze was dry, I used a cord necklace to loop through the larger piece to create a necklace. final necklace
Then I used the thin head pins, the round nose pliers and the earring hooks to create my earrings! Earrings
And now they are ready to wear!  And these just happen to be the perfect colors for my favorite football team!   They are perfect for Game Day!! Final I hope that you like my Sculpey Necklace and Earrings!