Monthly Archives: March 2016

Teacher Appreciation featuring Expressionery.com

Teachers are an important part of our children’s lives.  They spend just as much time during the day with them as we do, if not more.  They teach them how to read, write and count.  They teach them the days of the week and the rules they should follow.  They read to them and hug them and play with them.   The children really look up to them.  

We have been very fortunate this year.  Our youngest son got the same Kindergarten teacher that our oldest son had when he was in Kindergarten.  She has been a wonderful teacher for both of my boys and we truly appreciate her!

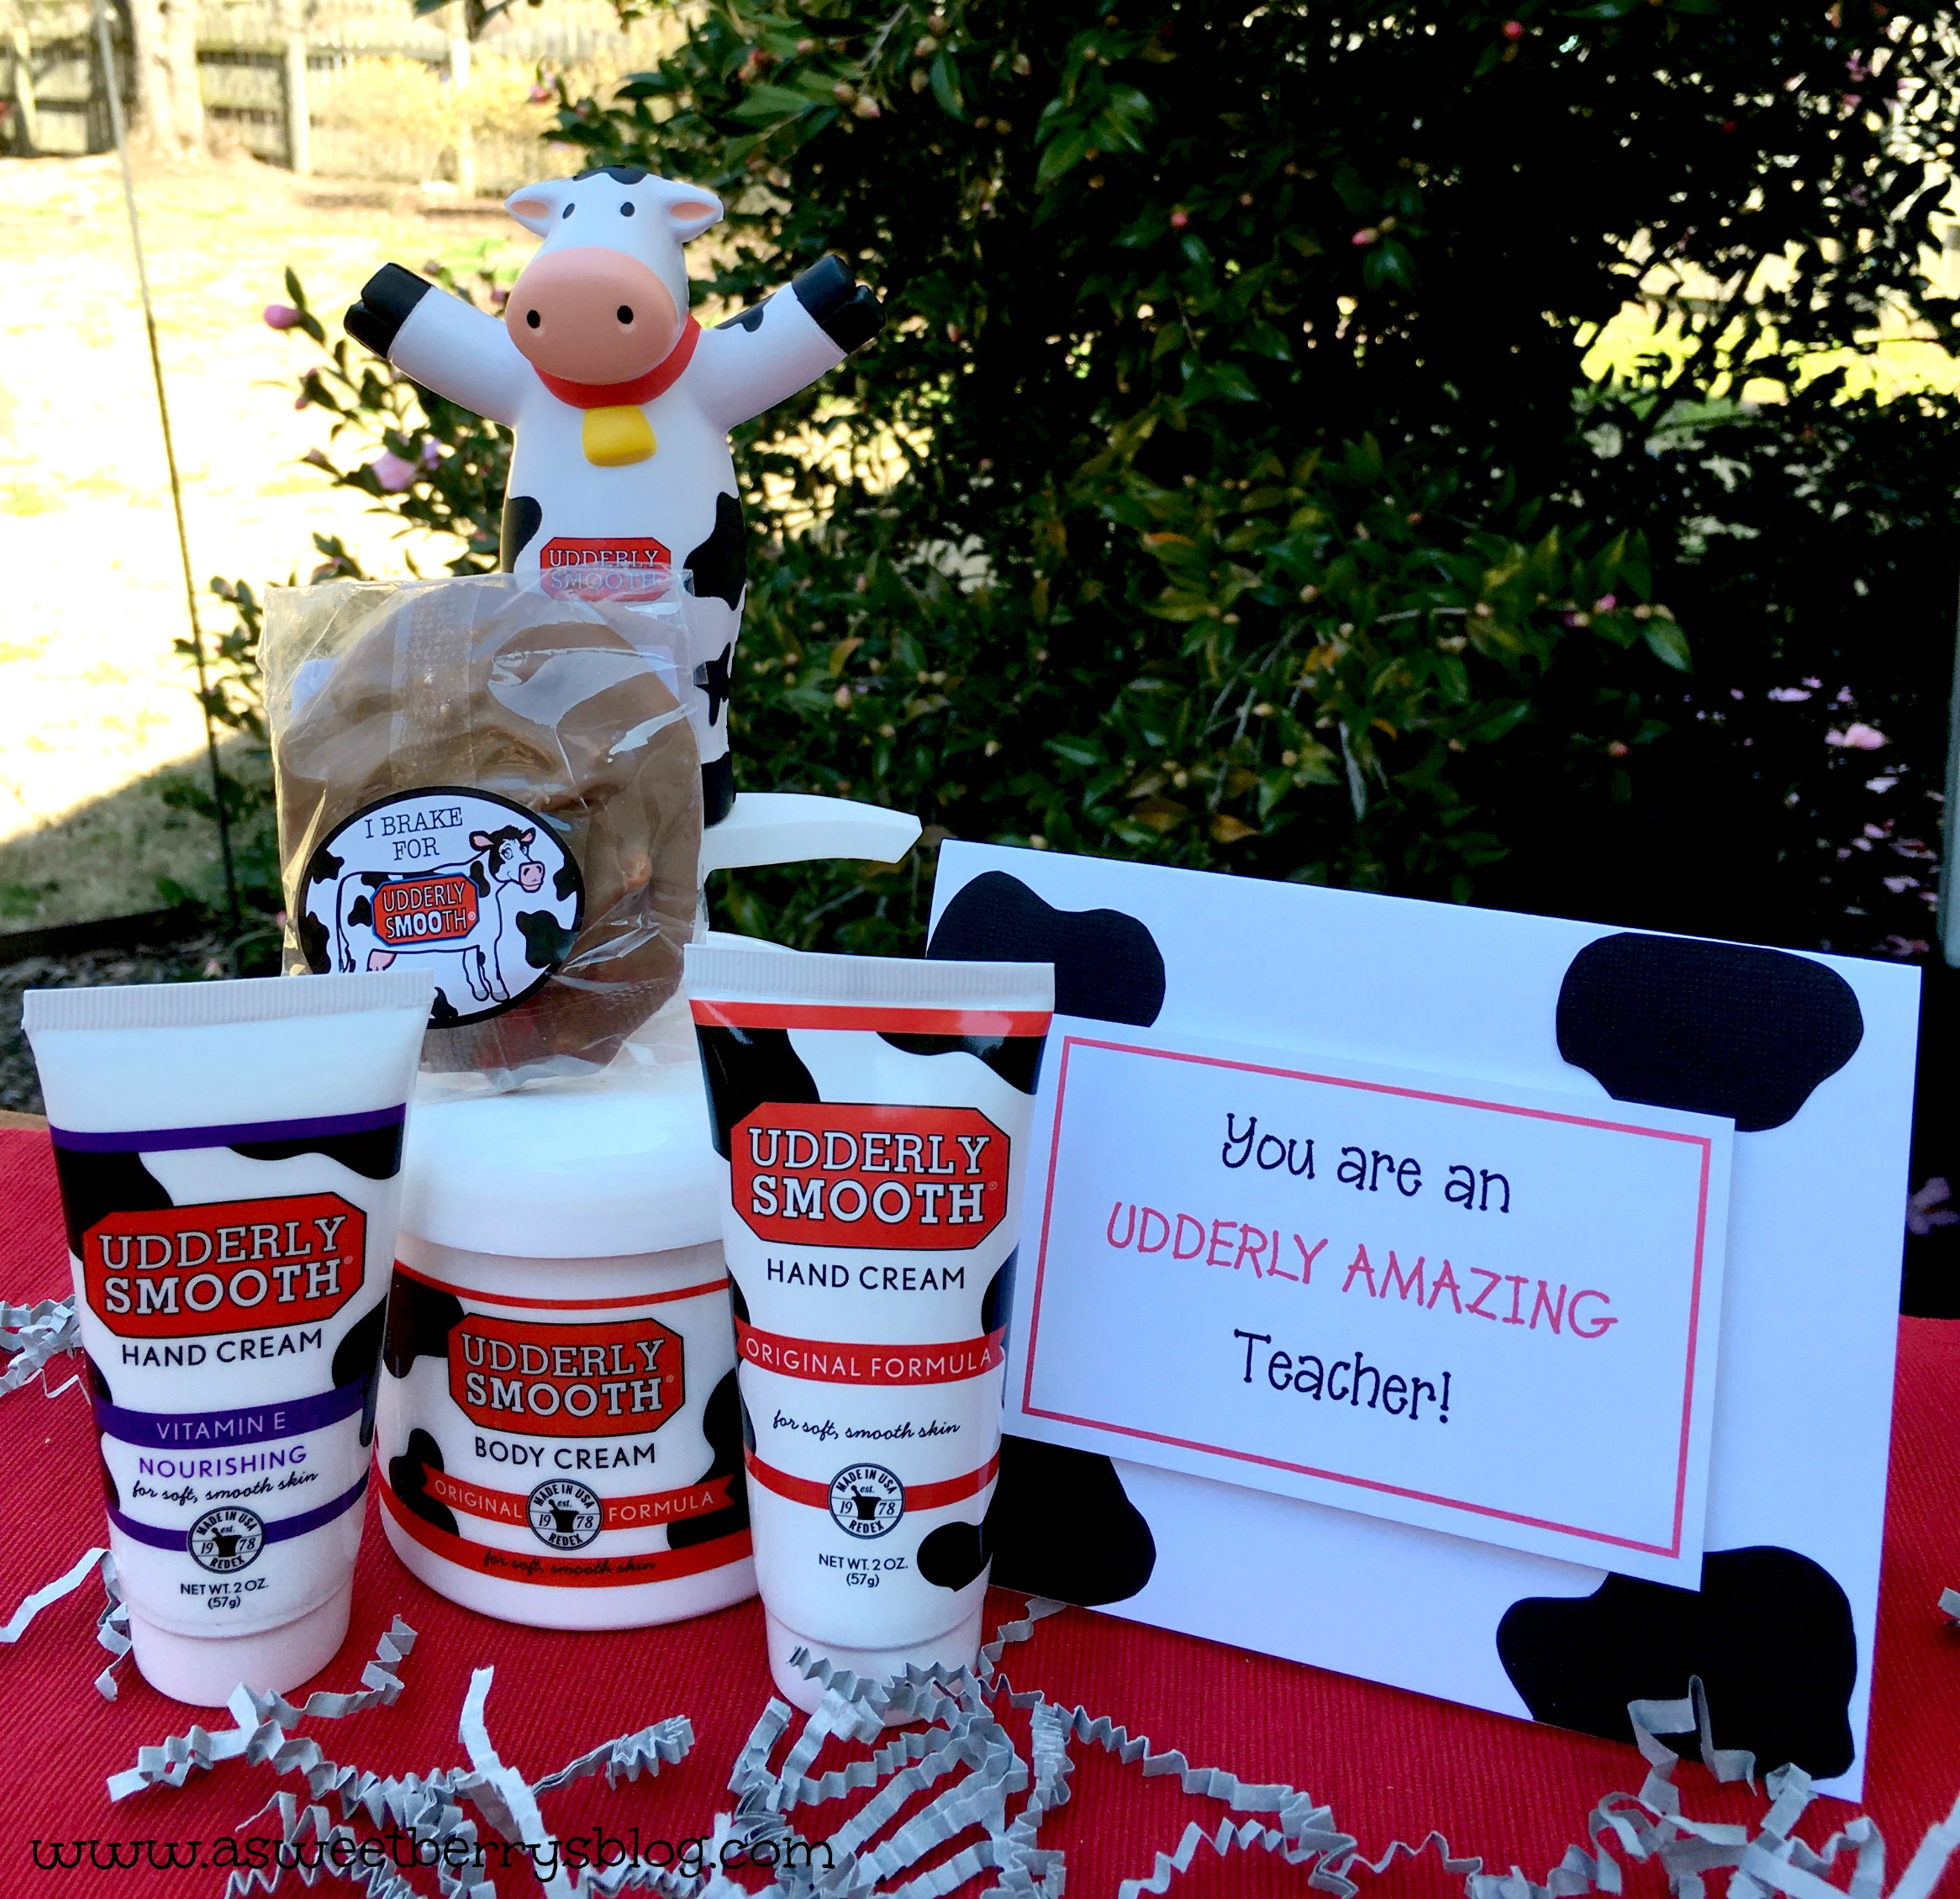
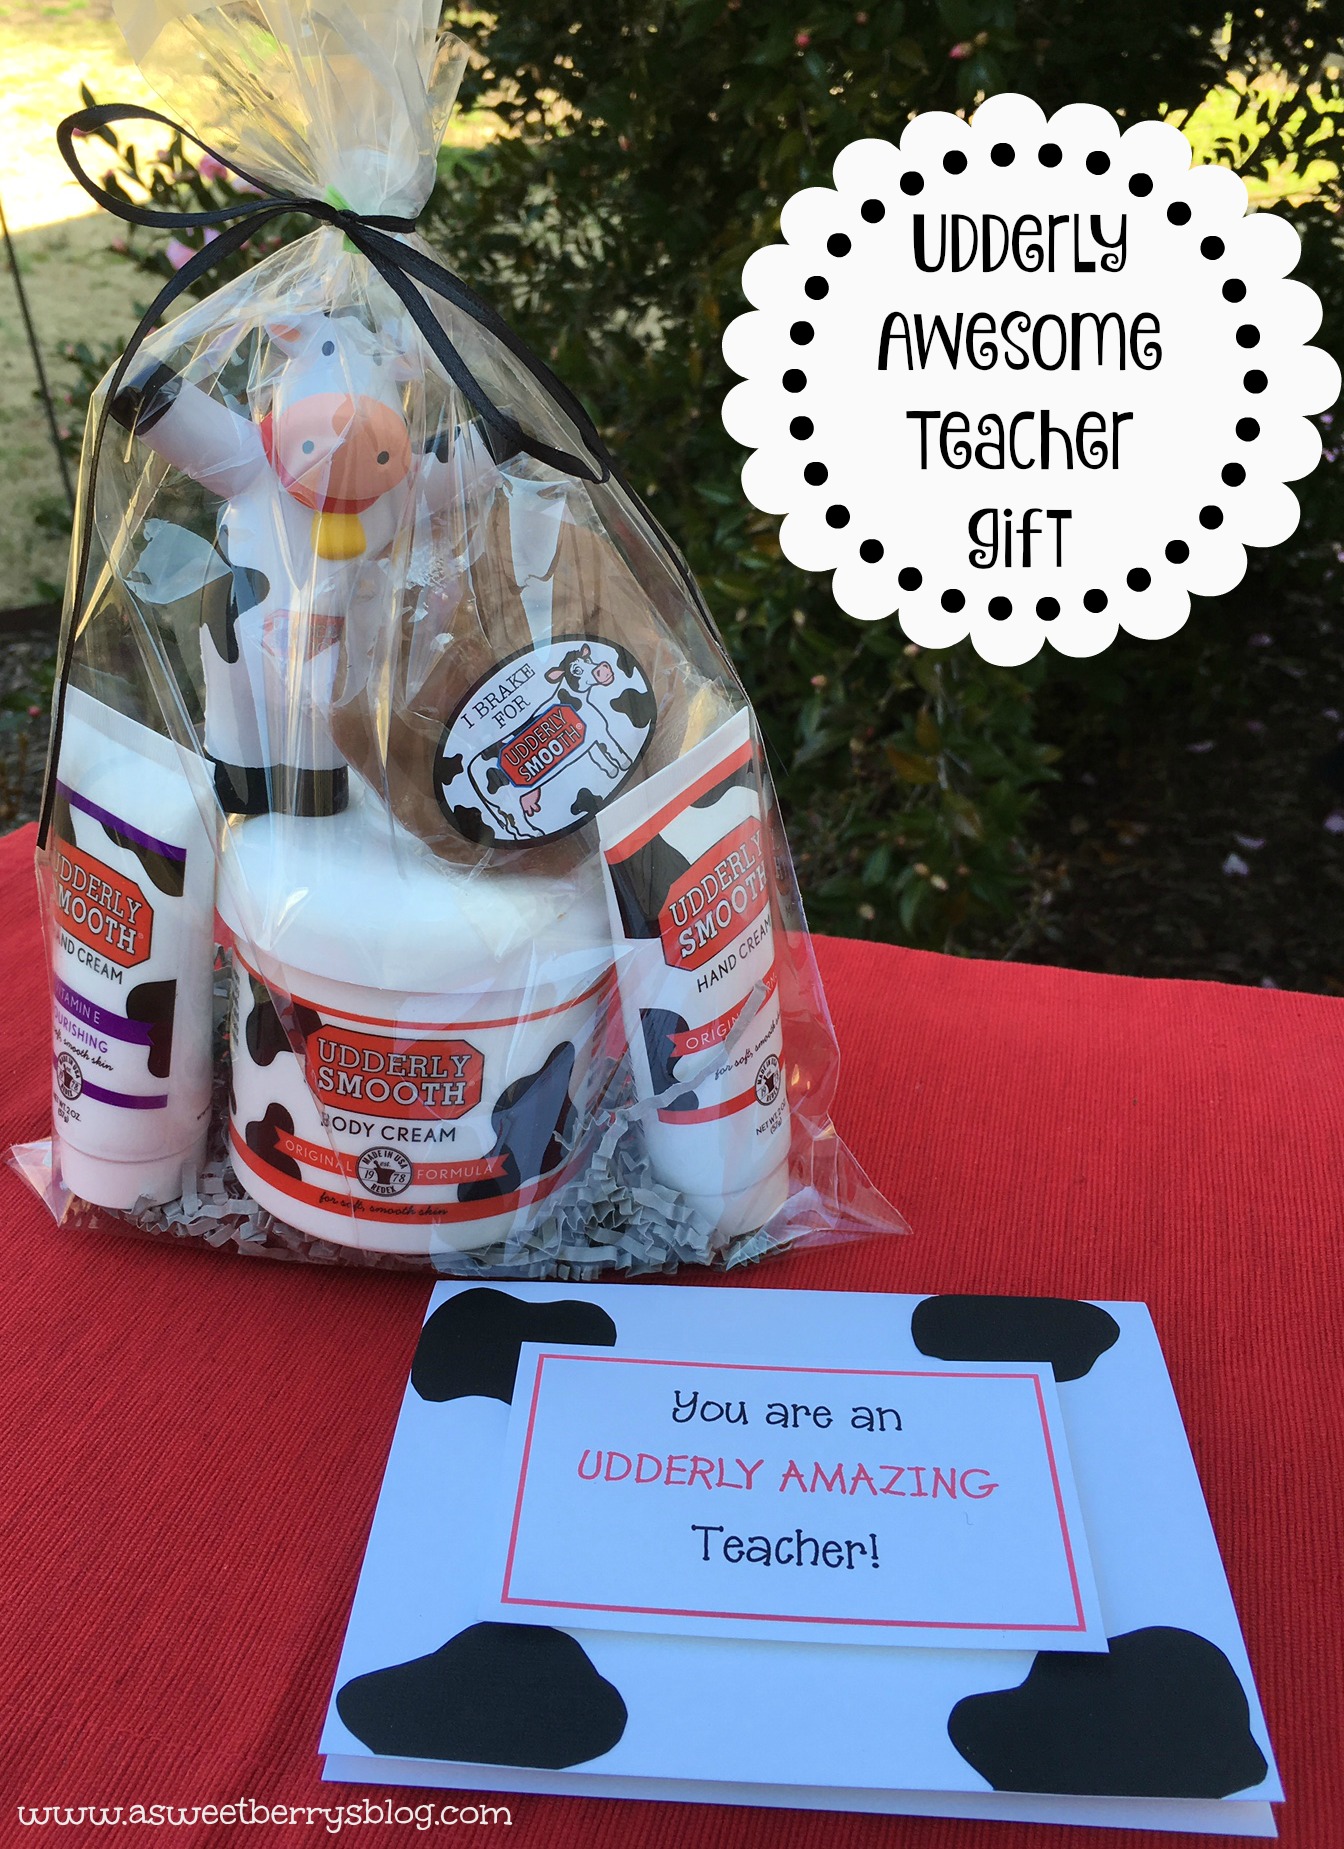
Nothing says that you appreciate a teacher like a gift of goodies!   And we love giving gifts, especially to the teachers that are molding our children to be wonderful people.
final
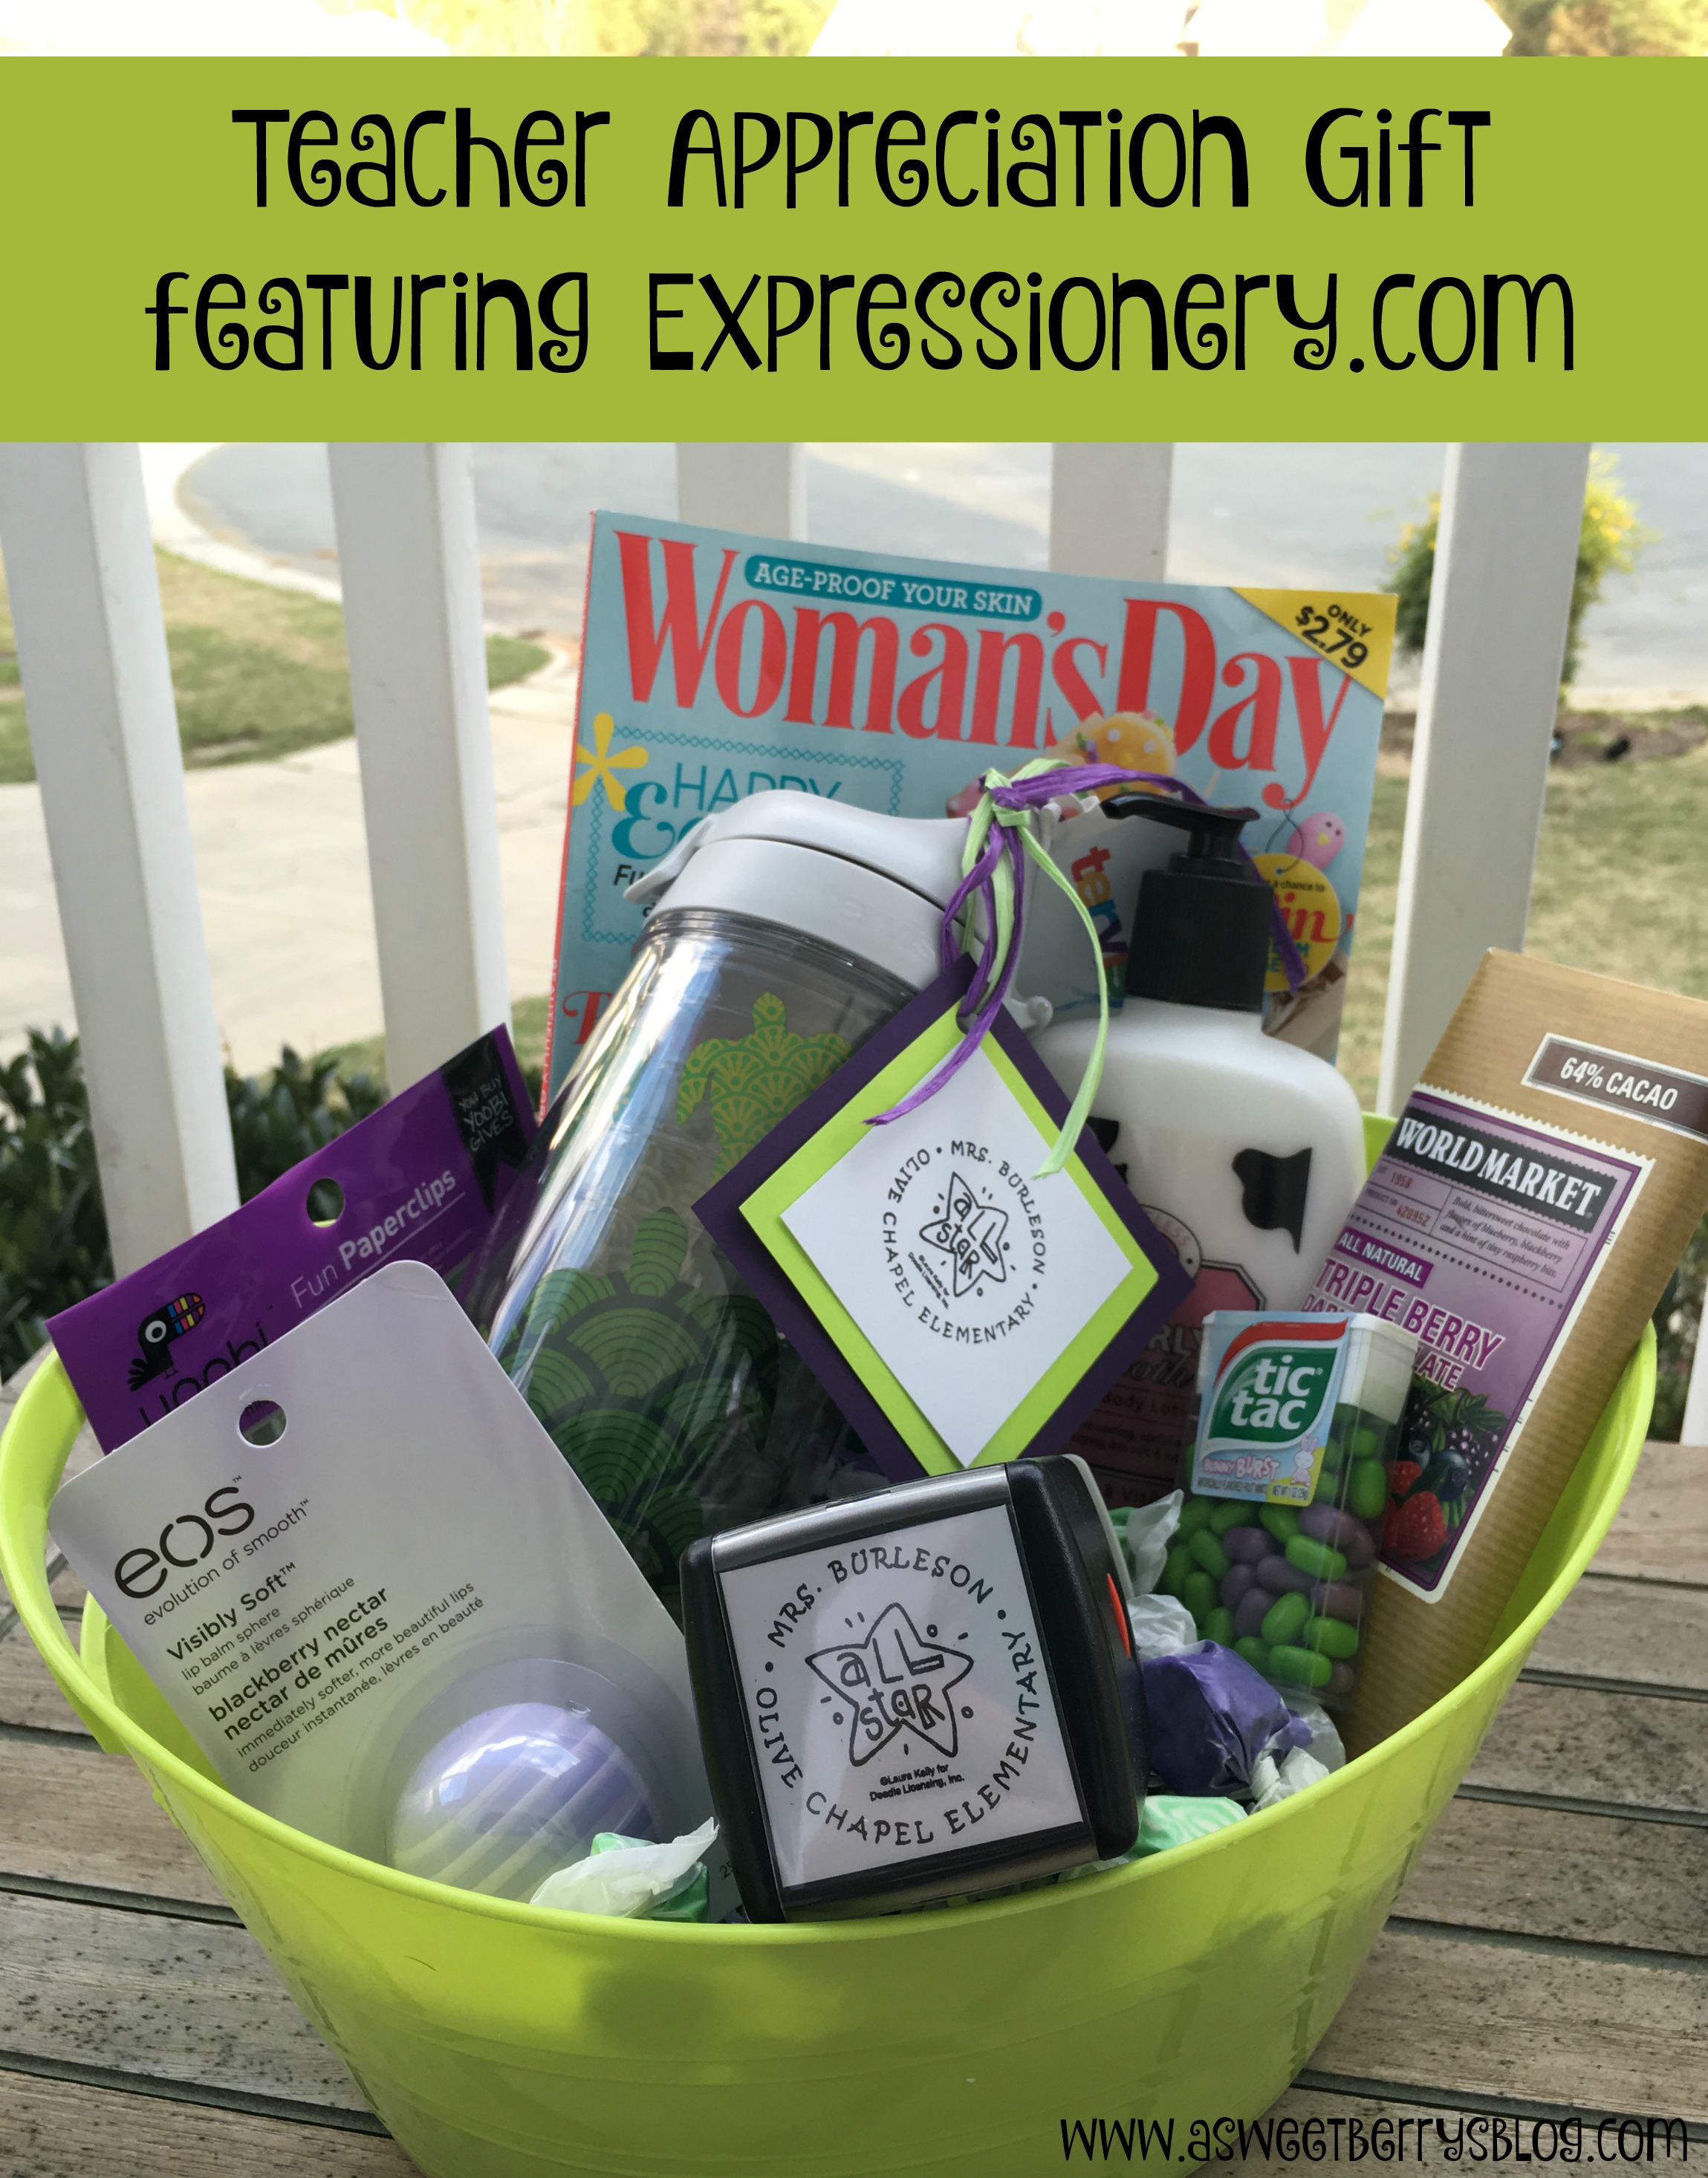
Expressionery.com has a large variety of gifts for teachers!  One of my favorites being personalized self-inking stamps.  They also have notecards and notepads that are perfect for teacher gifts too.  They are not only great gifts for teachers, they are great gifts for anyone!

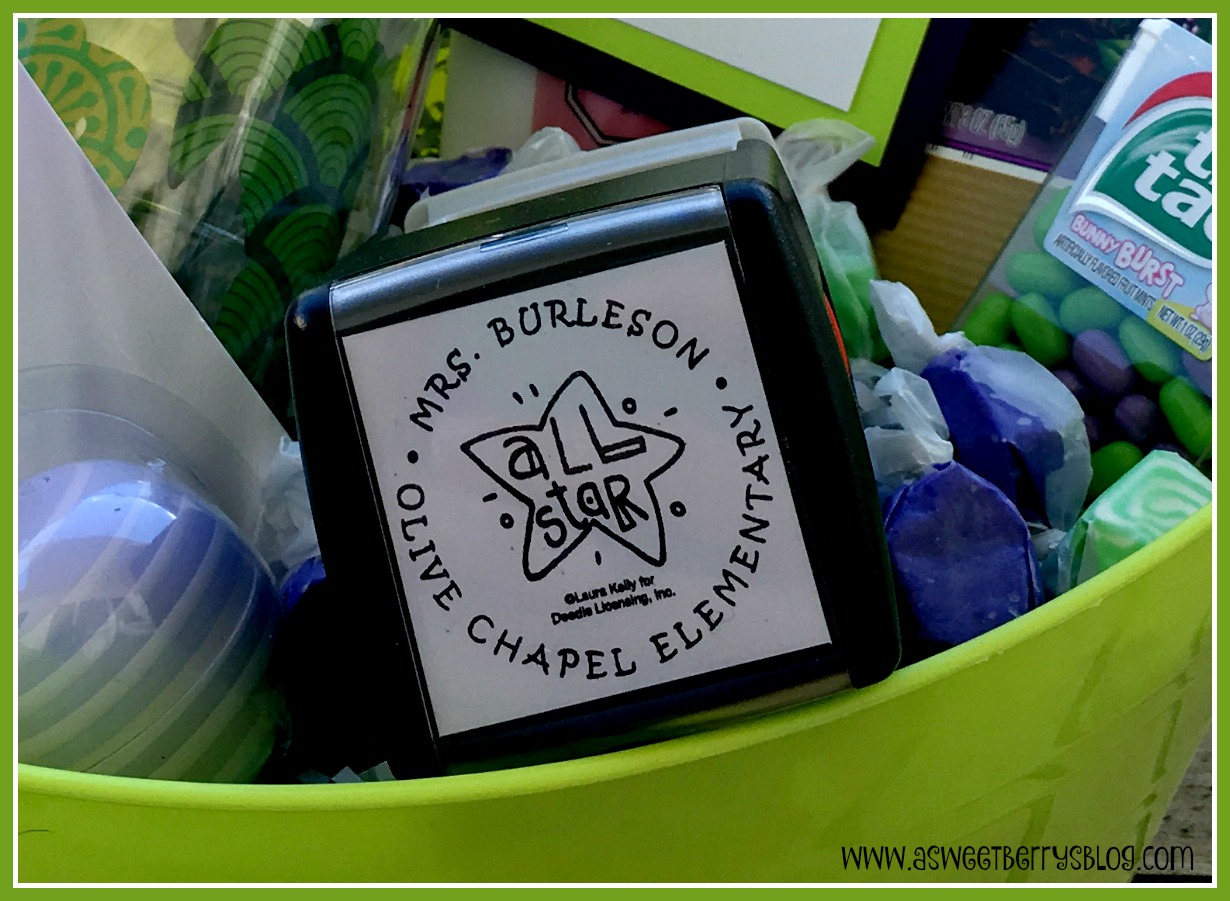
I included the Expressionery.com stamp in a basket full of goodies!   Of course, the majority of the items in the gift basket are “Berry” themed or coordinate with my favorite colors!  I even included a bottle of Udderly Smooth lotion, a fun Tervis bottle and a magazine!  You could pretty much include any cute and fun items!
stamp
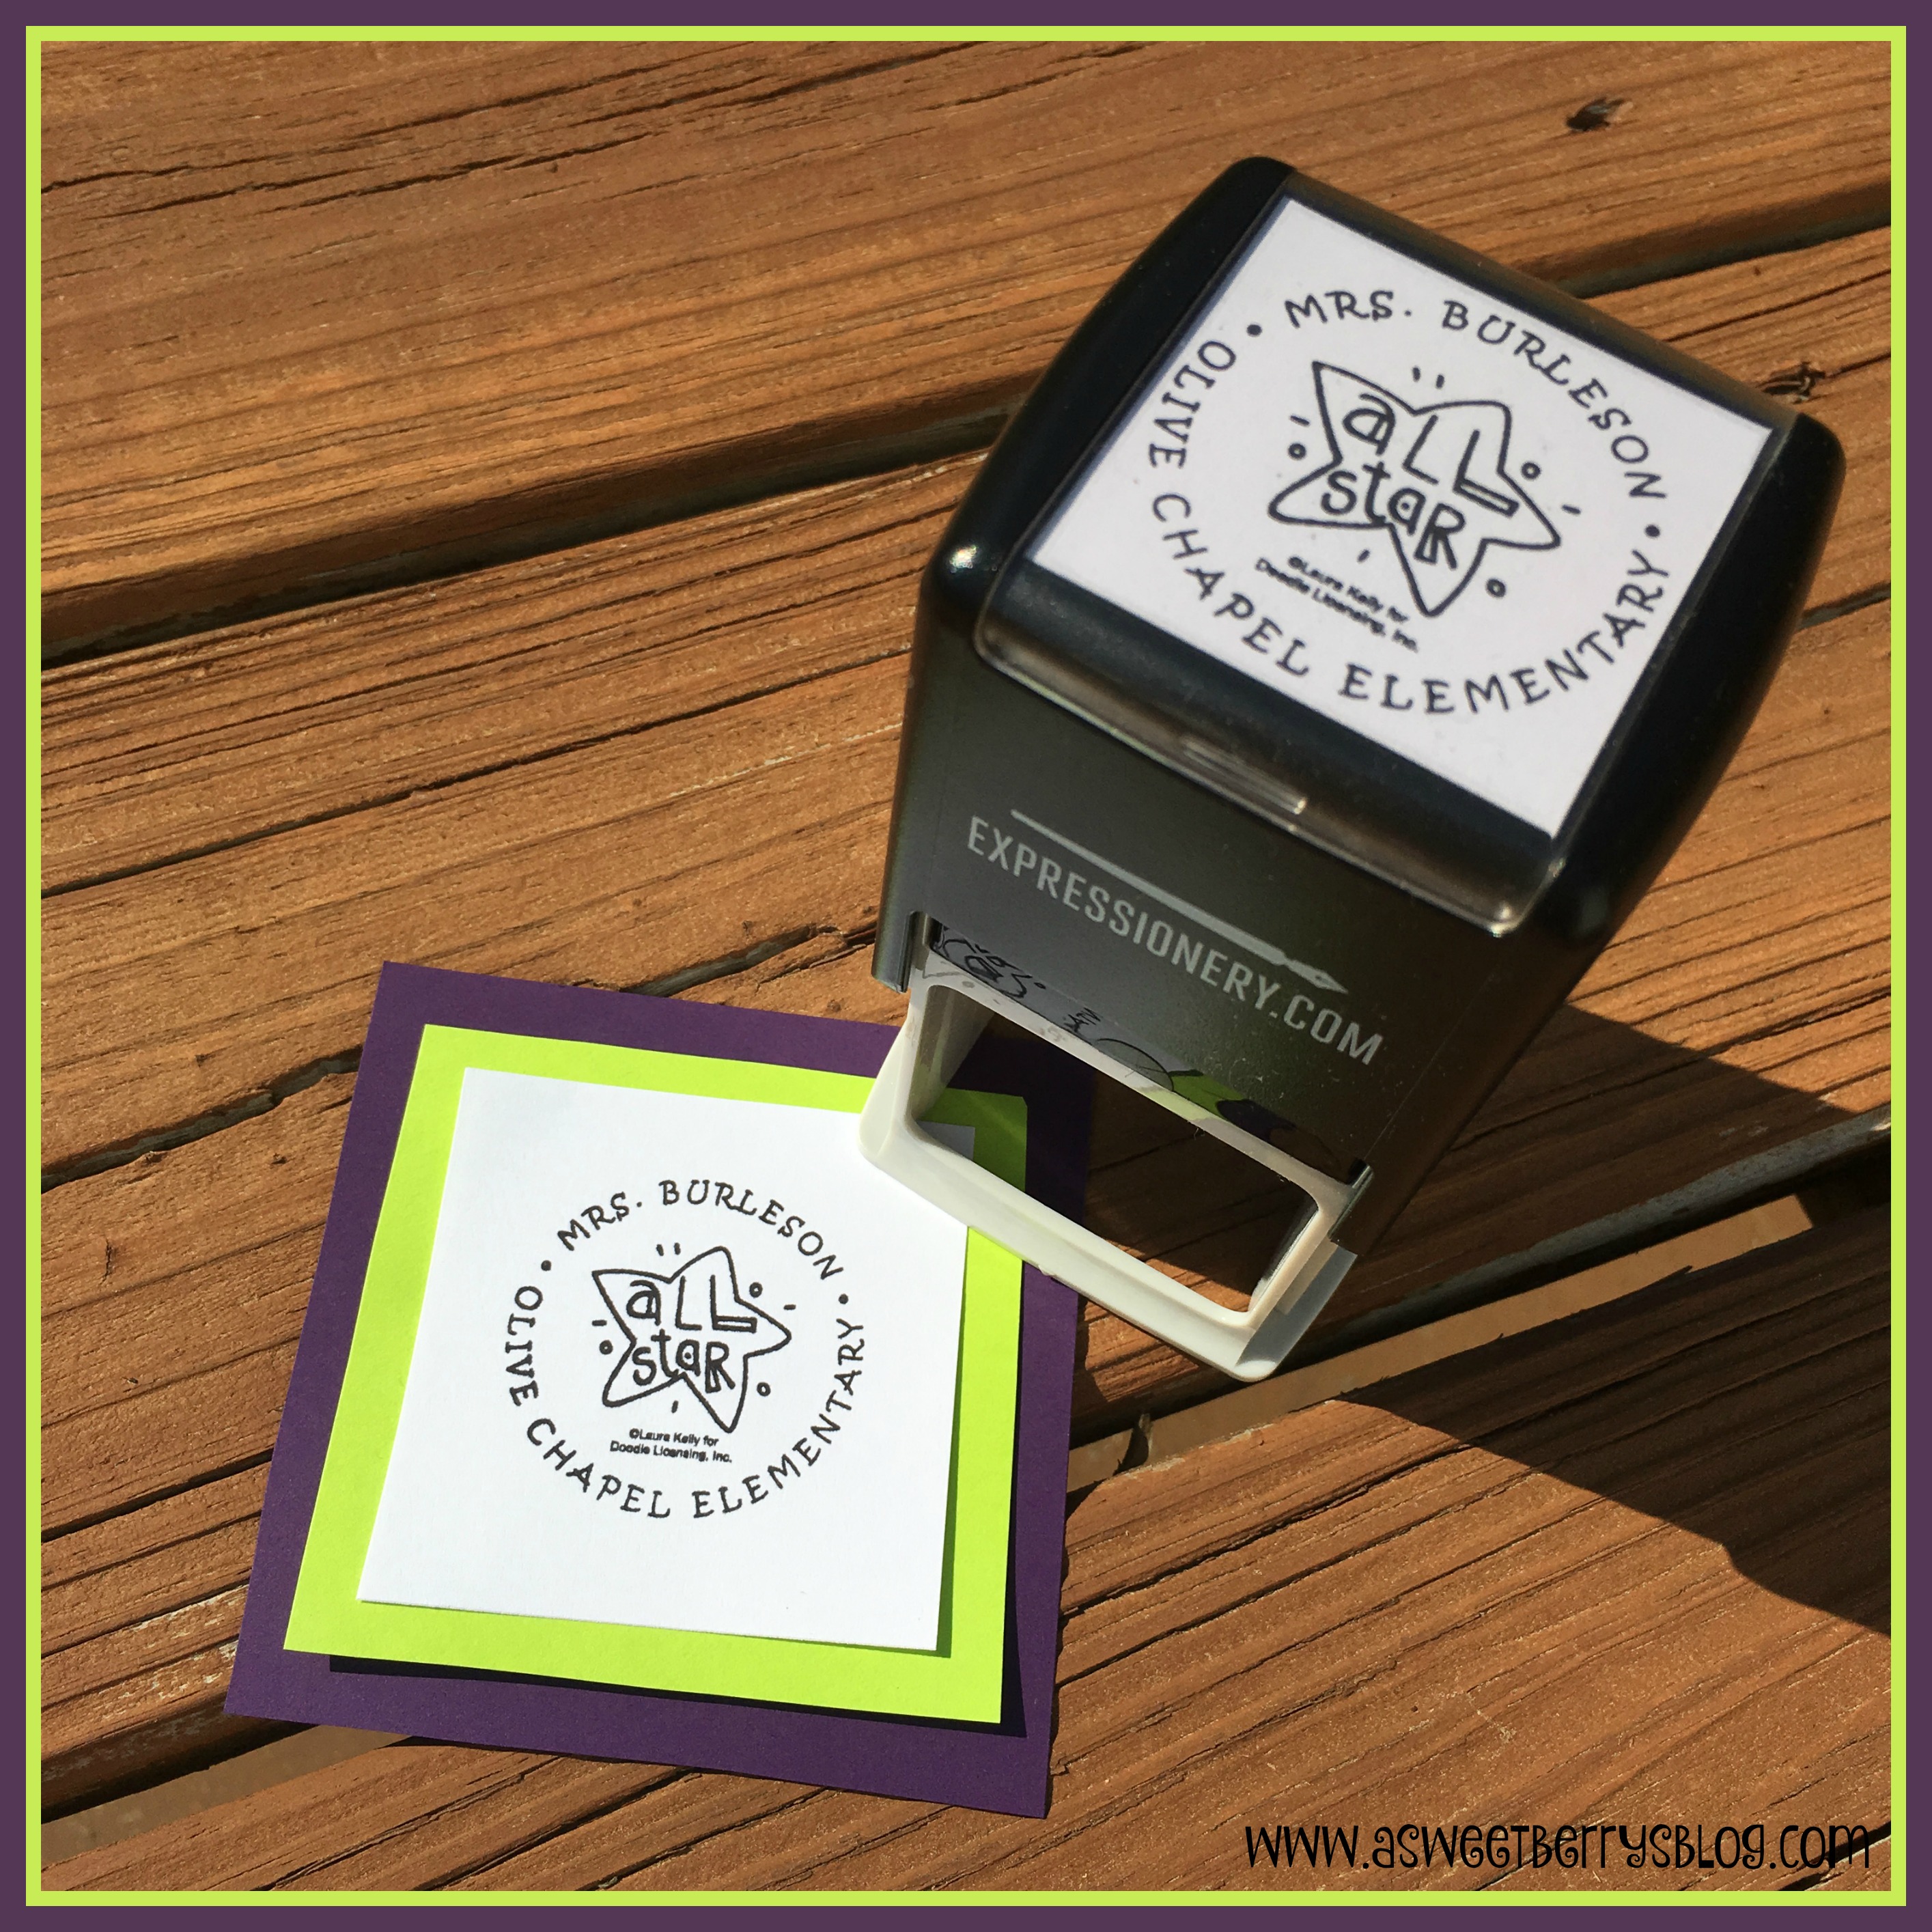
I am loving this All Star Self-inking stamp that I picked out for our favorite teacher.  It’s perfect for labeling things or even stamping classwork and homework!   She can make her own gift tags using it too.  And they last a long time too! grading papers
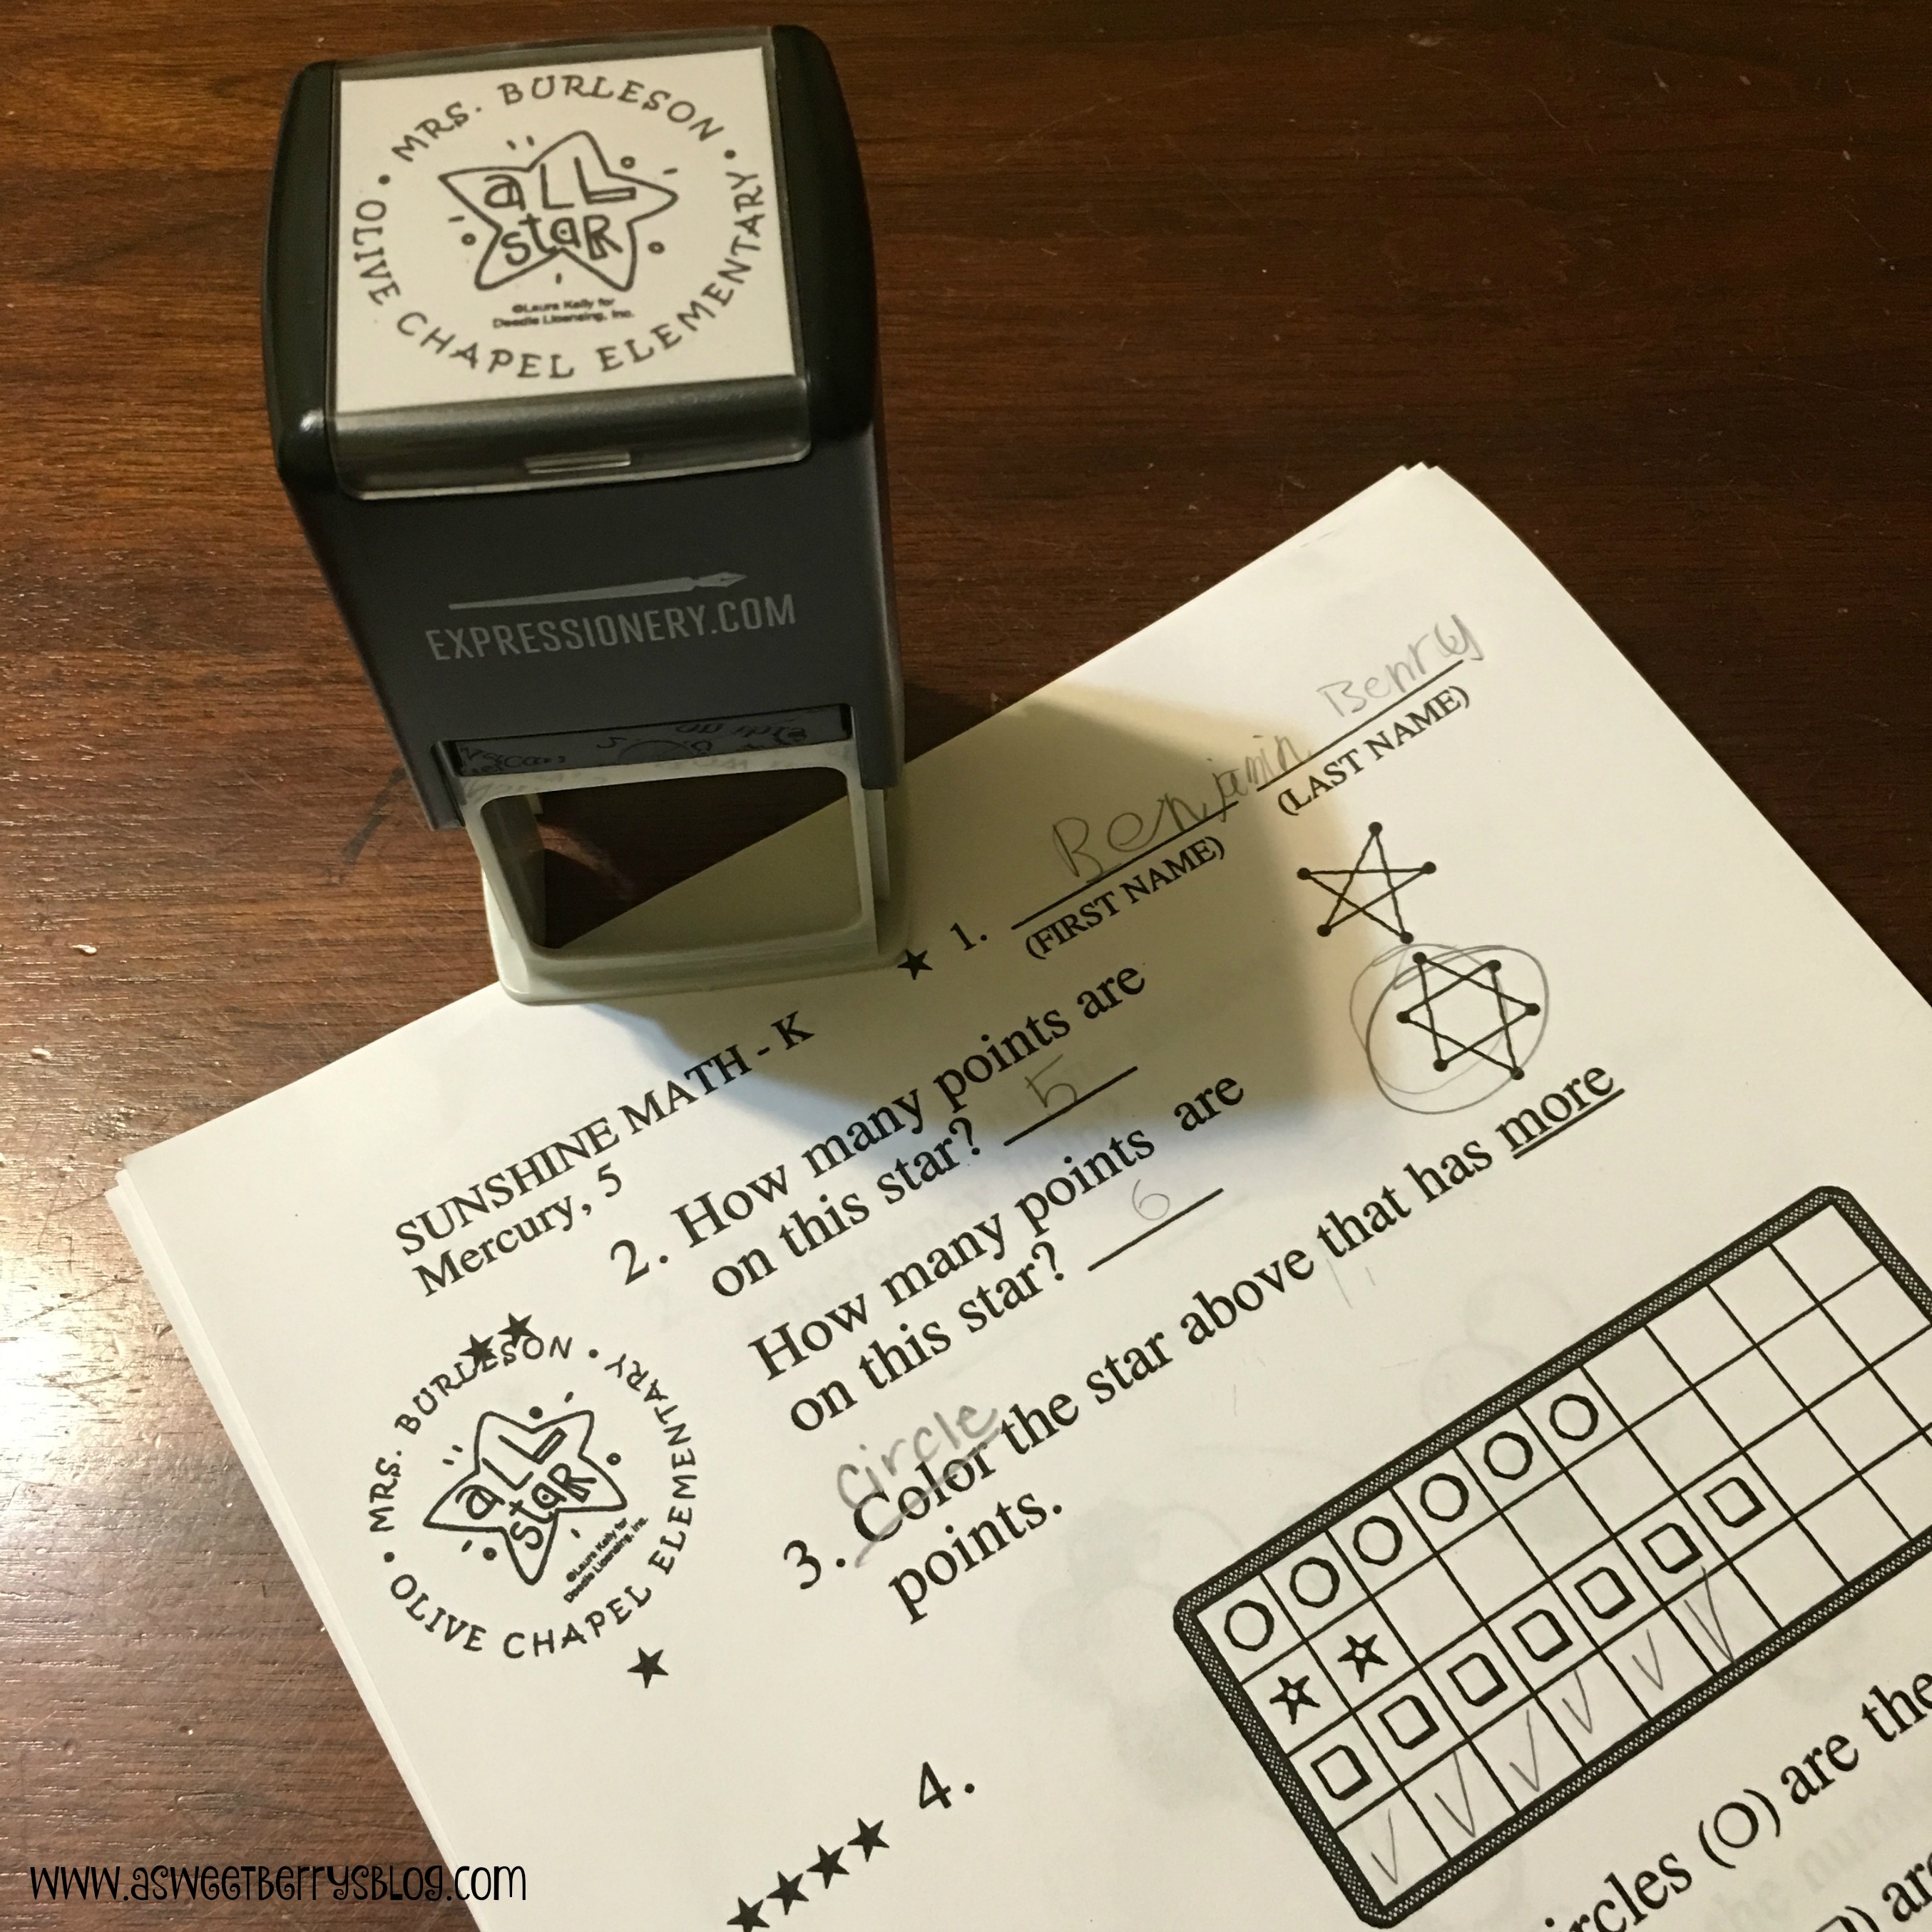
This particular stamp, along with several others in the collection, were designed by one of my best friends, Laura Kelly!   Her stamp designs are whimsical and fun!   Expressionery.com has notecards, notepads, address labels and other labels with her designs too.  Click HERE to shop from the Laura Kelly collection!
stamp up close
I hope you like my gift ideas!   Be sure to subscribe to Expressionery.com‘s mailing list so that you can stay up to date on great deals.  Shop HERE right now you can get 30% off of Stationery when you enter the code:  LKTEACH    *Stamps have already been discounted 30% and no code is needed.  Valid through 4/11/2016.  Receive 30% off personalized stationery with code: ‘LKTEACH’ at checkout. Offer excludes all announcements & notebooks. This offer may not be combined with any other offer or discount, and shipping fees and sales tax are separate. To prevent abuse, prices, specifications, and availability subject to change without notice from Expressionery.com.

Disclosure:  I received product from Expressionery as a member of the Laura Kelly Design Team.  Laura Kelly is a licensed designer for Expressionery.  All opinions are those of Katie Berry.
LKDT-Badge-2

Enter to win!
a Rafflecopter giveaway

Be sure to check out other Teacher Appreciation Gifts featuring Expressionery.com.


Until next time……

AdoramaPix

AdoramaPix helps people turn their digital photographs from abstract computer files into beautiful keepsakes designed to last a lifetime. Their contemporary metal prints capture memories in rich color and vibrant detail. Because your images are infused right into the metal, and not painted on the surface, their metal prints are extremely durable. Not only will your metal image be water and weather proof, but scratch resistant as well. You can even clean it with glass cleaner. Your memories deserve to live in true, archival luxury with AdoramaPix metal prints.


You can find all the fun gift ideas HERE: 
http://www.adoramapix.com/app/home/


My readers get to save! 25% off Hexagon #Metal Prints! Use promo code: PXHEXMTL25 expires 06/ 15 /2016

Easter Egg Place Mat

Easter is right around the corner, as in this upcoming weekend!  Everyone will be sitting down to have an Easter meal with the family!  Why not brighten up the table with an Easter Egg Place Mat!   This one is made with Kunin Felt!
placemat
Materials needed:
Bright colored Felt (Kunin is my brand of choice!  I used Eco-fi Plus for the mat and ClassicFelt for the eggs and grass)
Scissors
Sewing Machine
Thread
felt
First, I cut several pieces of felt that were about 6in x 2in.  Then, I cut little strips to use as the decorations on the eggs.  I made some zigzag, some curvy and some straight.
eggs
Once I had them all laid out, I sewed the strips onto the 6in x 2 in pieces using my sewing machine.   Then, I cut out the egg shapes.  Once they were cut, I placed them on my Eco-fi Plus piece of Felt and then sewed them down.
grass and finish
With my green felt, I cut strips to use as grass.  I snipped the sides different lengths and then rounded the edges.  Using the sewing machine, I sewed down the grass.  I sewed a rectangle along the bottom of the grass, so that the fringe would move.  Once my eggs and grass were all sewn on, I did a decorative stitch around the outside of the mat.
parts of finish
This was a really simple project.  Perfect for beginners!   The kids will love it!
I have attached an Easter Word Search!  If you’d like to do it, Click HERE and print!
Screen Shot 2016-03-21 at 7.14.06 PM
Click the photo below to get lots of project ideas!
National Craft Month Series with 100Directions.com
Until next time…….

Initial Cork Boards

Sometimes cork boards can look boring and blah.  I decided to brighten them up!  These Initial Cork Boards were super easy and turned out super cool!

Complete
Materials:
4 Cork Tiles
Letter Stencils
Exact-o Knife
Pins to hold the letters in place
Spray Paint
Command Strips
cutting
Using my Sizzix Eclips2, I cut out the letters “K” and “B”.  Using pins, I placed my letters on the cork boards.  Then, I used an Exact-o Knife to cut the letters out.
painting
I chose two different colors of Krylon and spray painted the boards.  Krylon is by far my favorite brand of spray paint and these two colors are from the 2015 color palette!  
hot glue
Once my boards were dry, I used my hot glue gun to glue the letter boards to the solid ones.  Then I attached a Command Strip to the back and hung them on the wall.
command strip
These cork boards added a nice pop of color to my workspace!  Hope you like!

Until next time……

Udderly Awesome Teacher Gift

Udderly Smooth Cream is Udderly Awesome!  It’s so awesome that it gets used in my house every day!  So, why not give it as a Teacher Appreciation gift?!  Teachers are constantly washing their hands.   I know from experience, too much hand washing leads to extremely dry and cracked hands.  Udderly Smooth helps so much!  I guarantee that teachers would appreciate this as much as we appreciate them!
for the blog
A super cute way to give Udderly Smooth as a Teacher Appreciation gift is to place it in a cellophane bag with some crinkle paper in the bottom and tie it with a bow.   You can add a cute little card like the one I made to give with my gift!
Udderly Awesome Teacher Gift
To make the card, you will need:
a blank white note card
a cute saying printed out 
black card stock for the cow spots
scissors
foam adhesive dots
adhesive runner
card
Cut some cow spots out of black card stock.  Use a adhesive runner to adhere the spots to the card.  Print a cute little saying with a border and cut it out.  Use raised foam adhesive dots to give it a little lift.  Add it to the middle of the card!   Voila!  
Udderly Smooth can be purchased at CVS, Amazon.com, Walmart, Ace Hardware and many other locations!  Click HERE to see a list of stores!

As seen on MSNBC!  Check out the video! 

Check out all of these other great ways to give Udderly Smooth as a Teacher Appreciation gift!


Be sure to enter at a chance to win!!!

a Rafflecopter giveaway

Until next time…..

Busy Kid Project – Painted Door Signs

Need a quick DIY project to keep kids busy?  Well, these Painted Door Signs are perfect for a quick DIY project for kids.   They will love having their own personalized signs on their bedroom doors!  
final
Materials Used:
Pieces of wood
Acrylic Paint
Paint Brushes
Sticky Letters or other sticky designs
Screw eyes (two for each sign)
Yarn or other string
paint step 1
First, the wood pieces were painted with a base color.  Think about what color you want your letters to be!   That is the color that you want for the base.
Sizzix
Using my Sizzix Big Shot and Laura Kelly’s Lemonade Capital Alphabet Sizzix Dies, I cut out each letter of my children’s names.
paint step 2
Once the base color was dry, I let them place the letters where they wanted after removing the backing.   Making sure the letters were pressed down nicely, it was time to paint over the letters!  When the paint was dry or at least close to being dry, I removed the letters with a pair of tweezers.
screw hanger
We let the signs dry completely.  Then I screwed in the screw eyes and attached a piece of yarn to them.   The boys were so excited to have their very own DIY Door Signs with their names on it!!!
doors
This project took about 15 minutes excluding the drying process!  It was super easy and fun and it kept the kids busy!

Be sure to check out other 15 minute Busy Kid Activities by clicking the Craft Lightning Button below!

Until next time……..

Green Peppermint Shake

With St. Patrick’s Day around the corner, the McDonald’s Shamrock Shake is the craze right now!!!  I decided to try to make my own, using Peppermint Essential Oil and let me tell you……it was FANTASTIC!!!!!   And I love these cute thick paper straws from Baker’s Party Shop!
peppermint shake
It was super easy to make and so festive!   Here are all of my ingredients!!! ingredients
You can make the shake as light or dark green as you would like.   Beware, you may have a green mouth if you go too dark!!!   With the essential oil, I only added 2 drops.   I didn’t want it to  be overwhelming!   You can always add more, depending on how minty you want it!
putting it together
Here is the recipe!

Green Peppermint Shake

Green Peppermint Shake

Ingredients

  • 1 cup of milk
  • 3 scoops of ice cream
  • Green food coloring (you choose the color of green you want)
  • 1-2 drops of Peppermint Essential Oils
  • Whipped Cream
  • Sprinkles

Instructions

  1. Put milk, ice cream, food coloring and Peppermint Essential Oil into the blender. Mix and then pour into a cute jar or bottle. Top with the whipped cream and sprinkles. Add a cute straw and then Enjoy!!!
Schema/Recipe SEO Data Markup by Yummly Rich Recipes
http://www.asweetberrysblog.com/2016/03/03/green-peppermint-shake/

If you’d like a St. Patrick’s Day Word Search, click HERE!!!!
St. Patrick's Day Puzzle
Happy March and until next time…….