First of all, I’d like to wish everyone a Happy New Year!!!! 2018 seems like it flew by but I am totally ready for 2019!
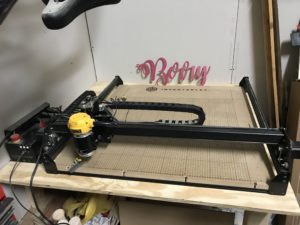
Last year I decided to make a big purchase to hopefully help A Sweet Berry Designs grow. The Inventables X-Carve has brought me lots of joy in the last couple of months!
The Inventables X-Carve is a CNC Router machine that you program via the computer. Why did I buy a CNC router you may ask! Some of you may know this, but my dad was a master carpenter at the University of South Carolina for many many years! In his spare time at home he would build furniture and other wood items. He would build shelves, entertainment centers, desk and even lake docks! He has installed shelves in my garage as well as some neighbors garages. We have several of his shelves in the house! He even built my desk that is in my “office” space. He has slowly started passing down some of his power tools to me and I have been using them like crazy the last couple of years! Some of the items I have made, such as my North Carolina cut out ornaments are repetitive cuts and the X-Carve helps with that and save my back in the process!
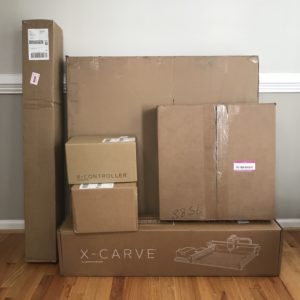
So, after lots and lots of research and youtube watching, I ordered one!!!! Over the next couple of weeks, boxes started coming but I made myself wait to open any of them until everything arrived. Inventables has different size X-Carves. I decided to get the big one. I had a feeling that if I got the smaller one, I’d want the bigger one! But they all came just before we were going on a big trip to Chicago so I had to wait a little while to get it together.
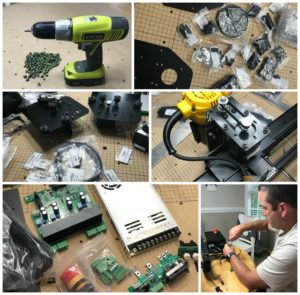
And guess what? Everything had to be put together, from the railings to the circuit boards. It was crazy! It was definitely a family effort! Lots of little bags of screws, nuts and washers. Stepper motors, homing switches and wheels. My mom even had a part in it!
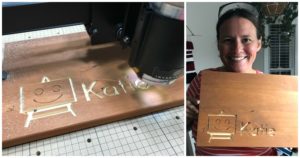
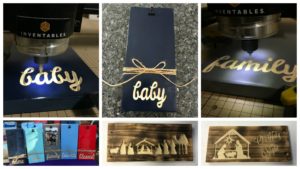
So, after about 7 or 8 hours or so, it was complete and ready for it’s first run. I was nervous as heck but it was worth the nail biting to make sure it was going to work! Oh yeah, I also bought a new ShopVac! The online software for the X-Carve had a test carve that was super cute (see pic below).
The boys thought the amount of saw dust was amazing and loved being able to vacuum it up! They’ve been awesome helpers when I am carving! Give them the vacuum and they are set!
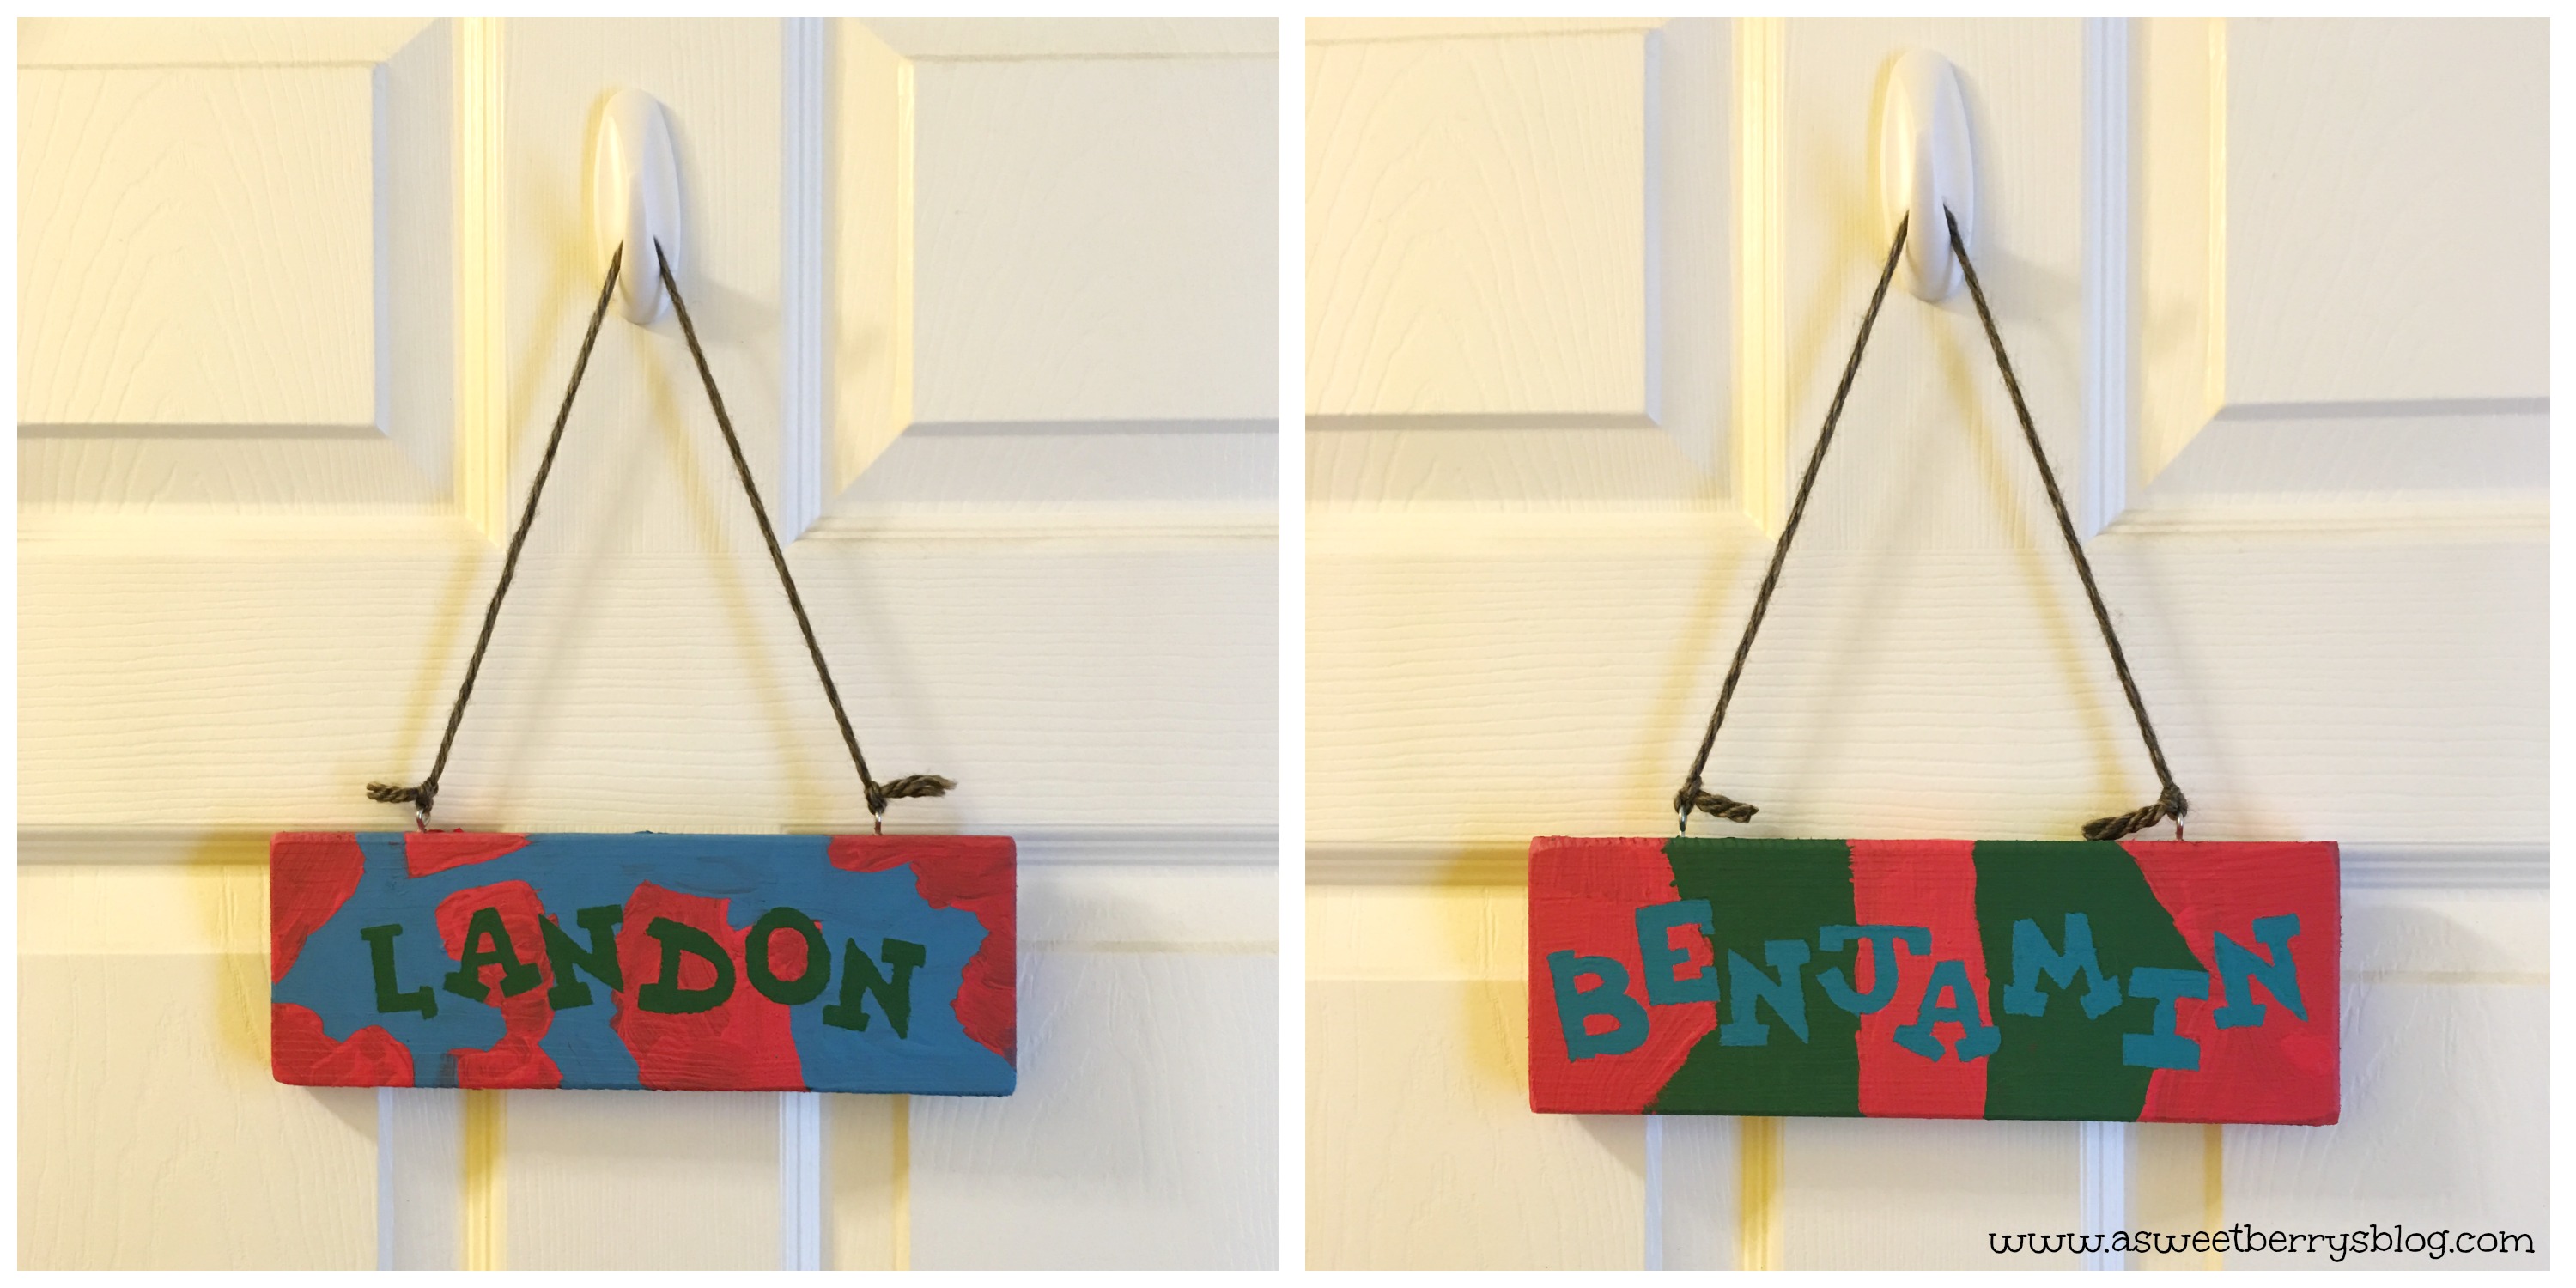
Here are a few projects that I have done and a lot of them that have sold!!! I have lots of plans for the new year!
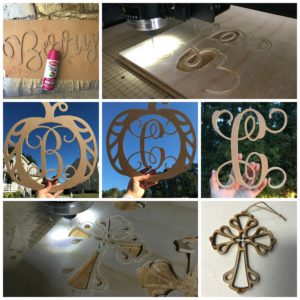
Letters, words and detailed cross ornament cut outs!
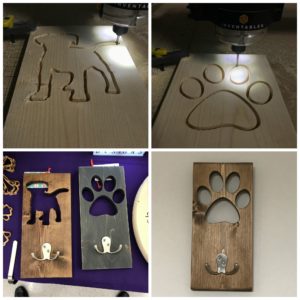
Puppy and Dog Paw cut out Leash Holders!
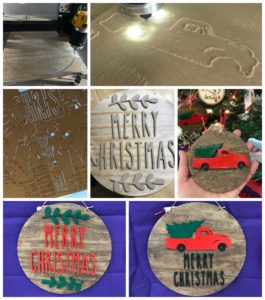
Christmas cut outs on a wood round!
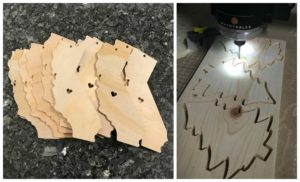
State and tree cut outs! I’ve cut out NC, VA, CO, CA and FL.
Engraved items: Photo boards and Nativity boards
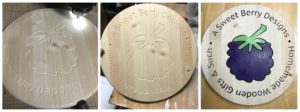
I put my logo on a store bought wood round!
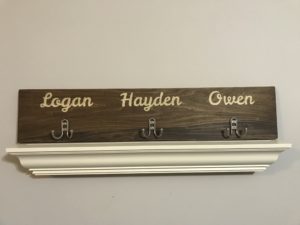
And today, on day 1 of a new year, I created……
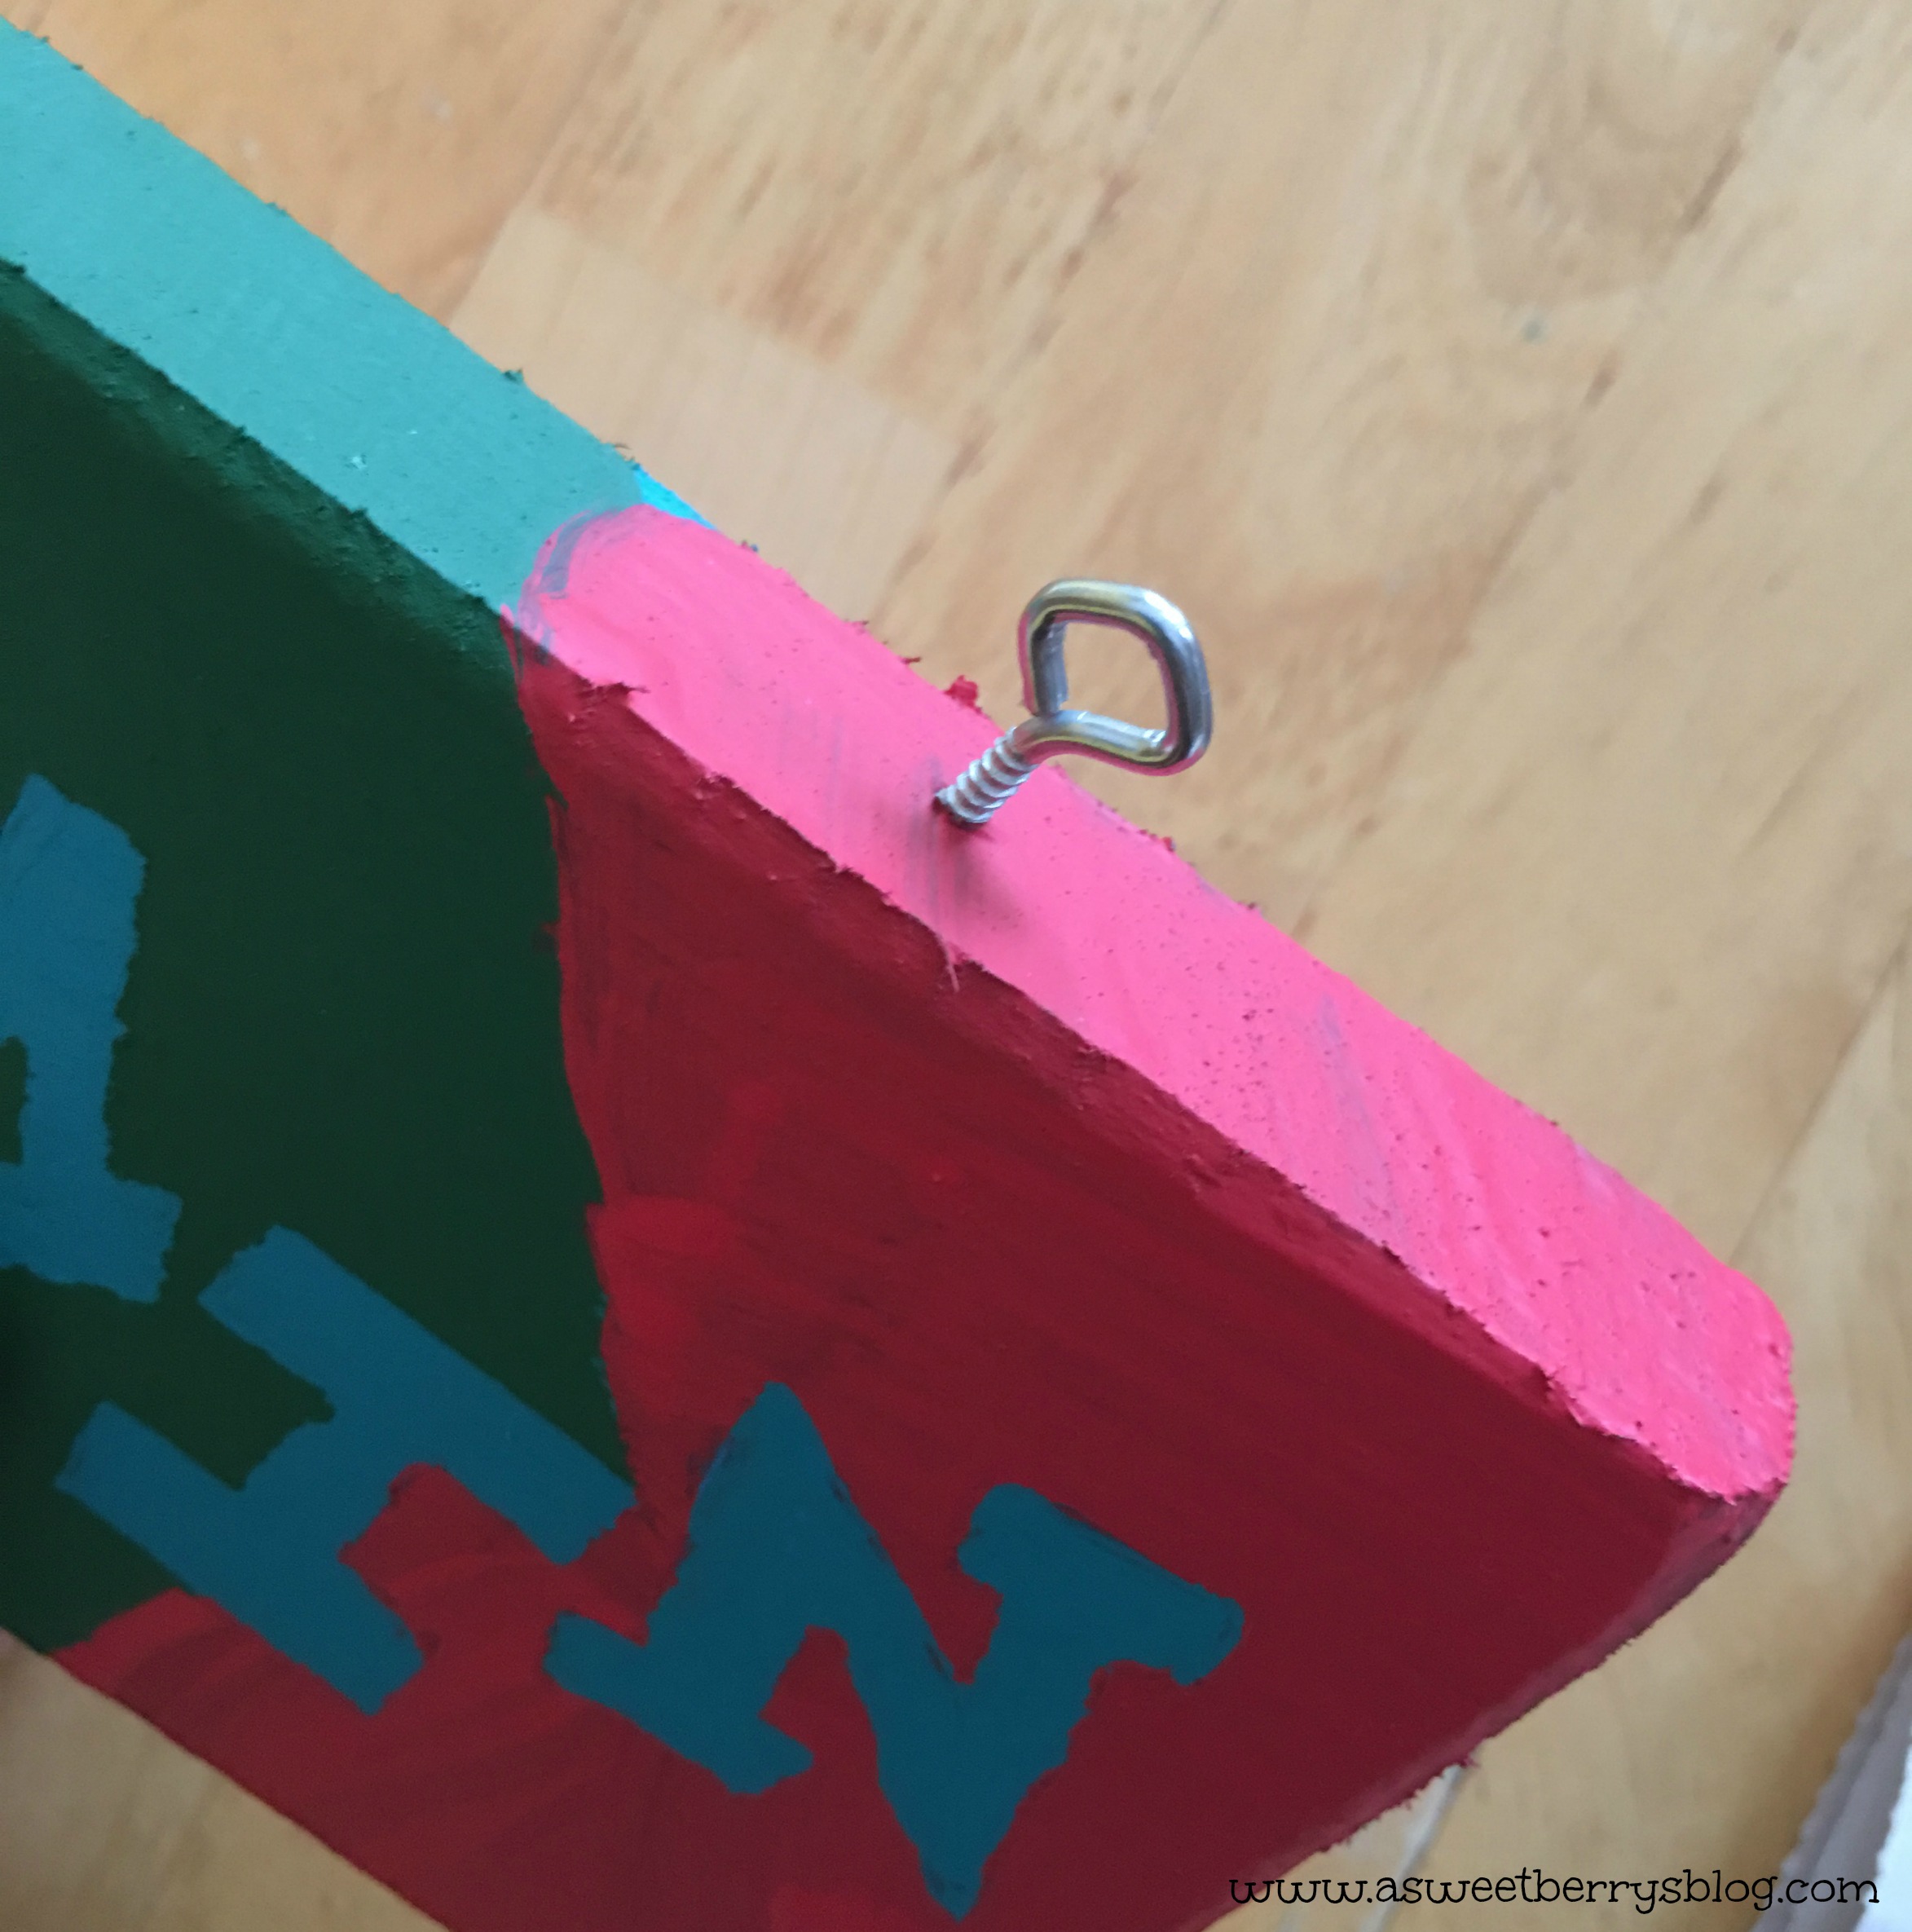
This Personalized Backpack Holder for a friend! She is going to hang it right by her front door so that her kids can hang their backpacks up as soon as they walk in the door! I sat and watched the names being engraved the entire time. It’s very mesmerizing and therapeutic!
2018 was fun, but 2019 is going to be an awesome year! I definitely hope to blog a little more in the new year! I’m also working to add items to my Etsy shop!!
So, if there is anything that you think you might want carved or engraved and made, let me know and I can tell you what the possibilities are!!!
Well, until next time……

