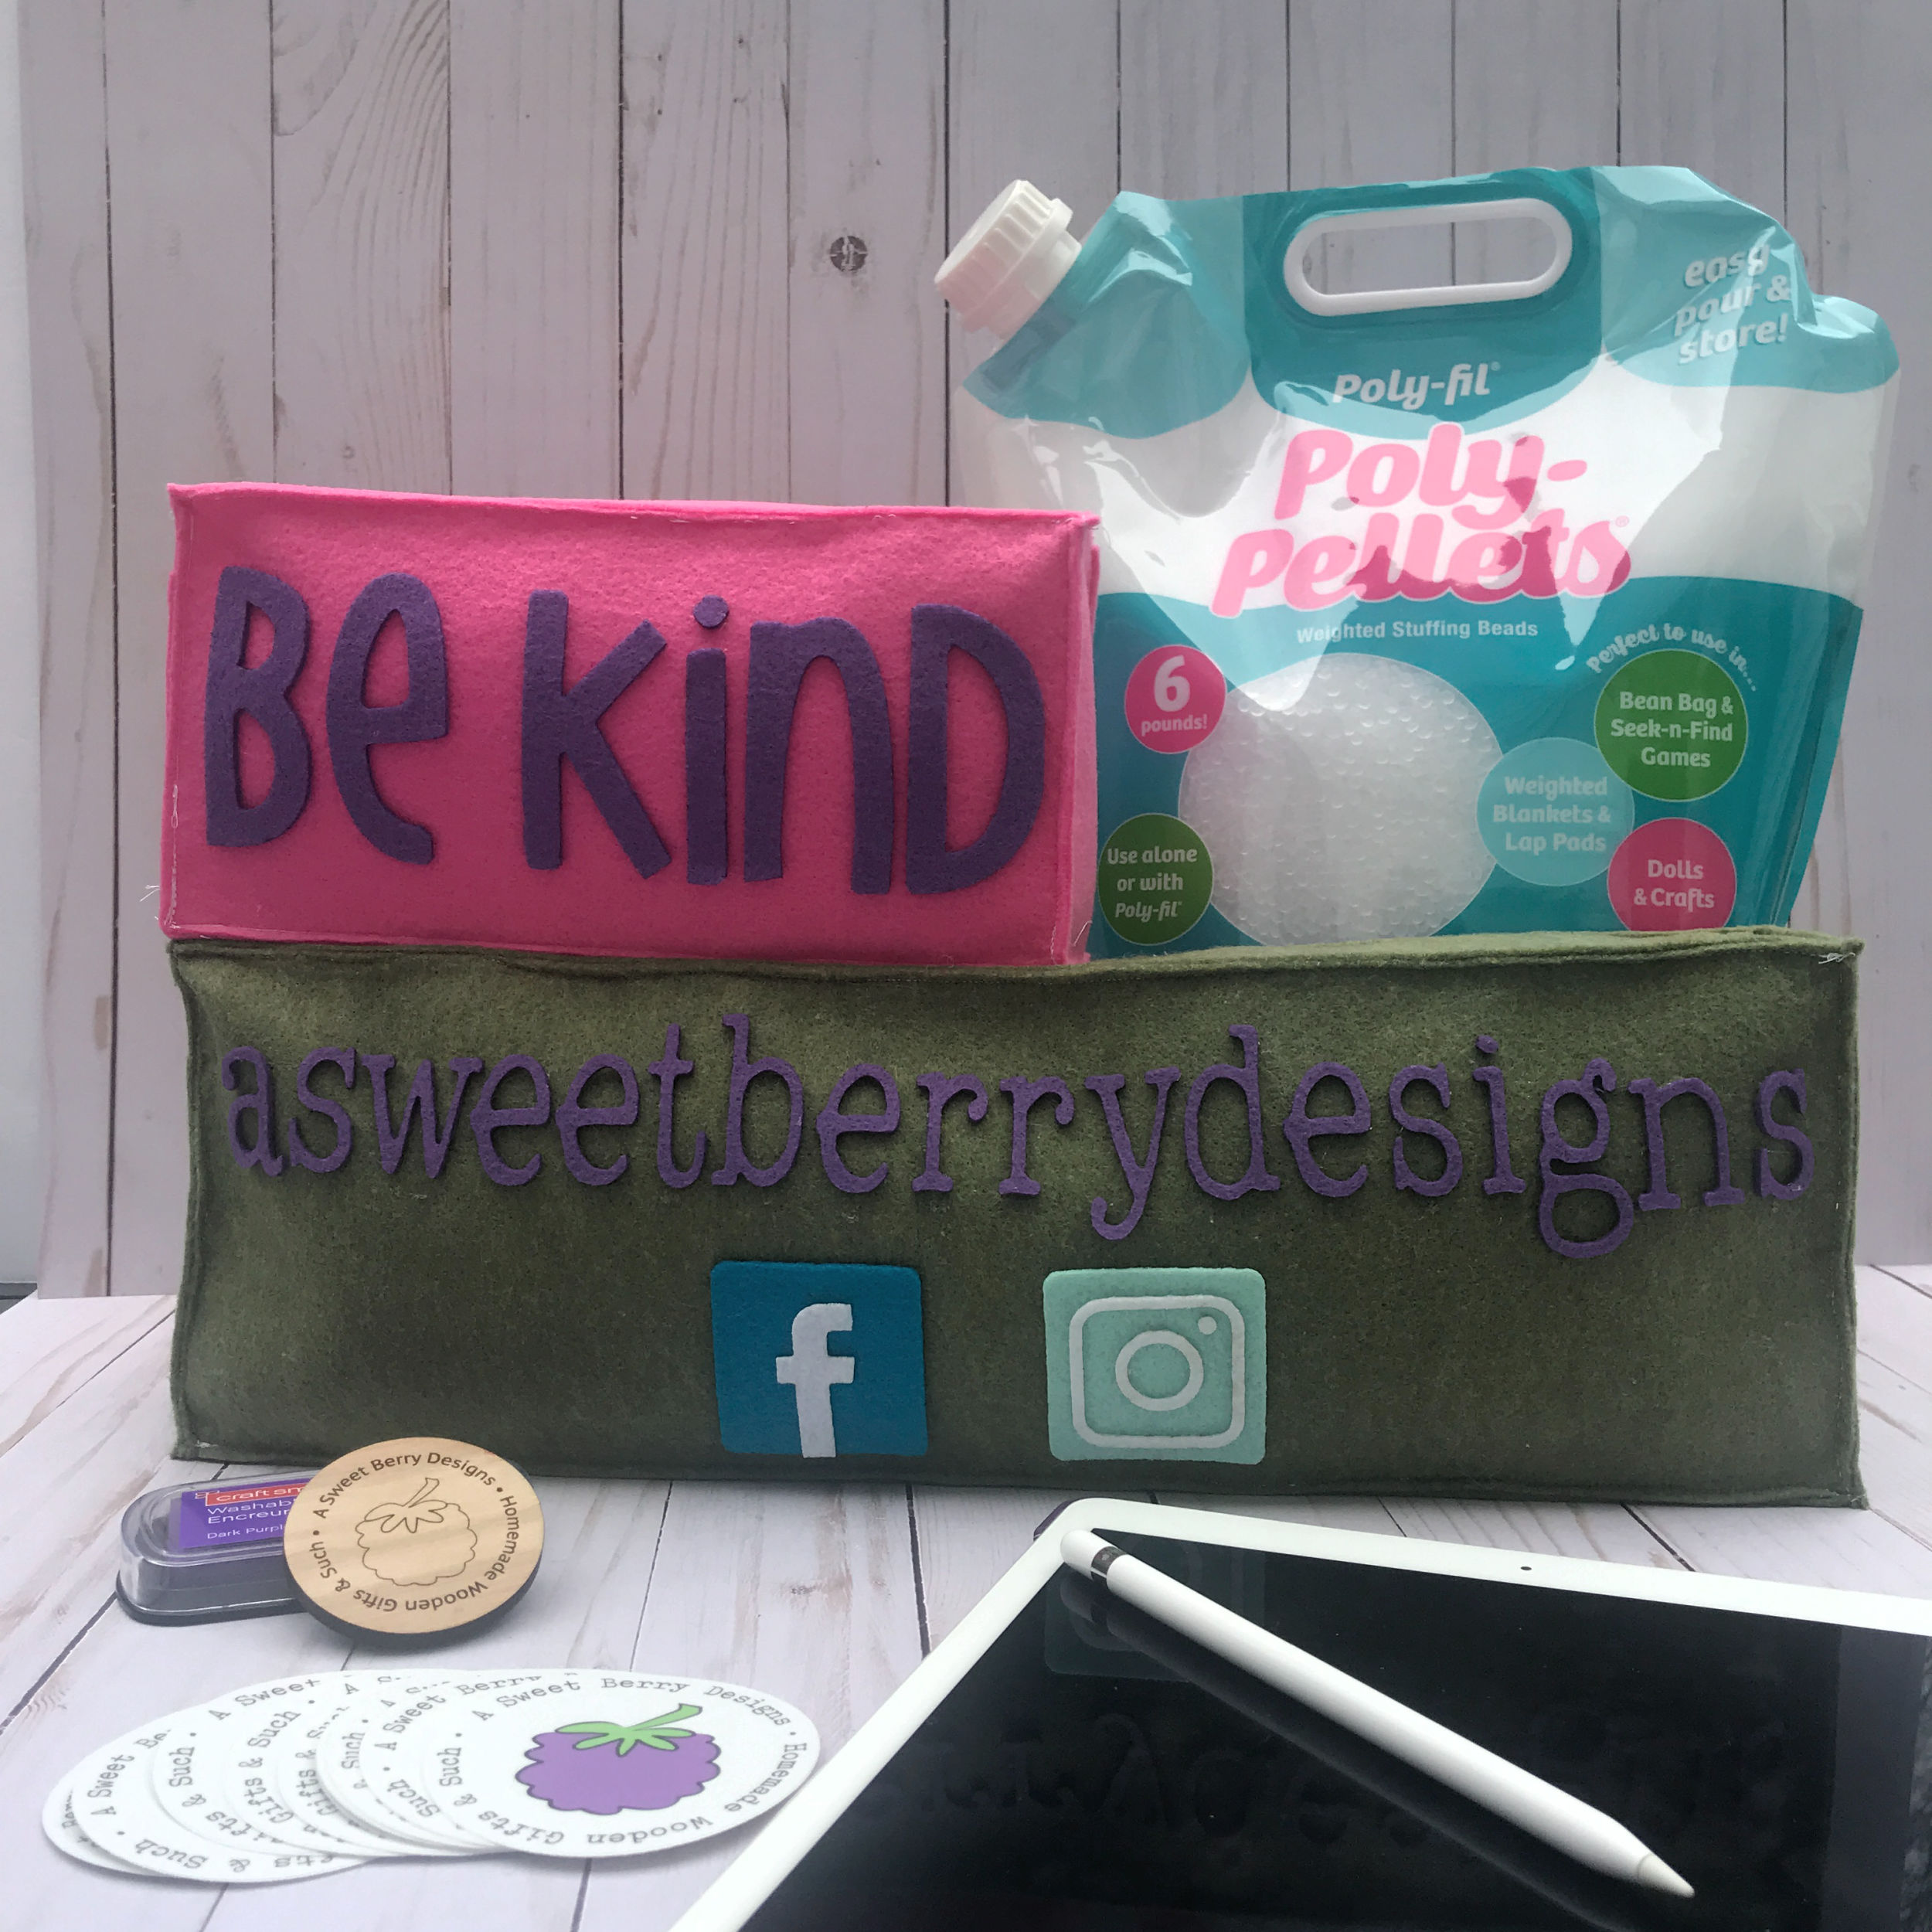
I’ve been really into making desk or shelf sitters lately, especially if it’s words of wisdom or kindness or a word of the year and these weighted desk sitters are perfect!. I created these two desk sitters, one for business and one for fun using Fairfield World’s Poly-fil® Poly-Pellets®! I can even use the one for business at vendor events by sitting it on my table; that way everyone will know how to find me on social media! They can even be placed on a shelf!

Materials used:
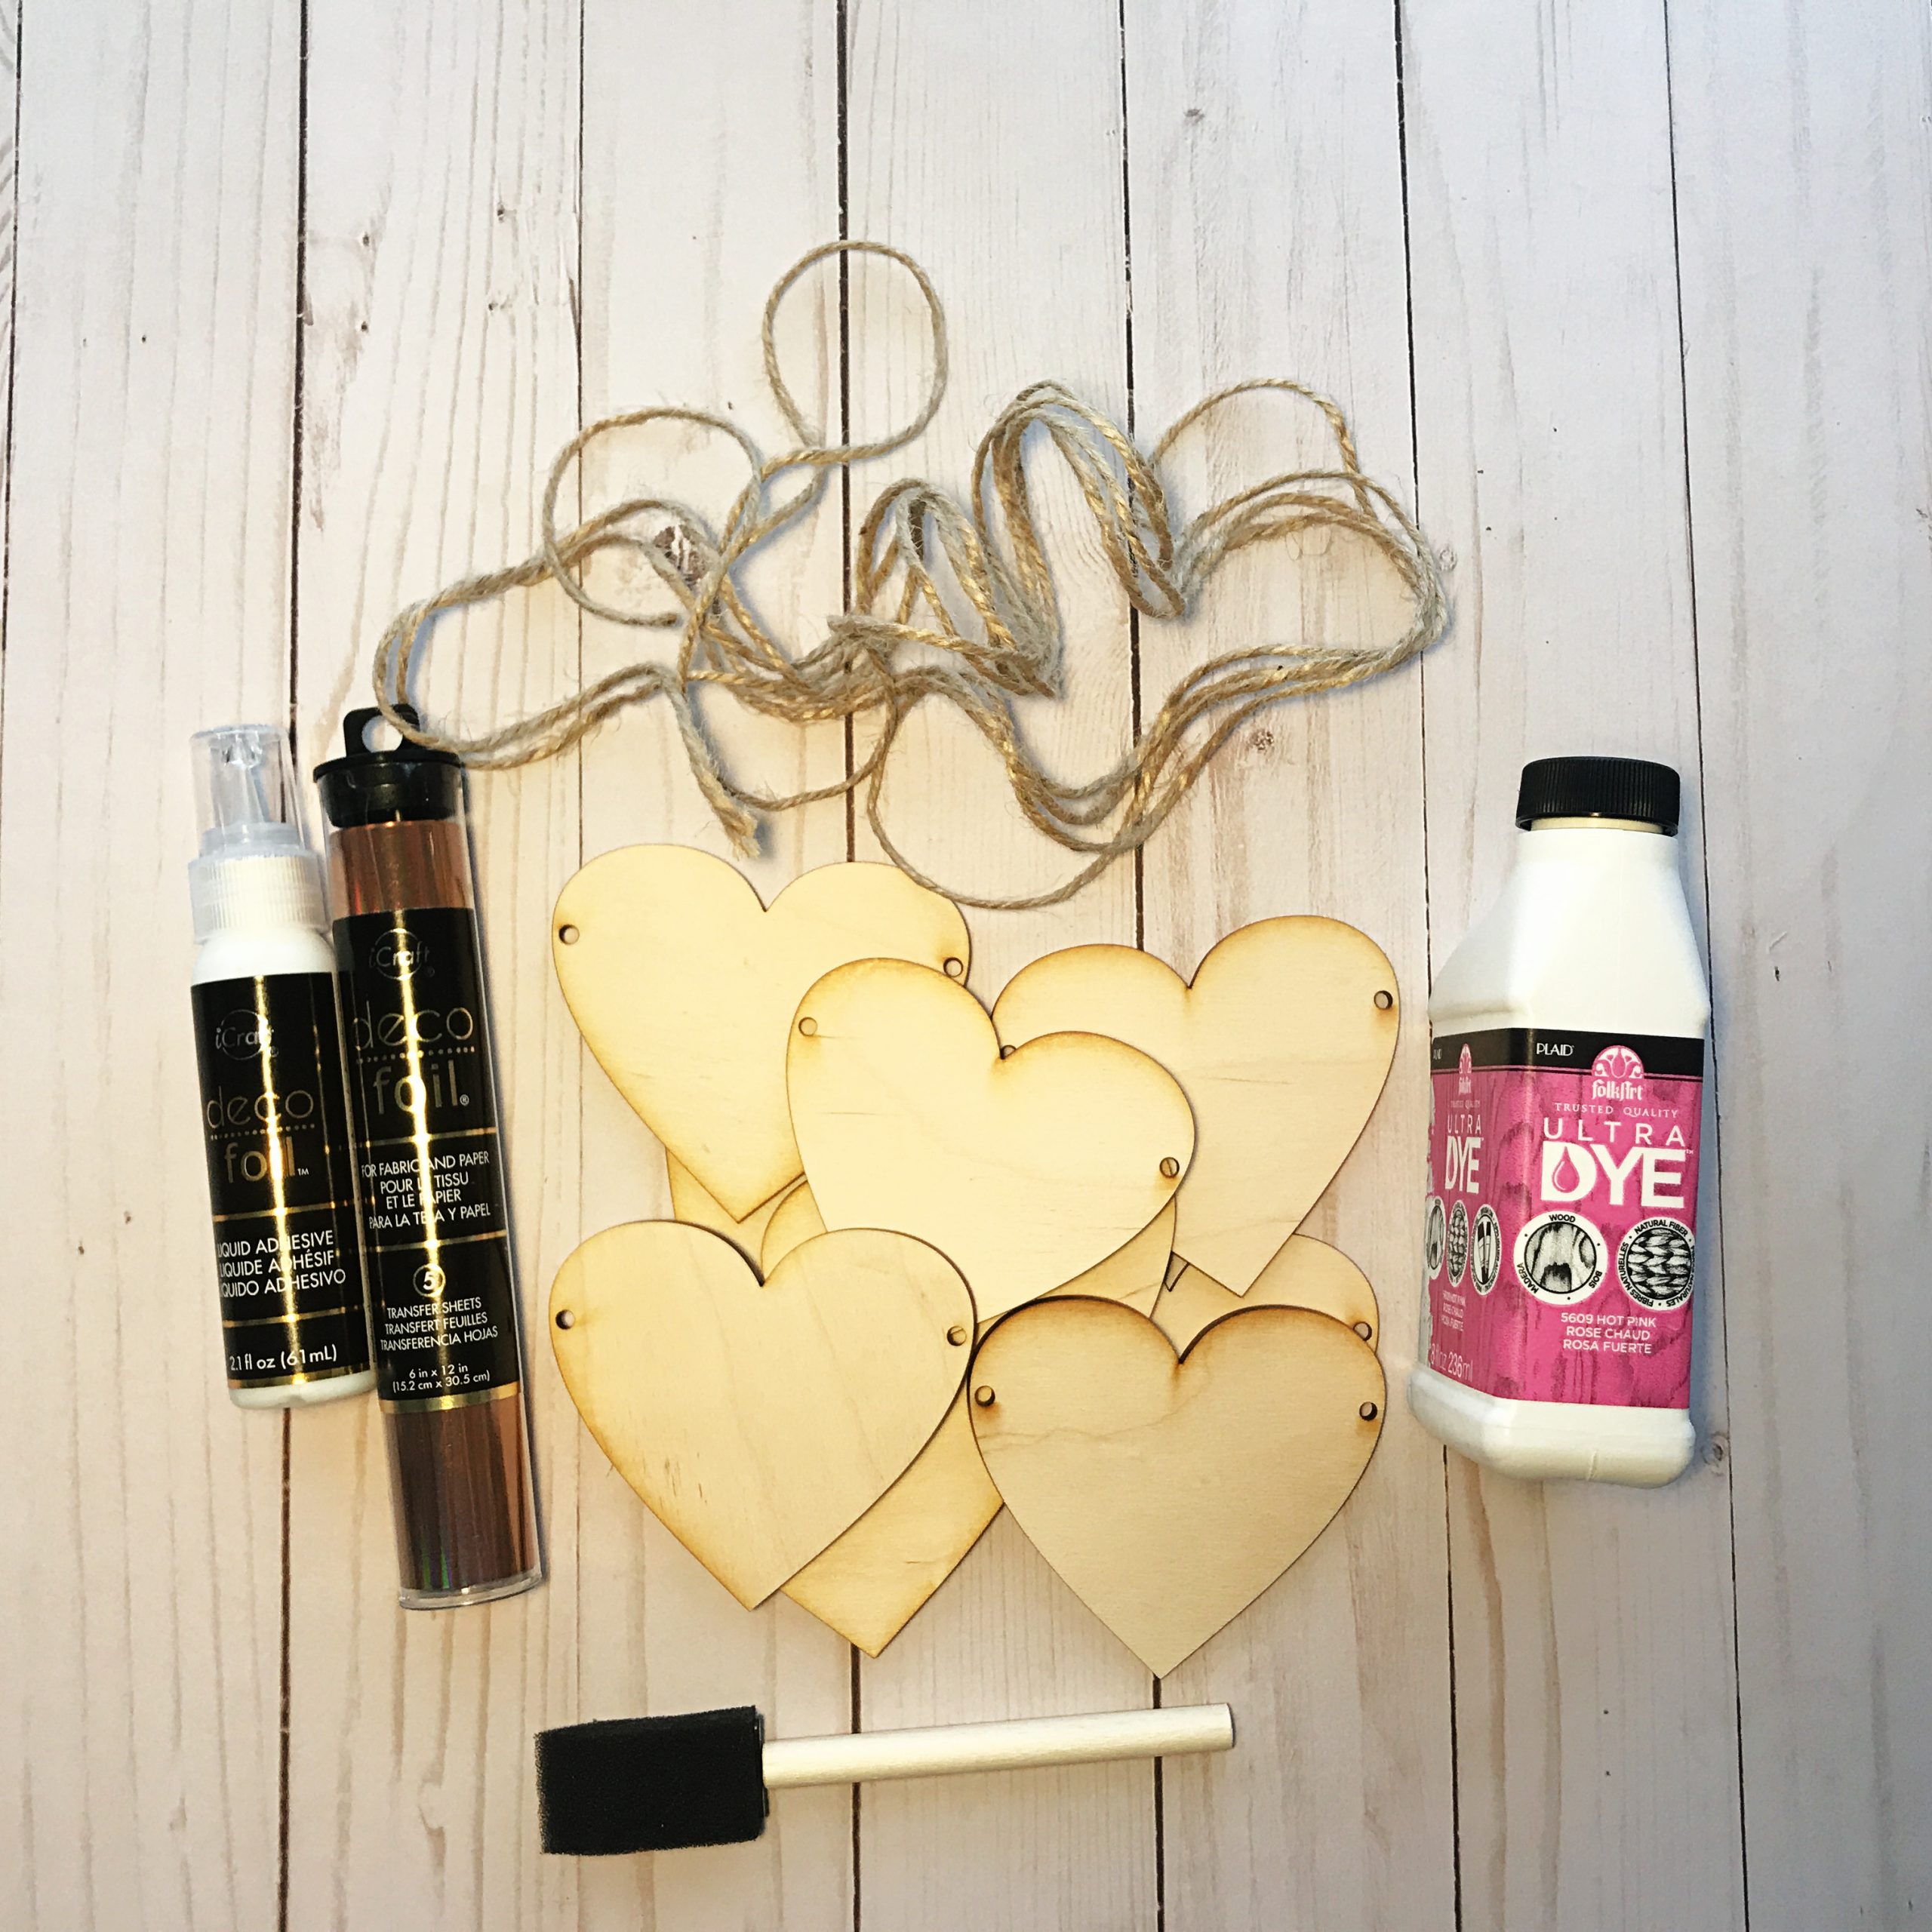
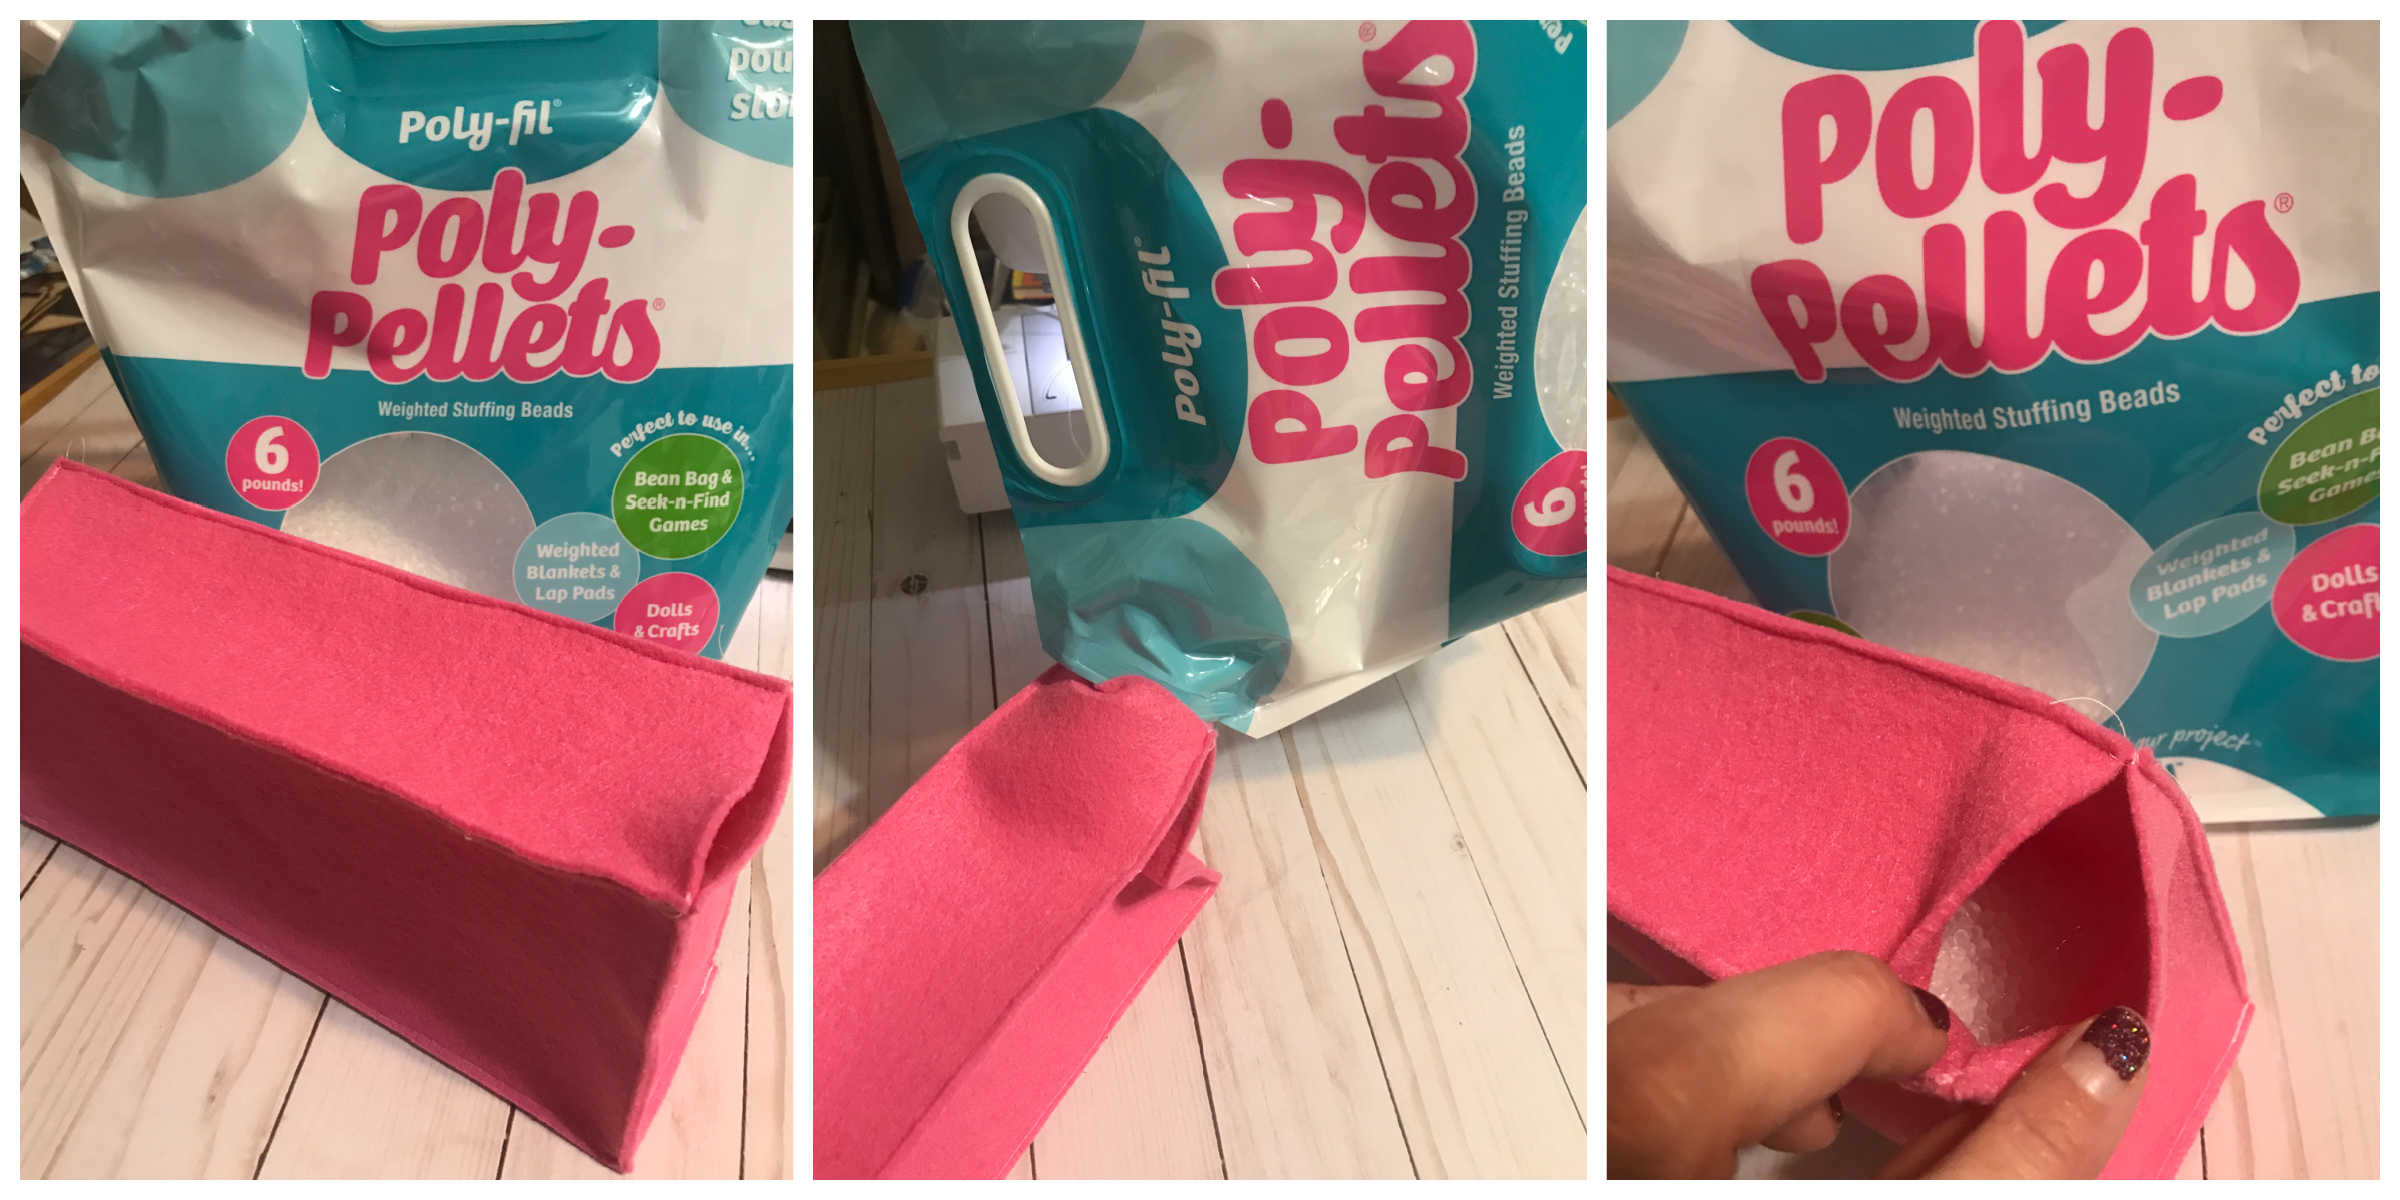
- Fairfield World Poly-fil® Poly-Pellets®
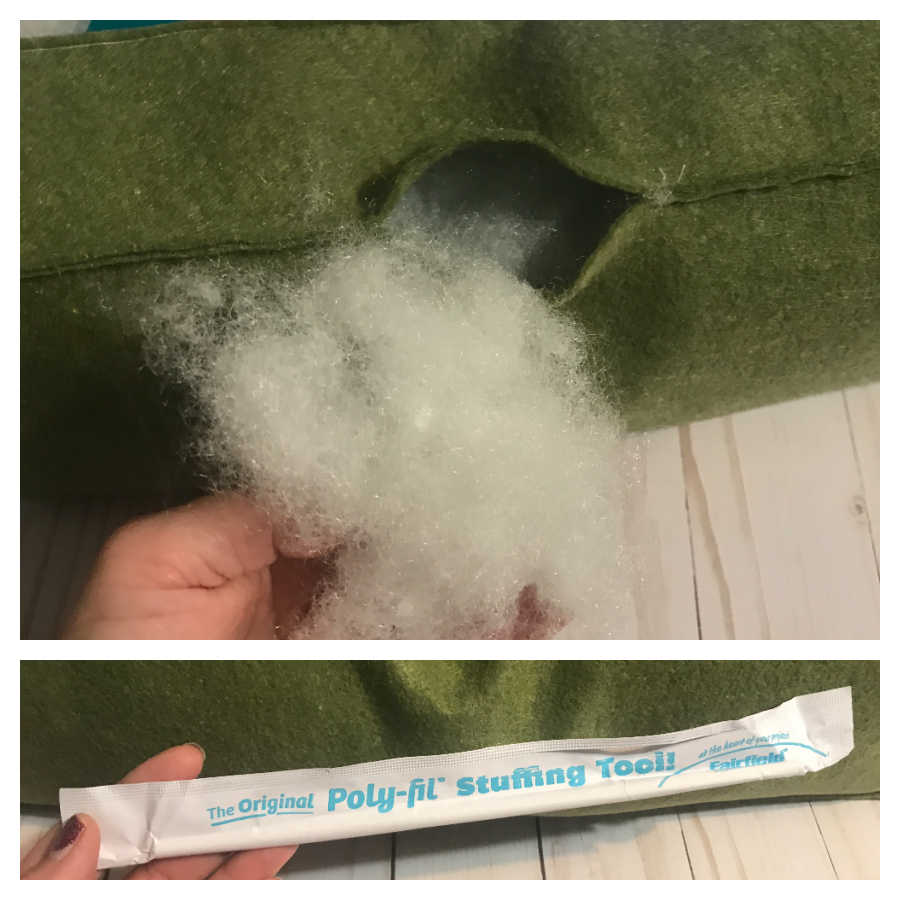
- Fairfield World Poly-fil® Fiber Fill
- Cutting mat, ruler and rotary cutting tool
- Kunin Felt Premium felt 12″x18″ craft cut: Olive, Candy Pink, Orchid
- Kunin Felt Classic felt 9″x12″ craft cut: White, Minty, Brilliant Blue
- Scissors
- Fabric Glue
- Sewing Machine and thread
- Pins
How I made it:
Step 1: Cut the pieces needed to create the boxes. Two for the front and back, two for the sides and two for the top and bottom. You can make the box any size that you’d like.
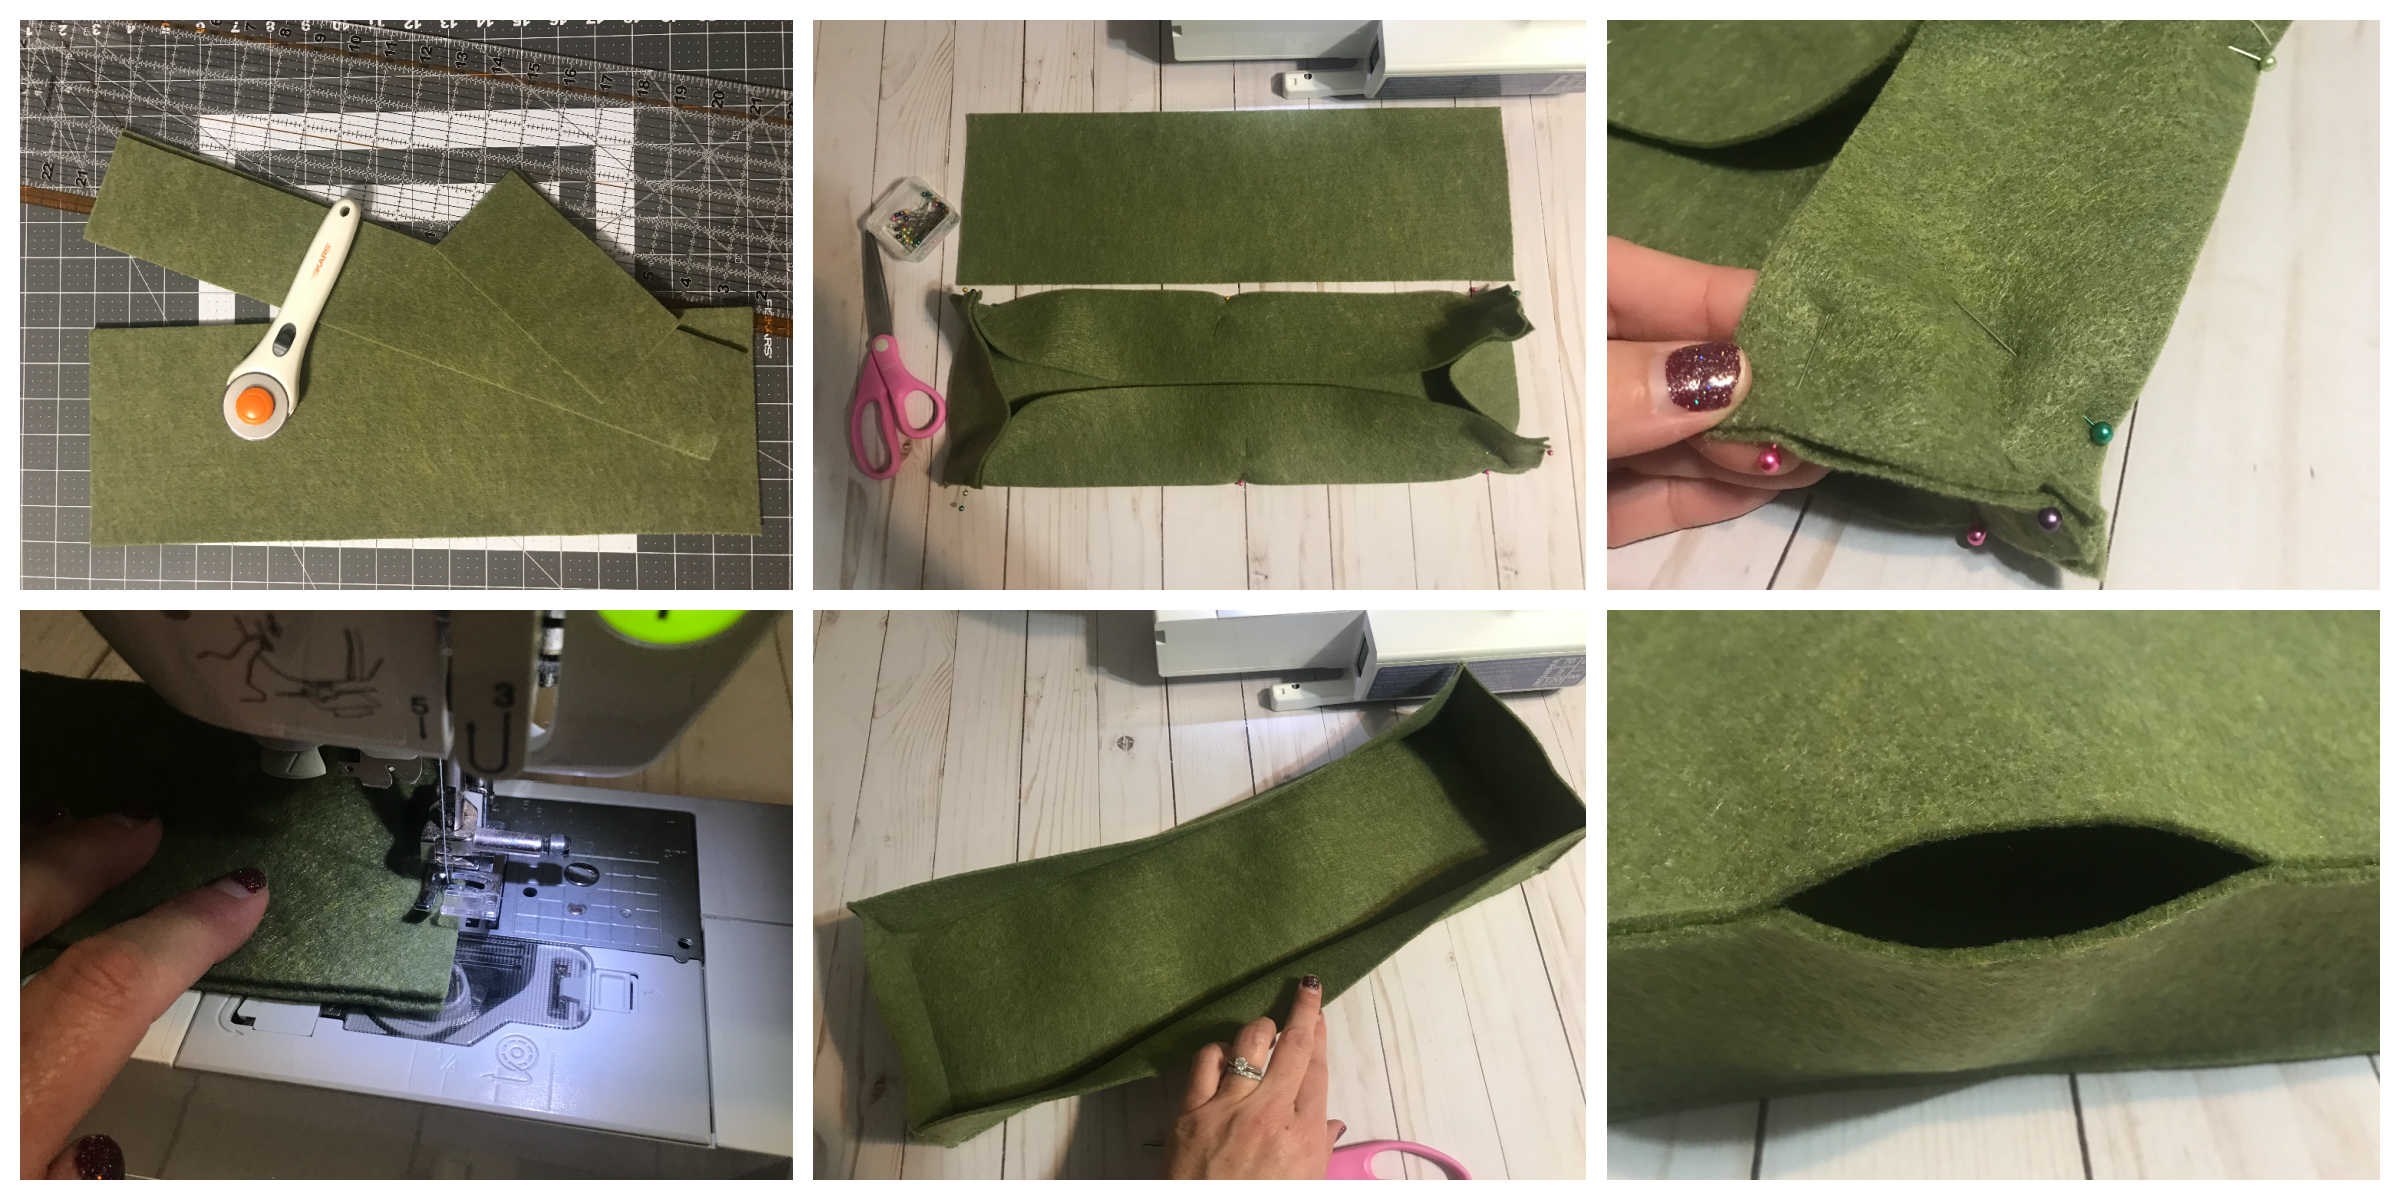
Step 2: Using pins, pin the pieces together at the edges. For the green one, I pinned all of the pieces together except for the back. For the pink one, I pinned all of the pieces together except for the sides.
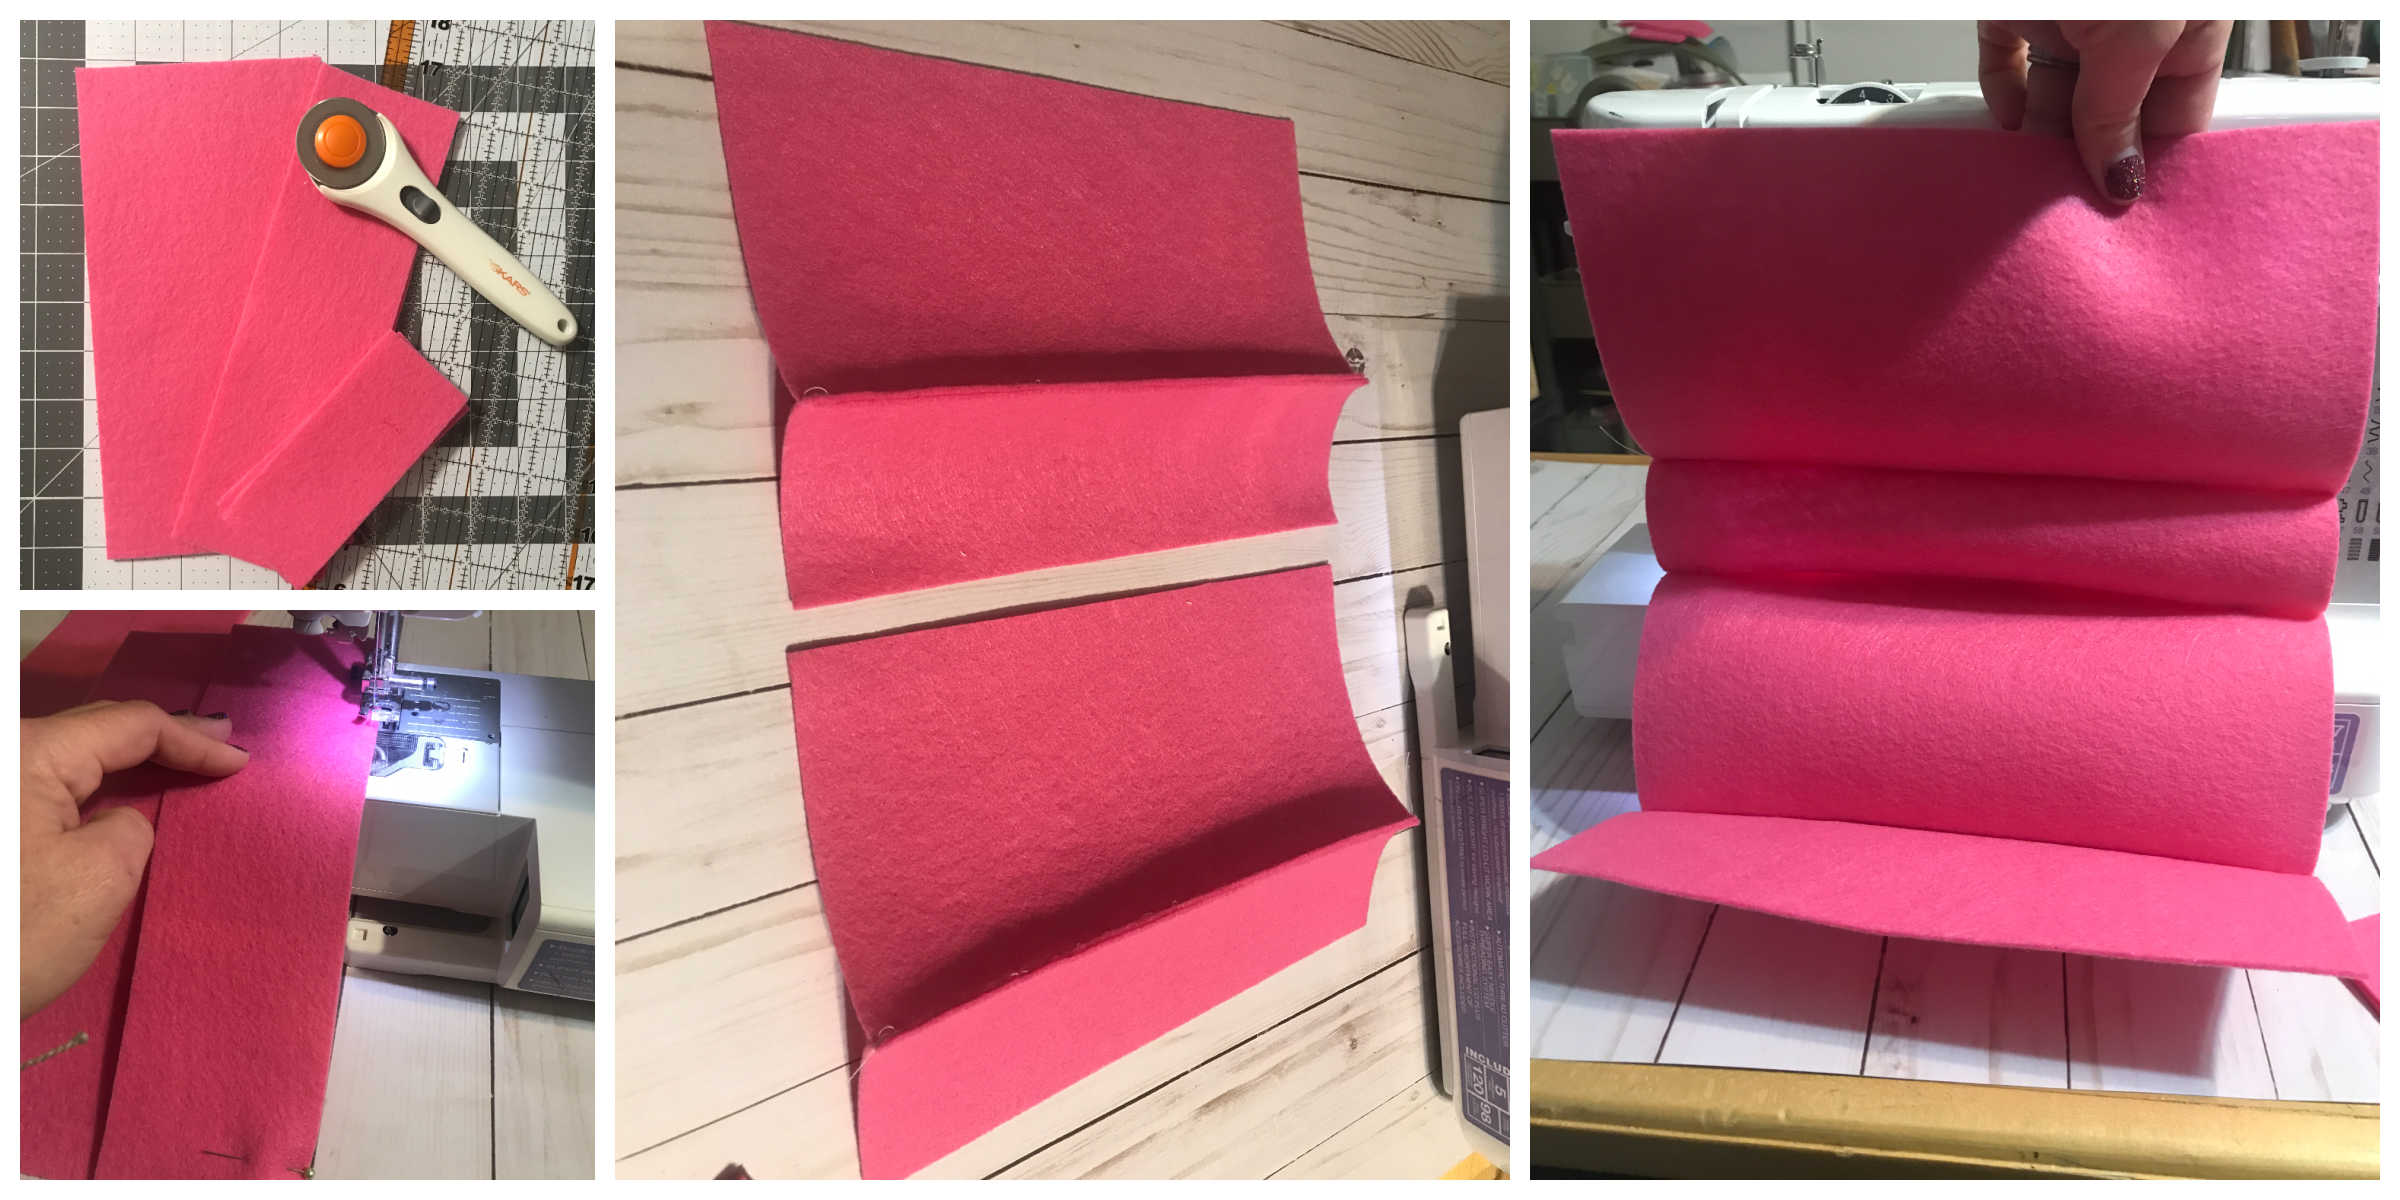
Step 3: Sew the pieces together. I did my stitches on the outside. You could do the stitches on the inside and then turn it right side out after you have stitched it. A two inch gap needs to be left opened so that it can be filled with the poly-pellets® and fiber fill.
Step 4: Once all of the sides are sewn, except for the 2 inch opening, pour the Poly-Pellets® into the opening. I filled it about half way.
Step 5: I filled the rest of box with Poly-fil Fiber Fill. I used the handy little stuffing tool to push the Fiber Fill to the sides and corners.
Step 6: Once it is stuffed to liking, the two inch gap gets sewn closed.
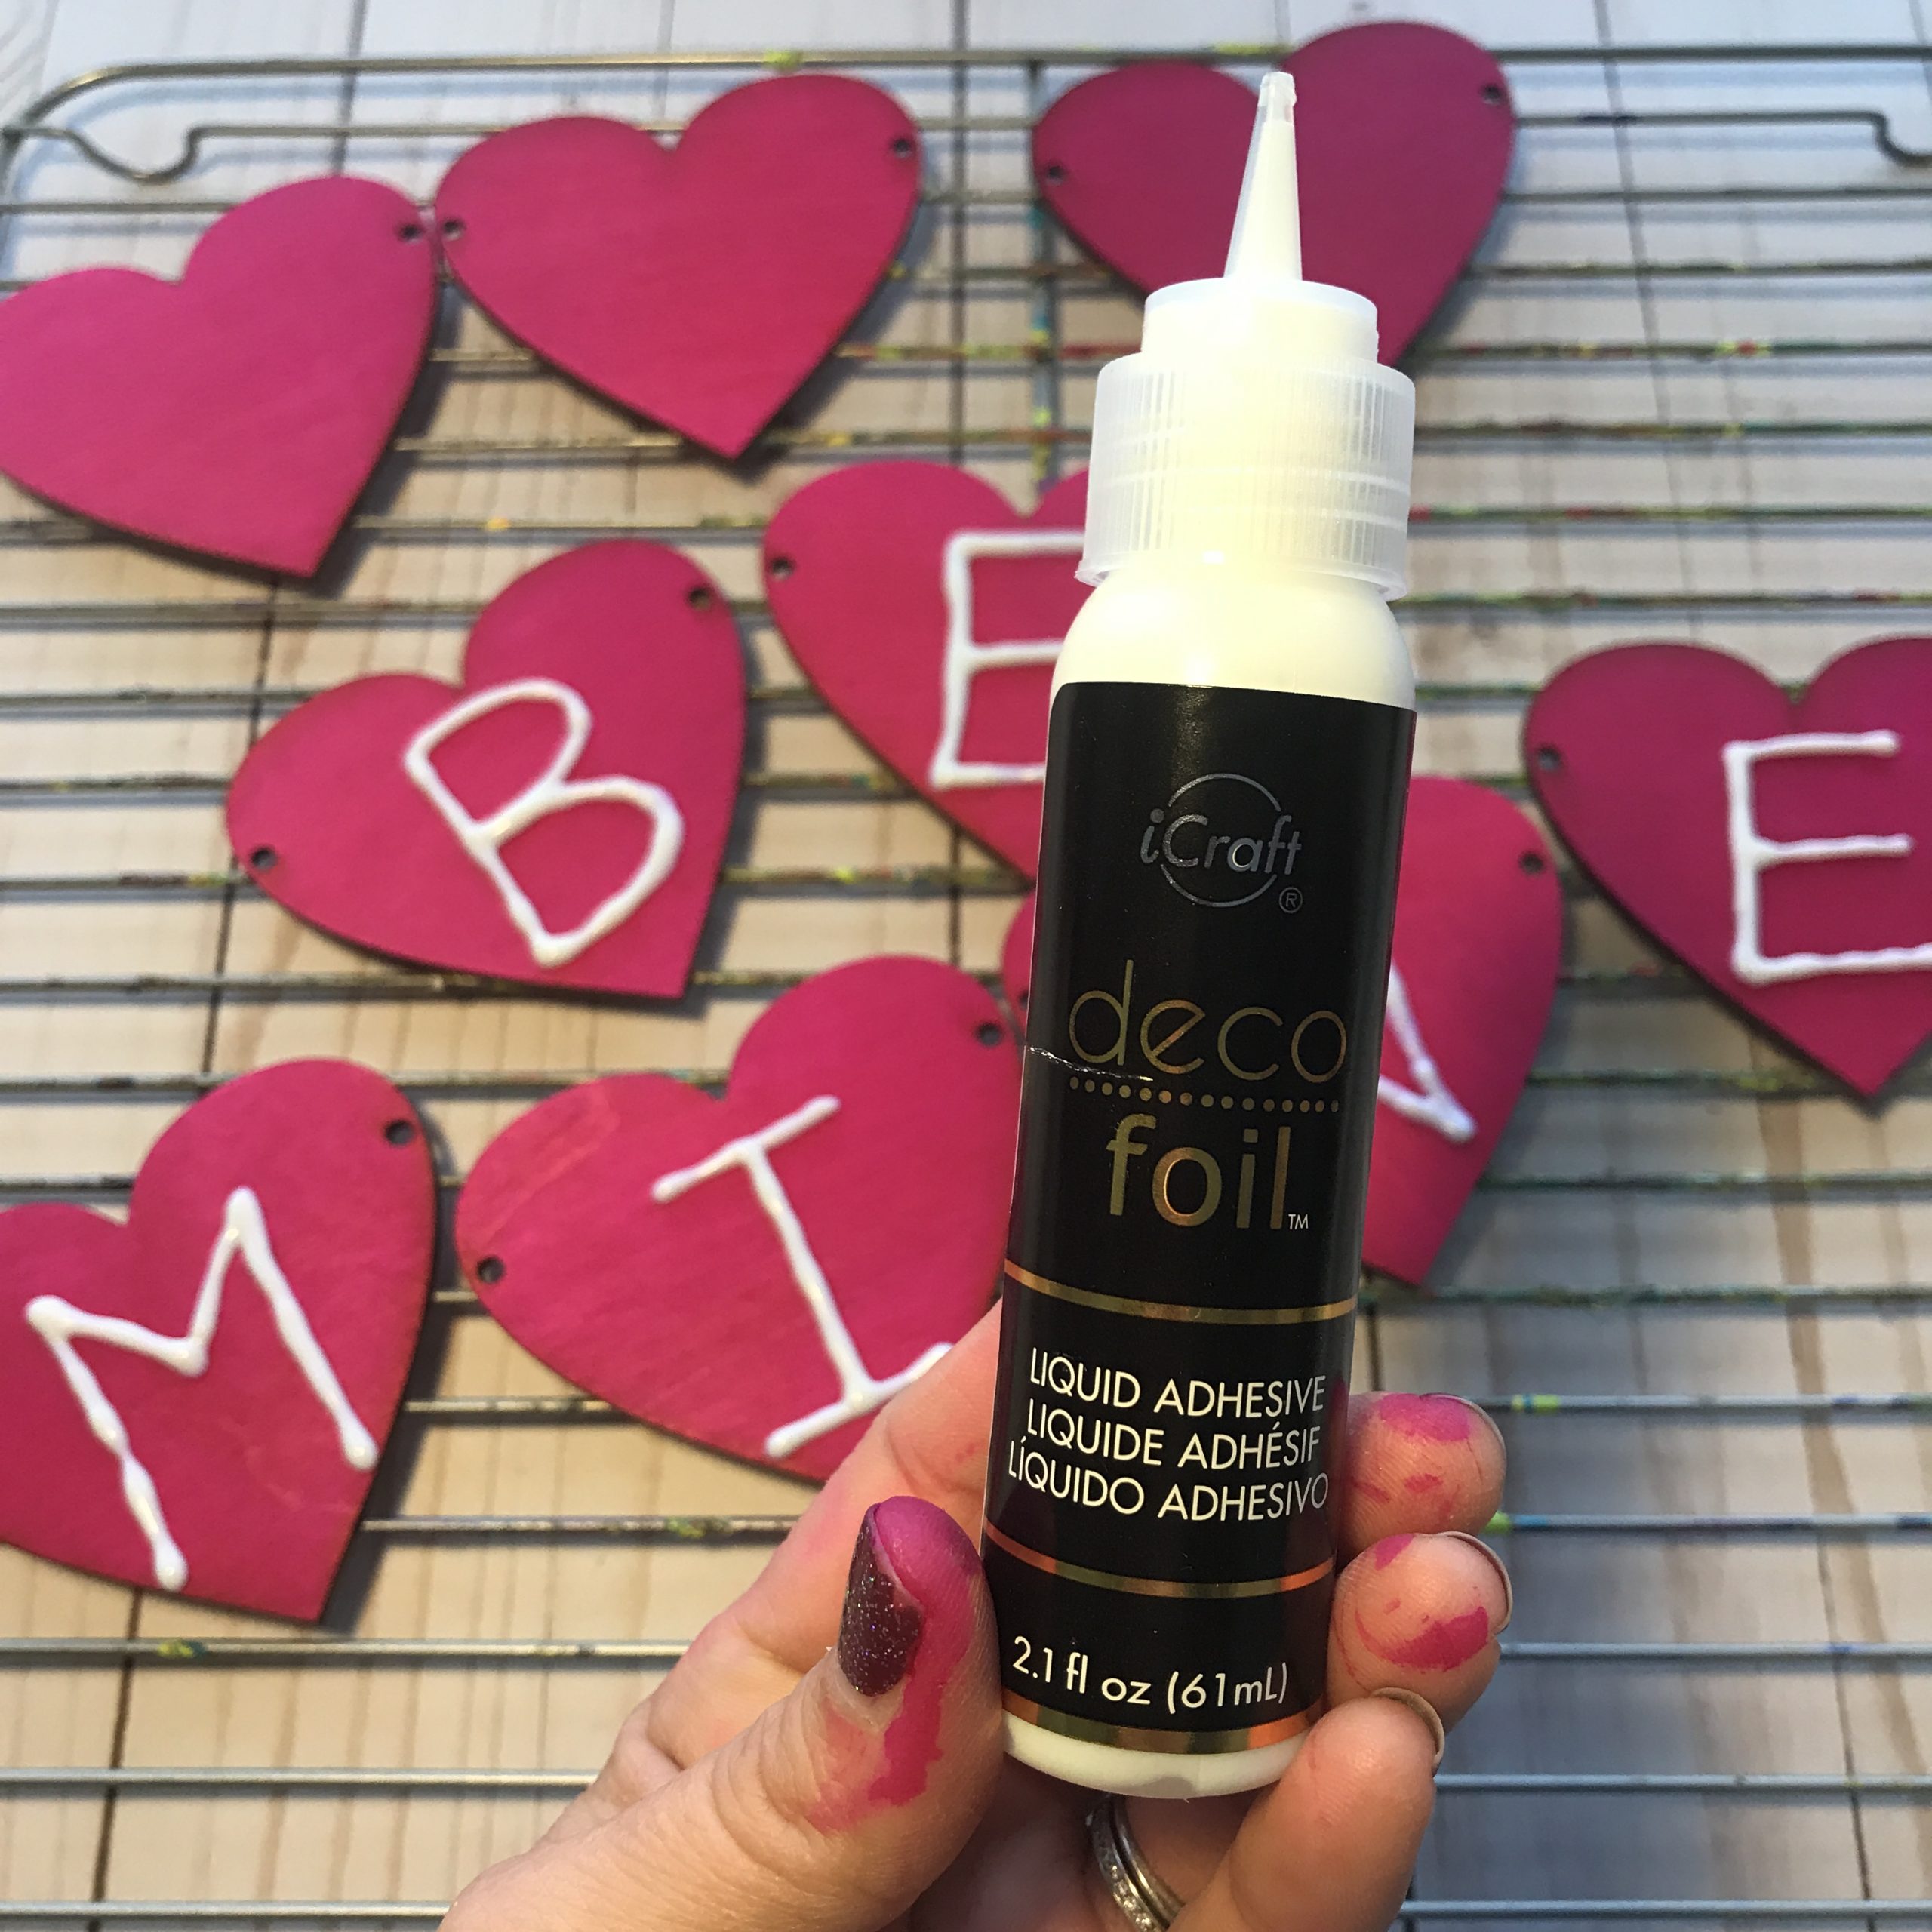
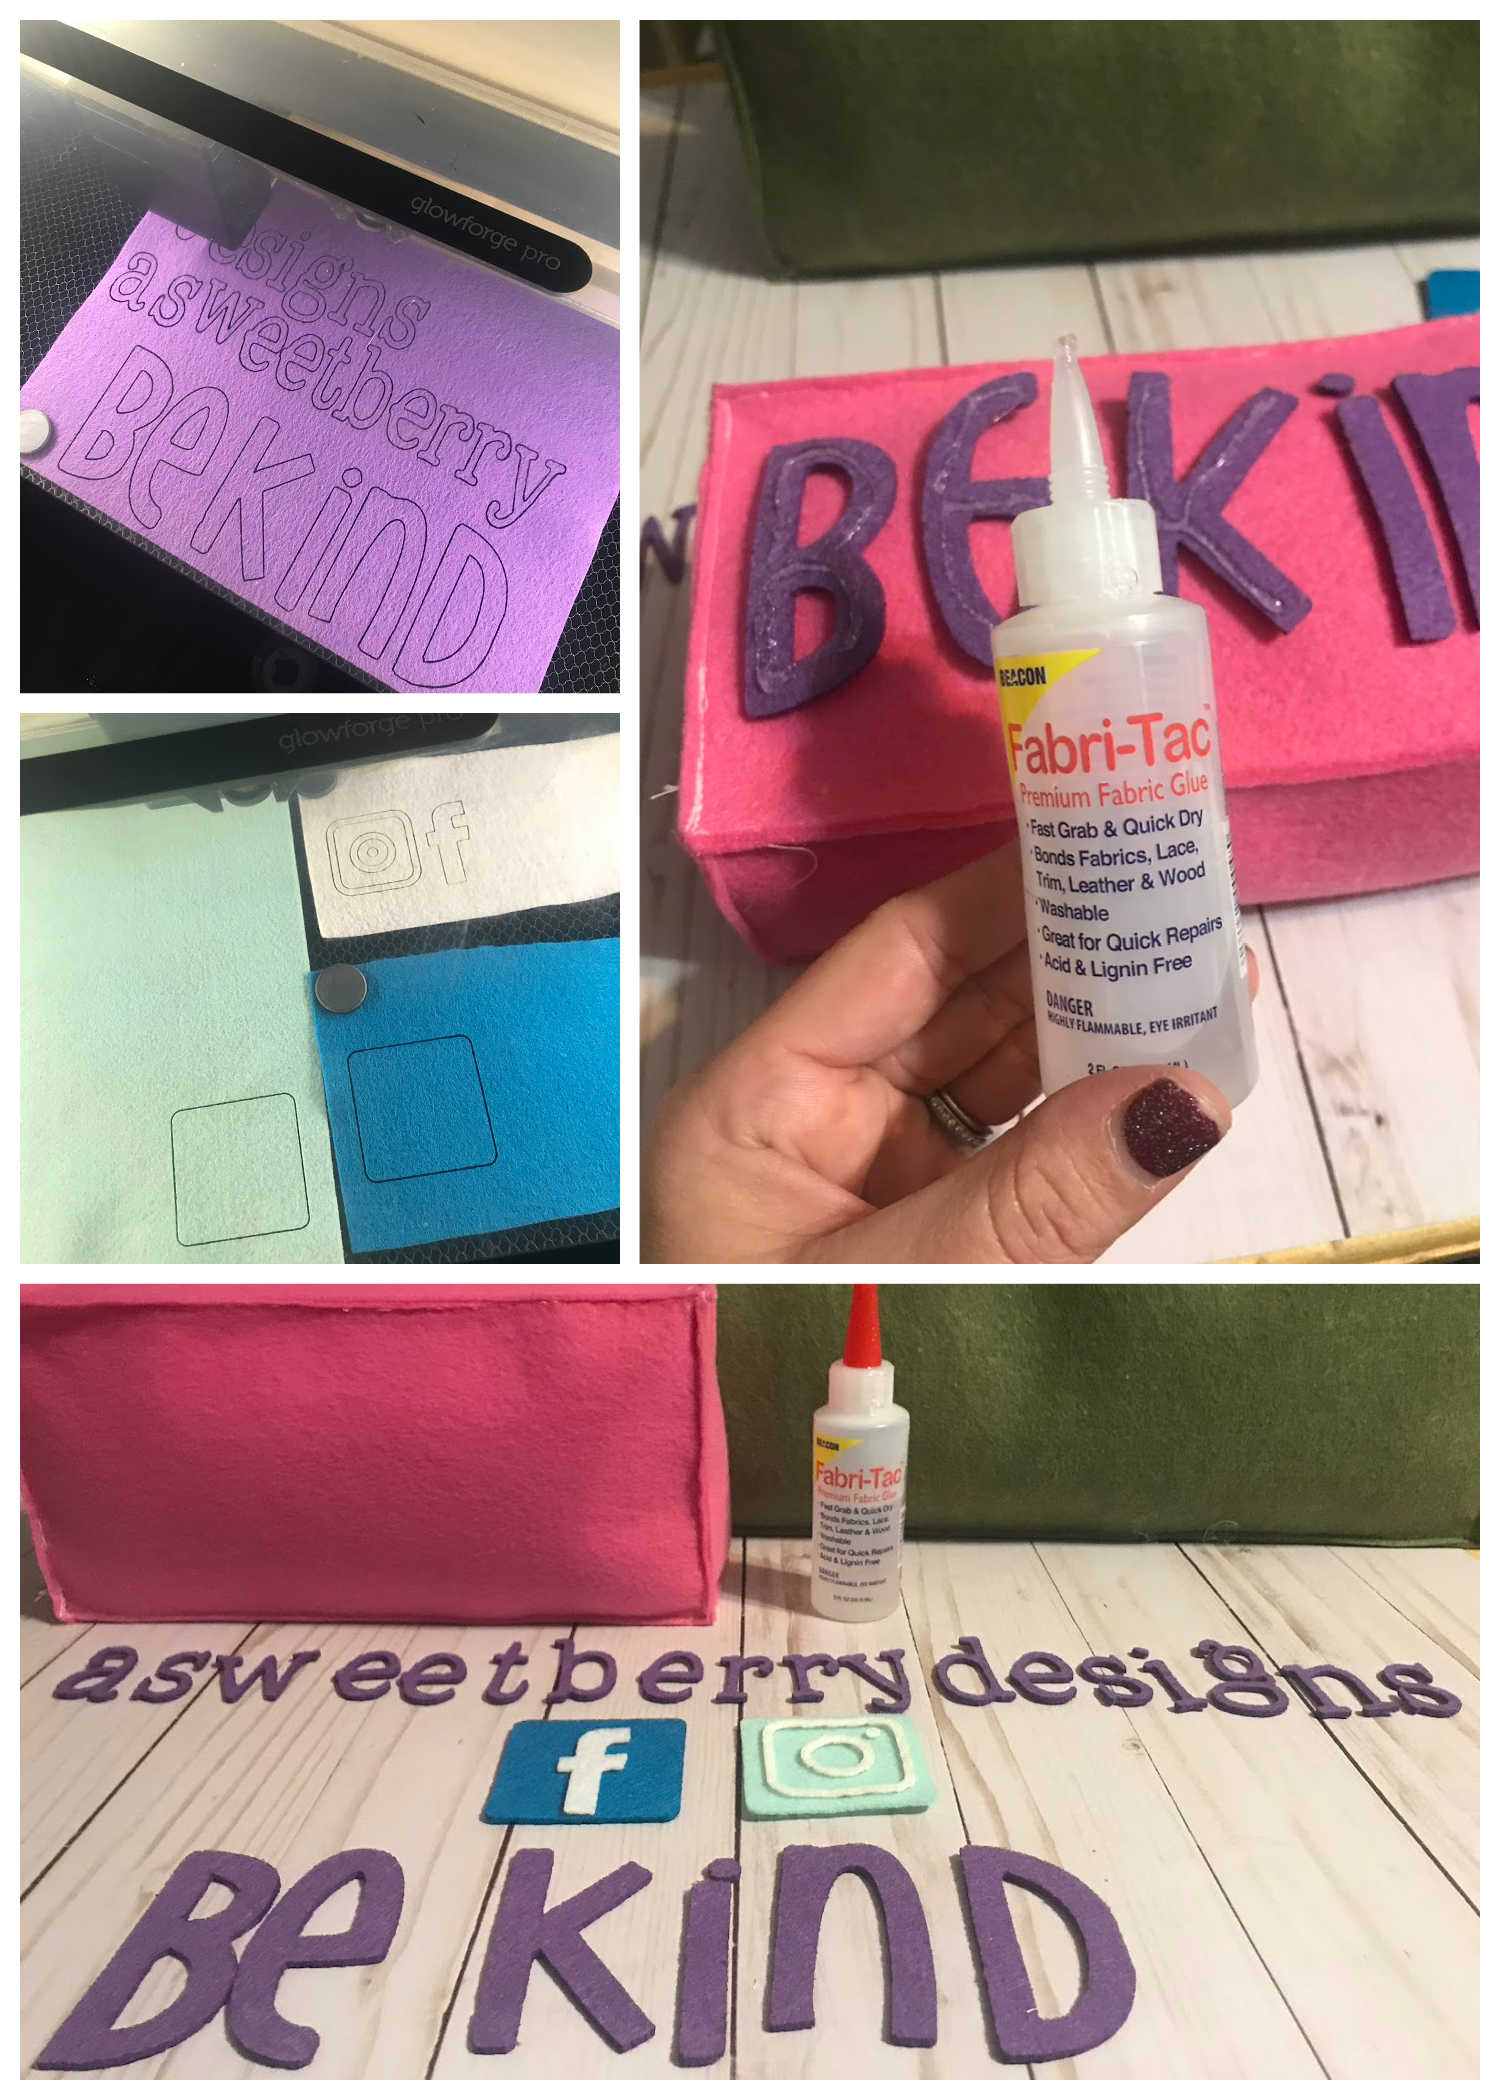
Step 7: Using either scissors or a dye cutting machine, cut letters to put on the box. I used my Glowforge laser to easily cut my letters. TIP: You can print out your letters on printer paper, cut them out and use them as templates for your felt.
Step 8: Use Fabric or Felt Glue to adhere the letters to the box and then let it dry flat.
When it’s completely dry, put it on your desk or a shelf and enjoy!
Hope you liked this little tutorial on how to make a felt desk sitter filled with Poly-pellets®!