Category Archives: Valentine’s Day

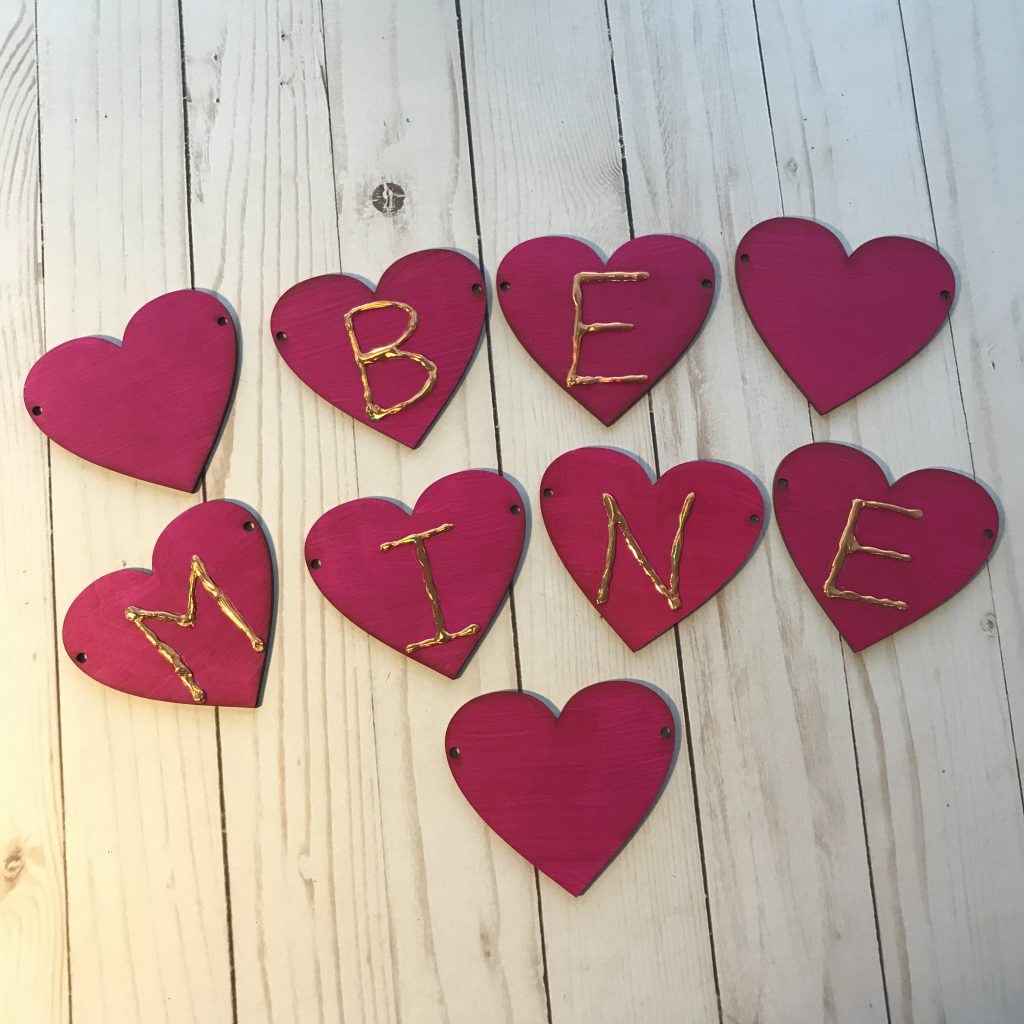
Quick Be Mine Valentine Banner

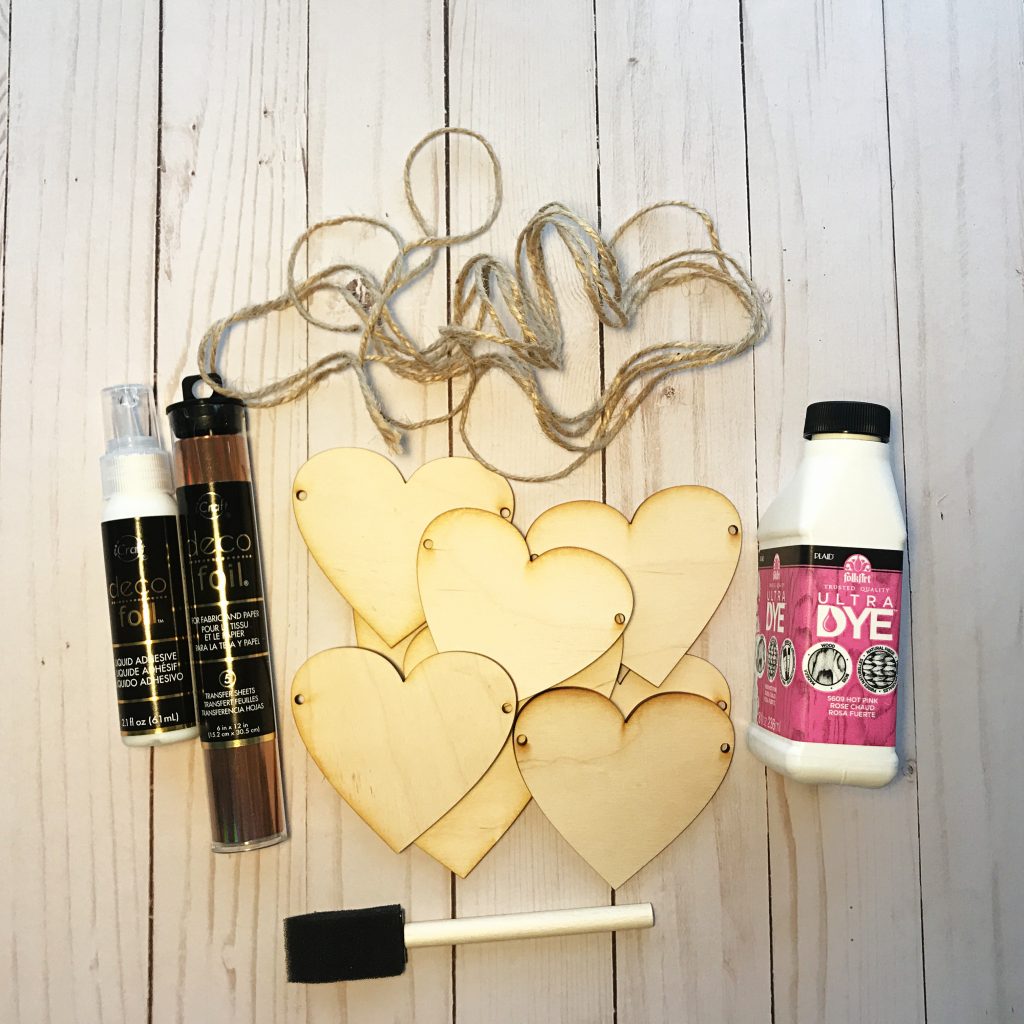
Woah! Valentine’s Day is coming up quick and an easy Be Mine banner is the perfect addition to your decor. You can get heart cut outs of wood or even felt and make this banner! I just happened to make my hearts on the Glowforge and I’m using Therm O Web’s deco foil® to decorate it!
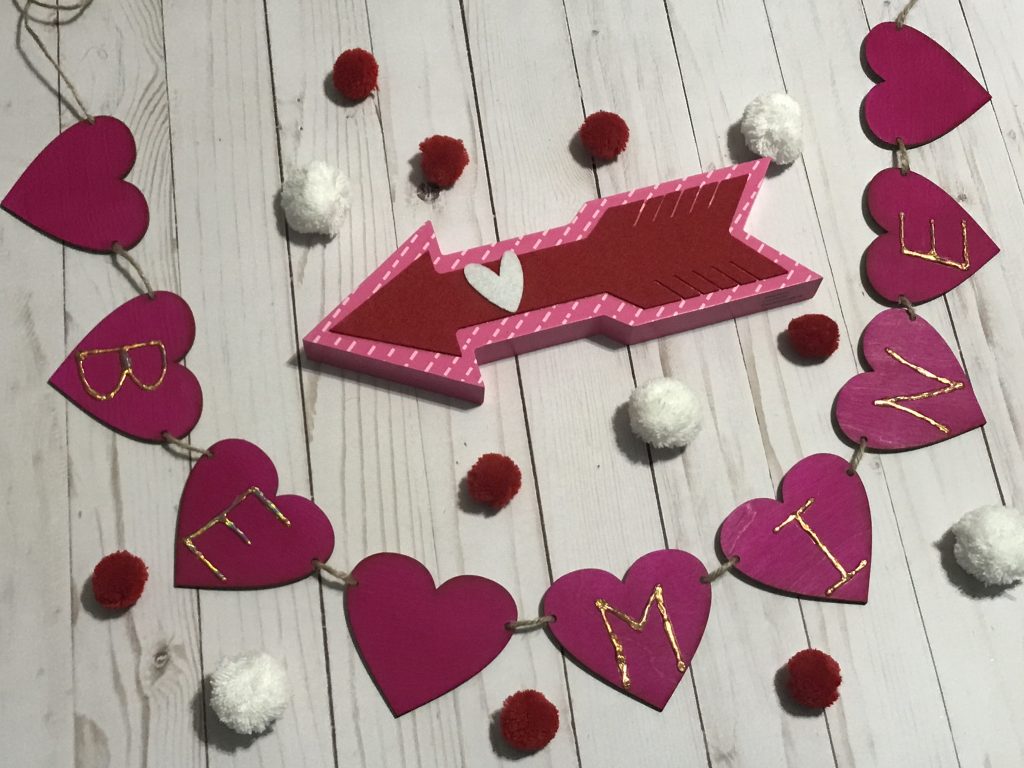
Materials I used:


How I made it:

  1. I painted the hearts with the dye. And let it dry. TIP: I used a heat gun to help the drying process go a little faster!
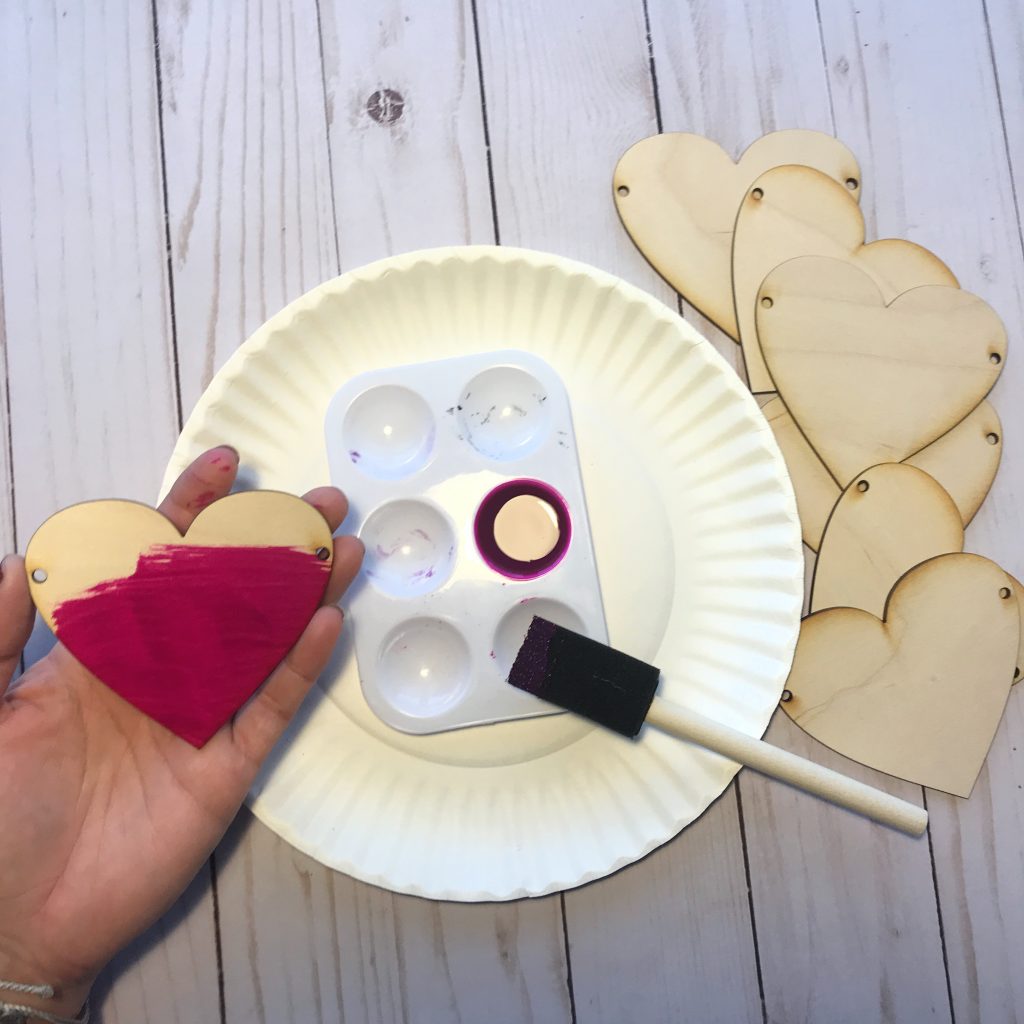
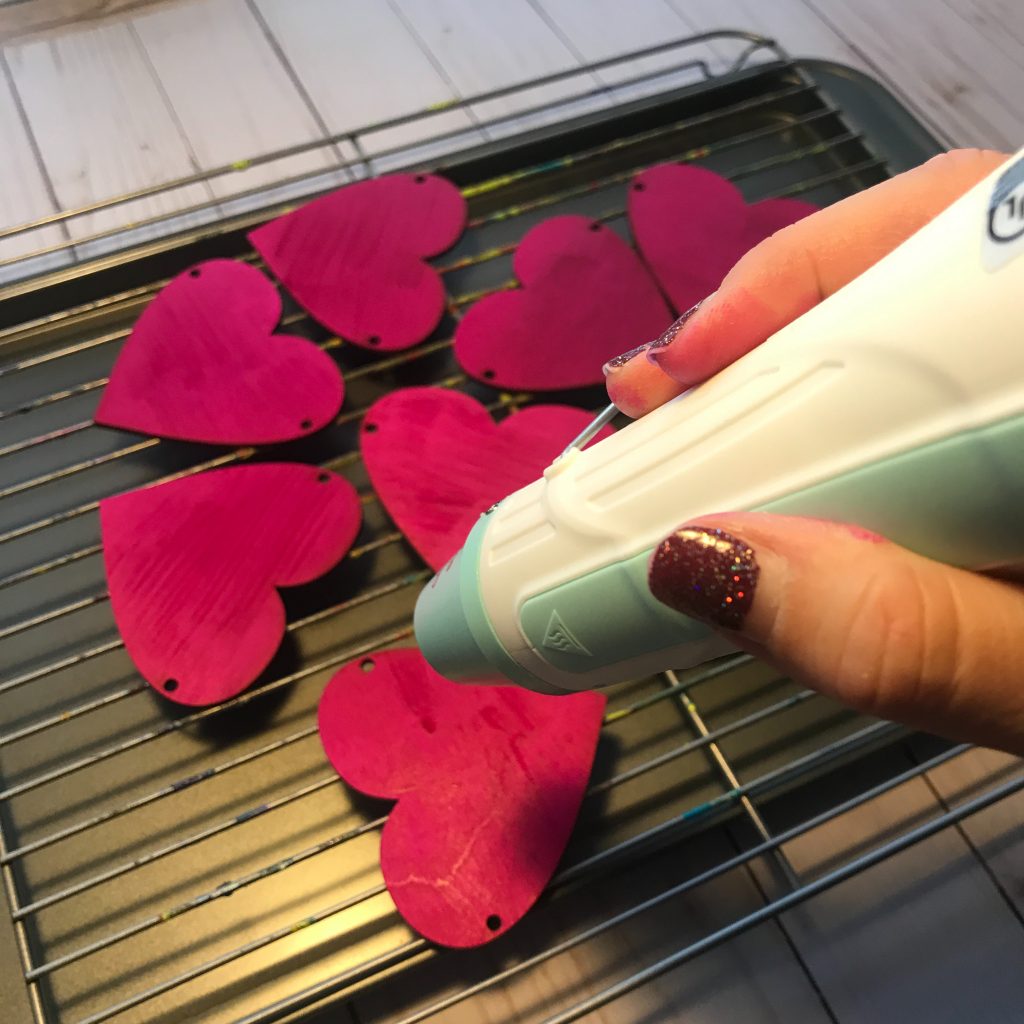
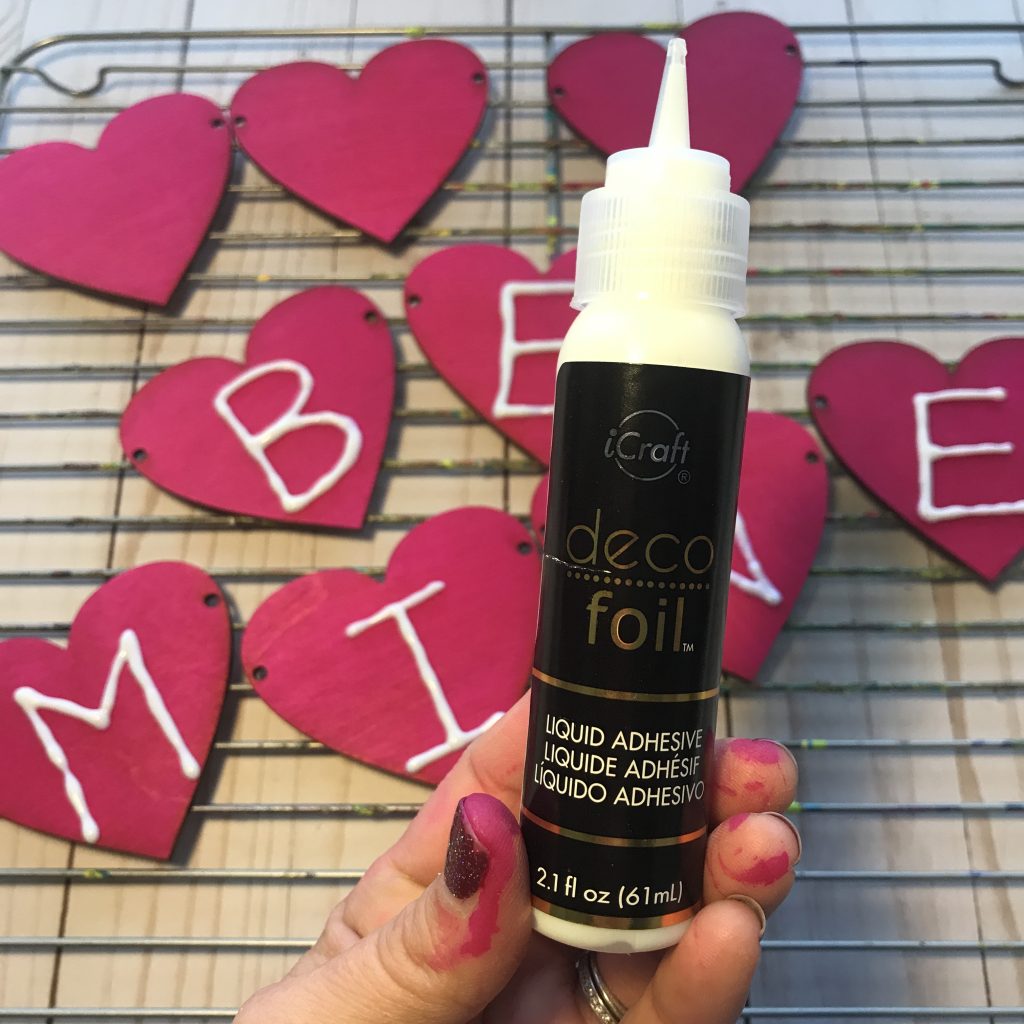
2. Once the dye was dry, I used the deco foil® Liquid Adhesive to draw out the letters for BE MINE. This adhesive does have to dry before you can apply the foil. So, let it dry about an hour.
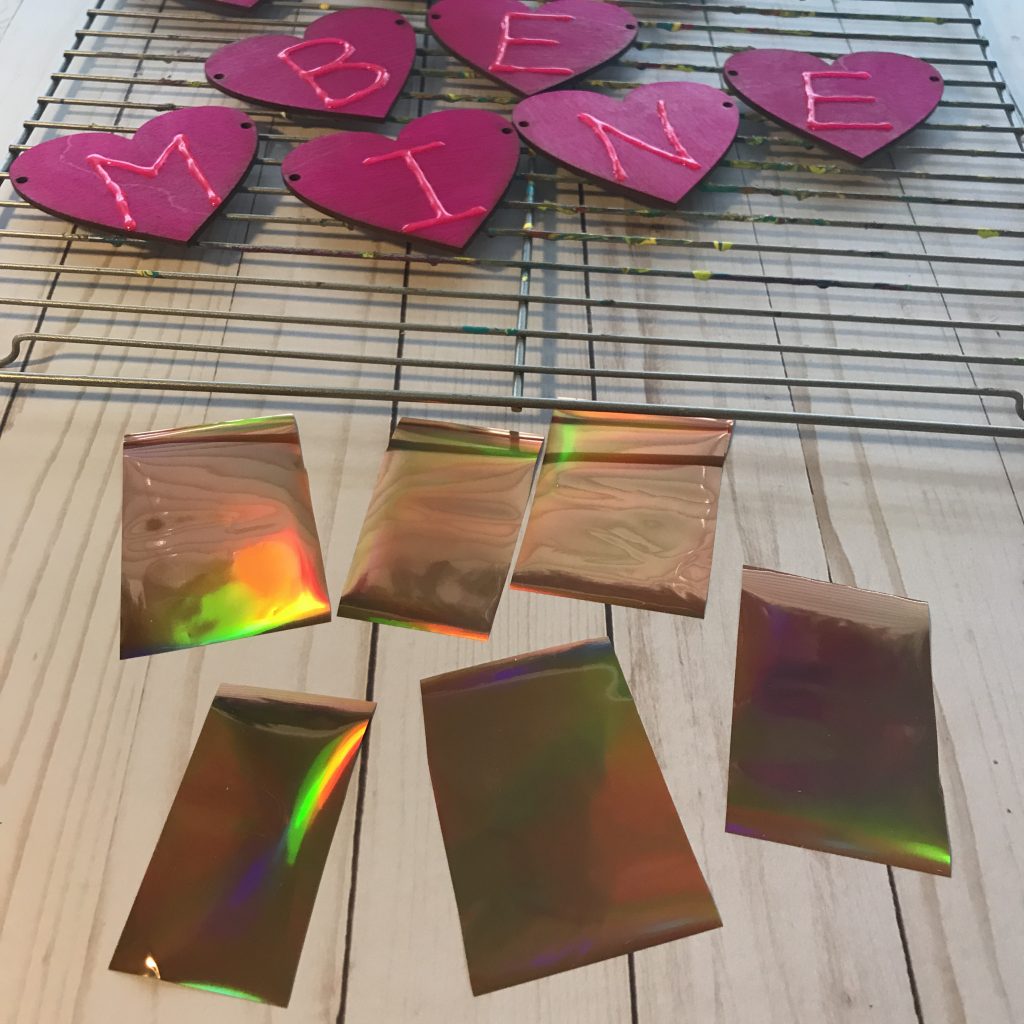
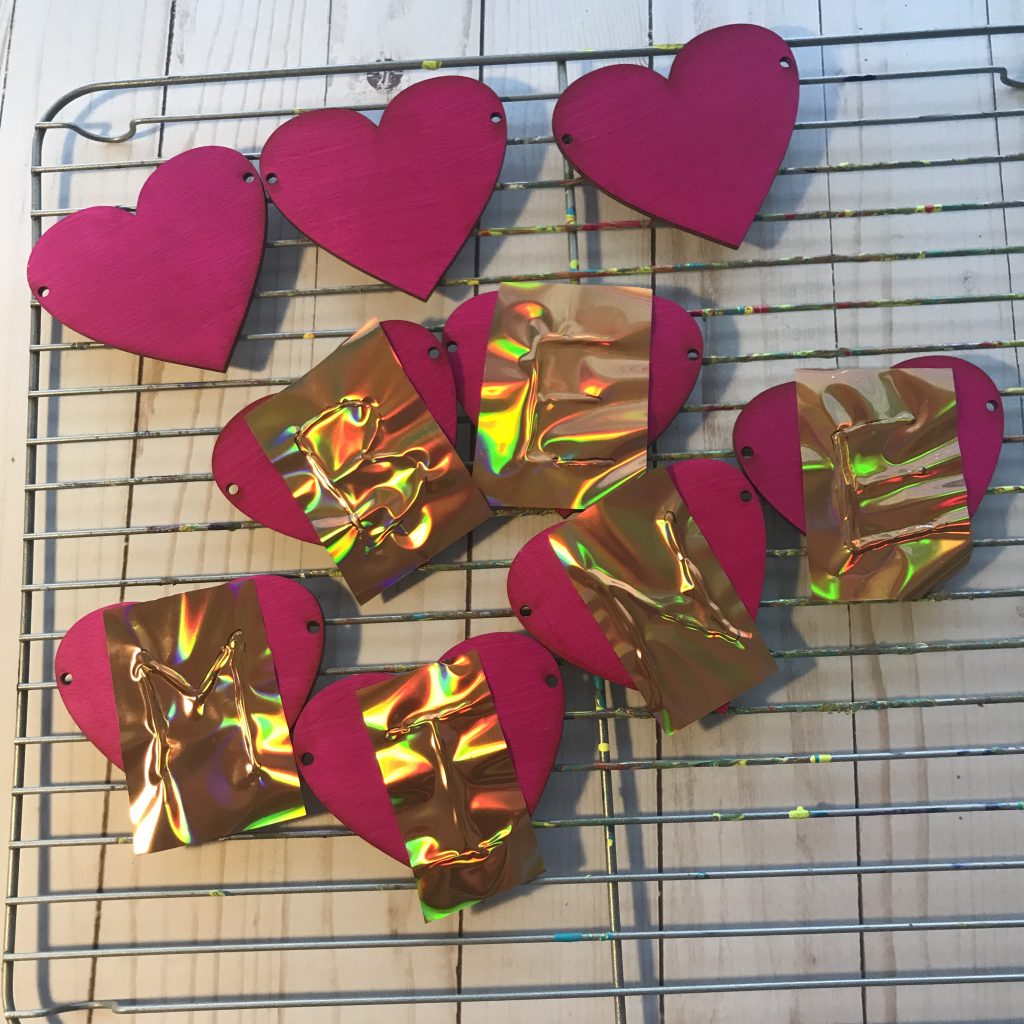
3. Cut the foil into pieces that would fit on your adhesive. Cutting it to size helps cut down on waste of the extra foil. Apply the foil over the dry adhesive and smooth down making sure to get the sides of the glue as well. Remove the waste.
4. String the hearts on the twine. TIP: If you are using hearts from felt or store bought hearts that don’t have holes in it, you an just hot glue the hearts to the twine or ribbon.
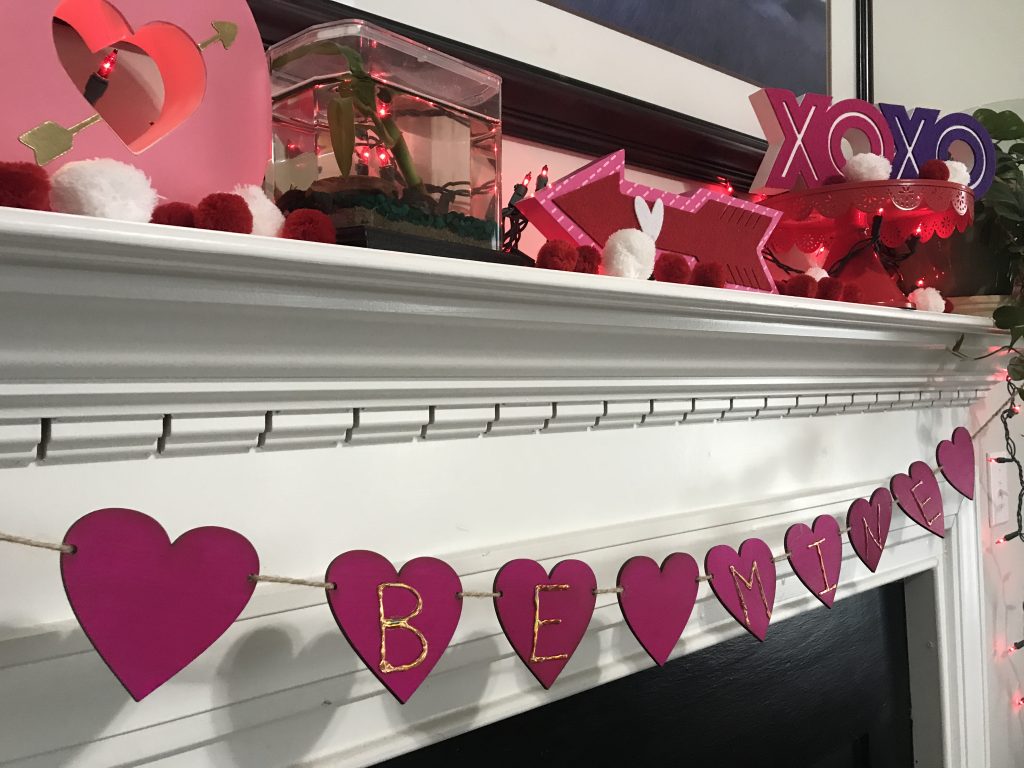
5. Then hang it up and look at your quick, easy and cute project!!!
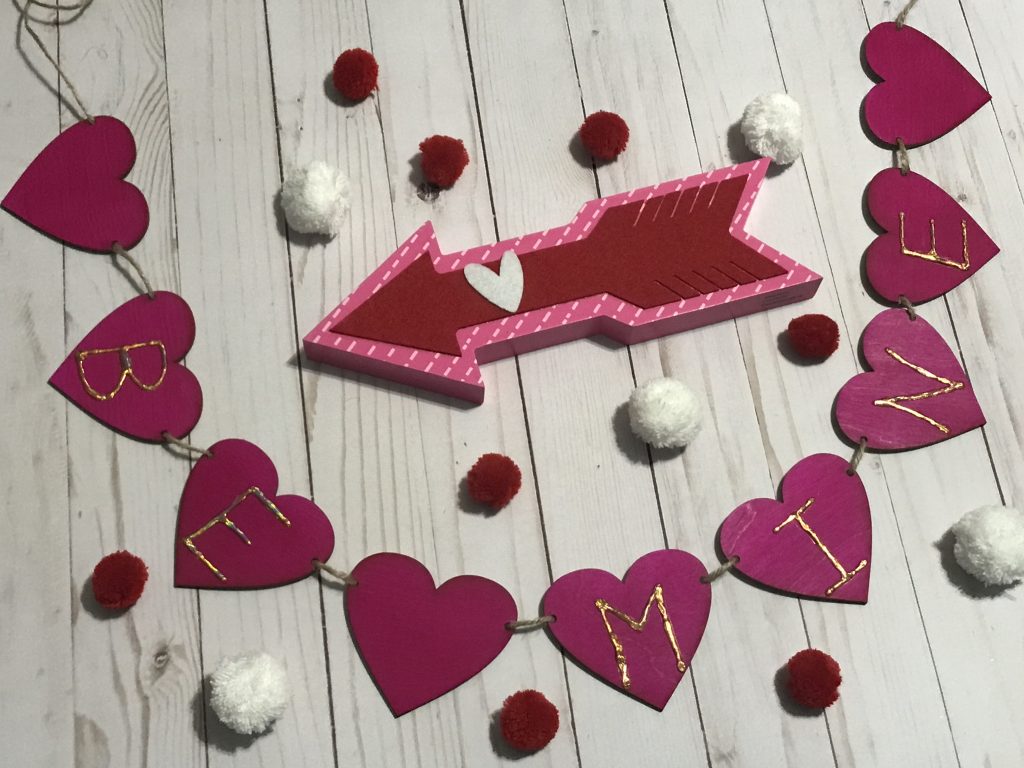
Be sure to click the button below to check out other last minute Valentine craft ideas!

Also, be sure to enter to win this awesome craft supply stash!!!

a Rafflecopter giveaway

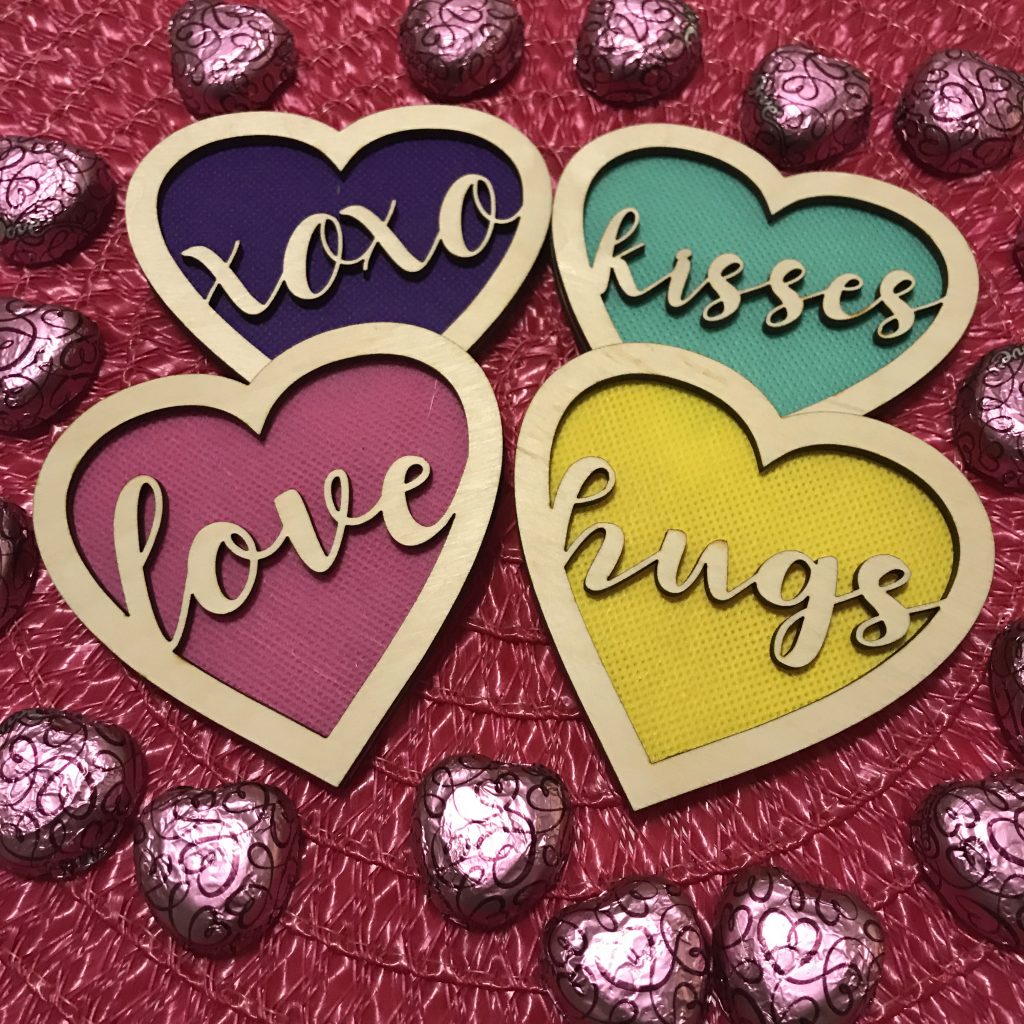
Layered Words of Love Hearts featuring Fairfield World’s Oly*Fun

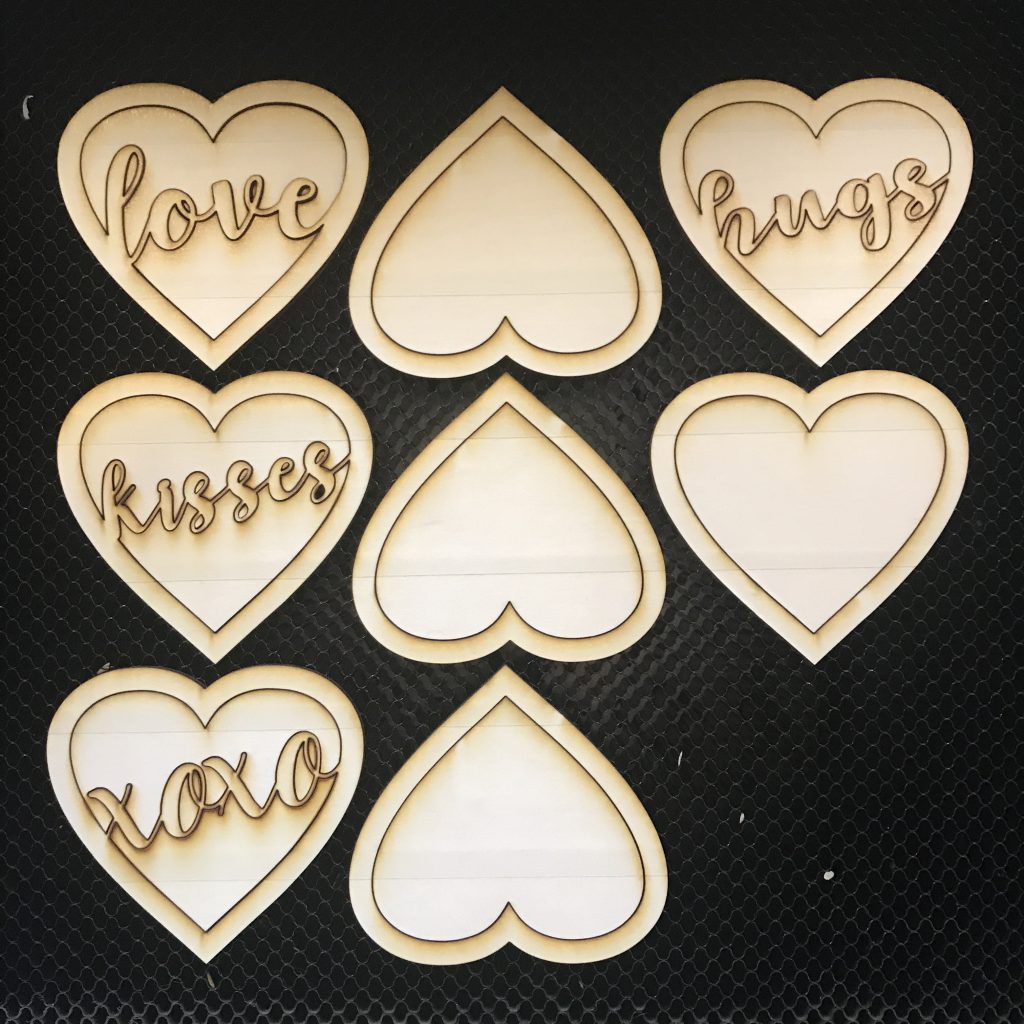
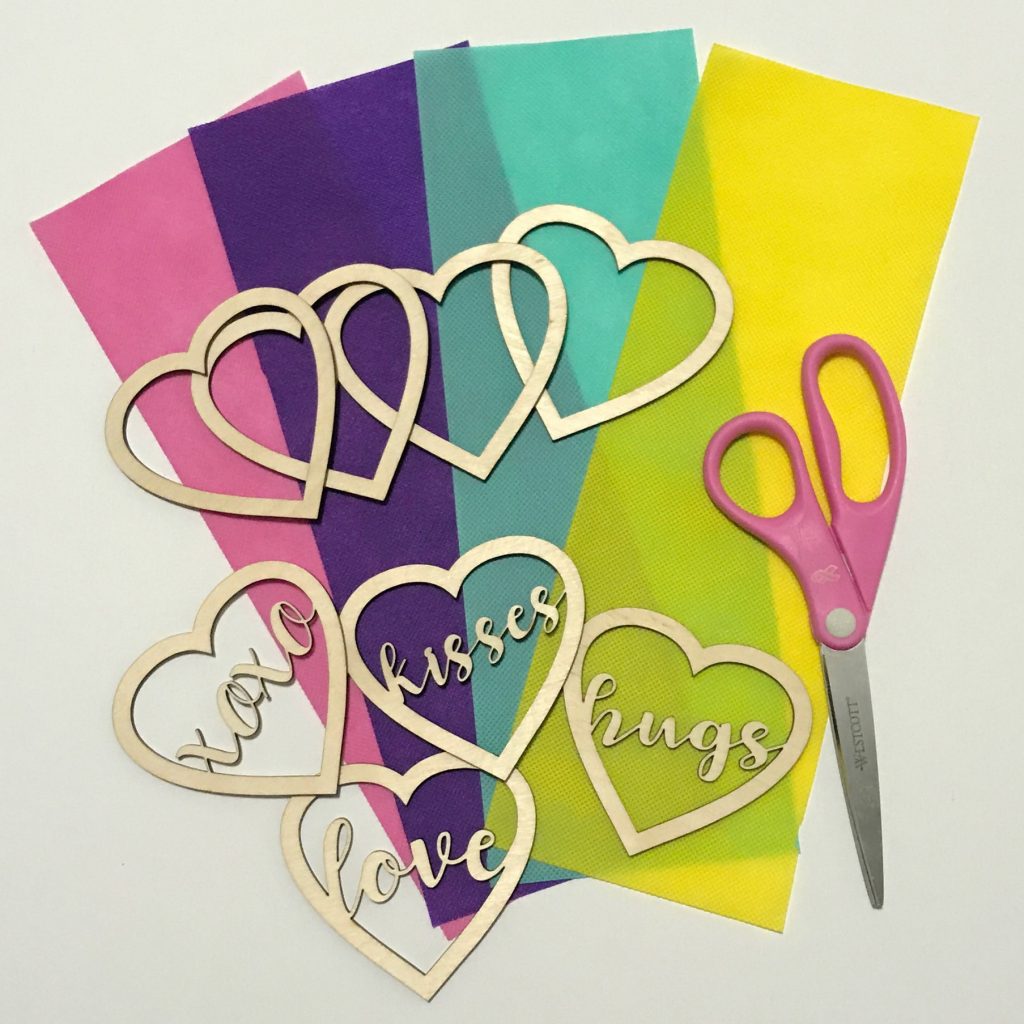
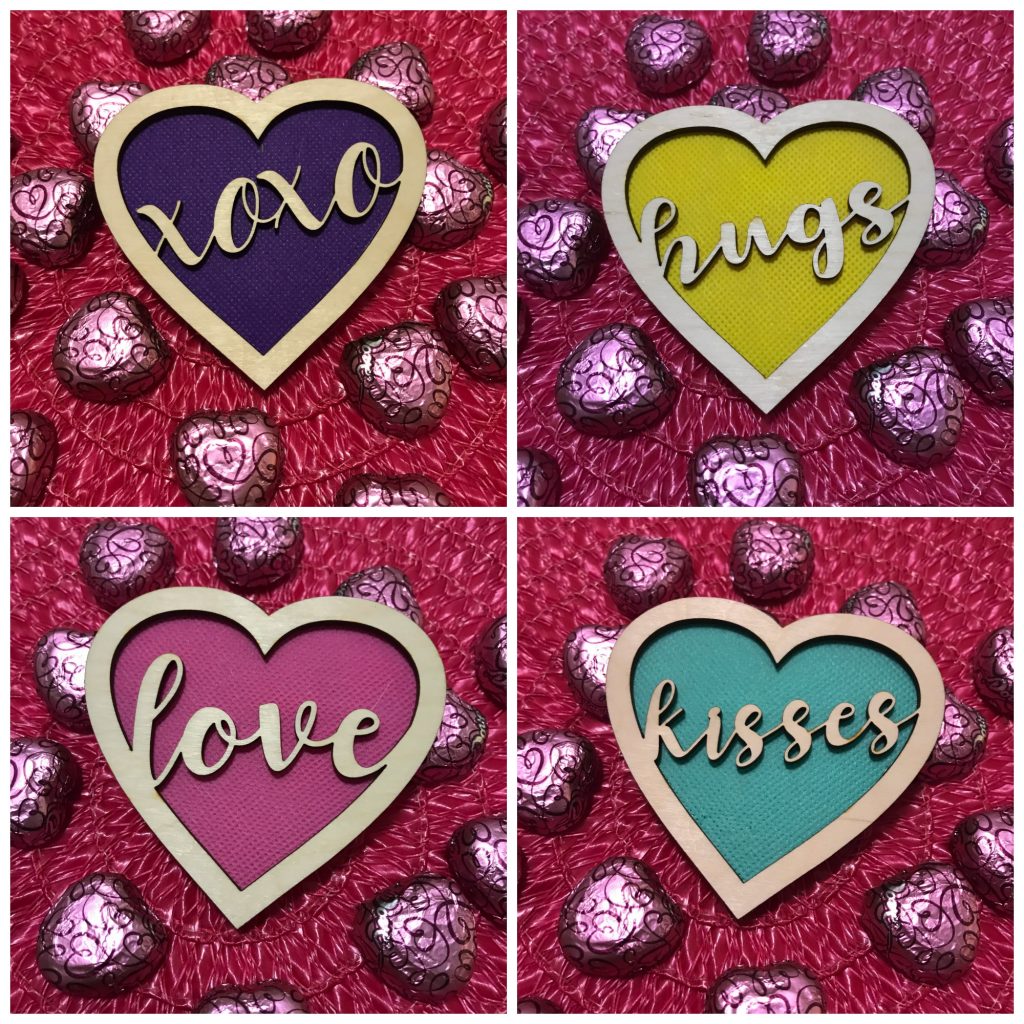
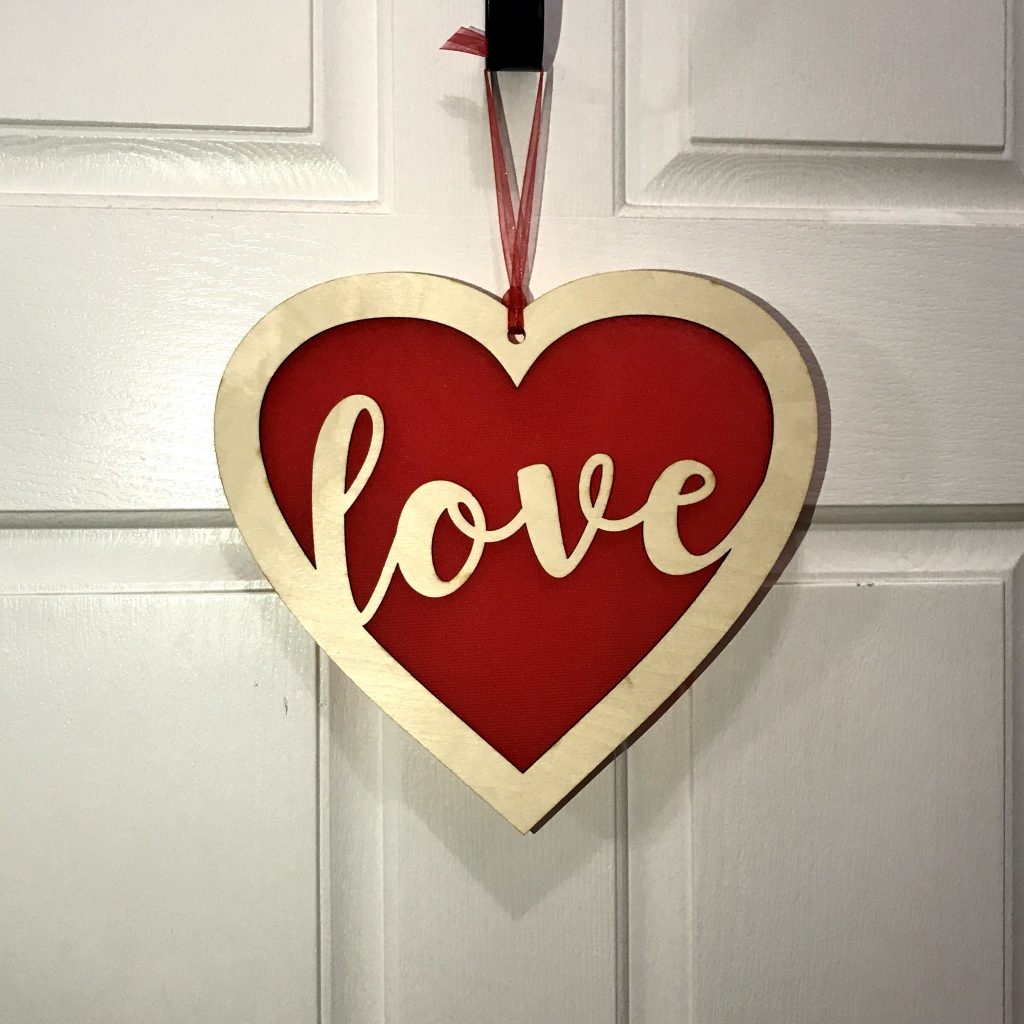
There are lots of words of love that I can think of that remind me of Valentine’s Day. A few in particular are love, hugs and kisses. I created these adorable little hearts with words of love and Oly*Fun.

Materials needed:

  • Fairfield World Oly*Fun
  • Wood hearts cut from a Glowforge or cardboard hearts cut from a Cricut
  • Heart SVG file
  • Scissors
  • Multi-purpose glue (I love Beacon!)
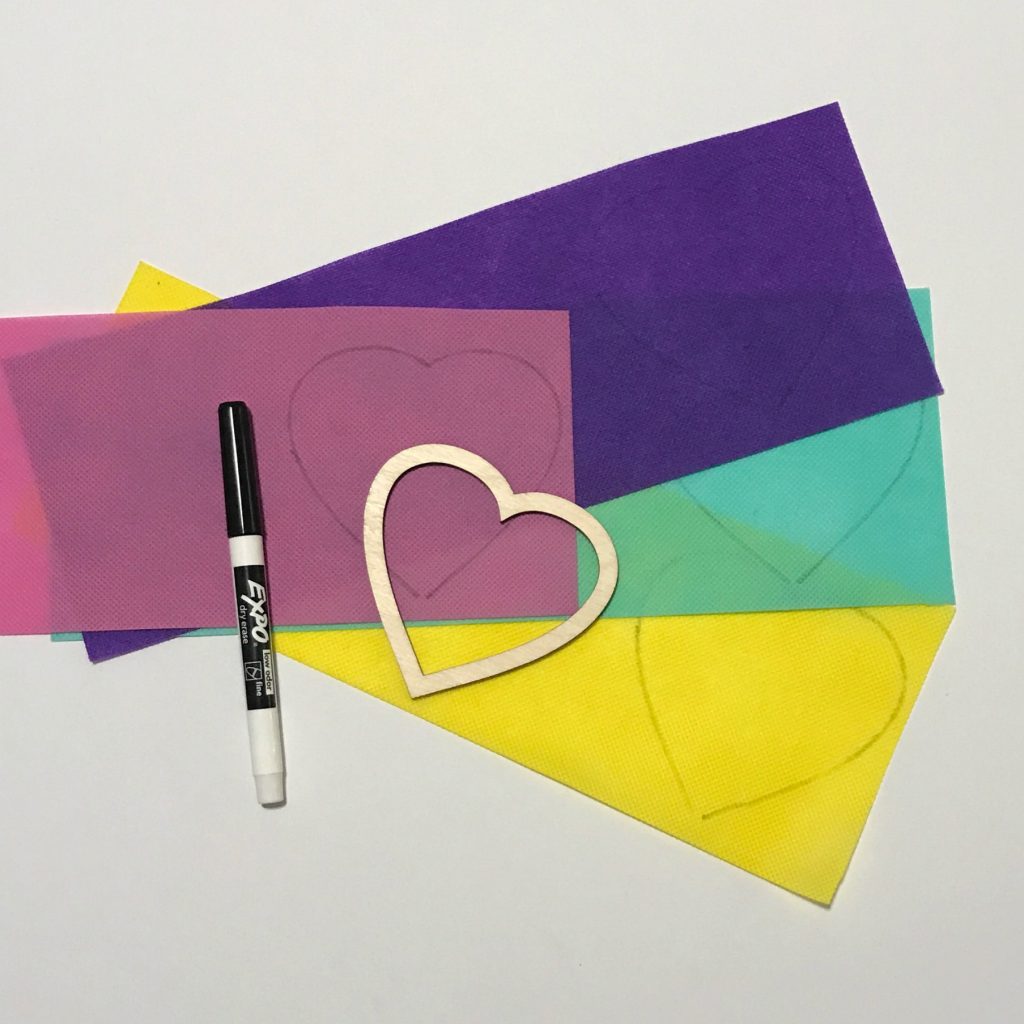
  • Pen or Marker

How I created them:

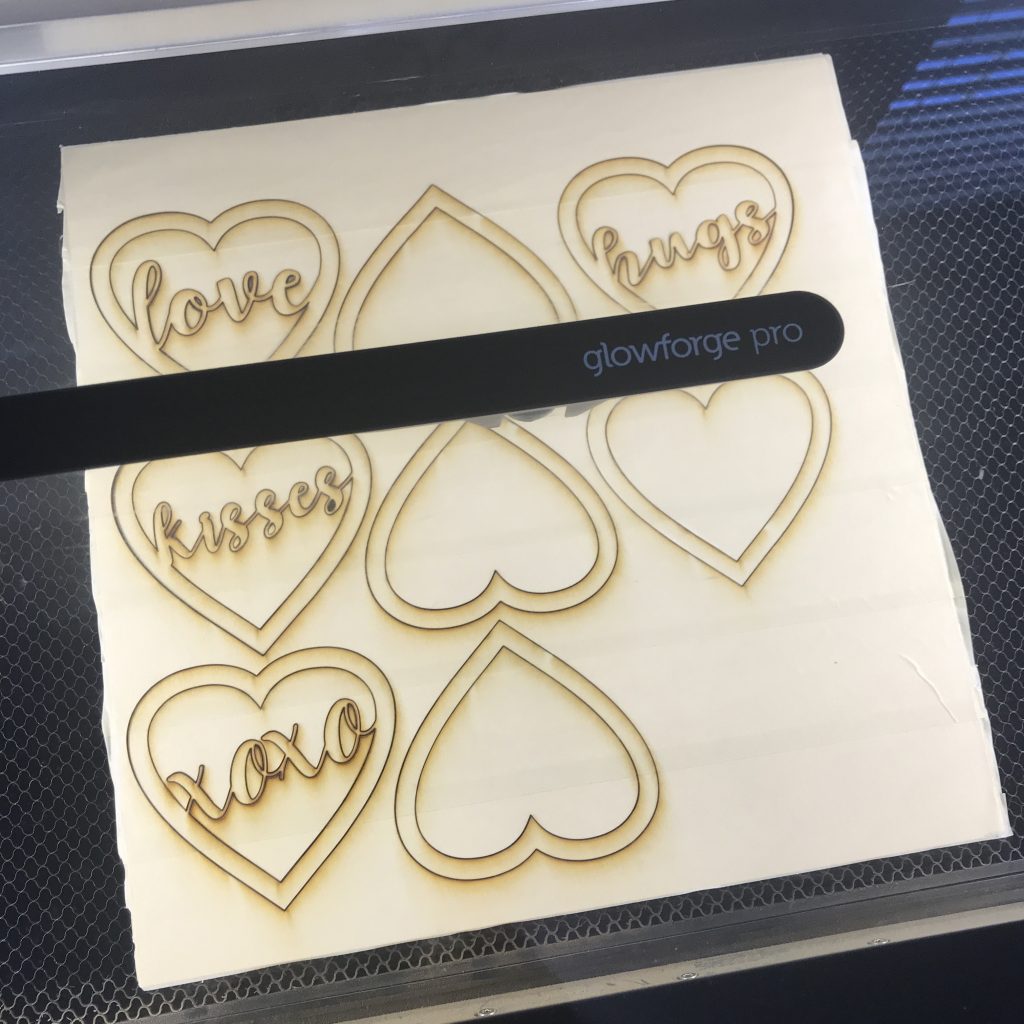
I created an svg file of the hearts with words in them and then a heart without words to use on the back. With my Glowforge, I resized and cut the hearts. This can also be done on the Cricut with balsa wood or cardboard.

Using one of the hearts that is made for the back , I placed it on a sheet of Oly*Fun and traced it.

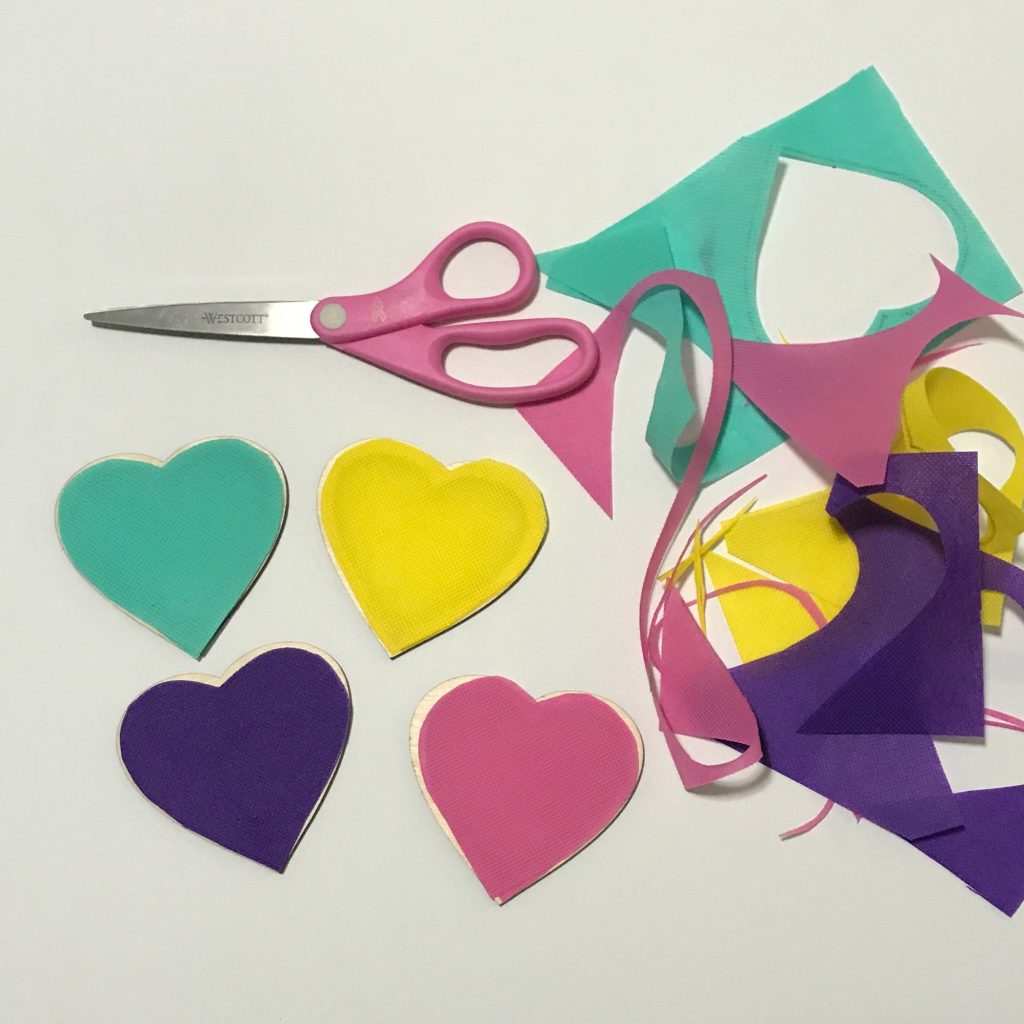
Once I had 4 hearts traced, I folded my Oly*Fun in half and cut two hearts from each color. TIP: I cut the hearts smaller than the trace lines so that they would be smaller than the wood heart outlines.

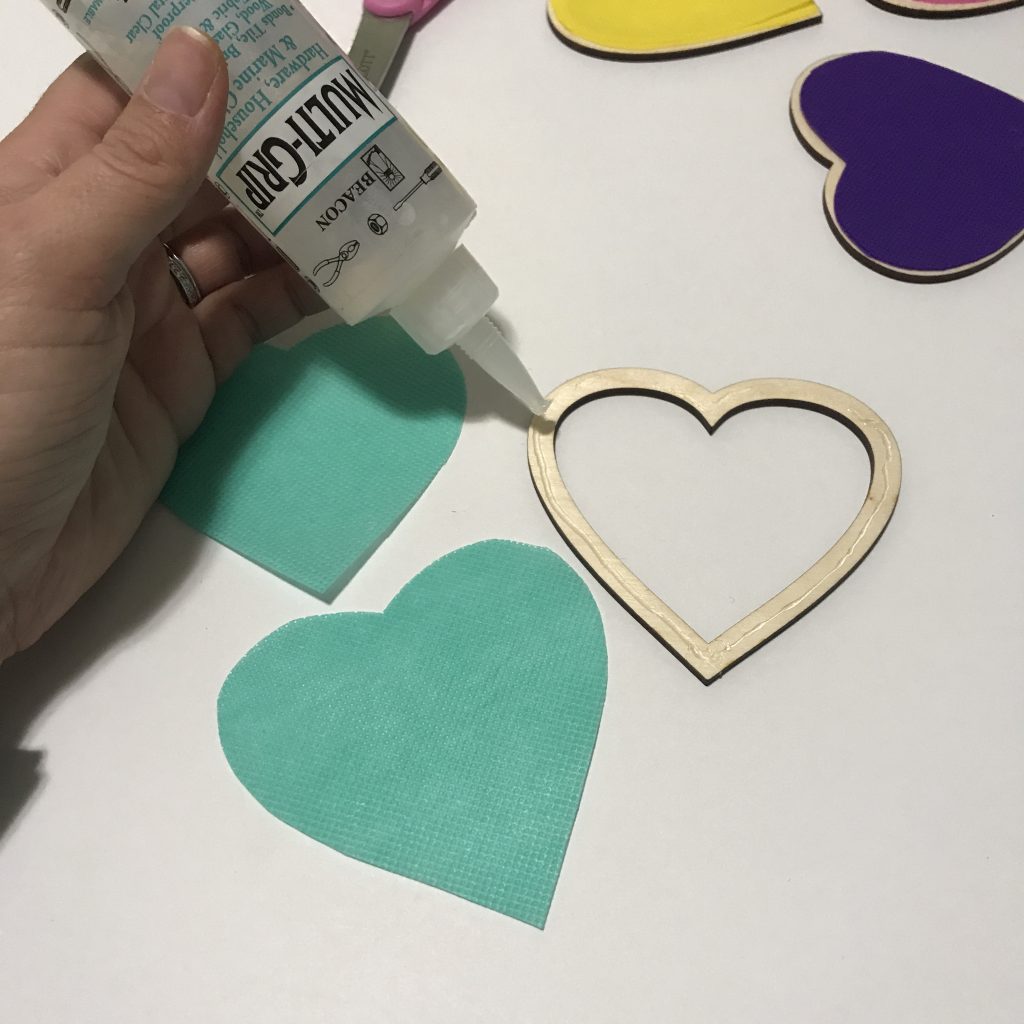
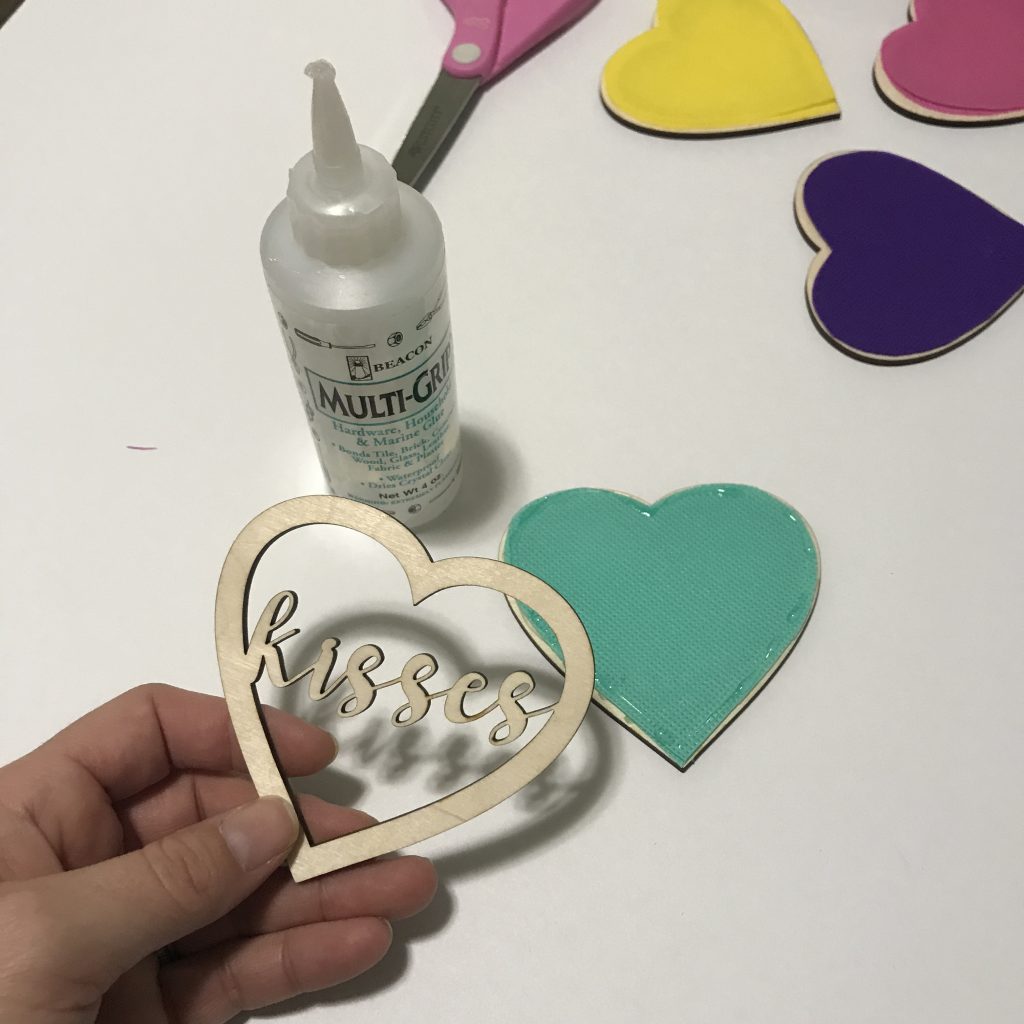
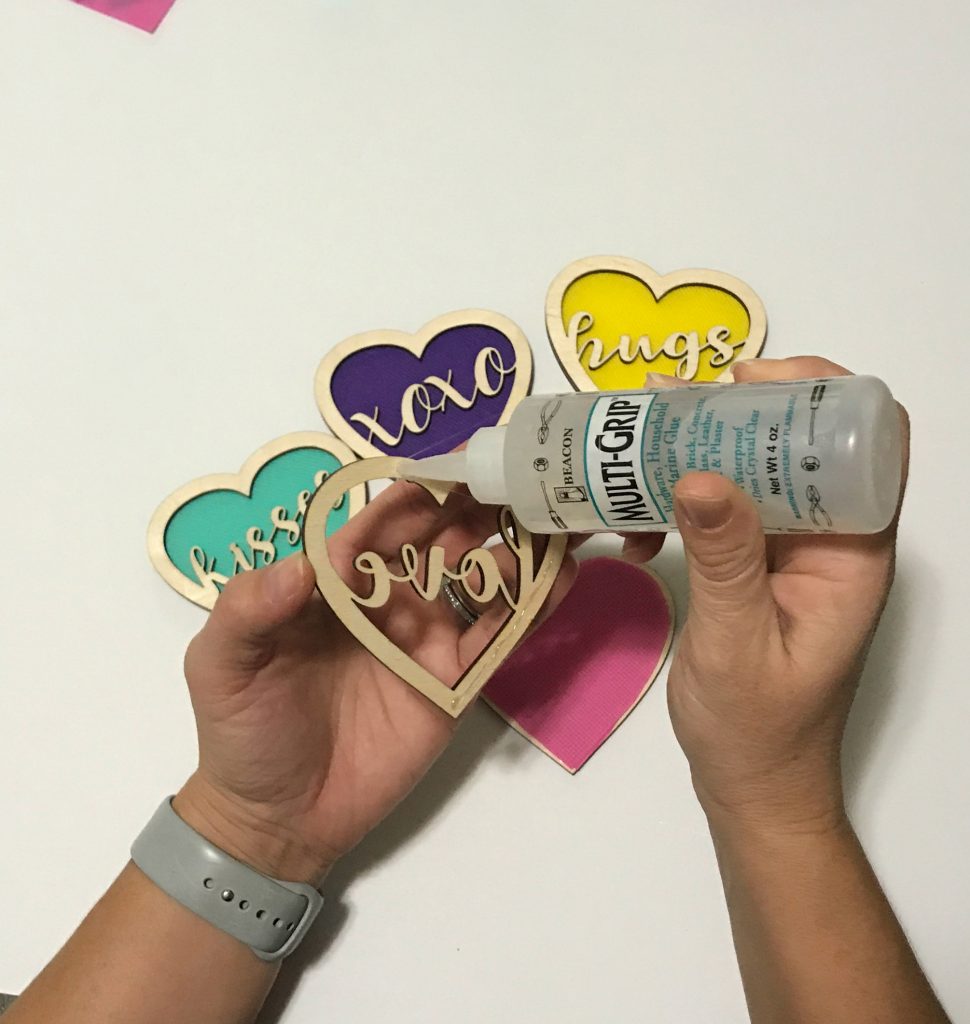
I used Beacon Mutli-Grip glue to first attach both layers of Oly*Fun to the back piece of the heart. Then I applied glue to the back of the heart with the word on it and layered it on top of the Oly-Fun.

I let them dry. They can be given to someone as a Valentine, strung onto string to create a banner or just displayed together as a Valentine’s decoration.

I also resized a love heart and a back piece to about 10 inches and added a hole to the top so that I could create a door hanger. I followed the same directions for the big one that I did for the smaller ones. And then I added a ribbon to hang it up.

Hope you like these adorable little love word hearts. They were fun and easy to make! The kids could even help to put them together! Happy Valentine’s Day!

Until next time….

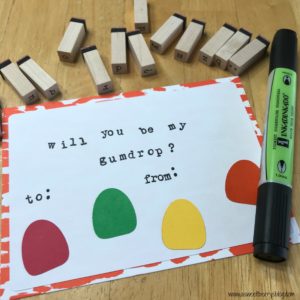
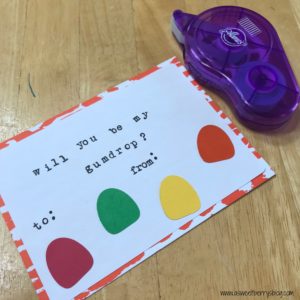
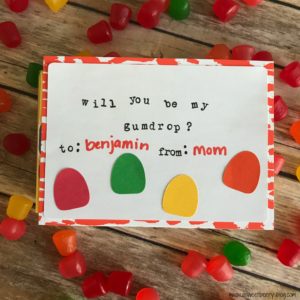
Will You Be My Gumdrop? Valentine

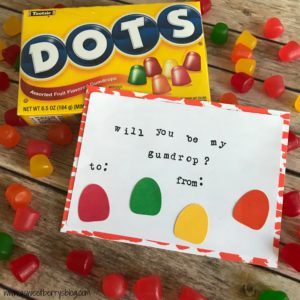
Craft Lightning is here again and this time it’s to celebrate obscure holidays!  I picked National Gumdrop day, February 15th, which just happens to be the day after Valentine’s Day!   So, why not make a Will You Be My Gumdrop Valentine!  I’ve created this cute card using my Cricut Explore.  Here is how you can make your own, even if you don’t have a Cricut!

Materials:

Cardstock:  white, pink, yellow, orange, green, a bright colored piece

Cricut Explore (or Maker) or a pair of scissors

Cricut cutting mat

Cricut Marker, Regular Marker or Stamps

Adhesive (I’m using a Xyron Sticker Maker and an Aleene’s tape runner)

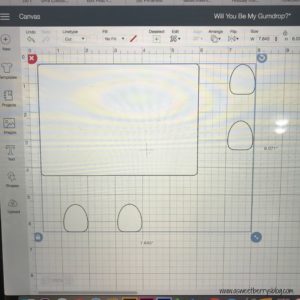
Will You Be My Gumdrop? .svg cut file or .pdf file if you don’t have a Cricut

Box of Grumdrops!

Instructions:

Download the files and cut the pieces or cut them out by hand.

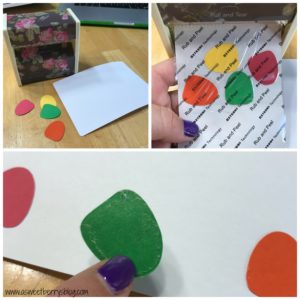
Using a Xyron Sticker maker, I made my gumdrops into stickers and attached them to the card.  

You can write the words with your Cricut, you can hand write them or you can do what I did and use stamps.

Using a tape runner, I attached the Valentine cardstock cut out to a colorful piece of cardstock!

Then it was ready to give to a sweet little Valentine just in time for National Gum Drop Day!

Hope you like this quick and easy Valentine for National Gum Drop Day!

Be sure to check out other quick and easy Obscure Holiday Craft Lightning projects by clicking the photo below!

Until next time…..

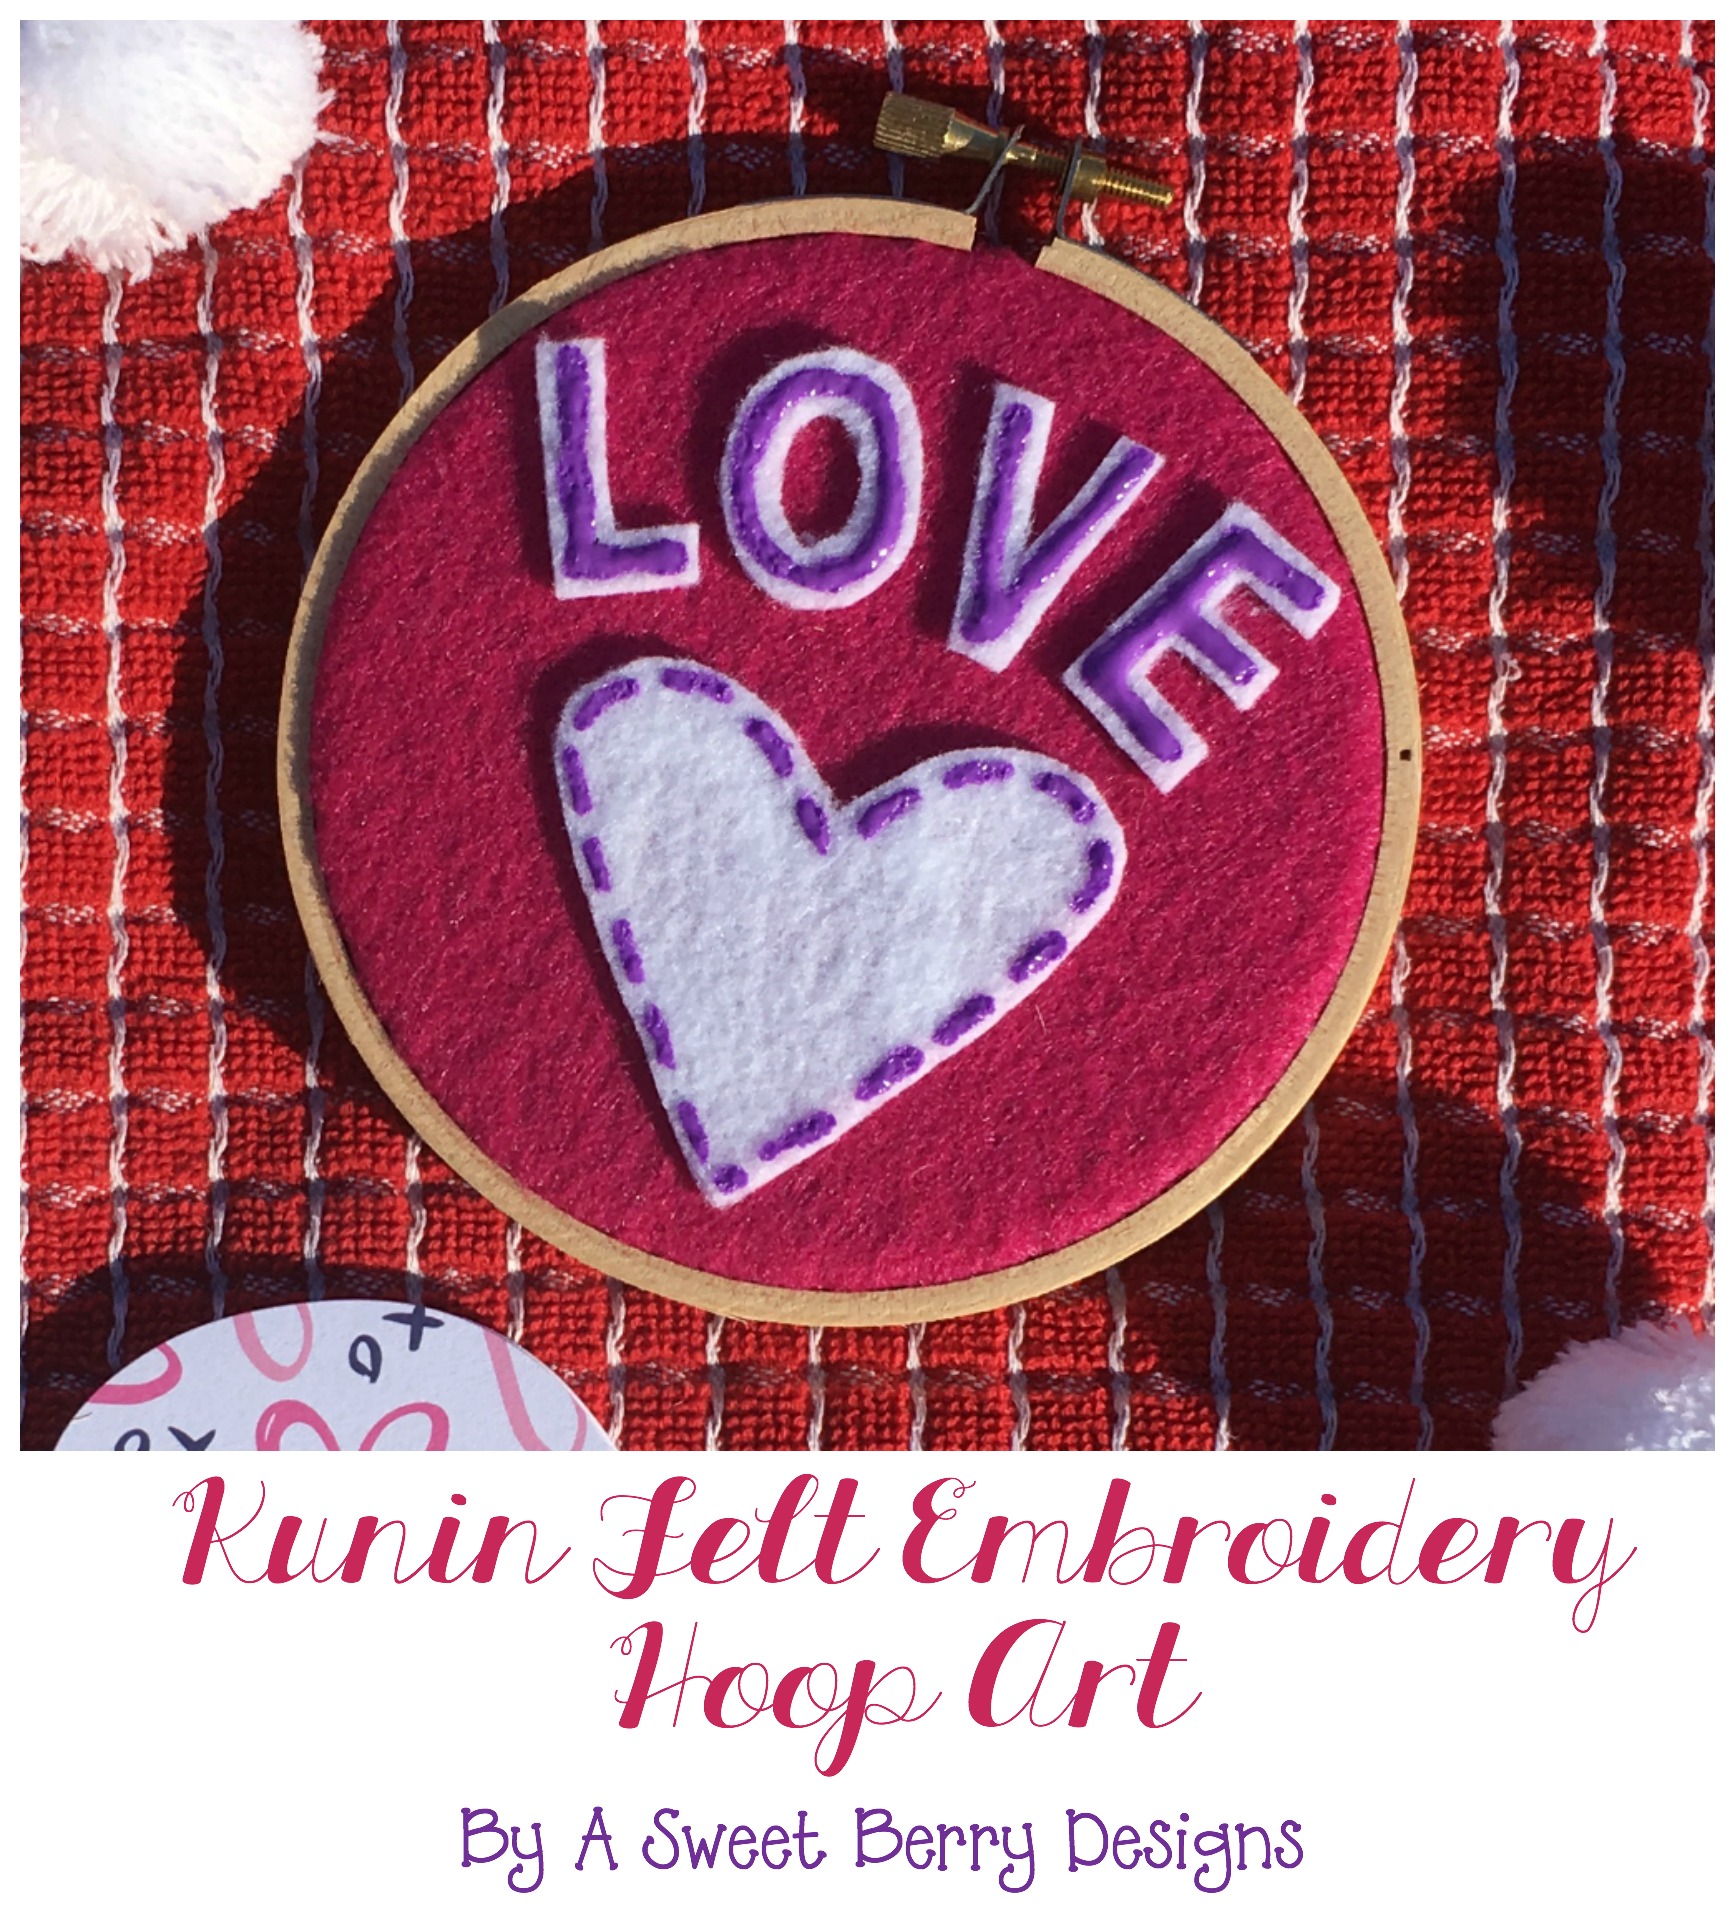
Kunin Felt Embroidery Hoop Art

Sometimes I like to be a little unconventional!   This time it’s with a Valentine’s Day Card!  I’m participating in a Valentine’s Day DIY Card Swap!   So, for this Card Swap, I made an Embroidery Hoop Art that can be displayed using Kunin Felt!

Hoop2_Final

Materials Needed:
Embroidery Hoop (I used a 4 inch)
Pink and White Felt (Kunin Felt)
Scissors 
Beacon Felt Glue
Tulip Fabric Paint

Felt In Hoop

Directions:  

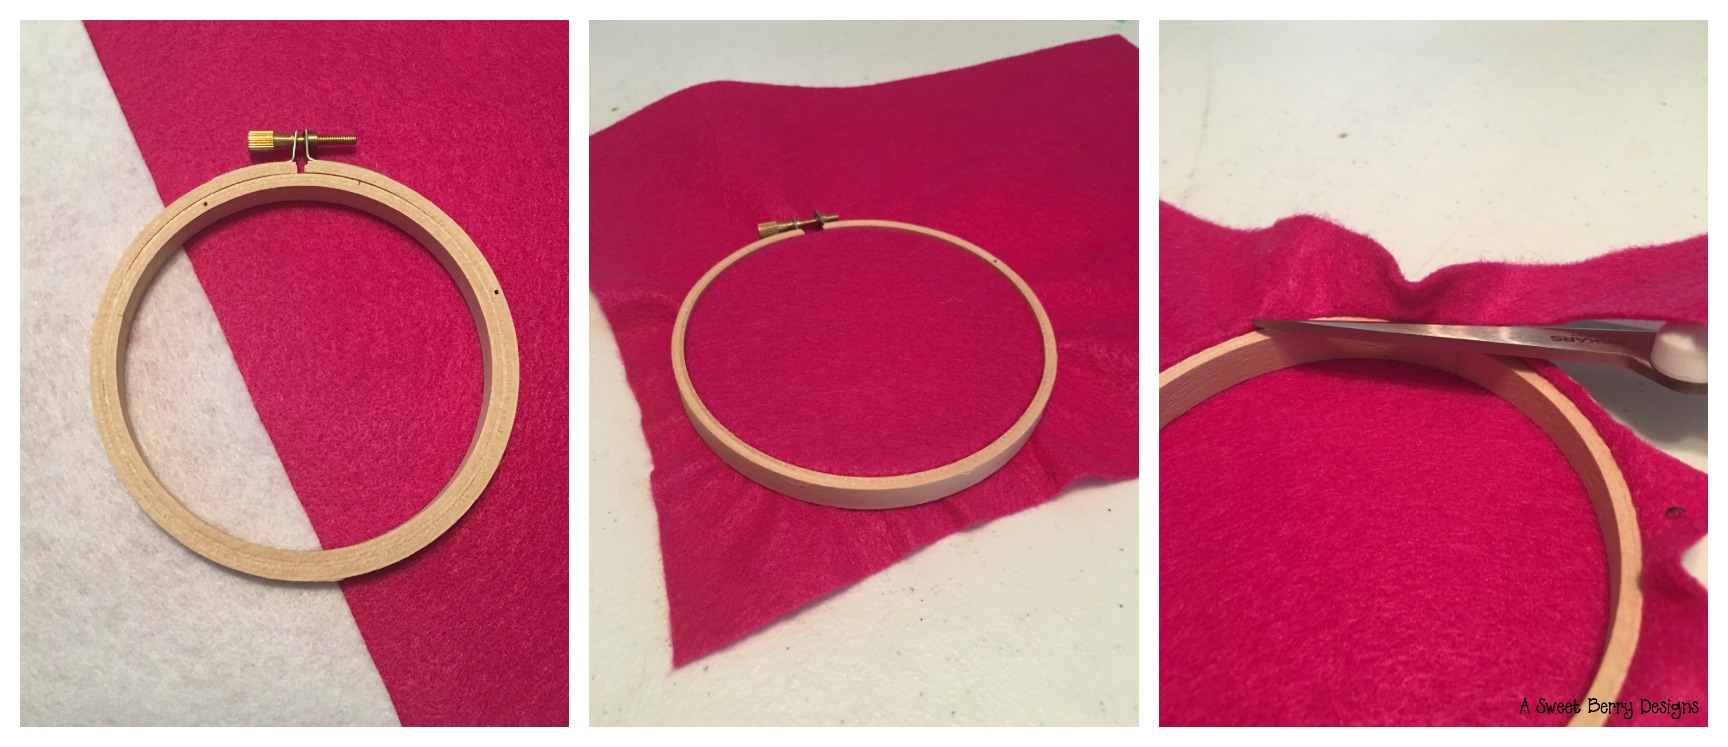
1.  I placed the felt in the hoop and tightened the screw.

2.  Once the fabric was pulled tight, I trimmed the extra felt.

Glue and Paint

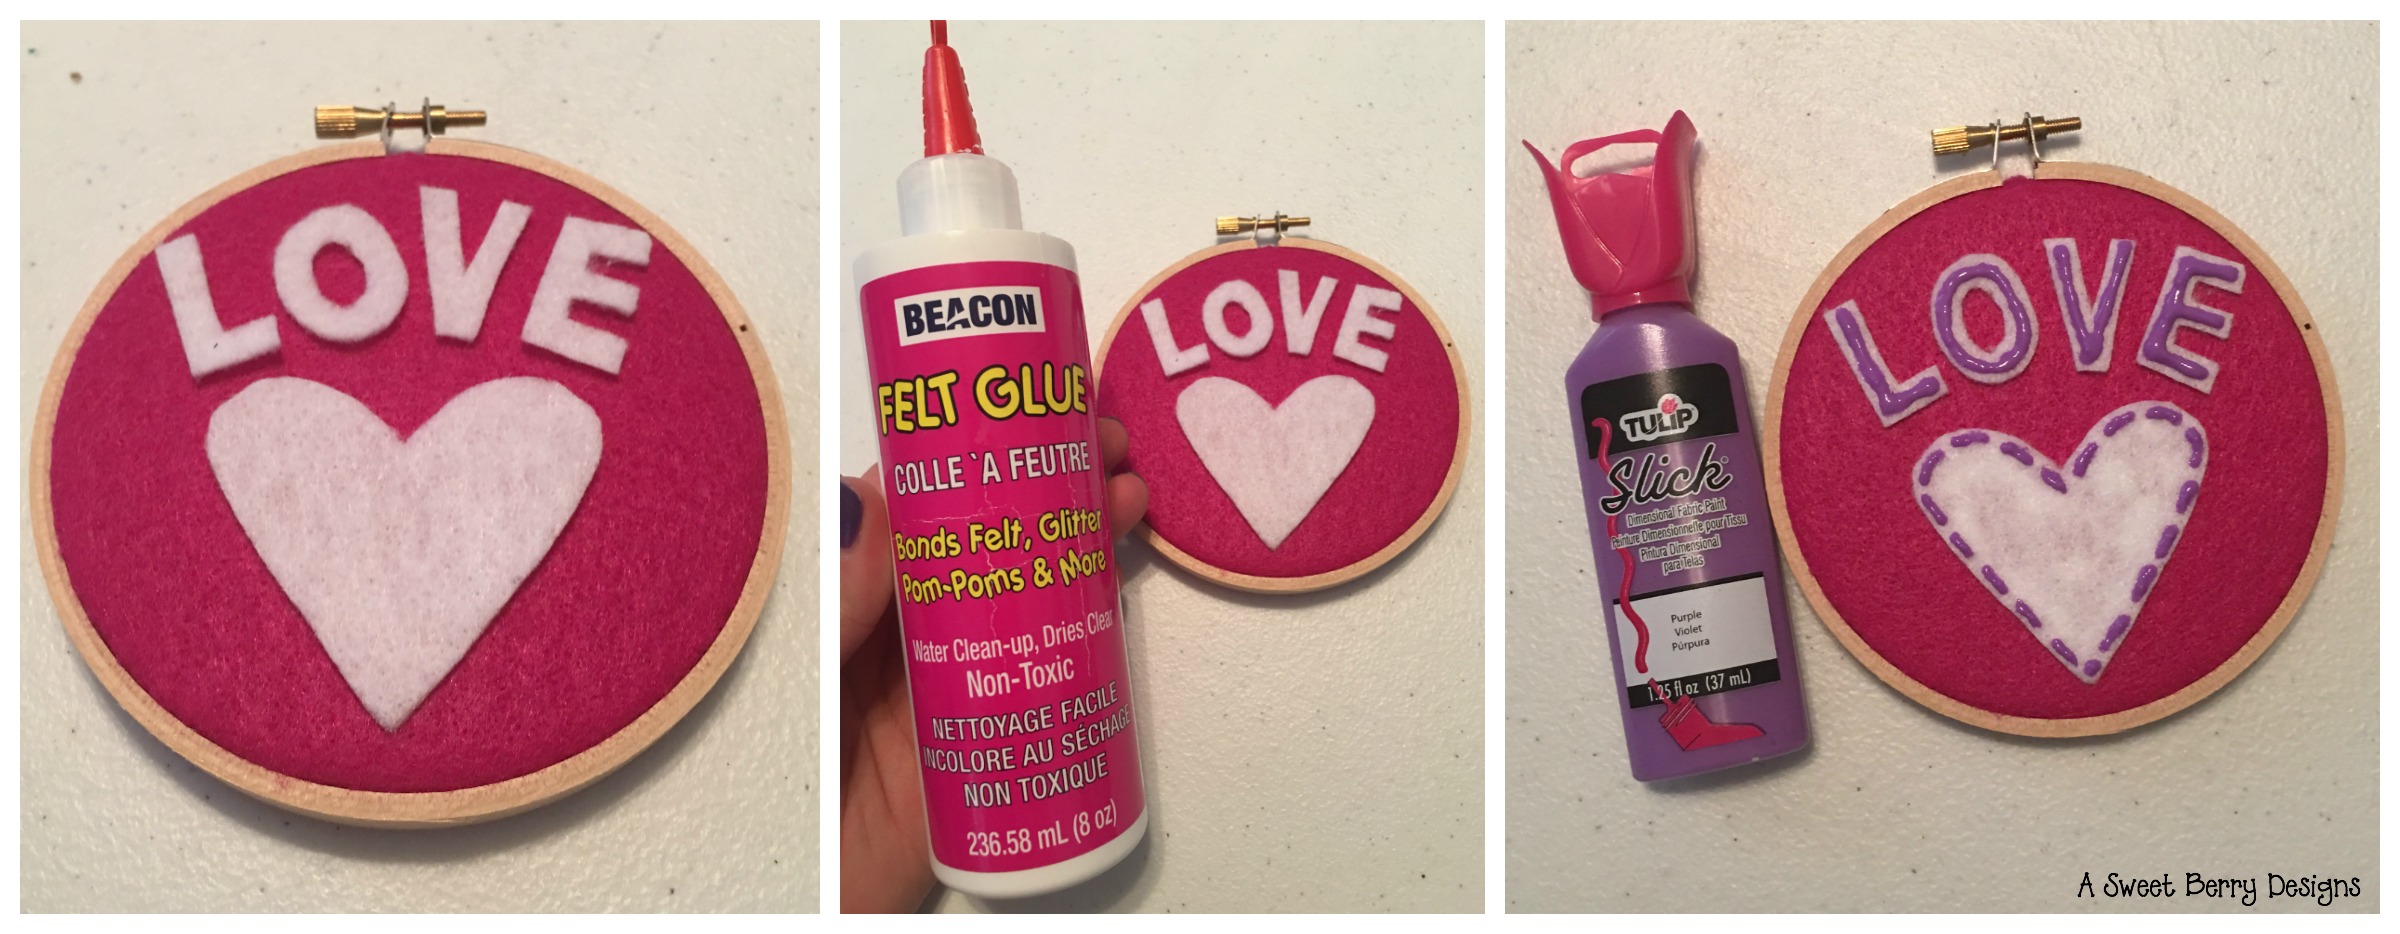
3.  From the white felt, I cut a heart and the letters to spell “LOVE”.  

4.  Using Beacon Felt Glue, I glued them down.

5. Using Tulip Slick Fabric Paint, I added some details.

6.  Let dry and then it’s ready to be put in the mail to a special person!

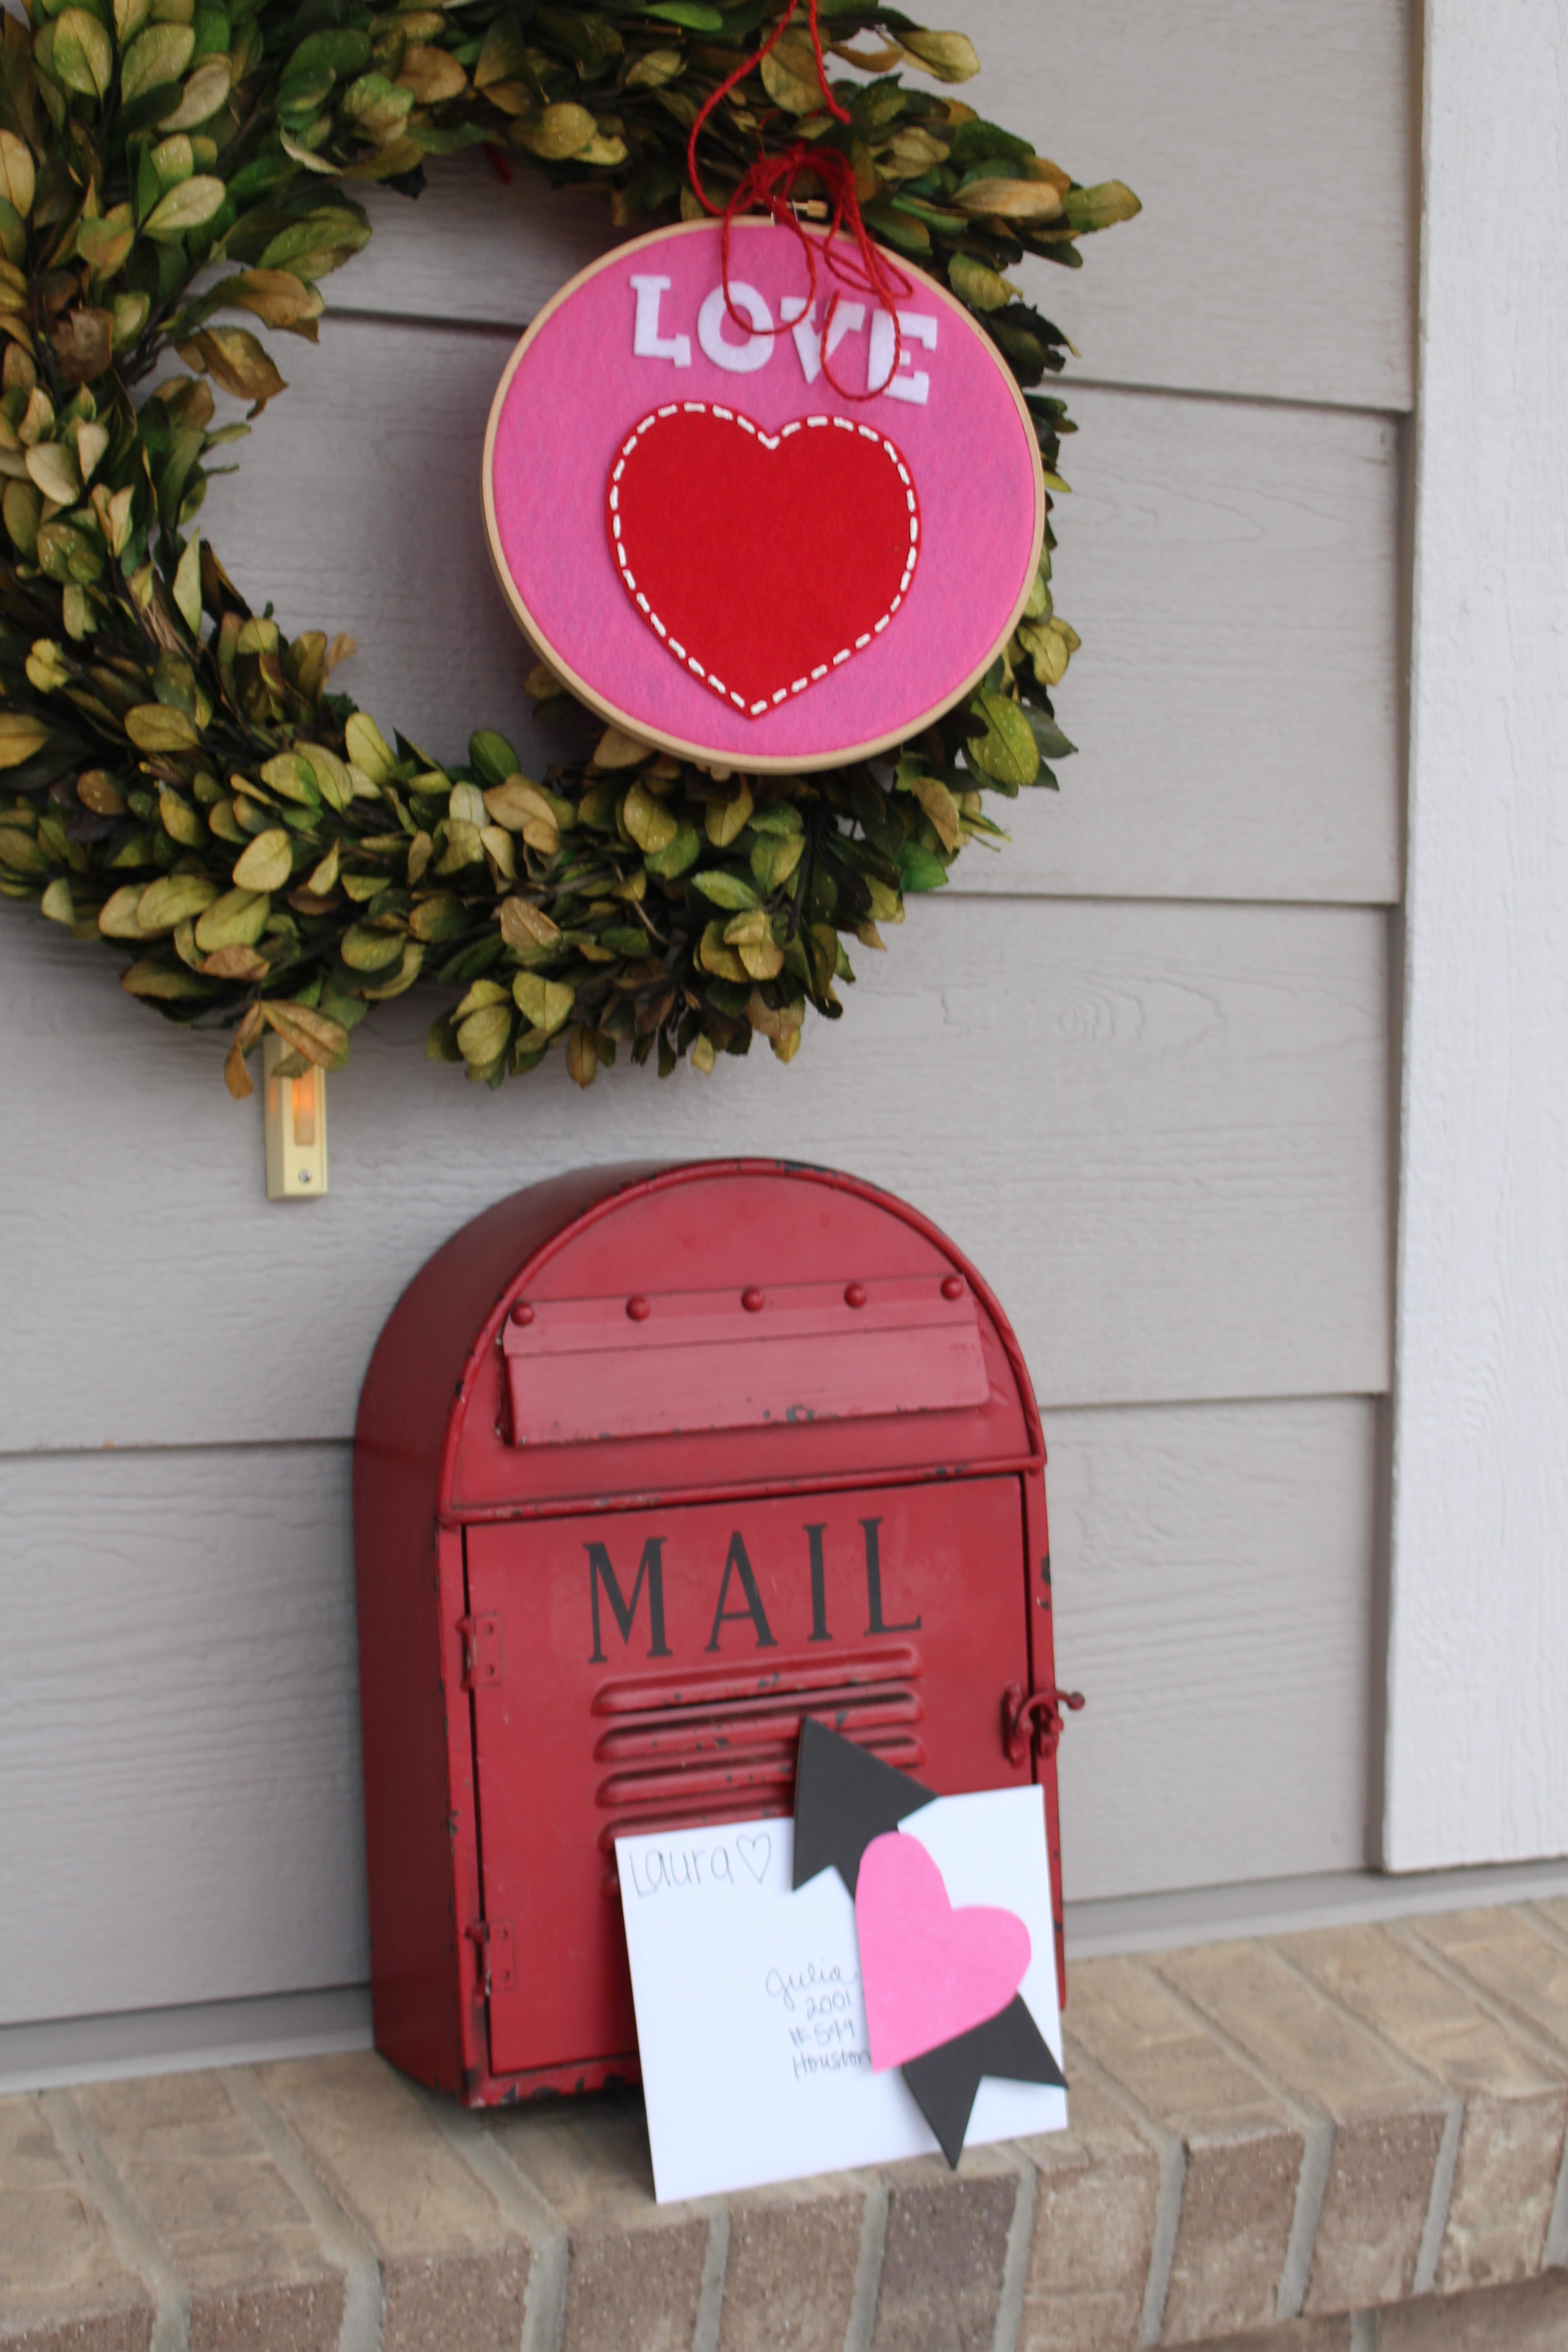
Here is one that I made for the Designer Section Share The Heart Free Art Project at Creativation in Phoenix, AZ last month.  Pieces of Art with a Heart made by the CHA Designers placed art around the show and people could find it and keep it!  My friend Laura Kelly was the one to find mine!  For this one, I used Laura Kelly’s Lemonade Alphabet and Heart #5 dies from Sizzix.

IMG_9201

Check out 9 other great Valentine’s Day Card ideas!

Ariel from PMQ for two’s post // here //

Laura from Me And My Inklings’s post  // here //

Julia from Bunny Baubles’s post // here //

Alexis from Persialou’s post // here //

Mila from Jest Cafe’s post // here //

Lisa & Rachel from Haute Girls Official // here //

Dena from Dena Designs’s post // here //

Mara from Wishes and Merriment’s post // here //

Amy from The Glitter In My Tea’s post  // here //

Also, here is a more traditional Valentine’s Day Card!  Click the photo to check it out!

Heart Card

Hope you enjoyed this Embroidery Hoop Art!  Until next time….


Easy Valentine’s Day Heart Card

Disclaimer:  This post contains an affiliate link.

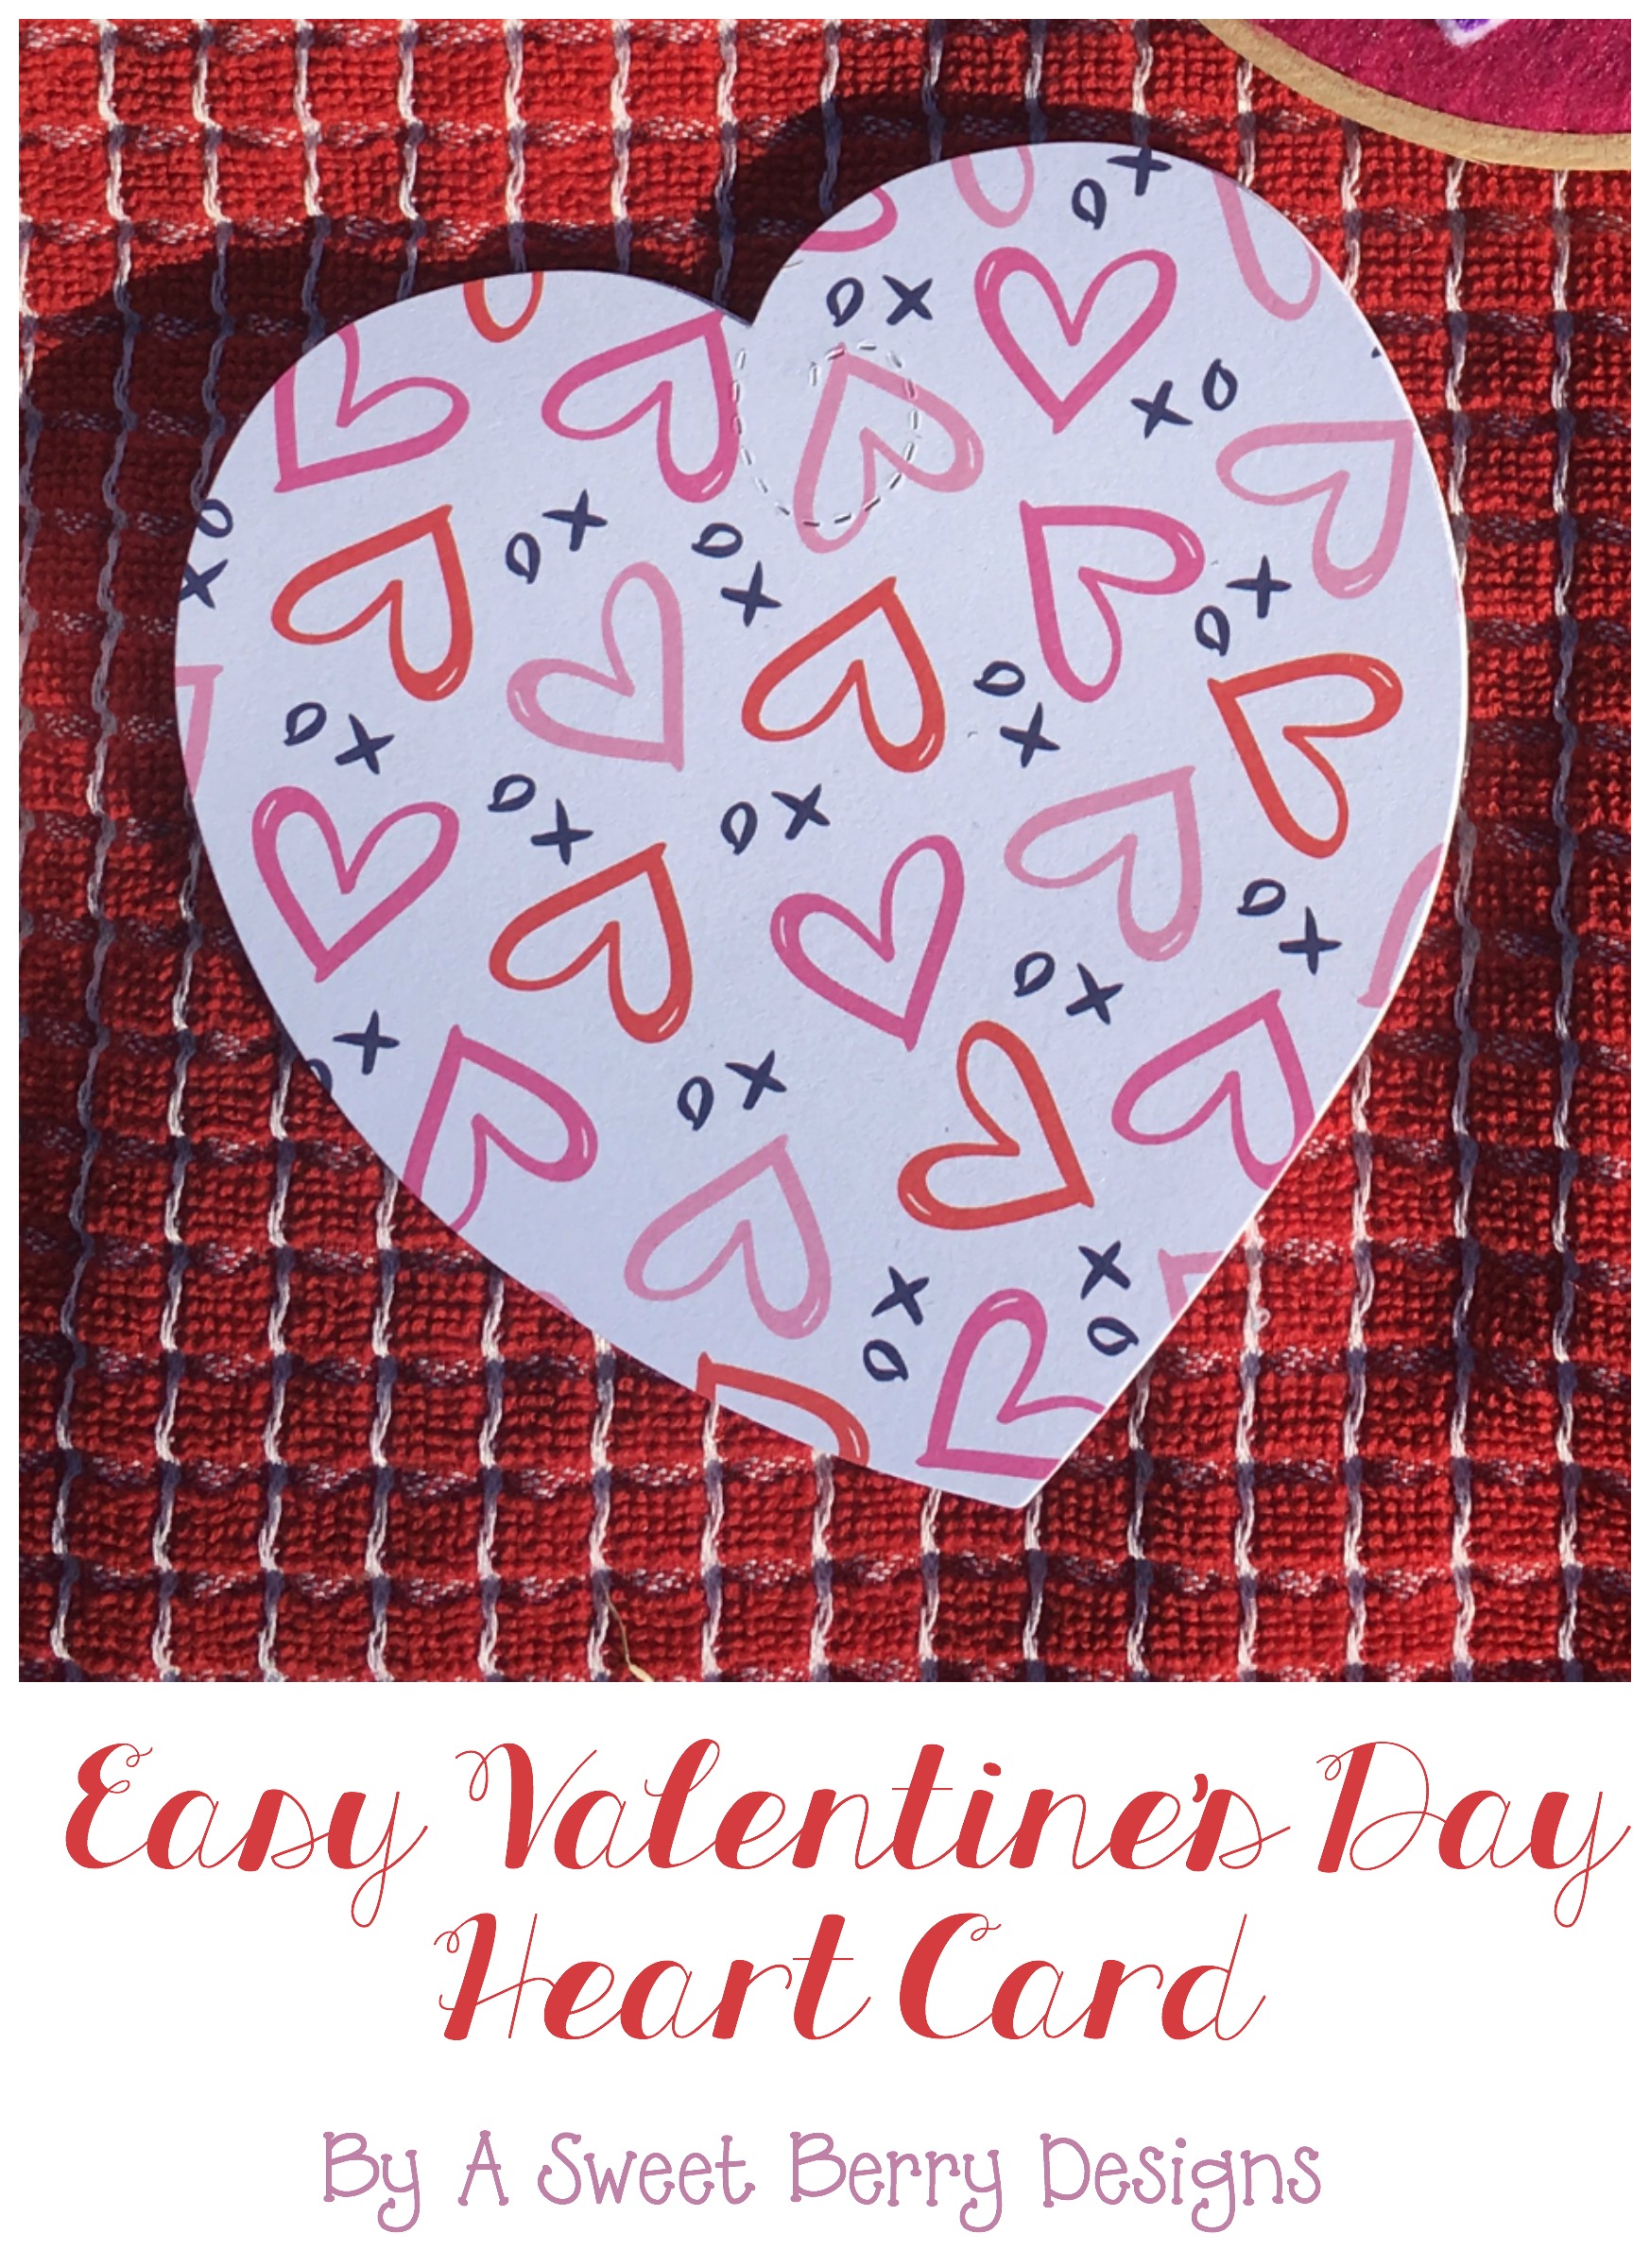
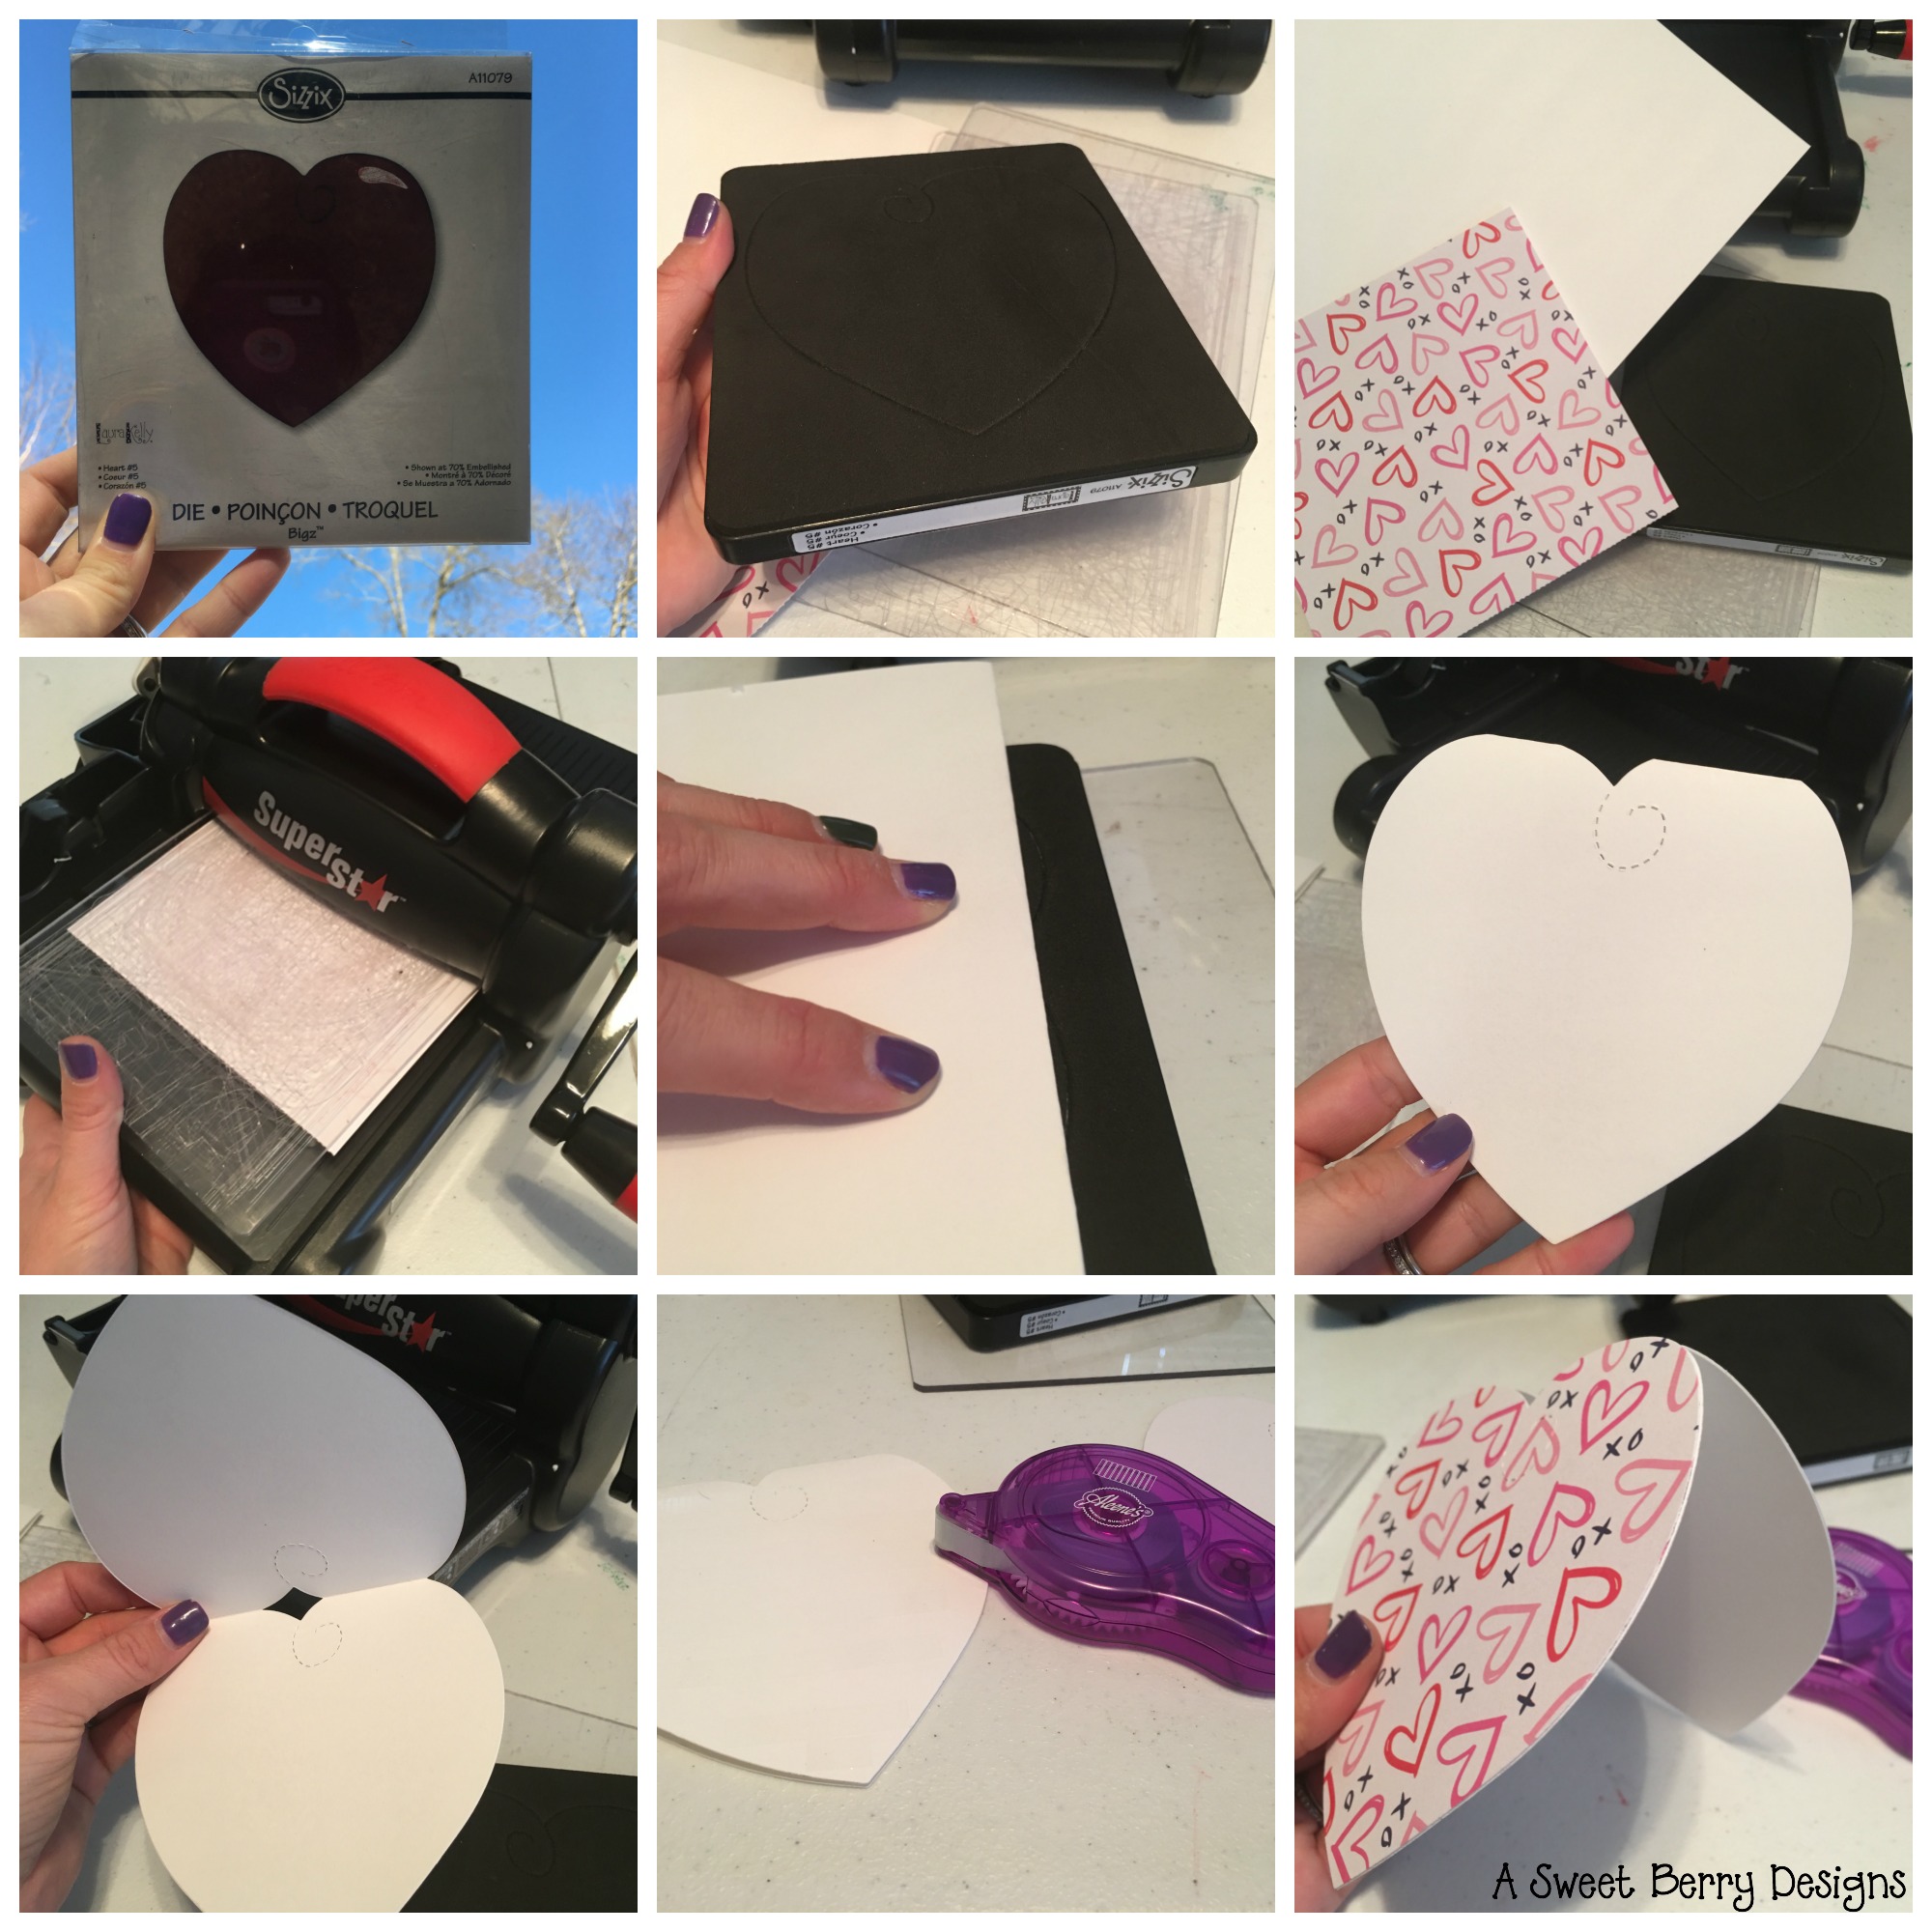
Valentine’s Day is right around the corner!  Need a super easy card?  Here is one for you!  It’s a Valentine’s Day Heart Card!

Heart Card

Materials Need:
Ellison SuperStar Machine
Cutting Pads
Laura Kelly’s Sizzix Heart #5
White Card Stock
Cute Valentin’e Day Card Stock
Tape Runner

Card

Directions:

  1.  First, using the Ellison SuperStar Machine, the cutting dies, the heart die and your cute Valentine’s Day paper, cut a heart.  Be sure to place your paper cute side down.
  2. Fold your piece of white card stock in half.  
  3. Place the folded side down at the top of the heart, moving it down to right below the cut lines of the heart.  This will create the fold in your heart card.
  4. You may need to trim off the extra paper on the sides.
  5. Place the die and paper on the cutting pads and run it through the machine.
  6. This step is important:   See which side of your fold card heart matches up to the cute card stock heart.
  7. Using a tape runner, place tape on the front part of your white card stock. 
  8. Place the cute card stock heart on the front side of the card, making sure to line it up with the bottom of the heart.  Know that the top of the card and the cute card stock will not touch because you created that fold below the cut line of the die.
  9. Write a sweet little note inside and send it to someone special!

Hope you like this cute and super easy Valentine’s Day Heart Card!  

Until next time…..

Kunin Felt Love Banner

Disclosure:   This blog post contains one or more affiliate links.

It’s time for the Valentine’s Day Craft Lightning series!   And since I’m obsessed with banners lately, this was an easy one for me!  It really takes less than 15 minute and even the kids can help out with it.

Banner

Materials needed:
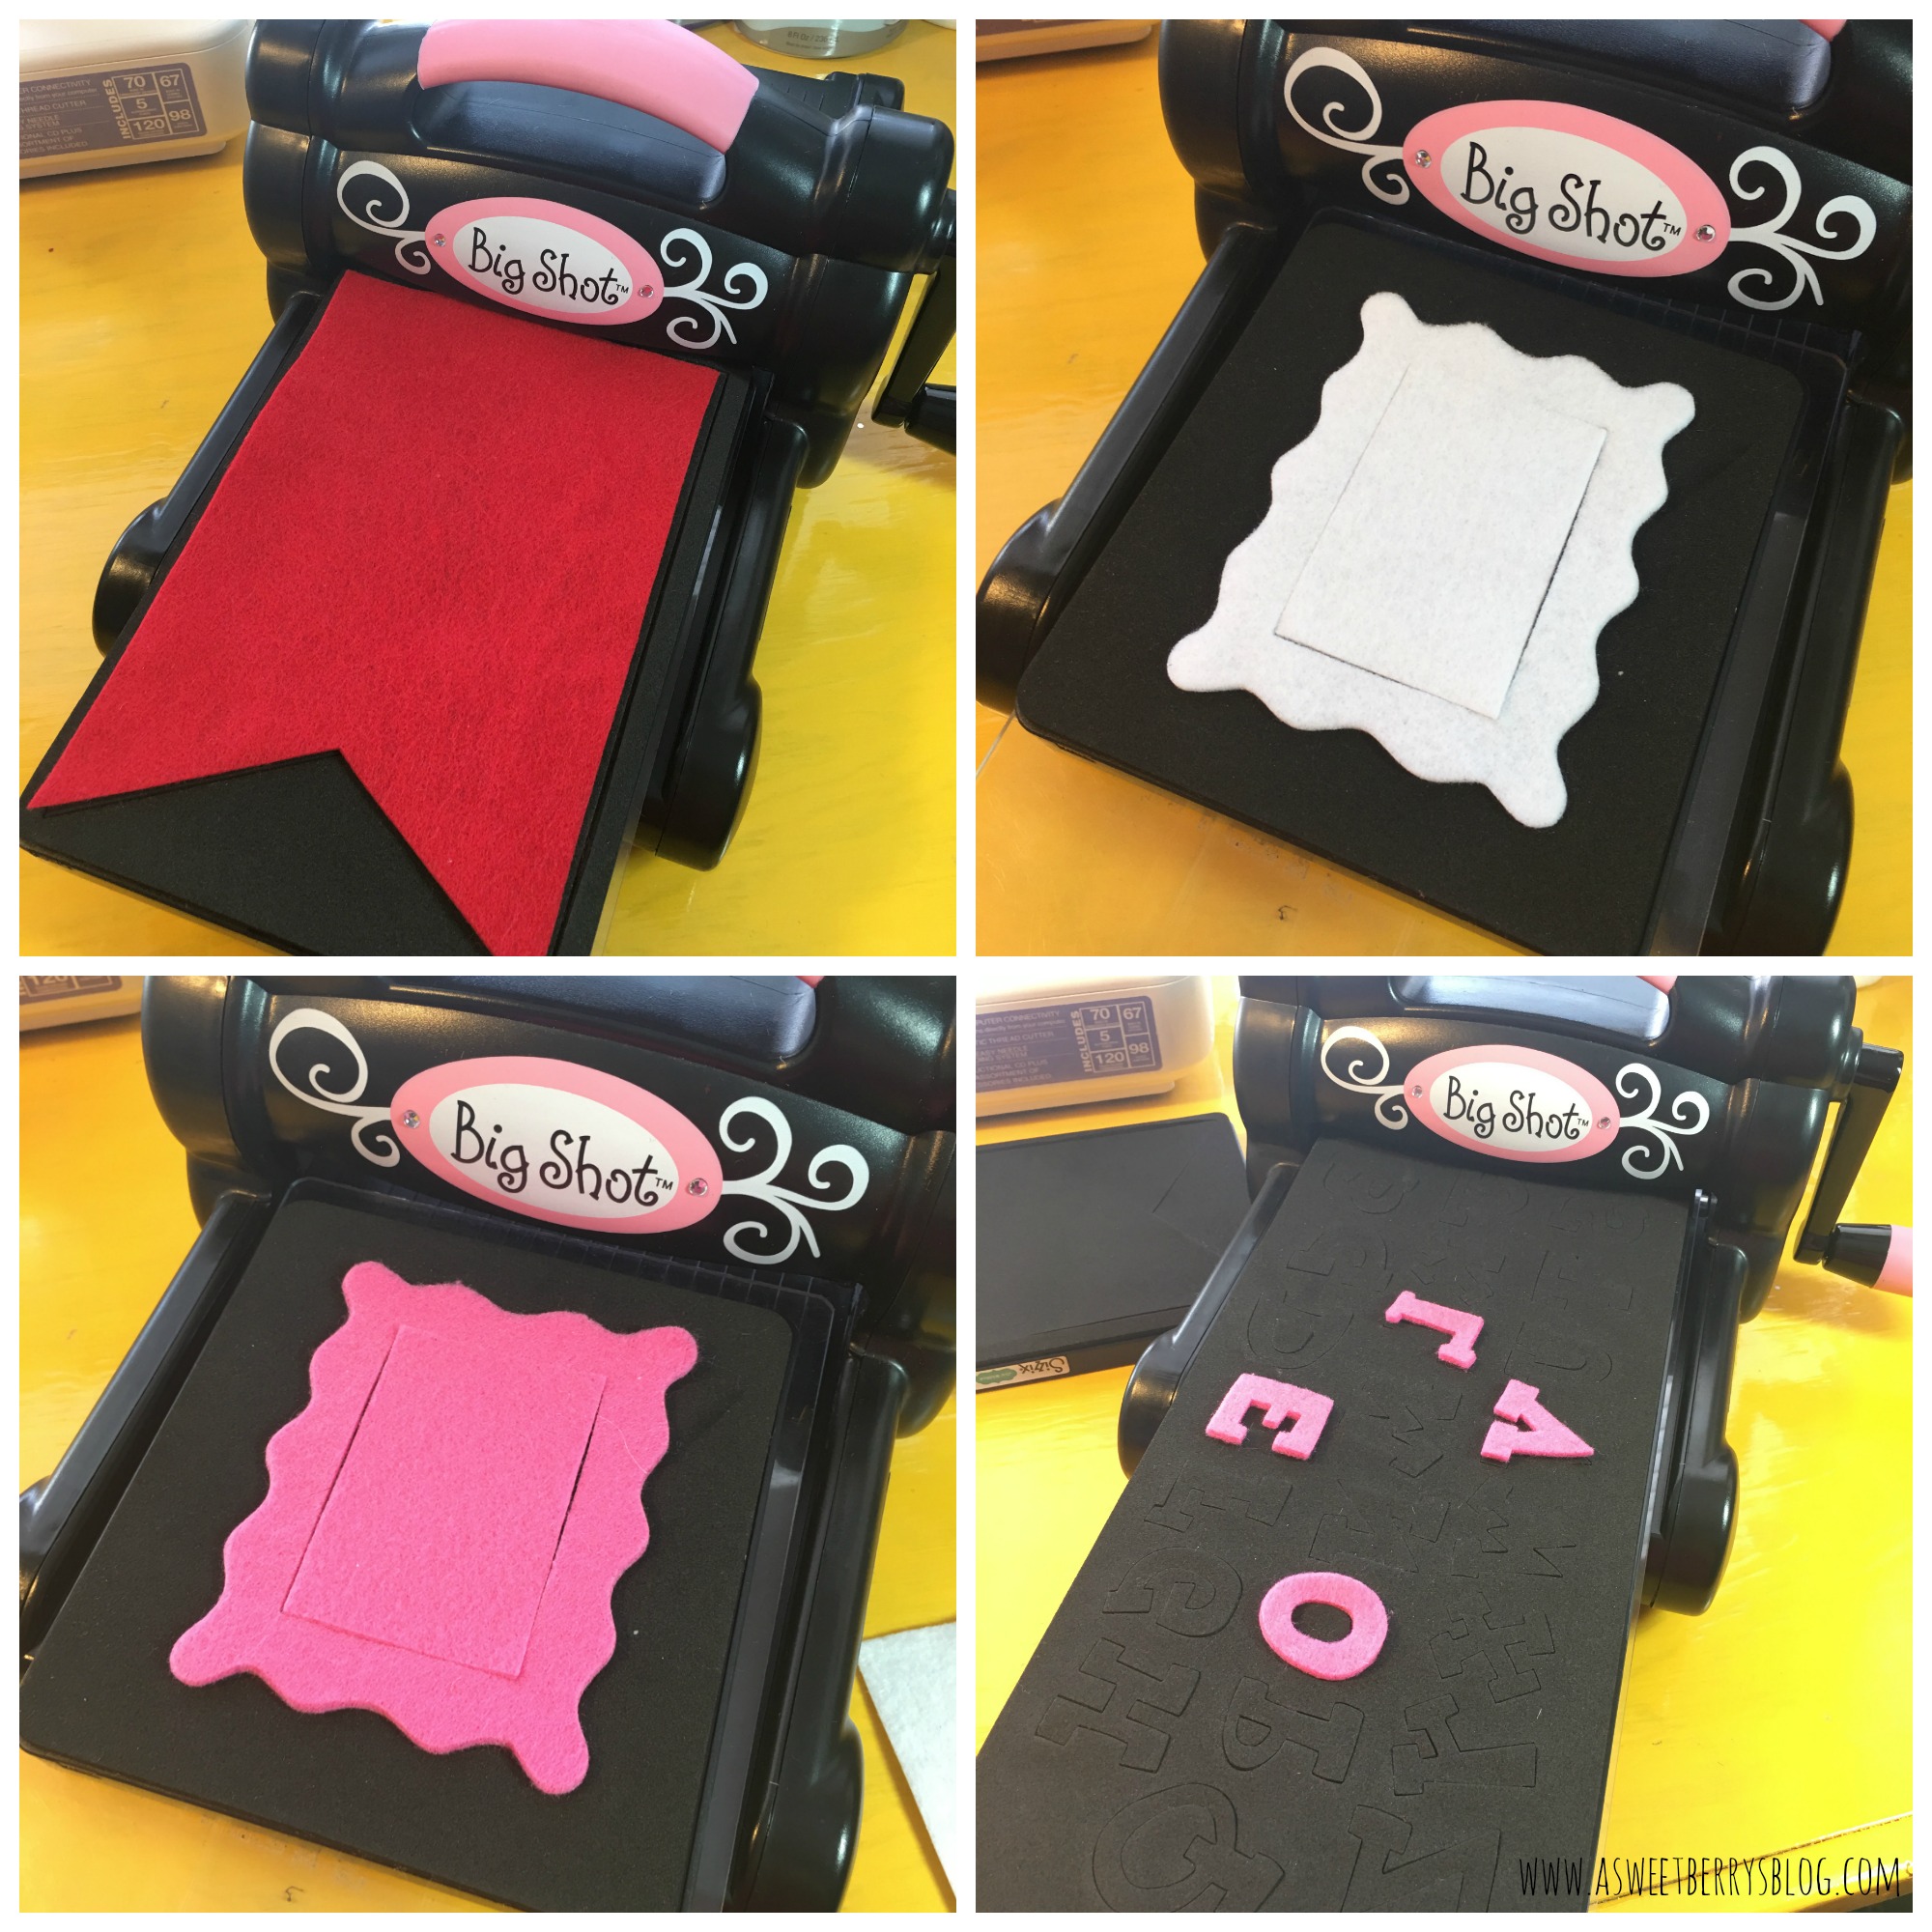
Sizzix Cutting Machine (I use a Big Shot)
Kunin Felt
Dies:

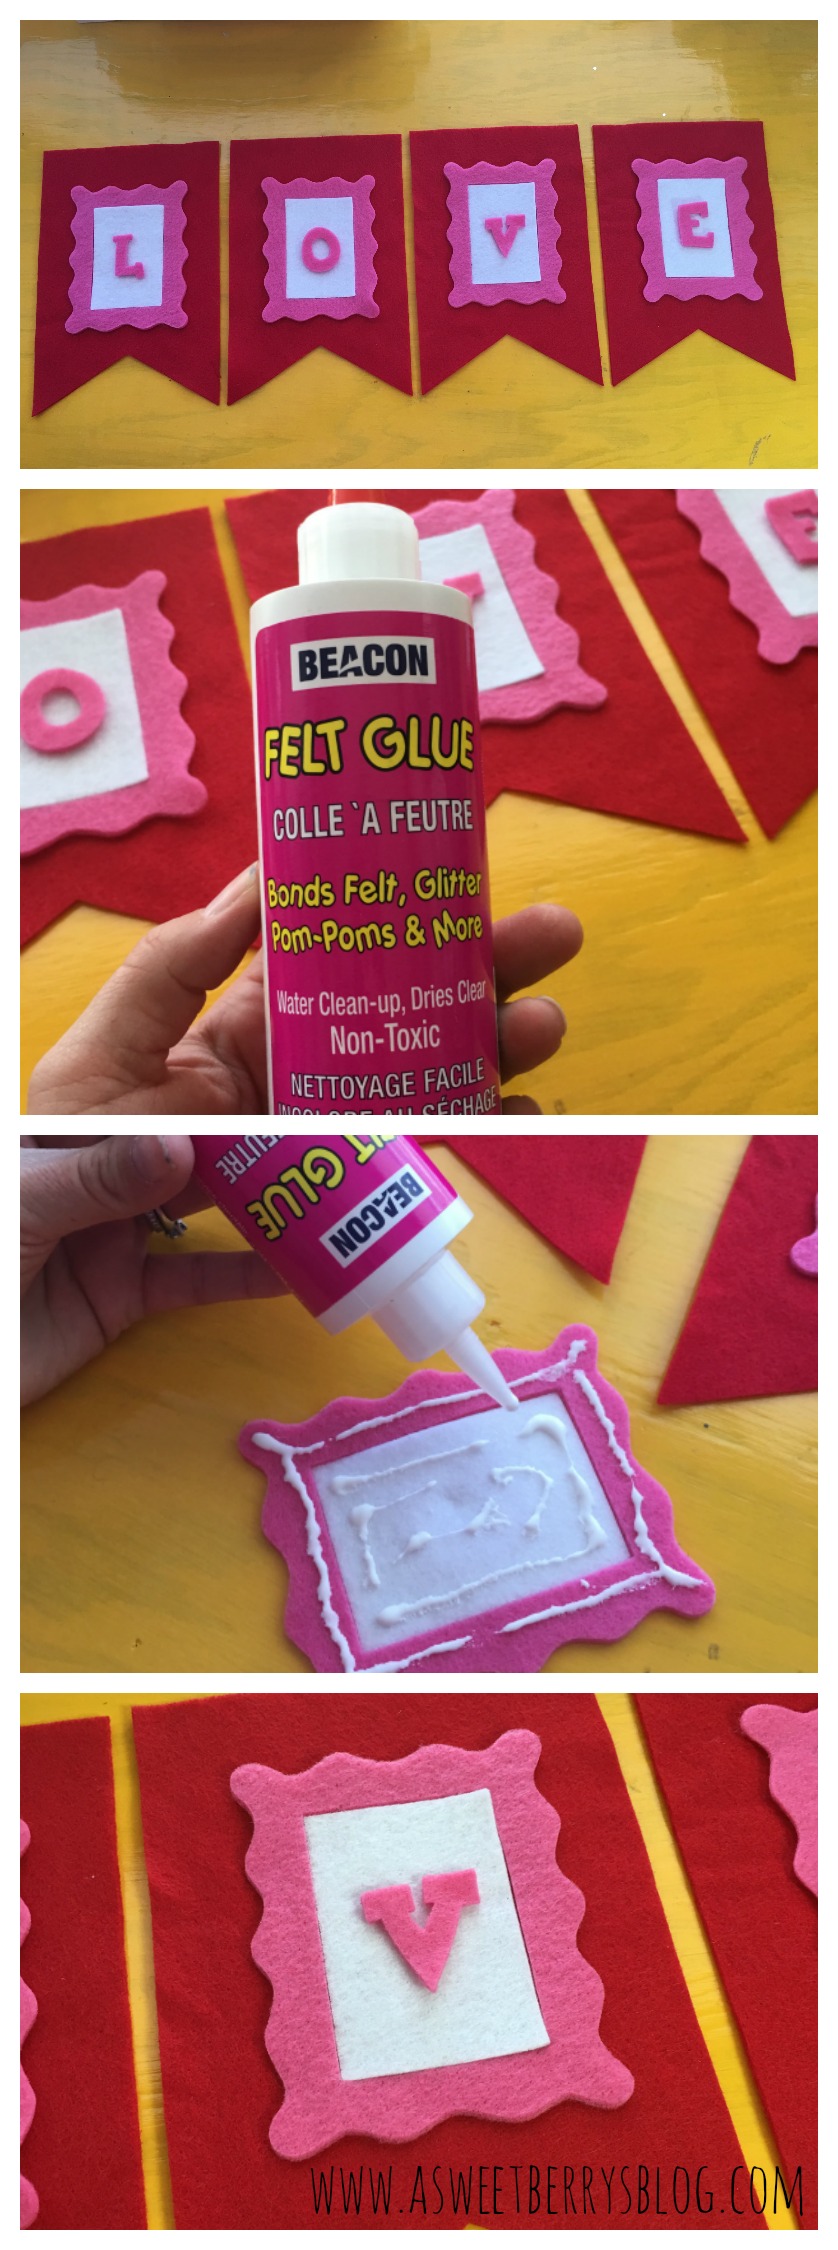
Felt Glue (I use Beacon’s)
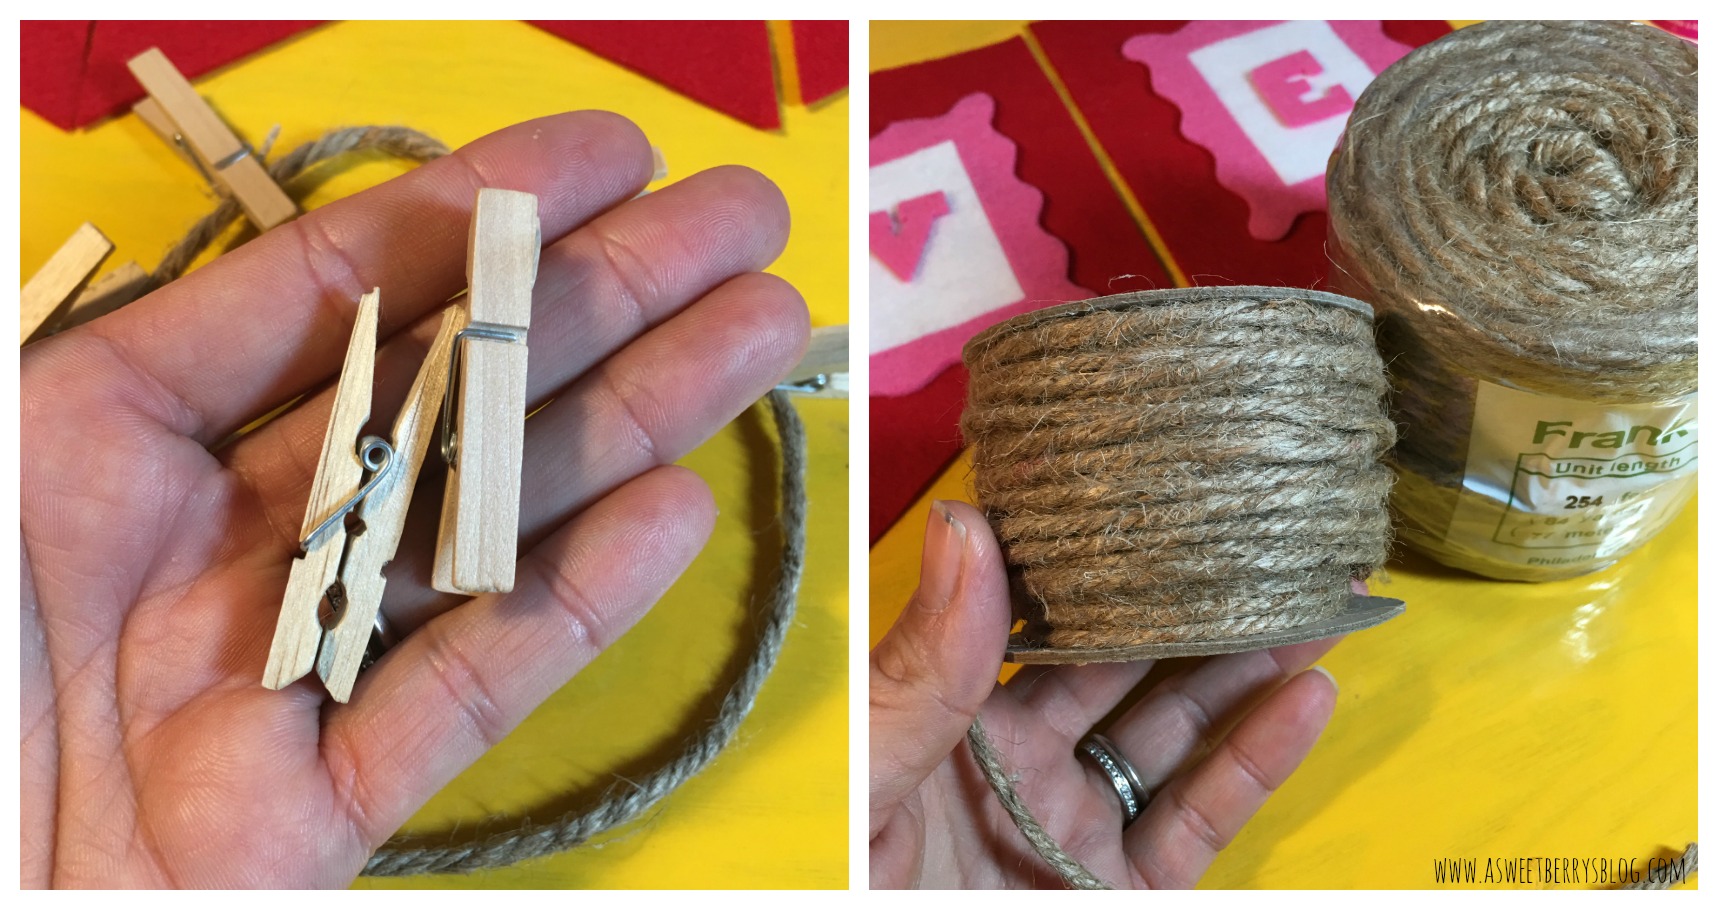
Jute Rope
Clothespins (I like the medium sized ones)

Step 1:  Using the Big Shot machine and dies, I cut all of my pieces.  Lori Whitlock’s Banner die is my favorite die ever, especially with the banner craze that I have right now!!!!   I also love Laura Kelly’s Lemonade Alphabet!   The Sizzix Wavy Frame is so versatile!   I cut the frame out in two different felt colors.  

dies

Step 2:   Lay your design out.  At first, I wasn’t going to add the inside of the frame piece, but then I decide to.  I like it!  Once you have it laid out the way you want it, glue it all down.  I glued the frames down first and then added the letters.

Glue Time

Step 3:  Let it dry and then add it to your jute rope using clothes pins.  Then hang it up!  Another option is to cut small cuts into the top of your felt banner and then slide it onto the jute rope.  I like the clothespins, simply for the fact that I like to make banners for different occasions and I can just switch them out!  I love to use Command Strips to hang up my banners.   They are easy to remove and you can put them wherever you want!

clips and rope

I hope you like this adorable LOVE banner made from Kunin Felt.  

Be sure to check out all of the other quick and easy Craft Lightning Valentine’s Day crafts by clicking the button below!!!
 

Katie-Signature-2

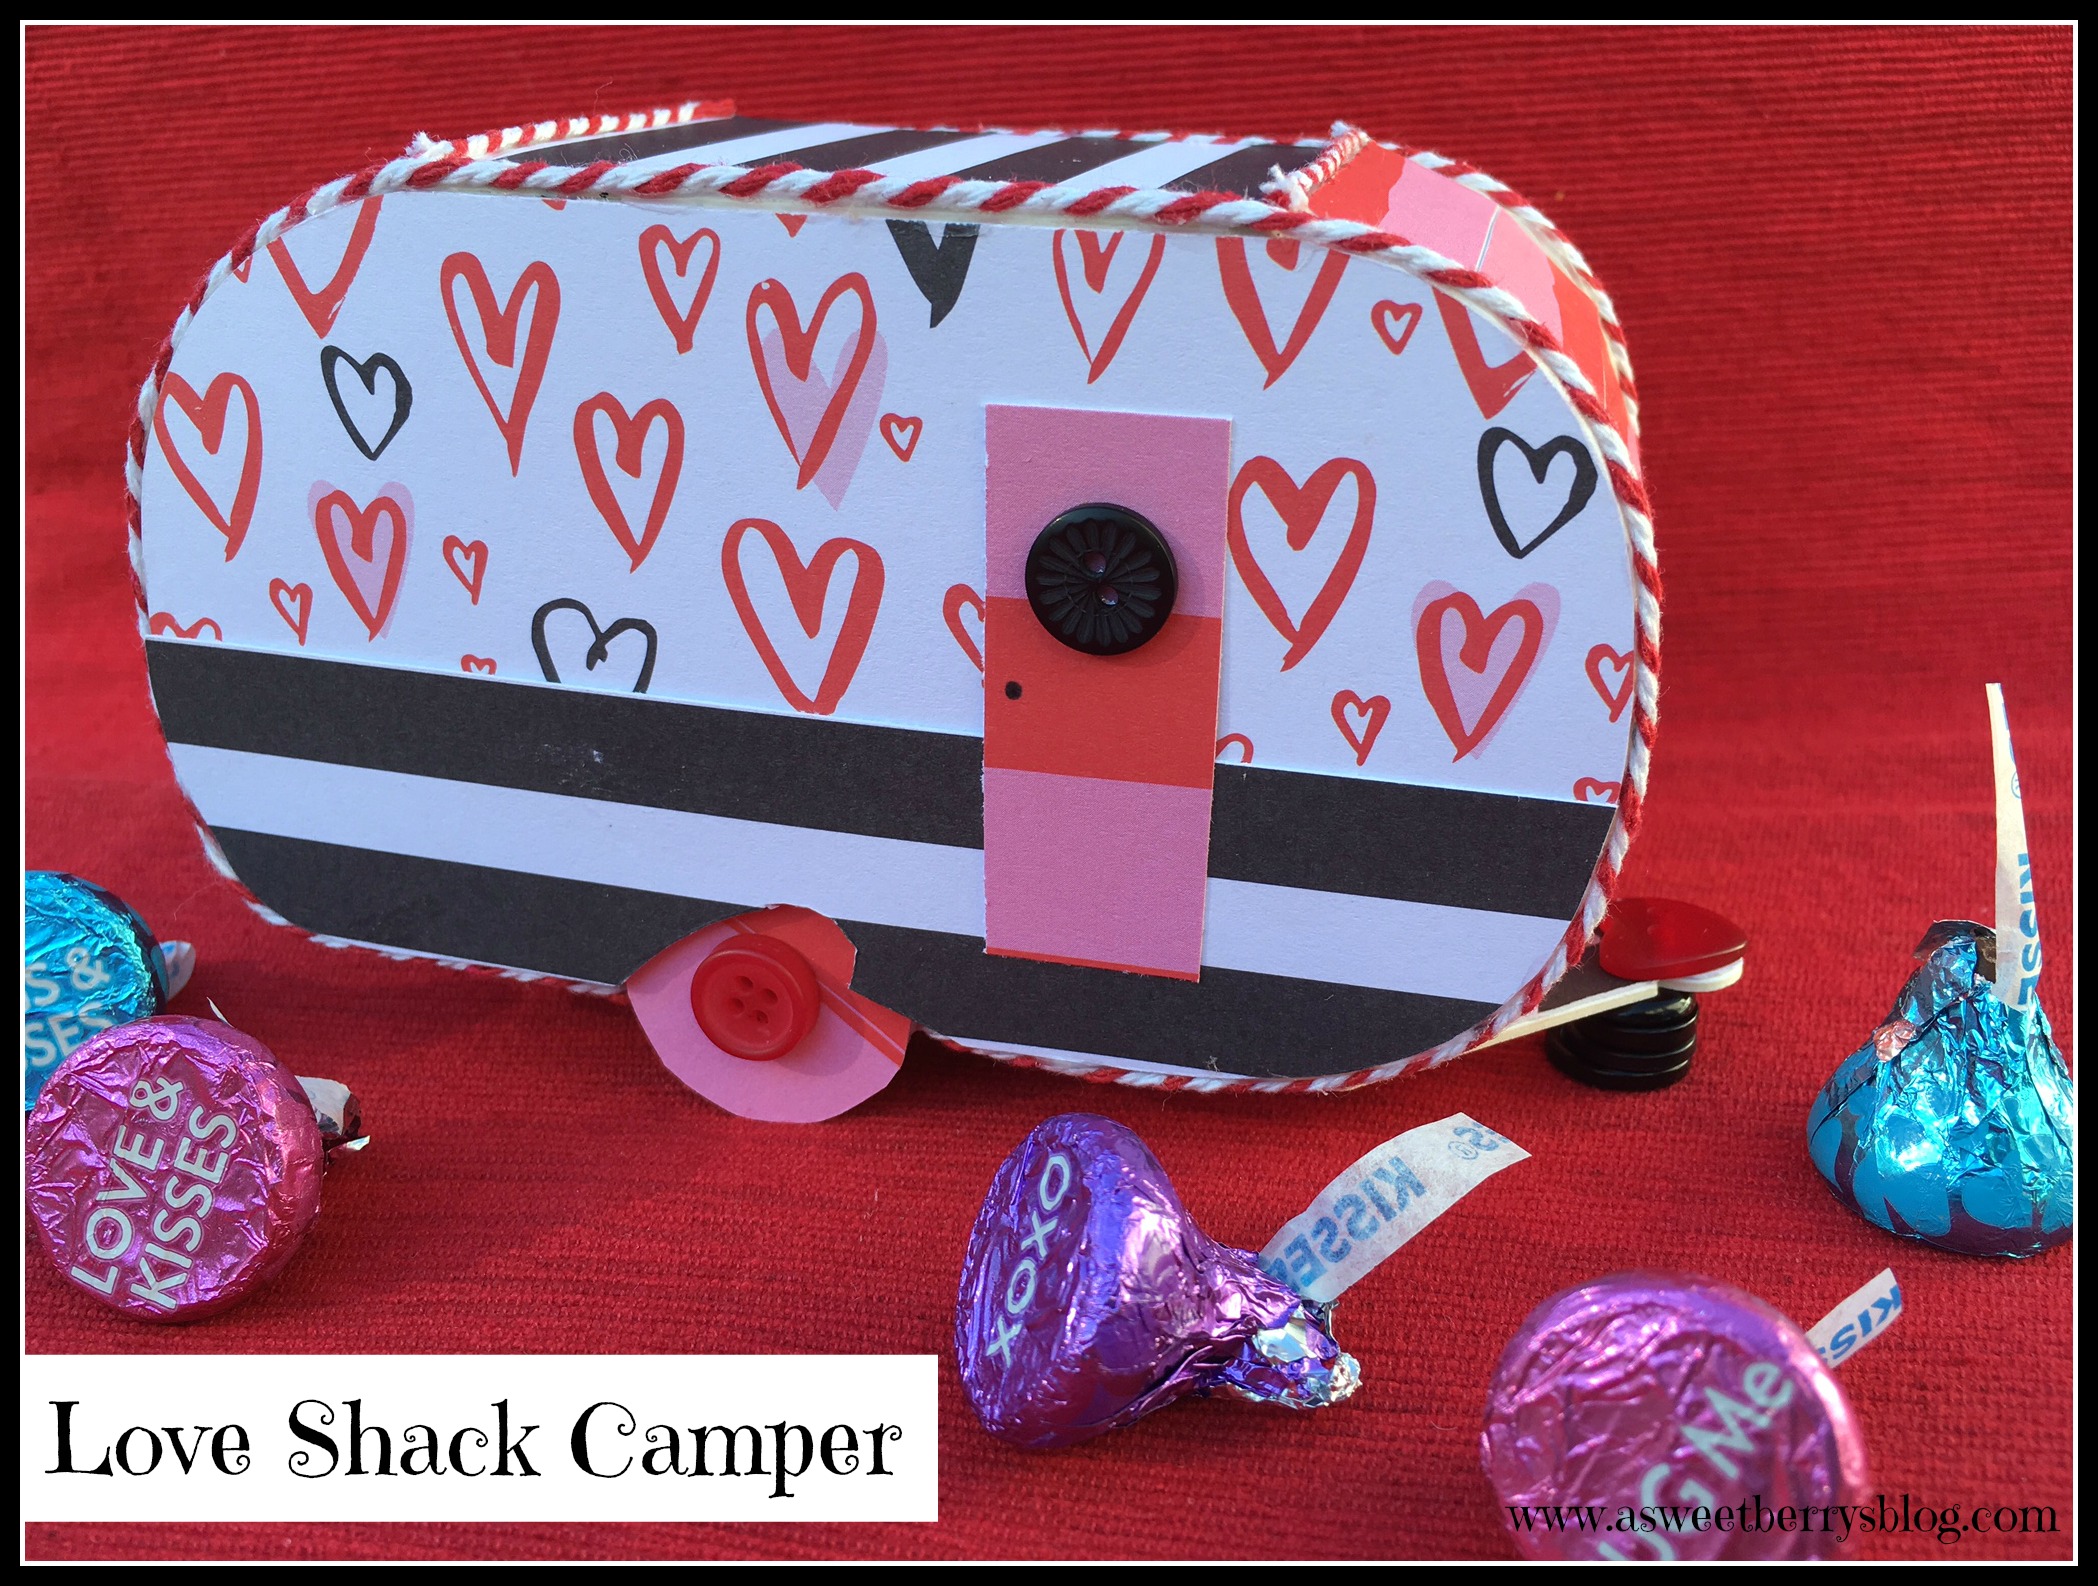
Love Shack Camper

camper

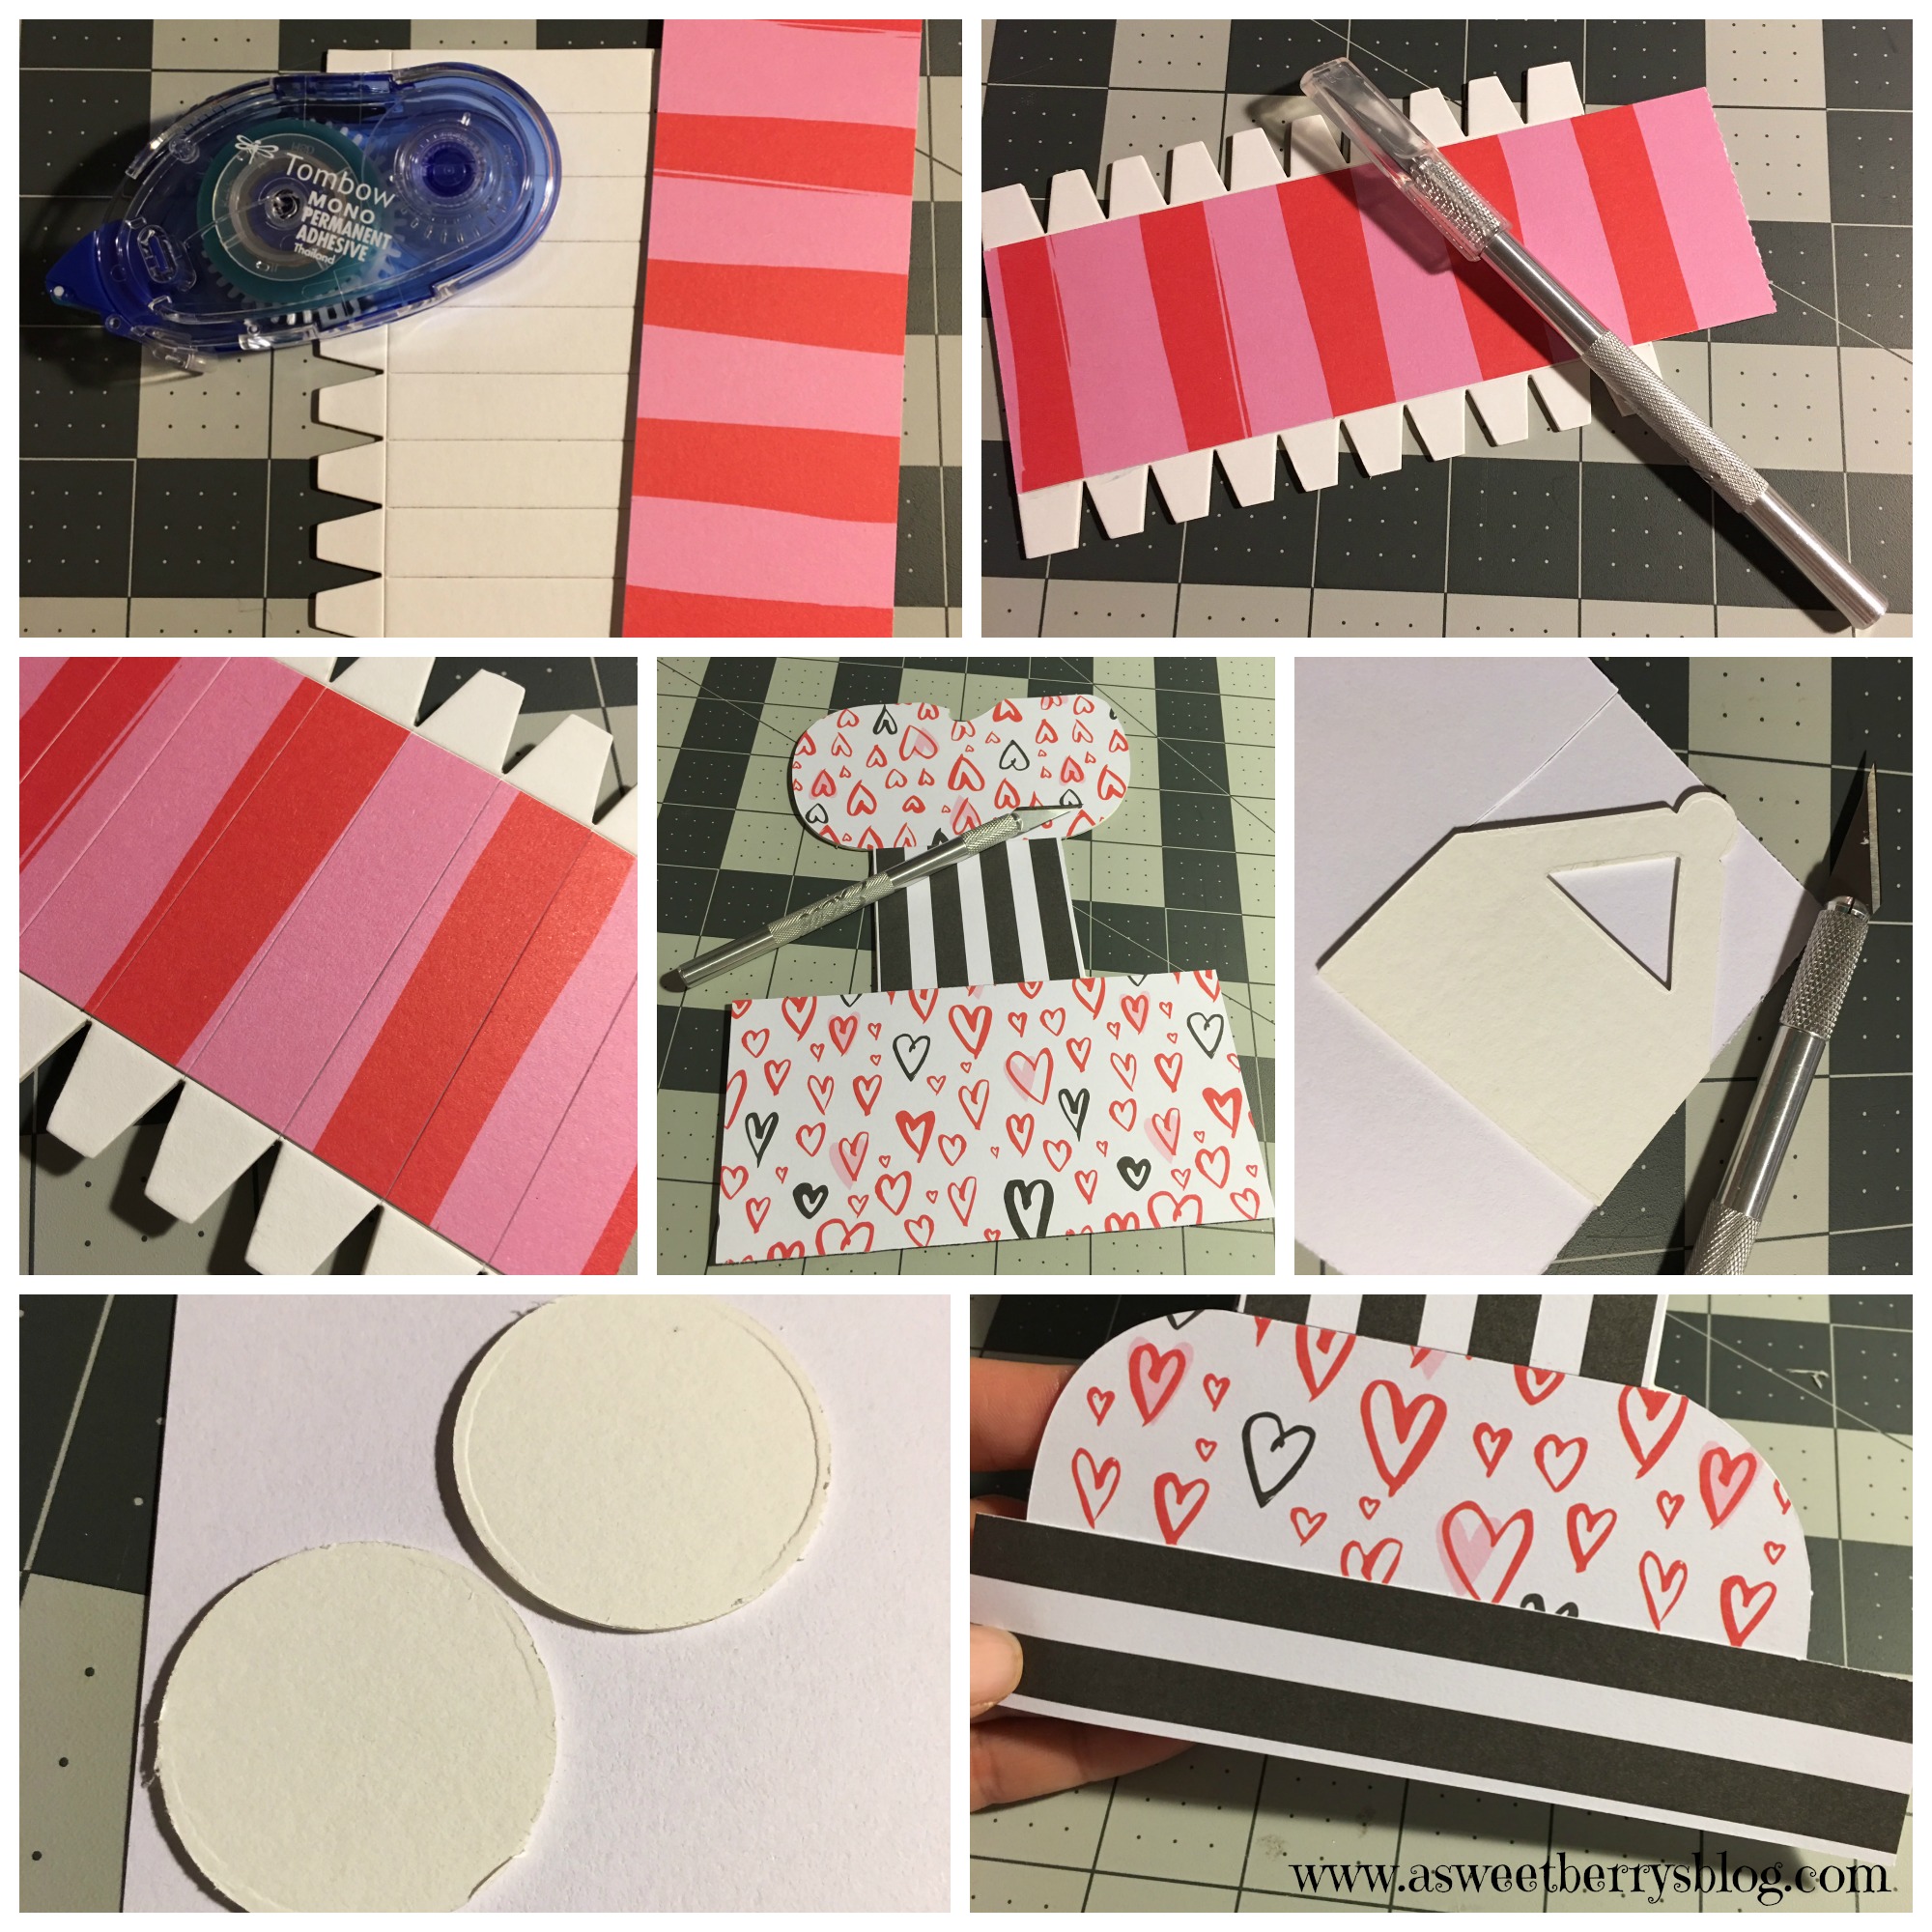
Eileen Hull is one of the coolest people I know!  She has a travel trailer named Scotty that she travels across the country in going to different scrapbooking stores on her Paper Trail.    Eileen also has a die cut line with Sizzix.   I’ve gotten to know Eileen over the years from events like CHA (Craft and Hobby Association Mega Show) and SNAP (blogging conference) and I am amazed at her creativity.  One of my favorite dies by Eileen is her Travel Trailer.  My friend Rina, also known as Mothership Scrapbook Gal, is on Eileen’s Inspiration Team and sent me the trailer die cuts so that I could have fun designing my own Travel Trailer!  The trailer is cut from Matboard, which is a thick paper material and is very sturdy and great for 3D projects.  I decided that I wanted mine to be a Love Shack!
materials

Using American Crafts Valentine paper that I purchased from AC Moore and my exacto knife, I did some measurements and cut my paper selections to the size of the die cut outs.  I used Tombow Mono Permanent Adhesive to adhere the paper to the trailer pieces.

covering with paper

After all of my paper pieces were on my die cut pieces, I constructed the trailer.  Instructions on how the camper was put together can be found here on the Sizzix website.

Hope you like my little Love Shack!  It’s perfect for a Valentine’s decoration!  Happy Valentine’s Day!

Until next time…….

ShrinkFilm “Love” Bracelet

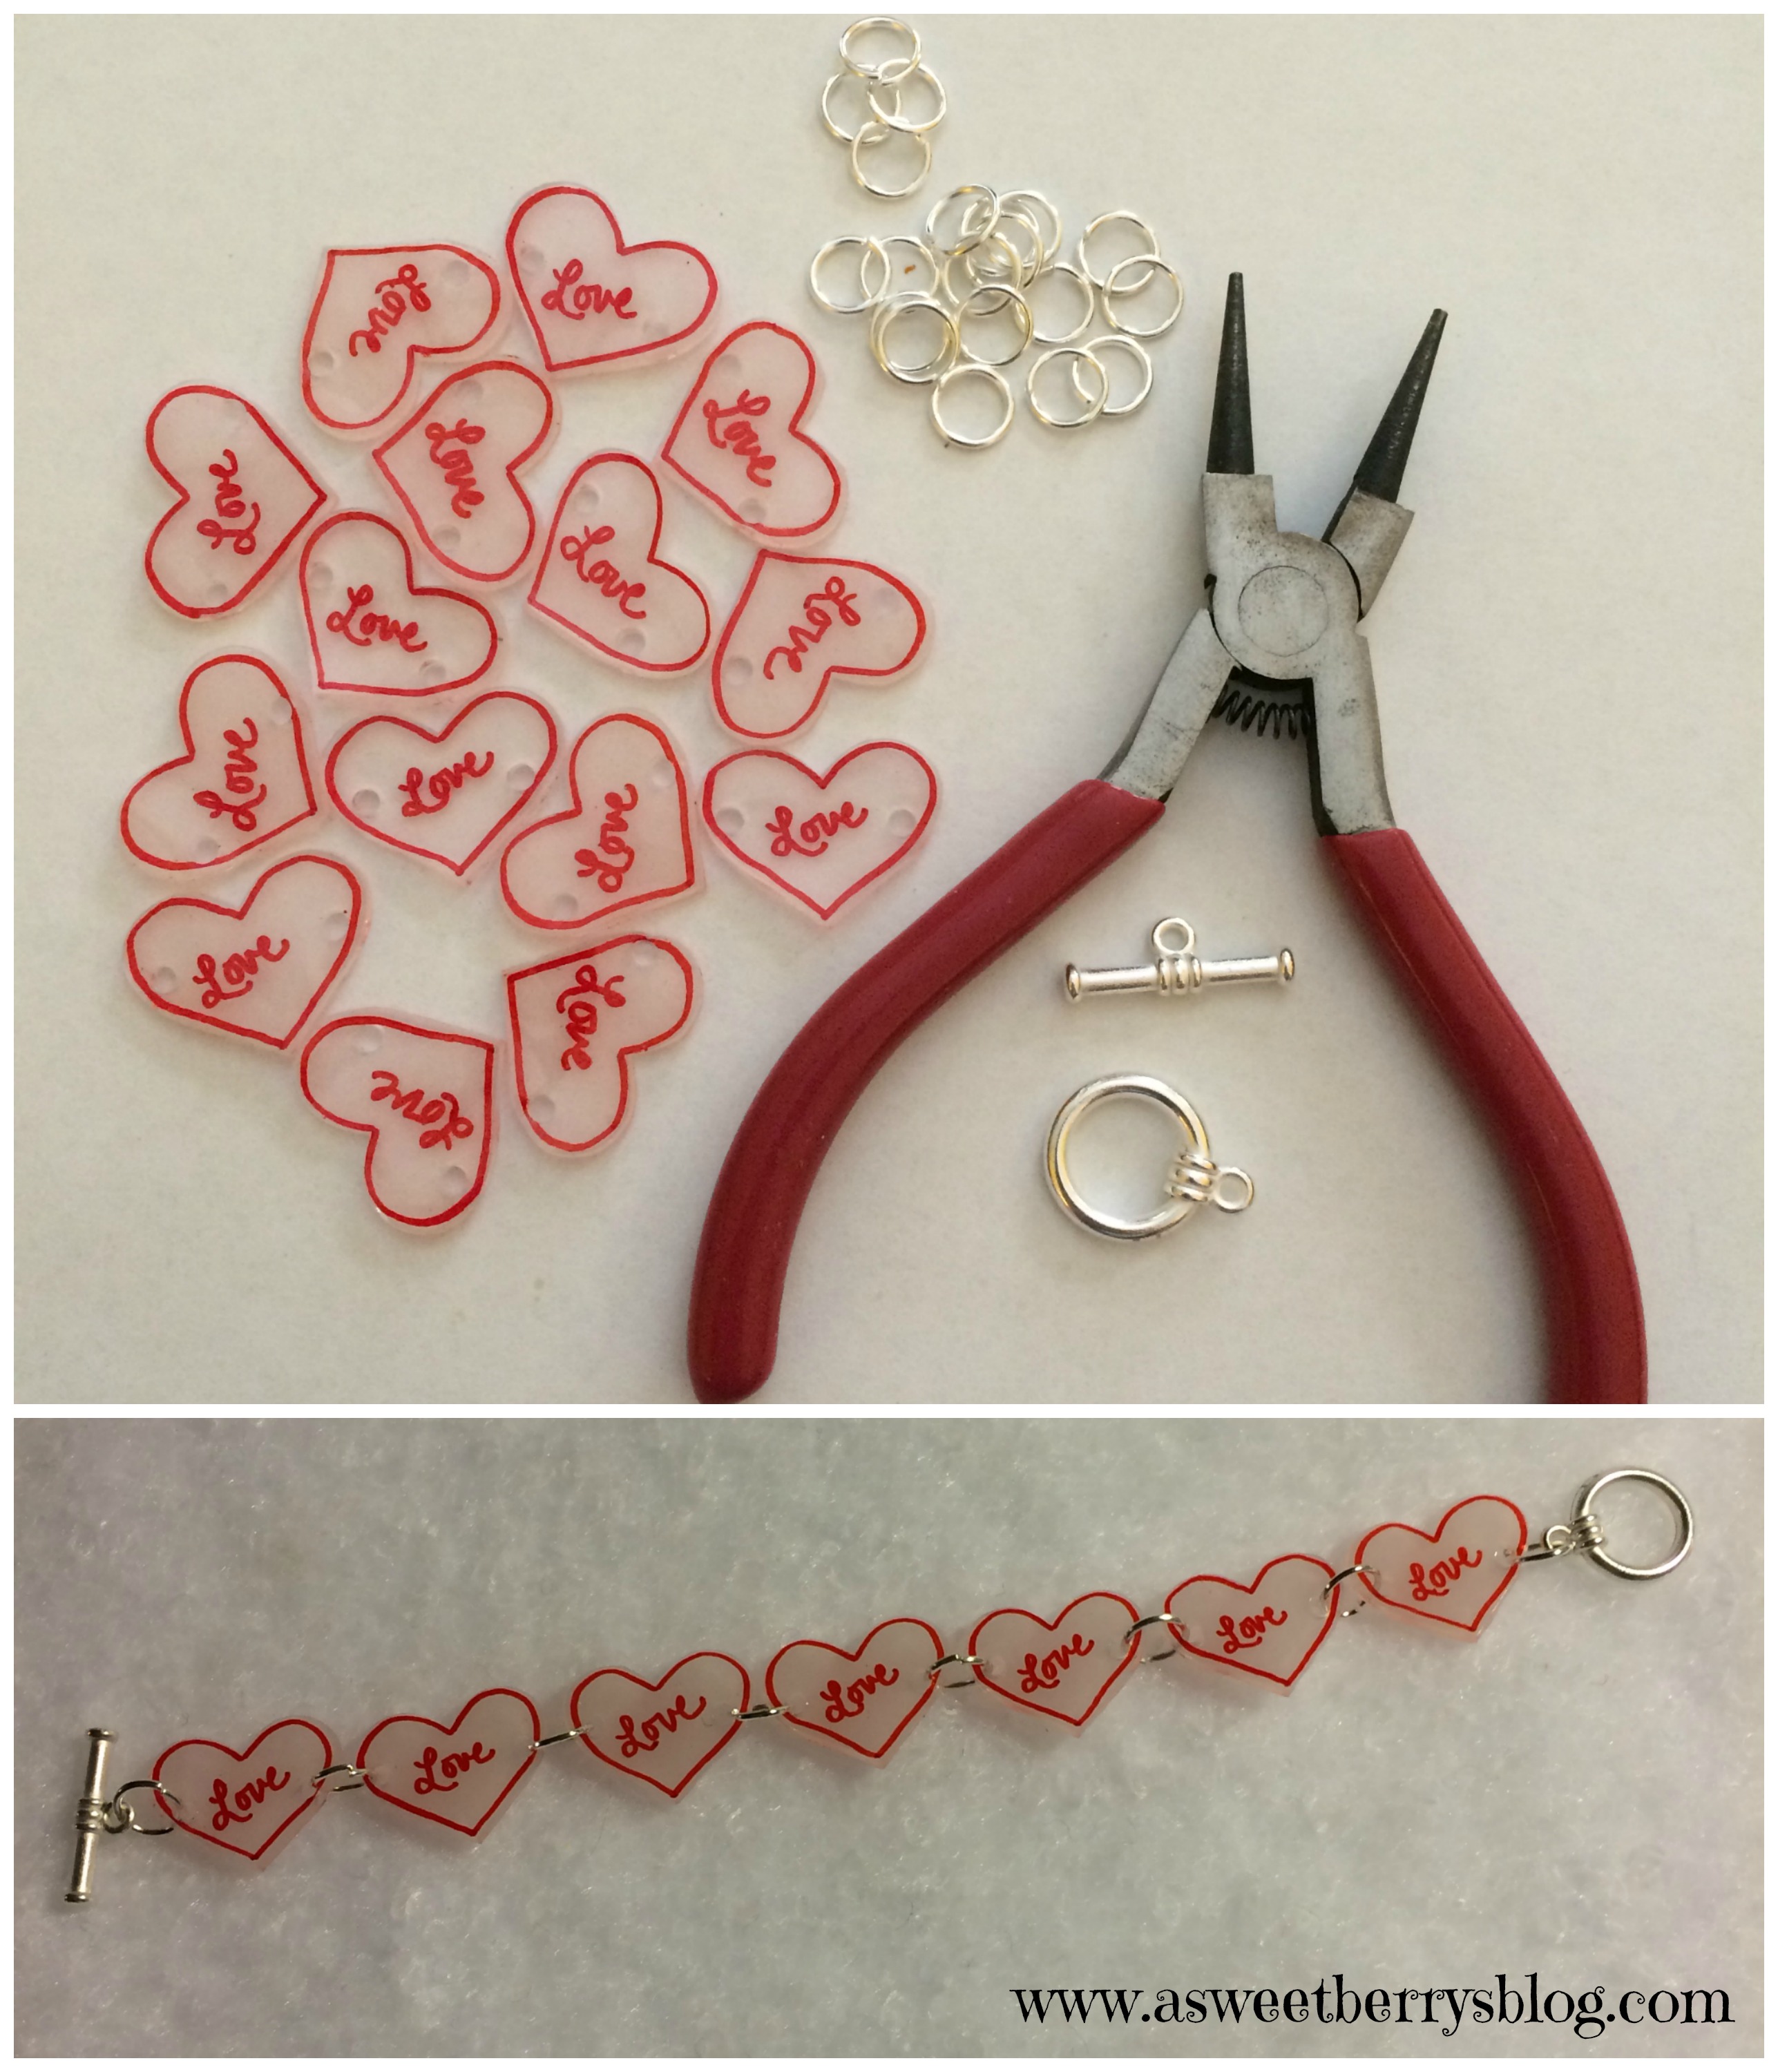
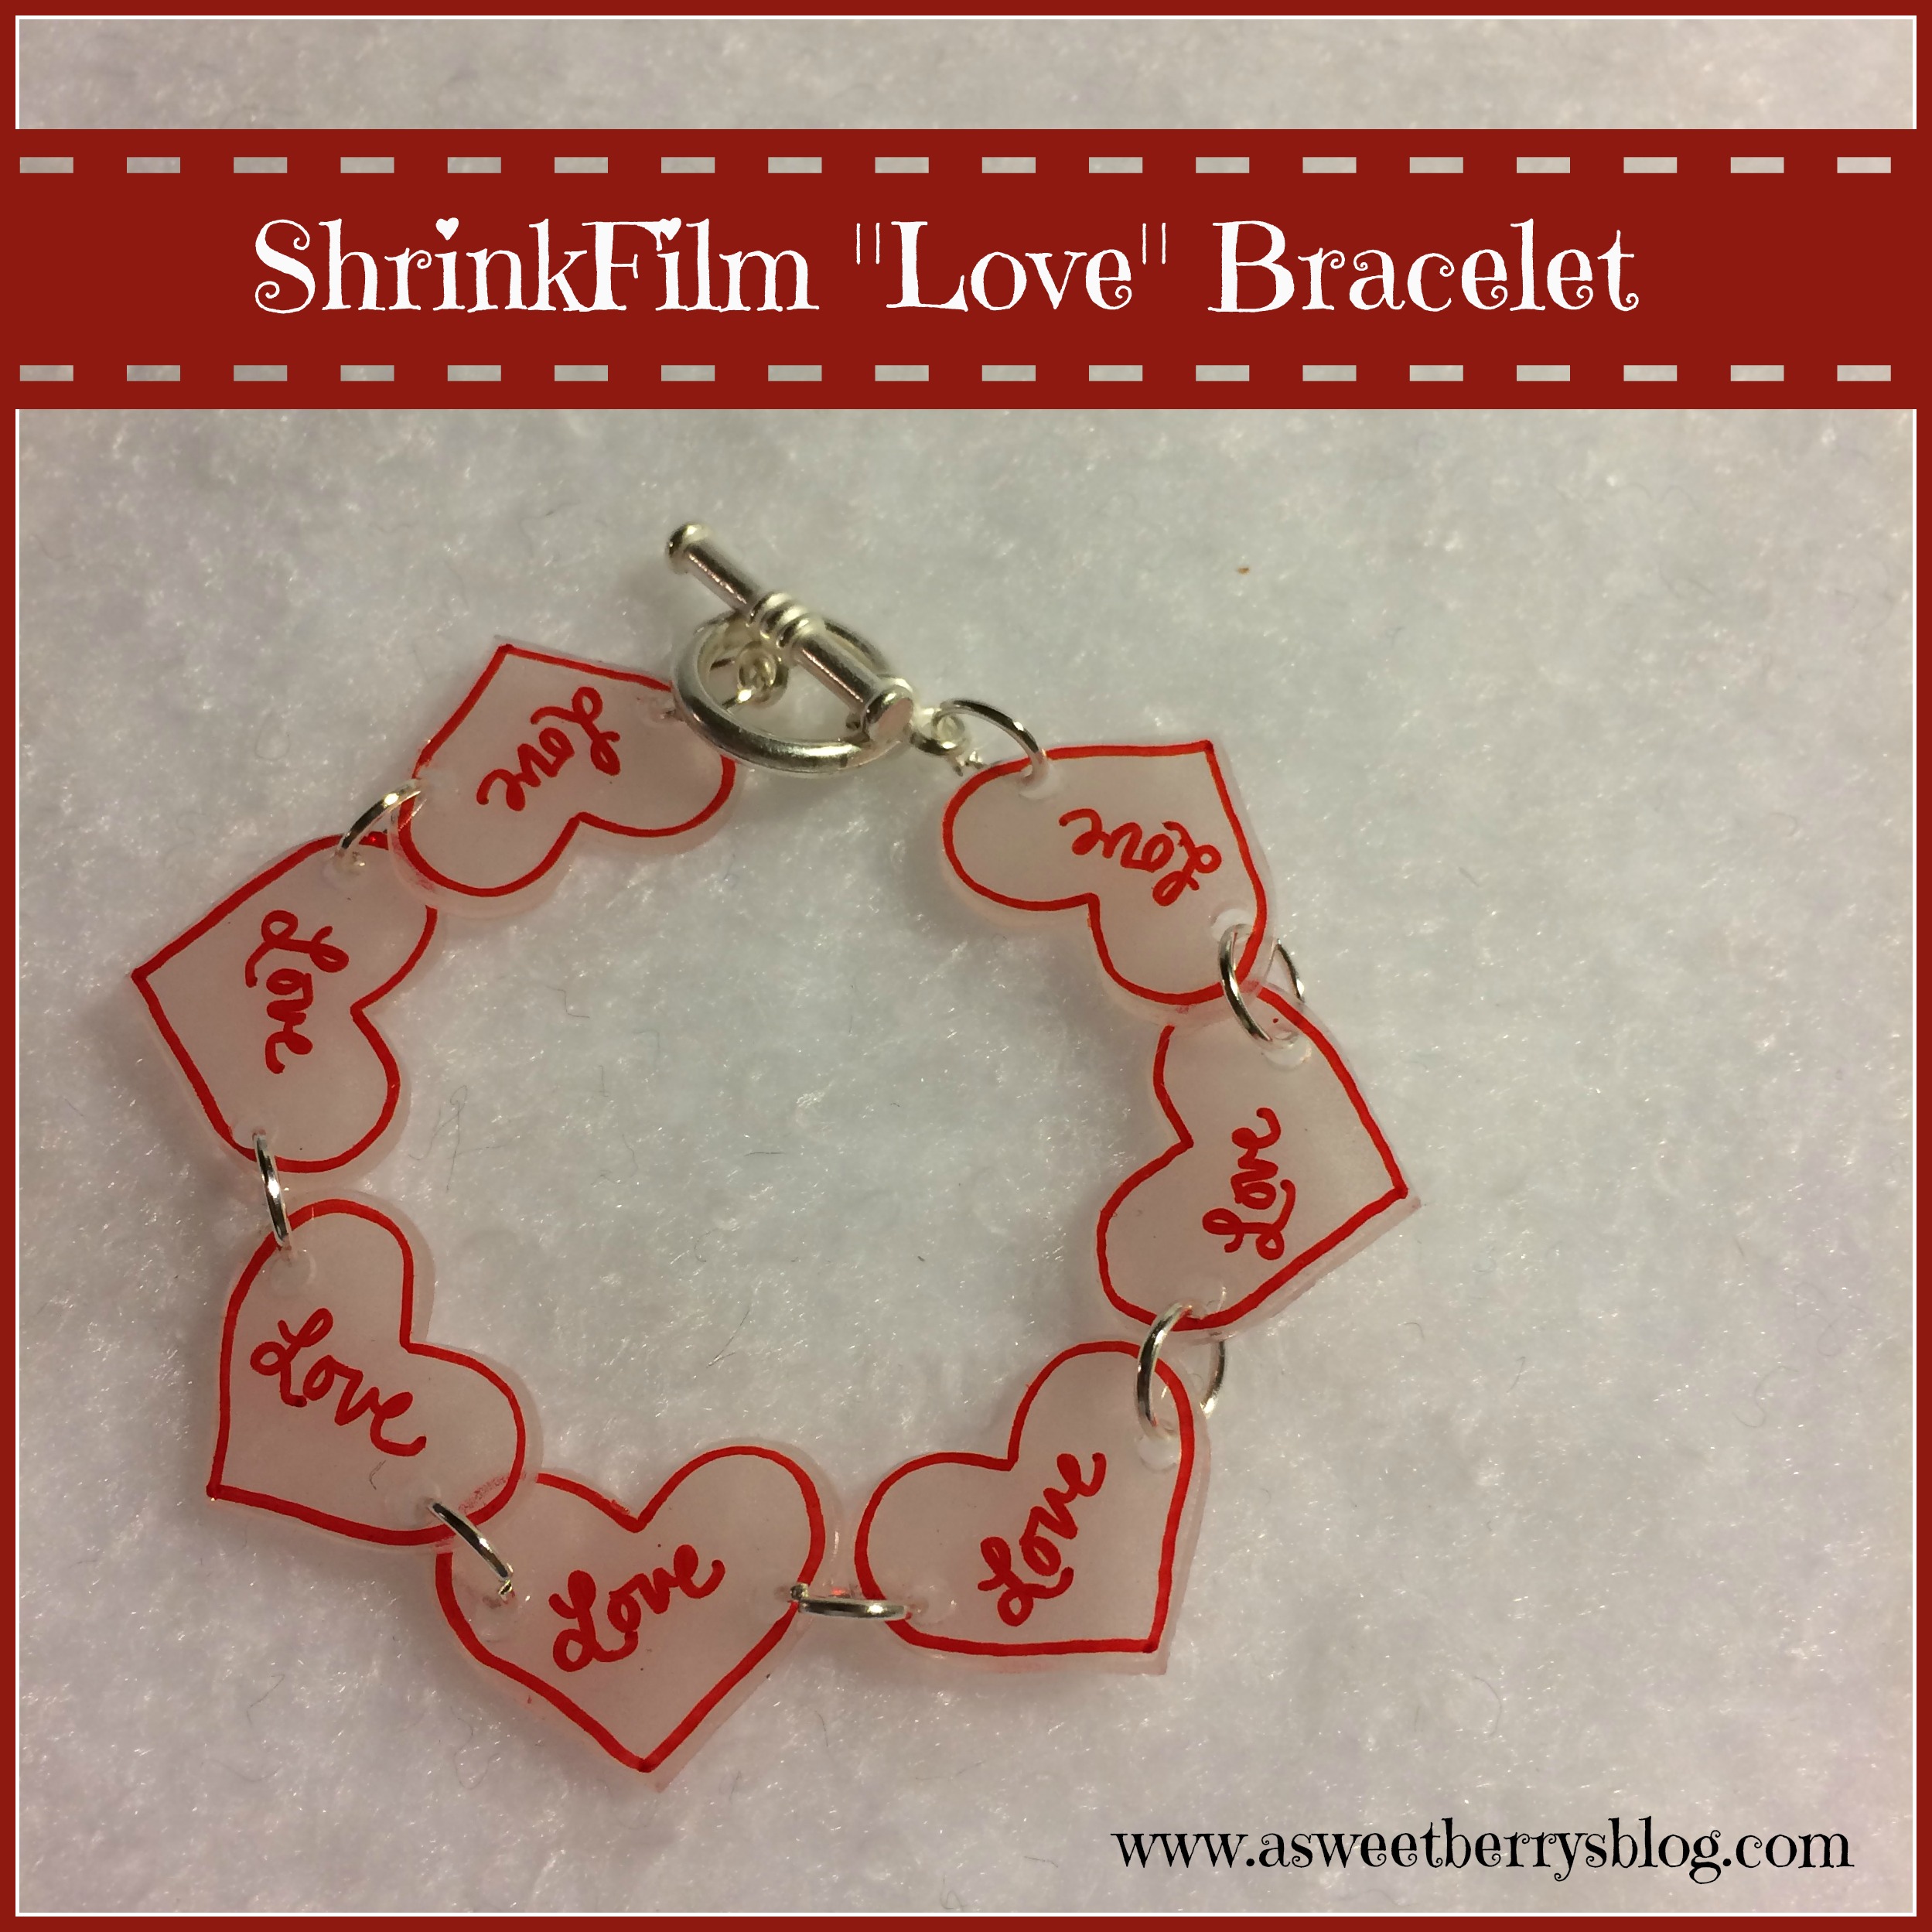
Valentine’s Day is the Day of Love!   This ShrinkFilm “Love” Bracelet is perfect to wear for the day or to even give to a friend or Love as a gift!   bracelet final
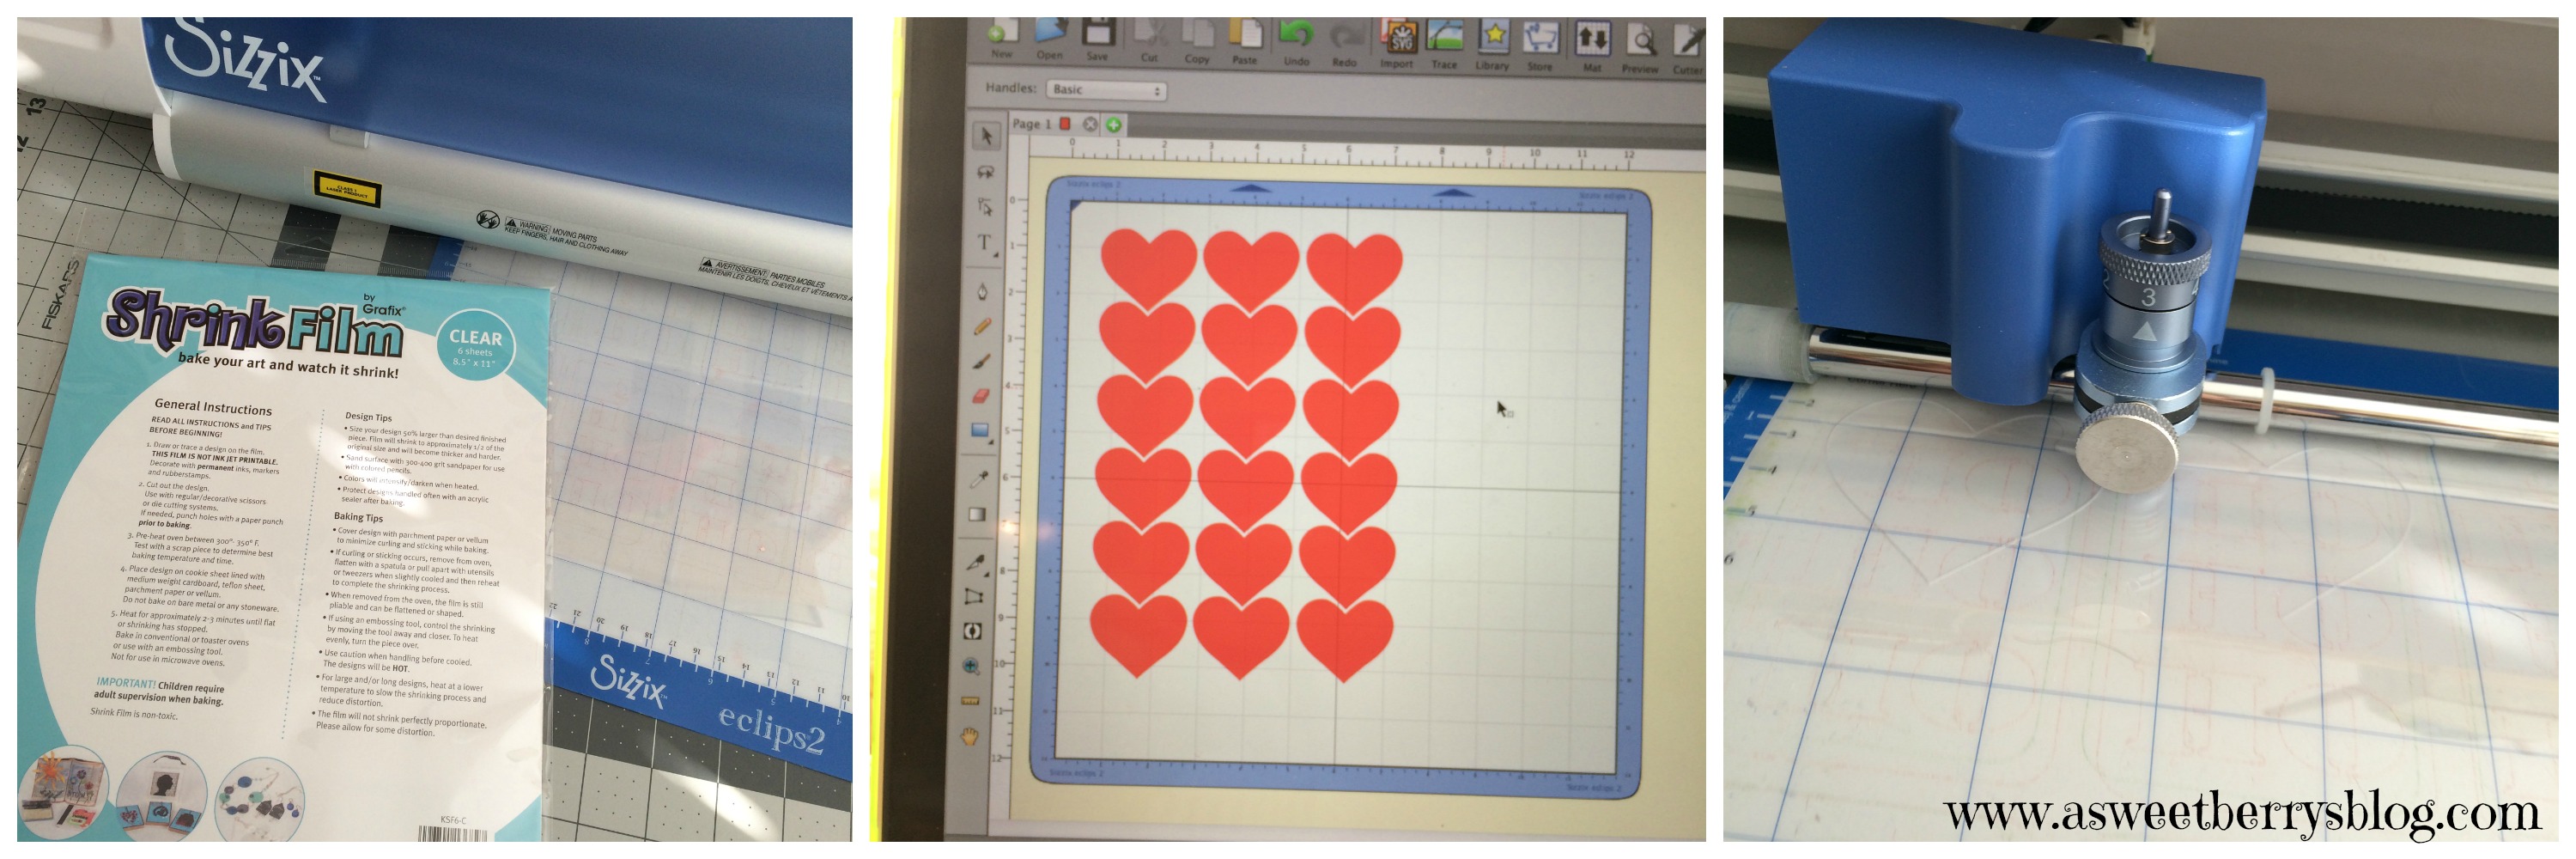
Like with my ShrinkFilm “Love” Earrings, I used my Sizzix Eclips2 and ShrinkFilm that I purchased from A.C.Moore to cut my hearts out.  It was easy, quick and all of my hearts were the same size!
shrink film
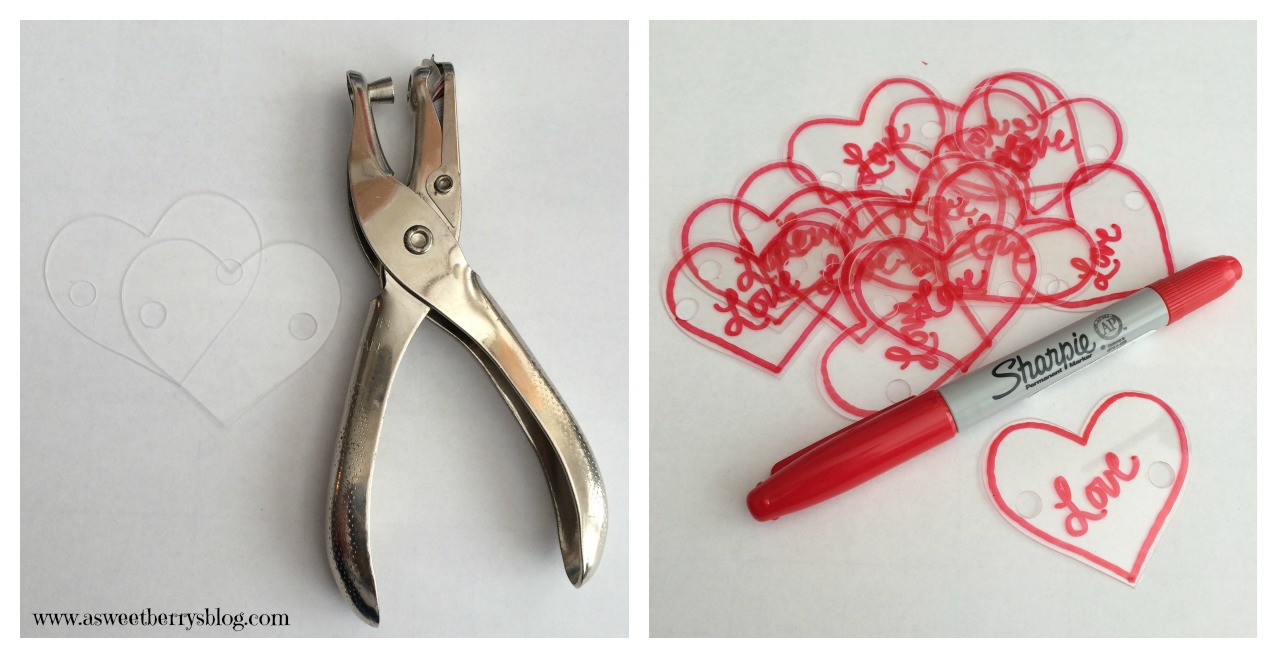
Using a hole punch, I cut two holes from my hearts, one on each side.  Then with a Sharpie permanent marker, I drew and outline and wrote the word Love.  Once they were all colored, I placed them in the toaster oven for 2-3 minutes and then they were ready to be put together as a bracelet.
coloring - bracelet
Using larger jump rings and my round nose pliers, I attached each heart to together forming a bracelet.  On each end, I added a toggle piece.  For it to fit my wrist correctly, I added and then removed a heart just to make sure it wasn’t too big or too small.
putting together bracelet
Hope you like my “Love” Bracelet.   I “LOVE” it!  Be sure to click here to check out my ShrinkFilm “Love” Earrings that match!

Until next time……

ShrinkFilm “Love” Earrings

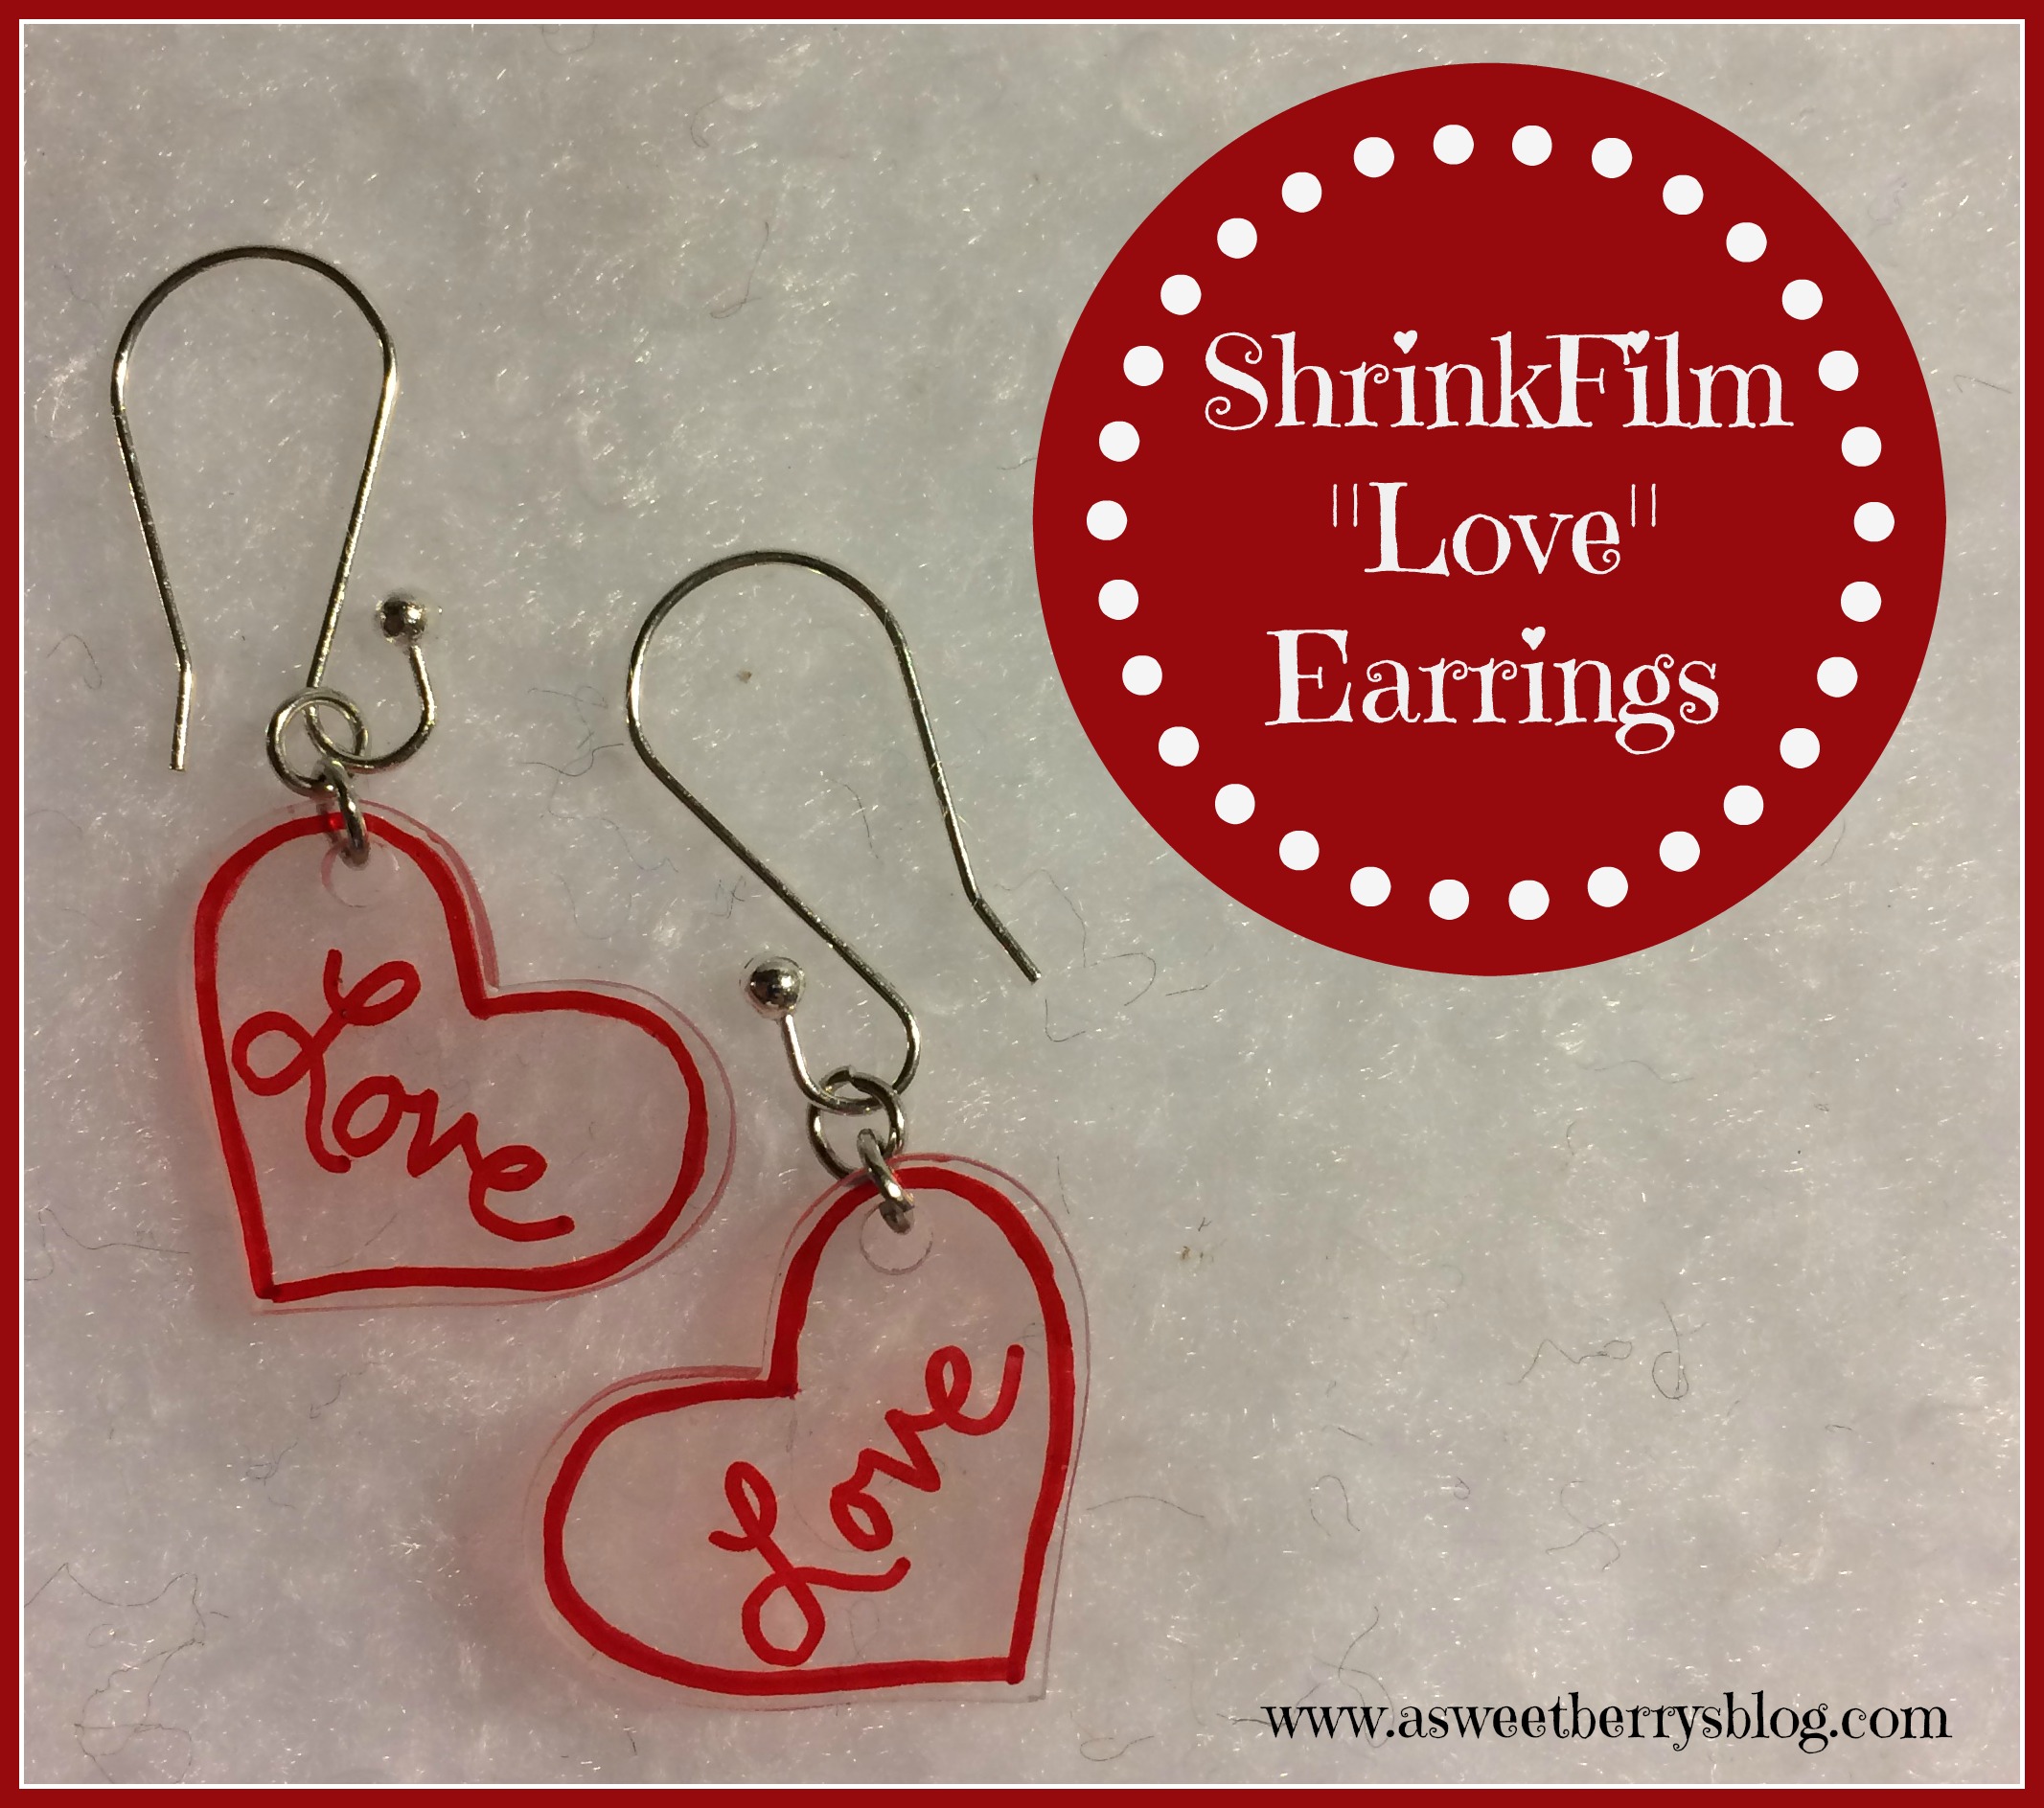
Valentine’s Day is right around the corner!   These ShrinkFilm “Love” Earrings are perfect for the day of LOVE!   They were super easy and turned out super cute! earrings final
Using my Sizzix Eclips2 and ShrinkFilm that I purchased from A.C.Moore, I cut out a bunch of hearts.   The Eclips2 was so quick at cutting all of the hearts and they were all the same size!   
shrink film
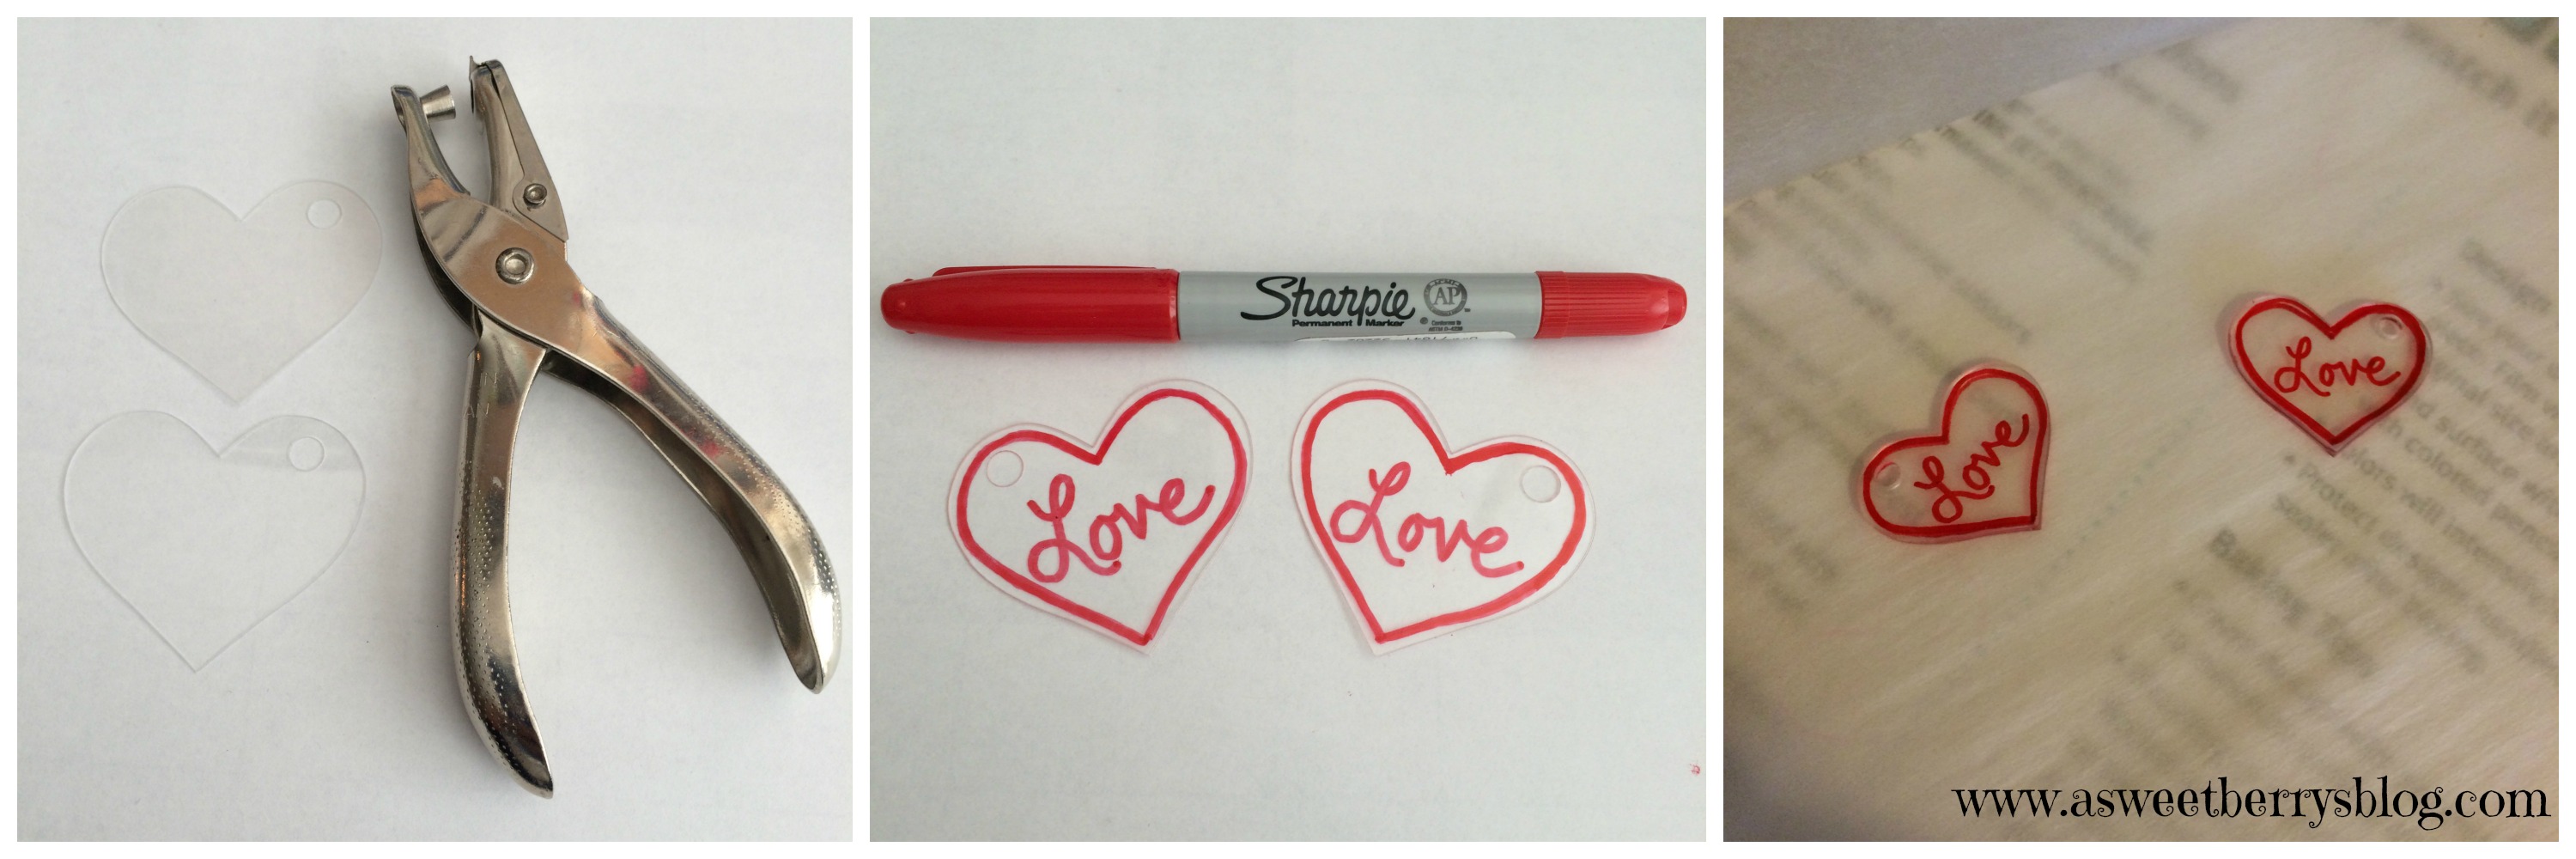
Using just a regular hole punch, I went ahead and punched my holes, only one per heart.   Then I used a Sharpie permanent marker to draw an outline and the word Love.   Next it was time to put my hearts into the toaster oven and watch them shrink.  It amazes me every time that it only takes 2-3 minutes for it to shrink!
coloring
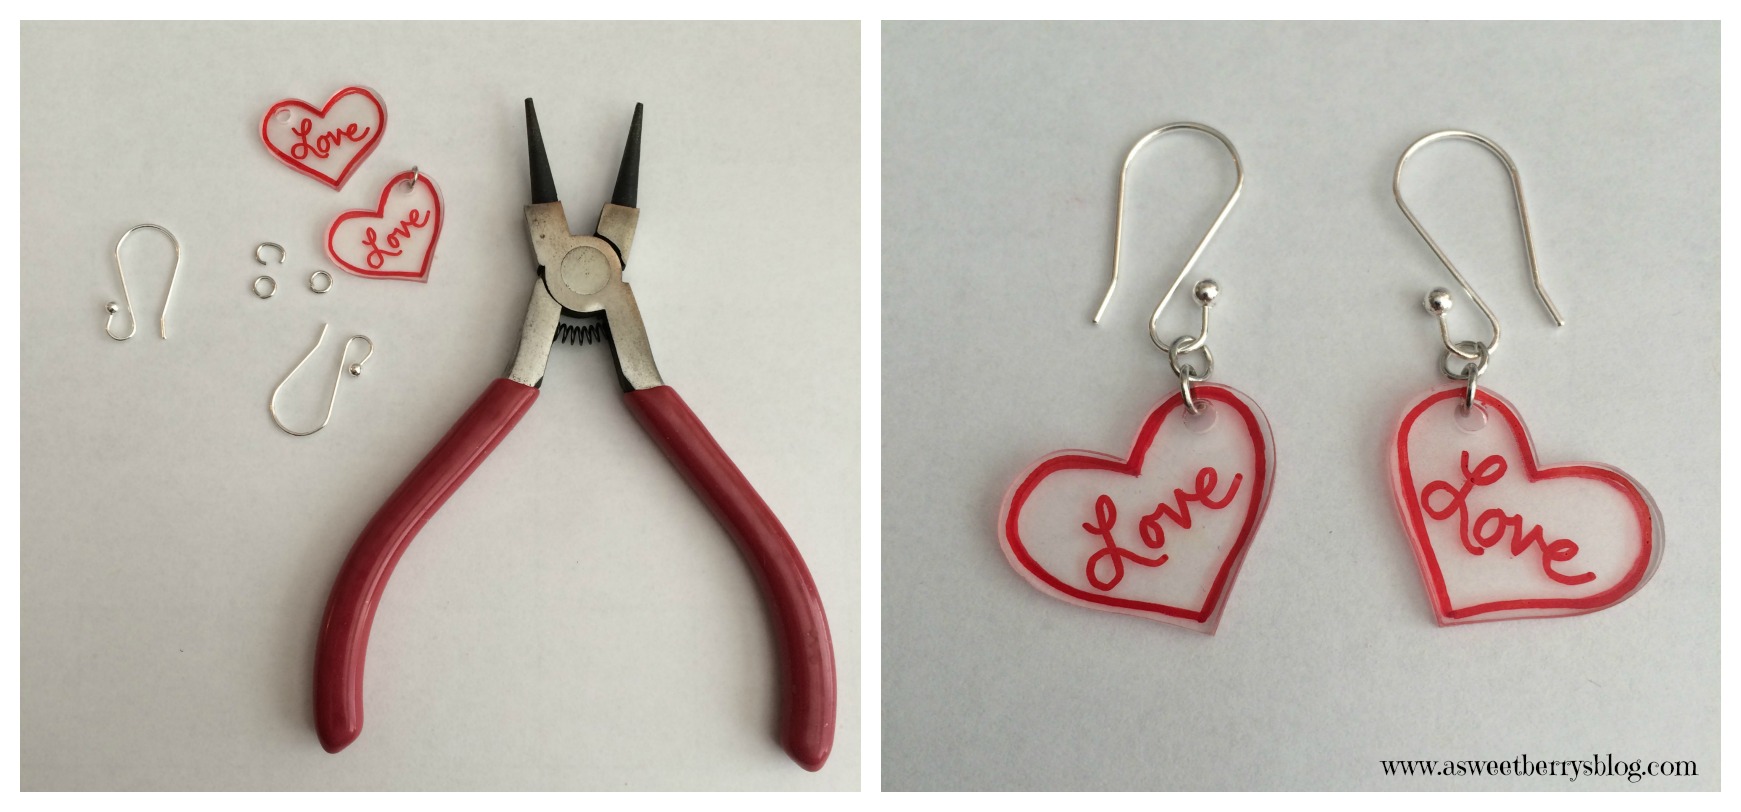
I keep a stash of earrings and jump rings in my supplies.   Using my round nose pliers, I added my jump rings (two to each heart) and placed them on my earrings.
putting together earrings
I love how they came out and I hope you like them too!    This cute pair of earrings took all of 15 minutes (maybe a little less) and they are perfect for Valentine’s Day!   Click here to check out a matching bracelet!

Click the box below to check out other great 15 minute or less Valentine’s Day crafts!

Be Mine Crafty – MineCraft Valentine’s

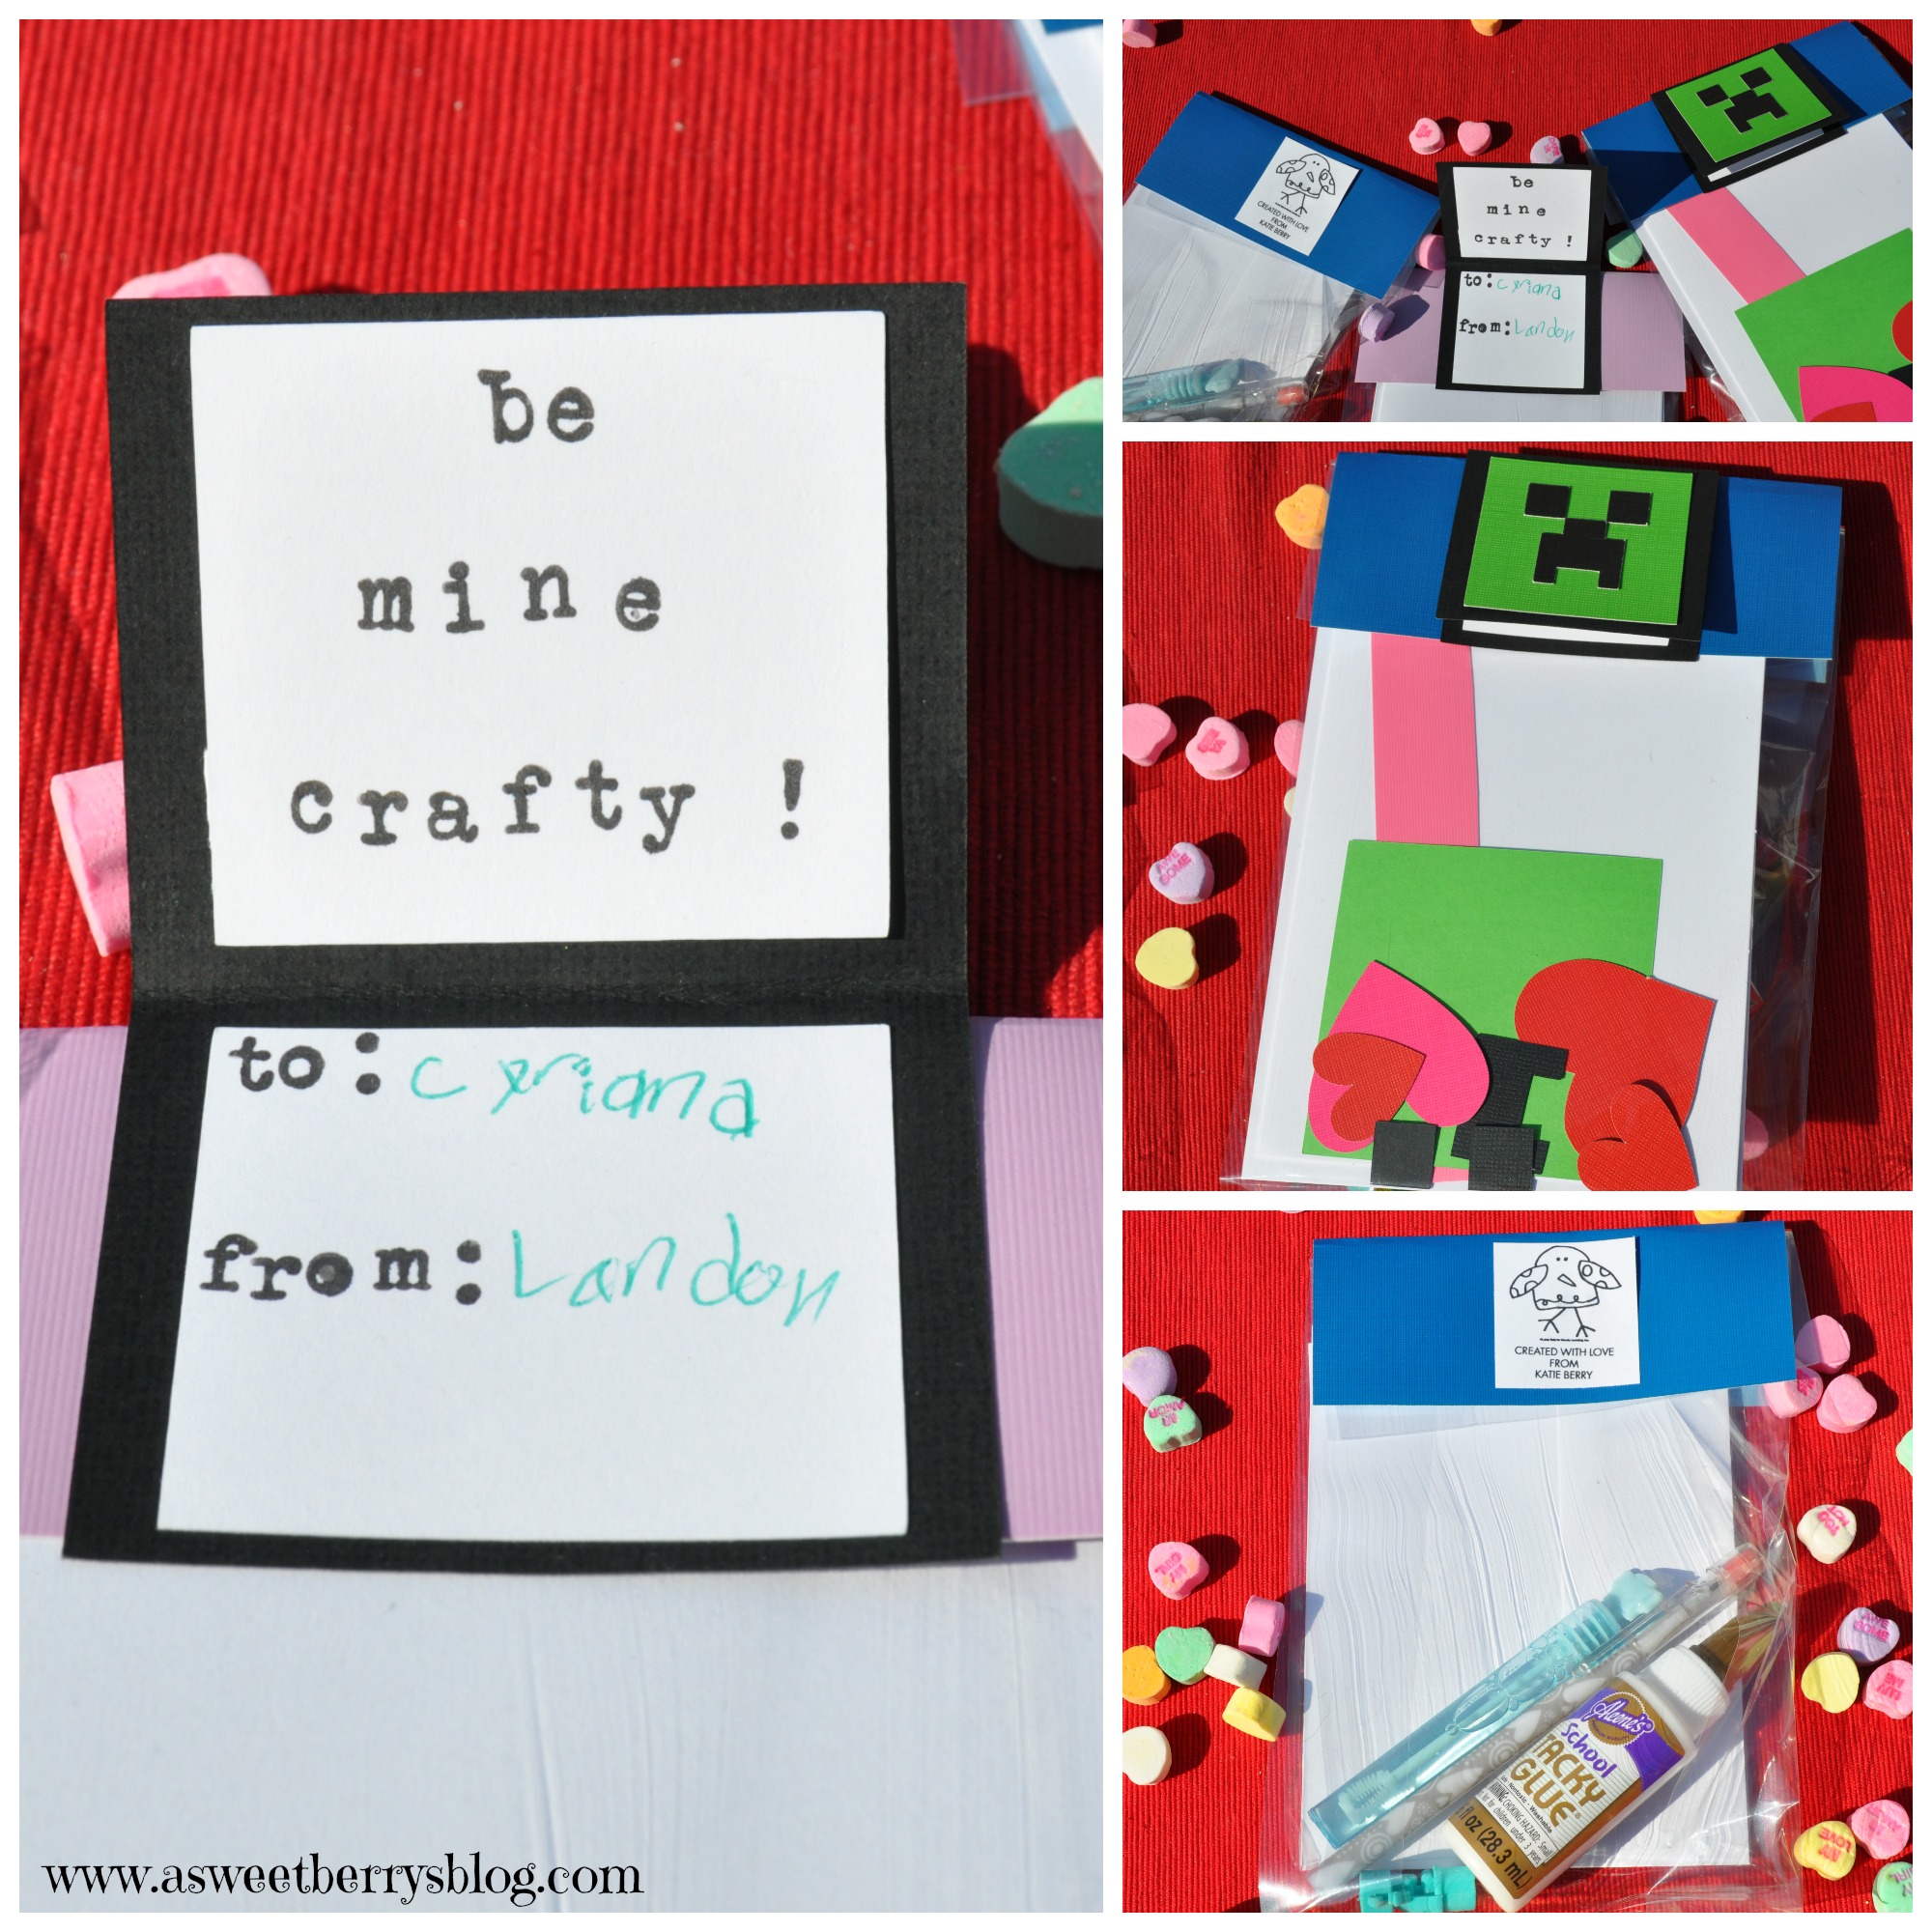
It’s finally the week of Valentine’s Day!  And my boys are super obsessed with Minecraft, so this year they wanted Minecraft Valentine’s!  Well, after looking, homemade Minecarft Valentine’s were the only ones that could be found.  No stores sold them!  So, I decided to make them!   Final
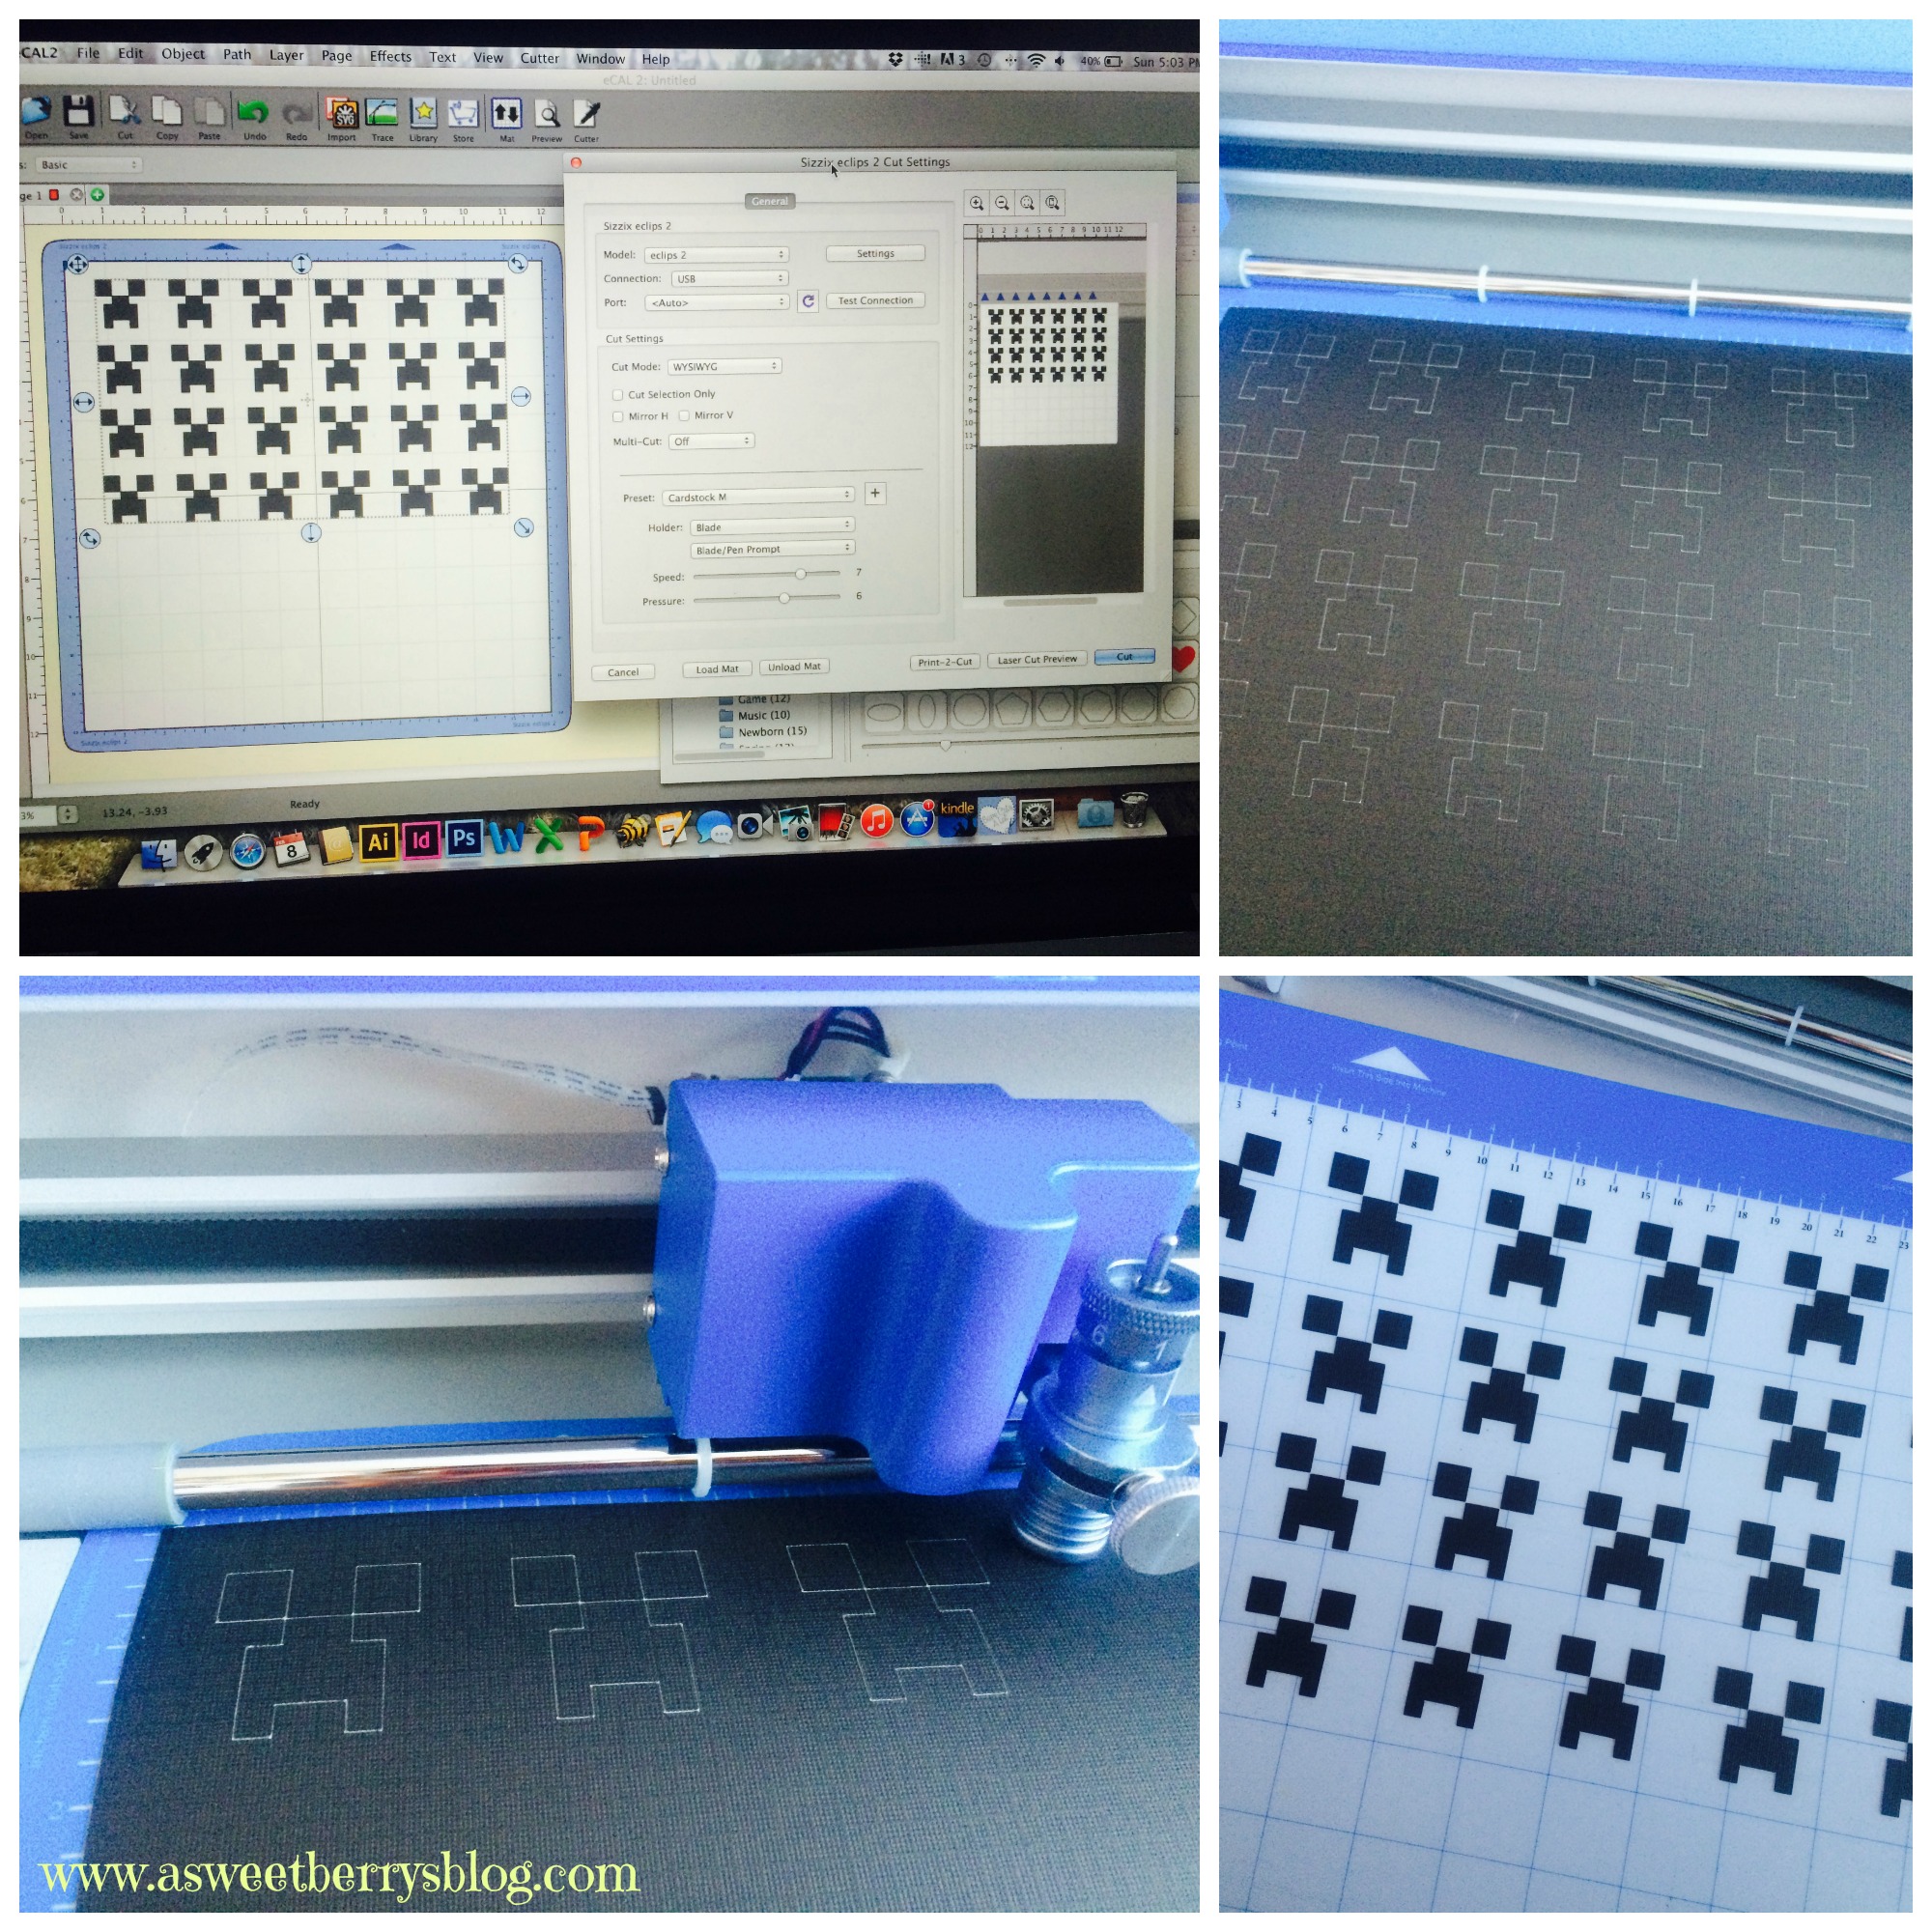
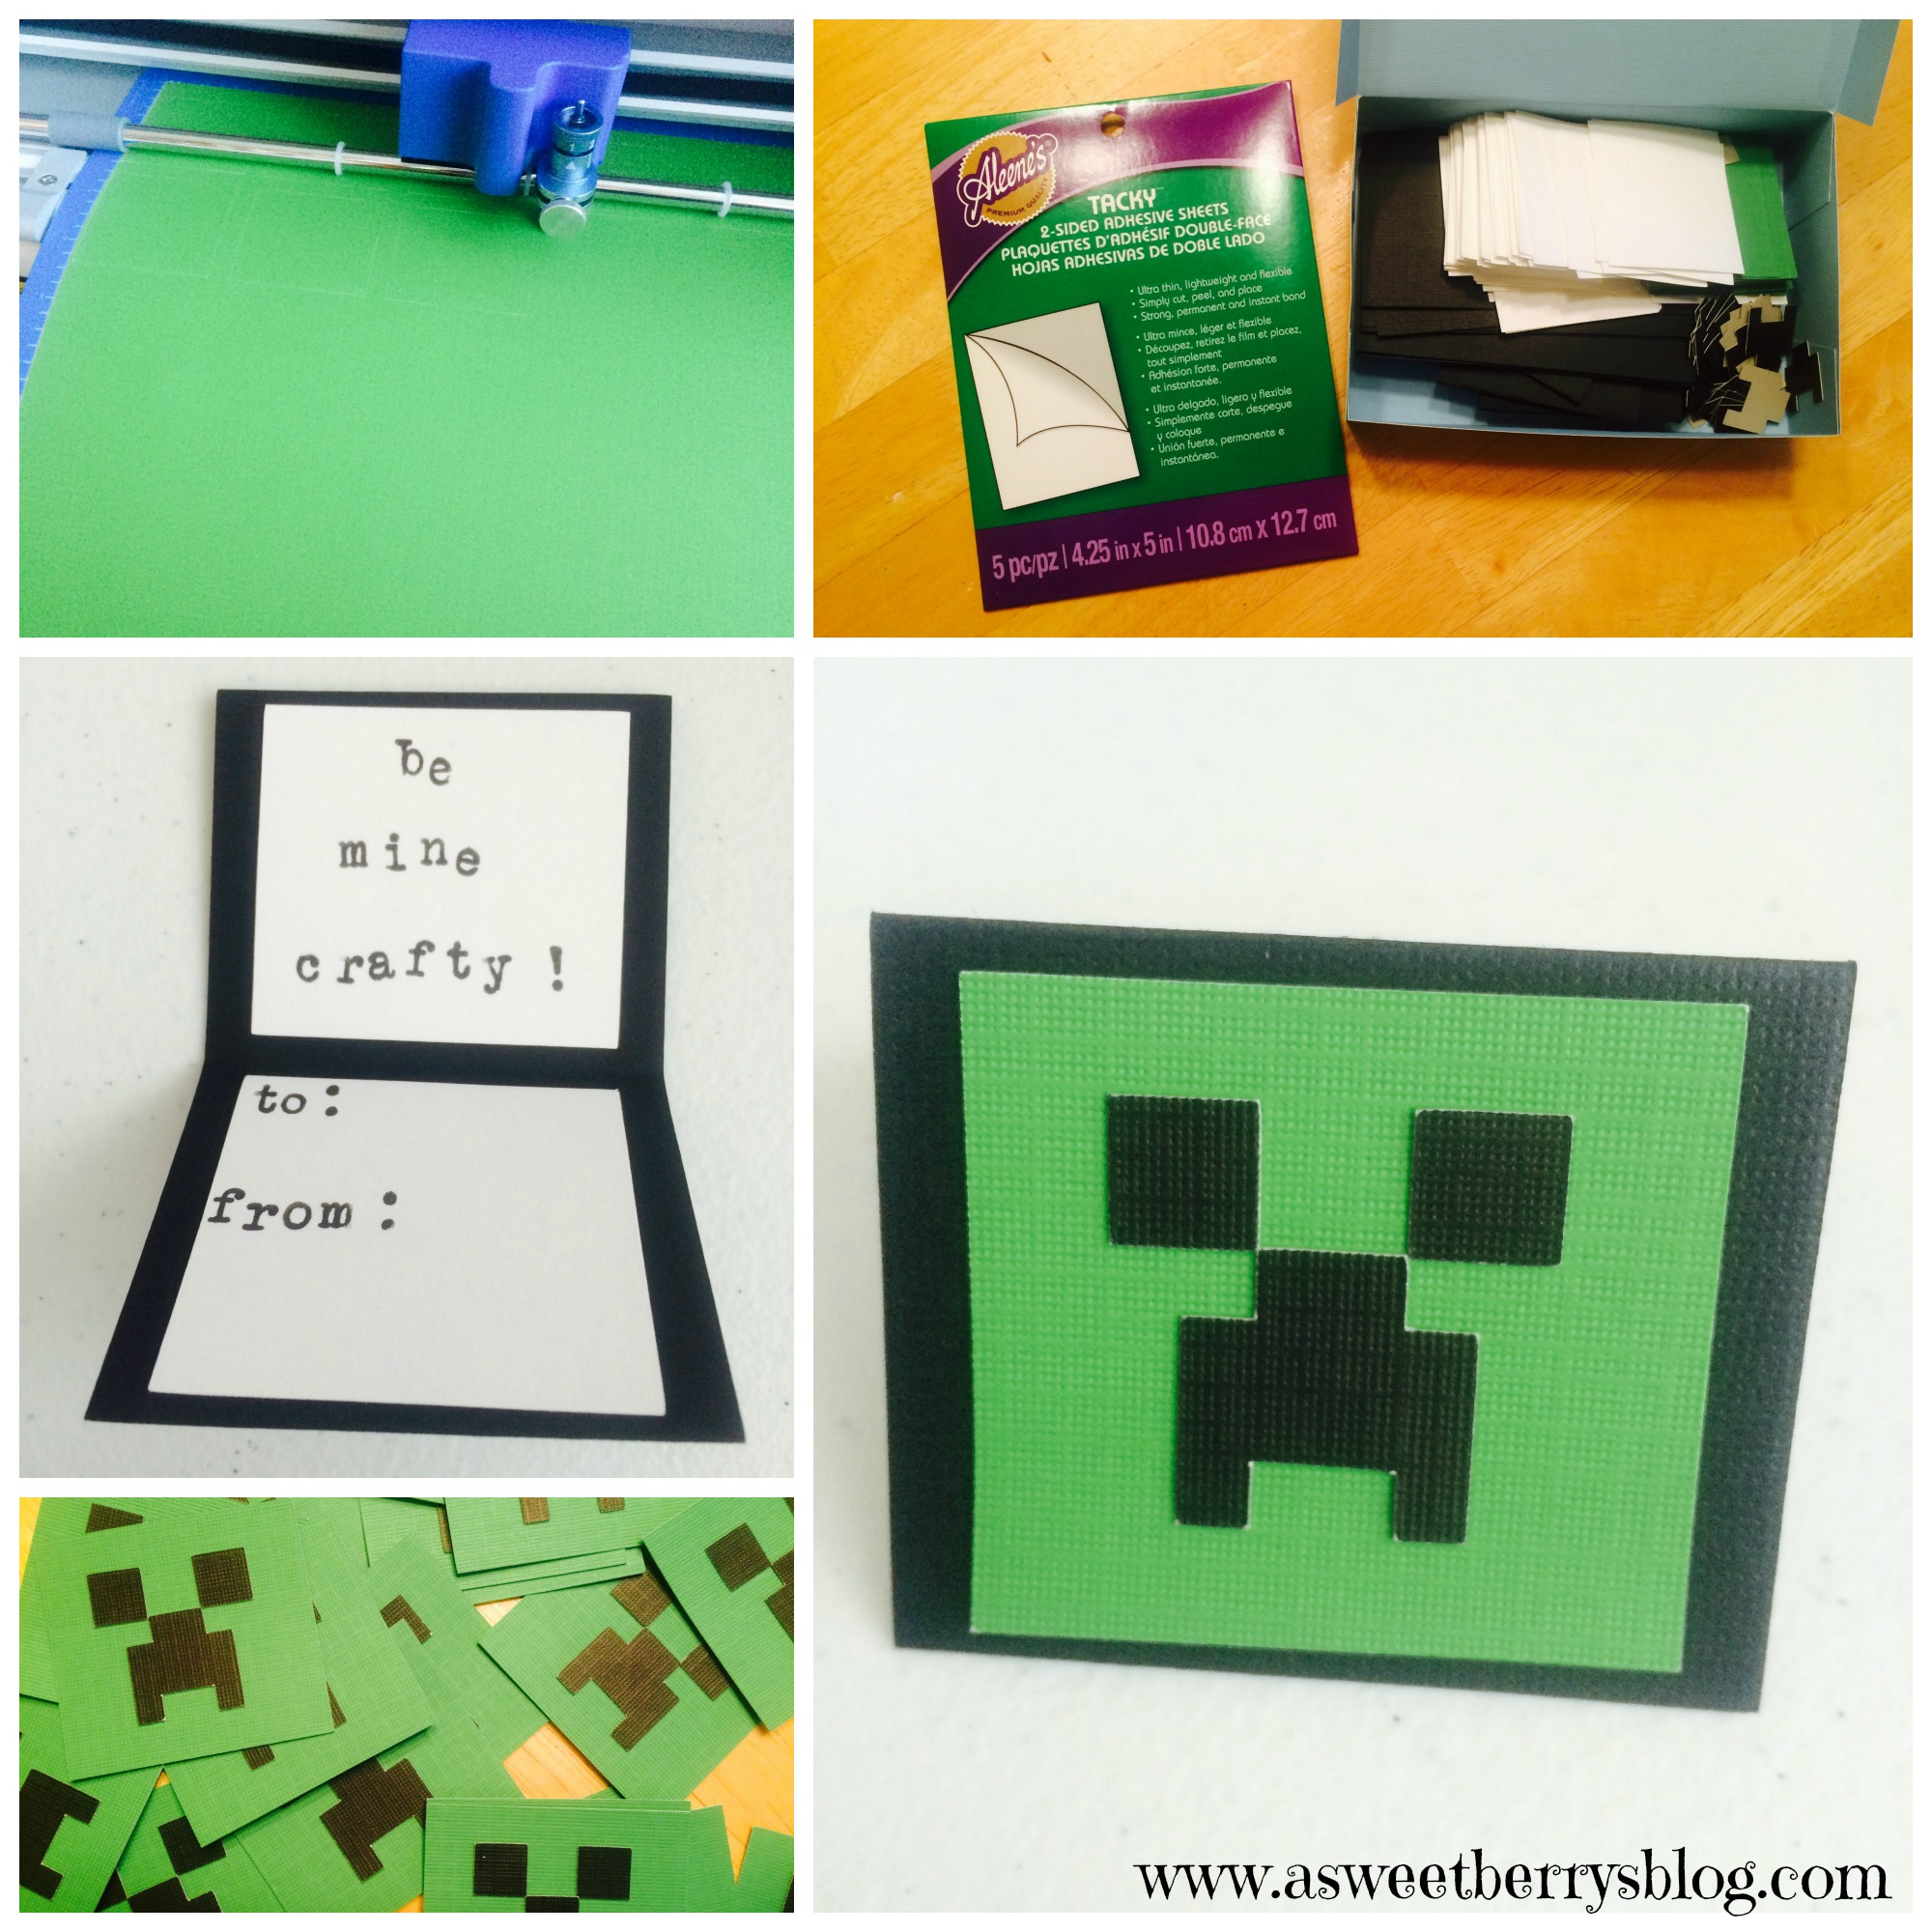
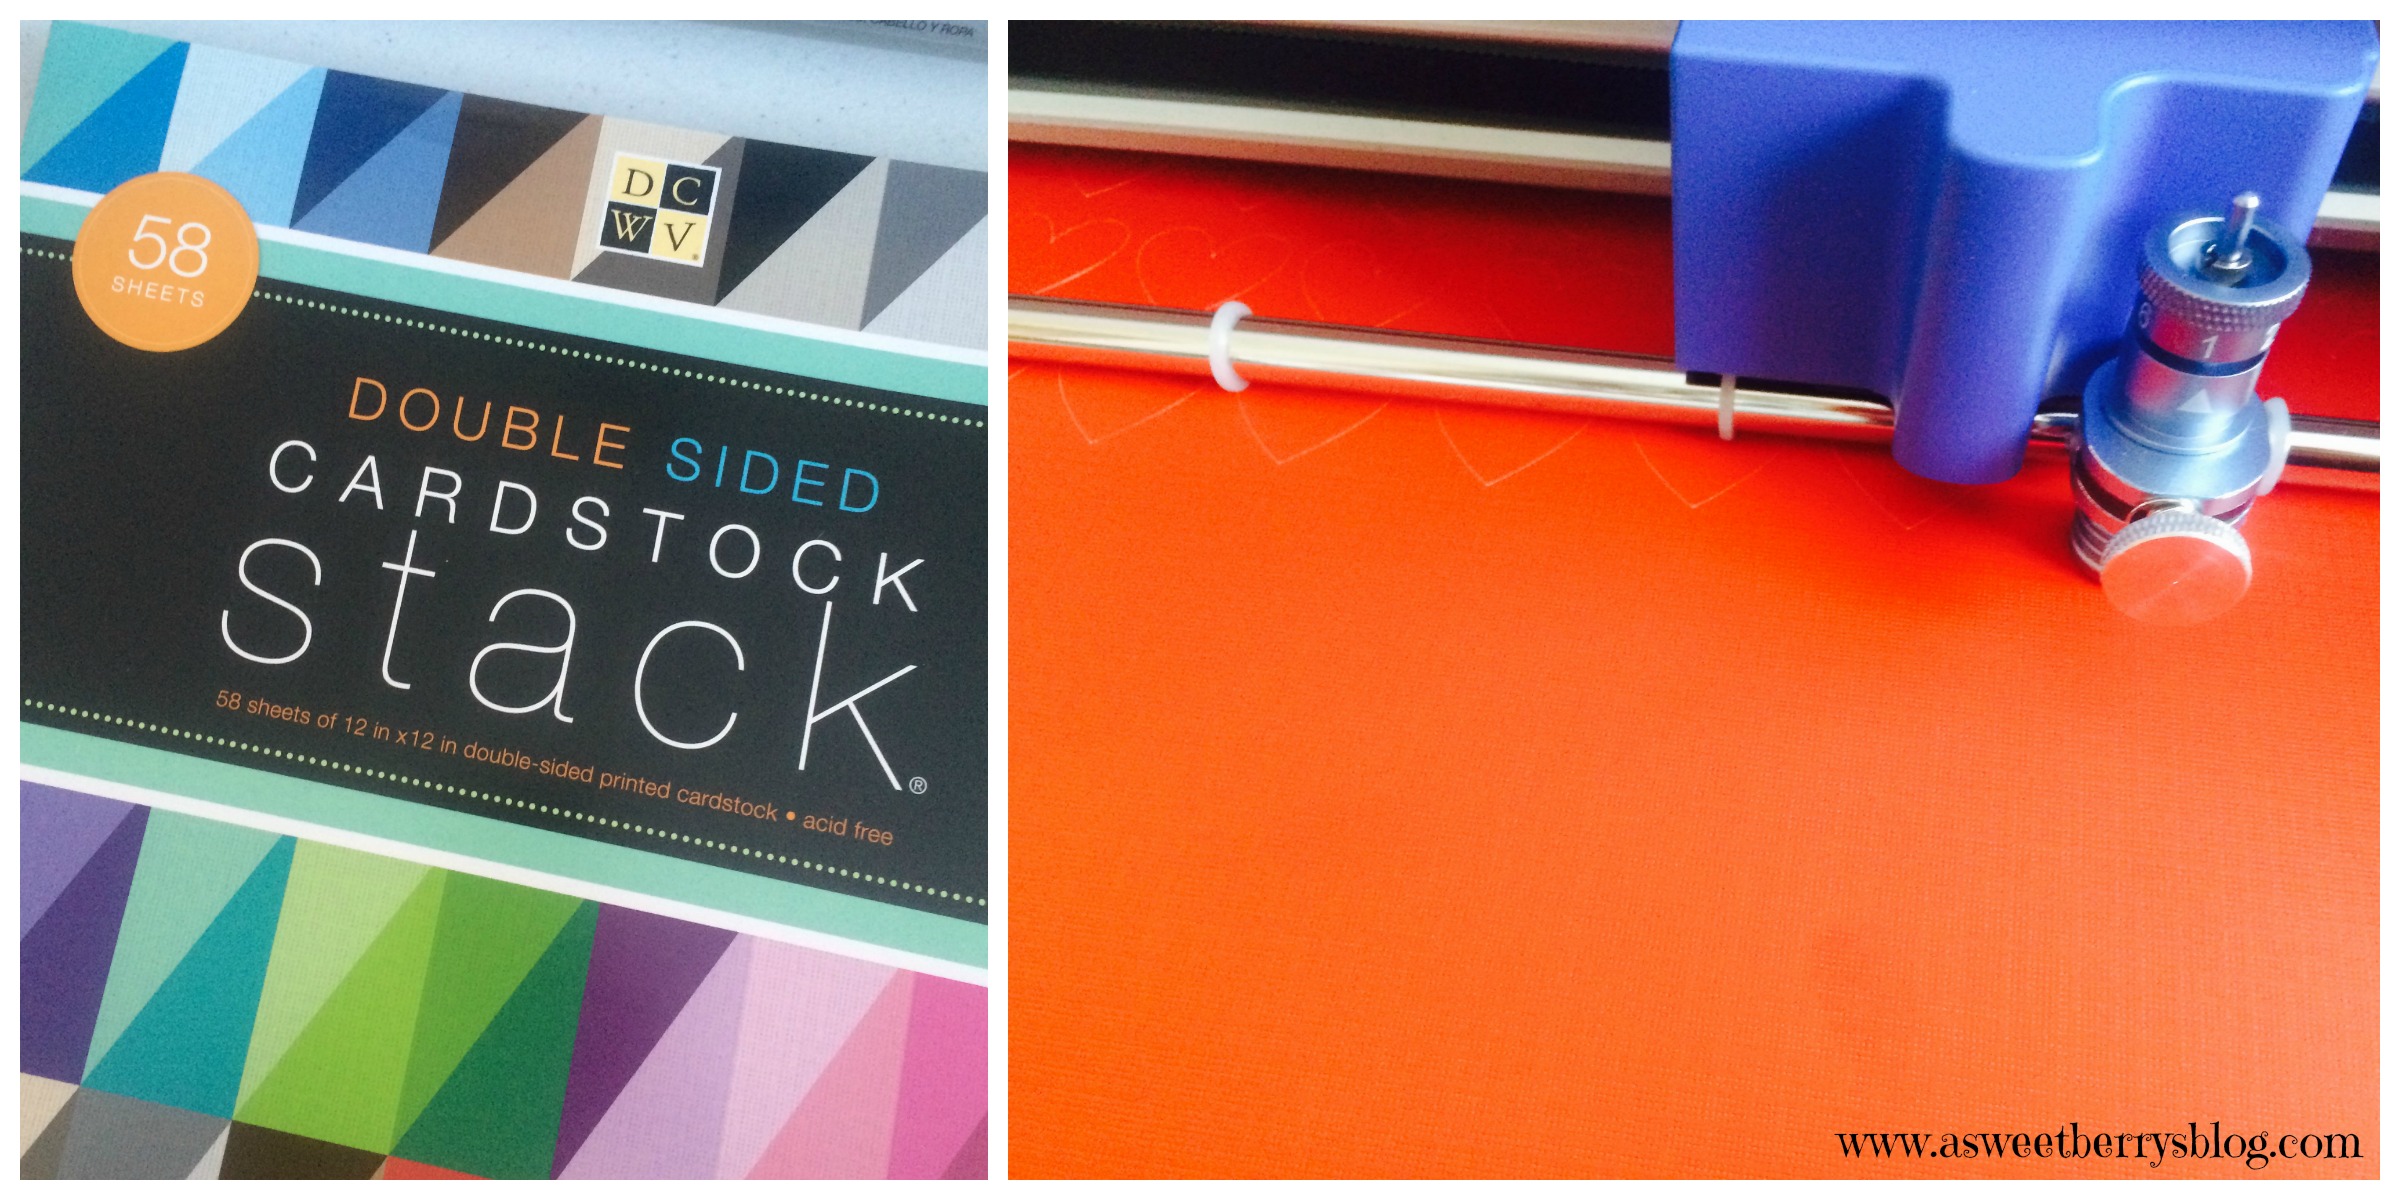
Recently, I was sent a Sizzix Eclips2!  And let me tell you…..I AM IN LOVE!!!!!   It makes cutting super easy!  So, I created my little Minecraft creeper faces in Adobe Illustrator, which I have as a graphic designer.  I converted the file to an .SVG file, imported it into the ECal2 software that works with the Sizzix and got right to cutting!  I also cut black rectangles for the cards, green squares for the creepers face and white light card stock (not DCWV) squares for the inside of my cards, since the cards were black.  I used DCWV card stock, in which ACMoore sells and they sell it in a pack of 12×12 inches pieces.   creeper faces
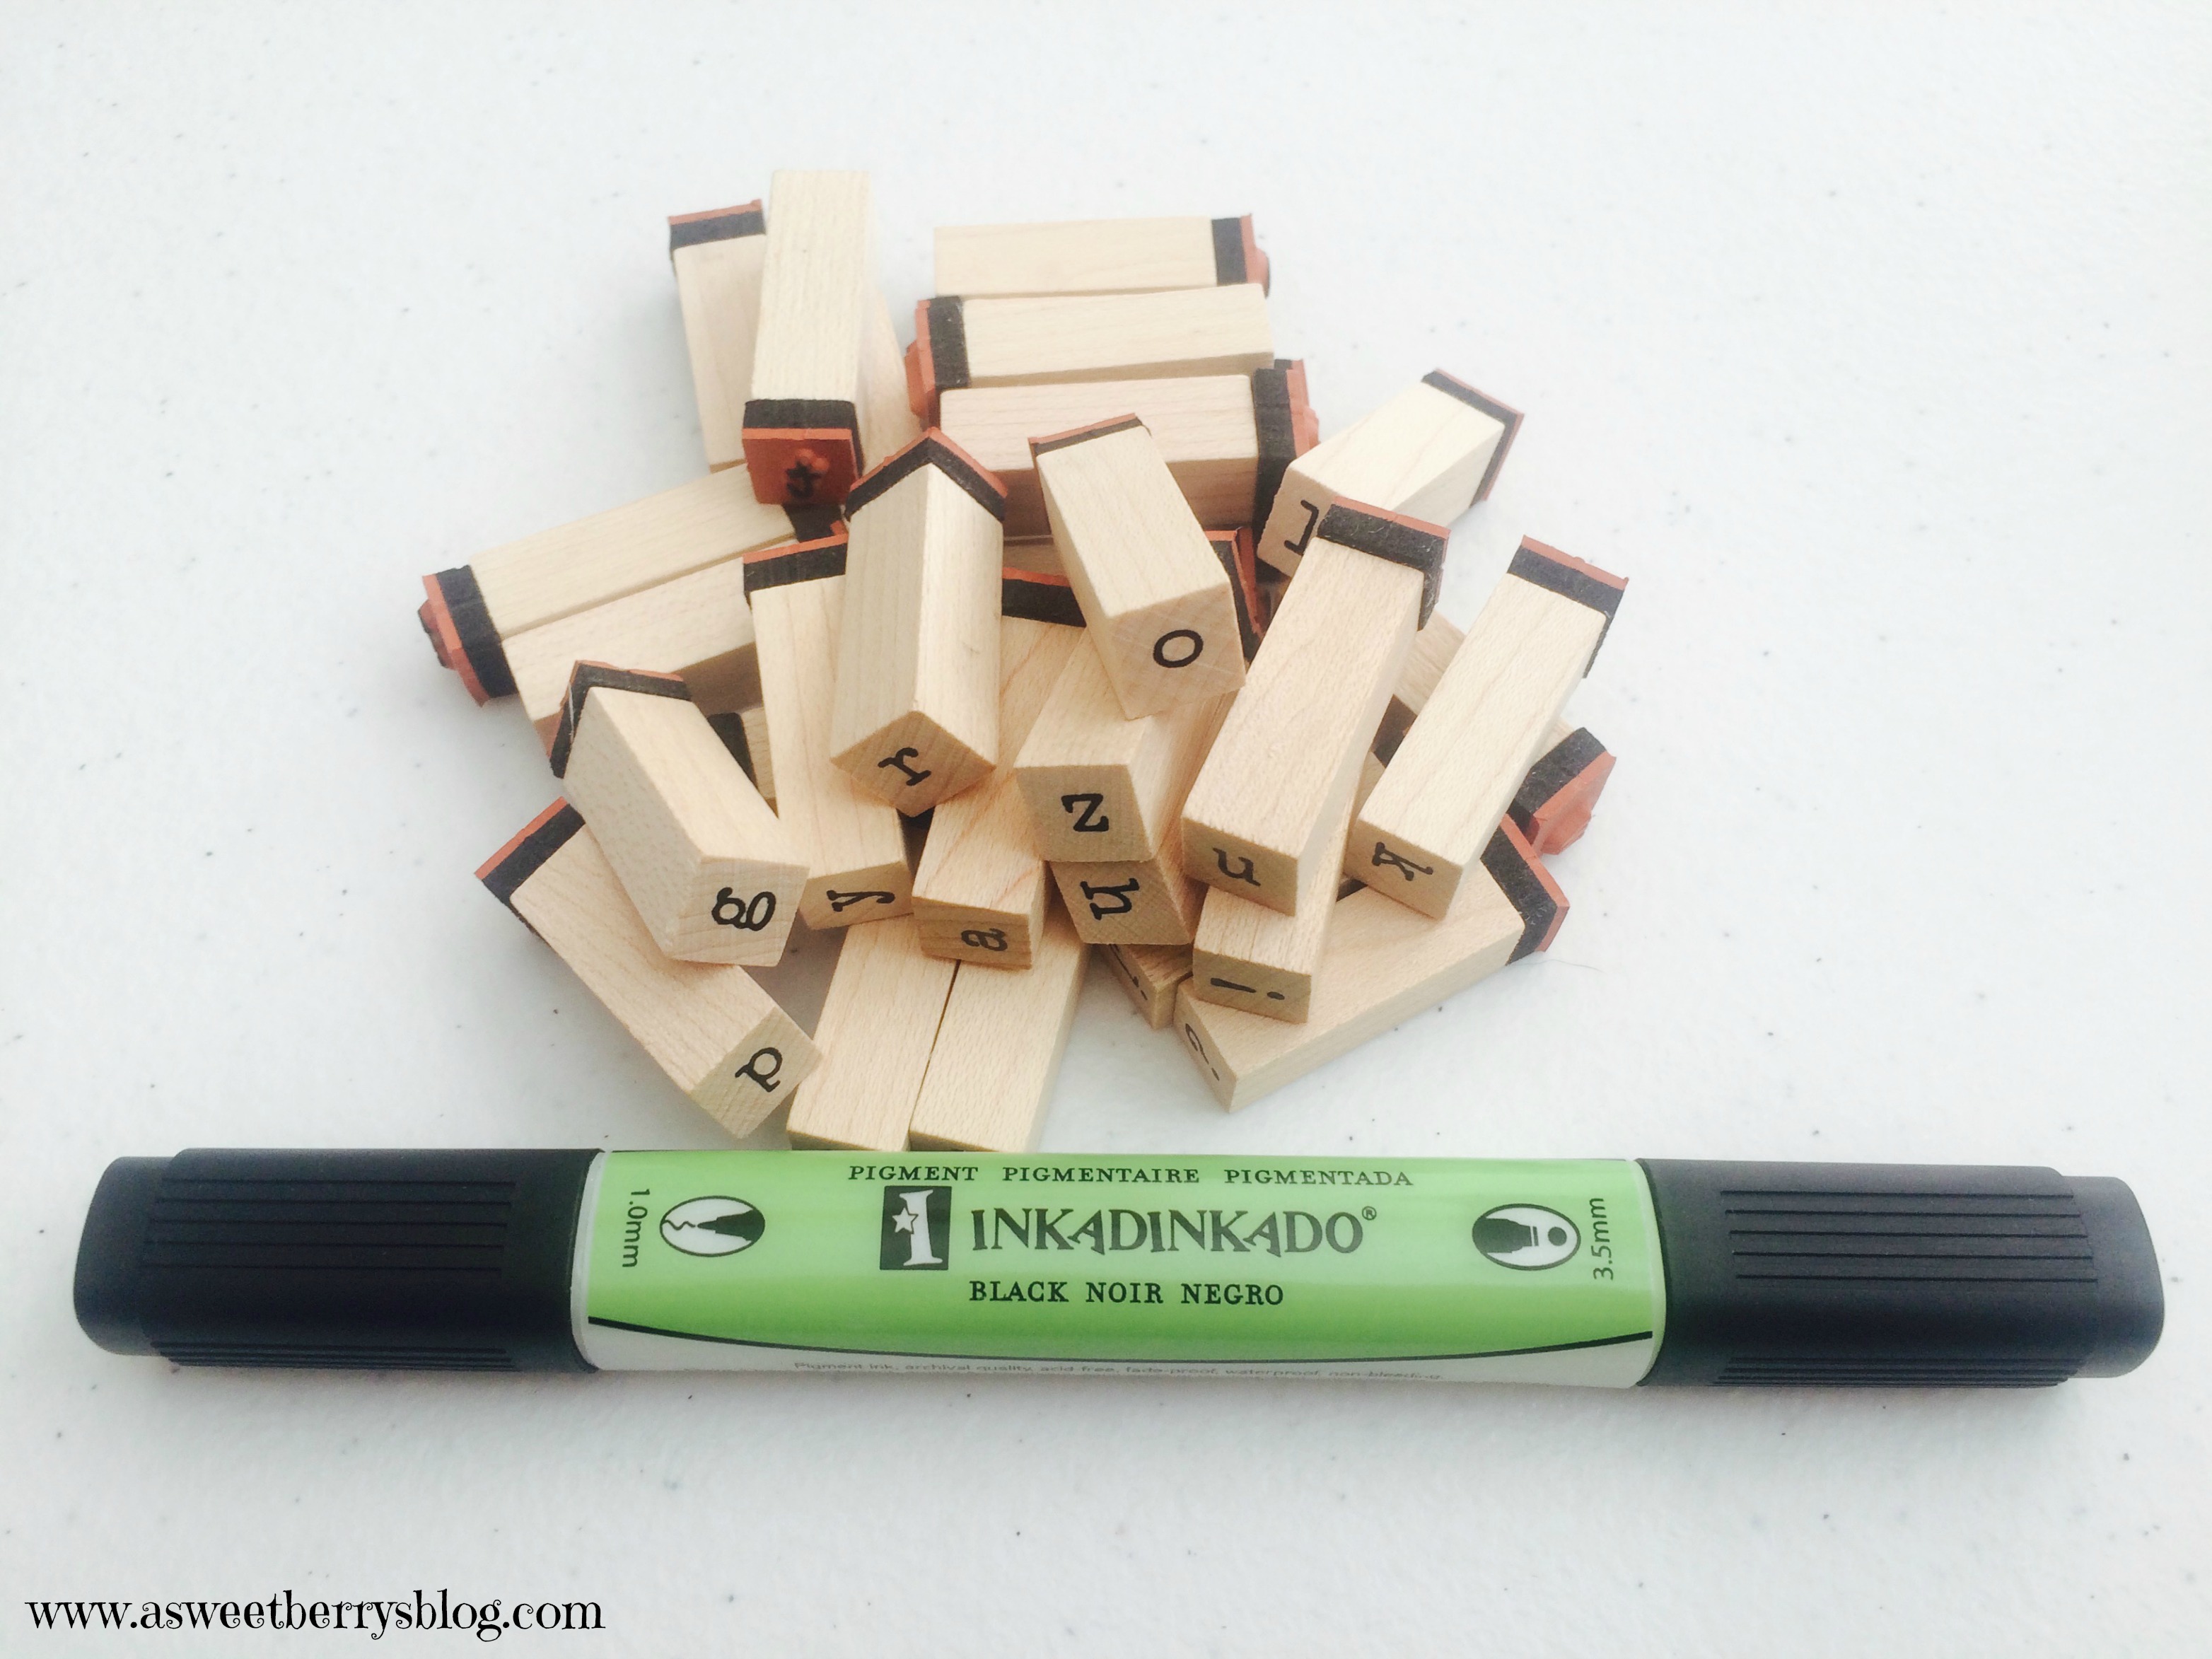
Using Inkadinkado stamps and ink, I stamped the inside of the cards.  I knew that my treats were going to be a craft, so I used a crafty saying:  “Be Mine Crafty!”  Inkadinkado
After getting everything cut out for my cards, I used Aleene’s Tacky 2-sided adhesive sheets to put the cards together.  I just cut the sheets up into smaller pieces and it worked great! creeper card
So, the treats to go along with the cards are Make It Yourself Cards.  I included a green square, a creeper face, some hearts and some scrap pieces of the DCWV card stock from what had already been cut. paperandhearts
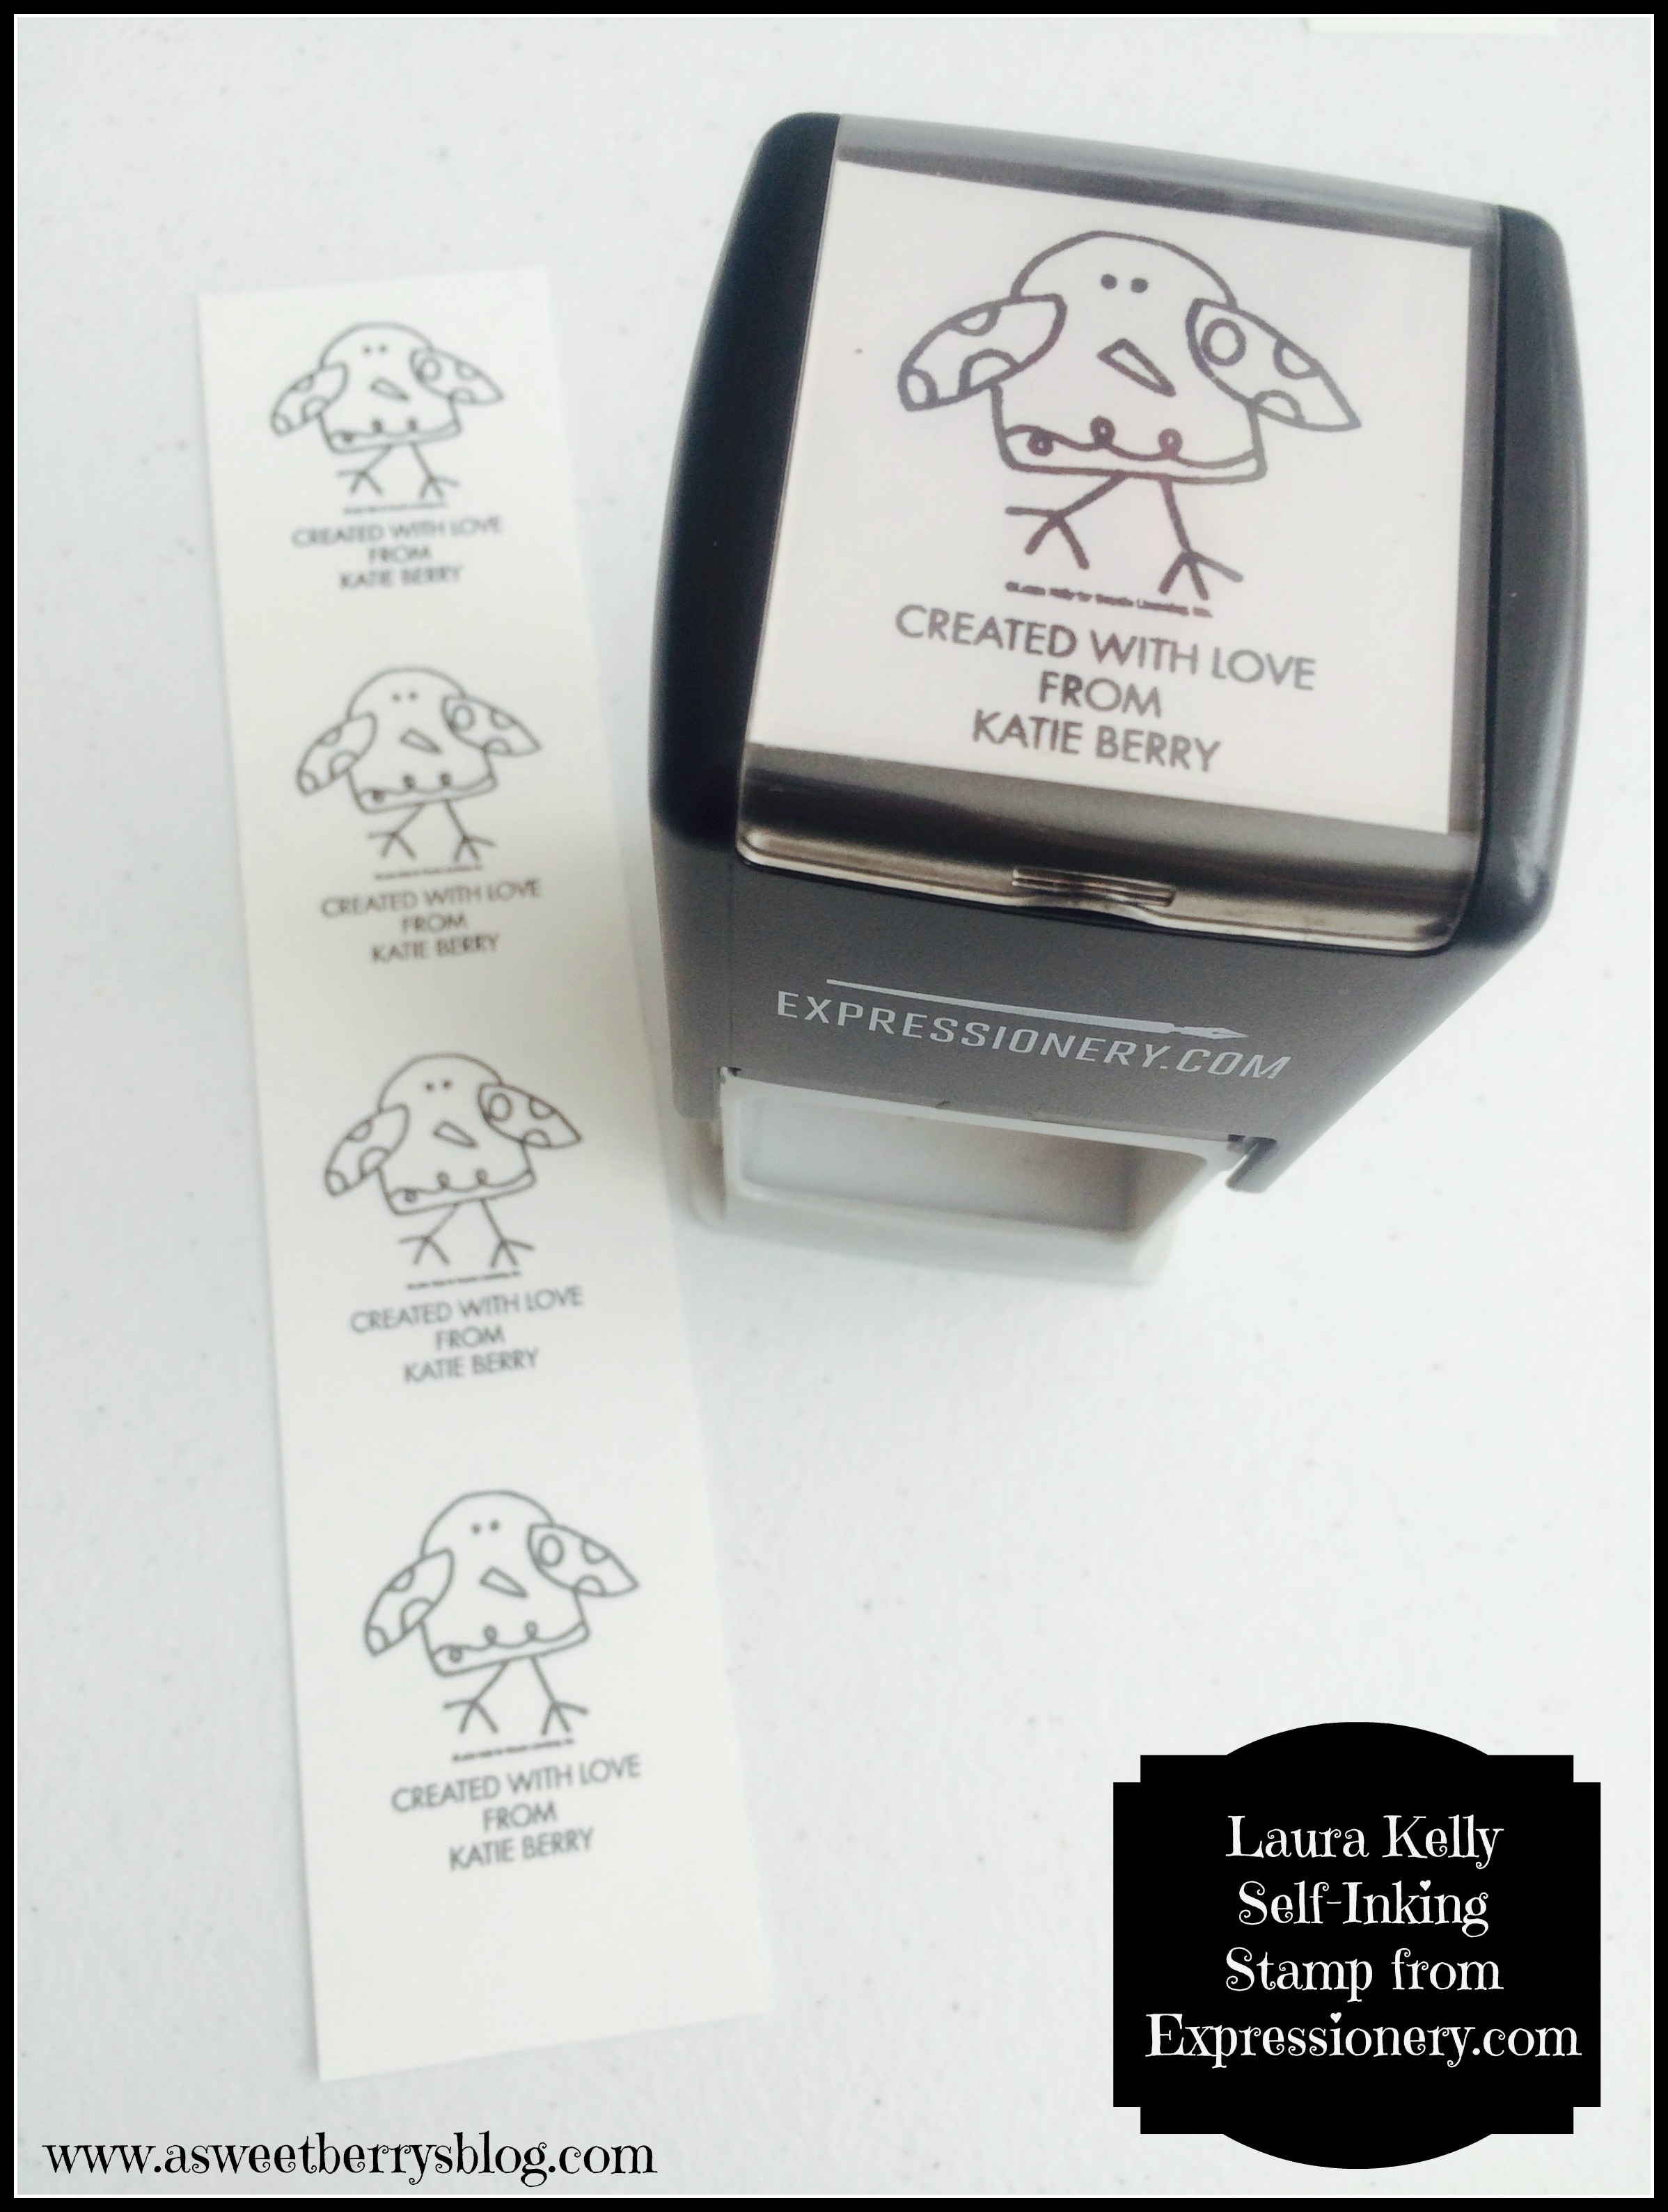
On the left over white scraps that I had from the squares inside my cards, I used my adorable Laura Kelly Self-Inking Stamp from Expressionery.com!  How cute is that stamp?!?!
Stamp
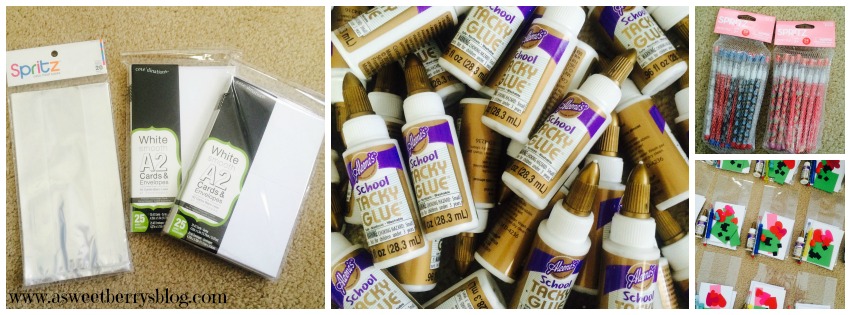
Then it was time to stuff my bags.  I just picked up some clear bags from the party section at Target.  I also got plain white cards with envelopes from ACMoore.  I also included an mini bottle of Aleene’s School Tacky Glue for their card making, a pencil, a small thing of bubbles and a pencil topper eraser!    I decided that I wanted this years Valentine’s to be Candy Free because we also end up having way too much candy anyway and it ends up going to waste.  I folded the bags and stapled a folded piece of DCWV card stock rectangle to close the bag and added the card and the piece white cardstock with my stamp on it to the front and back to cover the staples puttingtogetherbags
How cute did these turn out?   I hope the kids like them!   all shots My idea for a Make It Yourself Card idea came from my super crafty friend Mothership Scrapbook Gal, Rina Gonzales!  Check out her Facebook page and her Etsy Shop!!!!!

Until next time…..

XOXO