Tag Archives: Ellison

Shark Week Shark Banner

Disclosure:   This post contains affiliate links.

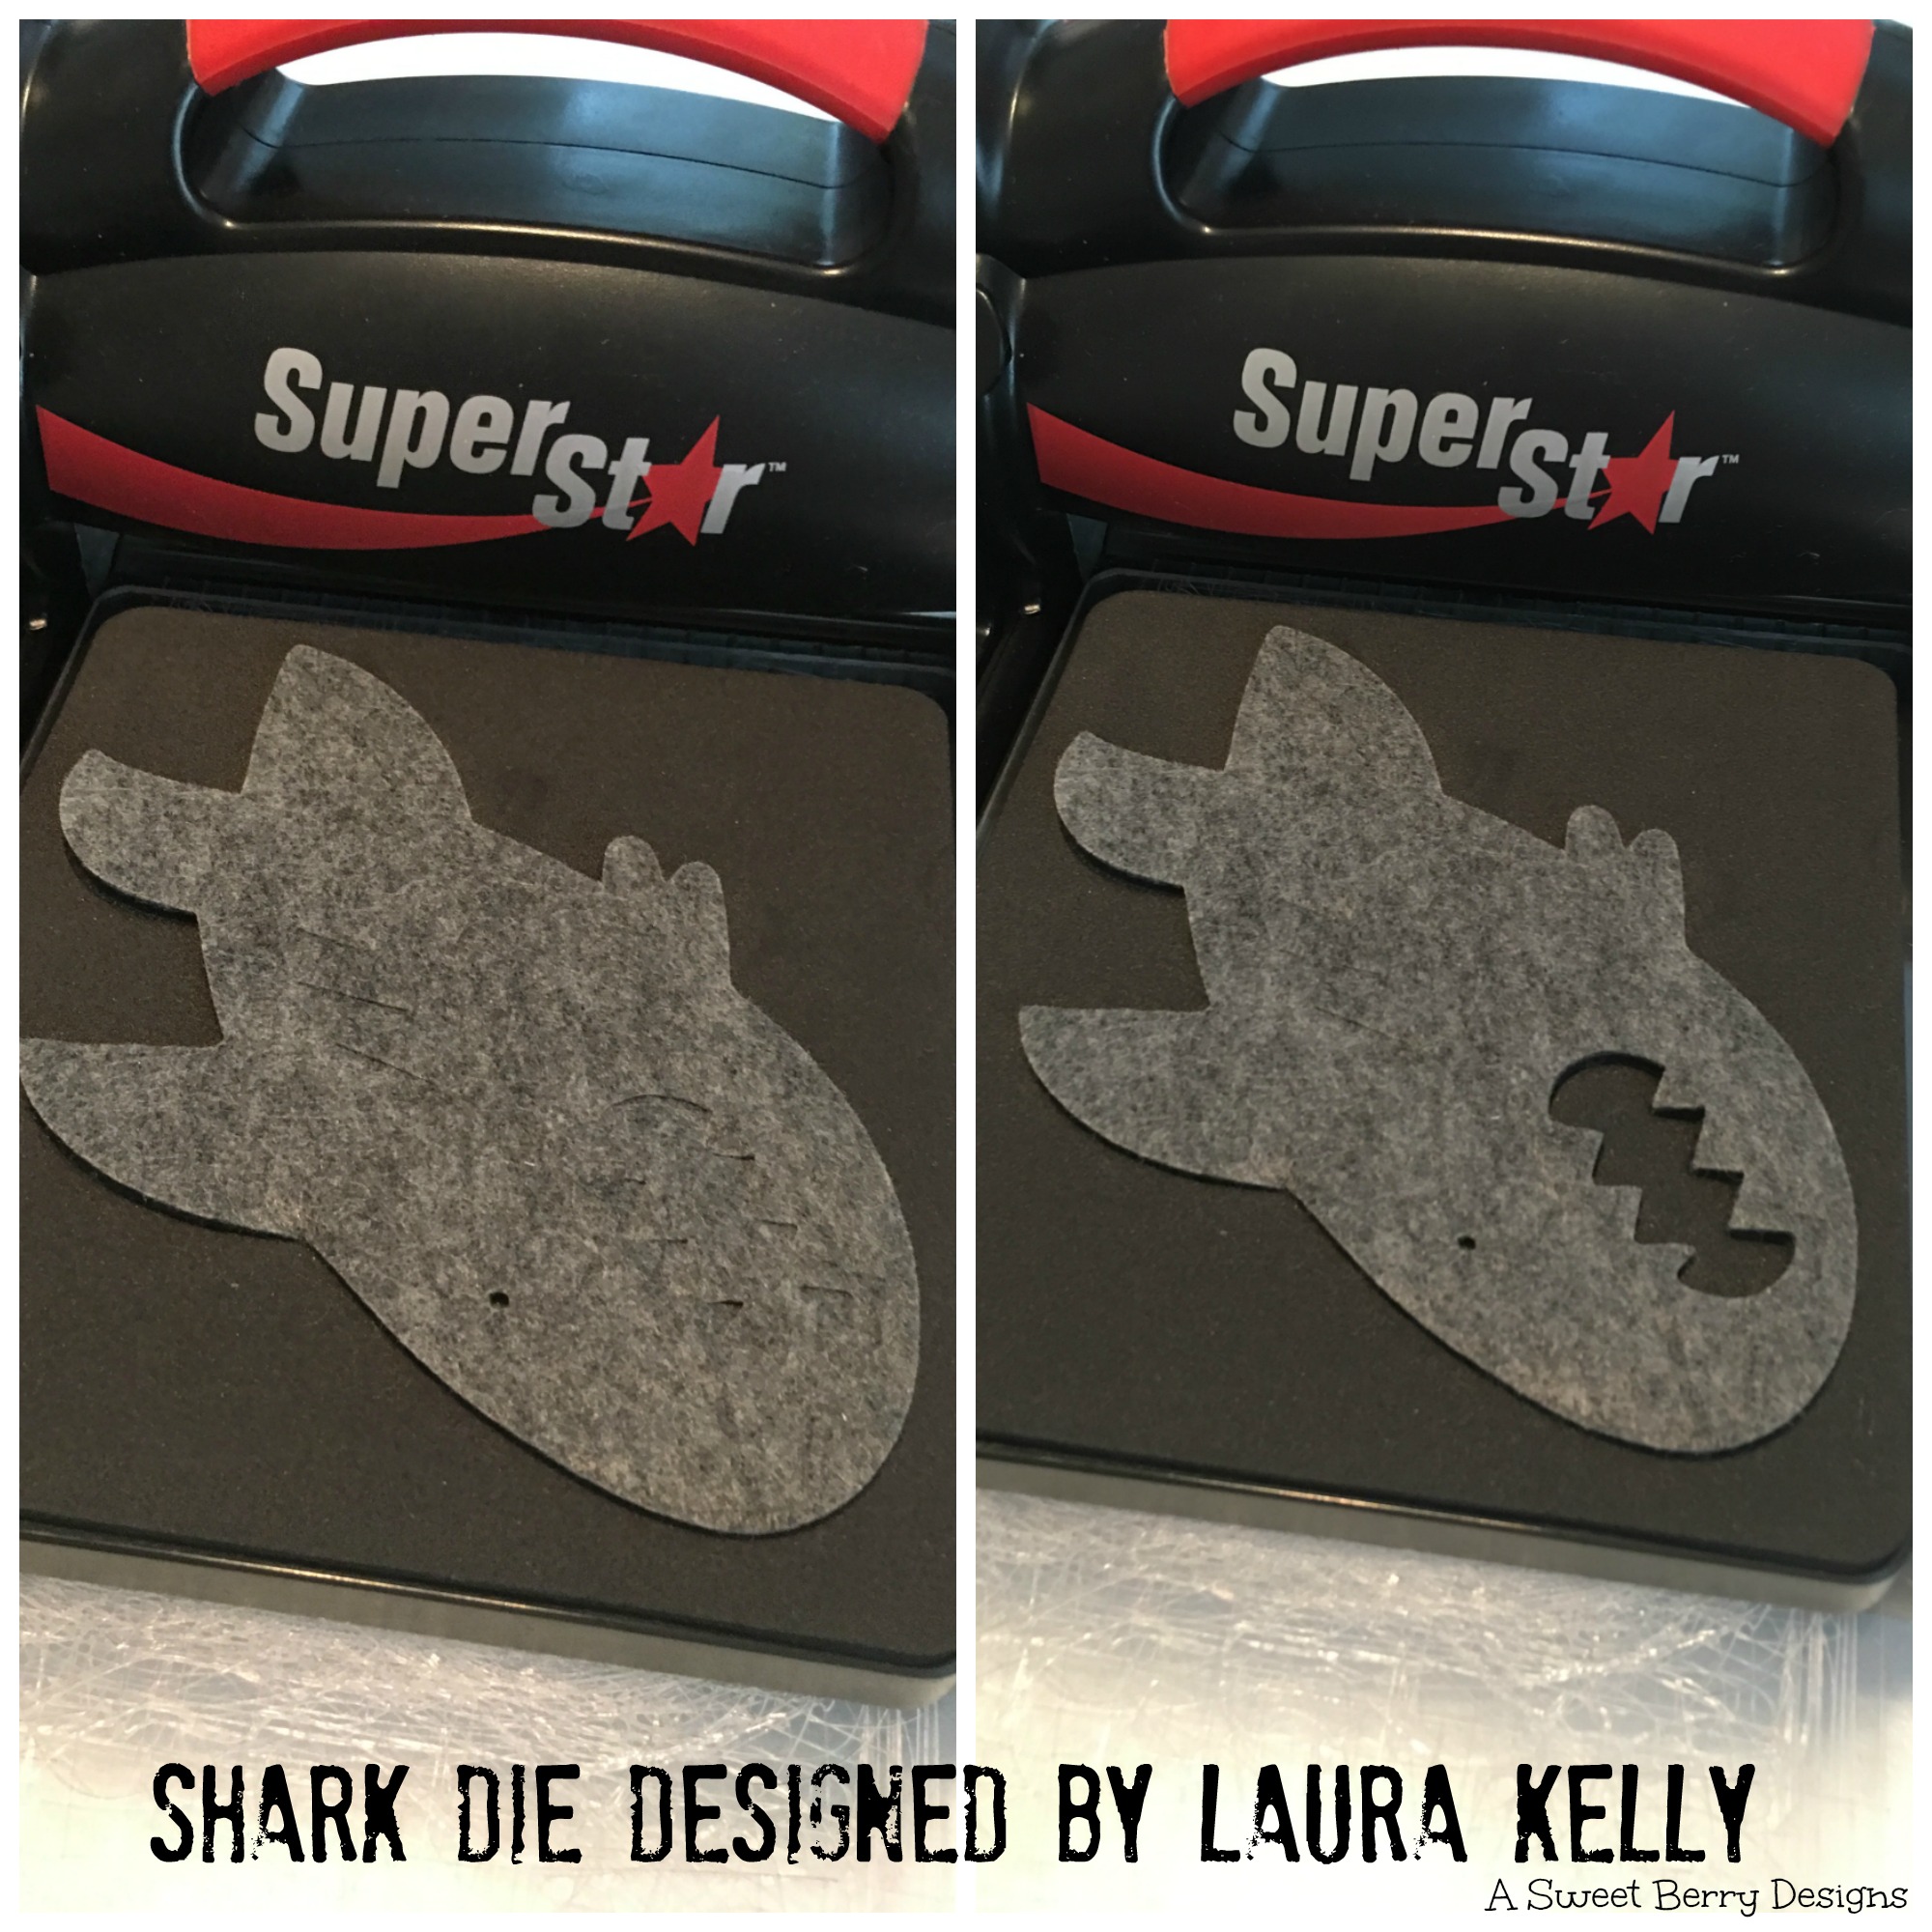
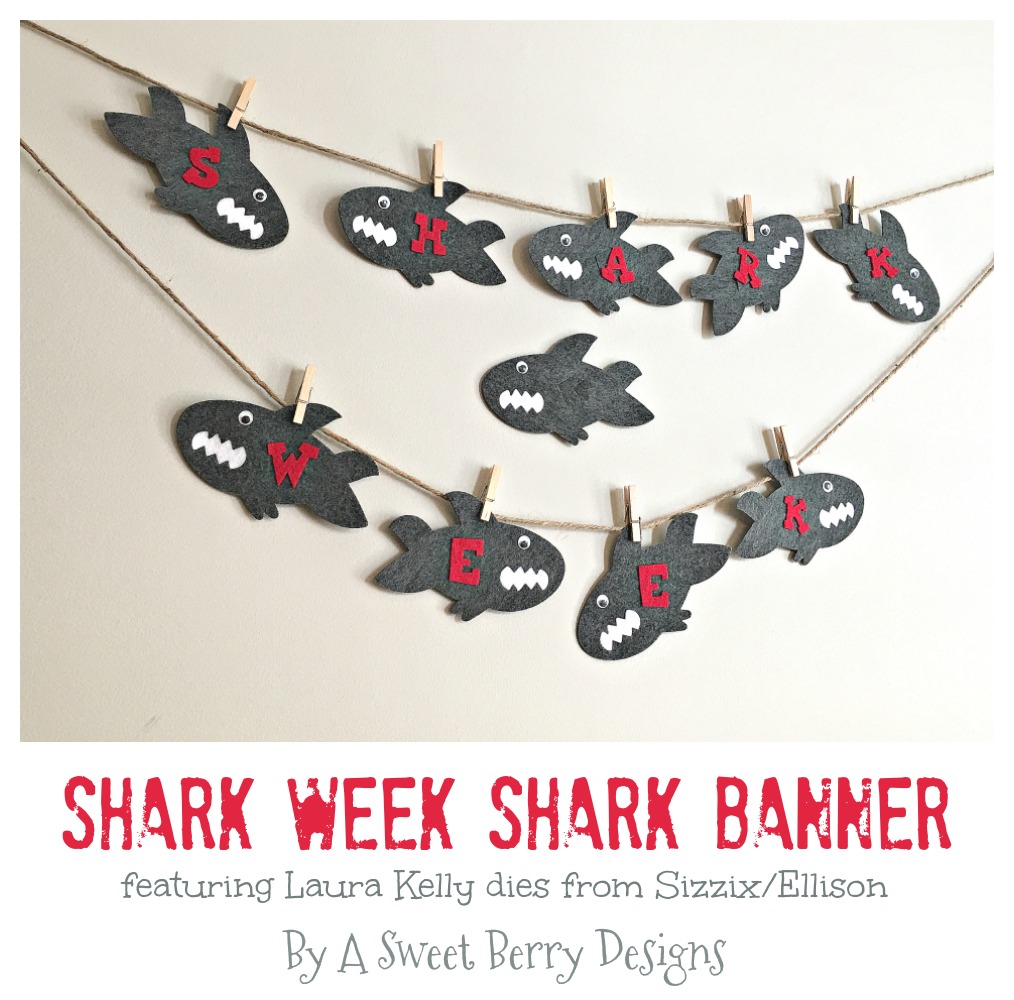
Shark week is next week and the Berry family is ready!  To get ready, I made this adorable Shark Week Shark Banner using my dear friend Laura Kelly’s dies from Sizzix/Ellison and felt from the Kunin Group!  It was super duper easy!  Check it out!  You can make you own!
Materials needed:

How I made it:

Using the Super Star Die Cutting Machine and Cutting Pads, I cut my felt sharks from Laura Kelly’s Shark Die.  I also cut the sharks teeth out of white felt.

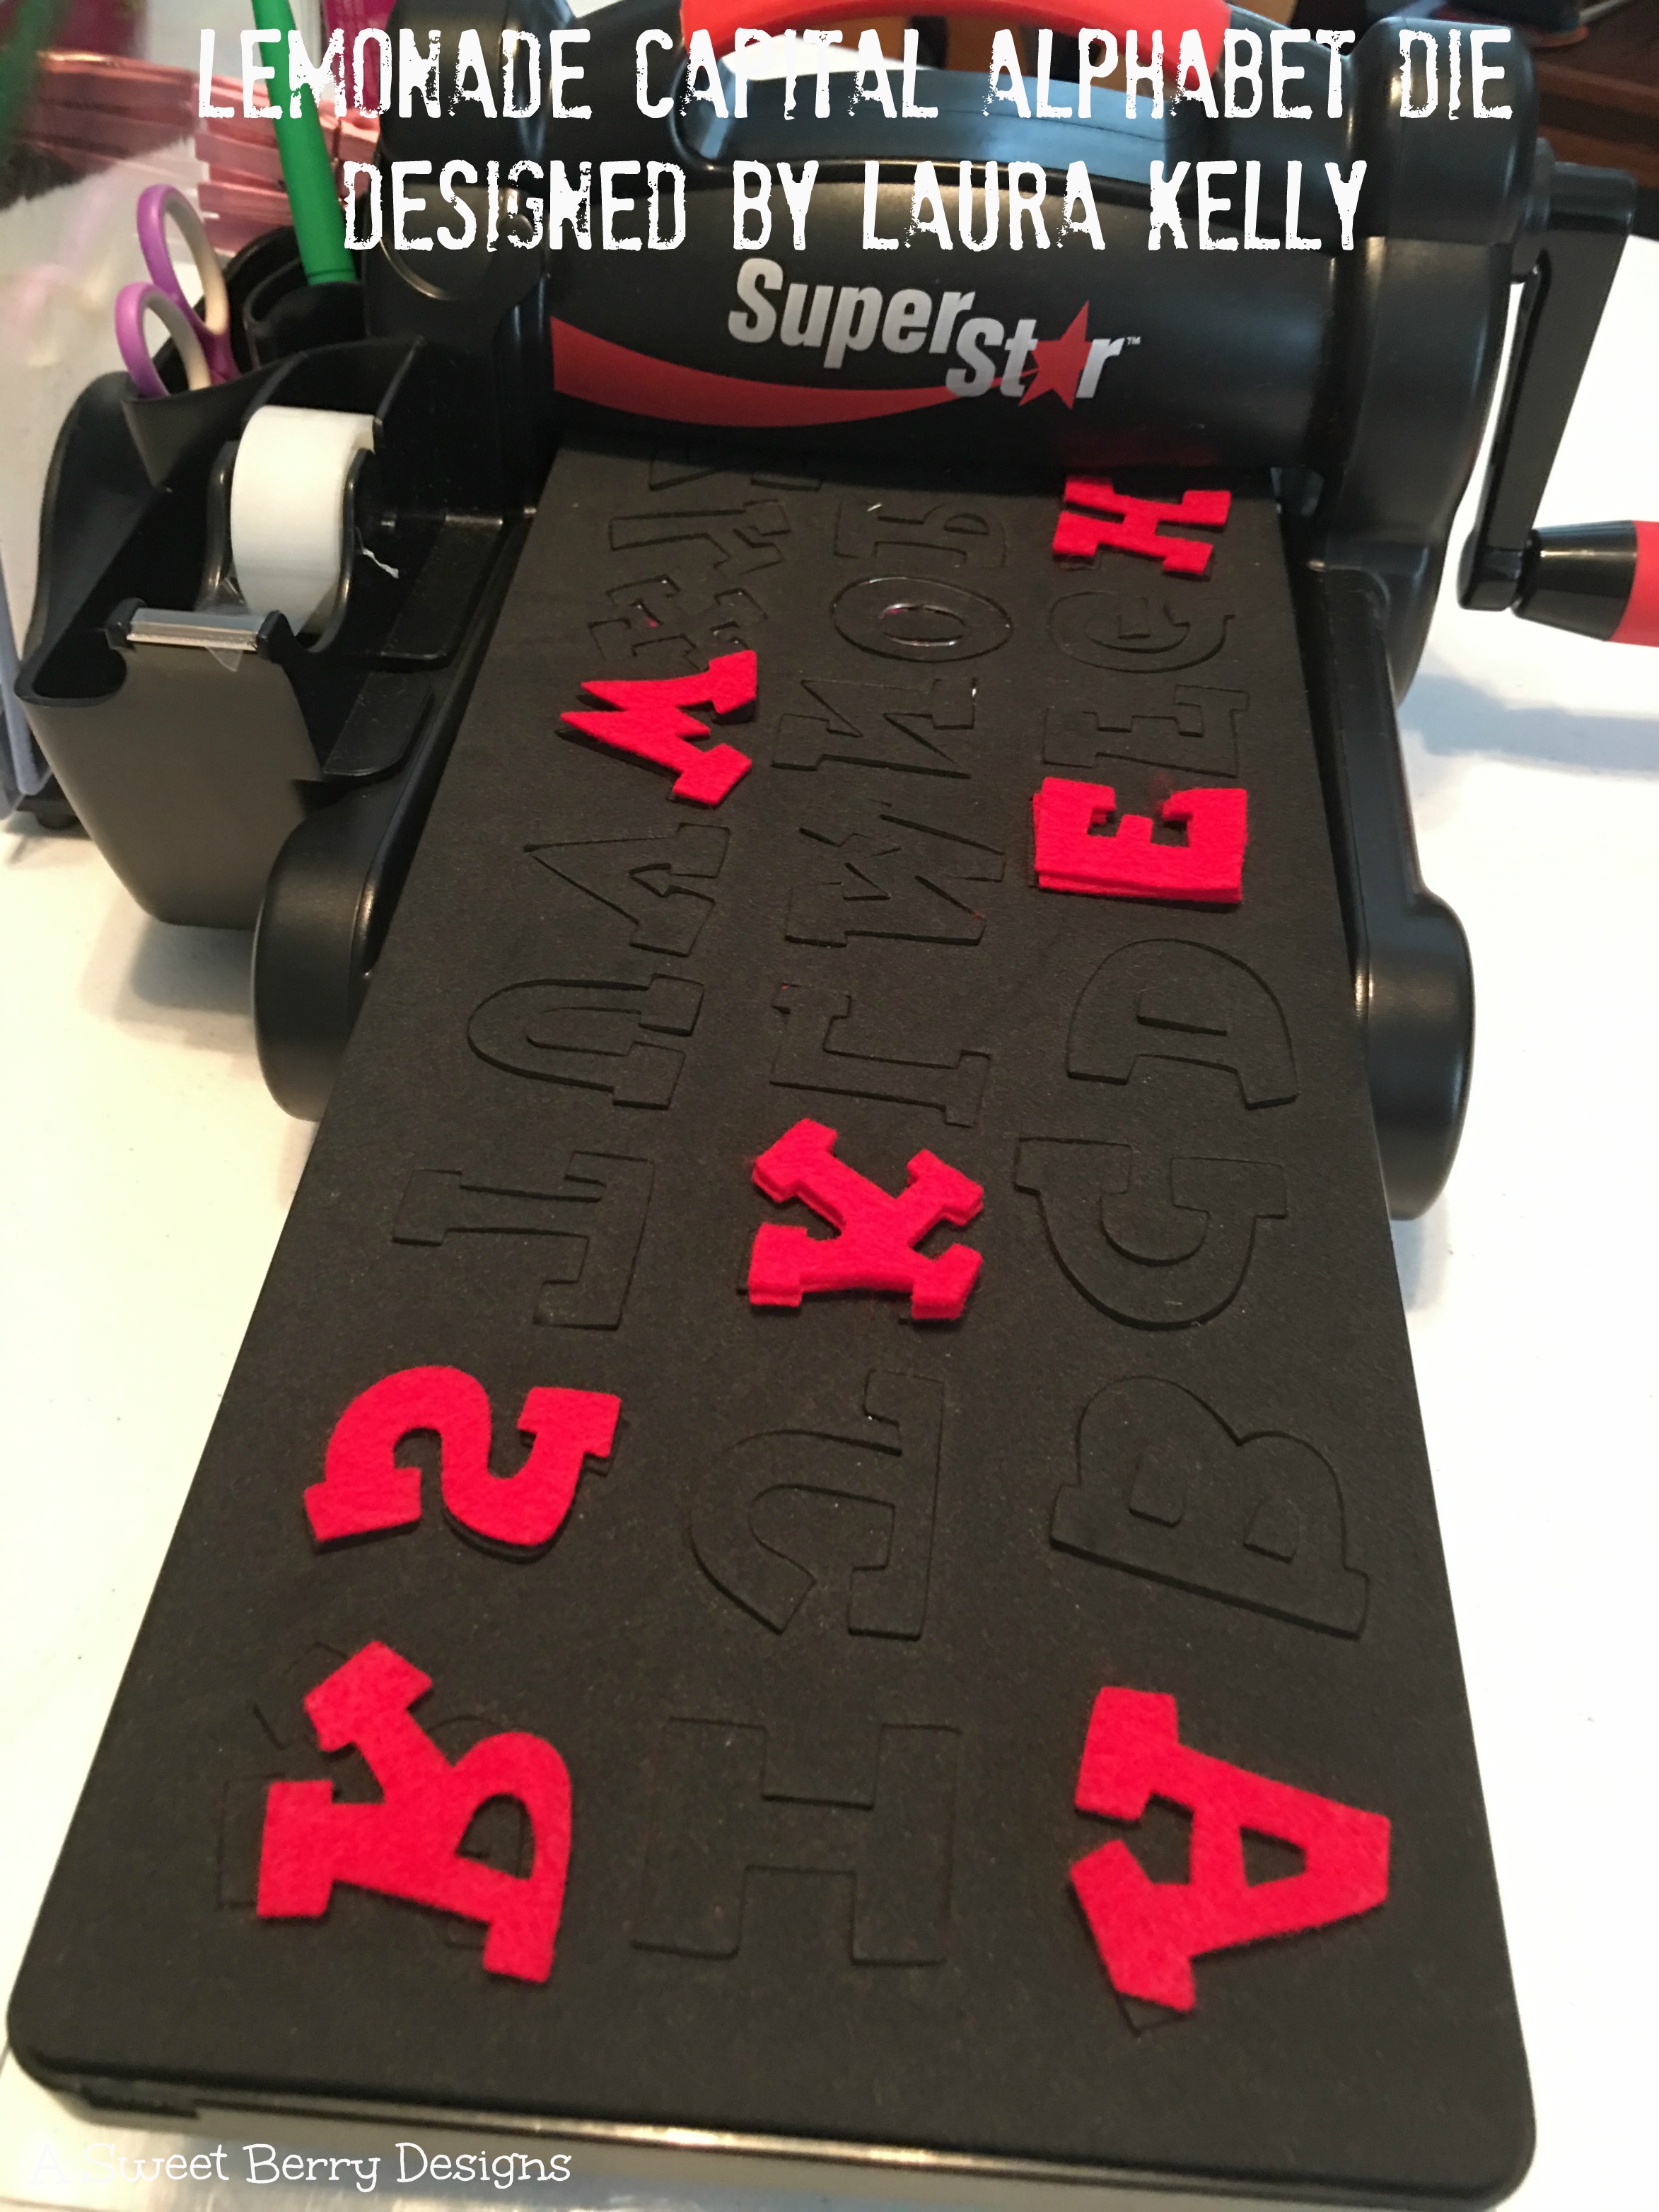
Then I cut out the letters “SHARK WEEK” from Laura Kelly’s Lemonade Capital Alphabet Die using red felt.

Once I had all of my pieces cut out, I used Beacon Felt Glue to put everything together!  I added wiggly eyes to make the sharks look silly!

Once everything was dry, I hung them up on two strands of jute rope!  I had an extra shark, so I added him to the middle!

Hope you like this super easy Shark Week Shark Banner!  I love using these dies and Kunin felt!

Freedom Felt Banner

Disclosure:  This post contains affiliate links for Sizzix.com

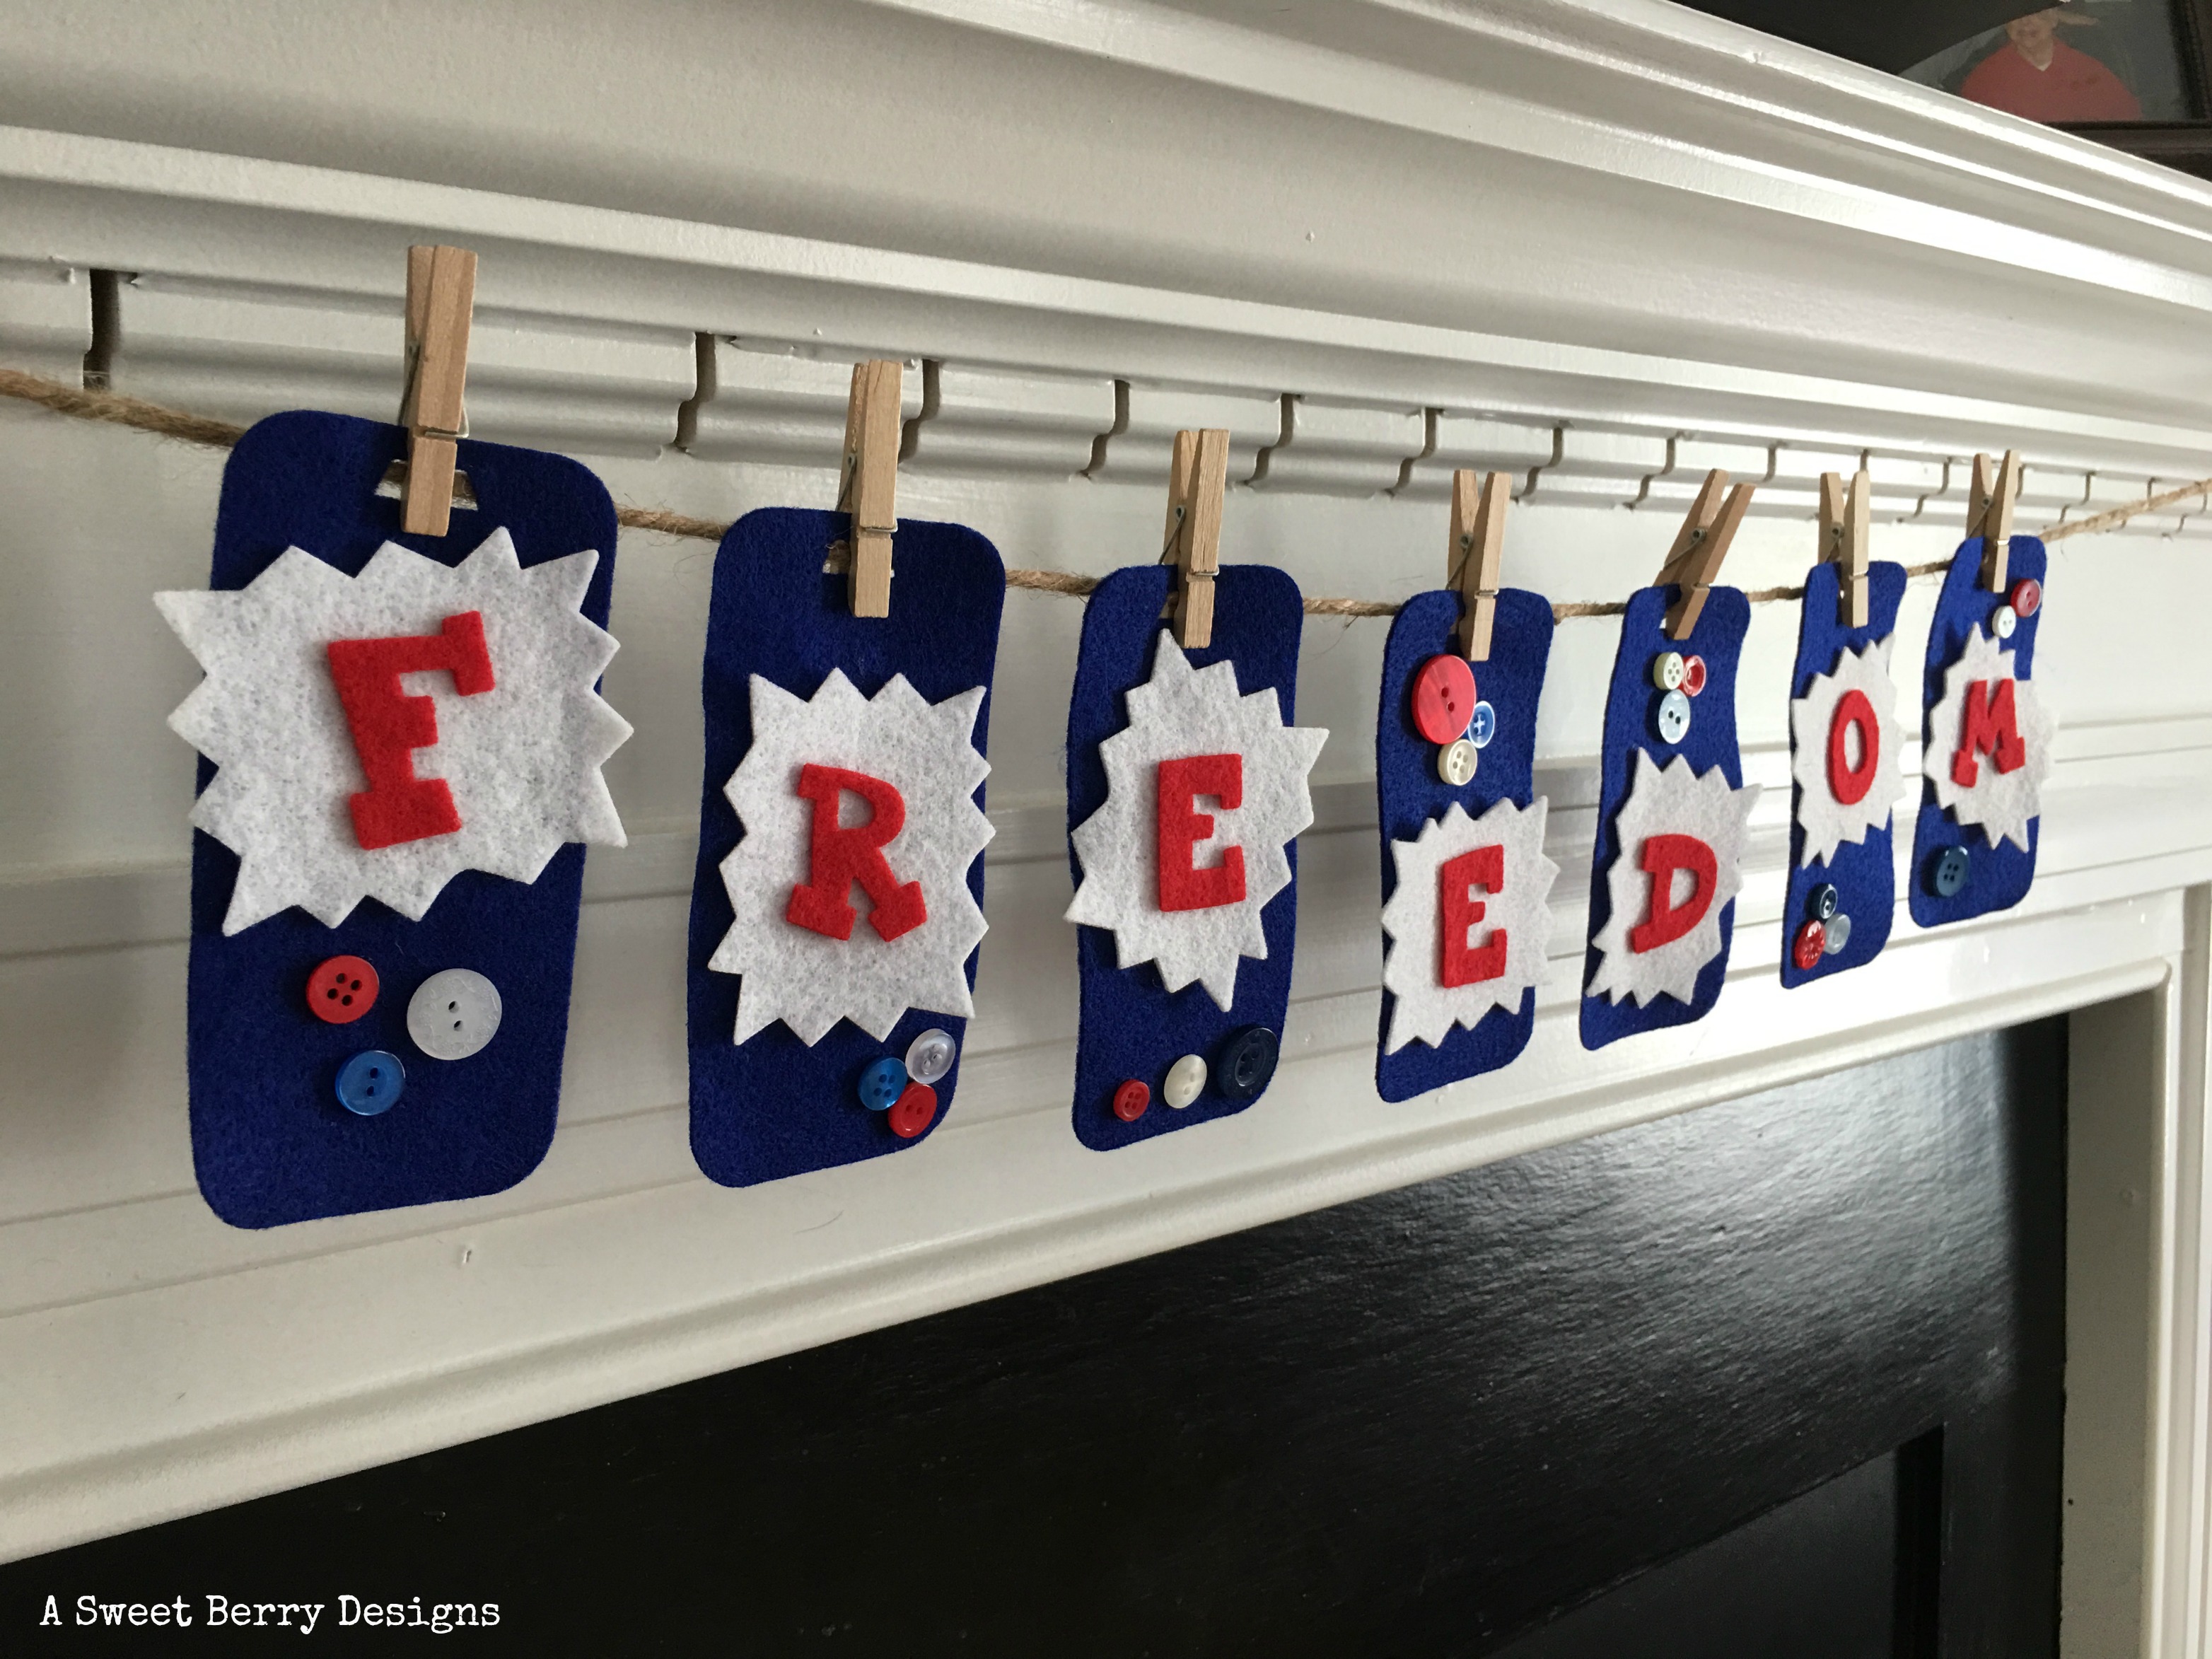
It’s Craft Lightning time again and this one is Patriotic Crafts!  This Freedom Felt Banner was super easy and took barely anytime to make!   And I love a cute seasonal banner!
Materials:


How to make it:

  1.  Using the die cutting machine, cutting pads and dies, cut out each of your pieces!  I cut seven bookmarks, seven badges and the letters to spell Freedom.  I used the rectangular badge because I thought it looked like a burst from a firework!
  2. Assemble your pieces so that you know where your want to glue them!  
  3. Glue your pieces and buttons to the bookmark.
  4. Let dry!
  5. Using twine and small clothespins, hang them up to create a patriotic felt banner! Easy Peasy!!!   Now I have a banner for Memorial Day as well as the 4th of July!  Hope you like this Craft Lightning project!   Be sure to click the photo below and check out other Patriotic Craft Lightning projects!


Easy Valentine’s Day Heart Card

Disclaimer:  This post contains an affiliate link.

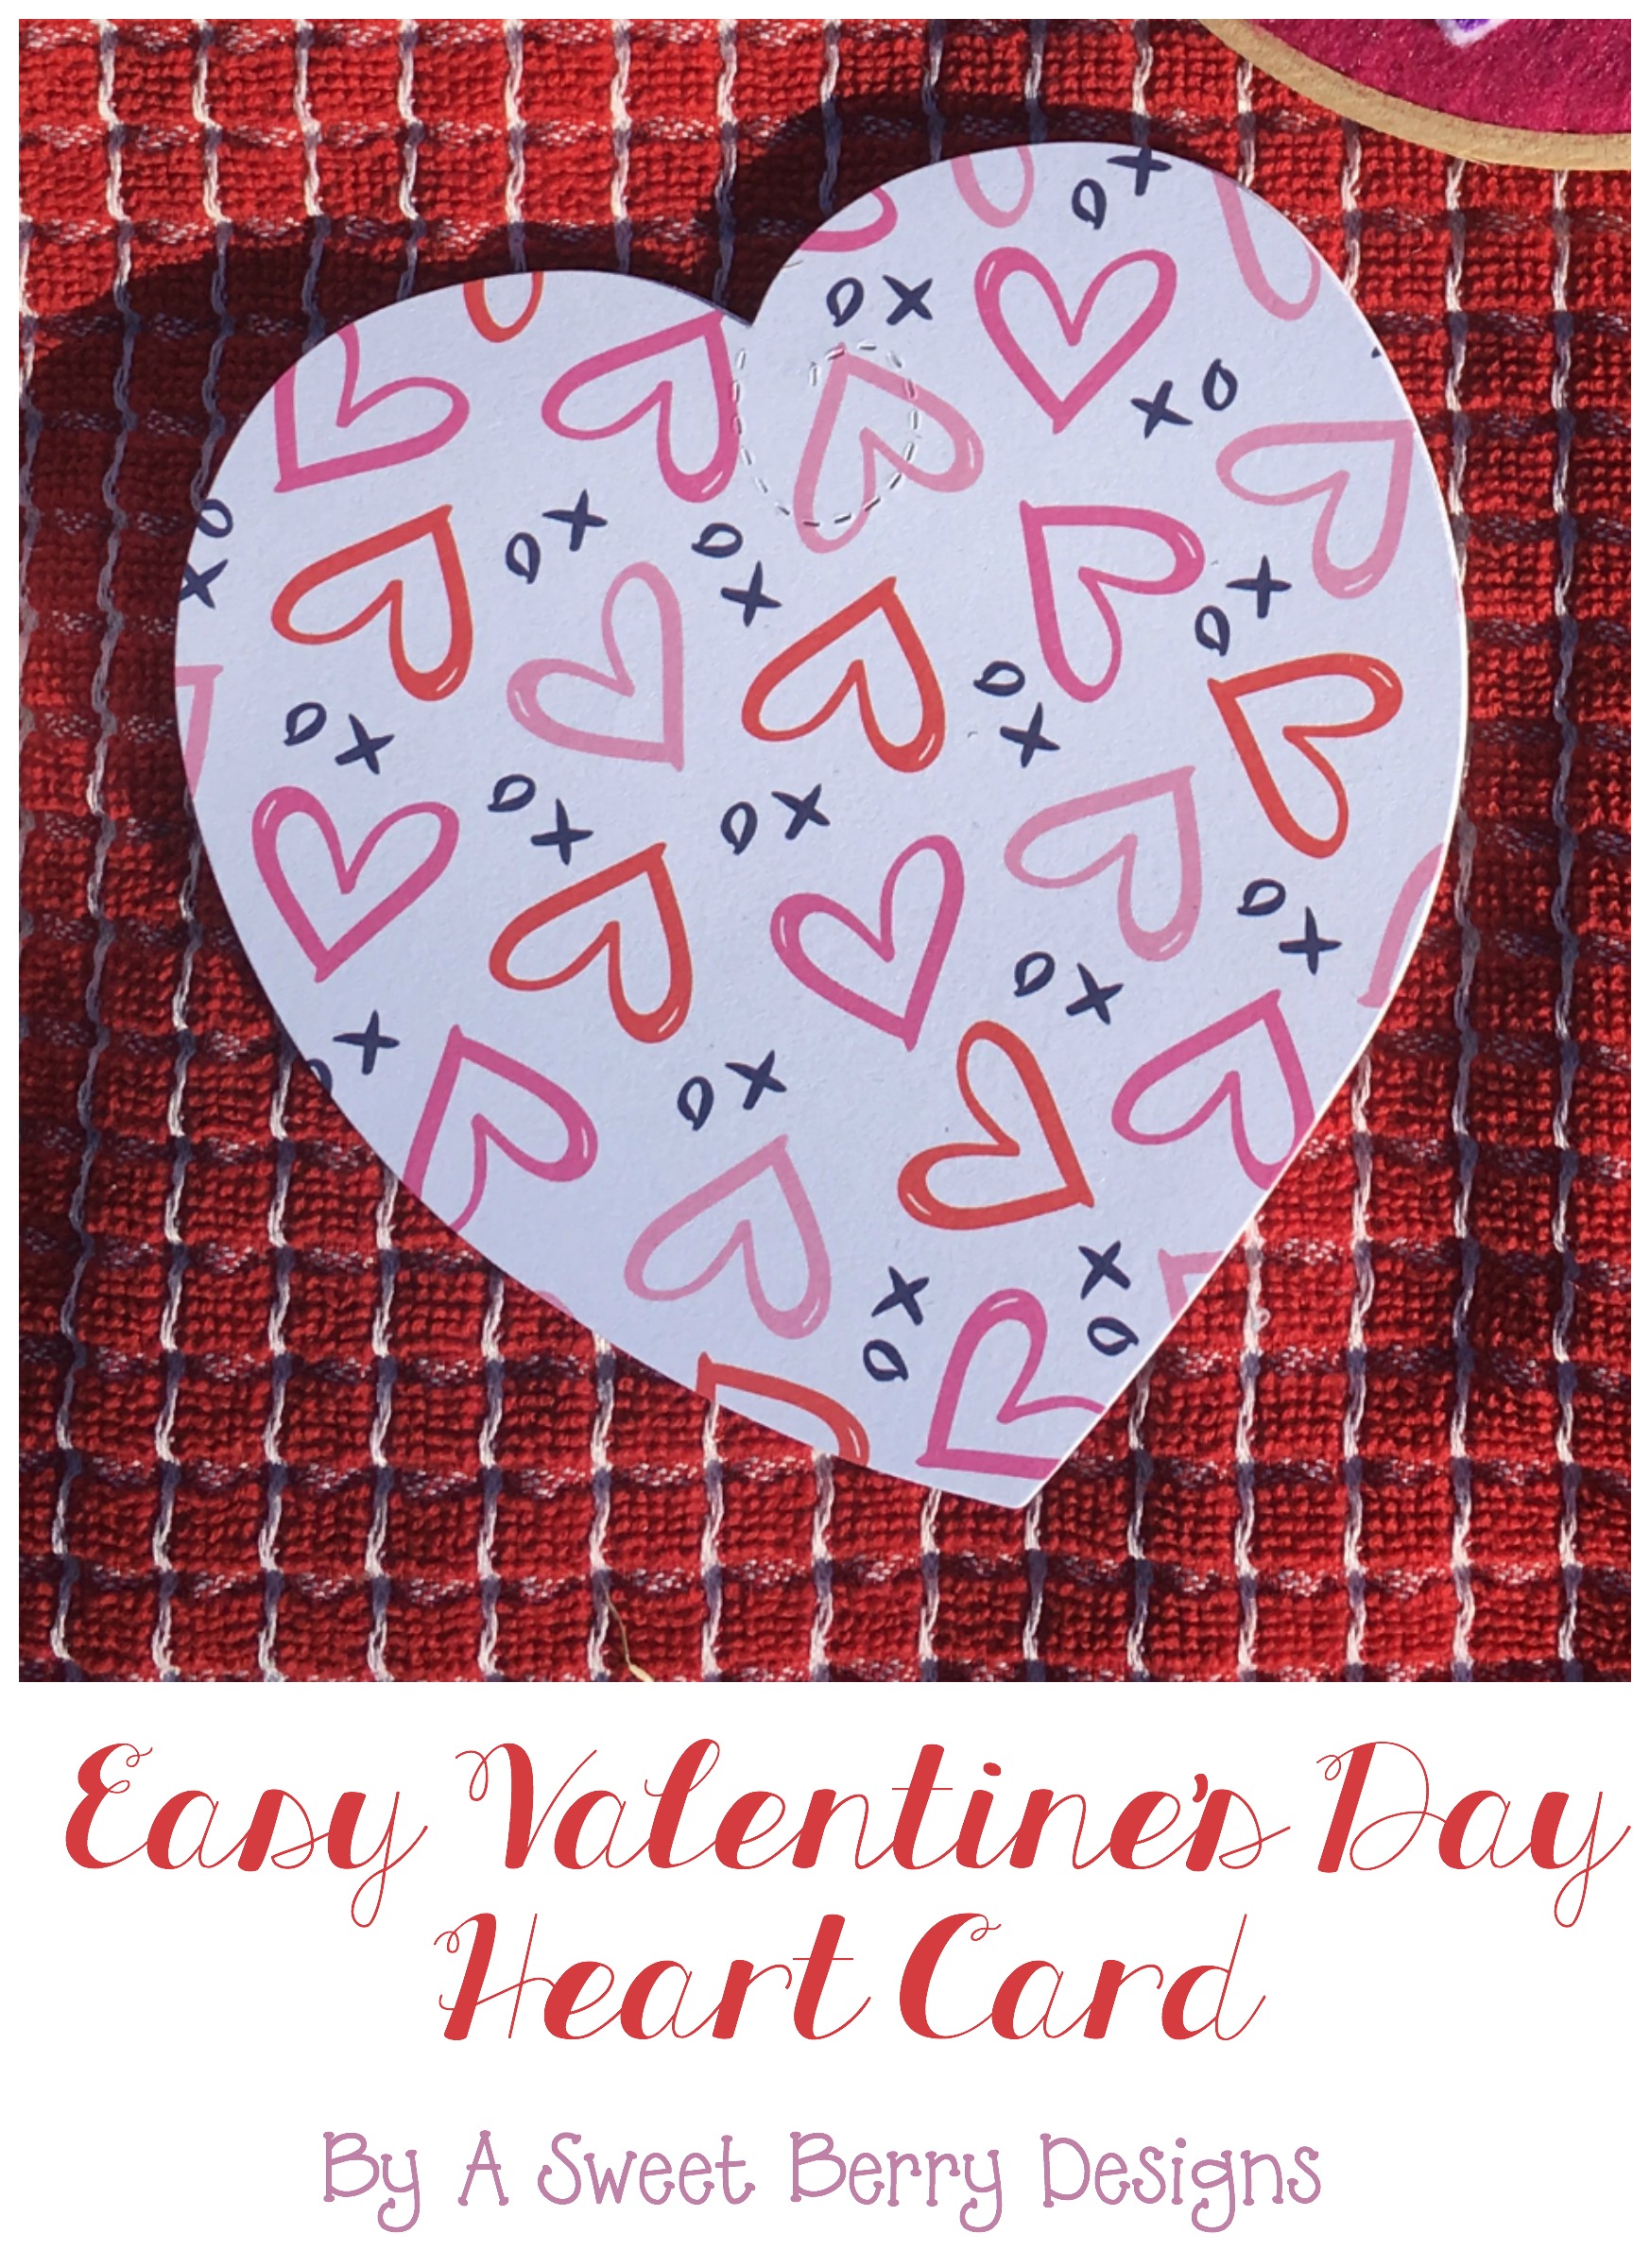
Valentine’s Day is right around the corner!  Need a super easy card?  Here is one for you!  It’s a Valentine’s Day Heart Card!

Heart Card

Materials Need:
Ellison SuperStar Machine
Cutting Pads
Laura Kelly’s Sizzix Heart #5
White Card Stock
Cute Valentin’e Day Card Stock
Tape Runner

Card

Directions:

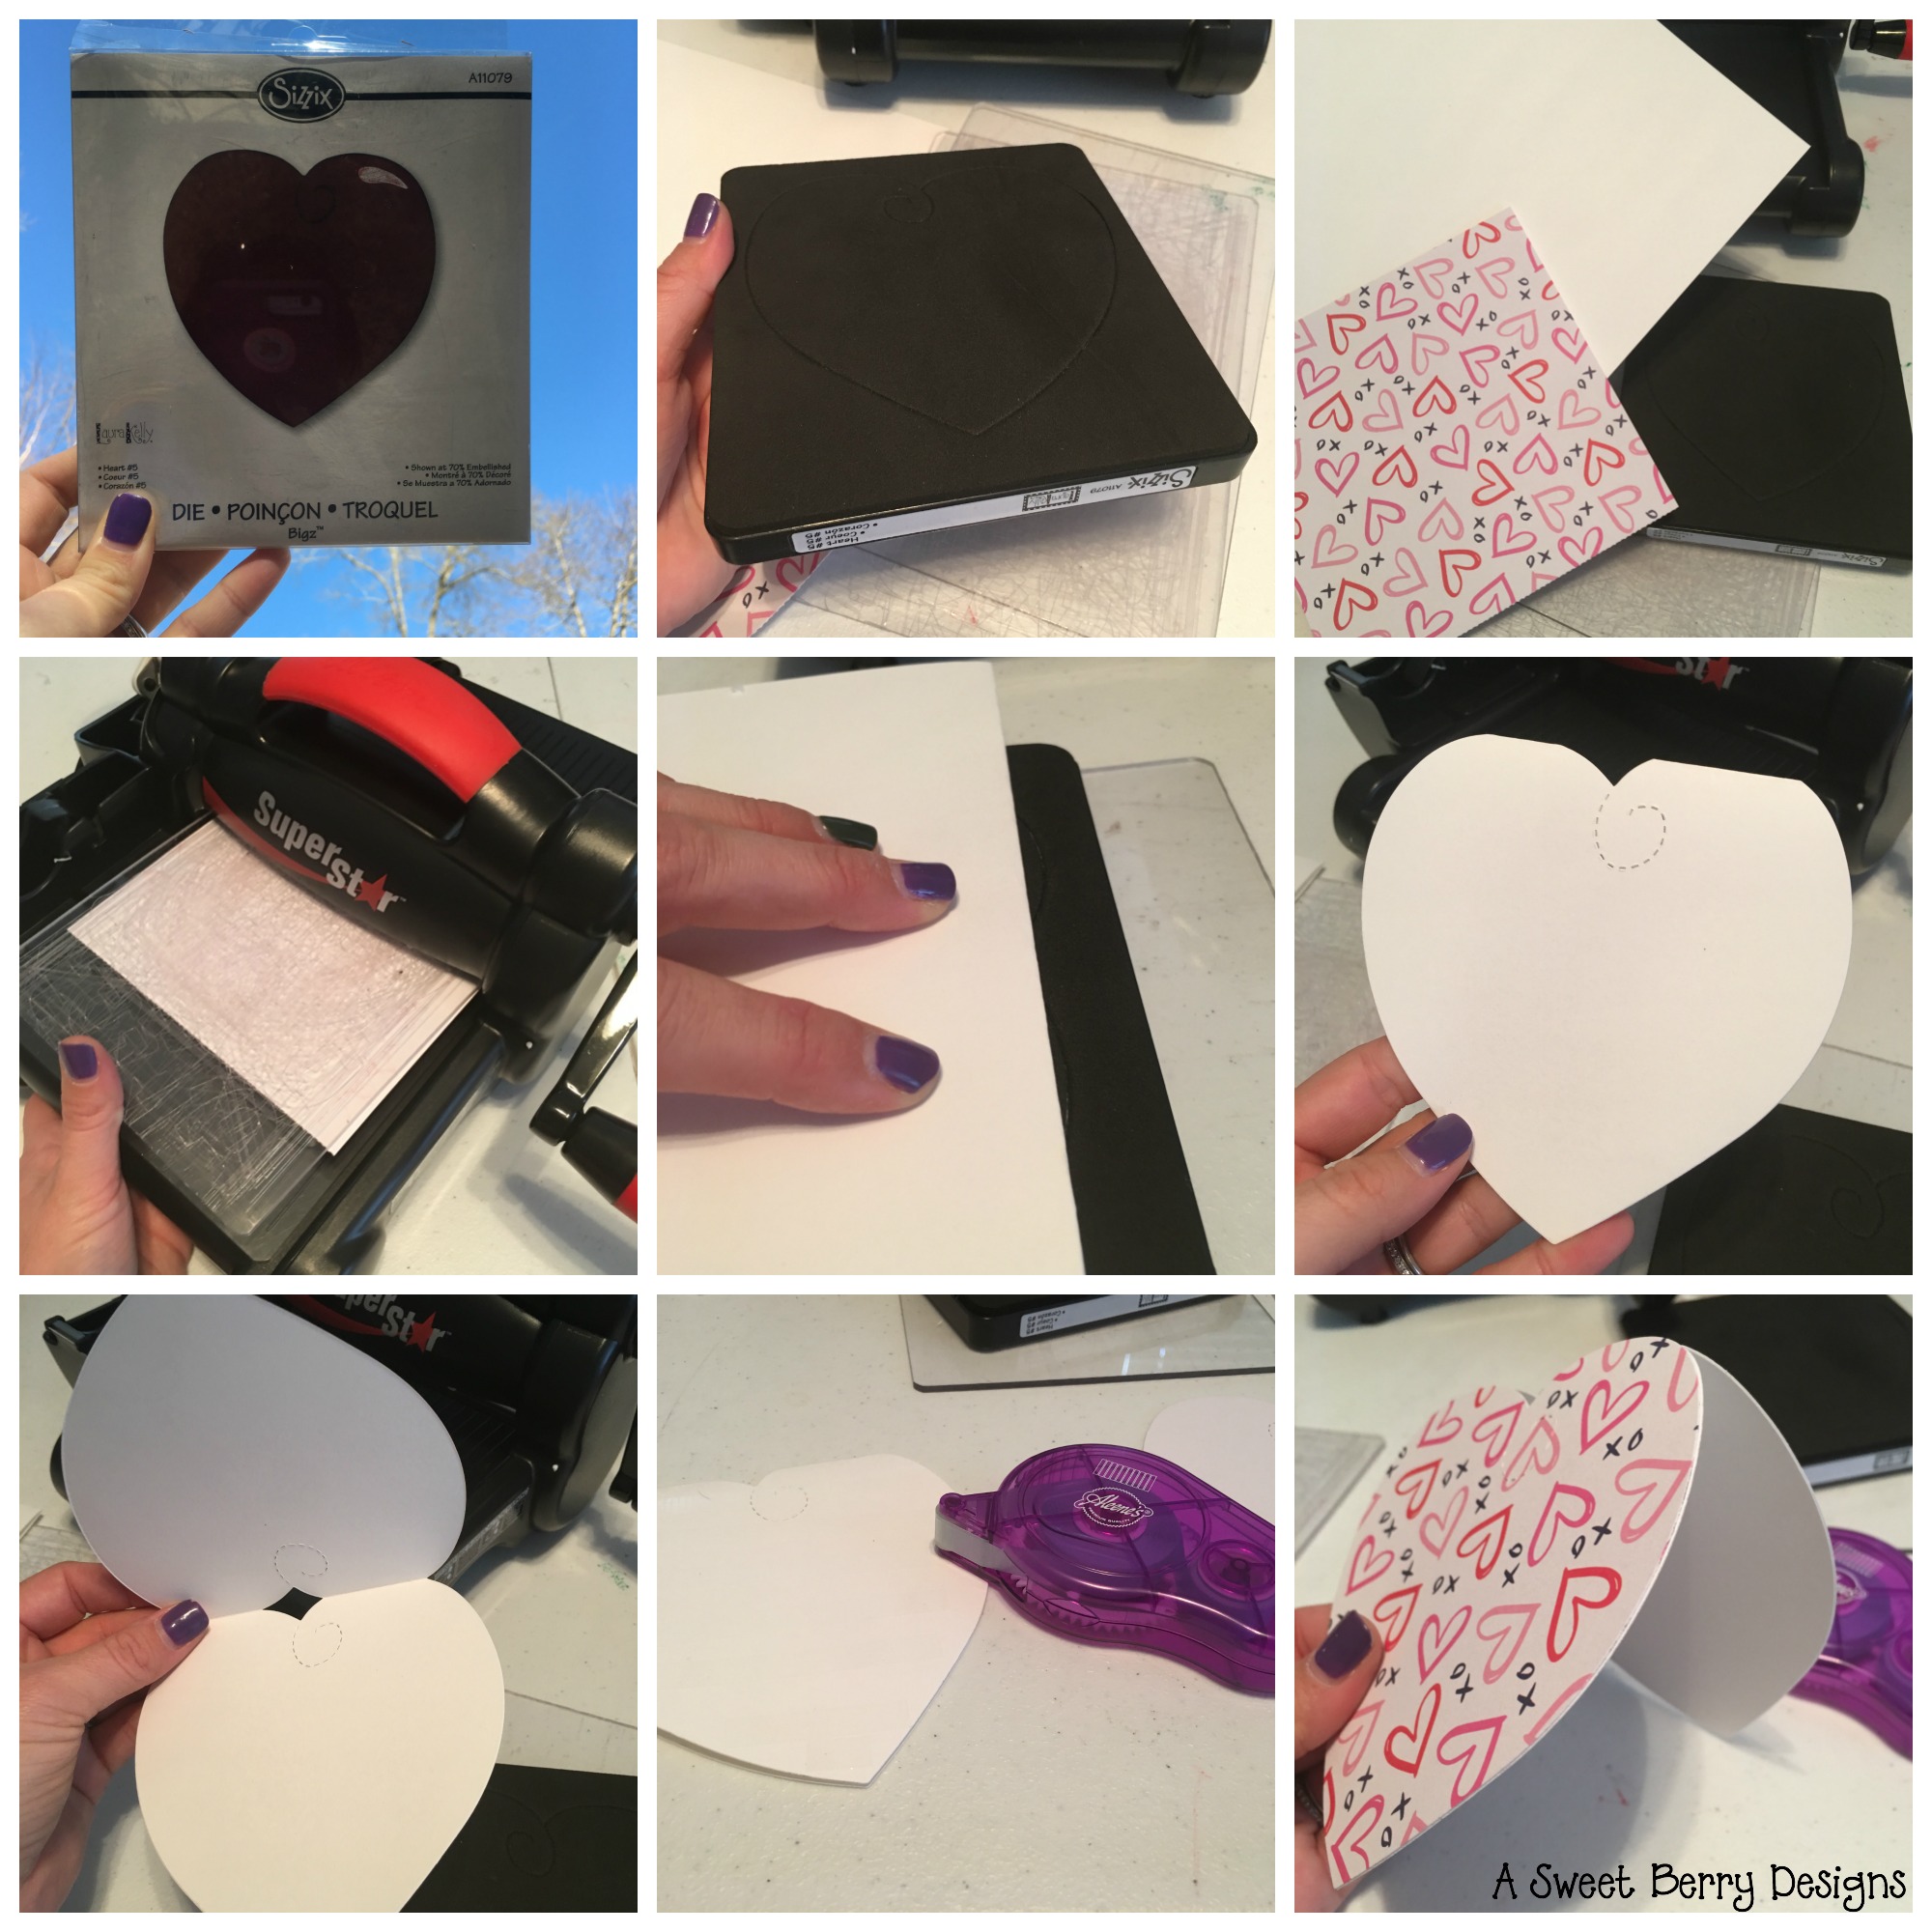
  1.  First, using the Ellison SuperStar Machine, the cutting dies, the heart die and your cute Valentine’s Day paper, cut a heart.  Be sure to place your paper cute side down.
  2. Fold your piece of white card stock in half.  
  3. Place the folded side down at the top of the heart, moving it down to right below the cut lines of the heart.  This will create the fold in your heart card.
  4. You may need to trim off the extra paper on the sides.
  5. Place the die and paper on the cutting pads and run it through the machine.
  6. This step is important:   See which side of your fold card heart matches up to the cute card stock heart.
  7. Using a tape runner, place tape on the front part of your white card stock. 
  8. Place the cute card stock heart on the front side of the card, making sure to line it up with the bottom of the heart.  Know that the top of the card and the cute card stock will not touch because you created that fold below the cut line of the die.
  9. Write a sweet little note inside and send it to someone special!

Hope you like this cute and super easy Valentine’s Day Heart Card!  

Until next time…..

End of the School Year Banner

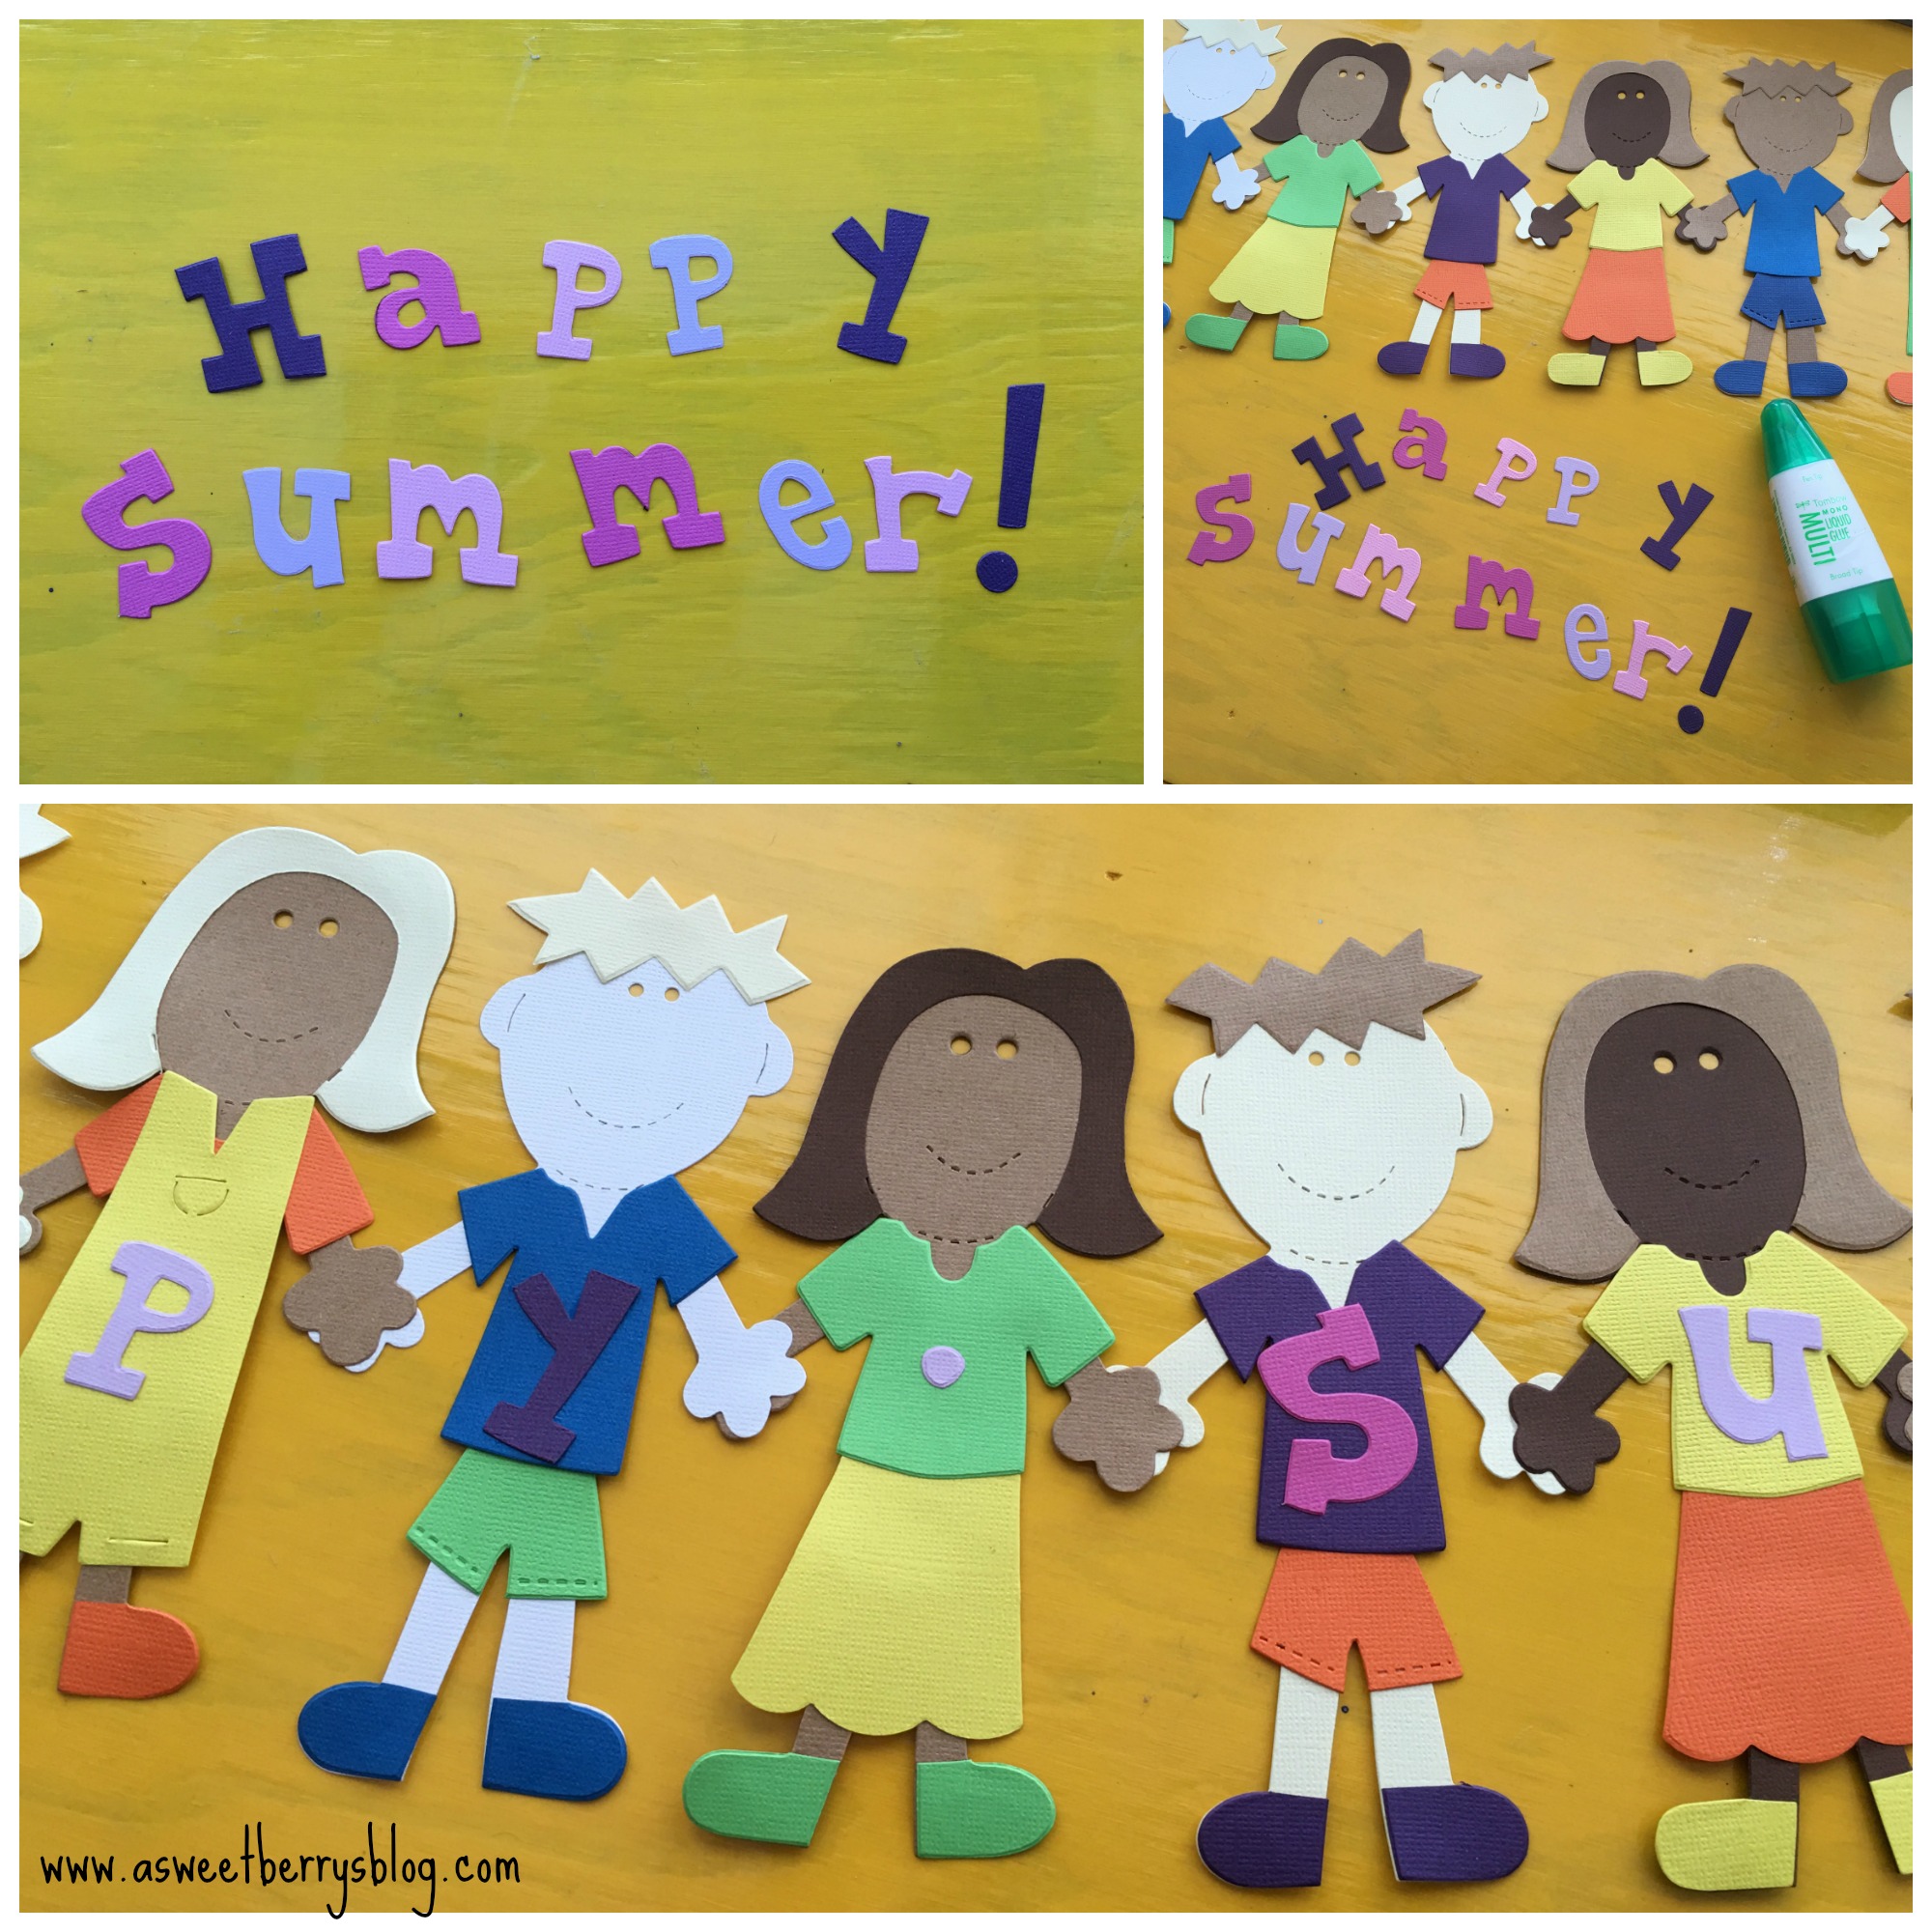
Before we know it, this school year will be ending and it will be Summer time!!!!  It’s hard to believe, but it’s true!   At our house, we are super excited about our summer vacation and the fun things that we get to do!   In honor of the End of the School Year, I made this adorable little “Happy Summer” banner using Laura Kelly’s Peep and Lemonade Alphabet Dies from Sizzix! 
banner
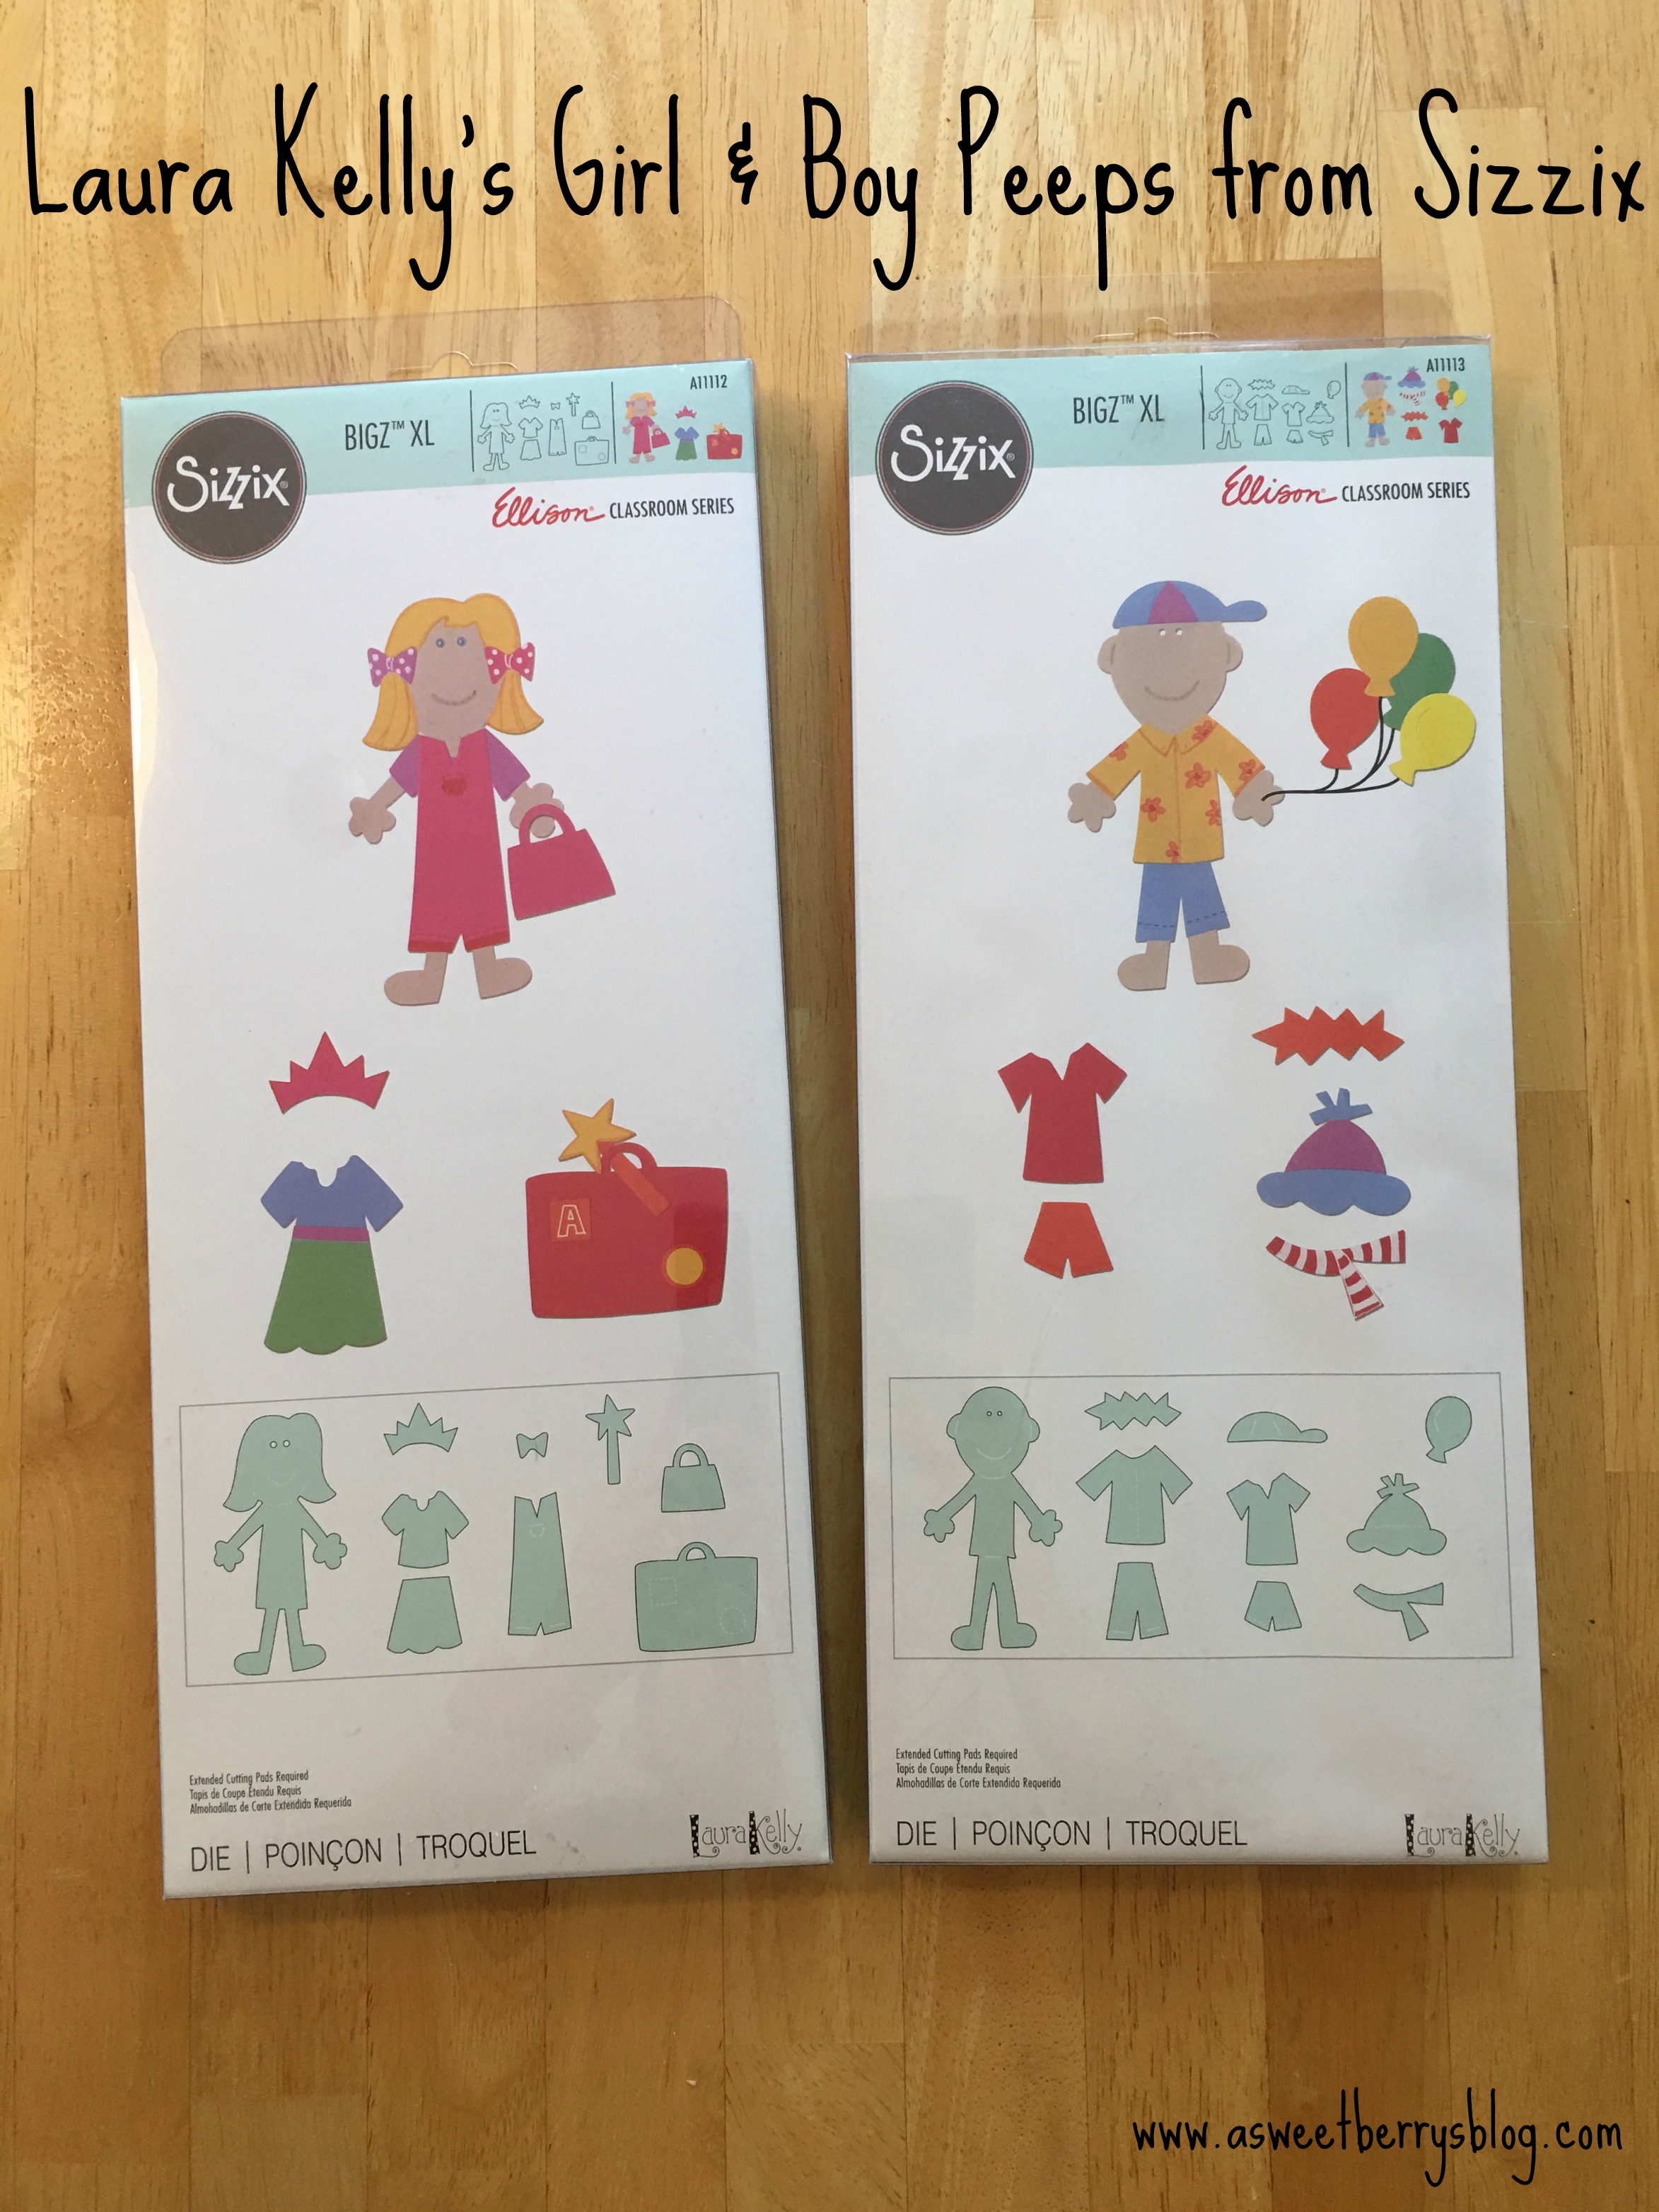
My friend Laura Kelly is such a creative lady and she has a great collection of dies with Sizzix.   These particular dies are a part of the Ellison Classroom Series.  Click the picture below to find the link to where you can get your own.
Girl and Boy Peeps
Alright, now on to how I made this adorable little banner.  Using my Sizzix BigShot, Boy and Girl Peep dies, and an extended cutting pad I cut the peeps using different flesh tones.  Using bright colors, I cut out all of the different clothes.  For the feet, I just cut out part of the legs and cut the feet part off.   For the hair of the girls, I just cut out extra heads and then cut the hair off of them.  

Once everything was cut out and organized (who was getting what clothes), I used Tombow Liquid Glue to glue all of the parts together.   Once they were all dried, I laid them out so that it looked like they were holding hands and then I glued them together.
glue
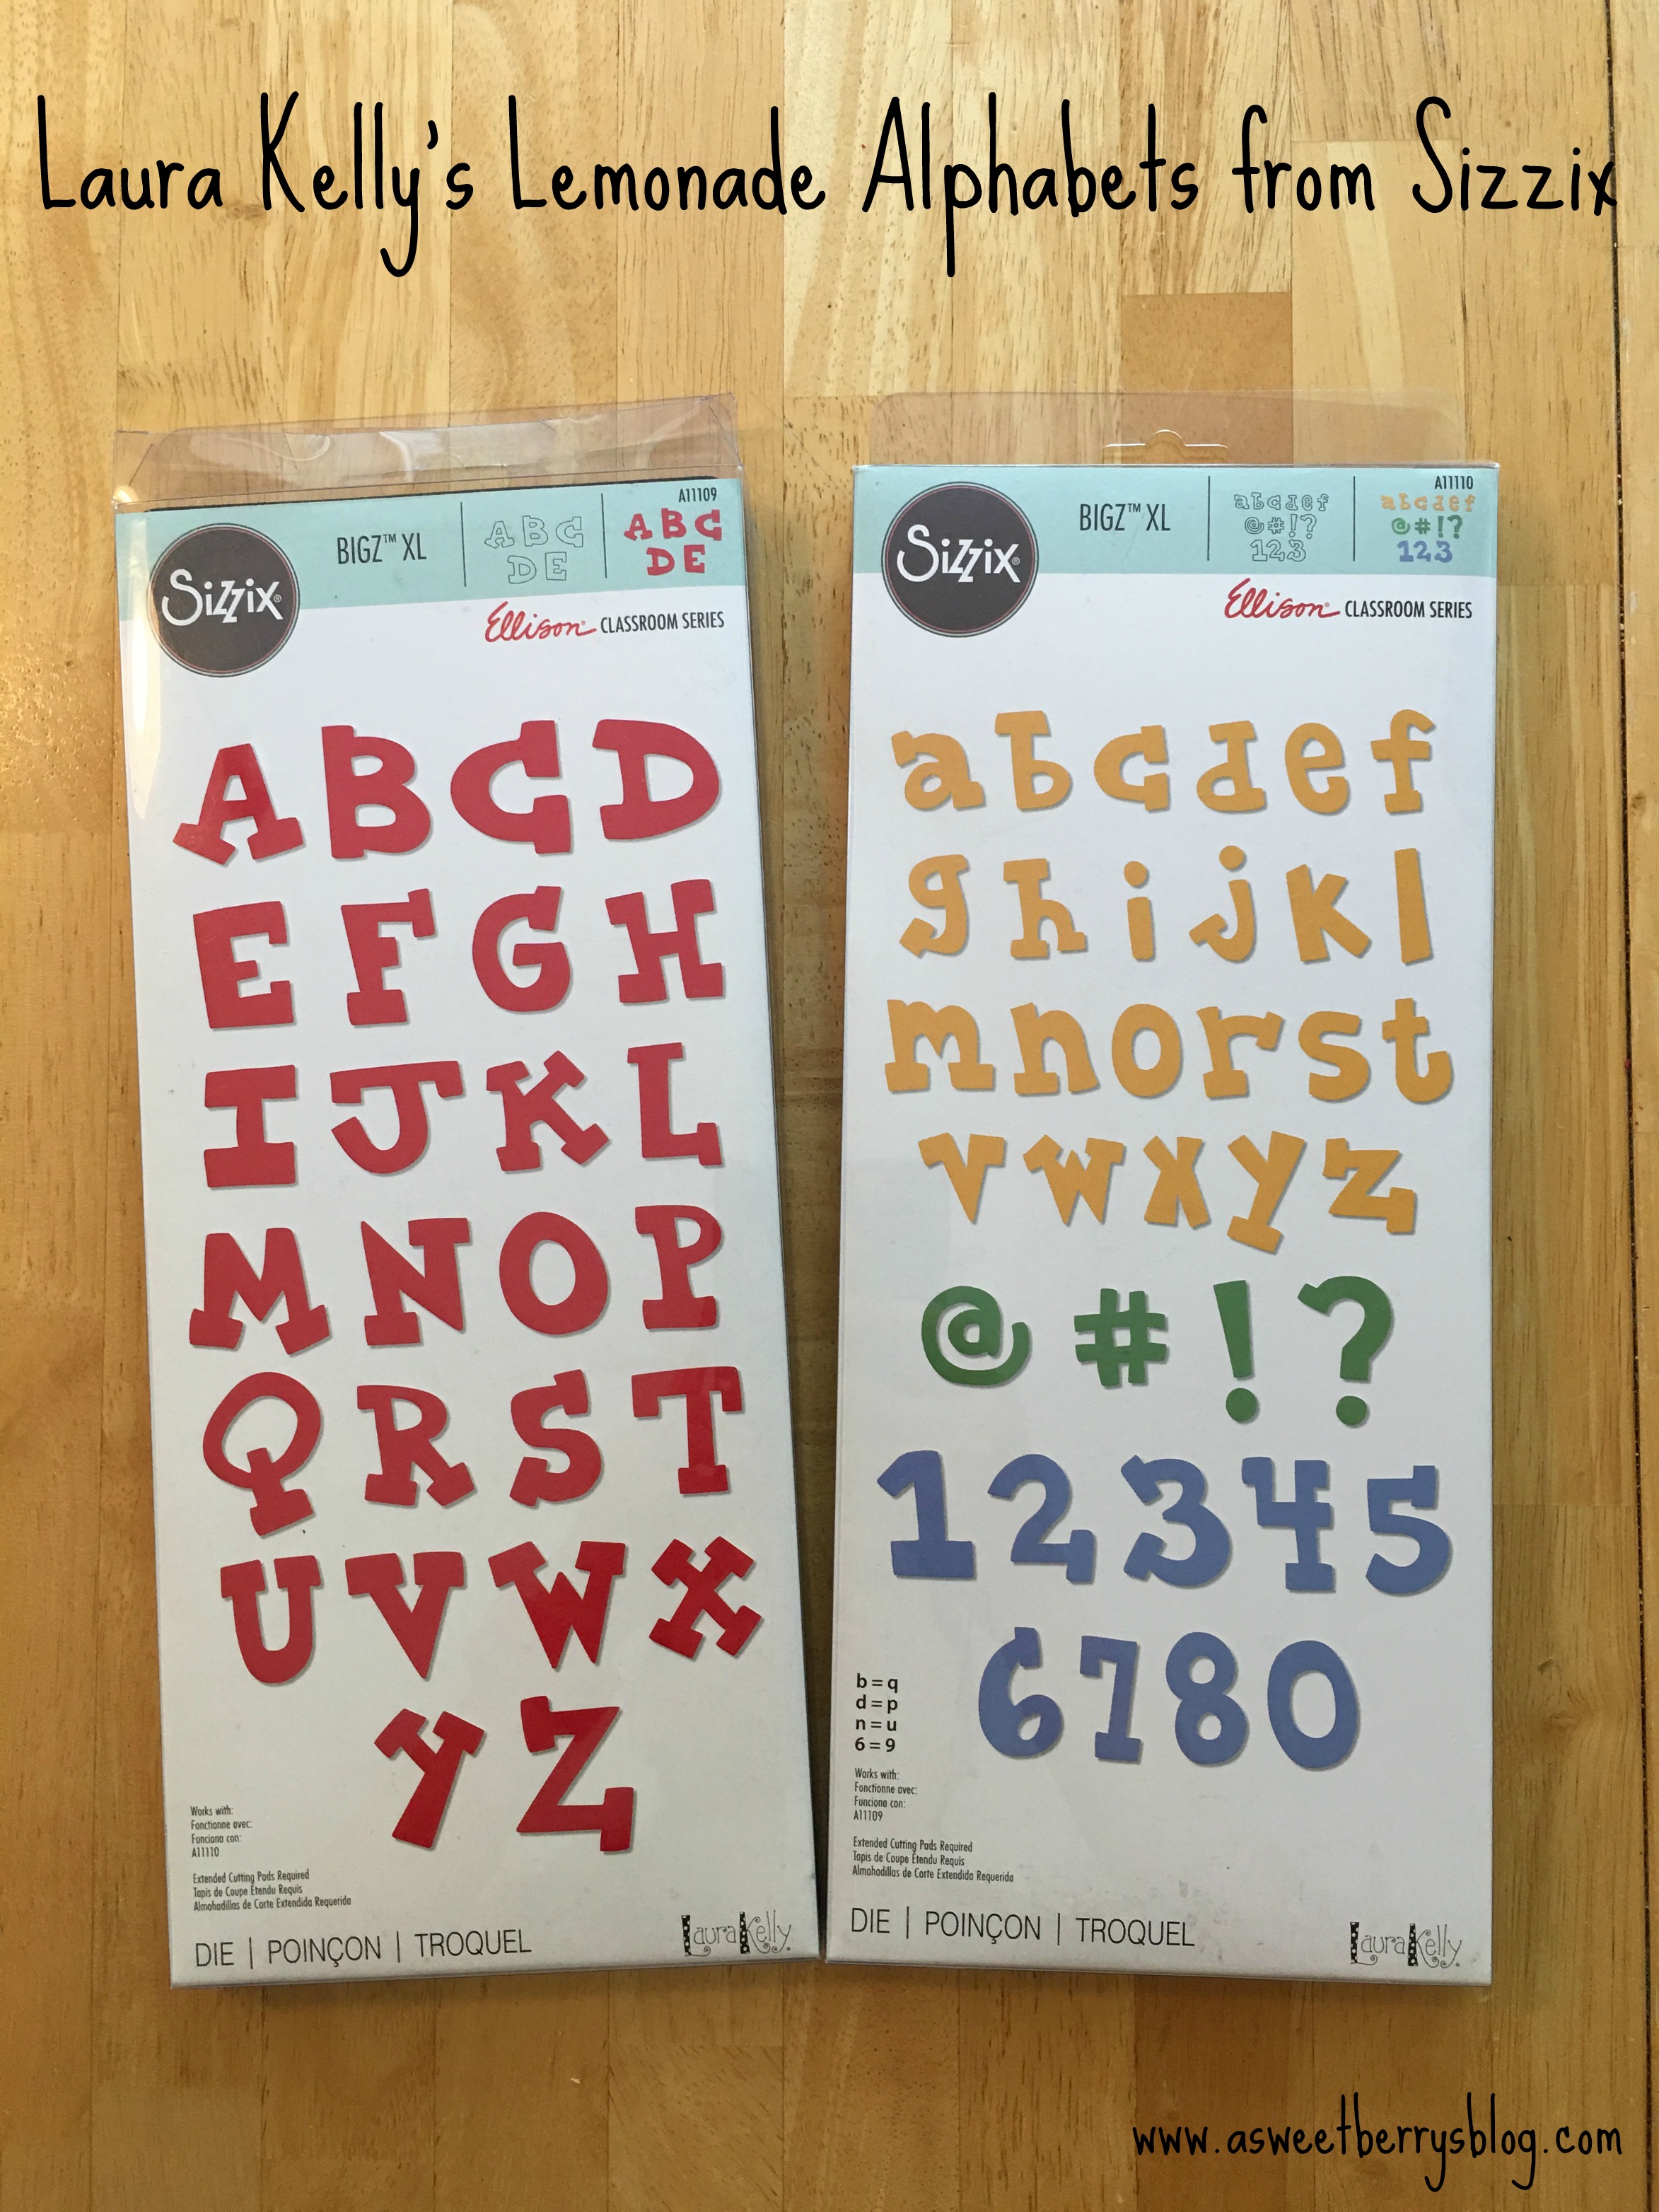
Once everyone was glued together, I used Laura Kelly’s Lemonade Upper Case and Lower Case Alphabets to add the words “Happy Spring”.   Click the photo below to go to the link where you can get your own!
alphabets
Again, using the Tombow Liquid Glue, I added the letters to each of my peeps.  I also added a dot between the words “Happy” and “Summer” just so that one of them wouldn’t be lonely!!!
adding letters
Once everyone was completely dry, I punched a hole in the first and last hand.  Then I tied baker’s twine to each hand so that I could hang it up! string
Hope you like my End of the Year – Happy Summer Banner!  
individual letters
Until next time……….

Disclosure:  I received product from Sizzix as a member of the Laura Kelly Design Team.  Laura Kelly is a licensed designer for Sizzix.  All opinions are that of Katie Berry.

Katie-Signature-2

Scotch Tape Pumpkin Banner

Halloween is right around the corner!  It’s one of my favorite times of year.  I made this super cute Scotch Tape Pumpkin Banner to hang in my house!  The good thing is…..it can stay up until Thanksgiving! Final
Materials used:
Scrap pieces of paper (at least 6″x6″)
Scotch Expressions Masking Tape and Washi Tape 
Laura Kelly’s Pumpkin die from Ellison/Sizzix
Sizzix Big Shot supplies
Placing my 6″x6″ pieces of paper, I put them on top of the pumpkin die to gauge where the stem of the pumpkin was and how much tape I needed to place on the paper.  Once I got the tape down, I used the Sizzix Big Shot and the pumpkin die to cut out my pumpkins.
pumpkin
Using small clothes pins, I added them to a piece of ribbon to make this cute little pumpkin banner!
Final
Hope you like my adorable Scotch Tape Pumpkin Banner!  It was super easy and super fun!

Until next time……

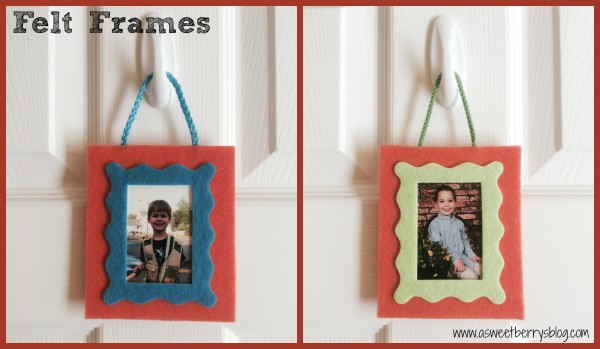
Simple Felt Fabric

Frames

supplies

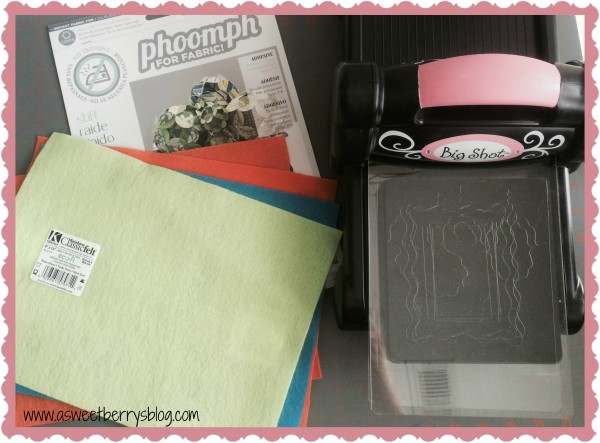
Supplies:
Big Shot Sizzix Machine
Sizzix Wavy Frame Die
Kunin Felt
Phoomph
rope from a gift bag handles that I had in my stash.

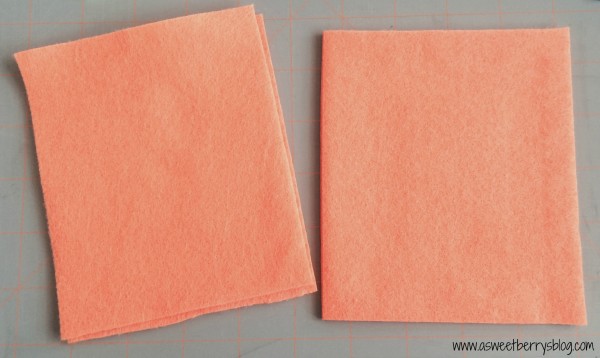
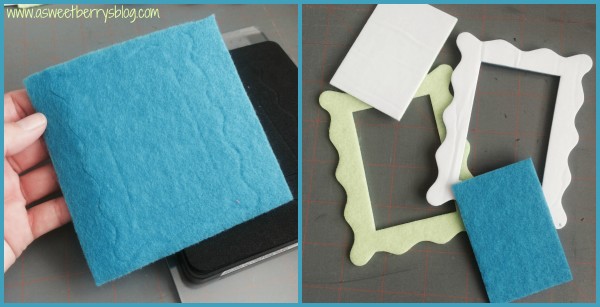
First I cut four orange rectangles that my frames would fit on.

background

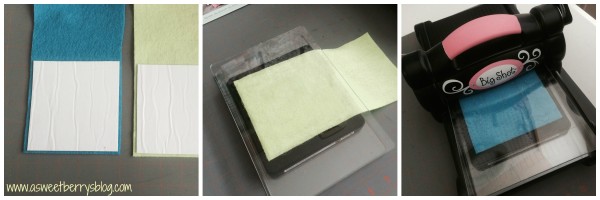
 Then, I cut my blue and green felt so that it was a little bigger than my die and added Phoomph to the back, only removing one side of the paper.  I ran it through the Big Shot with the die using the cutting pads. (To do it again, I would not cover the full back of the frame, so that when it is placed on the background, the photos could be changed out)

process

Then I had my frame cut outs.

frame cutouts

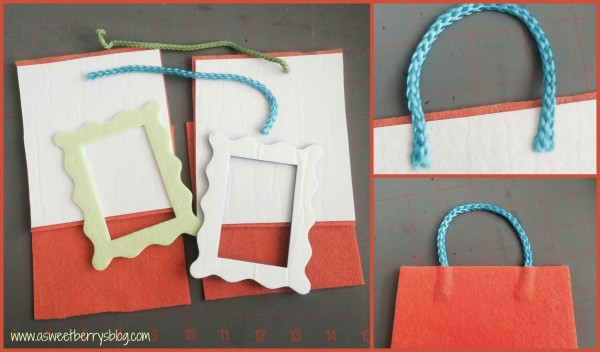
I removed the paper from the Phoomph that was on my orange piece of felt, added my rope to make a hanger and then placed a second piece of orange felt onto the Phoomph.

putting it together

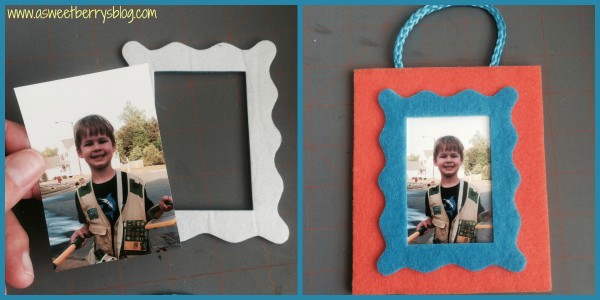
I took a photo of my boys and cut them to a size that would fit within my frame leaving a little of the Phoomph exposed, removed the paper from the back of my frames, stuck the photo on and then applied it to my orange background.

photo and frame

Then I had these cute little frames to hang on the boys bedroom doors!  They could also be made with Christmas colors and be used as Christmas ornaments!  Or a gift for a grandparent!

Frames

Hope you like my simple felt frames!

Until next time…..

ASWEETBERRYLOGO