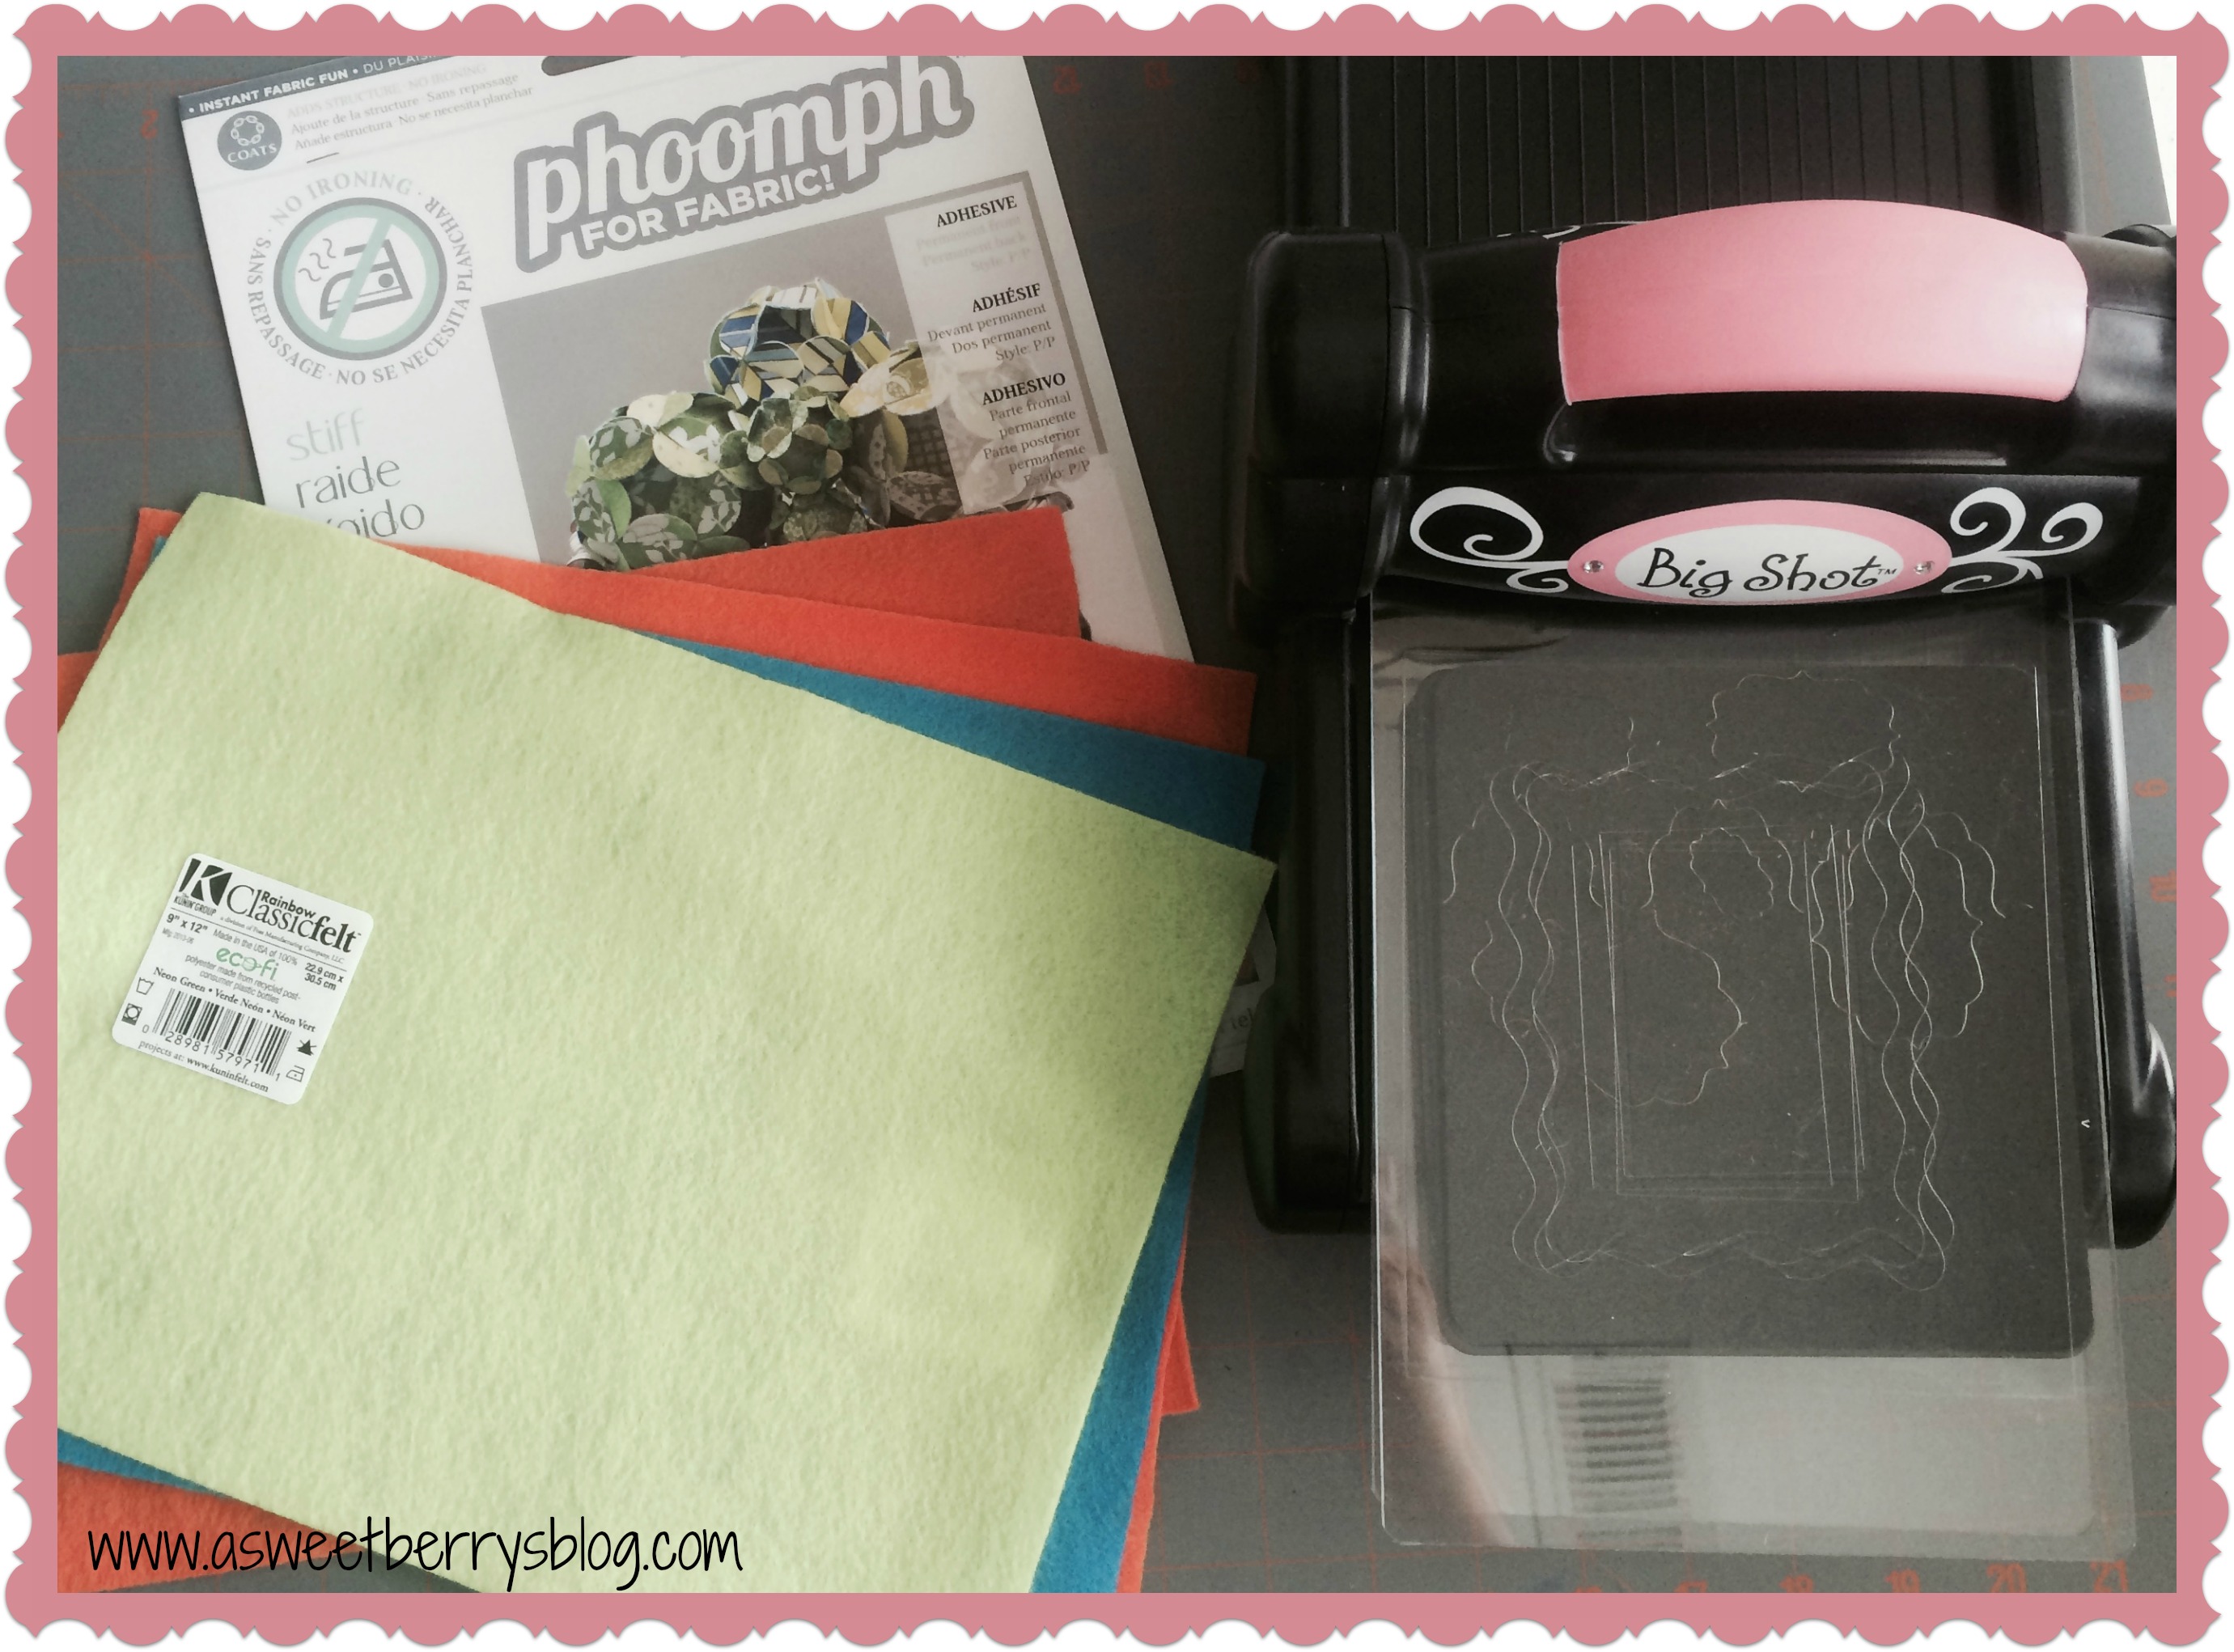
Tag Archives: Repurposing

Simple Felt Fabric

Frames

supplies

Supplies:
Big Shot Sizzix Machine
Sizzix Wavy Frame Die
Kunin Felt
Phoomph
rope from a gift bag handles that I had in my stash.

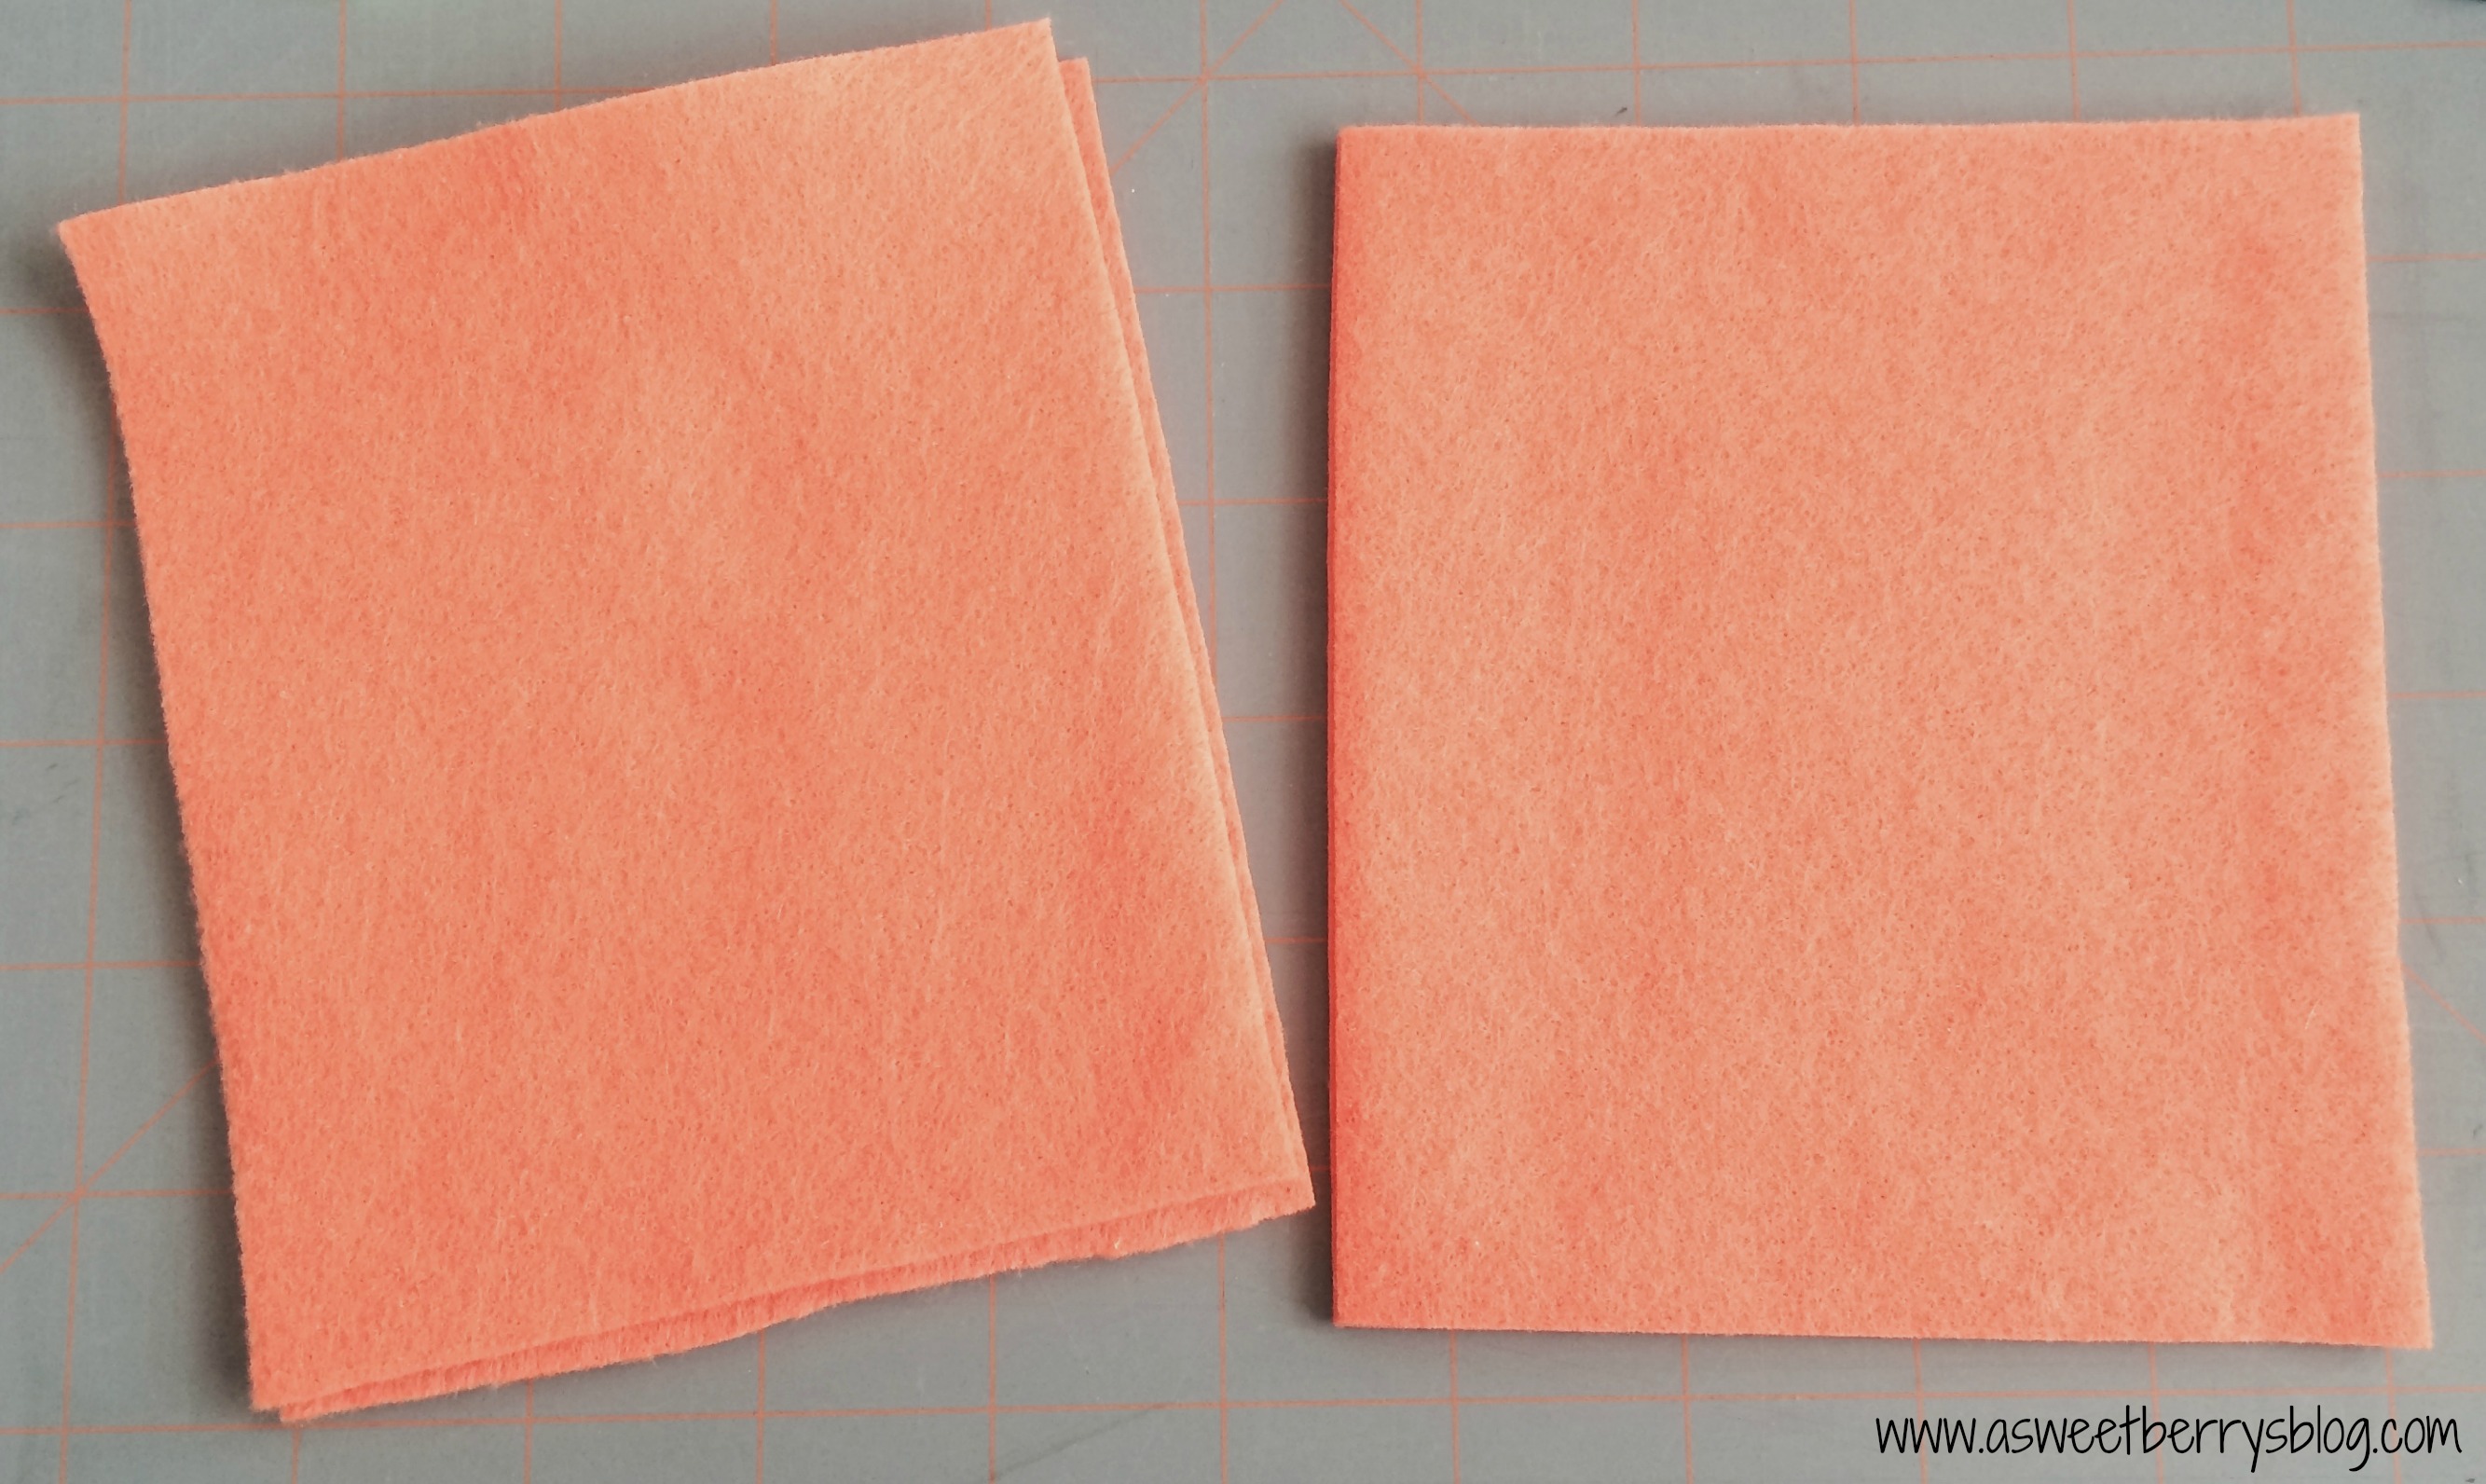
First I cut four orange rectangles that my frames would fit on.

background

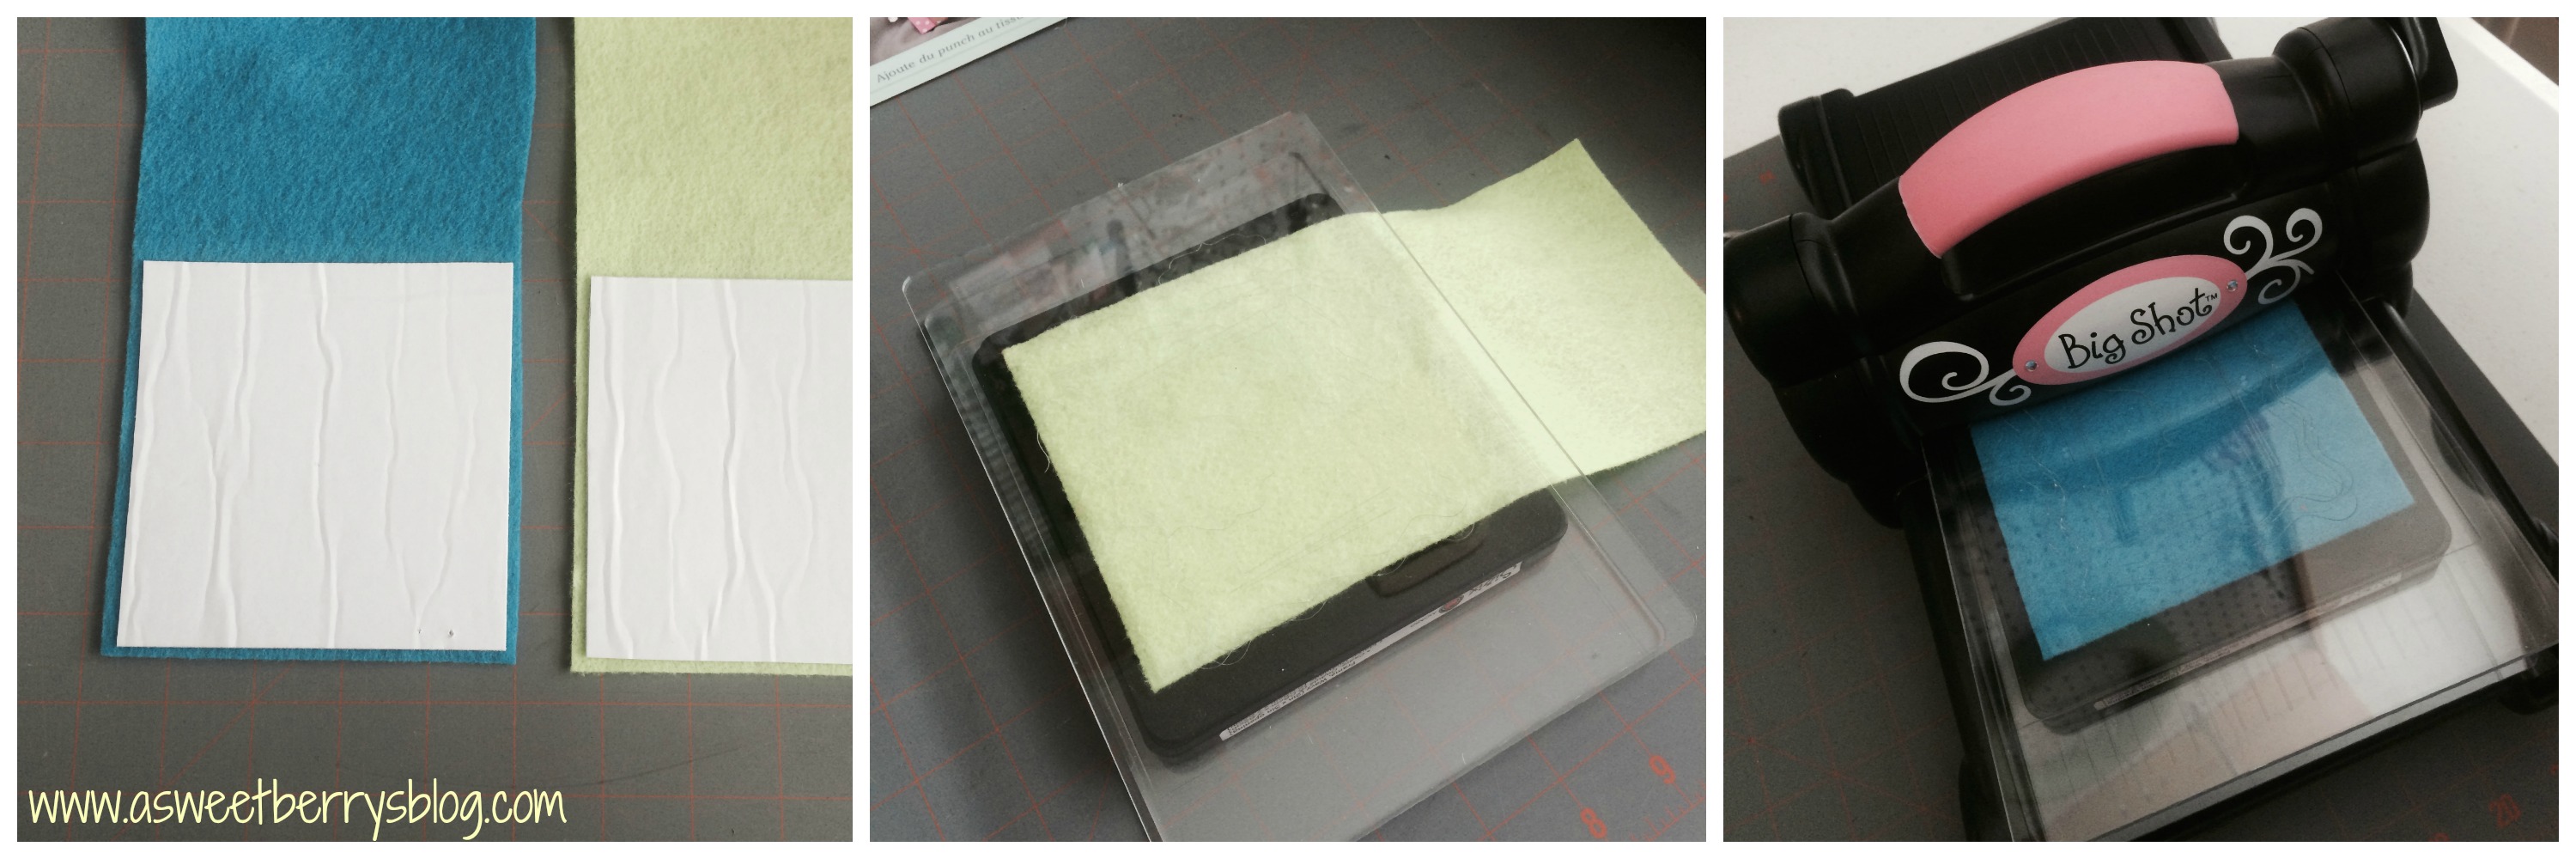
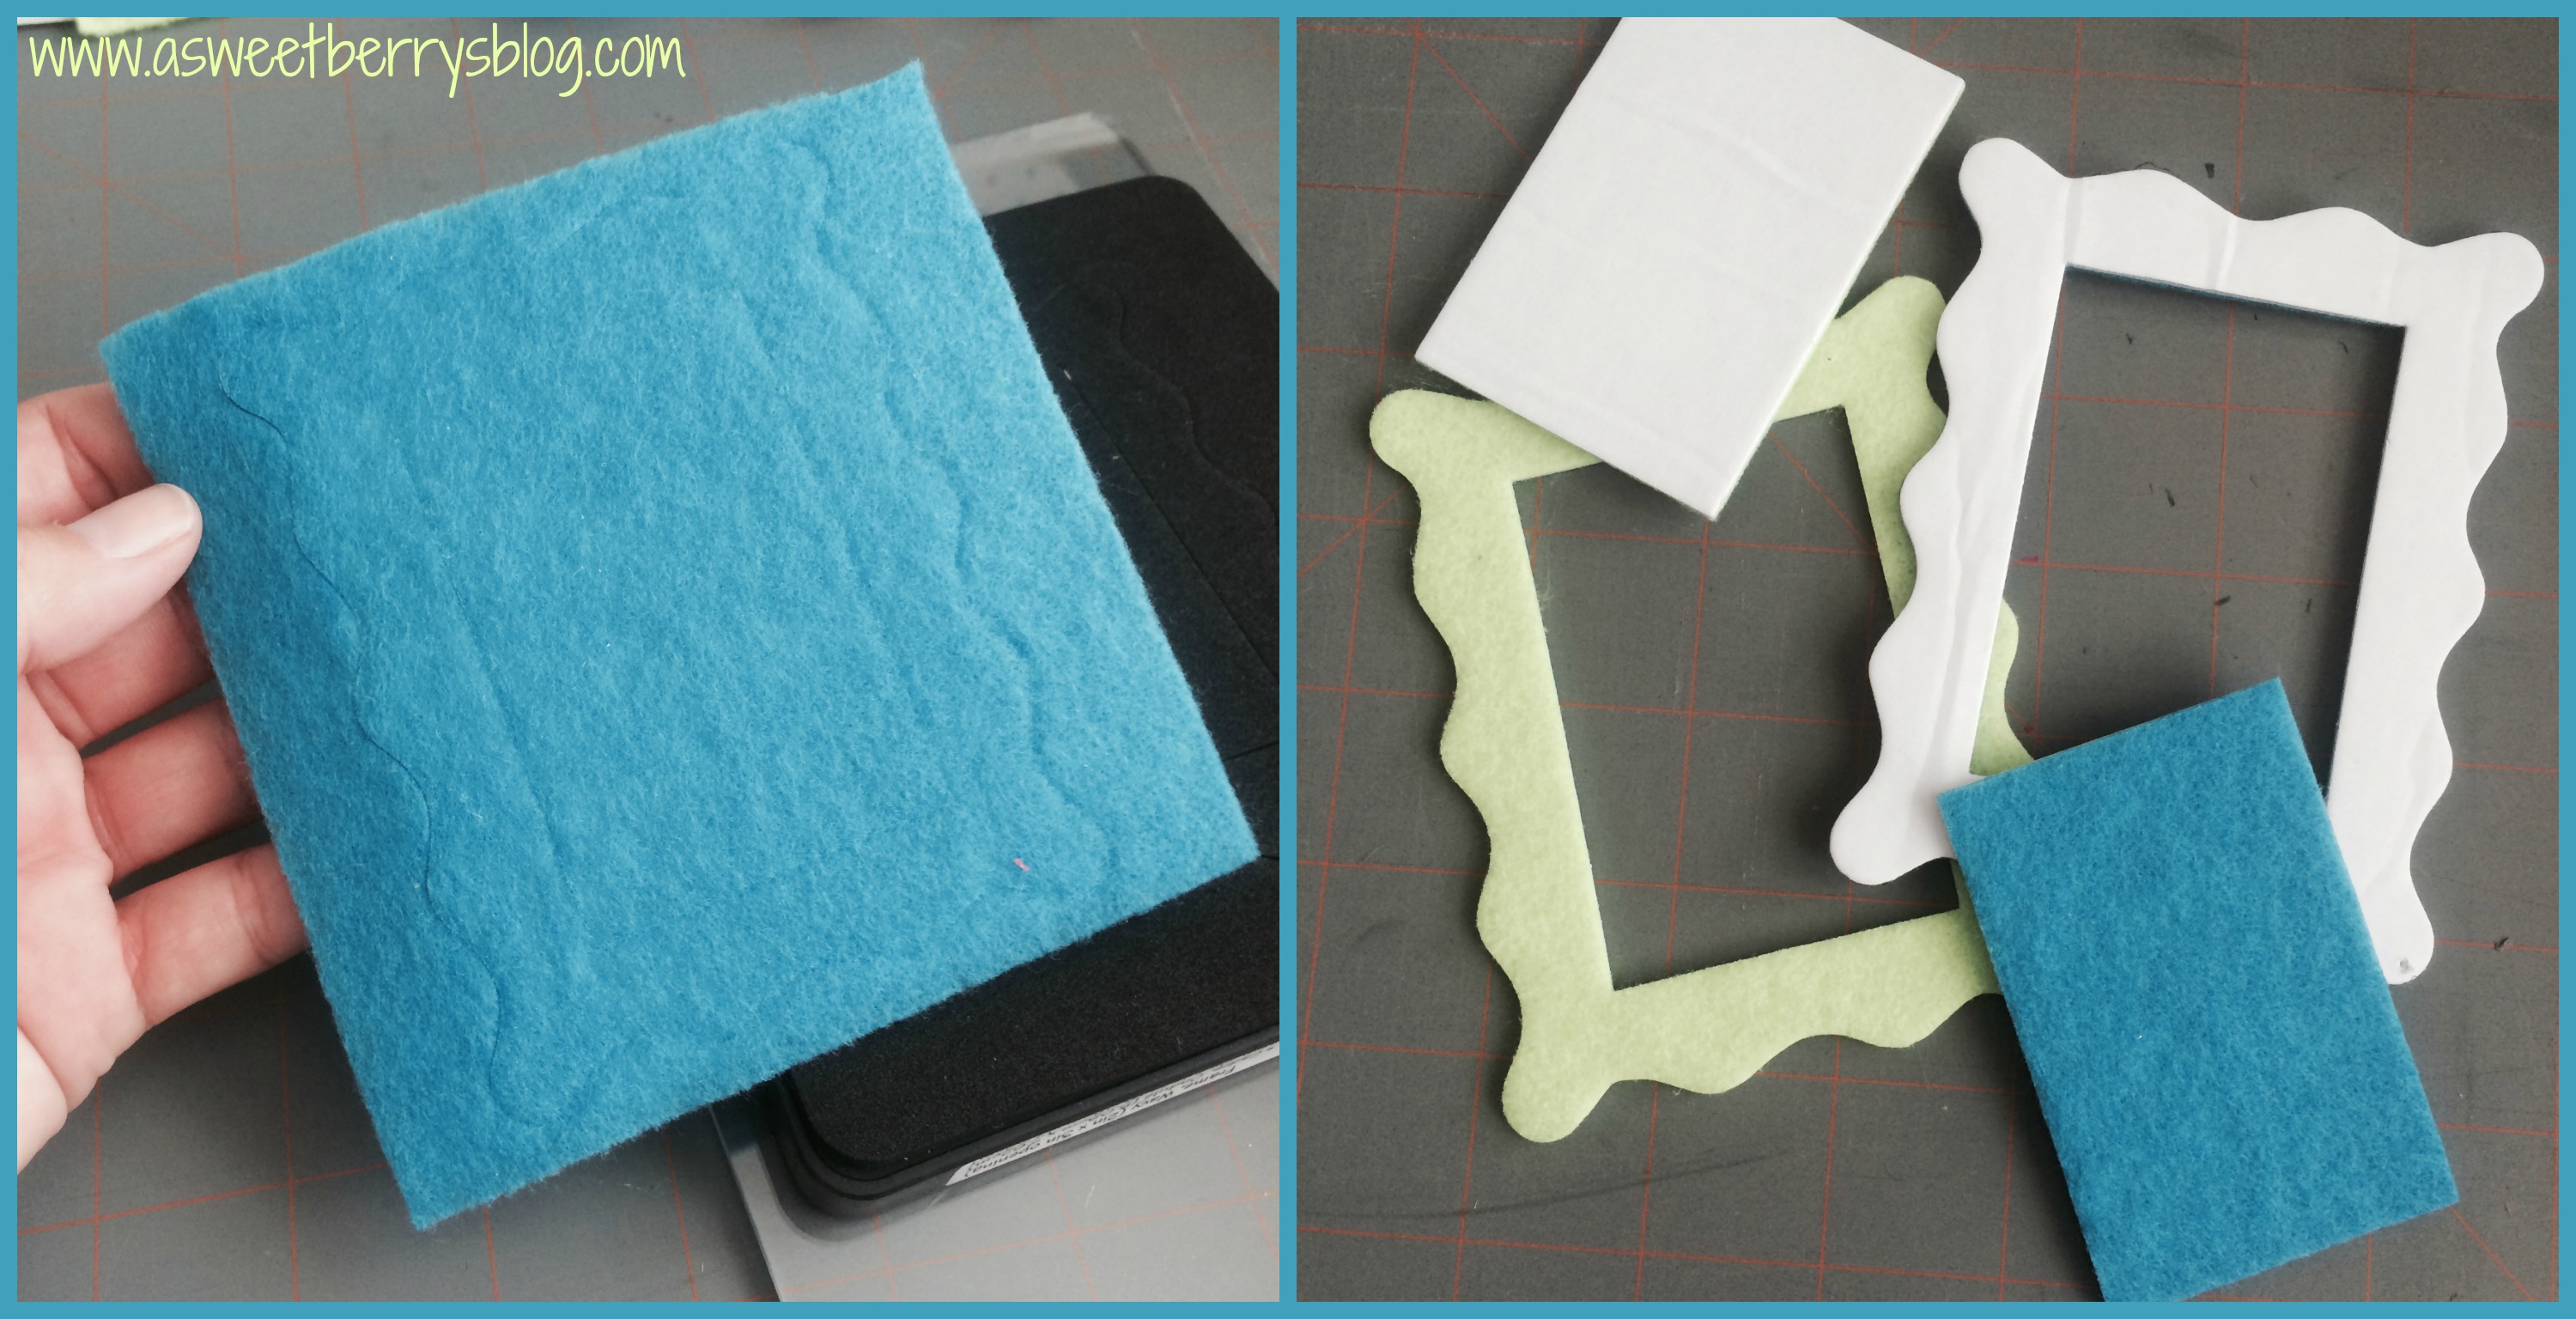
 Then, I cut my blue and green felt so that it was a little bigger than my die and added Phoomph to the back, only removing one side of the paper.  I ran it through the Big Shot with the die using the cutting pads. (To do it again, I would not cover the full back of the frame, so that when it is placed on the background, the photos could be changed out)

process

Then I had my frame cut outs.

frame cutouts

I removed the paper from the Phoomph that was on my orange piece of felt, added my rope to make a hanger and then placed a second piece of orange felt onto the Phoomph.

putting it together

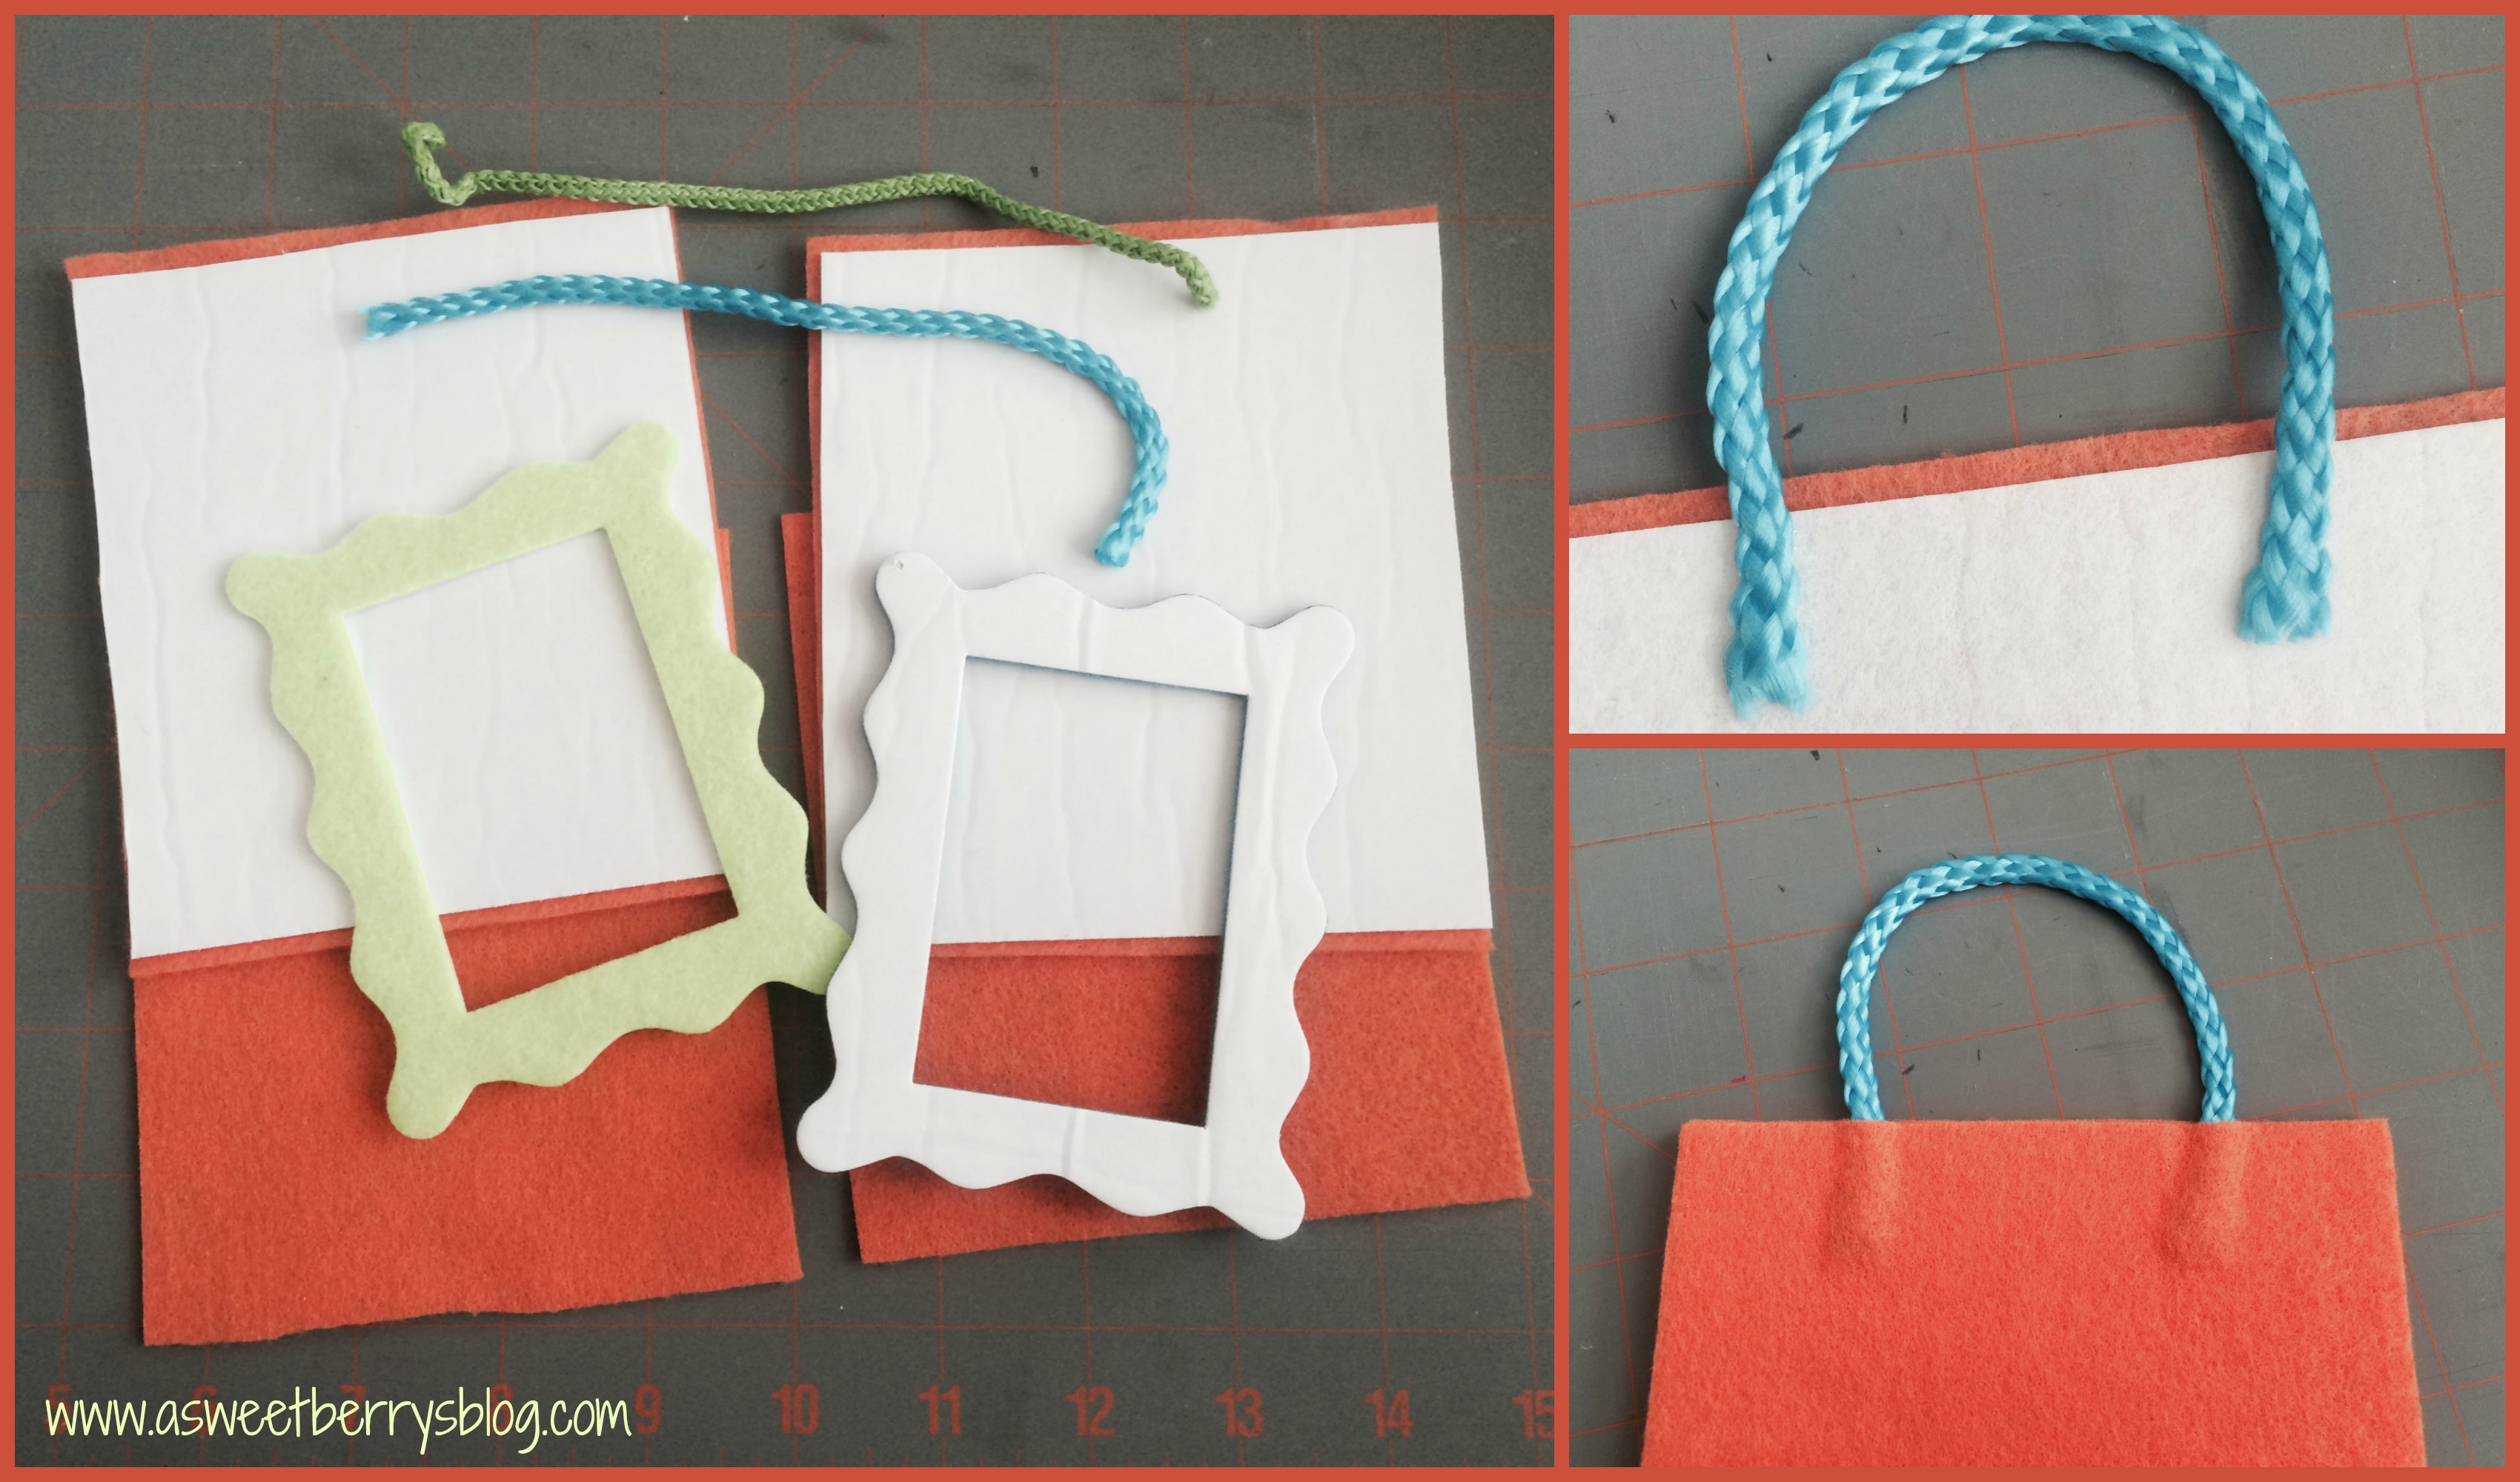
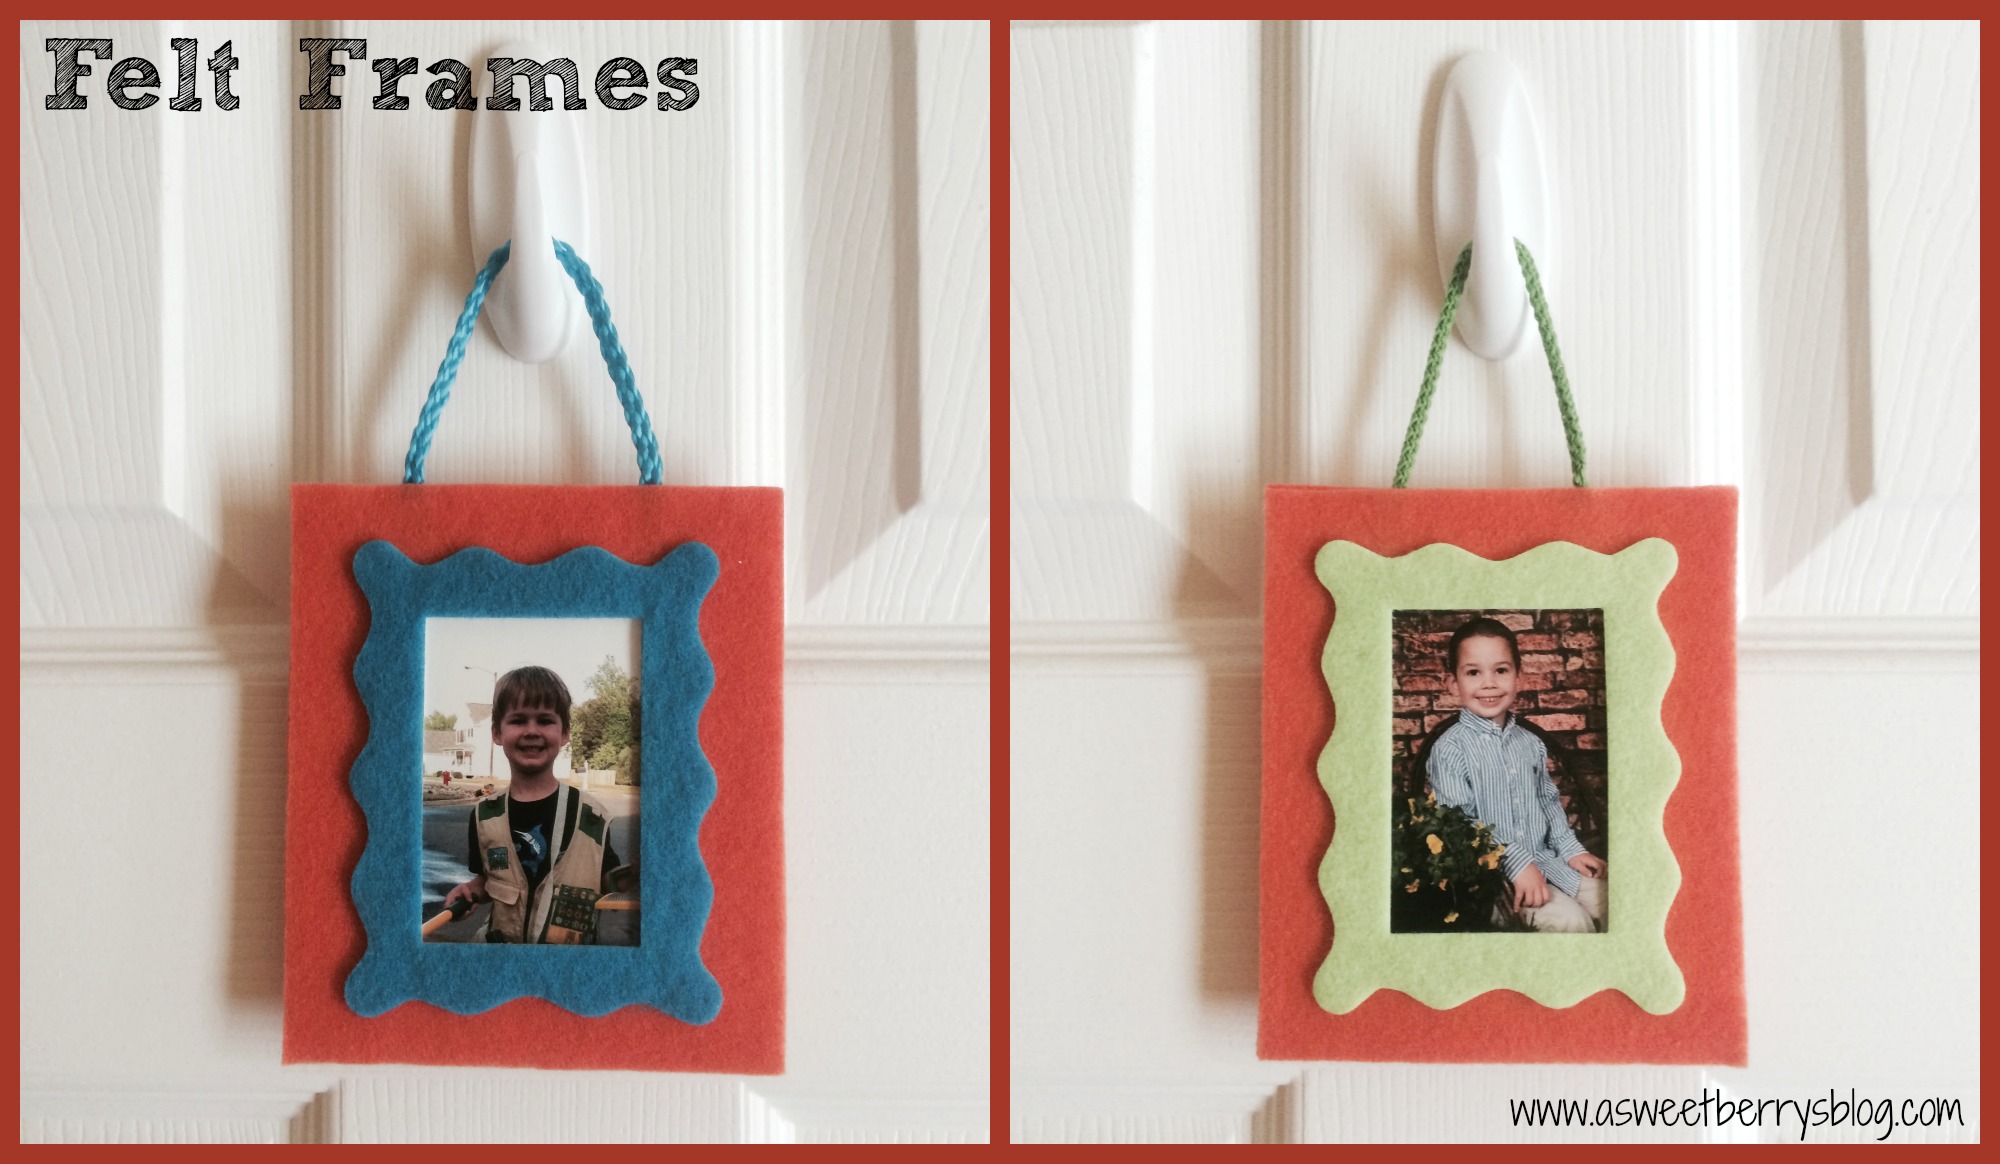
I took a photo of my boys and cut them to a size that would fit within my frame leaving a little of the Phoomph exposed, removed the paper from the back of my frames, stuck the photo on and then applied it to my orange background.

photo and frame

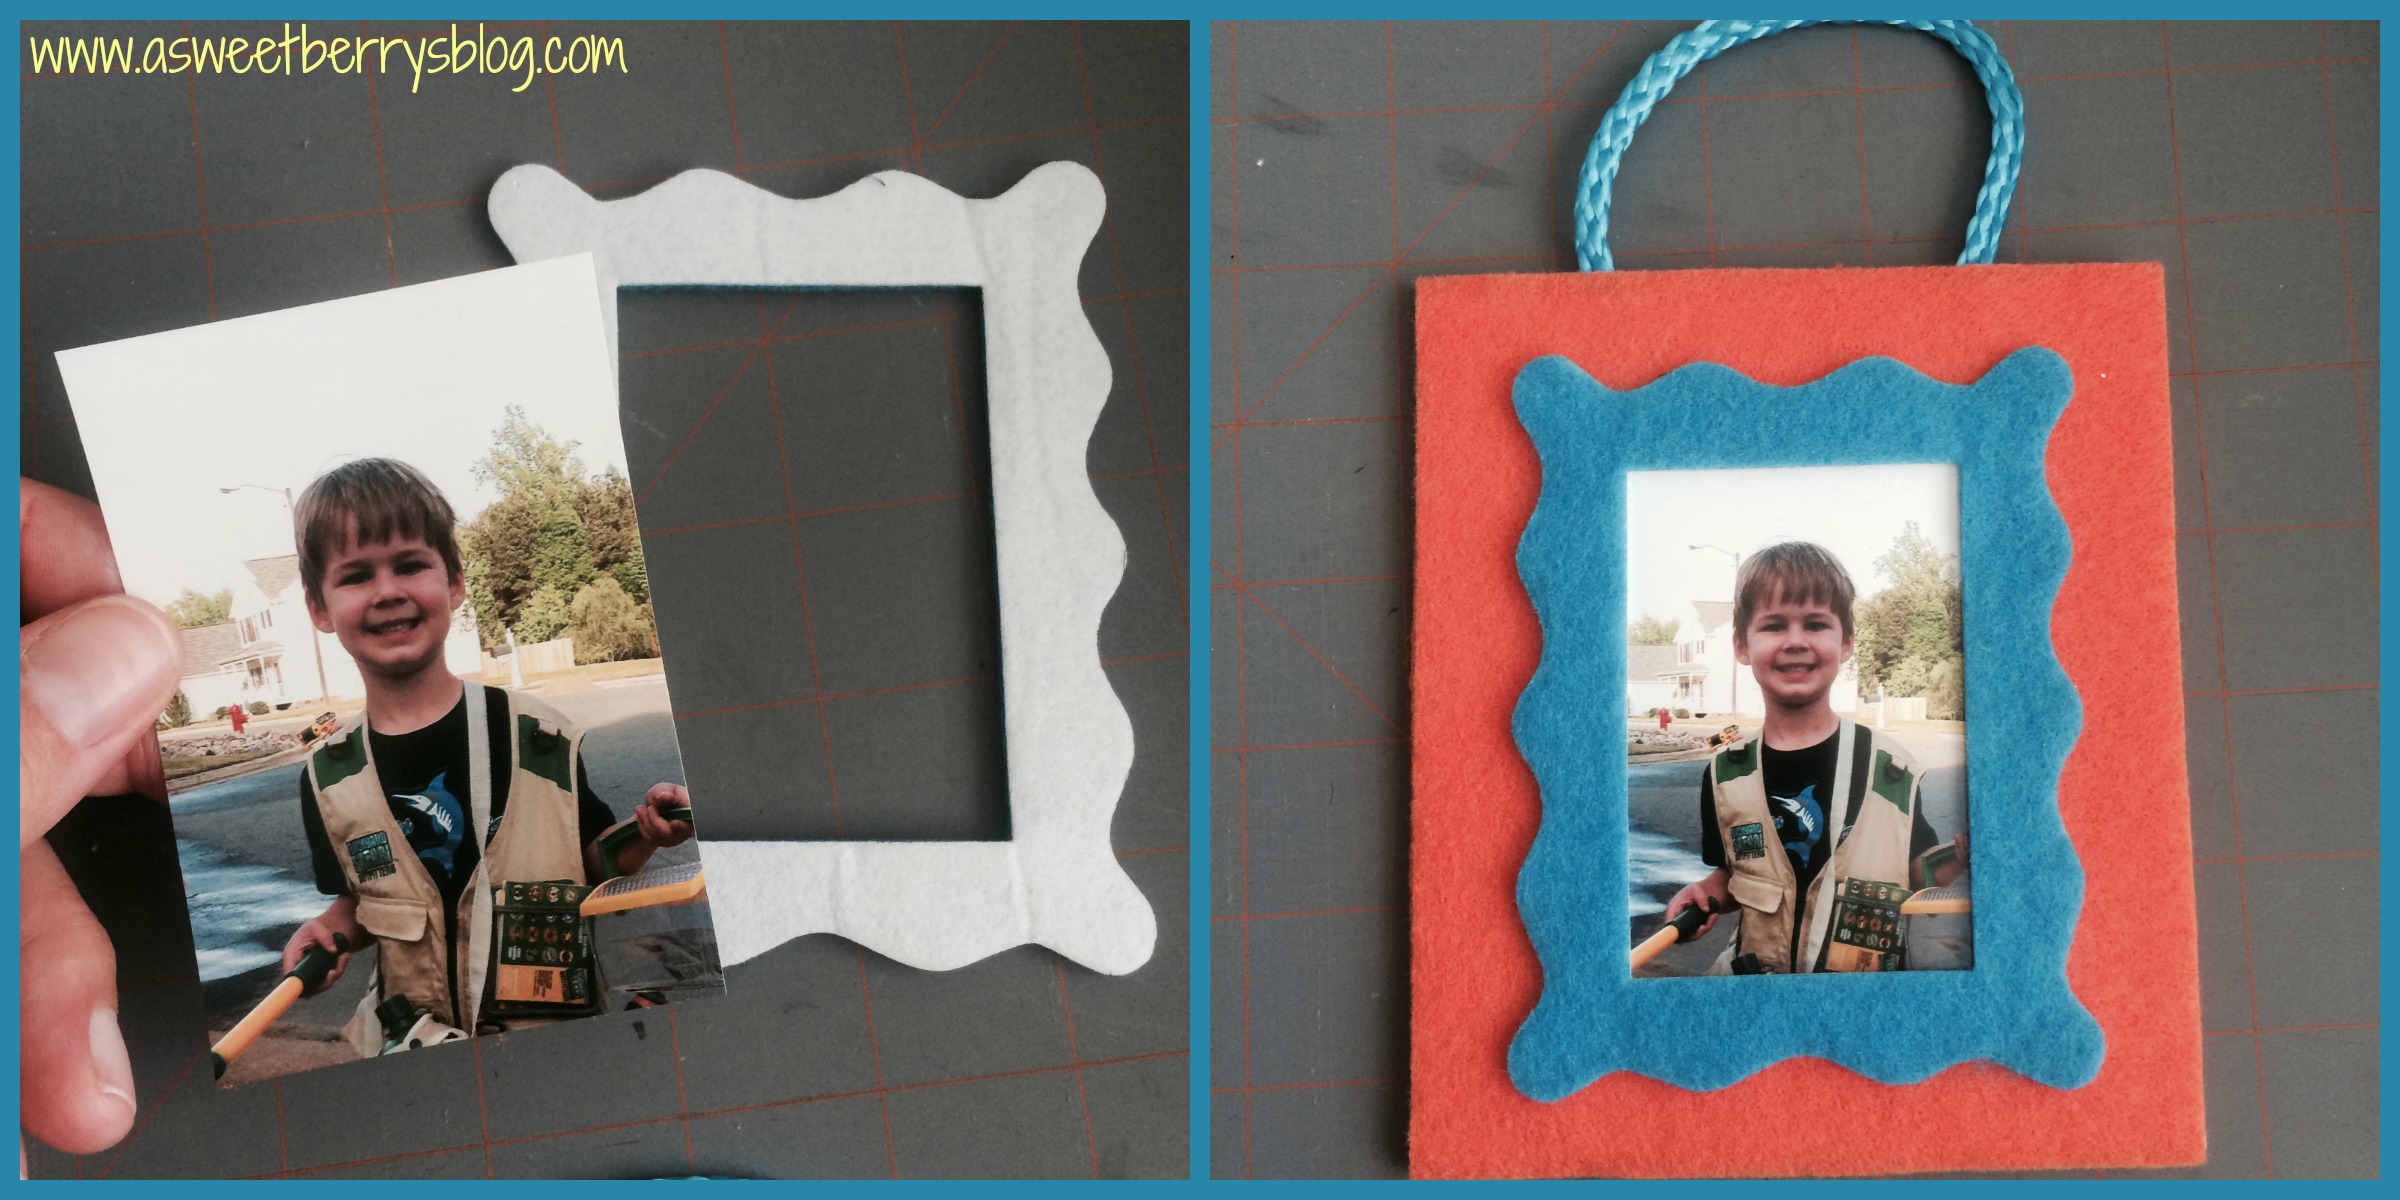
Then I had these cute little frames to hang on the boys bedroom doors!  They could also be made with Christmas colors and be used as Christmas ornaments!  Or a gift for a grandparent!

Frames

Hope you like my simple felt frames!

Until next time…..

ASWEETBERRYLOGO


Repurposed Fabric Coasters

So, in trying to clean up my crafting area, I realized that I have a lot of scrap fabric laying around.  A lot of it is still good and enough fabric to do something with.  So, I decided to make fabric coasters with some of mine.

finals

 These coasters were super easy and even kids can help making them!

To make these awesome coasters, you will need:
-scrap fabric
-scissors
-a ruler
-thread (I used Coats & Clark) and needle
-bread ties

First, you are going to want to cut strips of fabric, roughly 3 inches by 24 inches.

needs

 Then, tie three strips together in a tight knot at one end.  Braid the strips until you get about three inches from the bottom.  Place the bread tie at the end of the braid to hold it into place.   Using a needle threaded so that you have double thread, sew another strip to each of the three braided strips.  This stitch can be loose, it’s just needed to make the strips longer and it will be braided in, so it won’t come apart.  After all three extra strips are sewn on, continue to braid until you are near the end.  Using another bread tie, secure it around the braid to hold it in place.

steps

After you have your braided strand, start with the end that has the knot.  Begin winding it. Run your needle and thread through the knot and then the part that is wound up, to hold it in place.  Continue winding your strand flat and place stitches through the strand as you keep winding it.  This will help hold everything in place and keep it from falling apart.  Once you get to the end, fold in and under the extra fabric and sew it to the wound up fabric to again hold it in place.

Then, place it on your table and put your glass on it!!!!!

CoastersFinal

I just love these and they look great on my front porch table for our evening rocks while the boys play!!!!

Hope you like these as much as I do!

Until next time……………

Expressionery Blog Hop Fun

One of my favorite daily things to do is check the mail.  With all of the modern technology, I could easily send a text or an email, or even a Facebook message.  But, hand written notes are my favorite.

When I received a package in the mail, opened it and found Expressionery Stationary with Laura Kelly’s designs on them, I was in Heaven!  Not only was there stationary in the box for me, but there was also stationary for both of my sons!  And there were some awesome road trip games!

IMG_0241

Our family notecards, notepads and address labels were customized using Laura Kelly’s collection of Me & My Peeps.   And it fits us perfectly, all the way to our brown dog!!  Our dog sitter is getting your very first one, along with a Starbucks gift card as a thank you for watching our sweet Maggie while we were at the beach!  And I almost always use Sharpie’s to write my notes!

IMG_0819

The boys notecards are Laura’s designs, Superstar and Alien Invasion!  They boys love theirs.  Landon is using his to write thank you notes from his birthday party!  Benjamin is using his to write notes to invite friends over for playdates!

IMG_0631

A Re-Purposing Project

I love the idea of using this custom stationary for a repurposing project, so I did just that!   We were due to leave a week after receiving our Expressionery package, to head to the beach.  I decided to make the kids luggage tags for their suitcases using a notecard from each of their sets.   I cut the cards up, also cutting away their name from the bottom.  I glued their name to the top of the cutout.   Using my computer, I typed up the back of the label with Name, Address, and Phone number.  After printing it, I glued it to the back of the notecard, lamenated it, punched a hole in it and using the Plastic Worm Loops, I attached it to their luggage.

Luggage Tag

IMG_0621

IMG_0628

Leave a comment for a chance to wine a $20 Giftcard to Expressionery.com!!!!

Hop on over to some fellow bloggers participating in this blog hop!!!

Enter for a chance to win a $200 Amazon gift card and an Expressionery.com gift set!!!! a Rafflecopter giveaway