
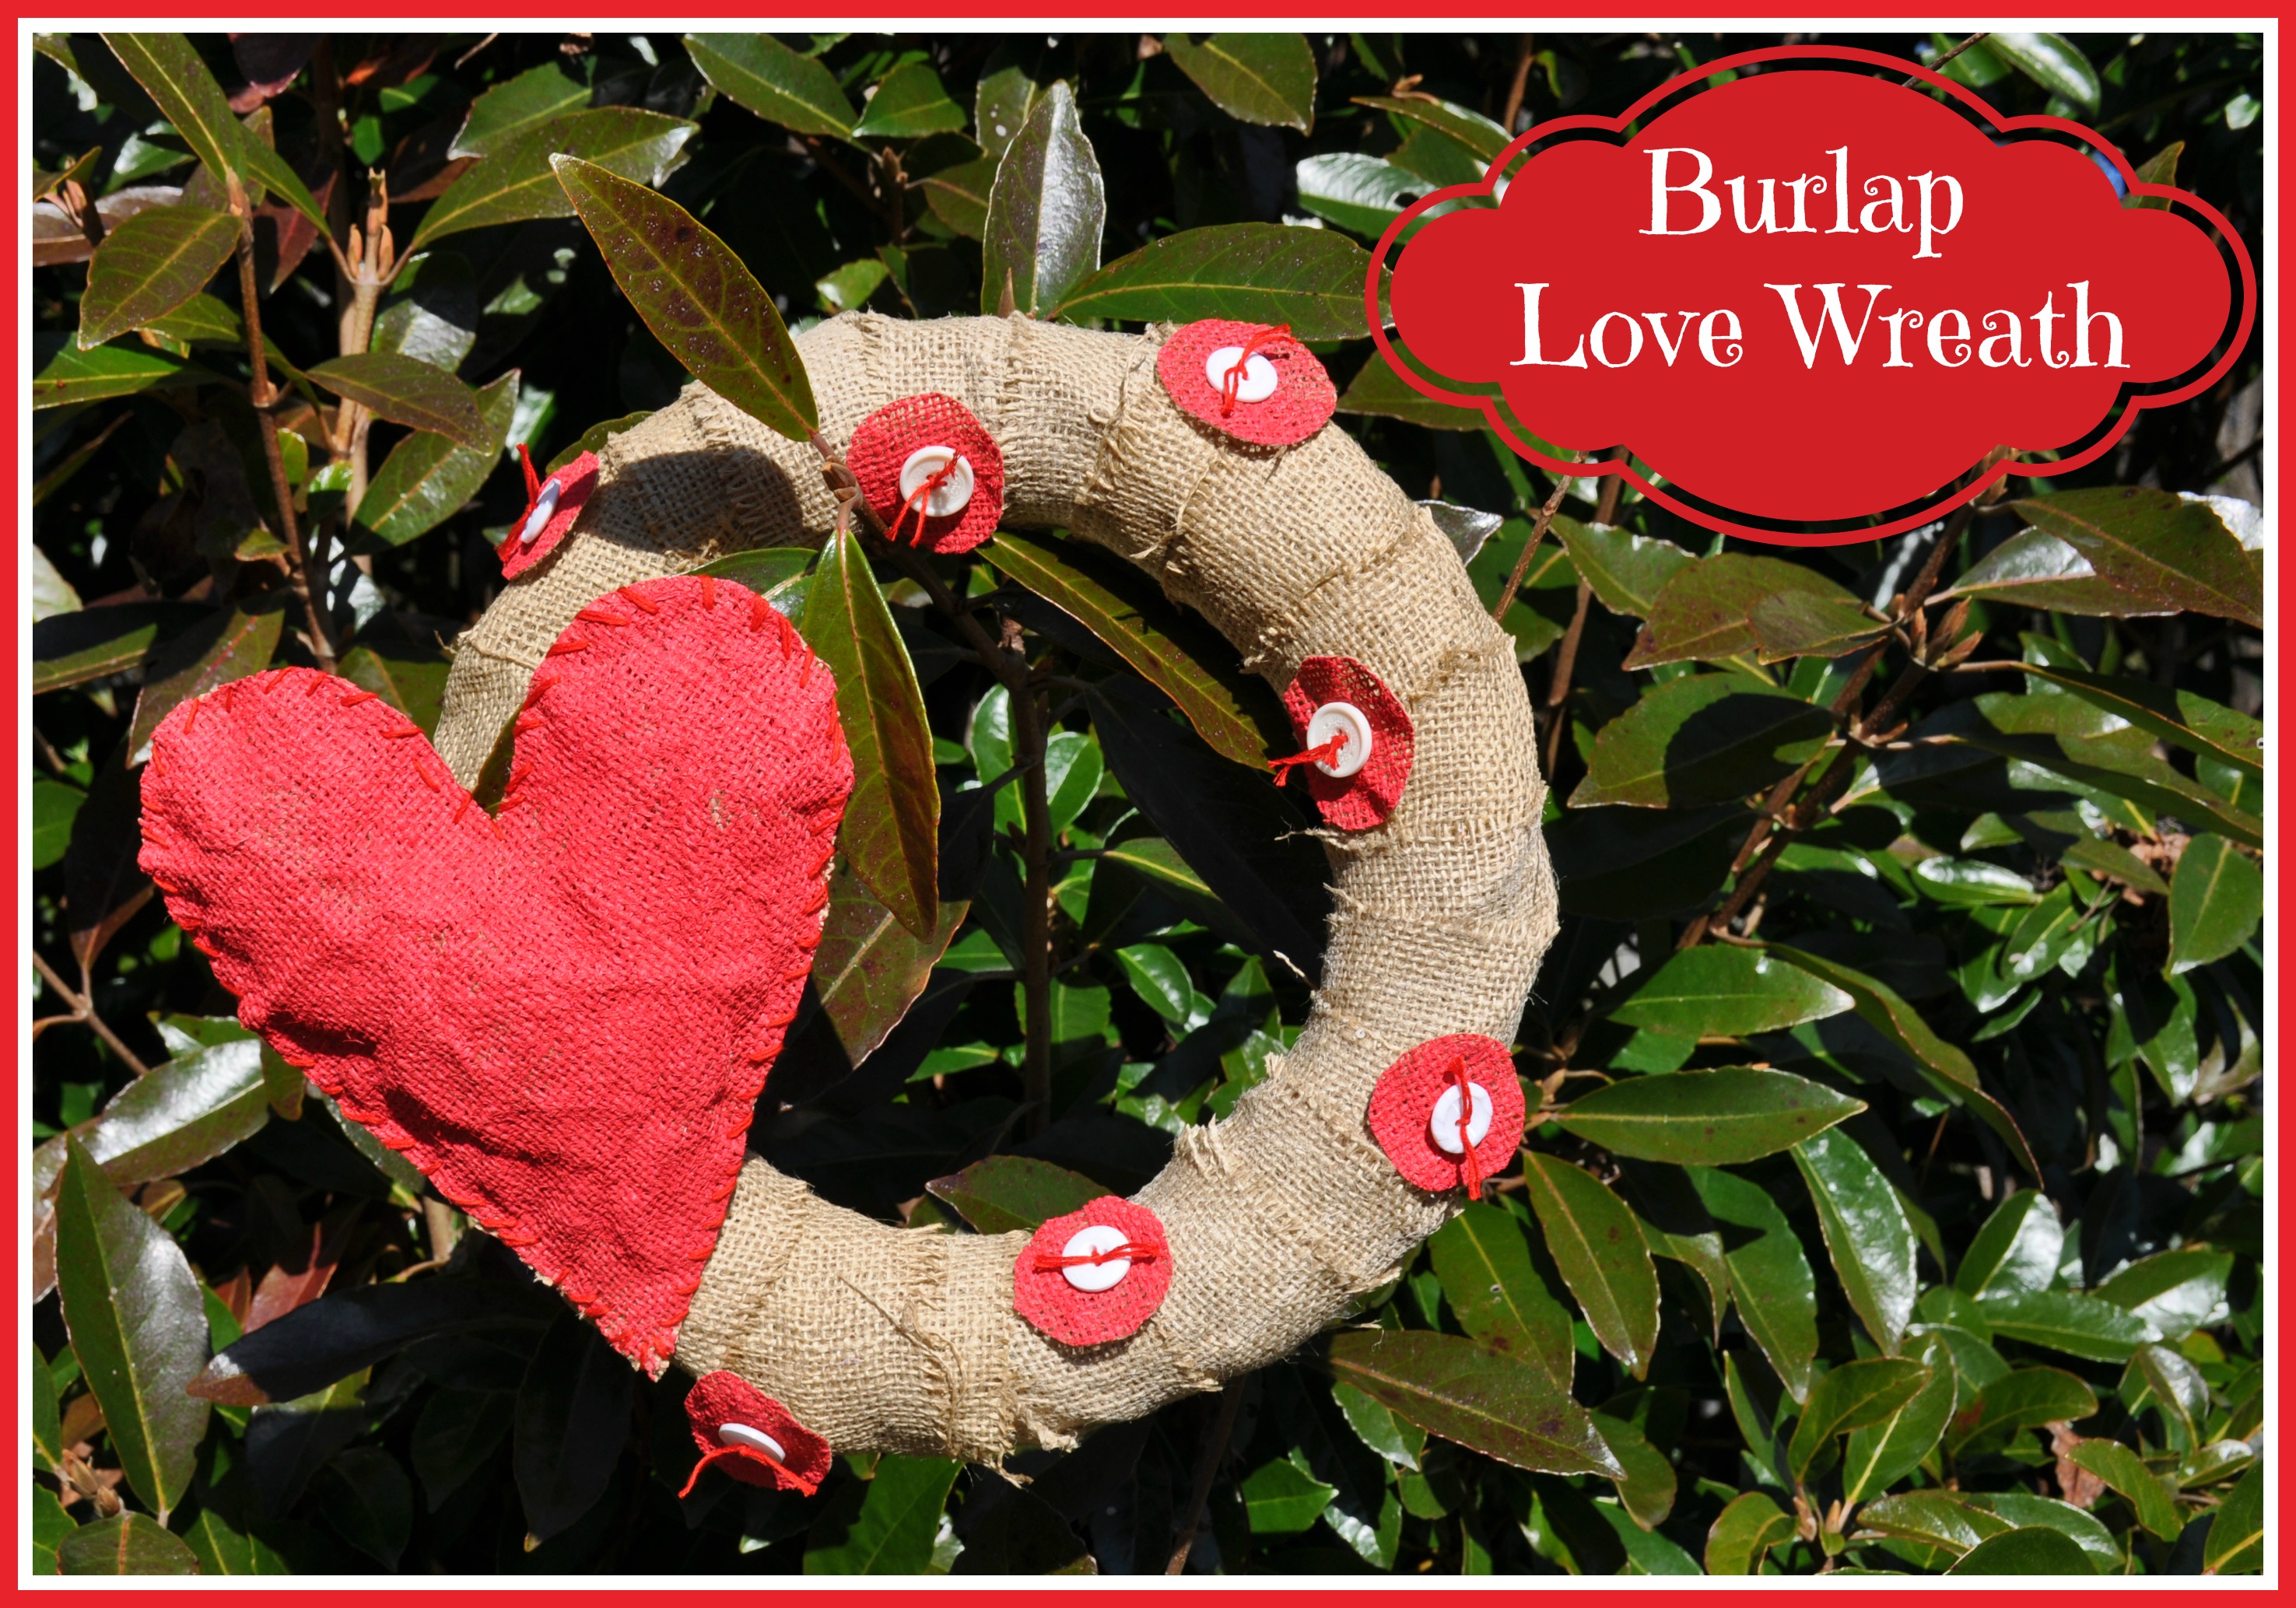
It’s February and the month of Love! This Burlap Love Wreath makes me think of Love!
Materials used:
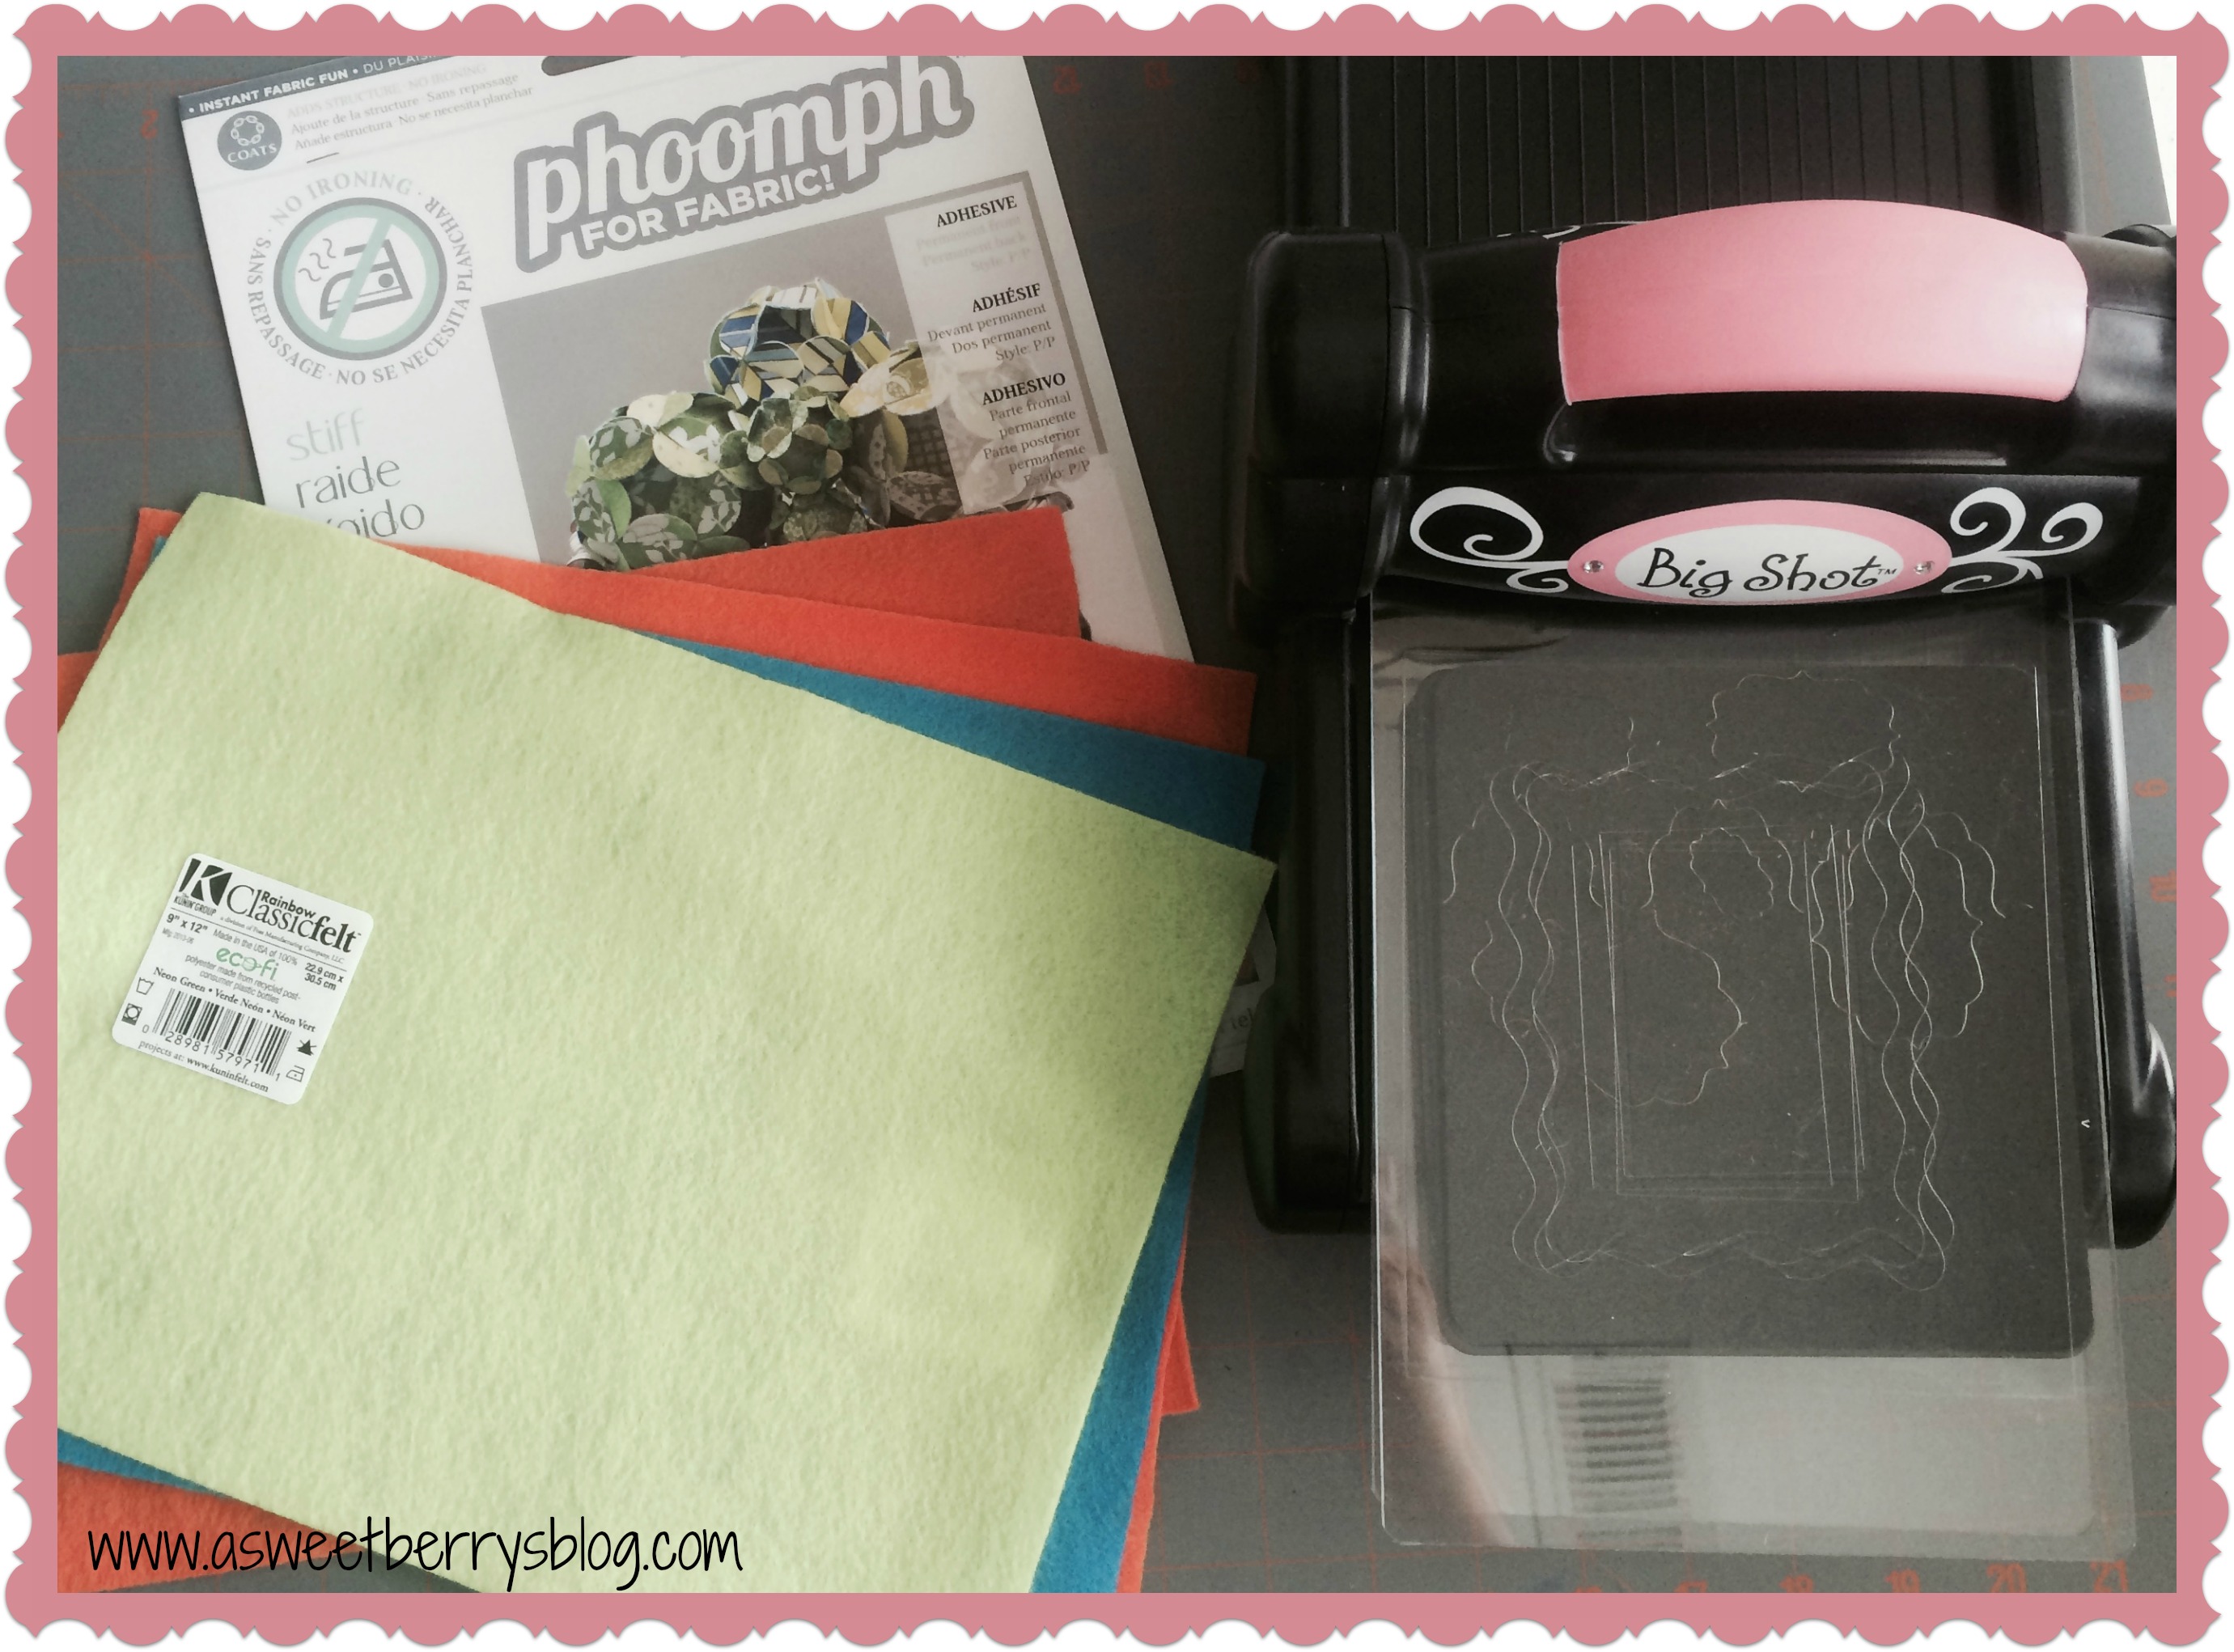
A FloraCraft Foam Wreath
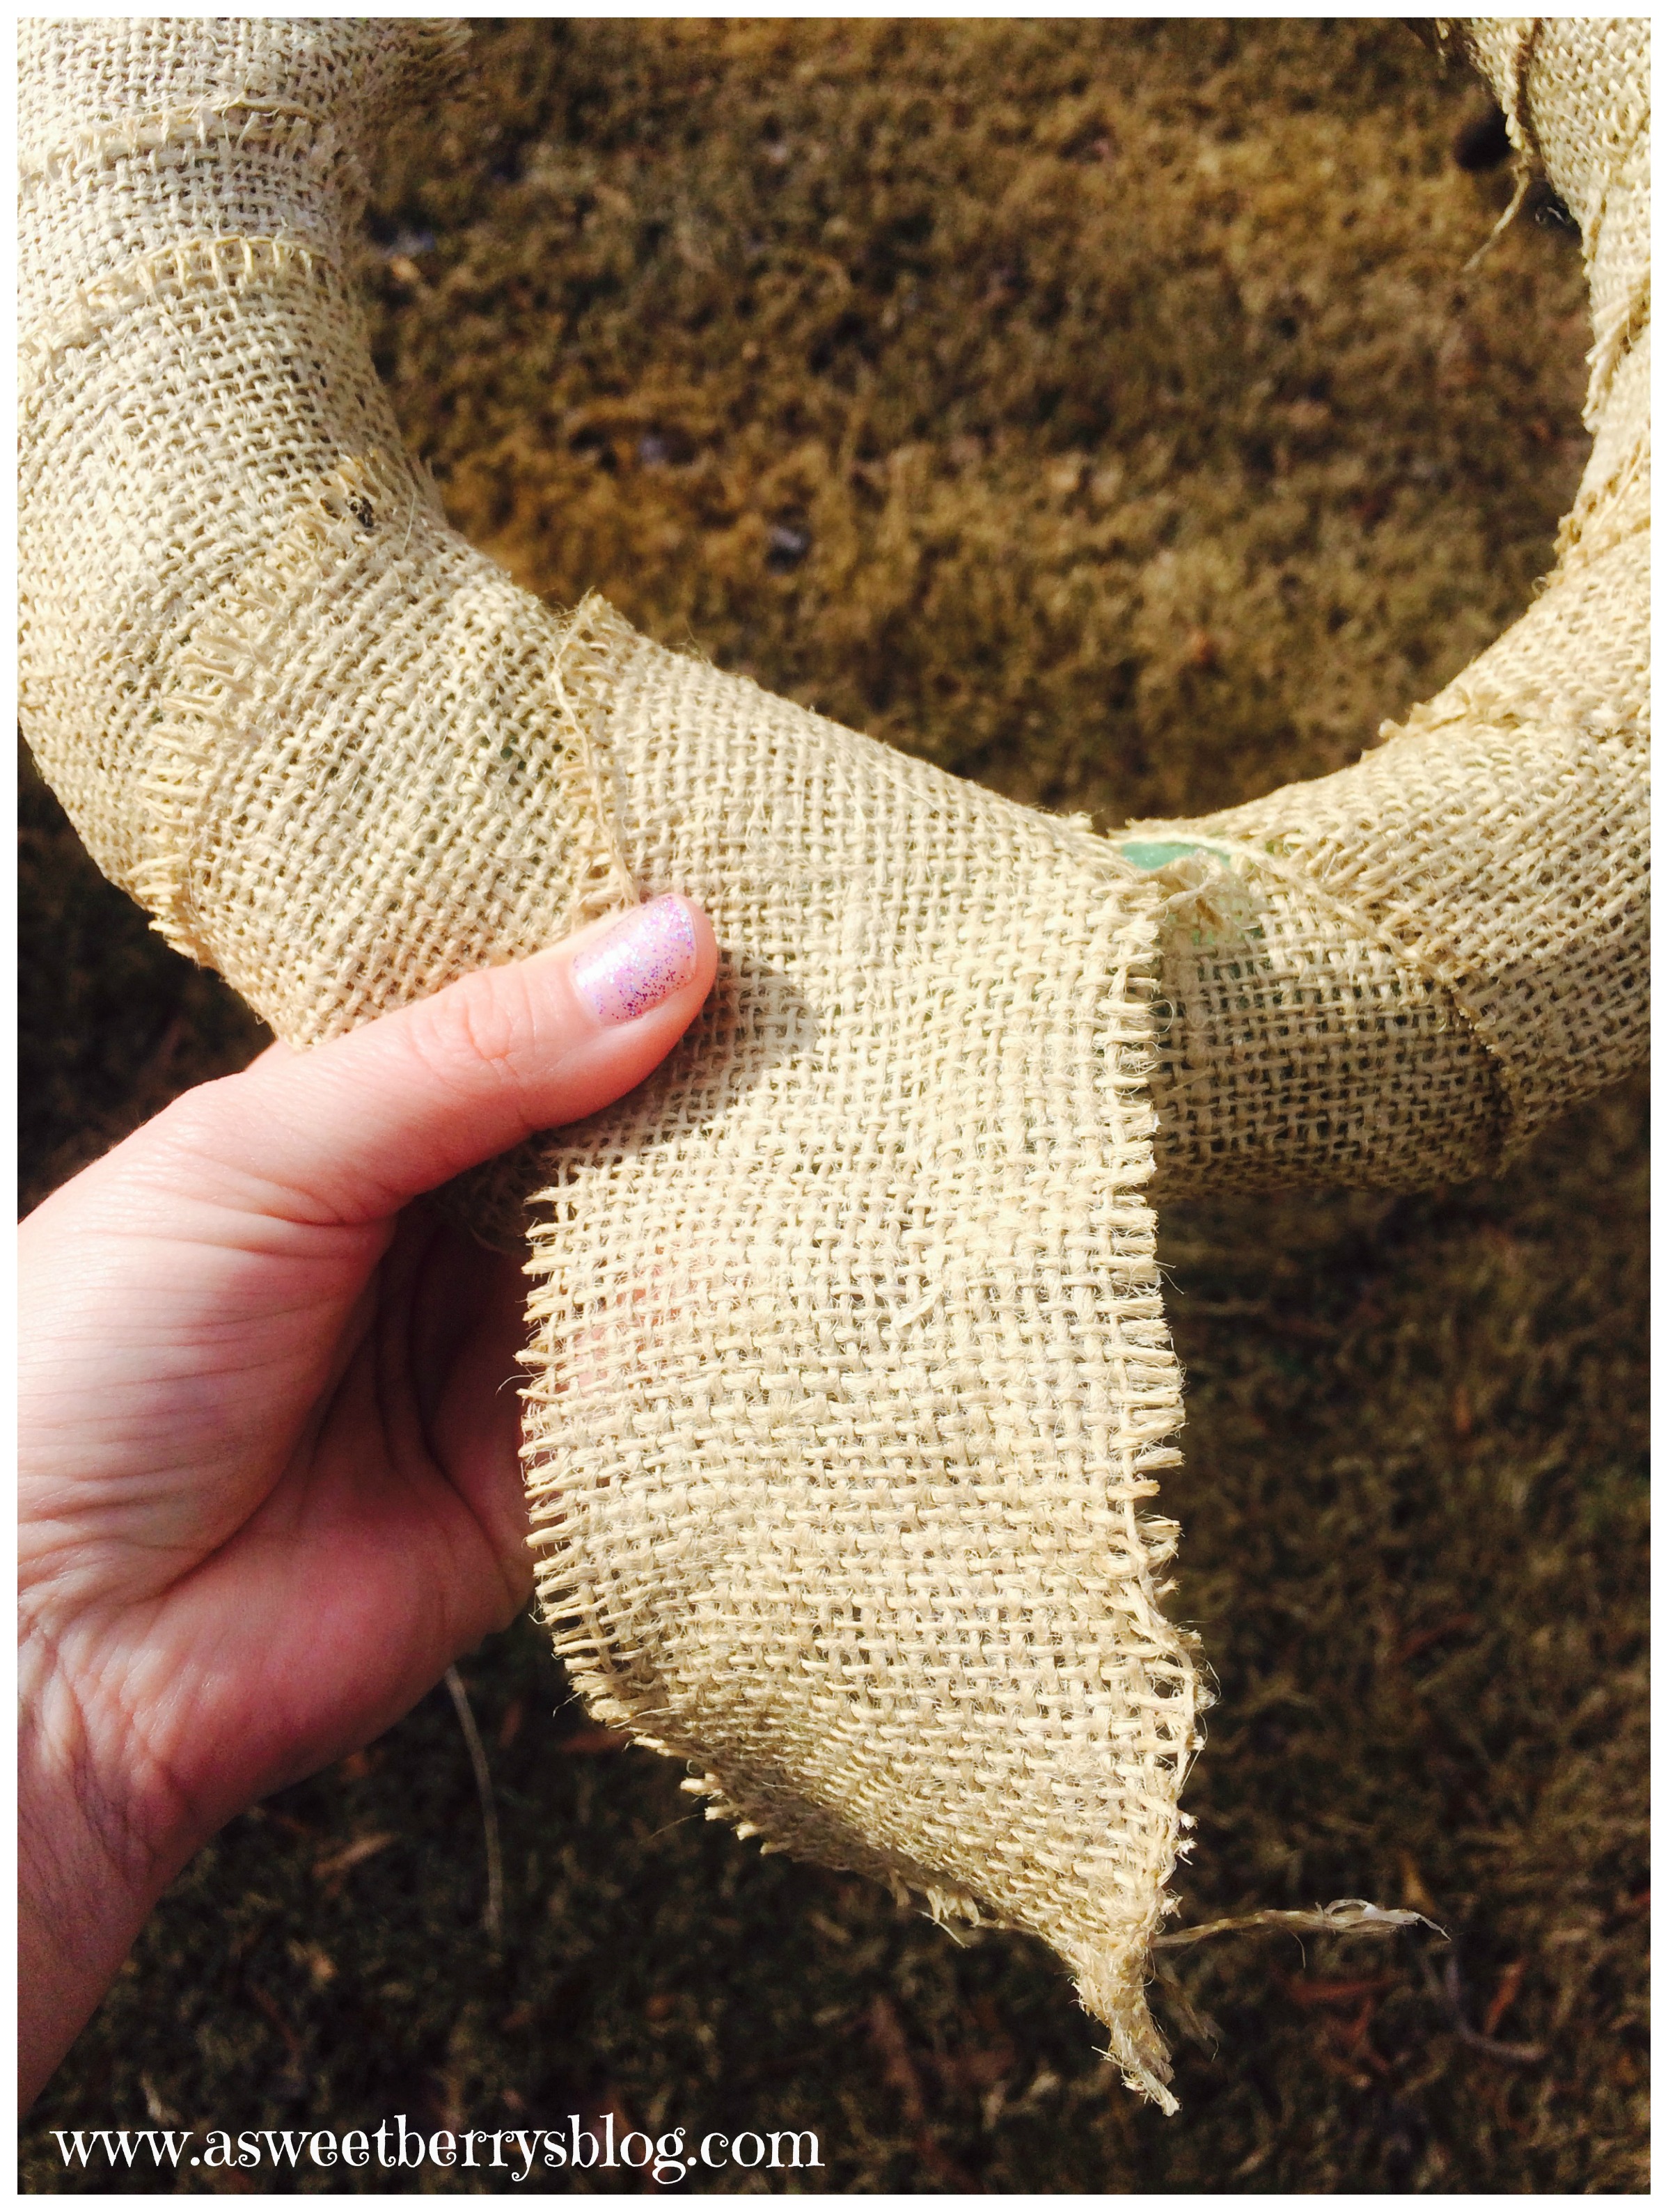
Burlap Ribbon
A 12×12 inch piece of burlap
Aleene’s Collage Pauge
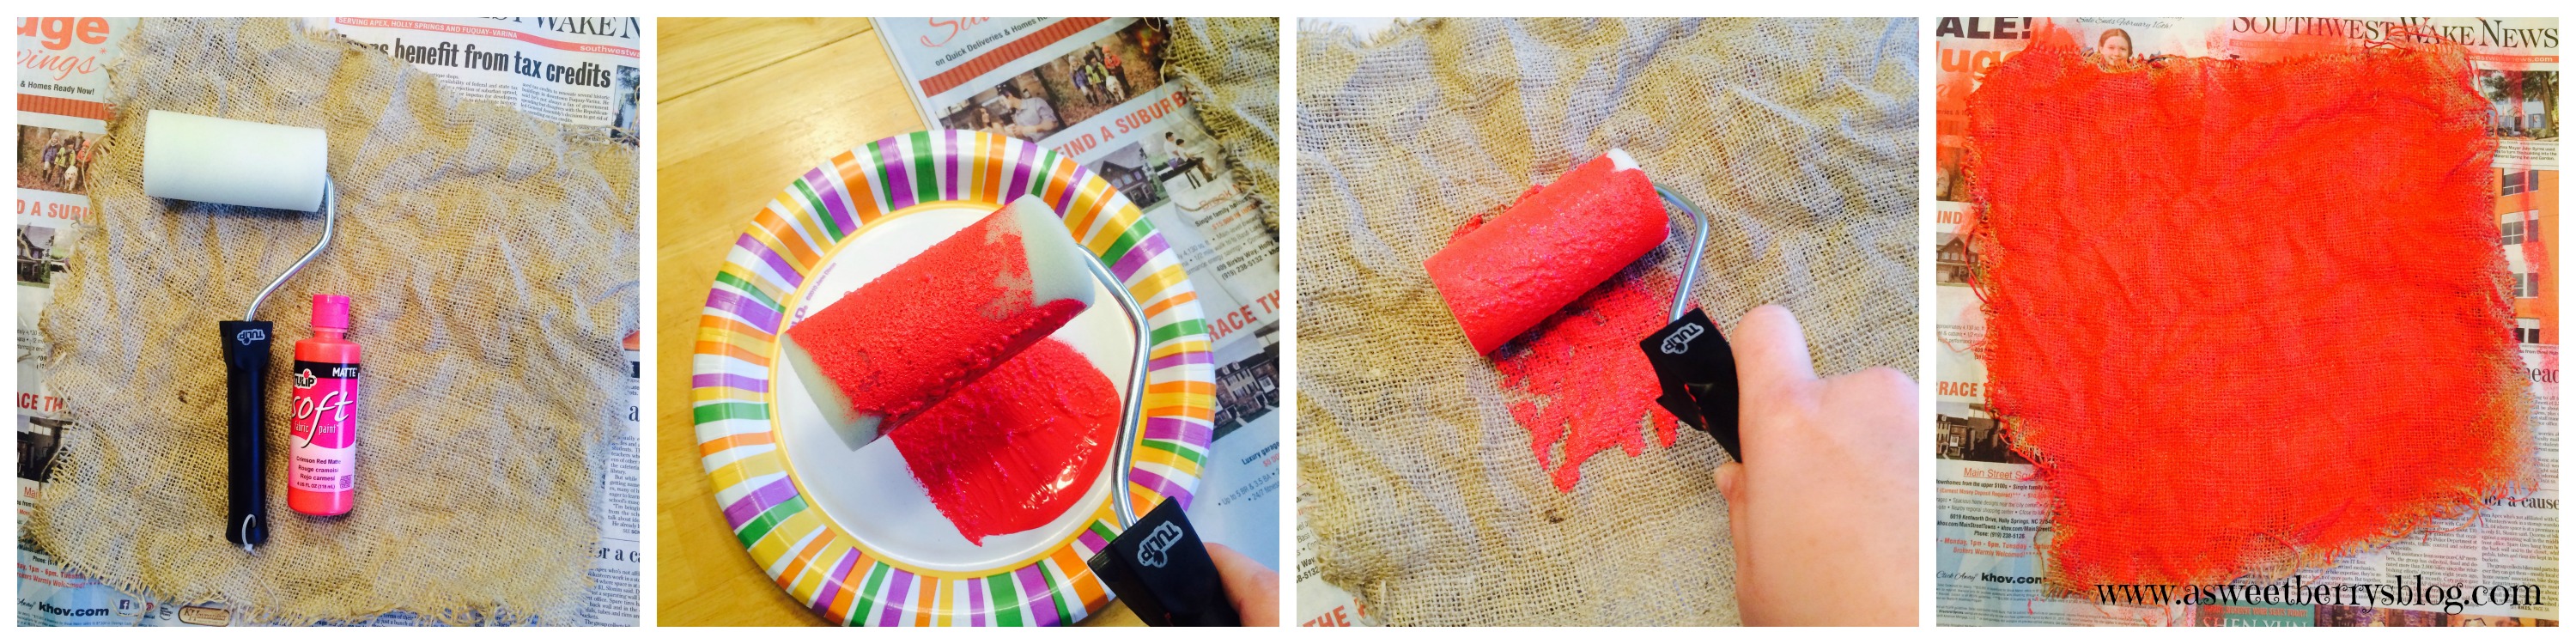
Tulip Soft Fabric Paint
A Tulip Paint Roller
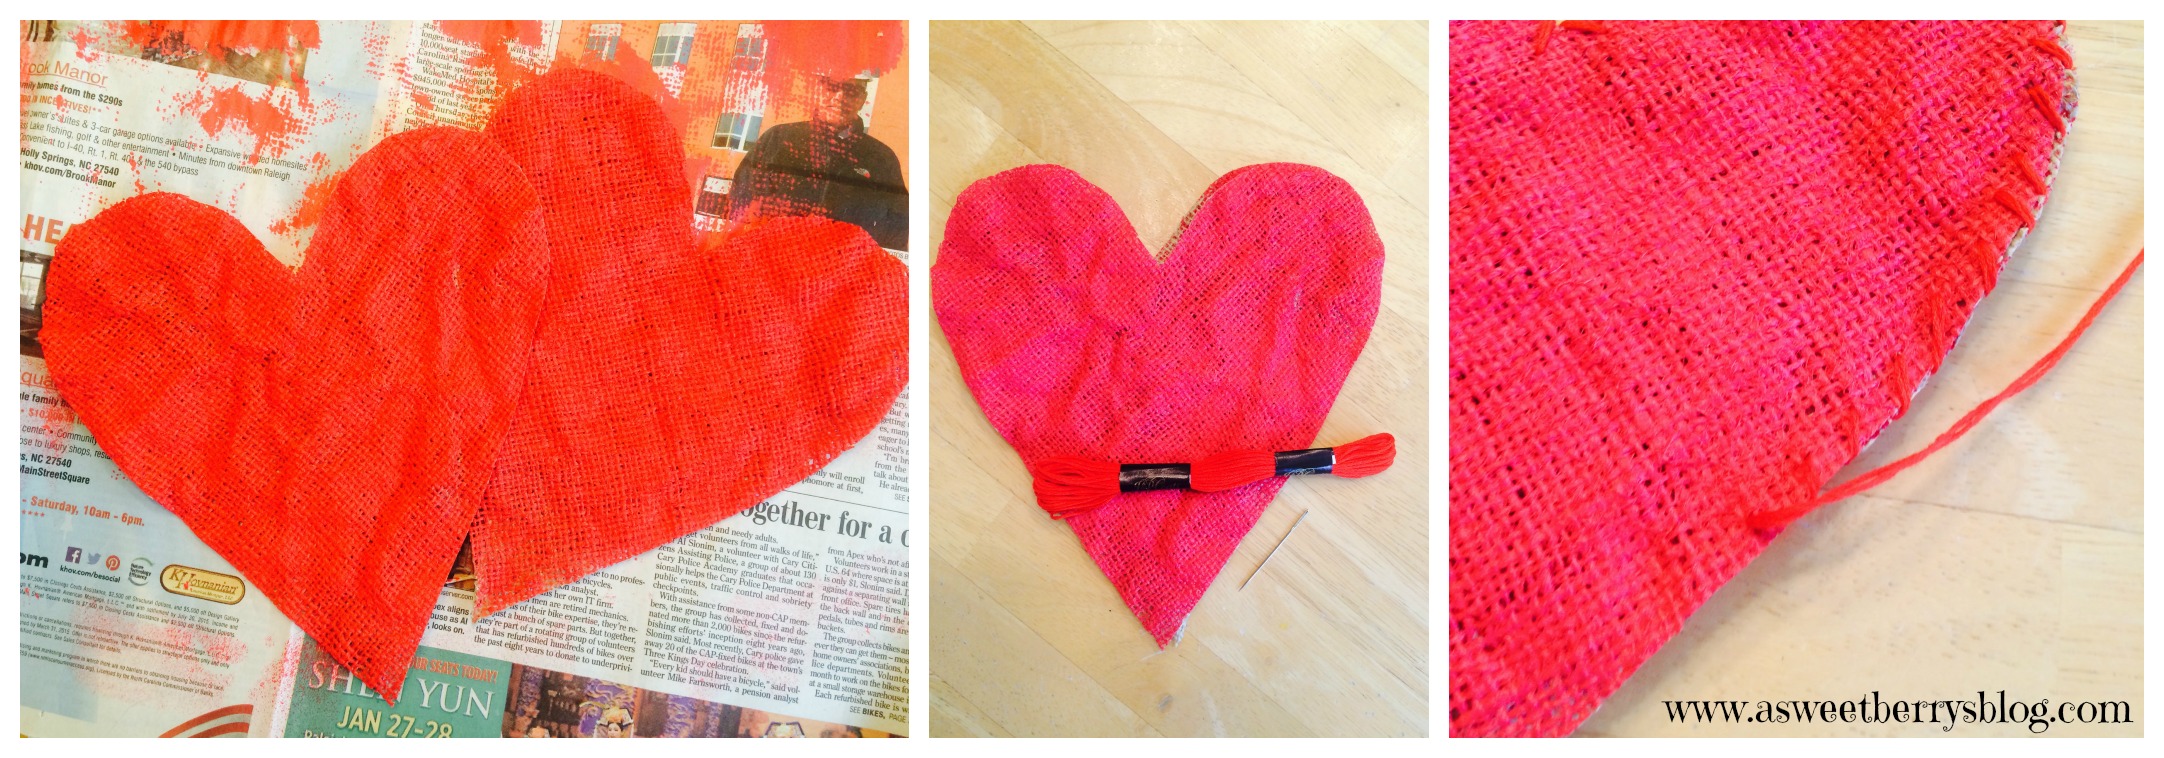
Red Coats & Clark Embroidery Floss and Needle
White Buttons from Buttons Galore

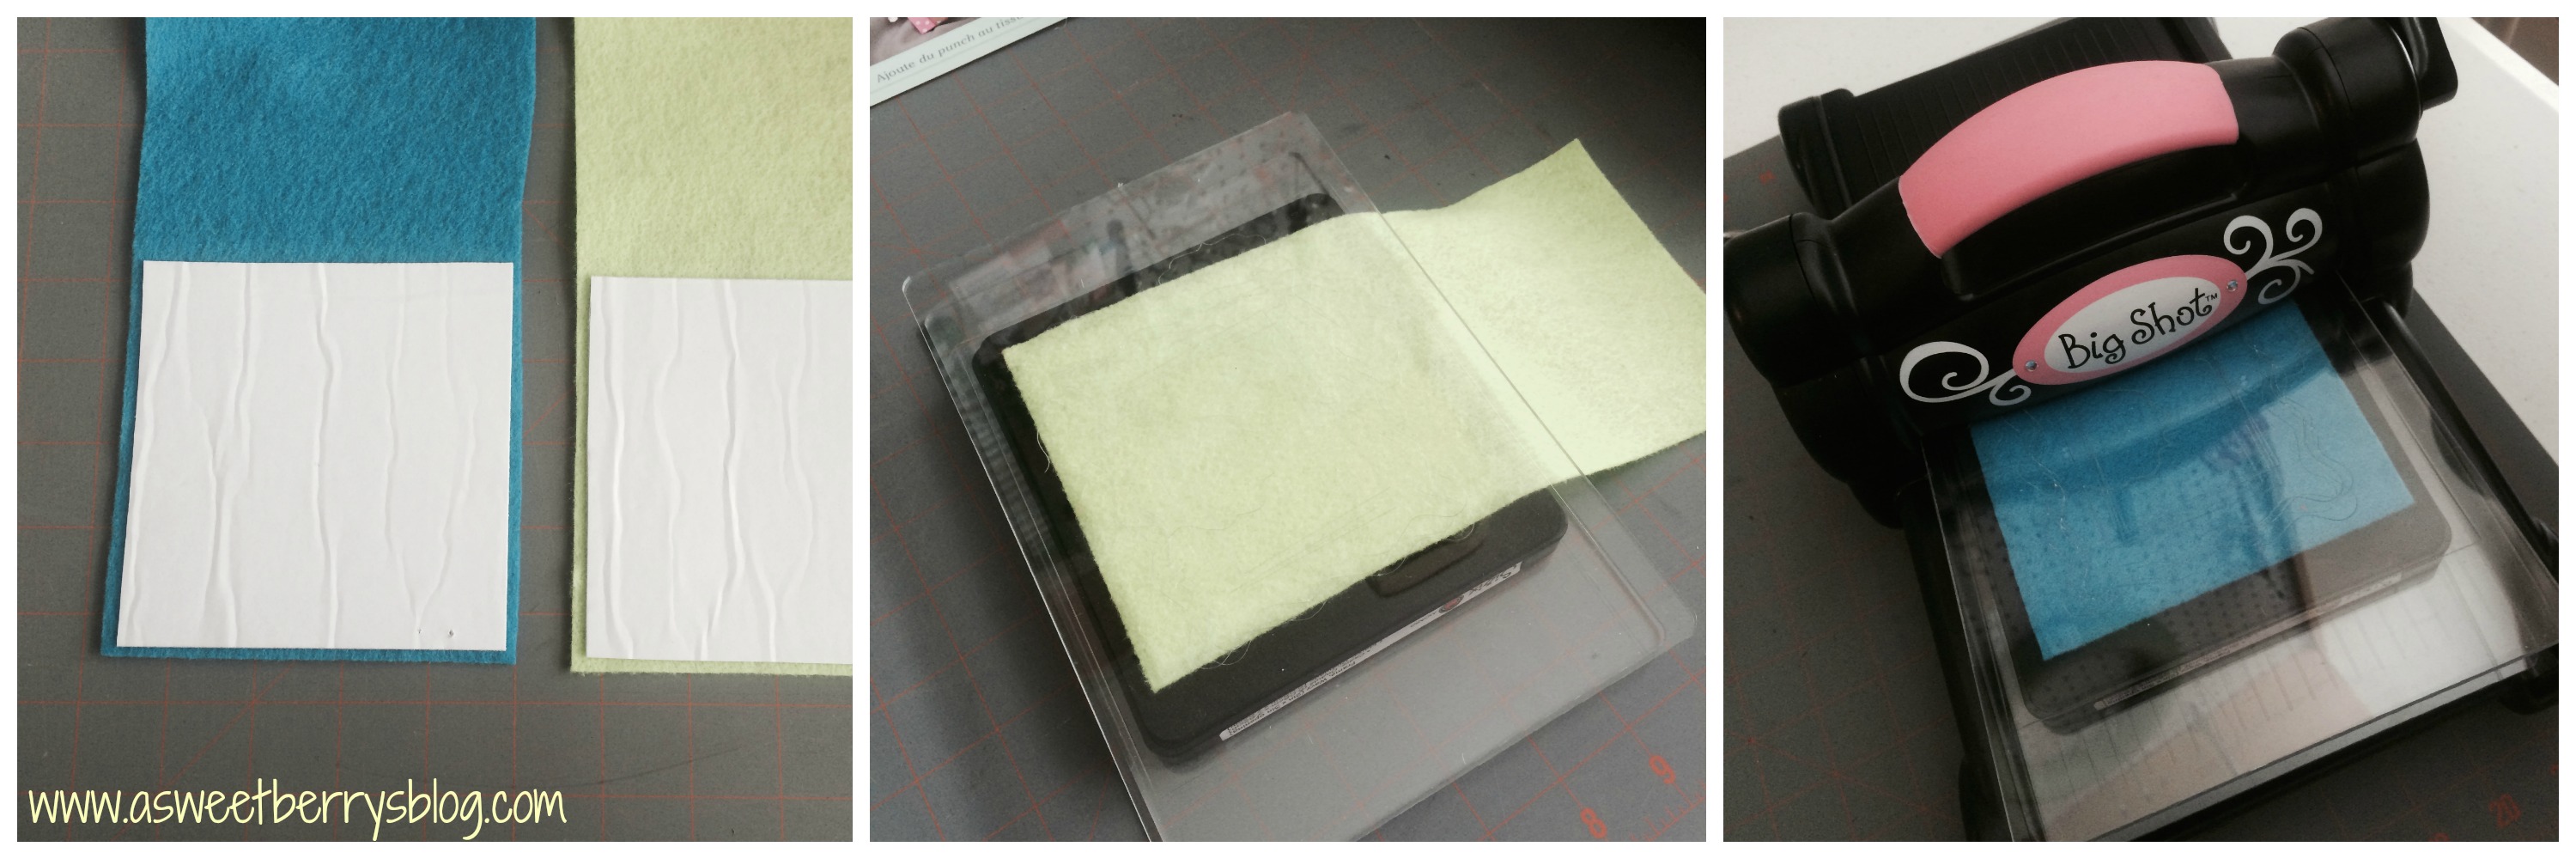
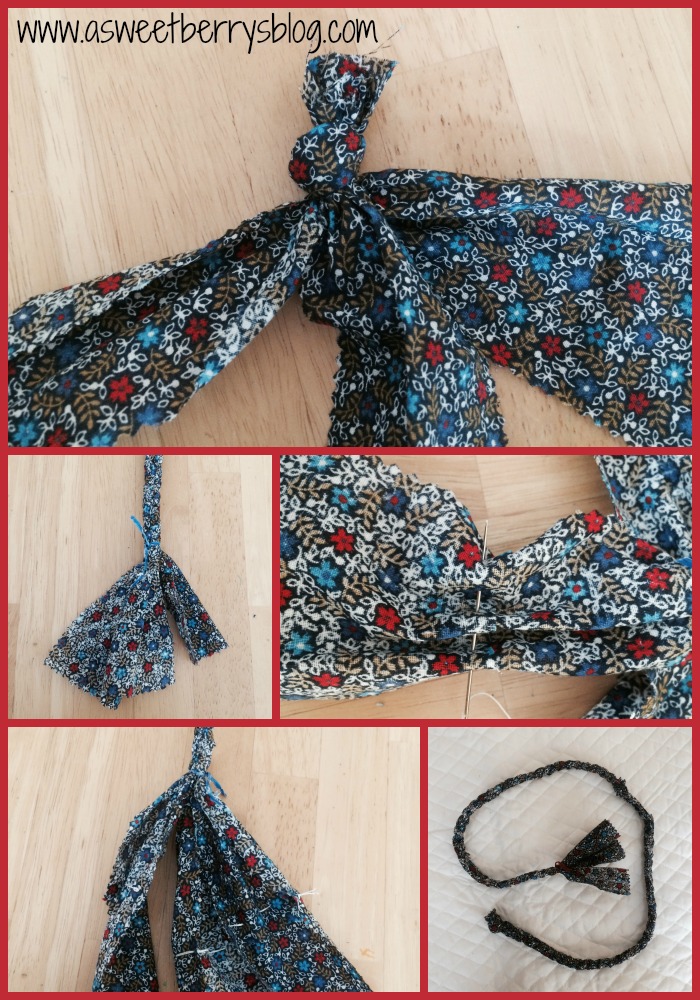
Using Aleene’s Collage Pauge and water, I added 3/4 Collage Pauge to 1/4 water to a plastic container. It’s the formula usually used for Paper Mache. I wanted to stiffen the burlap a little and to help it to keep from unraveling. Once I soaked all of my pieces, I let them dry.

Using a Tulip Foam Roller and Tulip Soft Fabric Paint, I painted the 12×12 inch piece of burlap. I then let that dry.
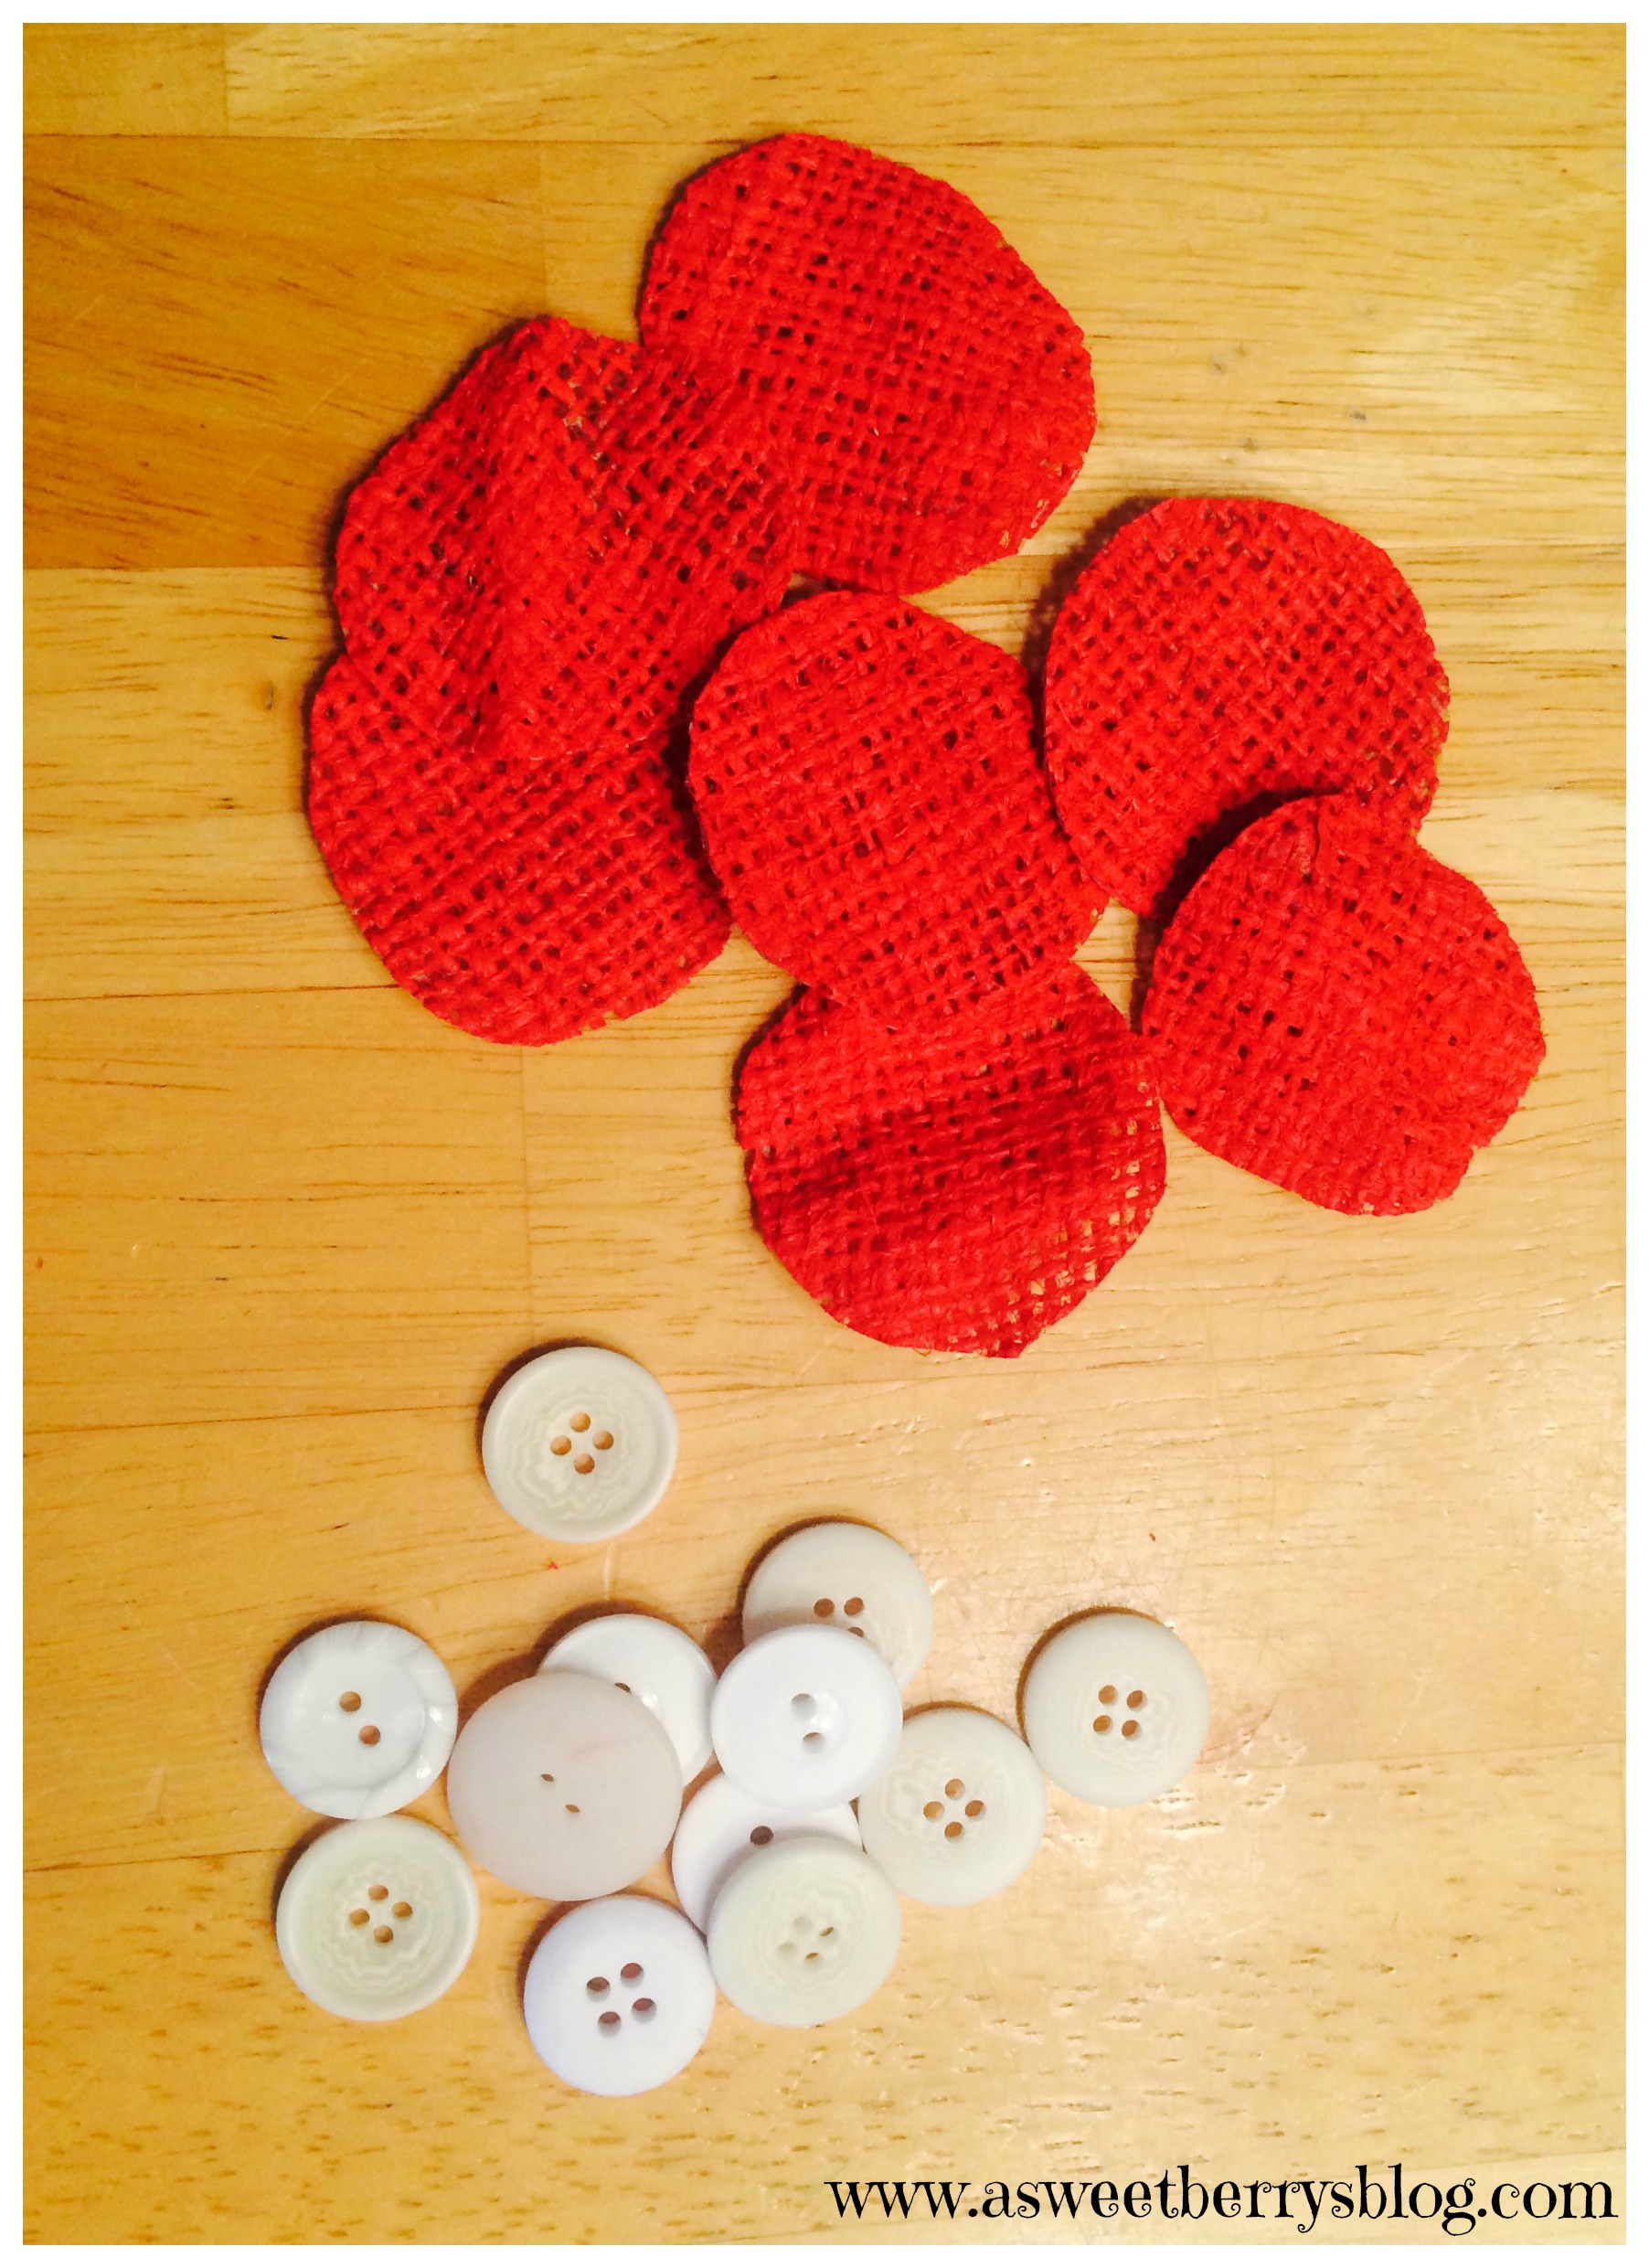
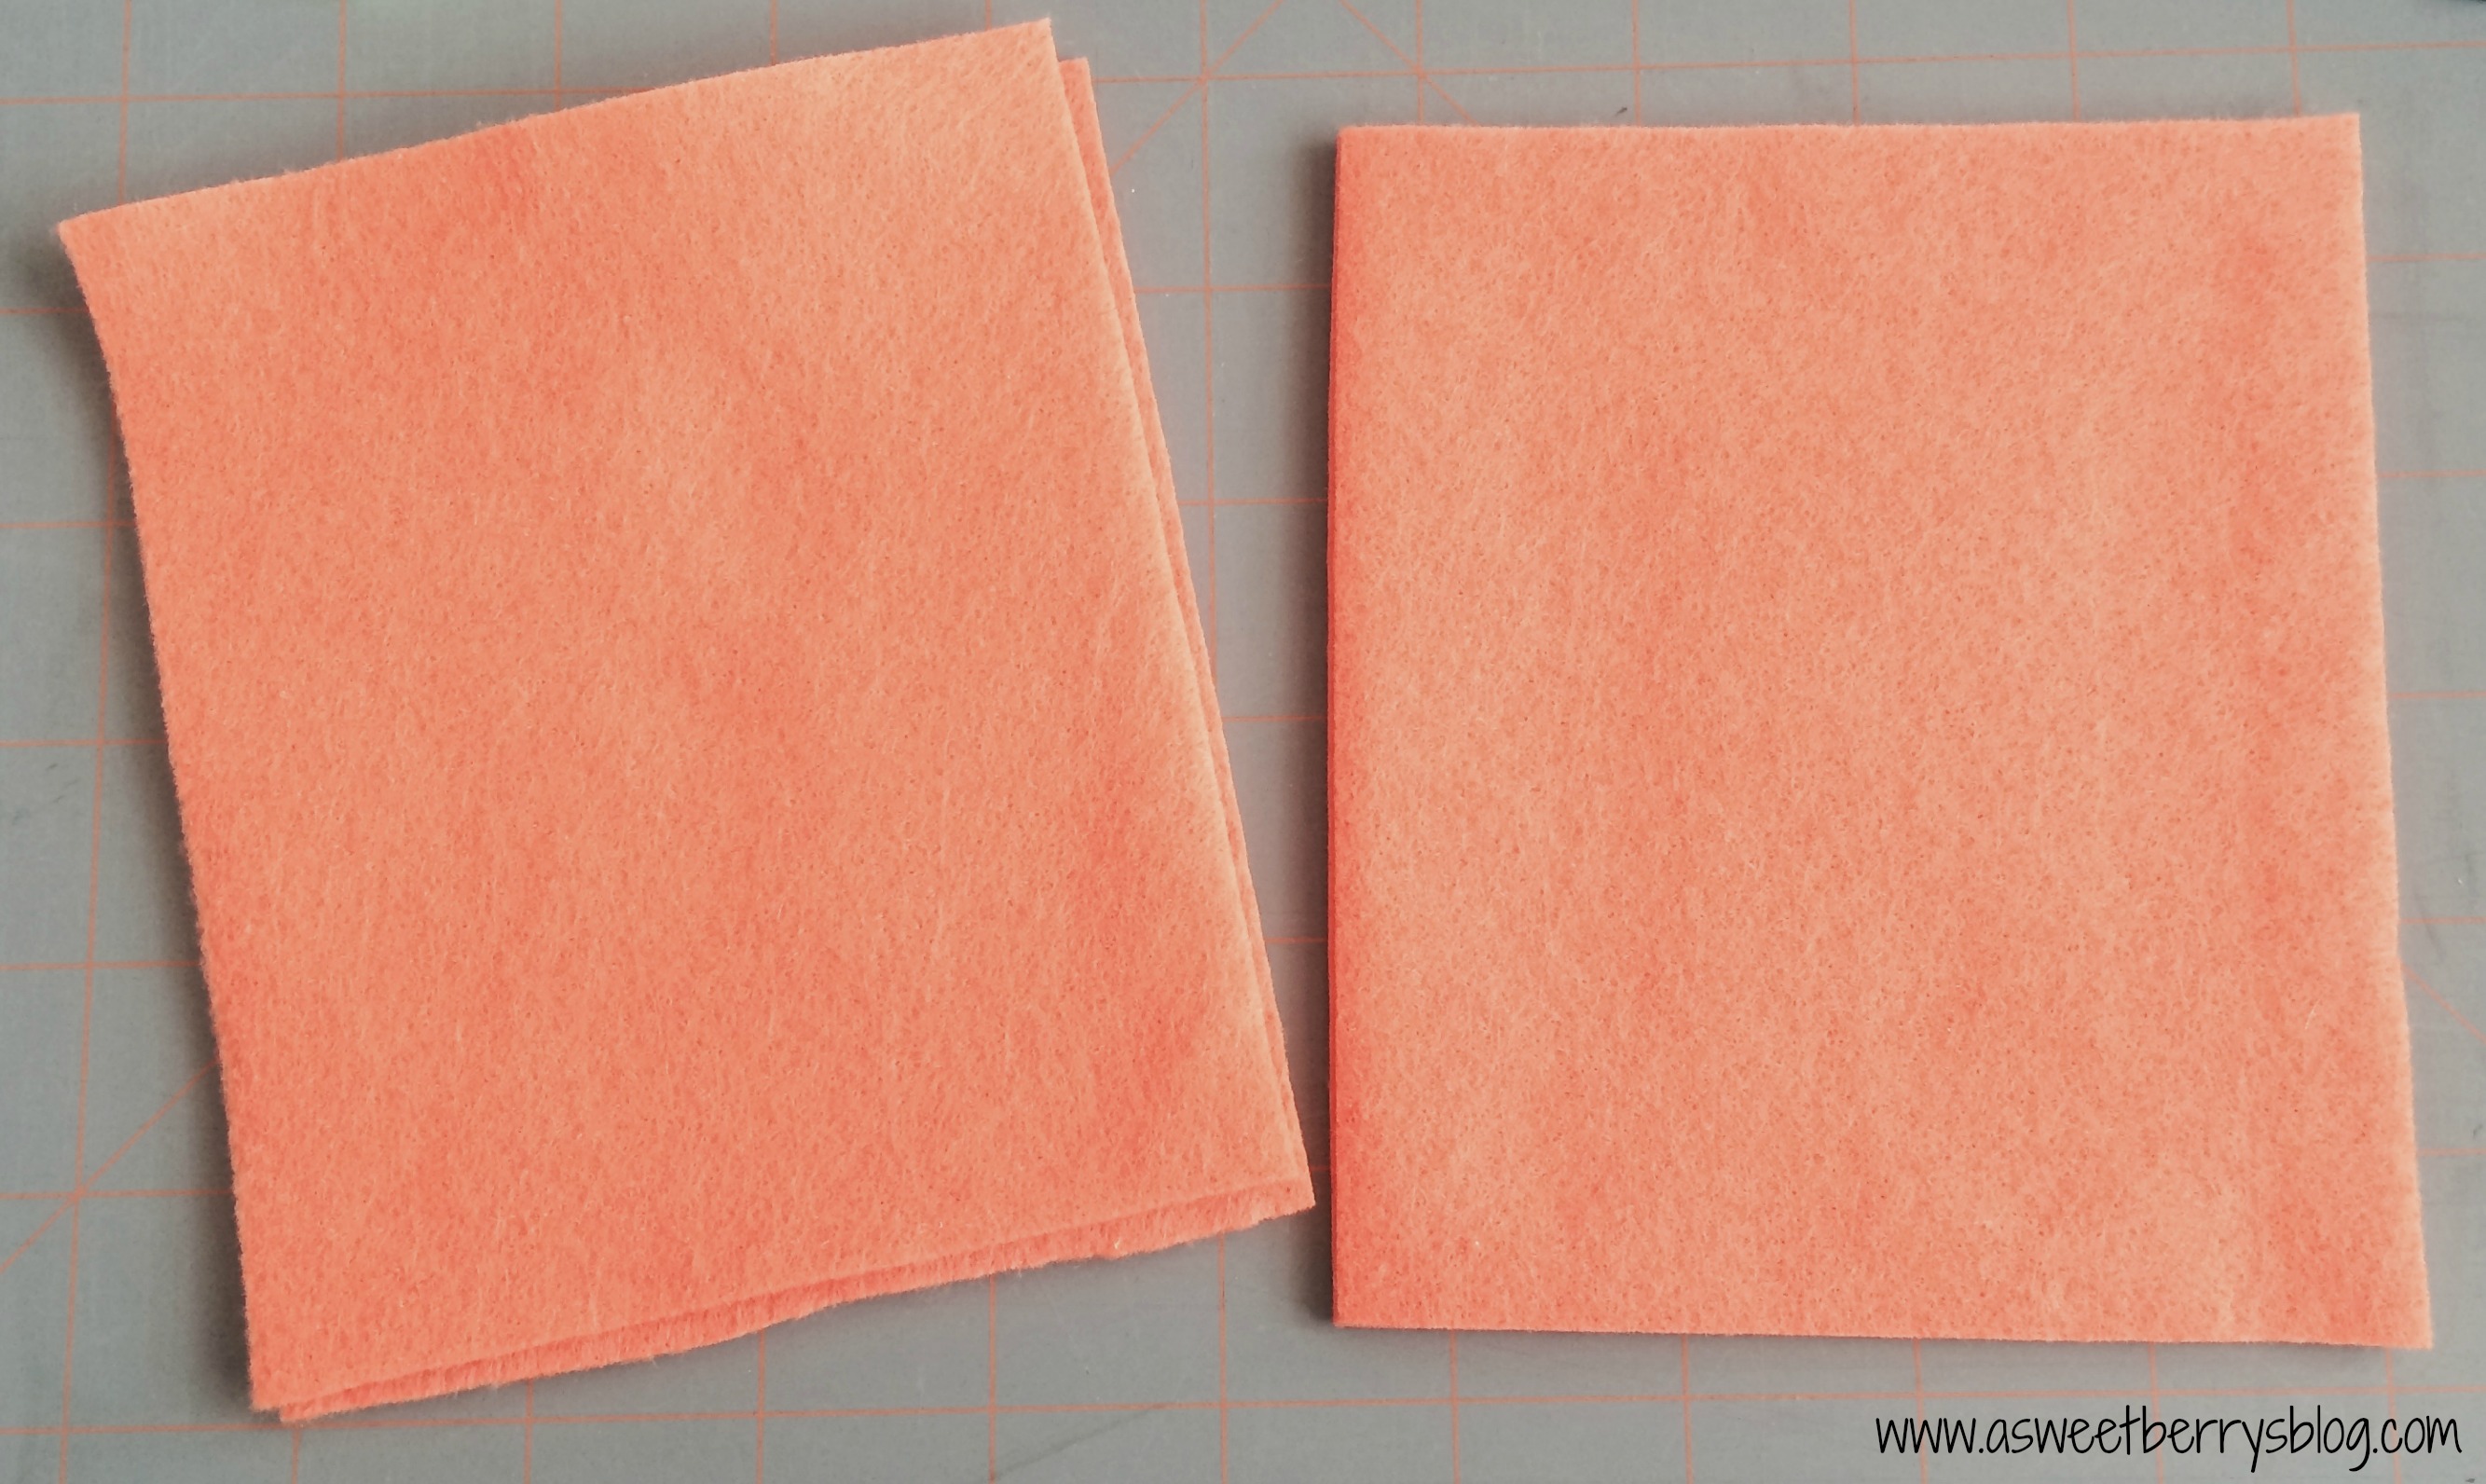
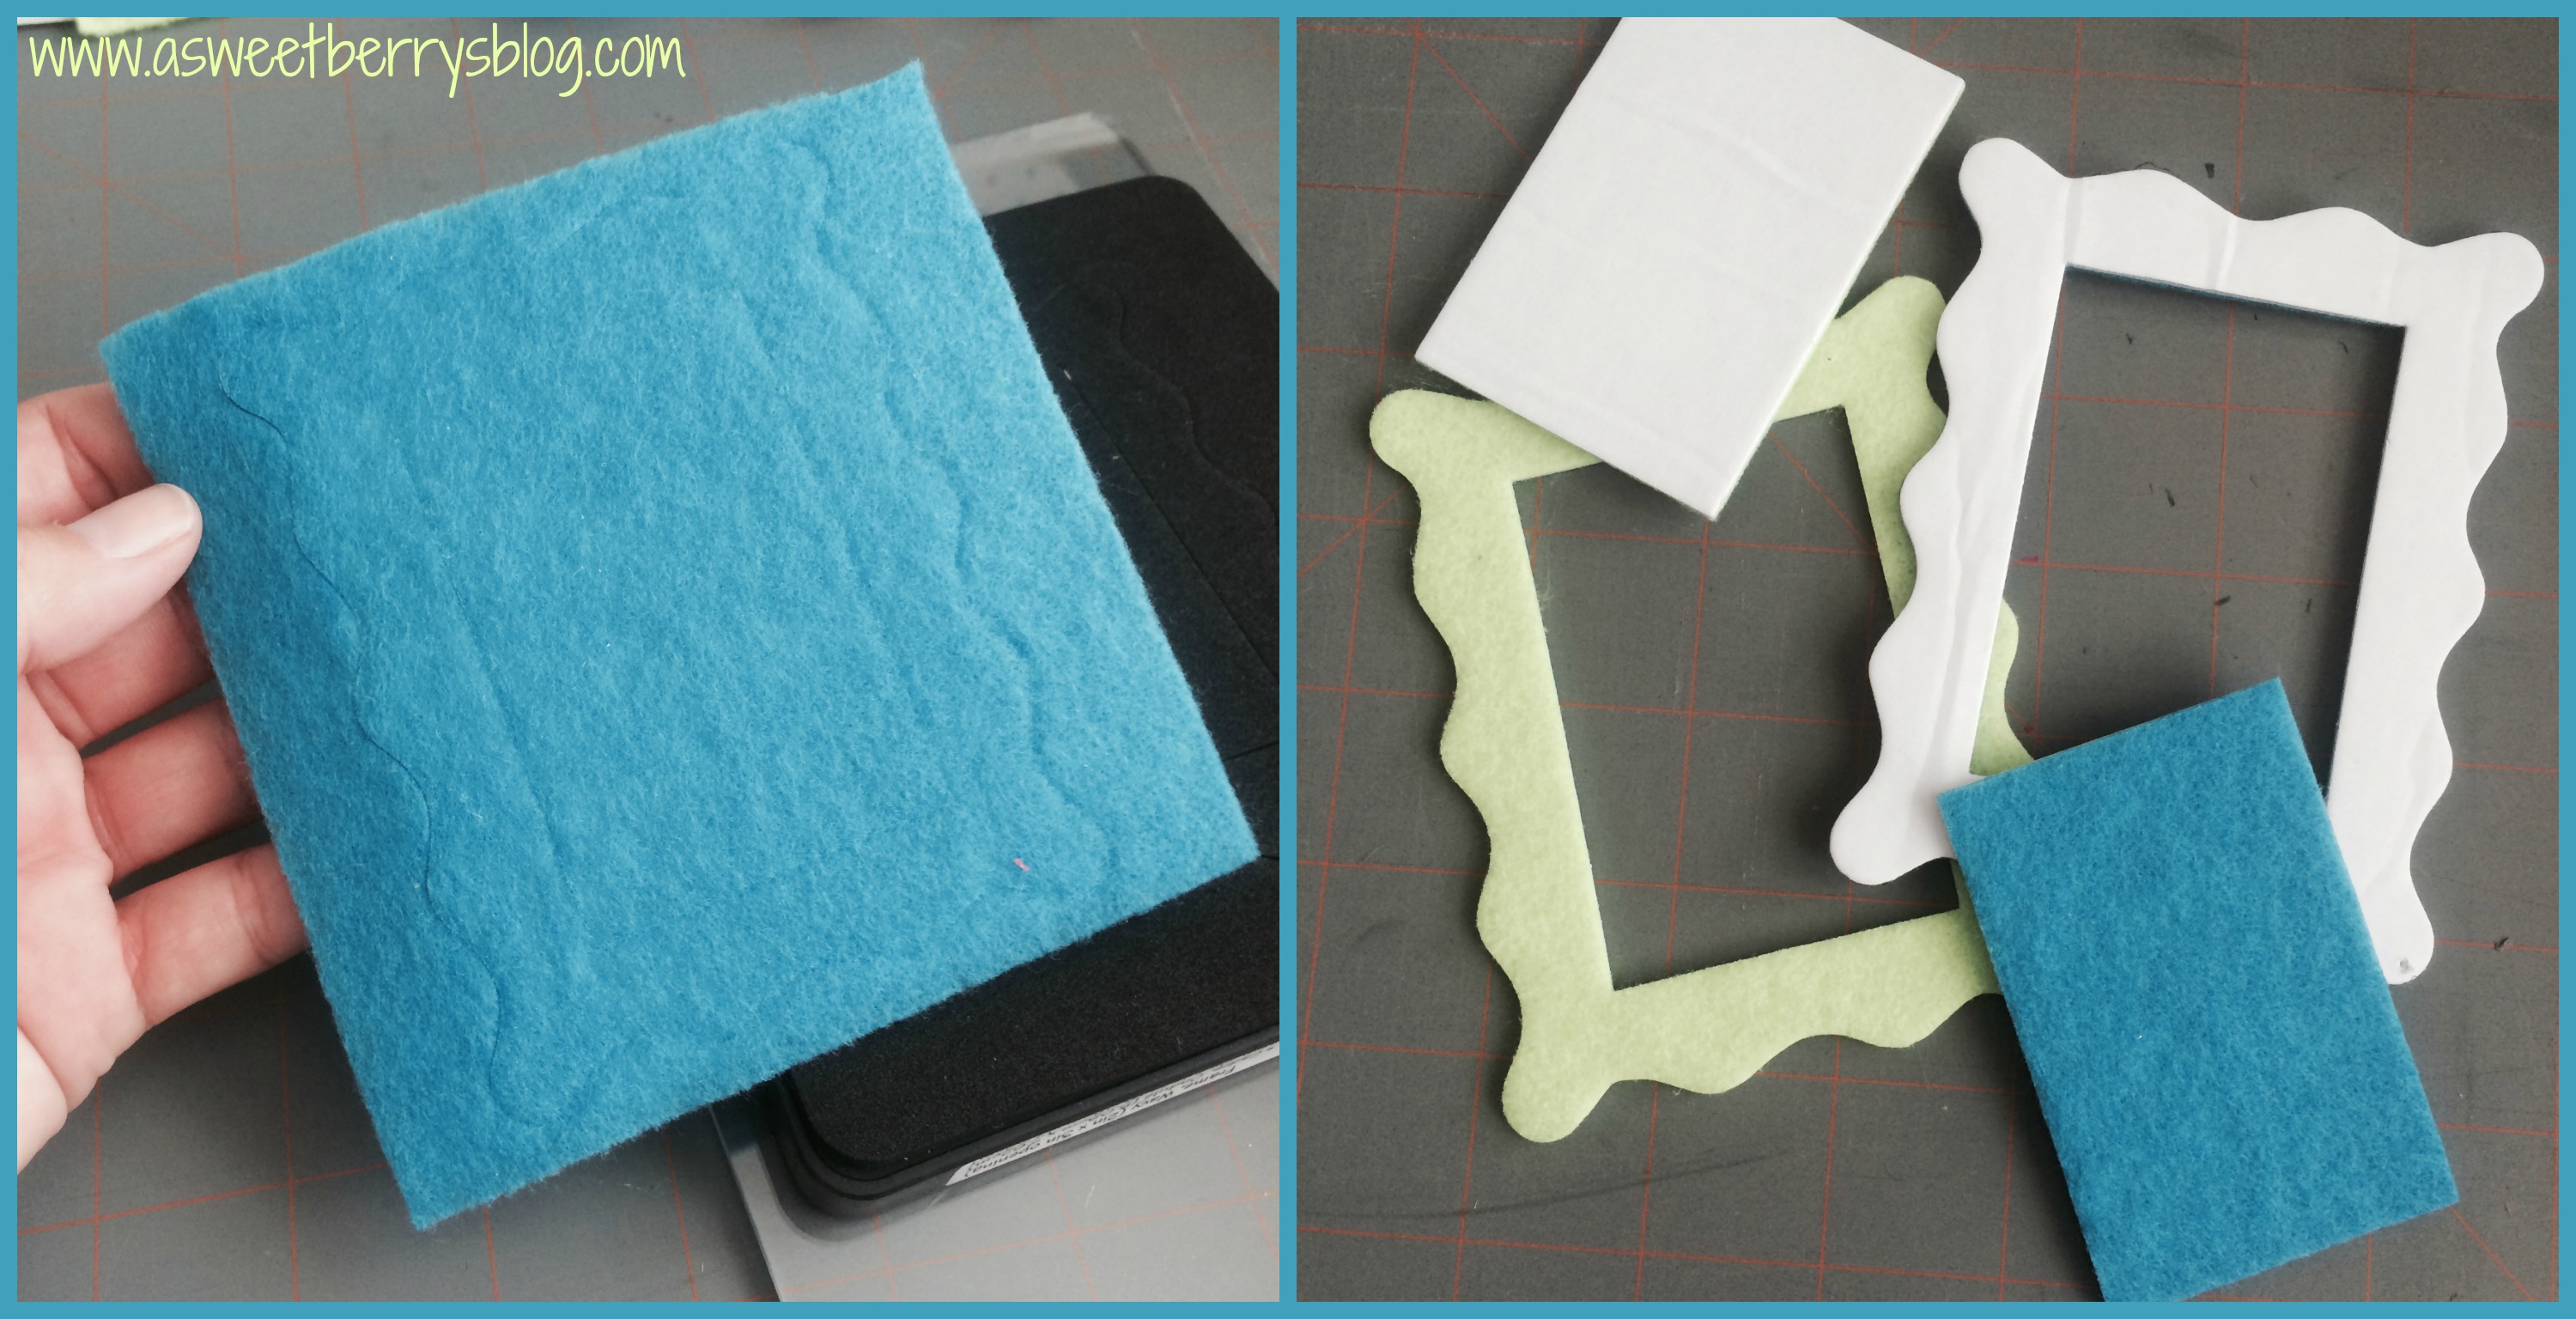
Once my paint dried, I cut out two hearts. I basically folded the fabric in half, cutting two hearts at once. Using Embroidery floss and a needle, I sewed the two hearts together, paint sides out. Before I sewed the heart all the way, I stuffed it with some felt scraps that I had left over from another project. Then, I closed up the heart by sewing all the way around.
Using the burlap ribbon, I wrapped it around the foam wreath and used embroidery floss to sew the end of the ribbon to the the beginning to hold it in place.
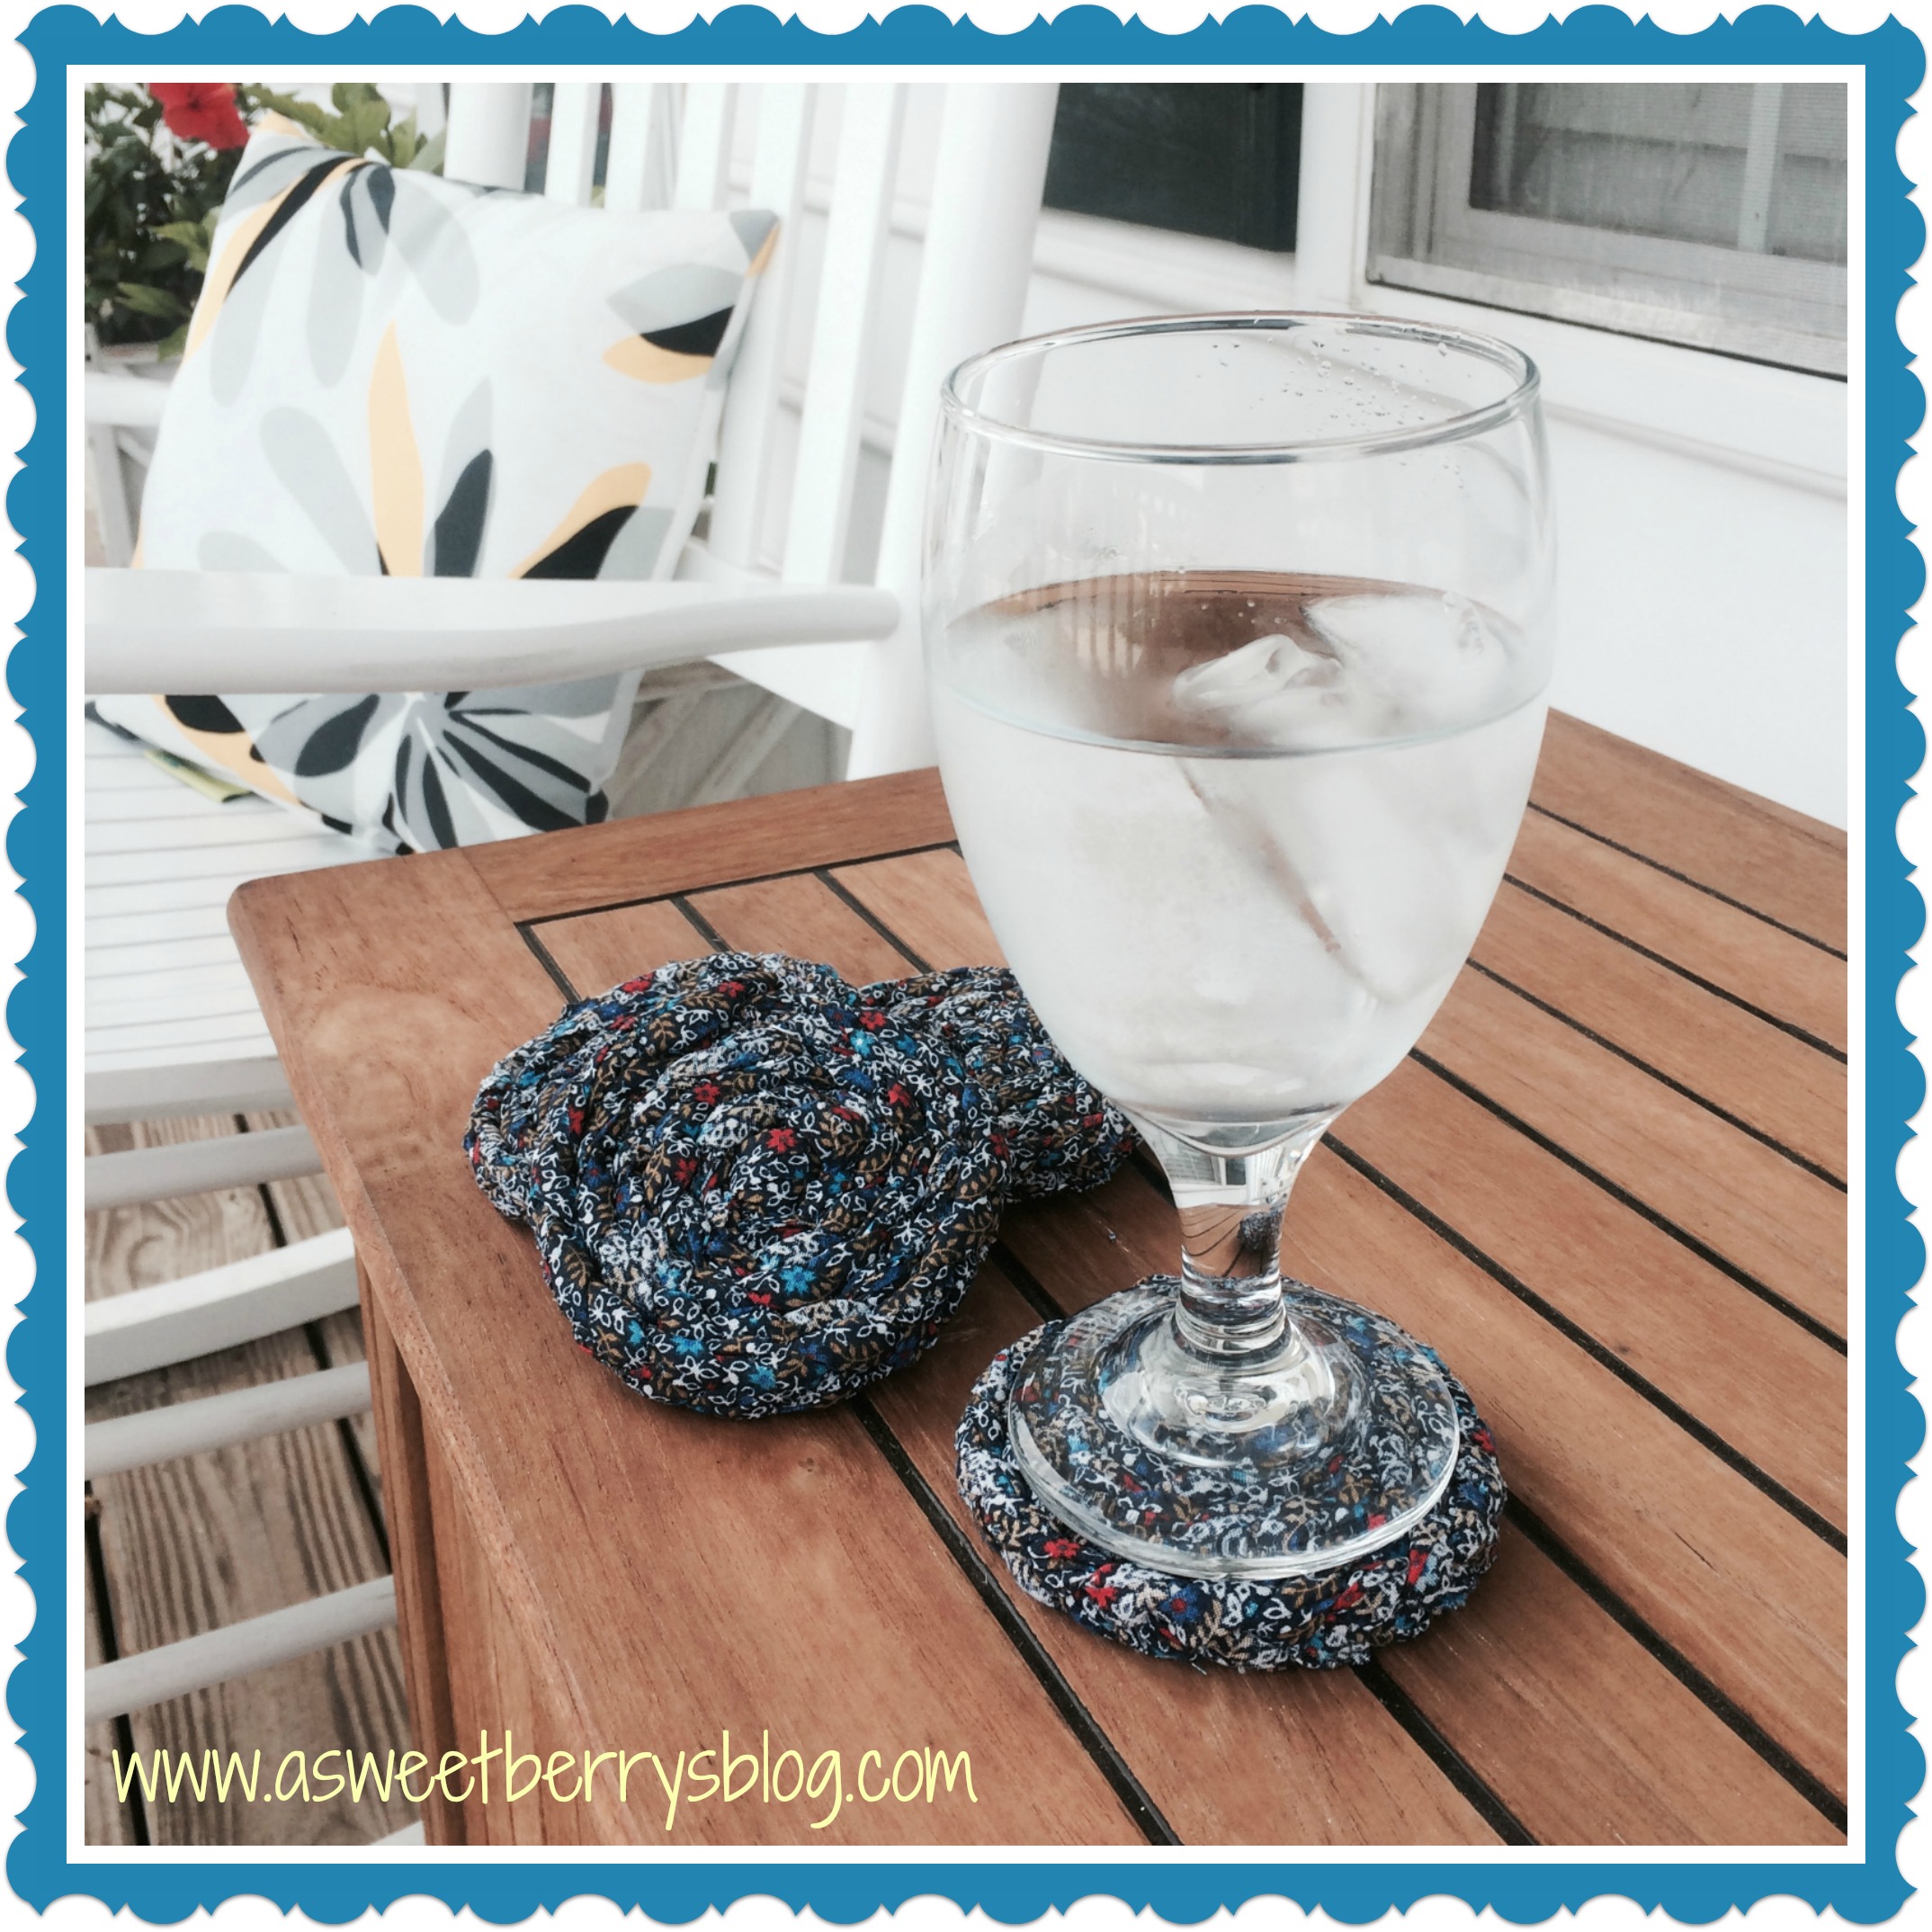
From the scraps of painted burlap, I cut out red circles. Using the embroidery floss, I added the white buttons to the center of the red pieces and attached them to the burlap on the wreath. I tied them off on the front adding just a little color to the white buttons.
This lovely wreath is now hanging on my front door! And I LOVE that it reminds me of LOVE!!!
I hope that your February is filled with lots of love! And I hope that you like my Burlap Love Wreath!
Until next time……
XOXO


)
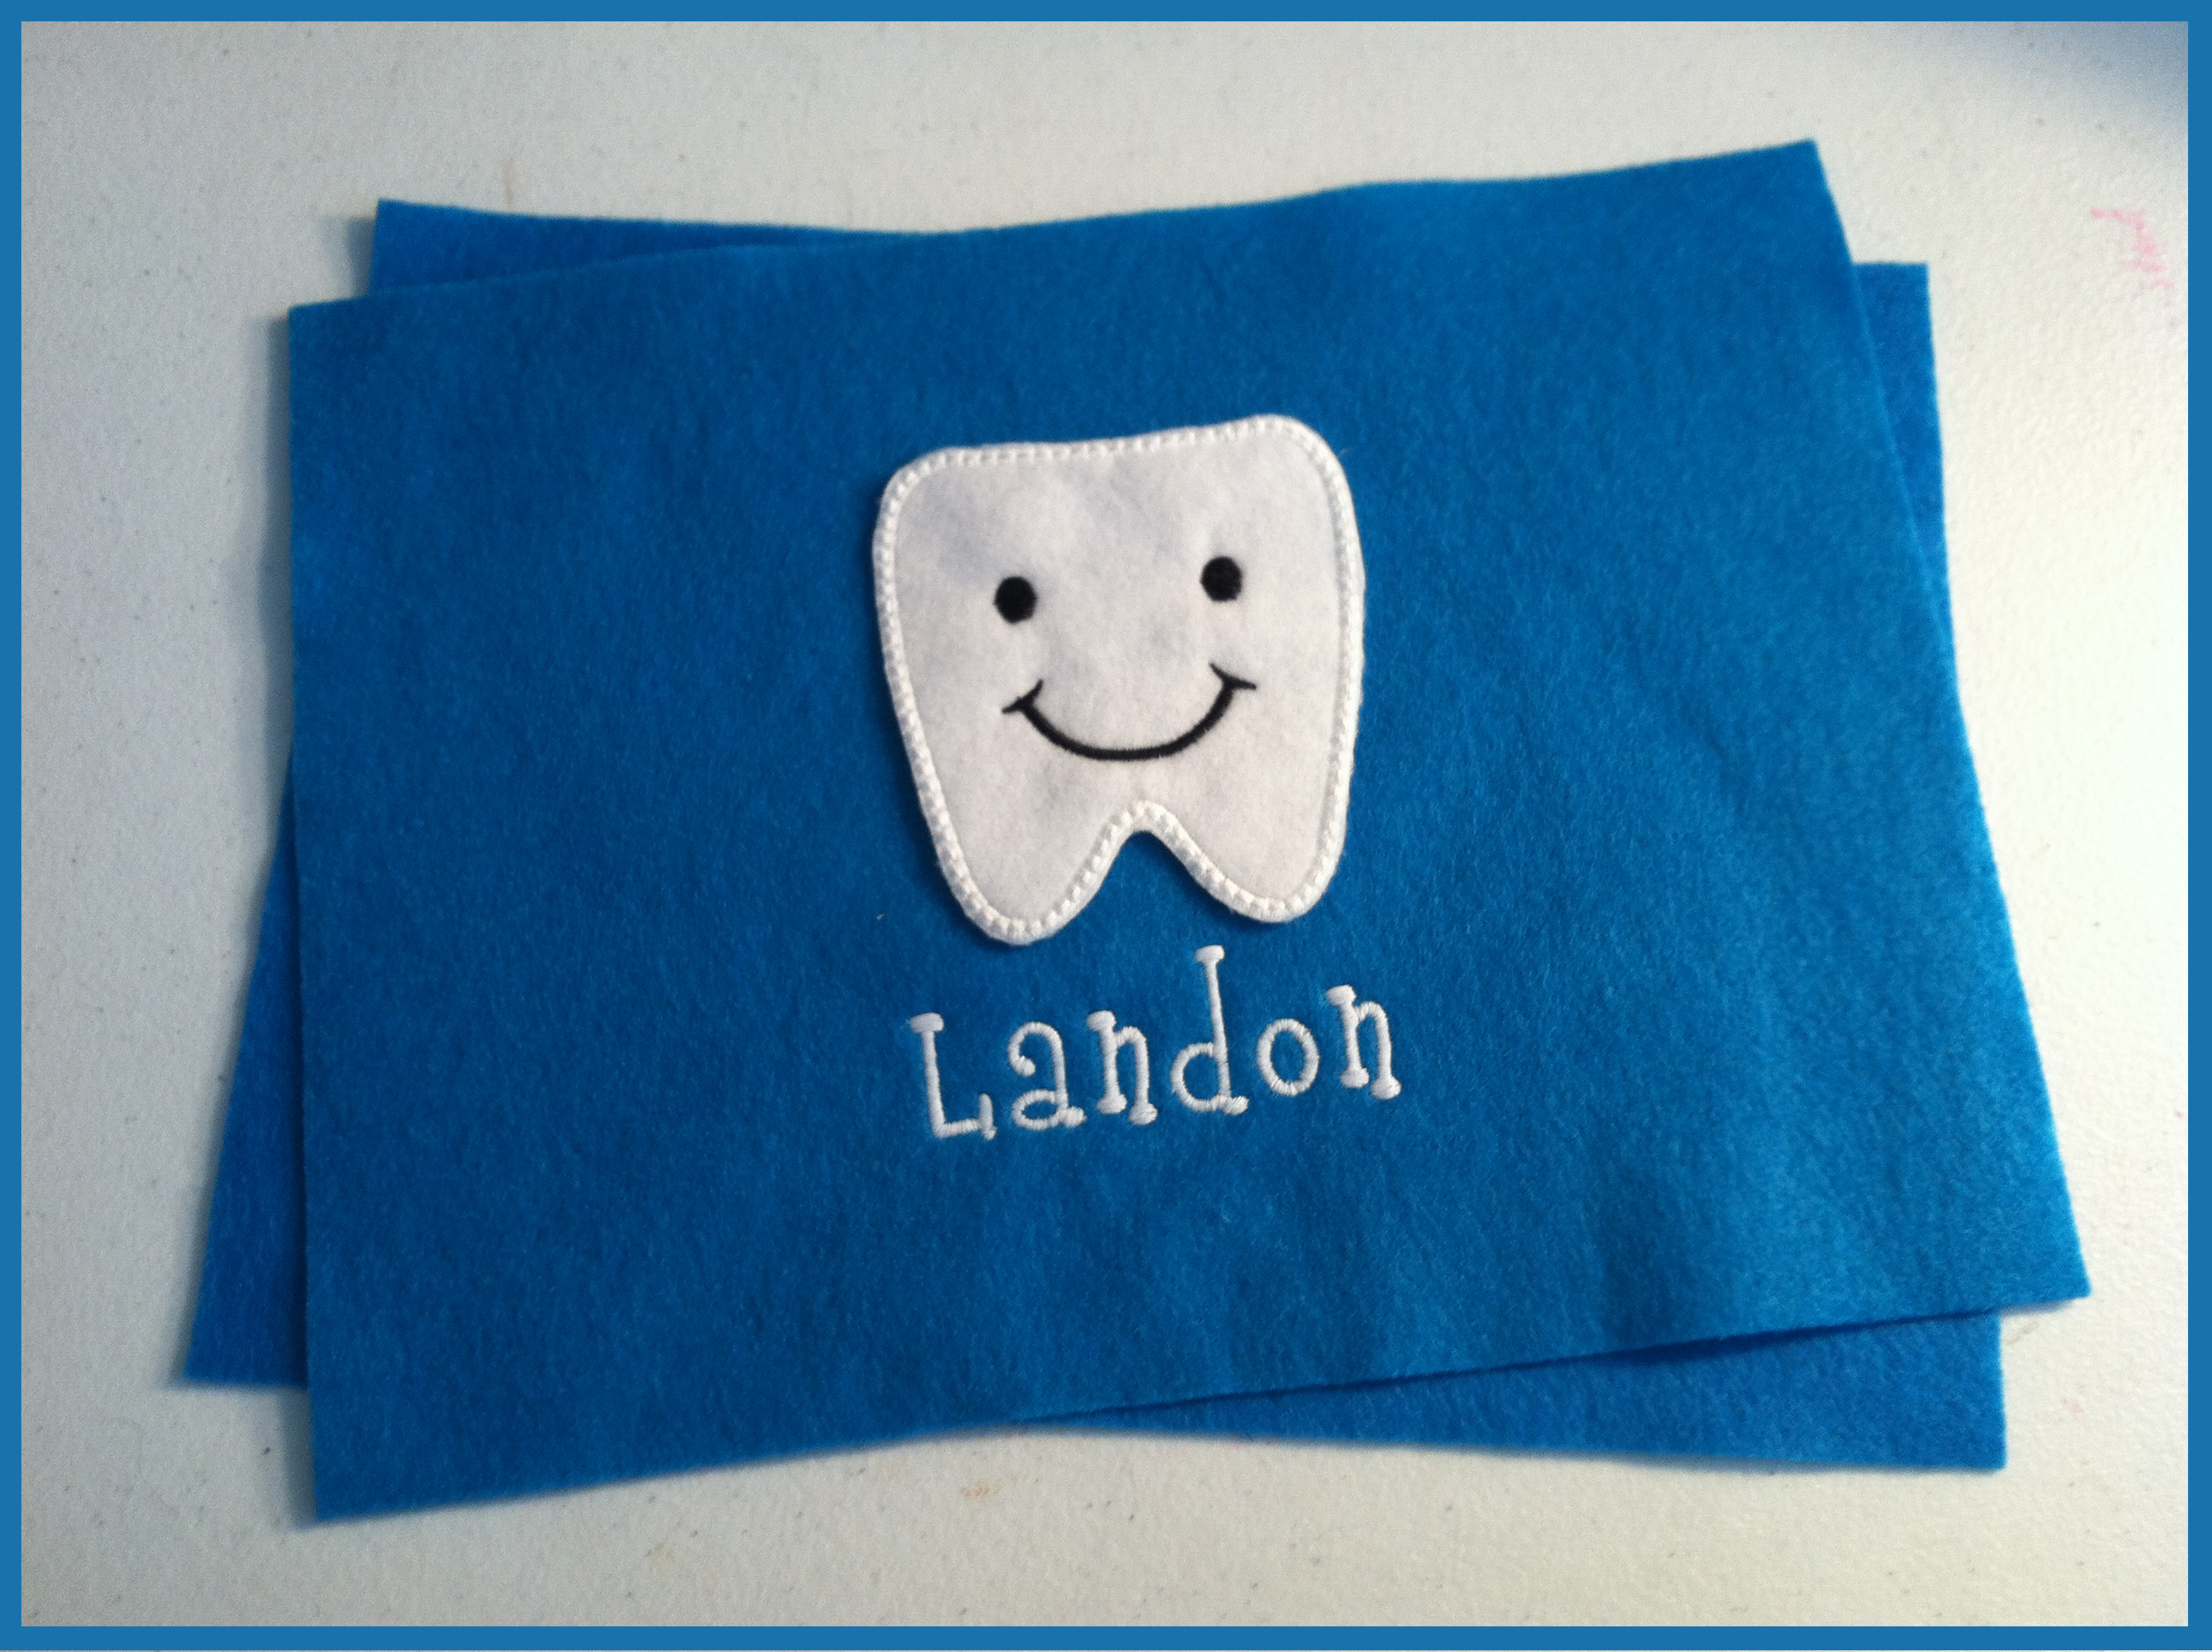
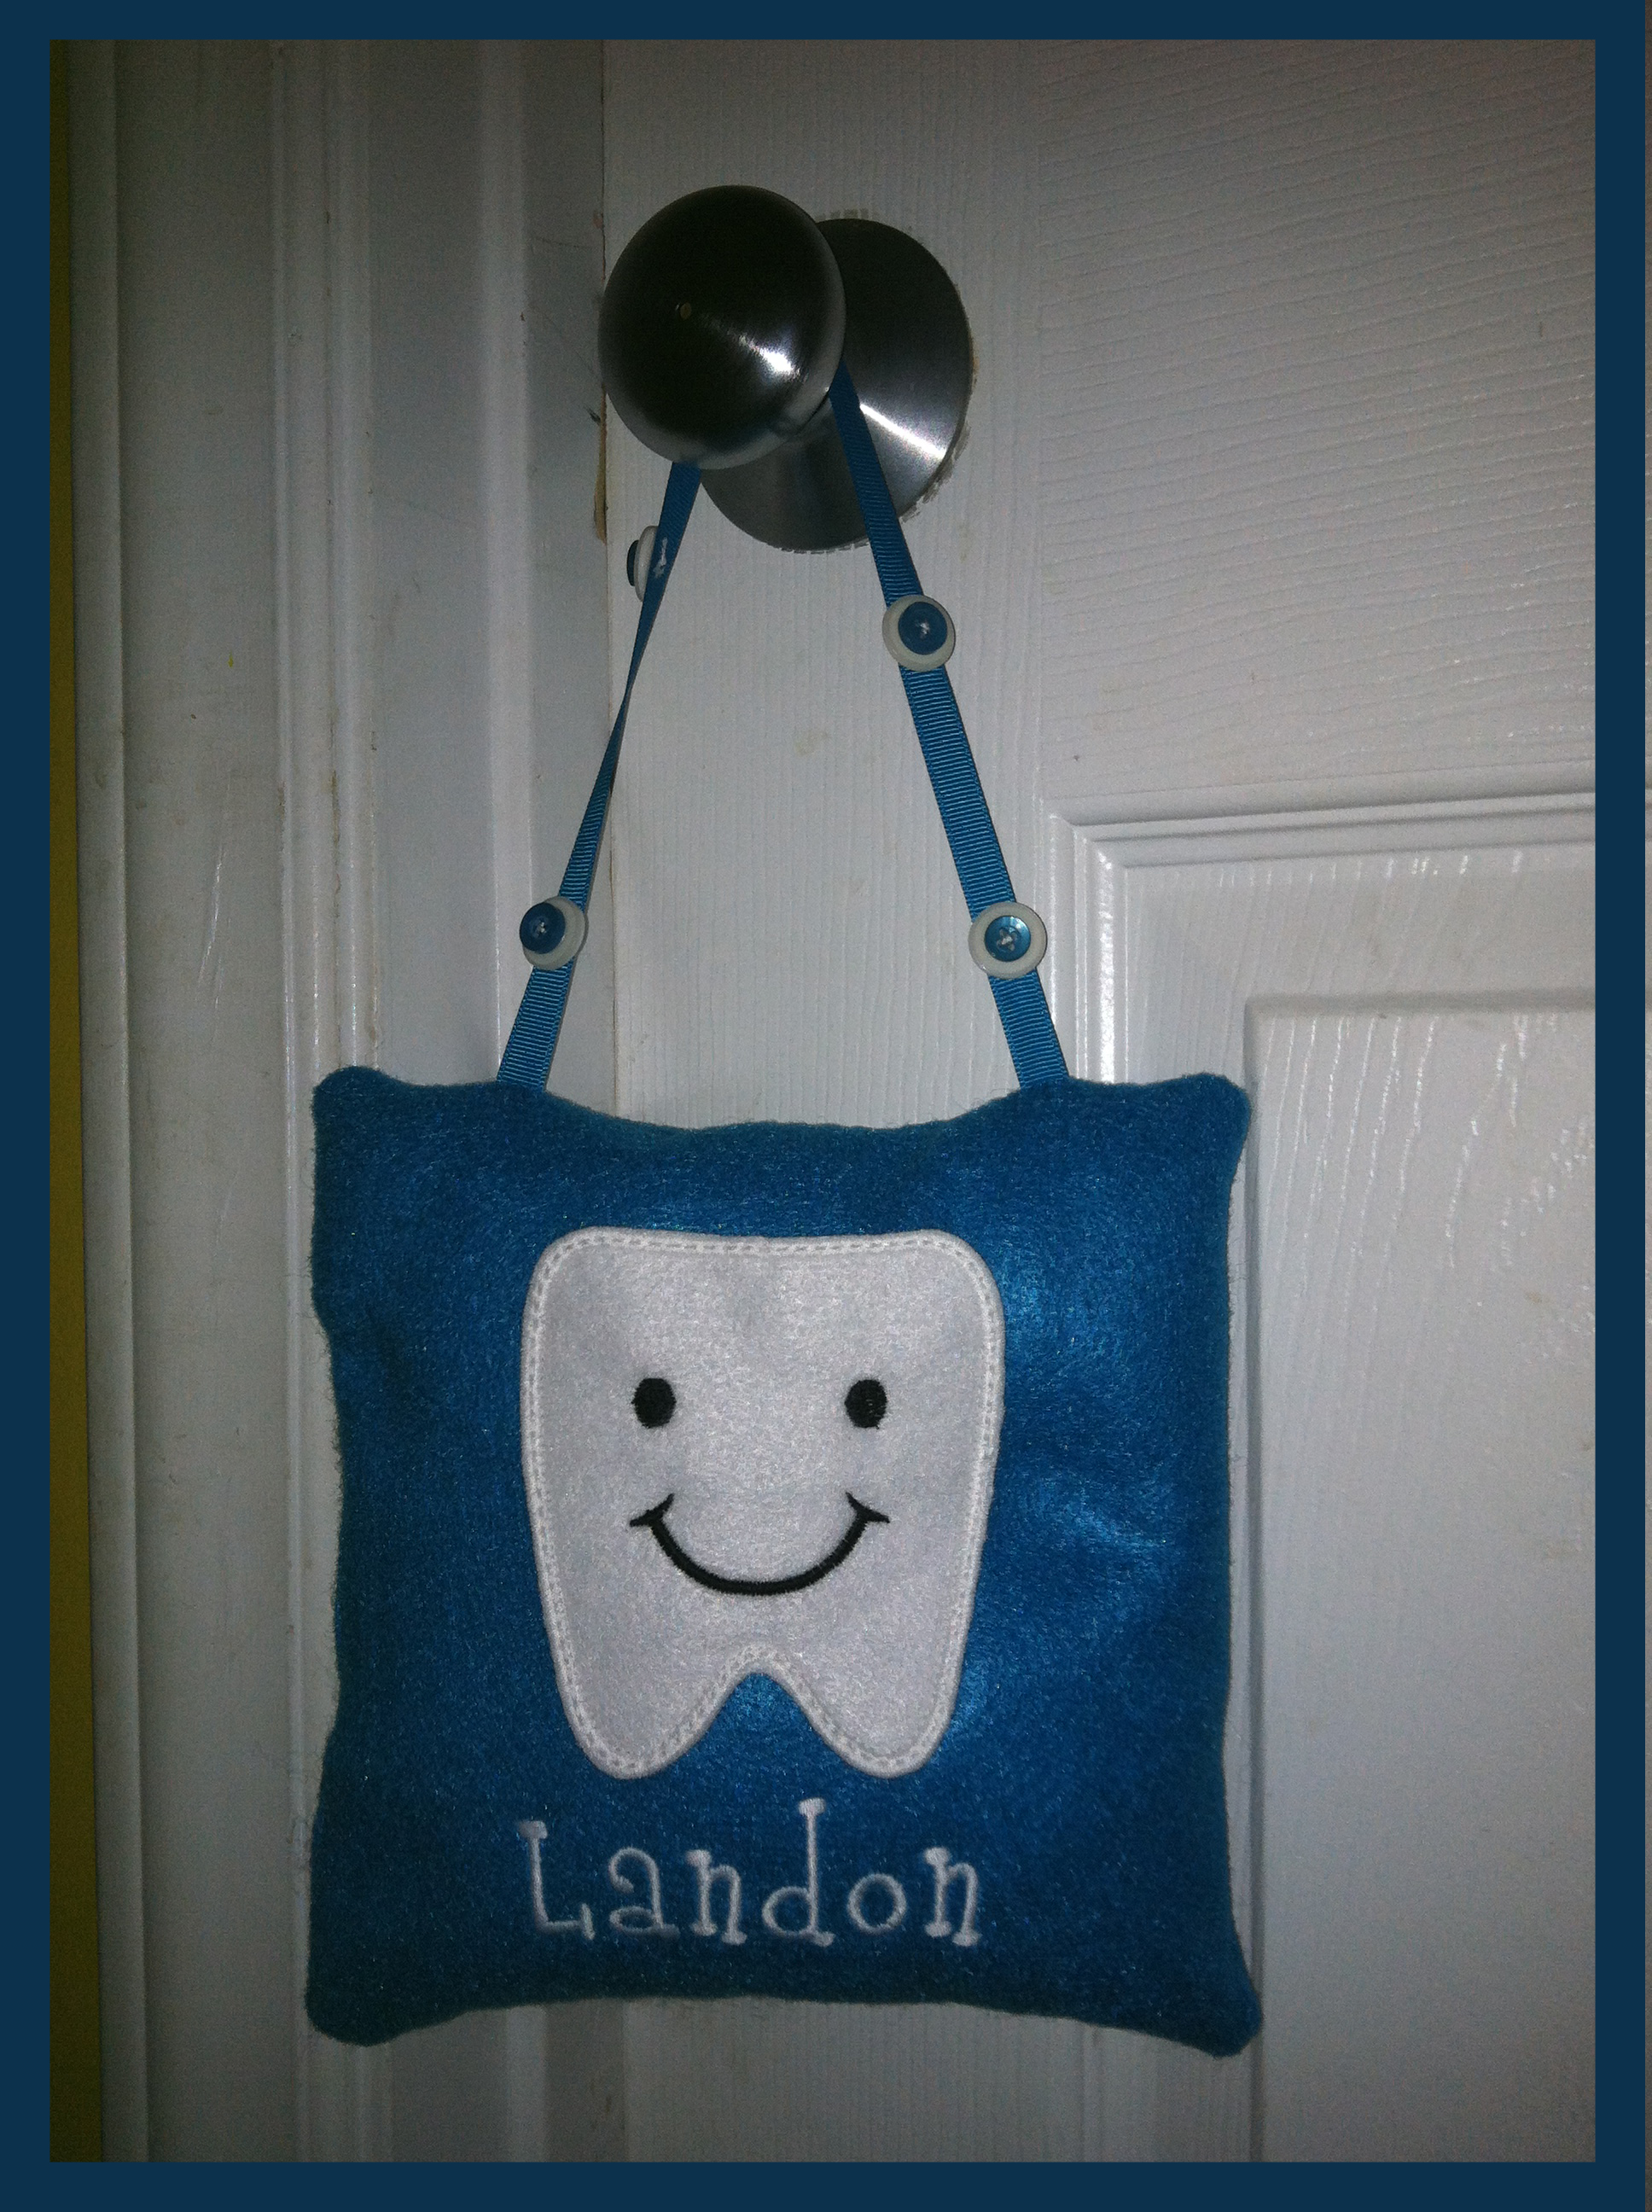
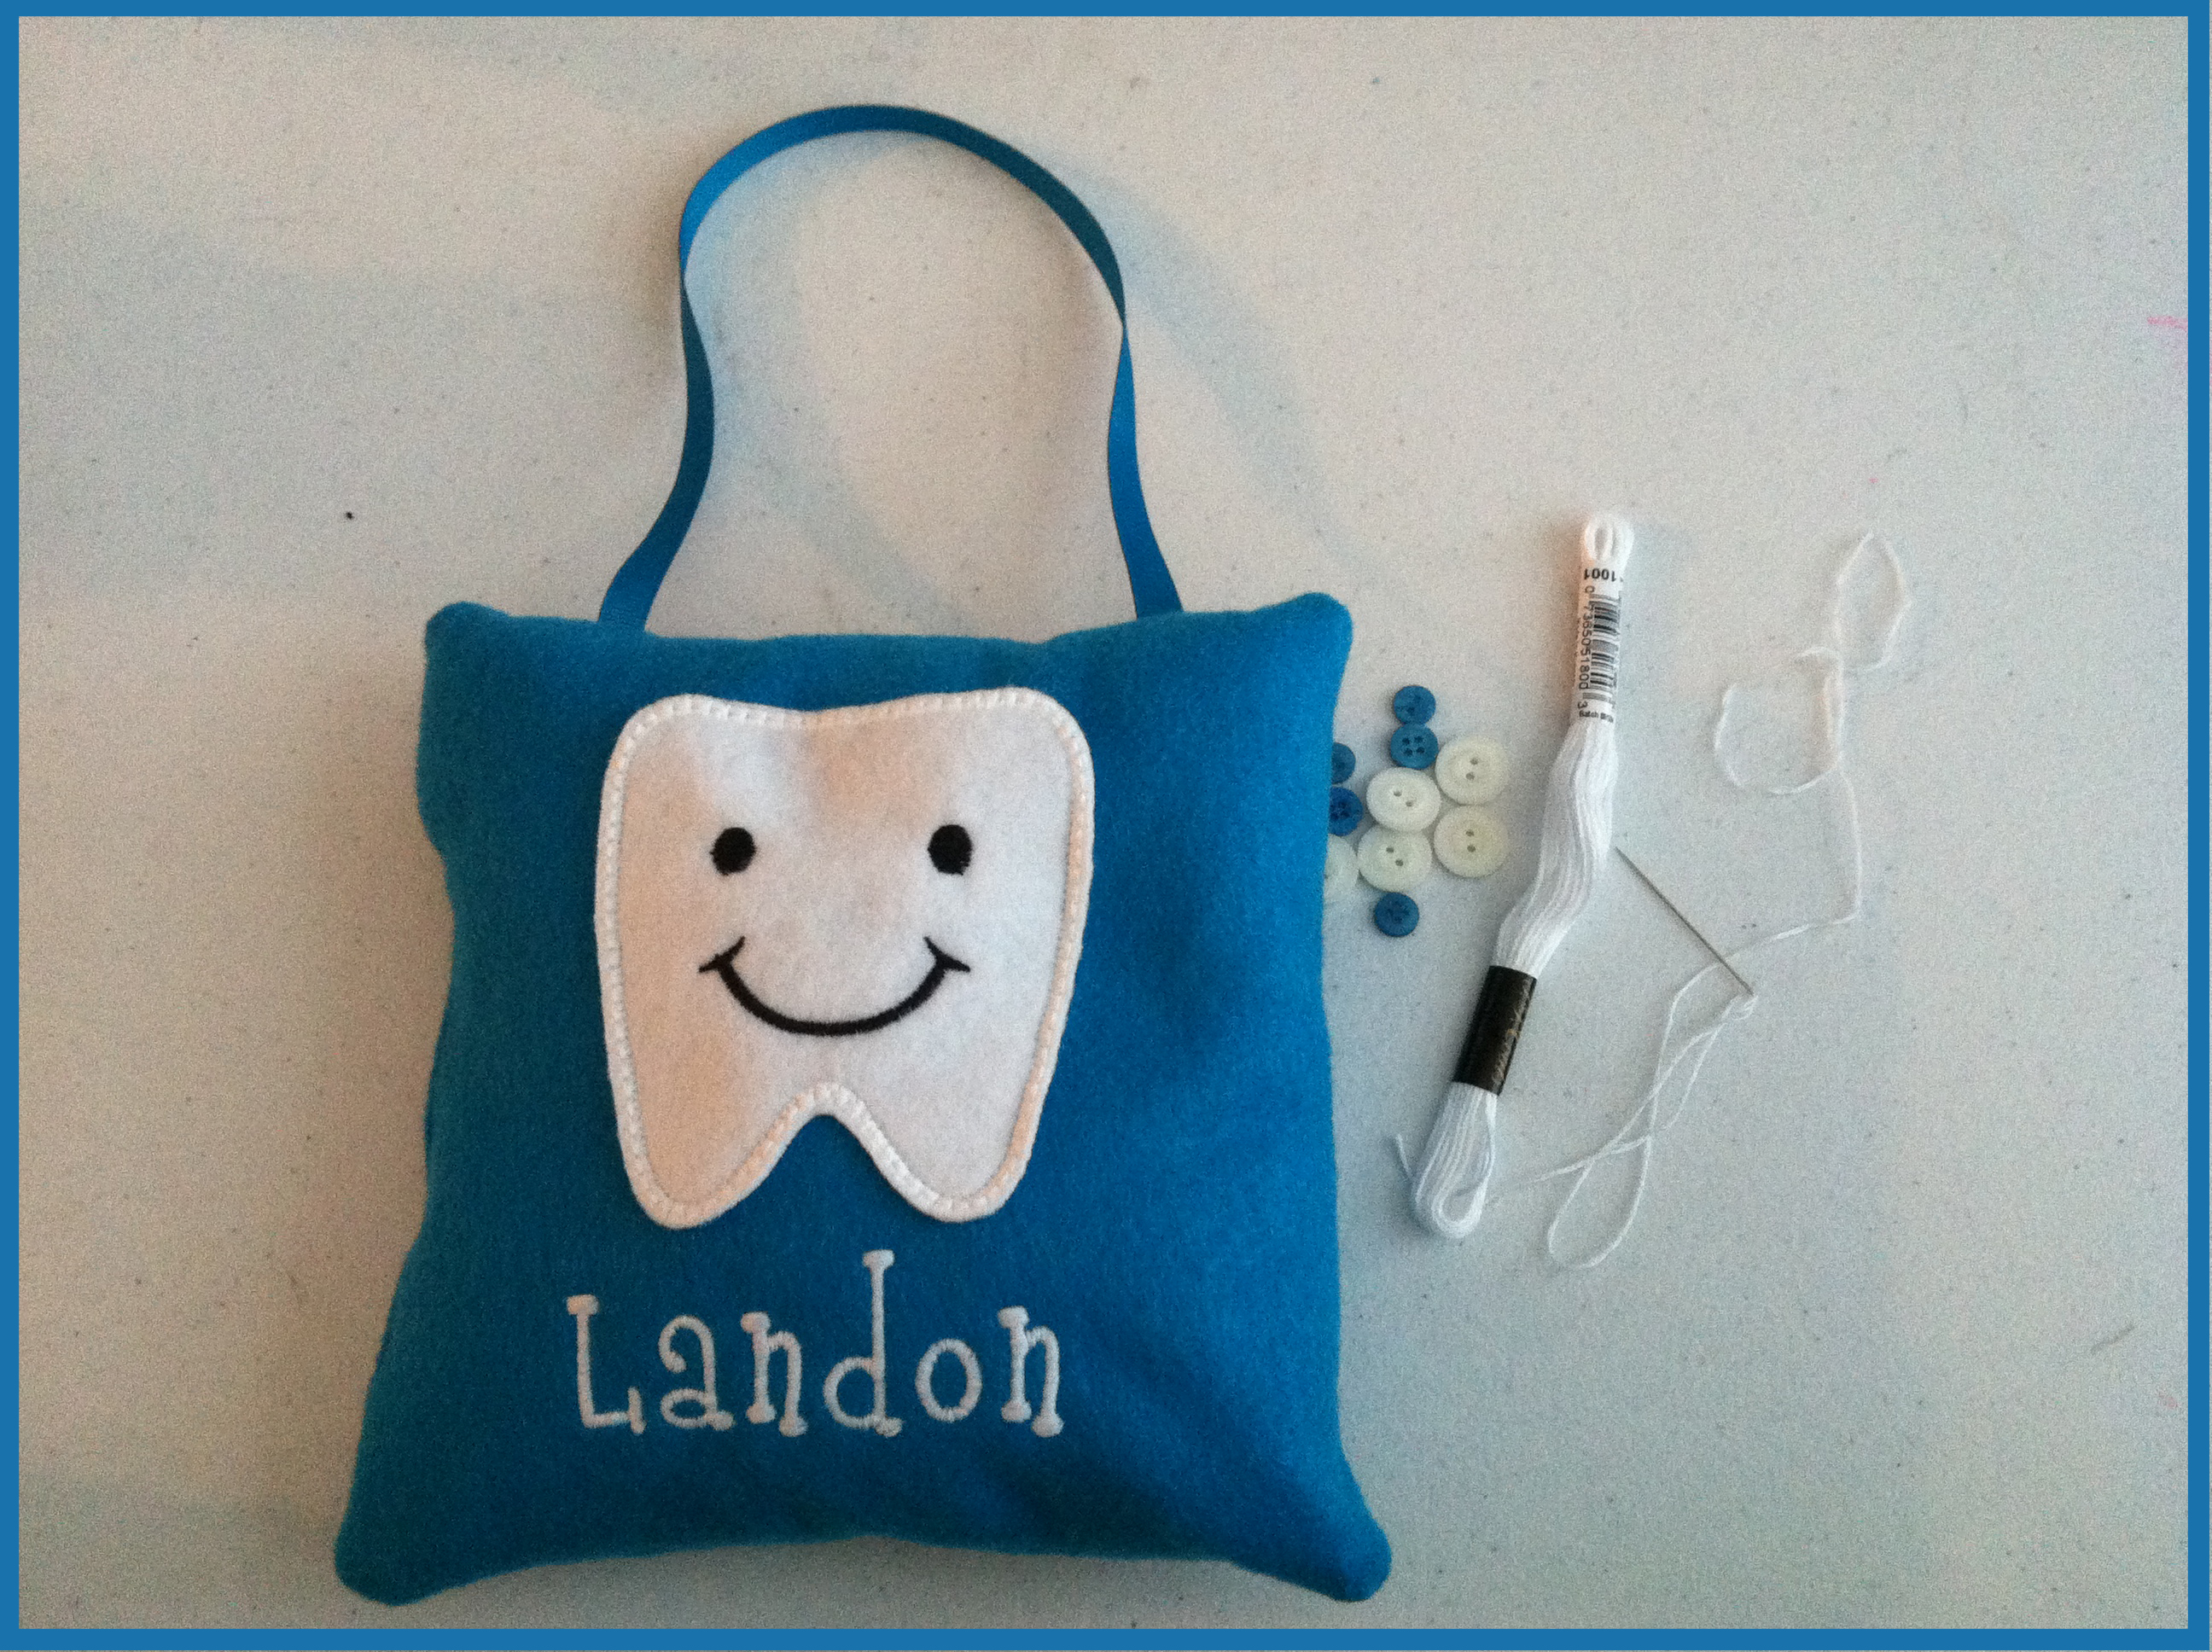
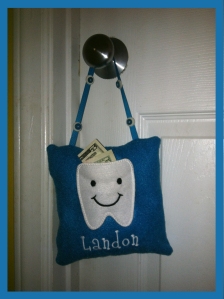
 I used ribbon to hang it, so I pinned the ribbon to the right side of the pillow and stitched it back and forth a couple of times at the top of the pillow so that it would stay in place once I began to sew it.
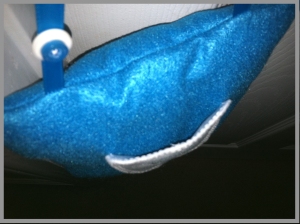
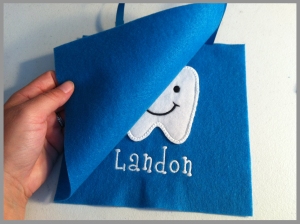 Then, I sewed the edges together leaving about a 2 inch opening on the side, so that I could flip it right side out and stuff it.
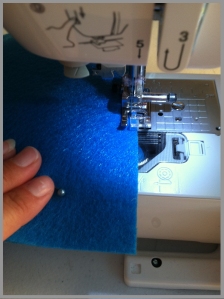 Once it was flipped right side out, it was ready for some stuffing!
 I used Poly-fil, which you can get from any fabric store, even Wal-mart carries it.
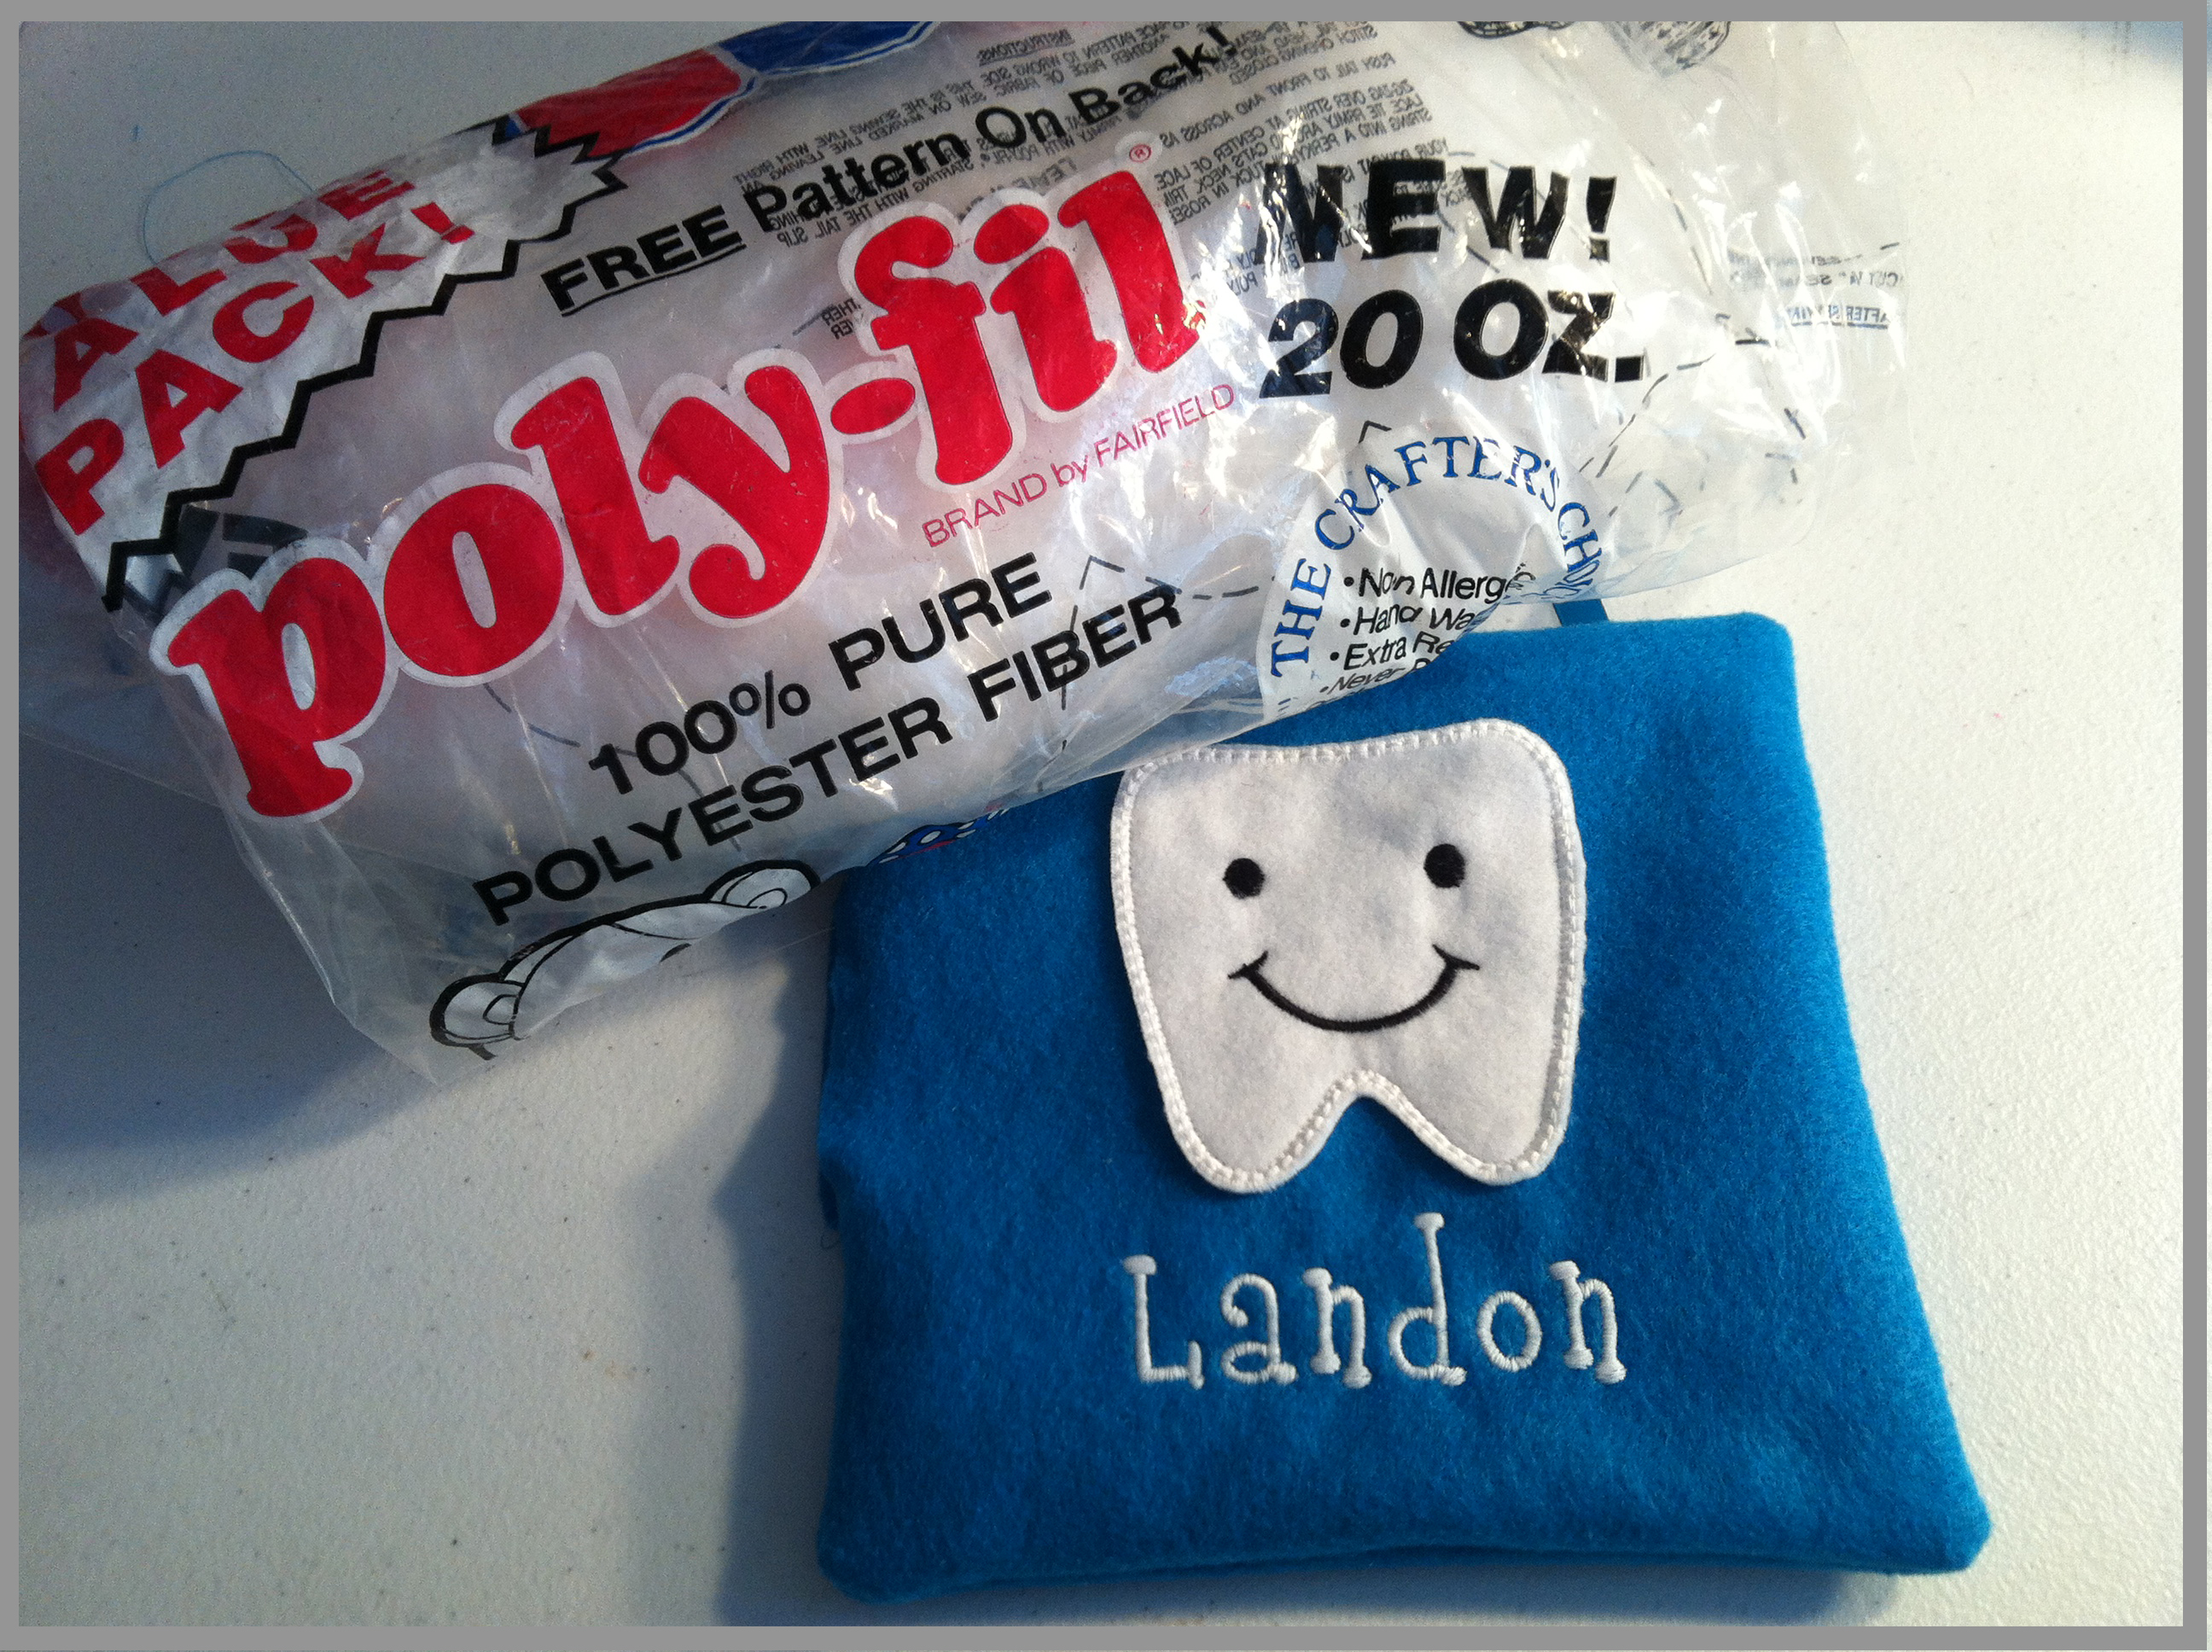
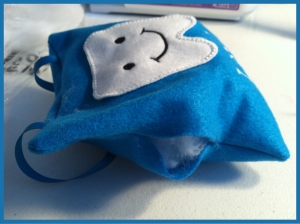

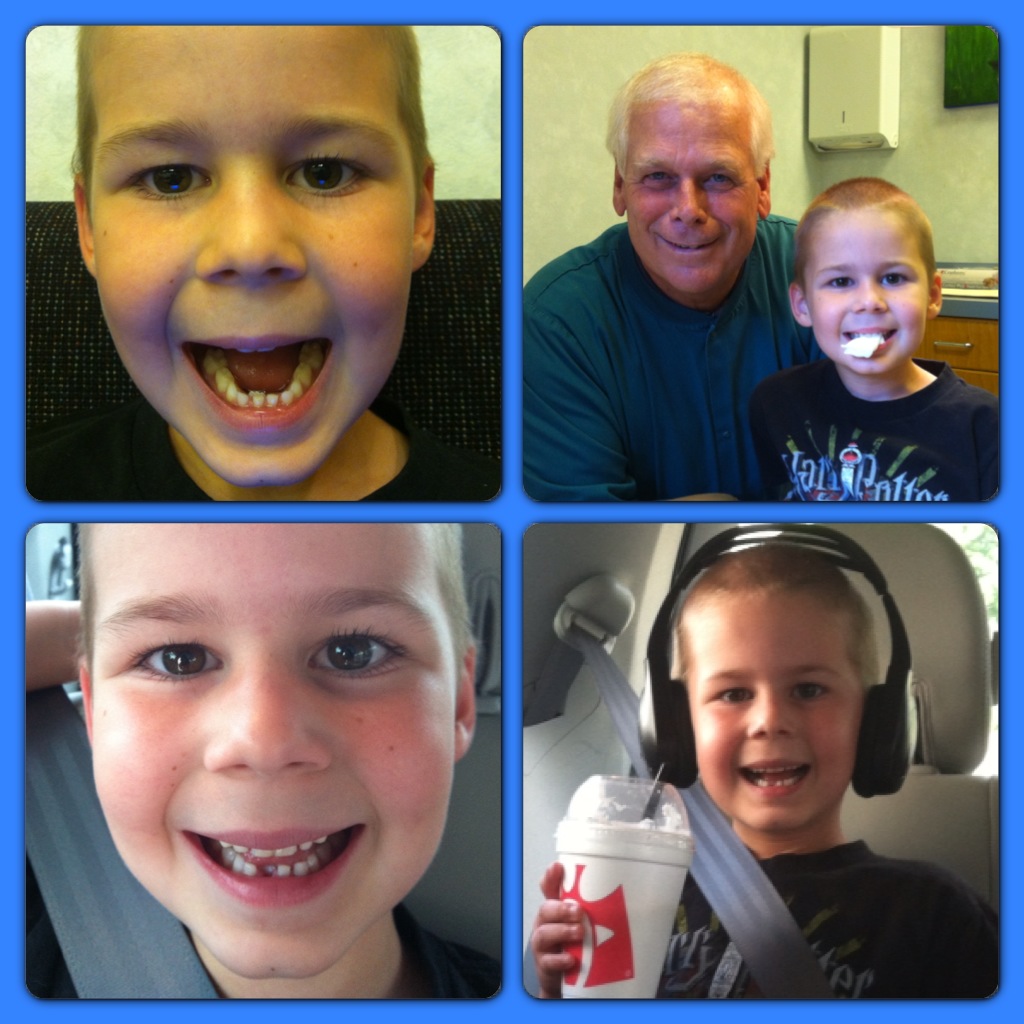
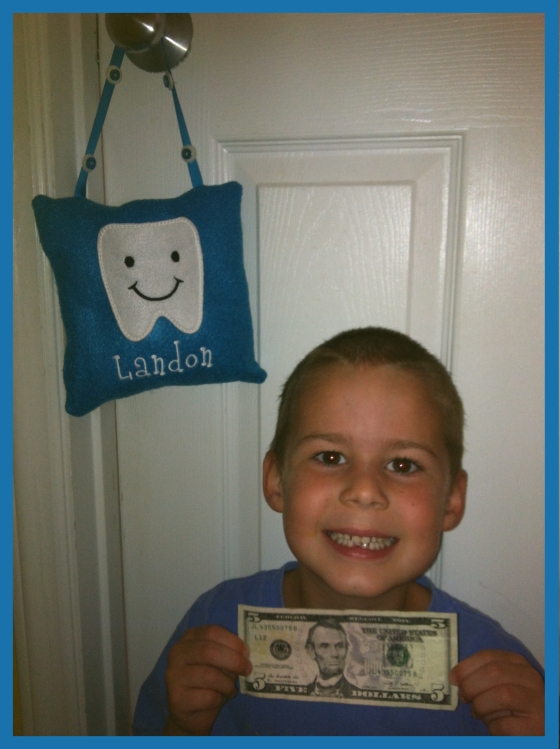
 In went the tooth in a little baggie that the dentist put it in.
)