
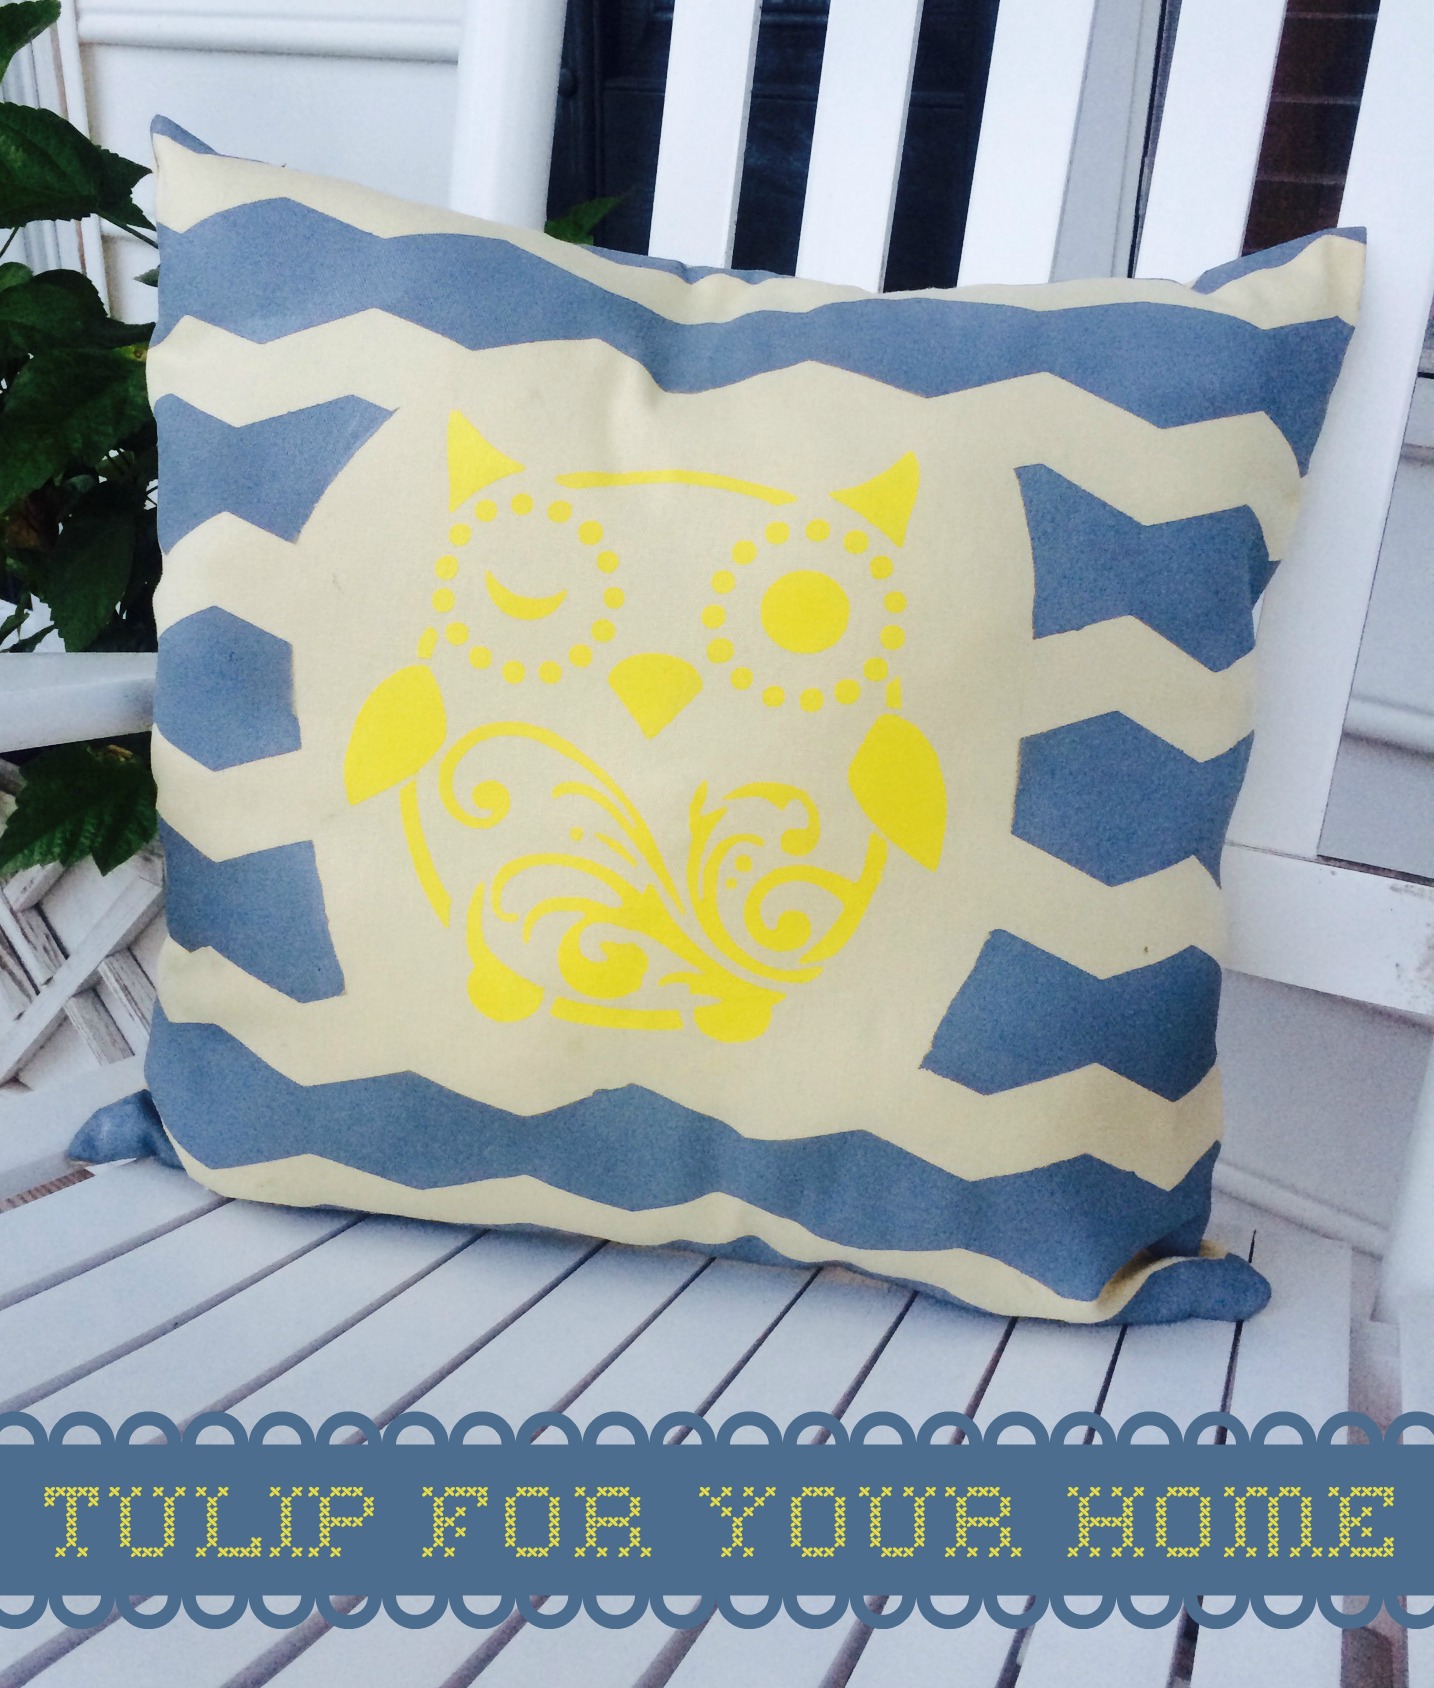
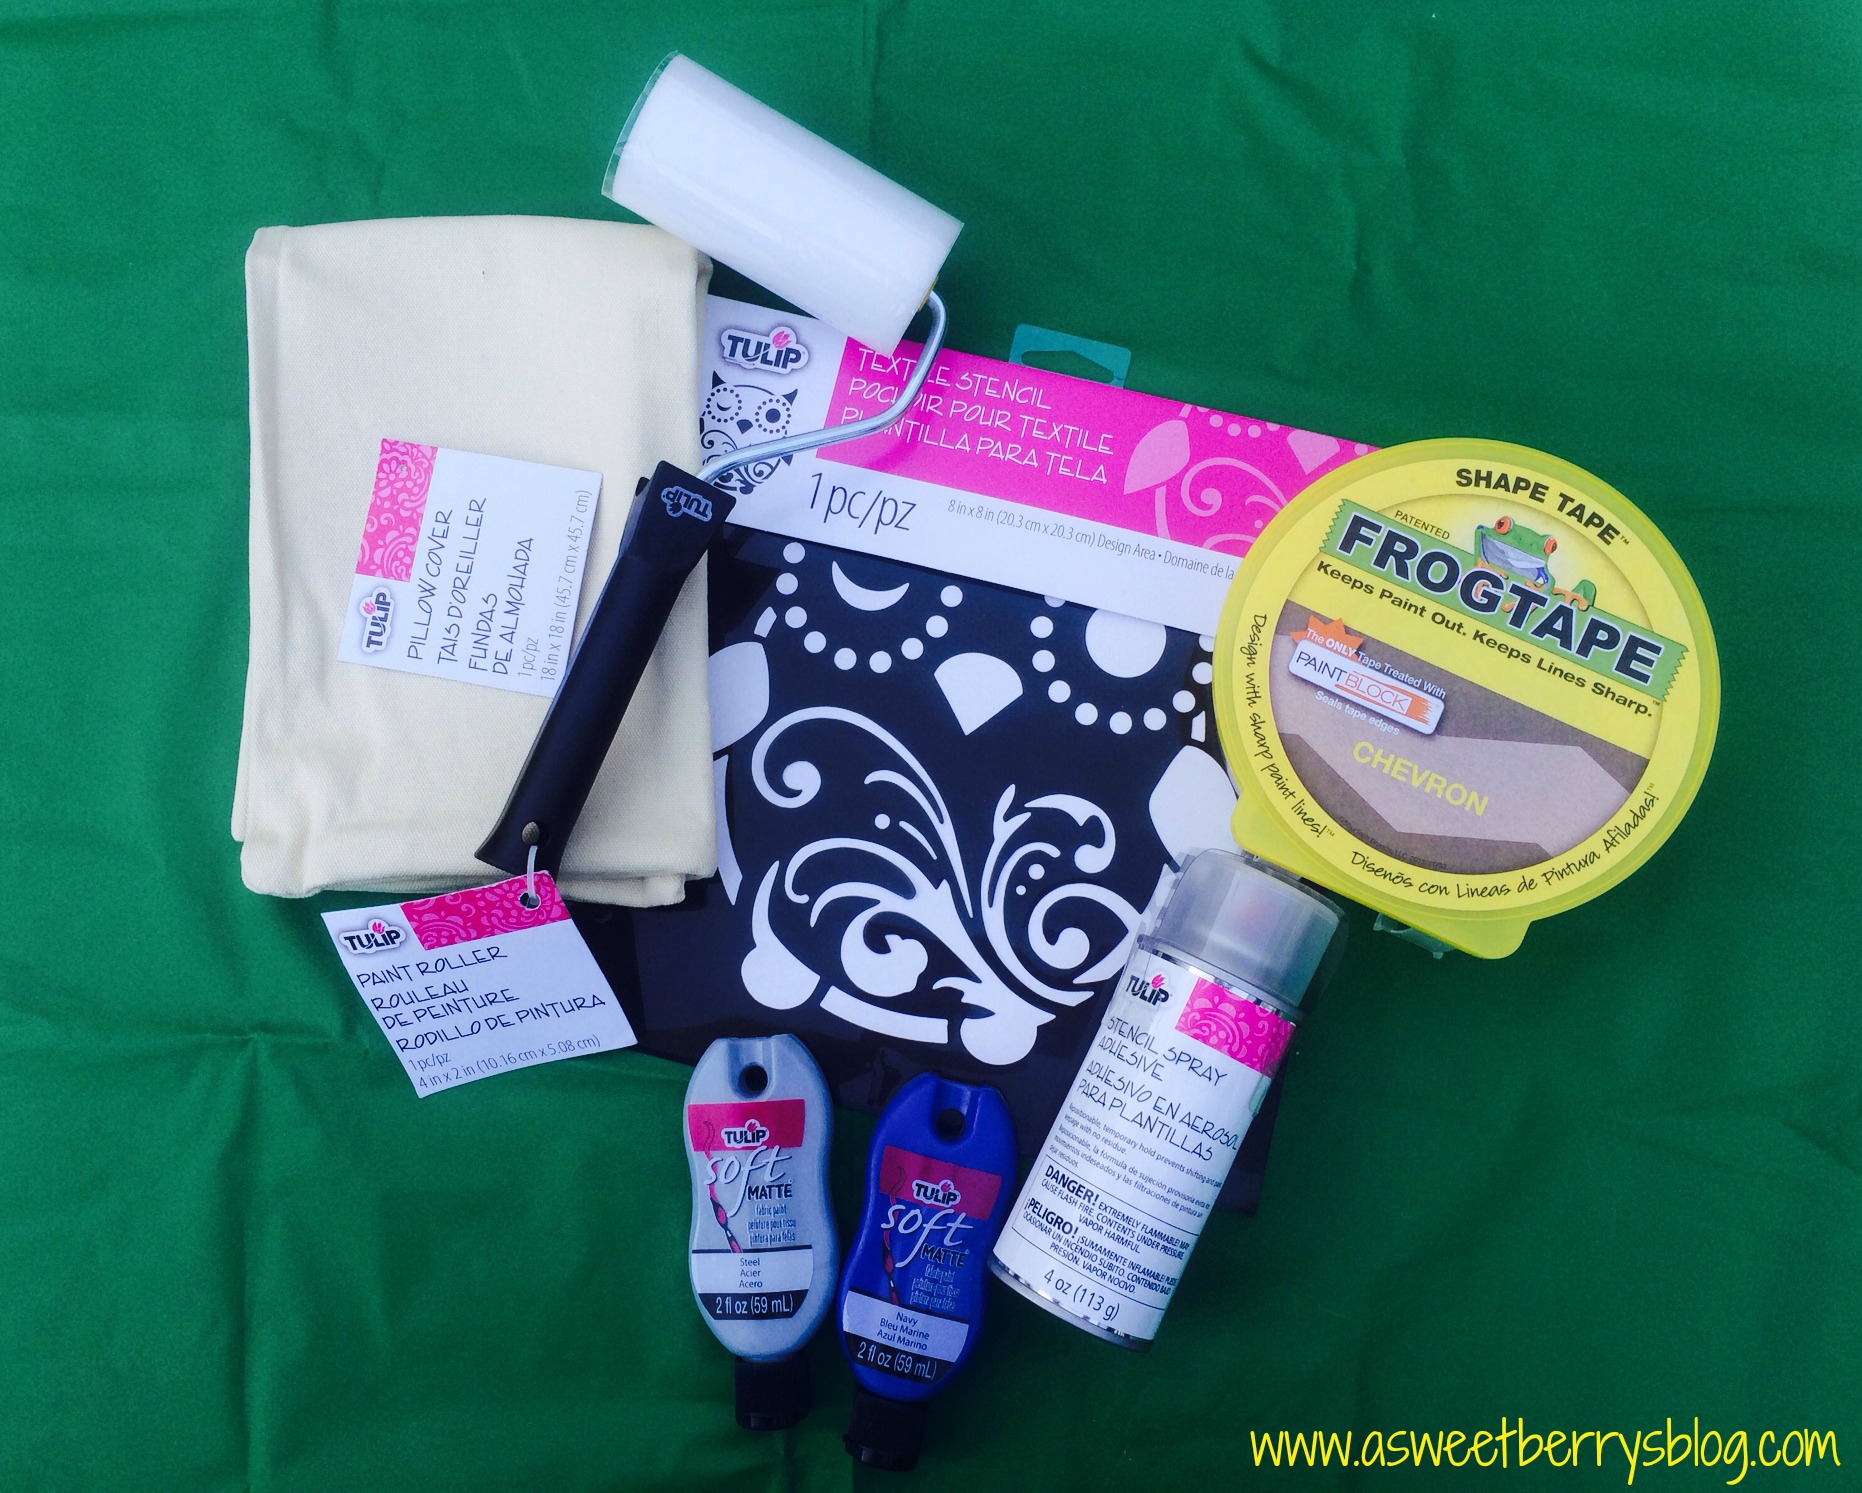
I love Tulip brand by ilovetocreate! I have been using this brand forever! This project is a Tulip For Your Home project. It is a pillow that I decorated with a Tulip stencil and Tulip Soft Fabric Paint. Below is a photo of everything that I used for this project, with the addition of FrogTape to help create my Chevron background.
Materials:
Tulip Pillow Cover
Tulip Paint Roller
Tulip Textile Stencil
Tulip Stencil Spray Adhesive
Tulip Soft Matte Fabric Paint
FrogTape
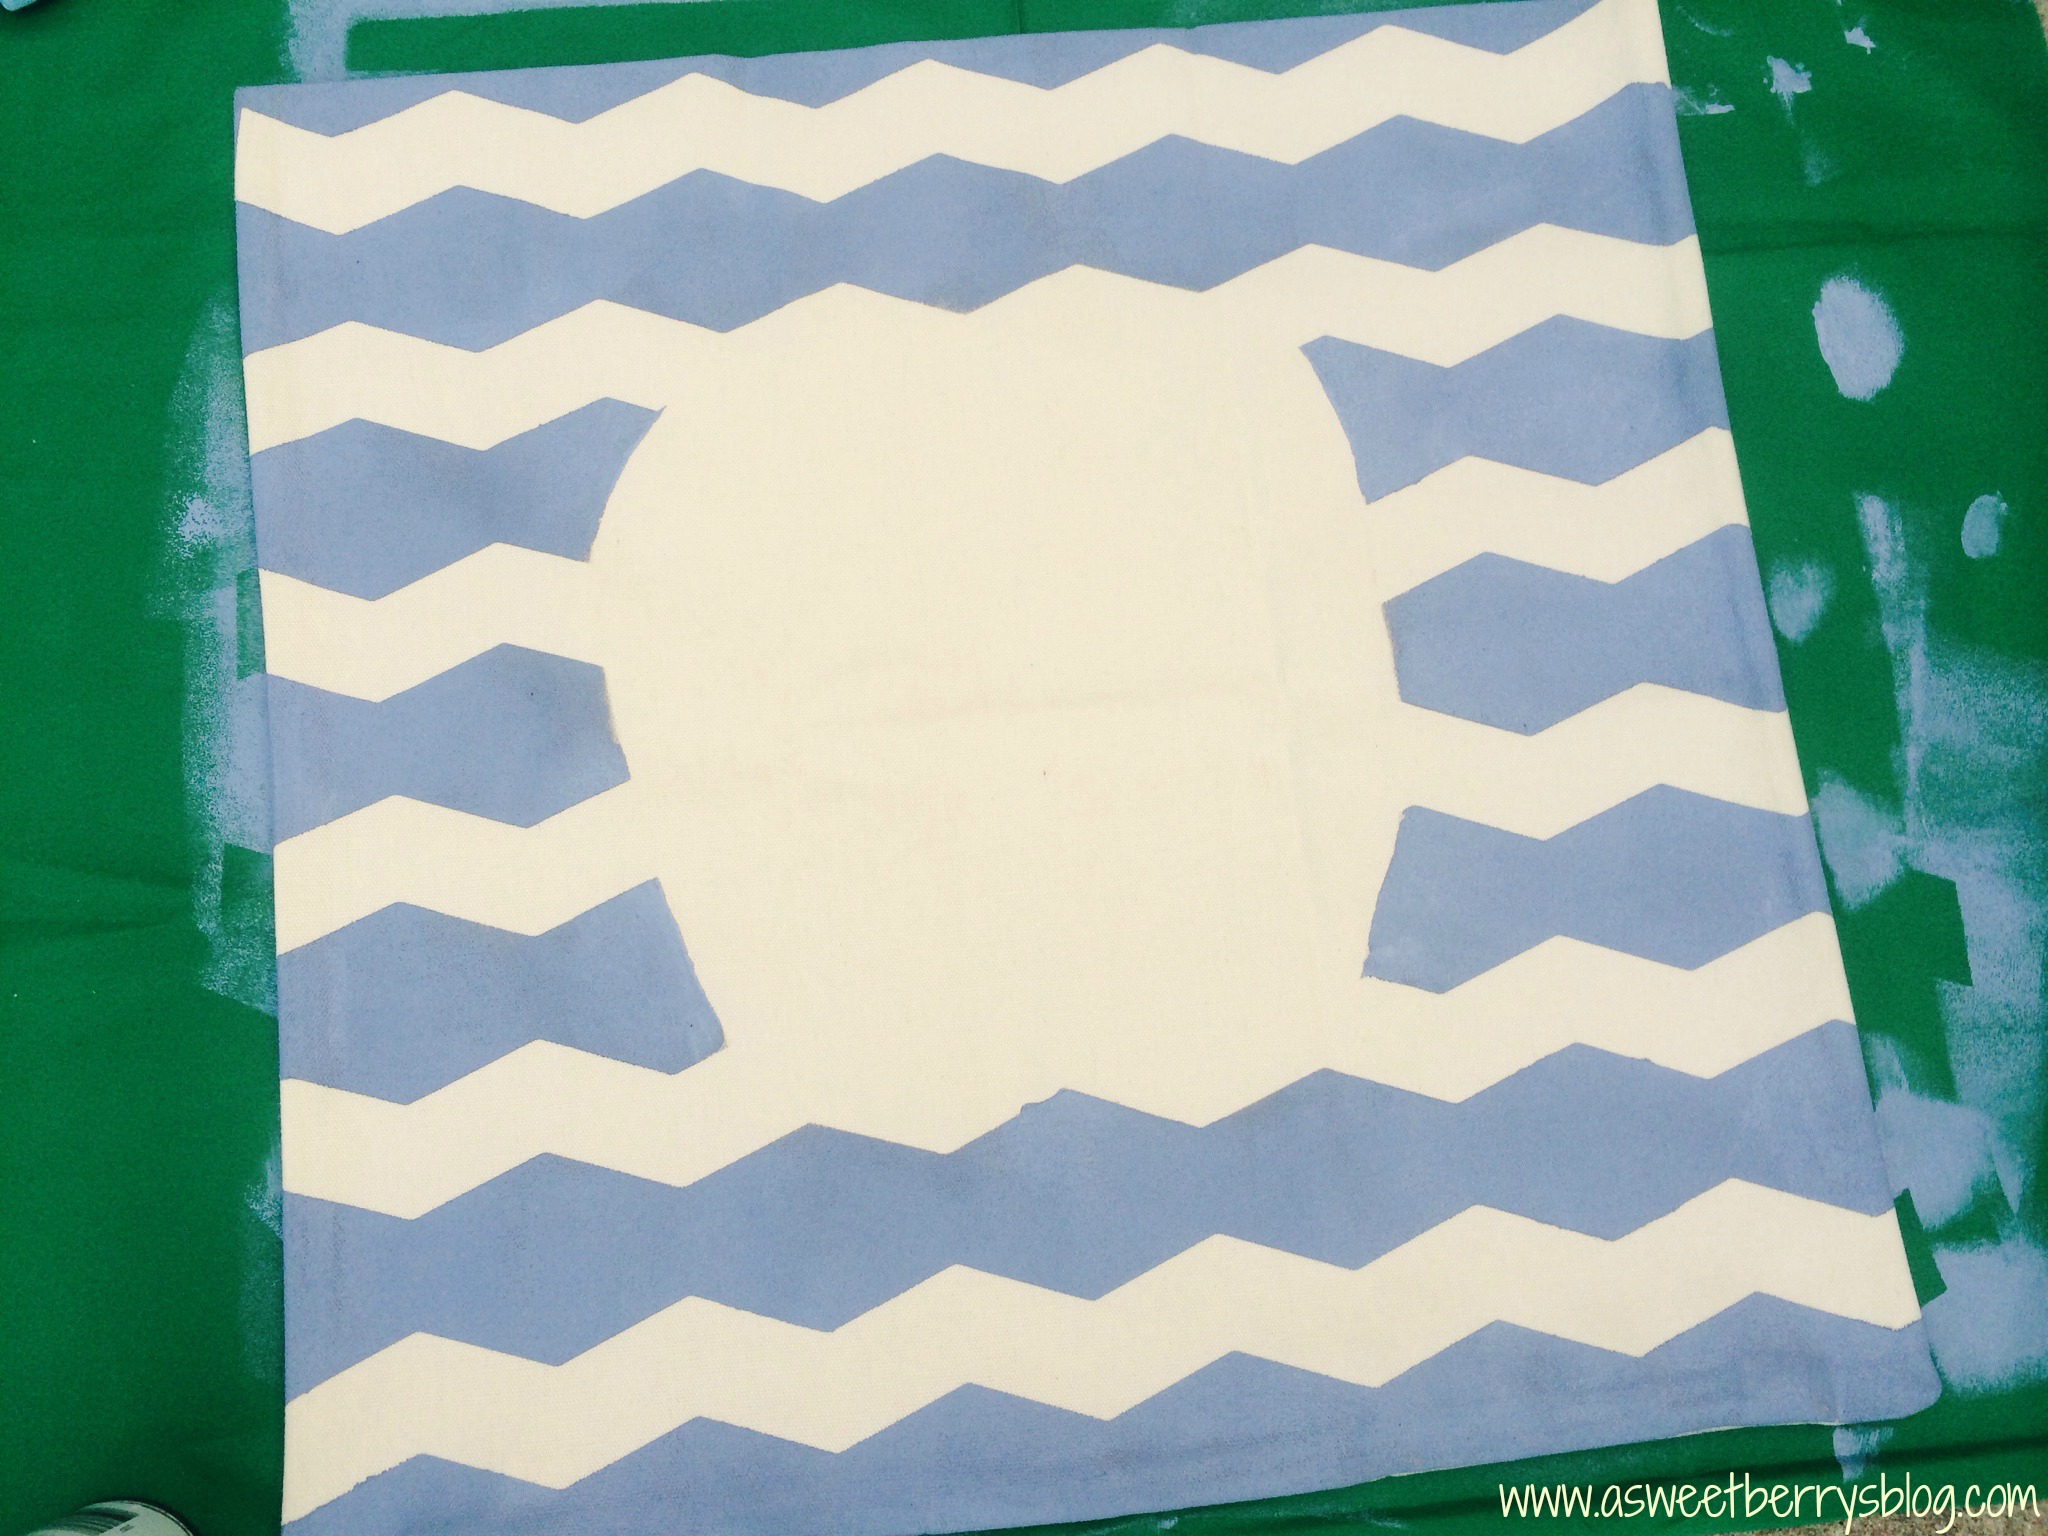
So, using the Chevron FrogTape, I created a Chevron pattern. I did my placing with the backing still on before I actually removed the paper and stuck it to my pillow.

Once I was done placing my chevron pattern, I laid the owl stencil onto and then marked where my owl overlapped the FrogTape. I only marked the tape, not the pillow. After I made my marks, I removed the stencil and cut a section of the tape out so that I’d not have the chevron pattern behind my owl.

Using my roller, I applied the fabric paint around the cut out where my owl will be placed.
![]()
After the paint dries, I removed the chevron FrogTape.
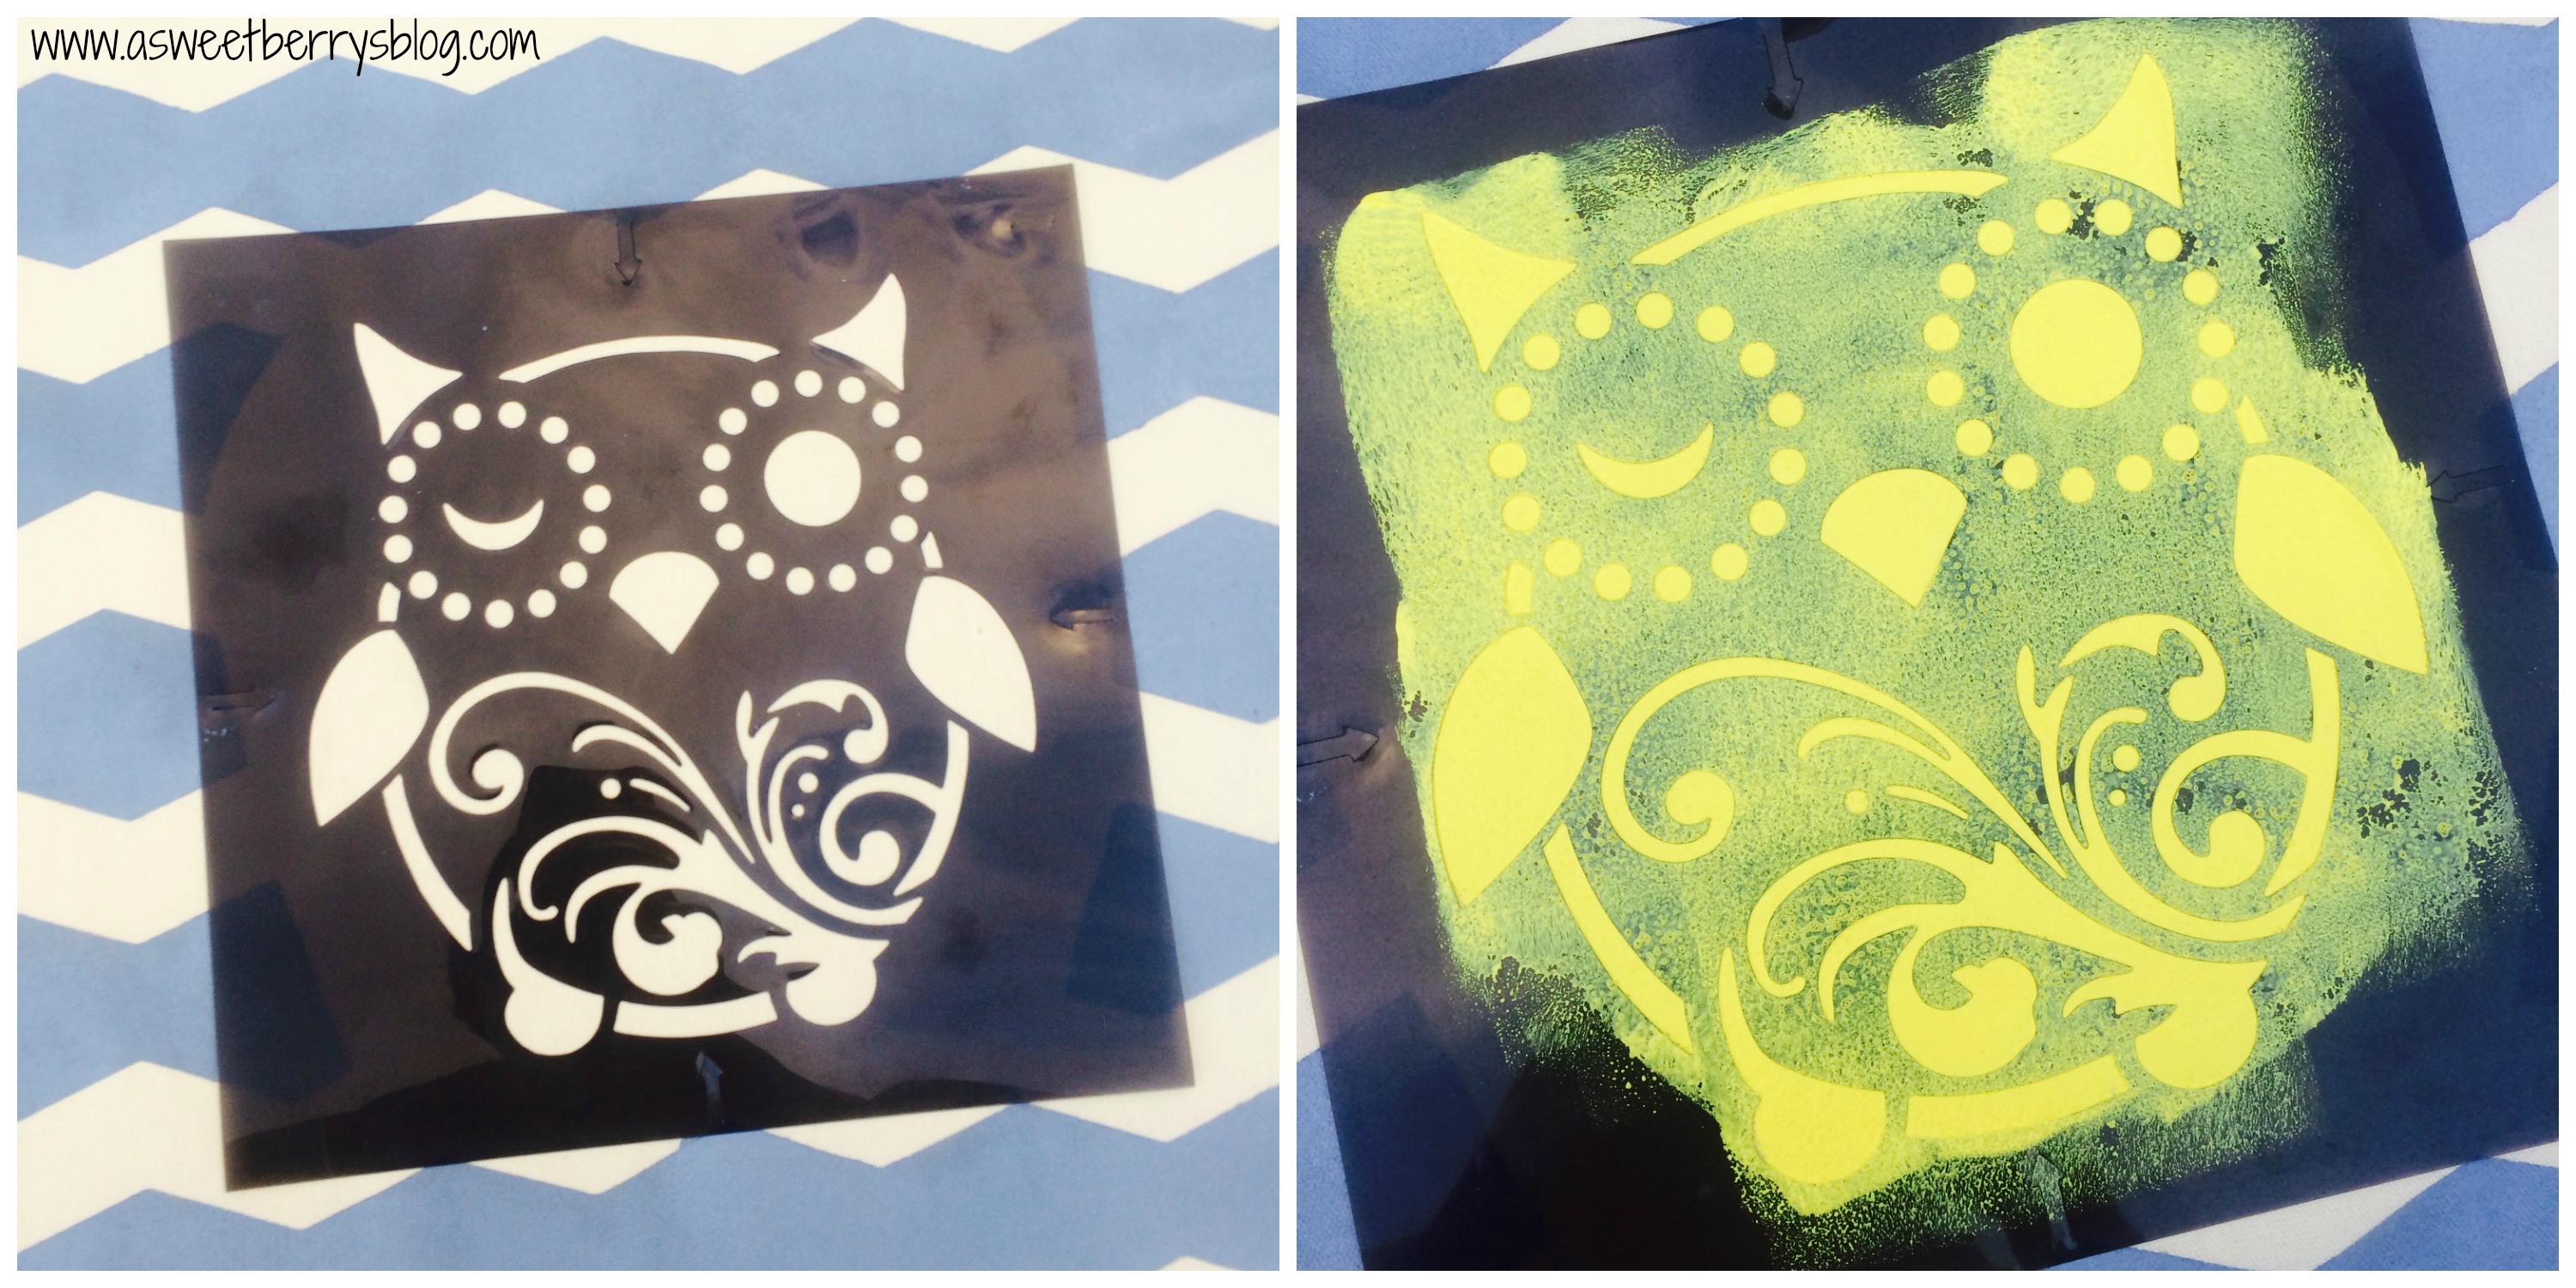
Using my Tulip Stencil Spray Adhesive, I sprayed it on the back of the stencil and placed it in the open space on the pillow. Don’t worry if you misplace it, the spray allows you to reposition the stencil. Then it was time to paint the owl. I did this using the roller after I cleaned it.
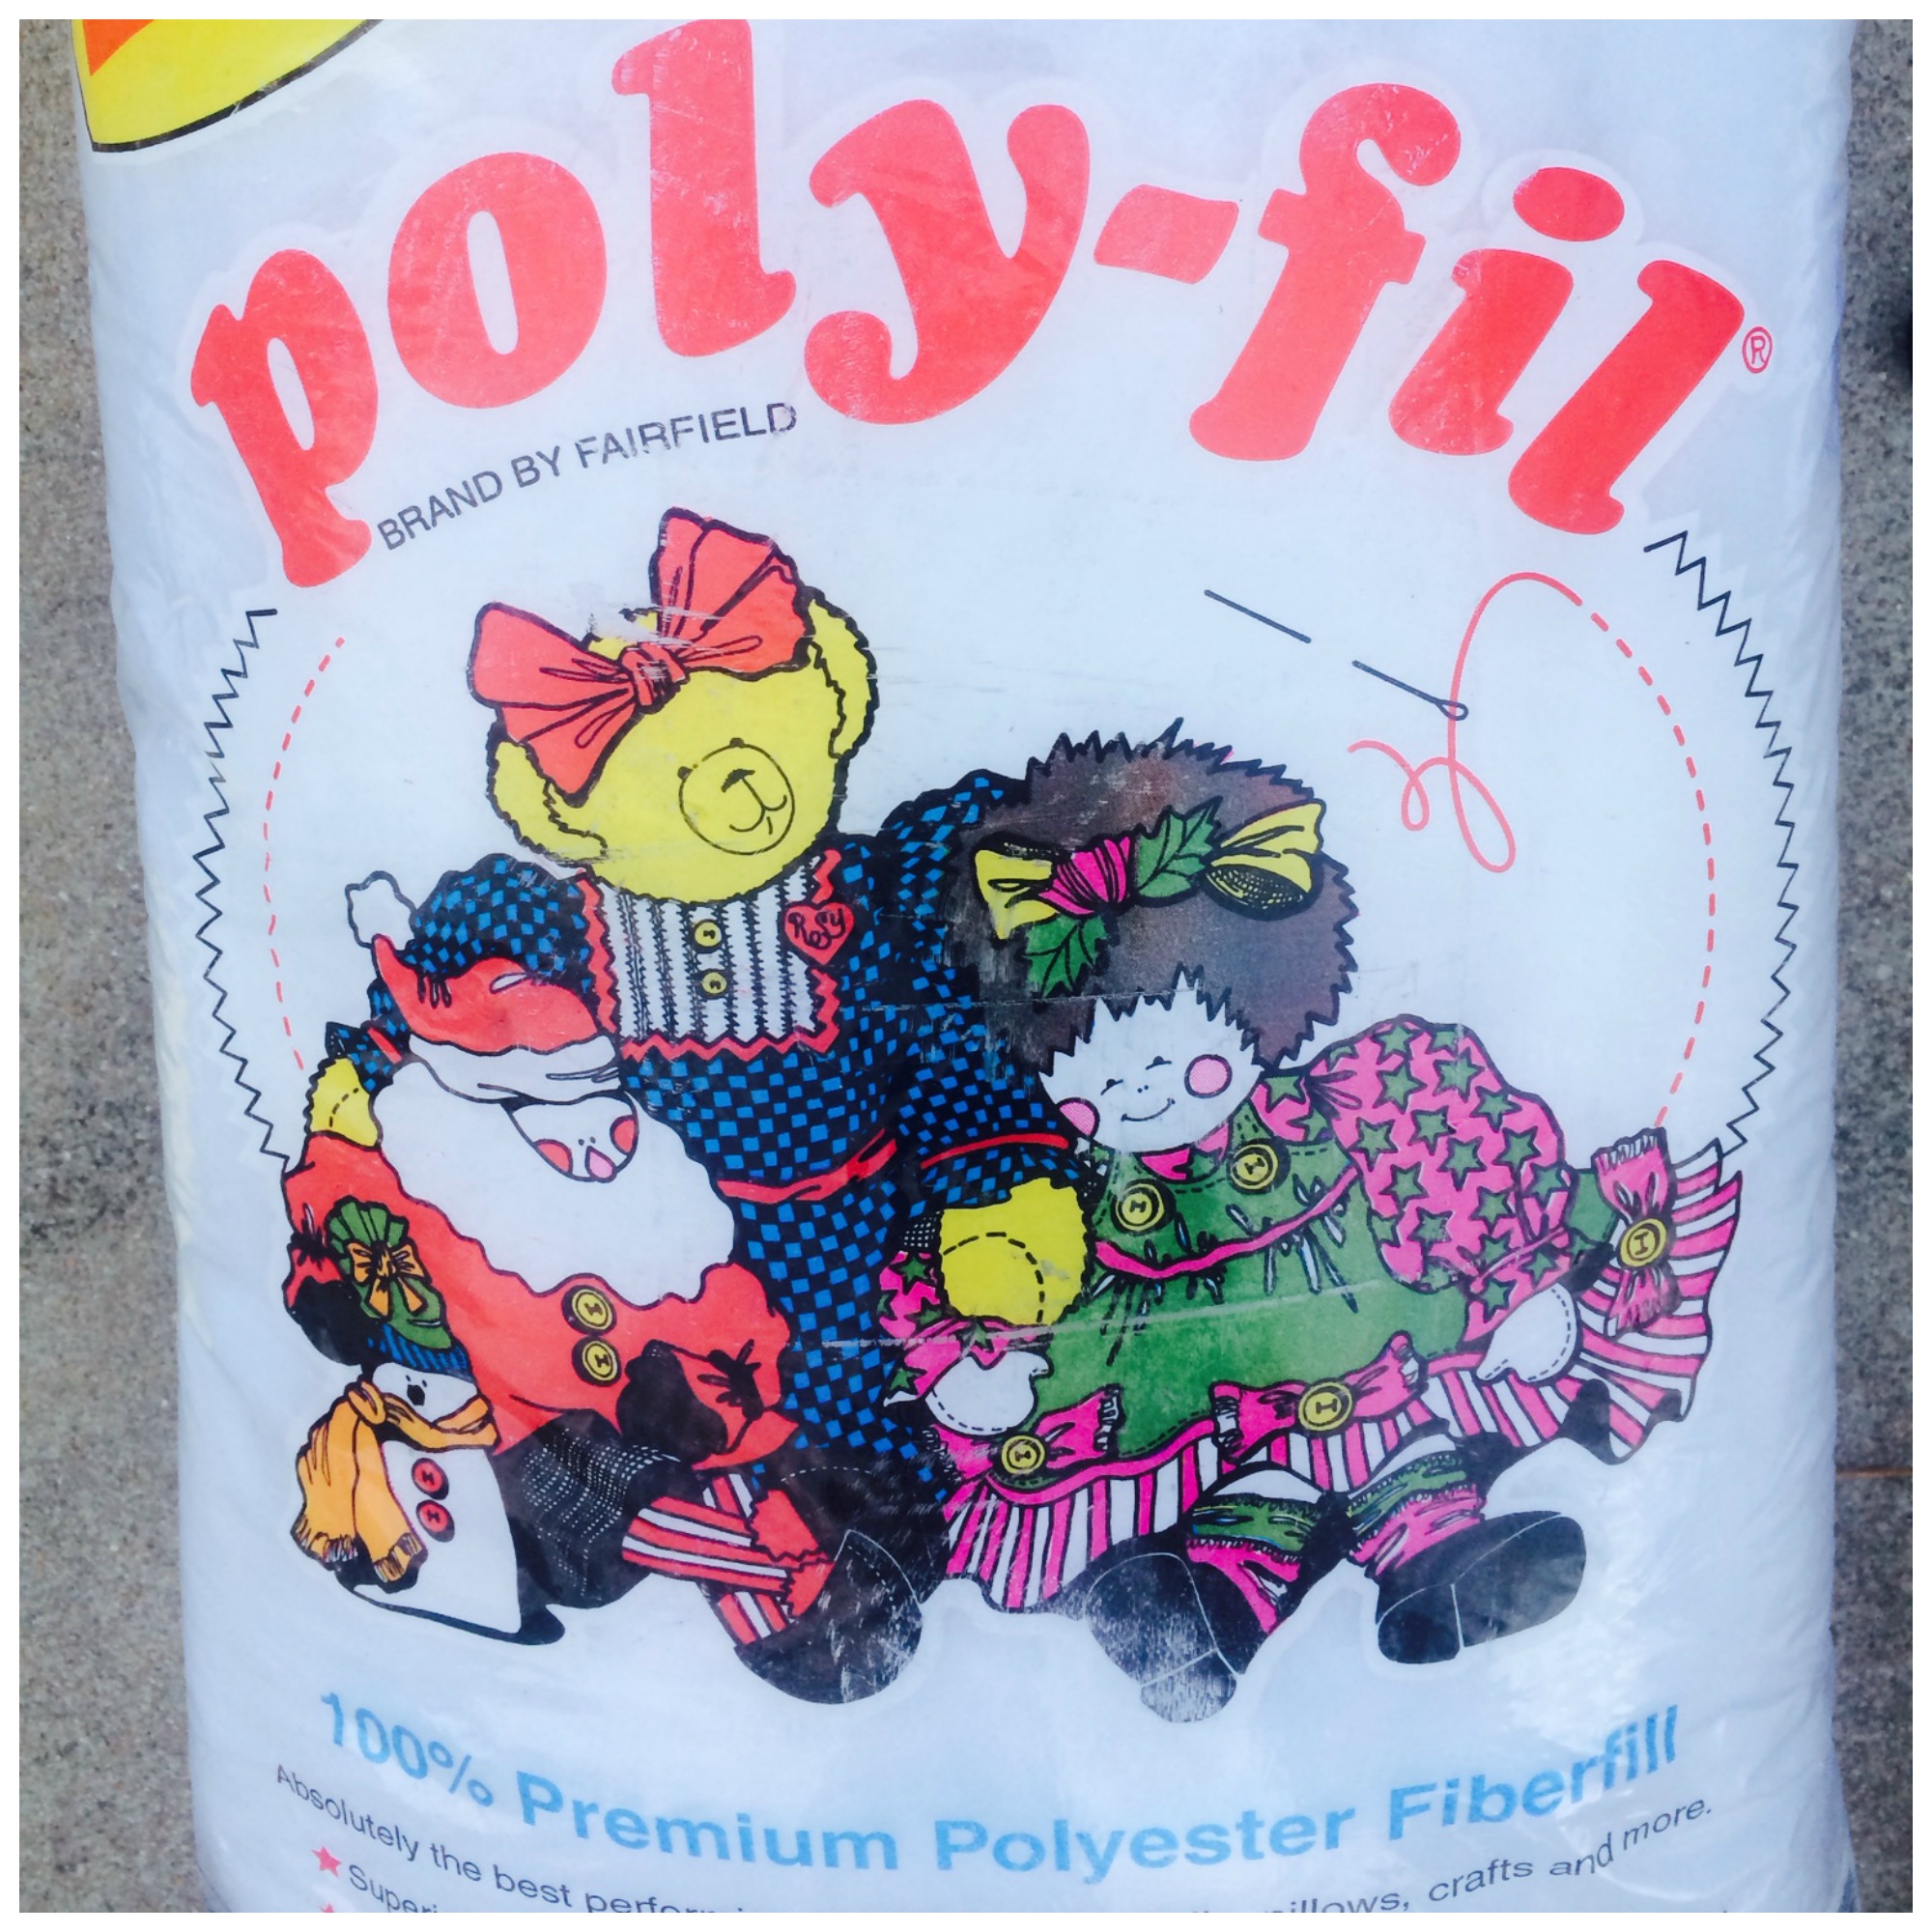
Instead of using a pillow to insert into the cover, I used some Poly-fil that I had at home!
I am totally obsessed with the results of my decorative Tulip pillow! It was super easy and super fun! So, why not create your own fun decorative pillows instead of buying them!!!
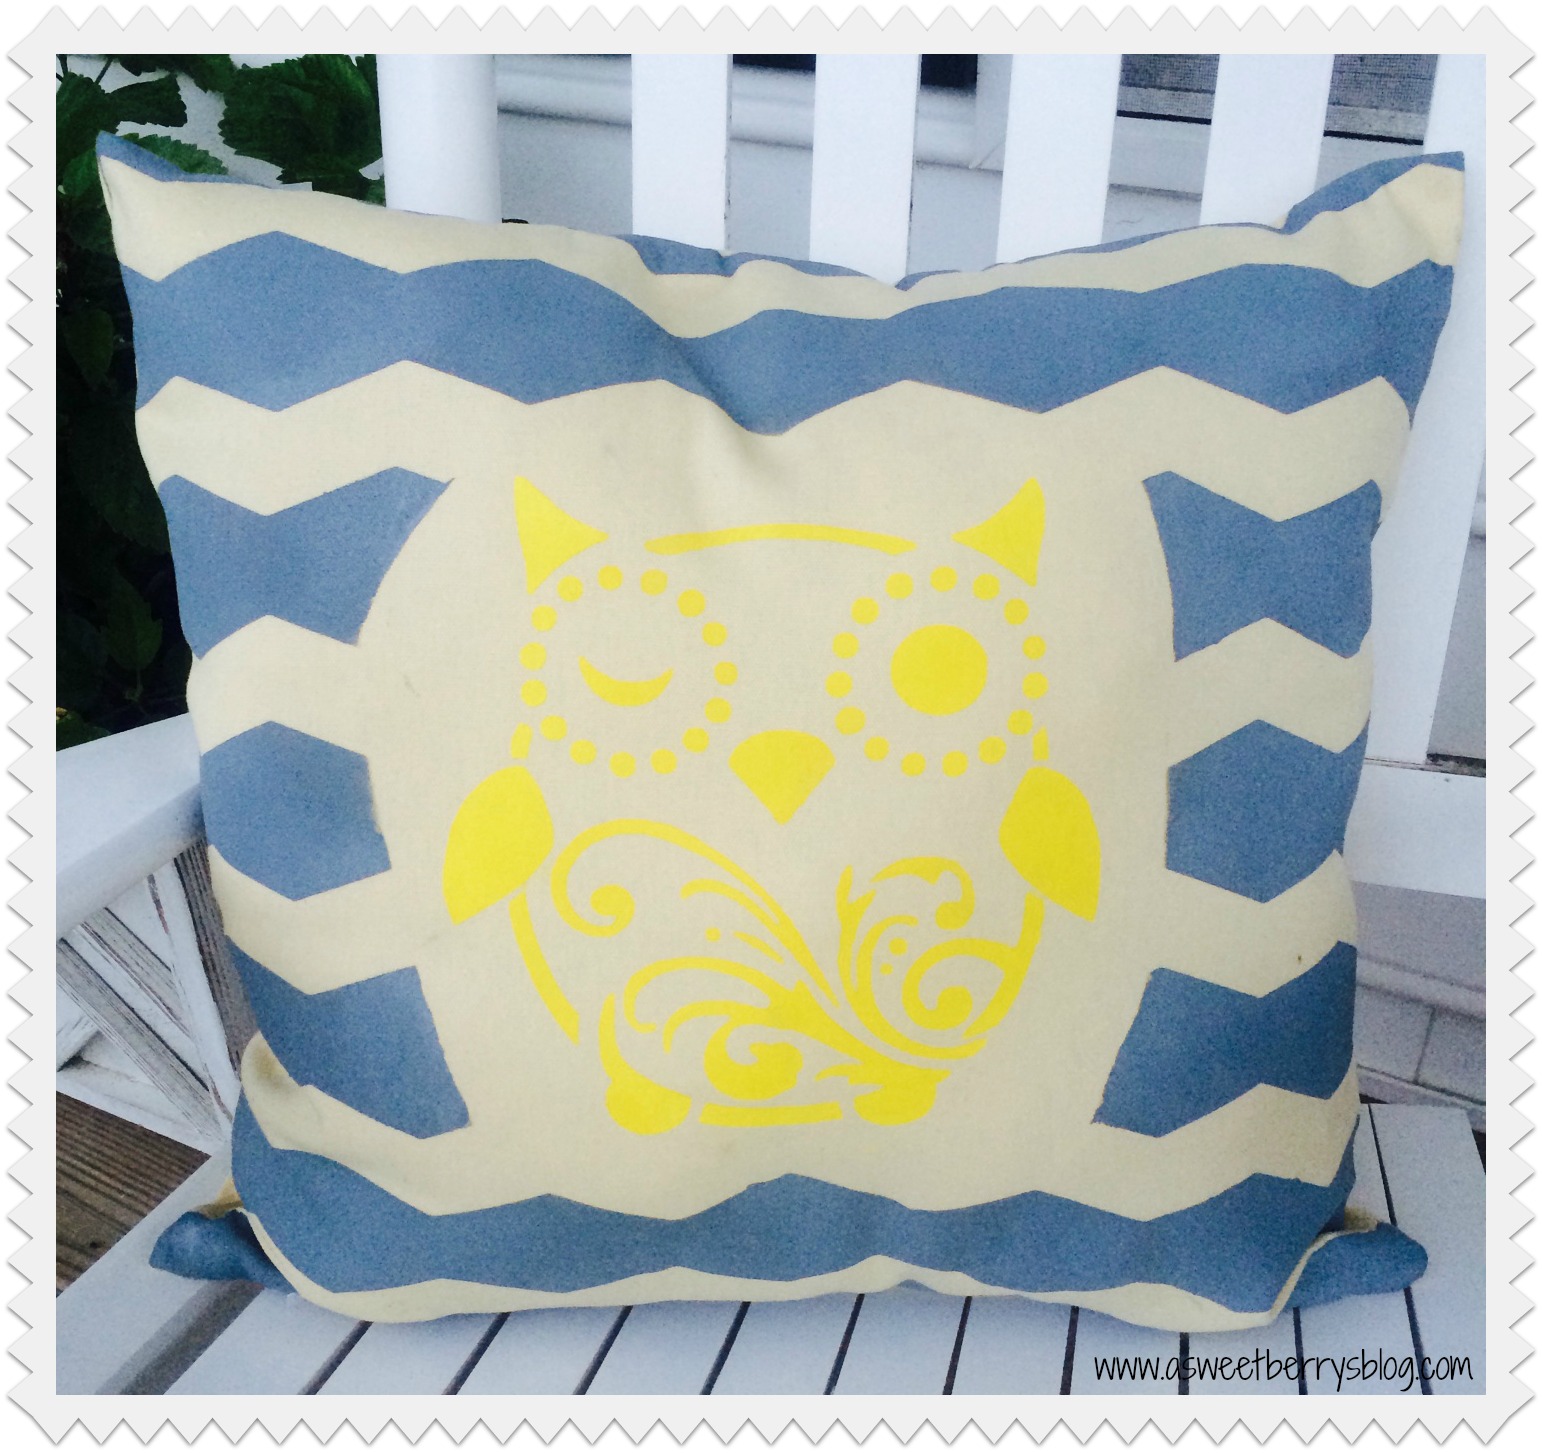
I hope you liked my Chevron Owl Pillow made using Tulip For Your Home!
Tulip For Your Home
Leave a reply

)
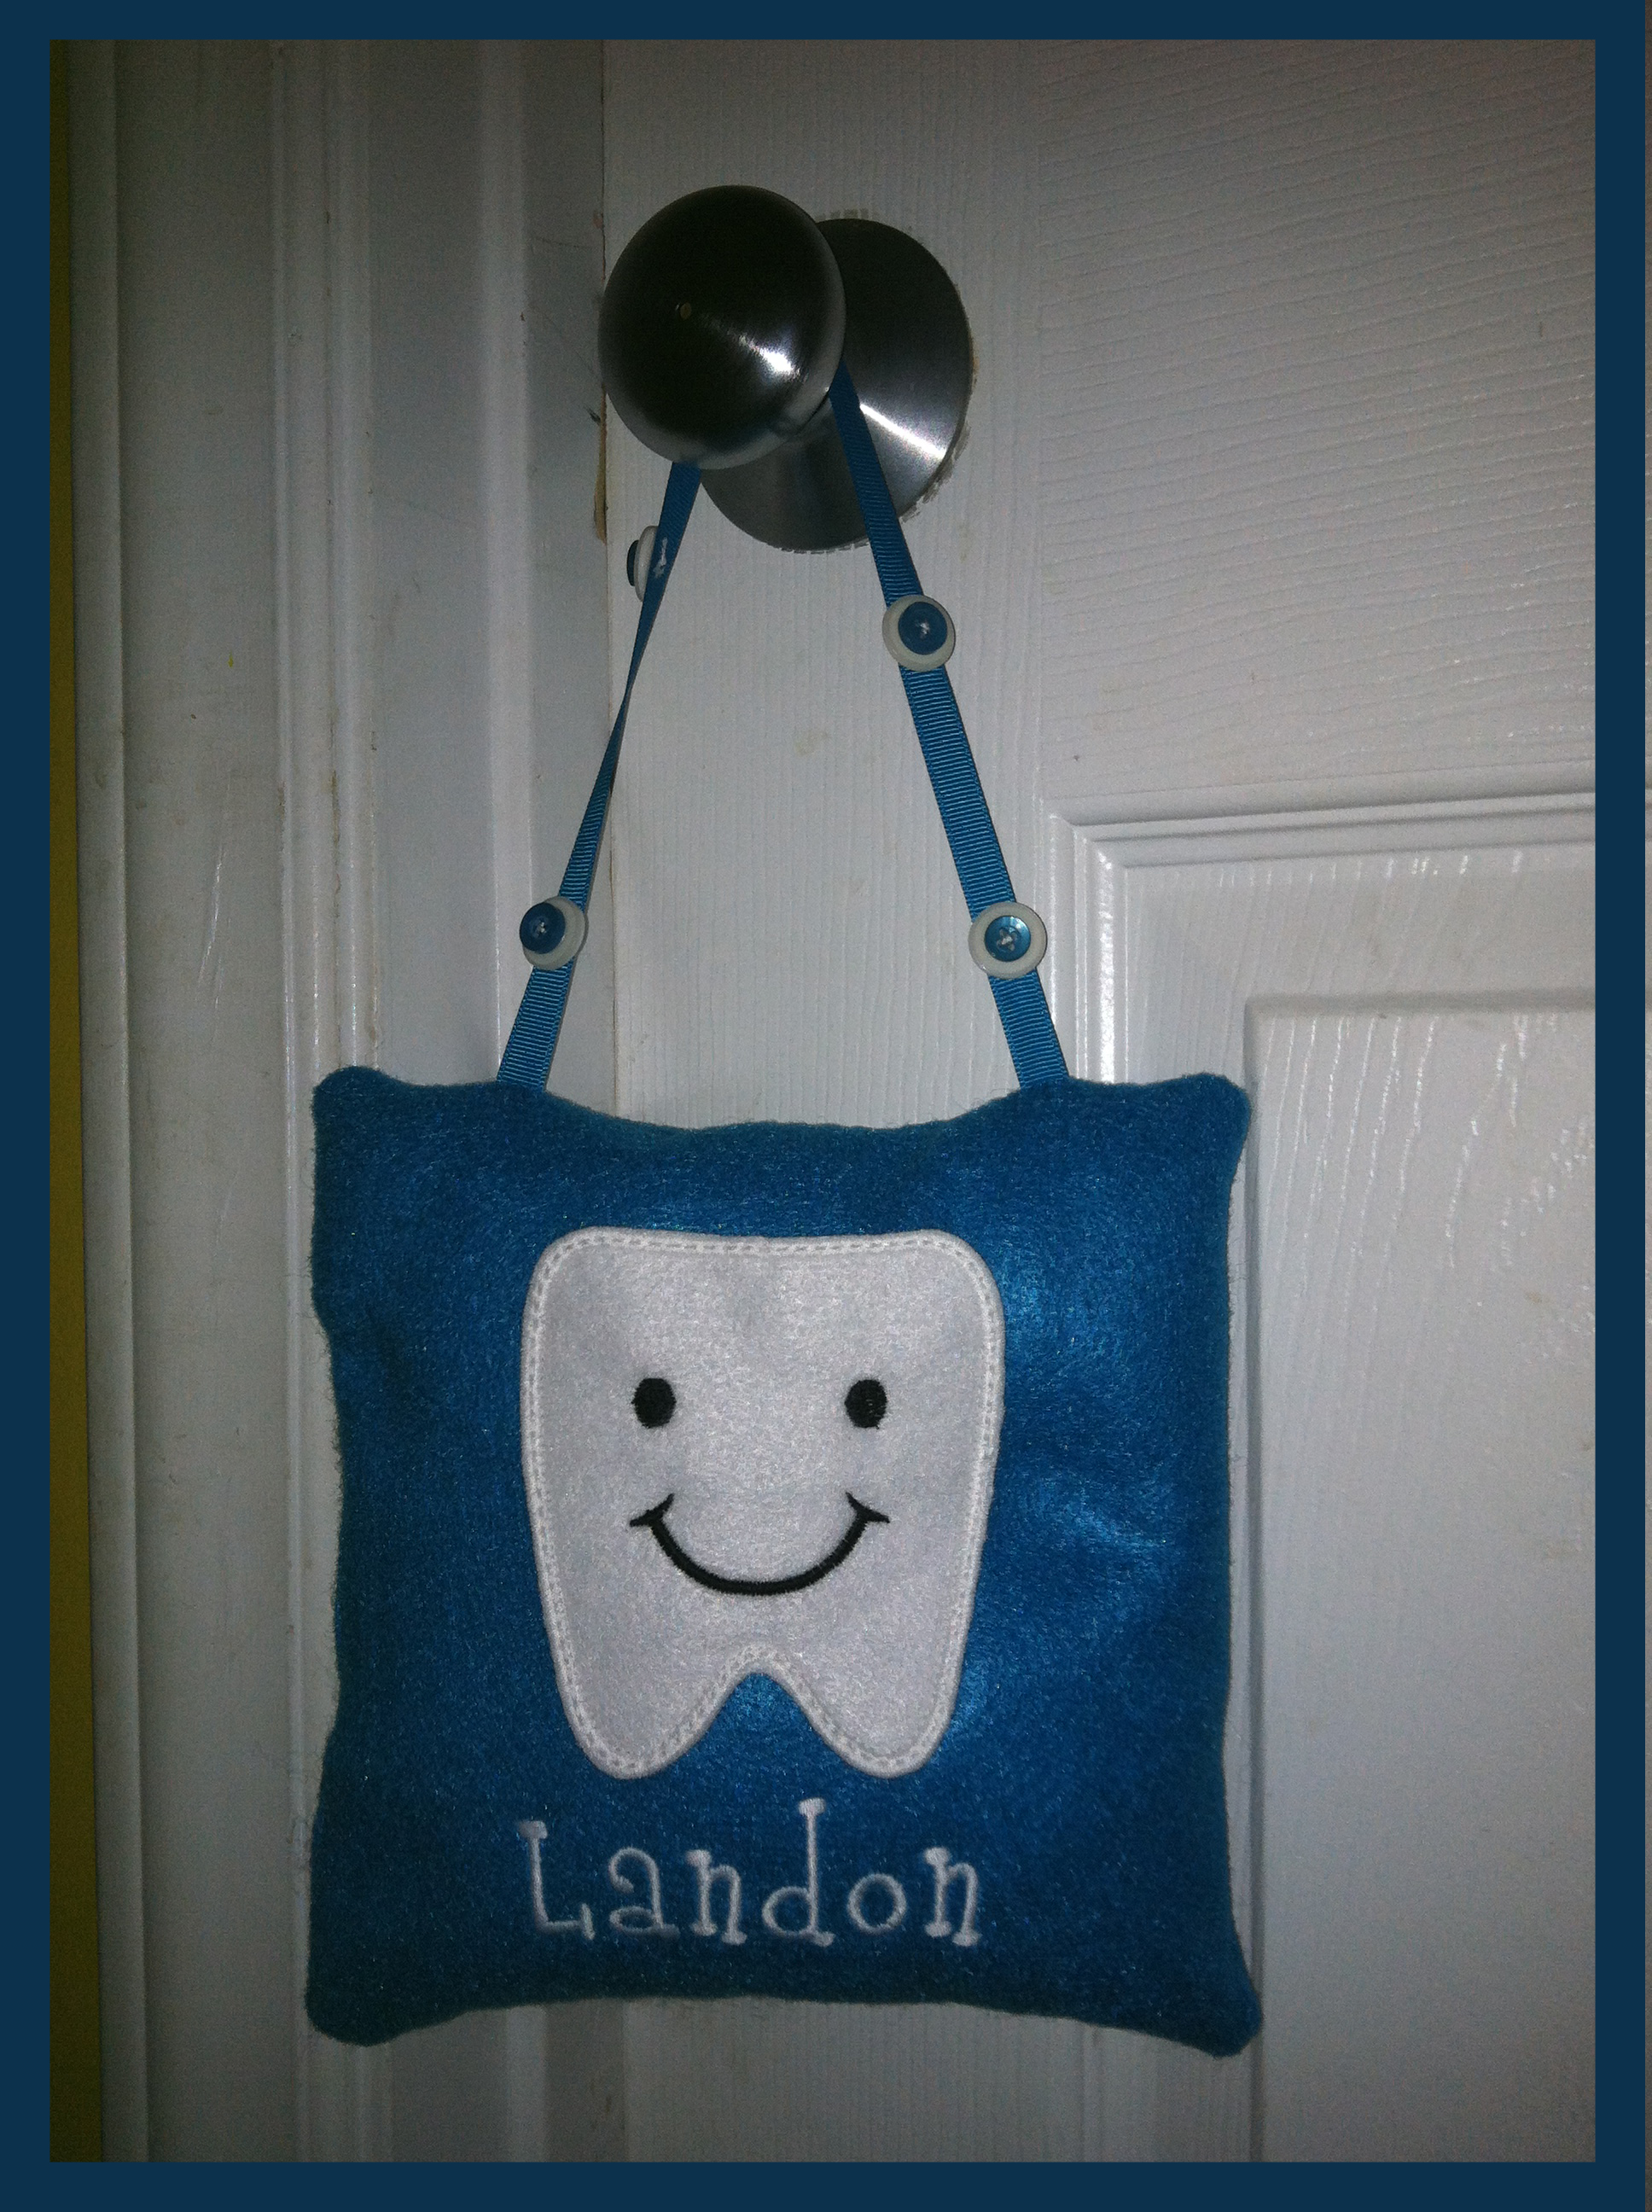
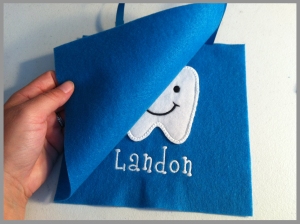
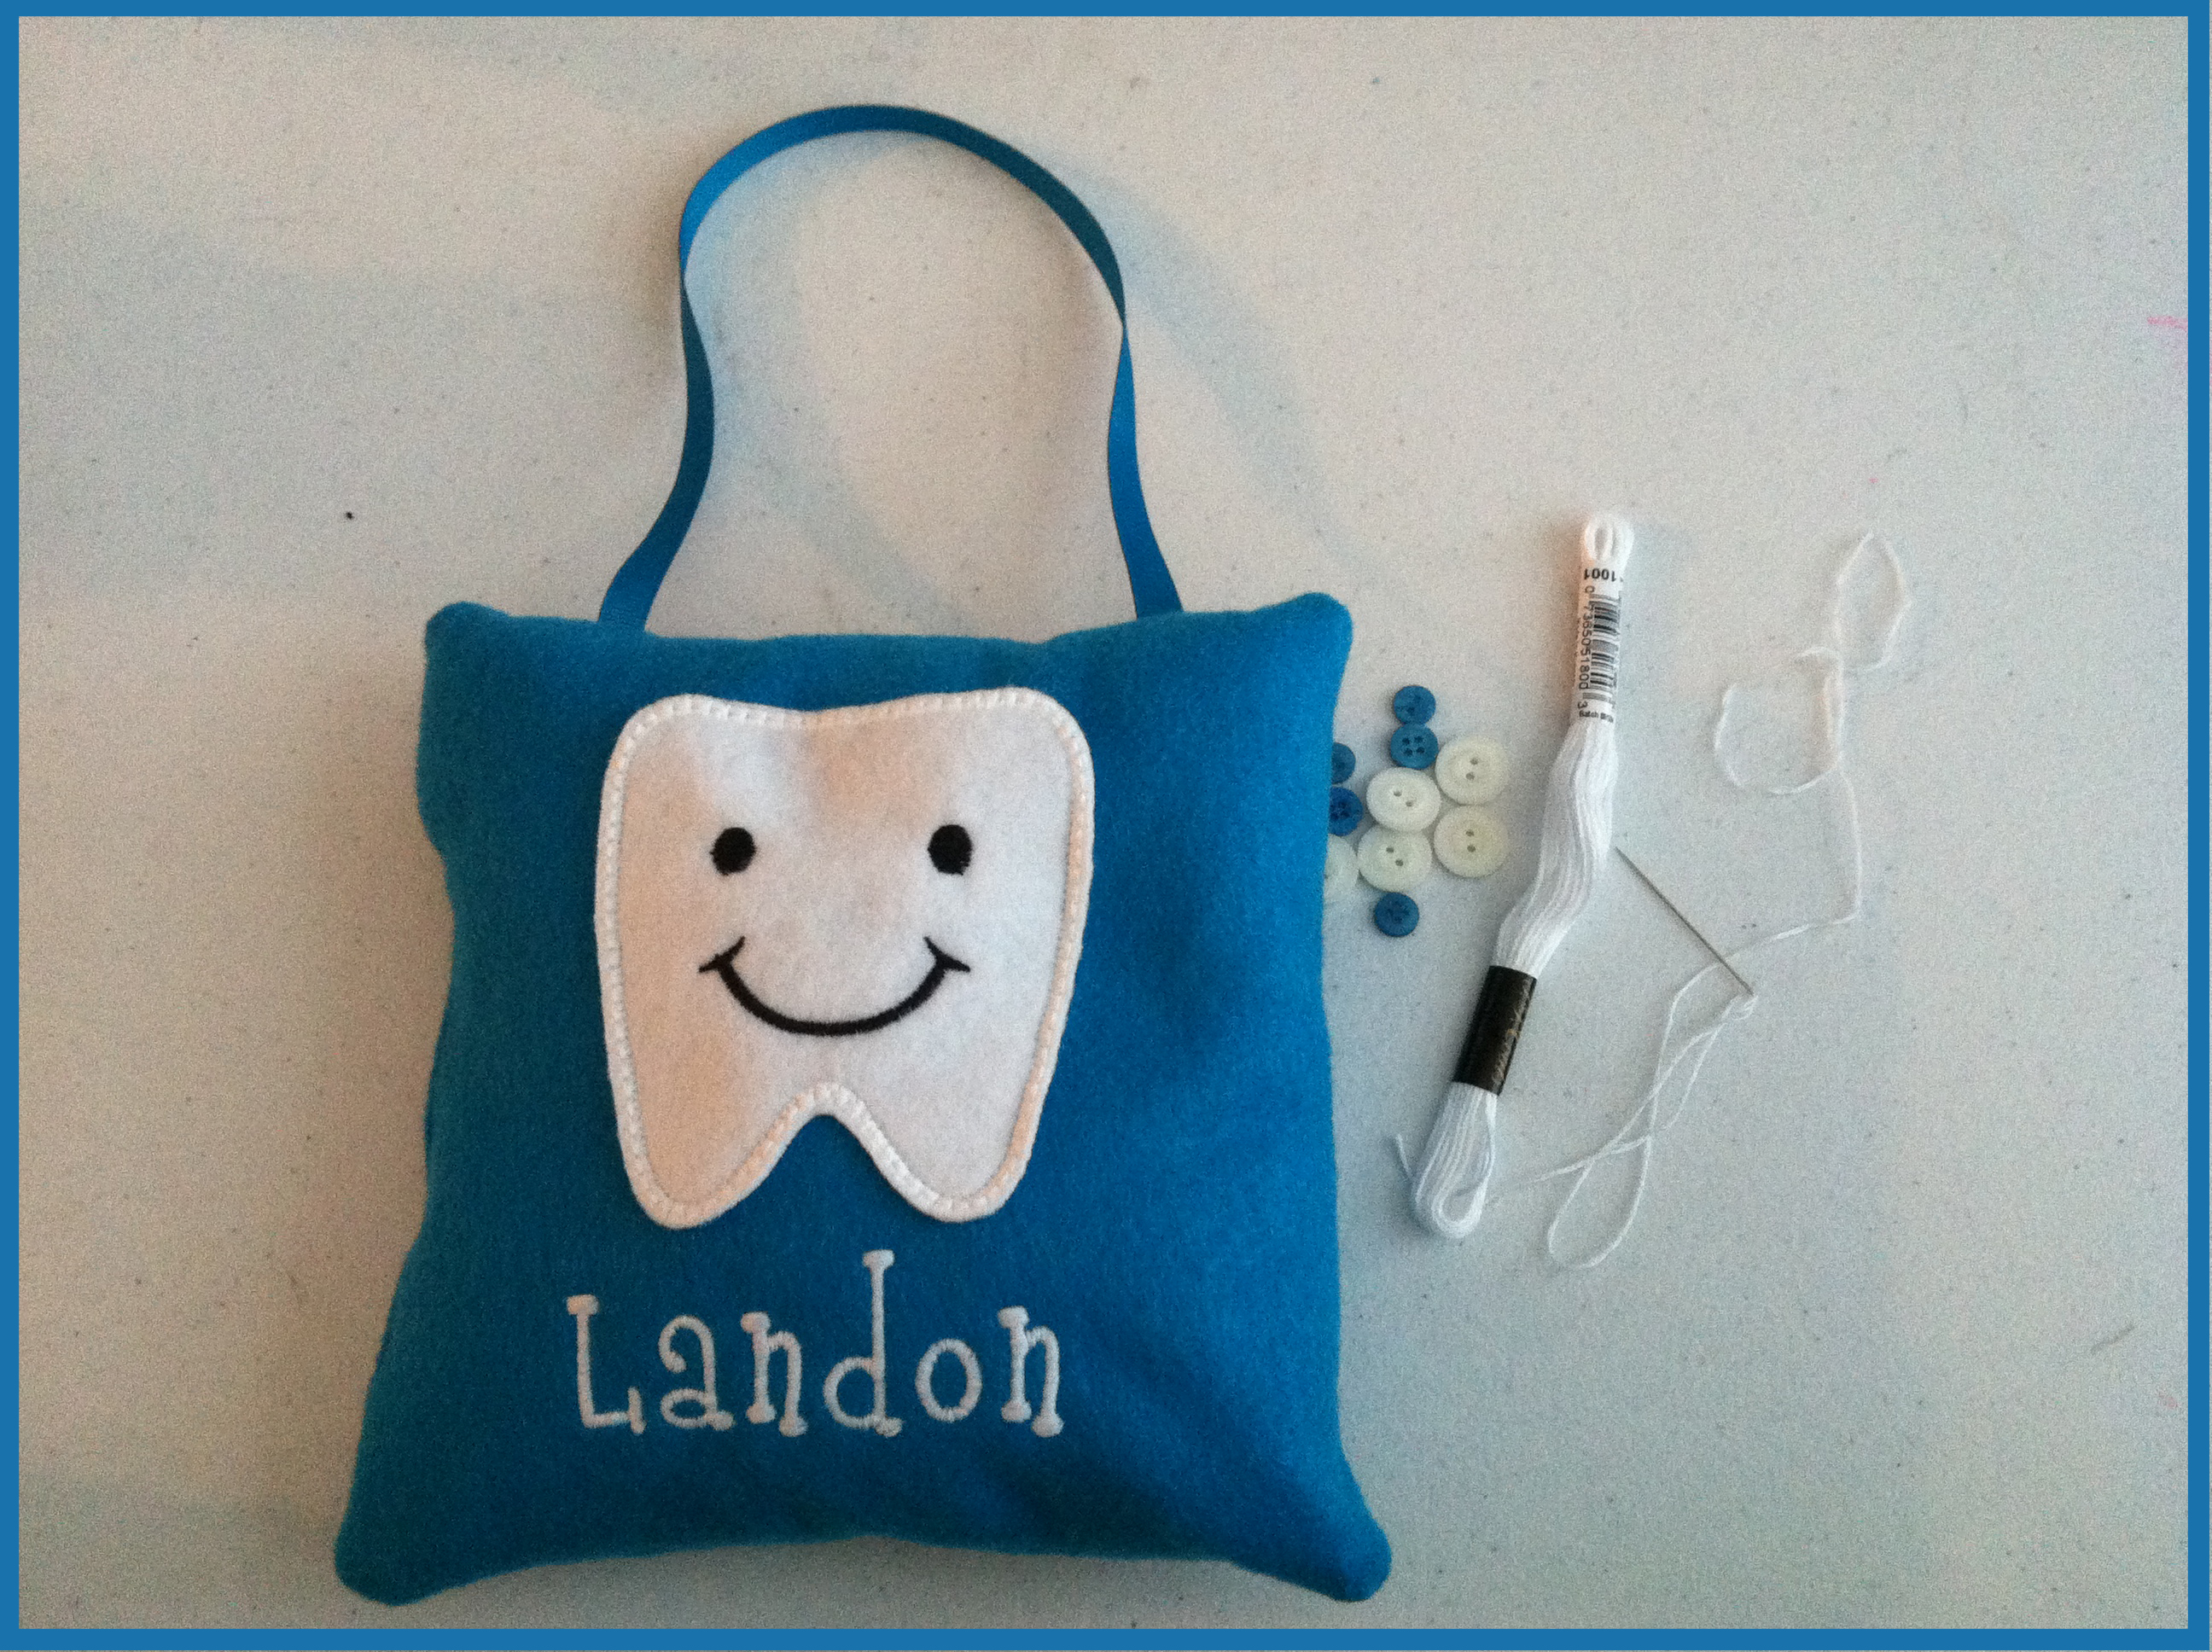
 I used ribbon to hang it, so I pinned the ribbon to the right side of the pillow and stitched it back and forth a couple of times at the top of the pillow so that it would stay in place once I began to sew it.
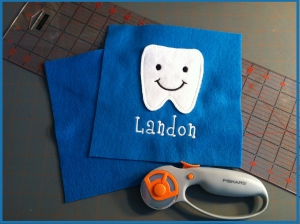
 Then, I sewed the edges together leaving about a 2 inch opening on the side, so that I could flip it right side out and stuff it.
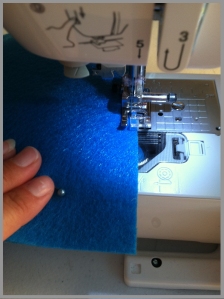 Once it was flipped right side out, it was ready for some stuffing!
 I used Poly-fil, which you can get from any fabric store, even Wal-mart carries it.
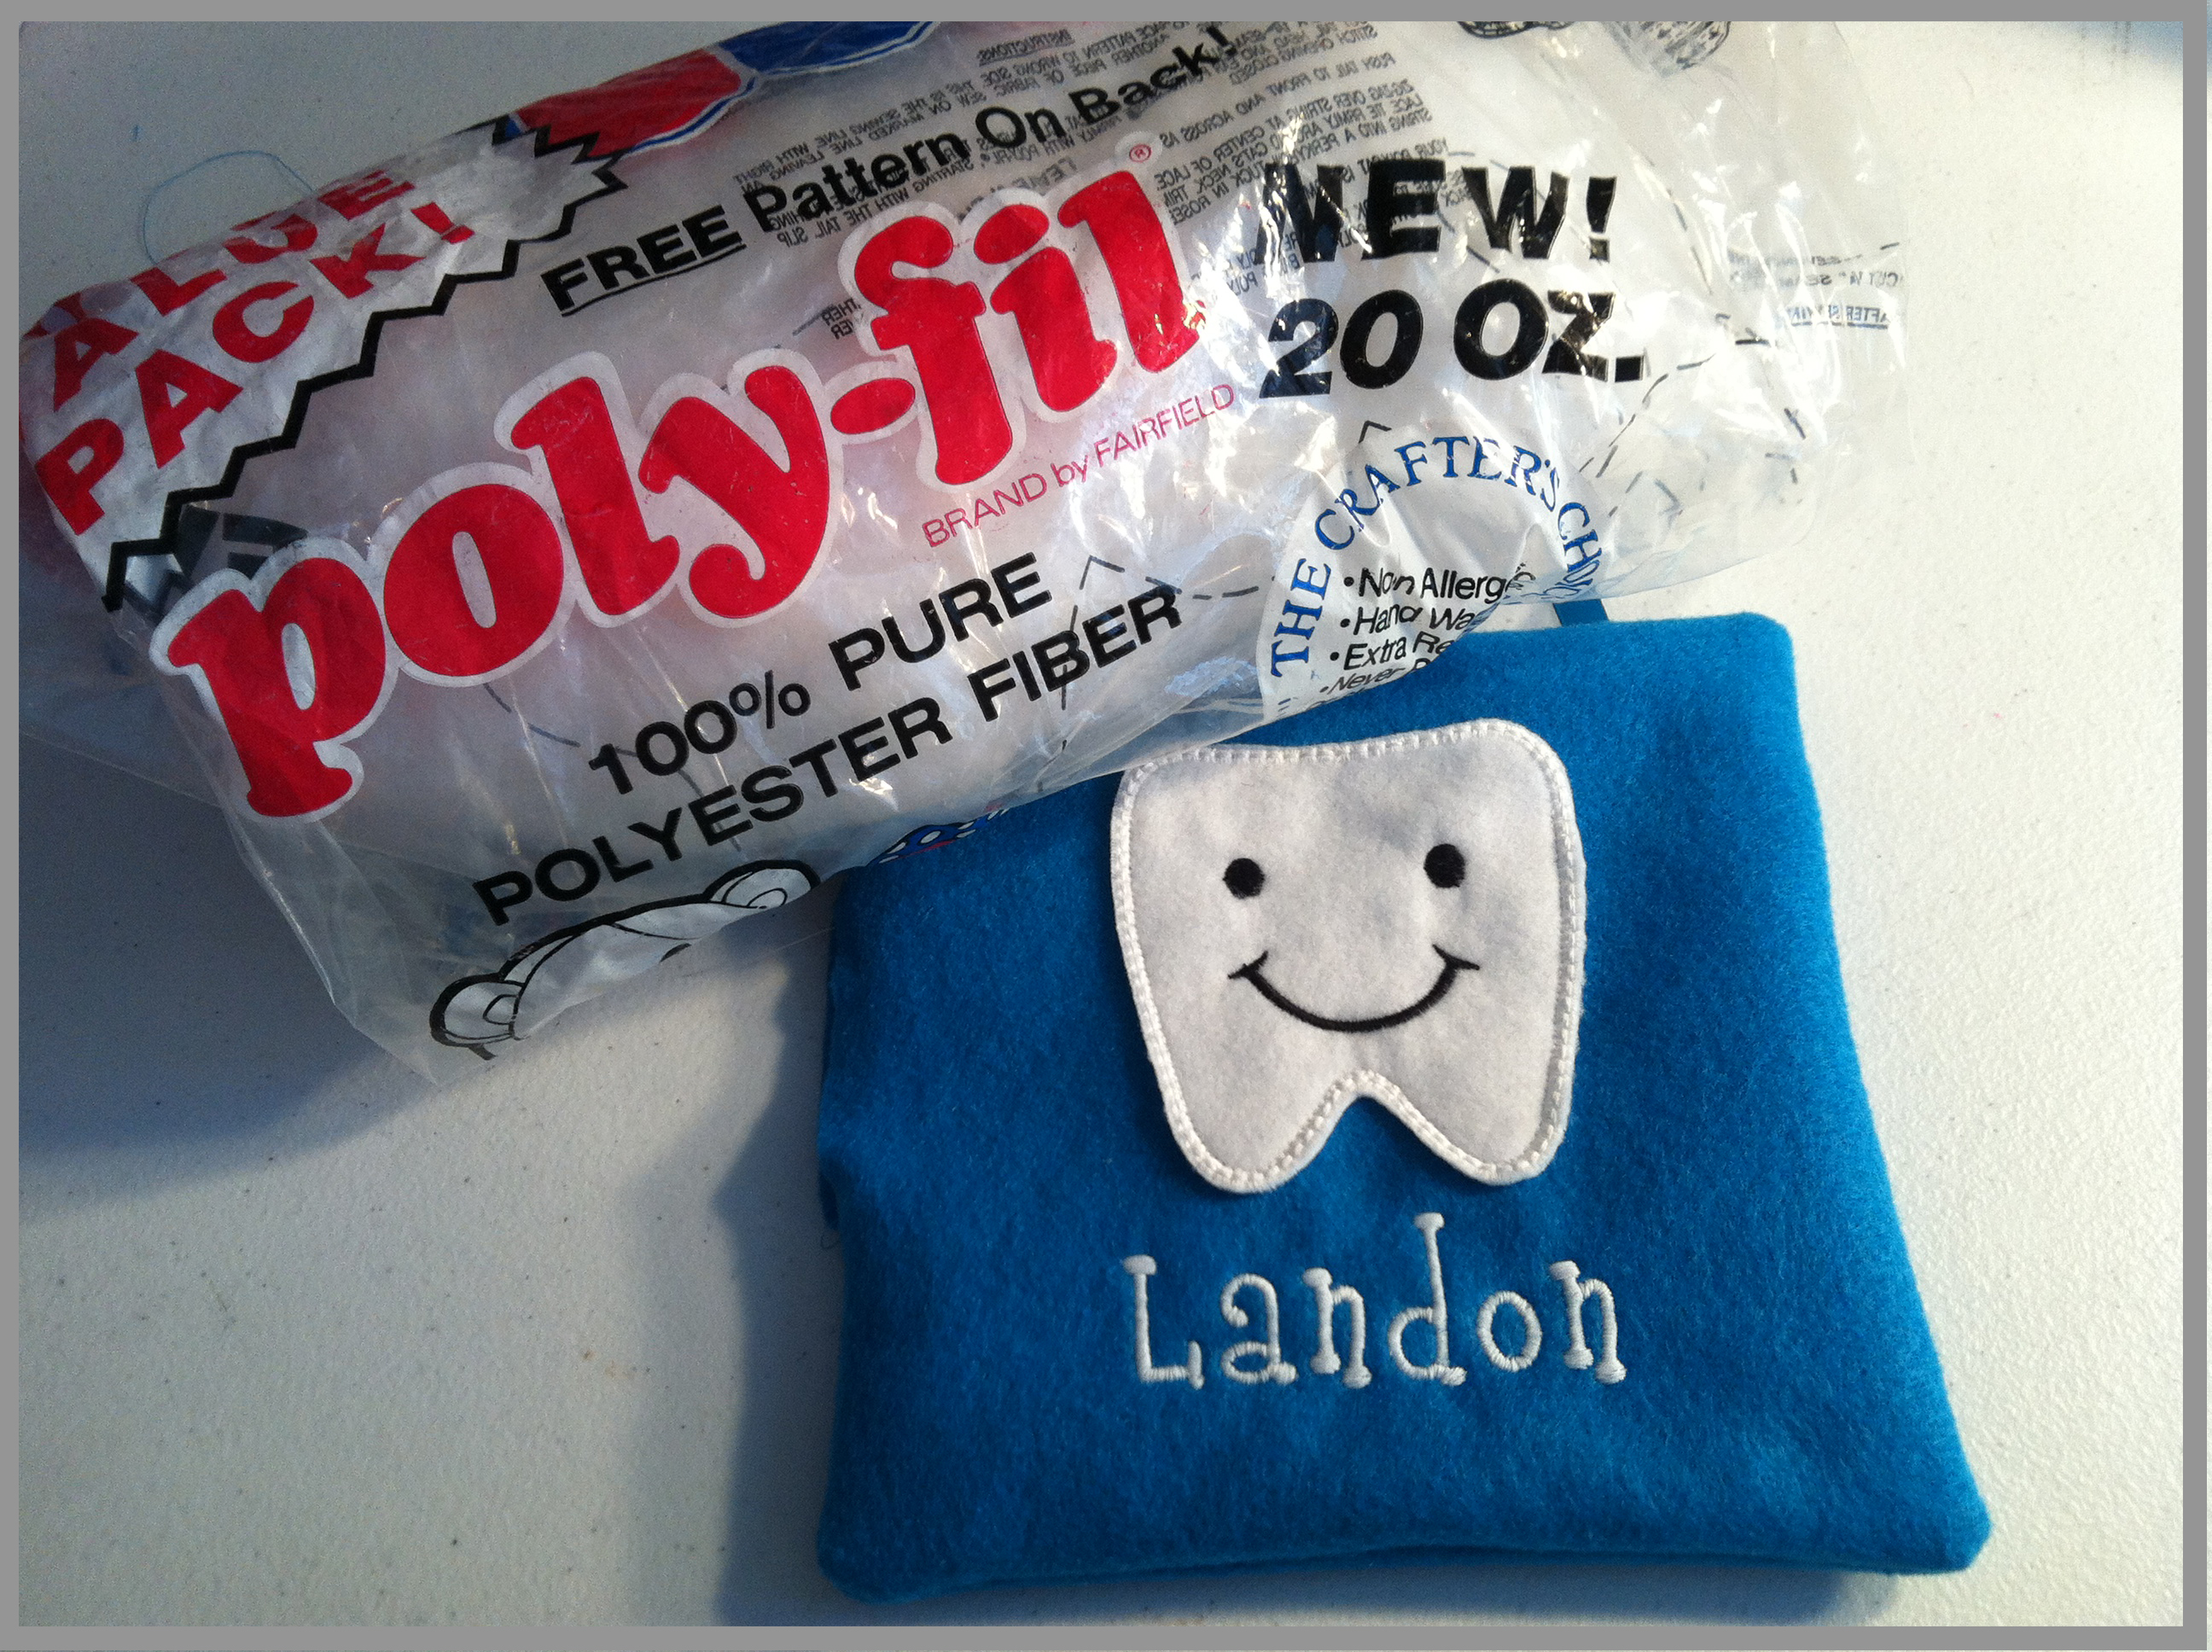
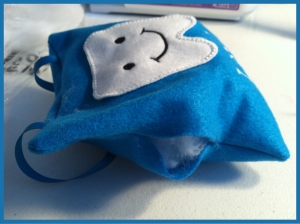

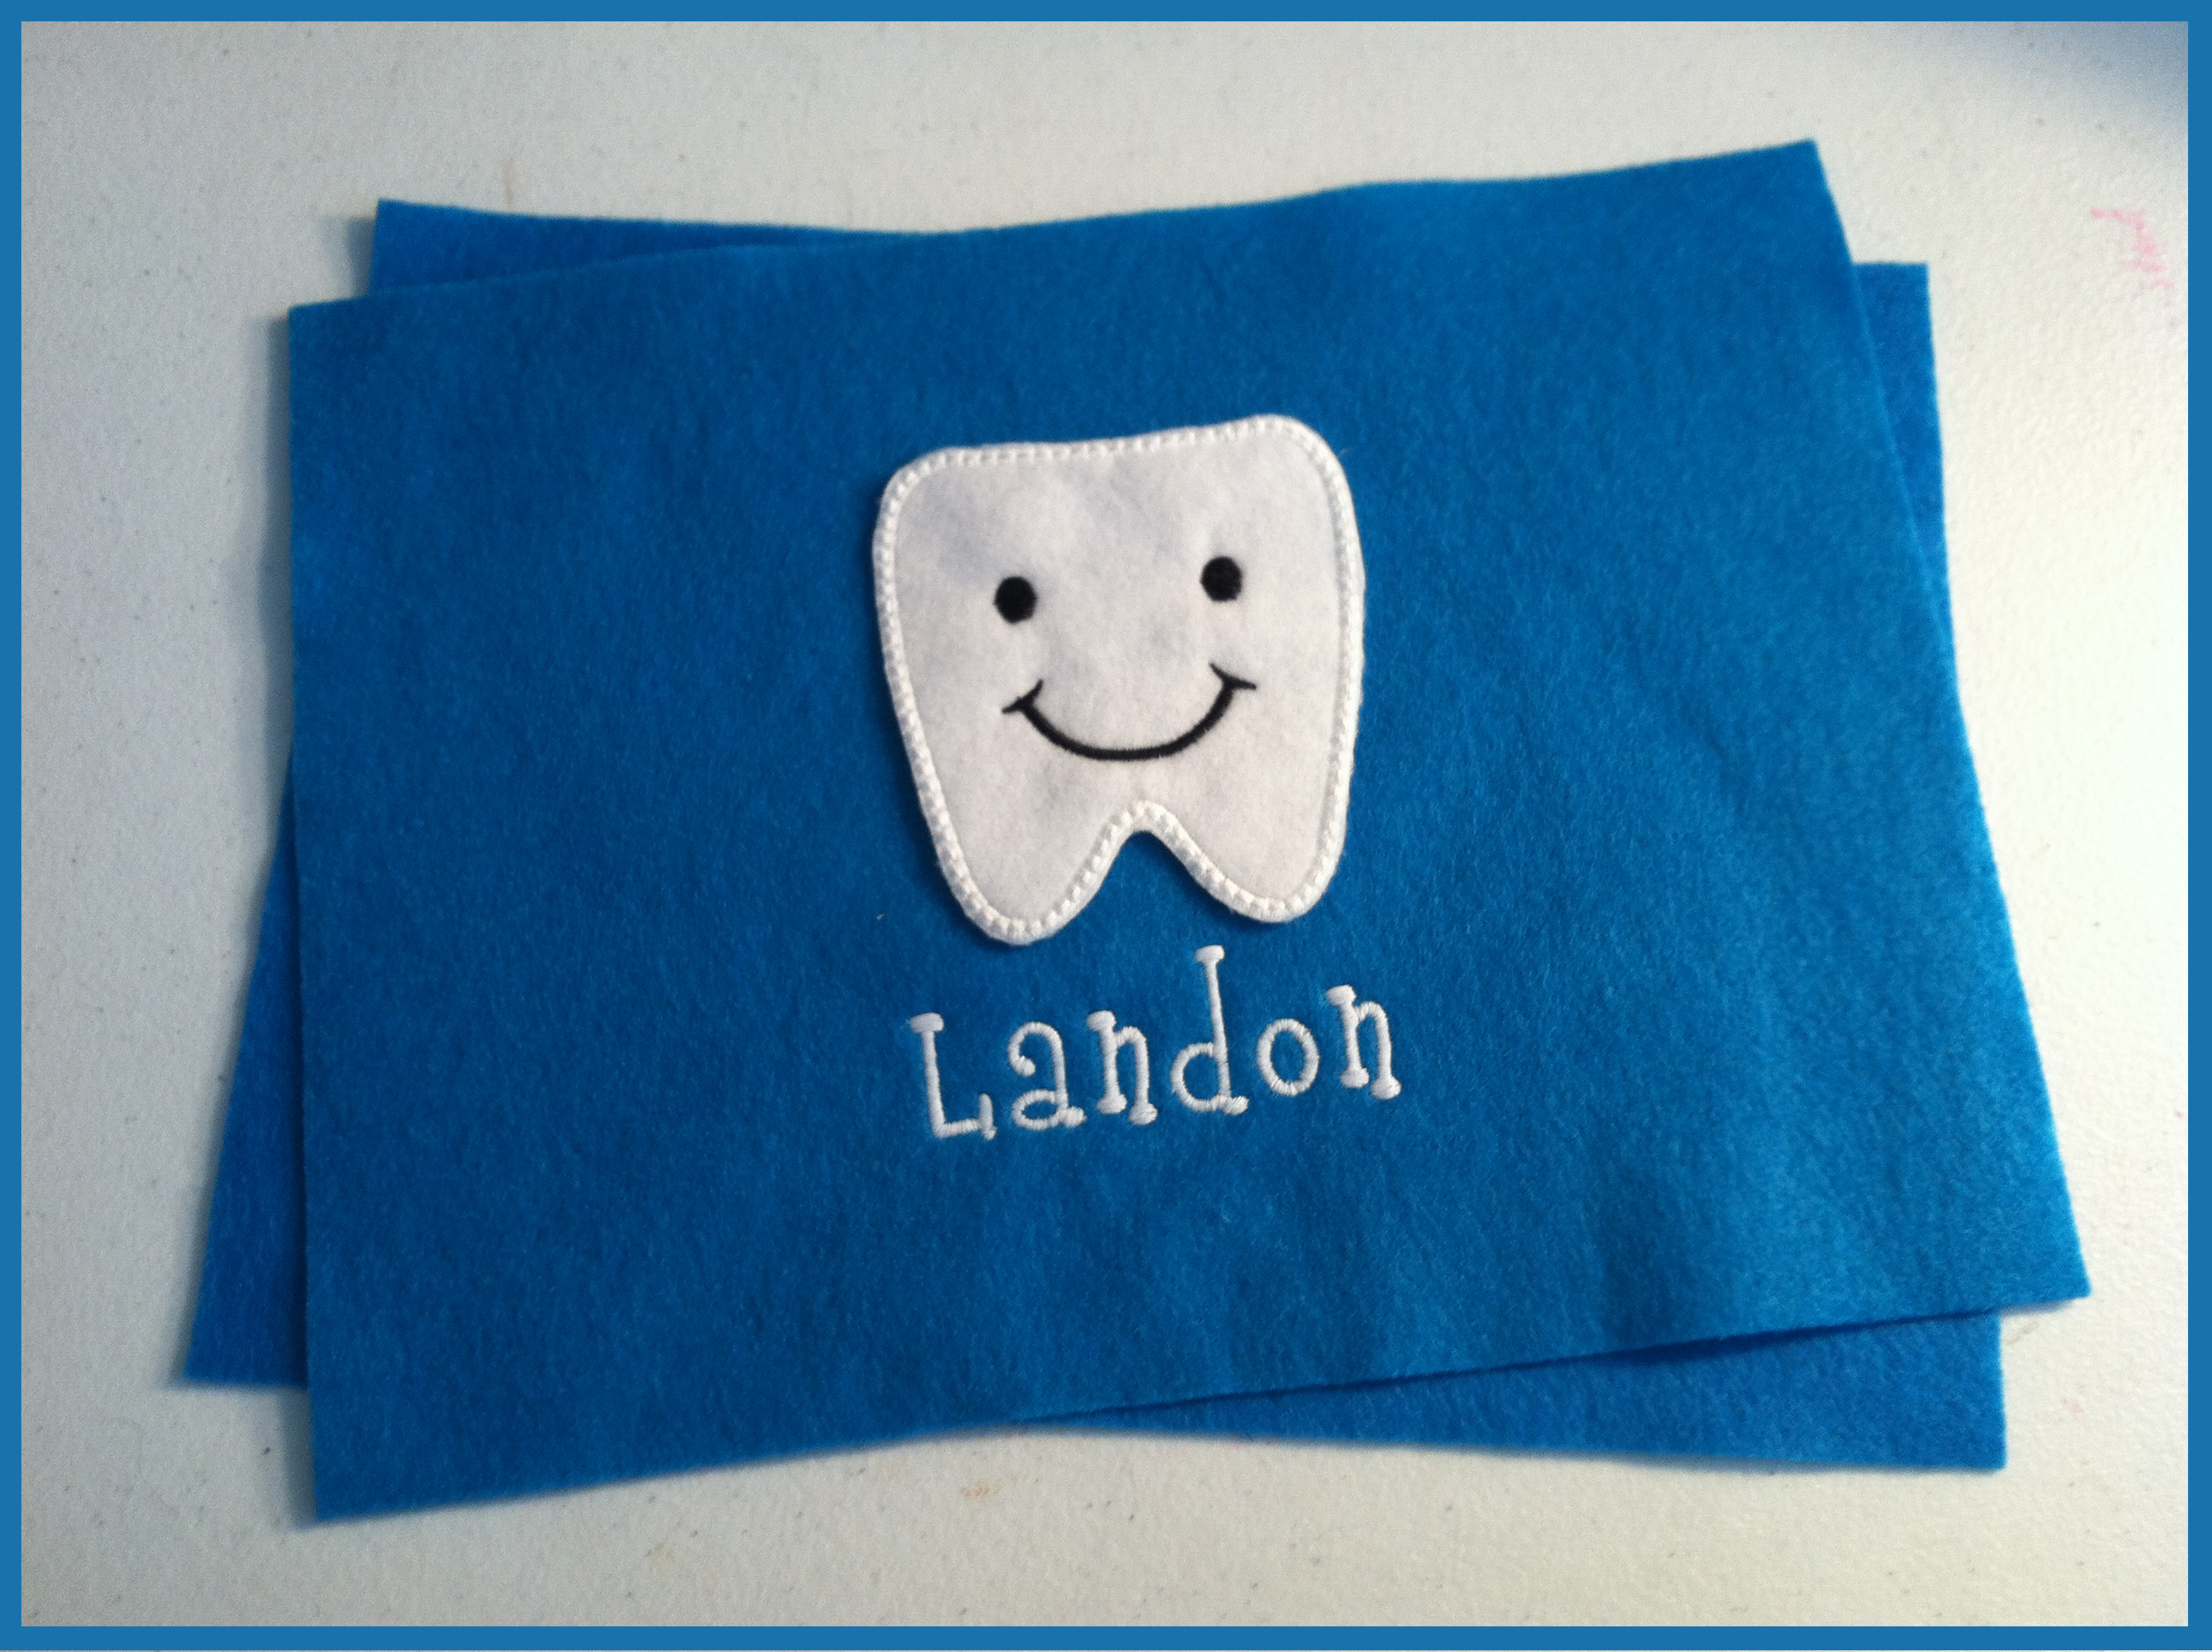
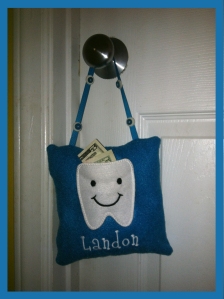
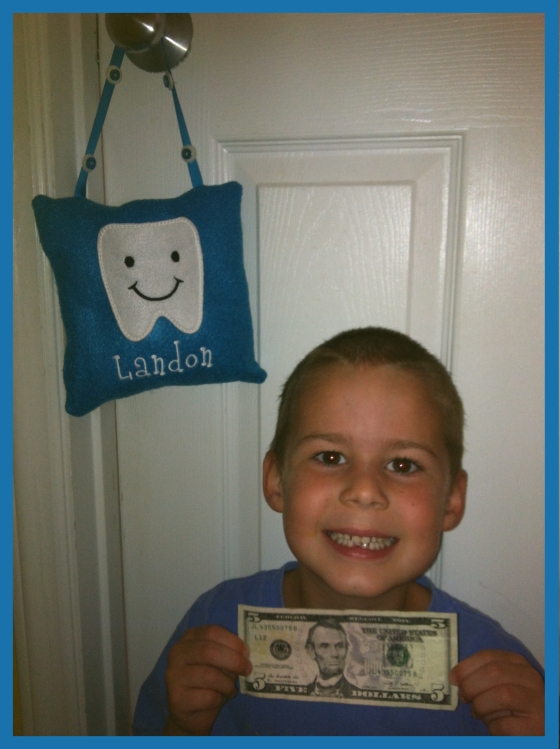
 In went the tooth in a little baggie that the dentist put it in.
)