Monthly Archives: August 2016

The Berry family cleans up with E-Cloth!

Chemical Free Cleaning!

e-cloth

Do you hate cleaning with harsh chemicals?  Do you hate the smell of cleaning products? I know that I do, especially with kids in the house.  A lot of times, the chemicals smell awful and they can do more damage to furniture and counters than good.  

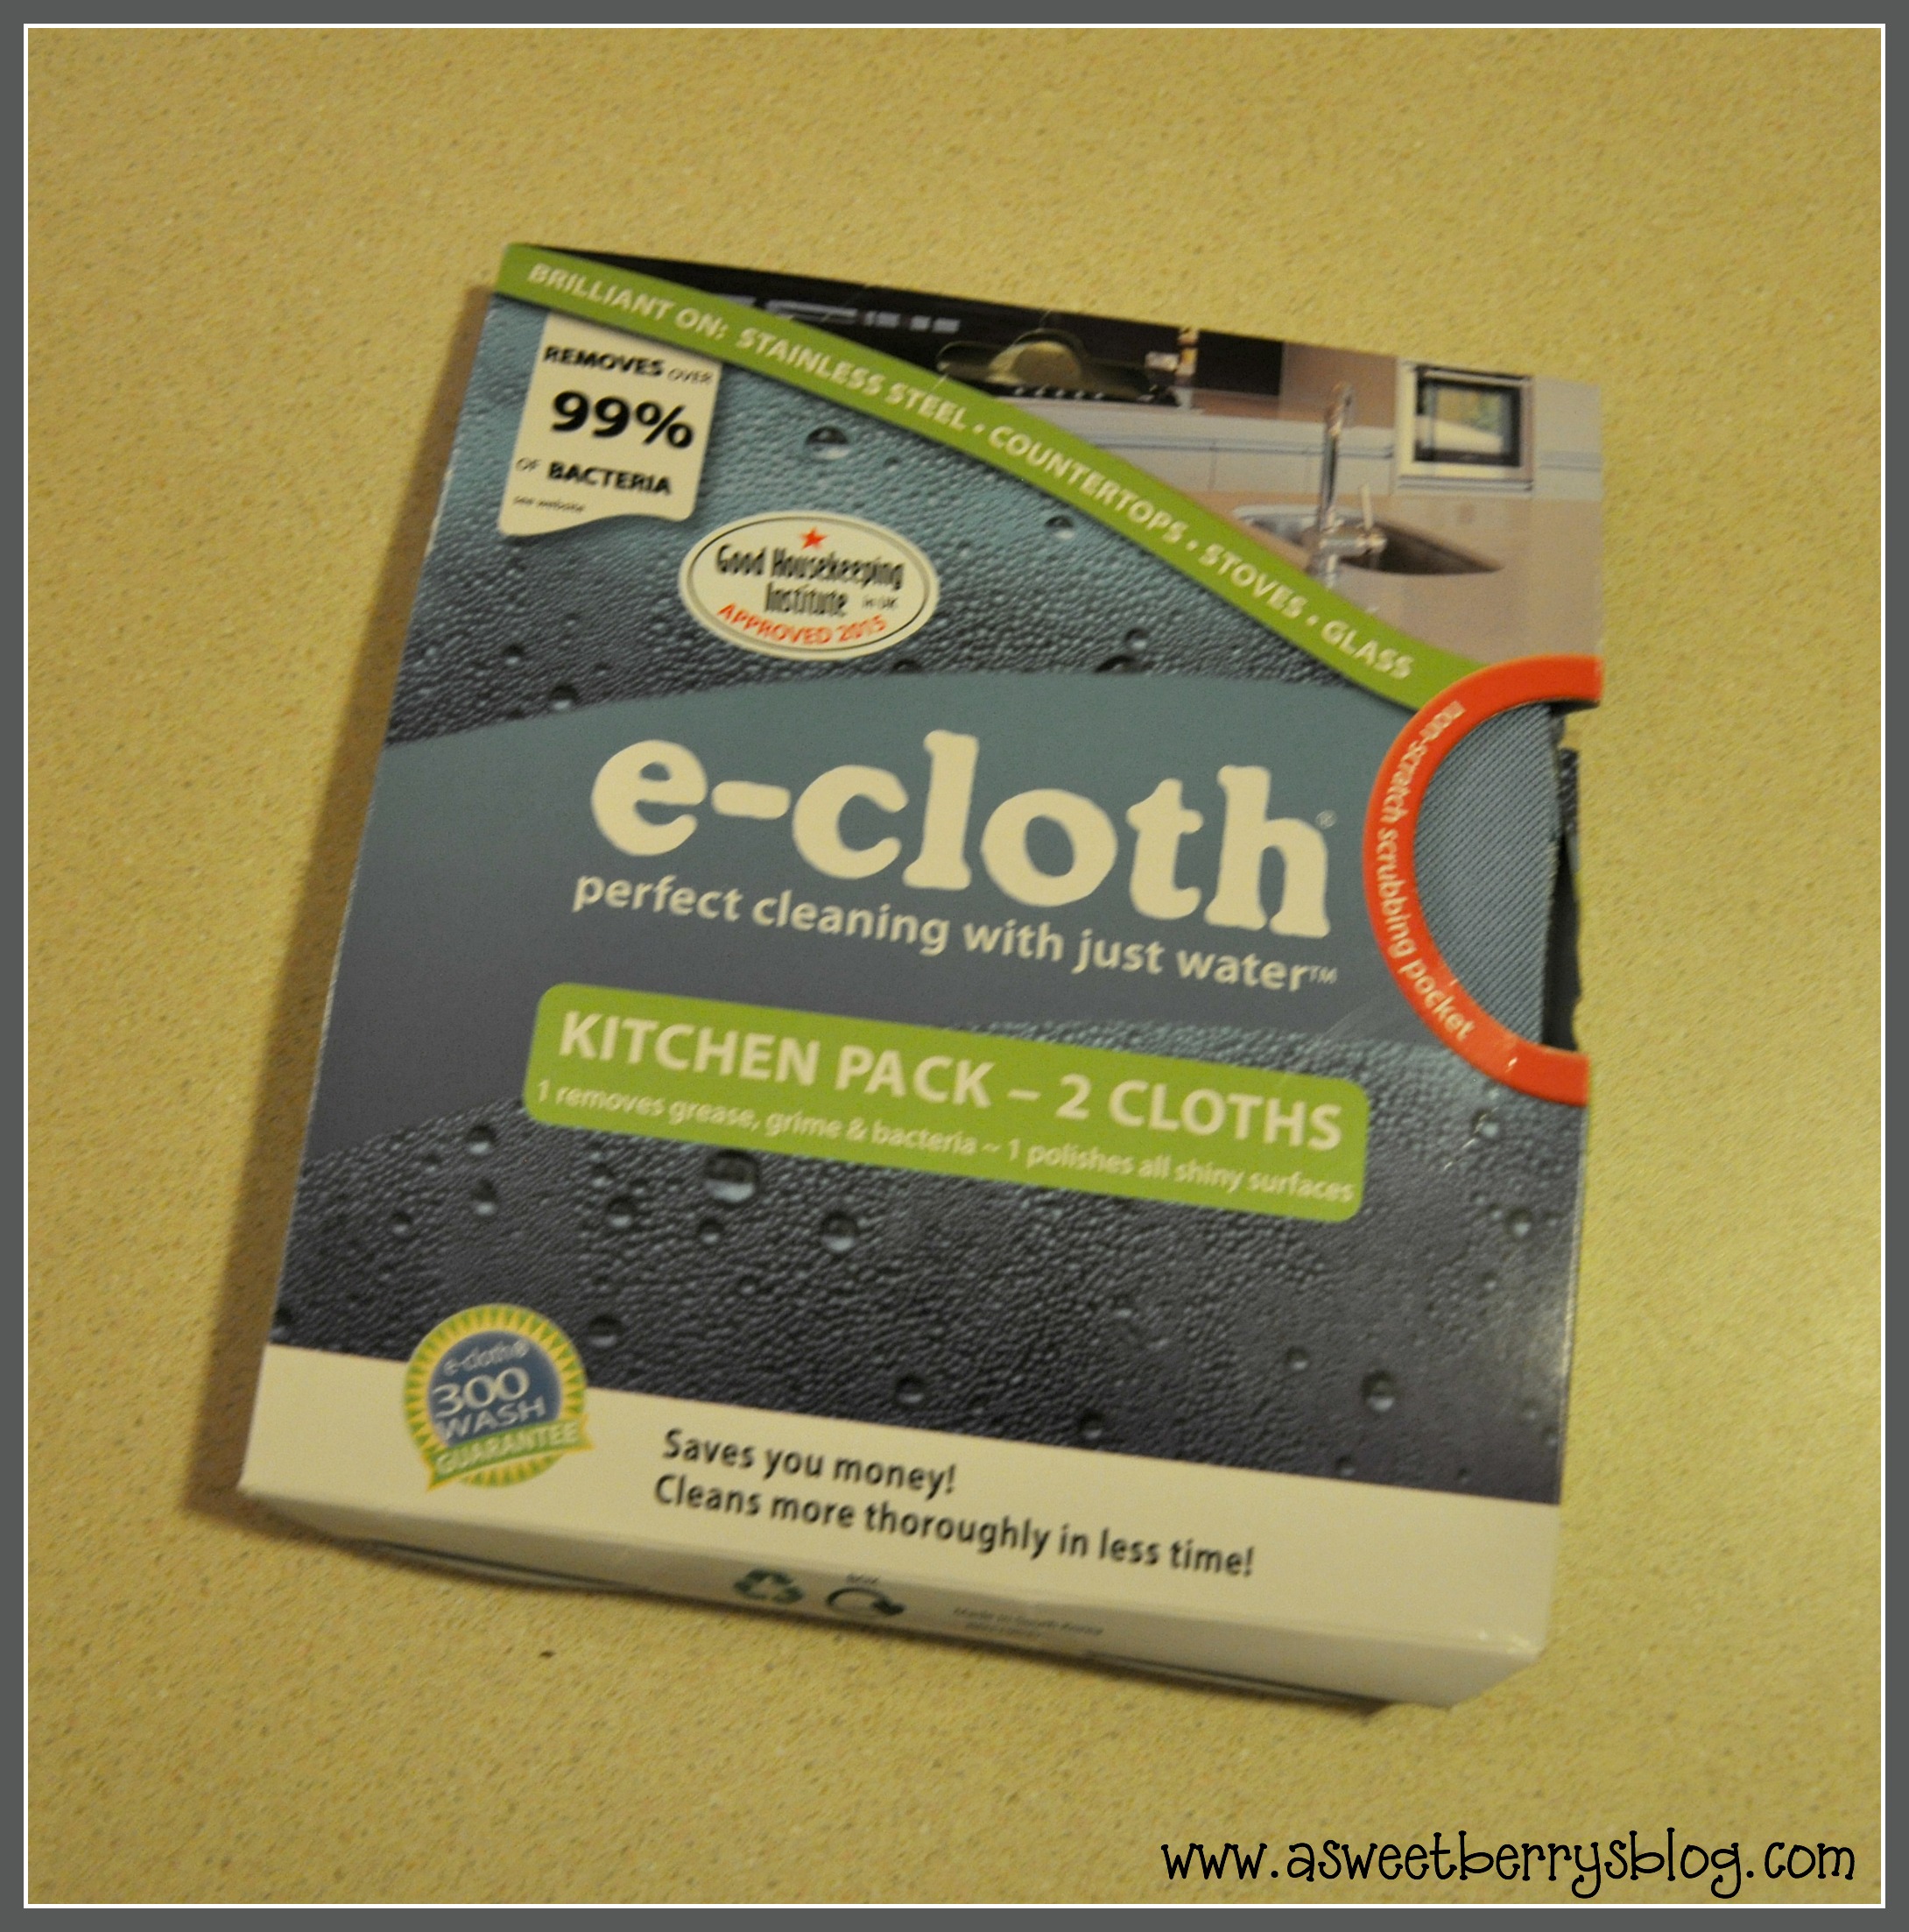
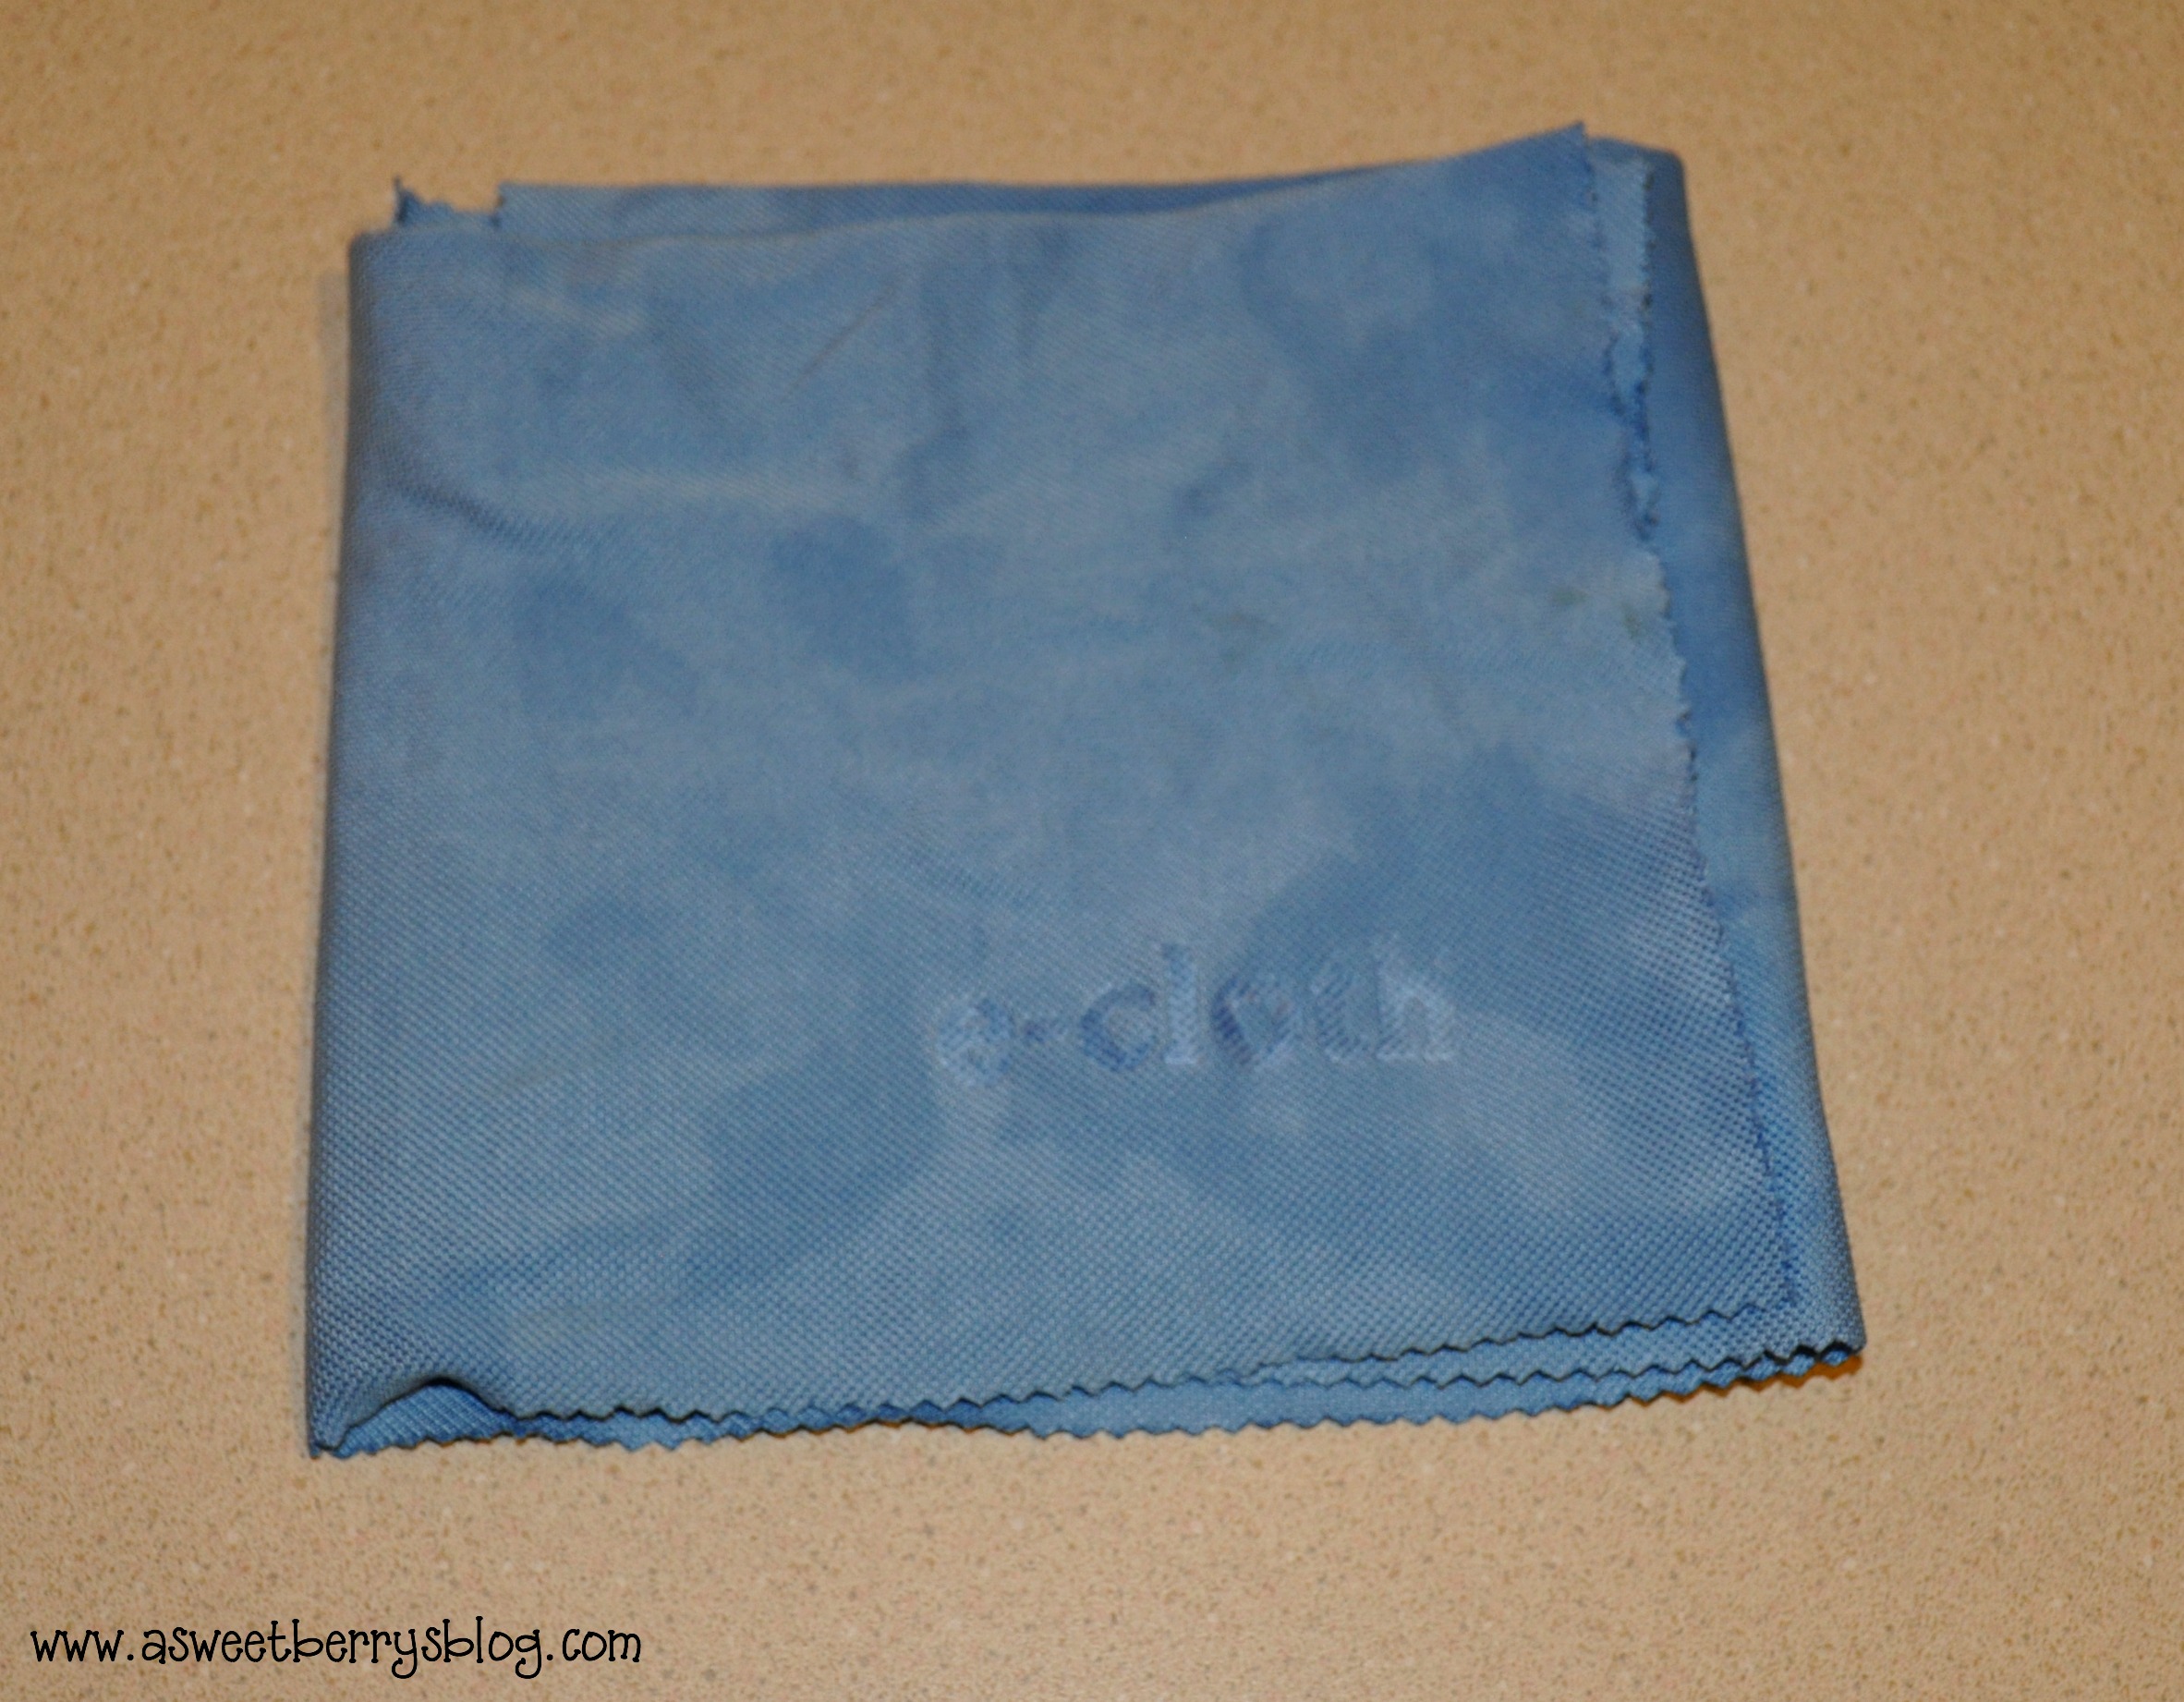
Well if you hate using harsh smelly chemicals, then E-cloths are for you!  E-cloth is a cleaning cloth that you can use with just water.  The cloths are made of microfibers and removes over 99% of bacteria.  

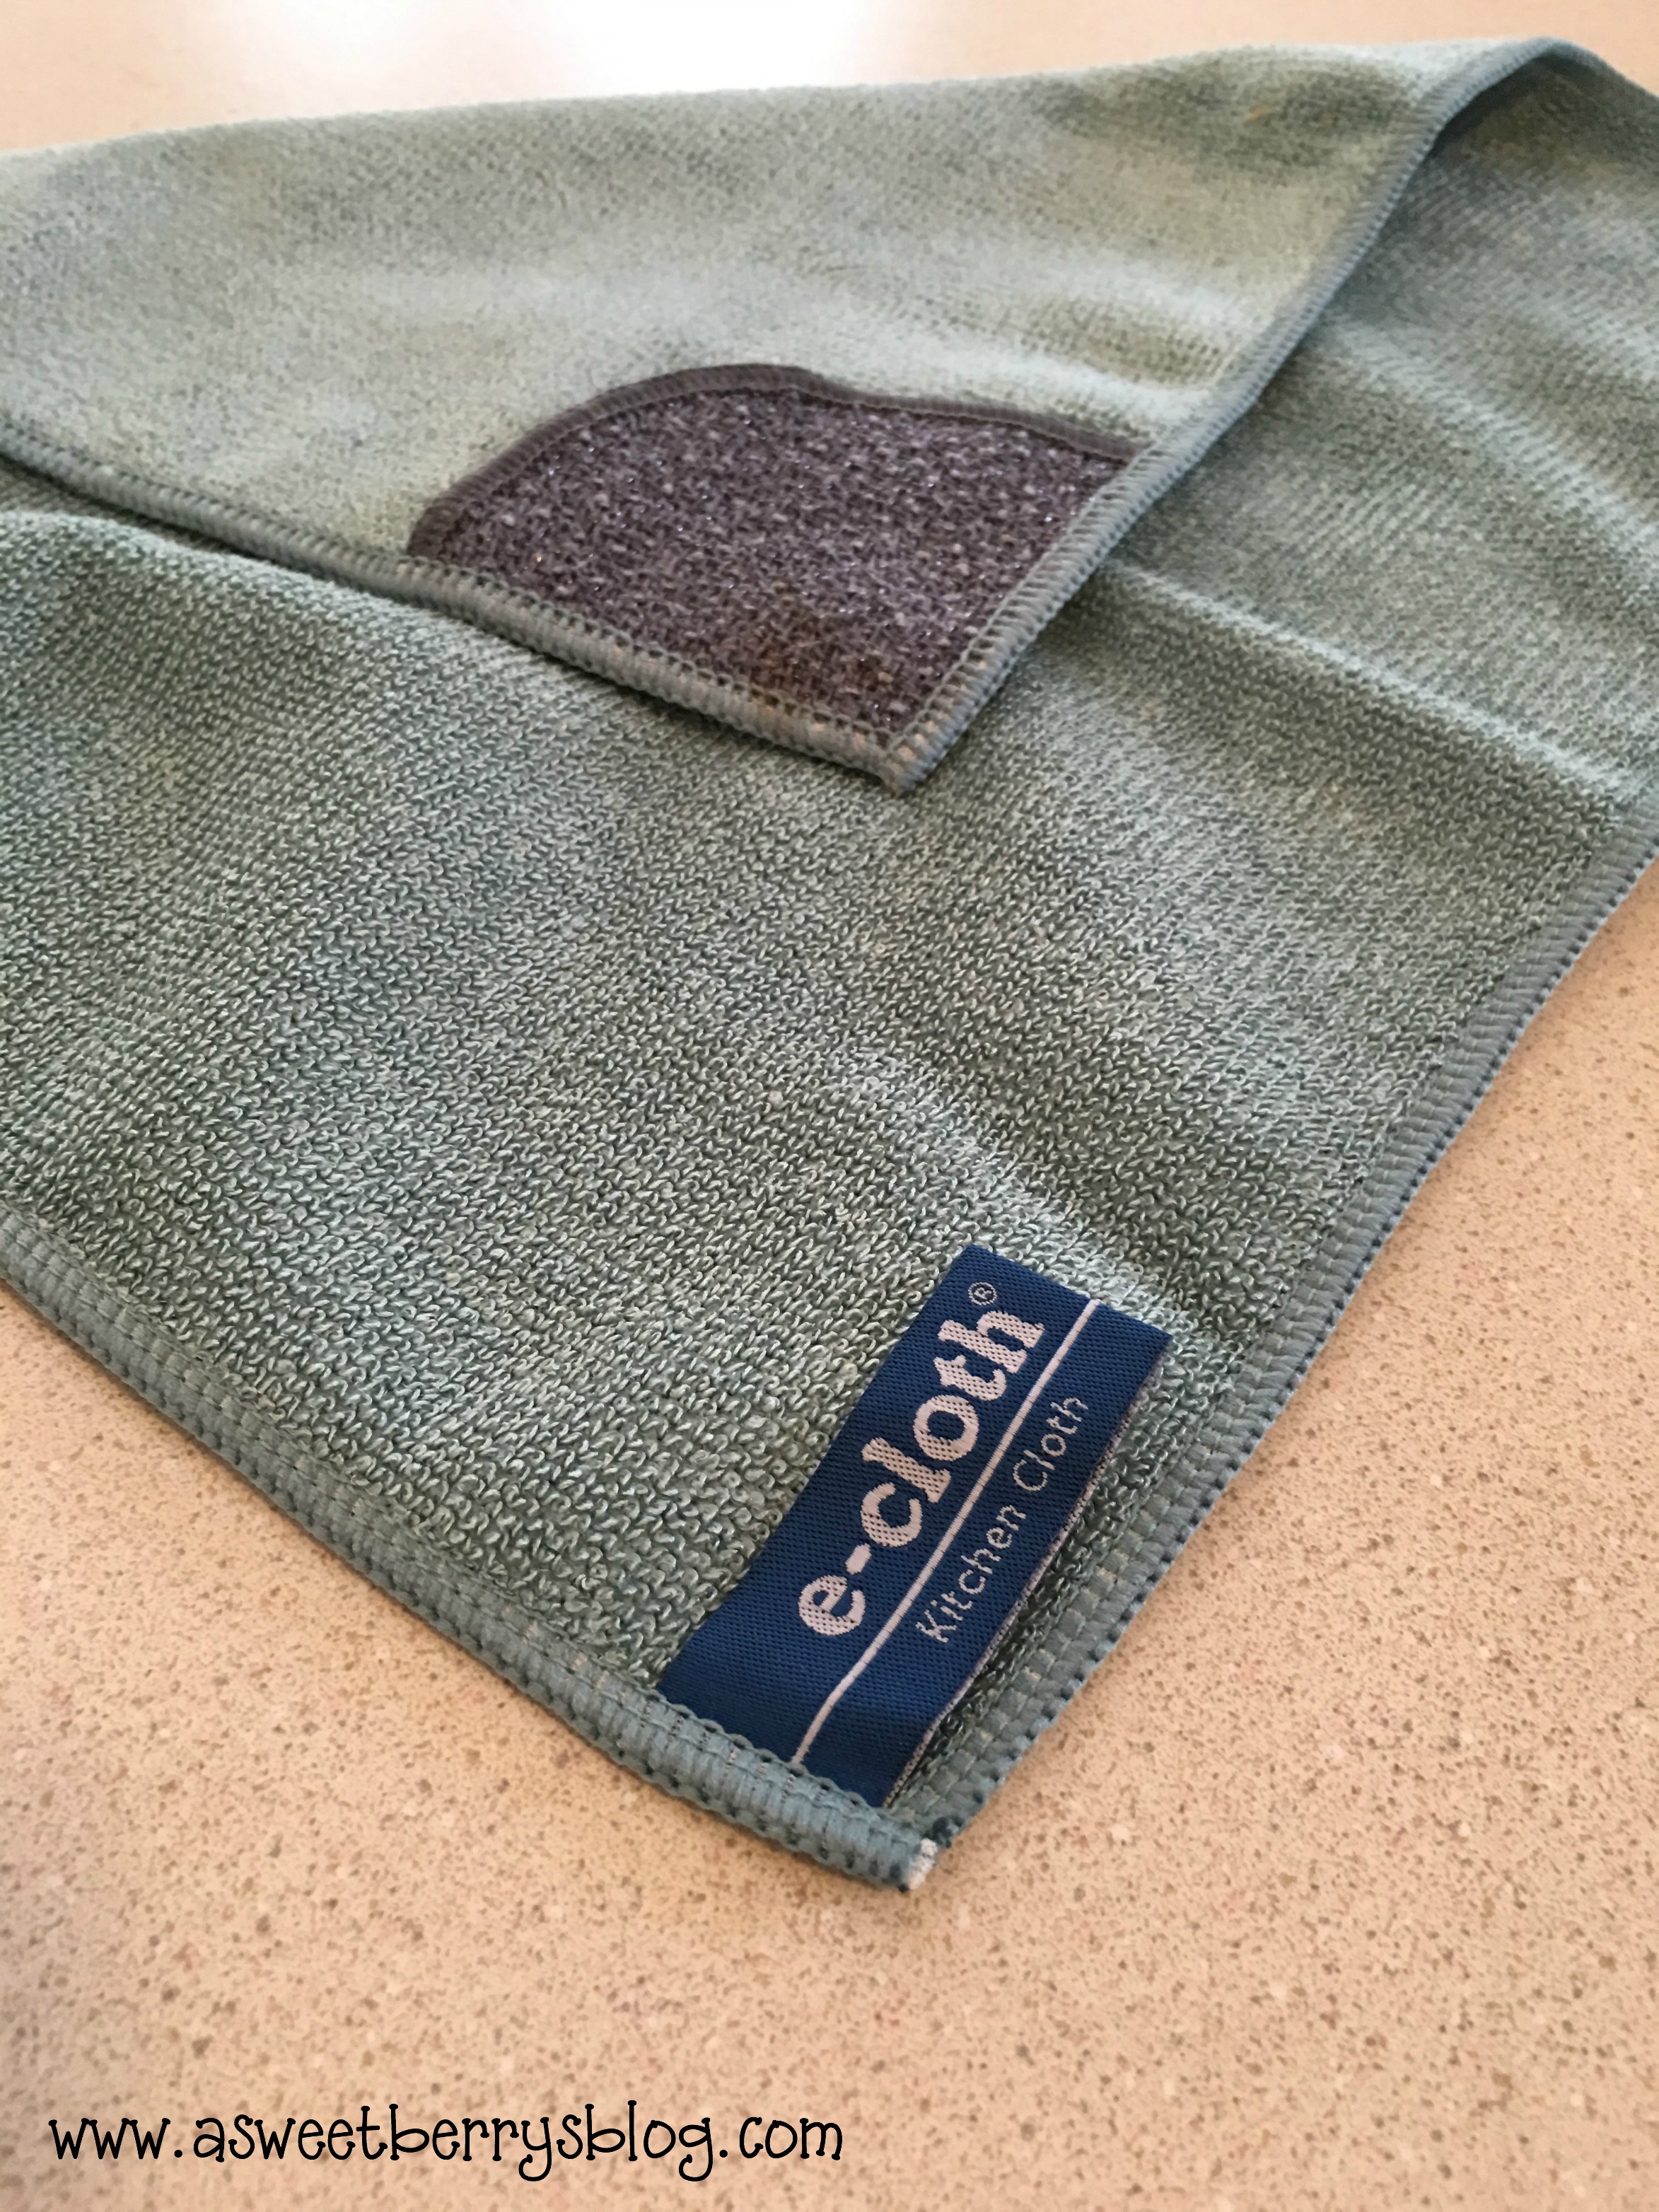
I got the chance to try the E-cloth Kitchen Pack.  This pack included one Kitchen Cloth and one Glass and Polishing Cloth.  The Kitchen Cloth has a little non-scratch scrubbing pad on one of the corners.   I absolutely love this cloth.  It works great for cleaning up a mess created by the kids.  And it works great on stubborn, stuck on foods.  

kitchen cloth

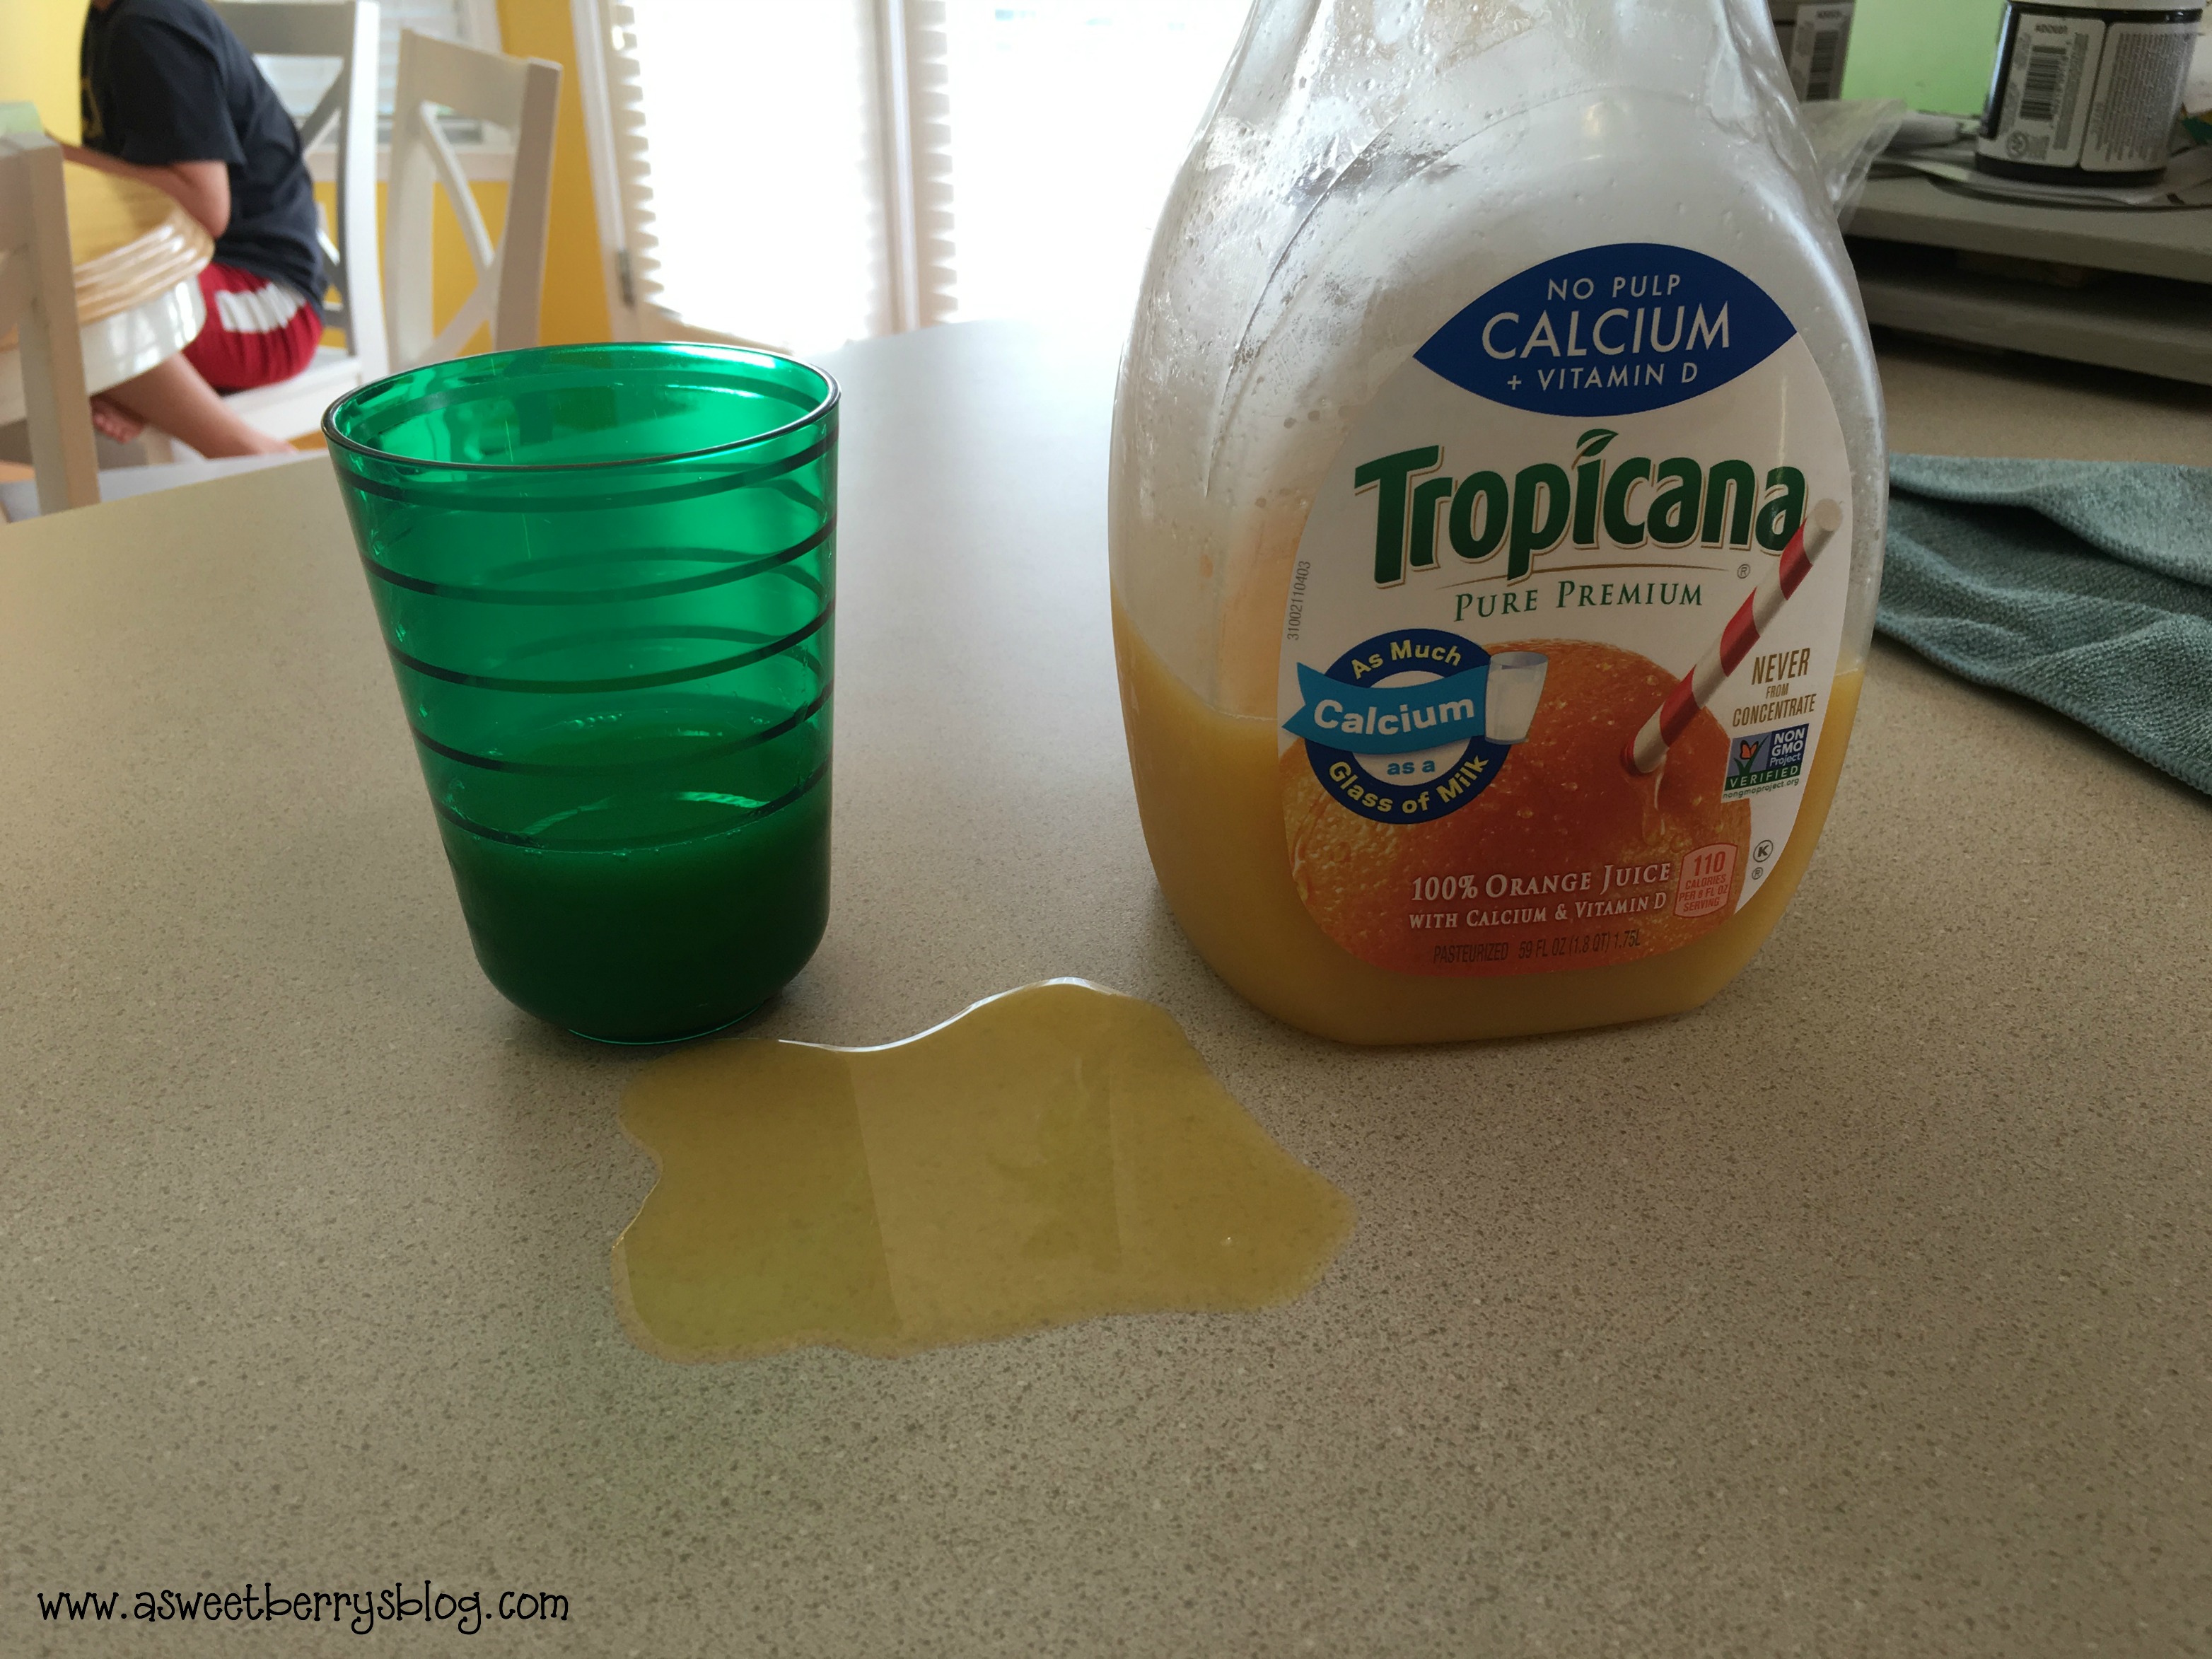
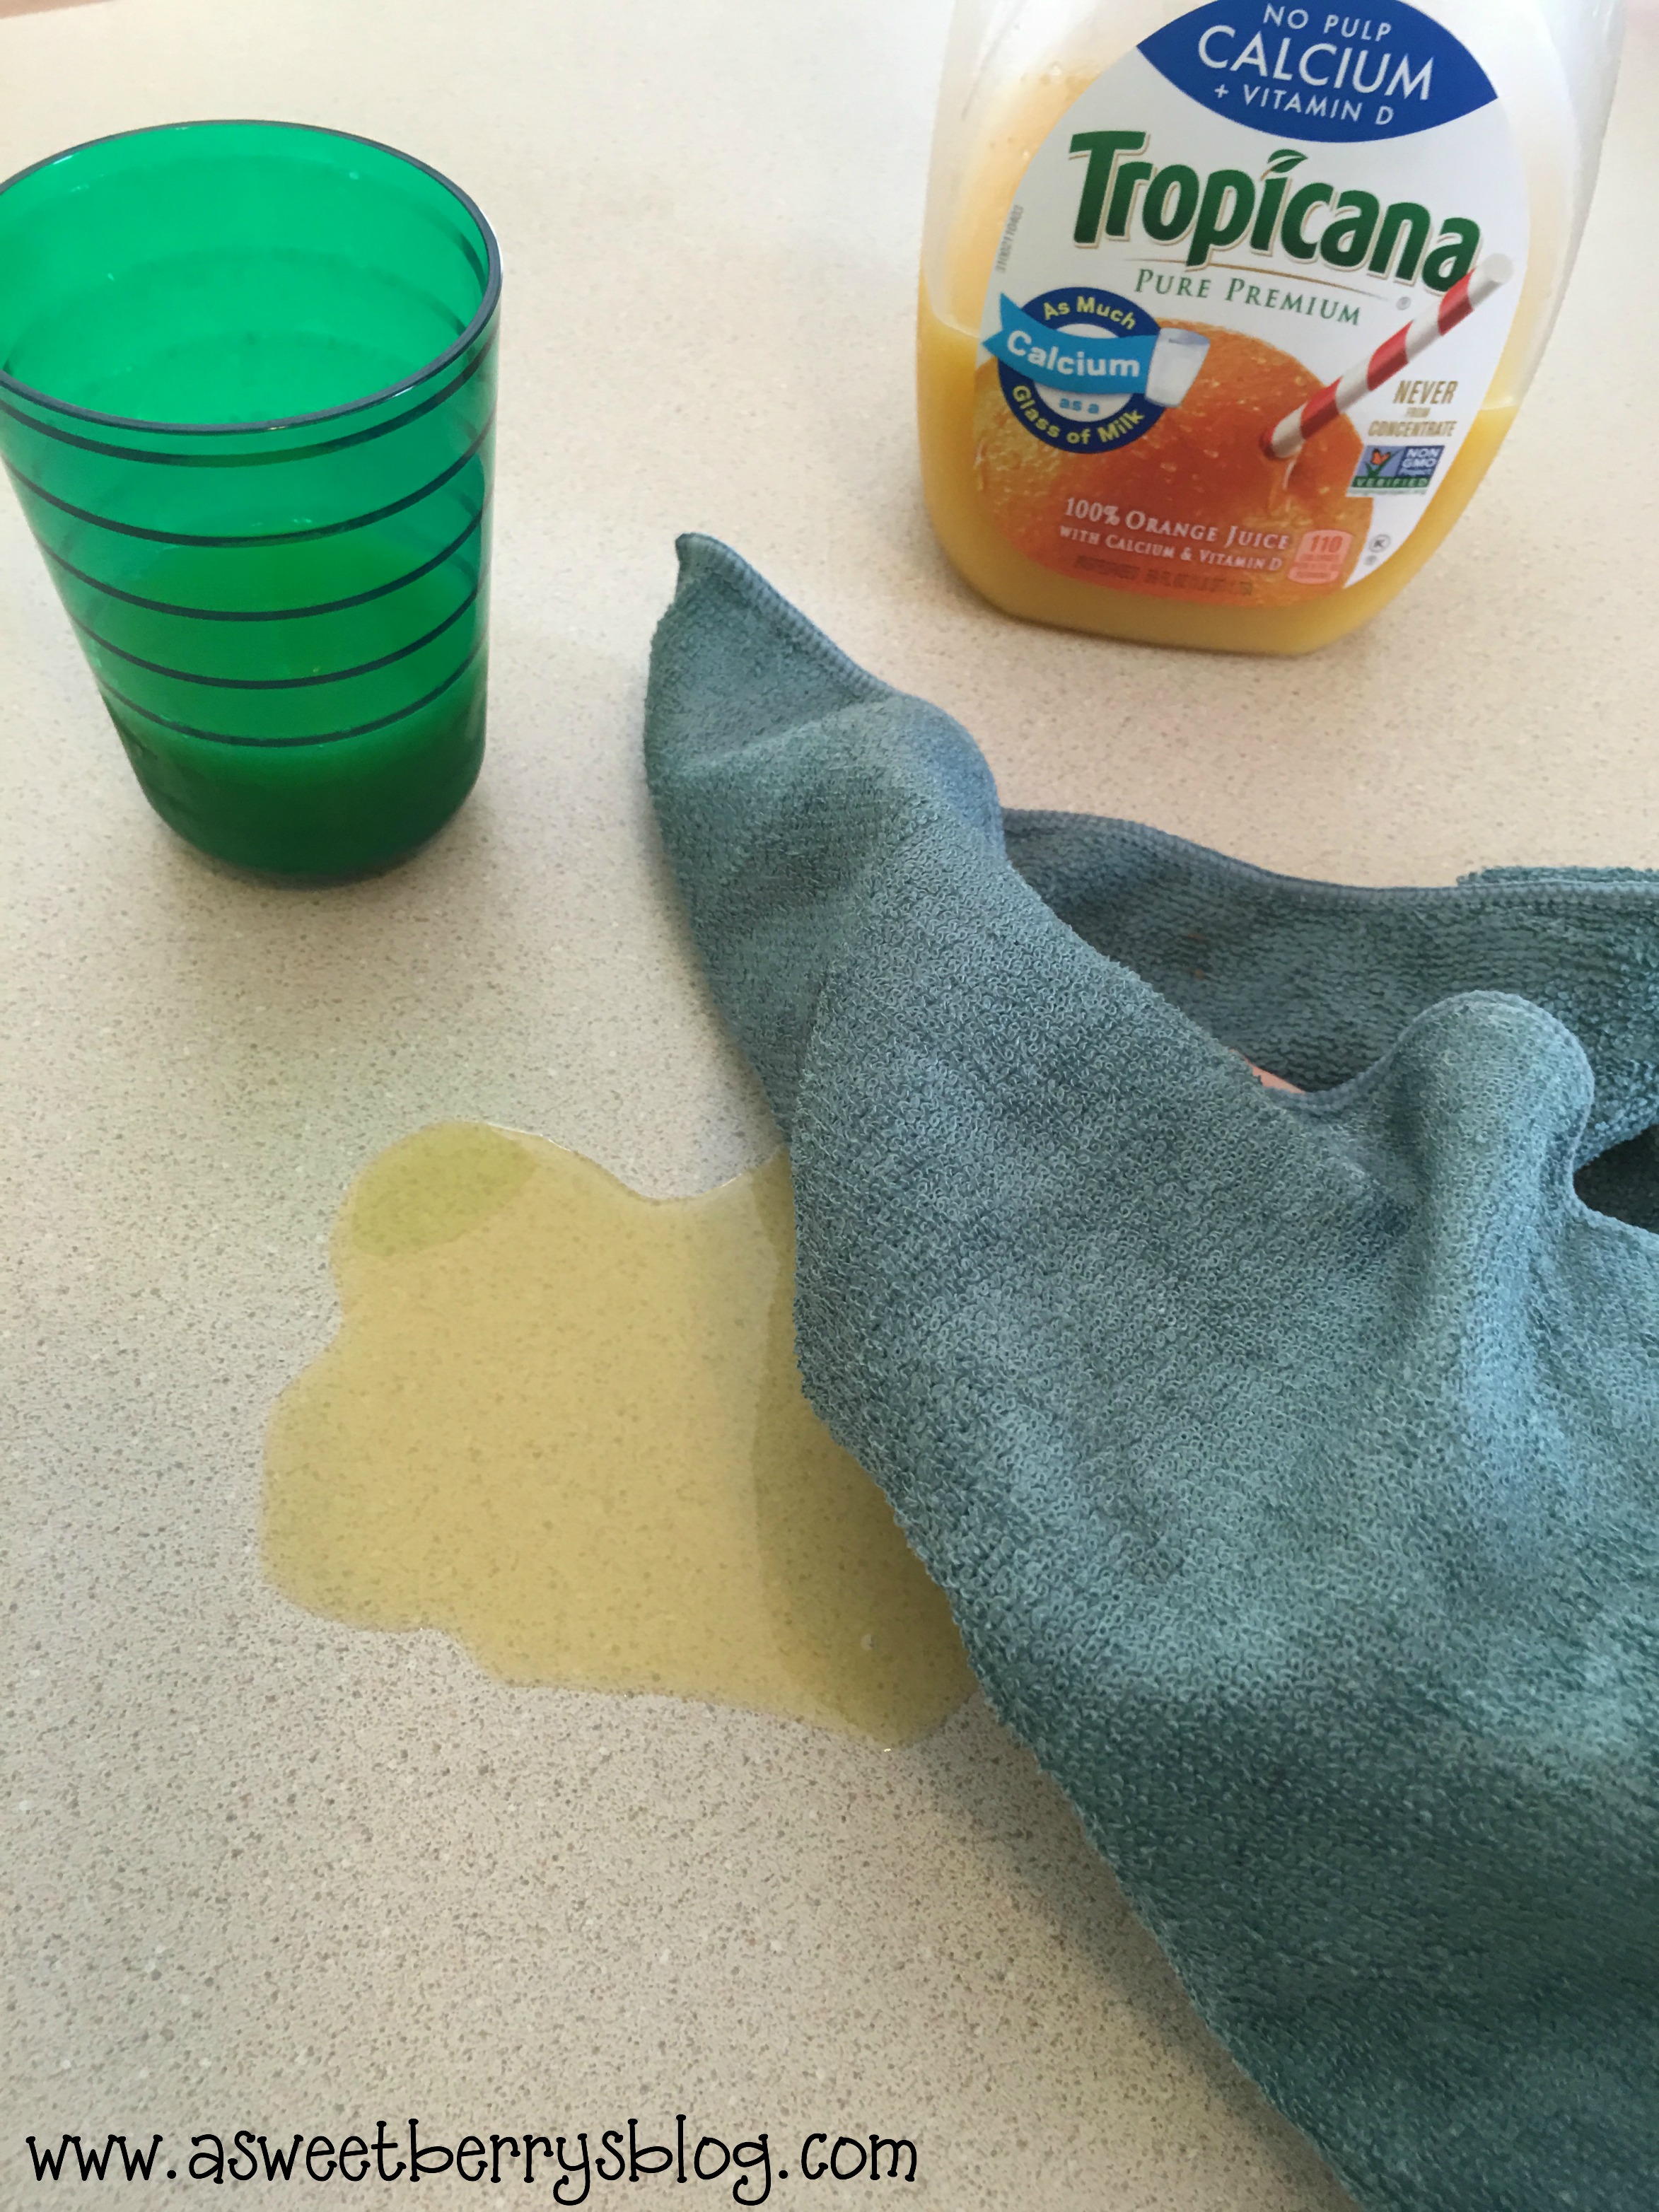
I have a 6 year old and a 9 year old and they are always spilling something, especially my super independent 6 year old!   Example below!   I love letting the kids use the Kitchen Cloth because they don’t have to spray chemicals to clean up their messes.

spill

Clean up was easy with a damp Kitchen Cloth.  After using, just rinse it out!   These clothes can be washed in the washing machine for up to 300 washes and still work great.   

clean up

The Glass and Polishing cloth leaves a streak free shine on most surfaces.  

buffing cloth

I just love that you can use this Kitchen Cloth with just water and it gets rid of messes and bacteria!  

You can find more information on E-cloths on their website at http://www.ecloth.com/ecloth-perfect-cleaning-with-just-water.html

Please consider joining their email list.  They promise to only send emails a couple times a month to let folks know about their promotions and you can opt out at any time. They will never sell your email addresses and will only use it for internal marketing.  You can also check them out on Facebook ( www.facebook.com/eclothUSA ), Pinterest (  www.pinterest.com/eclothUSA ), YouTube ( http://www.youtube.com/eclothCleaning ), Instagram ( @eclothUSA ) and Twitter ( @ecloth ). 

Disney World Savings Bank

Disney Bank Final

Kids just do not realize how much Disney World costs, especially when you don’t live there and you have to get a place to stay.   And if you are like us, we like to stay on the Disney property.   We have worked really hard to help our children learn about saving and spending money.   They’ve learned that if they want something, they have to save their money for it.  

Well, in preparation for an upcoming trip to Disney, I decided to make my boys a Disney World Savings Bank!  Aside from their allowance money, we’ve decided that every cent or dollar that we have will go into our Savings Bank.   We will use this money for fun things like souvenirs and extra treats!   So, the more they save, the more money they have to spend!  We are fortunate that we are going at a time that they offer the free dining plan.  That is helping to save A LOT of money!

Now, I will tell you the steps I took to making this fun and easy Disney World Savings Bank!

Materials needed:

-A Shadow Box Frame

-A fun piece of scrapbook paper (I used this cute Mickey paper, but you could use any kind that you want if you are making it for something other than Disney!)

-A drill

-Black Paint and a paint brush

-Glue Runner

Vinyl (affilate link)

-Electronic Cutting Machine (I used the Sizzix Eclips2 (affiliate link)

-Design/Cutting Software

-Money!!!!!!

Steps:

  1.  I removed the glass and cardboard backing from the frame and then drilled a hole in the top big enough for money to fit through.

Frame and Drill

2.  I measured my scrapbook paper to fit to the cardboard backing.  Then I painted the edges of the cardboard backing with the black paint.   Once the paint was dry, I put the cardboard backing into the frame and used a pencil to trace the hole that I cut from the frame.  I removed the cardboard backing and drilled a hole making it a little bigger than the lines.   

adding paper         painting cardboard

3.  Using eCAL2, I used a castle .svg file and a quote about money from Walt Disney.  I know that the quote had a different meaning than the saving of money for a trip to Disney, but I still like the quote and well……”It takes a lot of money to make these Dreams come true.”  That quote helps put into perspective for the kids that it does indeed take a lot of money to go to Disney!   I then cut it out with white vinyl.

eCal2

4. After the vinyl was cut, I weeded the excess vinyl.  I have to say that there is something very relaxing about weeding vinyl!   Using the hinge method, I placed the vinyl on the glass.

5.   I put everything together, making sure that I lined the holes up.  Then, I gave Benjamin all of the money that was in our change jar.   He went to town on putting all of the money in the Disney World Savings Bank!  

     Benjamin filling frame          filling high

Benjamin

Hope you like my Disney World Savings Bank idea!!!   It was fun to make and the boys love putting their extra money in there.   Every so often, they want to count the money to see how much is in it and then they have fun putting the money in it again!   

Until next time…….


Meet eClips2

Teacher’s Name Banner featuring Laura Kelly’s Apple #2 Die from Sizzix

Disclosure:  I am a member of the Laura Kelly Design Team and received product to provide product reviews and to write about in blog posts.  

 
Final
If your children aren’t in year round school like mine, it’s time for yours to go back to school!   I am excited to share this Teacher’s Name Banner that would be perfect for a teacher to hang in their classroom or right outside of the classroom.   It’s super simple and is a no sew project!  Your children could even help with cutting out the pieces!   I love making homemade crafts for my children’s teachers.  

Materials used:

Sizzix Big Shot
Laura Kelly’s Apple #2 Die from Sizzix
Laura Kelly’s Lemonade Capital Alphabet Die from Sizzix
Cutting Pads  (short and long)
Kunin Felt
Ribbon
Ad-tech Hot Glue Gun and Glue Sticks
Fiscar Scissors

Die Cuts 1.  First, I use the Sizzix Big Shot, Cutting Pads, Felt and Apple Die to cut out all of my pieces.  I did a full cut for the apple and then for the stem and leaf, I just placed my felt over the steel blade and ran it through the Sizzix Big Shot.  

2.  Then, I used Laura’s Lemonade Alphabet Die and Long Cutting Pads to cut the letters (Mrs. Winter, one of our favorite teachers!!) Adtech 3.  Once everything was cut out, I used my Ad-tech Hot glue gun and glue sticks to glue the stem    and leaves down to the apples.  

4.  I then glued them to a long piece of ribbon. Hallway

I hope you like my Teacher’s Name Banner featuring Laura Kelly’s Apple Die #2.   I had so much fun making it.  

Until next time…..

Katie-Signature-2