Category Archives: Back to School

Personalized Baseball Composition Notebook

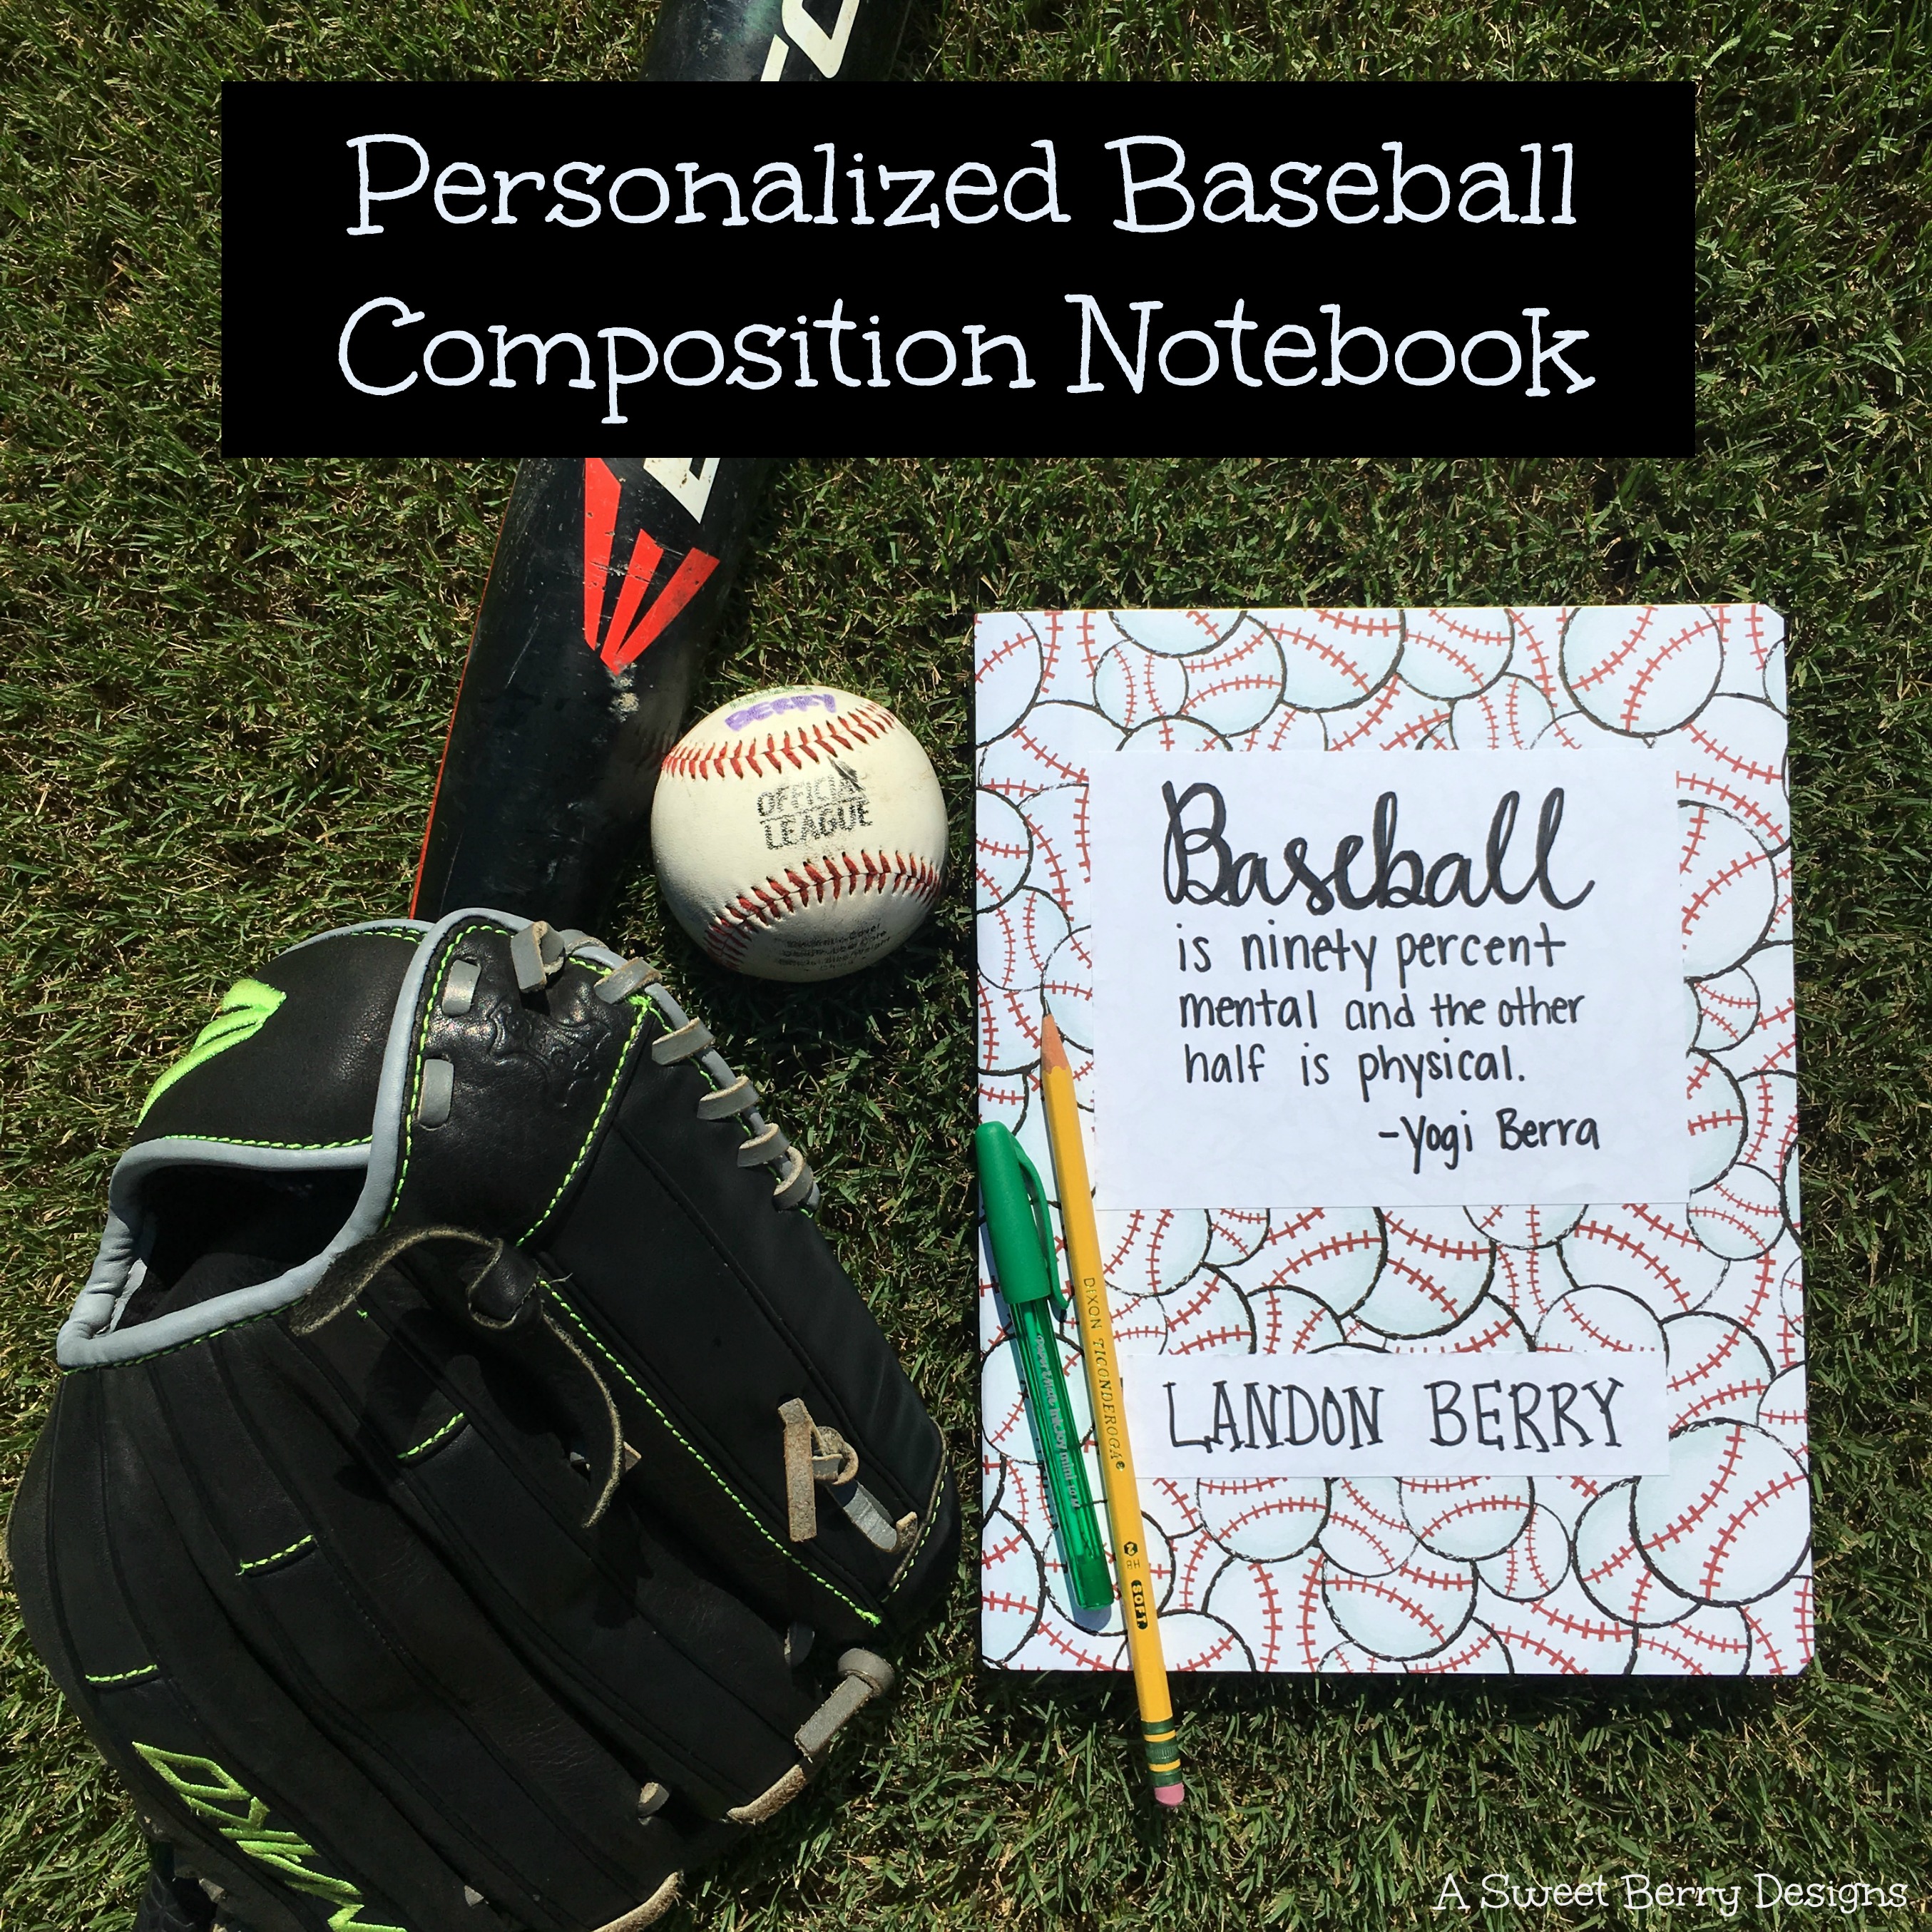
It’s Craft Lightning time again and the theme is Back To School!  Every year my kids have needed Marble Composition Notebooks!  I’ve always followed the list to a tee and gotten everything that was specifically asked for!   This year, I ran into one of my 5th graders teachers at Target and she mentioned that they didn’t care about the colors of notebooks and folders!   So, since I’m not a fan of the marbling of the composition notebook covers, I decided to make one fun!   My kids are really into baseball, so why not make one baseball themed!
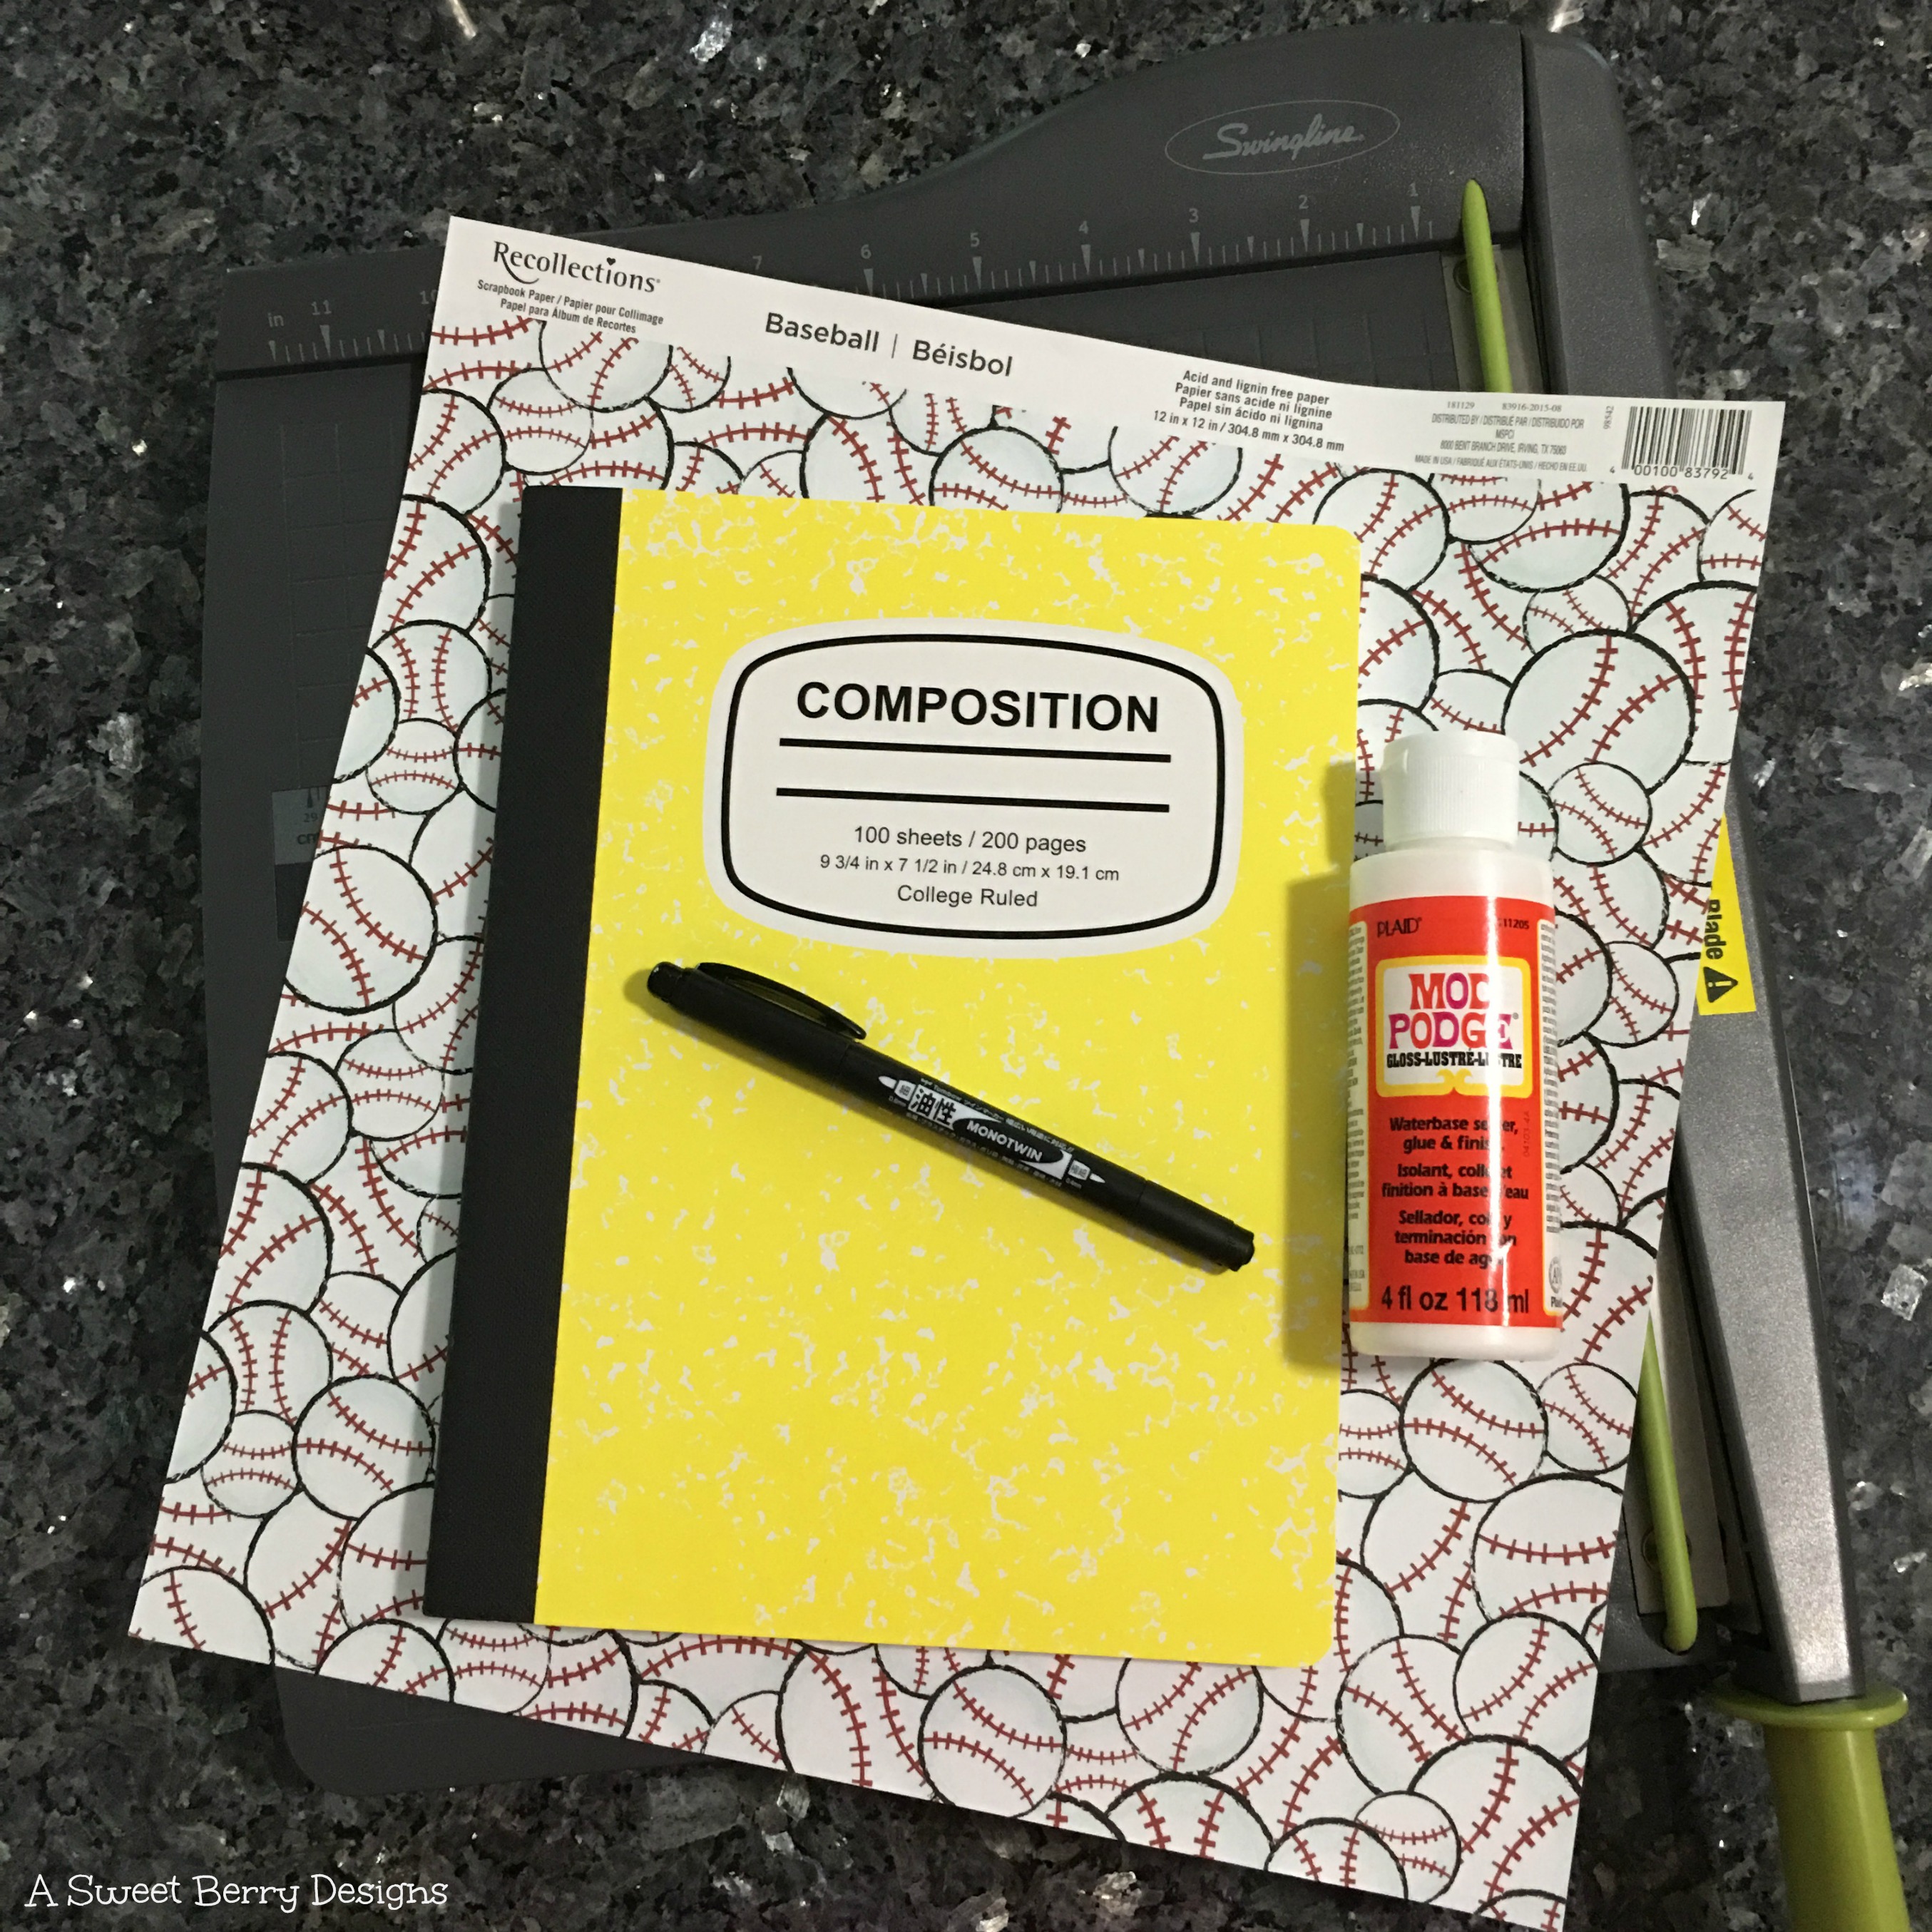
Materials needed:

Composition Notebook
Scrapbook Paper 
Paper Cutter or Scissors
Mod Podge
Foam Brush
Marker (I used a Tombow Monotwin Marker)

How I made it:

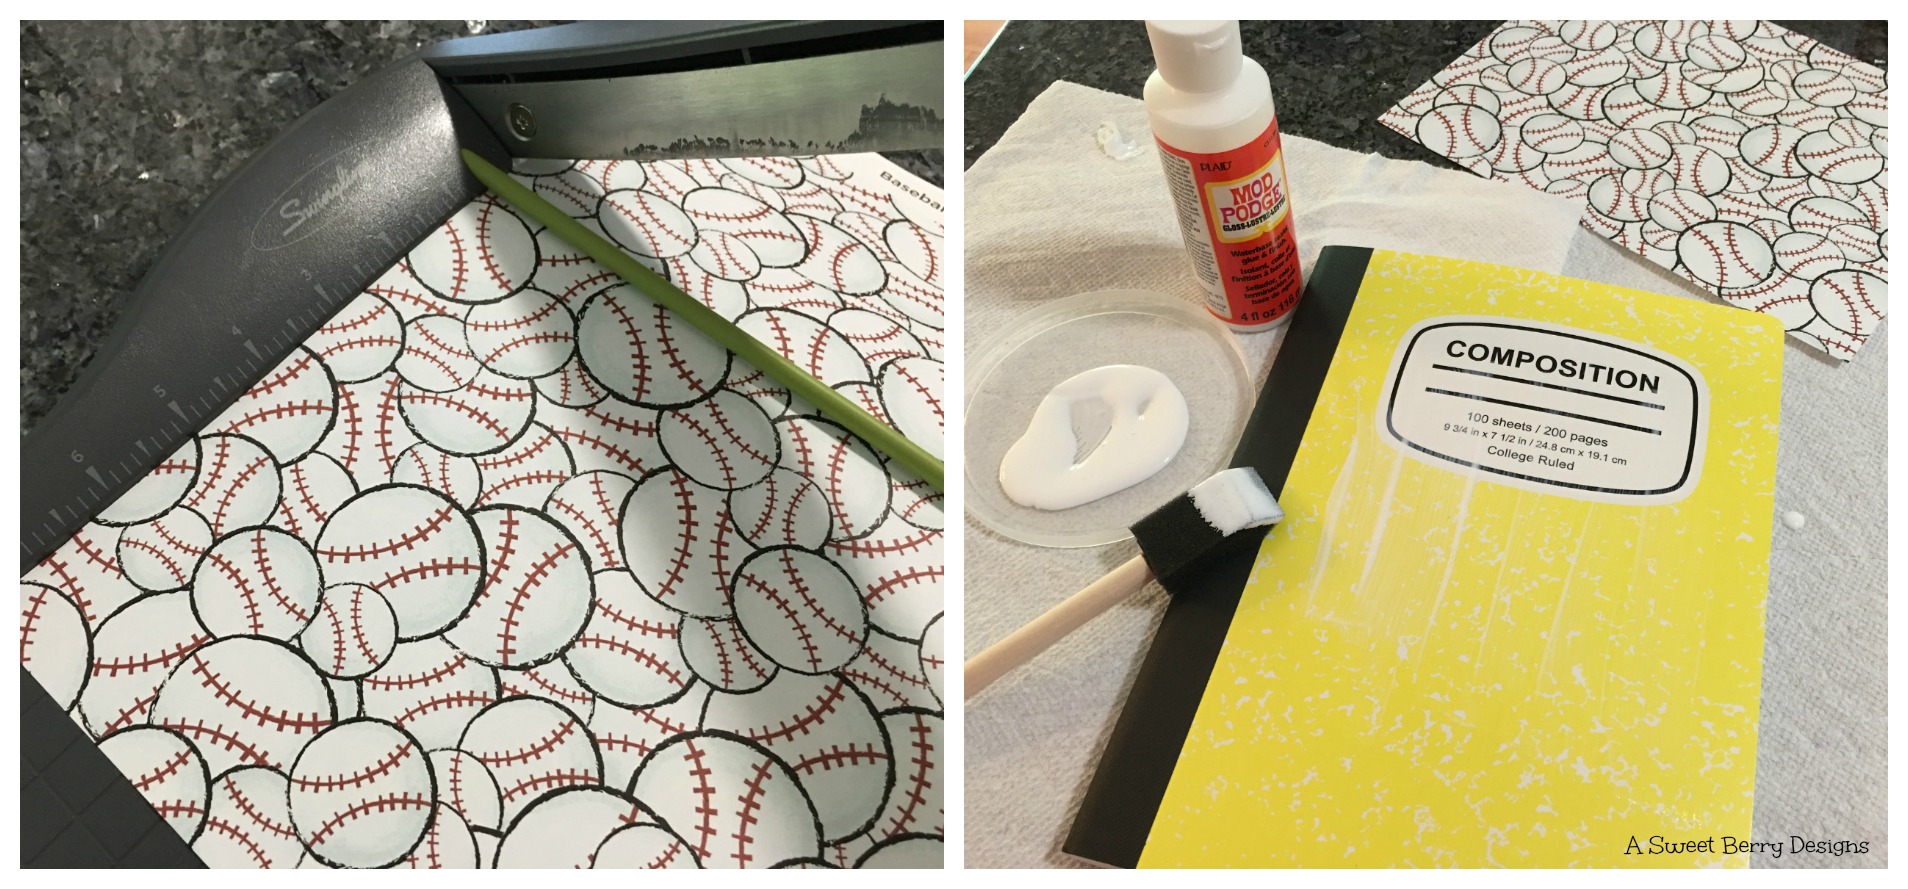
Luckily the measurements for the notebook are on the front cover, so I didn’t have to measure it, but if you get one that doesn’t have the measurements, you’ll have to measure it!  Cut your scrapbook paper to size.

Cover the front of the composition notebook with a light layer of Mod Podge using a foam brush.  Once it’s covered with Mod Podge, lay the scrapbook paper in place.

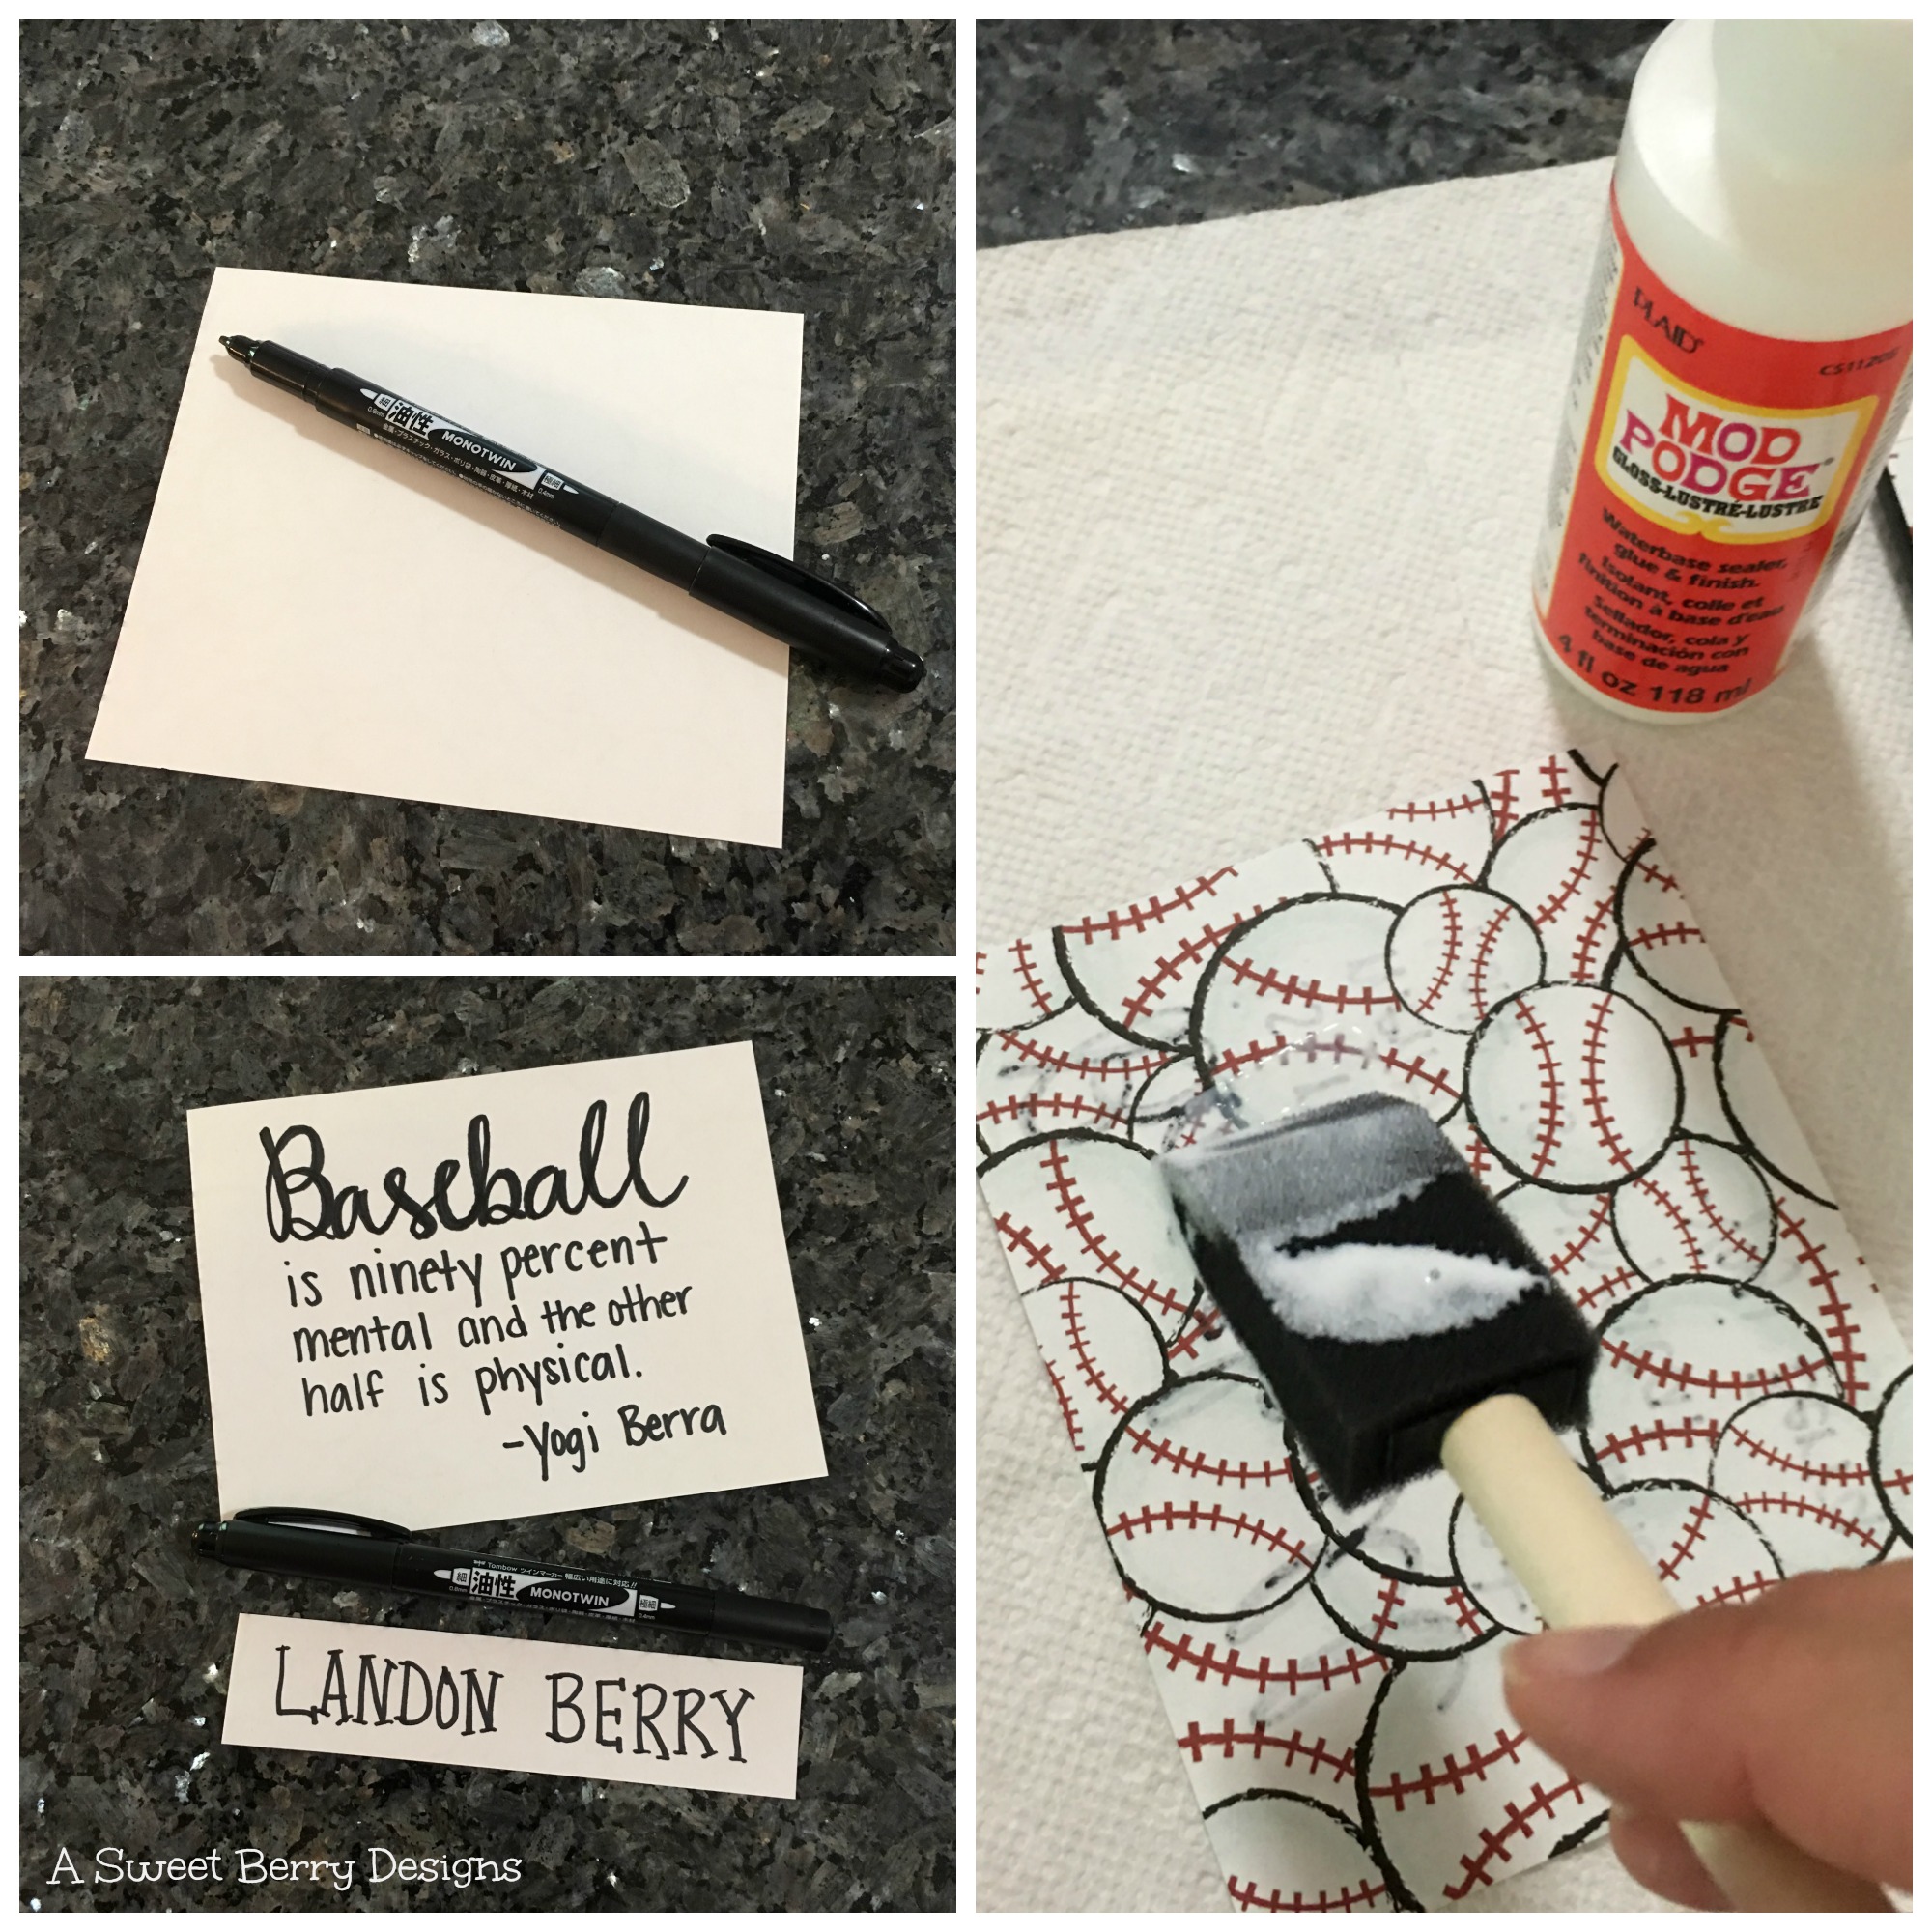
Using a piece of scrap paper, find and write a quote of choice.  I went with a baseball quote.  I also just used the back of the scrap paper left from the cover.  I cut a piece for the quote and a piece for a name.  Using my Tombow Monotwin marker, I wrote out my quote on the biggest piece and my sons name on the smaller piece. I Mod Podged the back and attached it to the cover.

I did not Mod Podge over the front of the paper just because I didn’t think my son would like the shiny look.

I think it looks awesome and it was really simple and quick to make!

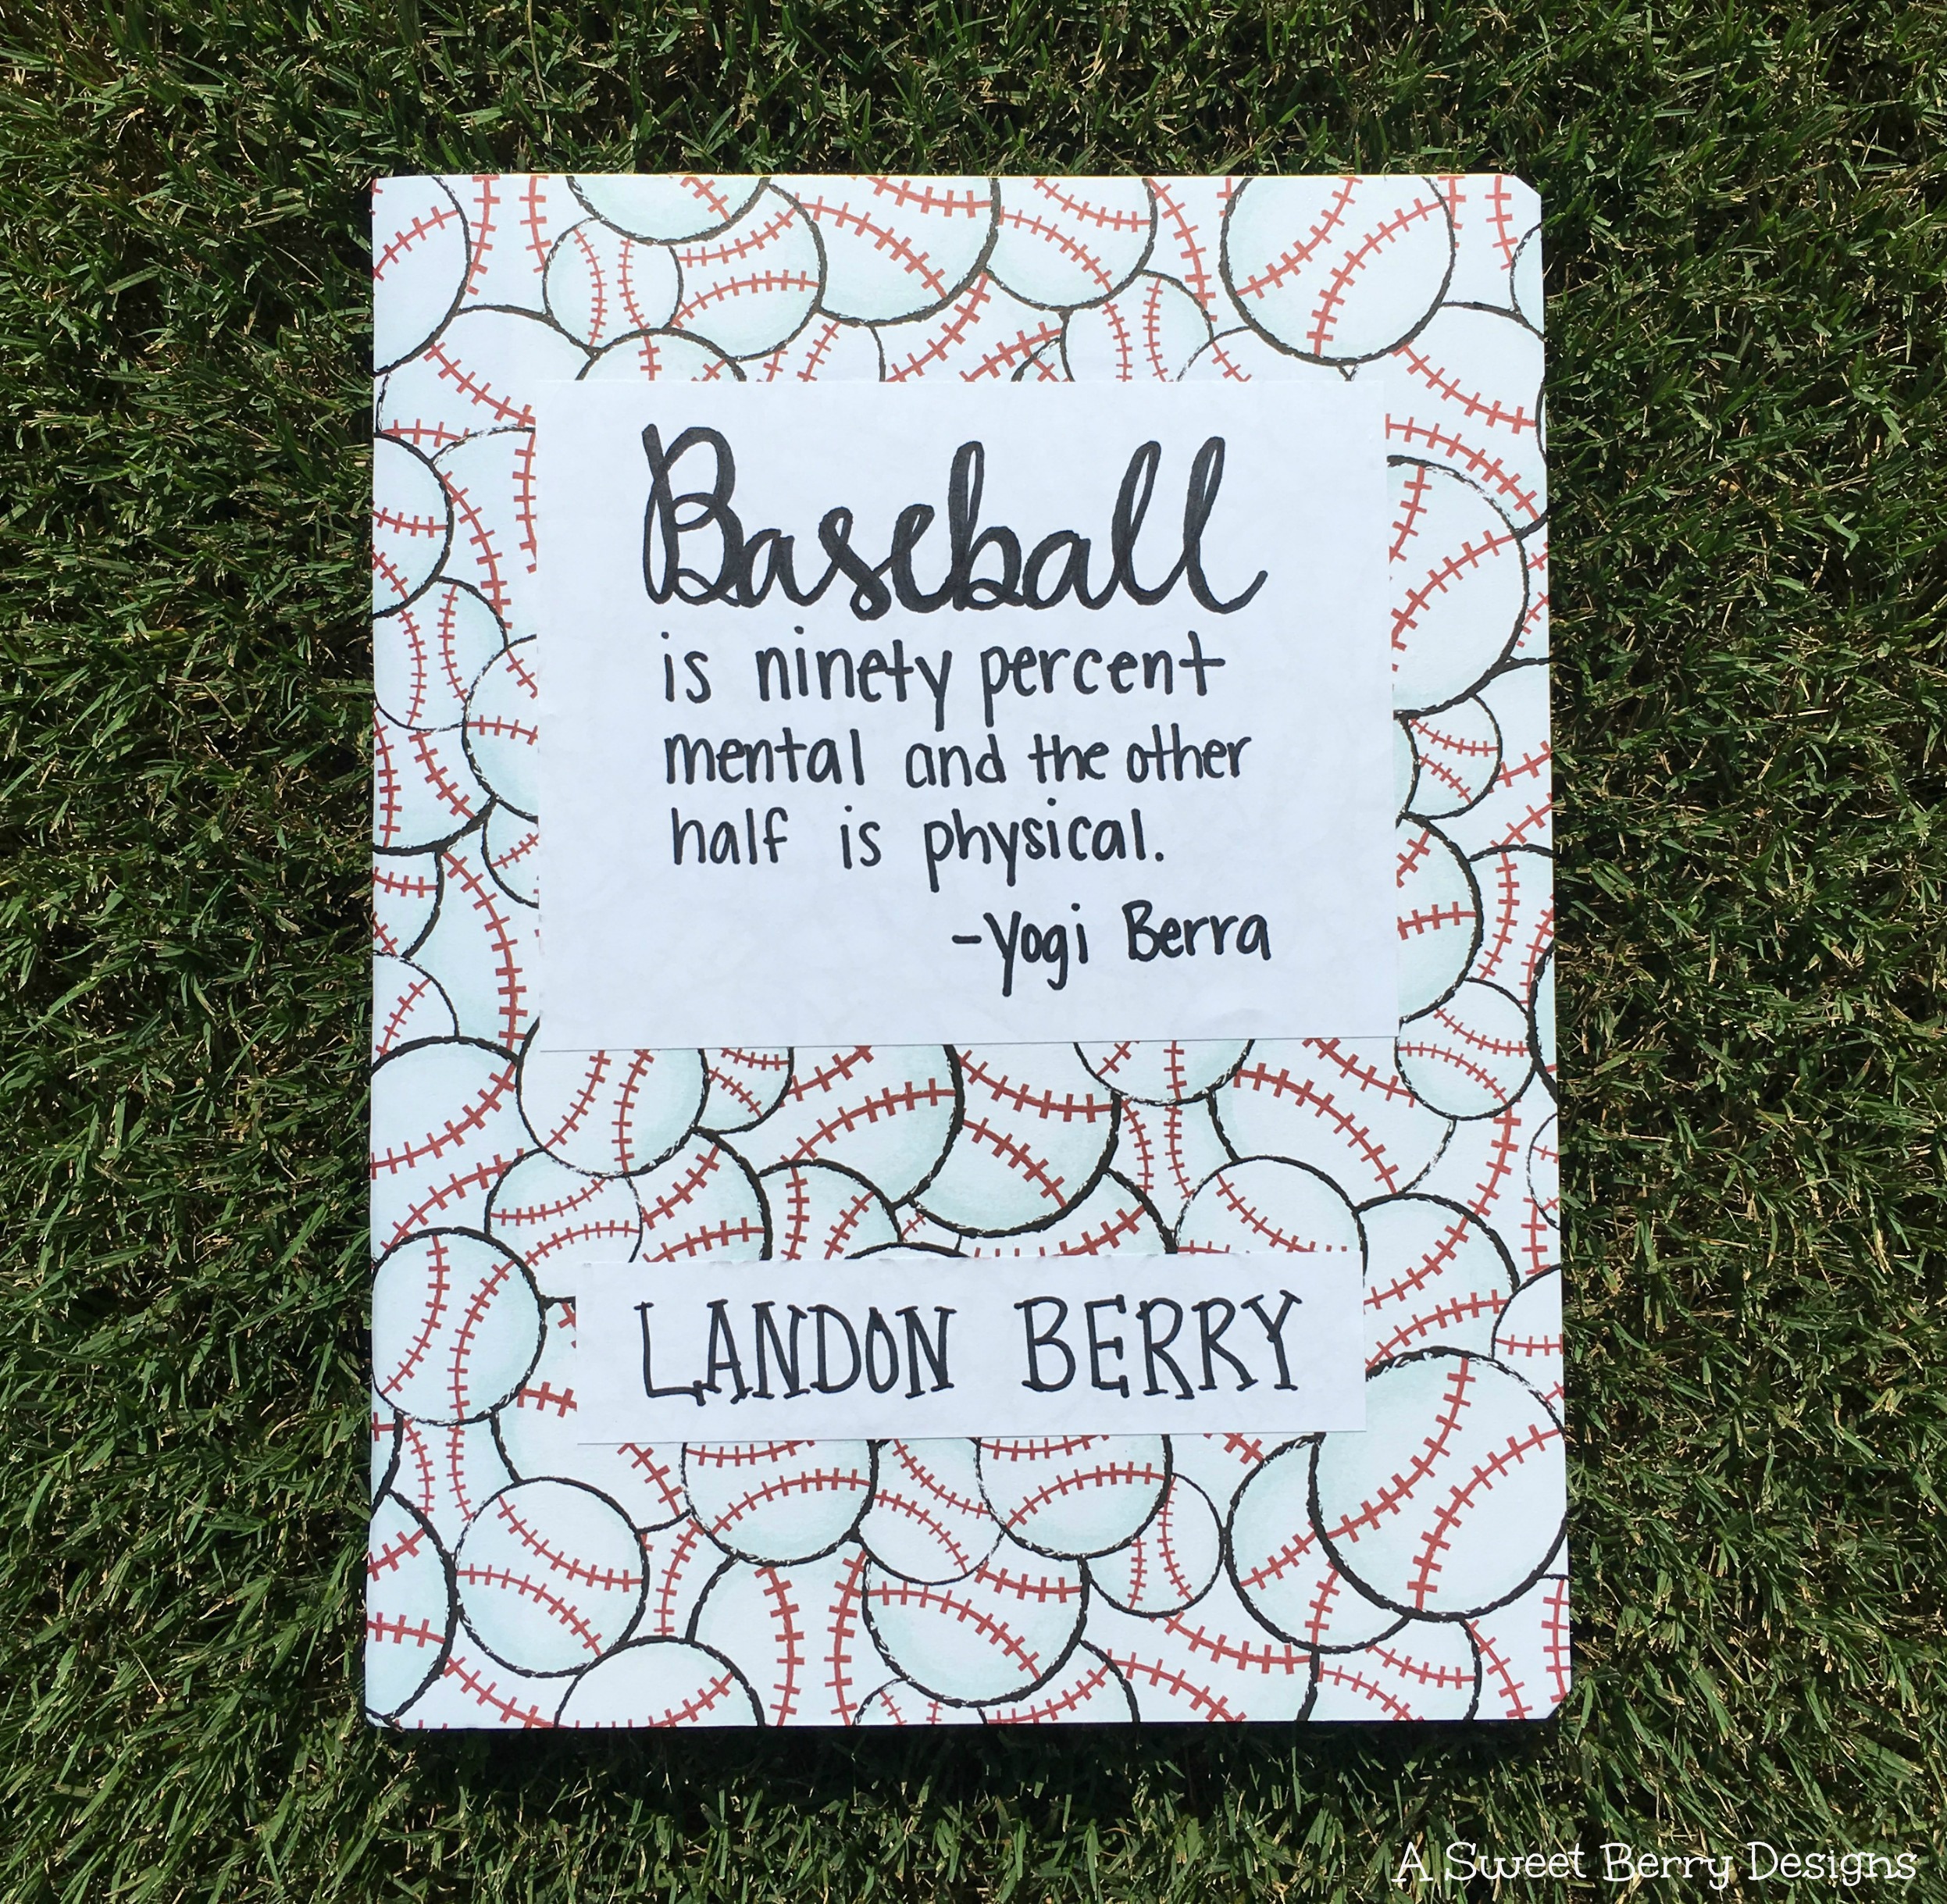
 I hope you like this super easy and fun Personalized Baseball Composition Notebook!  I know that my son does!

Be sure to check out other quick and easy Craft Lightning Back To School projects by clicking on the Craft Lightning button below!

Until next time…….

Teacher’s Name Banner featuring Laura Kelly’s Apple #2 Die from Sizzix

Disclosure:  I am a member of the Laura Kelly Design Team and received product to provide product reviews and to write about in blog posts.  

 
Final
If your children aren’t in year round school like mine, it’s time for yours to go back to school!   I am excited to share this Teacher’s Name Banner that would be perfect for a teacher to hang in their classroom or right outside of the classroom.   It’s super simple and is a no sew project!  Your children could even help with cutting out the pieces!   I love making homemade crafts for my children’s teachers.  

Materials used:

Sizzix Big Shot
Laura Kelly’s Apple #2 Die from Sizzix
Laura Kelly’s Lemonade Capital Alphabet Die from Sizzix
Cutting Pads  (short and long)
Kunin Felt
Ribbon
Ad-tech Hot Glue Gun and Glue Sticks
Fiscar Scissors

Die Cuts 1.  First, I use the Sizzix Big Shot, Cutting Pads, Felt and Apple Die to cut out all of my pieces.  I did a full cut for the apple and then for the stem and leaf, I just placed my felt over the steel blade and ran it through the Sizzix Big Shot.  

2.  Then, I used Laura’s Lemonade Alphabet Die and Long Cutting Pads to cut the letters (Mrs. Winter, one of our favorite teachers!!) Adtech 3.  Once everything was cut out, I used my Ad-tech Hot glue gun and glue sticks to glue the stem    and leaves down to the apples.  

4.  I then glued them to a long piece of ribbon. Hallway

I hope you like my Teacher’s Name Banner featuring Laura Kelly’s Apple Die #2.   I had so much fun making it.  

Until next time…..

Katie-Signature-2

Back To School Picture Frame

It’s time for Back To School at our house!  Everyone takes the “First Day of School” photos of their kids, so I thought I’d jazz up our first day of school photos.   I made this super easy “My first day of….” Photo Frame.  My children go to a year round school, so they are back at school this week.   My oldest is off to 3rd grade and my youngest is starting Kindergarten.   final
Materials:
Stakes (I purchased these from ACMoore in the wood department)
Krylon ColorMaster Paint+Primer (Benjamin picked the color Iris)
Adtech Hot Glue Gun and Glue Sticks
Letters & Aleene’s Tacky Line Runner

Using the color Iris from Krylon’s 2015 color palette, I spray painted my stakes.  I did two coats.

Krylon
Once my stakes were dry, I used my hot glue gun to glue my stakes together.   AdtechAndFrame
For the letters……you can use any store bought letters, cut your own by hand, or do what I did and use an electronic cutting machine.   I absolutely love my Sizzix Eclips2 and am constantly cutting letters!   I then used Aleene’s Tacky Line Runner to attach my letters to my frame. Letters
Once my letters were attached, it was time for the Kindergartener, Benjamin, to get behind the frame!
final
Once the school year is over, I remove the “first” and replace it with “last”.   And then, the next year, I change out the grade and replace “last” with “first” again.

Here is the one I made for my oldest son, Landon!
Landon
This project was made in 15 minutes or less for the Craft Lightning Back to School Blog Hop.  Click the Craft Lightning Button to check out some other 15 minutes or less Back to School Crafts!

Hope you liked my “My first day” Frame!

Until next time……