Tag Archives: Krylon

Painted Feather Rock

Craft Lightning is here again!!!! This month the theme is Painted Rocks. While in Phoenix this past January for AFCI, I met this awesome painted rocks lady Carissa. She has some amazing talents with her painted rocks. They bring all the joy! You can check her painted rocks out on Instagram: ilovepaintedrocks

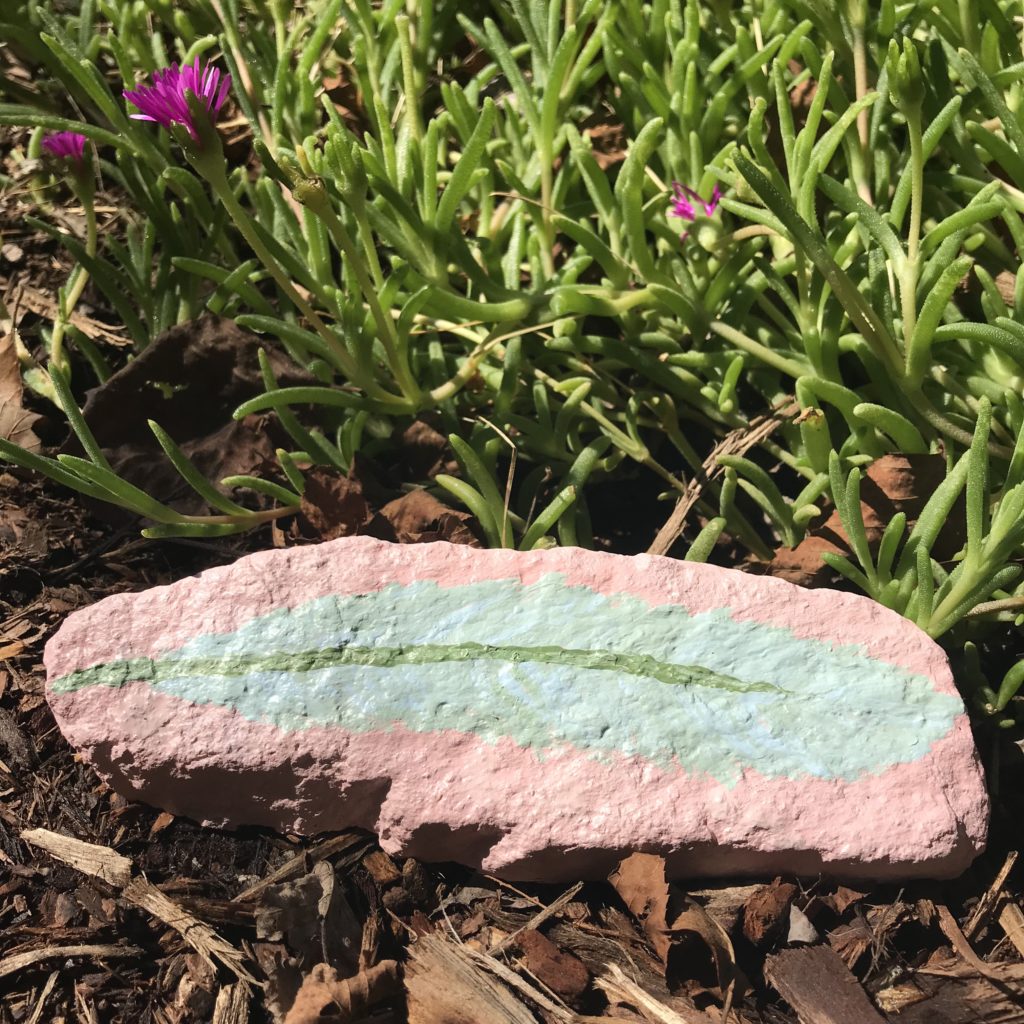
I made this Painted Feather rock. Feathers represent freedom, inspiration and spirit. When you see a feather on the ground, don’t you just want to pick it up?!?! Here is how I made it:

Materials:

  • A rock (I just found one in my neighborhood, but you could buy one!)
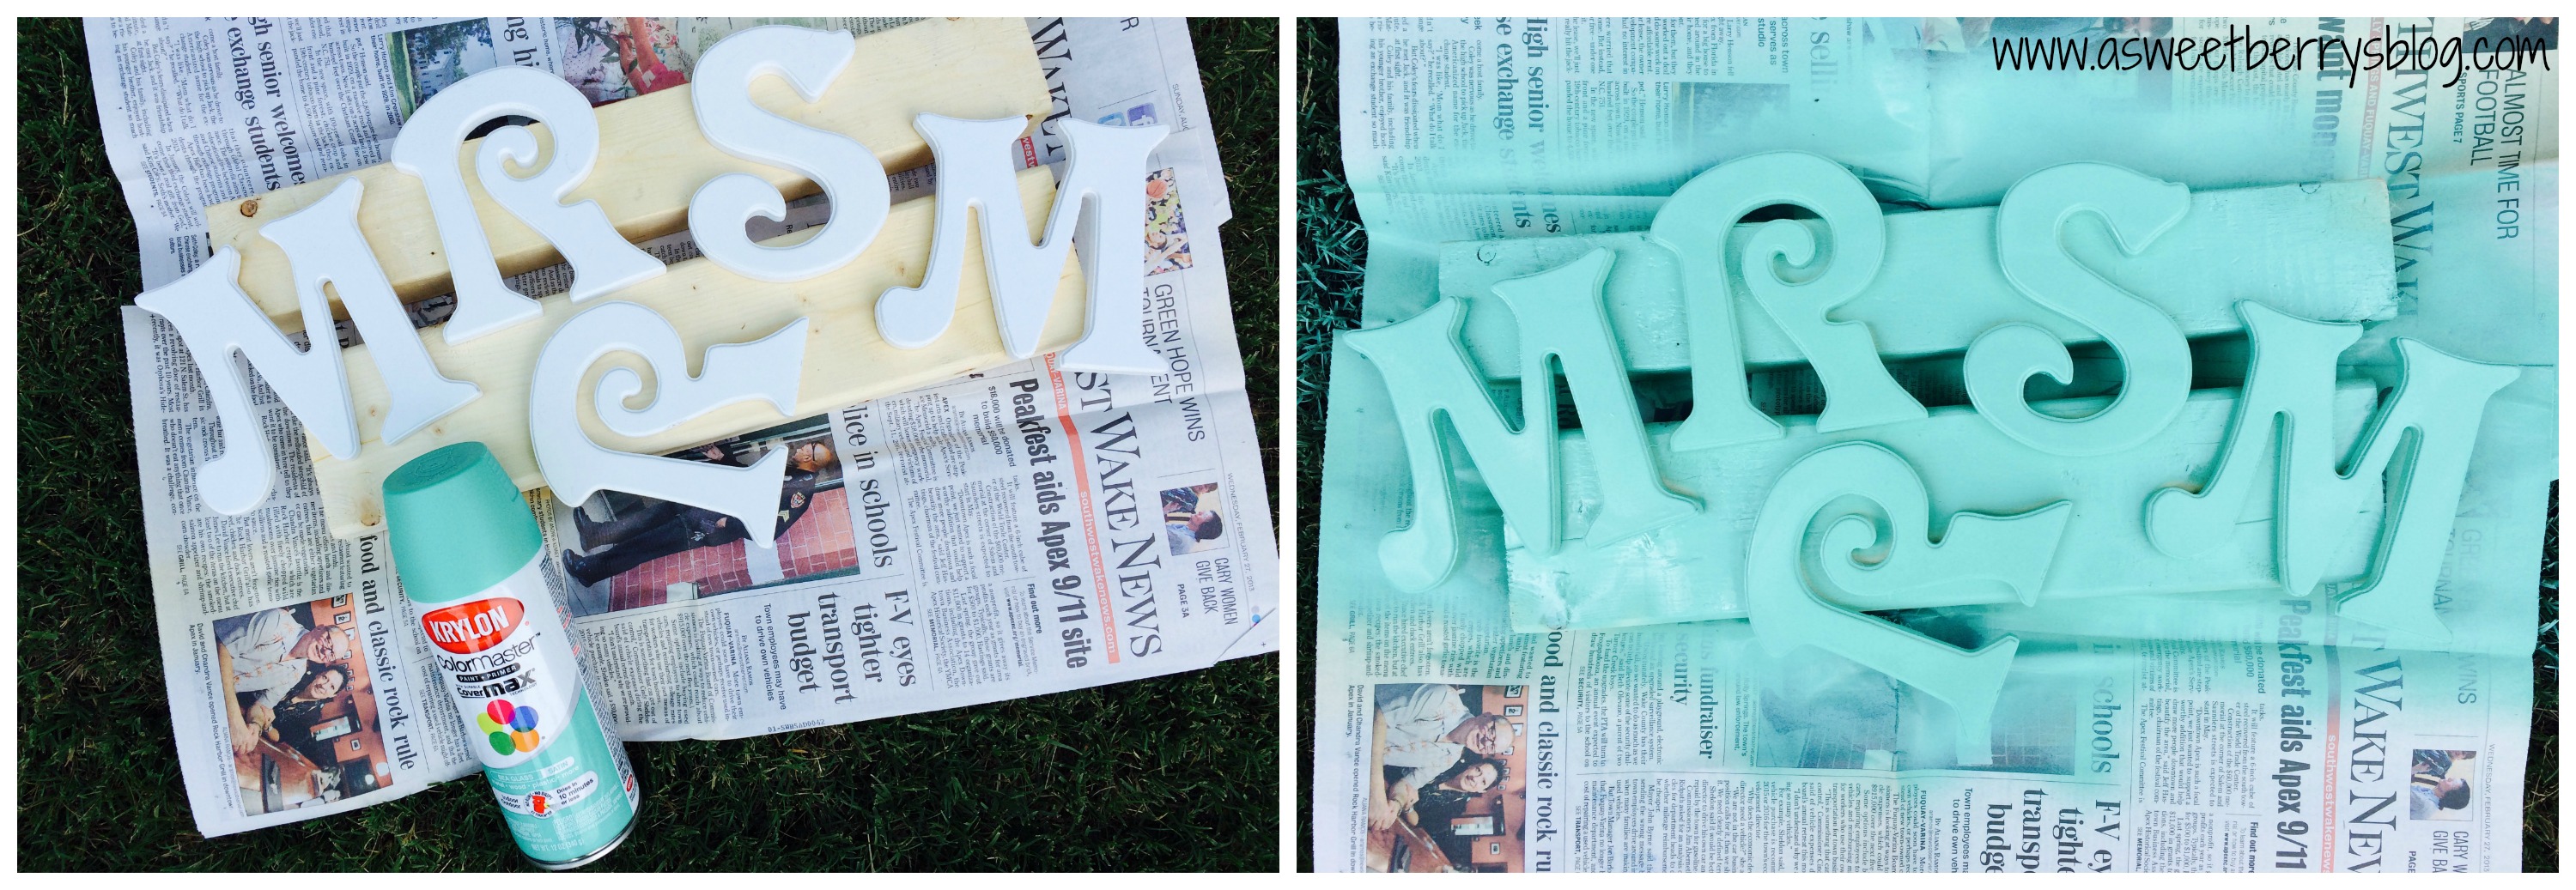
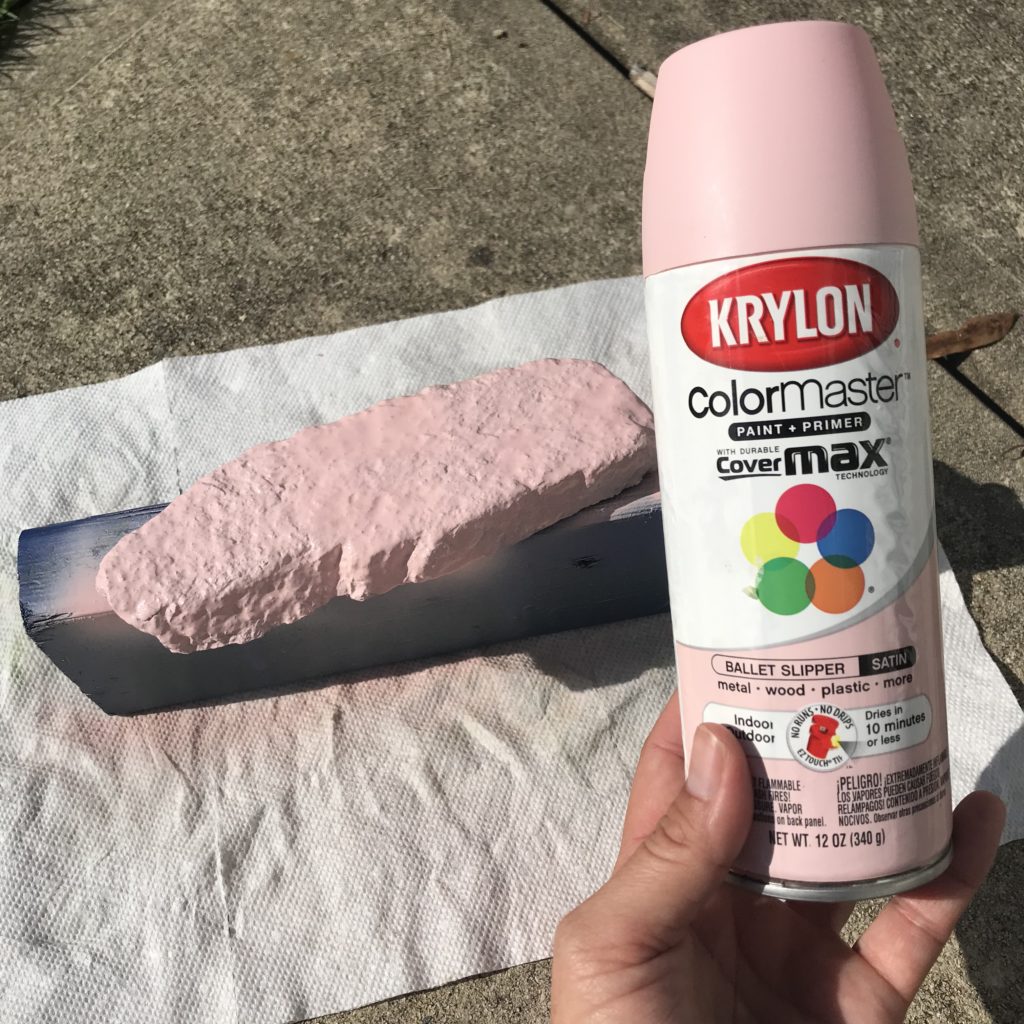
  • Paints (I used spray paint for the base and then some other paints I had lying around)
  • Paint Brushes
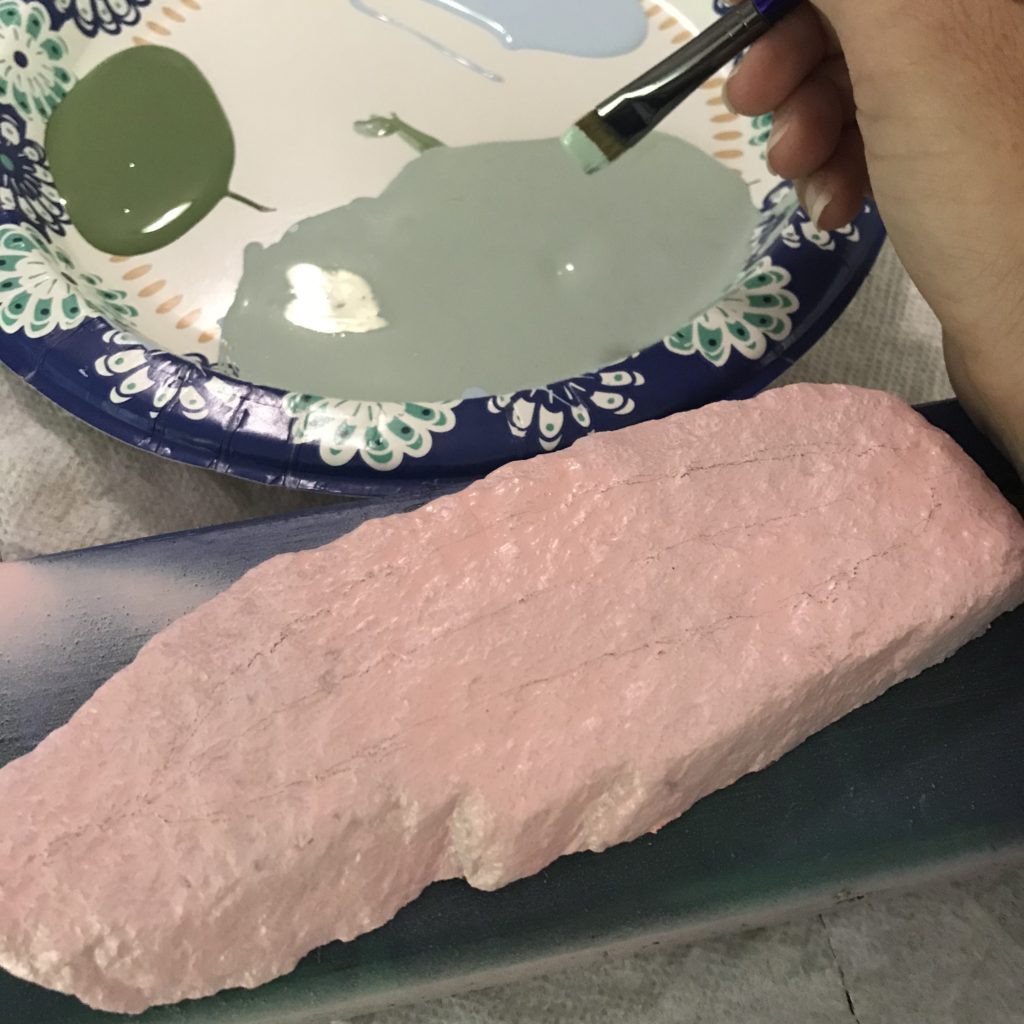
  • Tray for the paint (I just used a paper plate)
  • Something to put your rock on while you are painting and it dries
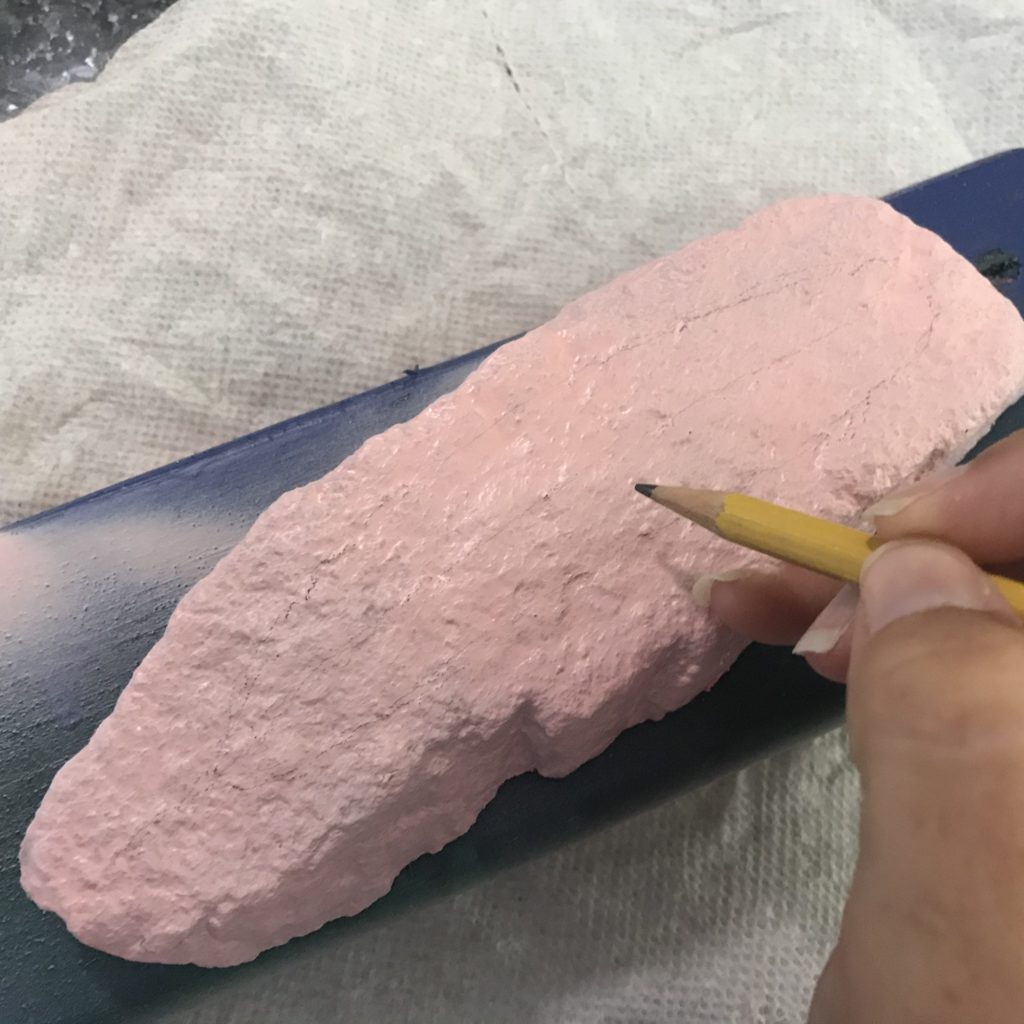
  • Pencil to draw an outline

Clean the rock to make sure it’s free of any dirt or leaves. I had to do this since I found mine out in the neighborhood.

Paint the rock with your base color and allow to dry. TIP: While you are waiting for it to dry, get your paints ready, especially if you mixing colors.


Using a pencil, draw a light outline of your design.

Paint your design and allow to dry.

Now you can go out into the world and put it where you’d like someone to find it! Or you could just add it to your own garden.

Check out other quick and easy 15 minute or less Craft Lightning painted rocks by clicking on the button below.

Until next time…..

Happy Crafting!

Initial Cork Boards

Sometimes cork boards can look boring and blah.  I decided to brighten them up!  These Initial Cork Boards were super easy and turned out super cool!

Complete
Materials:
4 Cork Tiles
Letter Stencils
Exact-o Knife
Pins to hold the letters in place
Spray Paint
Command Strips
cutting
Using my Sizzix Eclips2, I cut out the letters “K” and “B”.  Using pins, I placed my letters on the cork boards.  Then, I used an Exact-o Knife to cut the letters out.
painting
I chose two different colors of Krylon and spray painted the boards.  Krylon is by far my favorite brand of spray paint and these two colors are from the 2015 color palette!  
hot glue
Once my boards were dry, I used my hot glue gun to glue the letter boards to the solid ones.  Then I attached a Command Strip to the back and hung them on the wall.
command strip
These cork boards added a nice pop of color to my workspace!  Hope you like!

Until next time……

Washi Tape Pumpkin Popcorn Box

For the last couple of years, my friend Laura Kelly has put together an awesome Popcorn Box Blog Party with a selection of great craft items to help decorate the popcorn box!   She has done it again, and with the help of some great companies!  These awesome Popcorn Boxes came from World Market! blog party
This year, Scotch donated their Expressions Washi Tape!  I thought to myself, why not make a Washi Tape Pumpkin!  
Popcorn Box
Using Krylon spray paint that I had, I spray painted the box to cover up most of the red designs on the popcorn box.  The color was not quite orange, but it did the trick.
Krylon
Once the spray paint was dry, I covered the box in orange wash tape.  I didn’t want the lines to be perfect, so I made the tape go in all different ways!  It kind of made it look like an orange mummy!  Once it was covered, I used an Exacto knife to trim around the scalloped top of the box.
Orange Washi Tape
Next, I just tore pieces of black washi tape to make the pumpkin face!
Black Washi Tape
And it was done!  Super easy and perfect for a Halloween movie night with some popcorn!
Popcorn Box
Be sure to check out the other great Popcorn Box Designs.

And be sure to enter to win! a Rafflecopter giveaway

Back To School Picture Frame

It’s time for Back To School at our house!  Everyone takes the “First Day of School” photos of their kids, so I thought I’d jazz up our first day of school photos.   I made this super easy “My first day of….” Photo Frame.  My children go to a year round school, so they are back at school this week.   My oldest is off to 3rd grade and my youngest is starting Kindergarten.   final
Materials:
Stakes (I purchased these from ACMoore in the wood department)
Krylon ColorMaster Paint+Primer (Benjamin picked the color Iris)
Adtech Hot Glue Gun and Glue Sticks
Letters & Aleene’s Tacky Line Runner

Using the color Iris from Krylon’s 2015 color palette, I spray painted my stakes.  I did two coats.

Krylon
Once my stakes were dry, I used my hot glue gun to glue my stakes together.   AdtechAndFrame
For the letters……you can use any store bought letters, cut your own by hand, or do what I did and use an electronic cutting machine.   I absolutely love my Sizzix Eclips2 and am constantly cutting letters!   I then used Aleene’s Tacky Line Runner to attach my letters to my frame. Letters
Once my letters were attached, it was time for the Kindergartener, Benjamin, to get behind the frame!
final
Once the school year is over, I remove the “first” and replace it with “last”.   And then, the next year, I change out the grade and replace “last” with “first” again.

Here is the one I made for my oldest son, Landon!
Landon
This project was made in 15 minutes or less for the Craft Lightning Back to School Blog Hop.  Click the Craft Lightning Button to check out some other 15 minutes or less Back to School Crafts!

Hope you liked my “My first day” Frame!

Until next time……

Mr. and Mrs. Seat Back Wedding Wreaths

Need a quick wedding craft to brighten up the bride and grooms chair at the wedding reception?  These Mr. and Mrs. Seat Back Wedding Wreaths are quick, easy and adorable! final
Materials:
Two foam wreaths (I used FloraCraft Make It Fun Wreath Rings)
Wooden Letters (I picked these up at A.C. Moore)
Burlap Ribbon
Tulle
Krylon ColorMaster – Sea Glass
Hot Glue Gun and Glue
materials
So that it would be dry in time for adding them to my wreaths, I spray painted my letters first.   Krylon
Then, with the help of my craft loving five year old, Benjamin, I wrapped the foam wreath rings with the burlap ribbon and hot glued the end to keep it from unraveling. wrapping wreath
Once my letters were dry, I hot glued them together, slighting overlapping the letters. glued letters
Once the letters were glued together, I took a strip of tulle that was about 6-8 feet long and folded it in half to find the center.  Once I had the center, I hot glued my letters to the tulle.  I only attached the “Mrs” on the “R” and both the “M” and “R” of the “Mr” to the tulle.   I then laid the letters and tulle over the wreath and wrapped the tulle around the wreath near the top.  Once I was happy with the placement of the letters, I wrapped it around the chair and tied it to secure the wreaths to the chairs! individual wreath
I love how these turned out!  And they are actually on their way to a beach wedding this upcoming weekend!
final
Need other super quick and easy wedding ideas?  Be sure to check out this awesome Craft Lightning event for great ideas from some awesome bloggers!

Until next time……