Tag Archives: Craft Lightning

Craft Lightning Glitter – Mom Juice Wine Tumbler

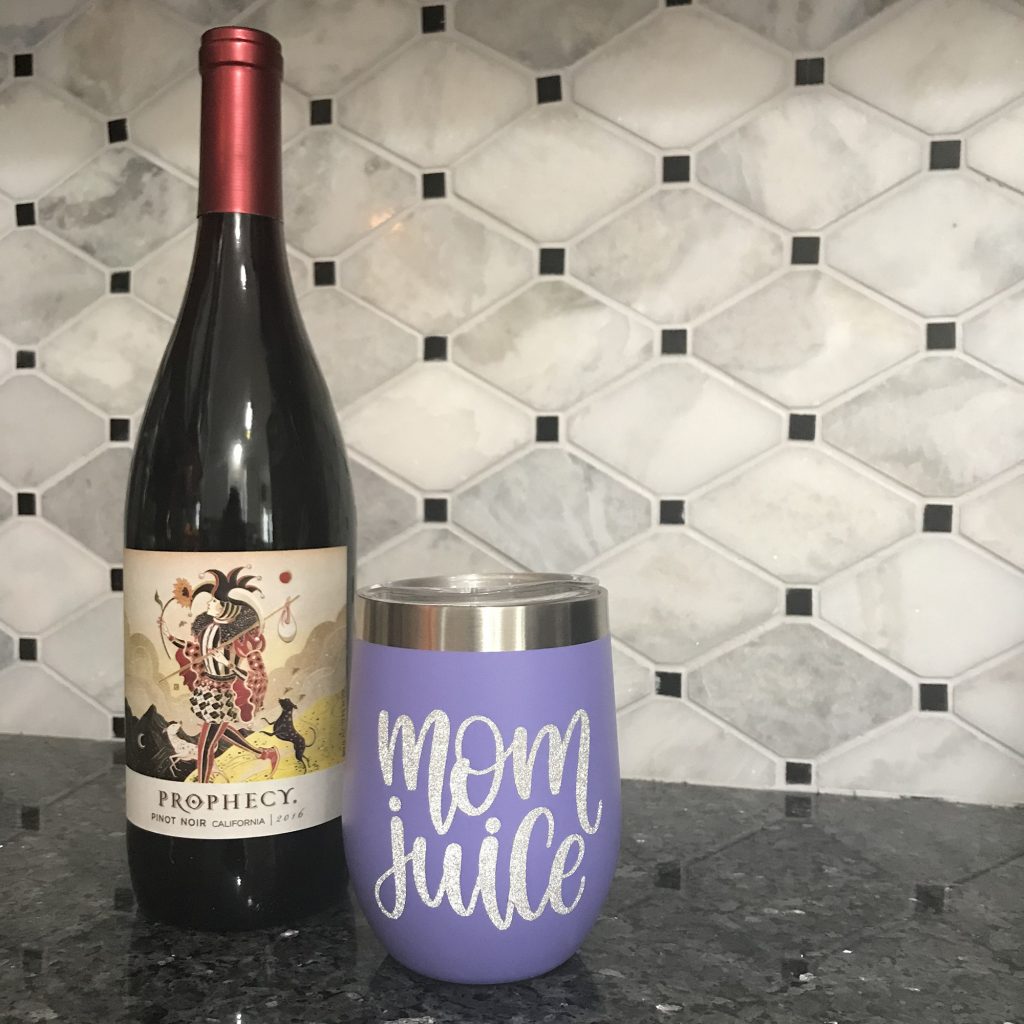
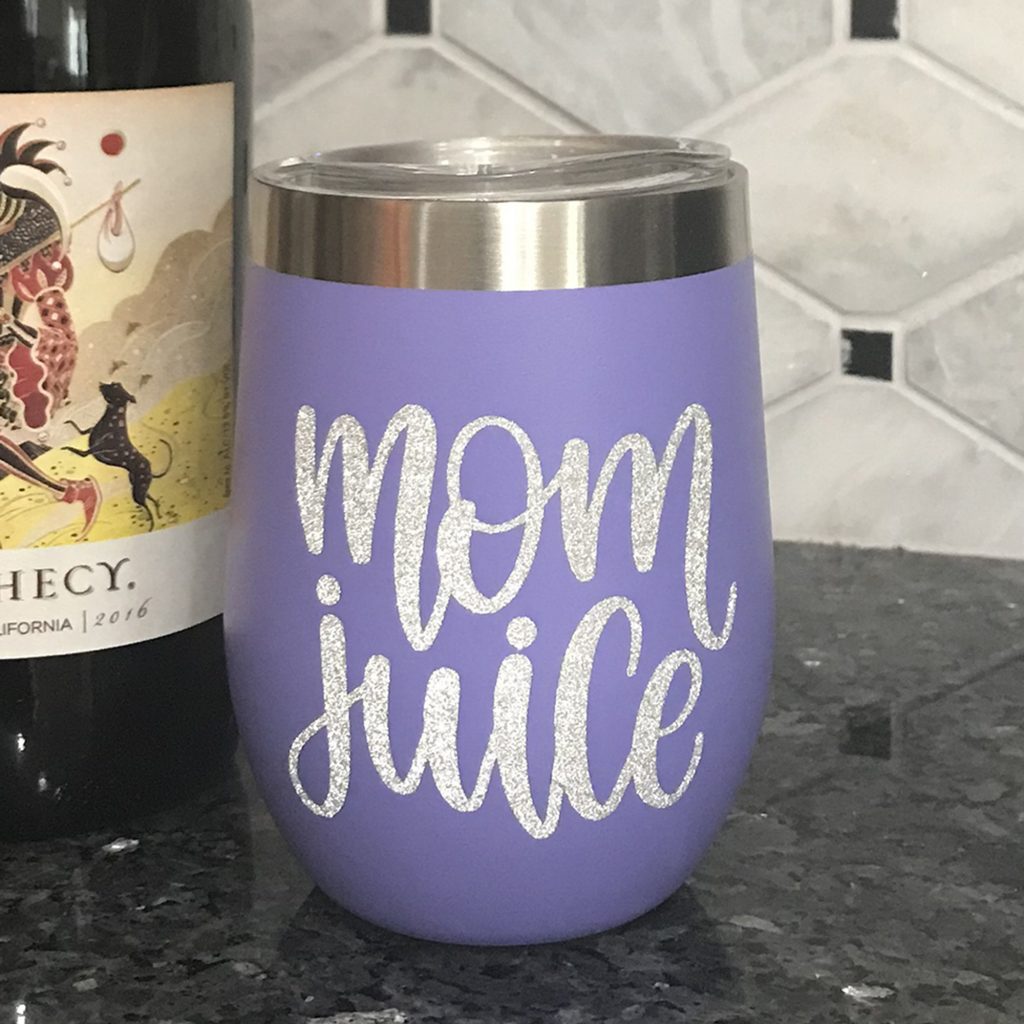
Craft Lightning is here again and this months topic is GLITTER! Usually I’m anti-glitter! Like my pastor says, “Jesus is allergic to glitter”! He has a strong dislike for it! Haha! But…..Glitter vinyl and glitter HTV are my jam! I love it! I made this super simple Mom Juice Wine Tumbler using a cut file from the Cricut Design Space!

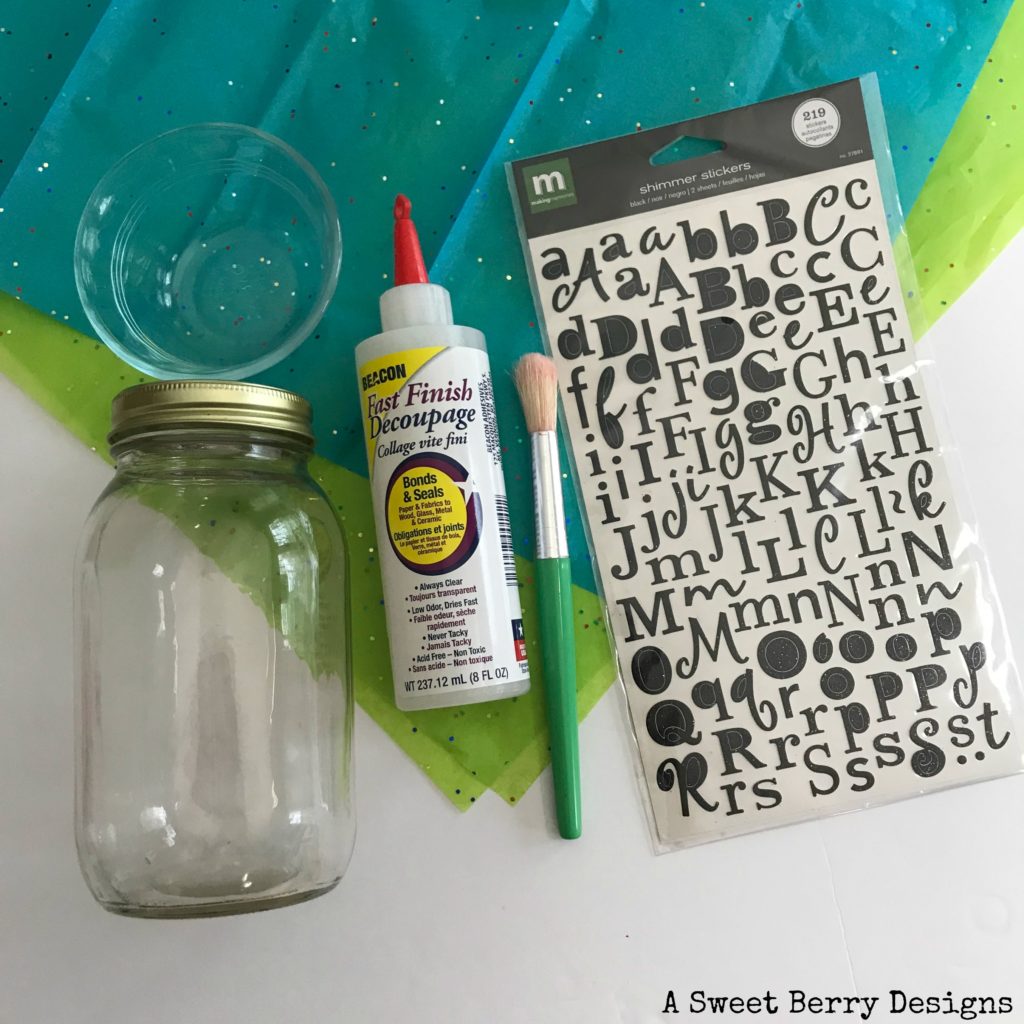
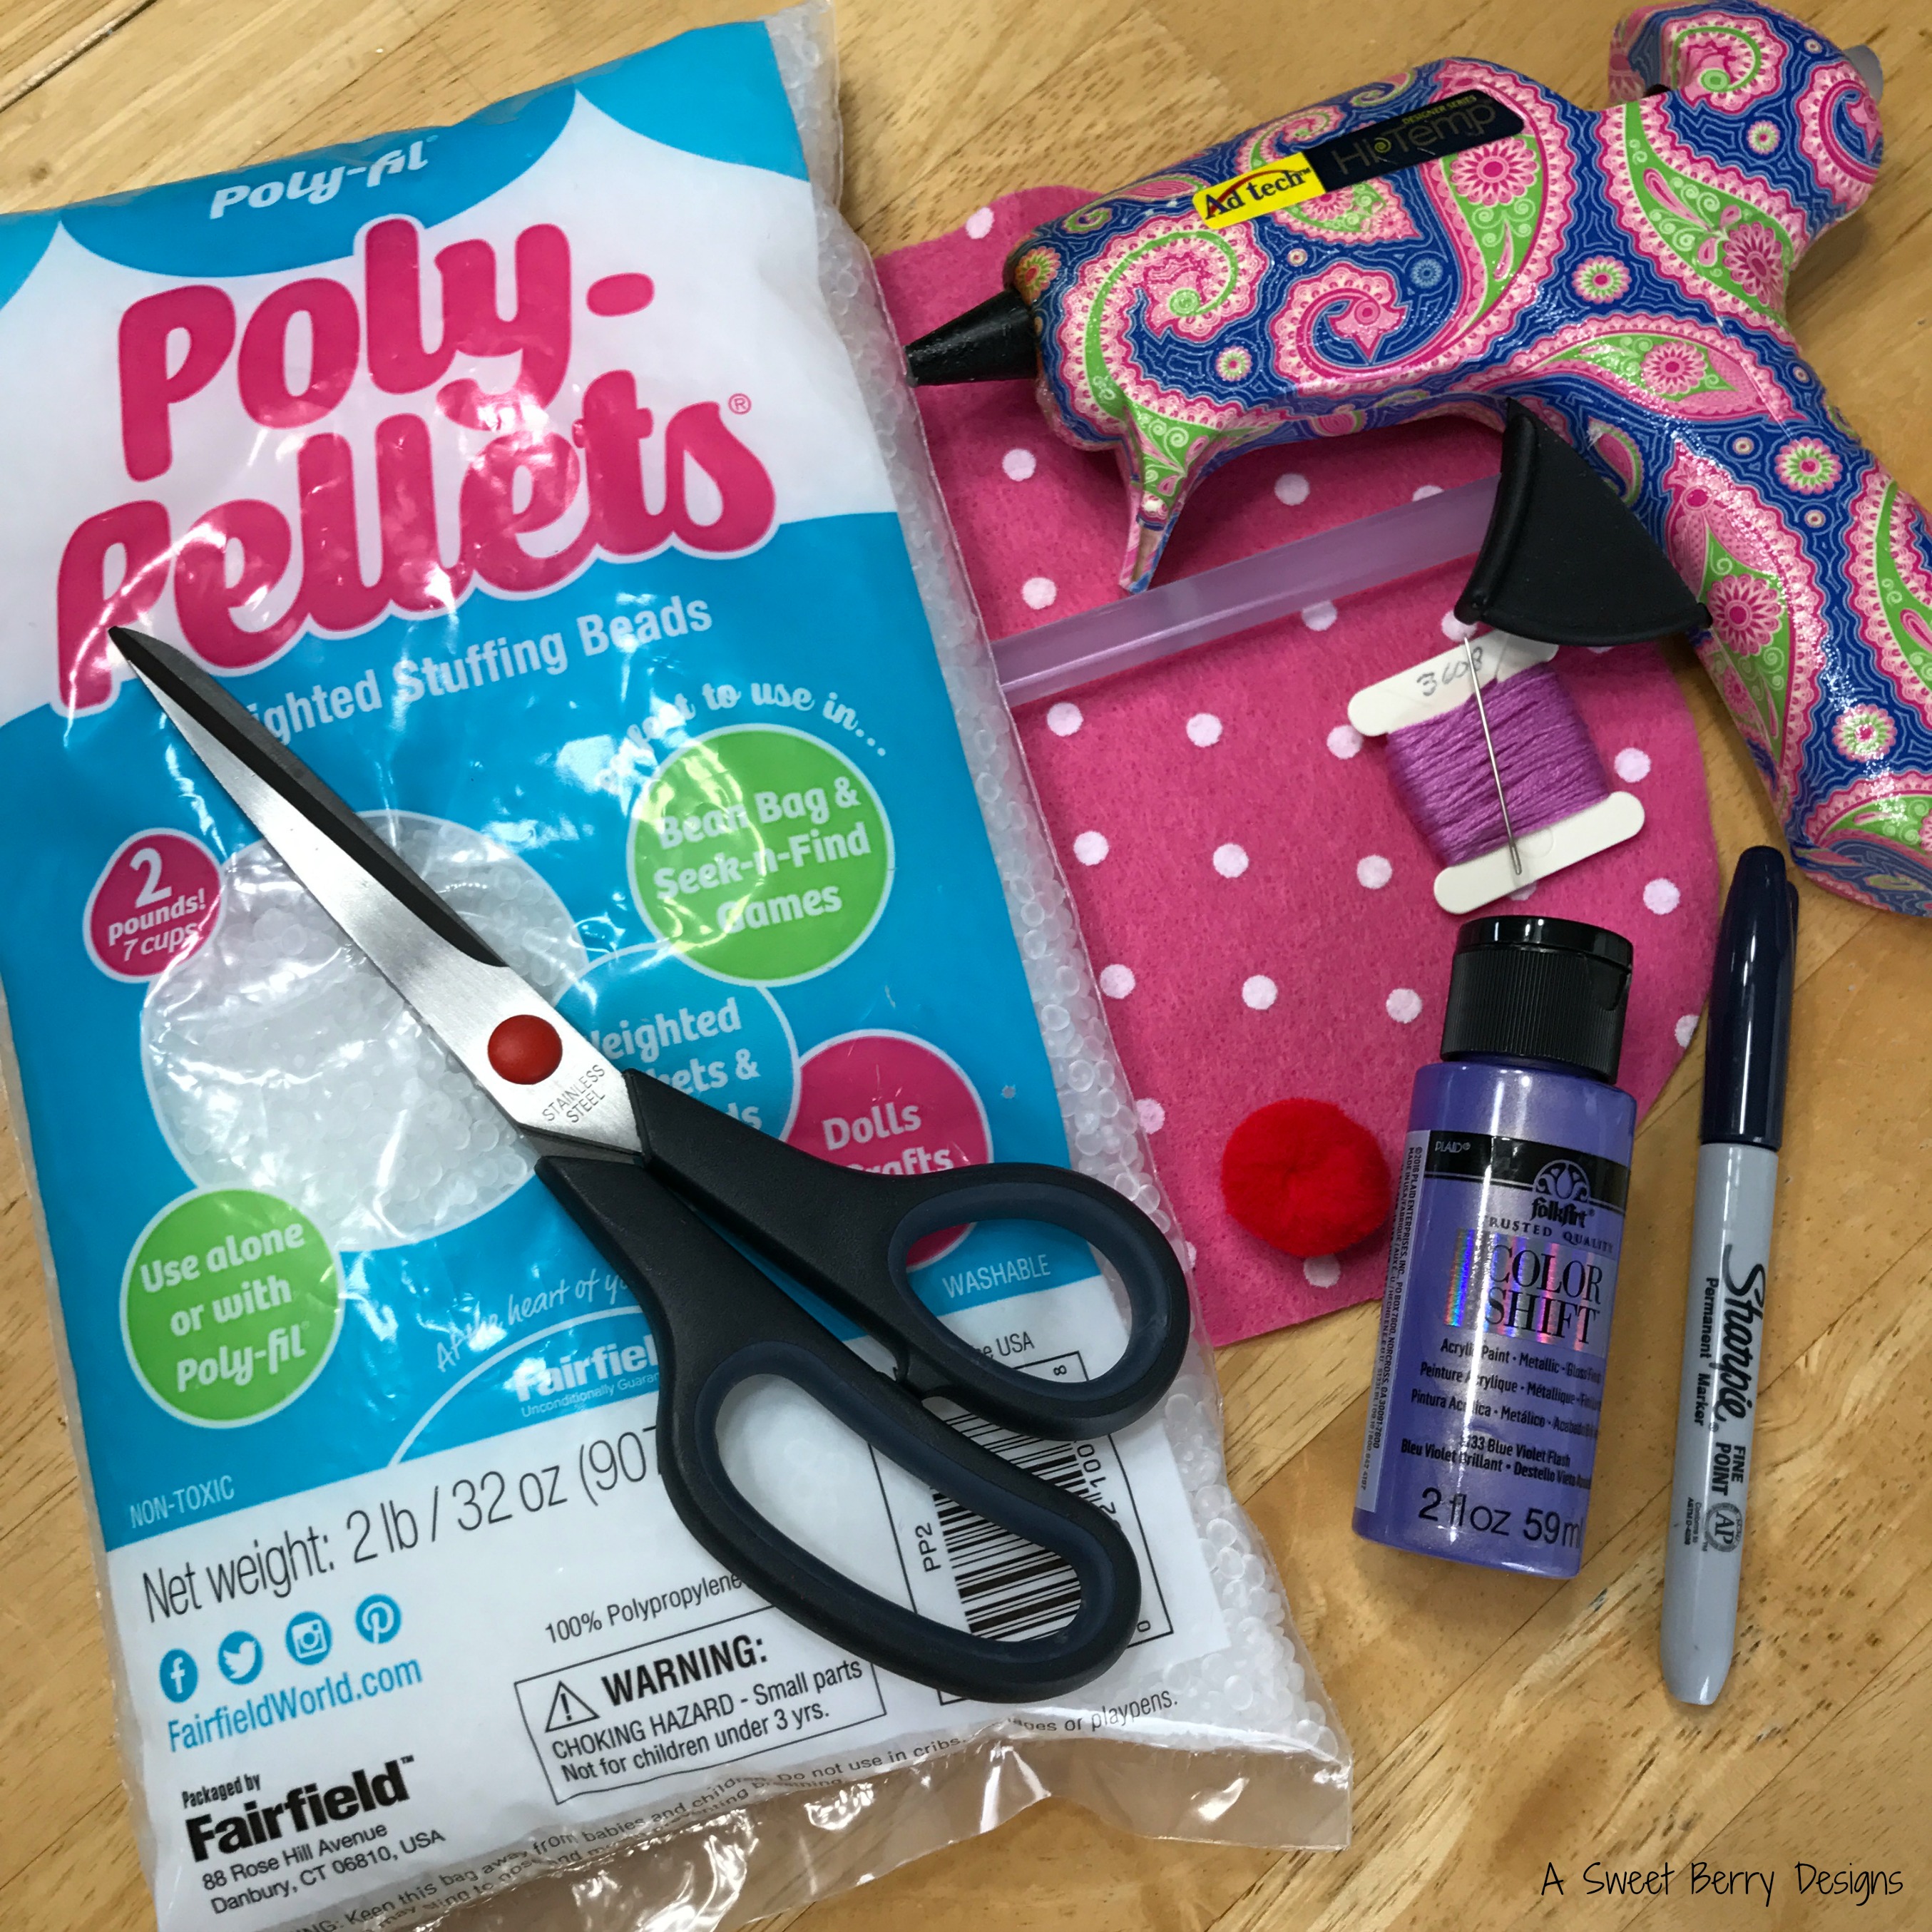
Heres what you need:

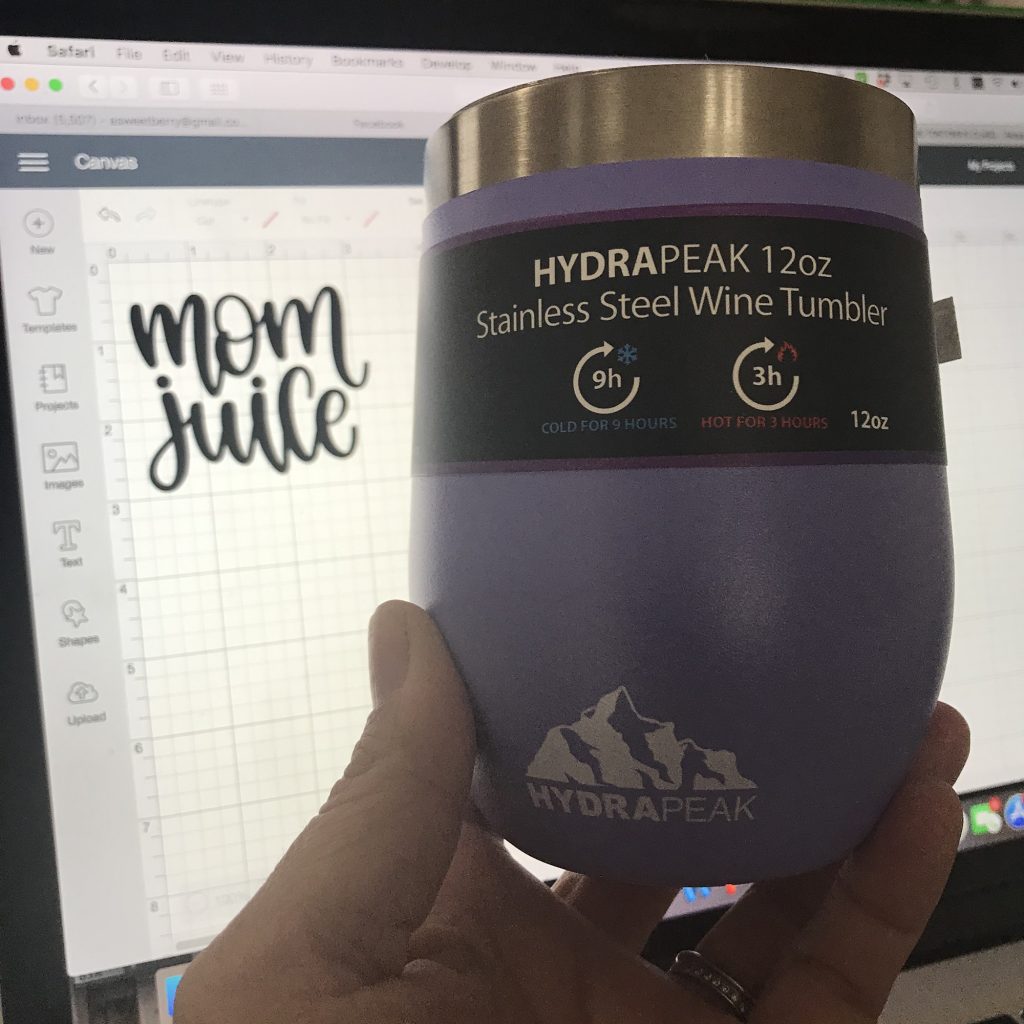
  • Wine tumbler or any wine glass
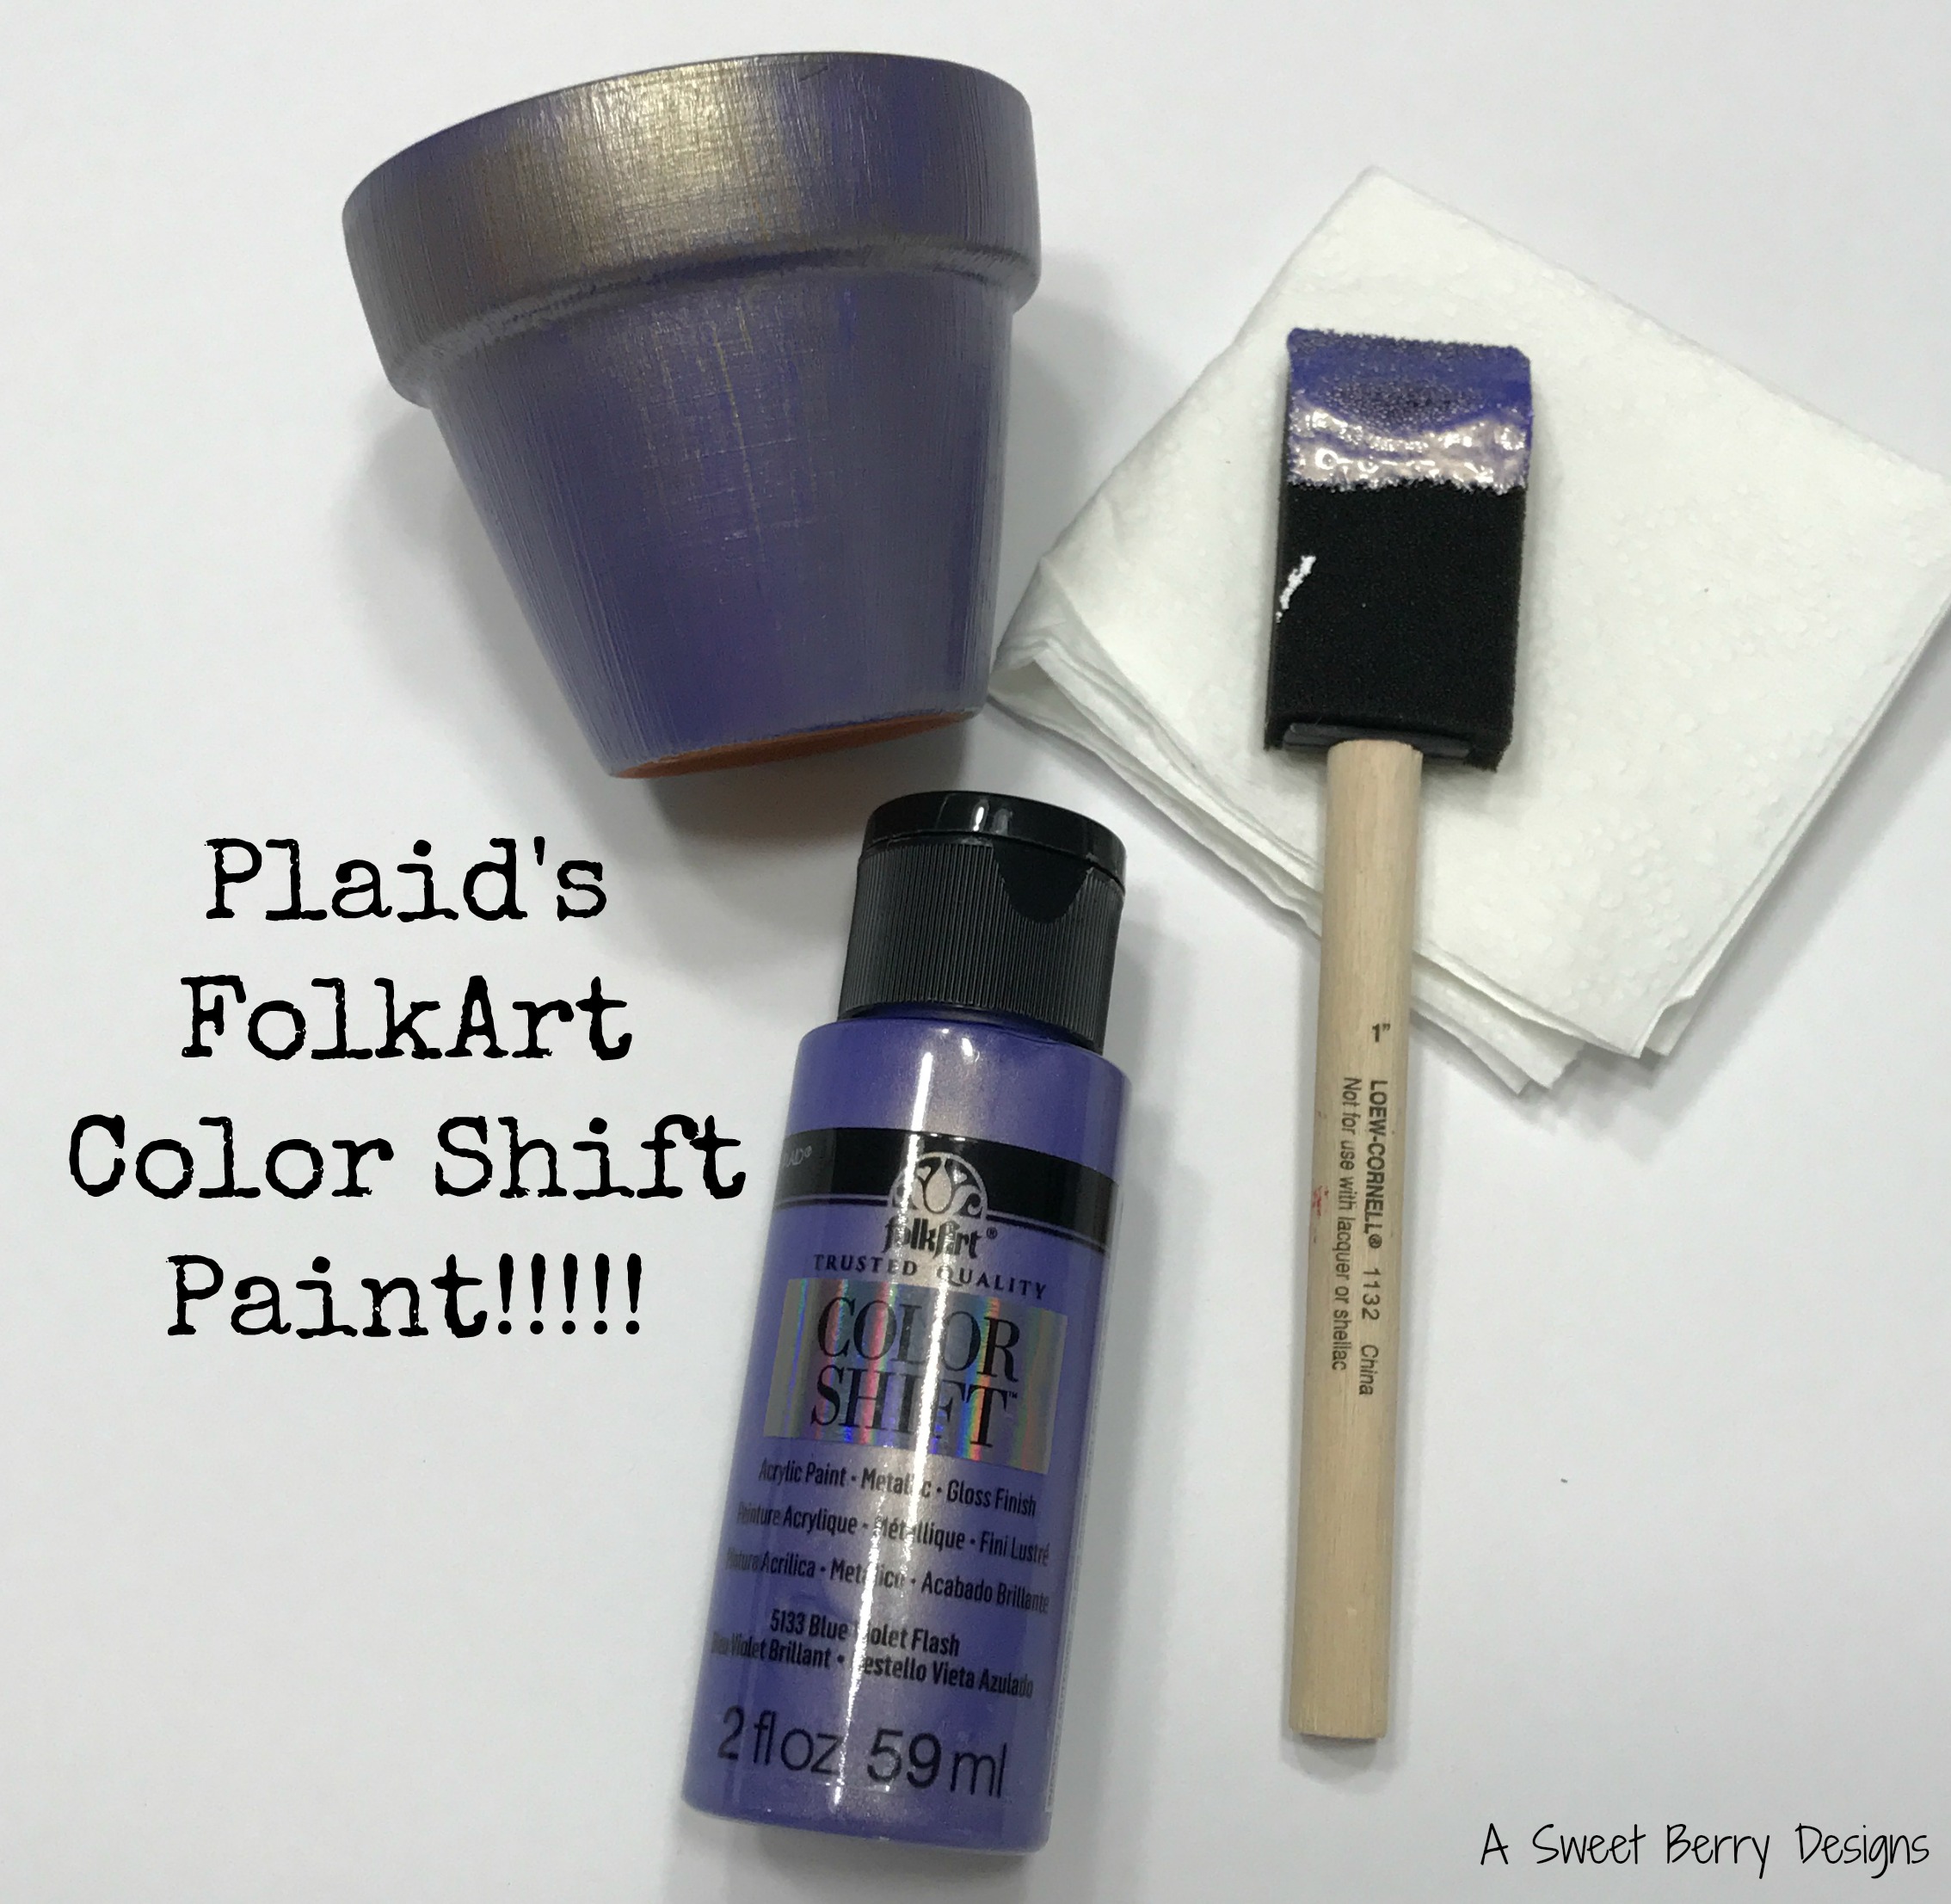
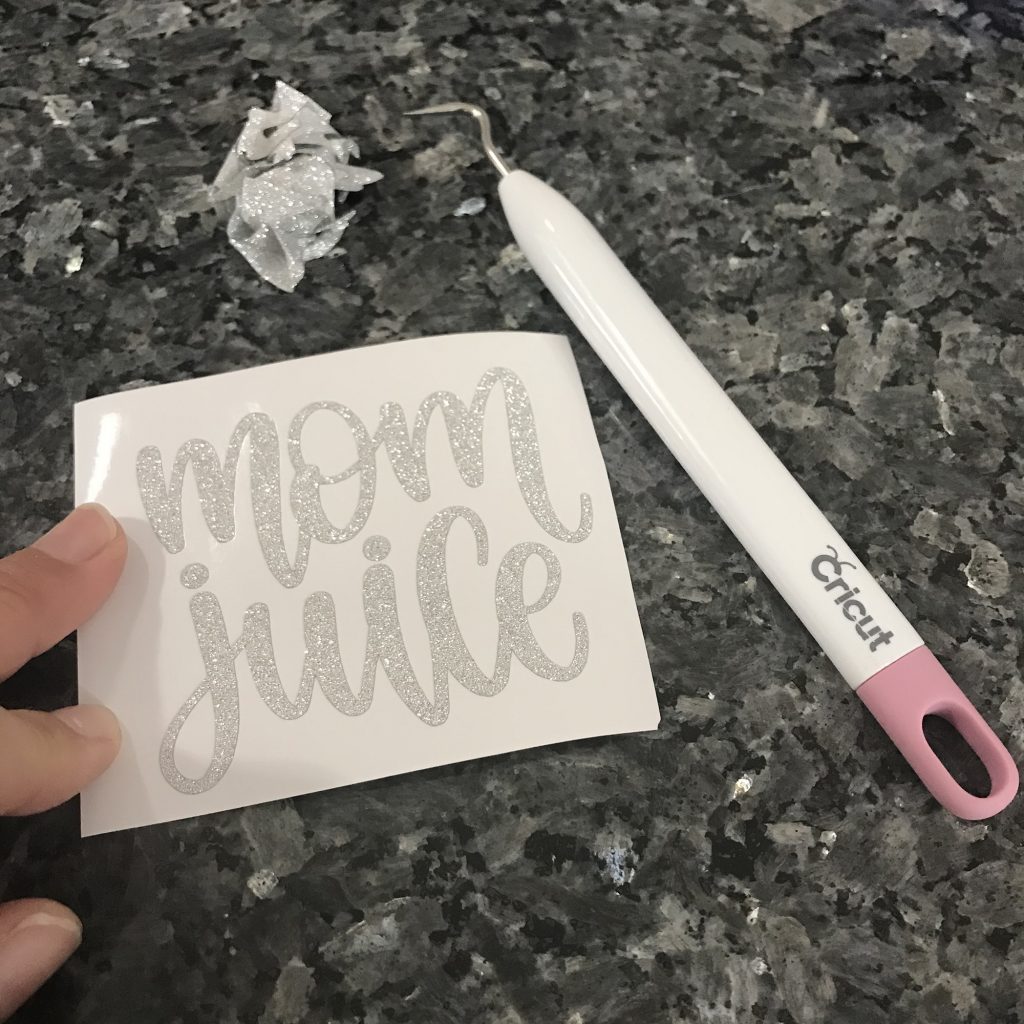
  • Glitter vinyl (I used Cricut)
  • Cricut (I used the Explore)
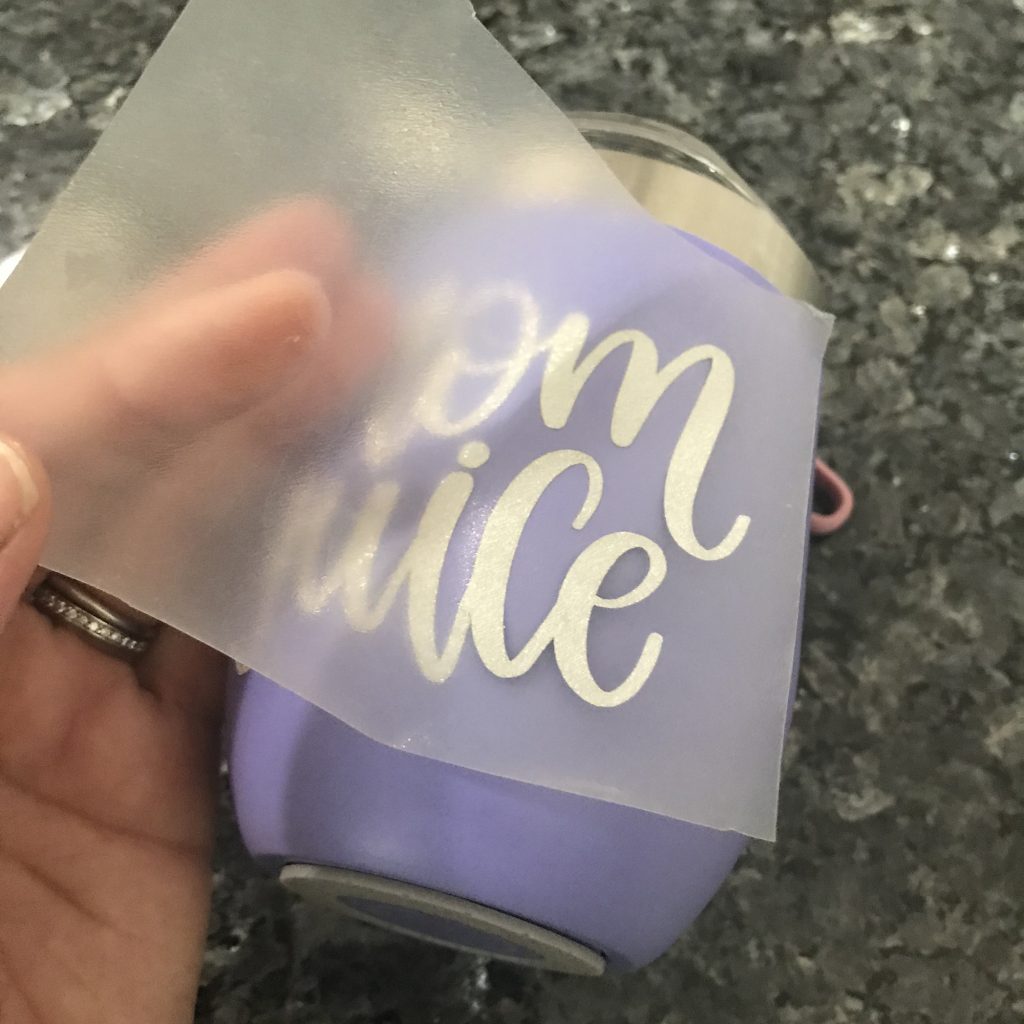
  • Transfer tape
  • Cricut weeding tool
  • Cricut Design Space on your computer
  • Cricut scraper tool or I just use a credit card.
  • Cricut cutting mat

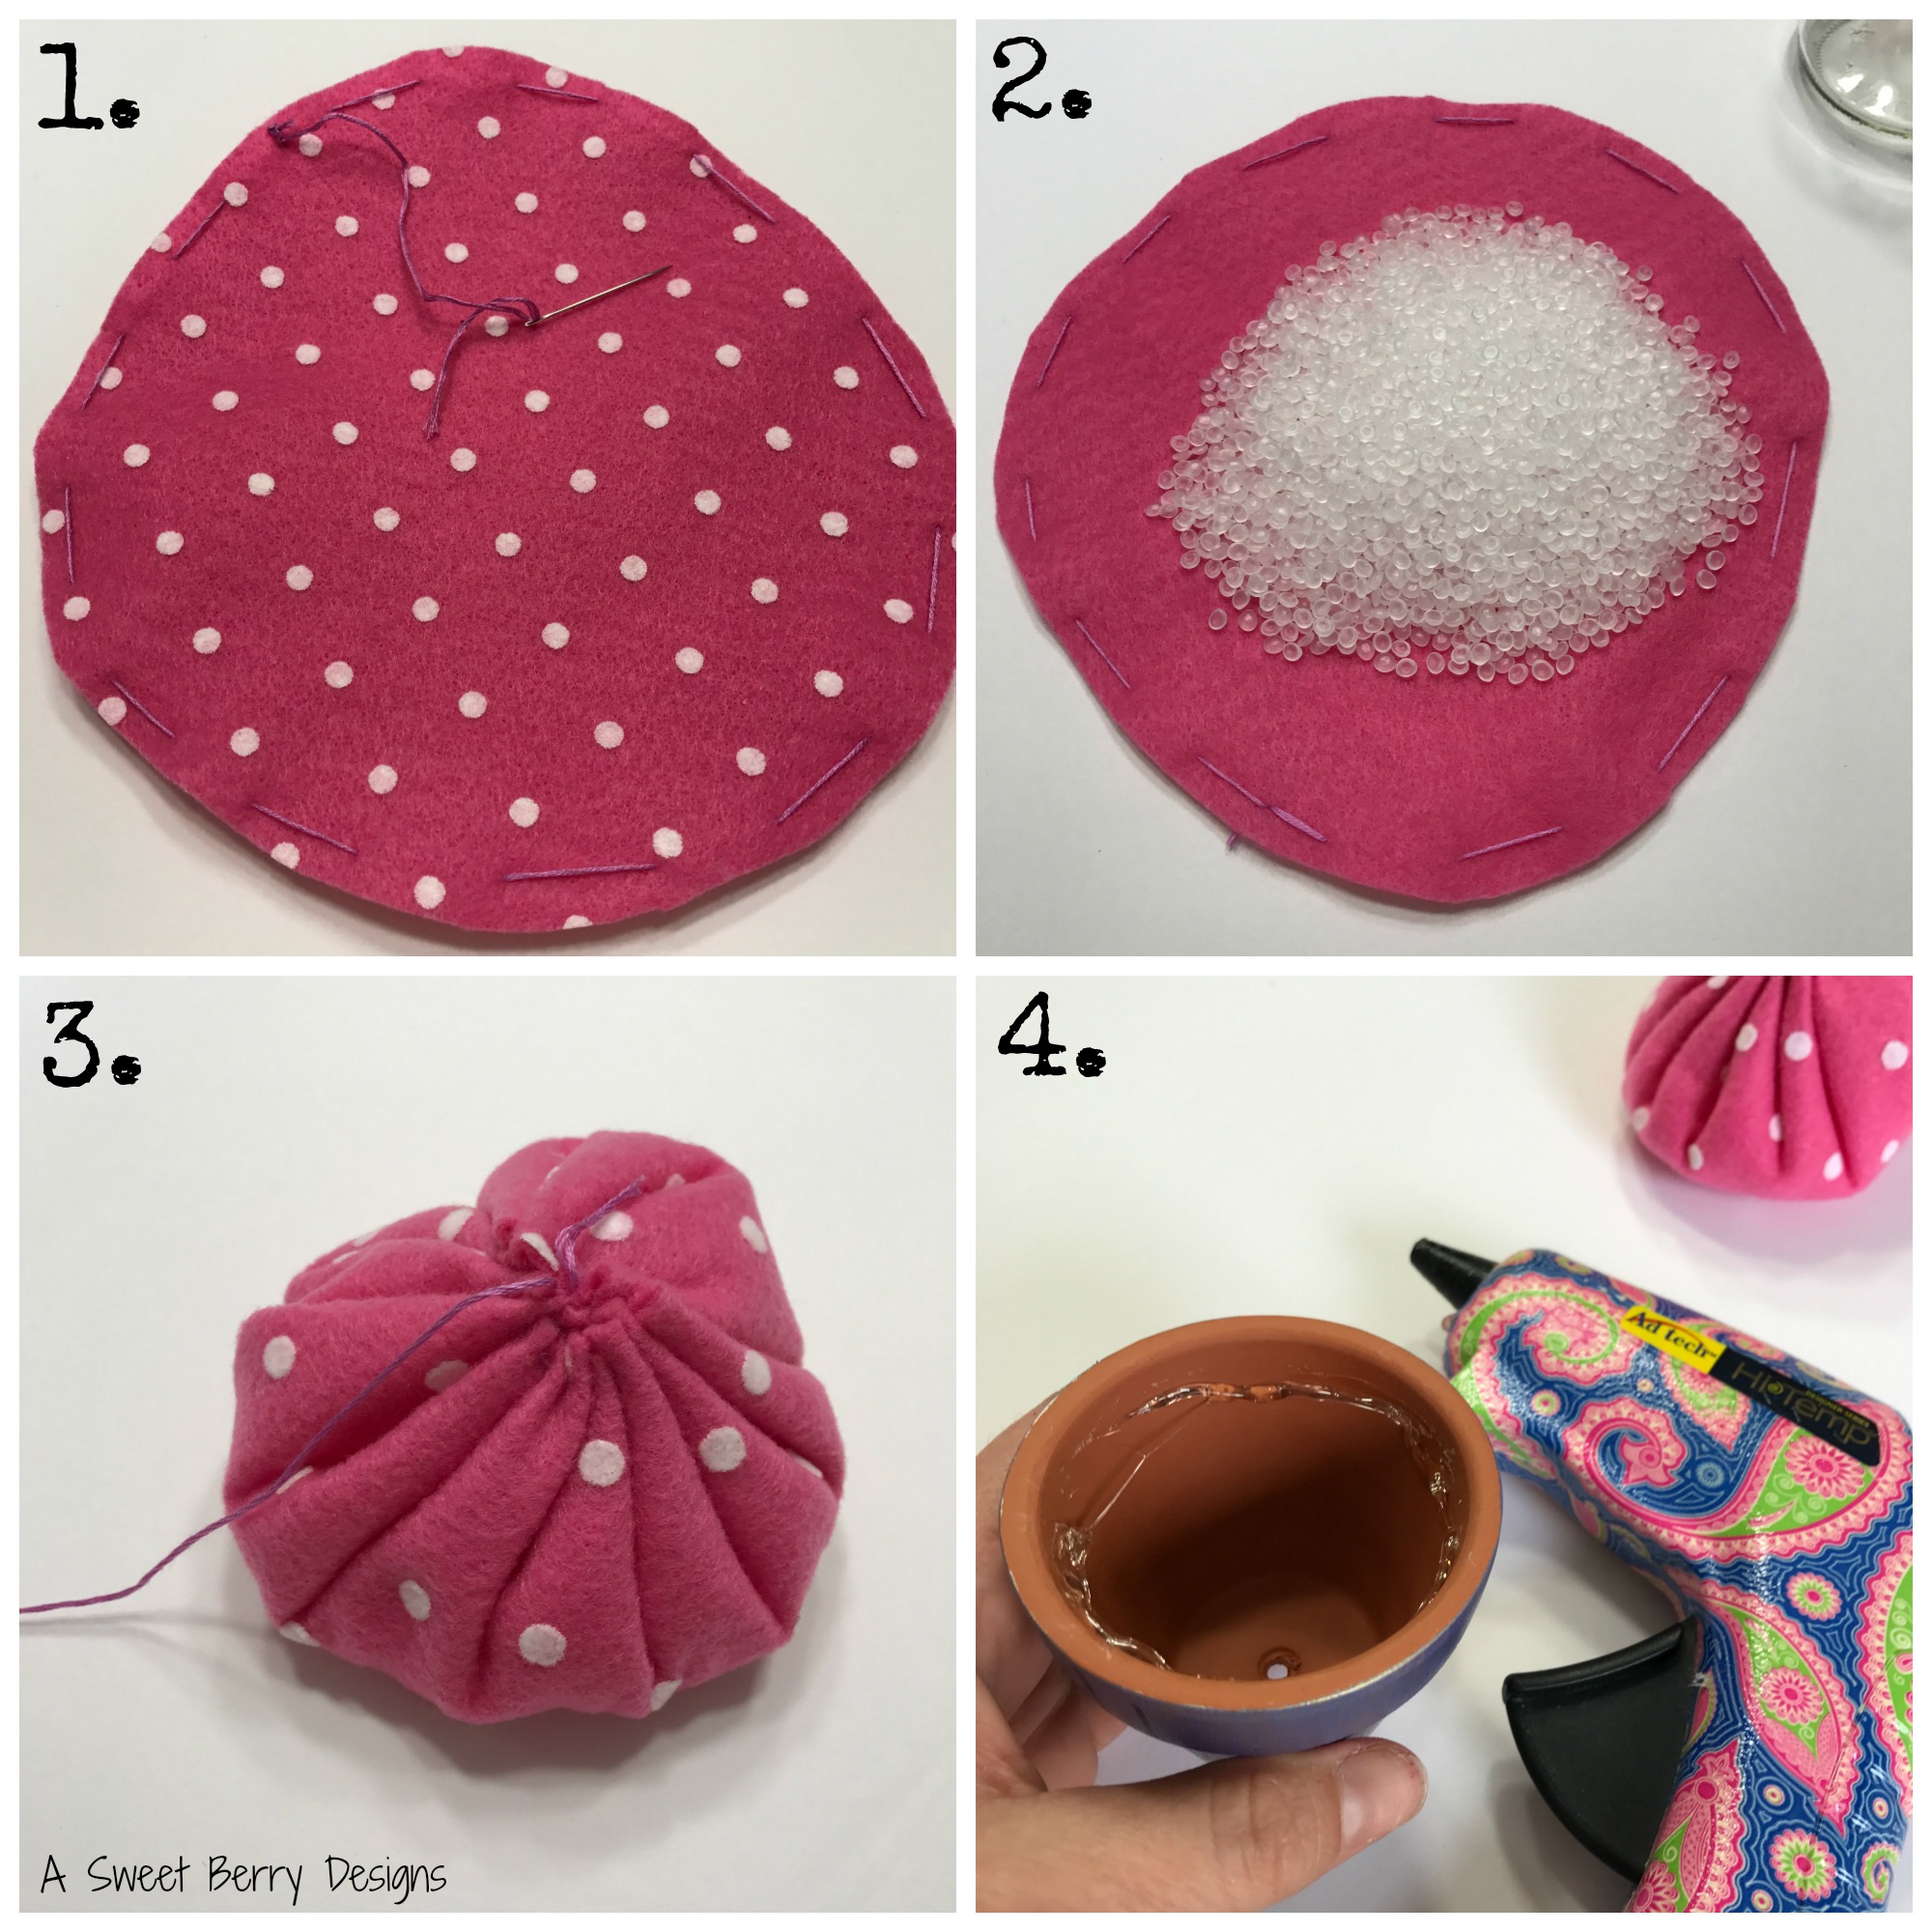
Heres how to make it:

Open up Design Space on your computer and search for Wine in the search bar of the Images. Make it the appropriate size. TIP: Make sure your wine tumbler is clean.

Using the Cricut, cutting mat and vinyl, cut your design.

Weed the excess vinyl using the Cricut weeding tool.

Apply the transfer tape to the design and rub it with a scraper tool.

Apply to the tumbler, and rub it with your fingers or the scraper tool to make sure it sticks. Remove the transfer tape.

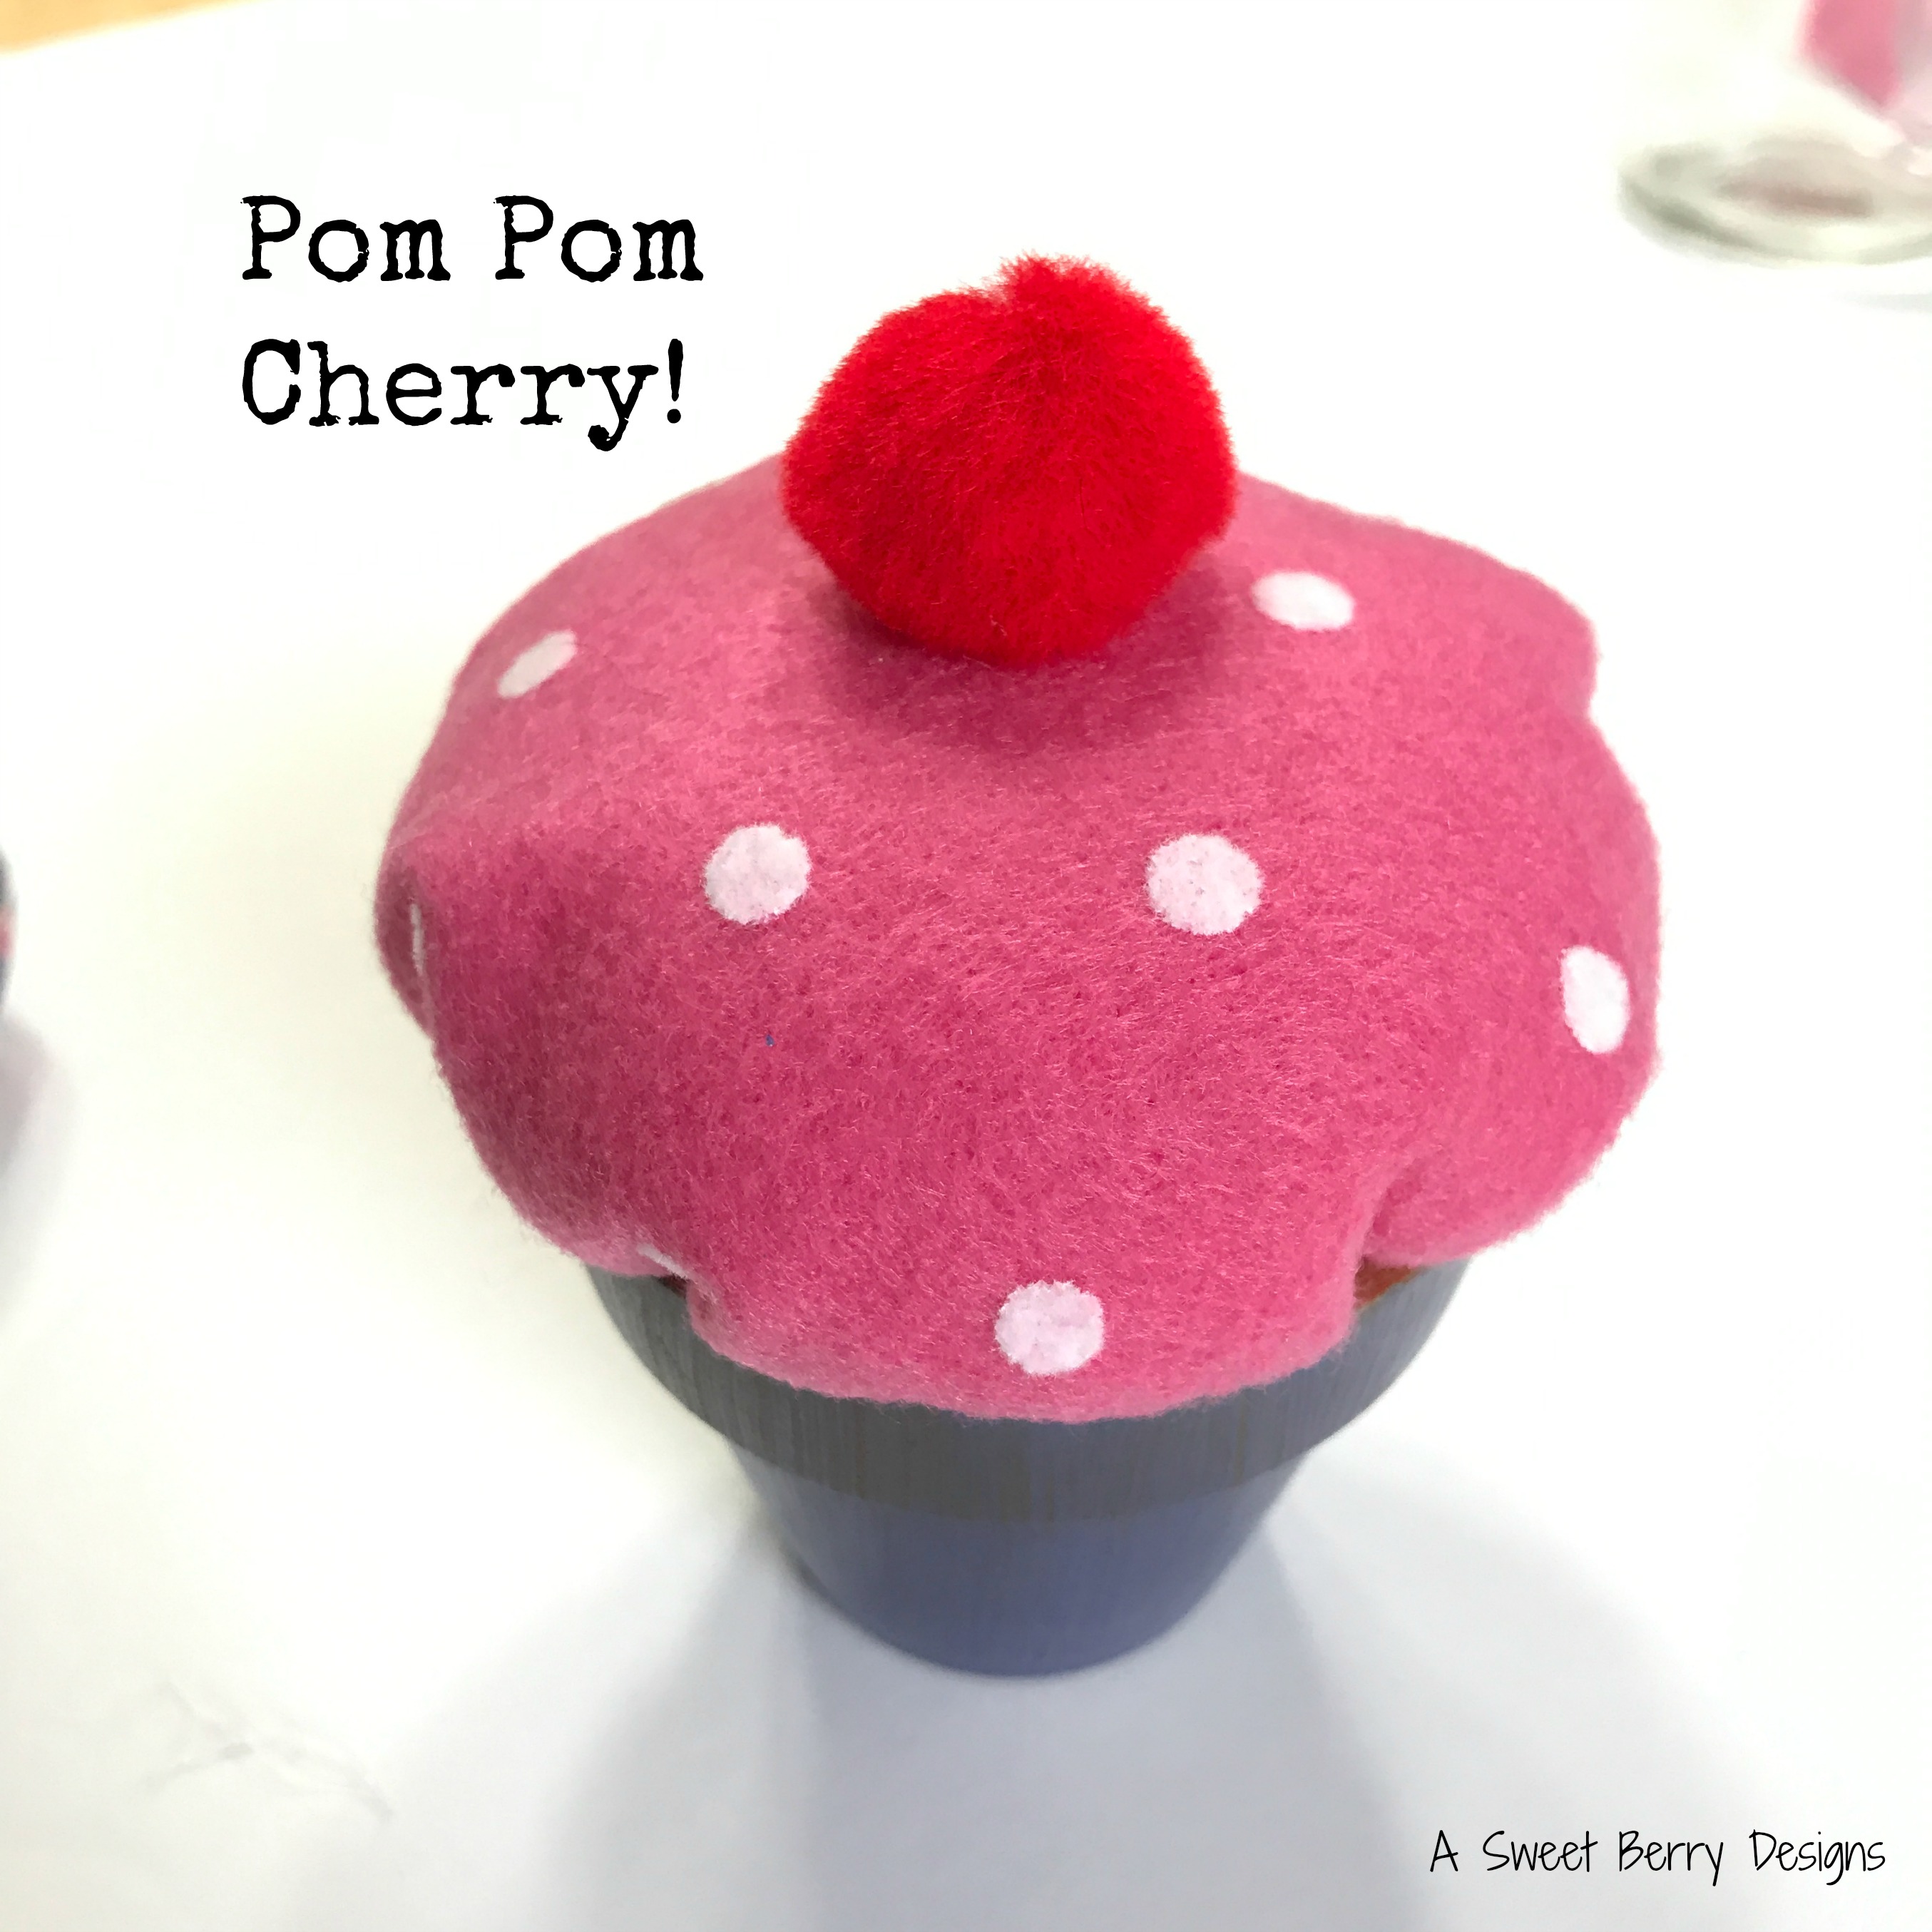
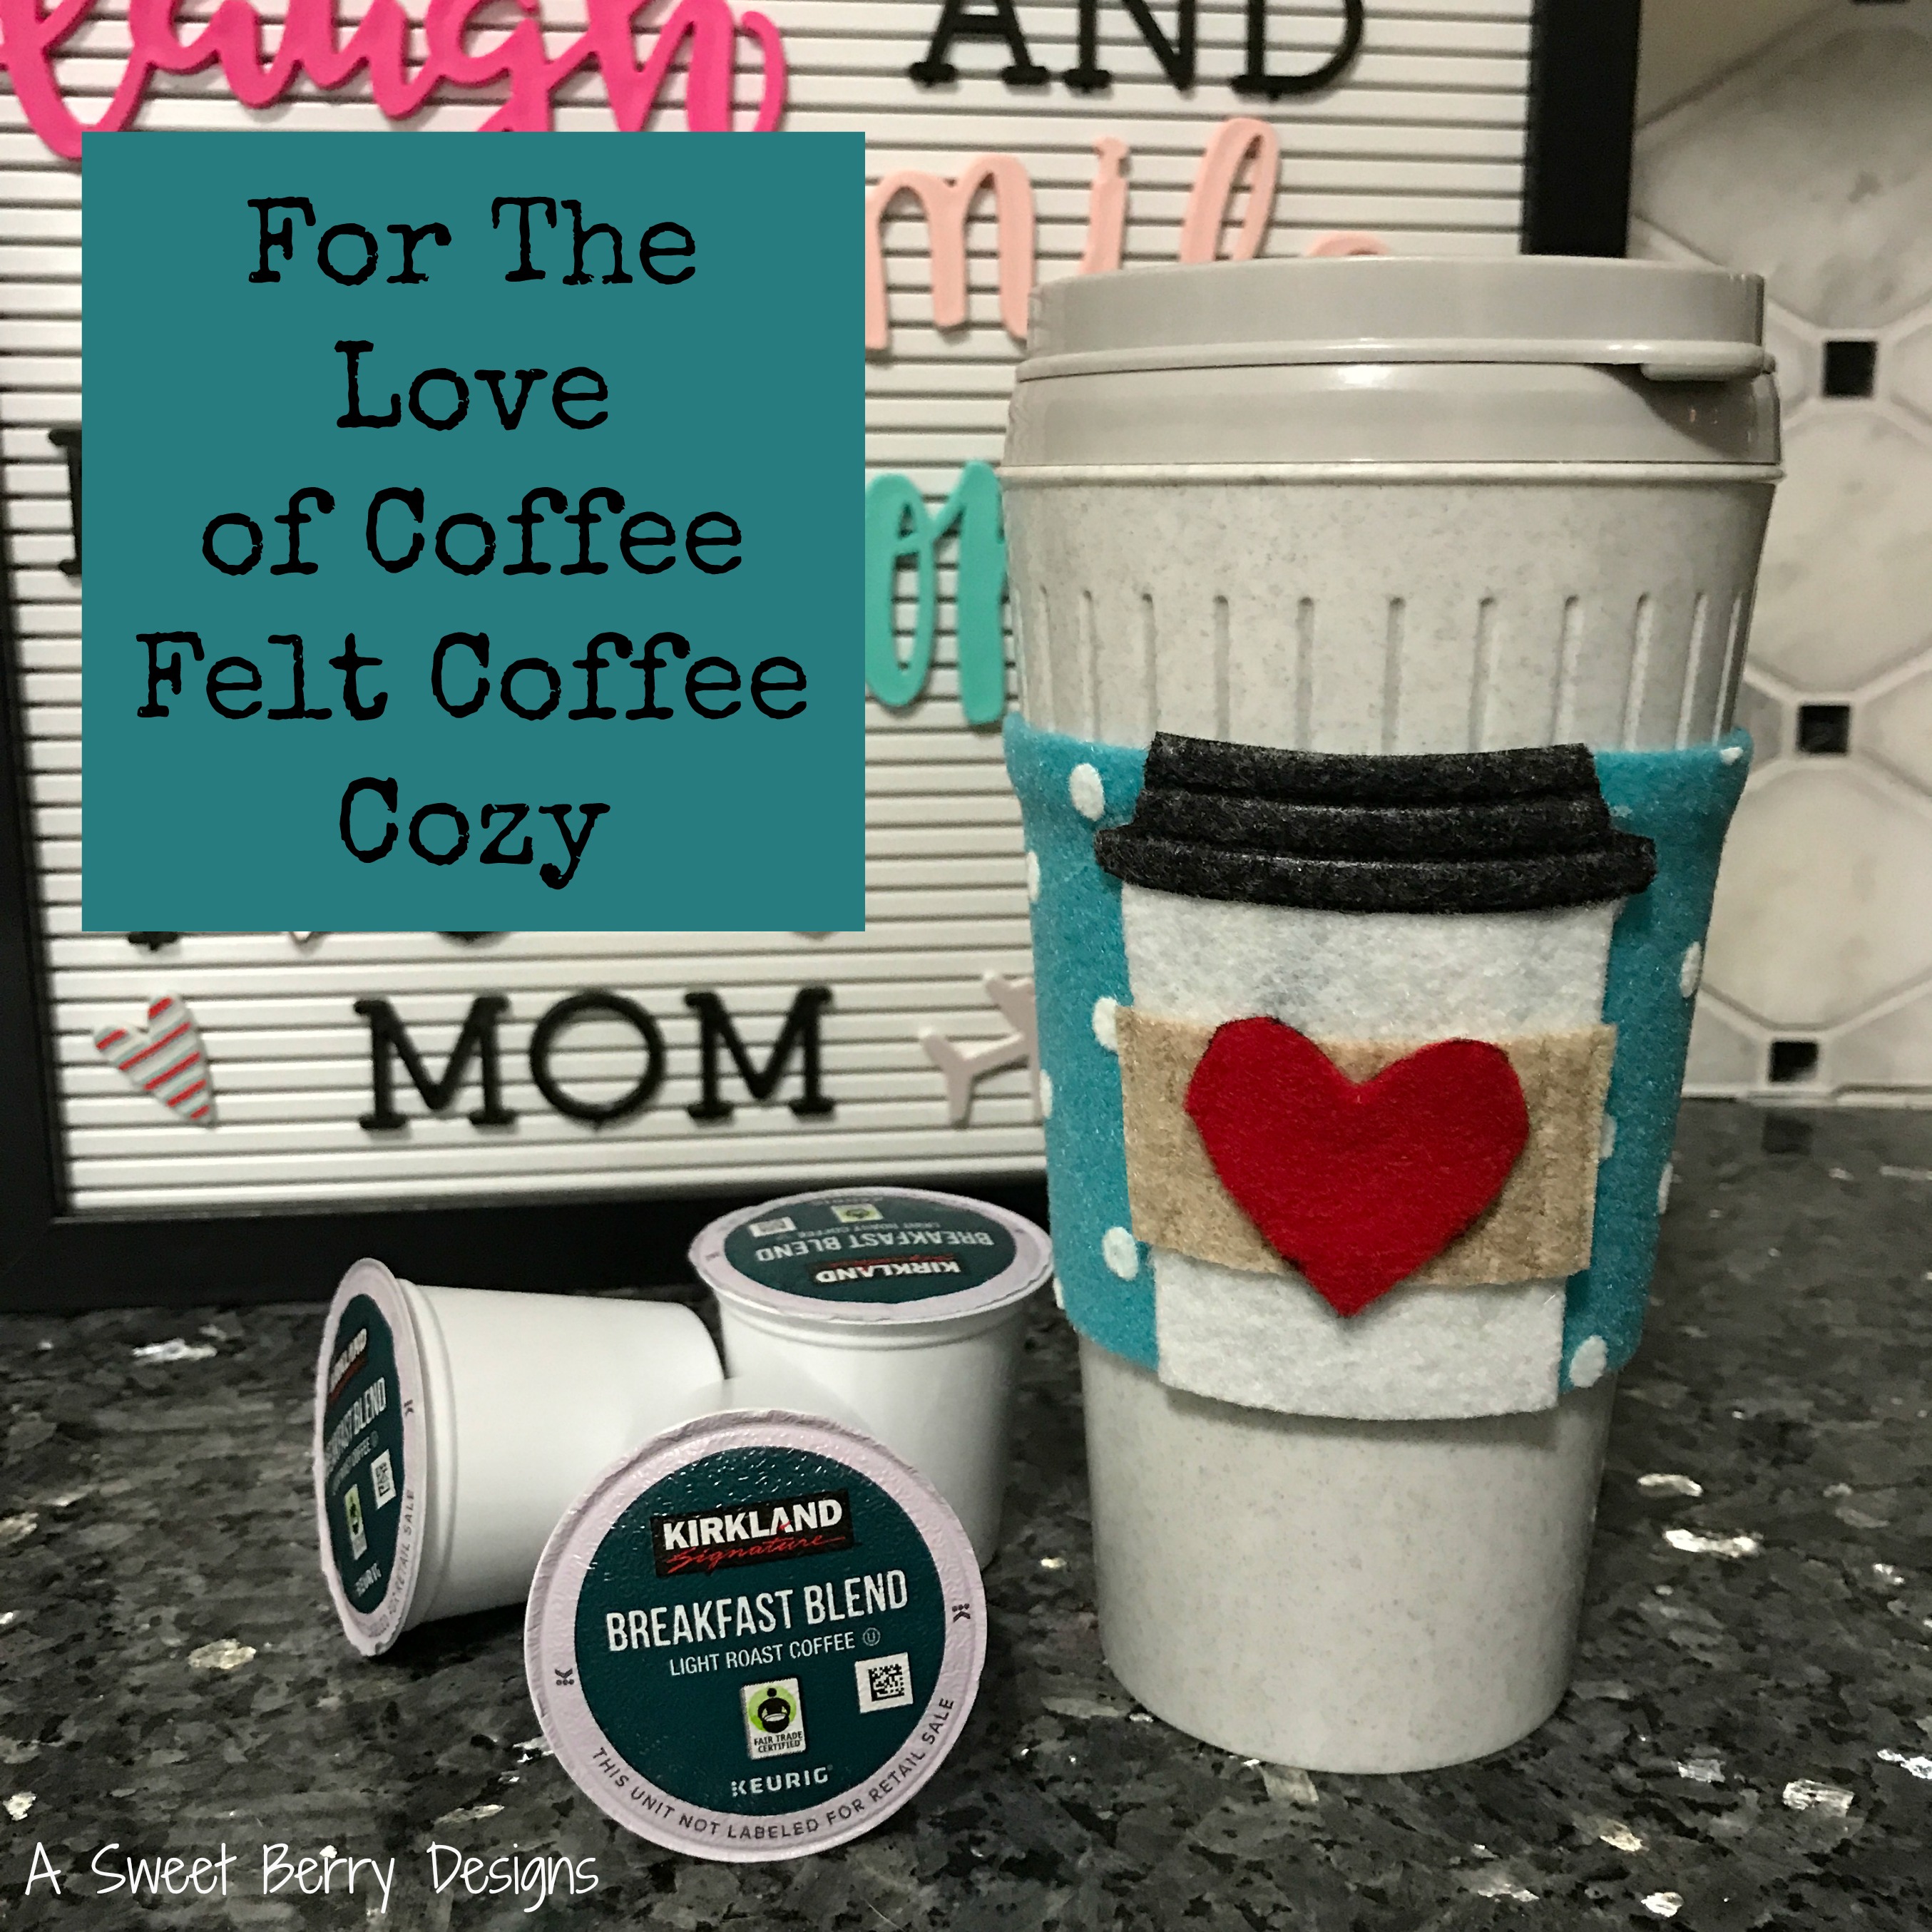
And now your tumbler is ready to fill with your “Mom Juice”!

Be sure to check out the other Craft Lightning Glitter projects by clicking the Craft Lightning Glitter photo below!

Until next time…..

Pumpkin Squishy Party Activity

It’s Craft Lightning time again and this month is party crafts, so I made this adorable Pumpkin Squishy for a fun Halloween party activity!

Materials:

  • Poly-fil Squishy Foam (available at Walmart too)
  • Die Cutting Machine with pumpkin die and cutting pads
  • Black and Orange Paint
  • Paint Brushes
  • A place to paint (ie. paper plate, paper towels, newspaper)

How I made it:

Remove the Squishy Foam from it’s packaging. Place the foam on the pumpkin die making sure to completely cover the pumpkin outline of the die. Place the die and foam between two cutting pads.

Squishing the cutting pads together, run the die, foam and pads through the die cutting machine.

Remove the foam from between the pads, throwing away the excess.

Now you are ready to paint. Using a any kind of paint brush, depending on how much time you want spent on the activity, paint the foam. 

Allow the paint to dry.

Now you are ready to squish away on your very own homemade pumpkin squishy.

TIP: You can also just cut your own design with scissors. I suggest drawing it out on the top of the foam and then cutting along the lines.

Be sure to check out the other Craft Lighting Party ideas by clicking the photo below!

Until next time……

Painted Feather Rock

Craft Lightning is here again!!!! This month the theme is Painted Rocks. While in Phoenix this past January for AFCI, I met this awesome painted rocks lady Carissa. She has some amazing talents with her painted rocks. They bring all the joy! You can check her painted rocks out on Instagram: ilovepaintedrocks

I made this Painted Feather rock. Feathers represent freedom, inspiration and spirit. When you see a feather on the ground, don’t you just want to pick it up?!?! Here is how I made it:

Materials:

  • A rock (I just found one in my neighborhood, but you could buy one!)
  • Paints (I used spray paint for the base and then some other paints I had lying around)
  • Paint Brushes
  • Tray for the paint (I just used a paper plate)
  • Something to put your rock on while you are painting and it dries
  • Pencil to draw an outline

Clean the rock to make sure it’s free of any dirt or leaves. I had to do this since I found mine out in the neighborhood.

Paint the rock with your base color and allow to dry. TIP: While you are waiting for it to dry, get your paints ready, especially if you mixing colors.


Using a pencil, draw a light outline of your design.

Paint your design and allow to dry.

Now you can go out into the world and put it where you’d like someone to find it! Or you could just add it to your own garden.

Check out other quick and easy 15 minute or less Craft Lightning painted rocks by clicking on the button below.

Until next time…..

Happy Crafting!

Simple USA Banner

Craft Lightning is here and the theme this time is Patriotic! I’ve created this super simple USA banner that can be left as is or it can be jazzed up with whatever decorations you’d like!

Materials:

  • Kunin Felt: Red, White and Blue
  • Scissors
  • A wooden dowel
  • Ribbon
  • Hot Glue Gun and Hot Glue Stick

How I made it:

With a 9″ x 12″ piece of blue felt, fold it over a wooden dowel and glue it done on the ends.

Using scissors, cut the letters USA from the red and white felt. Glue them in place on the front of the banner.

Tie a piece of ribbon to the dowel on each side of the banner.

Now it’s ready to hang up! You can hang it on the wall or on your front door!

I hope you like this super simple USA banner.

You can see other Craft Lightning Patriotic projects by clicking on the image below!

Until next time……

Decoupage Make A Wish Jar

Craft Lightning is here and it’s all about Decoupage! People have been using Decoupage for years and years and years. My grandmother was a big crafter and used Decoupage a lot. She is where I got my love of crafting from. I’m joining in with others to create quick and easy Decoupage projects.

Materials used:

  • Mason Jar
  • Beacon’s Fast Finish Decoupage
  • Bristle Brush
  • Colorful Tissue Paper
  • A tray or bowl for your decoupage
  • Sticker or Cut Out Letters
  • Table Cloth or Paper to protect your workspace
  • Small pieces of paper and pens for wishes!

How I made it:

Make sure your mason jar is clean and dry. Tear your tissue paper into small pieces.

Pour Decoupage into your tray or bowl. Lightly dampen your bristle brush with water and apply a layer of the Beacon’s Fast Finish Decoupage to the jar. TIP: Do not cover the threads of the jar for the lid.

Place the small pieces of tissue paper onto the wet surface of the jar.

You can do one of two things…..You can take this time to apply your sticker or cut out letters or you can wait until the end. If you choose to apply them now, place them where you’d like to and then apply another layer of Decoupage over the letters and the tissue paper. If you want to apply them at the end, apply the Decoupage all over the tissue paper and allow to dry before you place the letters on the jar.

Set your jar aside to dry.

I hope you enjoyed seeing how I made this awesome Make a Wish! Wishing Jar! This was super easy and super quick. The kids could even jump in on helping make it and decorate it however! They can help cut up pieces of paper to added their wishes to! Lots of fun for the whole family and everyone can add their wishes to the jar!

Be sure to click the photo below to see other Craft Lightning Decoupage projects!


Until next time…..

Hot Glue Love Wood Sign

Yay!  It’s Craft Lightning time again!

In honor of a book that my crafty friends Angie Holden (The Country Chic Cottage) and Carolina Moore (30 Minute Crafts) recently wrote together, Hot Glue Hacks and Crafts, this months Craft Lightning theme is Hot Glue!!!!!

For my Craft Lightning project, I created a Hot Glue Love Wood Sign!

What I used:

  • Hot Glue Gun
  • Glitter Hot Glue Sticks
  • Paint Brush
  • Paint
  • A piece of wood 
  • Sawtooth Picture Hanger
  • Pencil

How I made it:

I painted the board.  I used Folk Art Color Shift Acrylic paint.  Let it dry.

Warm up the glue gun and insert the glitter glue stick.

Using a pencil, I drew out the word that I wanted to write.  TIP:   You could use any word, I chose “love”.

Using the hot glue gun, trace over the pencil strokes.  Allow the hot glue to dry.

Turn over the board and attach the sawtooth picture hanger.   

Clean up all of the little hot glue strings.

Now it’s time to hang up or give it as a gift!

Be sure to click the photo below and check out other great Hot Glue Craft Lightning projects.  Also, be sure to check out Angie and Carolina’s book on Amazon and at Barnes & Noble.  It’s full of lots of crafts that make using hot glue fun!   There are so many ways that you can use Hot Glue other than using it to glue stuff together!

Until next time…..

Quick Sew Burlap Gift Bags

Craft Lightning is here again!  And it’s burlap crafts with my awesome friend, Beth Watson from Creatively Beth!!!!   Weird Not So Fun Fact: Some may know this, but I have a mild allergy to burlap and if I touch the burlap, I get a tad bit itchy and then if I touch my lips, they get itchy to!   Who knew that you could be allergic to burlap?!  I had no clue, but I LOVE burlap and just deal with the allergy and try not to touch my lips!  Anyways, I made these cute little quick sew burlap gift bags with this adorable painted burlap that I found at my local A.C. Moore.

Skill Level:   Easy + Basic Sewing Skills
Time to Complete:  Less than 15 minutes

Materials:

Burlap 
Cutting Mat
Cutting Ruler
Rotary Cutter
Sewing Machine loaded with thread
Ribbon

How I made it:

I cut the burlap in strips at 7.5″x10″ using my mat, ruler and rotary cutter.  

I folded the burlap with the painted side on the inside..

Using the sewing machine, I sewed only the sides closed.

I turned the bags right side out.

Then they were ready for a gift and a ribbon tied at the top to close it!  You could also use twine or jute rope.  

These bags were super easy and took less than 15 minutes.  You can do what I did and find already painted burlap or you could get regular burlap and decorate it yourself!  This a super easy project for the kids!   They will have lots of fun filling them with gifts to give to their friends or teachers!

Be sure to click the photo below to see more Craft Lightning Burlap projects!

Until next time……

Decorated Letter Decor

Craft Lightning is happening and the theme this month is Wood.  Wood is my favorite material to work with.   I usually like to do the cutting and designing, but today I’m using a wooden letter that I got from my local craft store.

Materials used:

Wooden Letter
Paint (I used Plaid’s FolkArt Color Shift in Yellow Flash)
Paint Brush
Felt (I use KuninFelt)
Hot Glue Gun and Hot Glue Stick
Scissors

How I decorated it:

I applied two coats of paint to the letter, allowing the first coat to dry before applying the second coat.

I cut the felt for my felt flowers.  I just used a simple tutorial that I found online.

Then I put the flowers together using the hot glue gun.

I glued the flowers to the letter.

And then it was time to hang it up!!!!   This particular letter had a hanging hole on the back but you could also hang it by using ribbon or jute rope! 

This decorated flower decor took less than 15 minutes, excluding the drying time.  This would be a super easy project for a kids party or a girls night in!

Be sure to click the photo below for more Craft Lightning Wood projects!

Until next time….


Clay Pot Cupcake Pin Cushion

Craft Lightning is here again!!!!   I love it!   The theme this time was Clay Pots!   There are so many things that you can do with clay pots other than using them as flower pots!   I made this adorable little Cupcake Pin Cushion with mine!   It took less than 15 minutes!!!

Materials used:
9″ x 12″ craft cut of Kunin Felt Cooridnates:  1 White Dot of Candy Pink
Fairfield Poly-fil Poly-Pellets
Hot Glue Gun and Hot Glue Stick
Plaid’s FolkArt Color Shift Paint:  Blue Violet Flash
Paint Brush
Embroidery Floss and Needle
Scissors
Red Pom Pom

How I made it:
Paint the Pot!!!  I used this awesome FolkArt Color Shift Paint from Plaid!


  1. I cut a circle from my felt.  It didn’t have to be a perfect circle.  It’s about 8 inches across.  I also ran a quick stitch around the edge with the embroidery floss.
  2.  I flipped the felt over and added the Poly-pellets to the middle.
  3.  I pulled the embroidery floss until the circle closed up around the Poly-pellets.  I also just did a few quick stitches over the hole to close it up.
  4.  Using the hot glue gun, I added glue to the inside of my pot and stuffed the Poly-pellet filled felt down into the pot.

5.  Using the hot glue gun, I glued the red pom-pom on the top!   And then I added my pins!

I hope you like this Clay Pot Pin Cushion!   

Be sure to check out other Craft Lightning Clay Pot ideas by clicking the photo below!

Until next time……

For The Love of Coffee Felt Coffee Cozy

It’s Craft Lightning time again and this one is using felt!   I absolutely LOVE felt.  I’m even on the Kunin Felt Design Team and use felt frequently!!!!  I just recently made a felt coffee gift card holder with a coffee cup on it and I thought that same coffee cup would be super cute on a coffee cozy.  With that, I made a For The Love of Coffee Felt Coffee Cozy!!!  Check it out!

Materials Needed:

9″ x 12″ craft cut of Kunin Coordinates Felt White Dot on Lagoon
9″ x 12″ craft cut of Kunin Classic Felt in White and Red
9″ x 12″ craft cut of Kunin Corduroy Felt in Sandstone and Charcoal 
Coffee Cozy Pattern
Scissors
Hot Glue Gun and Hot Glue Sticks
Velcro

How I made it:

1. Print out the pattern and cut the pieces out.

2.  Cut the felt pieces out using the pattern pieces.

3.  Using your hot glue gun and hot glue stick glue the coffee cup together and then glue it to the middle of the cozy.

4. Using a coffee cup, wrap the cozy around the cup to determine where your velcro pieces need to go.  Attach the velcro to the front of one end of the cozy and the other piece to the back of the other end.

5. Place the cozy around your favorite cup and enjoy!!!

Hope you enjoyed this coffee cozy tutorial.  With the weather being so cold, I’ve been really enjoying coffee!  Now I have this adorable little For The Love of Coffee Felt Coffee Cozy!

Be sure to click the Craft Lightning photo below and check out all of the others quick and easy crafts made with felt!


Until next time……