Category Archives: Cricut

Dance Party Cups featuring Cricut

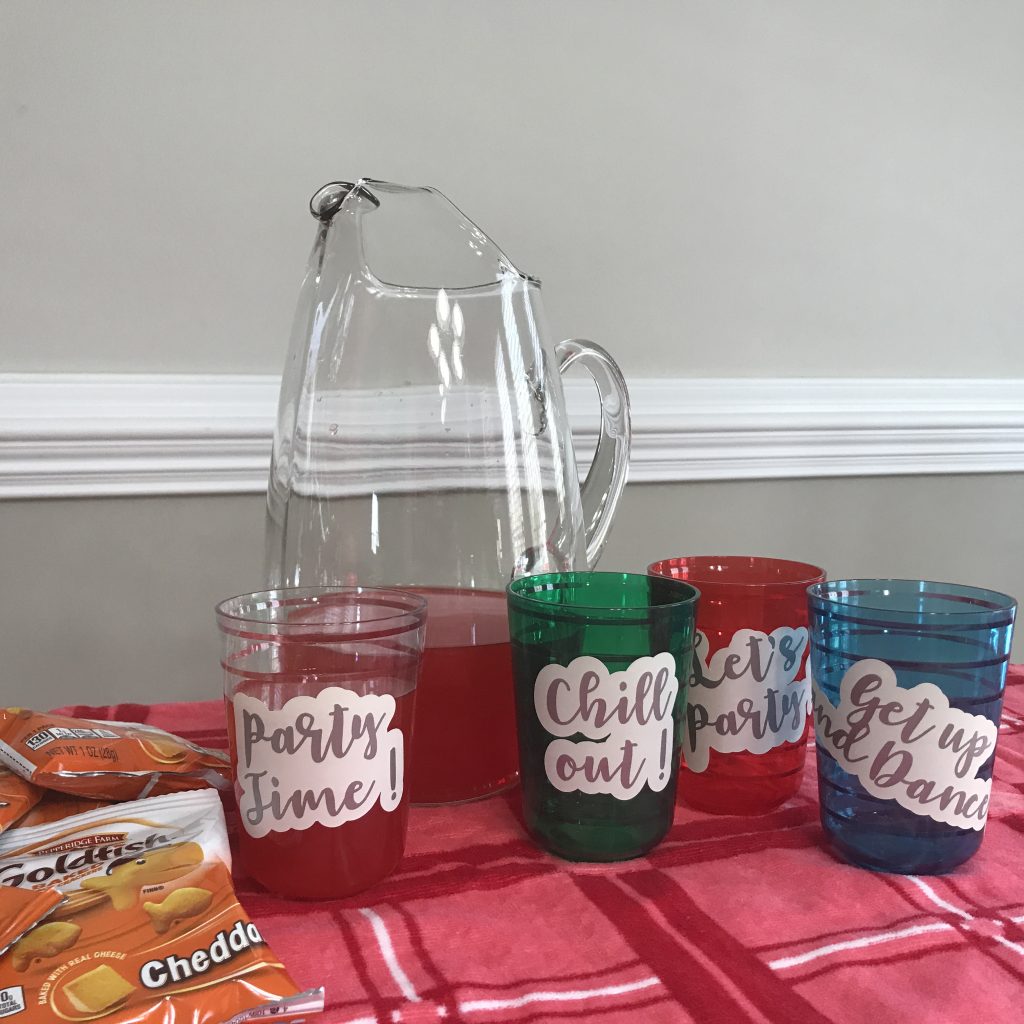
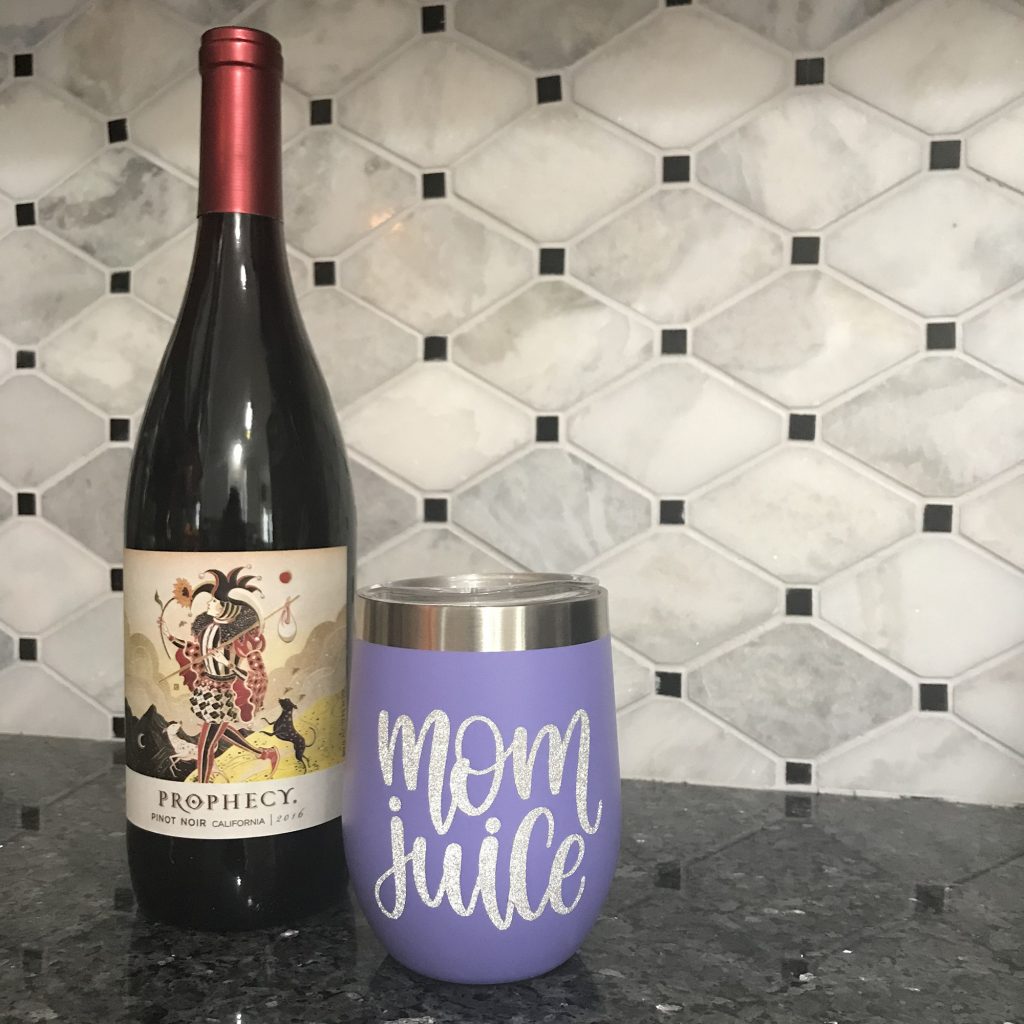
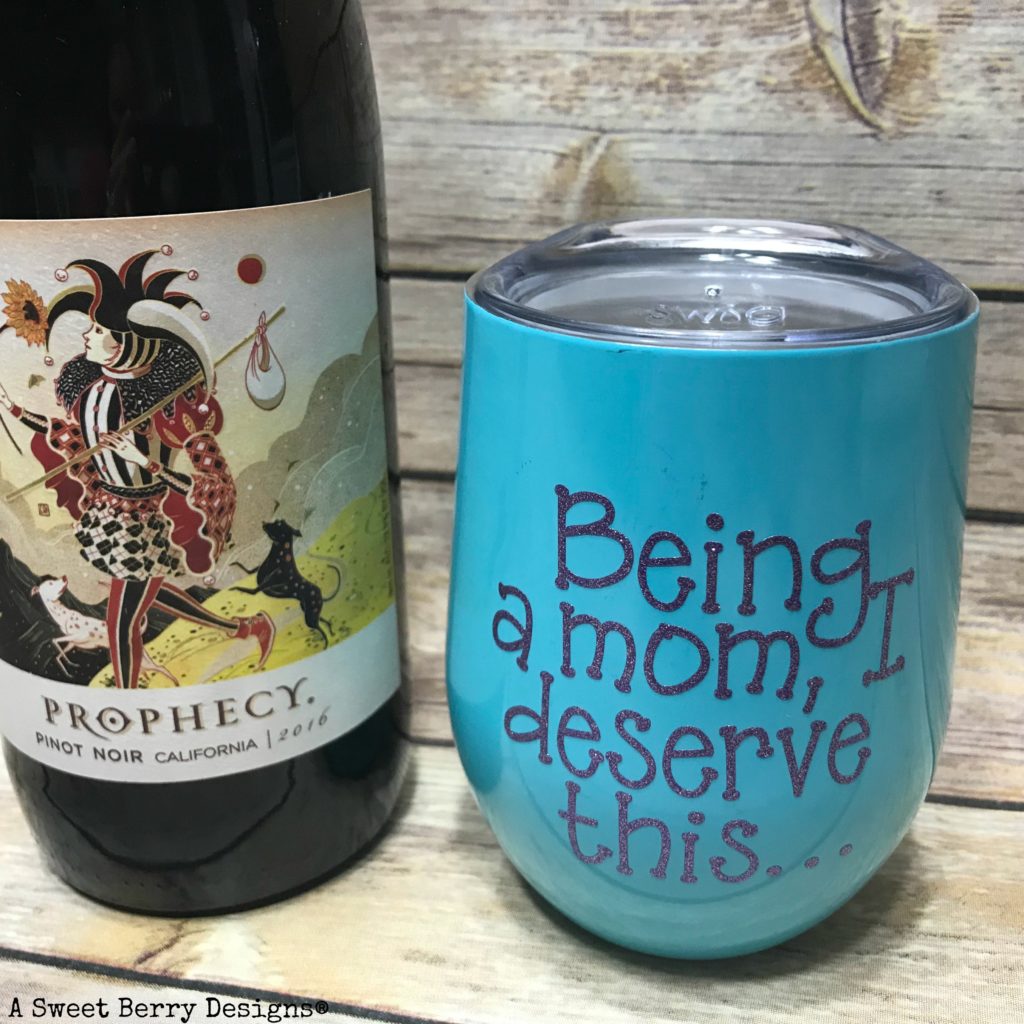
This week I am joining in with my crafty friends to do a week of Cricut Party ideas! For my project, I did Party cups using plastic cups from IKEA and Cricut Vinly. Check out how I did them below!

Materials needed:

  • Computer
  • Cricut Design Space
  • Party Cups SVG
  • Cricut cutting mat
  • Cricut vinyl
  • Transfer tape
  • Weeding tool
  • Plastic cups (It could be any plastic cups but I like the ones from IKEA)

Making it:

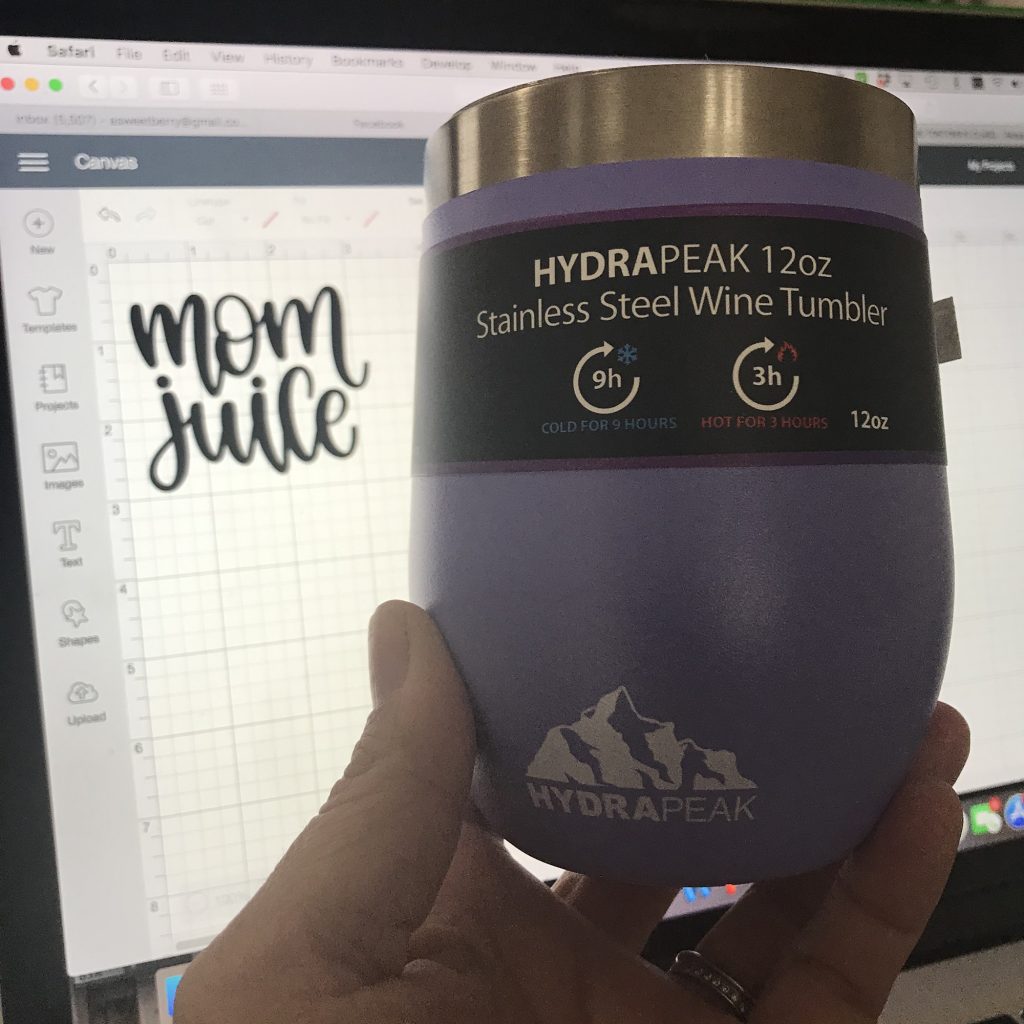
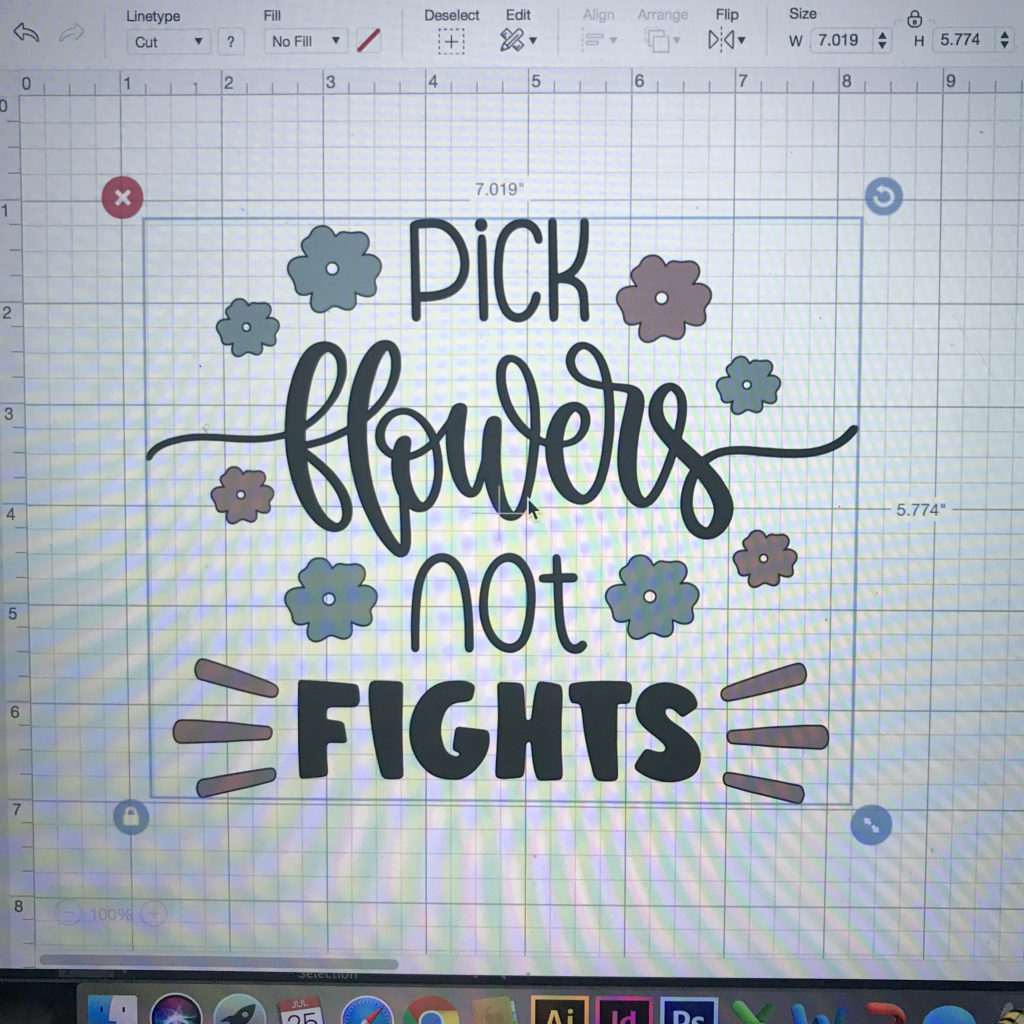
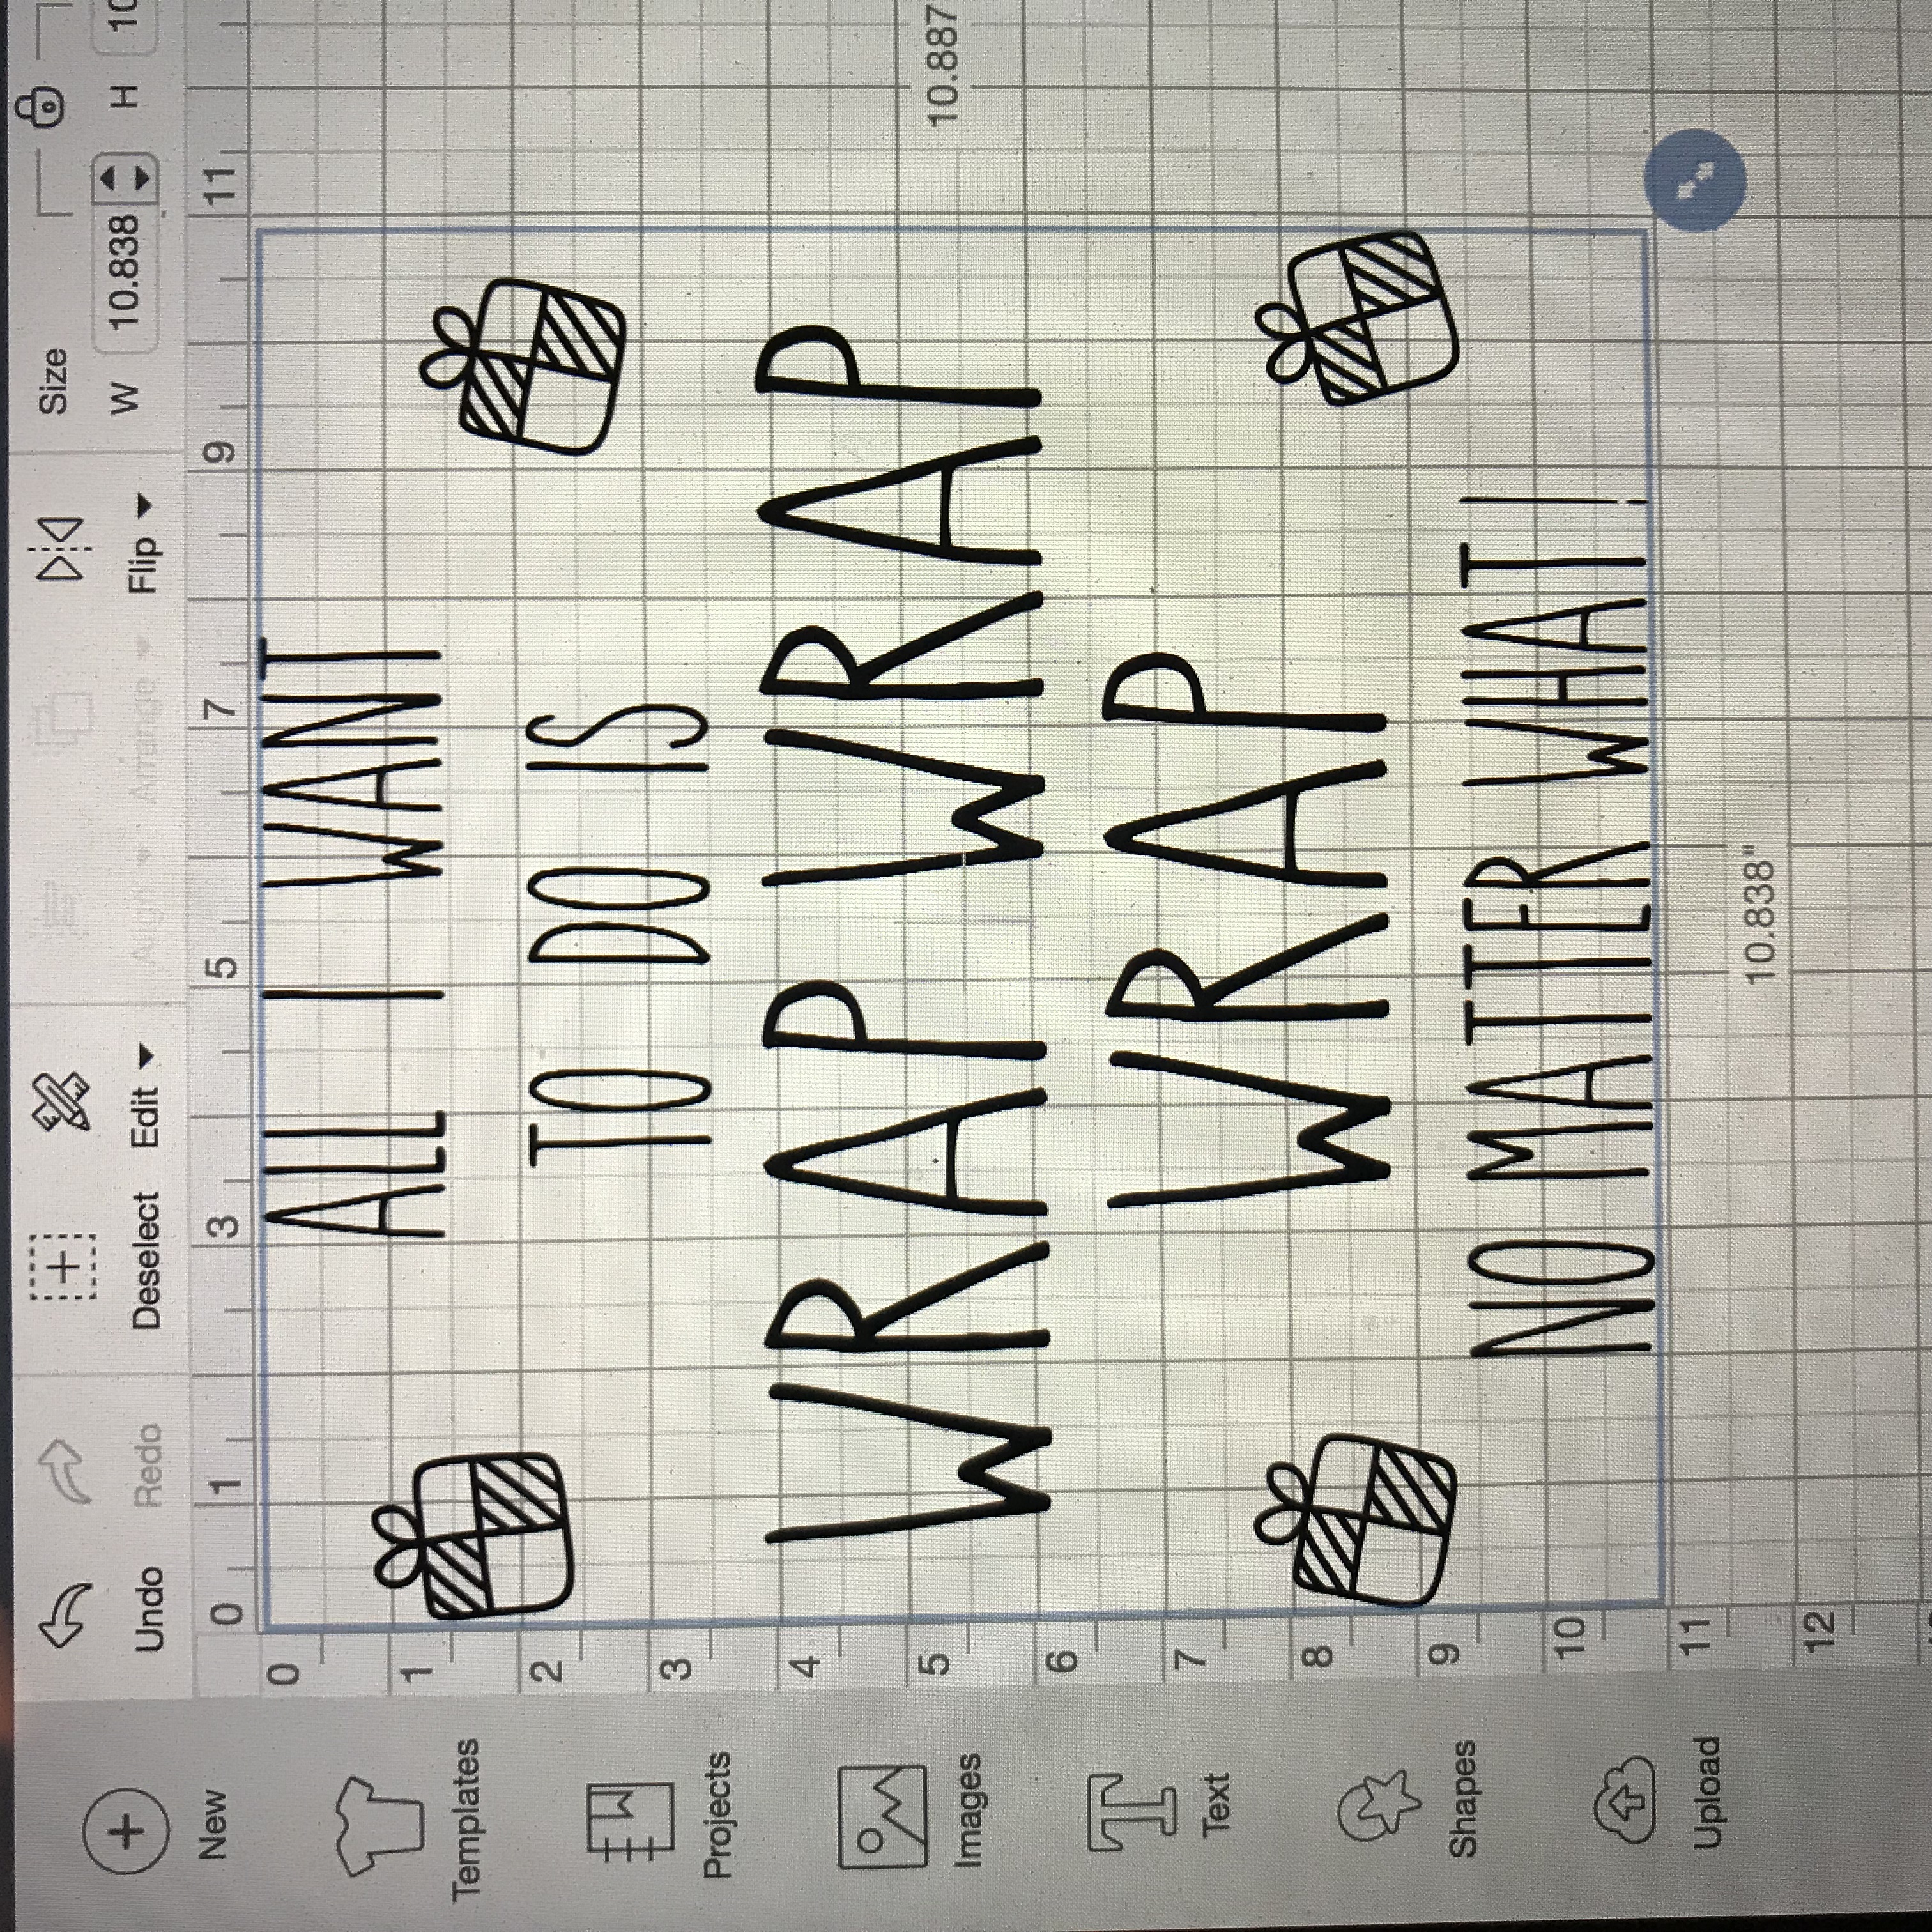
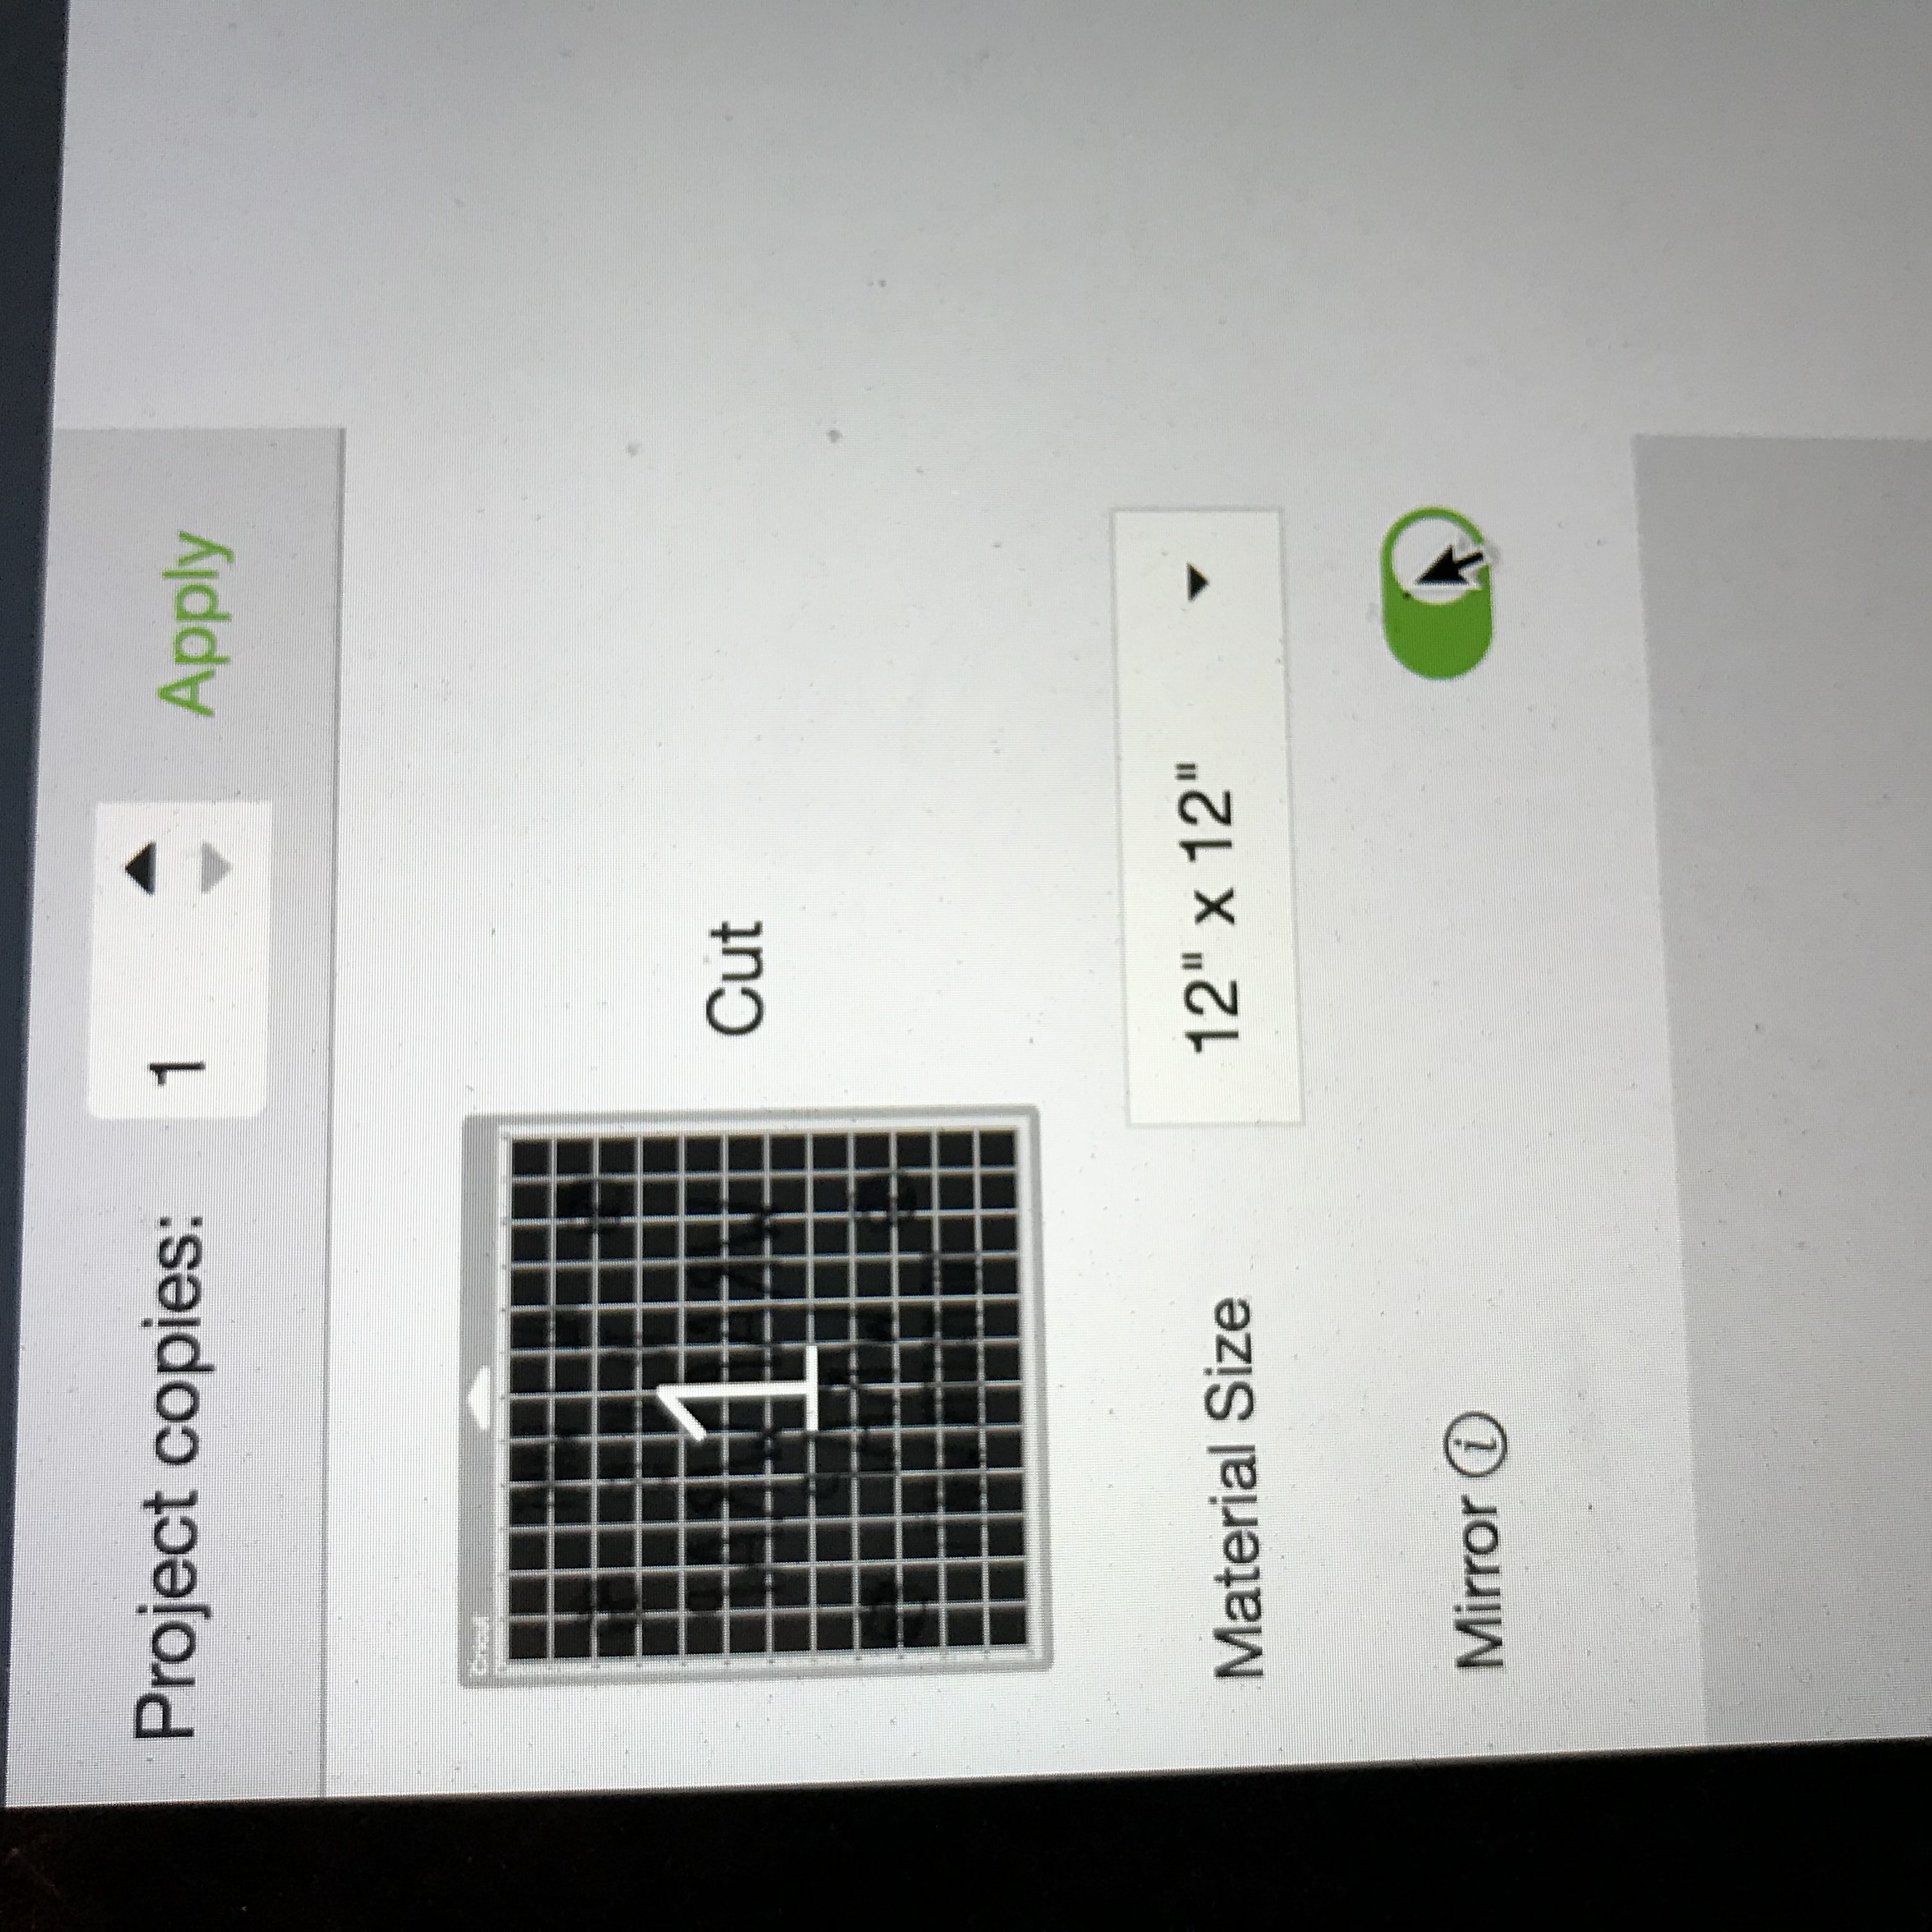
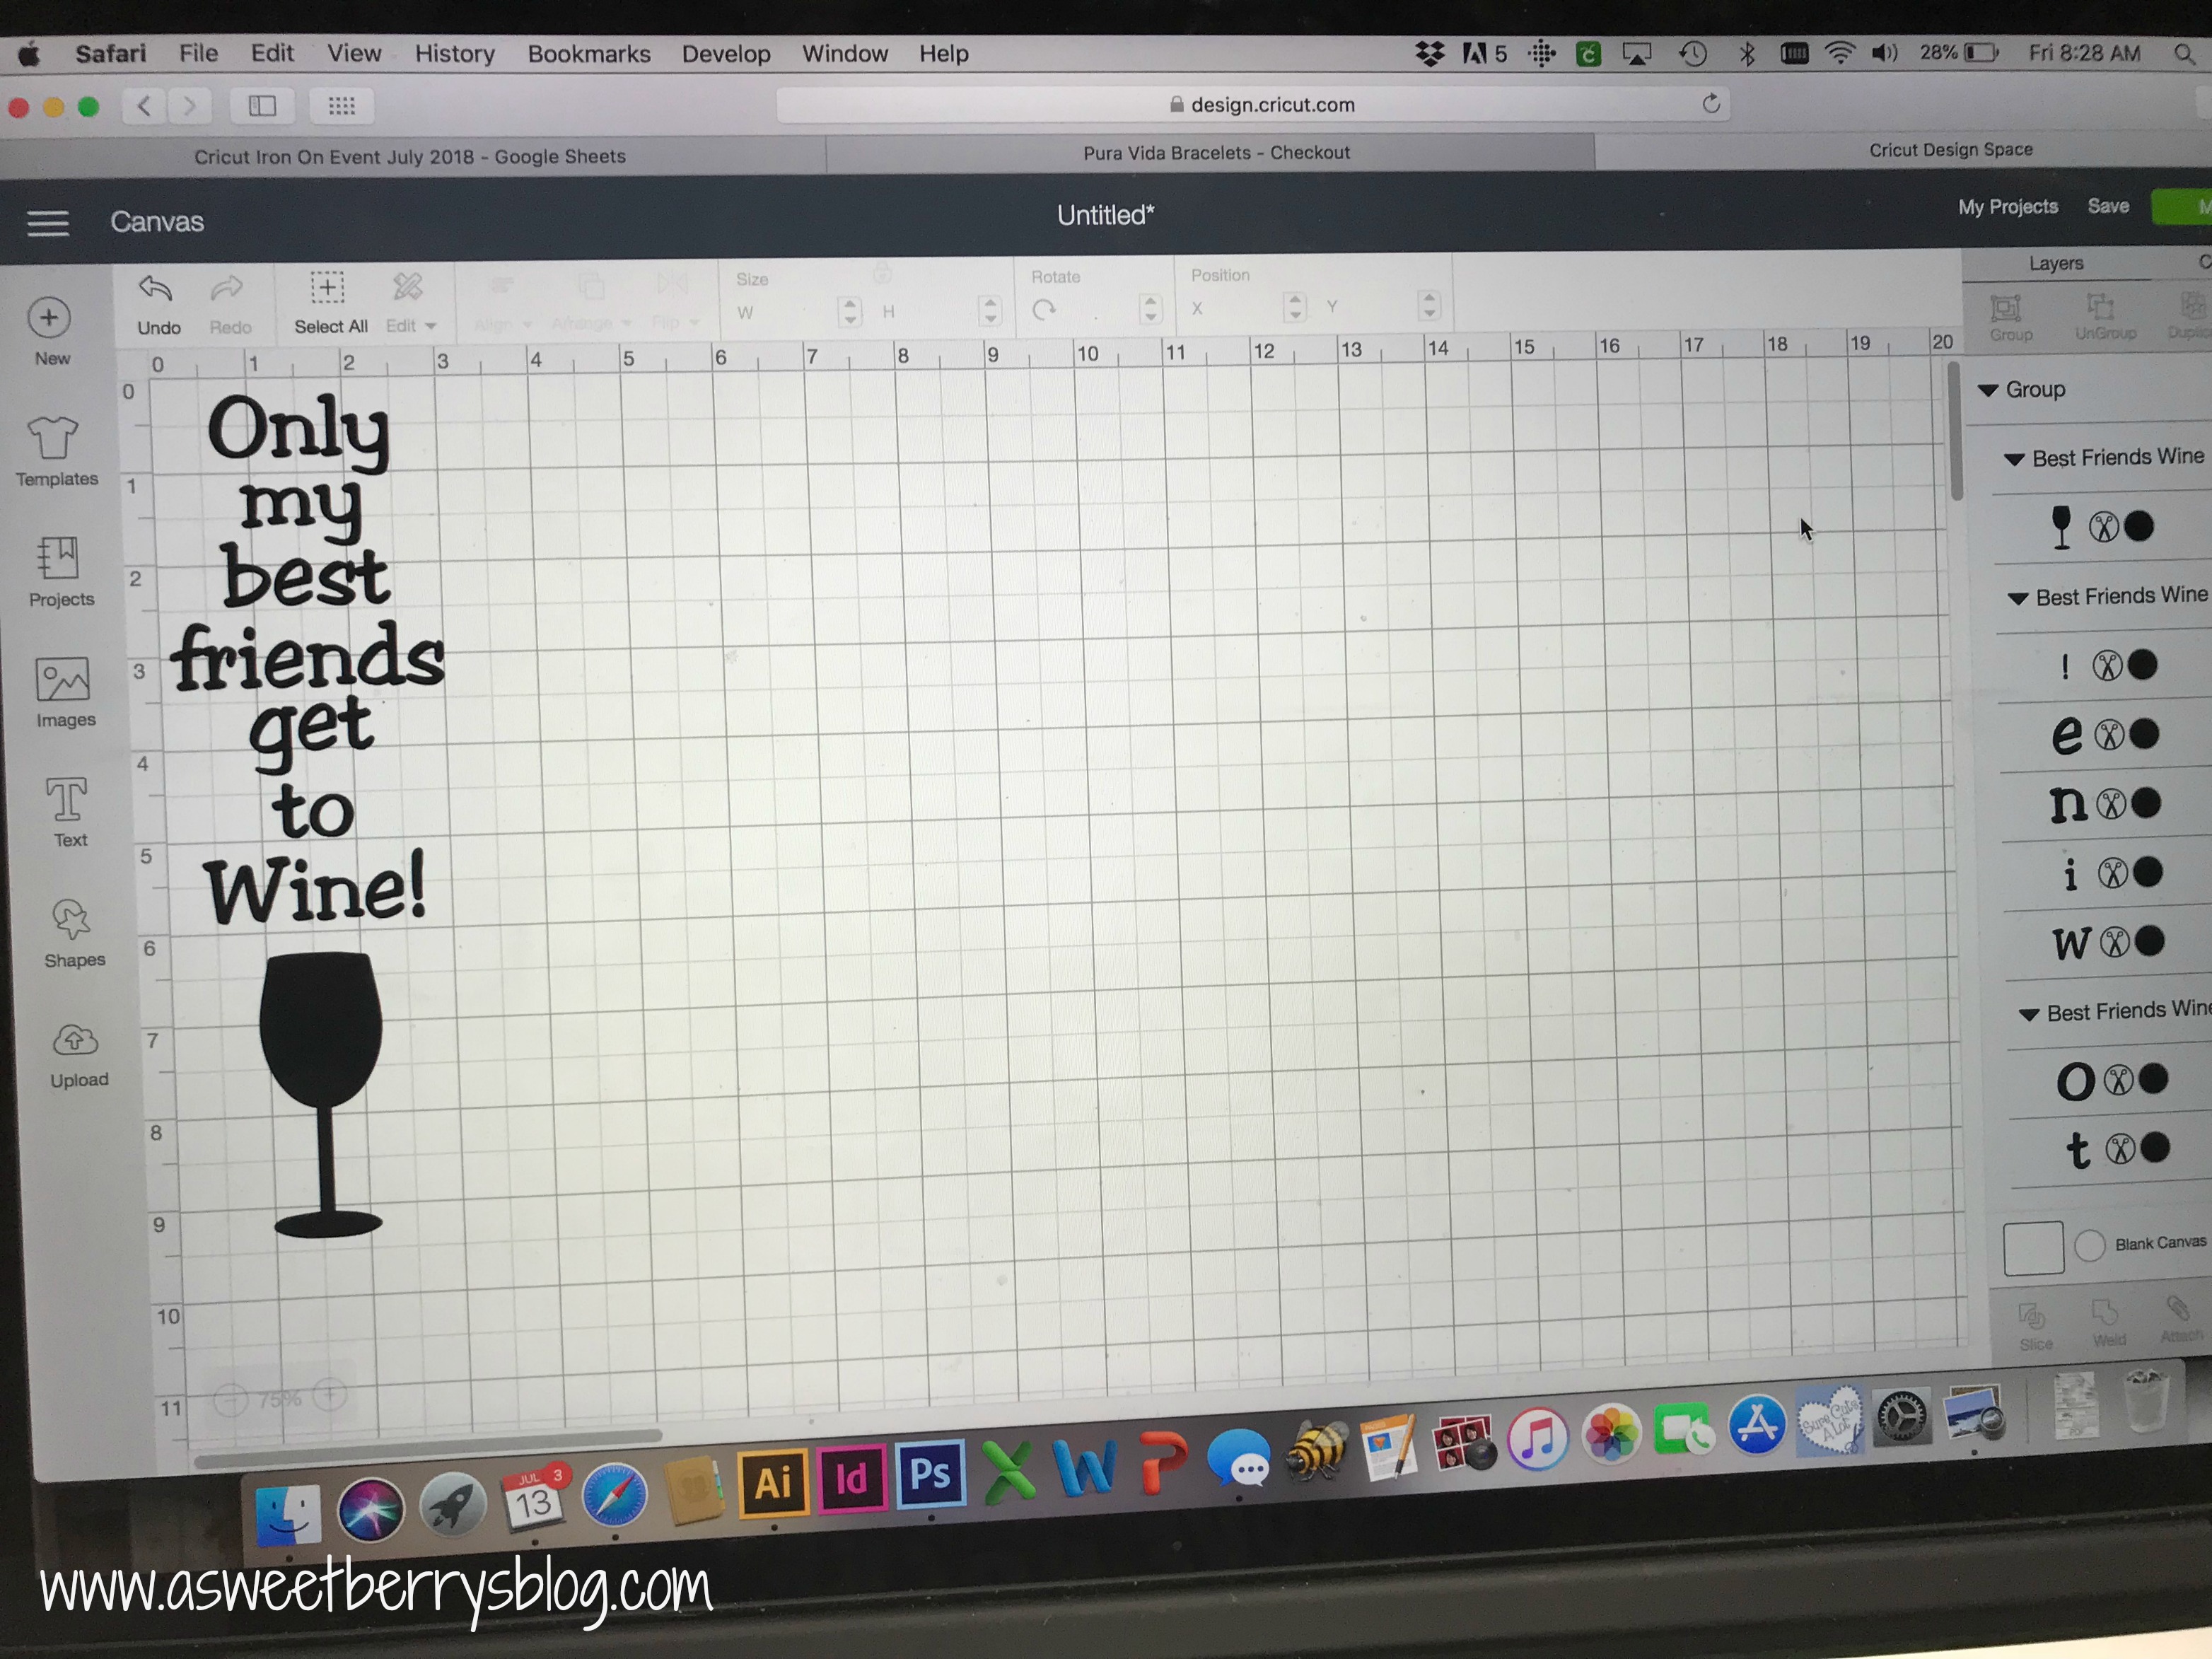
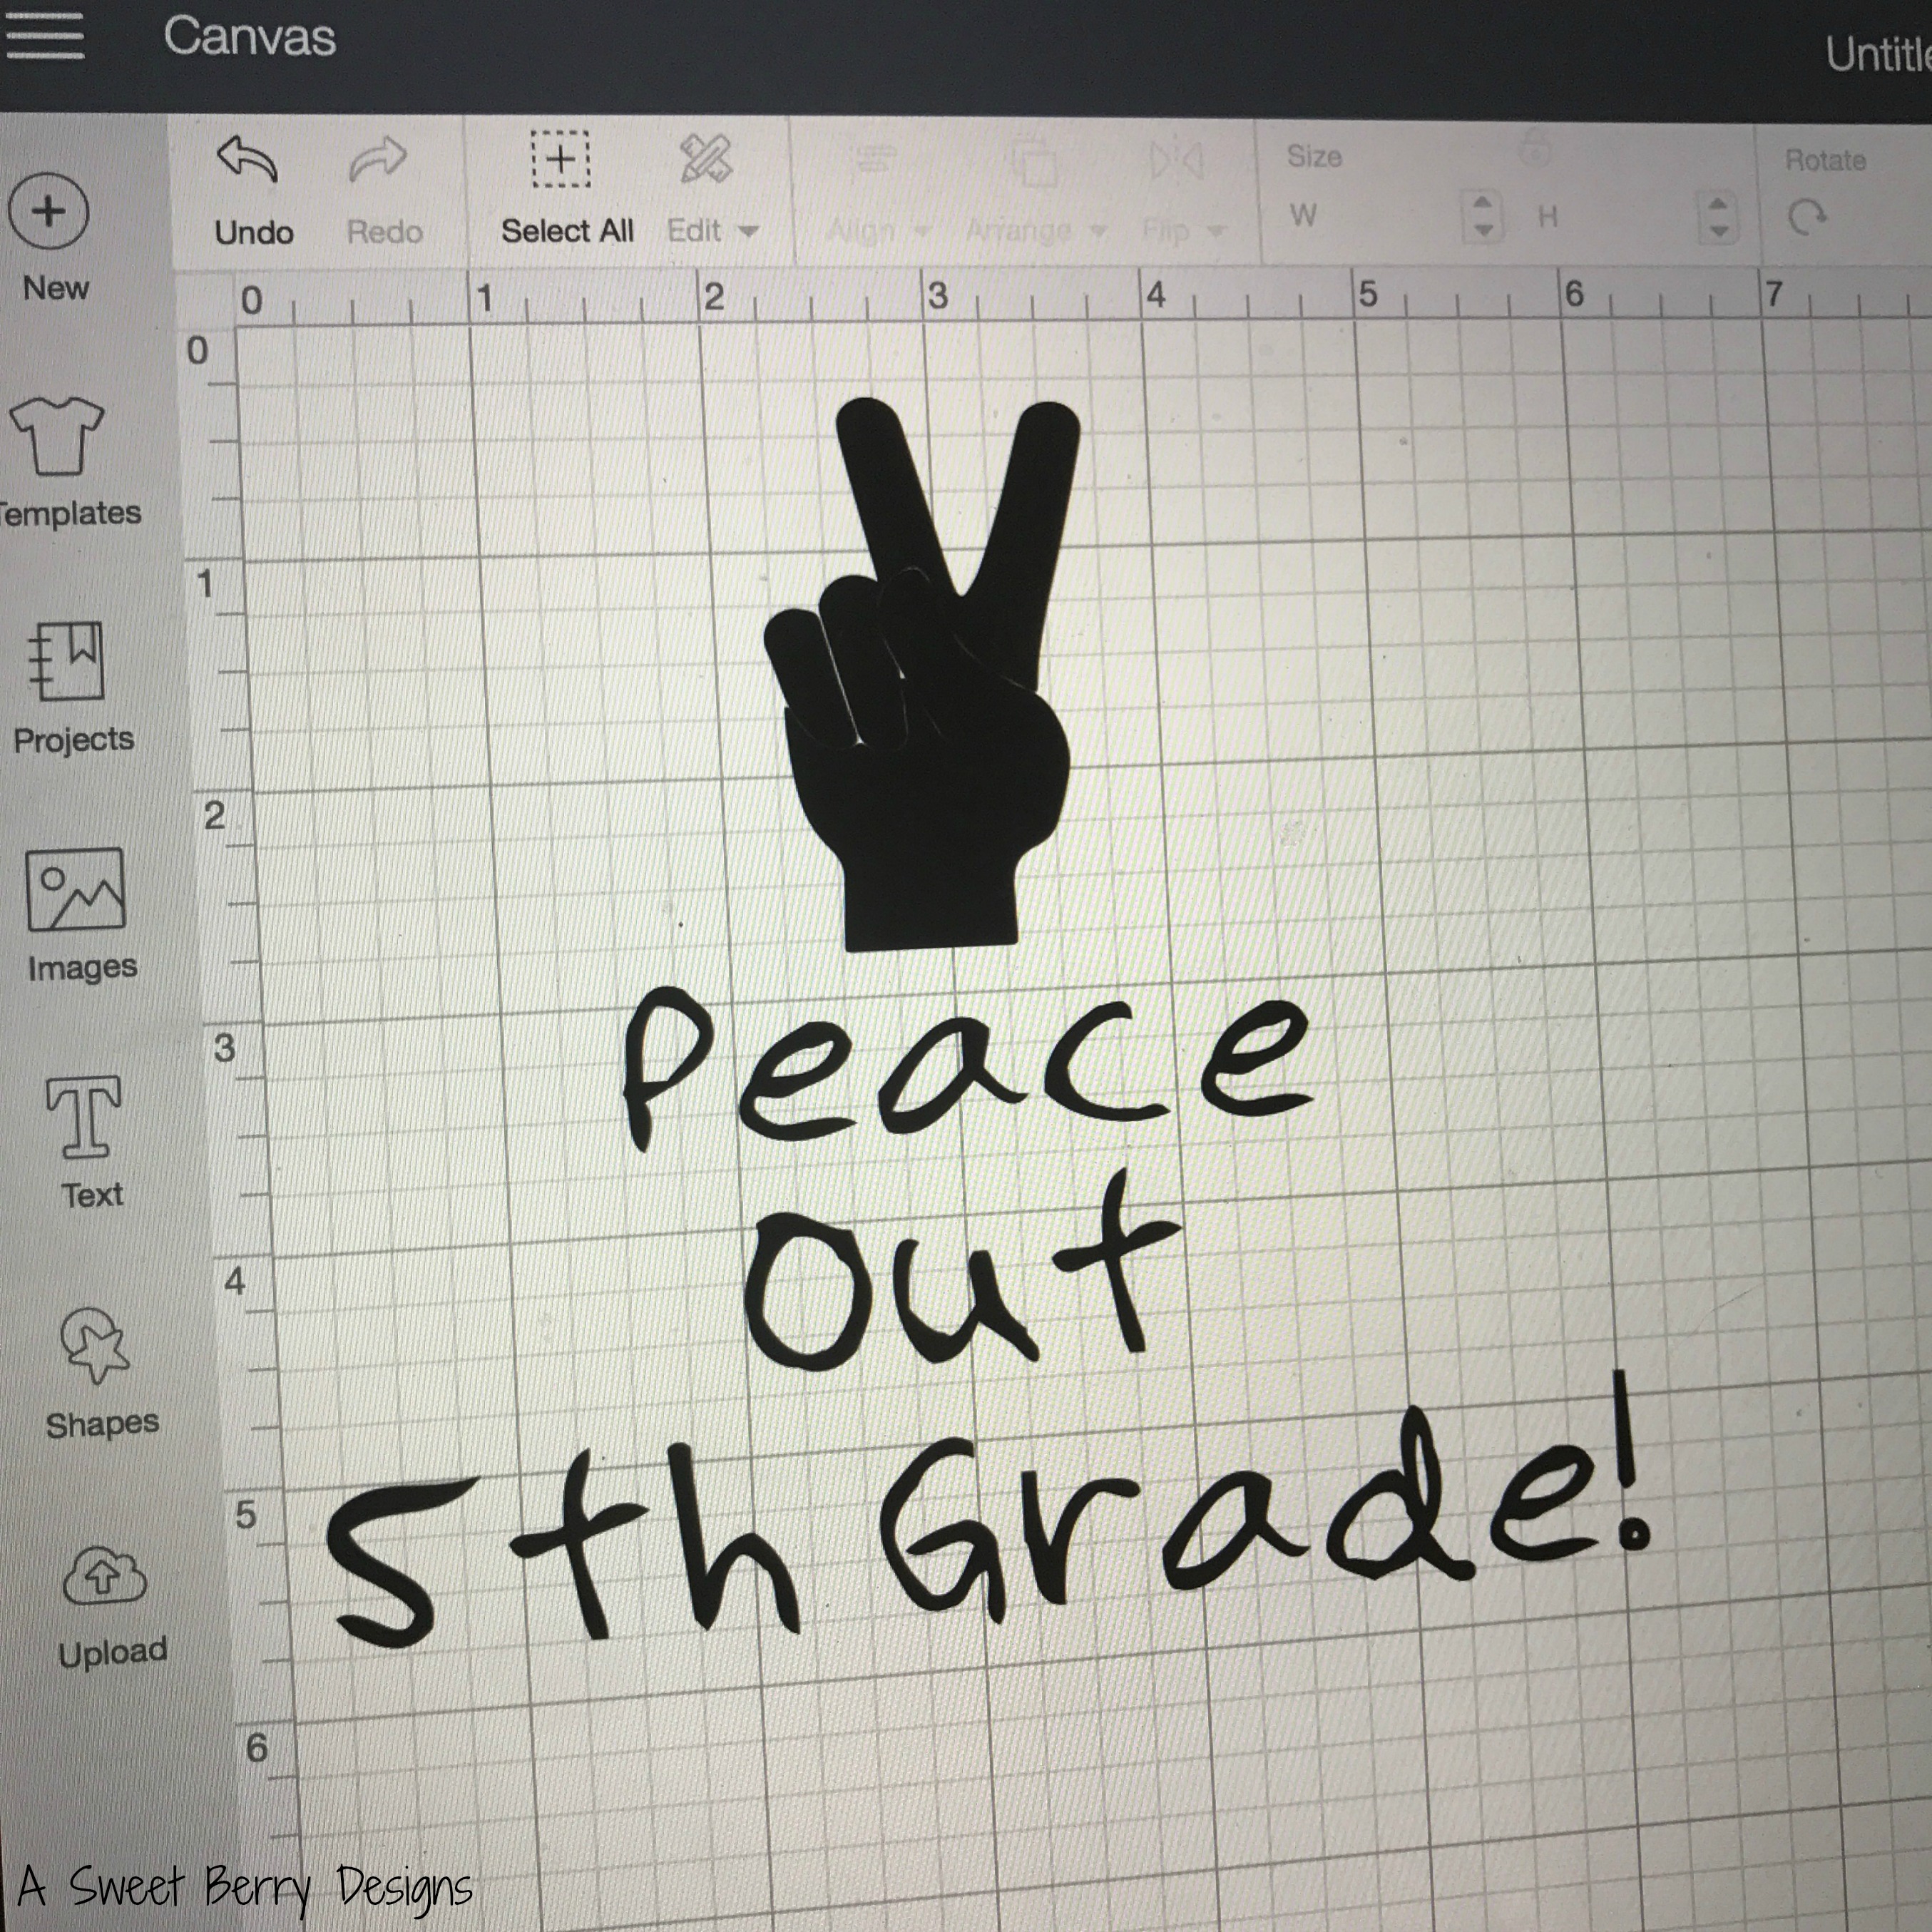
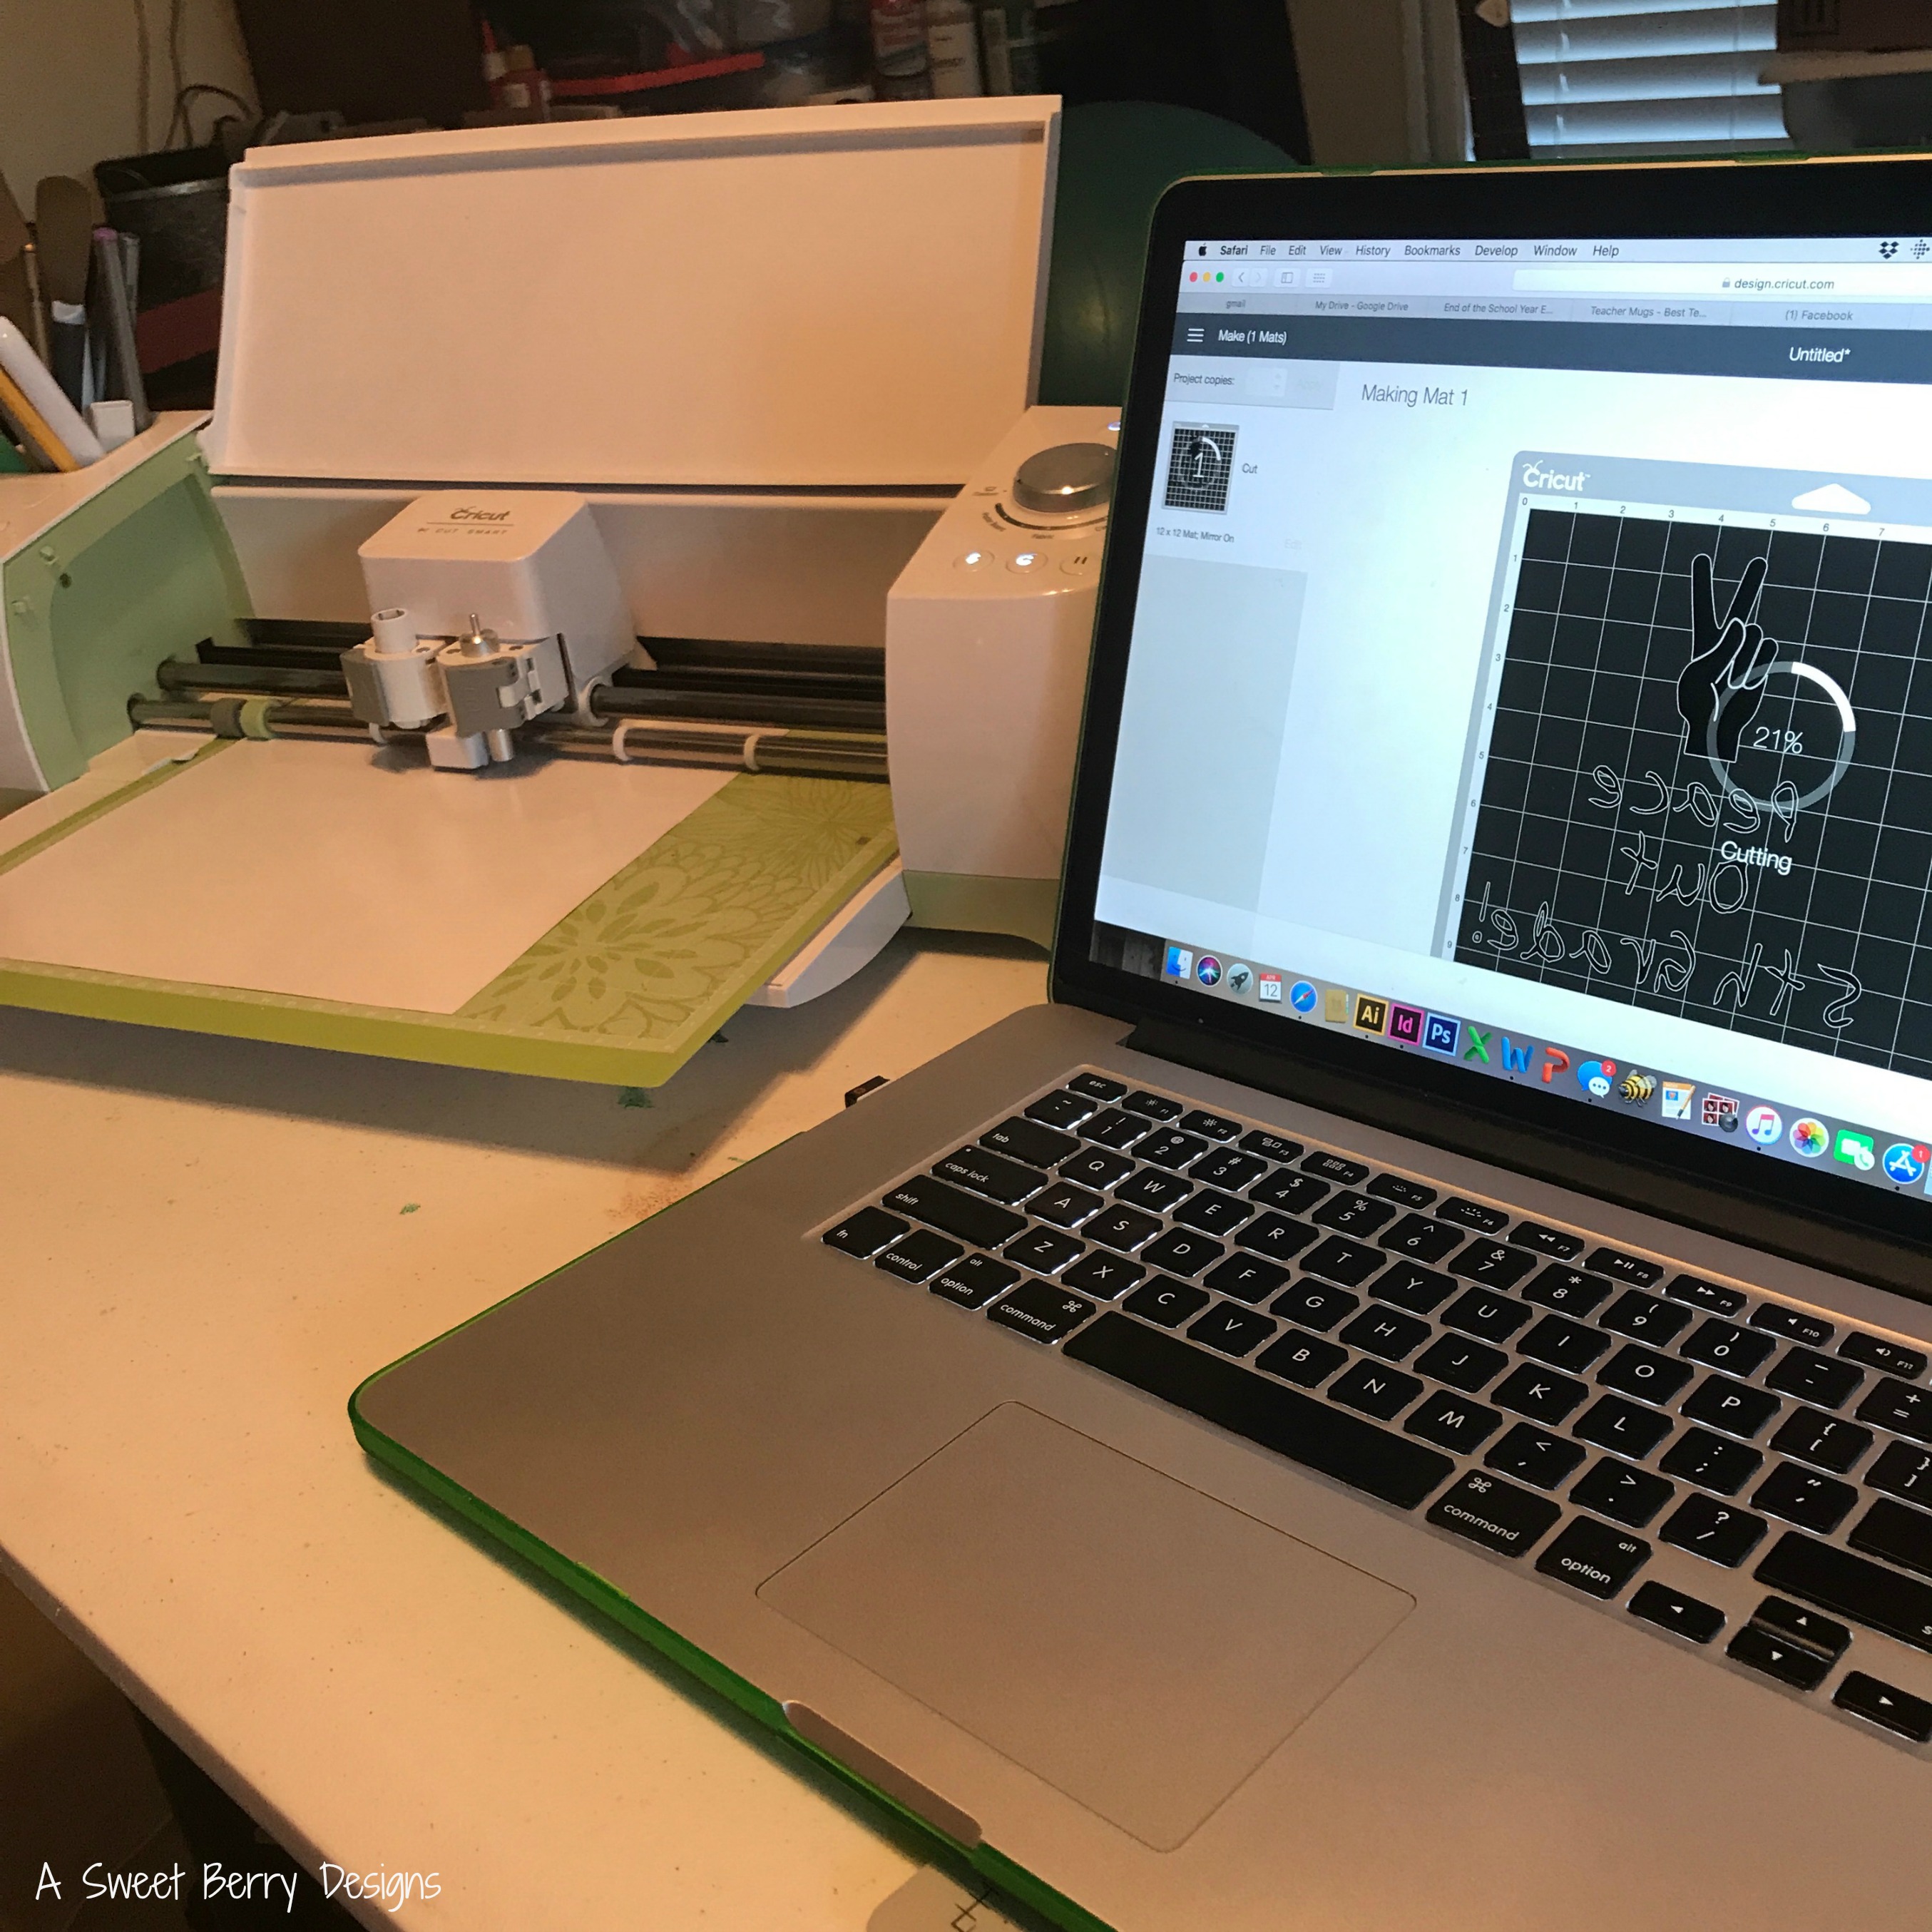
Grab the Party Cups svg file from above and open it in Design Space. Resize it to fit on the cups that you have.

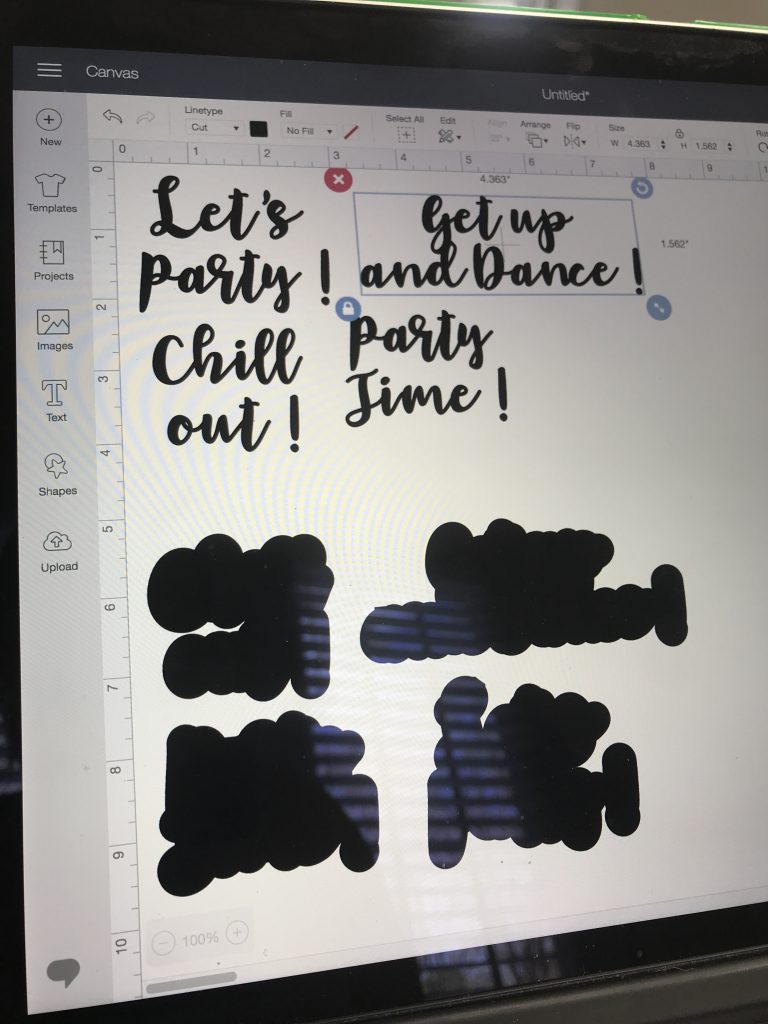
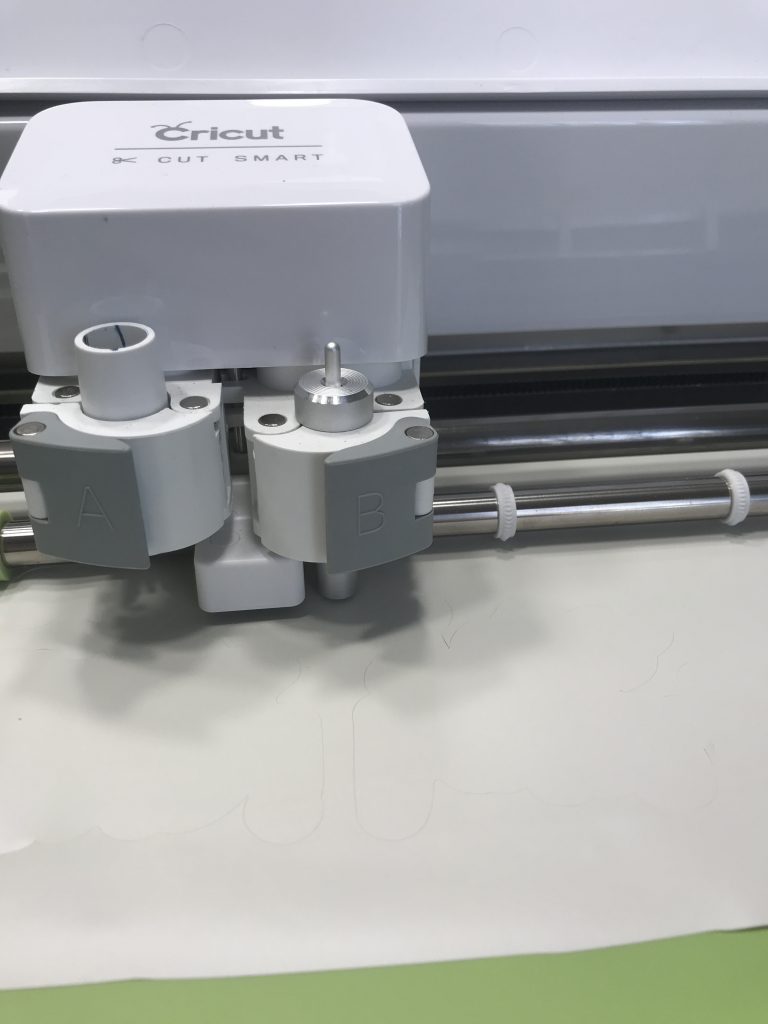
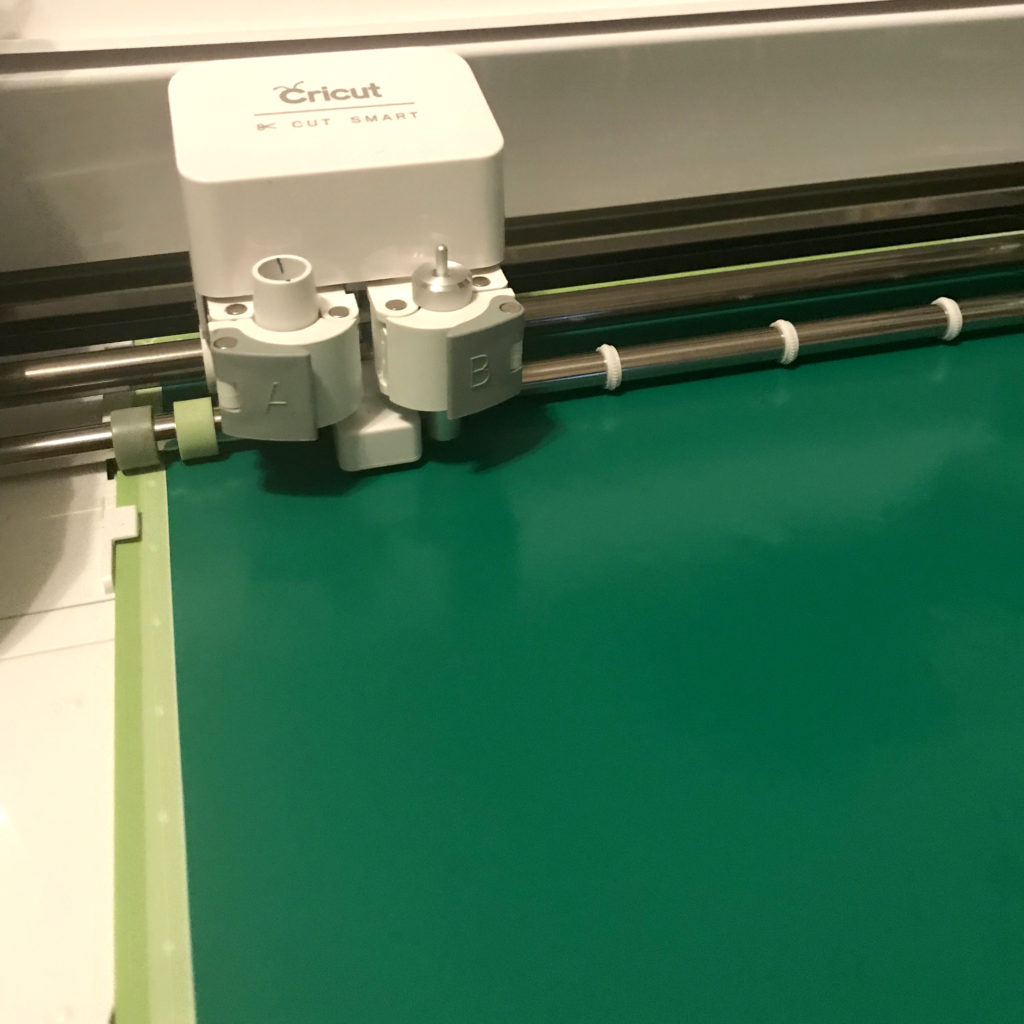
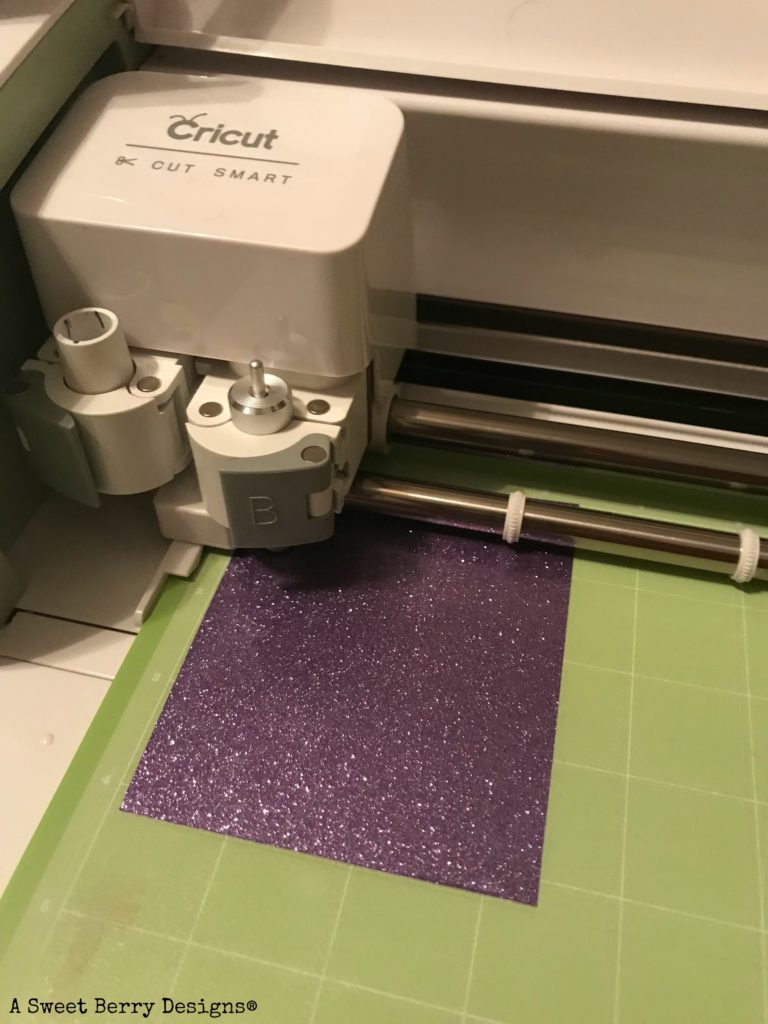
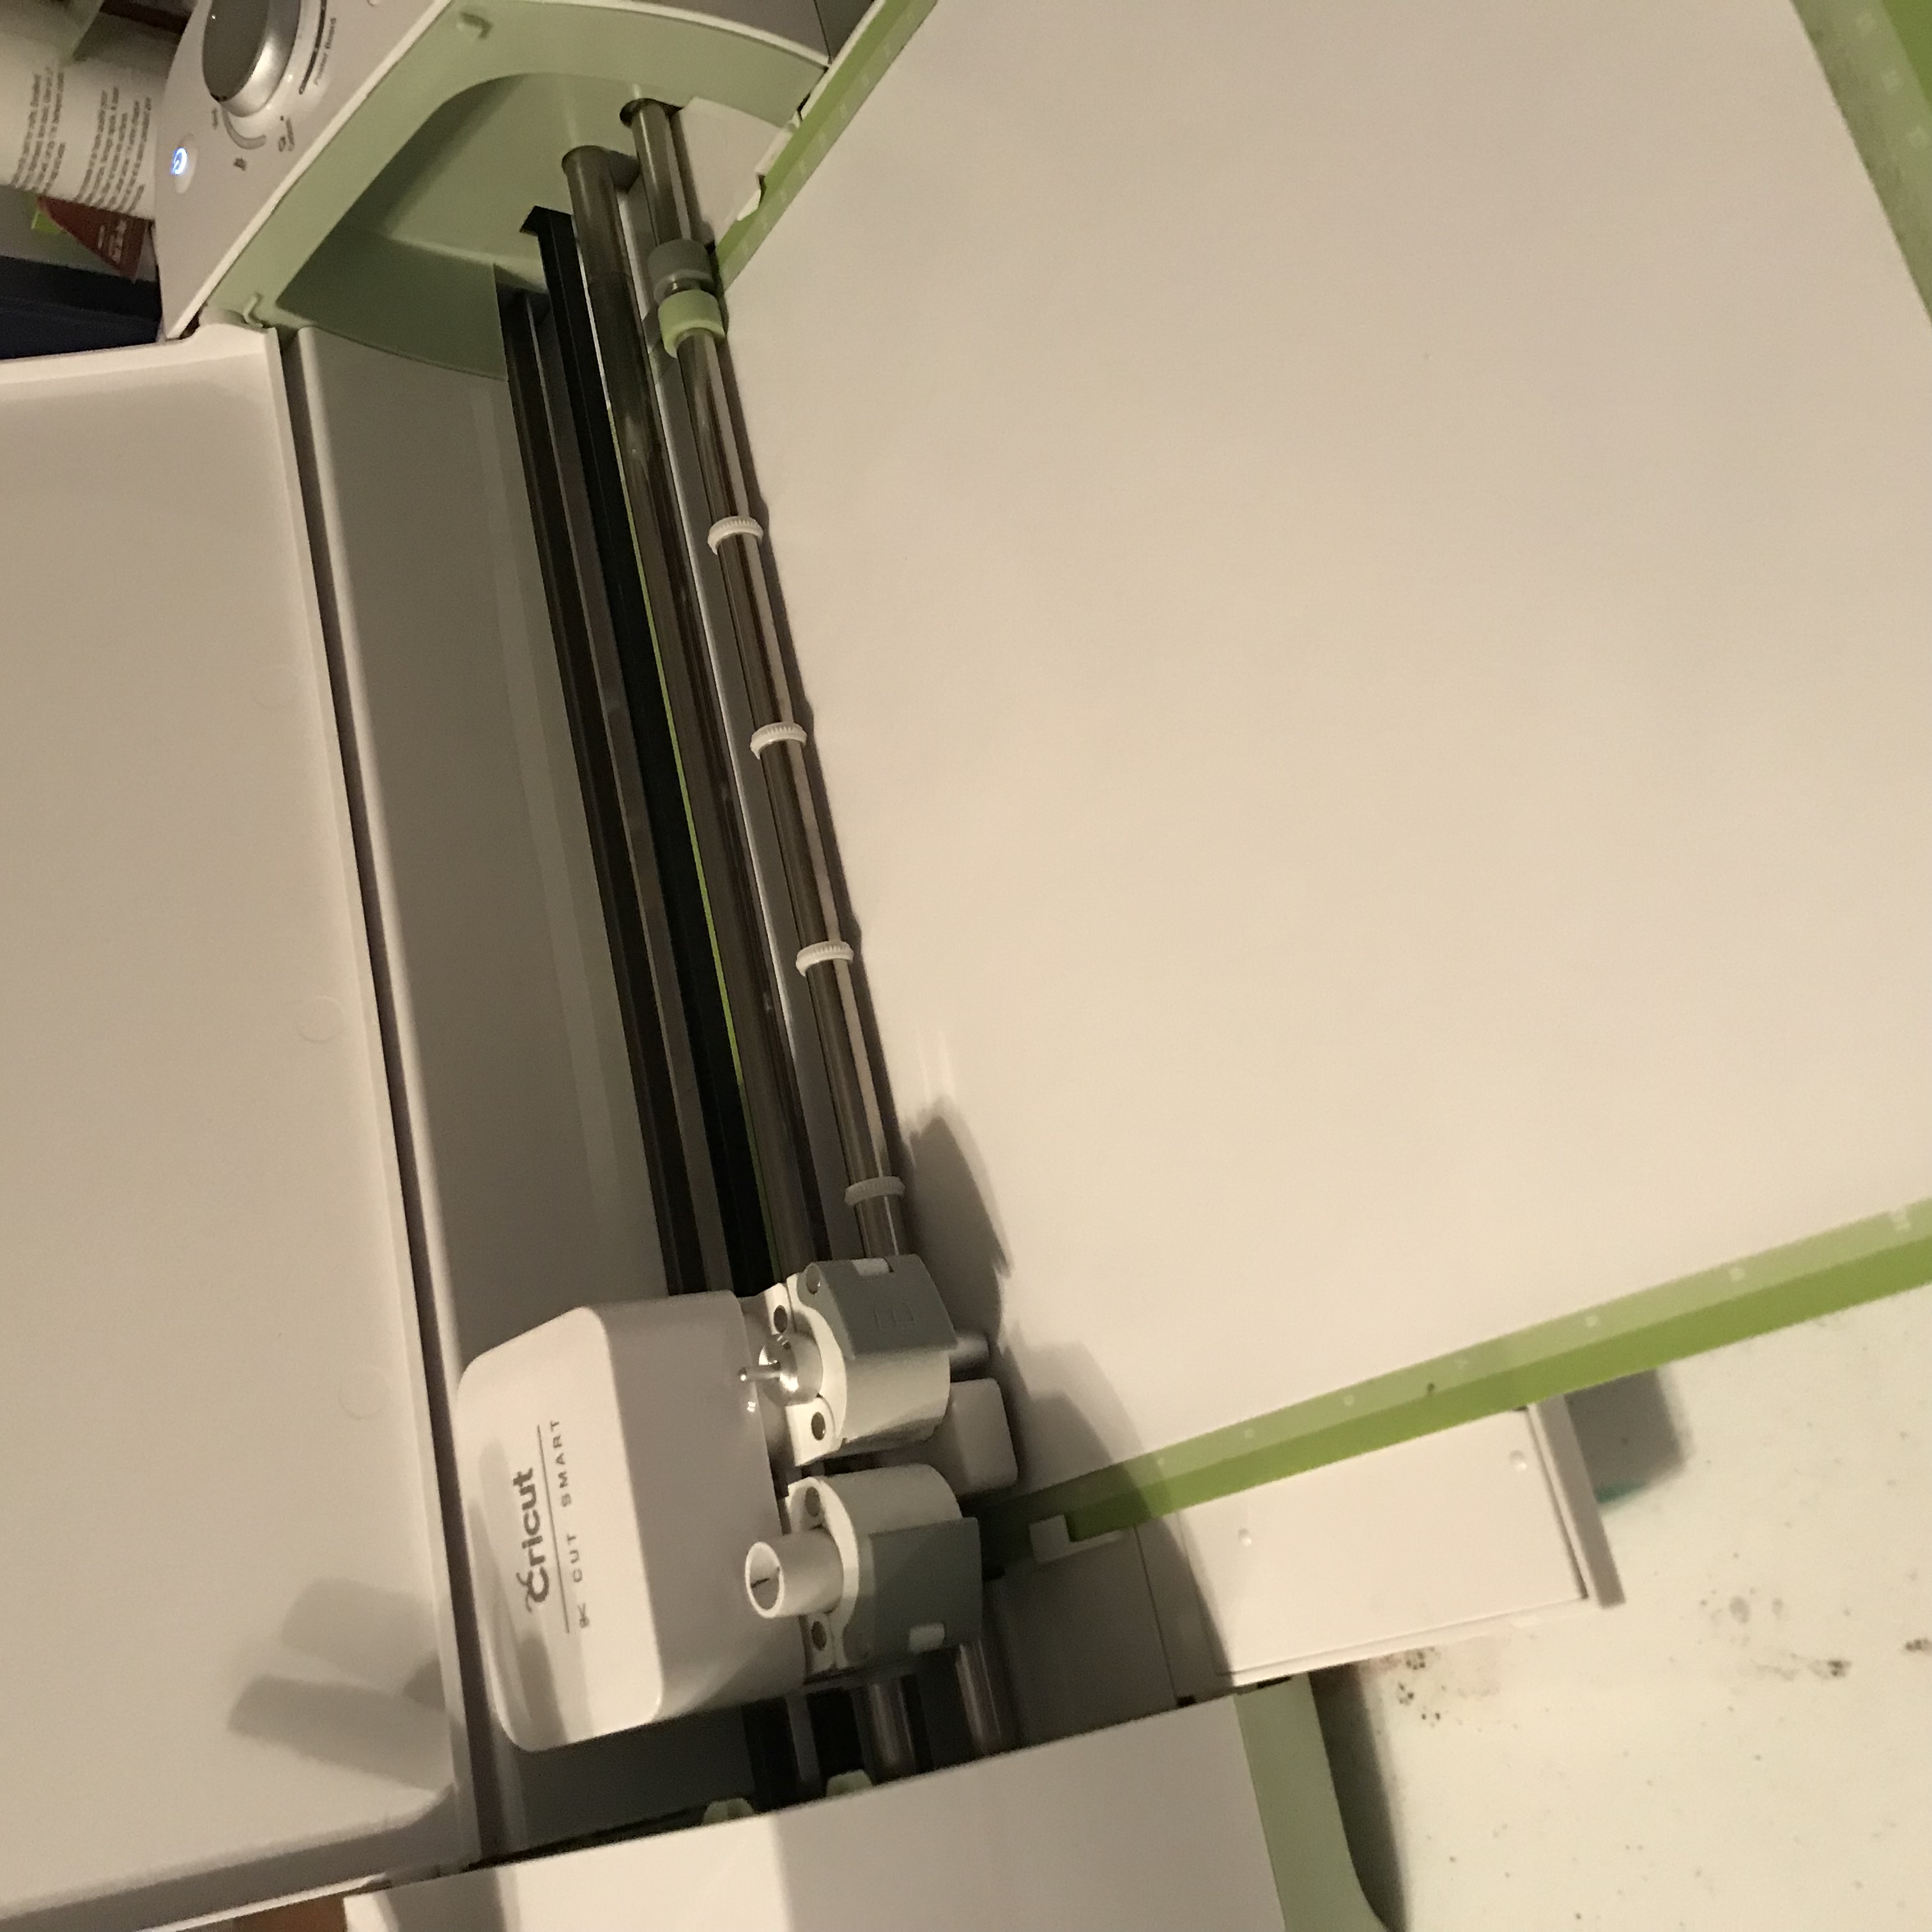
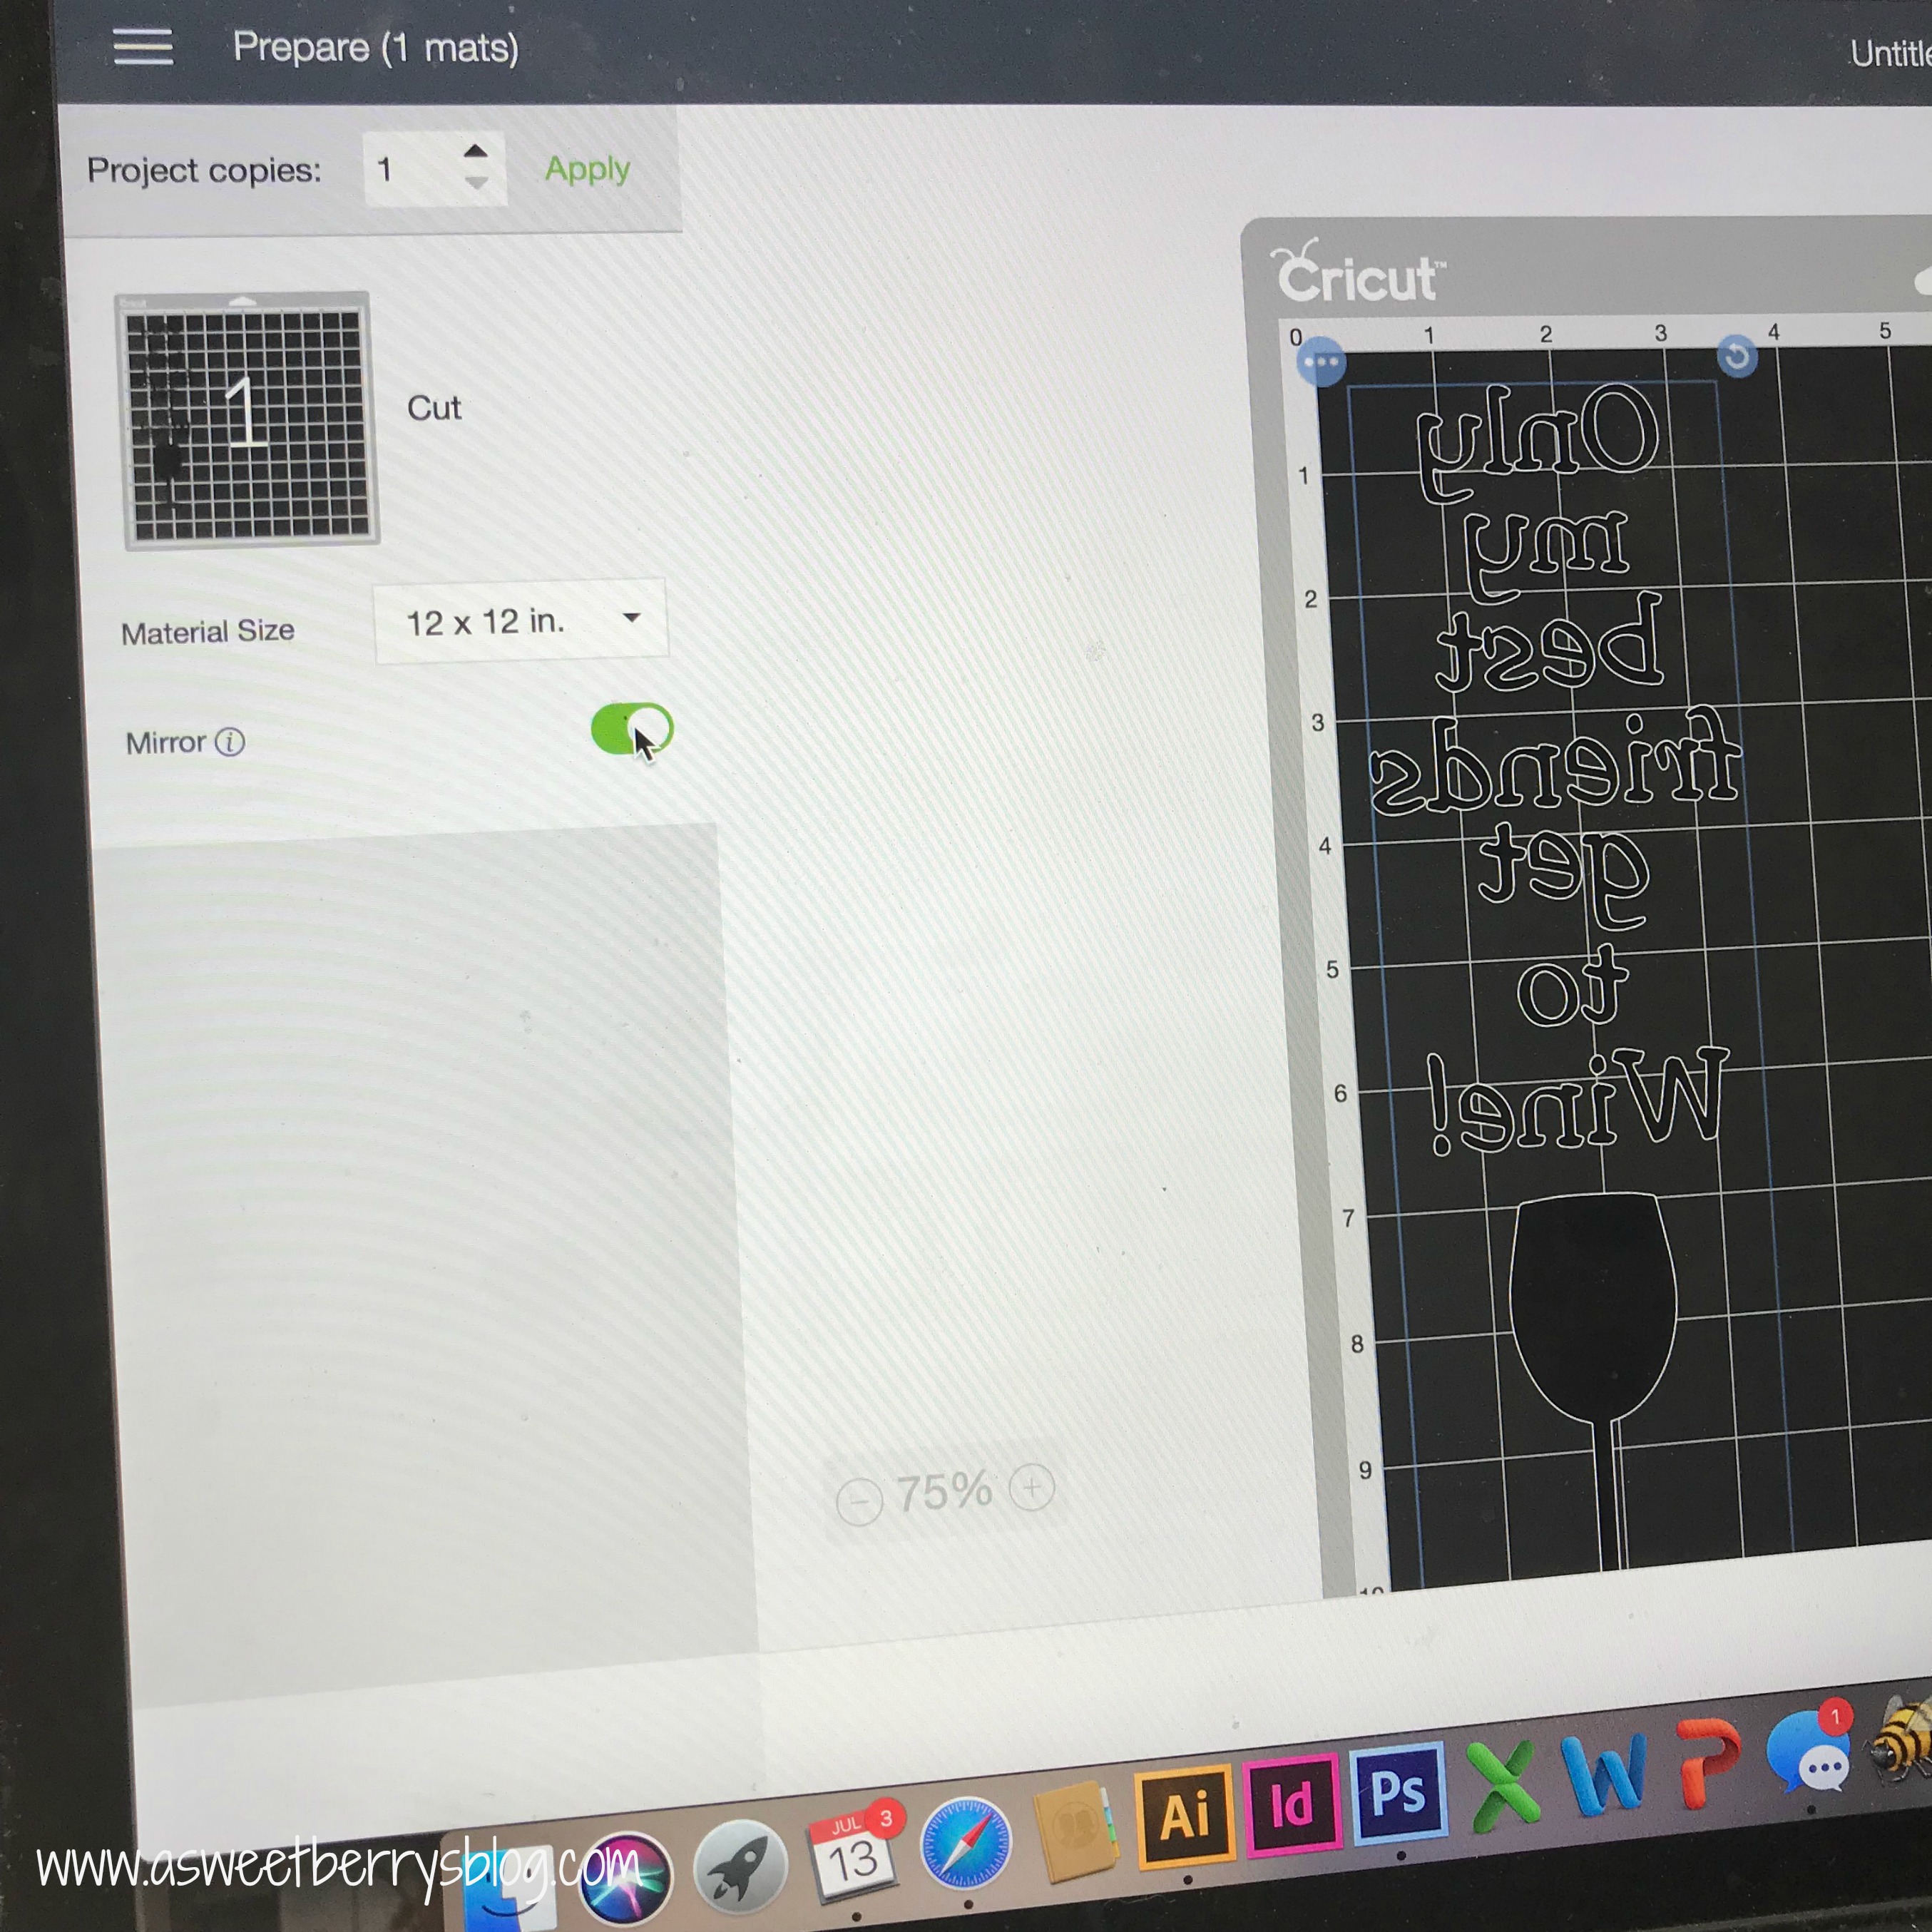
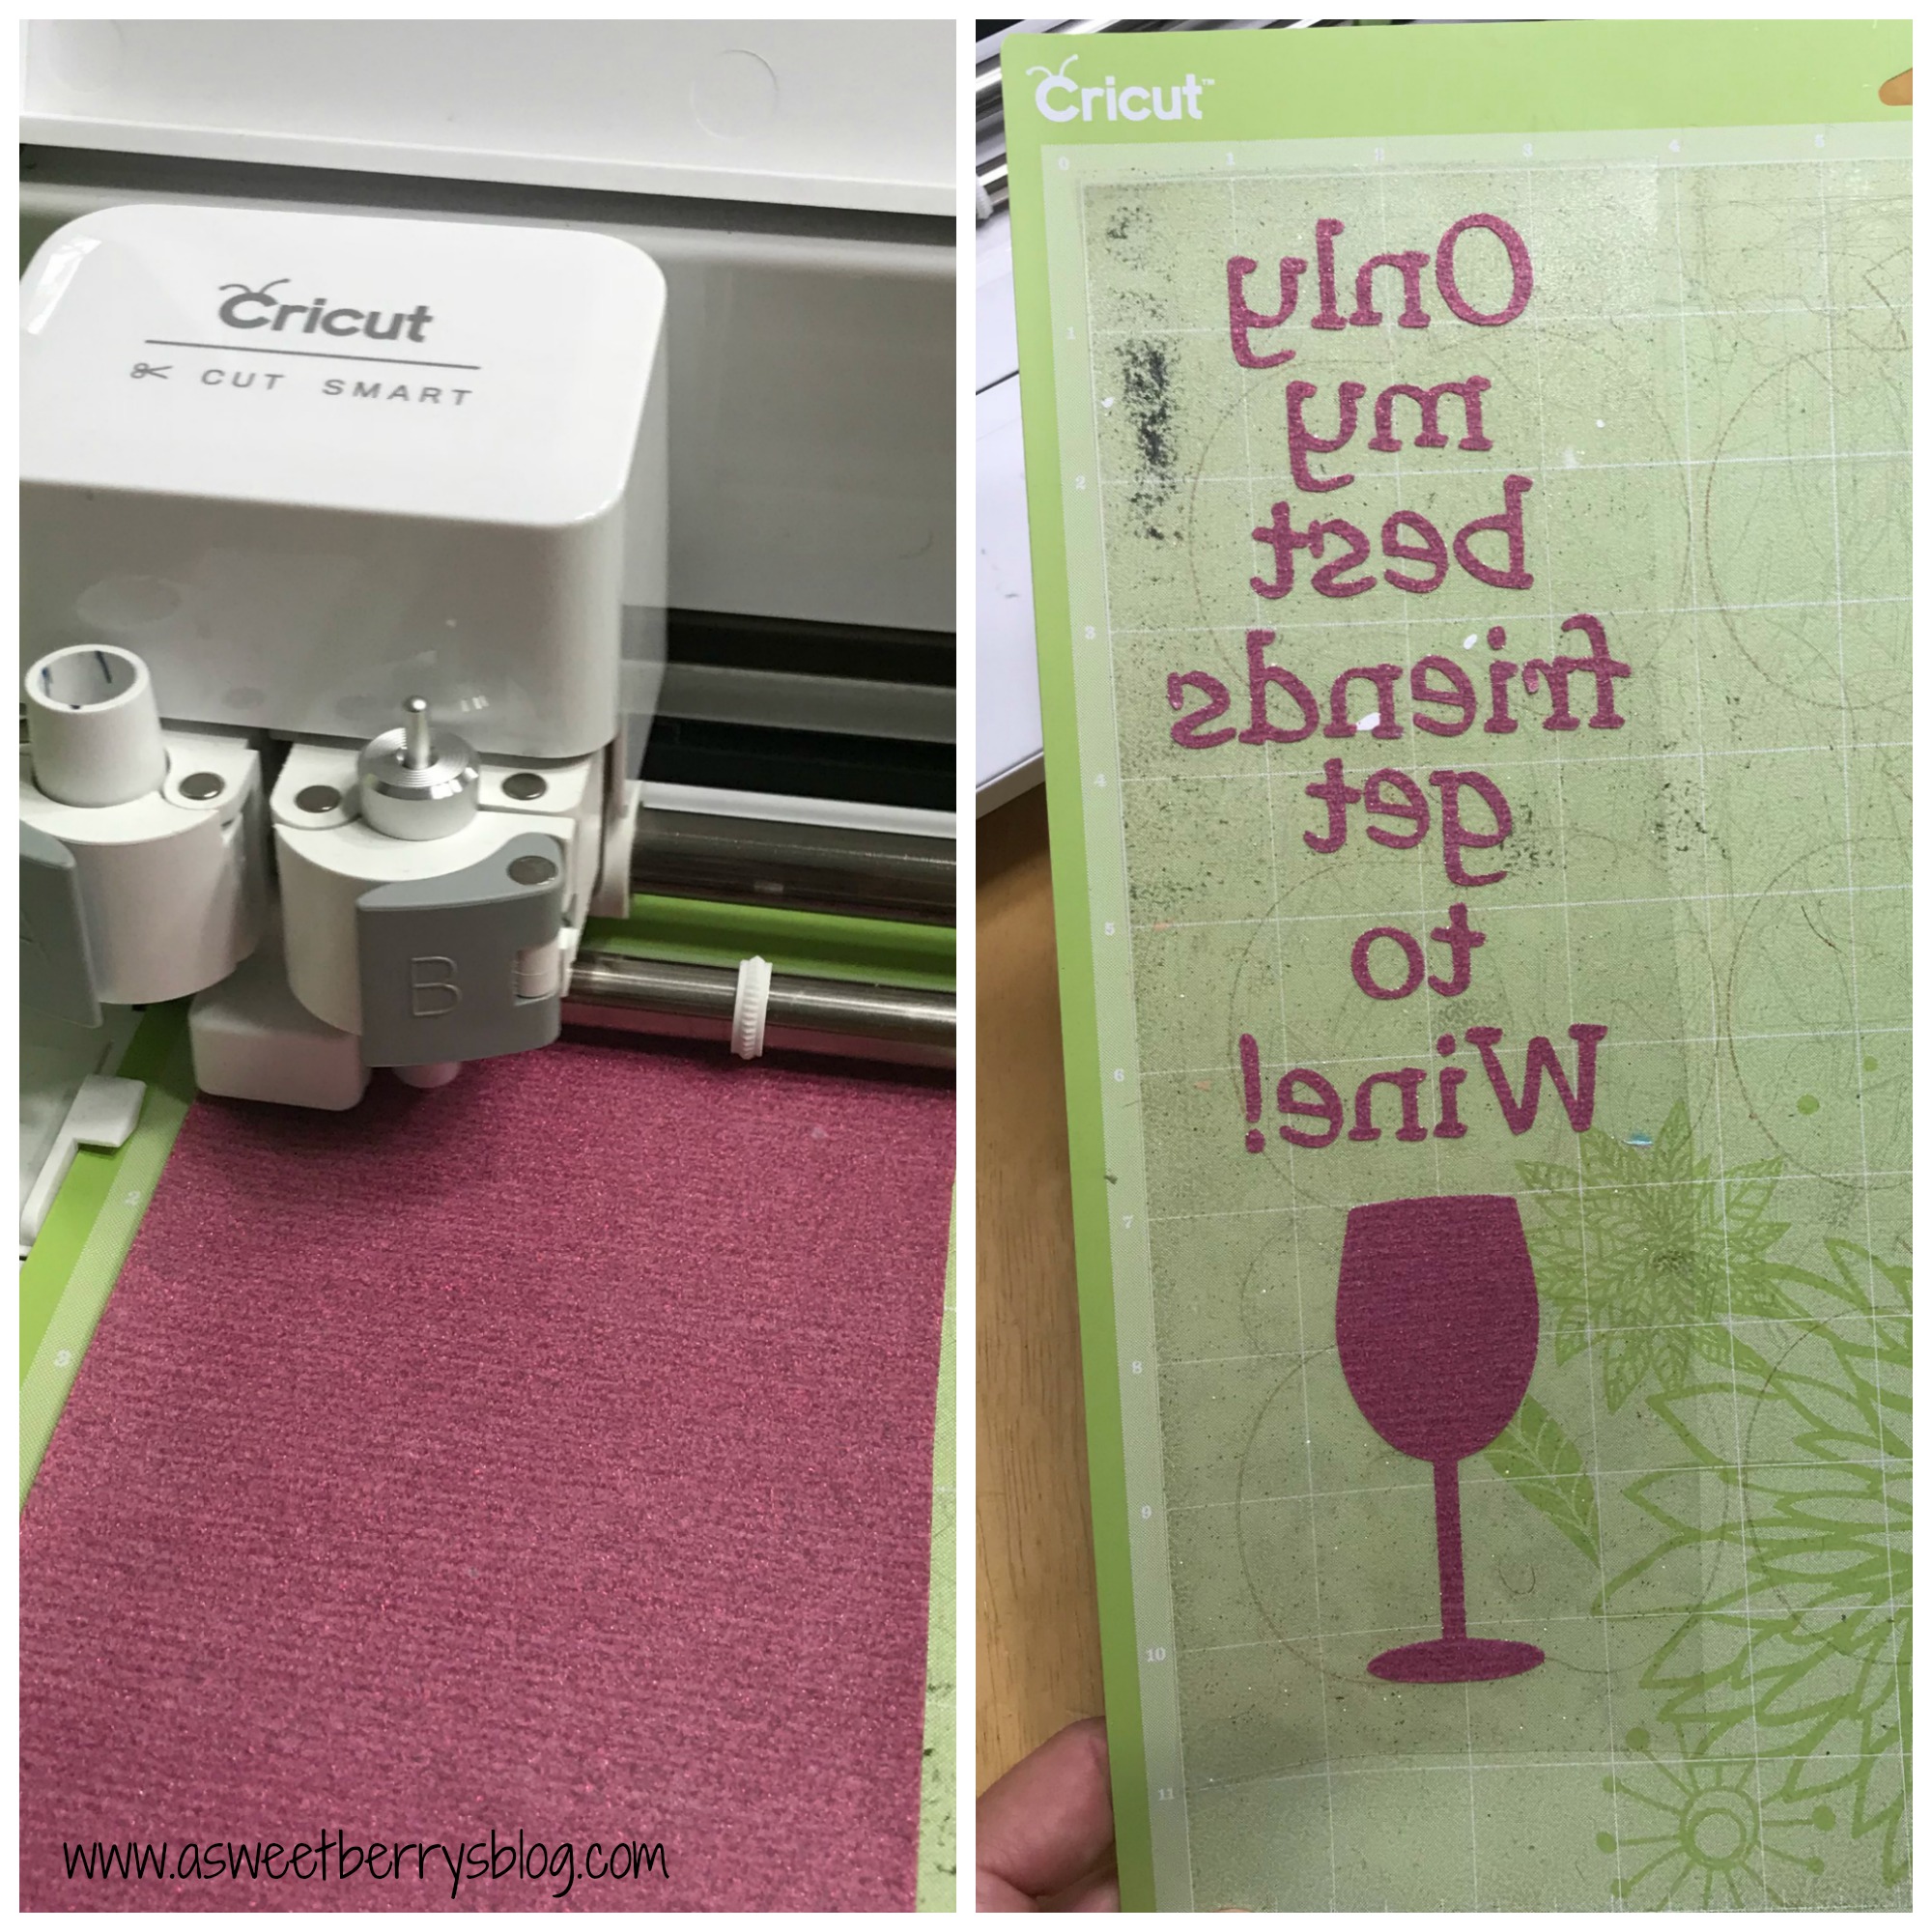
Pick your color vinyls and place it on the Cricut cutting mats. Insert into the Cricut machine and start cutting. TIP: Make sure your pieces are attached. I just did this on one mat, so I grouped my items together.

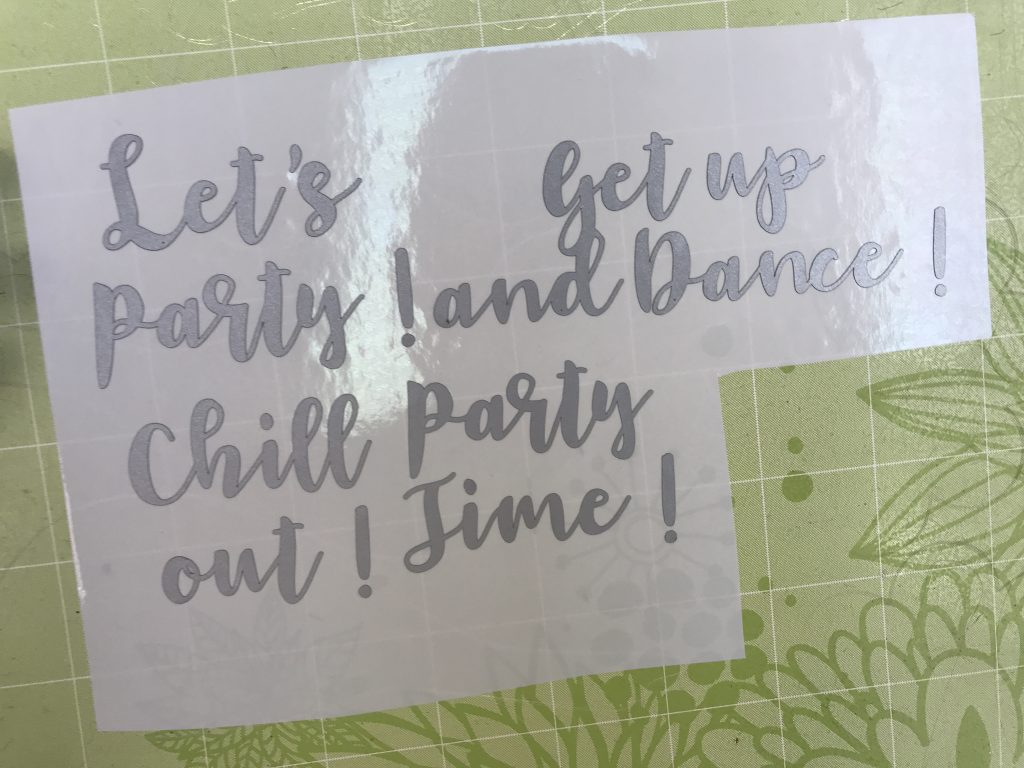
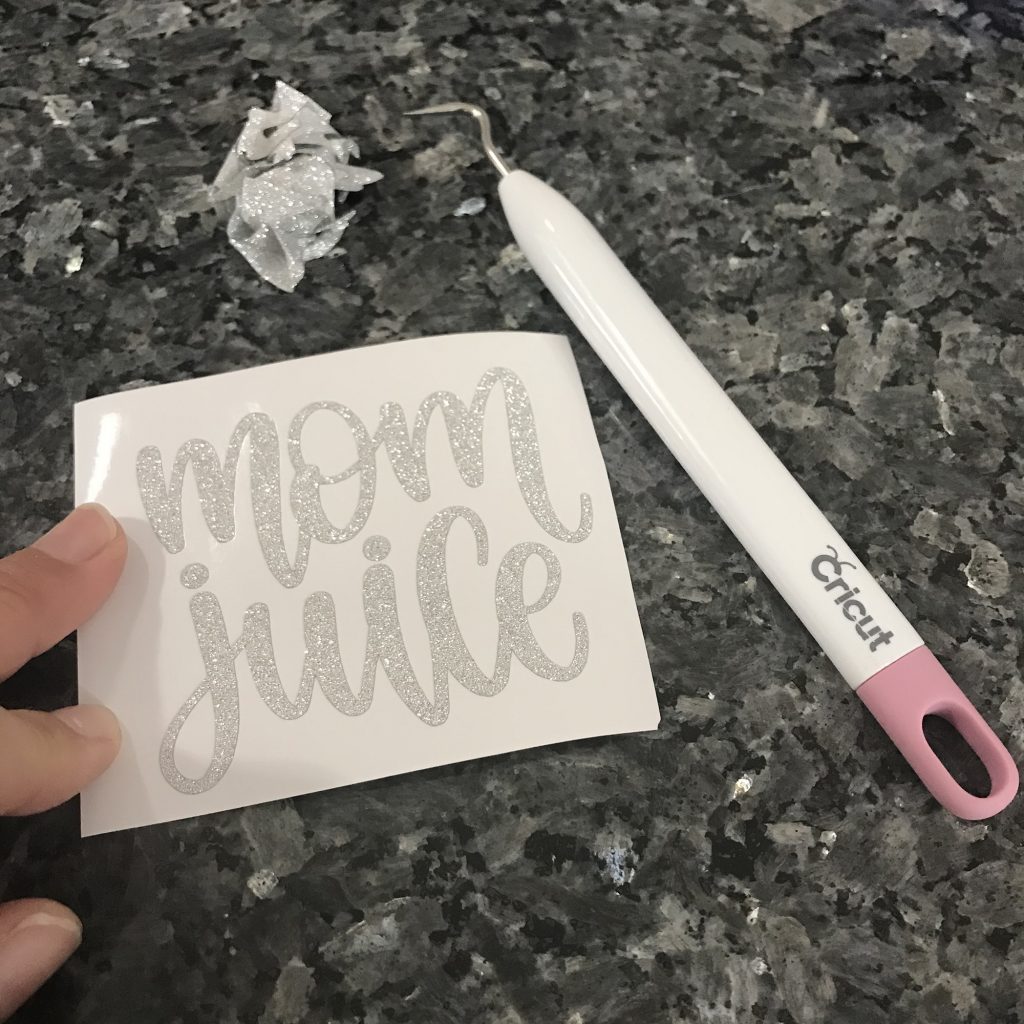
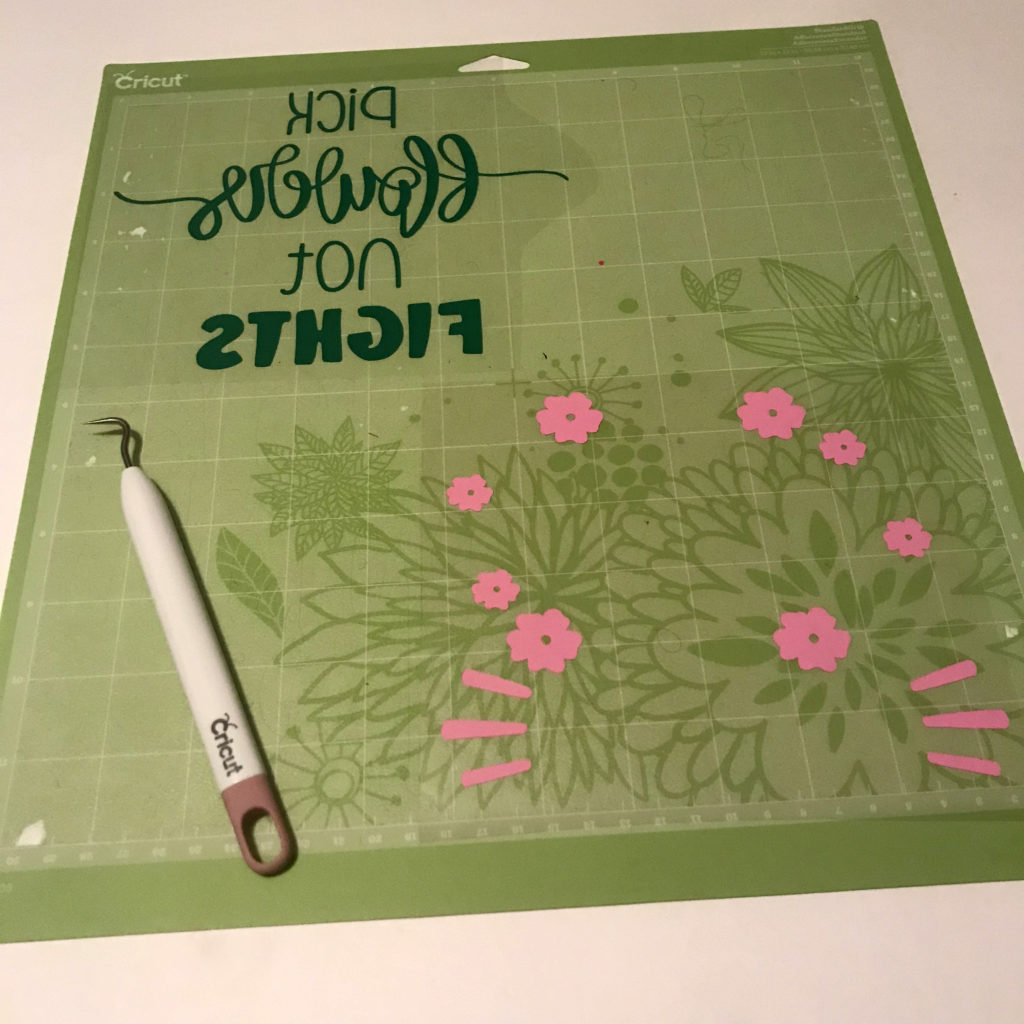
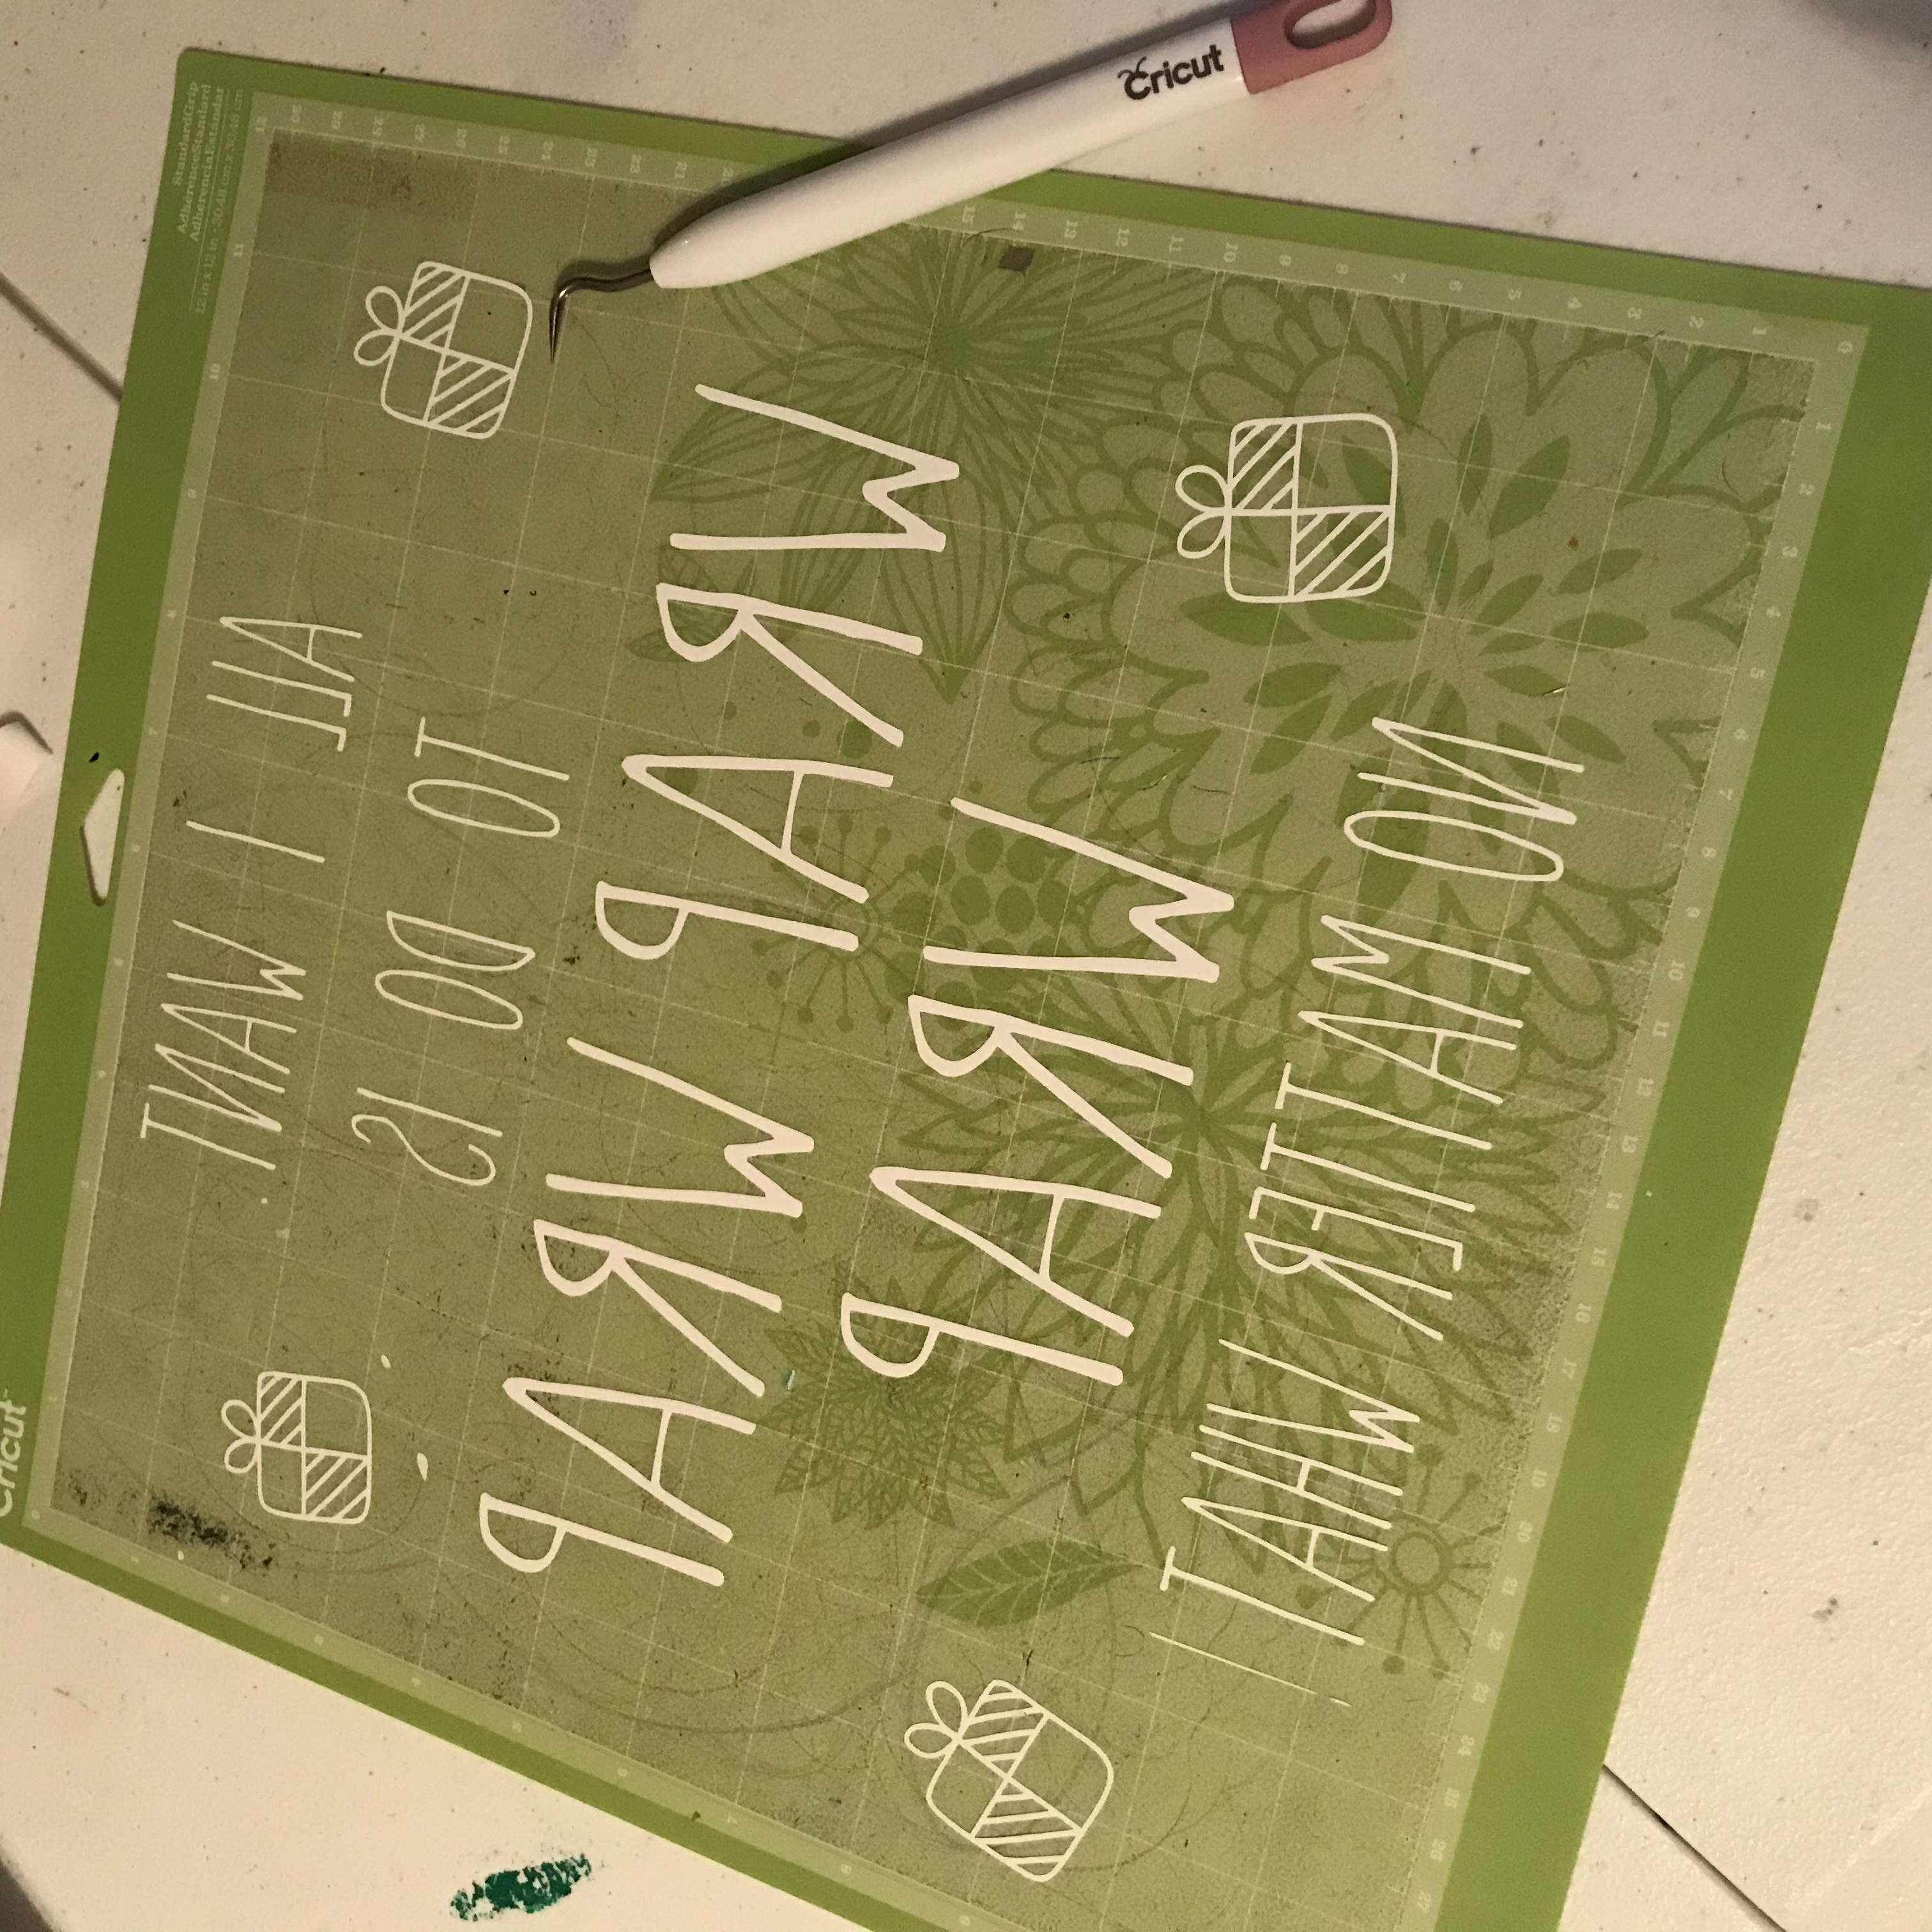
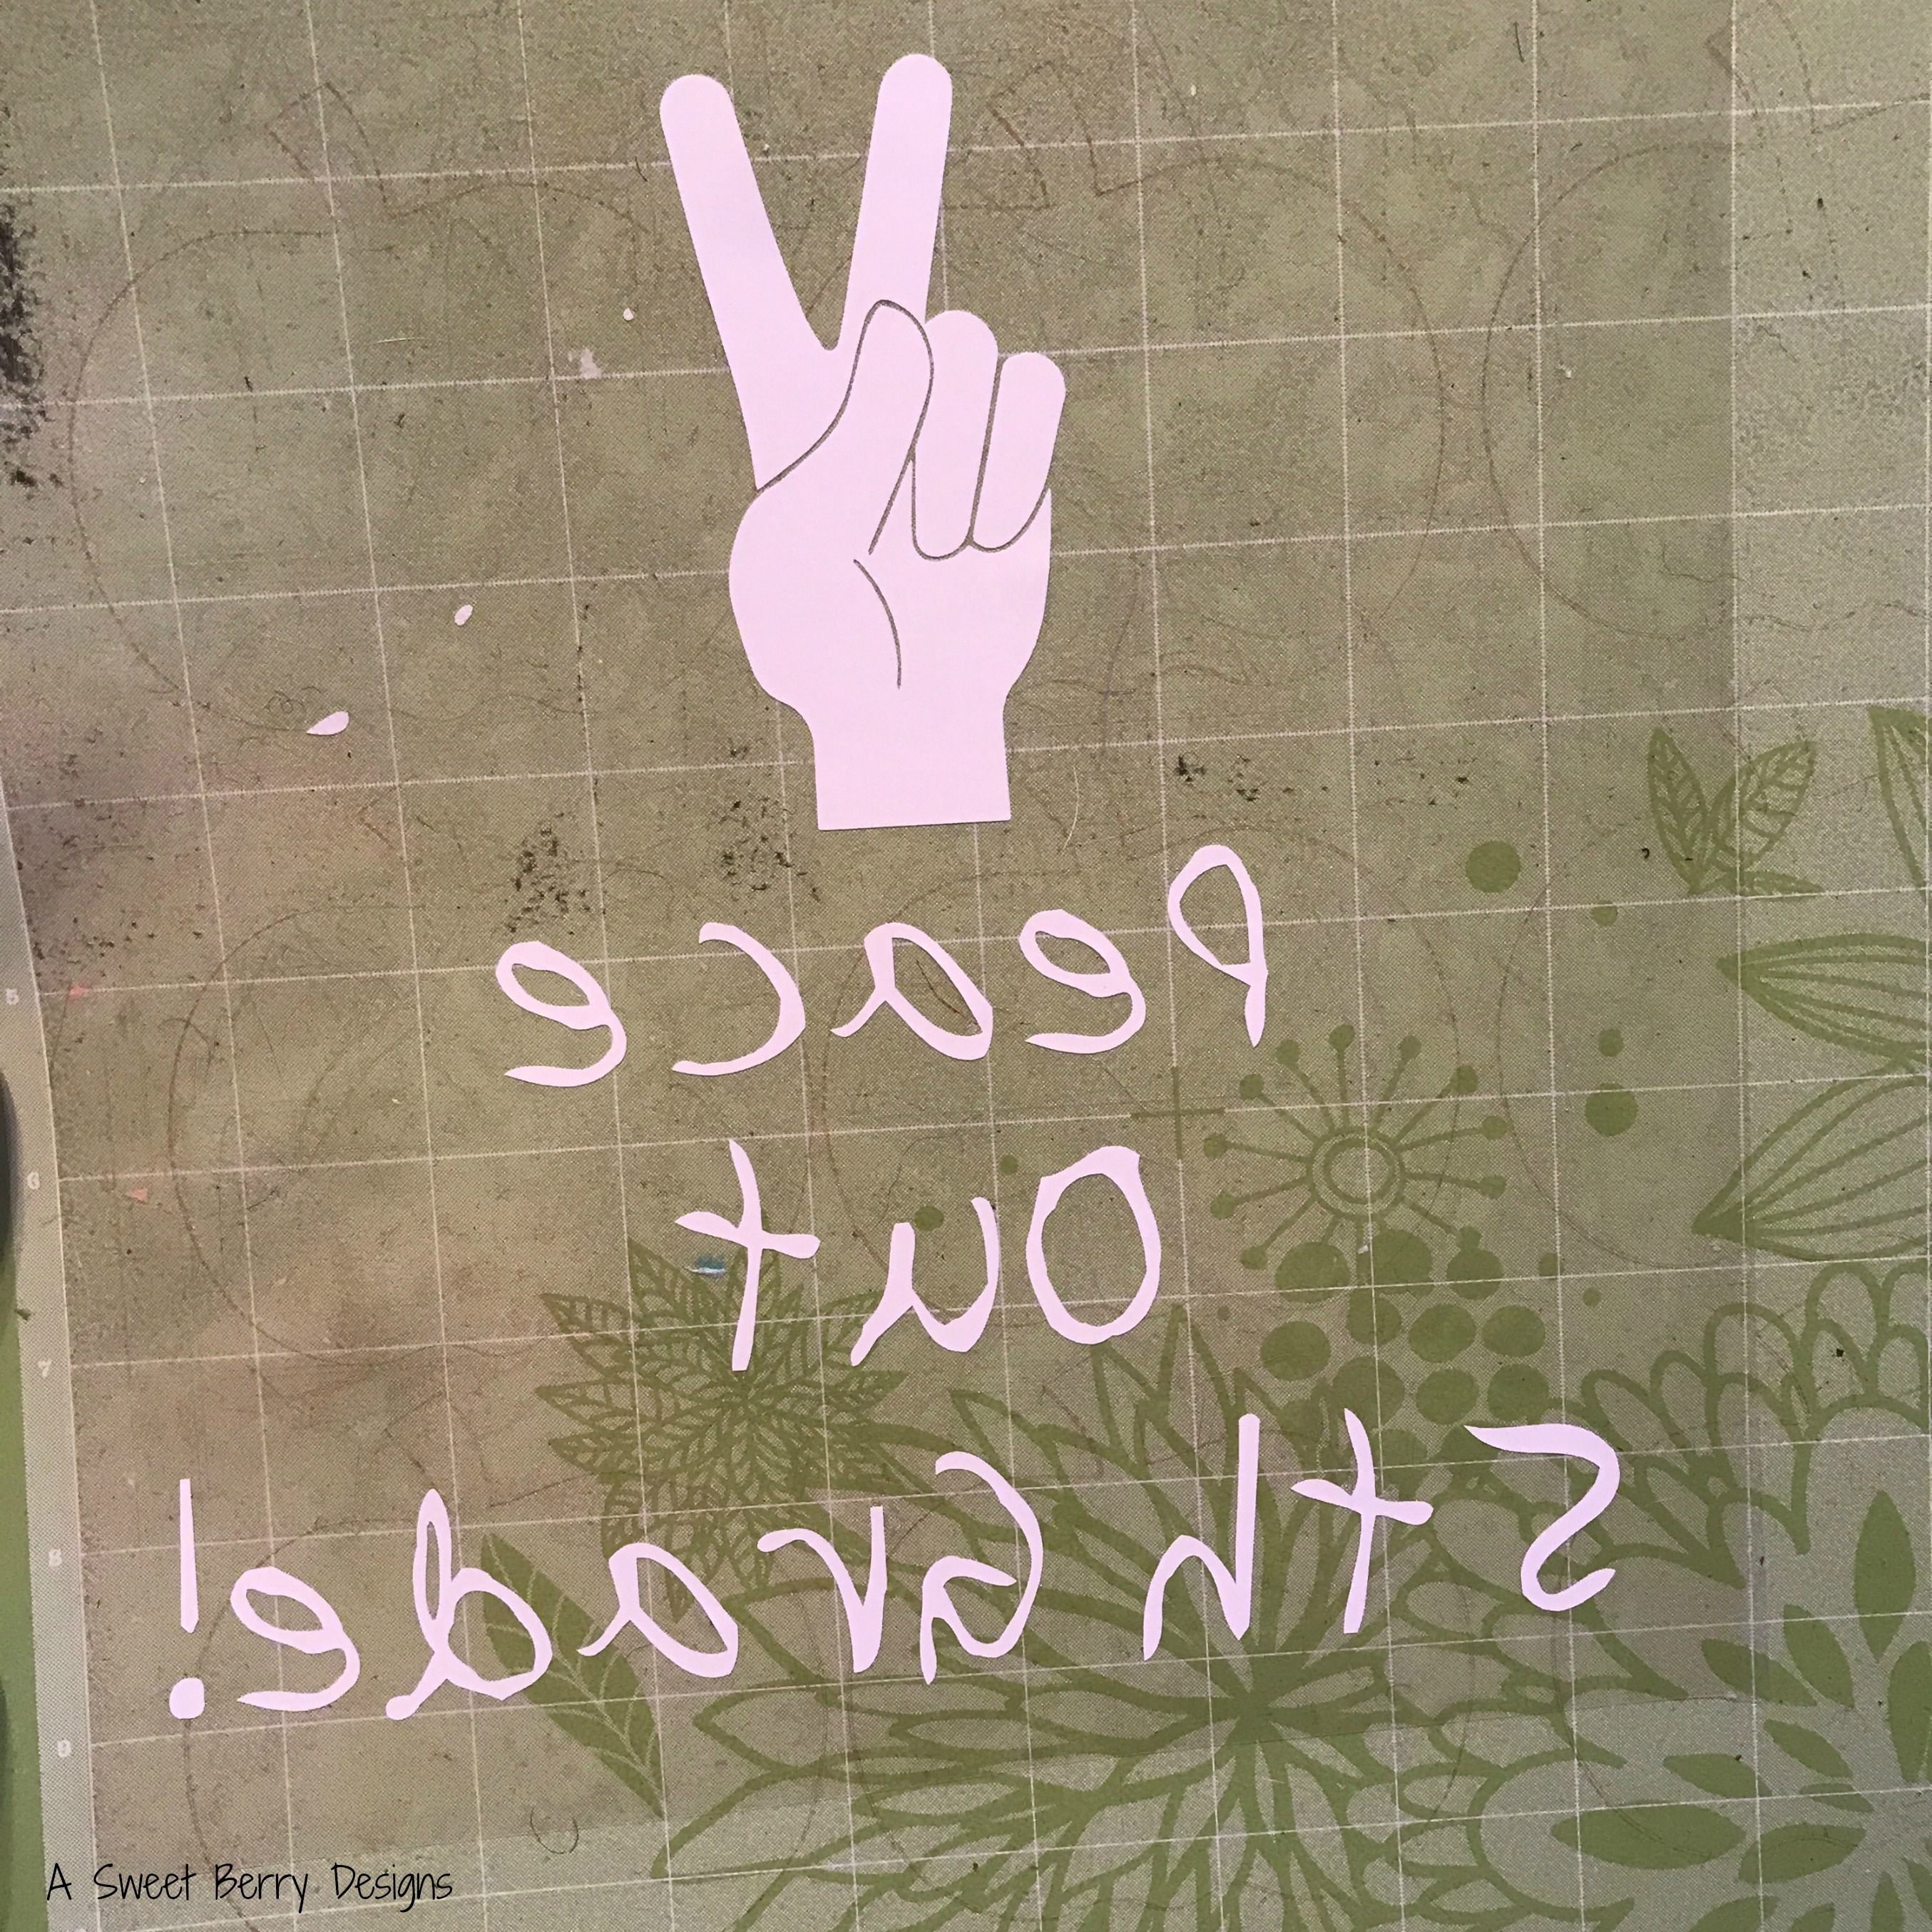
Using a weeding tool, remove the excess vinyl.

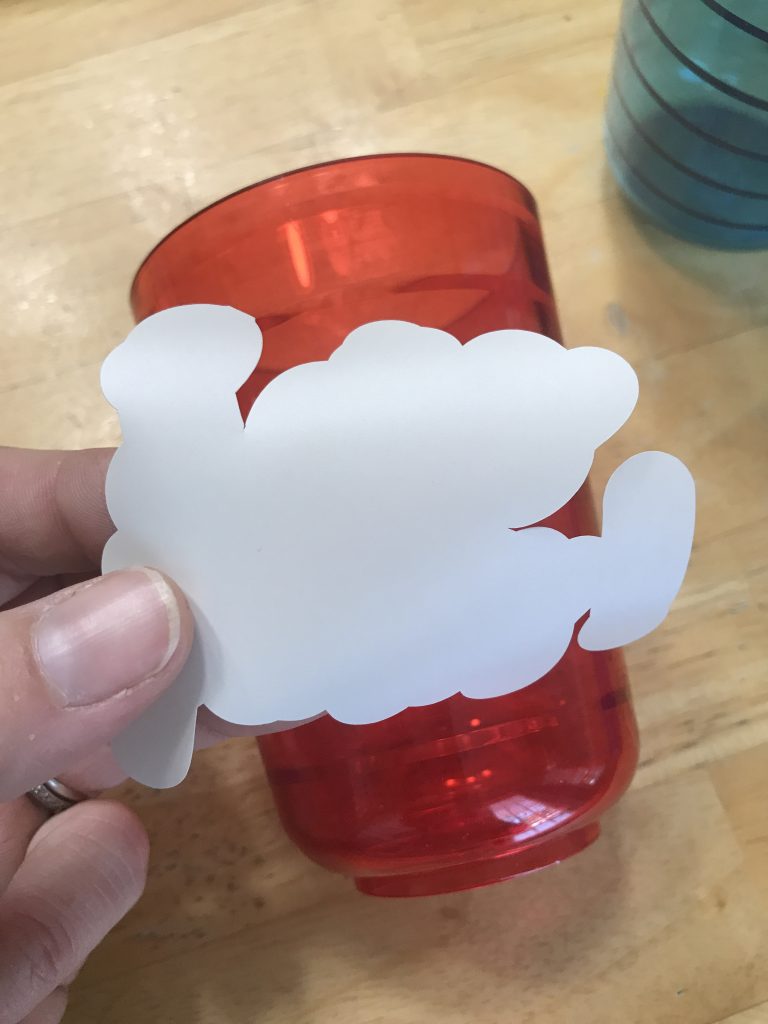
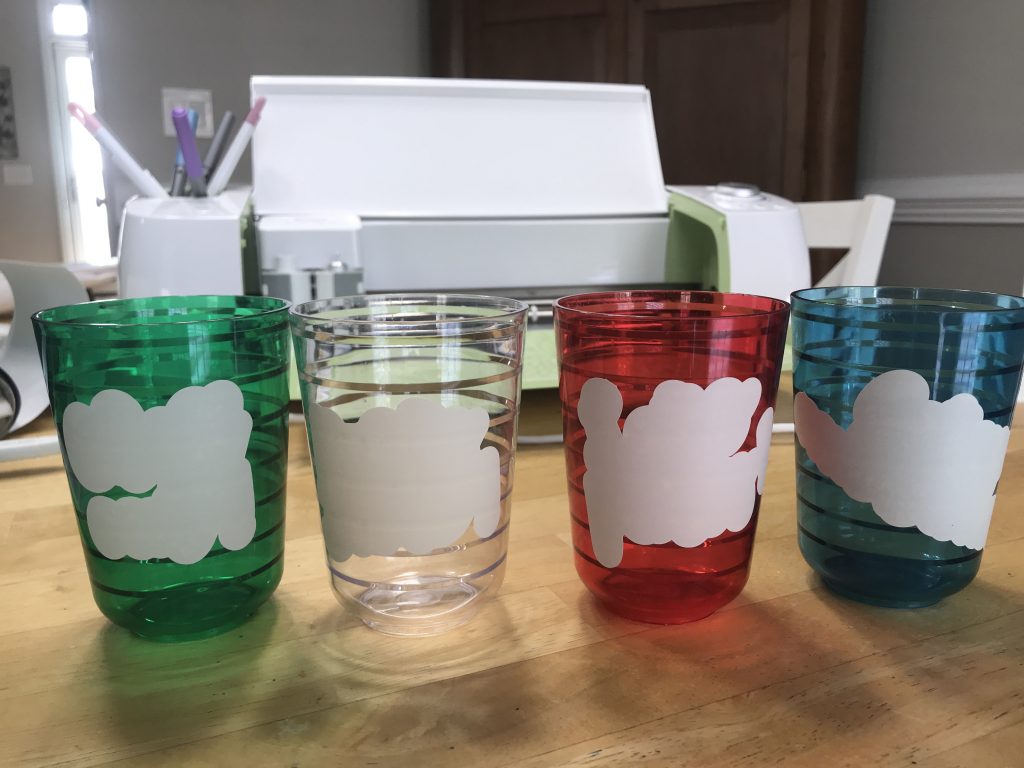
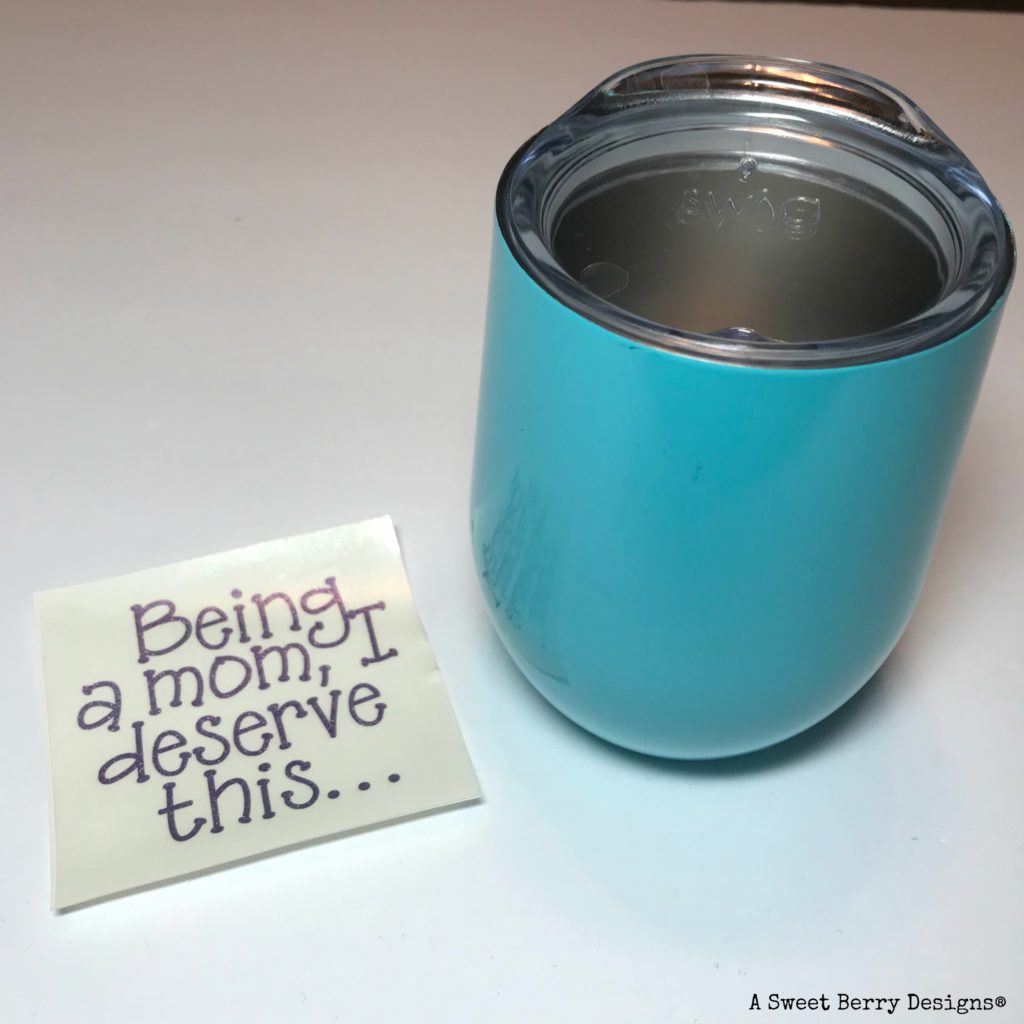
For the background layer, I just used my fingers but you could use transfer tape. Place the background layer on your cup in any direction that you want.

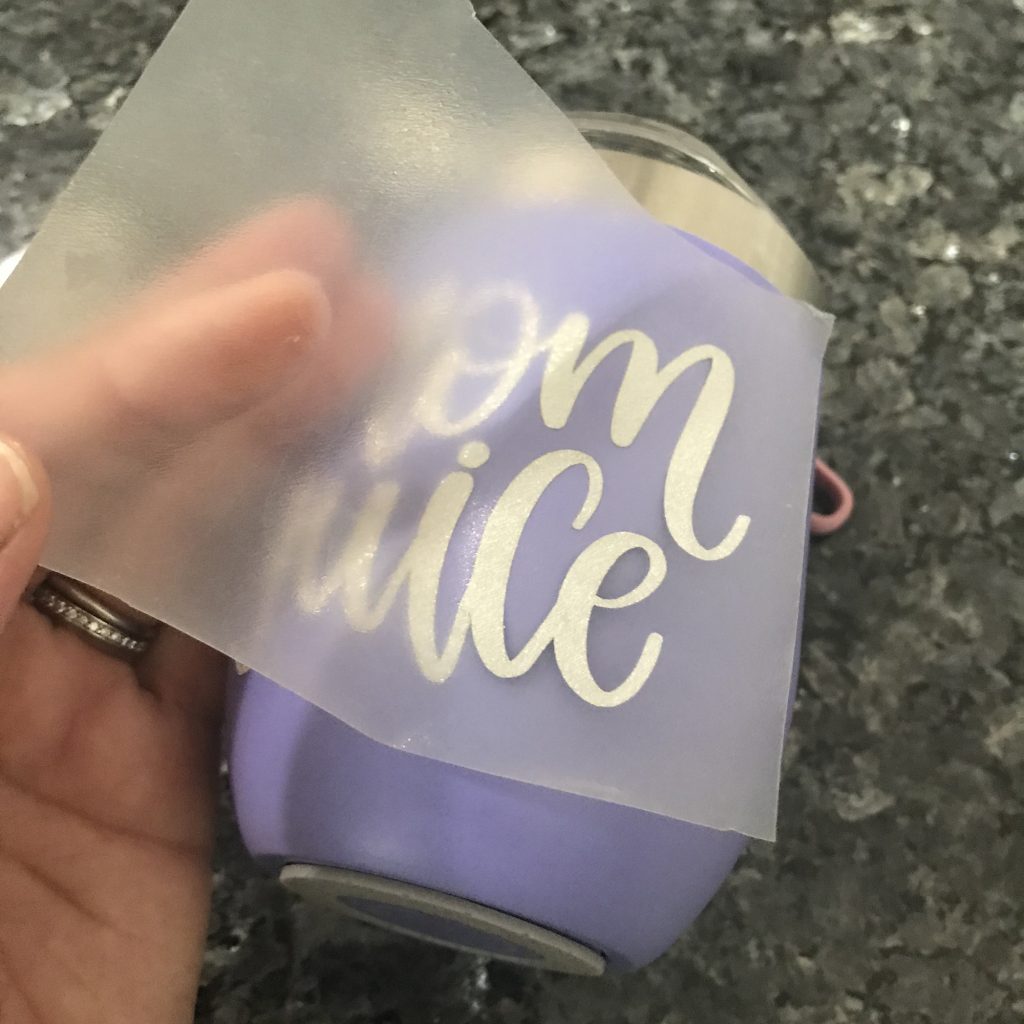
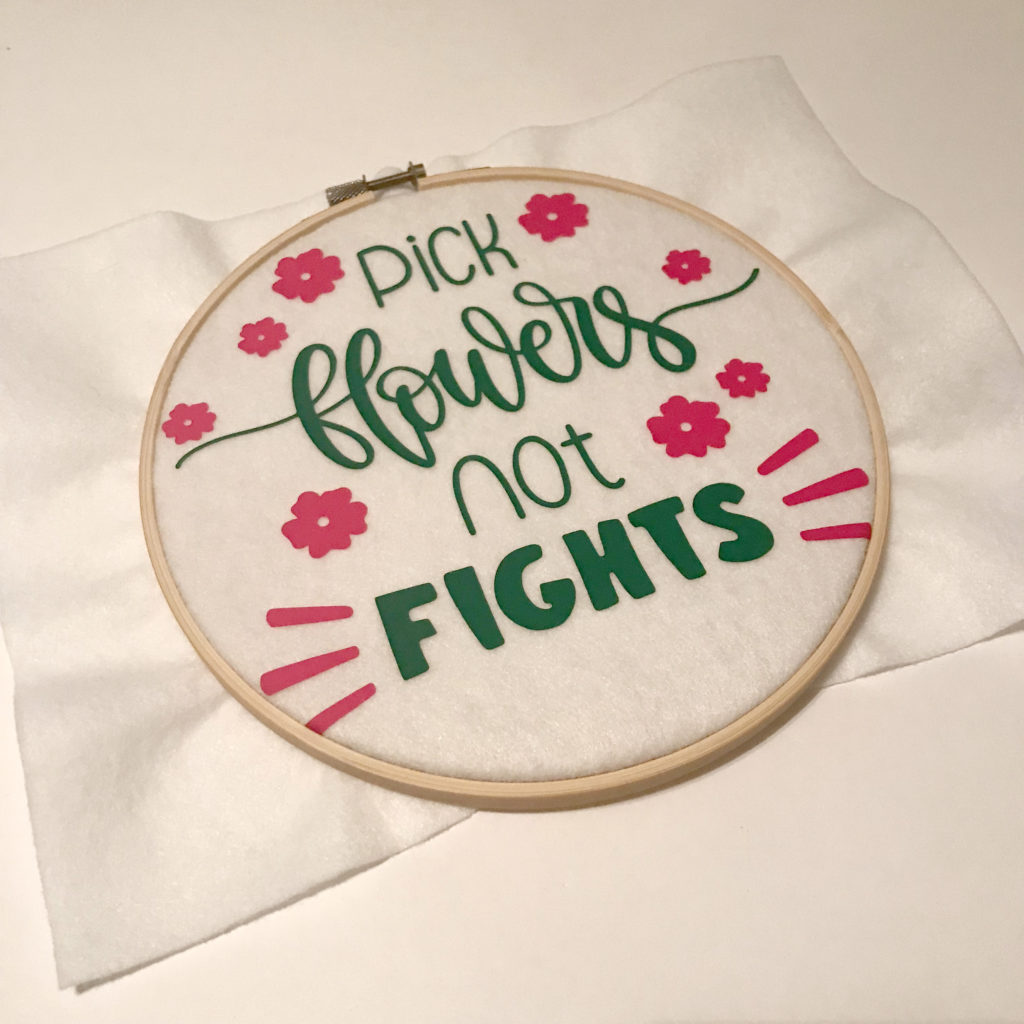
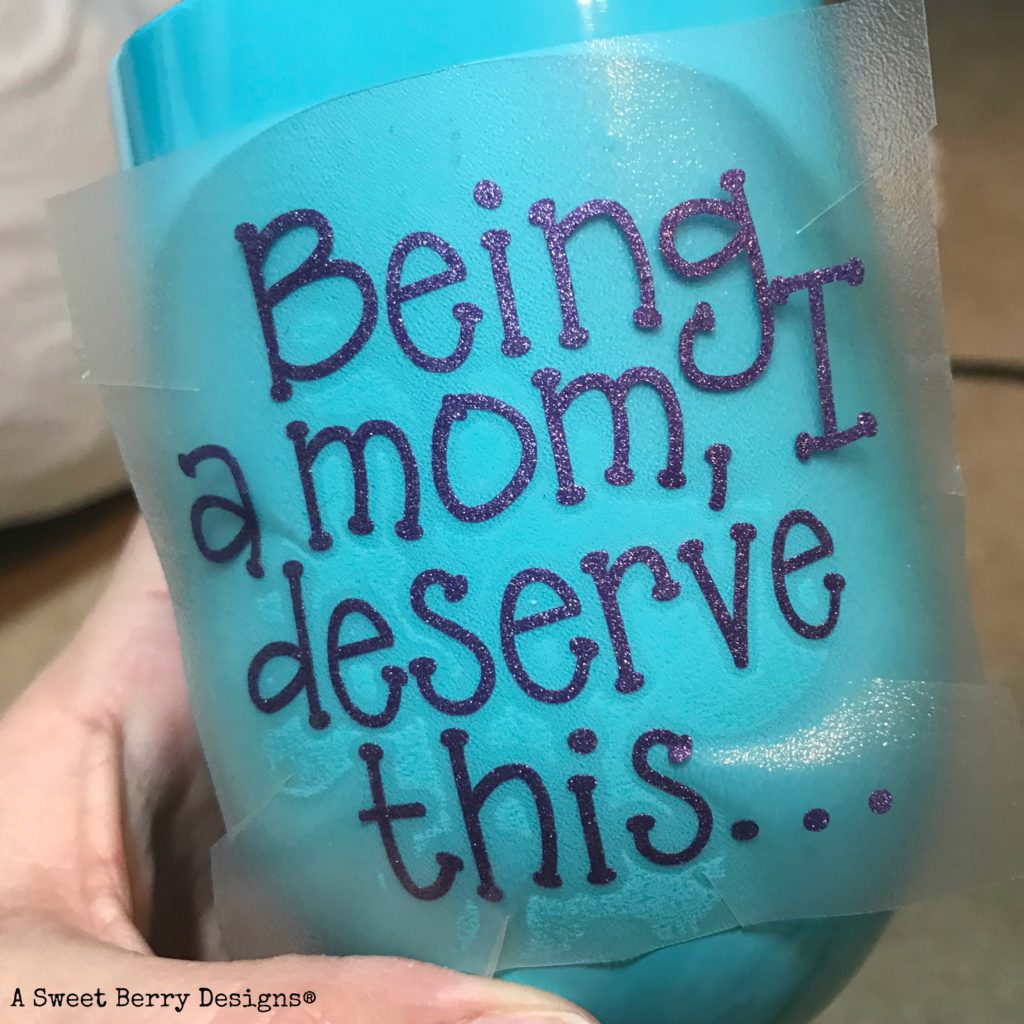
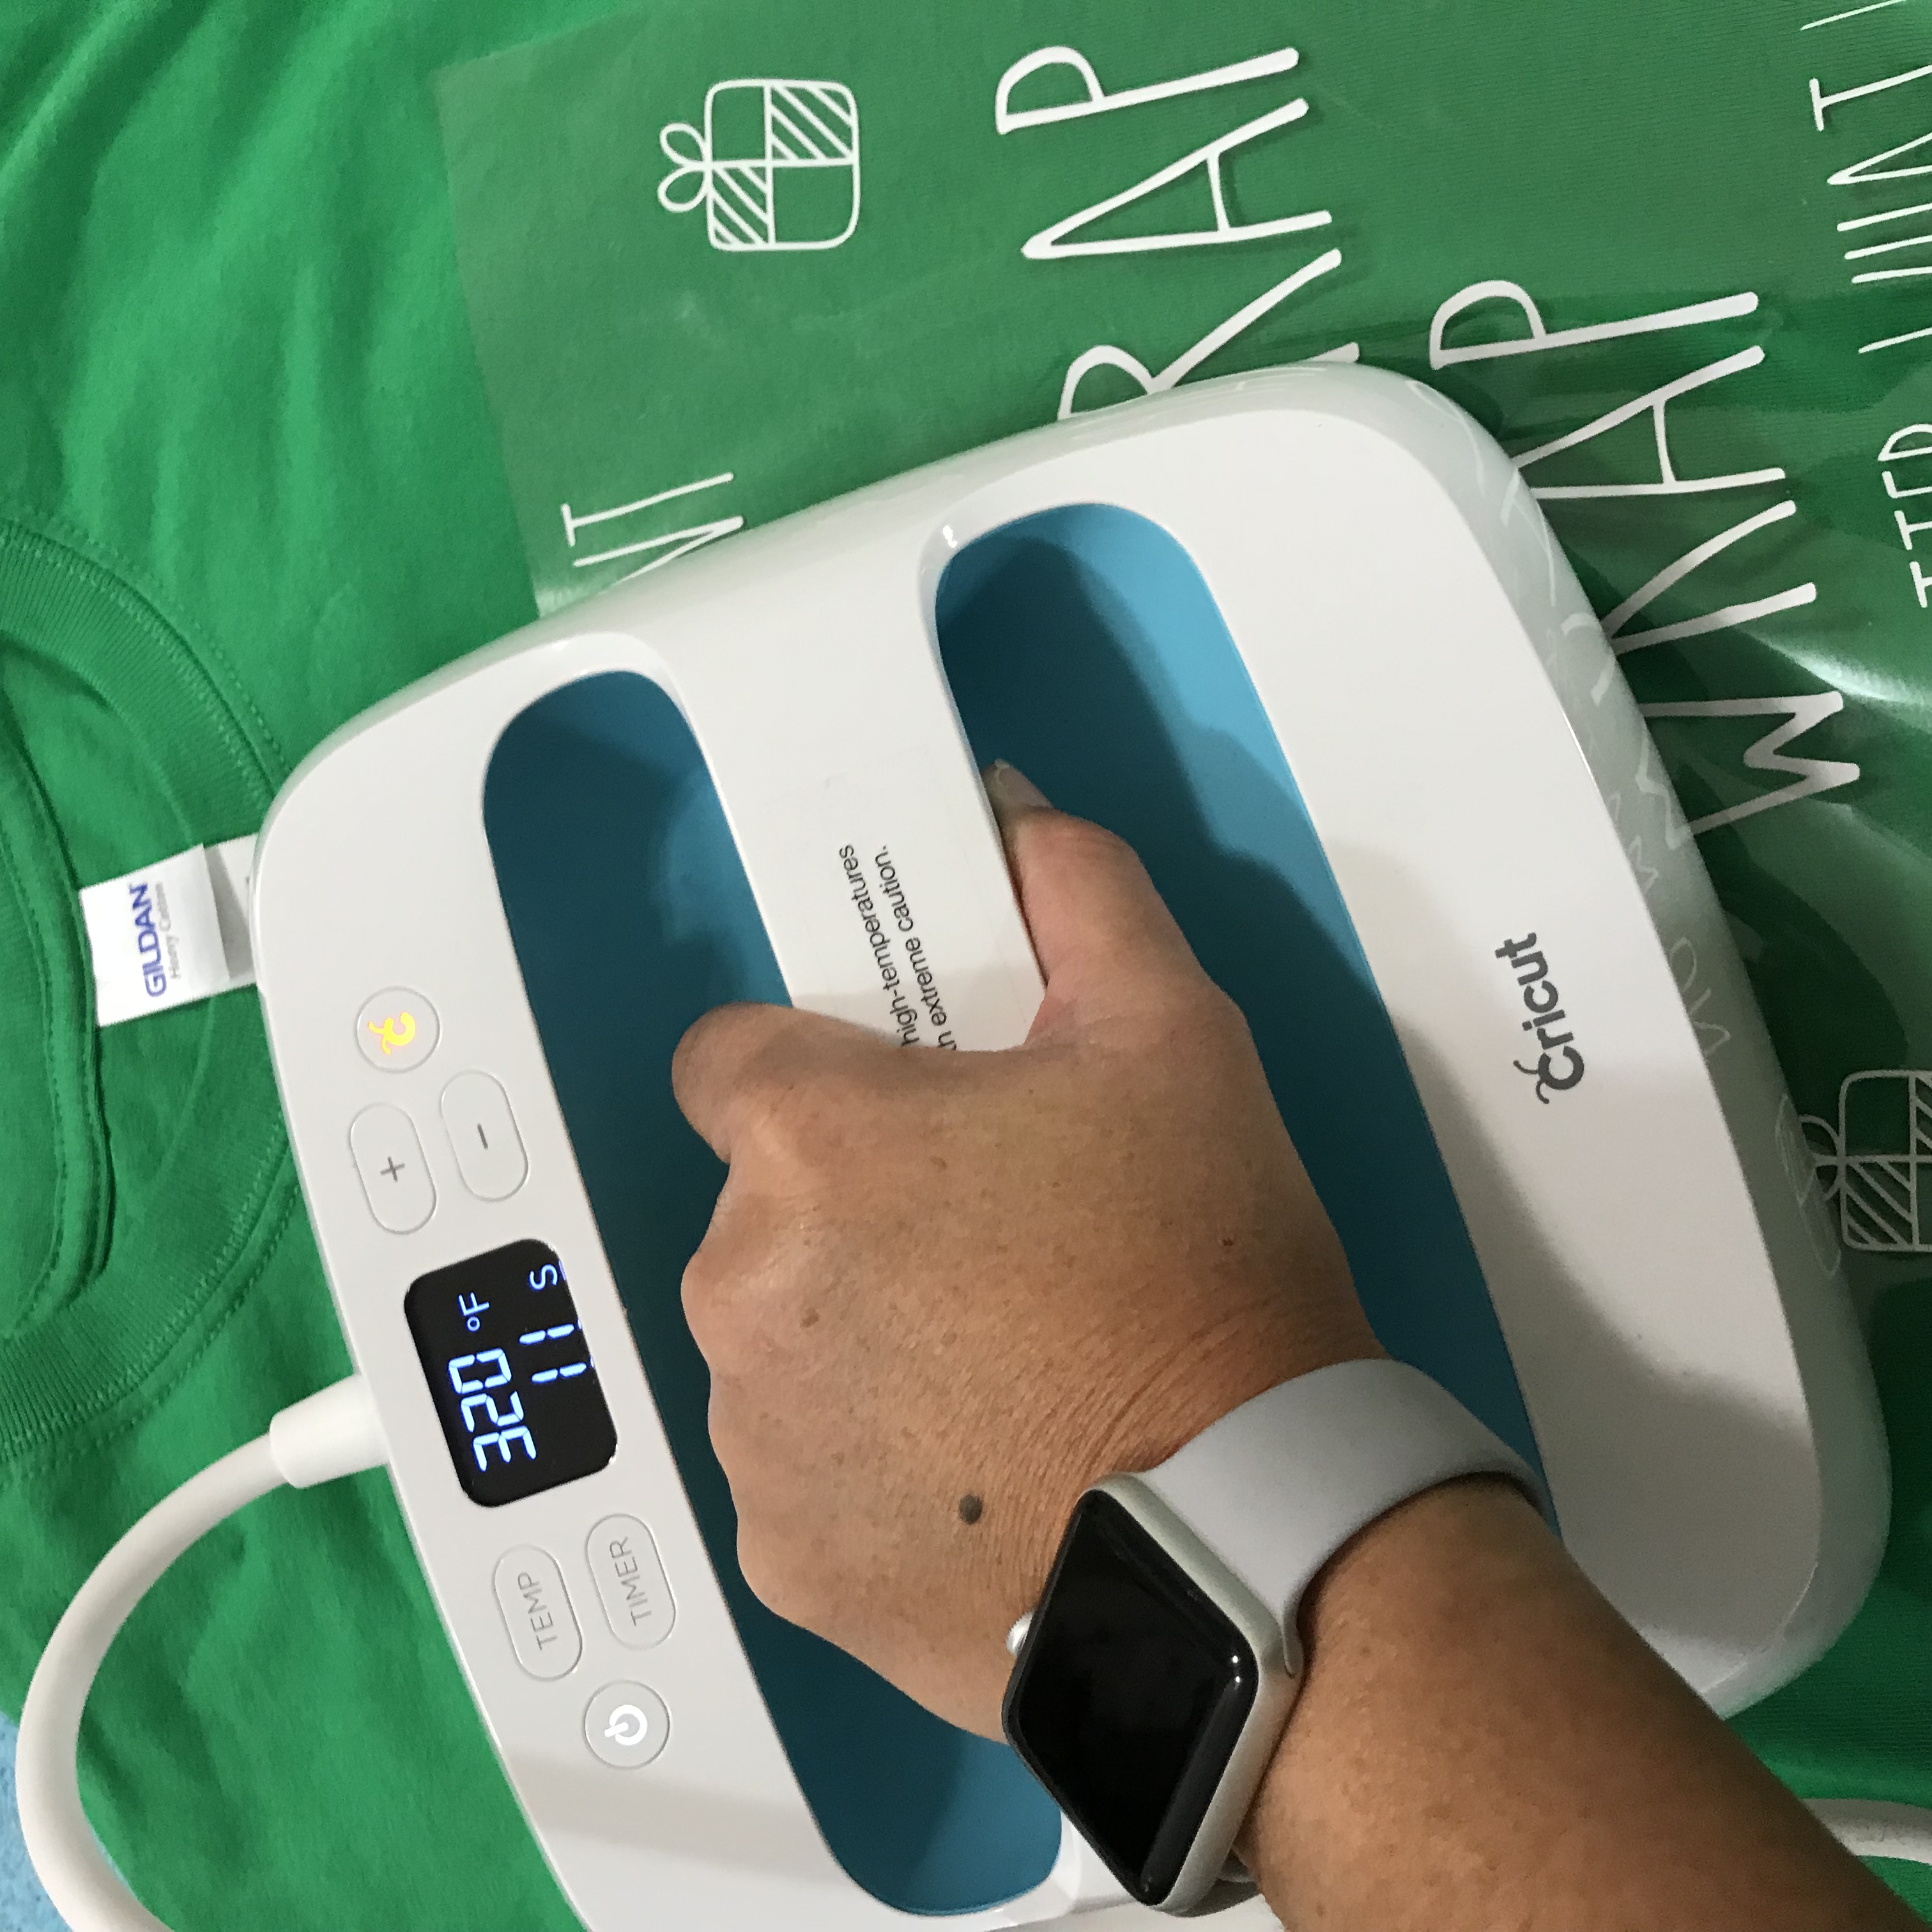
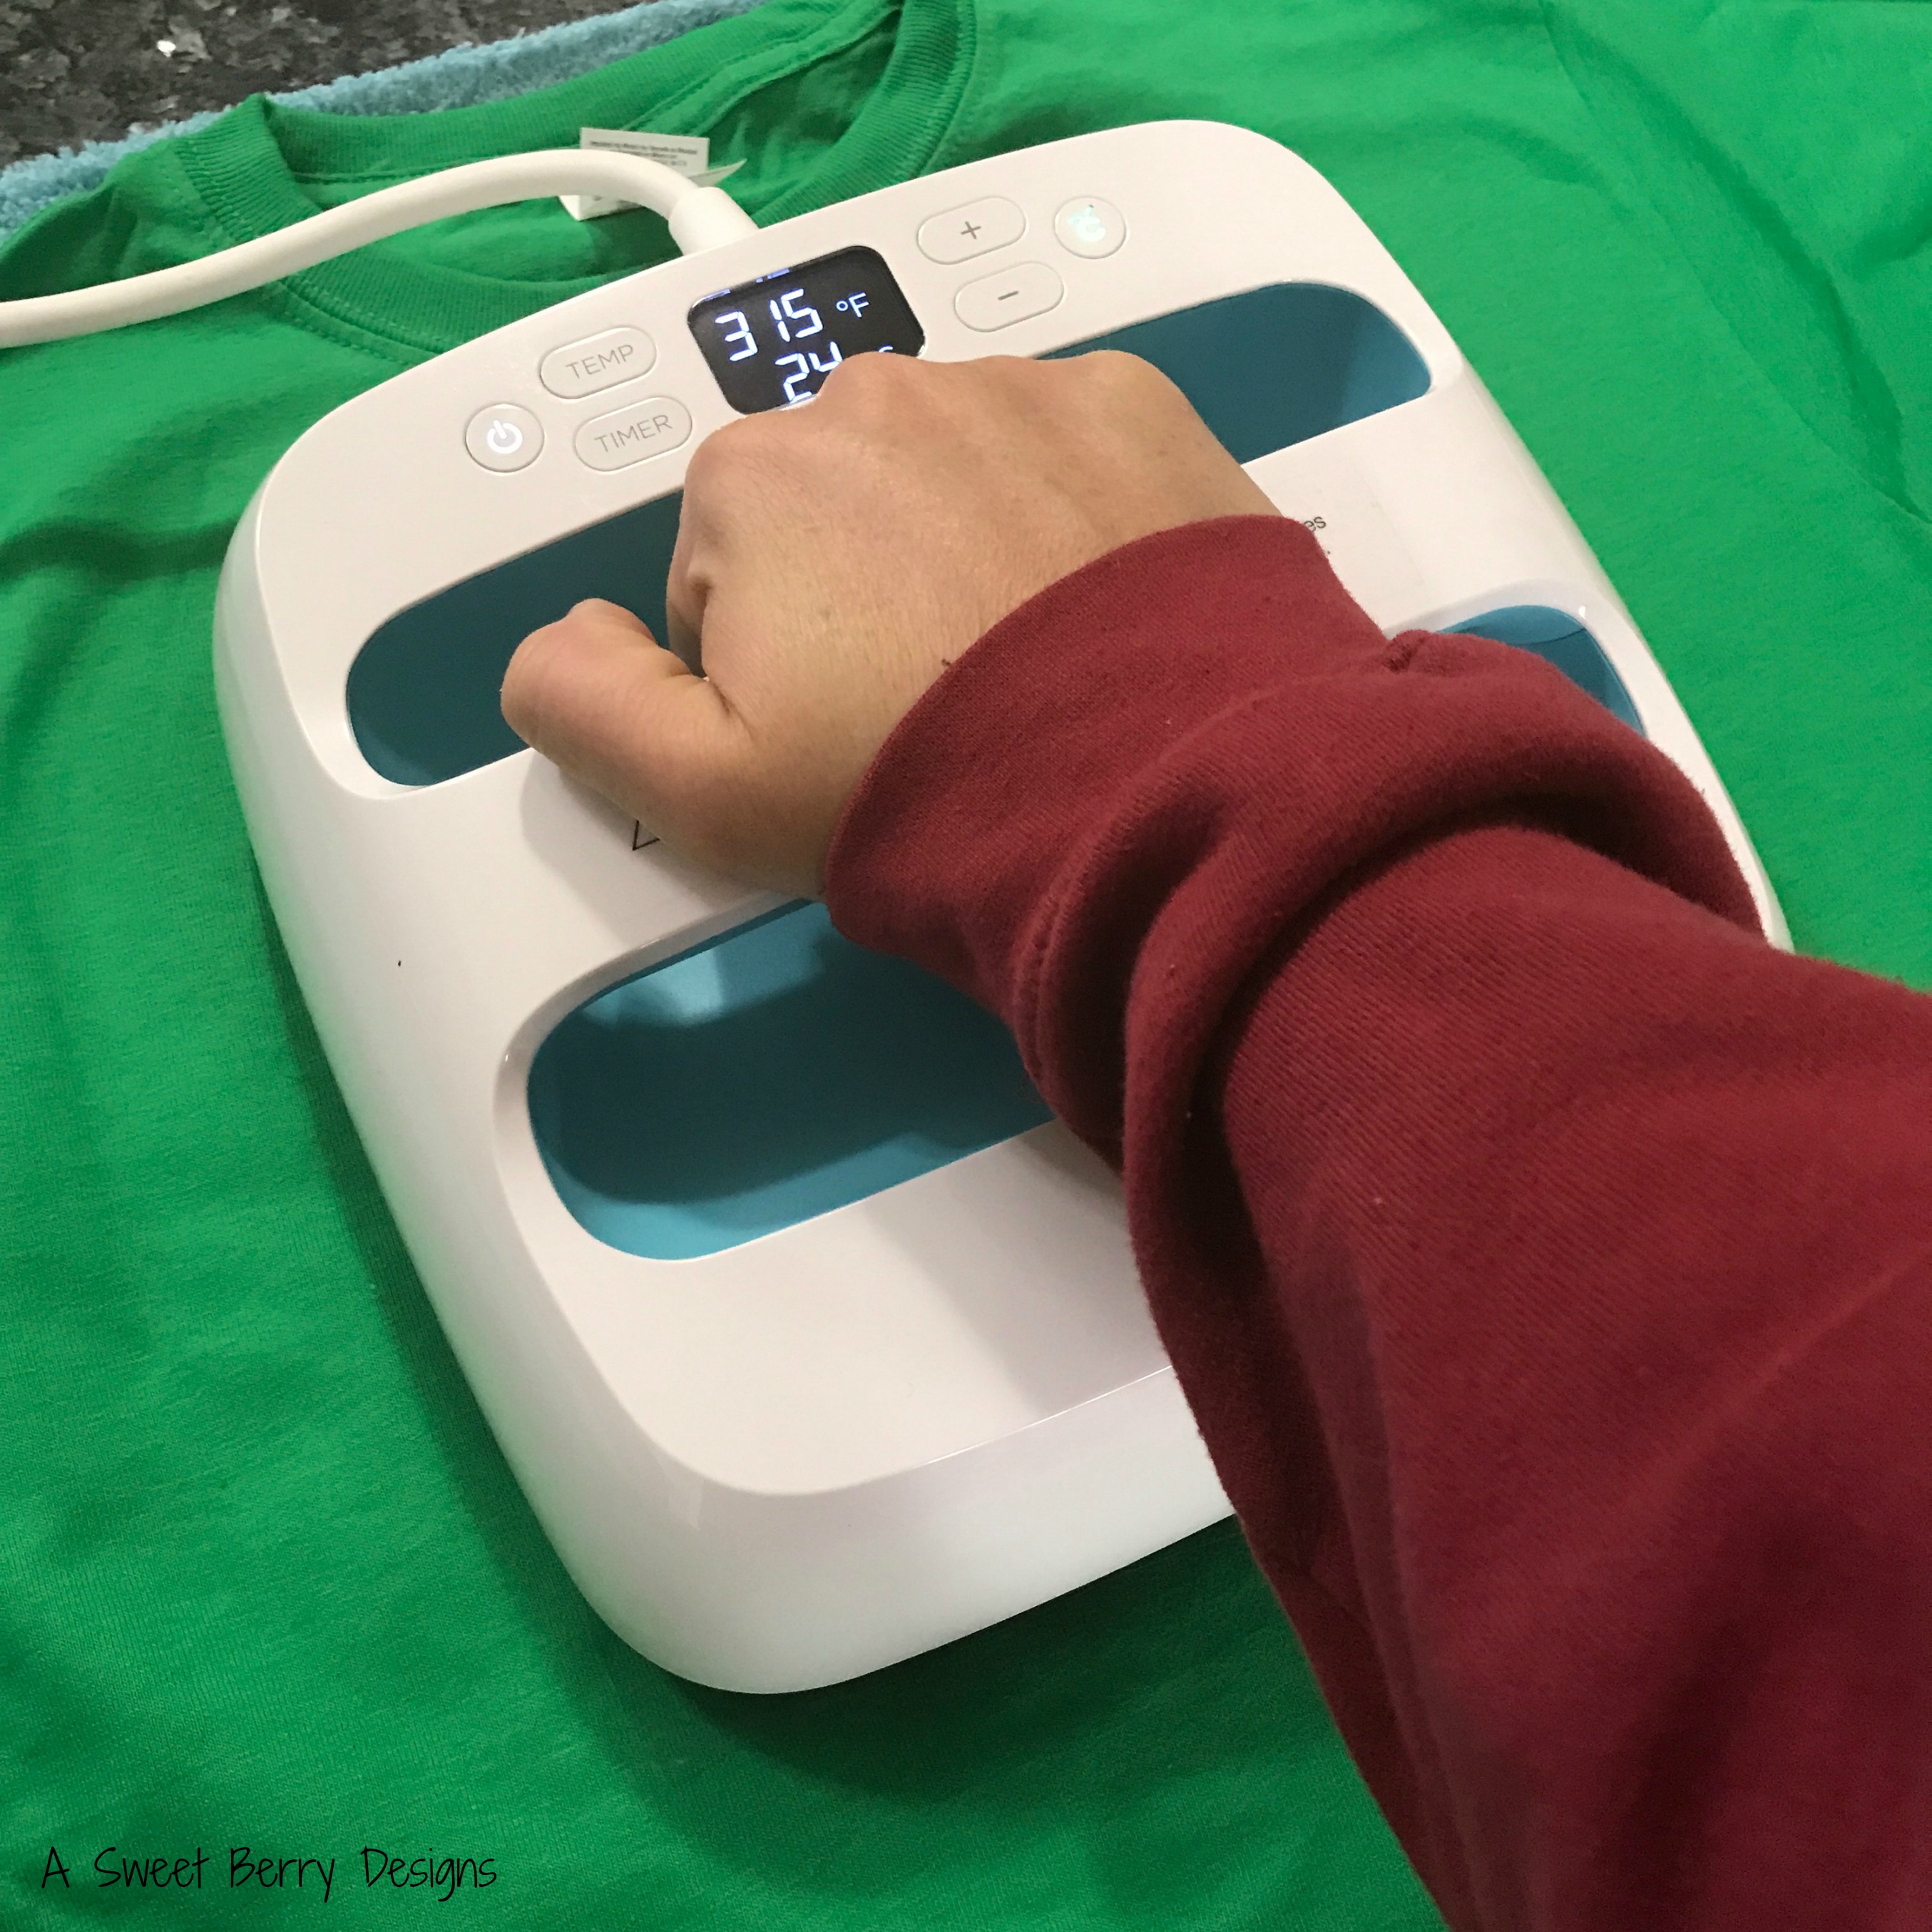
Using transfer tape, apply it over your words and then press down making sure that the vinyl is adhering to the transfer tape. Remove from the paper backing and apply to the background vinyl that is already on your cups. Make sure to rub the letters down good so that they stay in place.

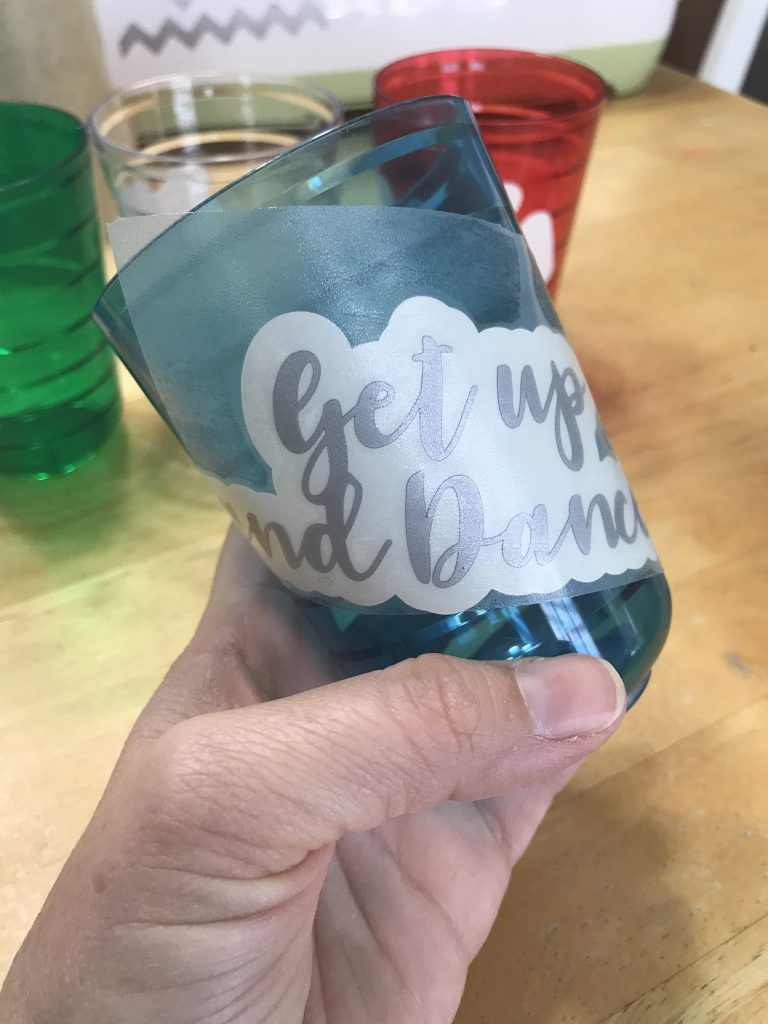
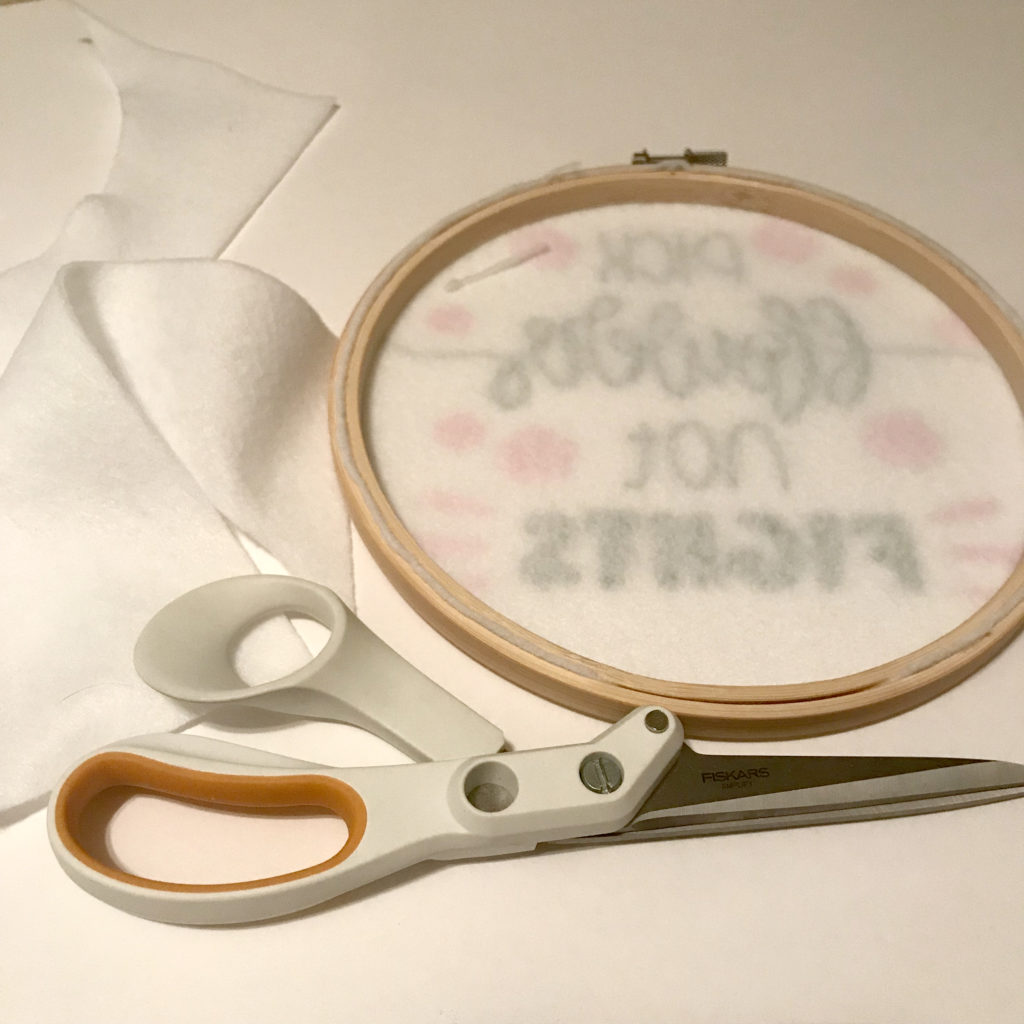
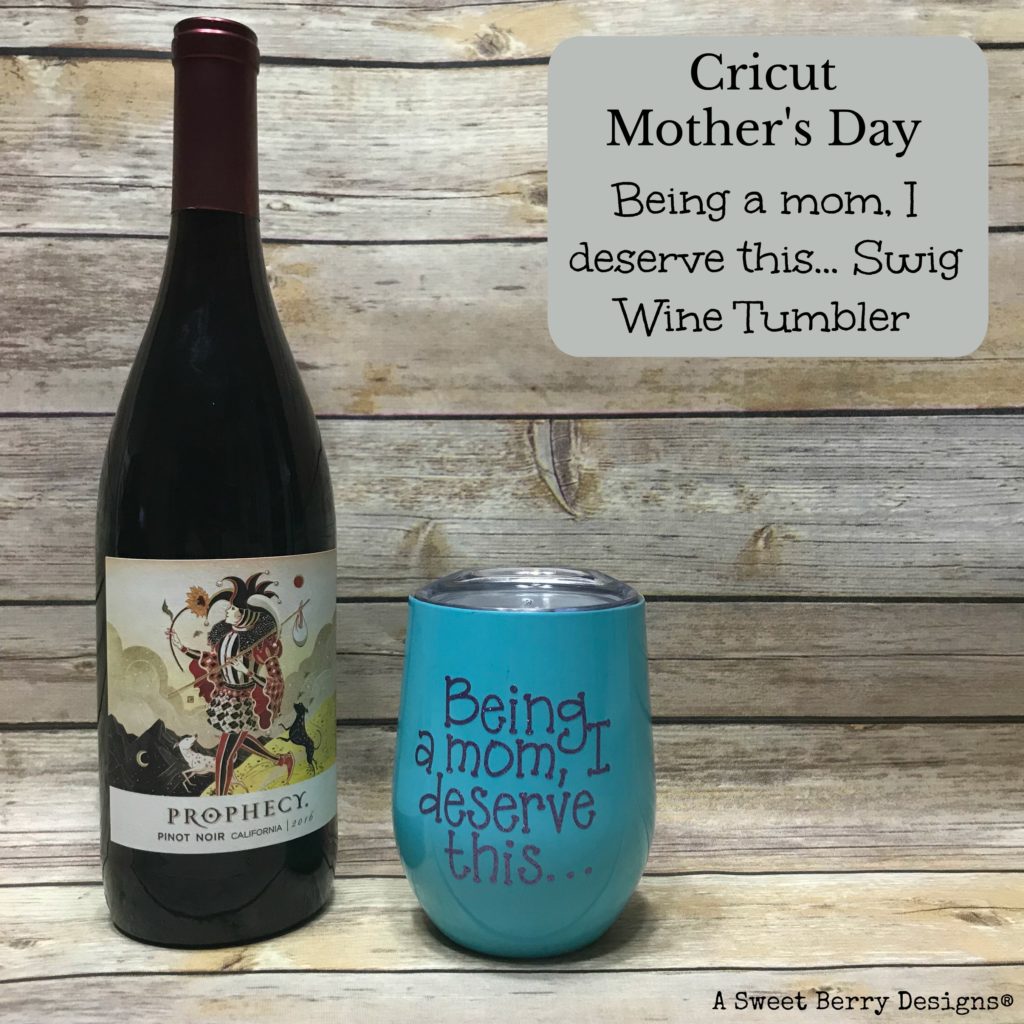
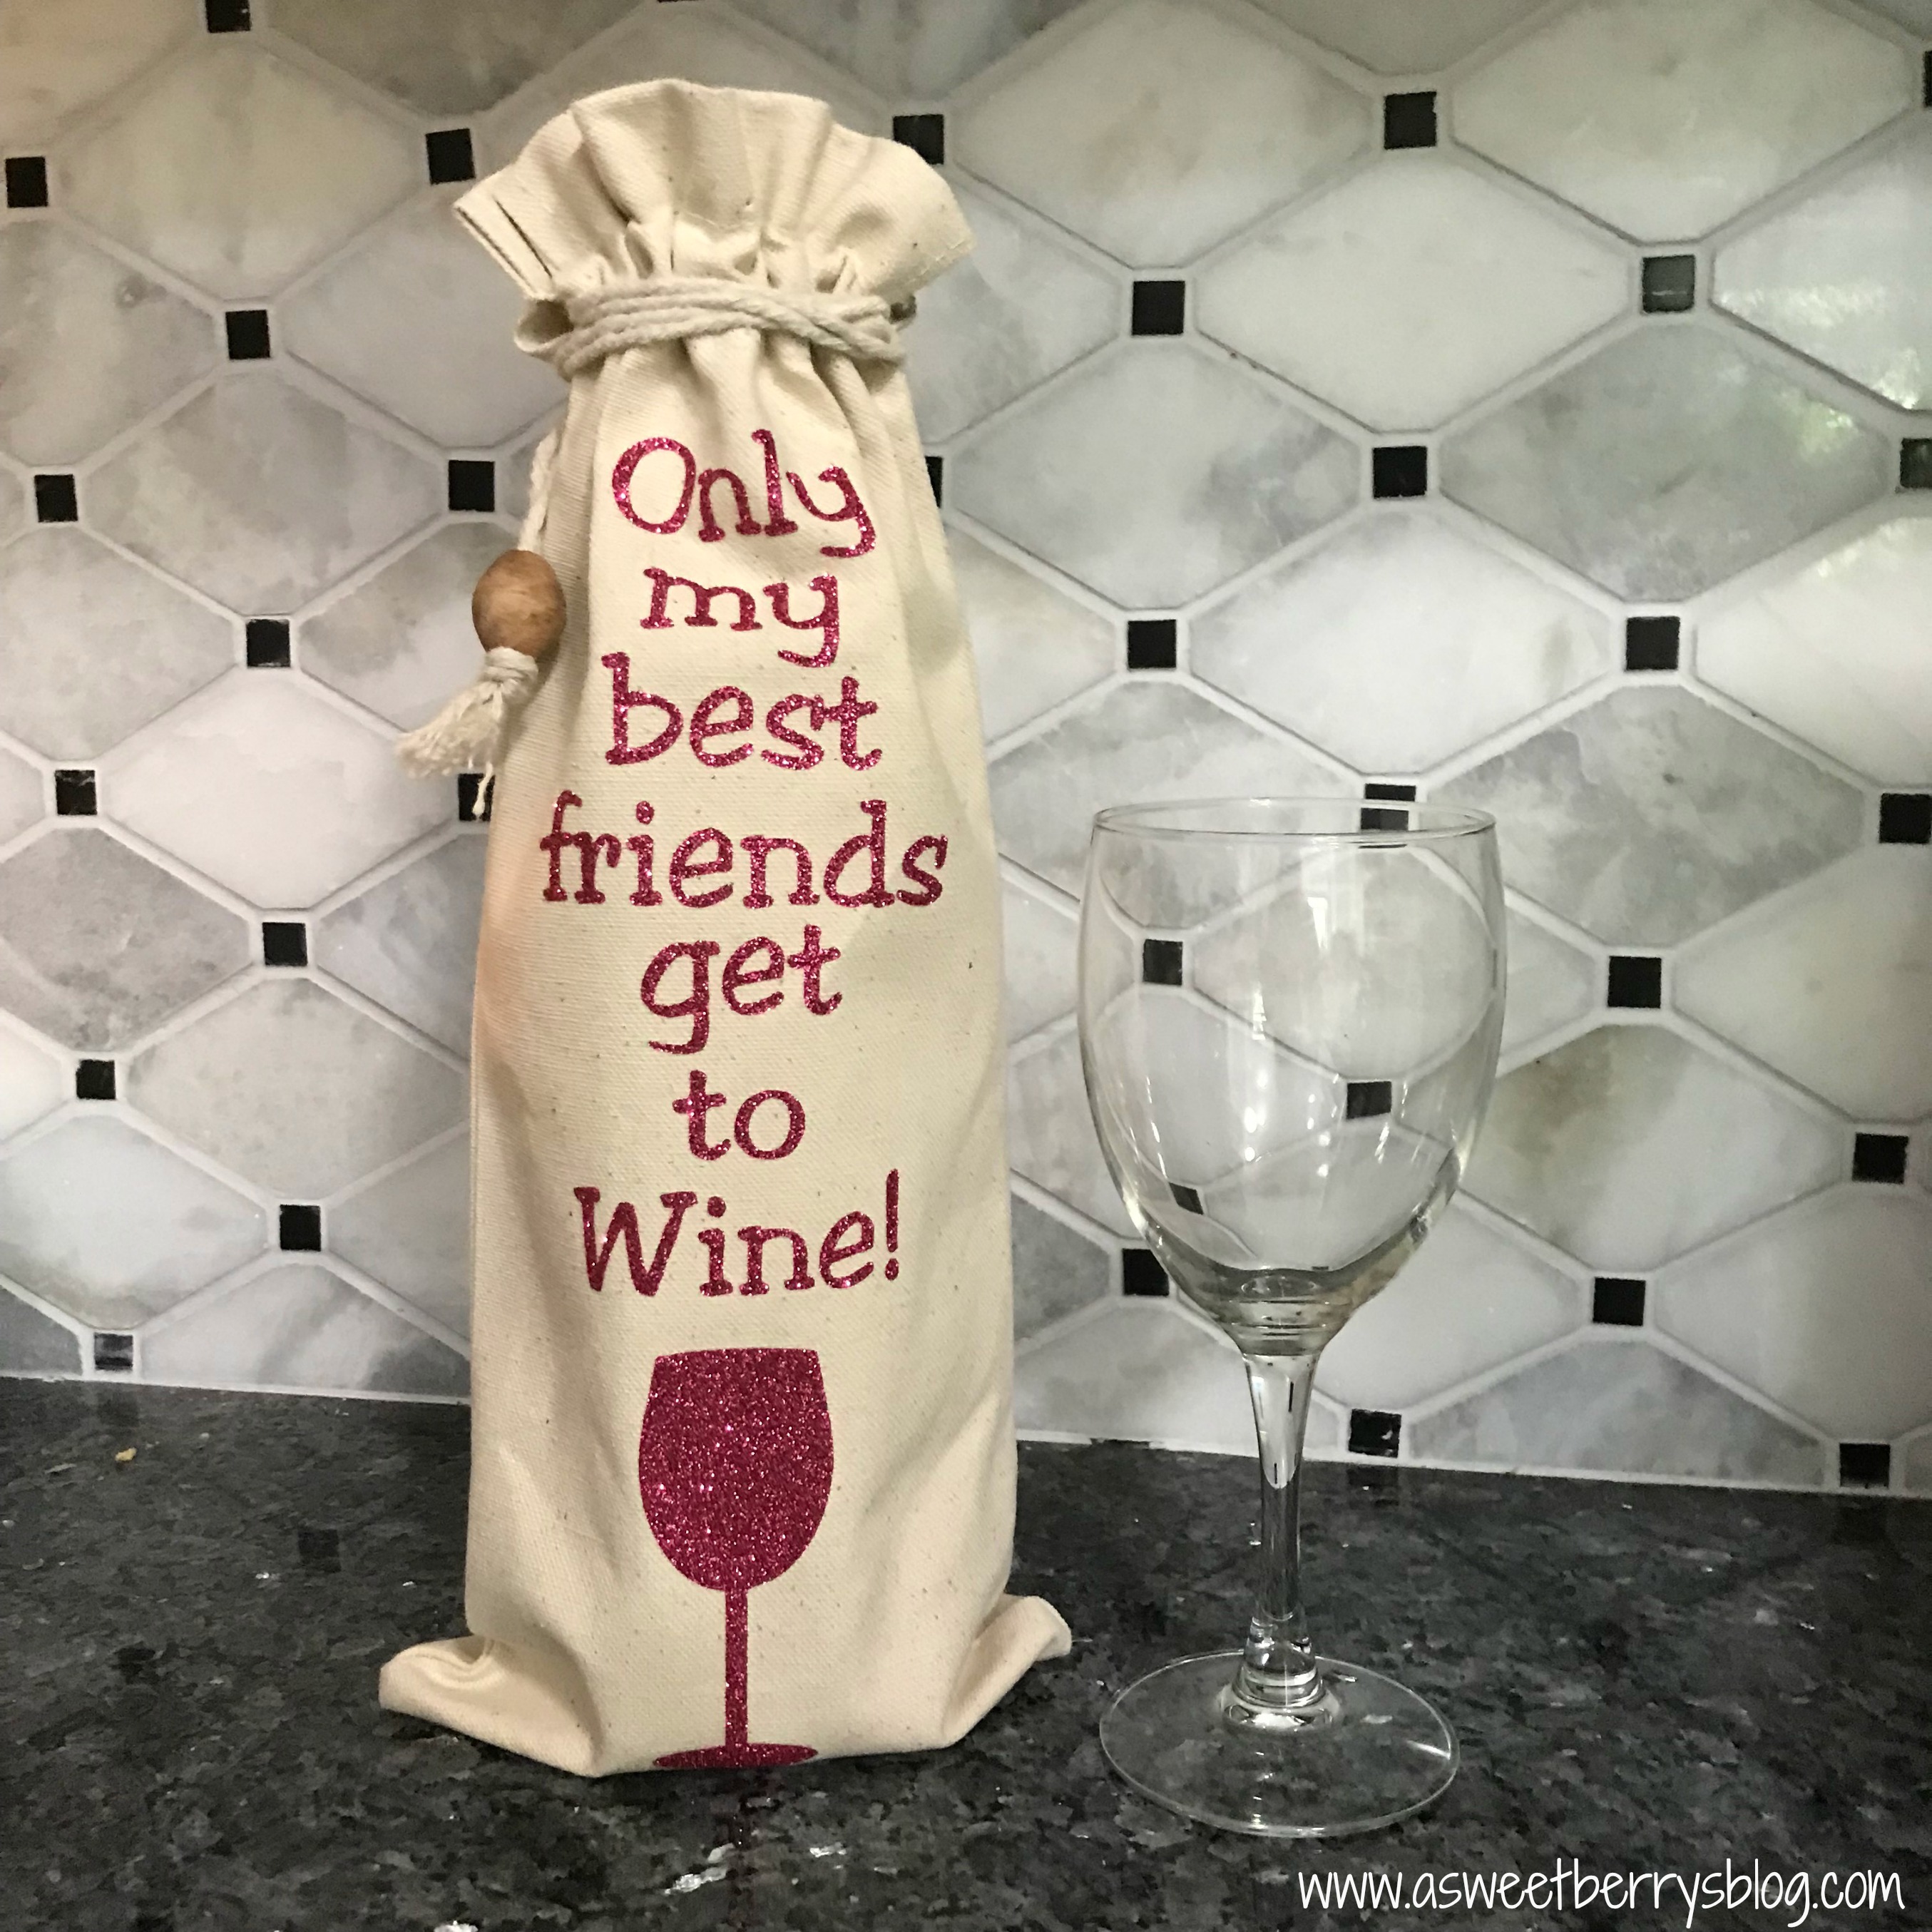
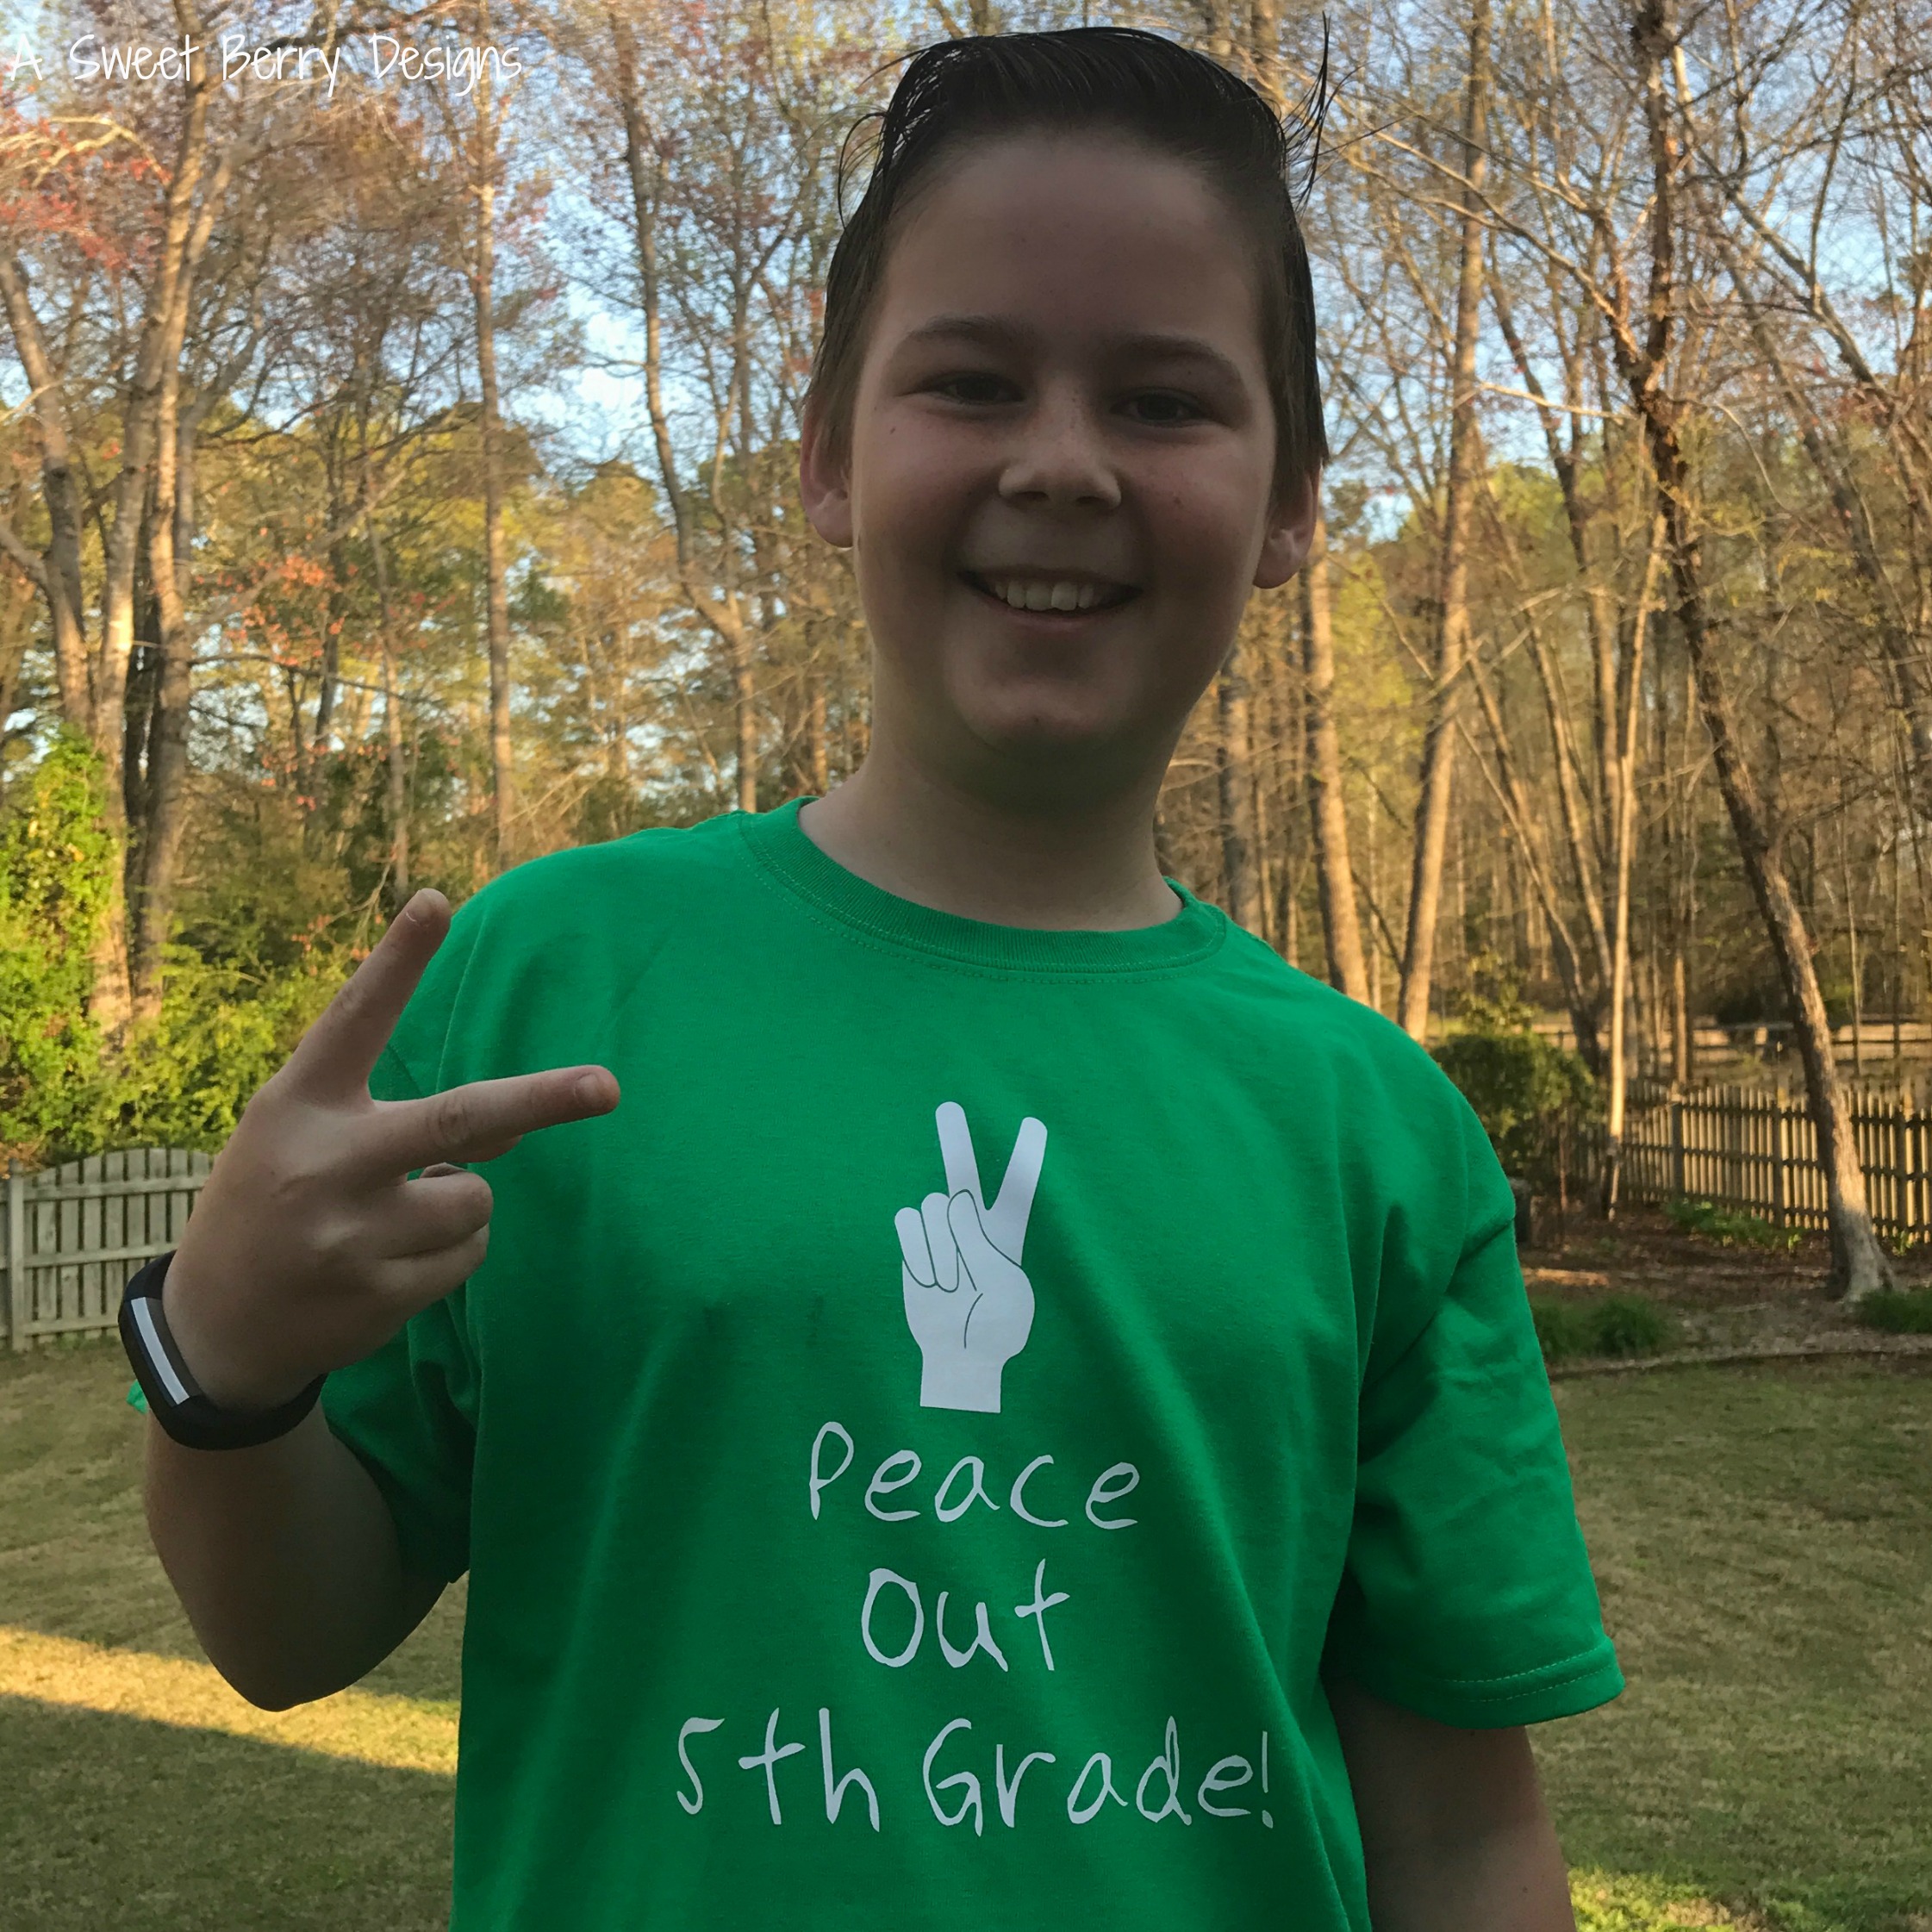
Remove the transfer tape carefully so that you don’t pull up the letters and then you are ready to use your cups for whatever party you are having. Our party just happens to be a dance party!

Of course, you could design your own wording for your cups or you could use the file above!!!!

Be sure to check out other Cricut Party ideas!

You are invited to the Inlinkz link party!

Click here to enter


Craft Lightning Glitter – Mom Juice Wine Tumbler

Craft Lightning is here again and this months topic is GLITTER! Usually I’m anti-glitter! Like my pastor says, “Jesus is allergic to glitter”! He has a strong dislike for it! Haha! But…..Glitter vinyl and glitter HTV are my jam! I love it! I made this super simple Mom Juice Wine Tumbler using a cut file from the Cricut Design Space!

Heres what you need:

  • Wine tumbler or any wine glass
  • Glitter vinyl (I used Cricut)
  • Cricut (I used the Explore)
  • Transfer tape
  • Cricut weeding tool
  • Cricut Design Space on your computer
  • Cricut scraper tool or I just use a credit card.
  • Cricut cutting mat

Heres how to make it:

Open up Design Space on your computer and search for Wine in the search bar of the Images. Make it the appropriate size. TIP: Make sure your wine tumbler is clean.

Using the Cricut, cutting mat and vinyl, cut your design.

Weed the excess vinyl using the Cricut weeding tool.

Apply the transfer tape to the design and rub it with a scraper tool.

Apply to the tumbler, and rub it with your fingers or the scraper tool to make sure it sticks. Remove the transfer tape.

And now your tumbler is ready to fill with your “Mom Juice”!

Be sure to check out the other Craft Lightning Glitter projects by clicking the Craft Lightning Glitter photo below!

Until next time…..

Pick Flowers, Not Fights Hoop Art

This week, I have joined a few other Cricut loving crafty friends for a Summer of Flowers event with our Cricut machines.

I decided to use a Cricut project already made in the Cricut Design Space to make a positive hoop art so that we have a reminder, that we should not pick fights, but instead do something fun and uplifting like picking flowers!

Materials:

  • Cricut Machine (Explore or Maker)
  • Computer with Cricut Design Space (Pick flowers, Not fights design in in Design Space)
  • Cricut EasyPress
  • Cricut Cutting Mat
  • Cricut Weeding Tool
  • Cricut Everyday Iron-On Heat Transfer Vinyl (HTV)
  • Embroidery Hoop
  • 9″x12″ craft cut of Kunin Felt in White
  • Scissors

Directions:

Using your computer, open Cricut Design Space, search for Pick Flowers Not Fights in Images.

Connect the Cricut to the computer. Put the Heat Transfer Vinyl on the mat, shiny side down.

Cut the designs out in the order that they are set to cut. Weed the excess HTV using the weeding tool. TIP: Leaving the design on the mat can make it easier to weed.

Using the Cricut EasyPress, press the design onto the center of the white piece of felt. The design will have to be done one layer at a time.

Open the embroidery hoop and place the felt in the hoop and return the outside piece of the hoop.

Turn the hoop over and trim the excess felt.

Now you are ready to put it out so that everyone can see your positive message. You can either lean it against the wall, hang it on a nail or use some ribbon to hang it up!

Be sure to check out other Cricut Summer of Flower projects by clicking the button below.

You are invited to the Inlinkz link party!

Click here to enter

Also, be sure to enter this amazing giveaway! It’s worth over $500 in products! a Rafflecopter giveaway

Happy Crafting! Until next time…..

Cricut Mother’s Day Being A Mom Wine Tumbler

This post contains an affiliate link. If you click on the link and purchase something from that site, I will earn a percentage of the sale. Thanks for supporting A Sweet Berry Designs.

Mother’s Day is near and I’ve joined up with some other Cricut users to make awesome Mother’s Day crafts using our Cricut machines.

Being A Mom, I Deserve This... Main Photo

Materials Needed to make your own!

How I created this masterpiece!

  1. Using my Cricut Design Space, I uploaded the SVG file that I have provided and sized the file so that it would fit on my tumbler.
Cricut Design Space

2. I got my mat ready, applying my vinyl to the mat and inserting it into the Cricut.

Cutting Vinyl With Cricut

3. Once my design was cut out, I weeded away the unneeded pieces of vinyl using my weeding tool.

4. I covered my vinyl design with transfer tape and made sure that I burnished it really good using my fingers so that the vinyl adhered to the transfer tape.

Weeded Vinyl Saying and Swig Tumbler

5. I peeled the transfer tape away from the backing. TIP: I snipped the transfer tape in a few different places so that when I laid it on my tumbler, it was easier to work with. Round odd shaped cups can be a little tricky to work with.

Applying Vinyl to Tumbler

6. I started by placing the transfer tape down in the center and then worked my way around the outside making sure all of the letters got placed without any wrinkles. A good rubbing with my fingers to make sure the letters would stick to the tumbler and then it was time to remove the transfer tape.

Vinyl Wine Tumbler and Bottle of Wine

My kids can be a handful sometimes, but how true is this statement: Being a mom, I deserve this….. What do you deserve as a mom? Wine? Beer? Chocolate? A vacation? All of the above? Wouldn’t it be nice to have those things on Mother’s Day?

Be sure to check out other Cricut Mother’s Day projects by clicking the photos below and also register to win a Cricut for you and one for your mom, plus two $125 gift cards How amazing is that giveaway?! !

LINKY PARTY CODE
Inlinkz Link Party

RAFFLECOPTER CODE:
a Rafflecopter giveaway

Until next time….. 


All I Want To Do Is Wrap! Shirt featuring Cricut!

Christmas is around the corner and it will soon be time to wrap up all of the gifts that you purchase!  How about making a shirt to wear while you are doing the wrapping!!!

Materials:

Cricut
Cricut Cutting Mat
Cricut Iron-on
Cricut weeding tool
Cricut EasyPress
Shirt
SVG File
Towel

Directions:

Upload the svg file to your Cricut Design Space.  Size it to your liking.

Make sure to attach the file so that it cuts just like it is on the screen.

Also make sure that you mirror the image.

Add the Cricut Iron-on to your mat, shiny side down.  Insert the mat into your cricut and cut!

Once the file is completely cut out, remove it from the Cricut and weed the excess Iron-on.

Heat the EasyPress to 320 degrees.  Place a towel below your shirt.  Warm the shirt before adding the Iron-on.  Place the Iron-on with the design side down and the shiny side up.   Using the EasyPress, apply pressure to the Iron-on and set the timer for 30 seconds.

And now it’s time to wear!!!

Click the photo below and check out other Cricut Holiday Projects!


Until next time……

Cricut Iron On Wine Bottle Bag

Disclaimer:  This post includes affiliate link(s).   

Are you obsessed with your Cricut Explore or Maker?   What about your Cricut EasyPress?   I know that I am.  Today I made this adorable “Only My Best Friends Get To Wine!” Canvas Wine Bottle Bag using my Cricut Explore and EasyPress!   See how I made it below!

Materials:

Cricut Explore (or other Cricut machine)
Cricut Design Space
Cricut EasyPress
Cricut Pink Glitter Iron On
Cricut Weeding Tool
Cricut Cutting Mat
Canvas Wine Bag (I got this at ACMoore)
Towel (or you could use the Cricut Mat)
Only My Friends Get To Wine! SVG cut file (I made it using Illustrator, but I like to share!!!)

How I made it:

Cut the design out with the Cricut Explore and Cricut Iron On.  TIP:  Be sure to mirror your image!

Weed the design using the Cricut weeding tool.  First I peel away the large part and then work on the letters.

Using the EasyPress Recommended Settings Guide, adjust your temps and time on the the Cricut EasyPress.  

Preheat the bag and then apply your design, shiny side up.   Press firmly with the EasyPress for the recommended time.   Turn the bag over and heat the back with the EasyPress.  Remove the transfer backing while still warm.

And there you have it!   Add a bottle of wine and give it to a friend!!!

Be sure to click below to check out other Cricut Iron On ideas.  And enter to win!!!!

a Rafflecopter giveaway

Christmas in July

Peace Out 5th Grade Shirt featuring Cricut Products

Disclaimer:  This post includes affiliate links.  Opinions in this post are mine.

The end of the school year is near for us and it’s hard to believe that I have a 5th grader going in to 6th grade.  While my oldest has loved his teachers this year, he is ready to be done with 5th grade!  With that said, I made this Peace Out 5th Grade shirt for him to wear on his last day!!!  Cricut makes it super easy to make fun shirts at home!

Materials used:

Cricut Explore and cutting mat
Cricut Iron-On HTV in white
Cricut Weeding Tool
Cricut Easy Press
Cricut Design Space and a Computer
T-shirt
Towel

How to make it:

Using my laptop and Cricut Design Space, I laid out my design.  

With my Cricut Explore, I cut my design out.  Before cutting, I remembered to mirror my image!  I have forgotten to do this once in the past.  Not good.

After it was finished cutting, I weeded the excess iron-on HTV using my Cricut weeding tool.

The Cricut Easy Press is super easy to use and takes up very little space for storage.   I have also found that using the Easy Press works best on my granite counter top with a towel under the shirt. Cricut has a list of heating settings on their website.  I love it!

 
Shop new arrivals from Cricut!
 

Now it’s ready to wear!

Landon loves this shirt and is super excited to wear it.   Hope you like it!  

Be sure to click the below to find other End of the School Year Cricut ideas!


Shop new arrivals from Cricut!

Until next time……