Tag Archives: Cricut Design Space

Cricut Iron On Wine Bottle Bag

Disclaimer:  This post includes affiliate link(s).   

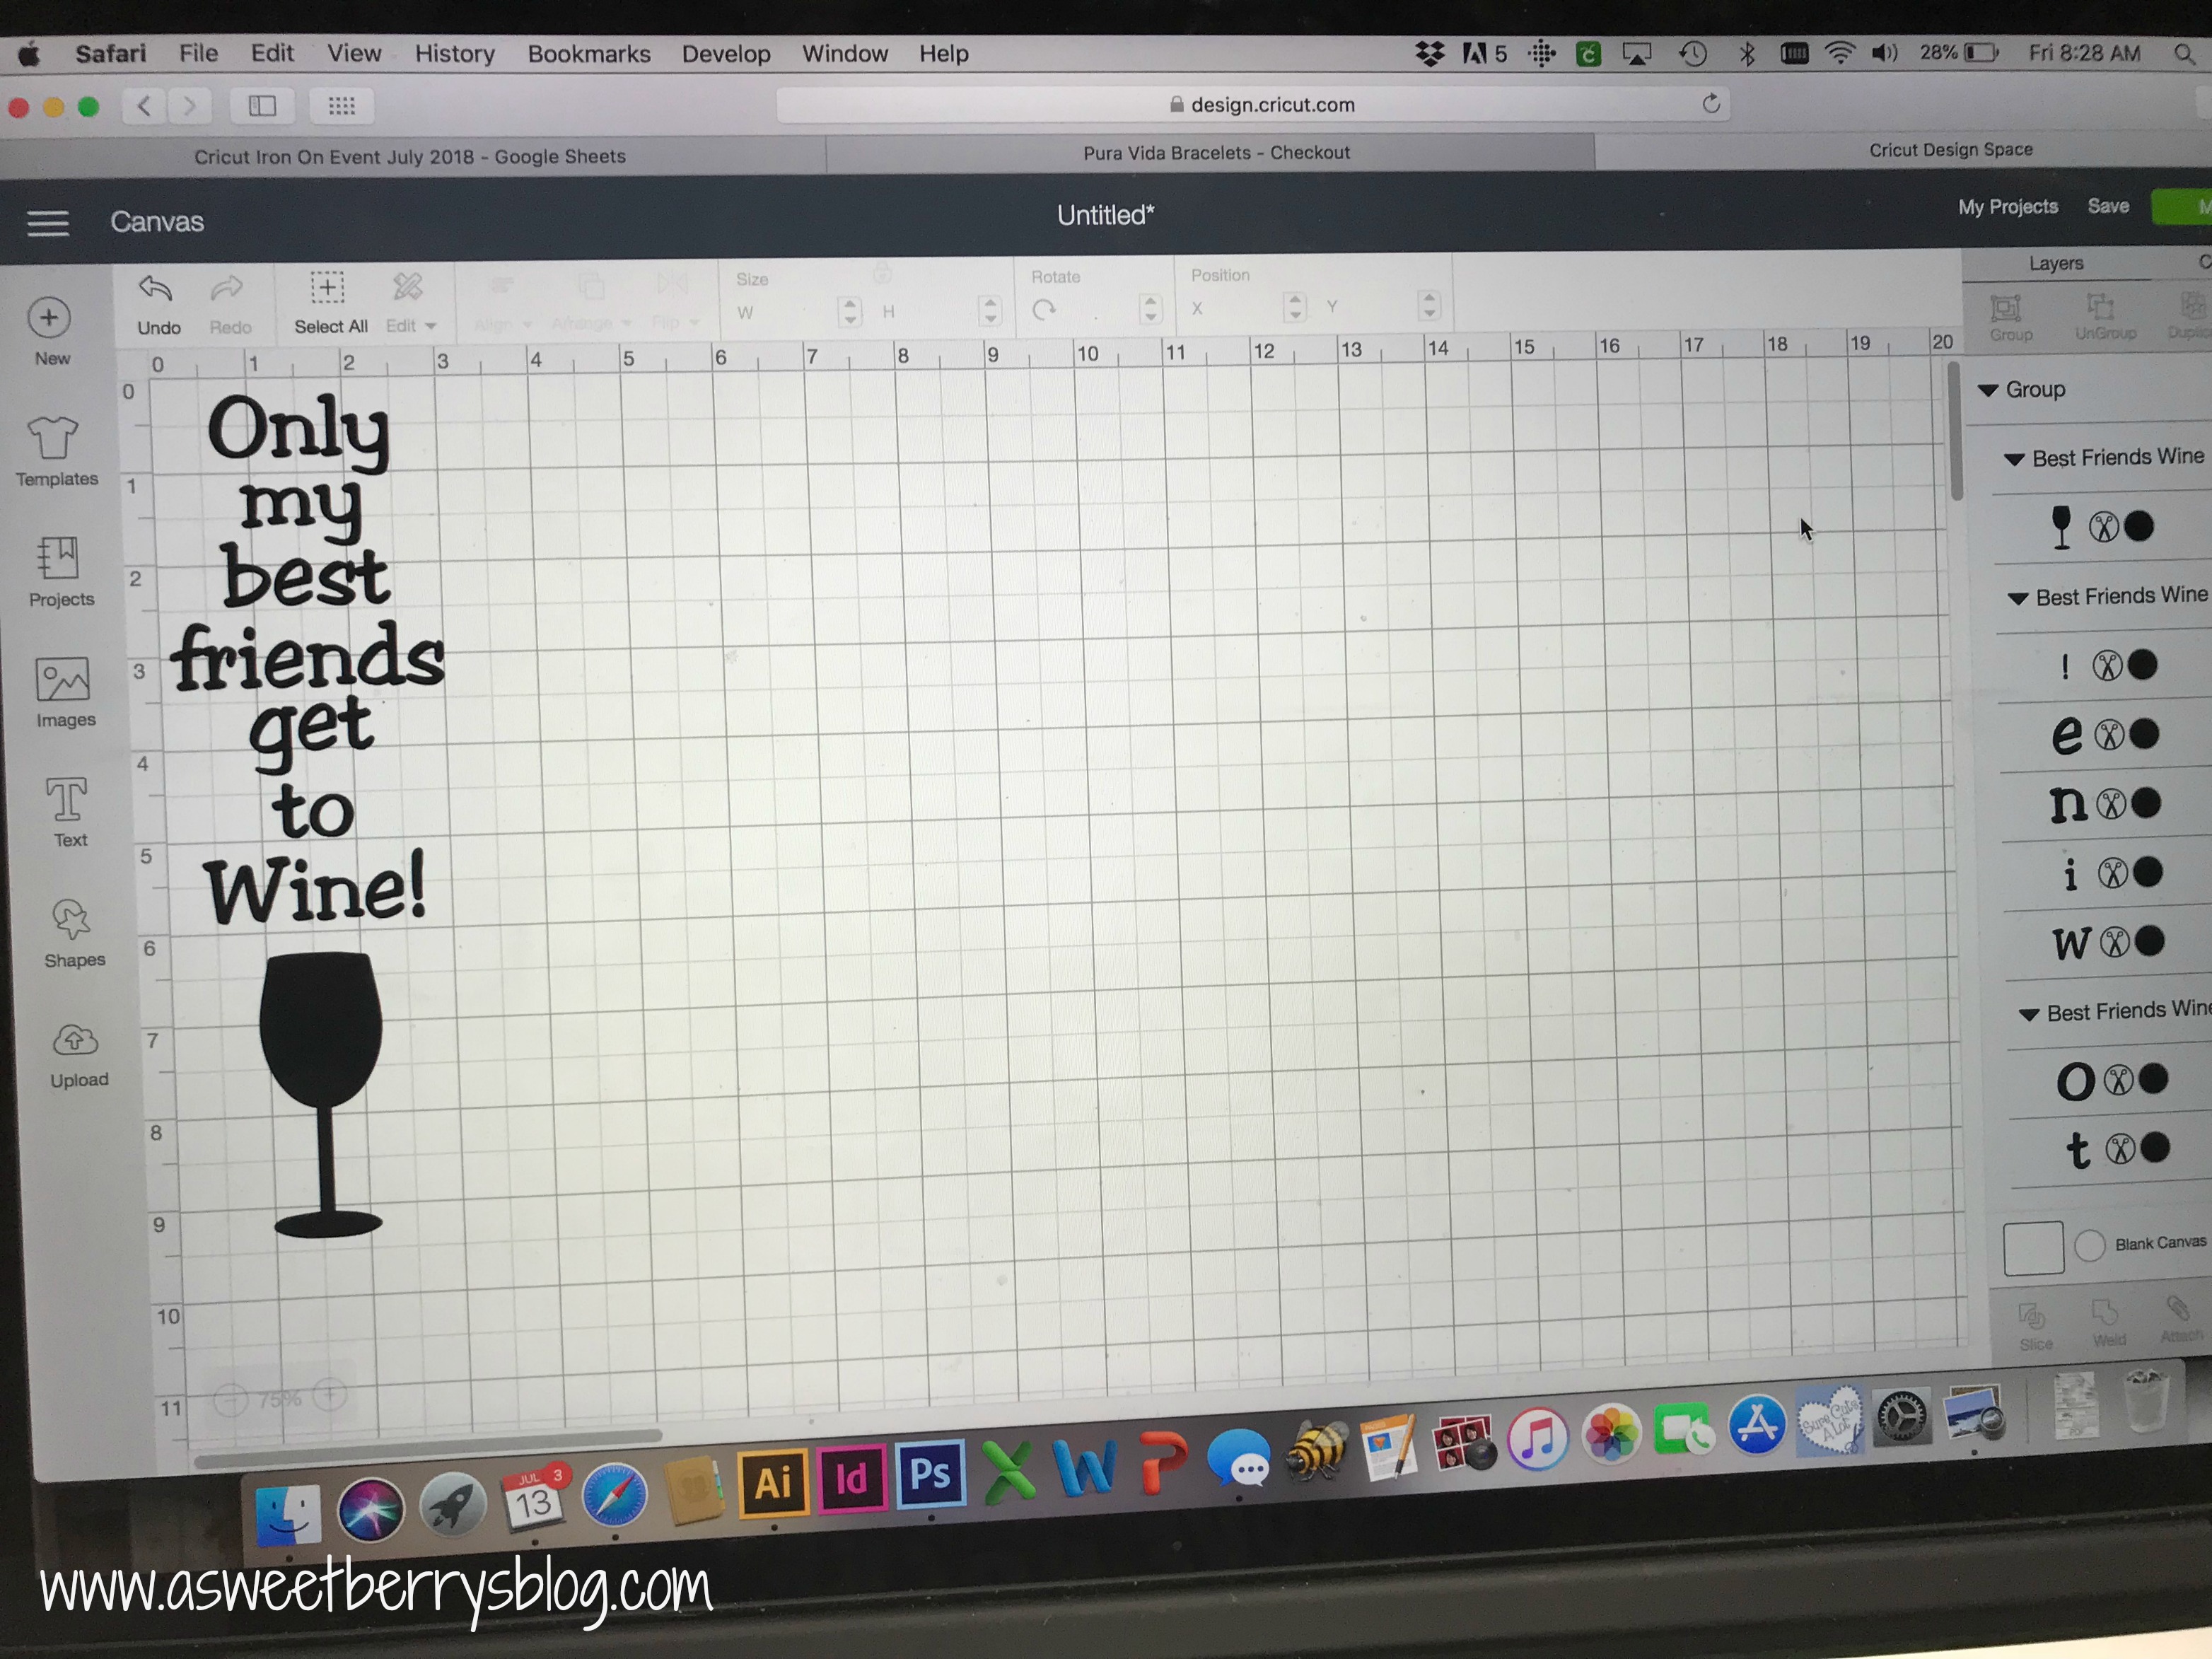
Are you obsessed with your Cricut Explore or Maker?   What about your Cricut EasyPress?   I know that I am.  Today I made this adorable “Only My Best Friends Get To Wine!” Canvas Wine Bottle Bag using my Cricut Explore and EasyPress!   See how I made it below!

Materials:

Cricut Explore (or other Cricut machine)
Cricut Design Space
Cricut EasyPress
Cricut Pink Glitter Iron On
Cricut Weeding Tool
Cricut Cutting Mat
Canvas Wine Bag (I got this at ACMoore)
Towel (or you could use the Cricut Mat)
Only My Friends Get To Wine! SVG cut file (I made it using Illustrator, but I like to share!!!)

How I made it:

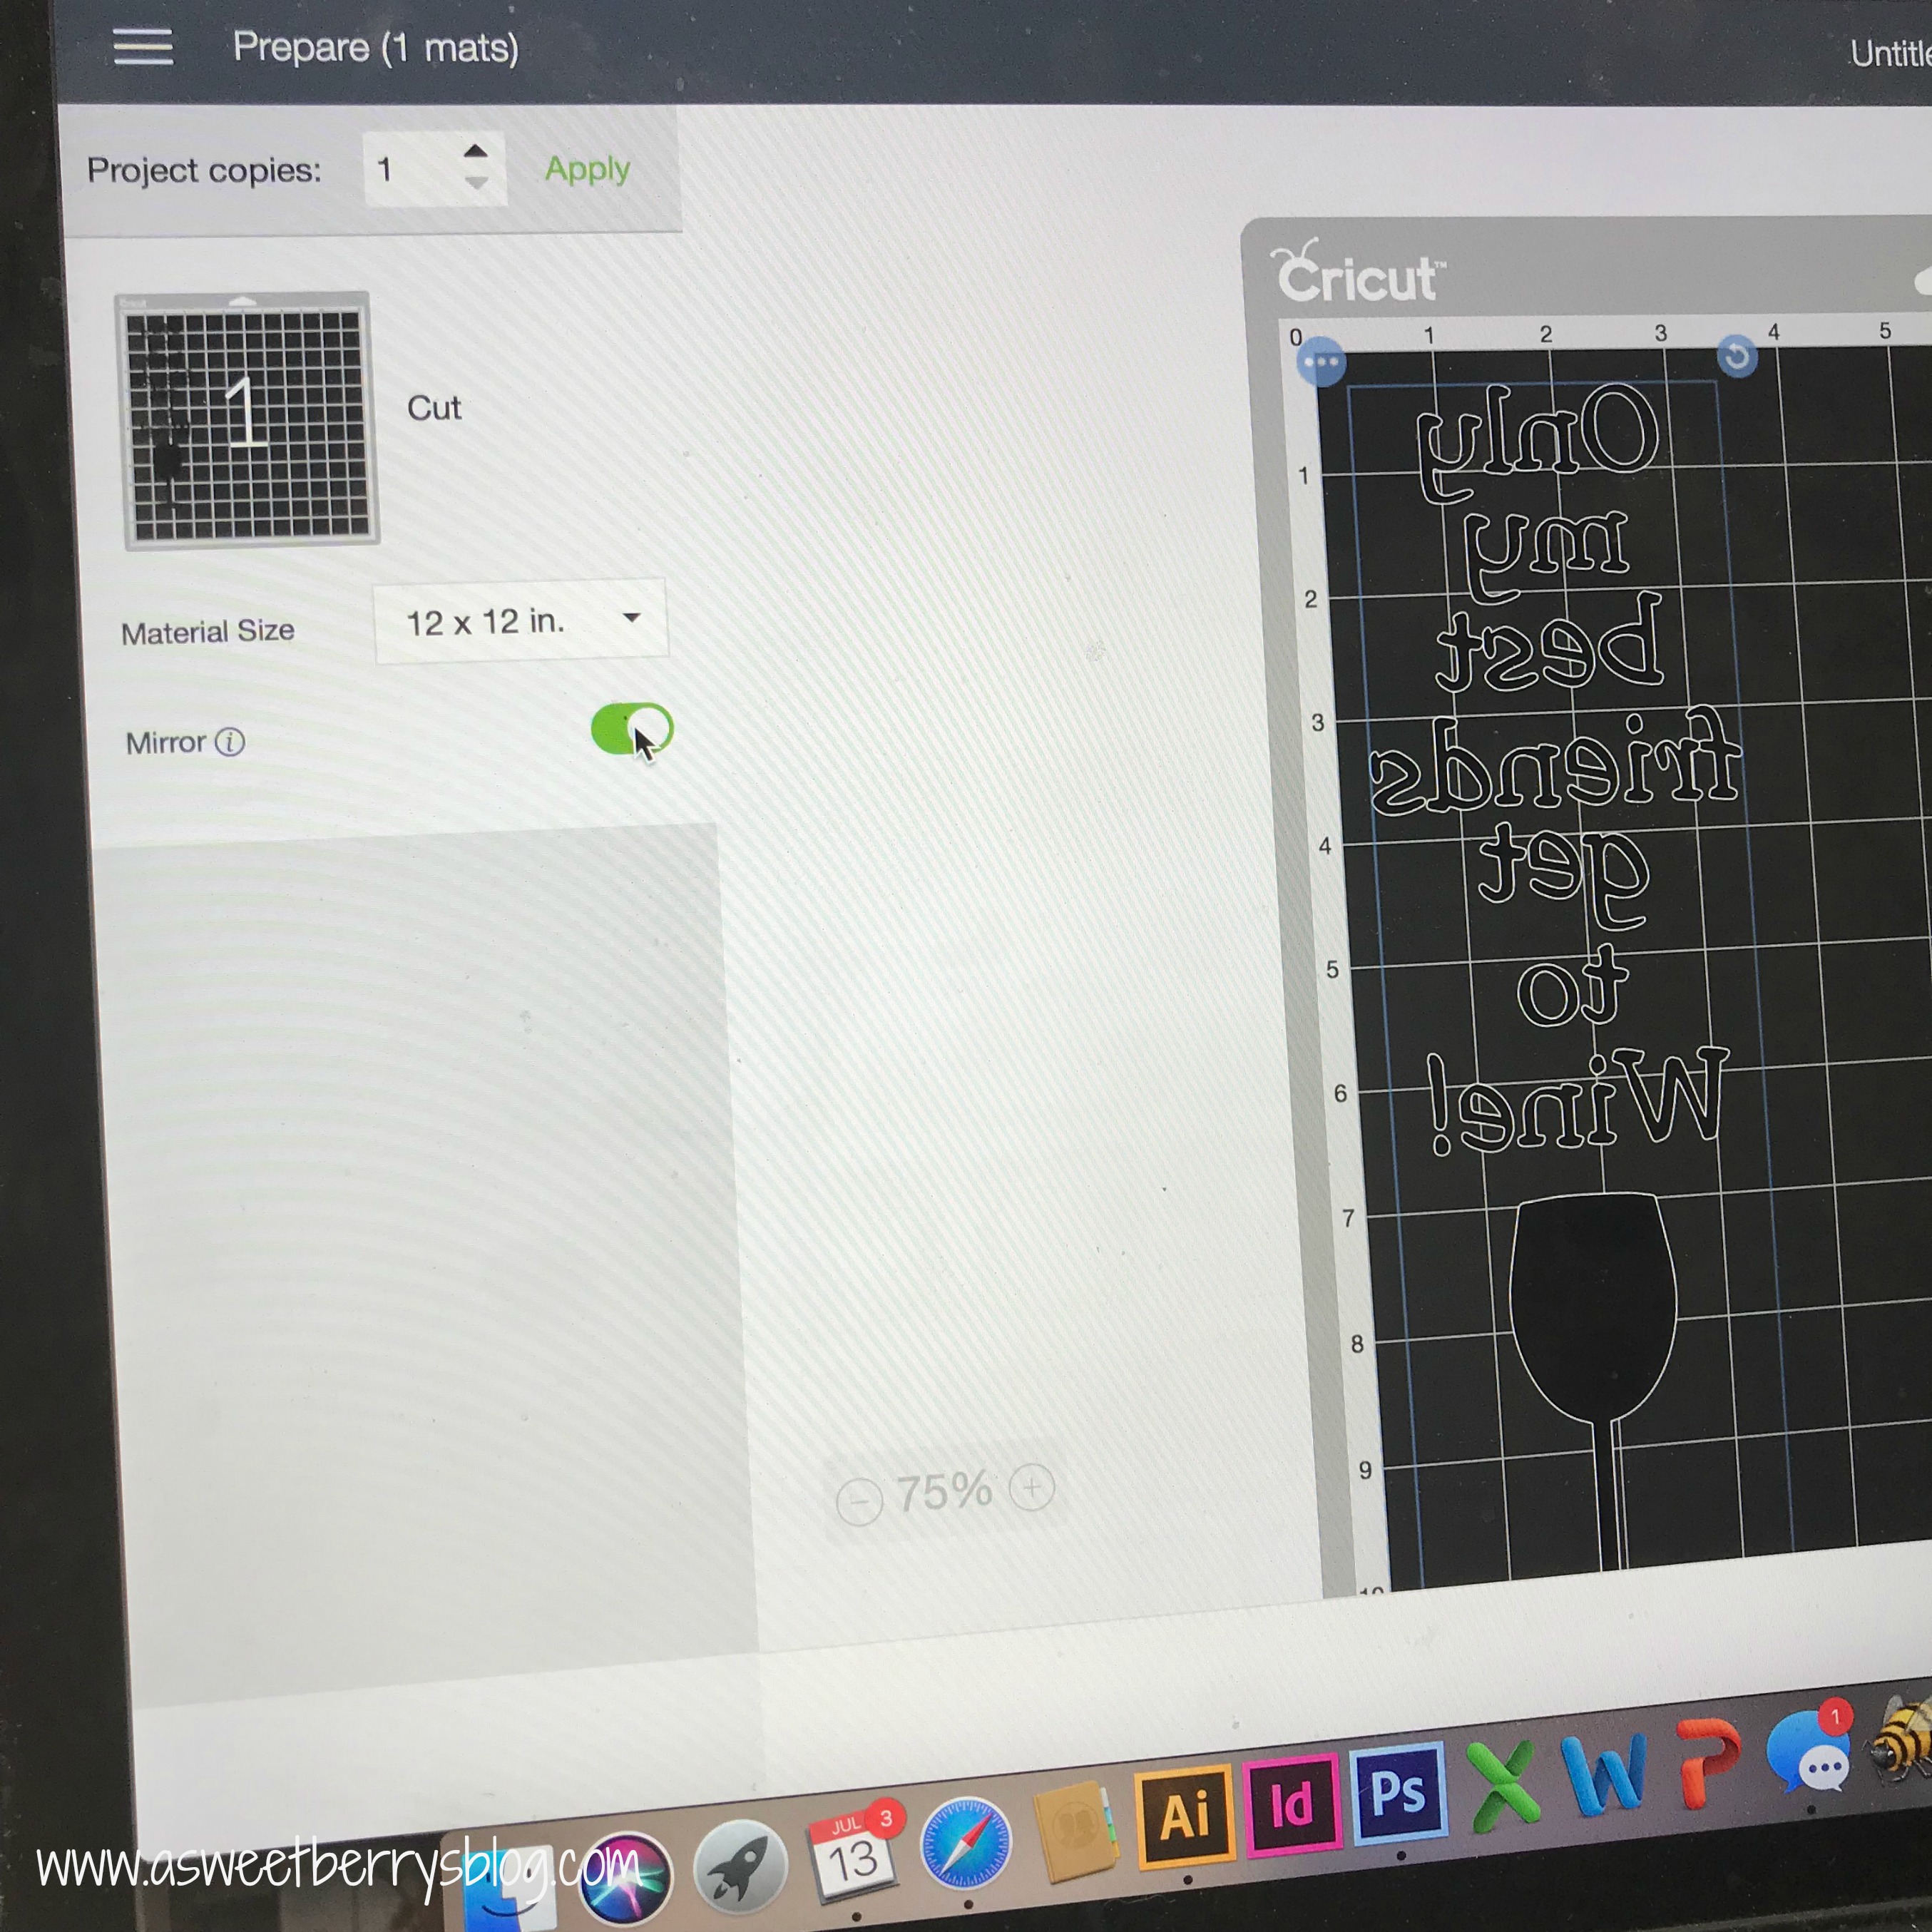
Cut the design out with the Cricut Explore and Cricut Iron On.  TIP:  Be sure to mirror your image!

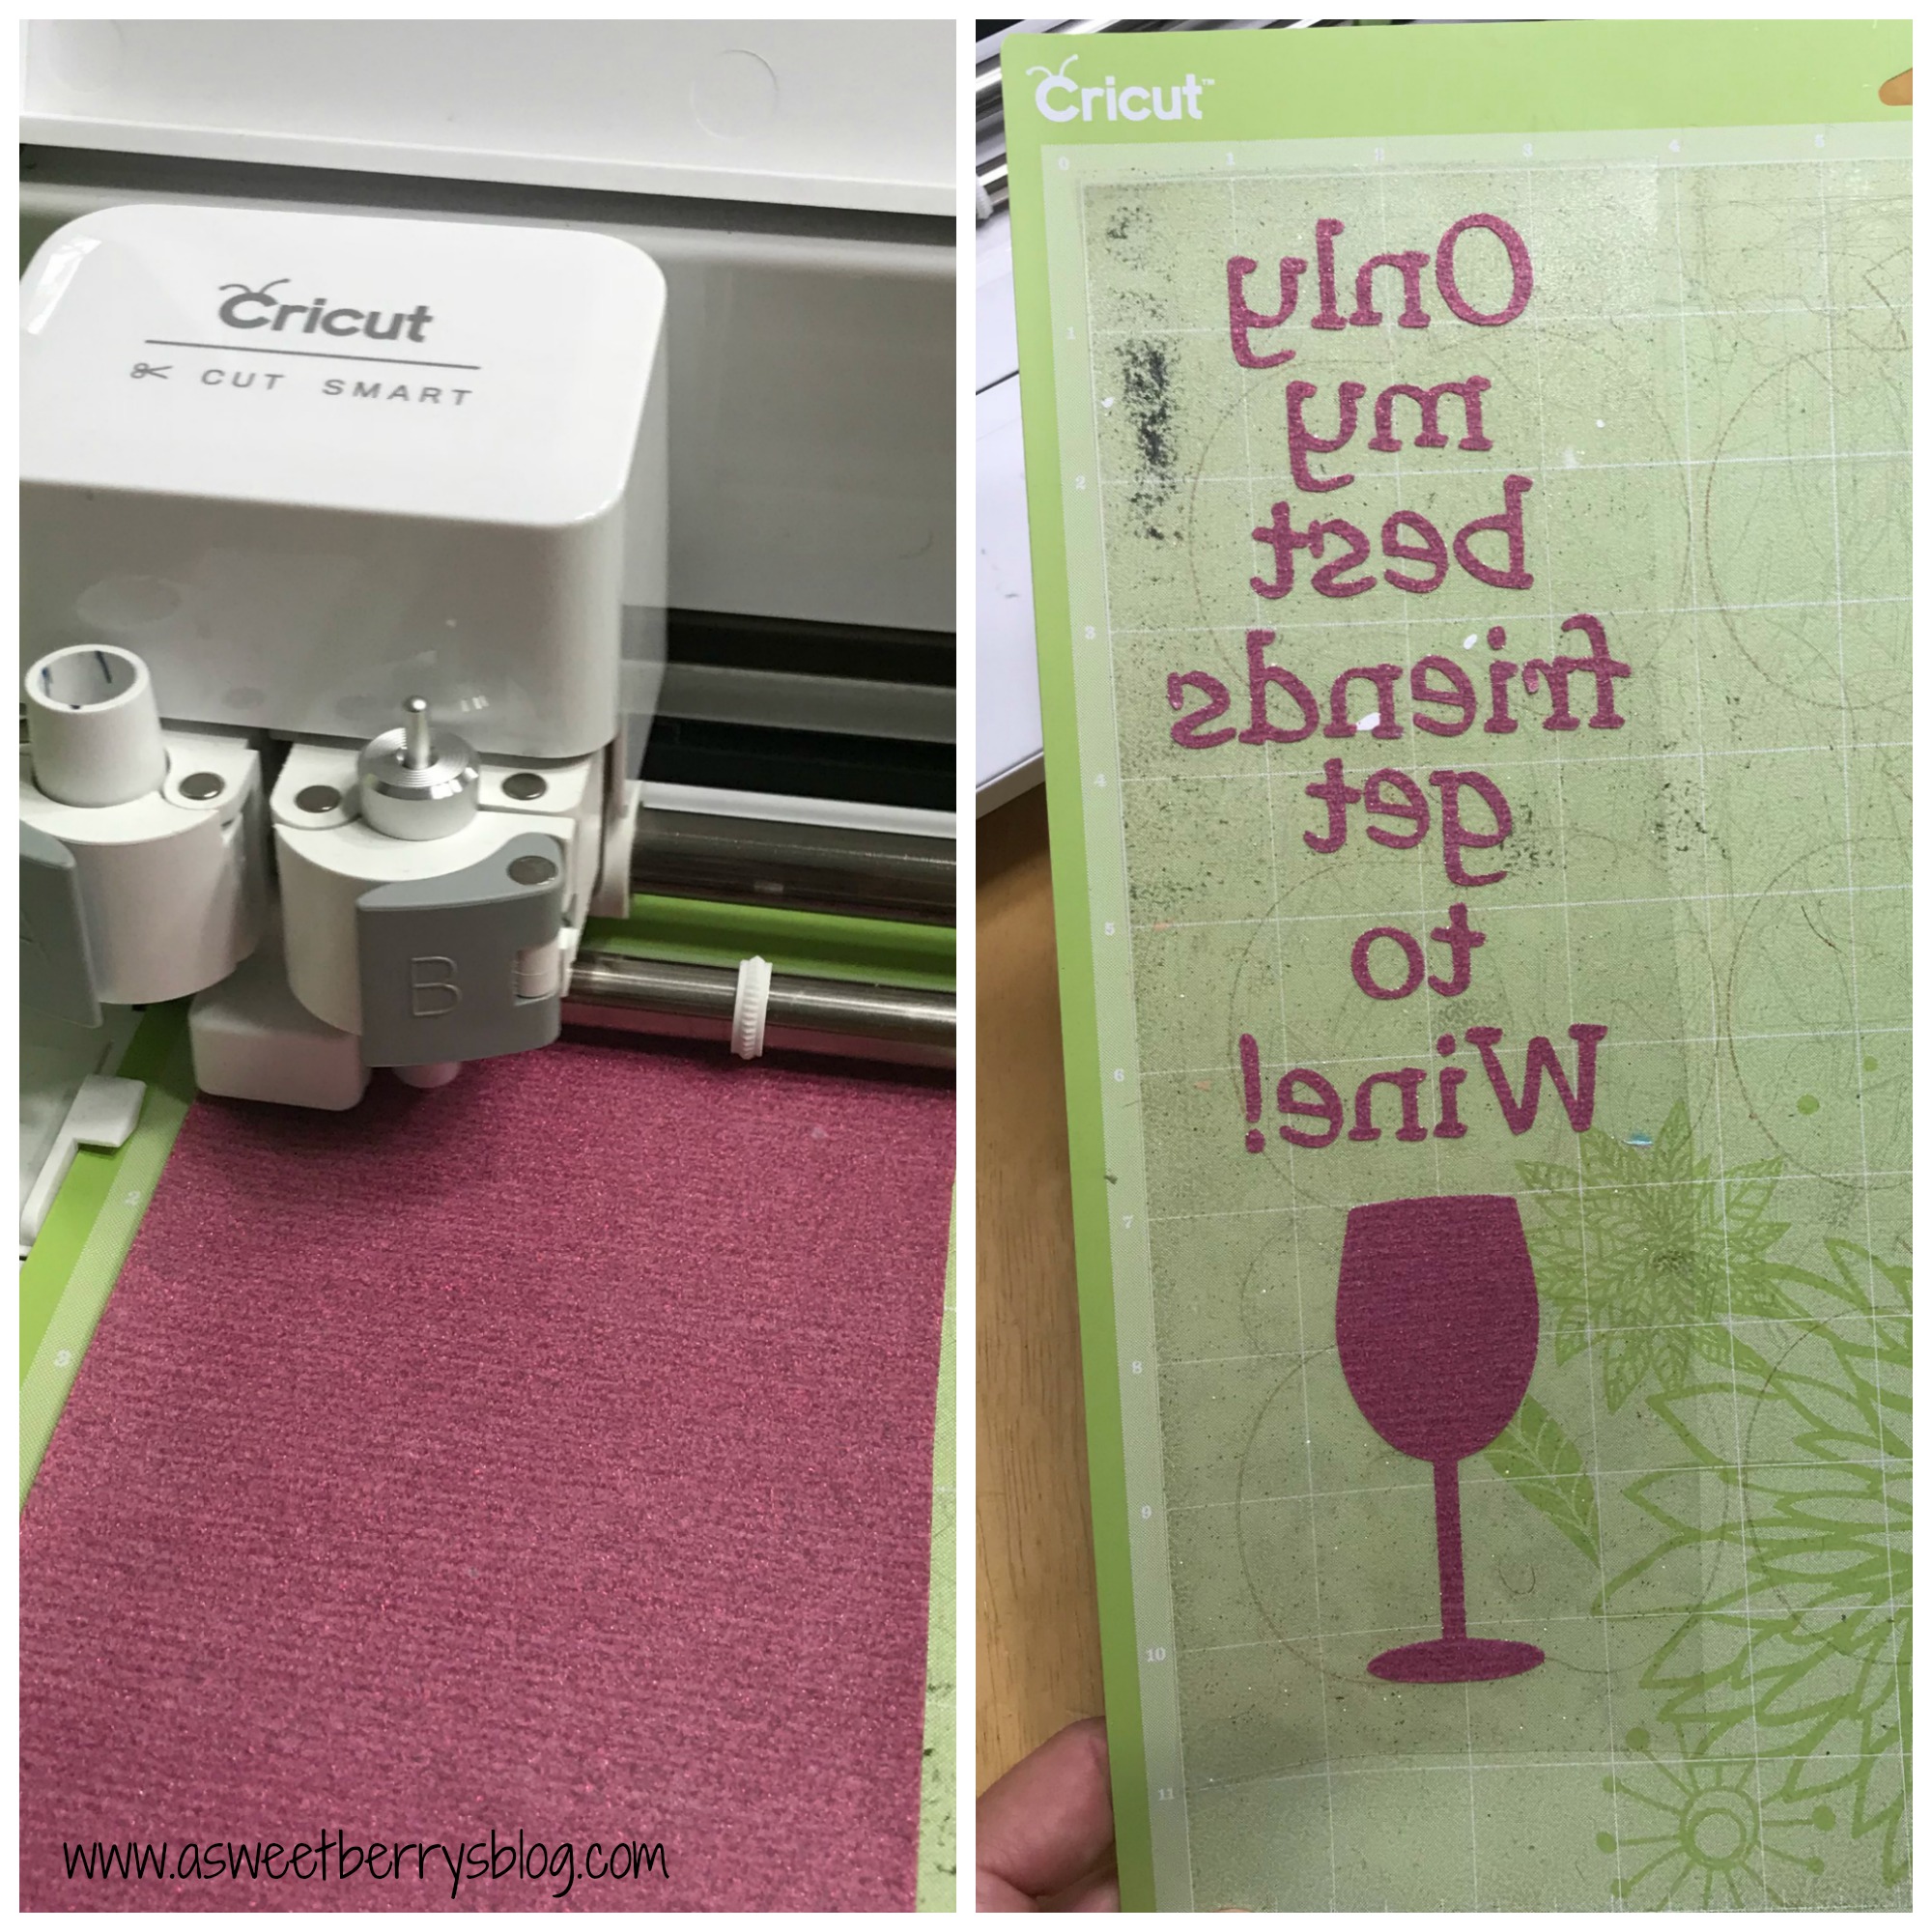
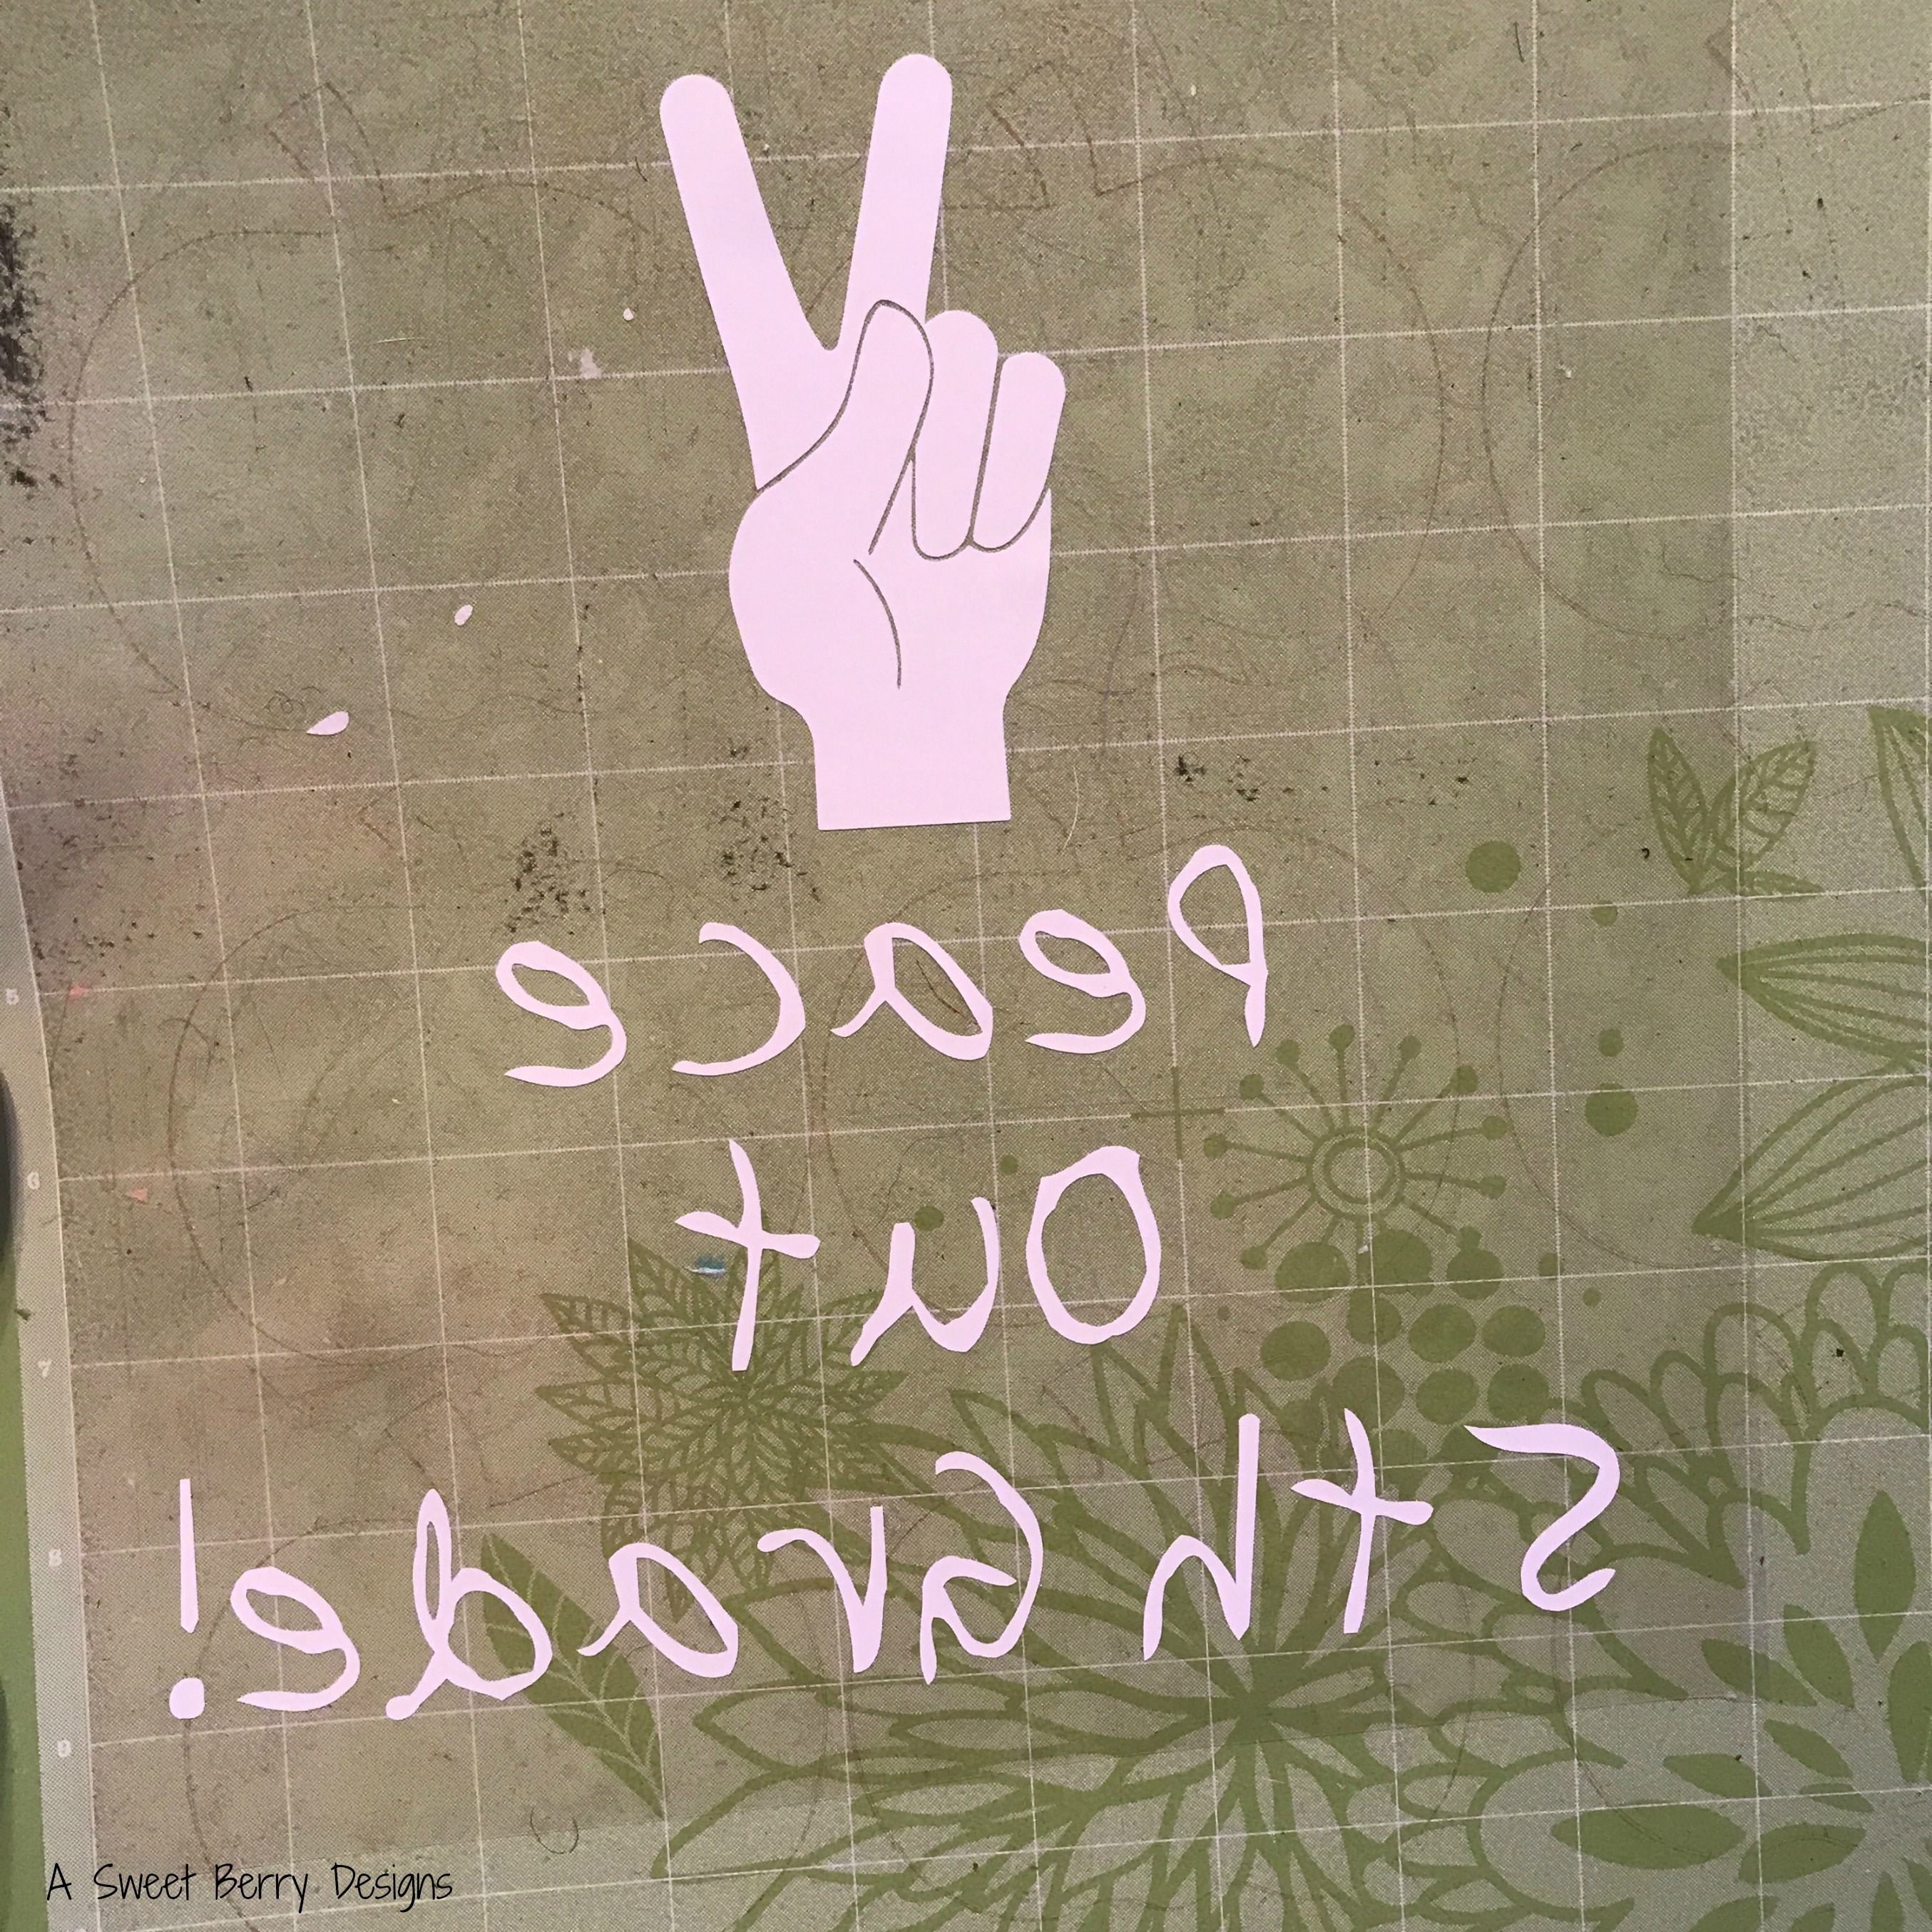
Weed the design using the Cricut weeding tool.  First I peel away the large part and then work on the letters.

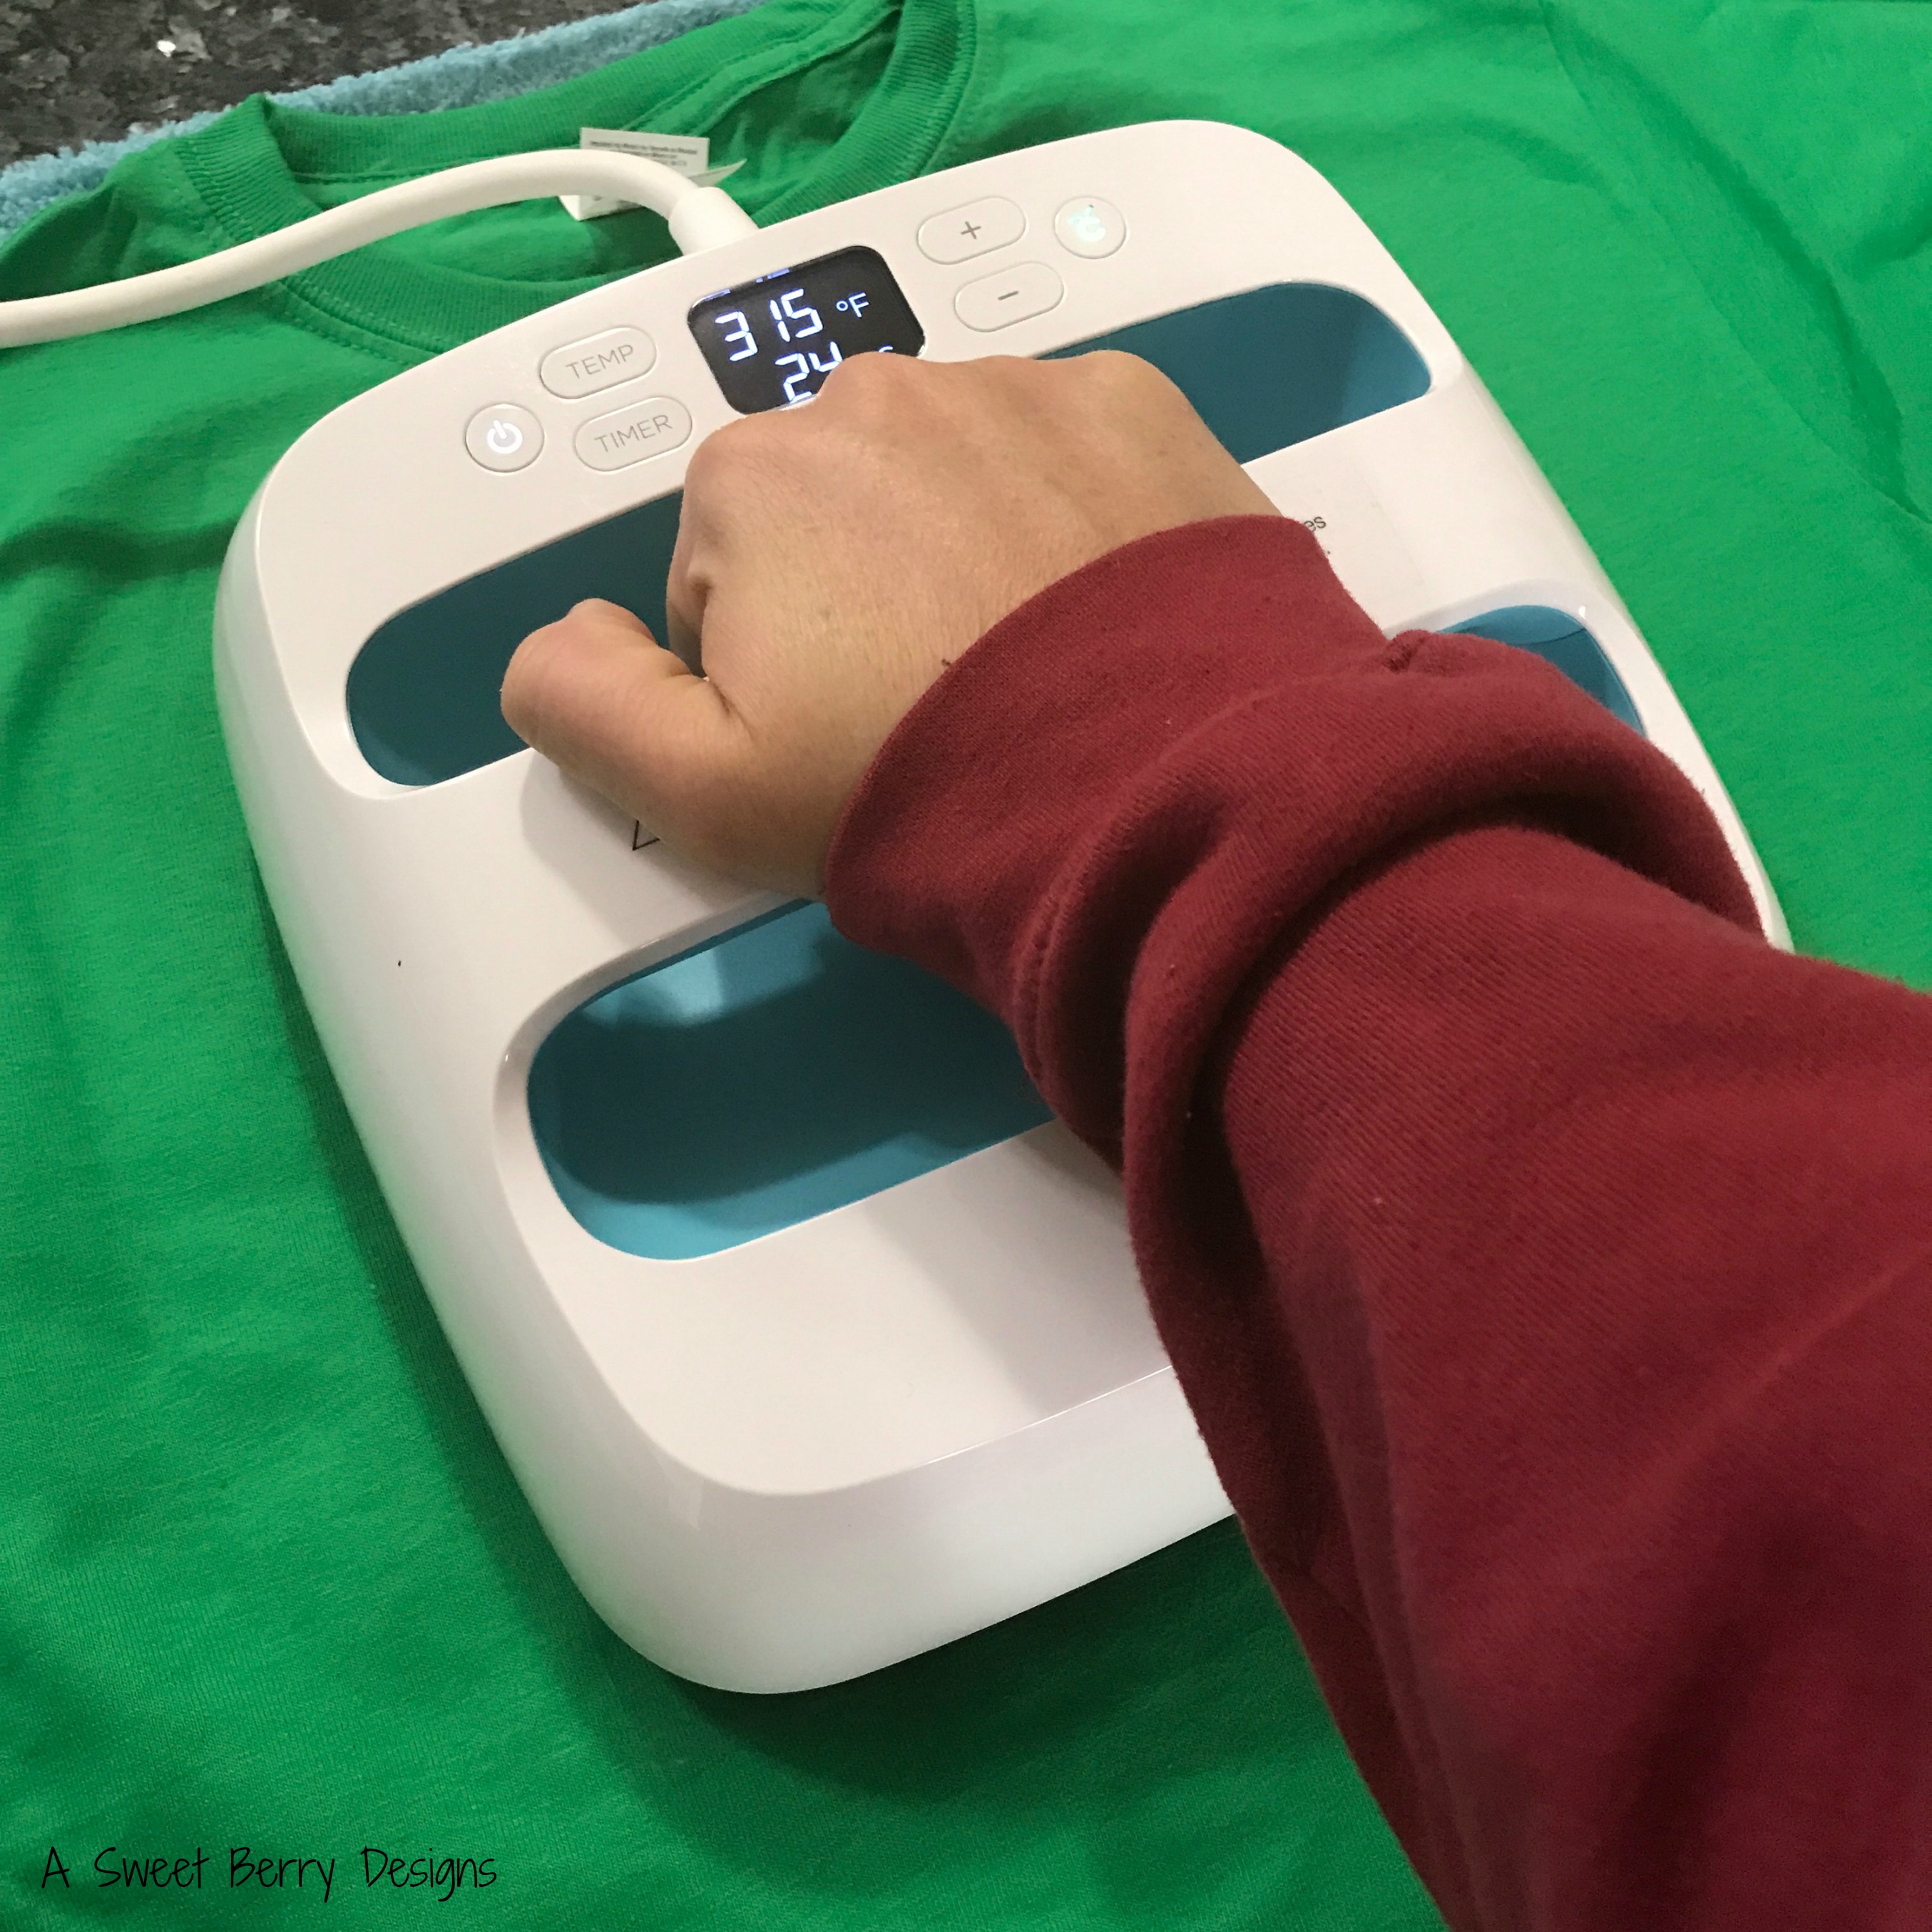
Using the EasyPress Recommended Settings Guide, adjust your temps and time on the the Cricut EasyPress.  

Preheat the bag and then apply your design, shiny side up.   Press firmly with the EasyPress for the recommended time.   Turn the bag over and heat the back with the EasyPress.  Remove the transfer backing while still warm.

And there you have it!   Add a bottle of wine and give it to a friend!!!

Be sure to click below to check out other Cricut Iron On ideas.  And enter to win!!!!

a Rafflecopter giveaway

Christmas in July

Peace Out 5th Grade Shirt featuring Cricut Products

Disclaimer:  This post includes affiliate links.  Opinions in this post are mine.

The end of the school year is near for us and it’s hard to believe that I have a 5th grader going in to 6th grade.  While my oldest has loved his teachers this year, he is ready to be done with 5th grade!  With that said, I made this Peace Out 5th Grade shirt for him to wear on his last day!!!  Cricut makes it super easy to make fun shirts at home!

Materials used:

Cricut Explore and cutting mat
Cricut Iron-On HTV in white
Cricut Weeding Tool
Cricut Easy Press
Cricut Design Space and a Computer
T-shirt
Towel

How to make it:

Using my laptop and Cricut Design Space, I laid out my design.  

With my Cricut Explore, I cut my design out.  Before cutting, I remembered to mirror my image!  I have forgotten to do this once in the past.  Not good.

After it was finished cutting, I weeded the excess iron-on HTV using my Cricut weeding tool.

The Cricut Easy Press is super easy to use and takes up very little space for storage.   I have also found that using the Easy Press works best on my granite counter top with a towel under the shirt. Cricut has a list of heating settings on their website.  I love it!

 
Shop new arrivals from Cricut!
 

Now it’s ready to wear!

Landon loves this shirt and is super excited to wear it.   Hope you like it!  

Be sure to click the below to find other End of the School Year Cricut ideas!


Shop new arrivals from Cricut!

Until next time……

Happy Halloween Banner featuring Cricut

Disclosure:  This blog post contains affiliate links.

Halloween in near and it’s also Craft Lightning time!  This Craft Lightning features Cricut!   So, I made a Happy Halloween Banner with pumpkins and letters cut with my Cricut Explore.  It was quick, easy and fun.  Even the kids could get in on helping making this adorable Happy Halloween Banner!  And this banner is perfect for a kids party!

Materials needed:
Cricut Explore, Air or Maker
Cricut Cutting Mat
Cricut Tools for removing yardstick from mats
Computer with Cricut Design Space installed
Cardstock (orange and black)
Yarn
Small Clothespins
Glue

How I made it:

  1.  I chose a pumpkin from the Images category.  This pumpkin was free with Cricut Access.  I also chose a font for my letters.  This particular font is from my font book via my computer.  I picked one that looked a little spooky.  I laid everything out in Design Space and then cut it all out, the pumpkins first and then the letters.  I hid the letters while I cut out the pumpkins.  And then I hid the pumpkins while I cut the letters.   I cut out two sheets of pumpkins.

2.  Once everything was cut out, I glued the letters to the pumpkins using Aleene’s Fast Grab Tacky Glue.

3.  I let the glue dry and then it was time to hang it up using the yarn and the small clothespins.

I love a good banner, so I keep Command Hooks in my dinning area where we have gatherings and such.  It’s super easy to throw up a cute banner for whatever the occasion is.  This Happy Halloween Banner is perfect for a Halloween Party for the kids.  I hope you like it!   

Side note:  The pumpkins can be decorated.   That may take a little longer than the fifteen minutes allowed for Craft Lightning!  🙂

Click the button below to check out other quick Craft Lightning Cricut Halloween ideas!

Also, be sure to enter to win a new Cricut Maker!

a Rafflecopter giveaway

Until next time…….

 
Cricut Maker Machine