Category Archives: Sewing

Quick Sew Burlap Gift Bags

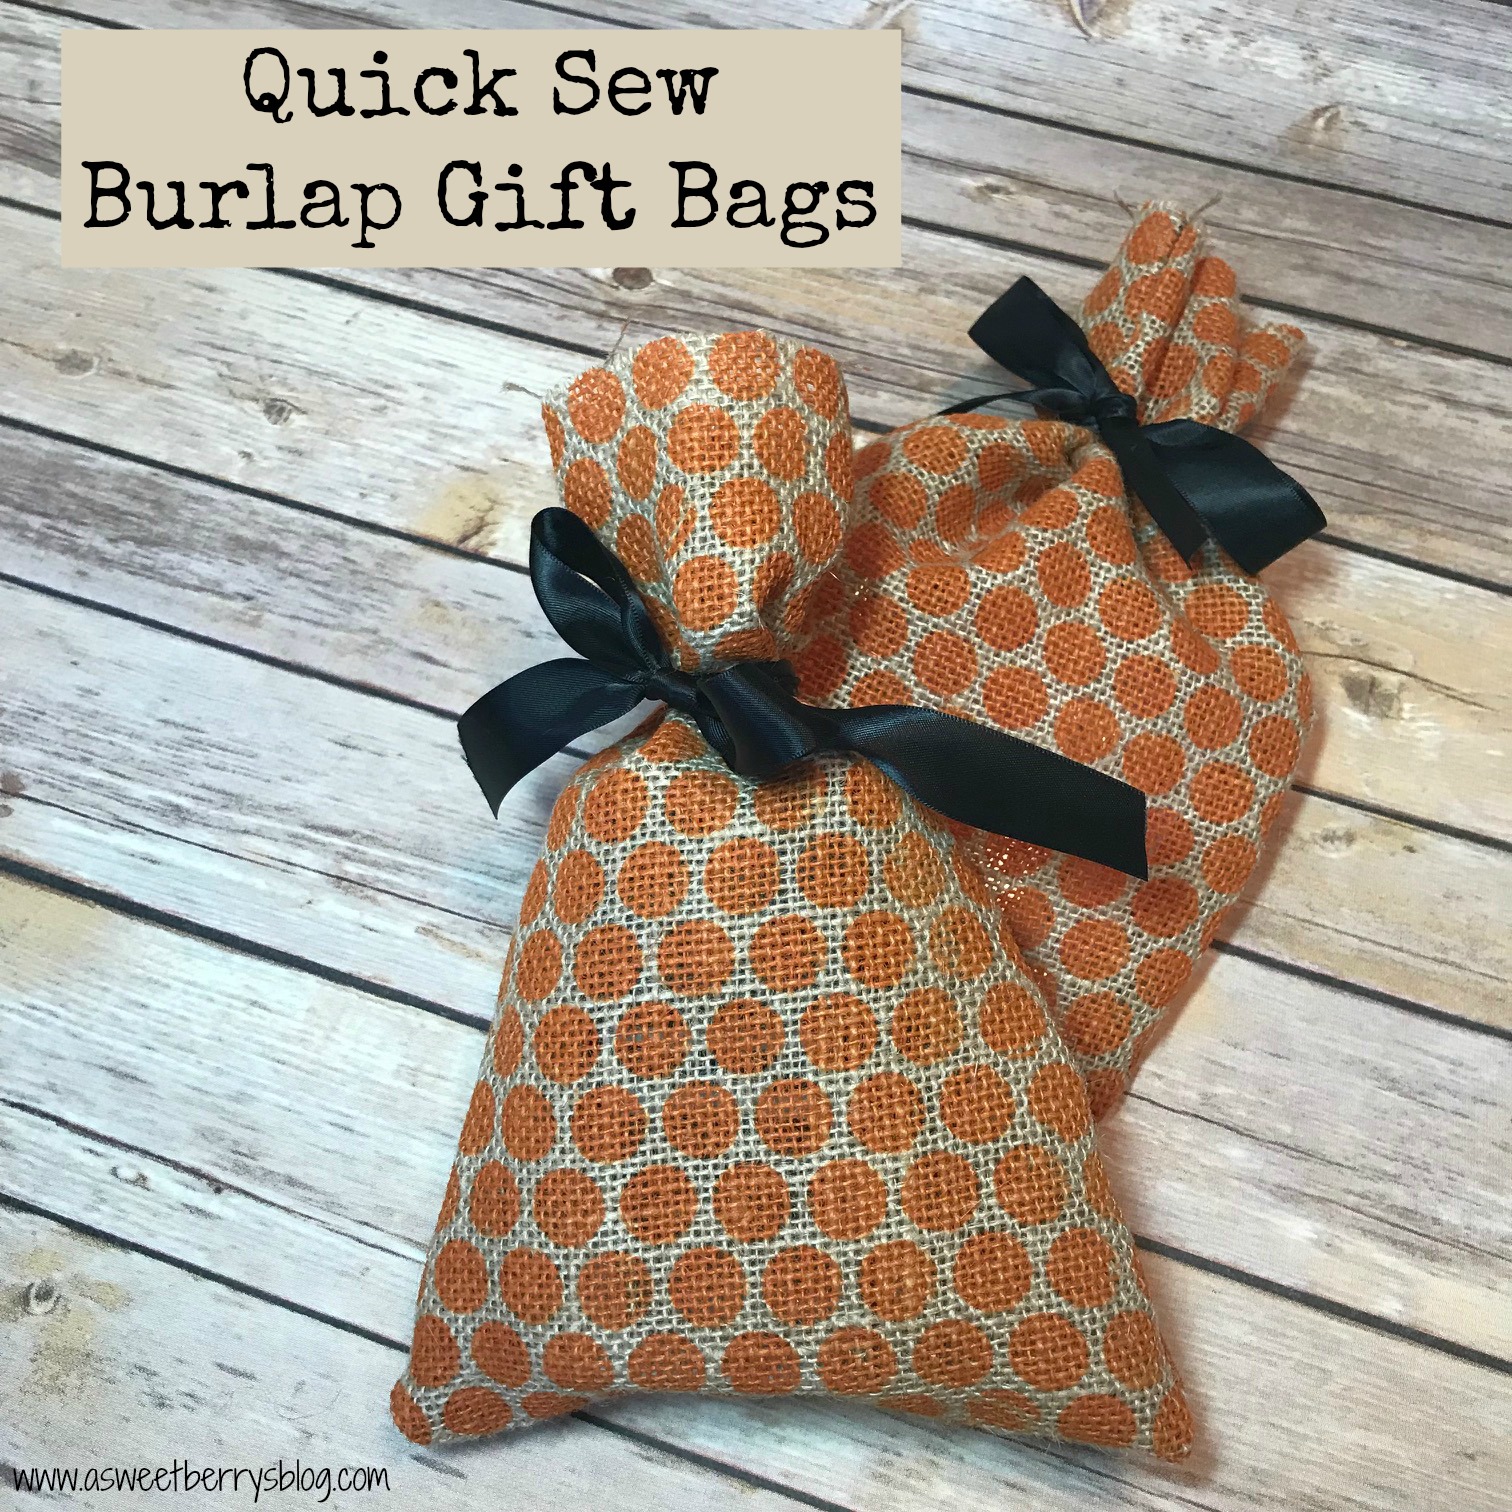
Craft Lightning is here again!  And it’s burlap crafts with my awesome friend, Beth Watson from Creatively Beth!!!!   Weird Not So Fun Fact: Some may know this, but I have a mild allergy to burlap and if I touch the burlap, I get a tad bit itchy and then if I touch my lips, they get itchy to!   Who knew that you could be allergic to burlap?!  I had no clue, but I LOVE burlap and just deal with the allergy and try not to touch my lips!  Anyways, I made these cute little quick sew burlap gift bags with this adorable painted burlap that I found at my local A.C. Moore.

Skill Level:   Easy + Basic Sewing Skills
Time to Complete:  Less than 15 minutes
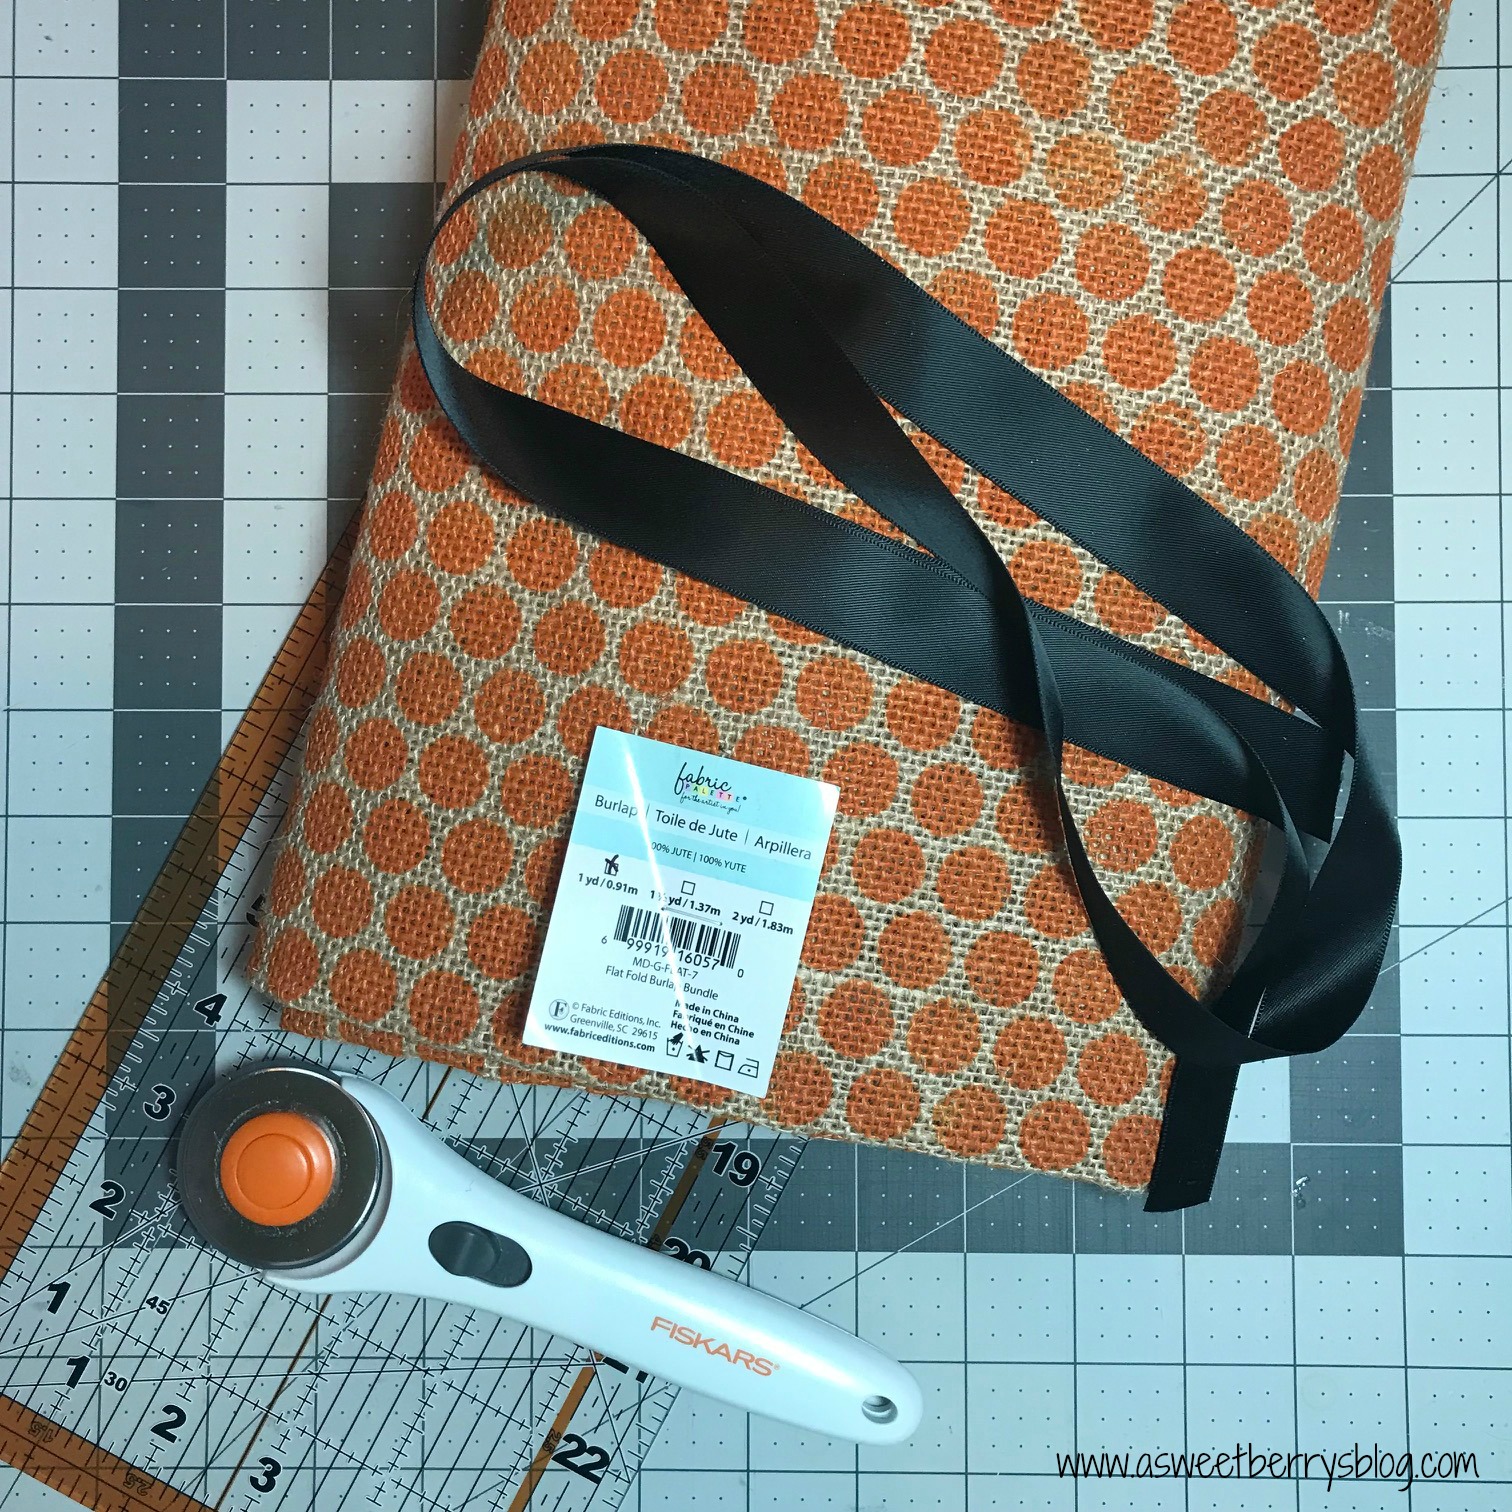
Materials:

Burlap 
Cutting Mat
Cutting Ruler
Rotary Cutter
Sewing Machine loaded with thread
Ribbon

How I made it:

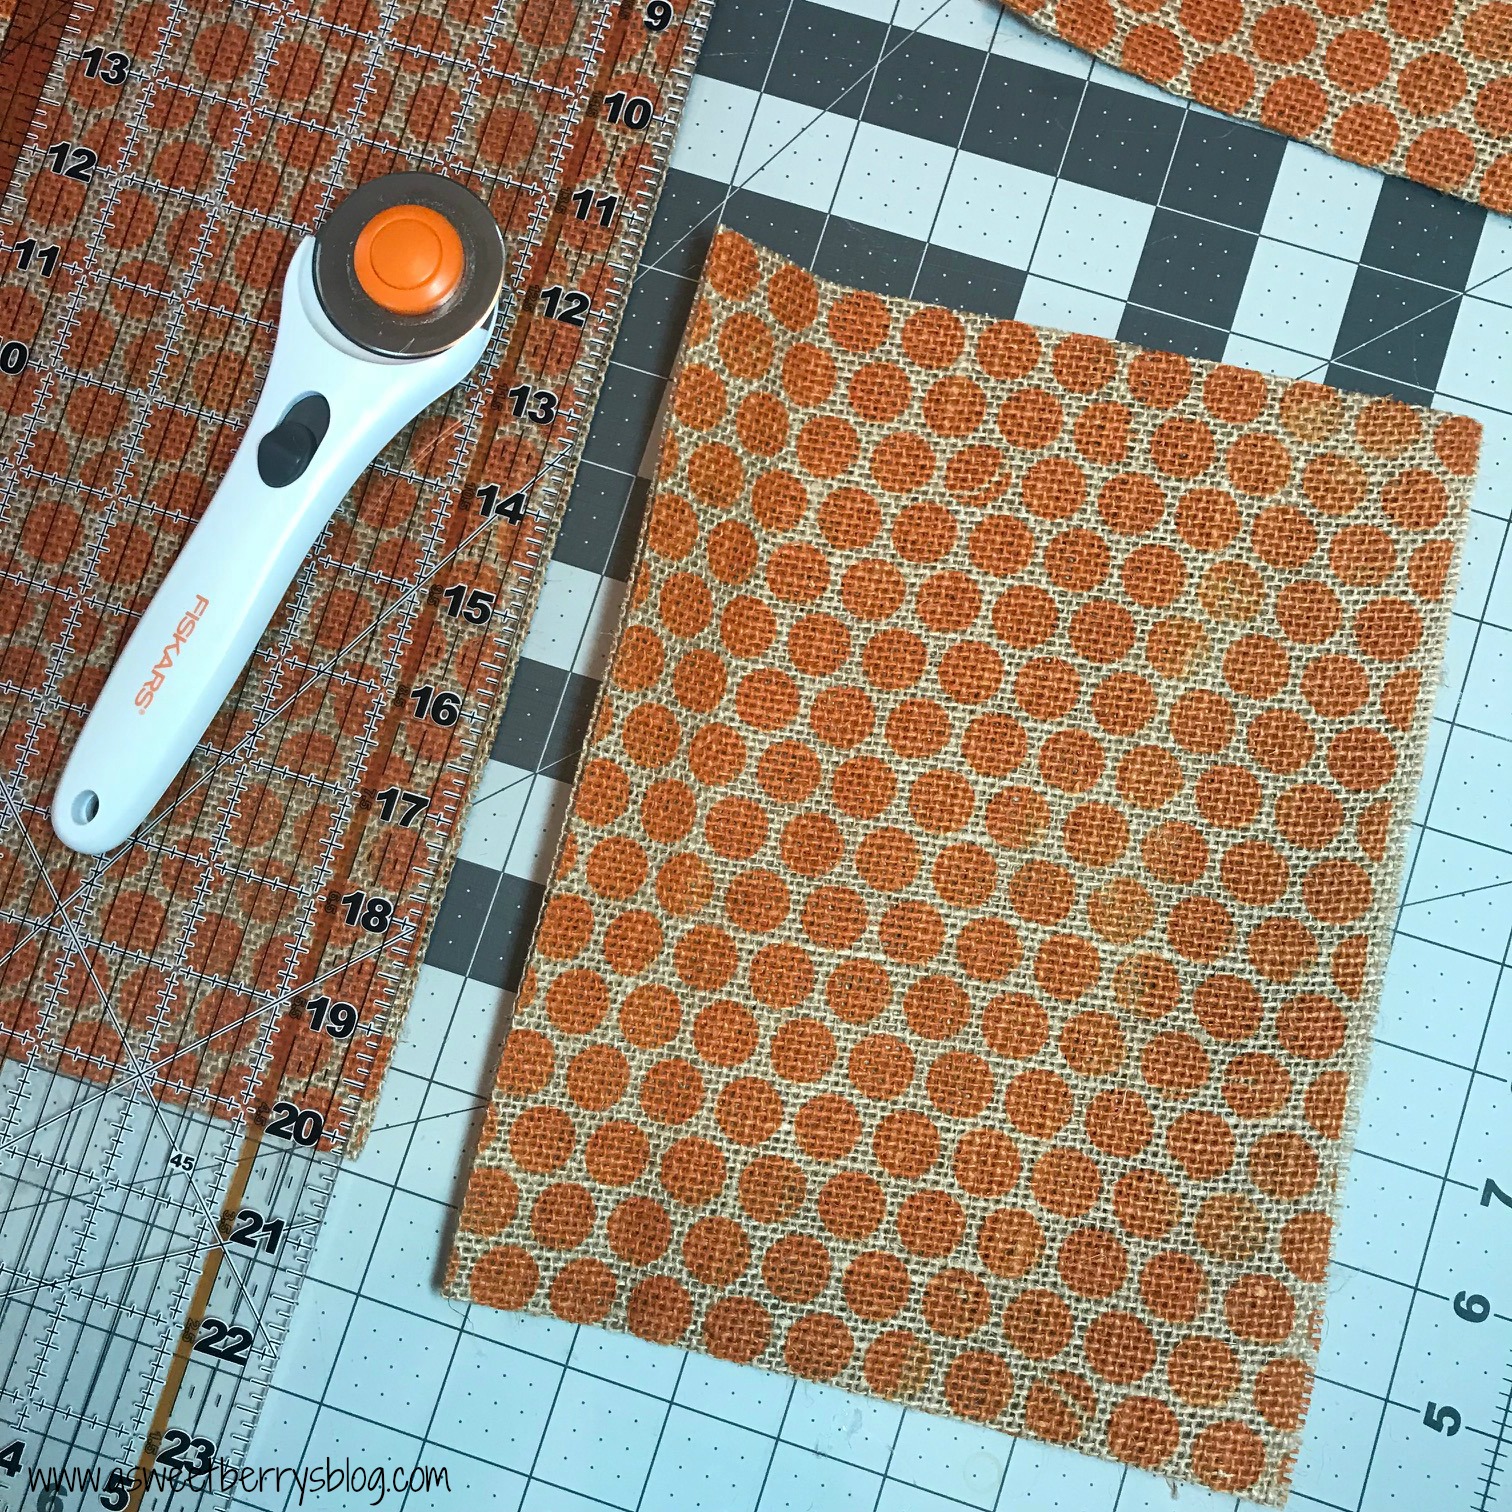
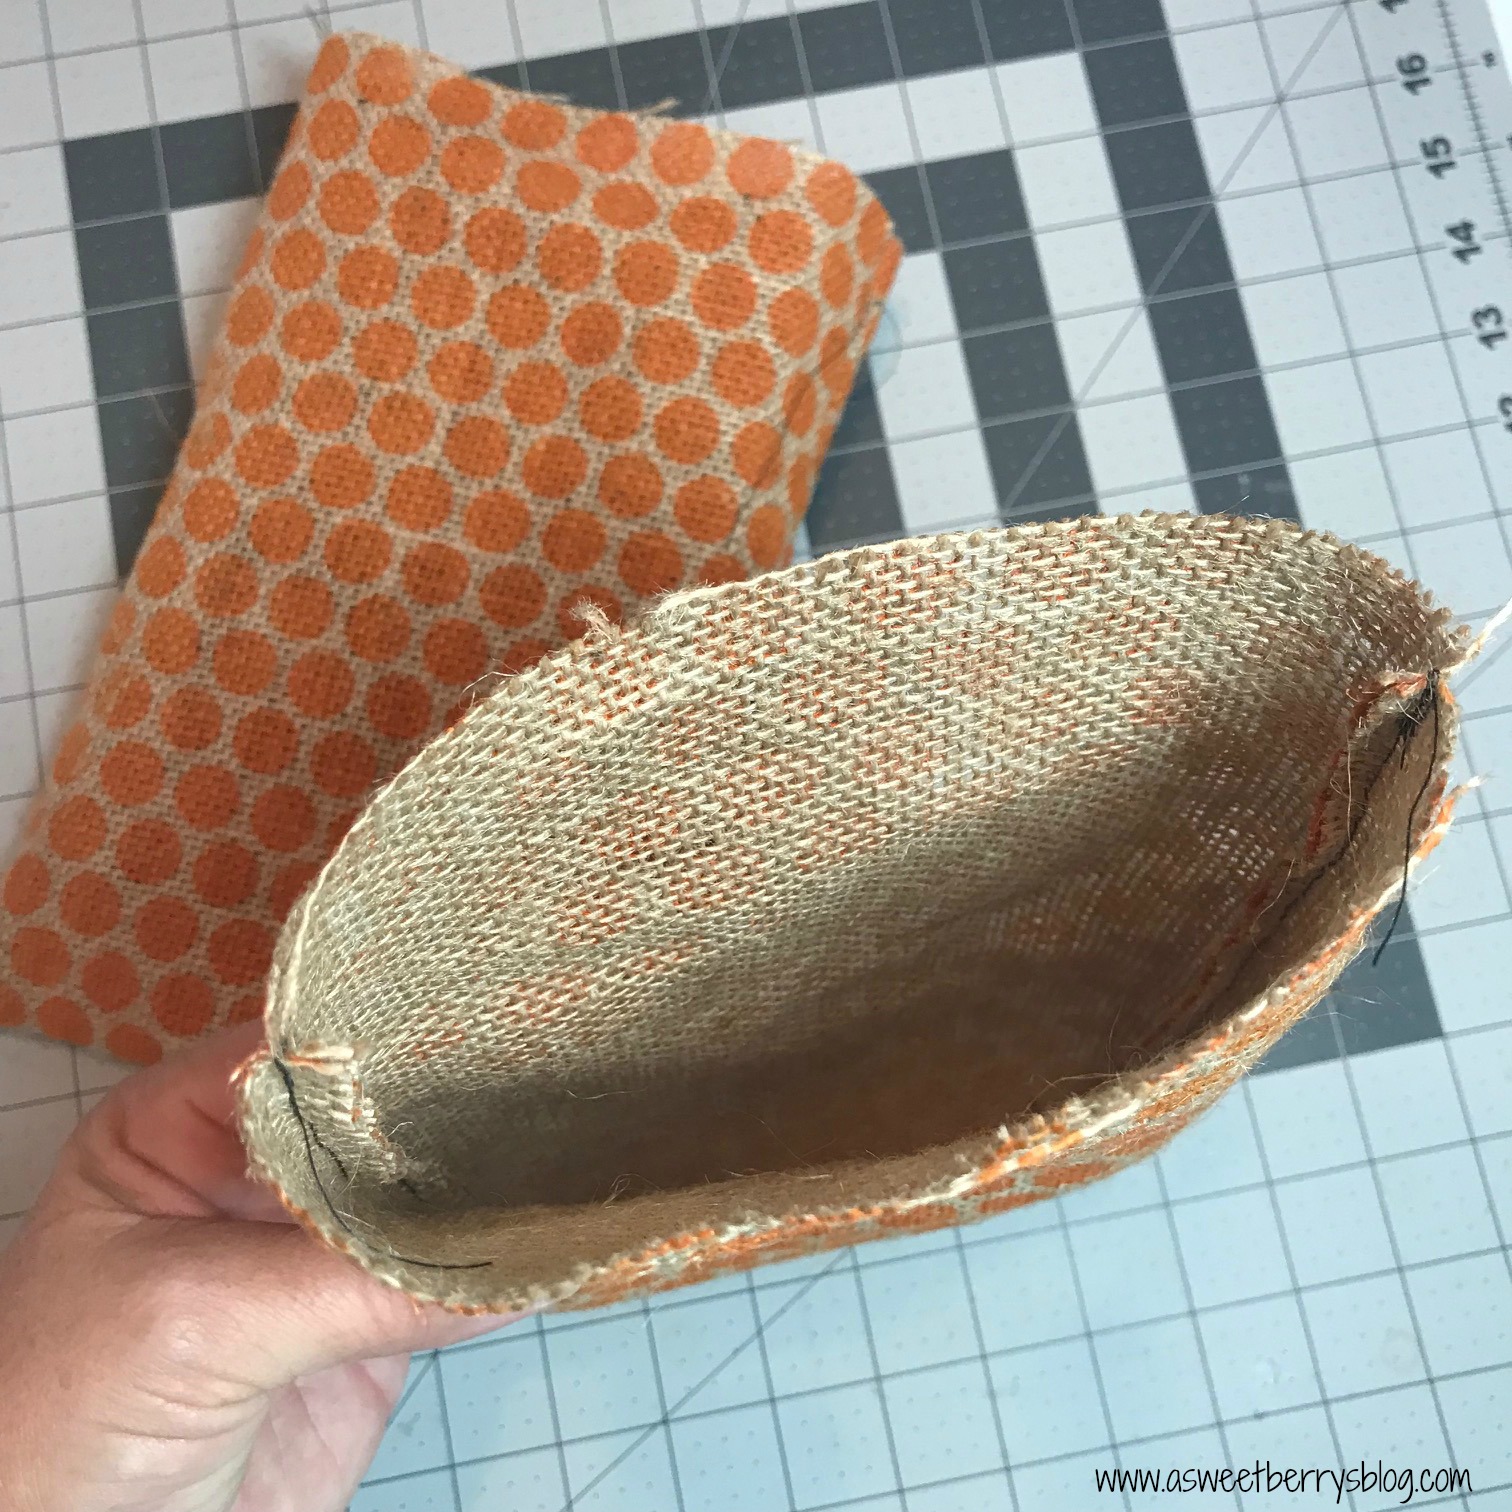
I cut the burlap in strips at 7.5″x10″ using my mat, ruler and rotary cutter.  

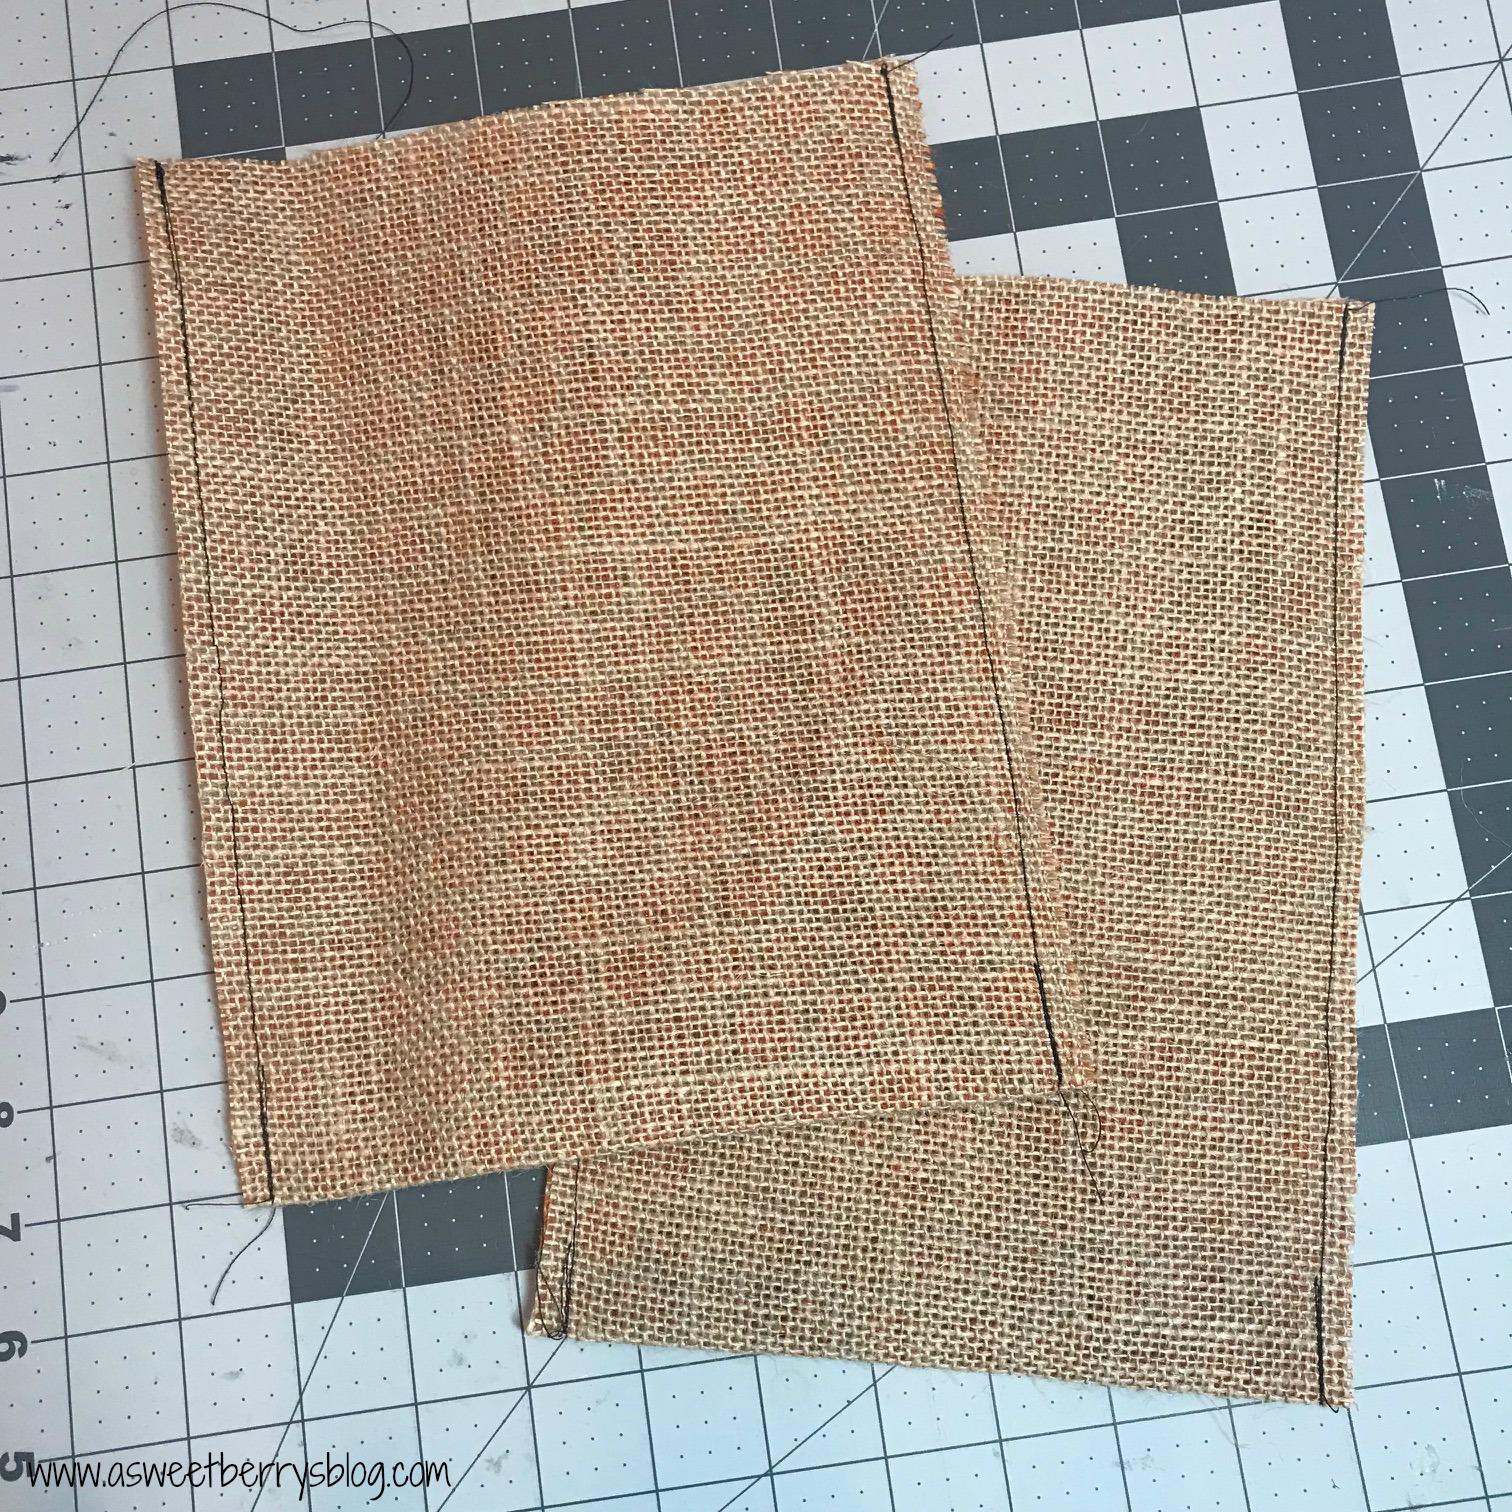
I folded the burlap with the painted side on the inside..

Using the sewing machine, I sewed only the sides closed.

I turned the bags right side out.

Then they were ready for a gift and a ribbon tied at the top to close it!  You could also use twine or jute rope.  

These bags were super easy and took less than 15 minutes.  You can do what I did and find already painted burlap or you could get regular burlap and decorate it yourself!  This a super easy project for the kids!   They will have lots of fun filling them with gifts to give to their friends or teachers!

Be sure to click the photo below to see more Craft Lightning Burlap projects!

Until next time……

Easter Egg Place Mat

Easter is right around the corner, as in this upcoming weekend!  Everyone will be sitting down to have an Easter meal with the family!  Why not brighten up the table with an Easter Egg Place Mat!   This one is made with Kunin Felt!
placemat
Materials needed:
Bright colored Felt (Kunin is my brand of choice!  I used Eco-fi Plus for the mat and ClassicFelt for the eggs and grass)
Scissors
Sewing Machine
Thread
felt
First, I cut several pieces of felt that were about 6in x 2in.  Then, I cut little strips to use as the decorations on the eggs.  I made some zigzag, some curvy and some straight.
eggs
Once I had them all laid out, I sewed the strips onto the 6in x 2 in pieces using my sewing machine.   Then, I cut out the egg shapes.  Once they were cut, I placed them on my Eco-fi Plus piece of Felt and then sewed them down.
grass and finish
With my green felt, I cut strips to use as grass.  I snipped the sides different lengths and then rounded the edges.  Using the sewing machine, I sewed down the grass.  I sewed a rectangle along the bottom of the grass, so that the fringe would move.  Once my eggs and grass were all sewn on, I did a decorative stitch around the outside of the mat.
parts of finish
This was a really simple project.  Perfect for beginners!   The kids will love it!
I have attached an Easter Word Search!  If you’d like to do it, Click HERE and print!
Screen Shot 2016-03-21 at 7.14.06 PM
Click the photo below to get lots of project ideas!
National Craft Month Series with 100Directions.com
Until next time…….

Easy Fabric Key Fobs

Main Pic

Materials:
Fabric of your choice (colorful and white)
Printable Fabric Transfer
Color Printer
Iron
Key Fob Pieces
Rotary Cutter with Mat and Ruller
Scrap Felt
Sewing Machine with Thread
Pliers

Optional:
Sizzix Eclips 2 or other electronic cutting machine
Gift Tag SVG file
Ribbon

I started by printing my A Sweet Berry Designs berry logo on printable transfer paper and using the Sizzix Eclips2 to cut them out.  I was originally going to do circle keychains, so I cut our circles but ended up cutting them into more of a rectangle/square shape!  After they were printed and cut out, I laid them print side down onto my white fabric and ironed them with my iron set to the setting recommended on the transfer directions.
Cutting out berries
Then it was time to cut my fabric!  JoAnn Fabrics was having a Fat Quarter sale, so I purchased a variety of purples and greens.  I kept the fabric folded and cut a rectangle to my preferred size using my rotary cutter and ruler.  For the felt that I was going to place into the middle to give it a little fullness, I cut just a little smaller than the fabric cut out so that it was not visible once they were sewn in.  Once everything was cut, I placed the felt into the middle. materials
Then it was time to sew them up.  I used a zigzag stitch and sewed the three sides closed.  Once they were all sewn closed, I placed the berry logo where I wanted it and stitched it in place, also using the zigzag stitch.  Then it was time to place the key fob hardware clamp onto the sewn fabric.  I put them on the side that was folded.  I didn’t want flier marks on my hardware, so I used a scrap piece of fabric to place over the hardware while clamping it together, making sure that the spikes within the clamp went into the fabric.   I had just had my nails done, so my lovely husband was nice enough to add all of the split rings to my hardware clamps for me! sewing and metal
Voila! They were done!  I wanted to add cute little tags to mine, so I cut gift tags using my Sizzix Eclips 2.  Using my personalized stamp from Laura Kelly for Expressionery.com, I stamped my tag.  My stamp says “Created with Love From Katie Berry”. keyrings and labels
I hope you like my Fabric Key Fobs!  They were super easy to make!  I made them to go with my business cards for SNAP! Conference and they were a hit!  I still have a few left, so if you’d like one, just let me know!

Until next time……