So, I’m here in Fredericton, New Brunswick, Canada with a few of my crafty and fellow Kunin Dream Team Member friends! We are staying at the beautiful Quartermain House Bed & Breakfast!
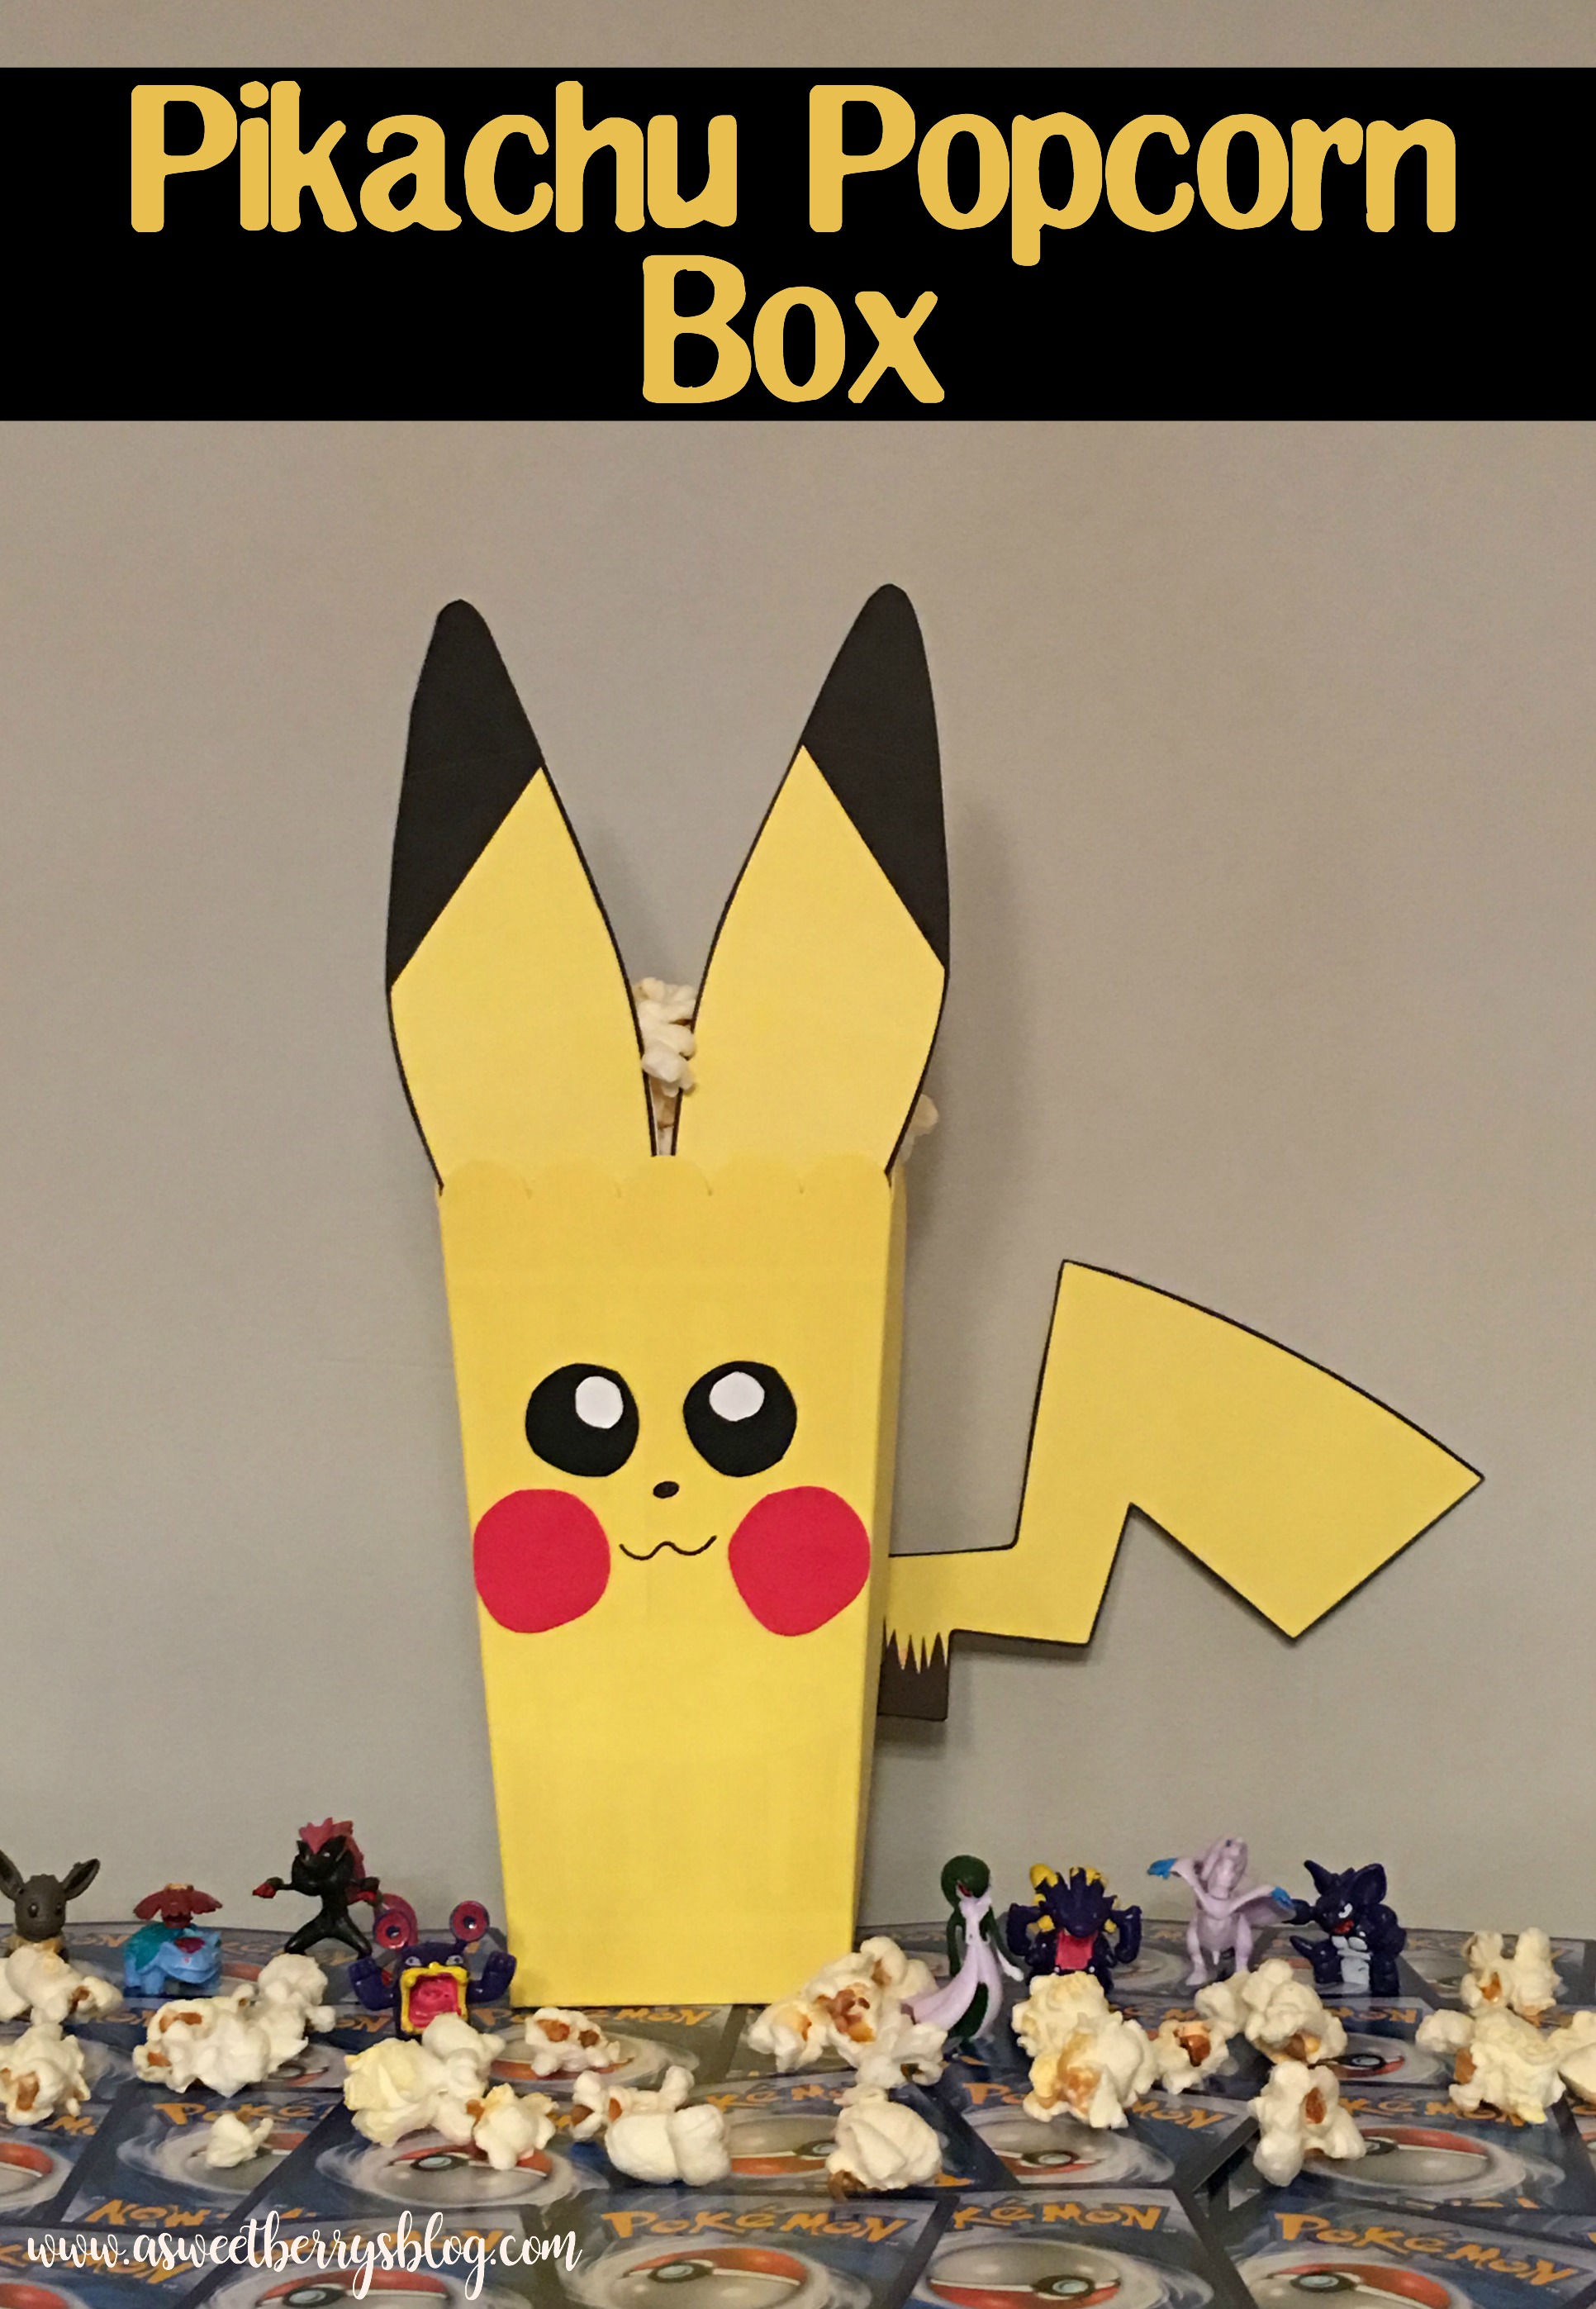
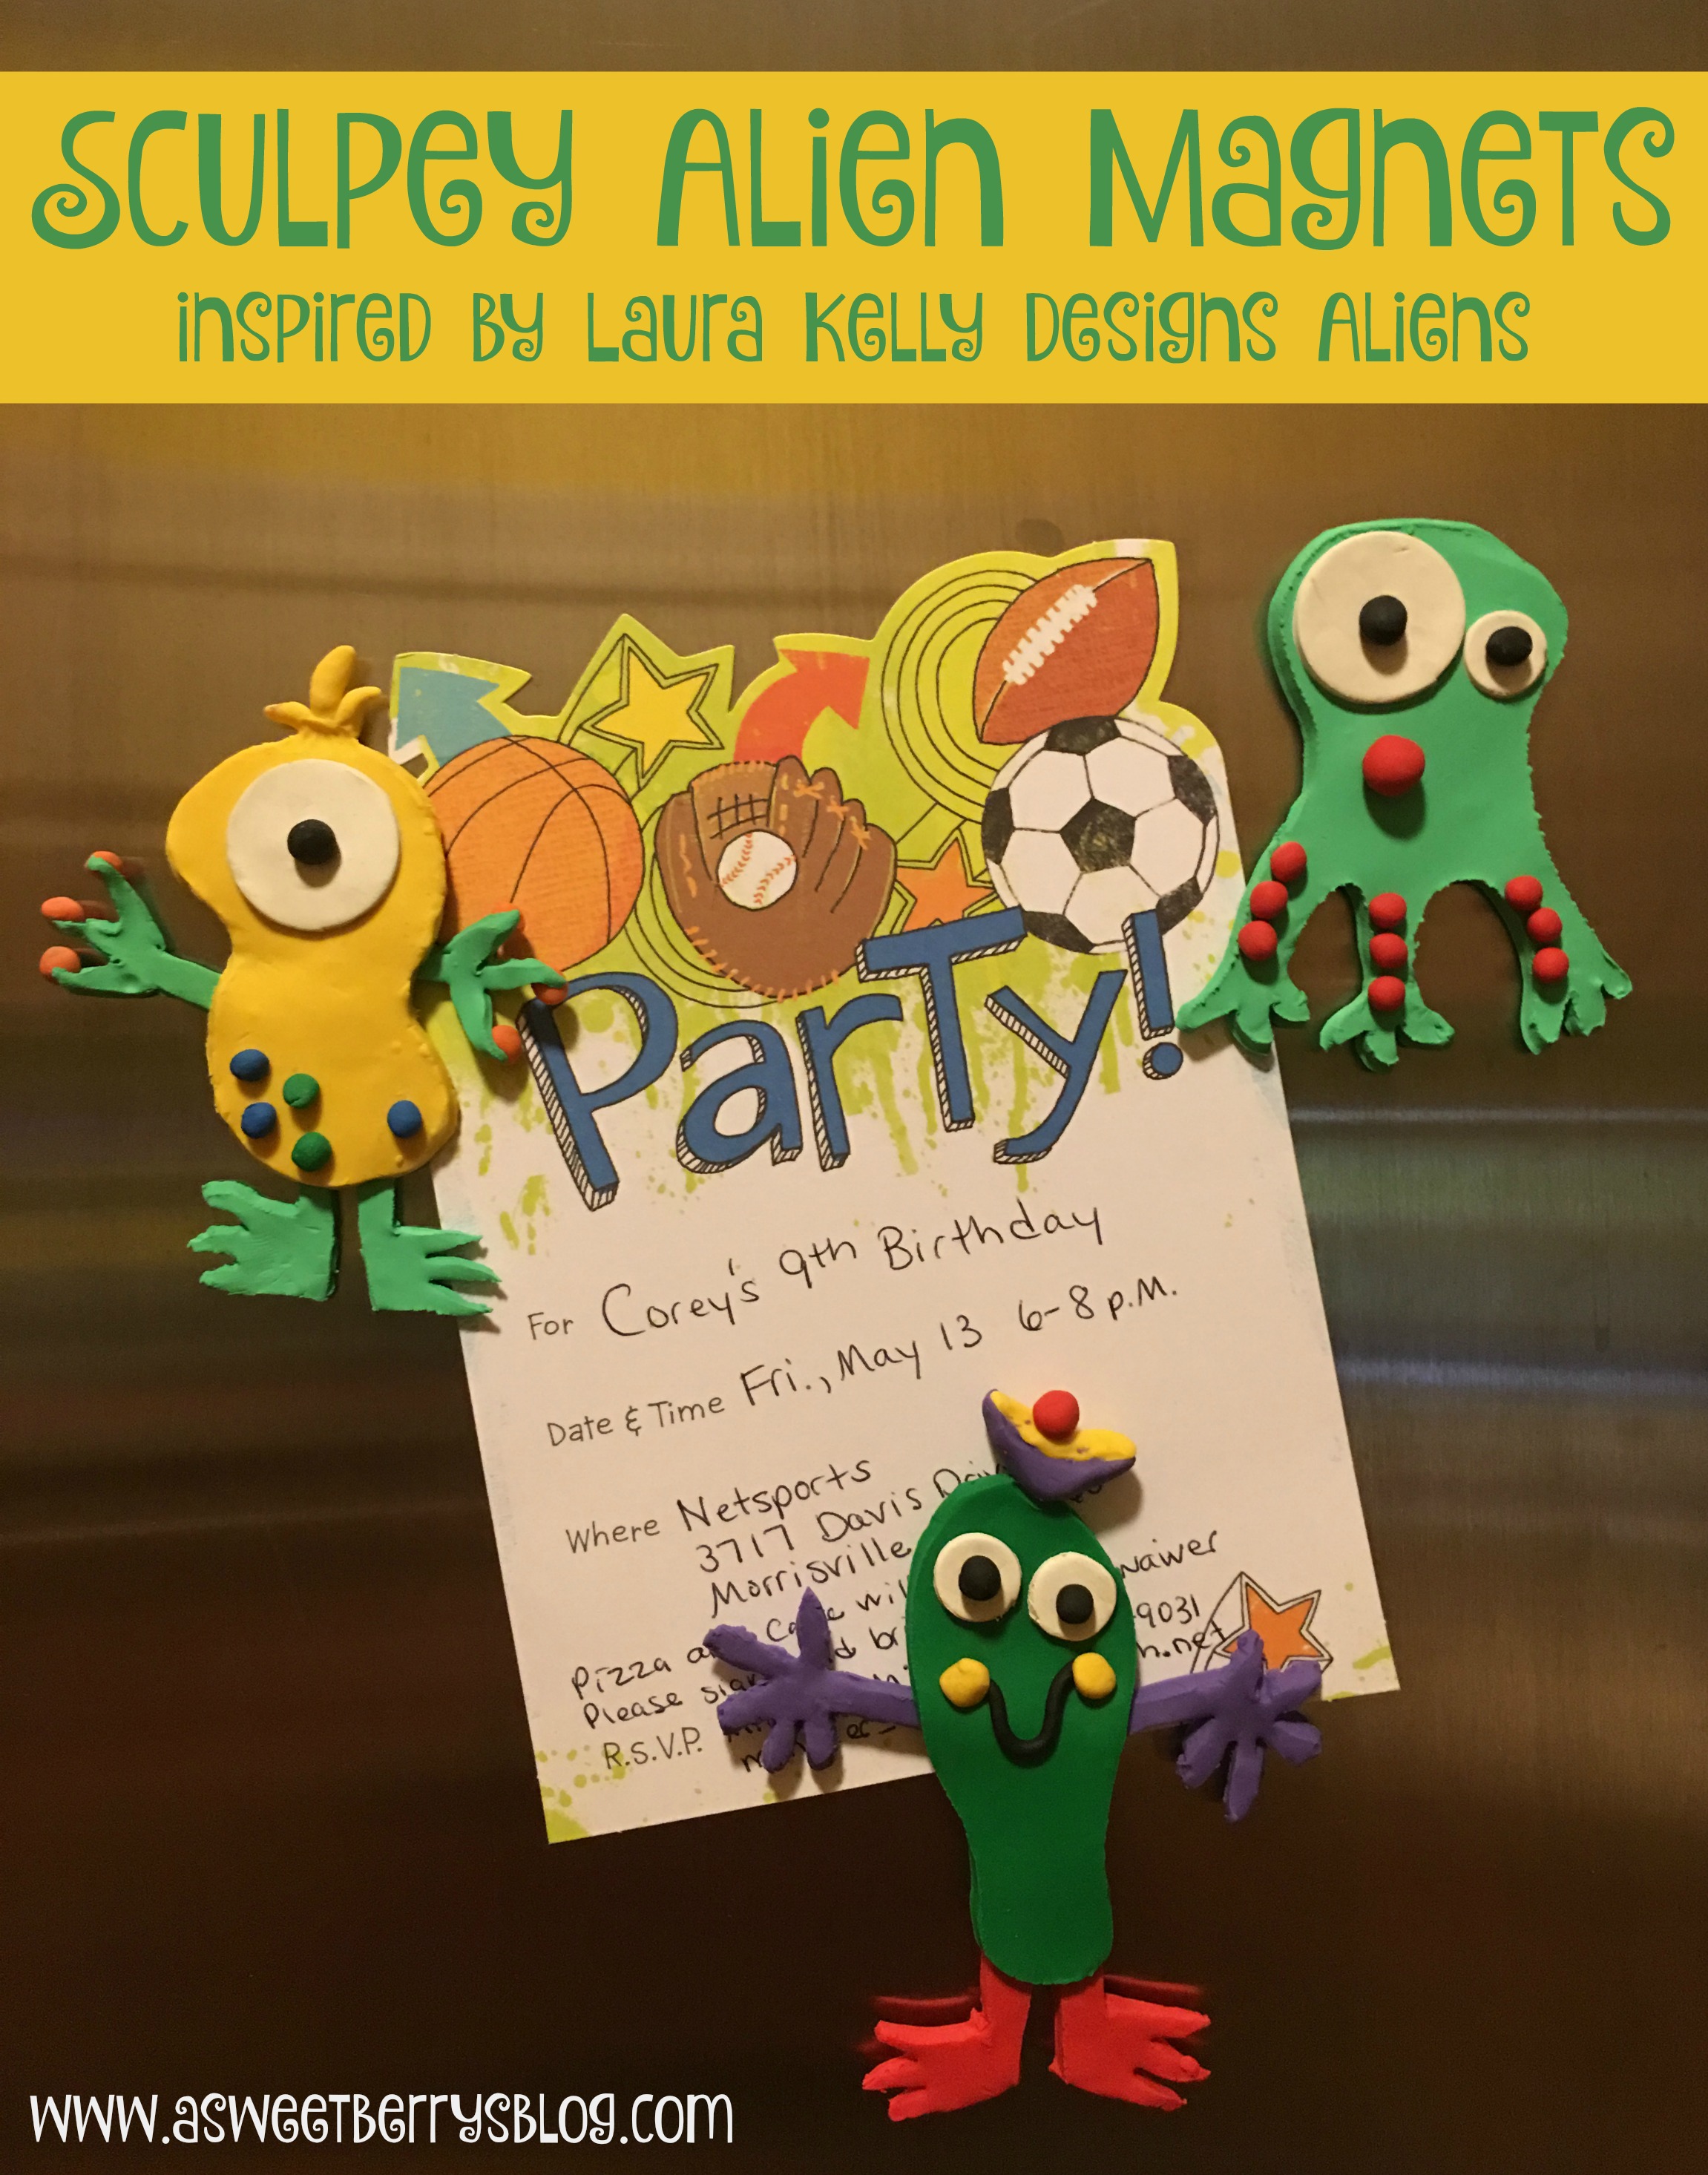
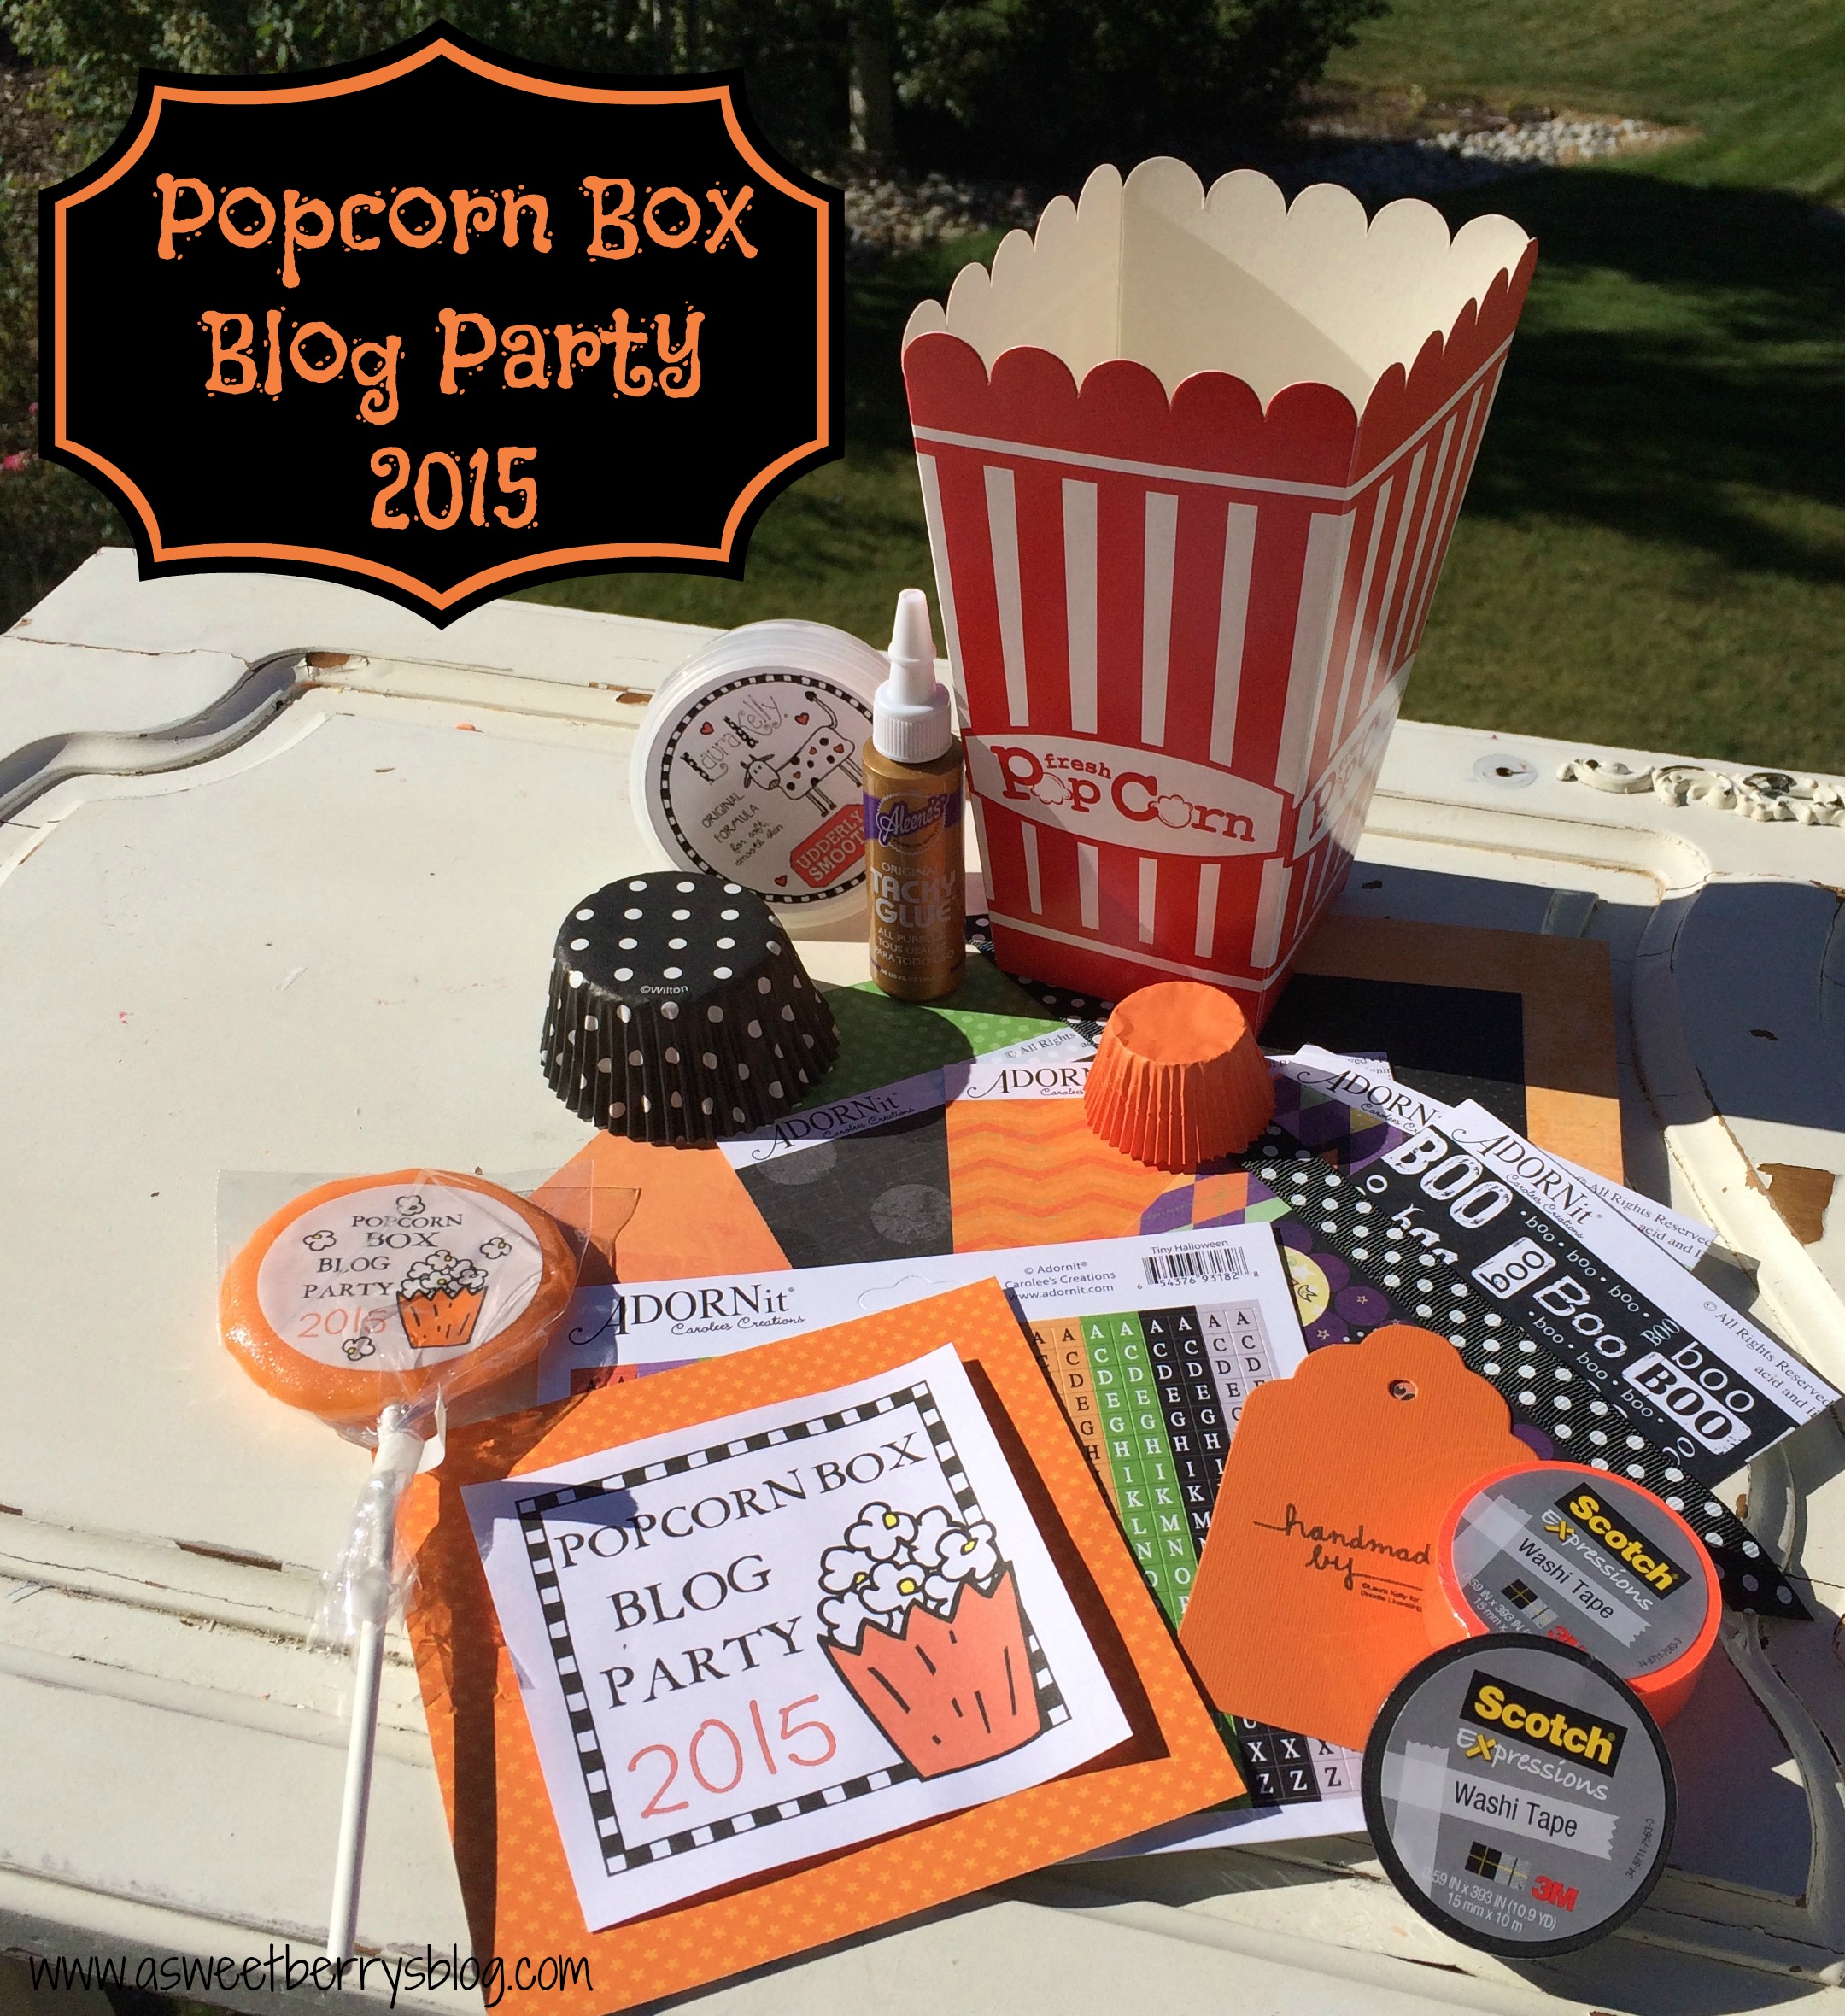
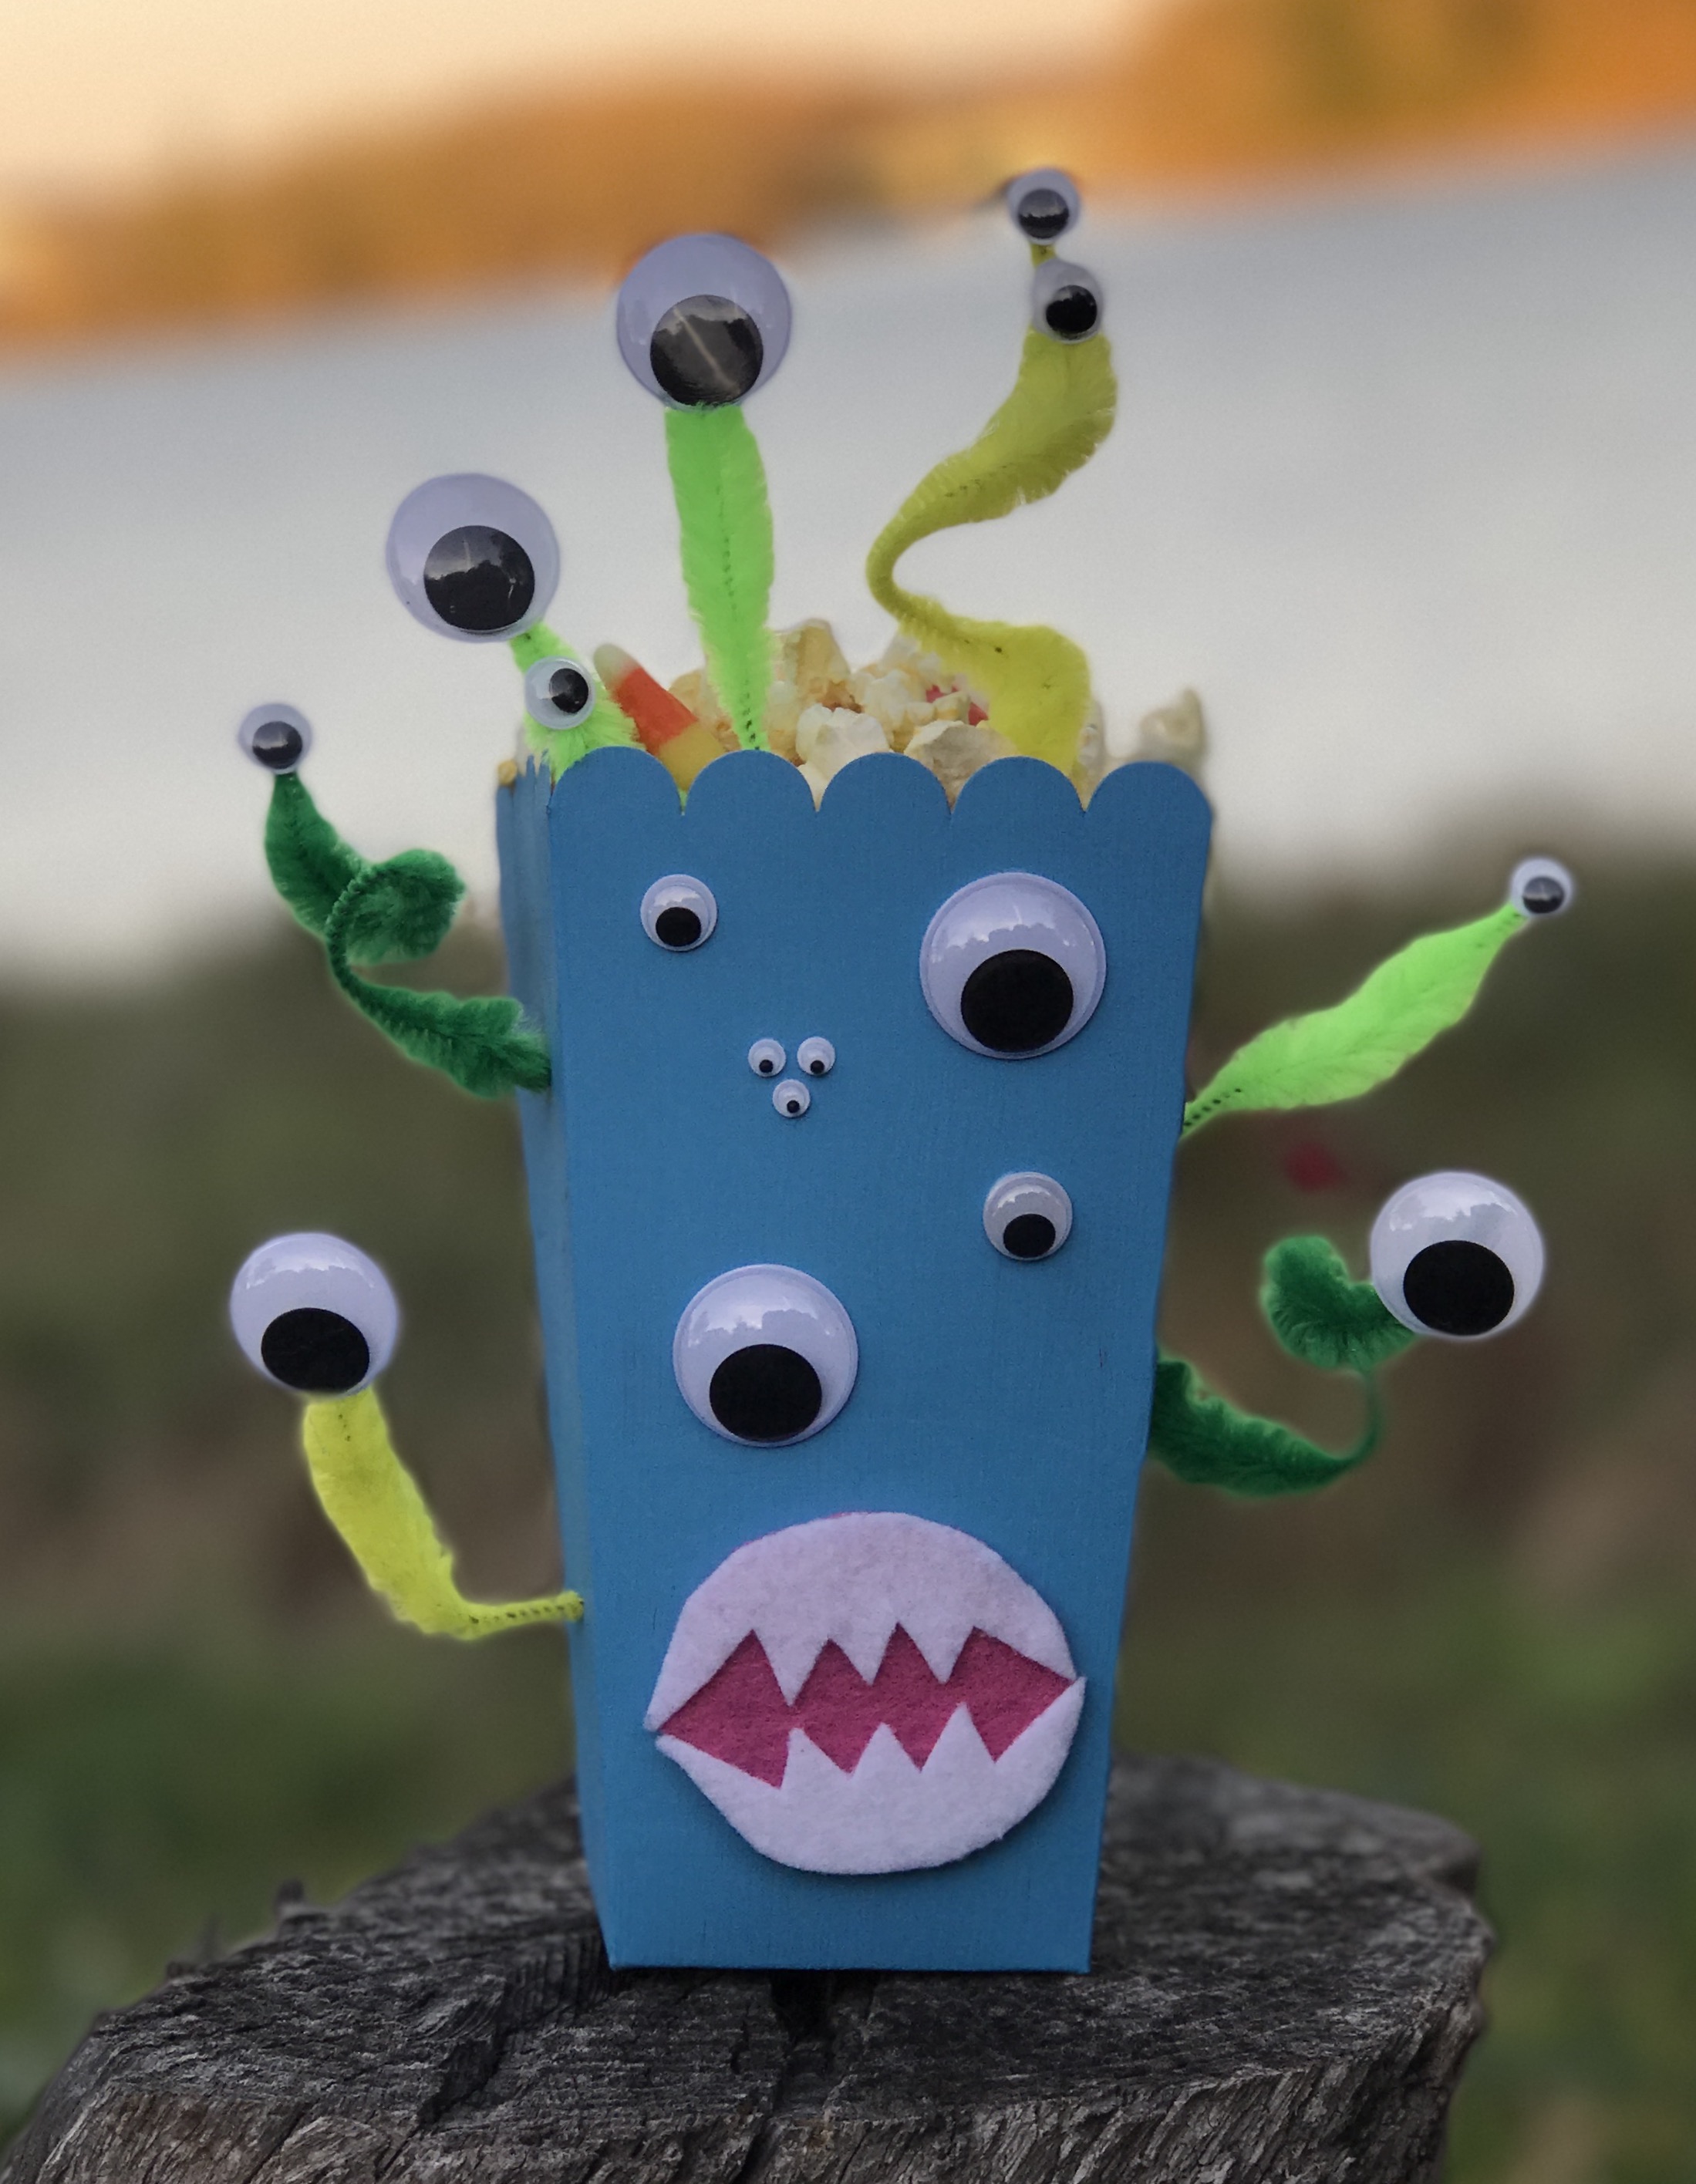
And it’s time for the Halloween Popcorn Box Party!!!!! We are creating up a storm up here in Canada! I created this super cute Colorful Crazy Alien with lots of googly eyes!!!
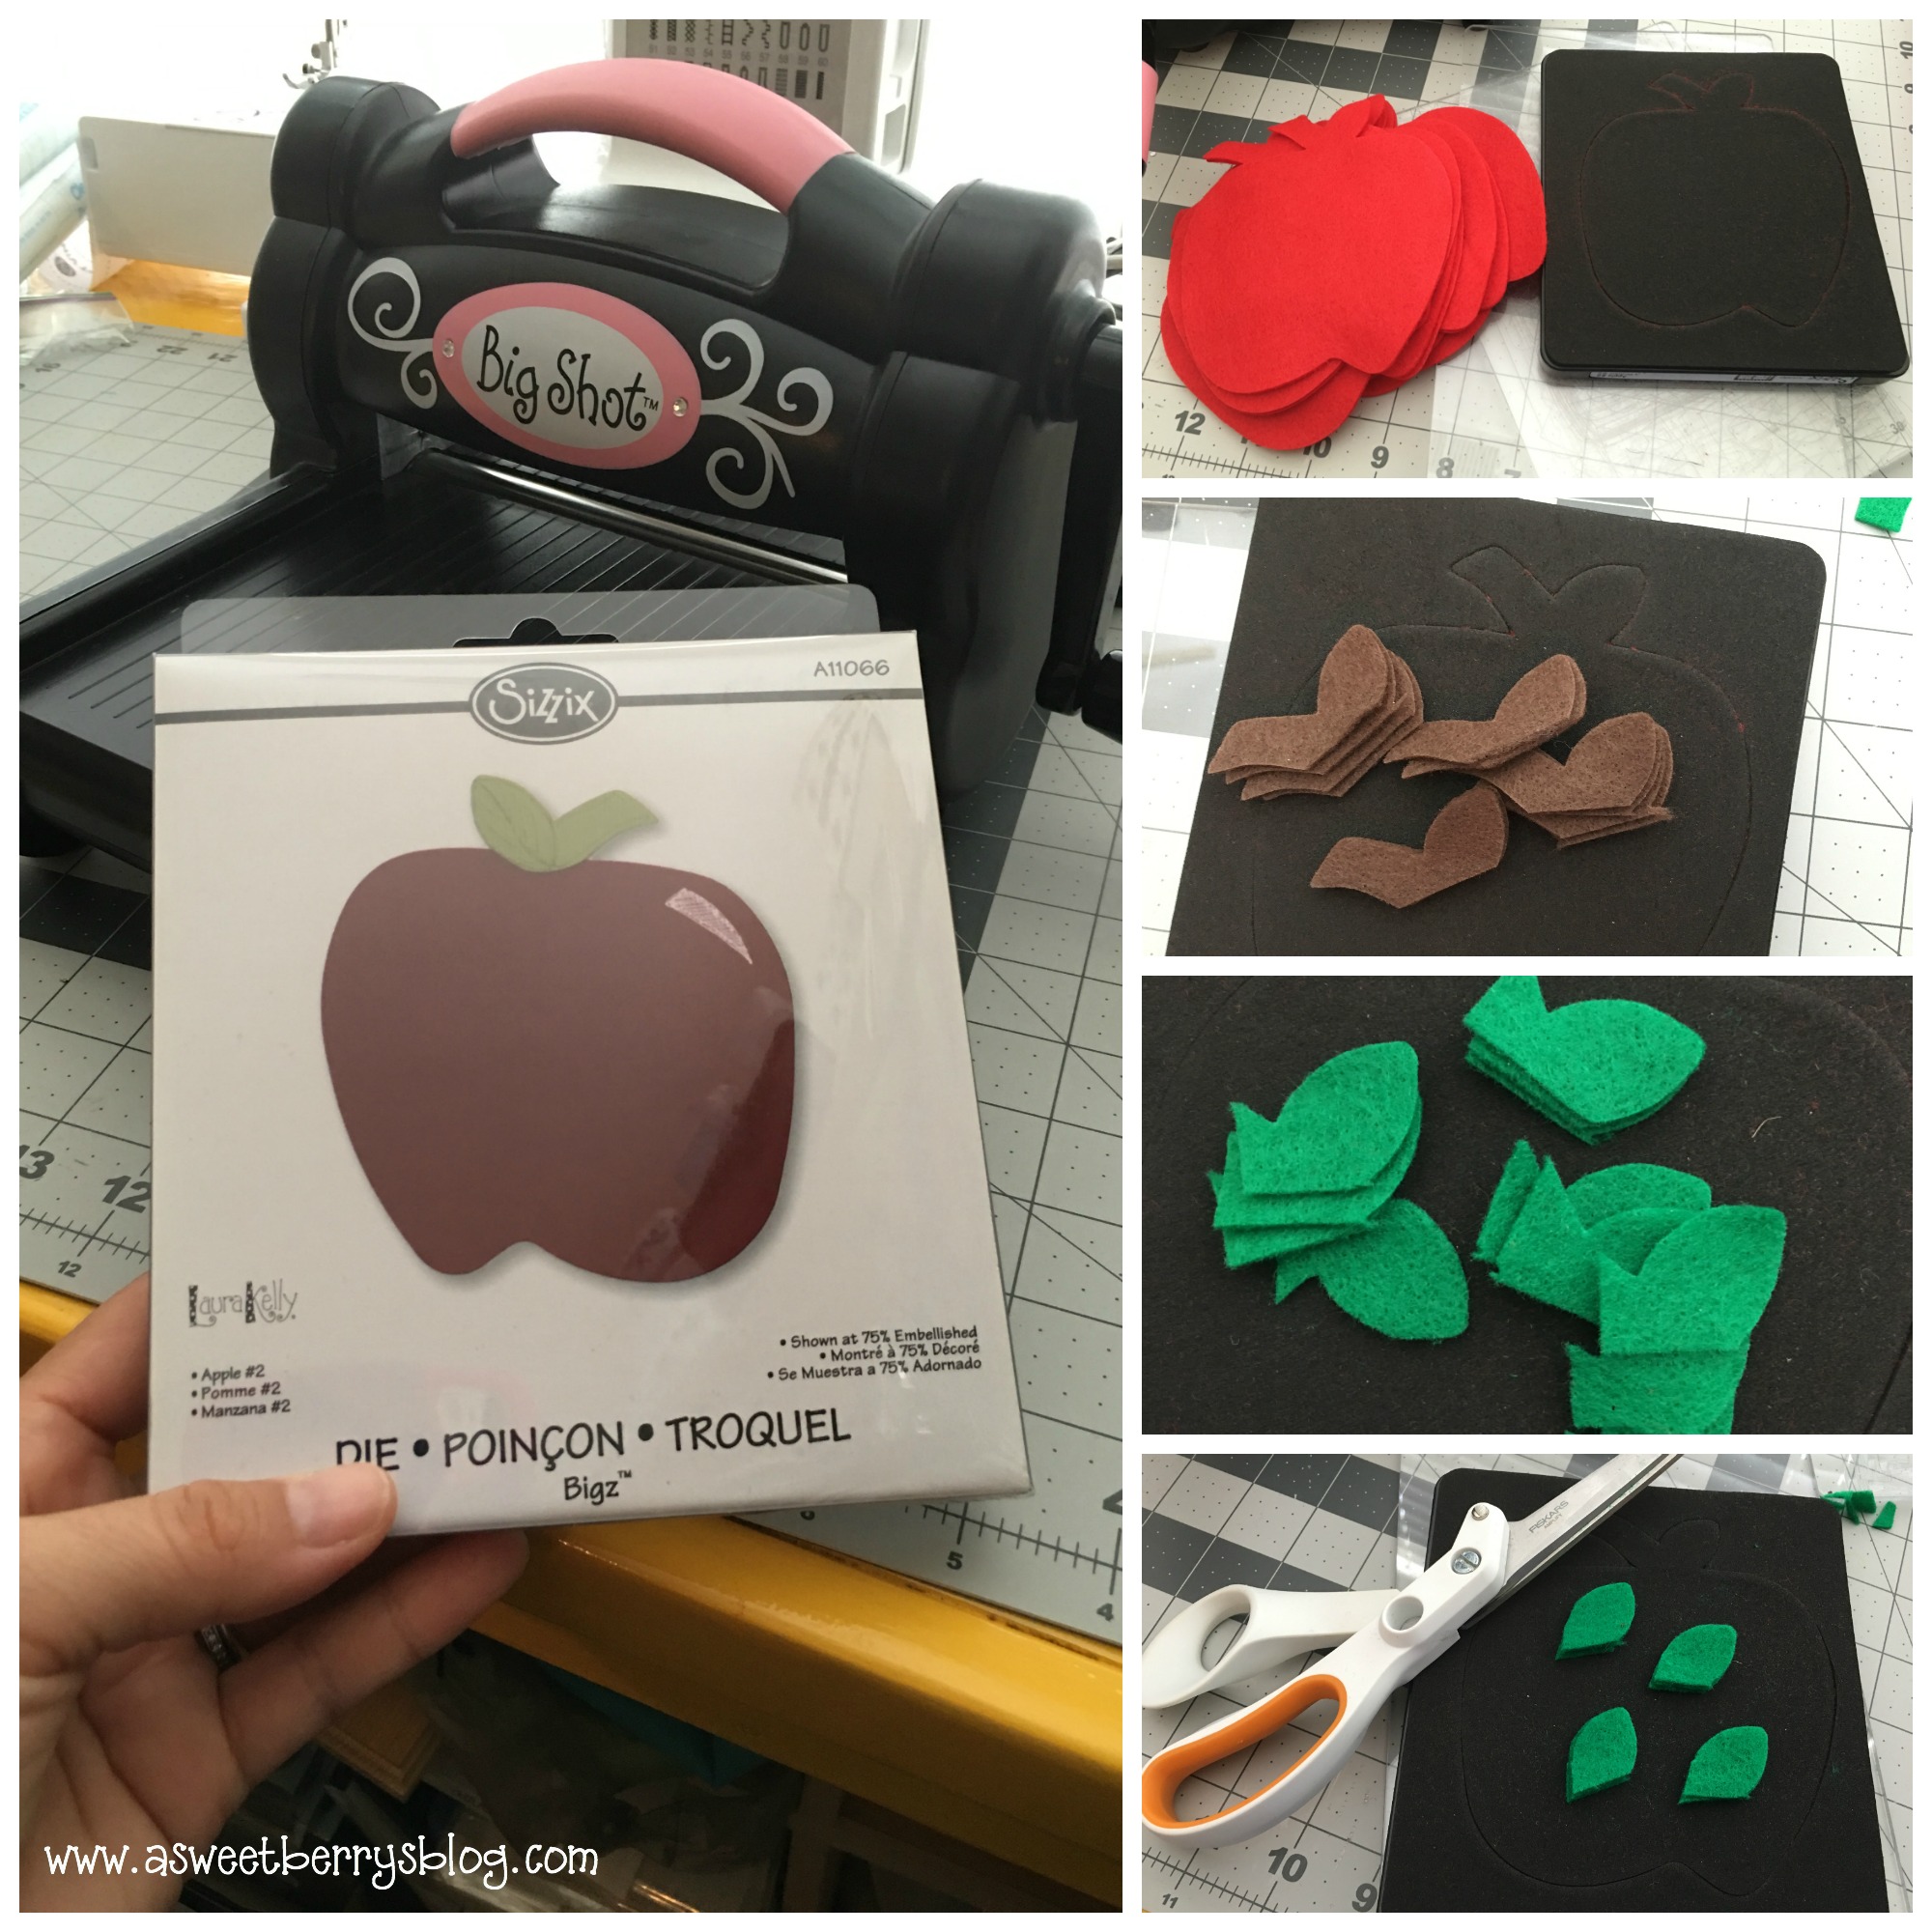
What I used:
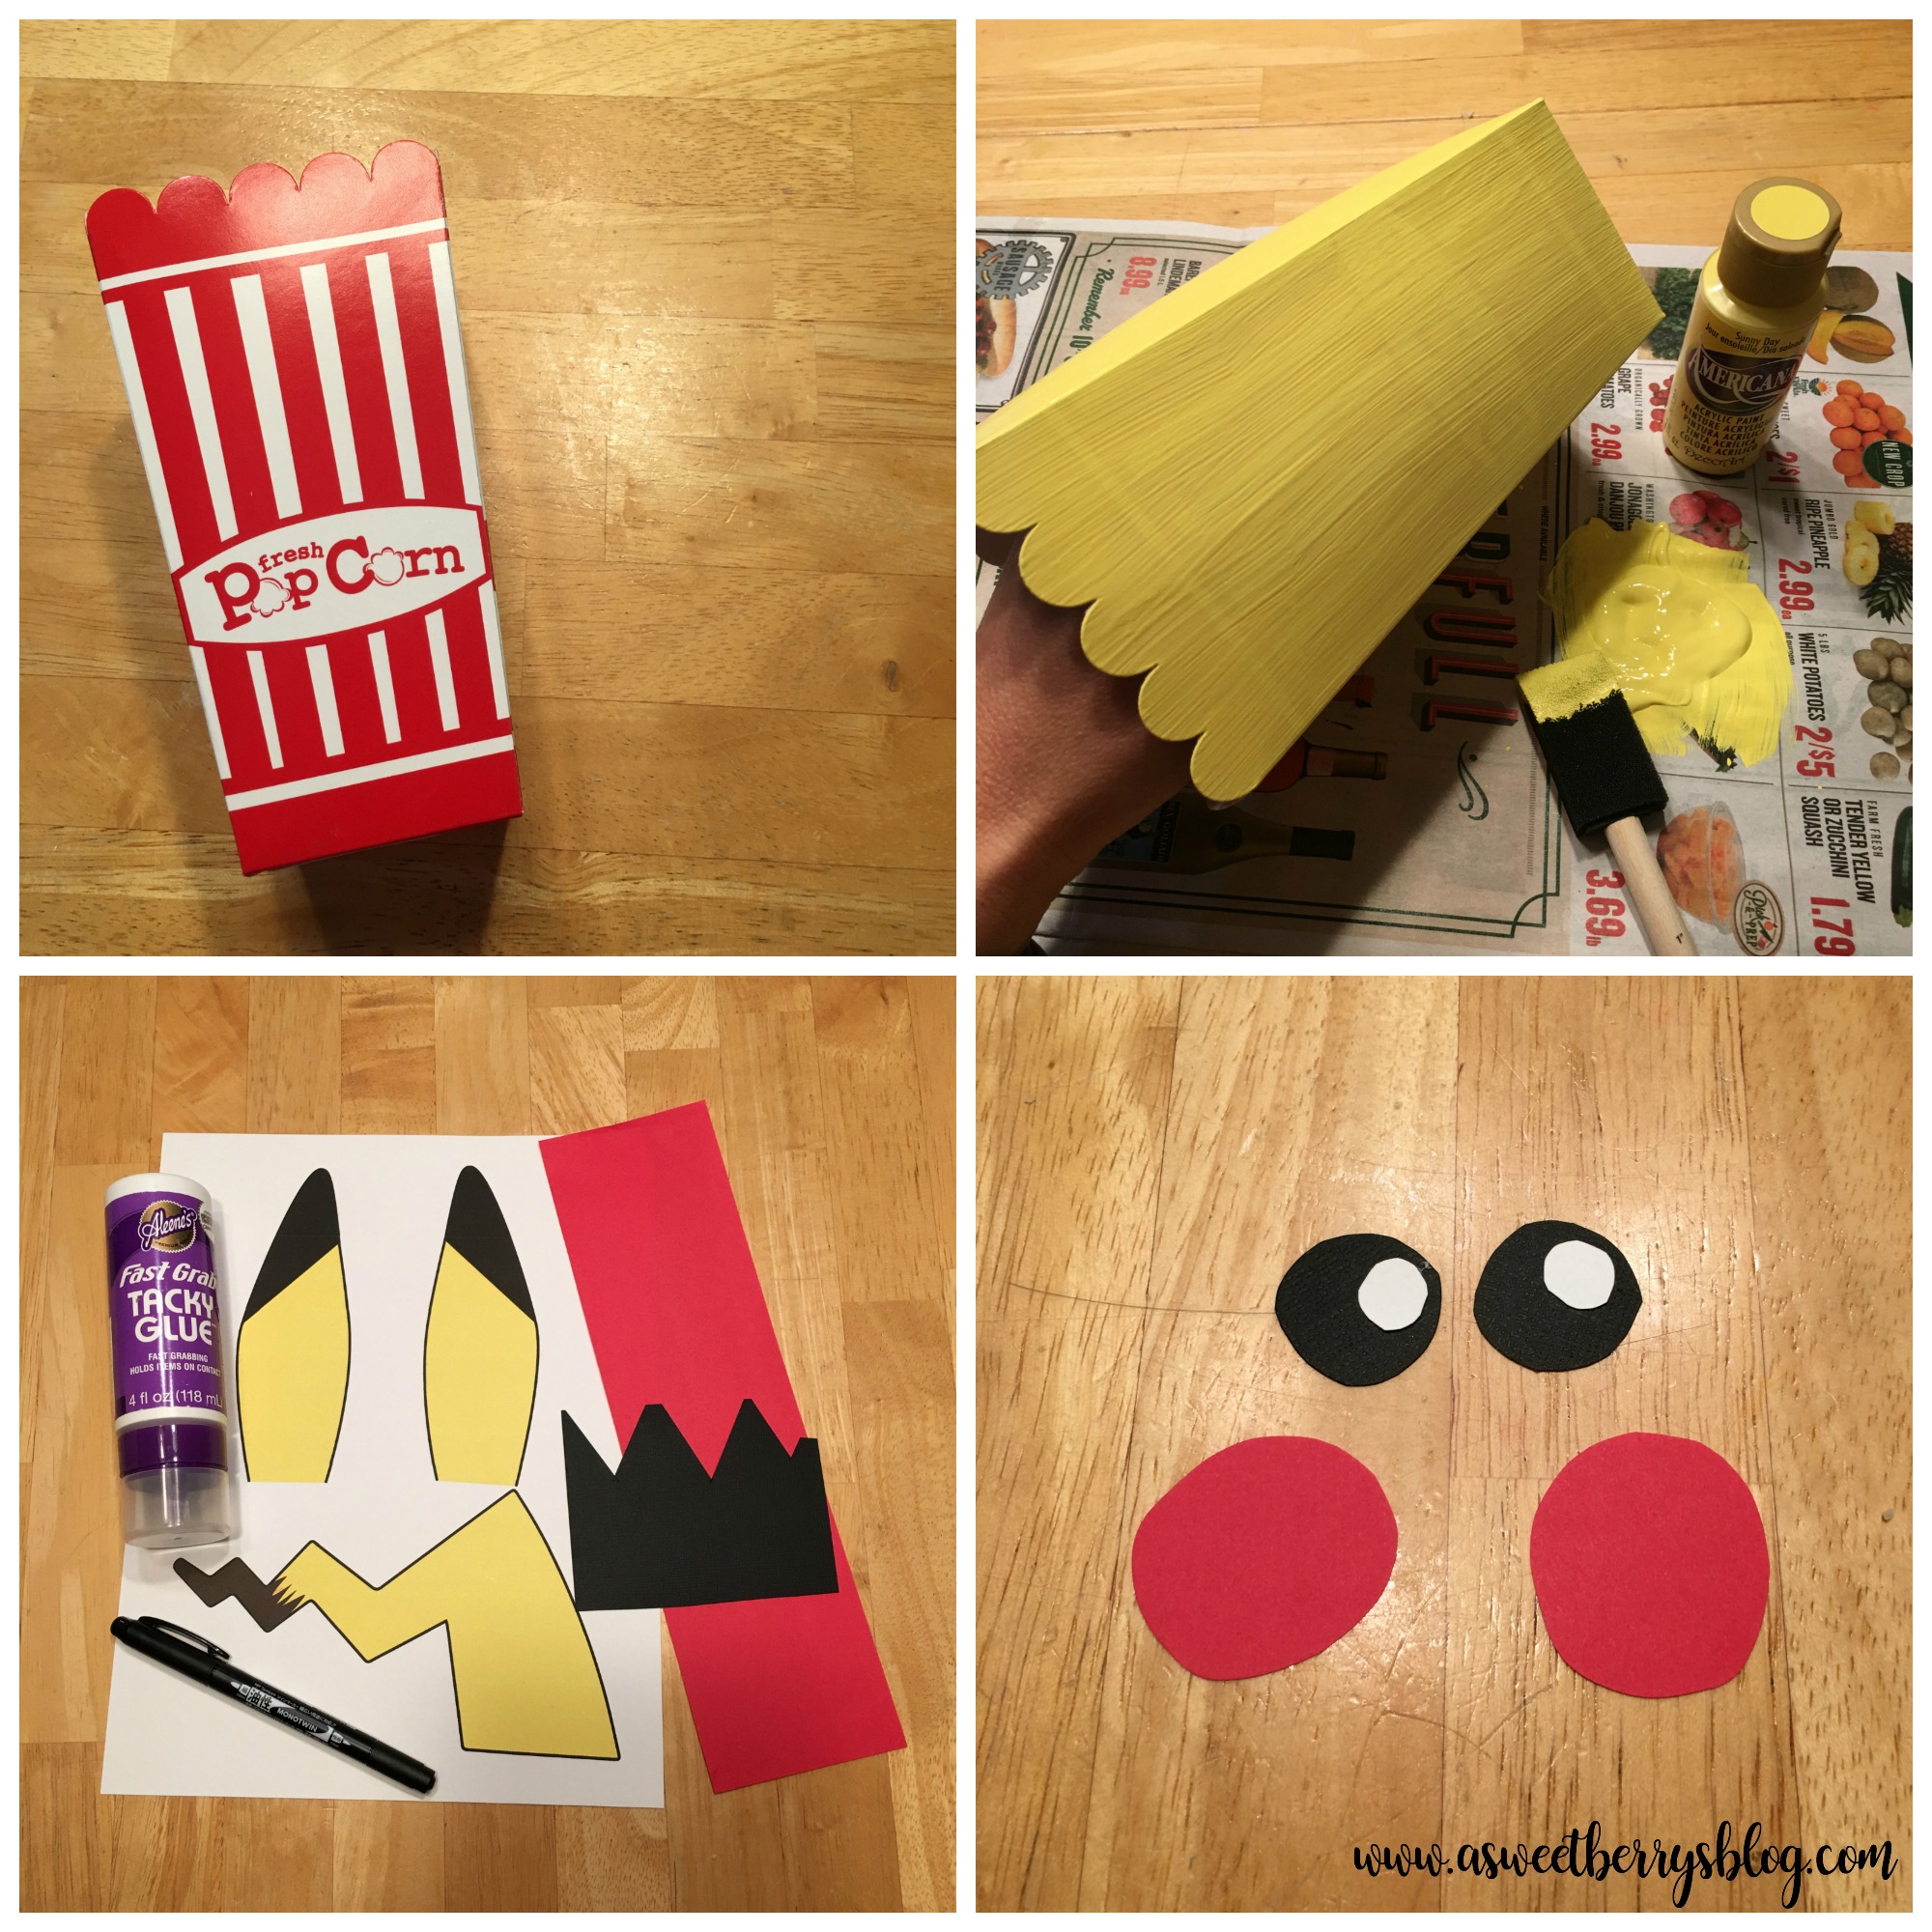
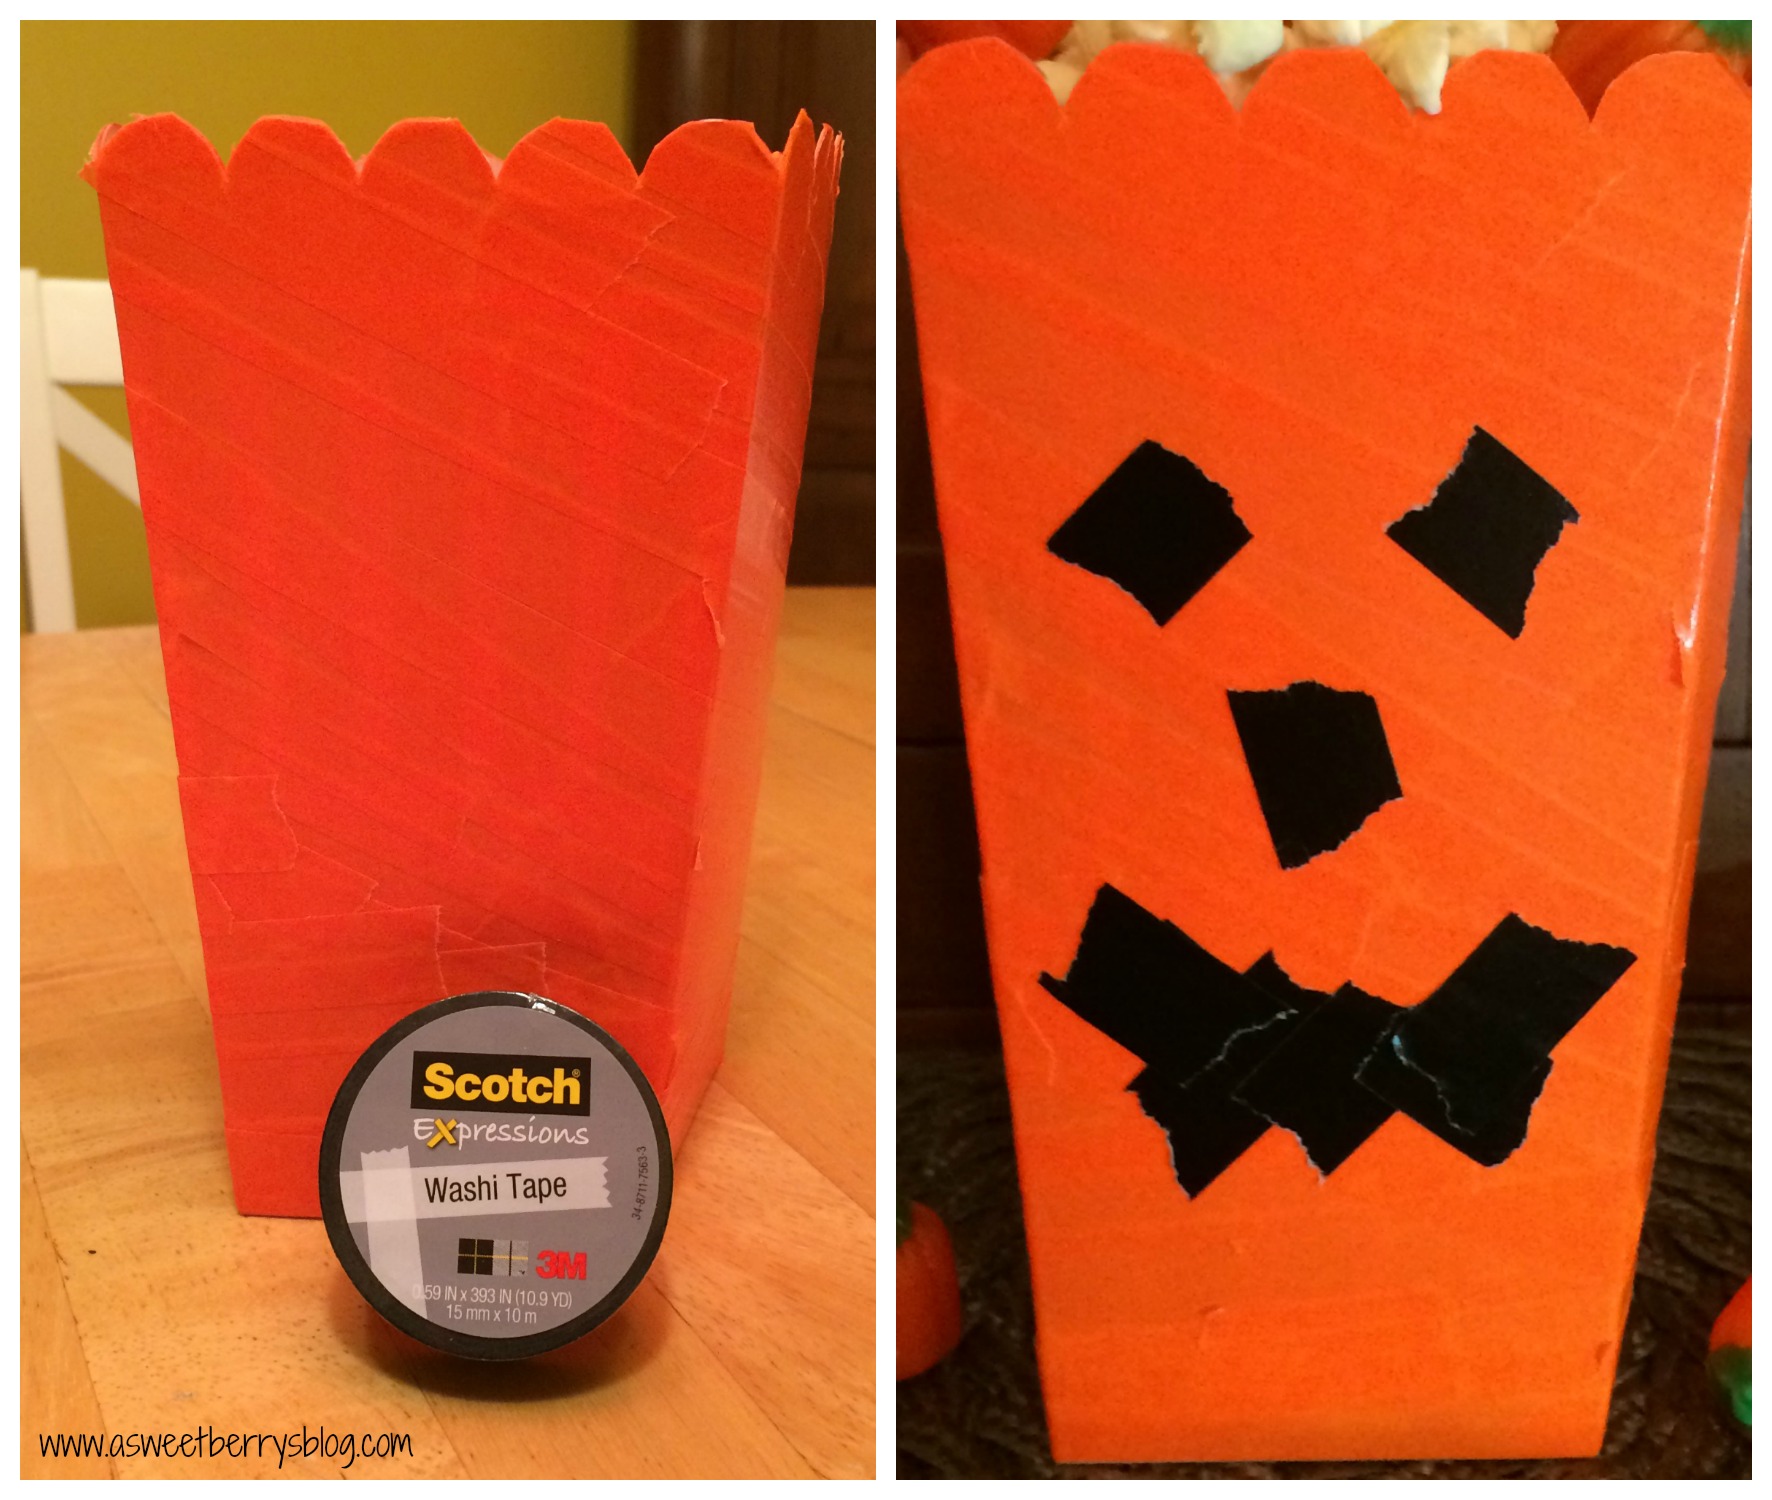
Popcorn Box
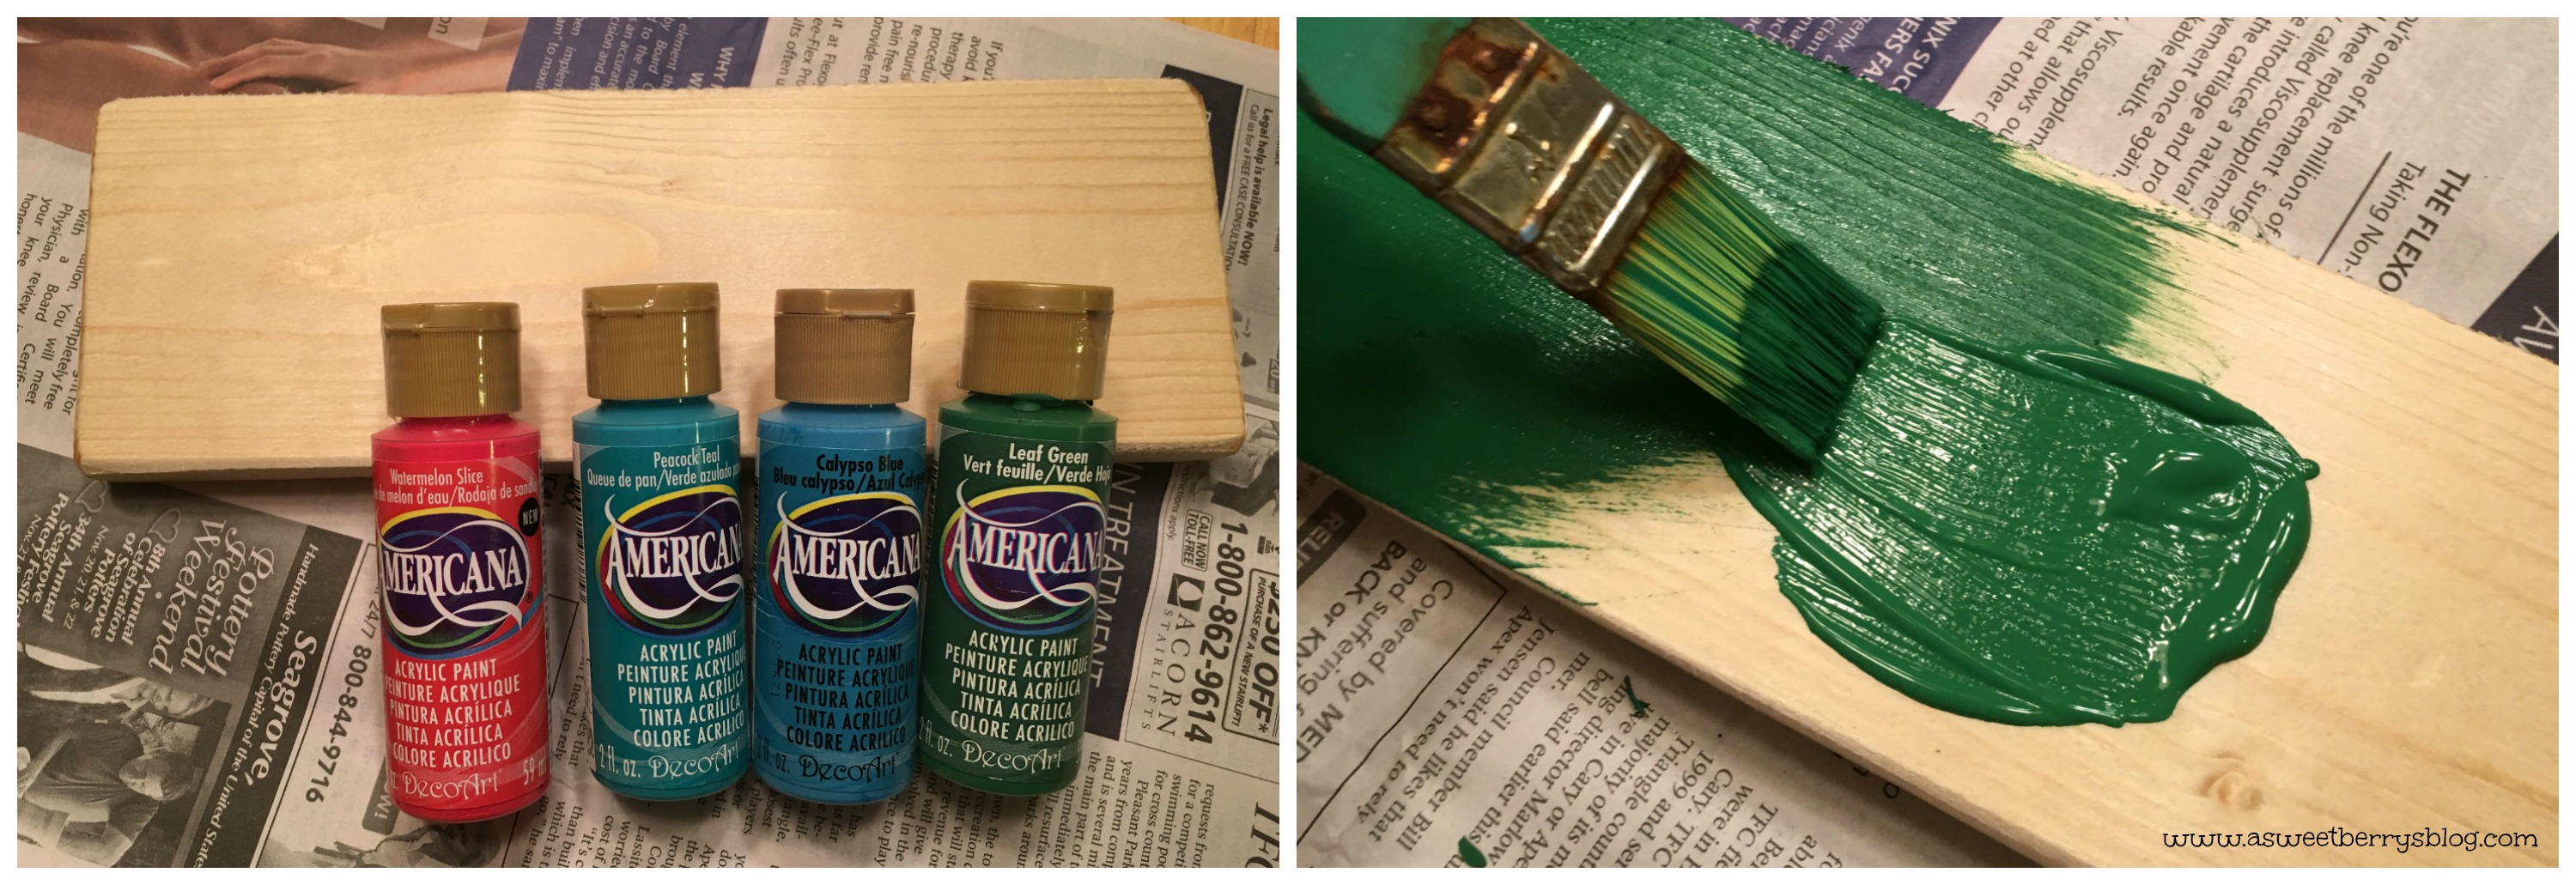
Blue Craft Paint
Kunin Felt (pink and white)
Pipe Cleaners
Googly Eyes of different sizes
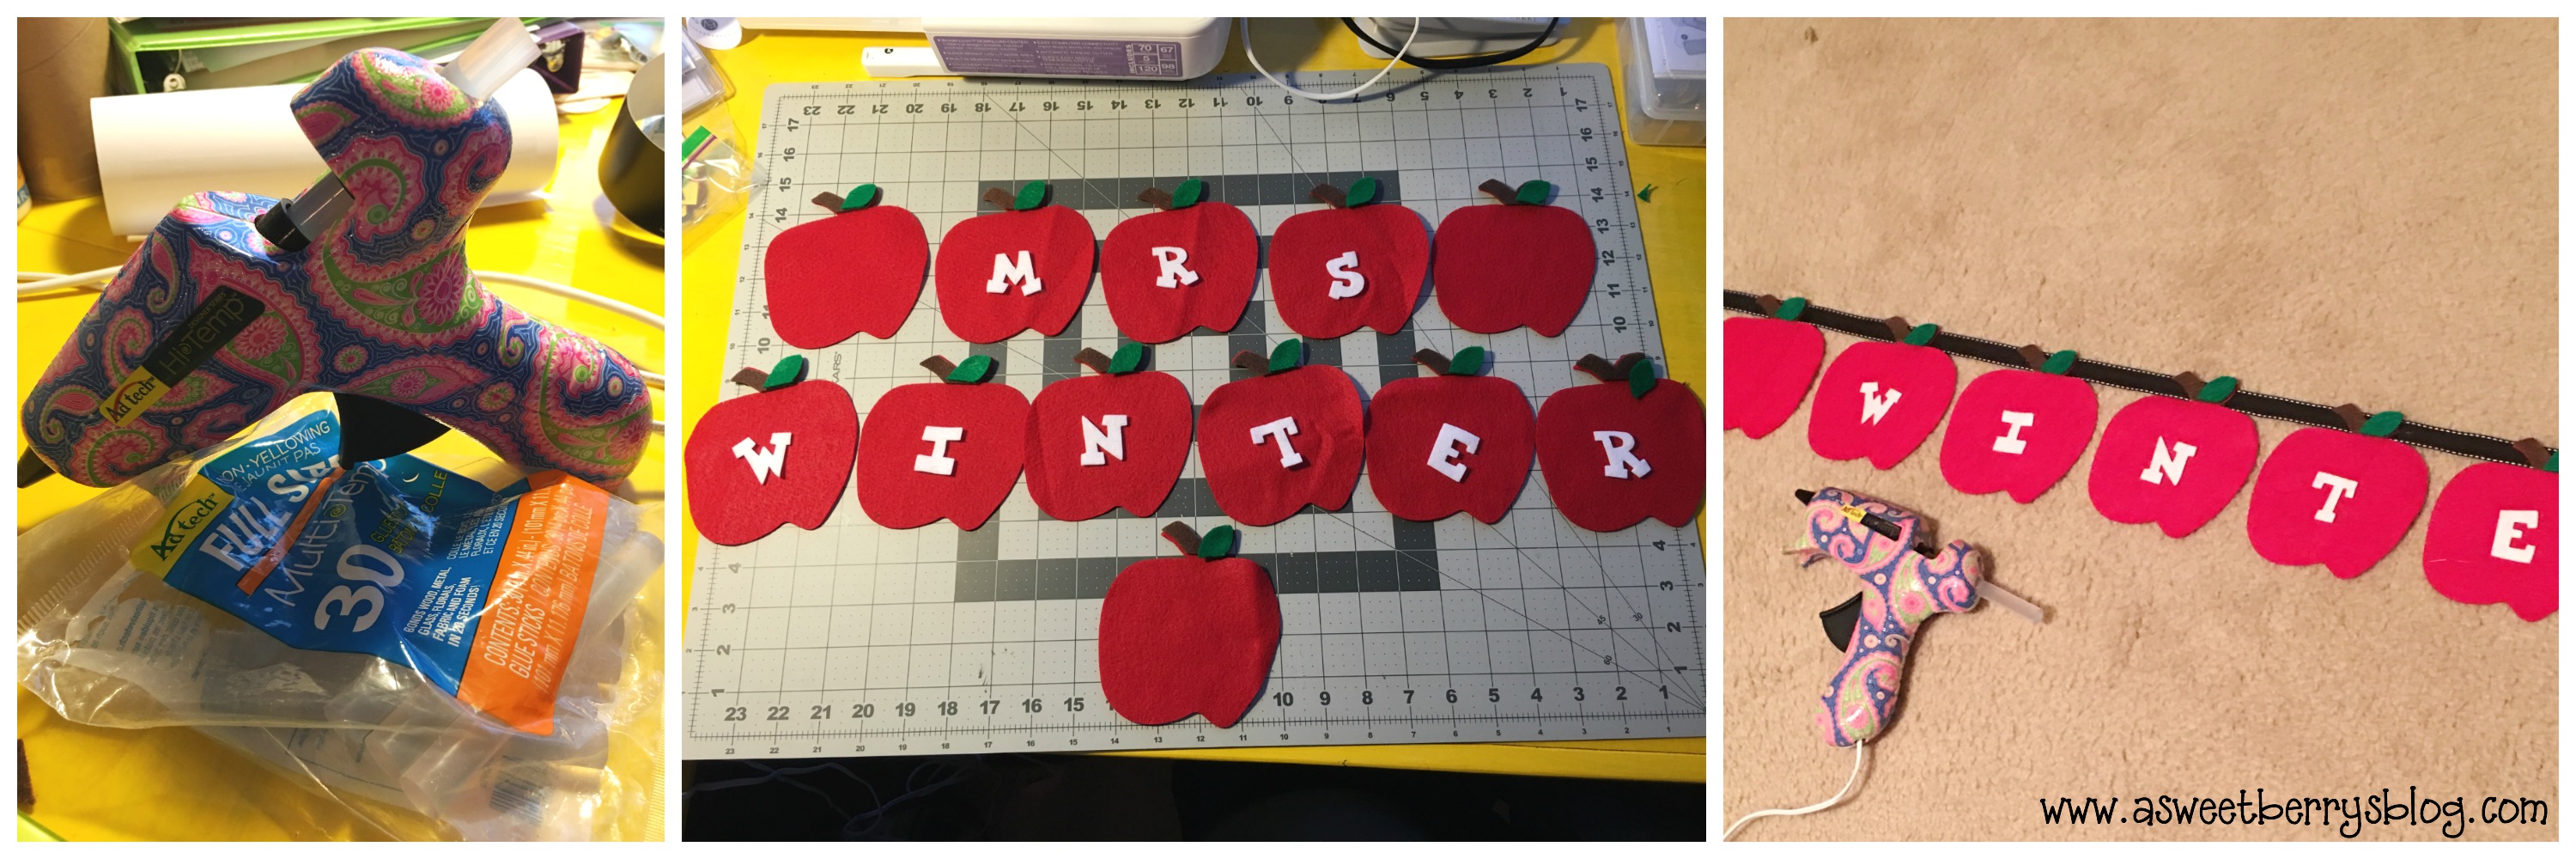
Glue
and oh yeah….Popcorn!!! And Halloween Candy!!!
How I made it:
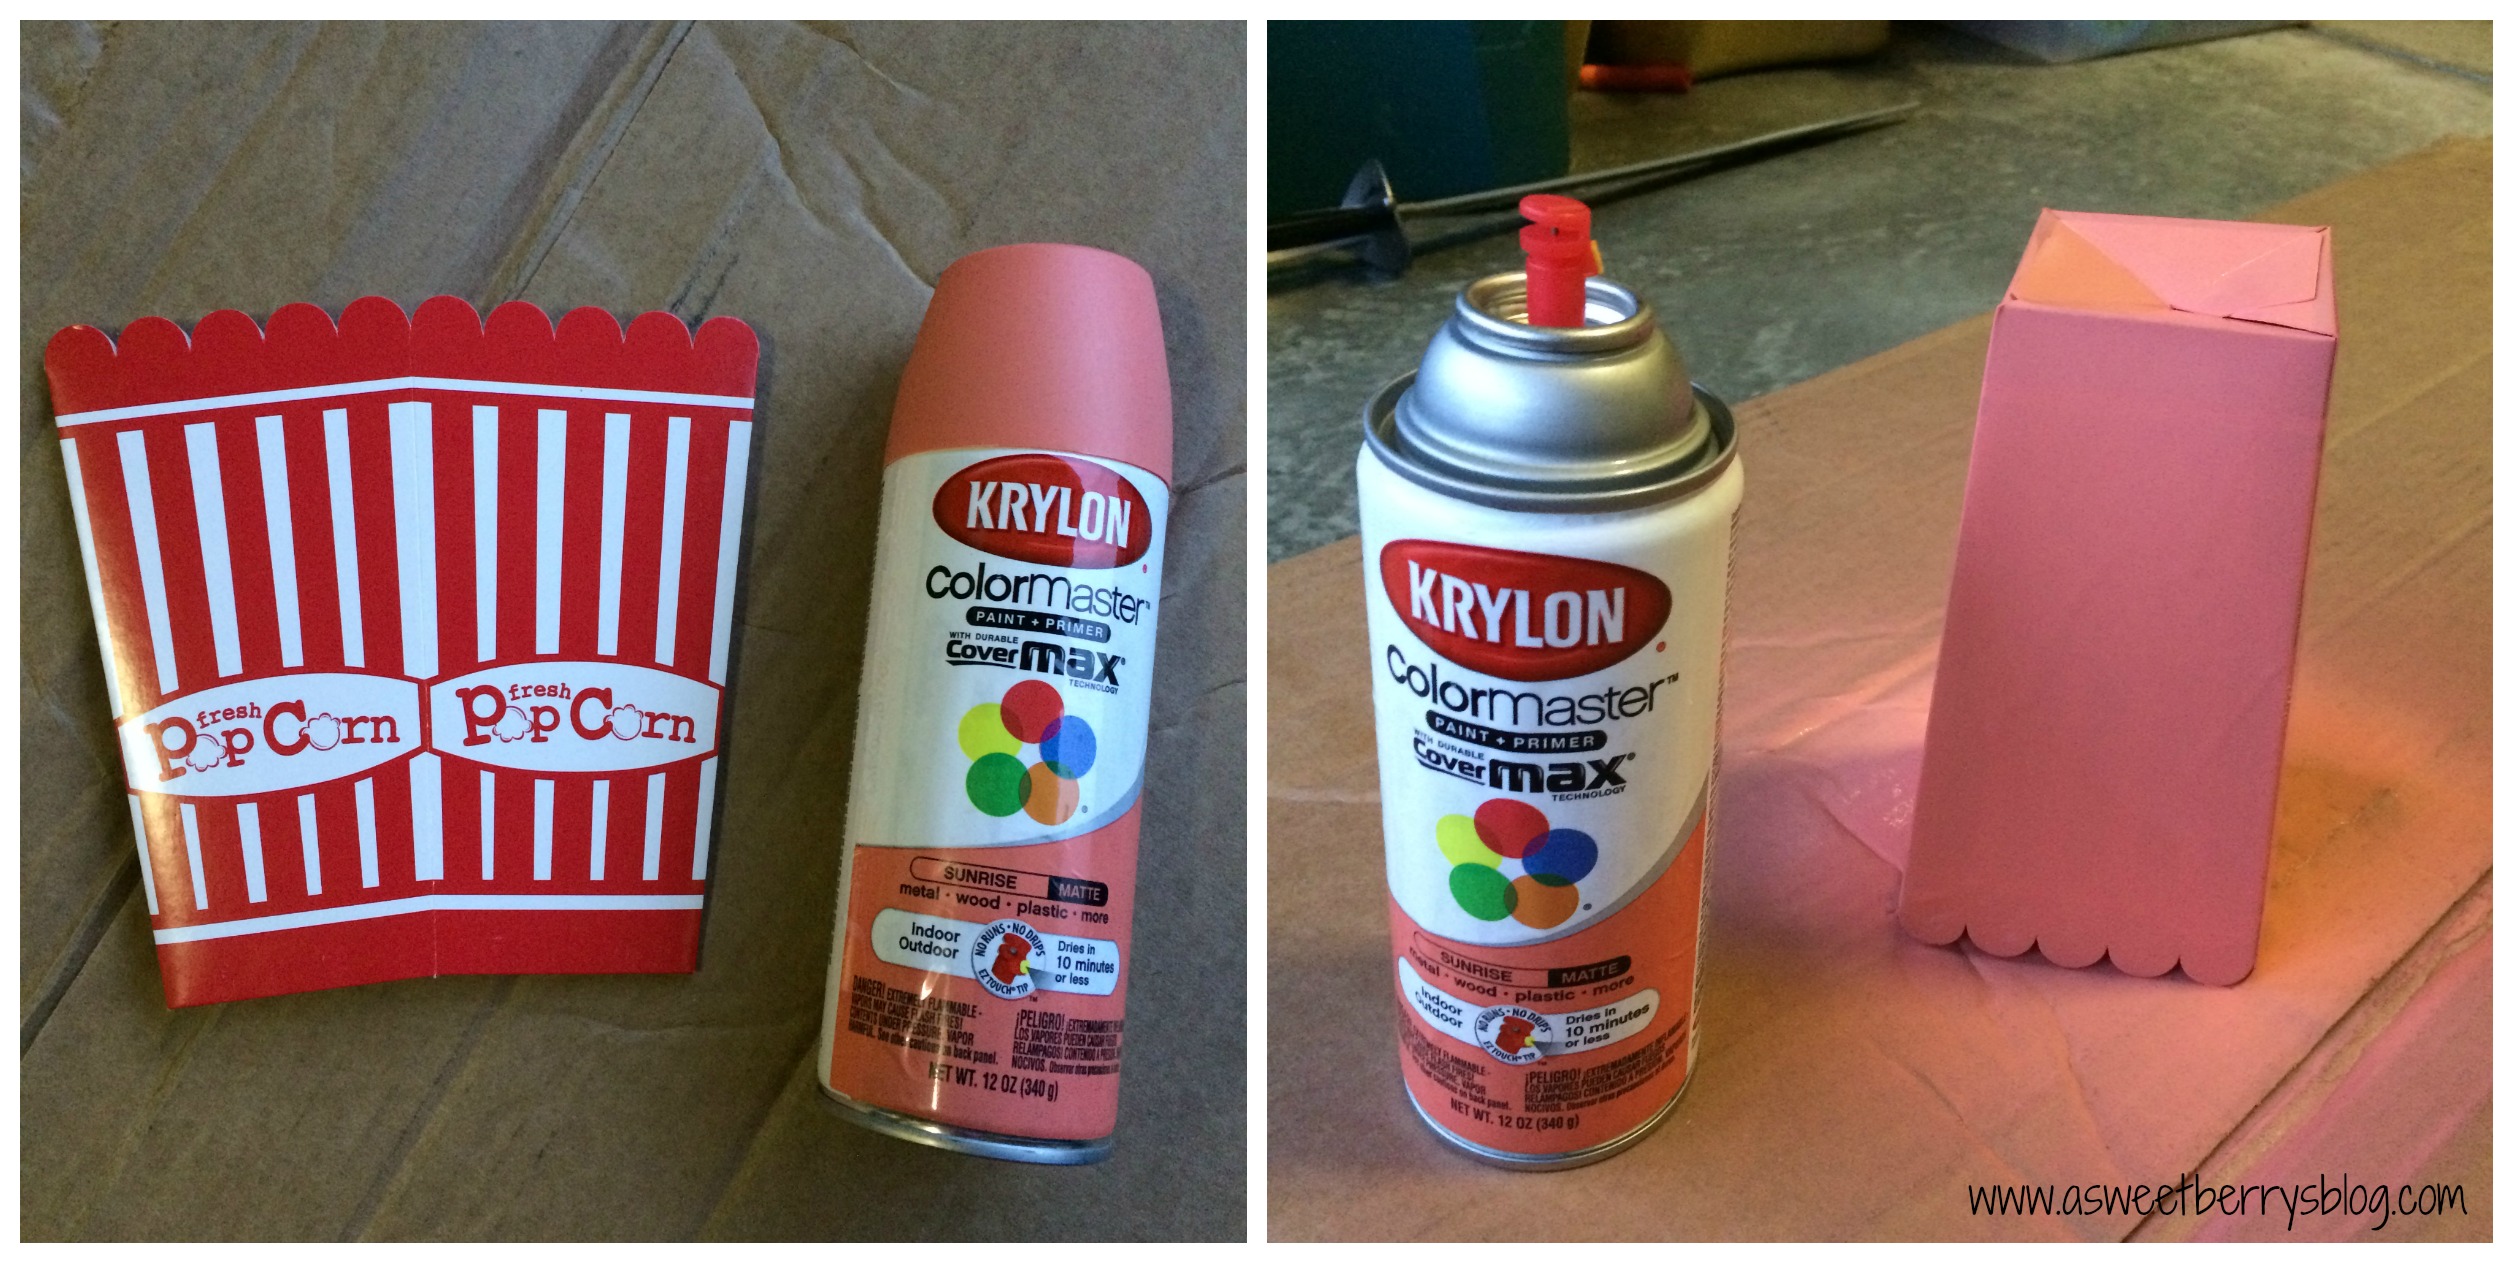
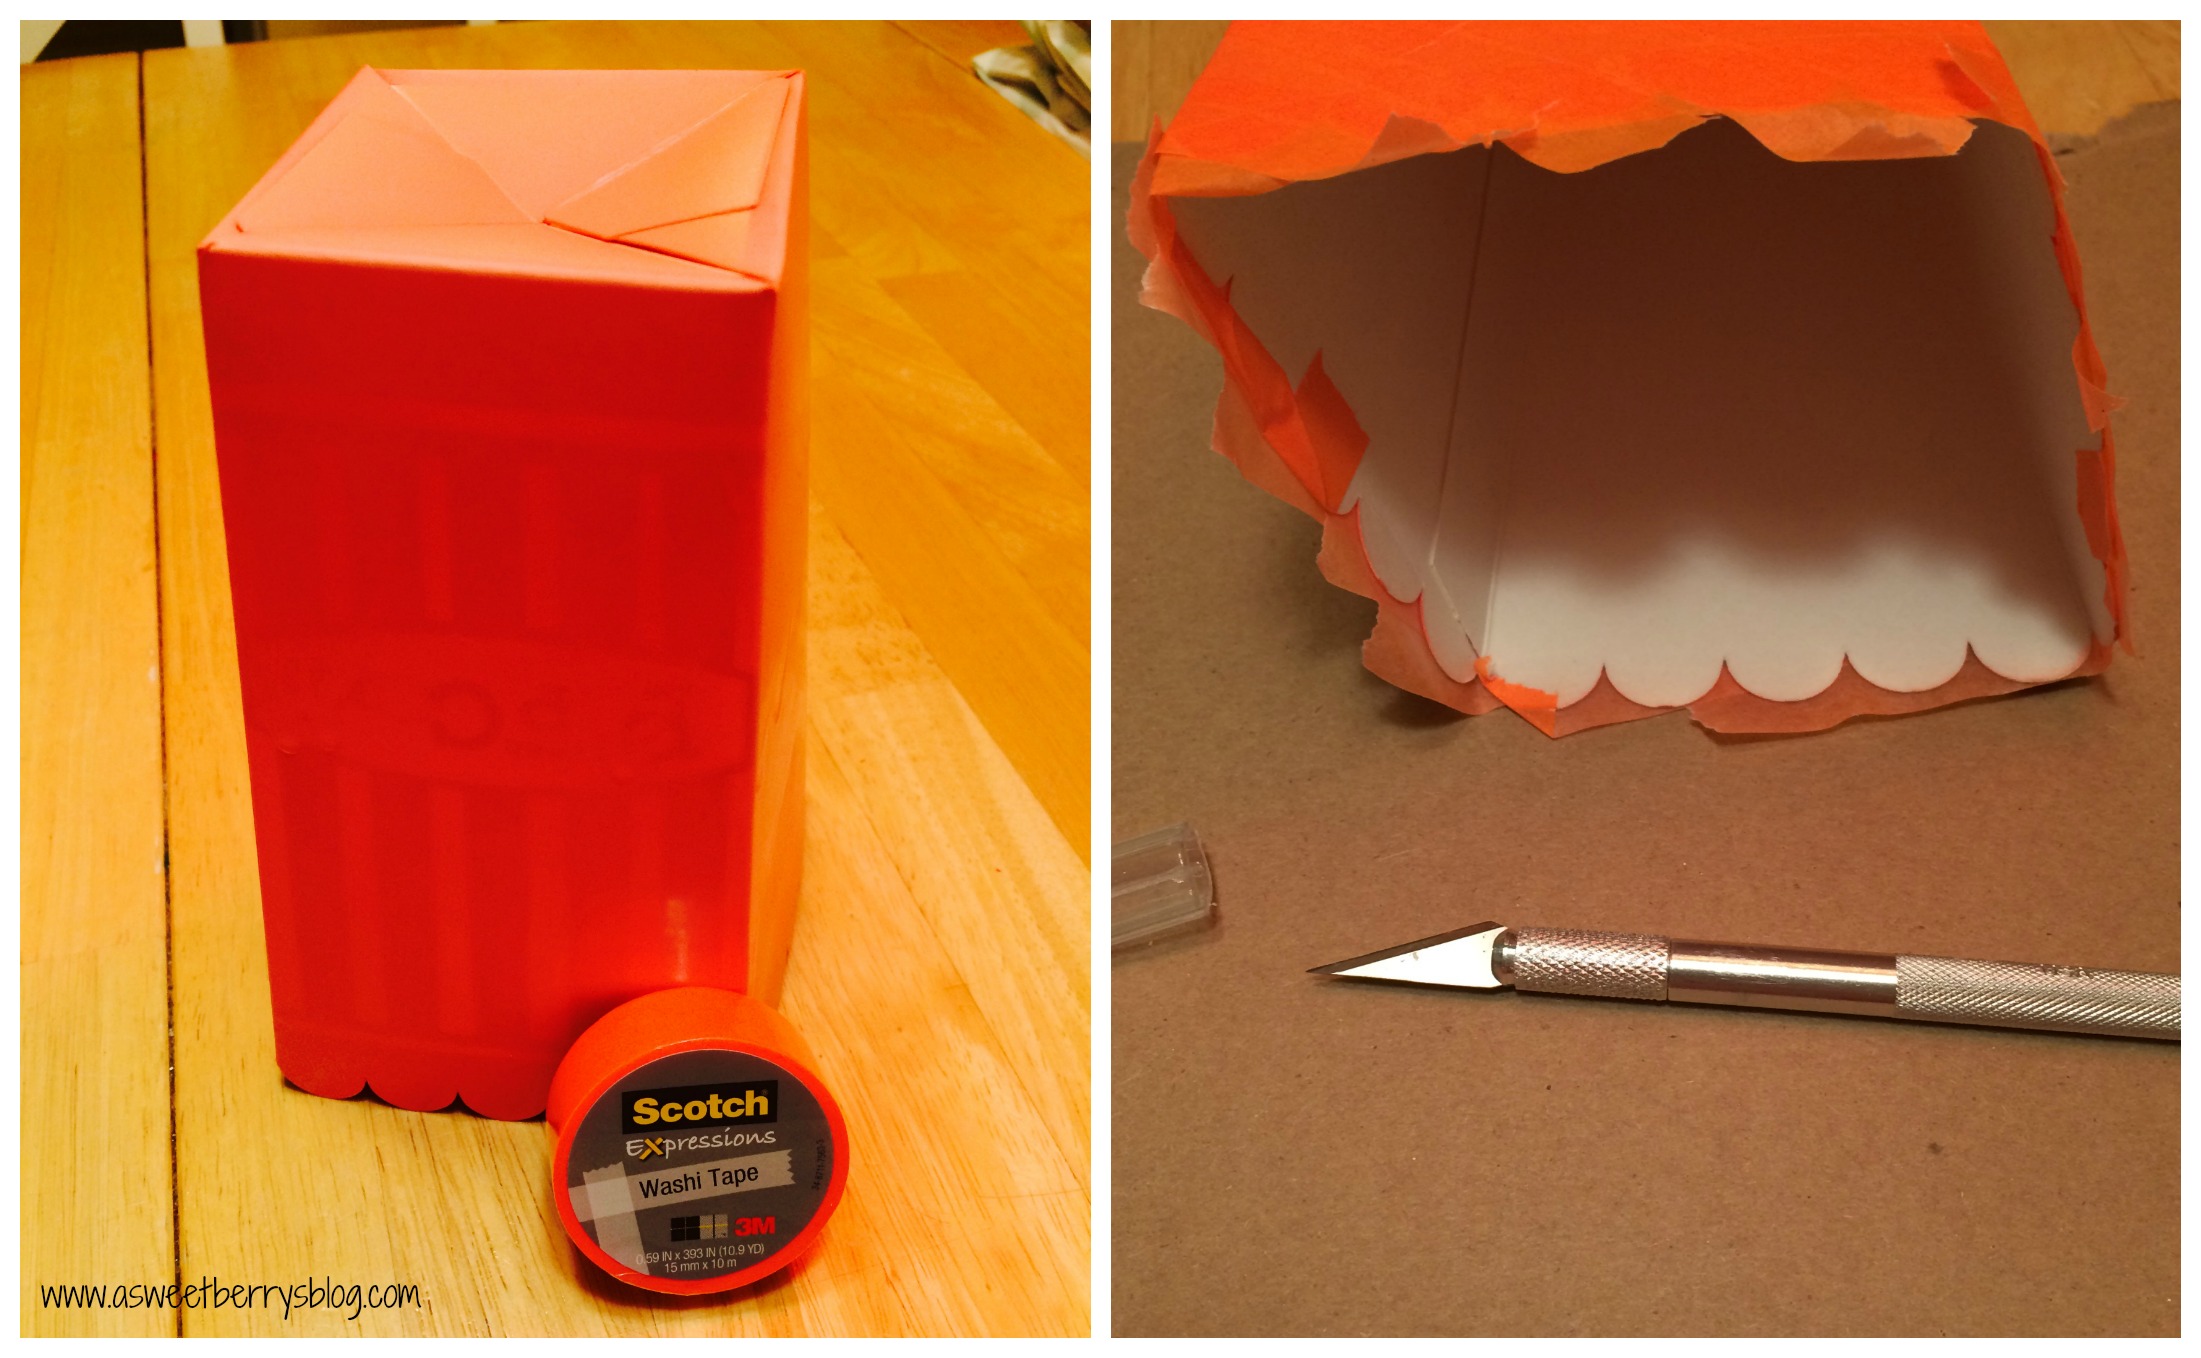
- I painted the popcorn box with the blue craft paint. I did two coats to insure that the you couldn’t see the red on the box! I let it dry!
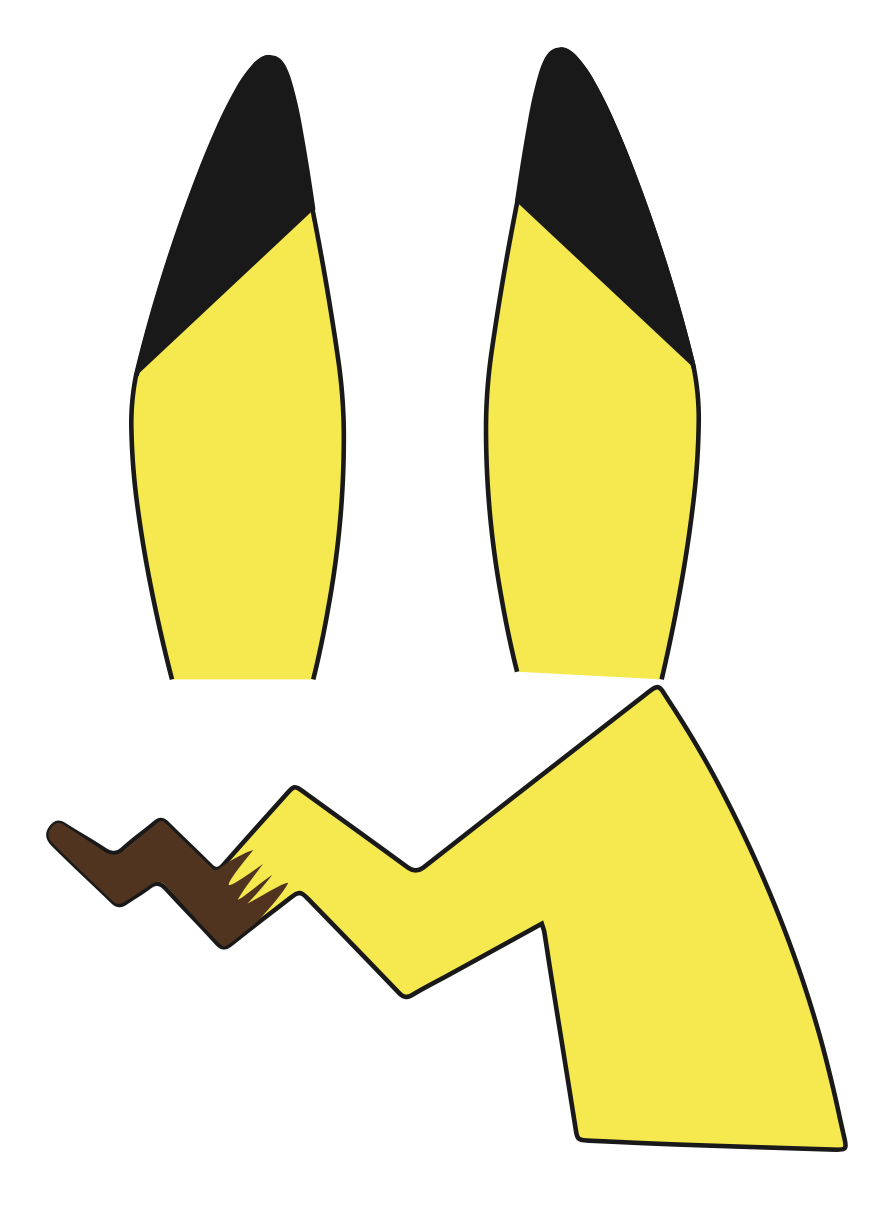
- I cut a mouth and teeth from felt and glued it on!
- I glued the eyes on the box.
- I poked holes in the side and stuck the pipe cleaners through and glued them in place.
- I glued googly eyes to the ends of the pipe cleaners.
- Then, I popped the popcorn, filled the box and added the candy!!!!
I took this awesome photo on a stump by the St. John’s river in Fredericton today! It is beautiful here!
Be sure to check out all of the other awesome popcorn boxes! And then be sure to enter the amazing giveaways!!!!!
Until next time……