Tag Archives: Kunin Group

Shark Week Shark Banner

Disclosure:   This post contains affiliate links.

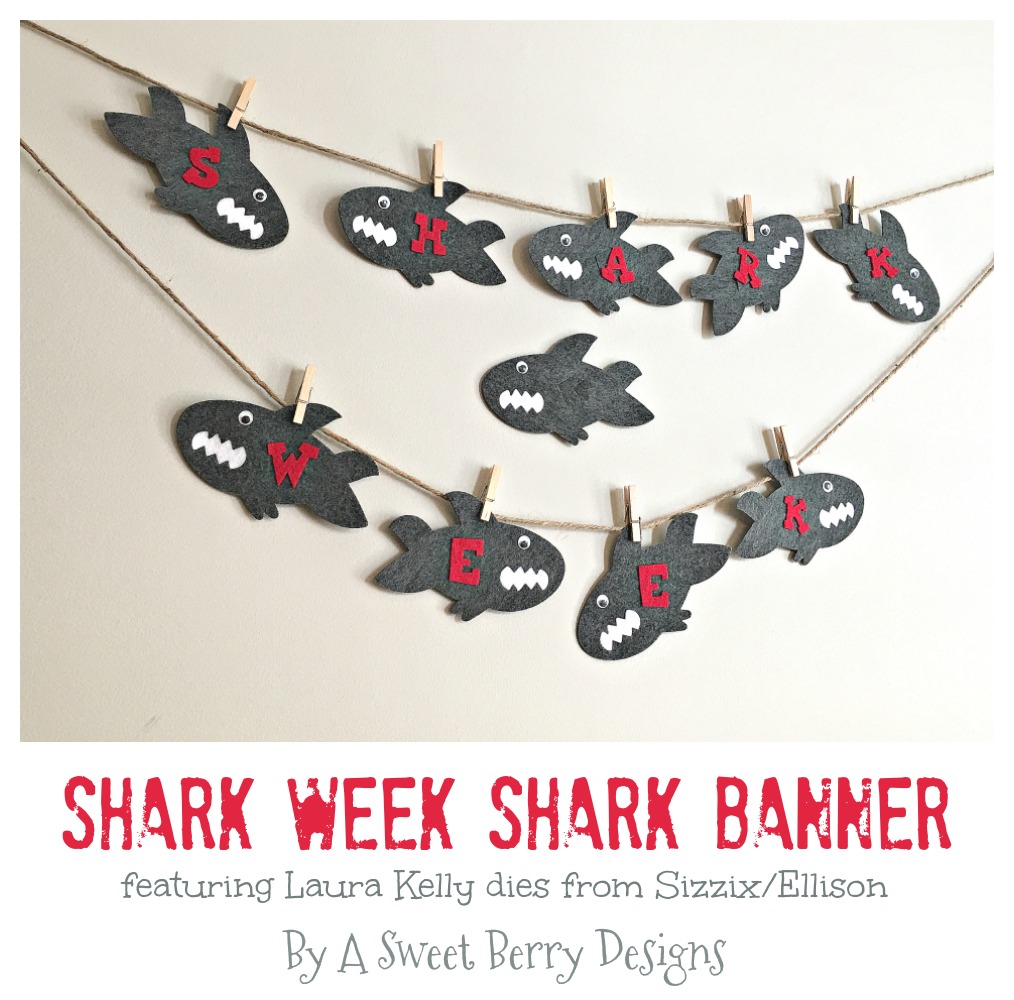
Shark week is next week and the Berry family is ready!  To get ready, I made this adorable Shark Week Shark Banner using my dear friend Laura Kelly’s dies from Sizzix/Ellison and felt from the Kunin Group!  It was super duper easy!  Check it out!  You can make you own!

Materials needed:

How I made it:

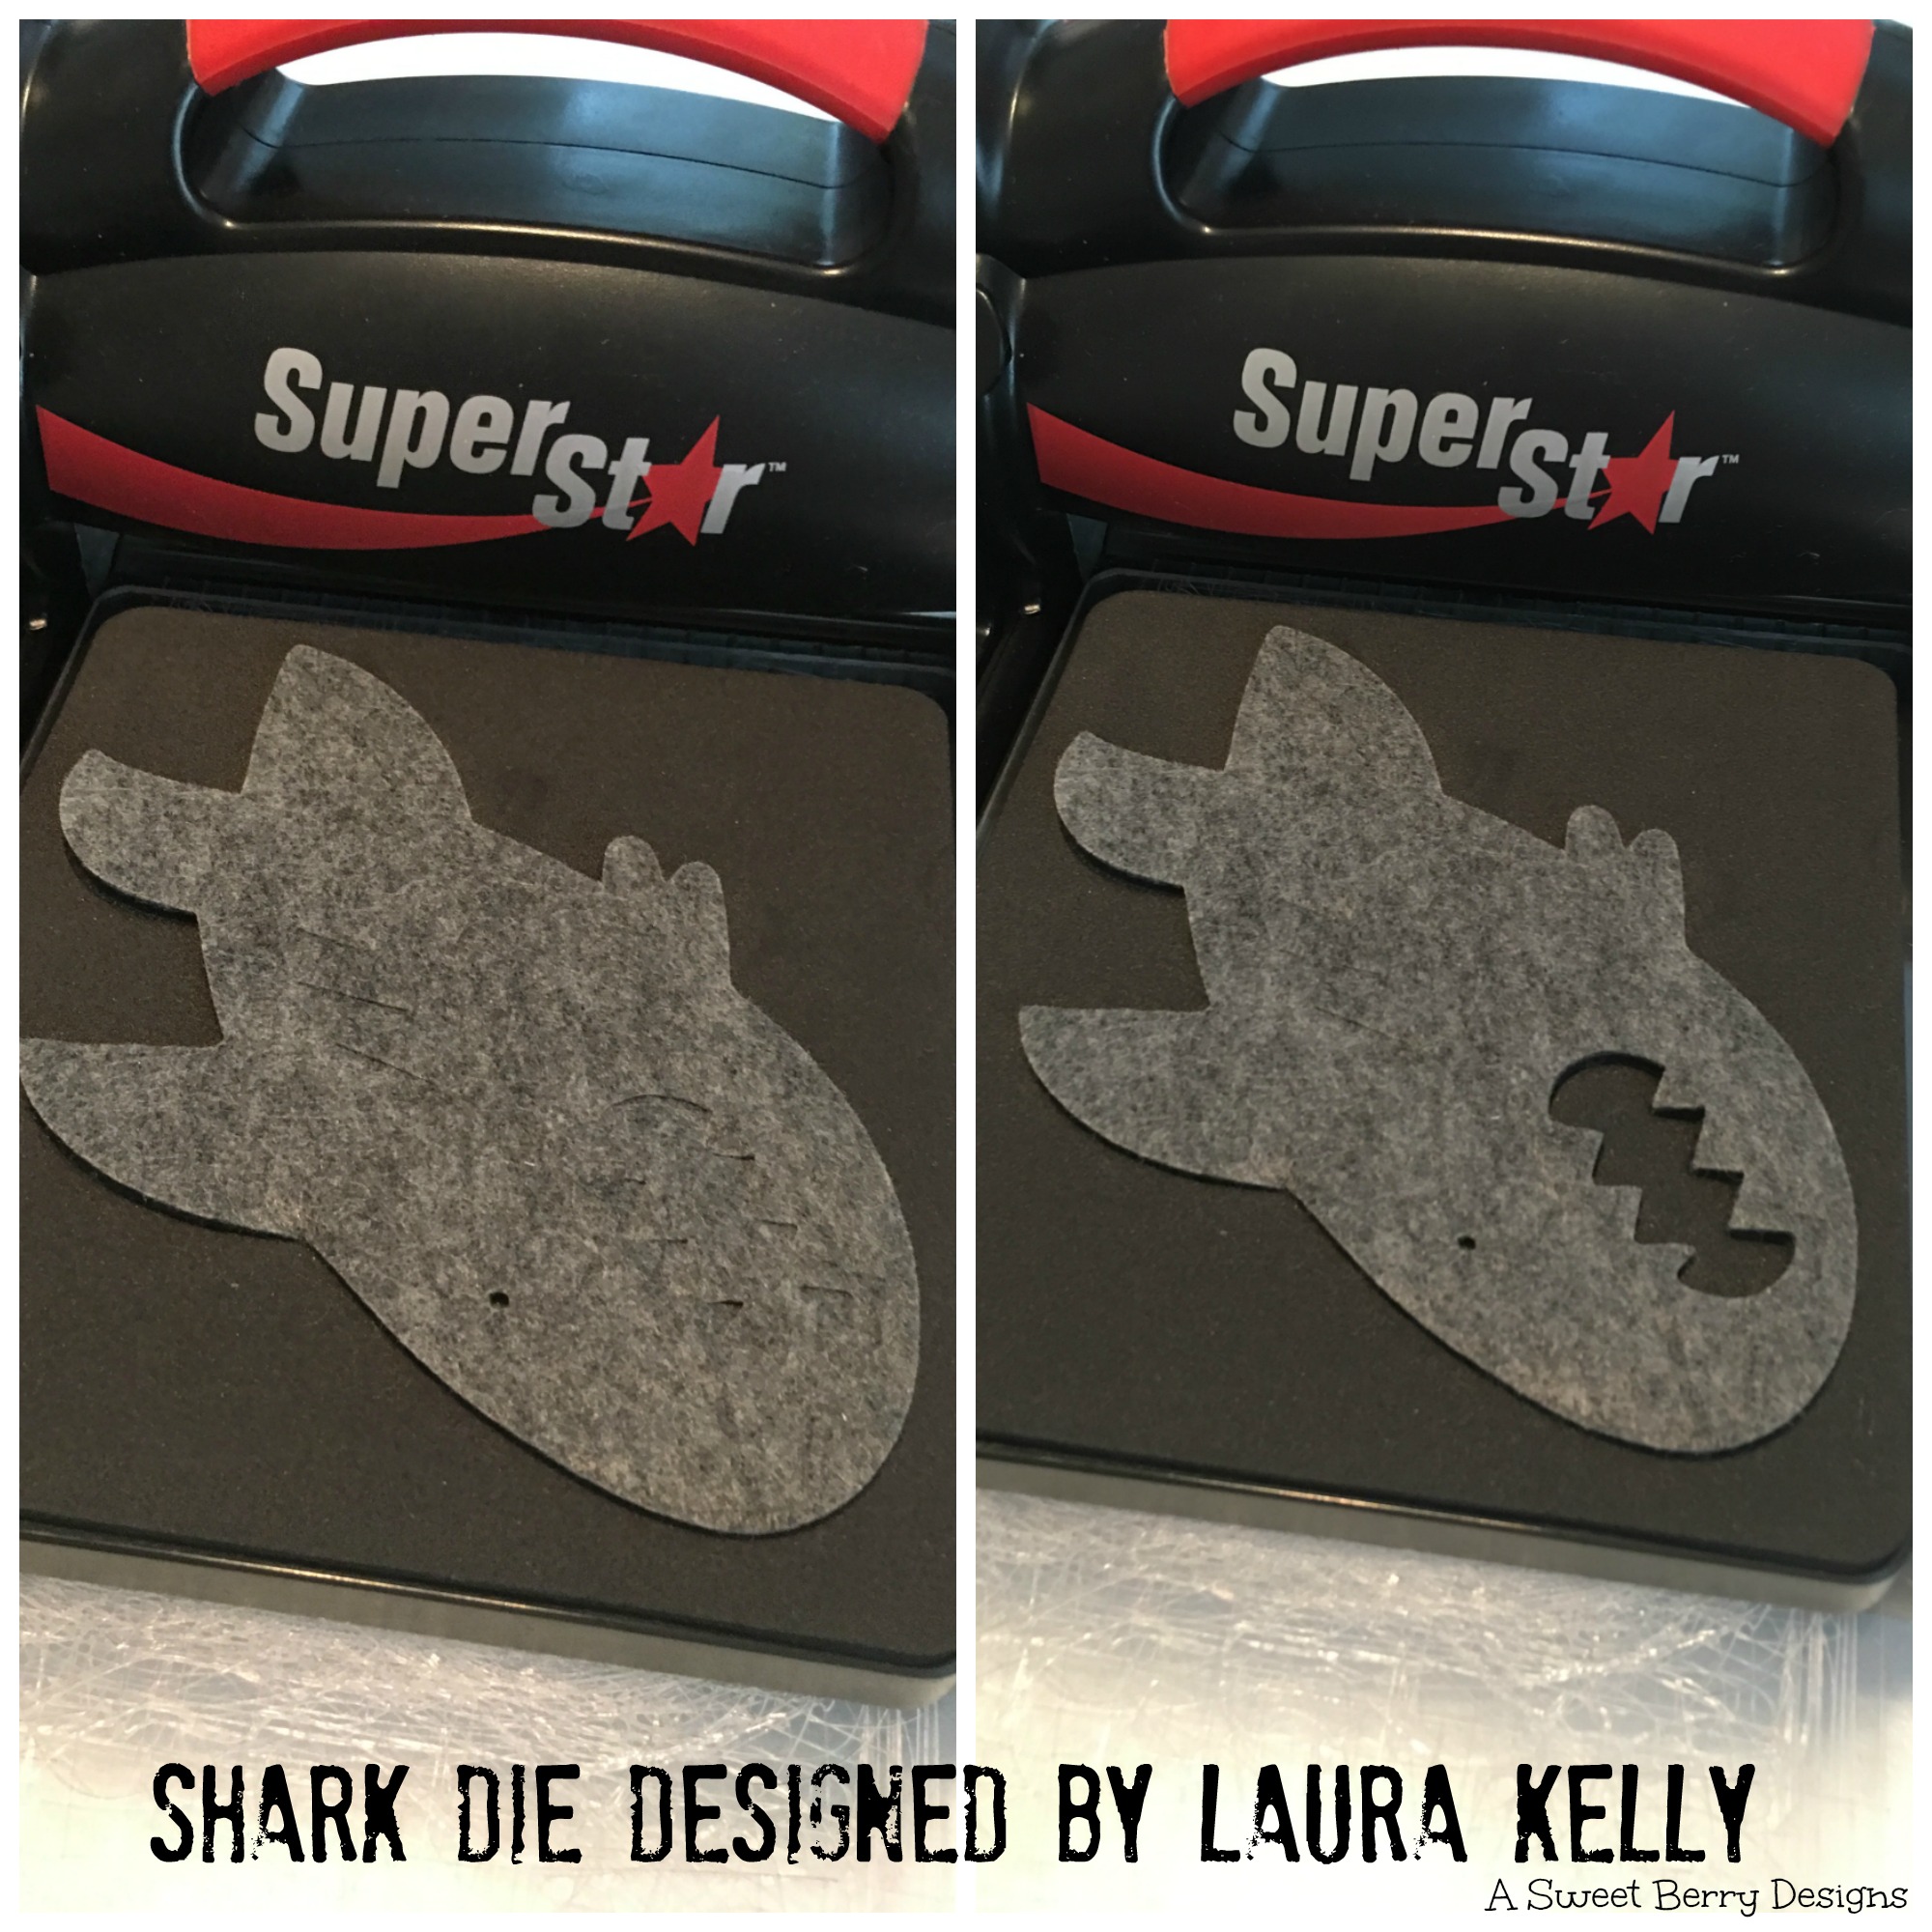
Using the Super Star Die Cutting Machine and Cutting Pads, I cut my felt sharks from Laura Kelly’s Shark Die.  I also cut the sharks teeth out of white felt.

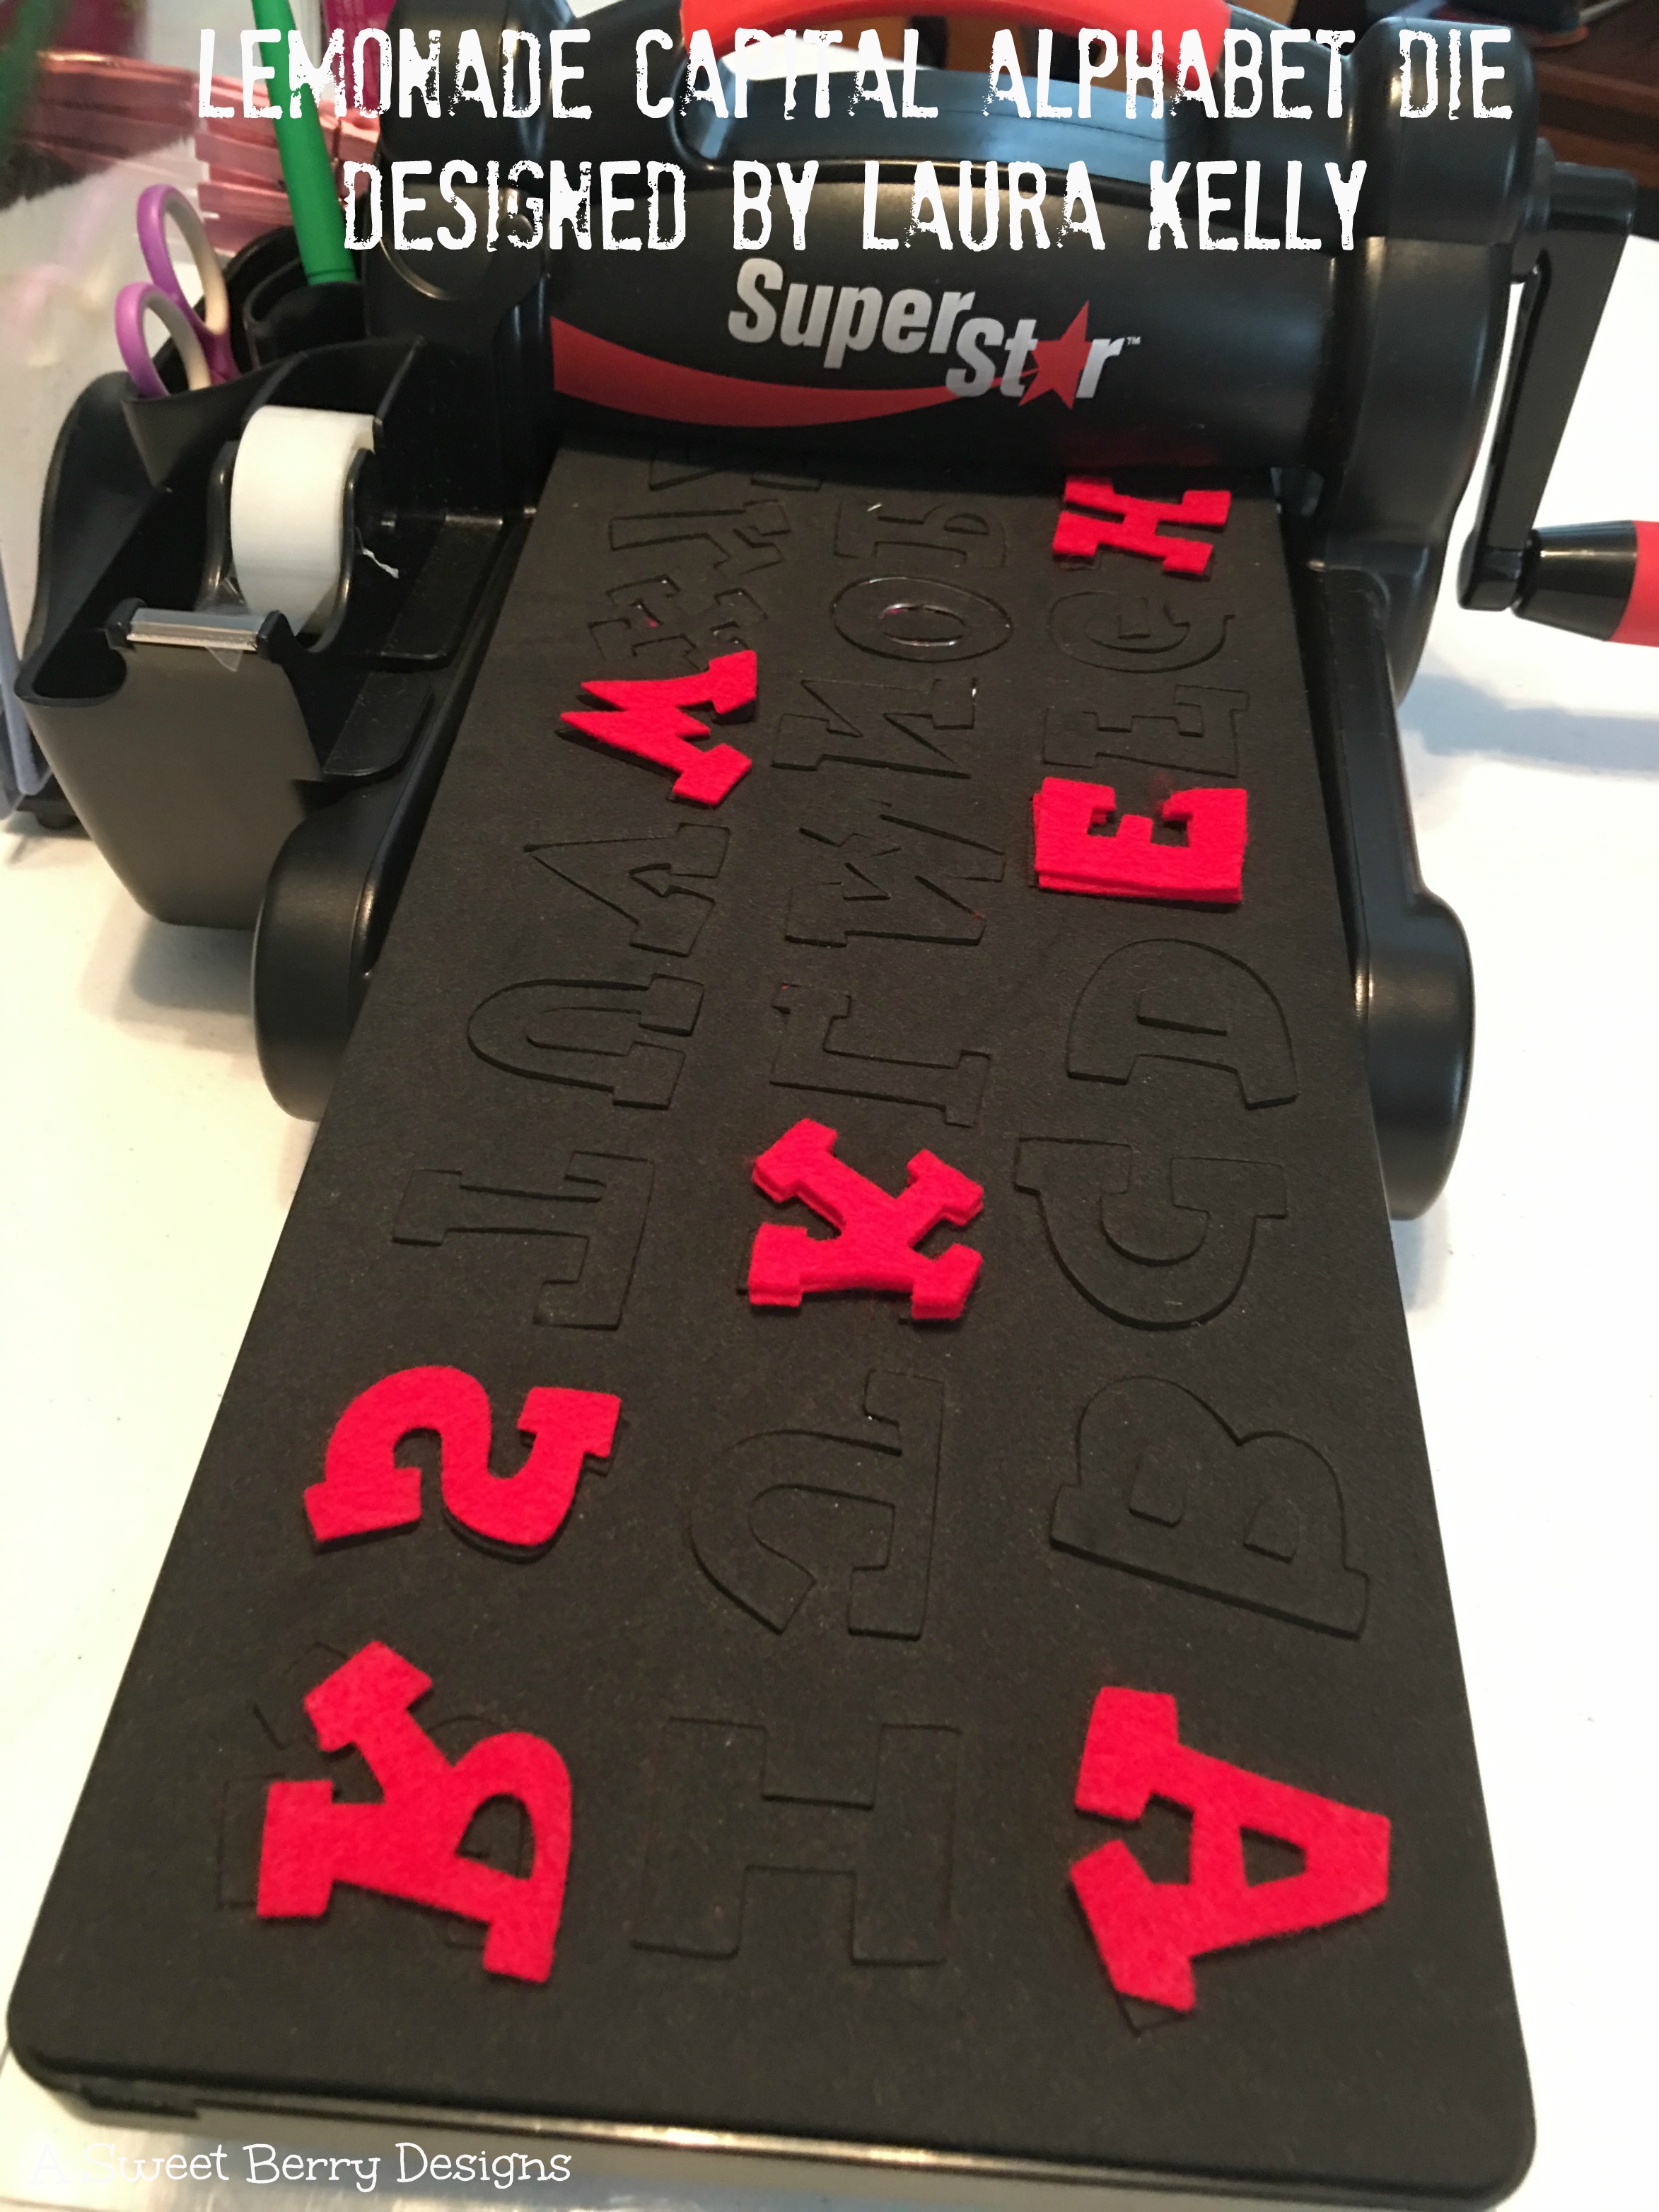
Then I cut out the letters “SHARK WEEK” from Laura Kelly’s Lemonade Capital Alphabet Die using red felt.

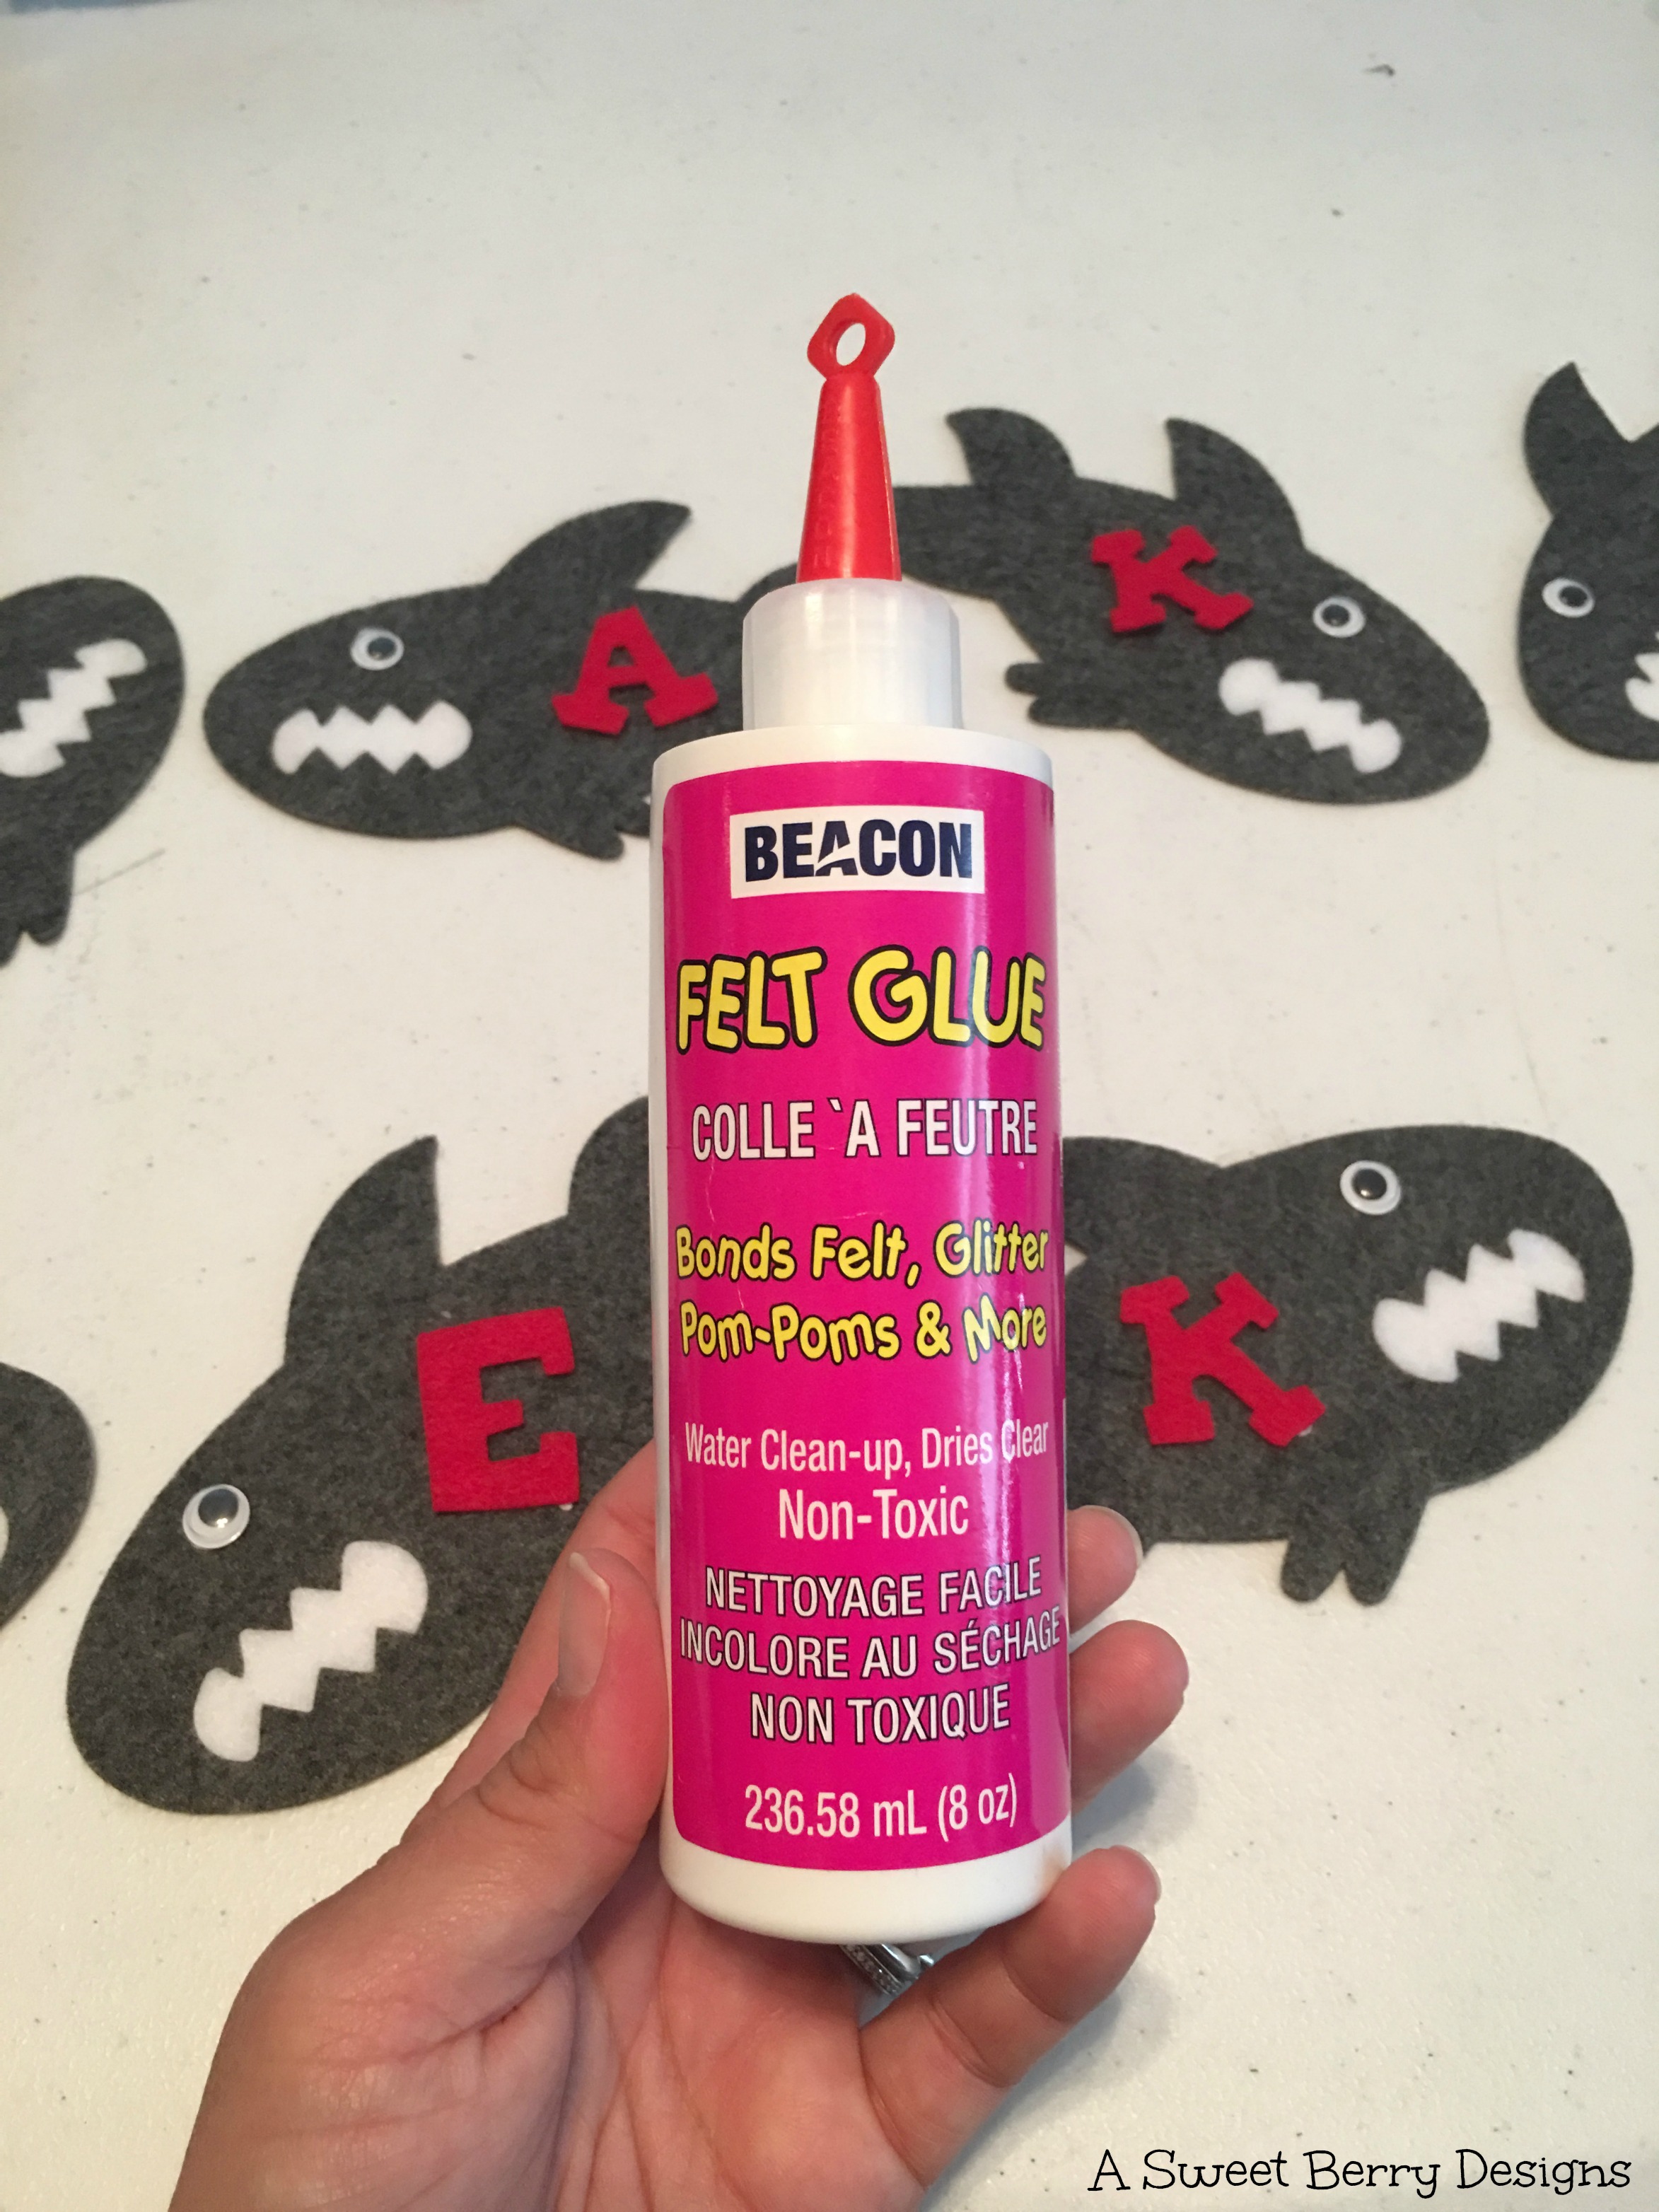
Once I had all of my pieces cut out, I used Beacon Felt Glue to put everything together!  I added wiggly eyes to make the sharks look silly!

Once everything was dry, I hung them up on two strands of jute rope!  I had an extra shark, so I added him to the middle!

Hope you like this super easy Shark Week Shark Banner!  I love using these dies and Kunin felt!

National Watermelon Day 2015

National Watermelon Day is here!  I love that Watermelon has its own special day of celebration each year!   We will be celebrating at our house!
square final photo
My friend Laura Kelly is an amazing artist and has designed these awesome Wacky Watermelon Printables with some of her adorable watermelon art.  I cut them up and used them to decorate my party table! Laura Kelly Wacky Watermelon
While I was at the store today, I saw that Pillsbury now has a Funfetti Gluten Free Sugar Cookie mix!   OMG, they are delicious!   How cute are these watermelon cookies?!  I baked them, cut the tops off of some to make them look like a watermelon half, and then cut two sides off to make angles for a wedge!   Not realizing it, I picked up the Pillbury Sugar Free Vanilla frosting!   The kids had no clue and there were no complaints!!!  I love how they came out! cookies
Using Kunin felts, I made this adorable Watermelon Banner!  Click the photo below to see how I made it! watermelon banner
Did you see those adorable lollipops in the photo?  Those are from Lollipics, with Laura Kelly designs on them.  You can get your own with custom designs!  They are great for parties , weddings, or gifts! Lollipics
Hope you like what we have in store for National Watermelon Day!   And I hope you have a wonderful Yummy Watermelon filled day!

Until next time….

Kunin Felt Watermelon Banner

In honor of National Watermelon Day on Monday, August 3rd, I made this adorable Watermelon Banner with Kunin Felt! watermelon banner
Using eCals2, I designed a half and a wedge watermelon slice.  I made three different layers, one for the rind, one for the white part and one for the red part.   Using my Sizzix Eclips2, I cut the pieces out to use as a template.   felt cutting
Instead of sewing my watermelons together, I used Aleene’s Fabric Fusion.  Super and easy and quick. fabric fusion
Once all of my watermelons were glued together and dried, I used mini clothes pins and red baker twine to hang the watermelon pieces. melons and twine
The watermelon banner is perfect for a watermelon party for any summer fun get together!  My boys will be celebrating National Watermelon Day 2015 with some yummy watermelon, Watermelon Sugar Cookies, Laura Kelly’s Wacky Watermelon Printables and some awesome Lollipops from Lollipics!  Click on the photo below to learn about these goodies!
square final photo Hope you like my Kunin Felt Watermelon Banner!   And Happy National Watermelon Day!

Until next time…..


Kunin Felt Advent Calendar

No December is complete without an Advent Calendar!   This year, I created my Advent Calendar using Felt from The Kunin Group!   My kids are super excited for December to arrive so that we can start opening them!

FINAL

materials
Materials used:
Felt from The Kunin Group (red, green, glitter white)
Sewing Machine with coordinating thread (green and red)
Envelope Patterns that I created using Adobe Illustrator
Letters that were reflected vertically that I created using Adobe Illustrator
Aleene’s Turbo Tacky Glue
Velcro
Laura Kelly Buttons from Buttons Galore & More
Heat & Bond
Pinking Shears
Scissors
Small clothes pins
Rope purchased from ACMoore

cutting
Using my envelope patterns, I cut out 24 envelopes.   I used both my regular scissors and my pinking shears just to change up the look.    Once I had them all cut out, I folded and pinned the sides to get them ready for sewing. pinning
My sewing machine does all kinds of cute little patterns, so I chose a couple of designs and sewed up the sides only to the top of the sides. sewing
Once they were all sewn up, I used my iron to help the flap on my envelopes to stay down. ironing
I didn’t think that a whole piece of velcro was needed, so I cut them into quarters and applied them to the inside of the flap.   Keeping the velcro pieces together, I closed my envelope so that they would line up.
velcro
Next, I was ready to cut out my numbers!   Using Heat & Bond, I ironed it to the back of my sheet of numbers, removed the backing and then ironed it to the back of the sheet of glitter white felt.  And then they were ready to cut out!  Once they were all cut out, I used an Excel knife to cut out the inside pieces of the numbers.
numbers
I really love Laura Kelly’s buttons from Buttons Galore & More and she has a great set of Christmas colors.   I chose a read and green for each envelope, glued them using Aleene’s Turbo Tacky Glue and then glued them to the flap of the envelope.  I also glued the numbers to the envelopes.
ButtonsAndGlue
After all of my envelopes were done, I decided to make a felt bow to attach to the string where I was going to clip my envelopes. BowAndRope

Once I was done, I attached the envelopes to the rope and hung it up! advent calendar

BrokenUp

   Ready for December!   And until next time…..