Category Archives: Kunin Group

Fairfield World Pillow Party 2019 Let It Snow Pillow

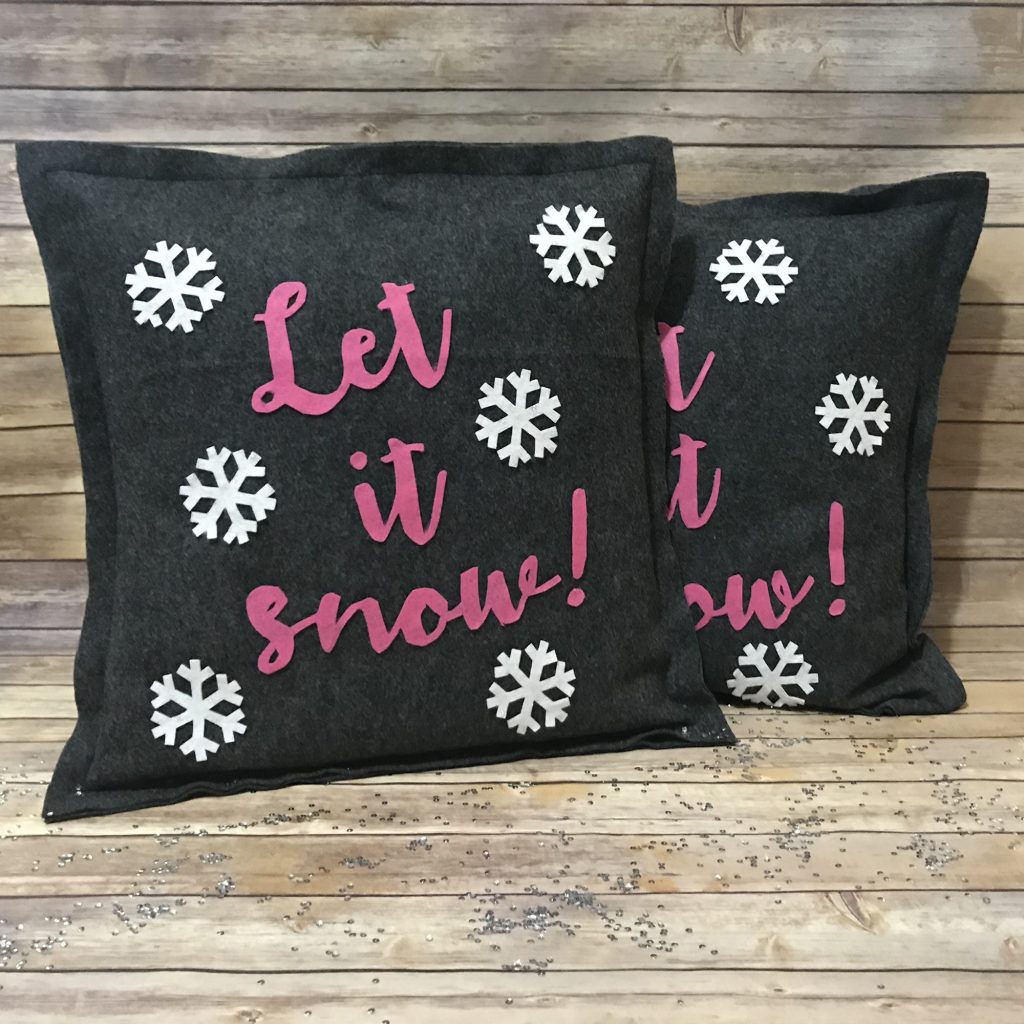
The Fairfield World Pillow Party has been so much fun and these Let it Snow! pillows were super fun and easy to make. My friends over at Fairfield World, Laura Kelly Designs, The Hedgehog Hollow put together this fun Holiday Pillow Party blog hop.

What’s needed:

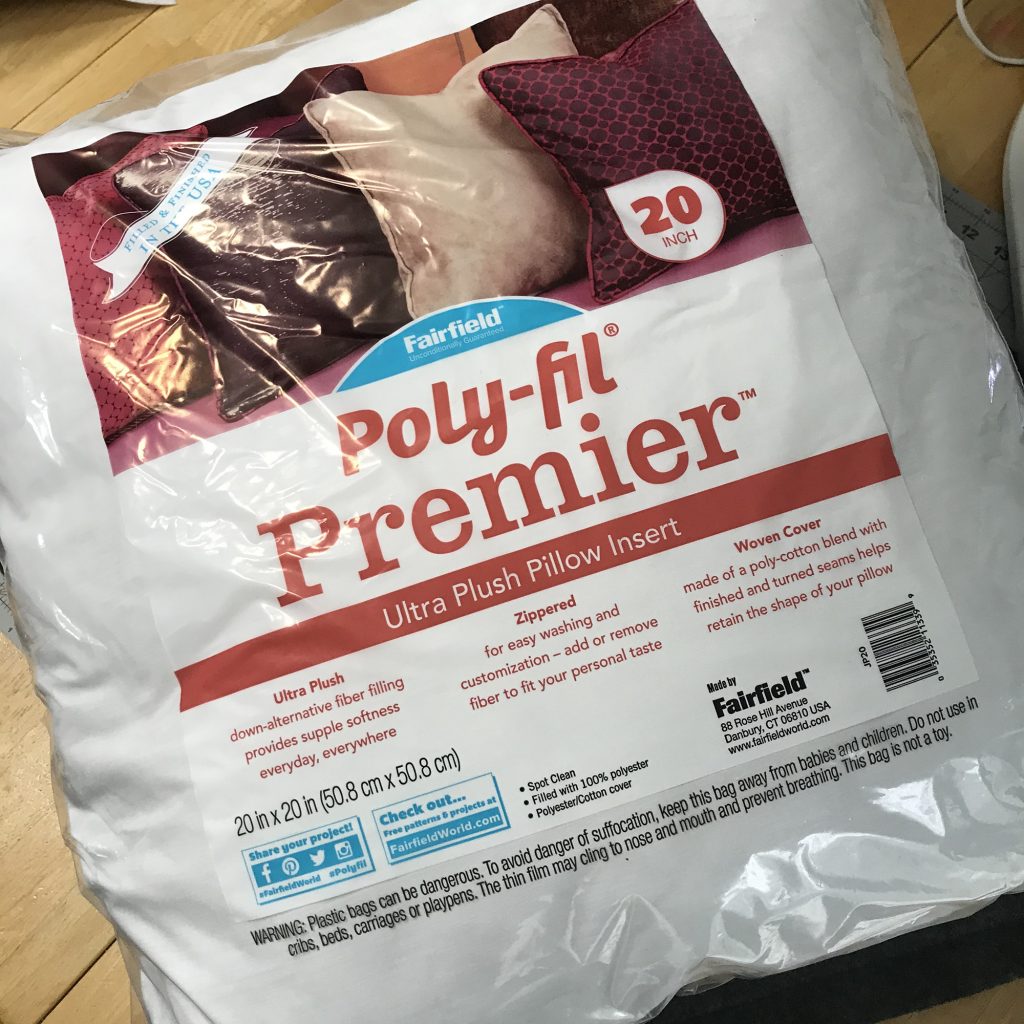
  • Fairfield Poly-fil Premier Ultra Plush Pillow
  • 1.5 yards of Kunin Premium felt cut from a bolt: Charcoal
  • 9″x12″ Kunin Premium felt: Candy Pink
  • 9″x12″ Kunin Coordinate felt: Silver Dot on White
  • pins
  • Snowflake Pattern
  • Let it Snow! Pattern
  • Scissors
  • Beacon Fabri-Tac Premium Fabric Glue
  • Cutting Mat, Cutting Ruler and Rotary Cutter
  • Sewing Machine

Fairfield has great pillows to add to any pillow case. They provided these awesome Poly-Fit Premier Ultra Plush Pillow Inserts. I created my very own pillow cases to go over them. Here is how I made them!

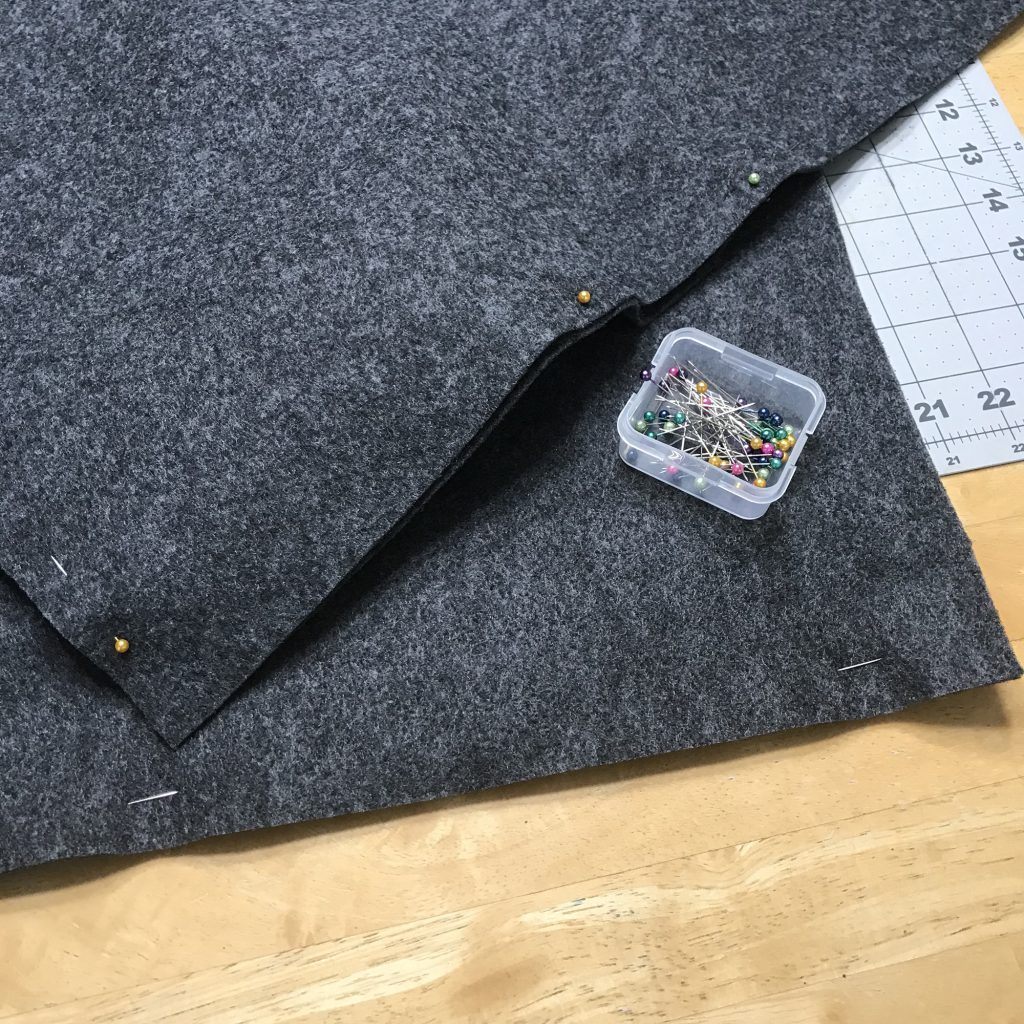
The pillows were 20″x20″ so I cut my felt at 21″x21″. I cut 4 squares and then cut 2 of them in half.

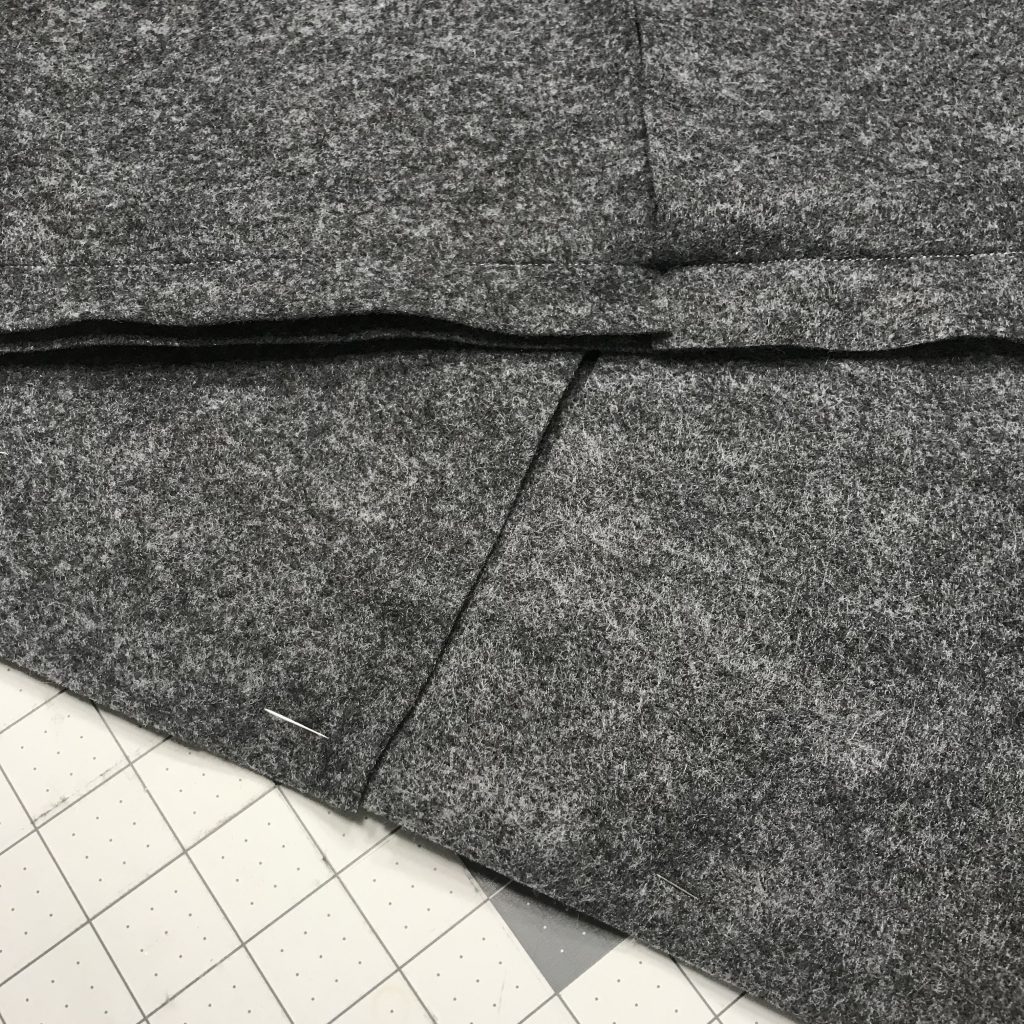
Each pillow should have 3 pieces of Charcoal fabric, (1) 21″x21″ and (2) 10.5″x21″. Pin the two smaller pieces to the bigger piece. This leaves an opening in the middle of the back of the pillow.

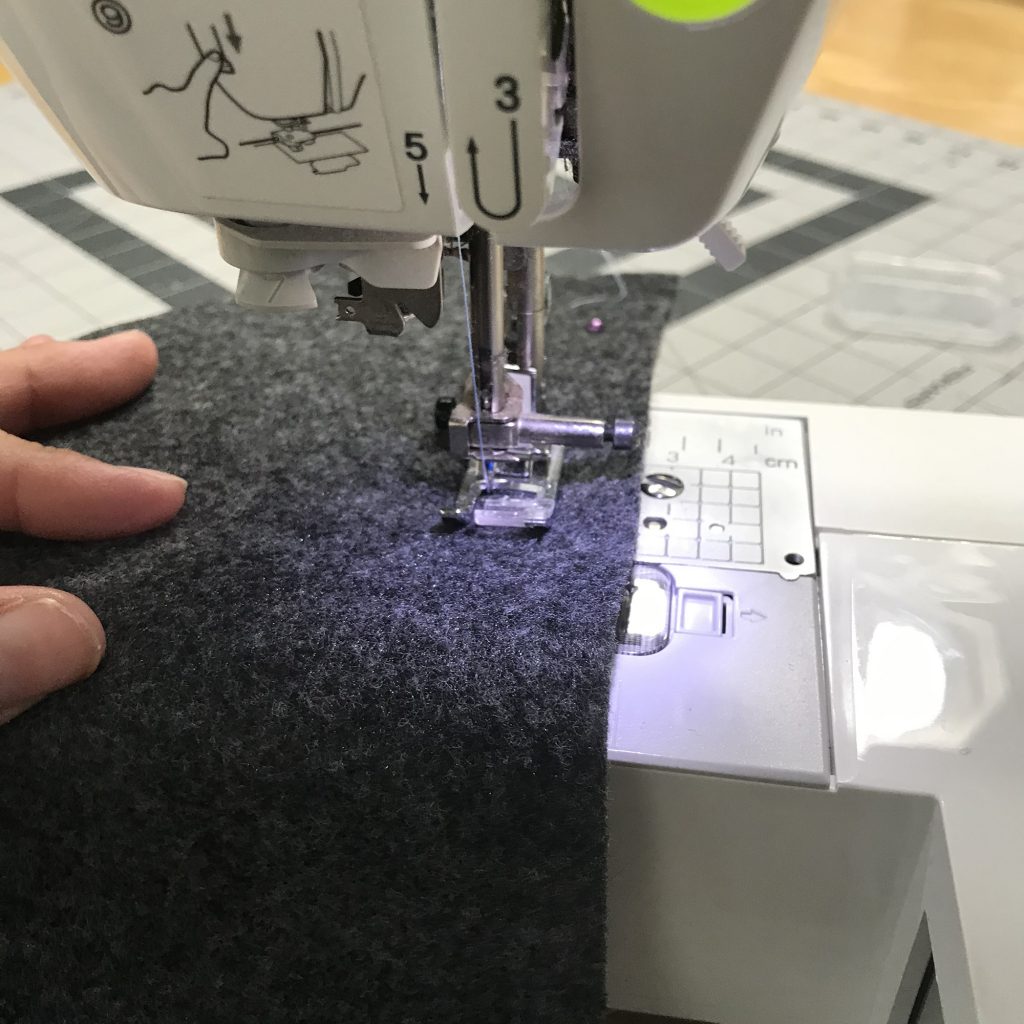
Leaving 1″ around the edge, sew all the way around the pillow case.

Once the pillow cases are all sewn, remove all of the pins and put the insert in the pillow case.

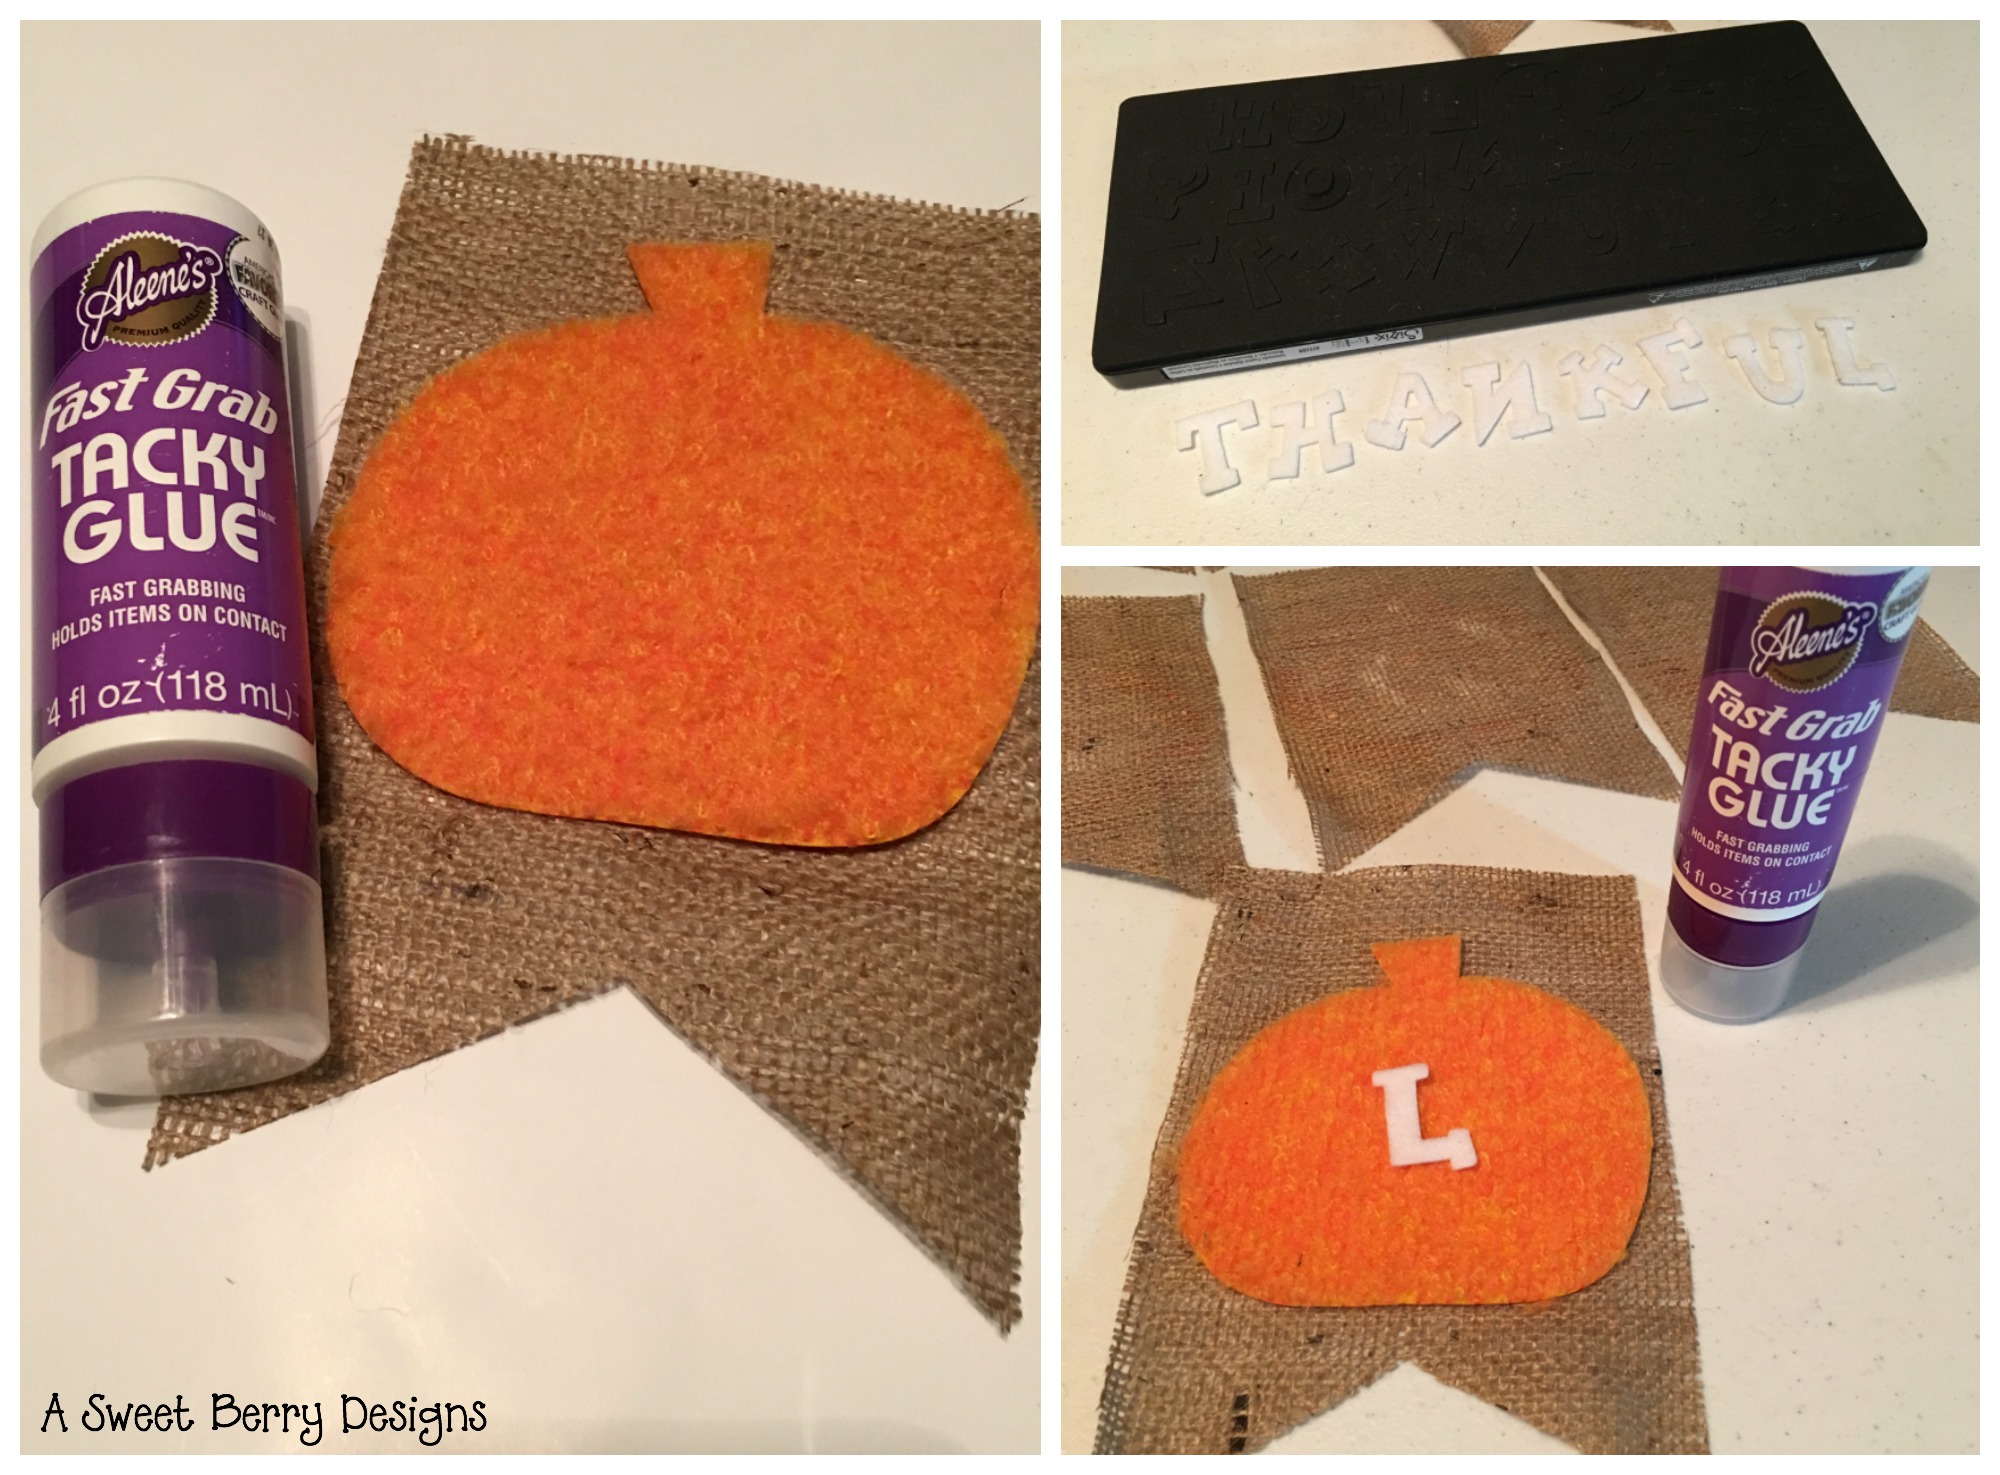
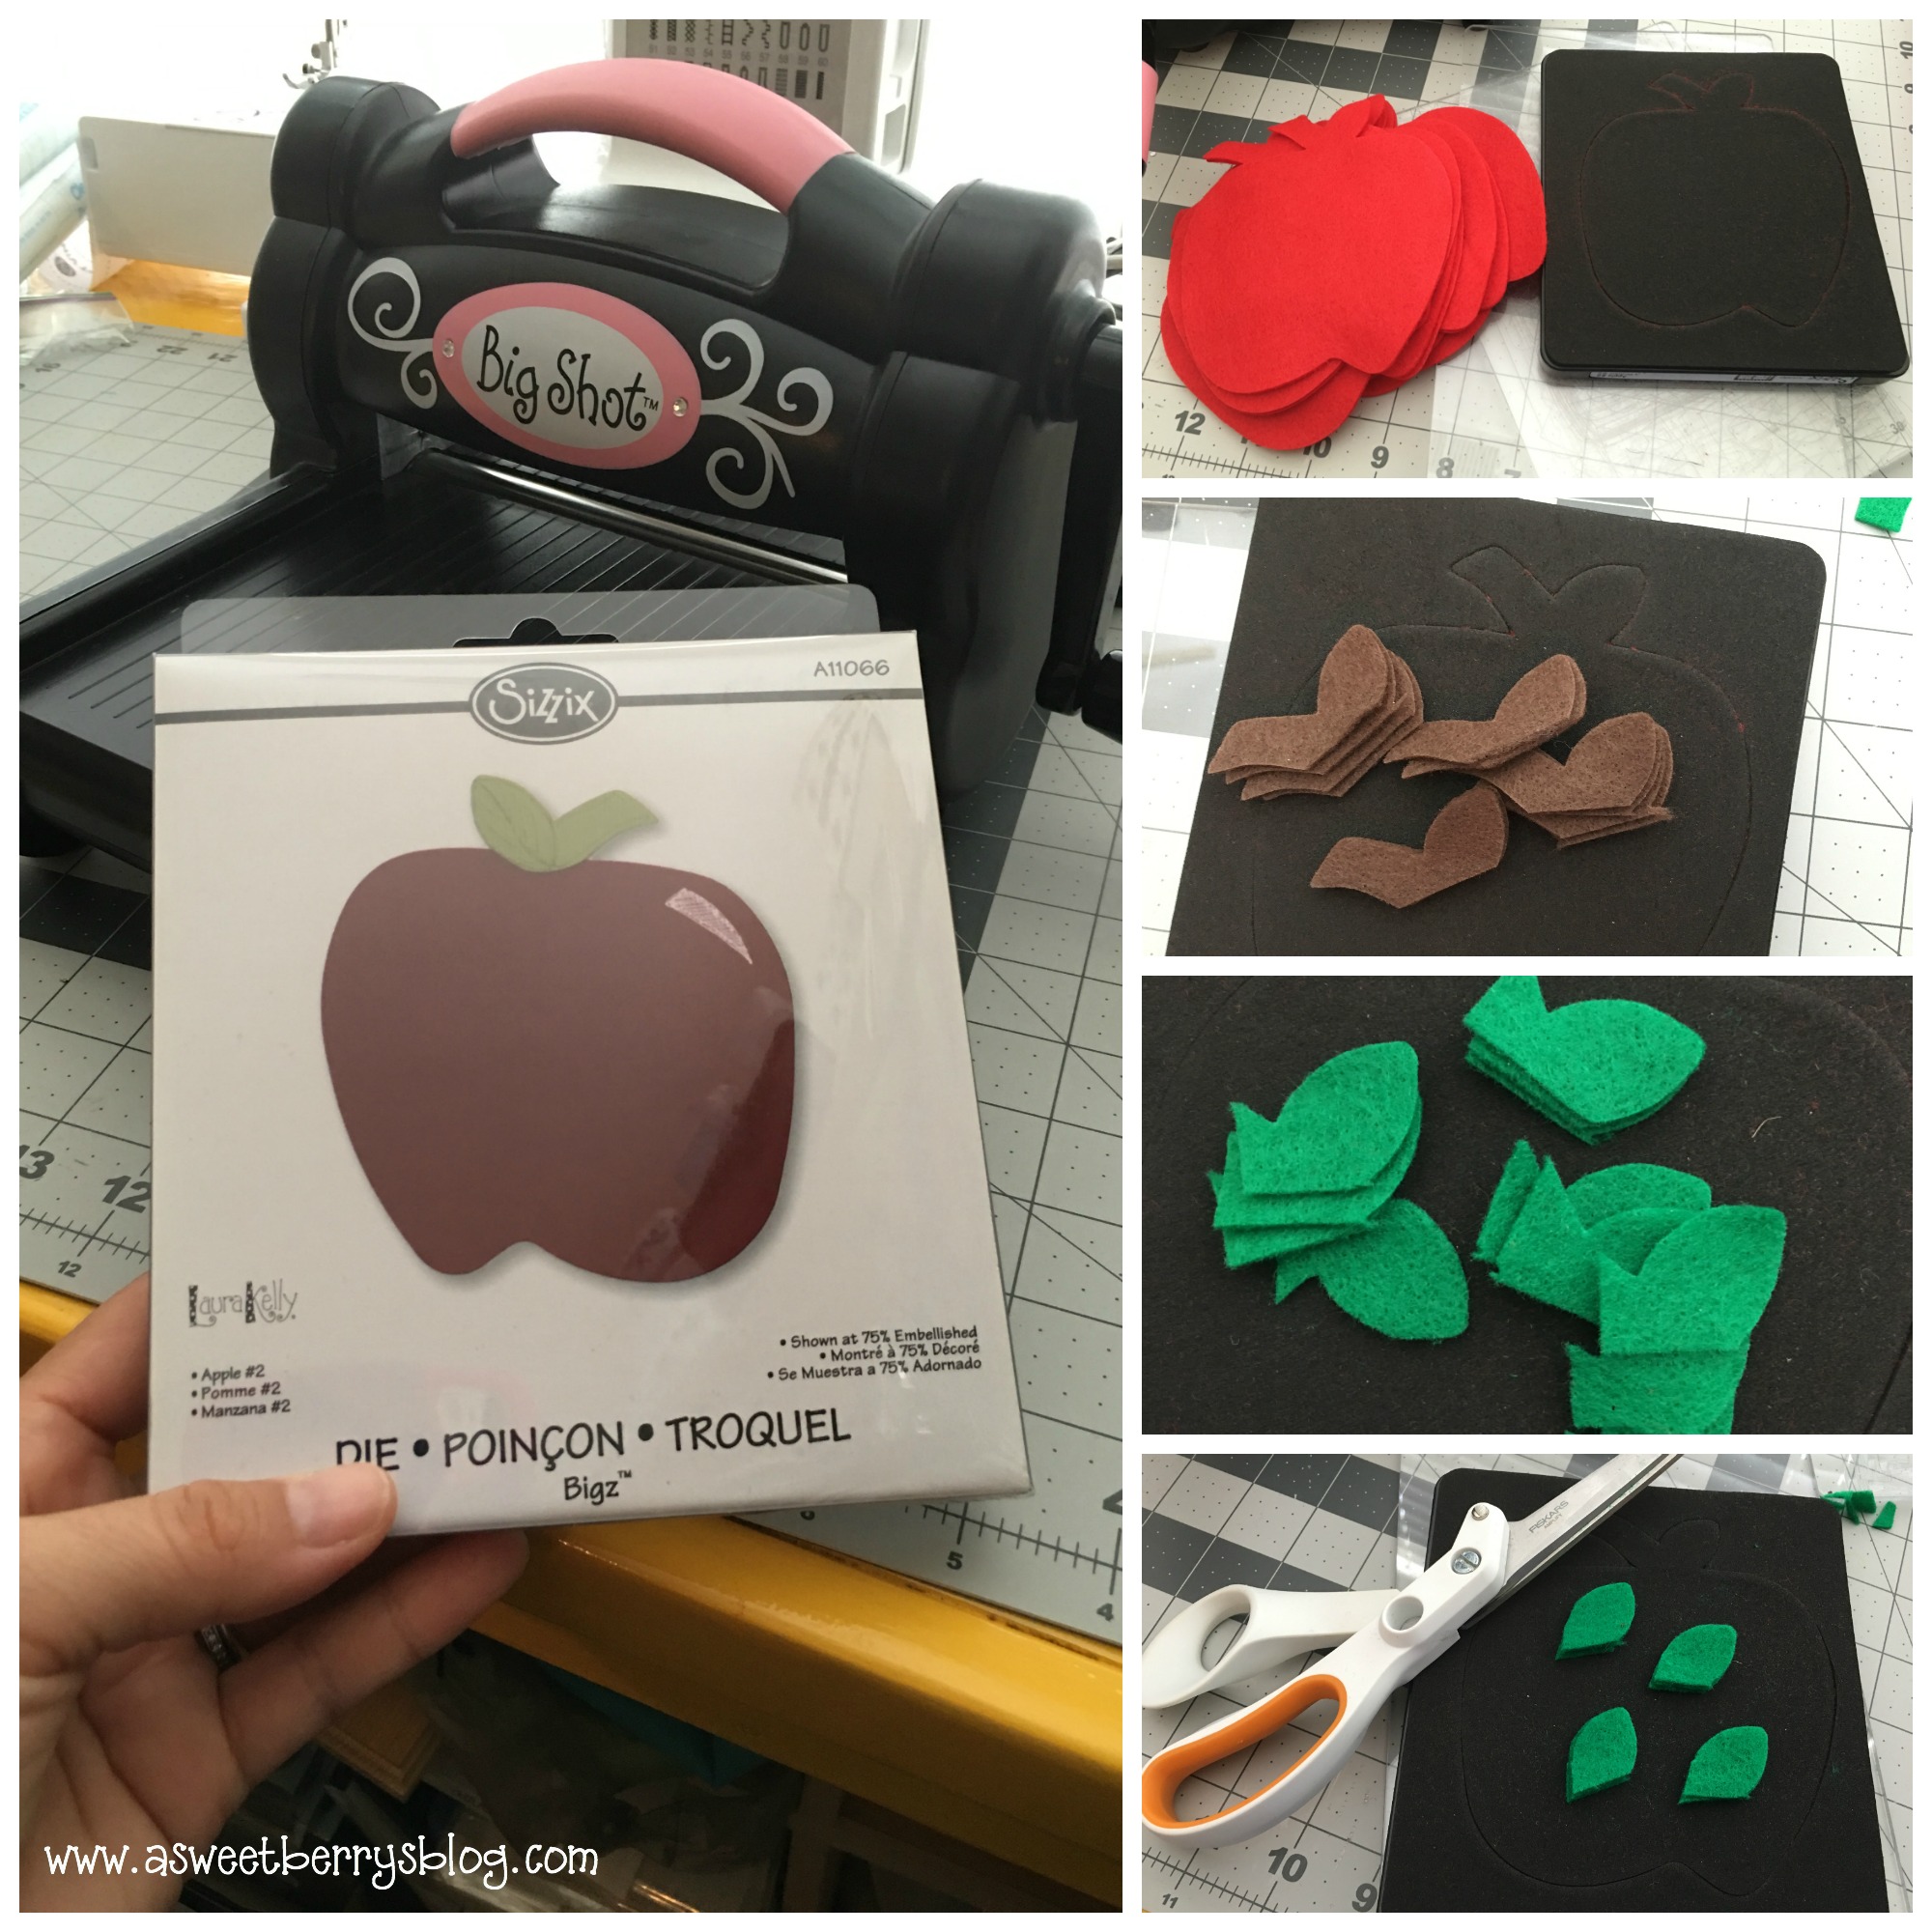
Print out the patterns and pin them to the felt.

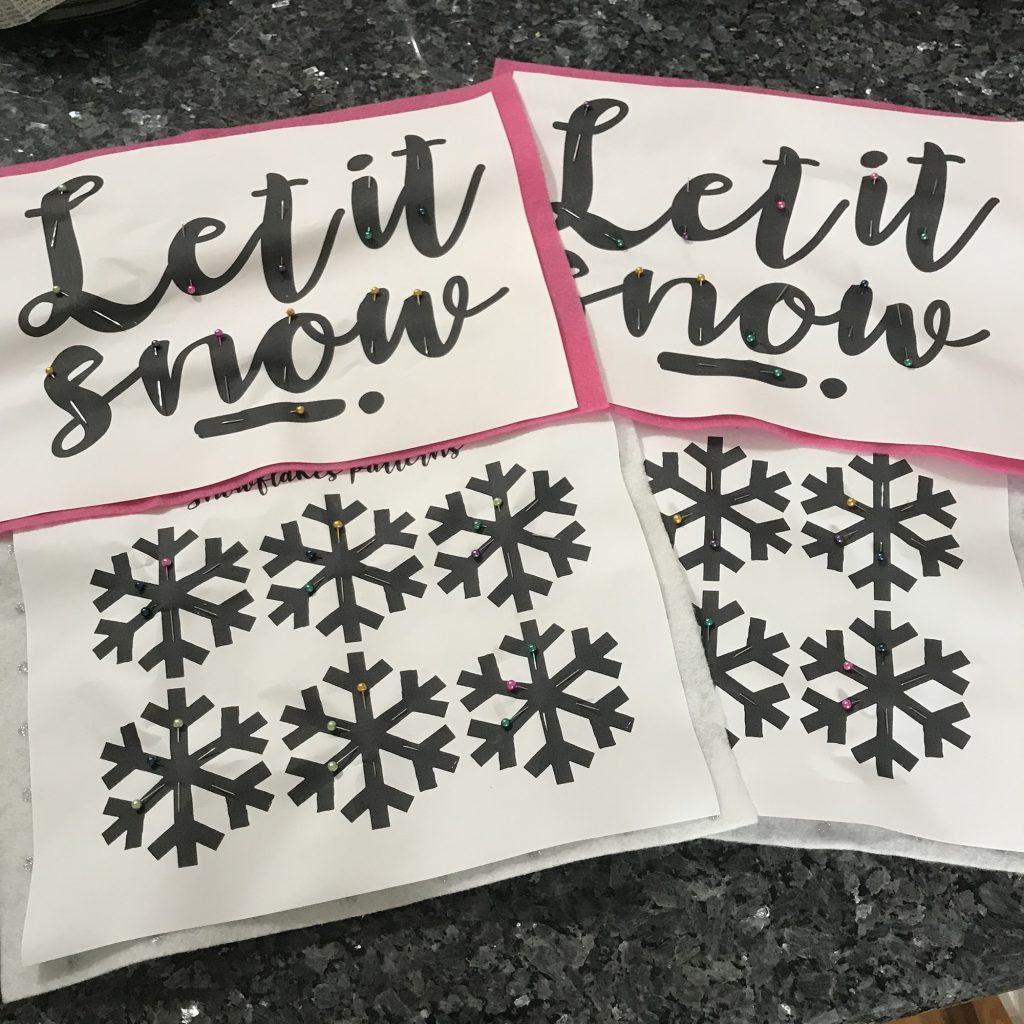
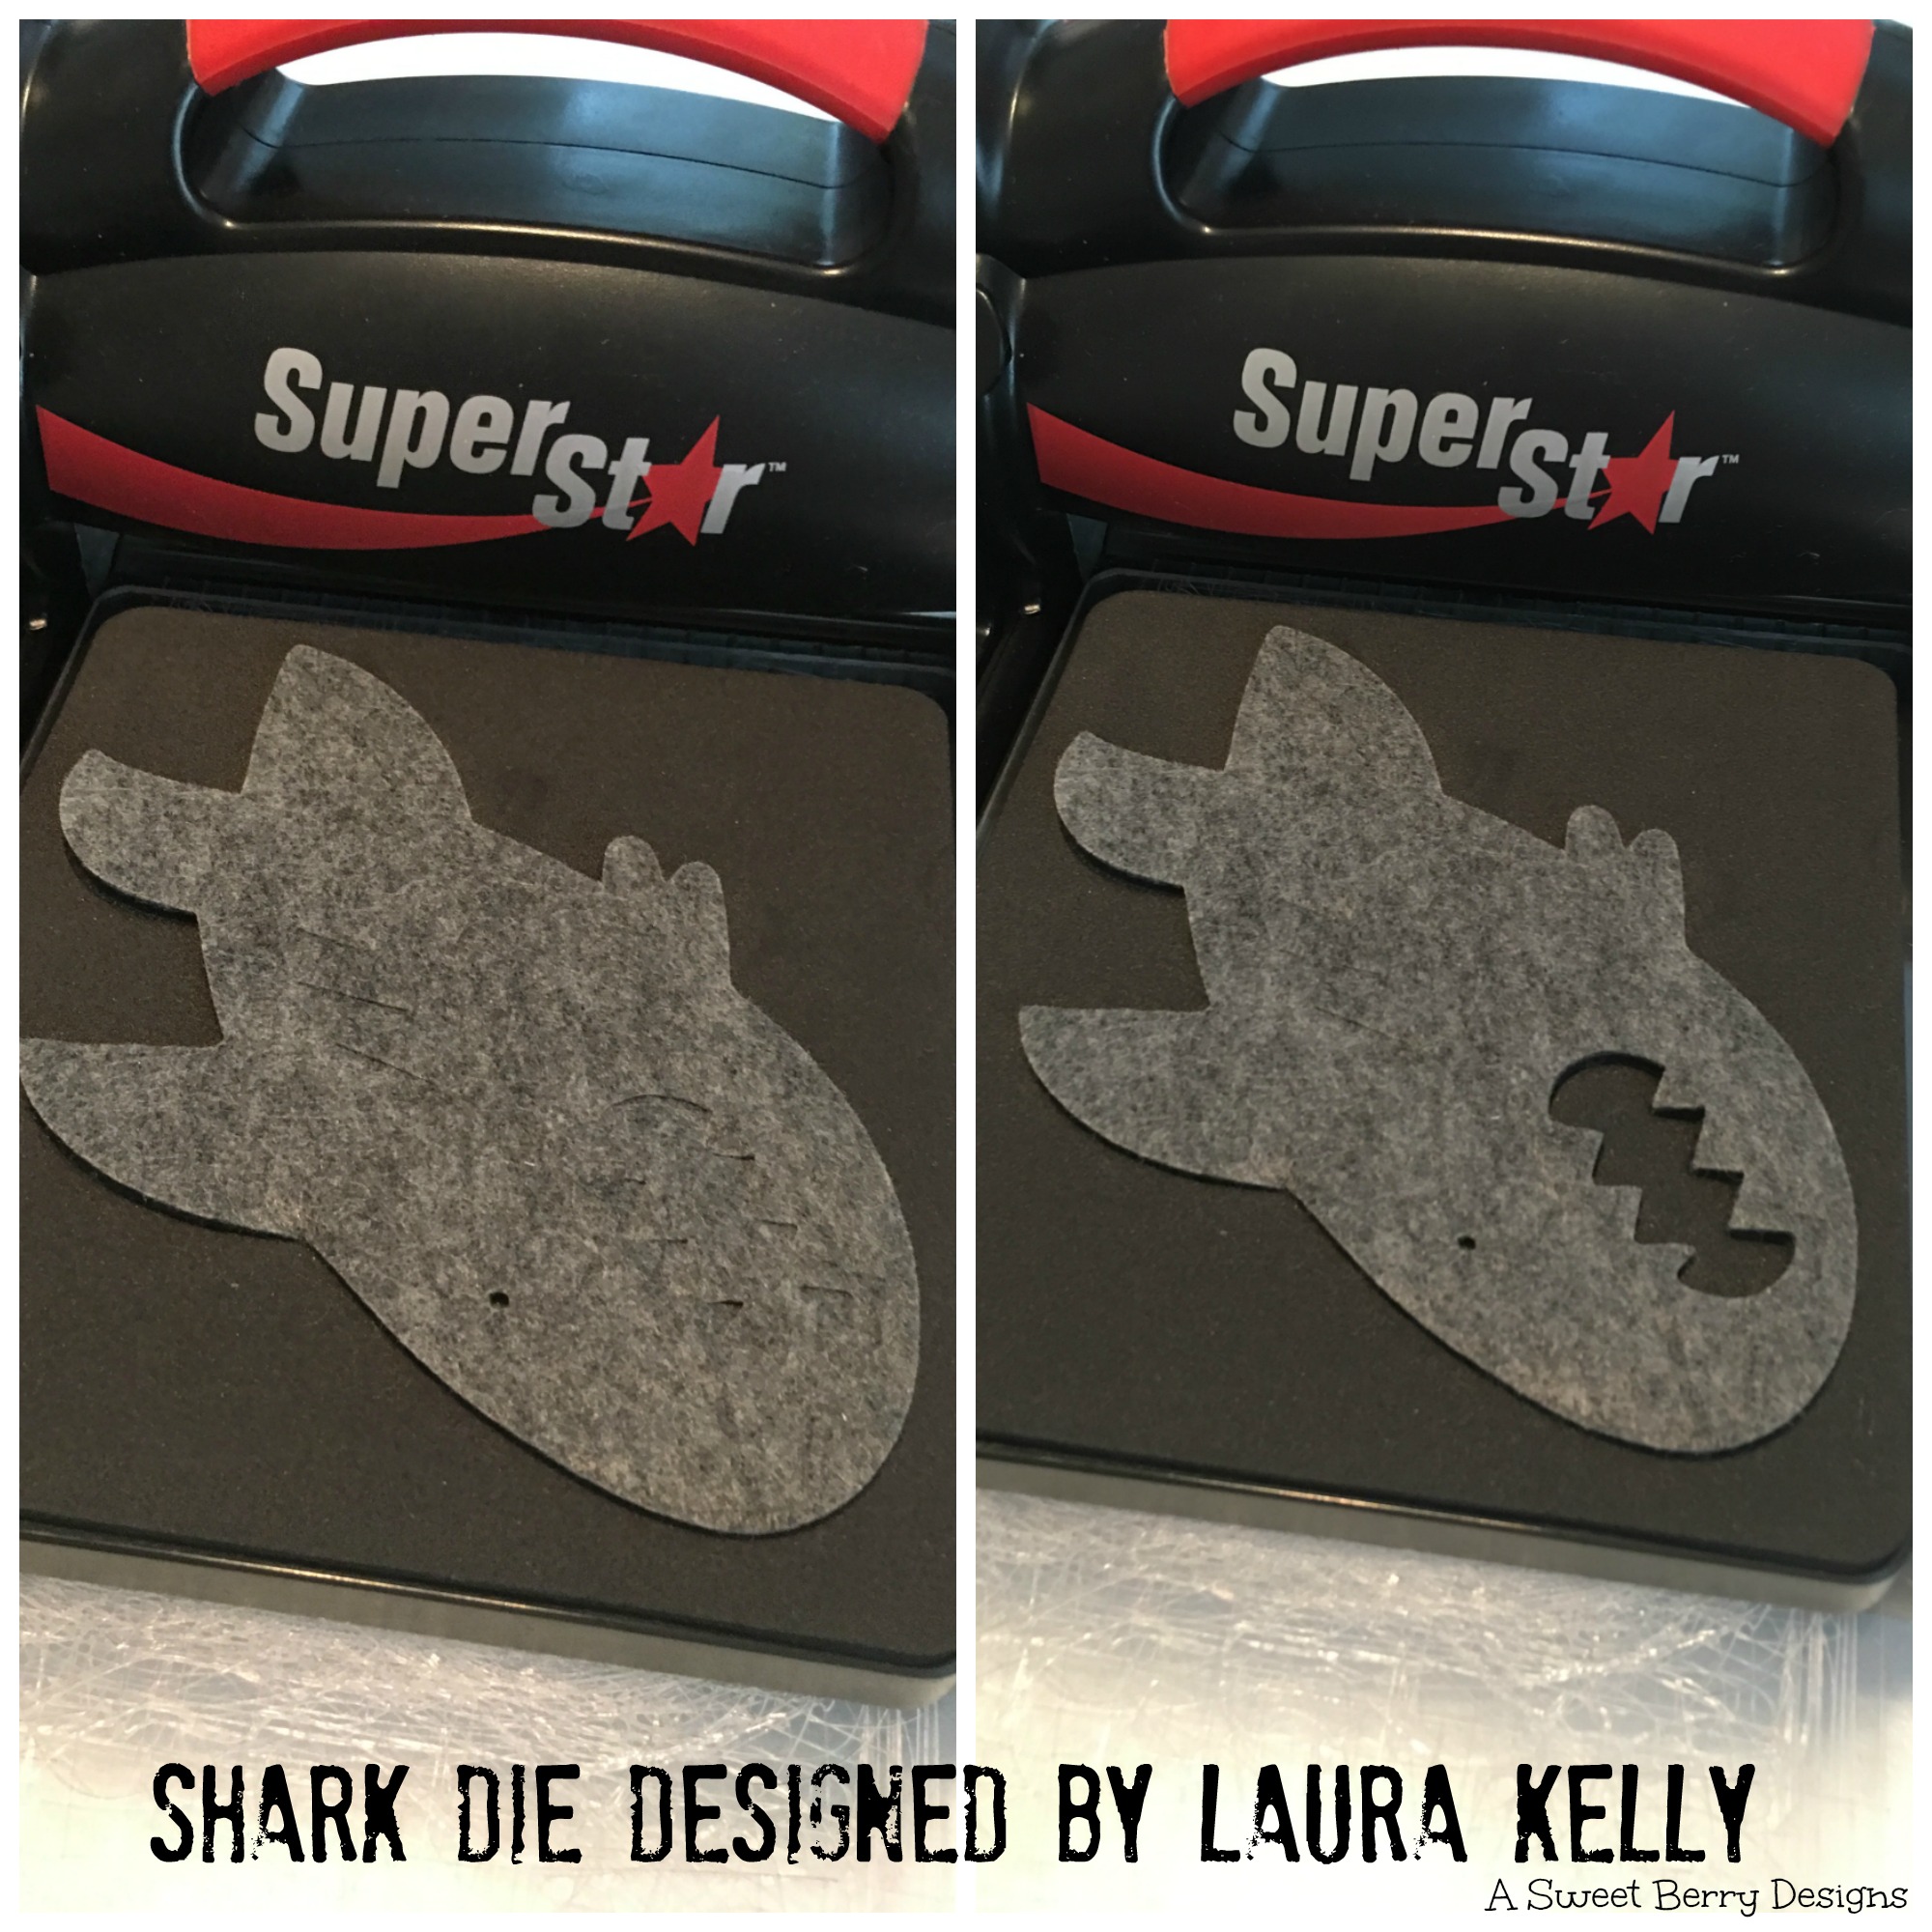
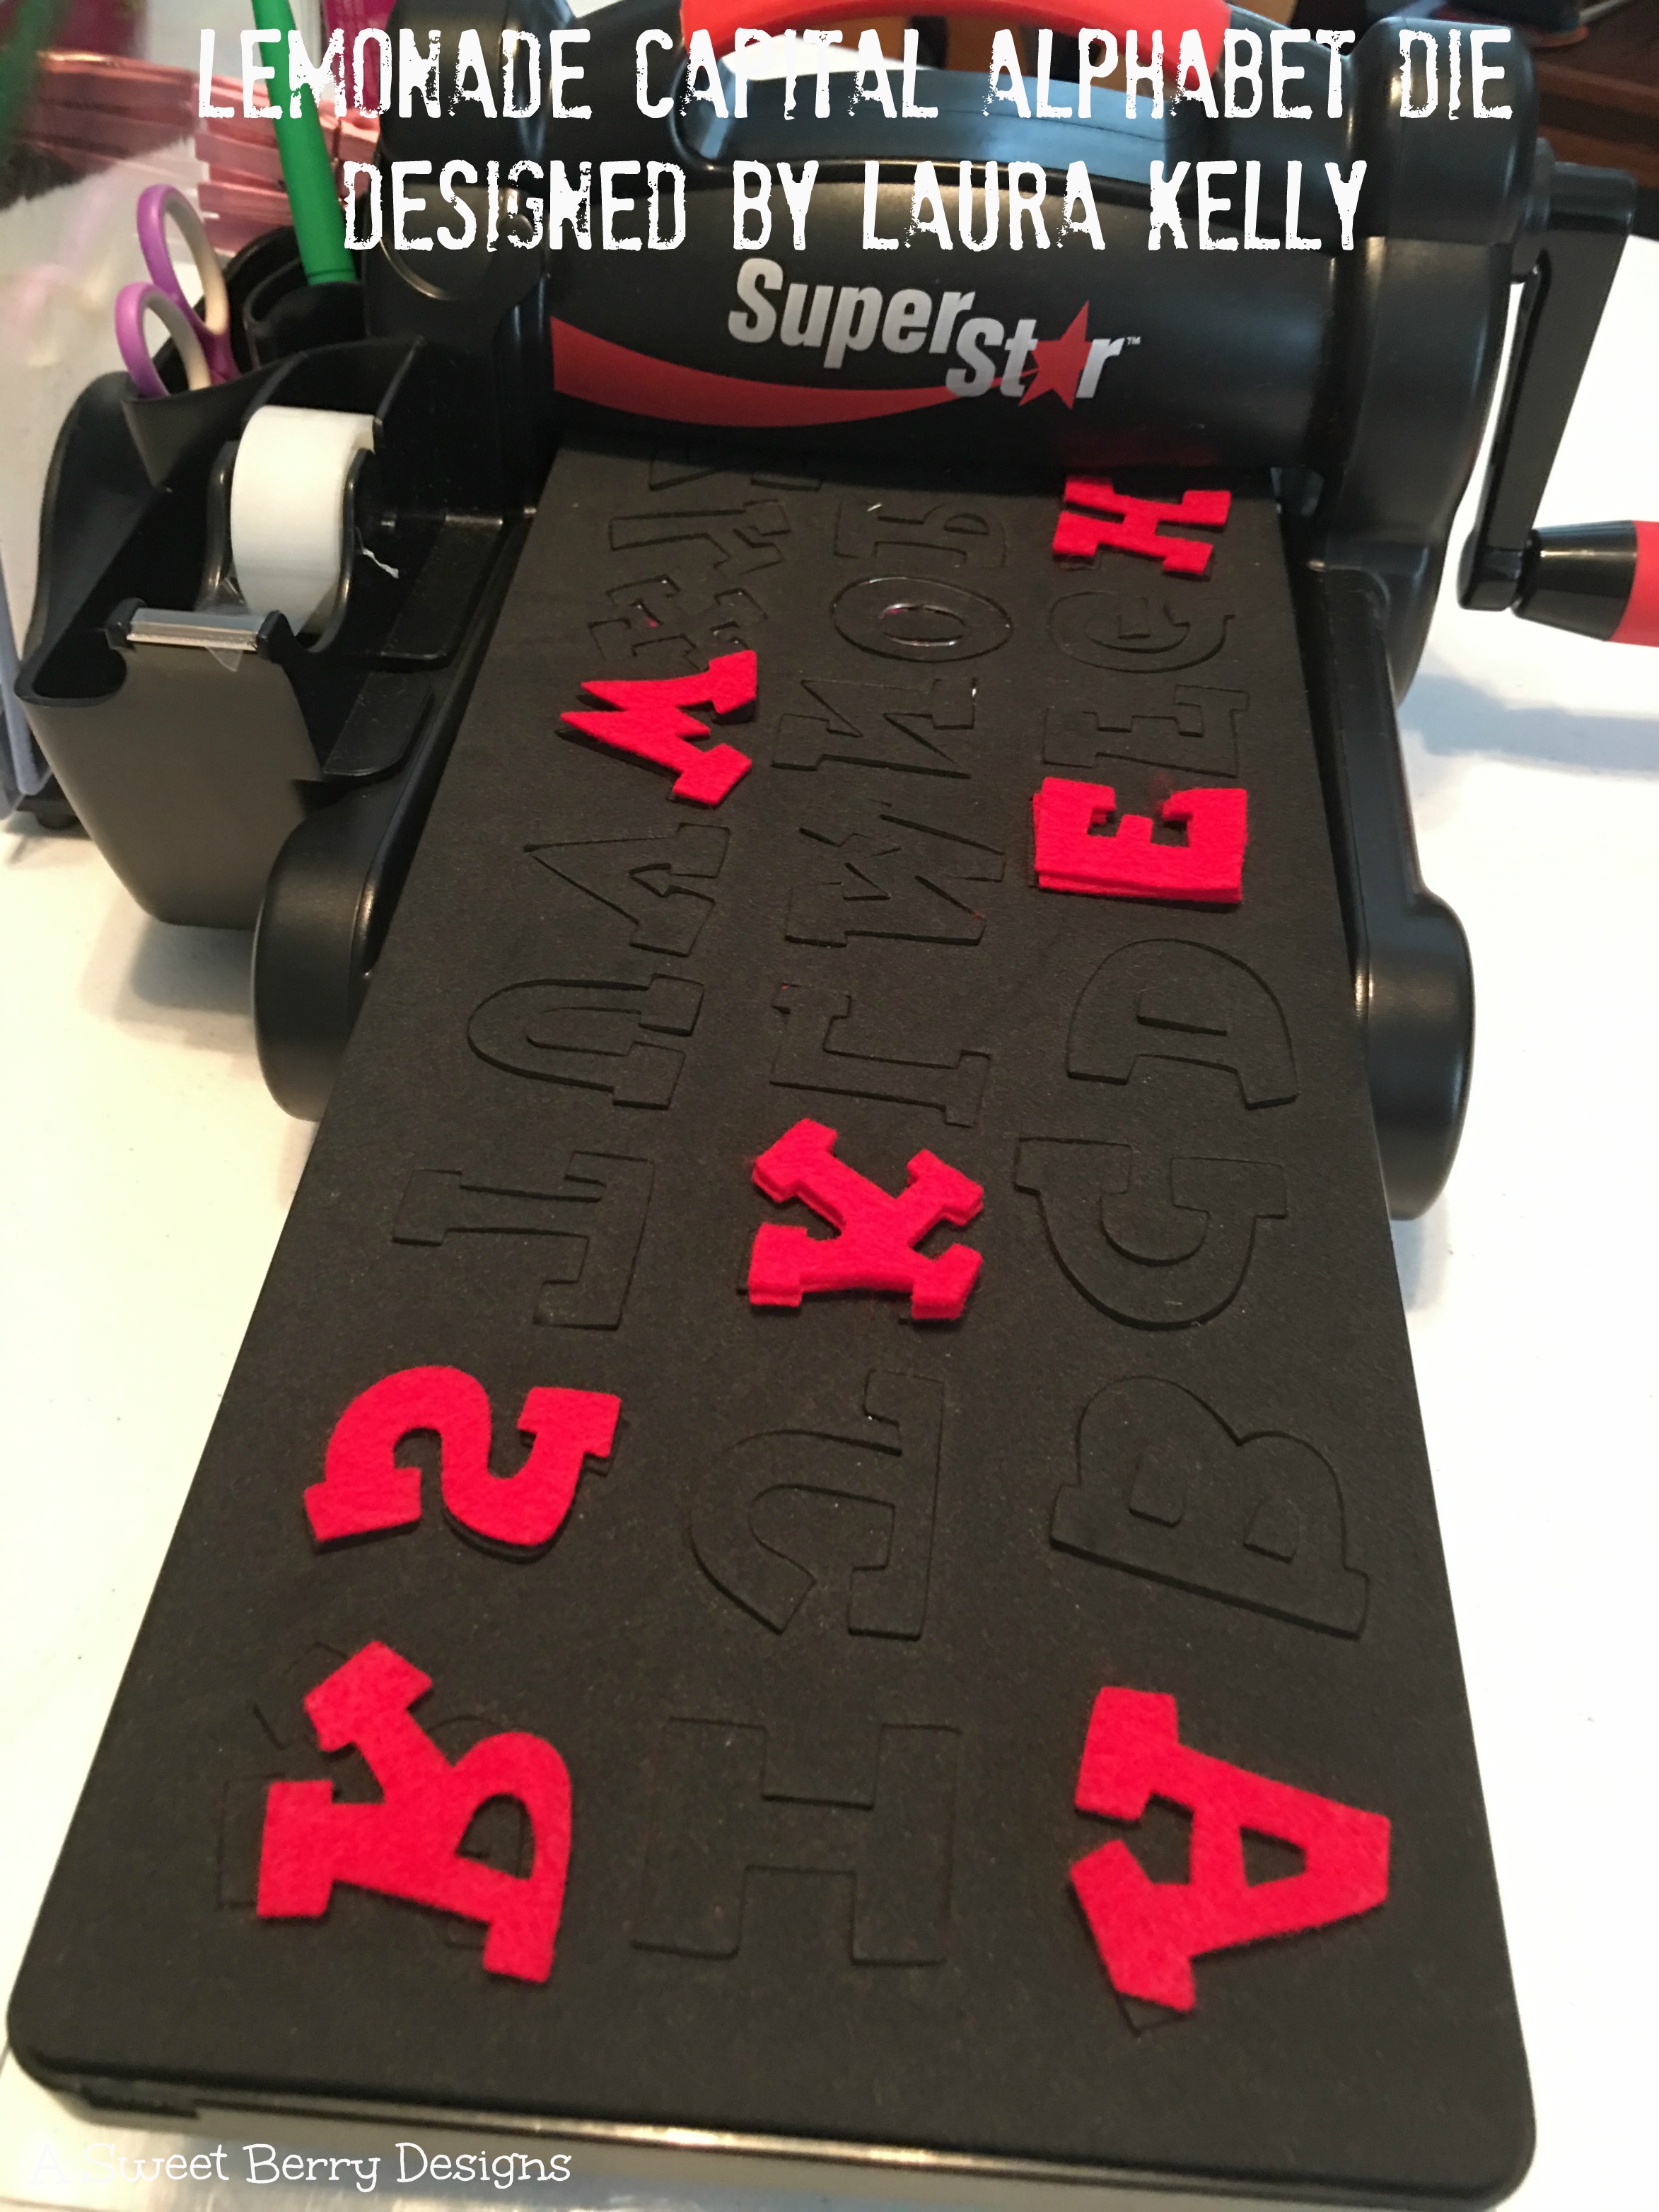
Cut the snowflakes and the letters from the felt.

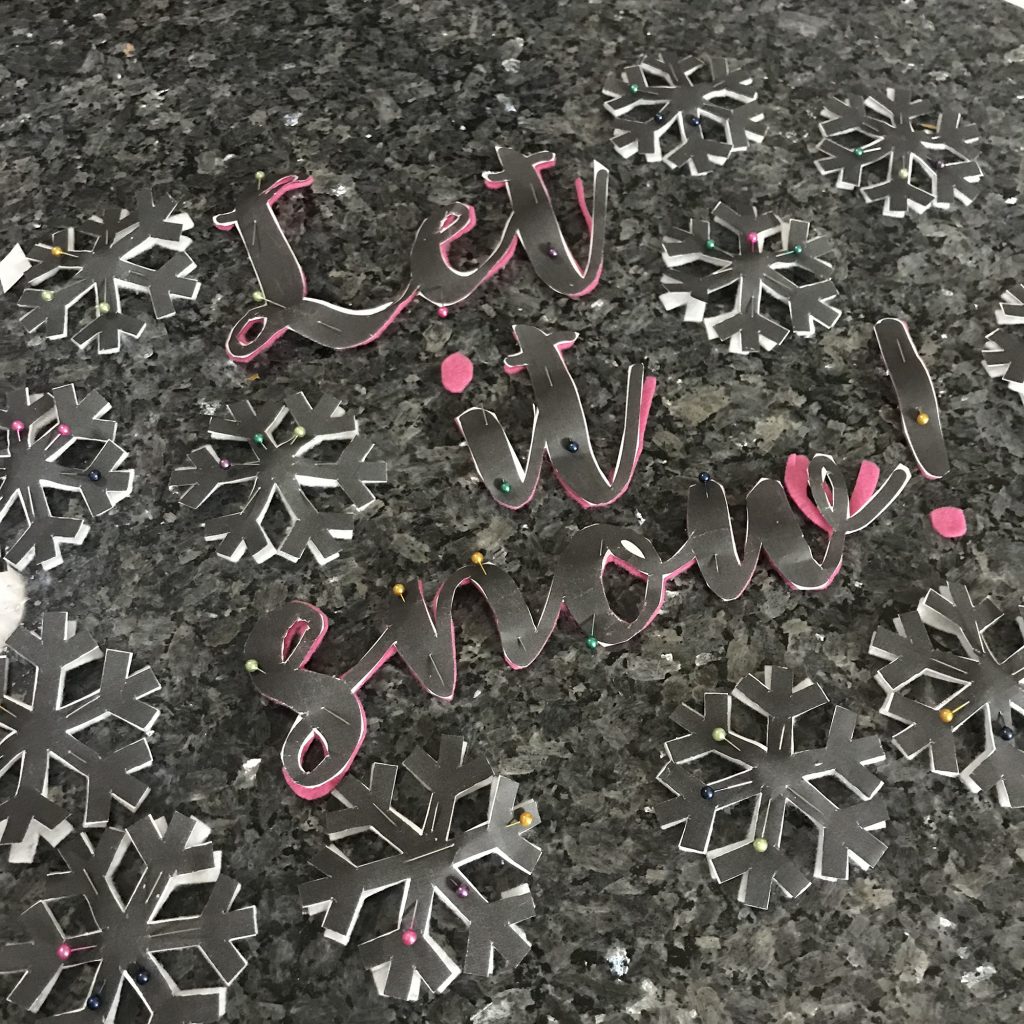
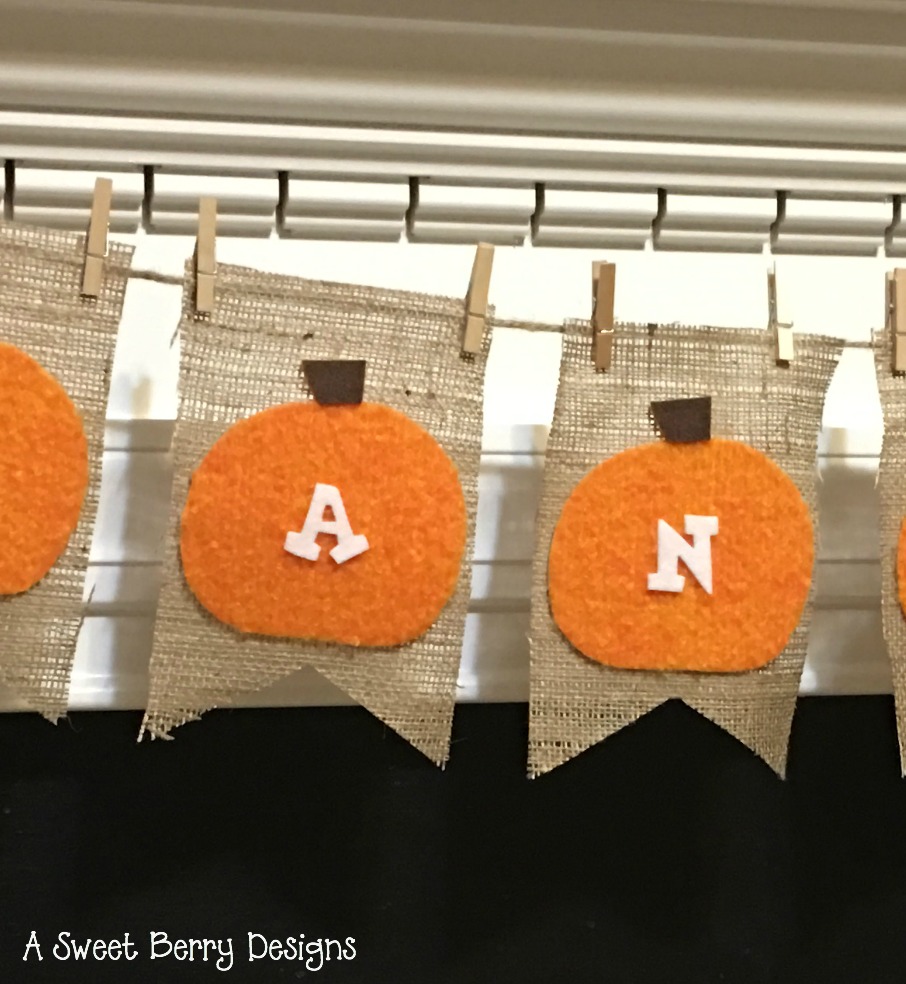
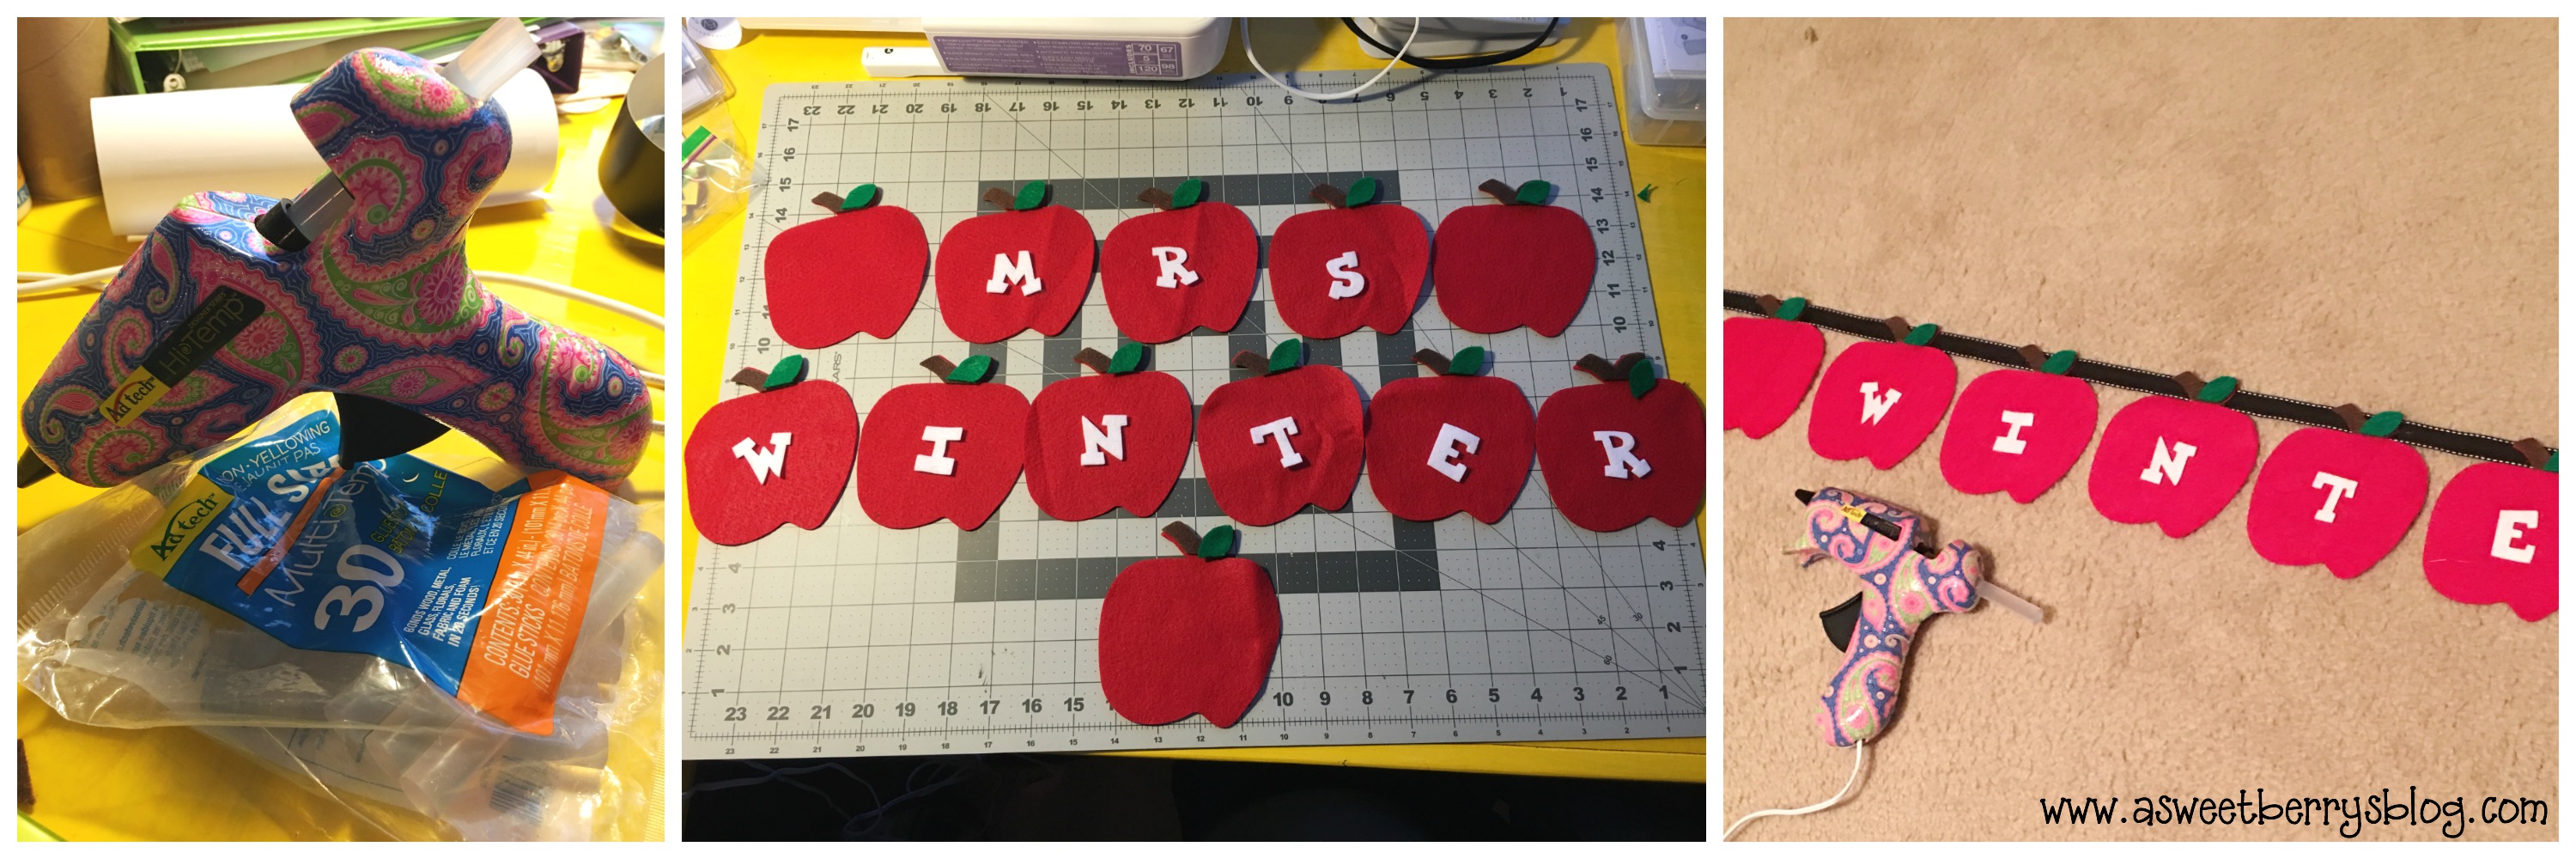
Once everything is cut out, lay the pieces out on the pillowcase to make sure you have it where you want it.

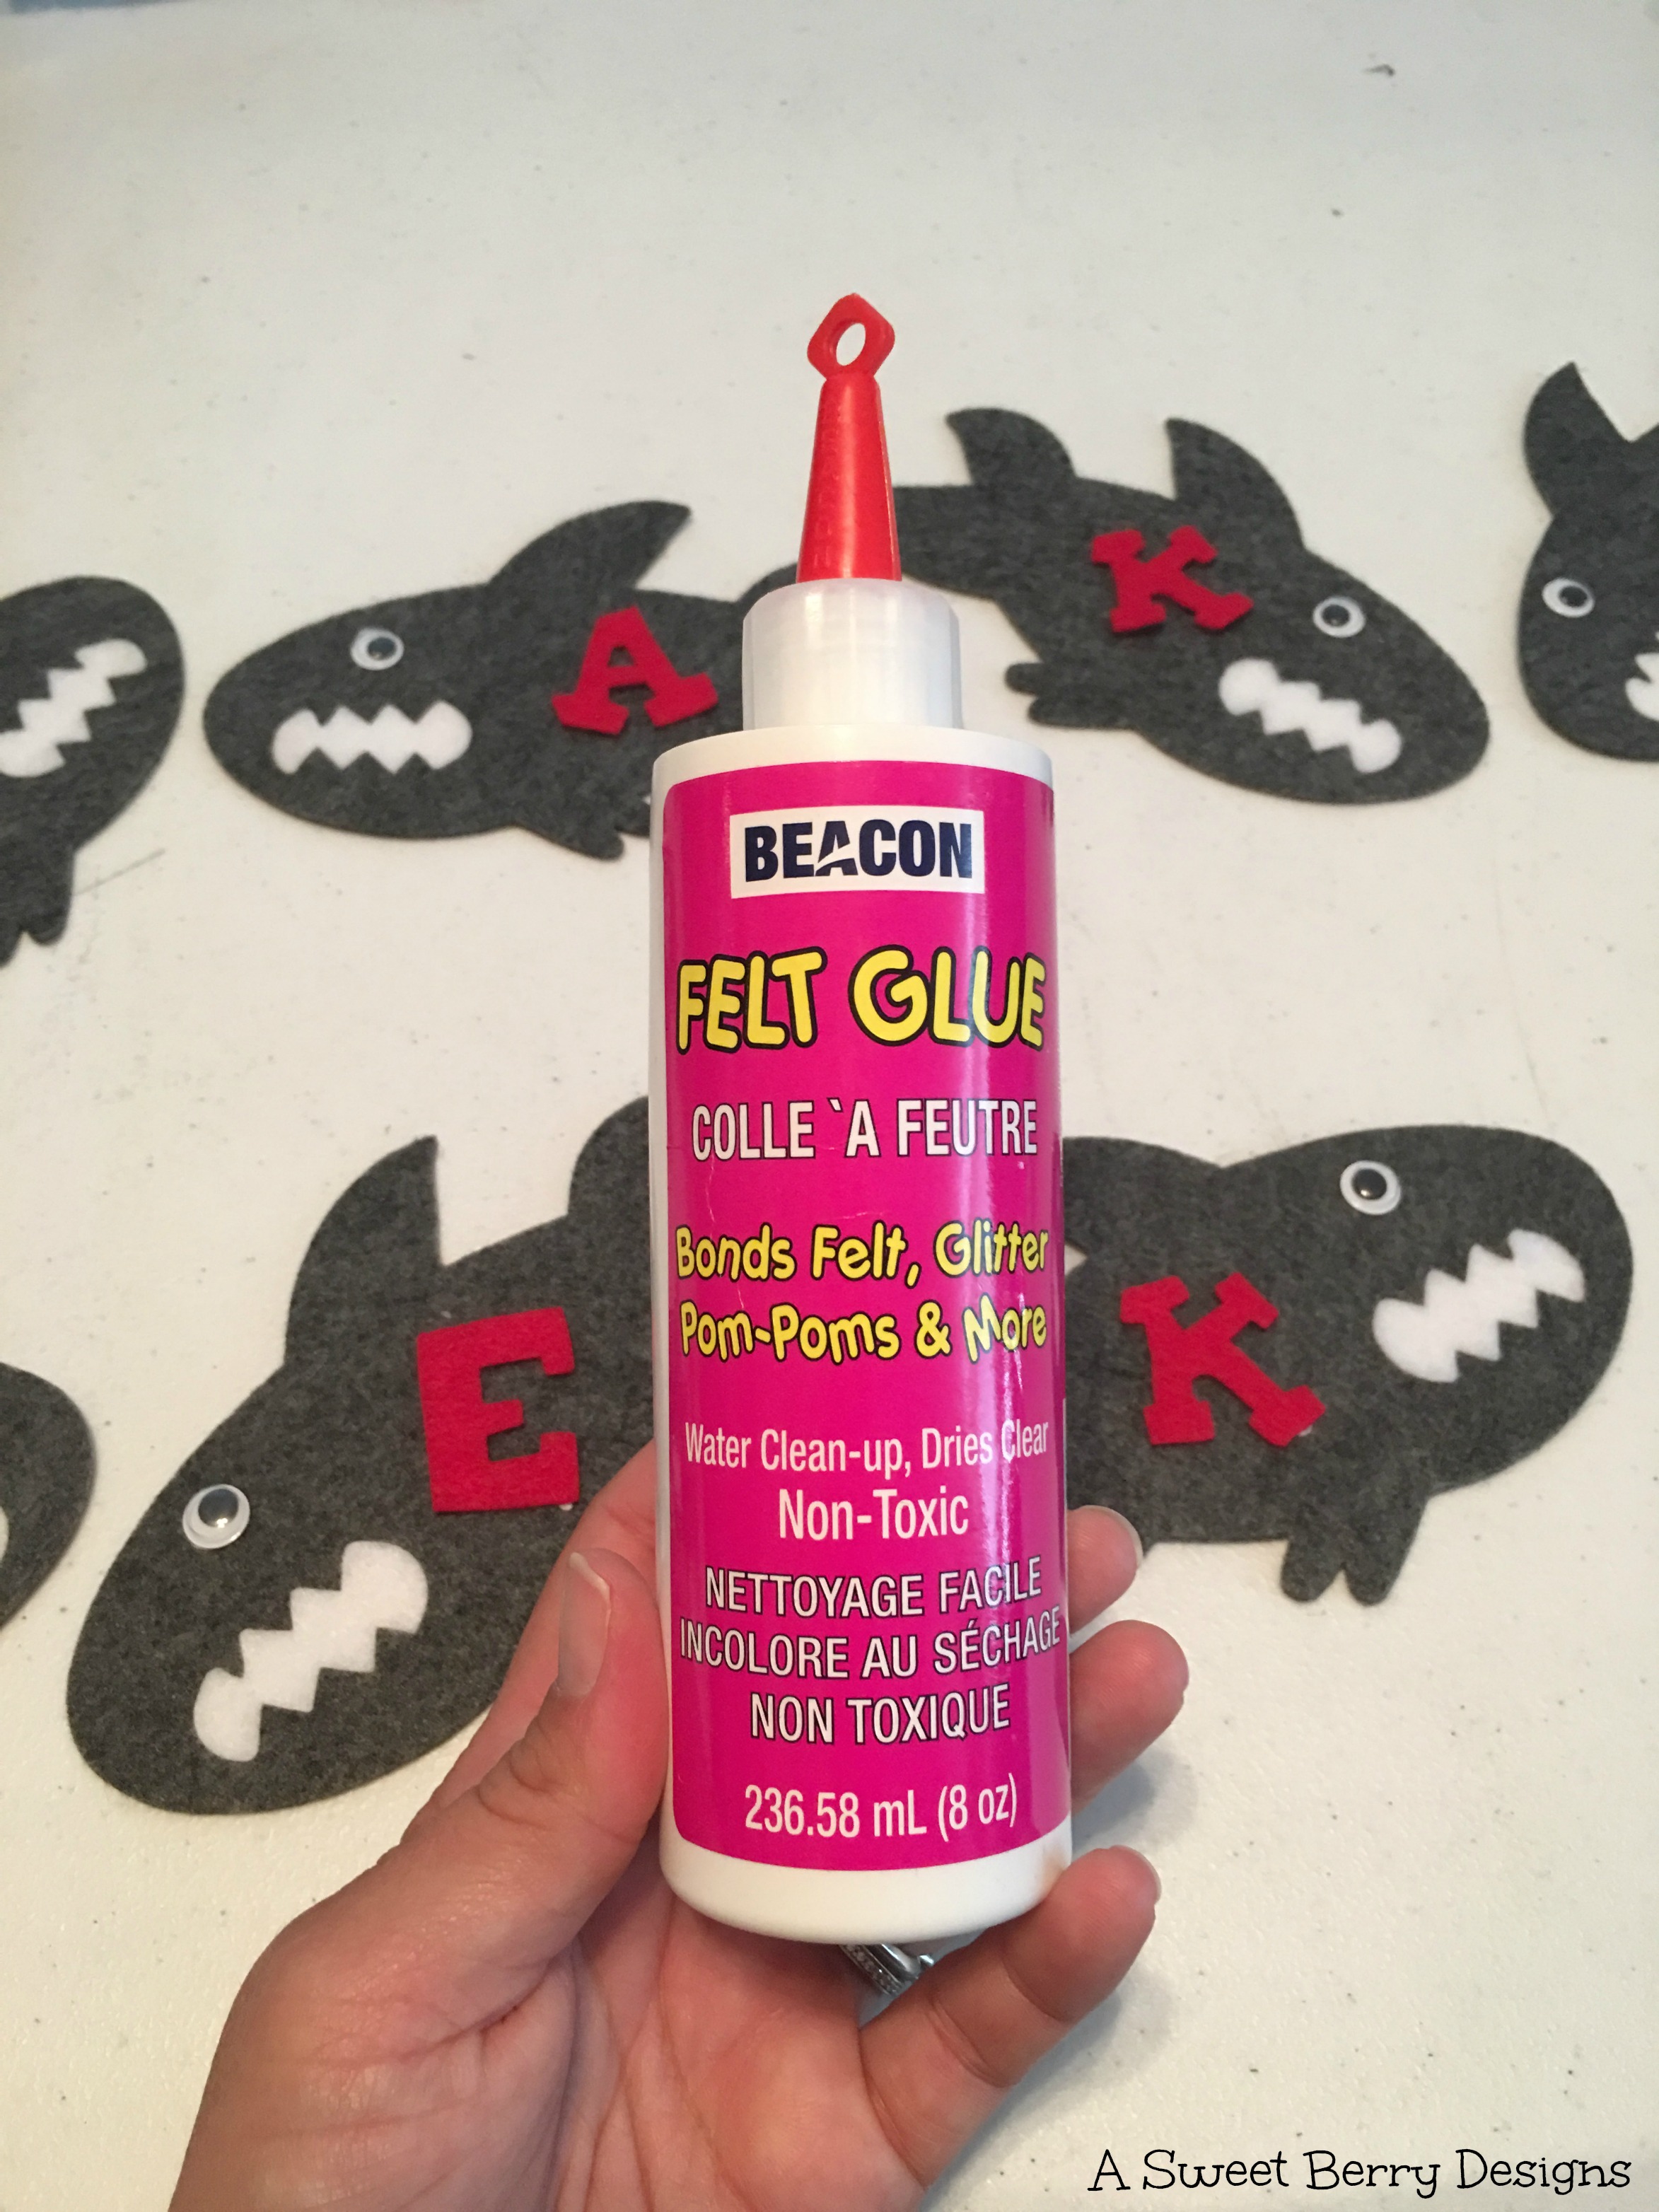
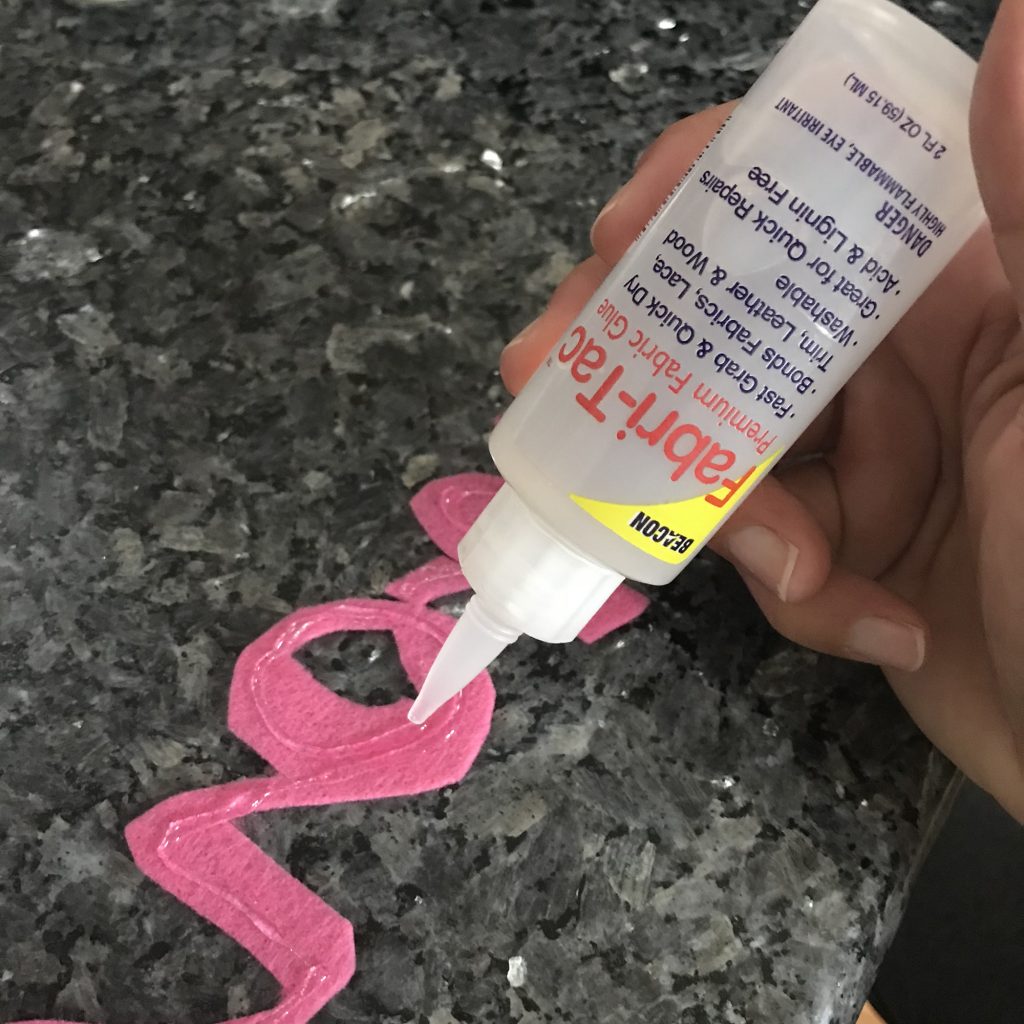
Using Beacon’s Fabric-Tac Premium Fabric Glue, glue your pieces in place.

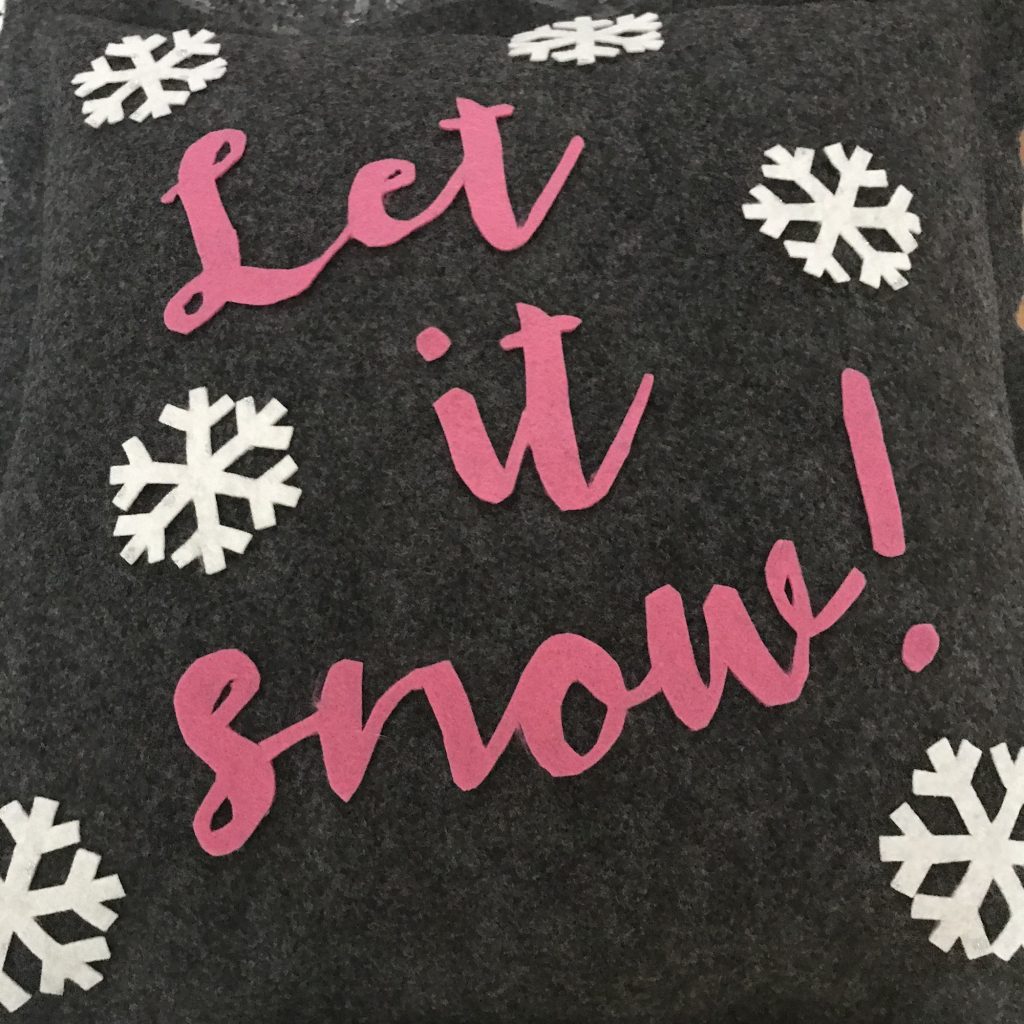
Let the glue dry and then your pillows are ready to use!

Hope you like these adorable Let it Snow! Pillows that I created for the Fairfield World Pillow Party 2019. Be sure to check out the other pillows that were created!

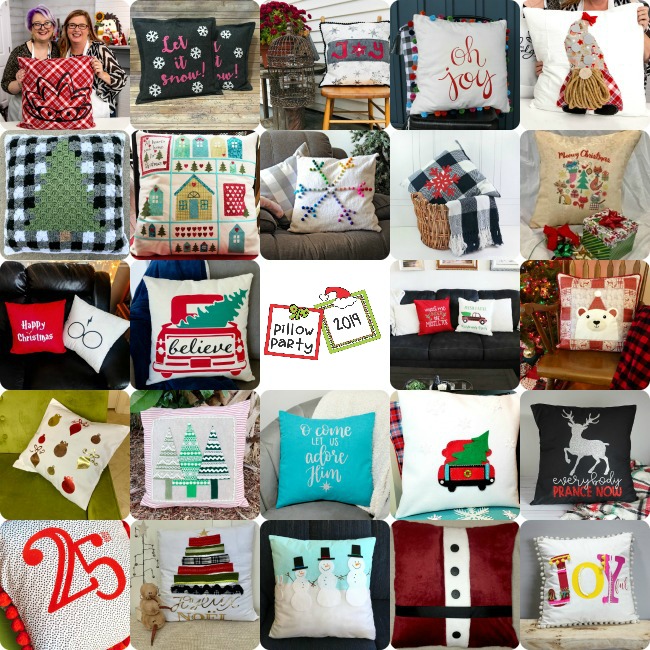
Also, enter below to win a $100 gift card to Michael’s and 10lbs of Poly-Fil.

a Rafflecopter giveaway

Until next time…..

Shark Week Shark Banner

Disclosure:   This post contains affiliate links.

Shark week is next week and the Berry family is ready!  To get ready, I made this adorable Shark Week Shark Banner using my dear friend Laura Kelly’s dies from Sizzix/Ellison and felt from the Kunin Group!  It was super duper easy!  Check it out!  You can make you own!

Materials needed:

How I made it:

Using the Super Star Die Cutting Machine and Cutting Pads, I cut my felt sharks from Laura Kelly’s Shark Die.  I also cut the sharks teeth out of white felt.

Then I cut out the letters “SHARK WEEK” from Laura Kelly’s Lemonade Capital Alphabet Die using red felt.

Once I had all of my pieces cut out, I used Beacon Felt Glue to put everything together!  I added wiggly eyes to make the sharks look silly!

Once everything was dry, I hung them up on two strands of jute rope!  I had an extra shark, so I added him to the middle!

Hope you like this super easy Shark Week Shark Banner!  I love using these dies and Kunin felt!

Patriotic Hoop Art

Happy 4th of July to everyone!  I hope that everyone is having a great time celebrating the birth of our country!  To help celebrate and decorate for the 4th, I made these Patriotic Hoops!  

Materials needed:

  • 9” x 12” craft cut of Kunin Classicfelt™ Royal Blue, Red, and White
  • 8 inch Embroidery Hoops
  • Felt Glue
  • Hot Glue Gun and Glue Sticks
  • Sizzix/Ellison Die Cutting Machine and Cutting Pads
  • Laura Kelly’s Lemonade Capital Alphabet Die
  • Cutting Mat, Rotary Cutter, Ruler
  • Star Stickers

How to Make it:

  1.  Take the embroidery hoop apart, place a sheet of felt in the hoop and replace the top hoop.
  2. Cut the excess felt from the back.  
  3. Cut strips of felt (1″x12″ for the USA Stars and Stripes and .25″x12″ for the God Bless The USA hoop).
  4. Glue the strips to the back of the hoop and cut the excess from the top.
  5. For the stars on the USA hoop, I used stickers as patterns.  I placed the stickers on the white felt and then cut around them.
  6. Using the Sizzix/Ellison Die Cutting Machine, the cutting pads and the alphabet die, I cut all of the letters needed.
  7. Glue the letters down using felt glue.

I hope you like these Patriotic Hoop Art pieces!  They are so festive and are perfect for the 4th of July!

HAPPY 4TH OF JULY!!!

Until next time….


Kunin Felt Welcome Banner

Spring is just days away and it’s time to change out the winter front door decor to something bright and Springy!!!!   Check out this adorable Welcome Banner I made for my front door!  Be sure to CLICK HERE (or the photo) to find out how I made this banner using products from Kunin Felt Group!!!!


Kunin Felt Embroidery Hoop Art

Sometimes I like to be a little unconventional!   This time it’s with a Valentine’s Day Card!  I’m participating in a Valentine’s Day DIY Card Swap!   So, for this Card Swap, I made an Embroidery Hoop Art that can be displayed using Kunin Felt!

Hoop2_Final

Materials Needed:
Embroidery Hoop (I used a 4 inch)
Pink and White Felt (Kunin Felt)
Scissors 
Beacon Felt Glue
Tulip Fabric Paint

Felt In Hoop

Directions:  

1.  I placed the felt in the hoop and tightened the screw.

2.  Once the fabric was pulled tight, I trimmed the extra felt.

Glue and Paint

3.  From the white felt, I cut a heart and the letters to spell “LOVE”.  

4.  Using Beacon Felt Glue, I glued them down.

5. Using Tulip Slick Fabric Paint, I added some details.

6.  Let dry and then it’s ready to be put in the mail to a special person!

Here is one that I made for the Designer Section Share The Heart Free Art Project at Creativation in Phoenix, AZ last month.  Pieces of Art with a Heart made by the CHA Designers placed art around the show and people could find it and keep it!  My friend Laura Kelly was the one to find mine!  For this one, I used Laura Kelly’s Lemonade Alphabet and Heart #5 dies from Sizzix.

IMG_9201

Check out 9 other great Valentine’s Day Card ideas!

Ariel from PMQ for two’s post // here //

Laura from Me And My Inklings’s post  // here //

Julia from Bunny Baubles’s post // here //

Alexis from Persialou’s post // here //

Mila from Jest Cafe’s post // here //

Lisa & Rachel from Haute Girls Official // here //

Dena from Dena Designs’s post // here //

Mara from Wishes and Merriment’s post // here //

Amy from The Glitter In My Tea’s post  // here //

Also, here is a more traditional Valentine’s Day Card!  Click the photo to check it out!

Heart Card

Hope you enjoyed this Embroidery Hoop Art!  Until next time….


Kunin Felt Love Banner

Disclosure:   This blog post contains one or more affiliate links.

It’s time for the Valentine’s Day Craft Lightning series!   And since I’m obsessed with banners lately, this was an easy one for me!  It really takes less than 15 minute and even the kids can help out with it.

Banner

Materials needed:
Sizzix Cutting Machine (I use a Big Shot)
Kunin Felt
Dies:

Felt Glue (I use Beacon’s)
Jute Rope
Clothespins (I like the medium sized ones)

Step 1:  Using the Big Shot machine and dies, I cut all of my pieces.  Lori Whitlock’s Banner die is my favorite die ever, especially with the banner craze that I have right now!!!!   I also love Laura Kelly’s Lemonade Alphabet!   The Sizzix Wavy Frame is so versatile!   I cut the frame out in two different felt colors.  

dies

Step 2:   Lay your design out.  At first, I wasn’t going to add the inside of the frame piece, but then I decide to.  I like it!  Once you have it laid out the way you want it, glue it all down.  I glued the frames down first and then added the letters.

Glue Time

Step 3:  Let it dry and then add it to your jute rope using clothes pins.  Then hang it up!  Another option is to cut small cuts into the top of your felt banner and then slide it onto the jute rope.  I like the clothespins, simply for the fact that I like to make banners for different occasions and I can just switch them out!  I love to use Command Strips to hang up my banners.   They are easy to remove and you can put them wherever you want!

clips and rope

I hope you like this adorable LOVE banner made from Kunin Felt.  

Be sure to check out all of the other quick and easy Craft Lightning Valentine’s Day crafts by clicking the button below!!!


Katie-Signature-2

Thankful Burlap and Felt Banner

Disclosure:   As a member of the Laura Kelly Design Team, I received product from Sizzix/Ellison for use in my blog posts.  The opinions are my own.  This post may contain affiliate links.

Thanksgiving is upon us.  And I’m feeling really thankful this season.   I’m thankful for my family and my friends.  I’m thankful for a house to live in, food to put on the table and a bed to sleep in.  I’m thankful for a car to drive.  I’m thankful for my husband’s job and for my job.  I’m thankful for my church and church family.  I’m thankful that my children go to a great school.  And I’m thankful to be healthy!  My list of thankfulness could go on and on and on.

banner-final

Lately I’m obsessed with banners!  I love to make them as much as I love hang them in my house!  They are easy to make and you can make them any ways that you want!   They can really make a difference in your home, even if it’s just for a little color!

Just recently Sizzix sent me this amazing banner die designed by Lori Whitlock.  I used it, along with some of my favorite dies by Laura Kelly, to create this amazing Thankful banner!  This banner die might be one of my favorite dies ever!

Materials used:

Directions:

  1. First, I cut out all of the pieces needed for the banner.   The ShaggiChic felt is a little thicker so I cut them individually.  Sometimes you can cut multiple pieces in one run through of the Big Shot. 

pumpkin-die

With the burlap I placed a piece of paper underneath the burlap each time I did a cut.  I didn’t want the fibers of the burlap to get all over the die.   Putting the paper underneath really helped.

banner-die

2.  Once all of my pieces were cut out, I started putting the banner together.  I glued the pumpkins to the burlap banner pieces.  Then I added the letter and the stem.

letters-and-gluing

3.   Usually I like to use ribbon for my banners, but lately I’ve liked using jute rope.  Jute rope goes really well with the burlap!  And I love the natural look of the jute rope!

unclose

I hope you like my Thankful burlap and felt banner.   I love it so much that I want to keep it out longer than just the Thanksgiving season.  I hope that you and your family have a Happy Thanksgiving!

Katie-Signature-2

Teacher’s Name Banner featuring Laura Kelly’s Apple #2 Die from Sizzix

Disclosure:  I am a member of the Laura Kelly Design Team and received product to provide product reviews and to write about in blog posts.  

 
Final
If your children aren’t in year round school like mine, it’s time for yours to go back to school!   I am excited to share this Teacher’s Name Banner that would be perfect for a teacher to hang in their classroom or right outside of the classroom.   It’s super simple and is a no sew project!  Your children could even help with cutting out the pieces!   I love making homemade crafts for my children’s teachers.  

Materials used:

Sizzix Big Shot
Laura Kelly’s Apple #2 Die from Sizzix
Laura Kelly’s Lemonade Capital Alphabet Die from Sizzix
Cutting Pads  (short and long)
Kunin Felt
Ribbon
Ad-tech Hot Glue Gun and Glue Sticks
Fiscar Scissors

Die Cuts 1.  First, I use the Sizzix Big Shot, Cutting Pads, Felt and Apple Die to cut out all of my pieces.  I did a full cut for the apple and then for the stem and leaf, I just placed my felt over the steel blade and ran it through the Sizzix Big Shot.  

2.  Then, I used Laura’s Lemonade Alphabet Die and Long Cutting Pads to cut the letters (Mrs. Winter, one of our favorite teachers!!) Adtech 3.  Once everything was cut out, I used my Ad-tech Hot glue gun and glue sticks to glue the stem    and leaves down to the apples.  

4.  I then glued them to a long piece of ribbon. Hallway

I hope you like my Teacher’s Name Banner featuring Laura Kelly’s Apple Die #2.   I had so much fun making it.  

Until next time…..

Katie-Signature-2

National Watermelon Day 2015

National Watermelon Day is here!  I love that Watermelon has its own special day of celebration each year!   We will be celebrating at our house!
square final photo
My friend Laura Kelly is an amazing artist and has designed these awesome Wacky Watermelon Printables with some of her adorable watermelon art.  I cut them up and used them to decorate my party table! Laura Kelly Wacky Watermelon
While I was at the store today, I saw that Pillsbury now has a Funfetti Gluten Free Sugar Cookie mix!   OMG, they are delicious!   How cute are these watermelon cookies?!  I baked them, cut the tops off of some to make them look like a watermelon half, and then cut two sides off to make angles for a wedge!   Not realizing it, I picked up the Pillbury Sugar Free Vanilla frosting!   The kids had no clue and there were no complaints!!!  I love how they came out! cookies
Using Kunin felts, I made this adorable Watermelon Banner!  Click the photo below to see how I made it! watermelon banner
Did you see those adorable lollipops in the photo?  Those are from Lollipics, with Laura Kelly designs on them.  You can get your own with custom designs!  They are great for parties , weddings, or gifts! Lollipics
Hope you like what we have in store for National Watermelon Day!   And I hope you have a wonderful Yummy Watermelon filled day!

Until next time….

Kunin Felt Watermelon Banner

In honor of National Watermelon Day on Monday, August 3rd, I made this adorable Watermelon Banner with Kunin Felt! watermelon banner
Using eCals2, I designed a half and a wedge watermelon slice.  I made three different layers, one for the rind, one for the white part and one for the red part.   Using my Sizzix Eclips2, I cut the pieces out to use as a template.   felt cutting
Instead of sewing my watermelons together, I used Aleene’s Fabric Fusion.  Super and easy and quick. fabric fusion
Once all of my watermelons were glued together and dried, I used mini clothes pins and red baker twine to hang the watermelon pieces. melons and twine
The watermelon banner is perfect for a watermelon party for any summer fun get together!  My boys will be celebrating National Watermelon Day 2015 with some yummy watermelon, Watermelon Sugar Cookies, Laura Kelly’s Wacky Watermelon Printables and some awesome Lollipops from Lollipics!  Click on the photo below to learn about these goodies!
square final photo Hope you like my Kunin Felt Watermelon Banner!   And Happy National Watermelon Day!

Until next time…..