Disclosure: I was provided product from Fairfield™ for this blog post. All opinions of these products are solely my own.
Creating a cozy porch reading corner featuring Fairfield World products is fun and easy. I’ve joined several crafty friends to create summer patio areas using products that we received from Fairfield World. Check out below how I created my cozy porch reading corner.
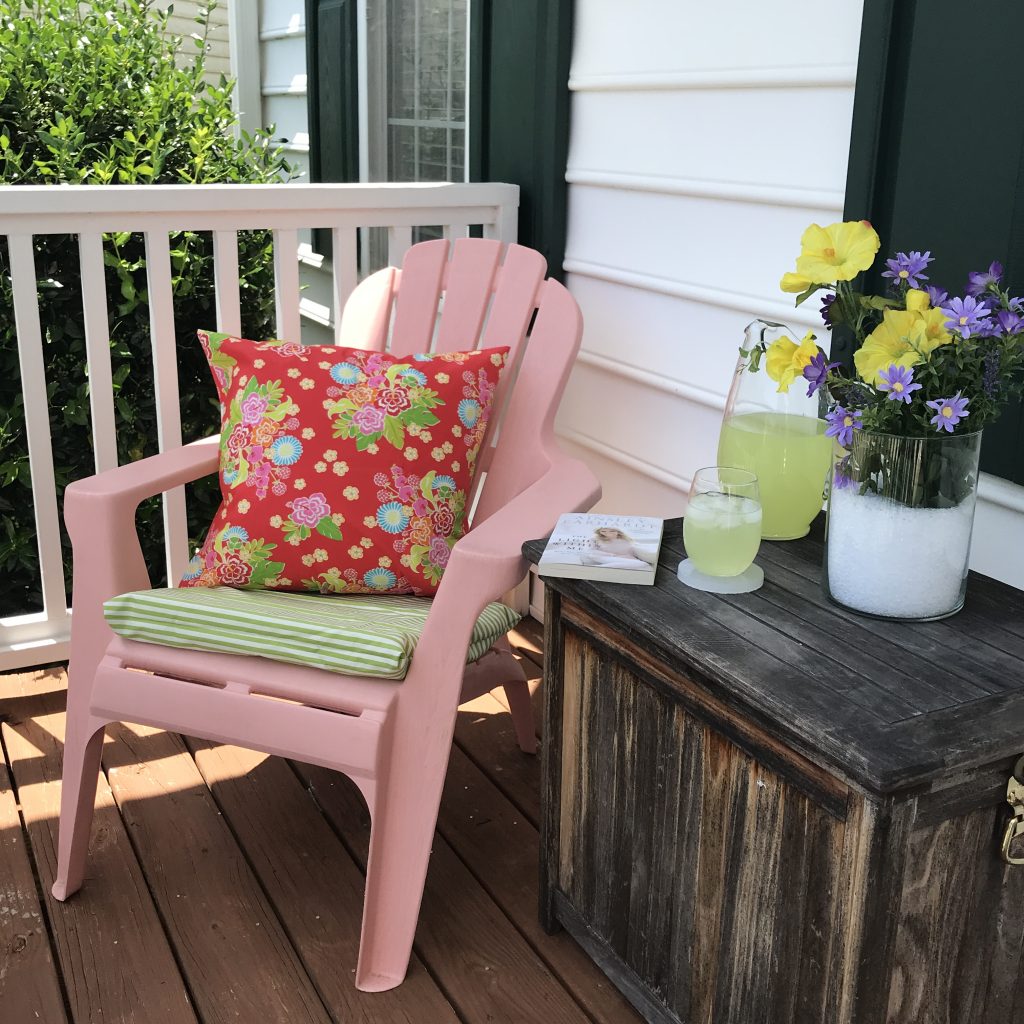
First off, I wanted to post a Before photo! And then show you individually what I created using the different Fairfield World products. Then I will explain how I created each one!
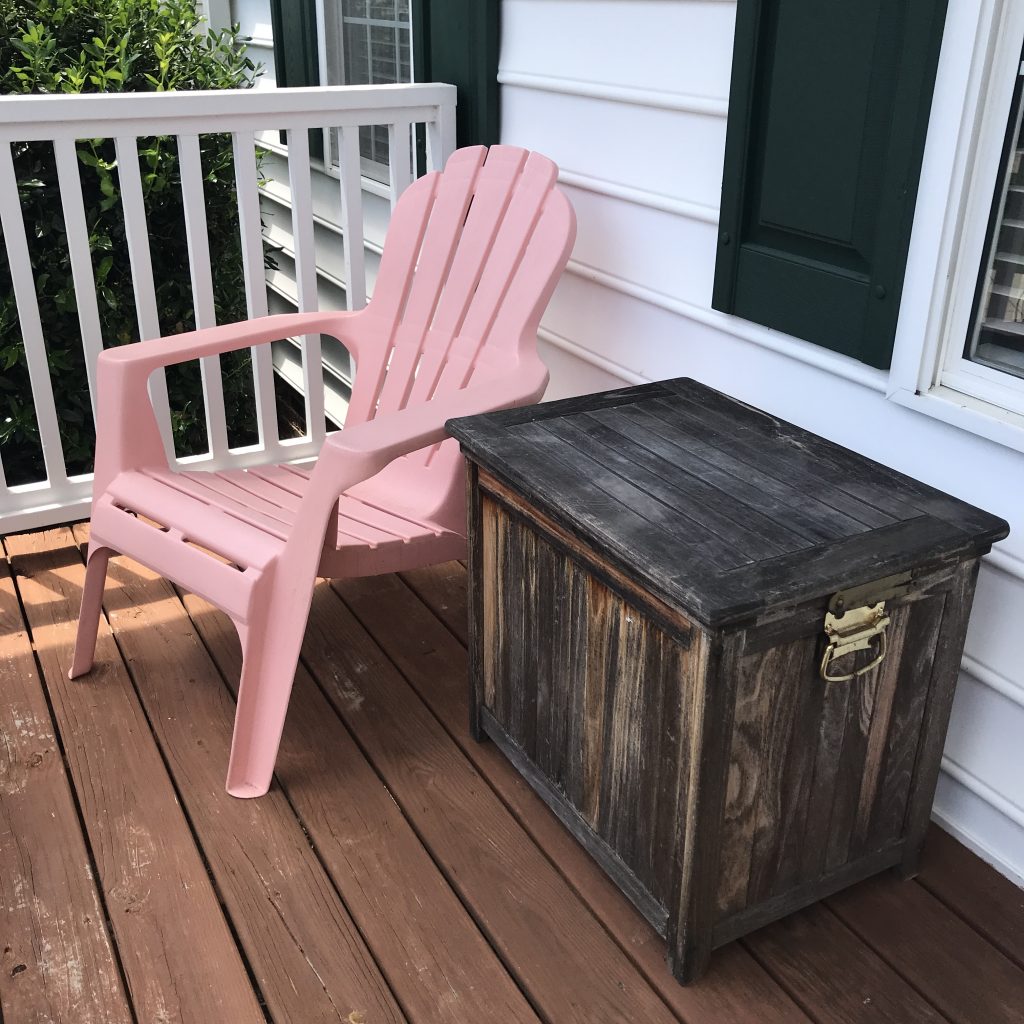
I started by creating a pillow and a cushion for my cozy Adirondack chair.. I used a simple envelope pillow case for both for easy removal for washing the fabric.

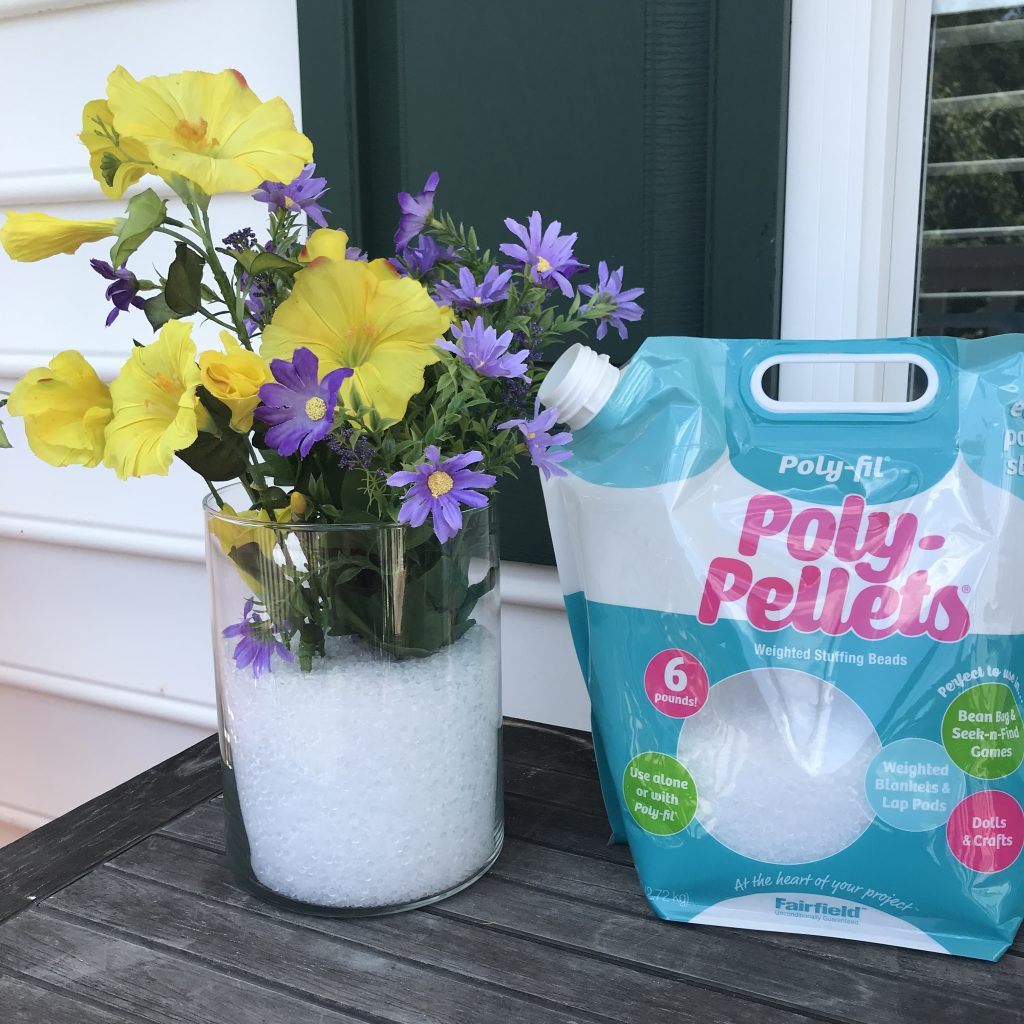
Poly-fil® Poly-Pellets® are so versatile. Here, I used them in a vase to hold my flowers in place. They are fake flowers and I didn’t want to use actual water, so the Poly-Pellets® made a great filler.
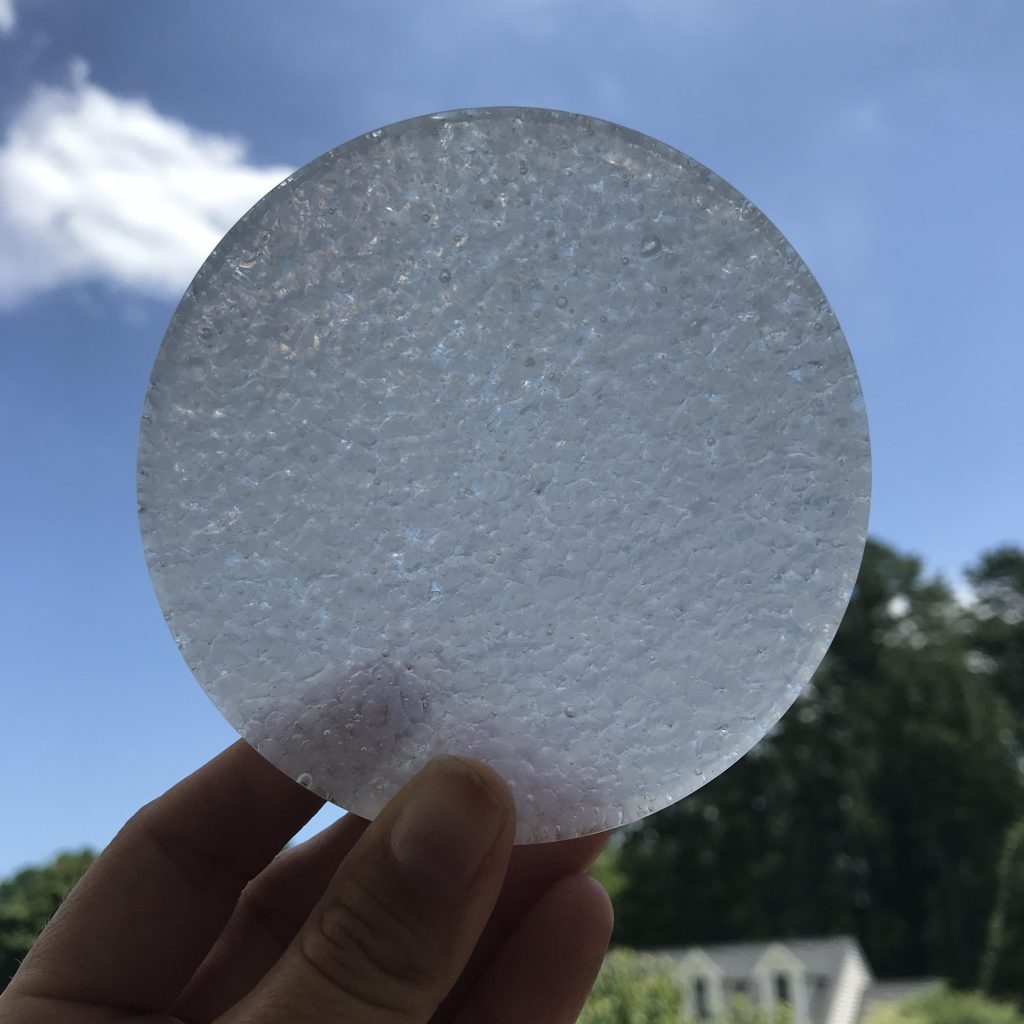
I also created epoxy coasters with the Poly-Pellets®. They are fun and durable and can be used inside or outside.
Here is a list of the materials I used and how I made each of them!
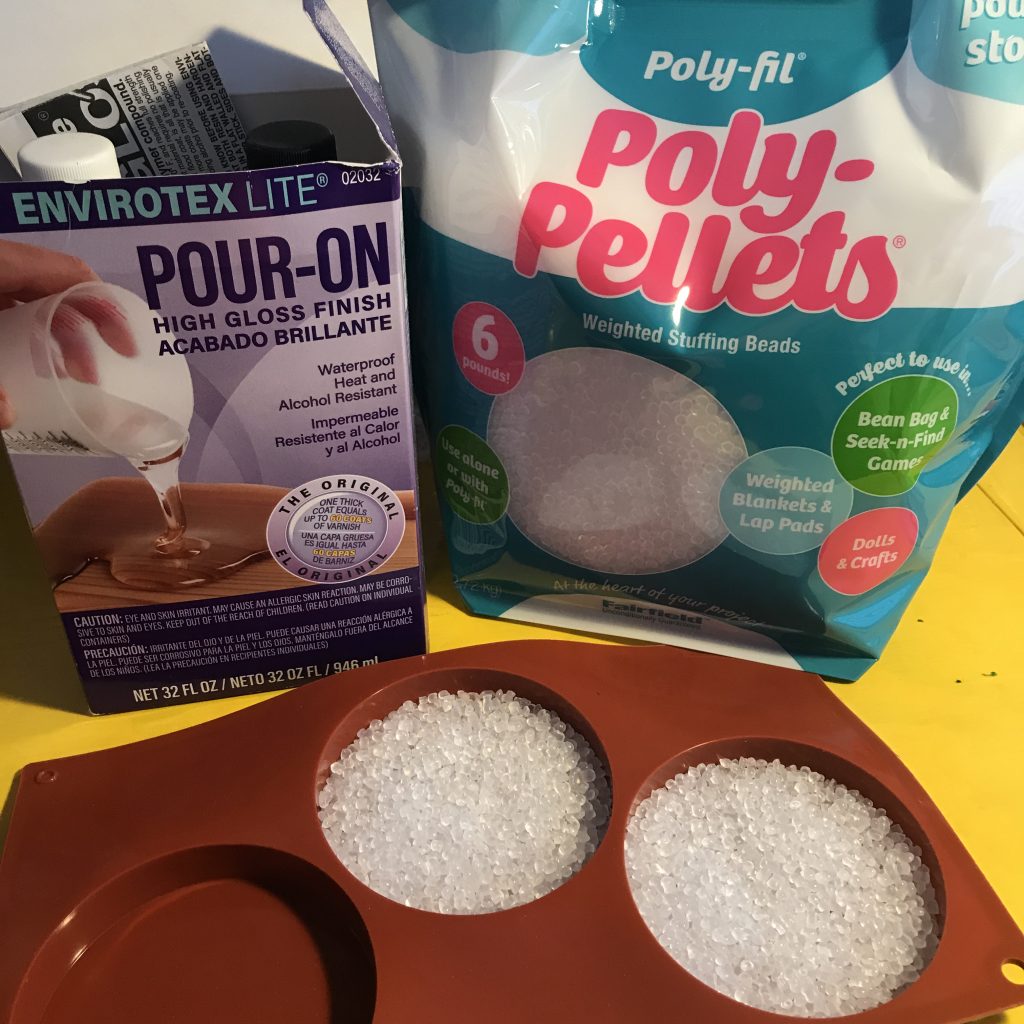
Materials:
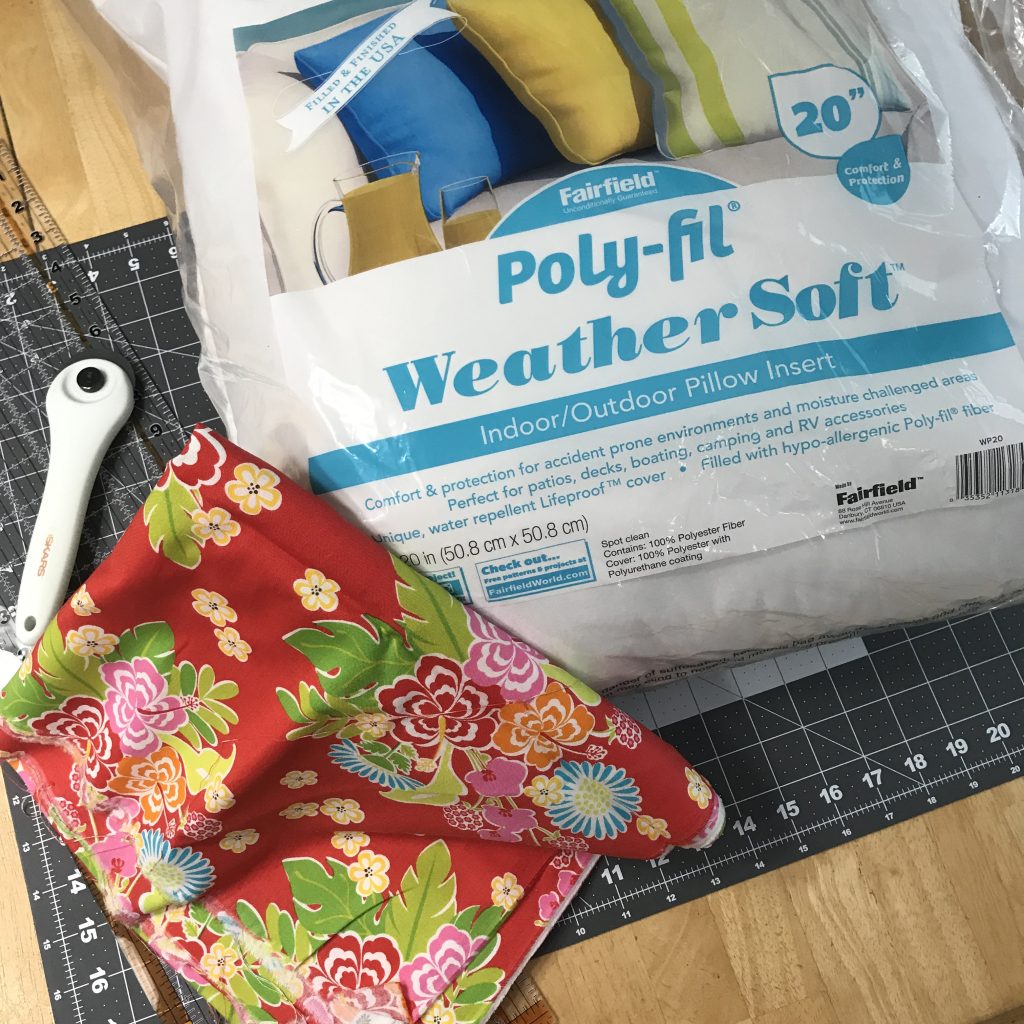
- Fairfield™ Foam Cushions (I used 2 pieces of the foam)
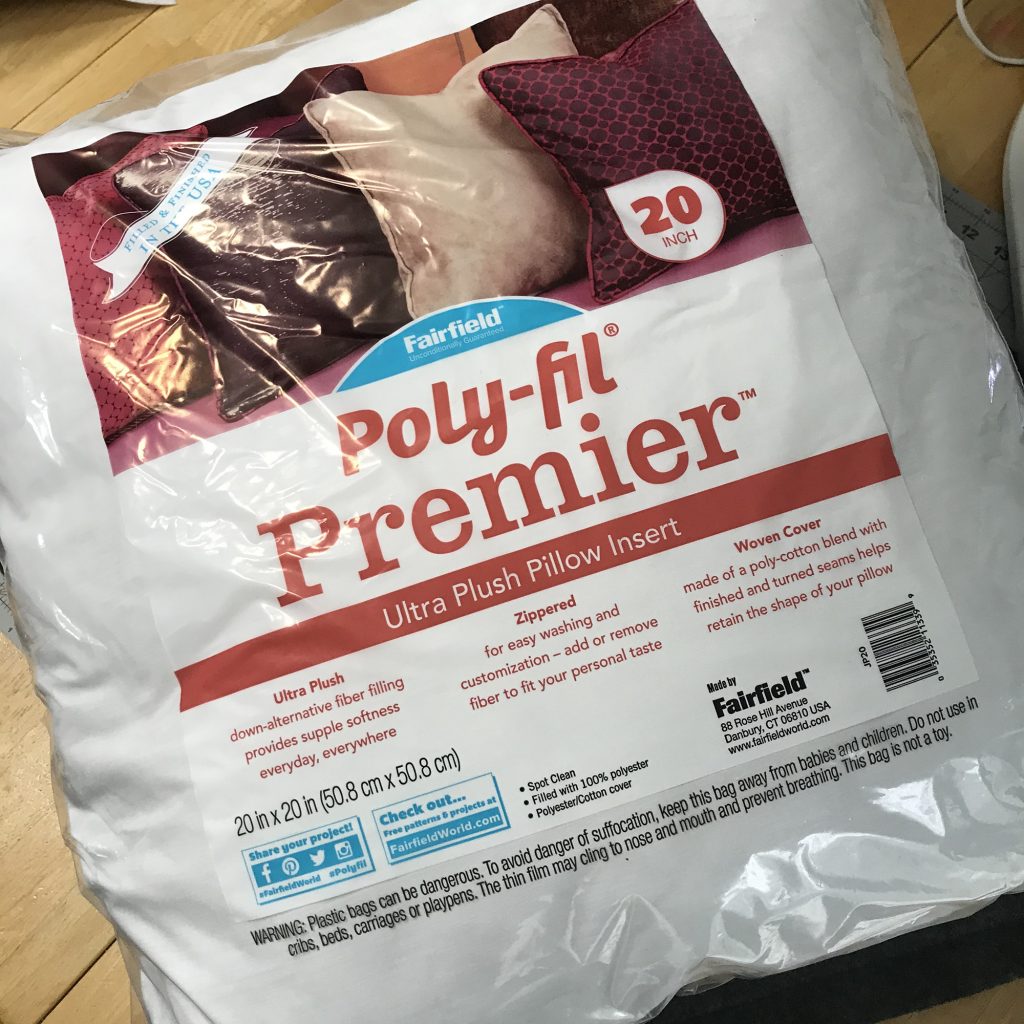
- Fairfield™ Poly-fil® Weather Soft Pillow indoor/outdoor pillow insert
- Fairfield™ Poly-fil® Poly-Pellets®
- Fabric (I used 2 different patters)
- Envirotex Lite® Pour-On Epoxy (measuring and mixing cups and a popsicle stick)
- Coaster mold
- Heat gun or torch
- Scissors
- Sewing Machine
- Cutting Mat, Cutting ruler and Rotary cutting tool if your fabric needs to be cut
- Pins
- Vase (and flowers. You could use real, but I picked fake)
How I made it all:
I started with the cushion.

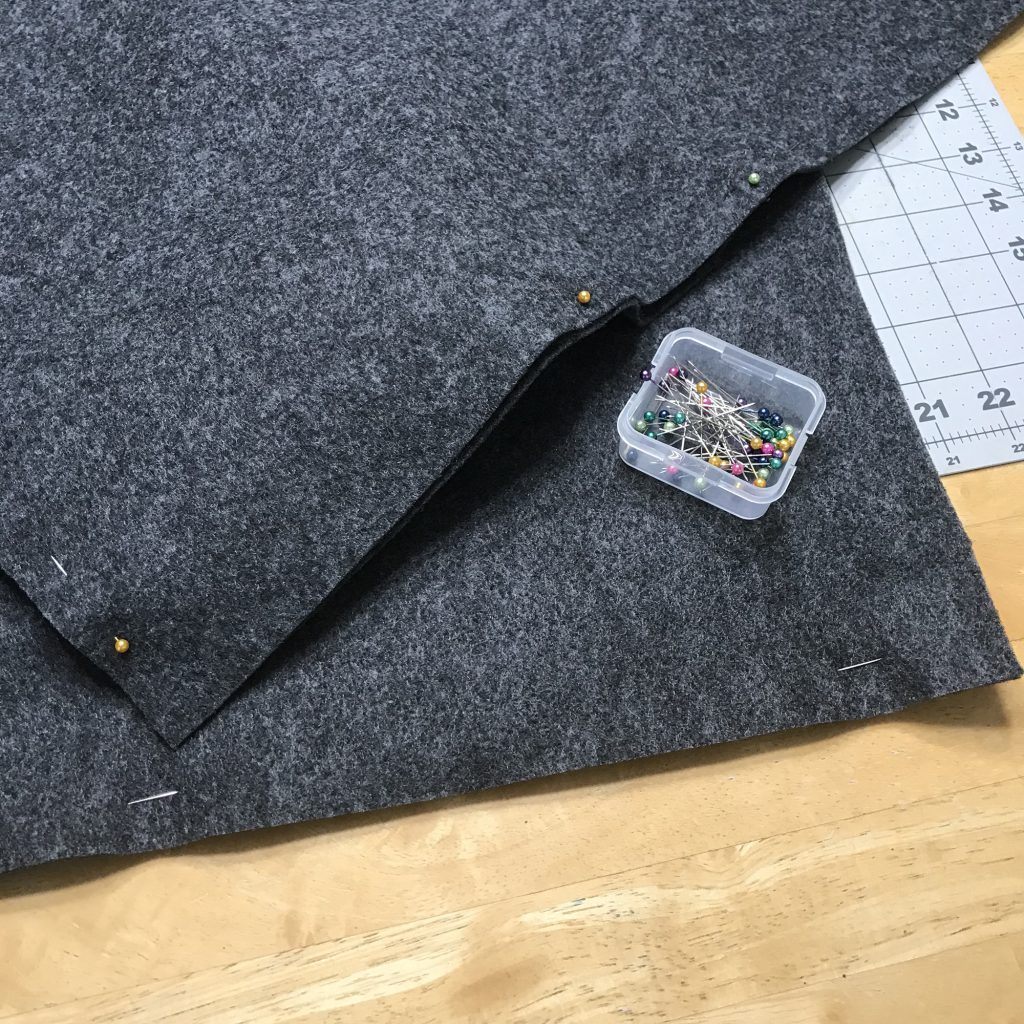
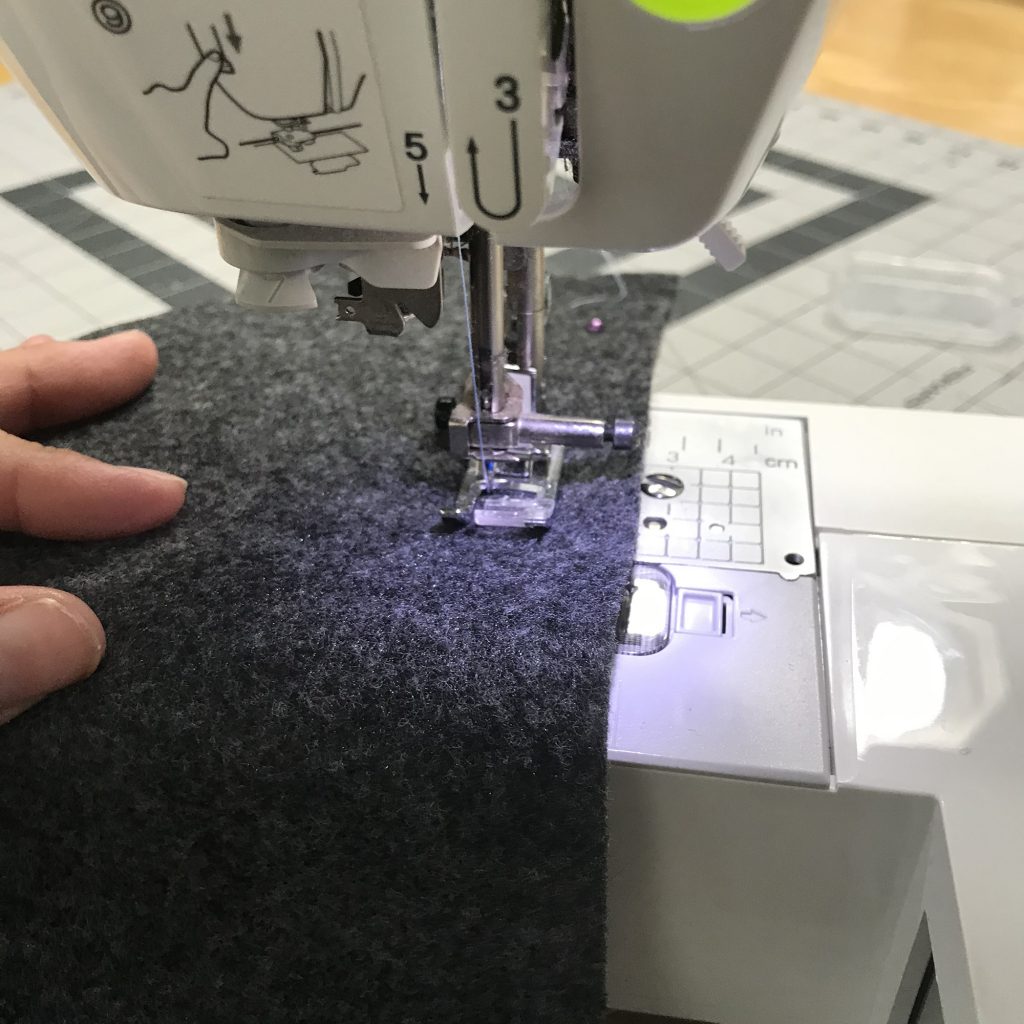
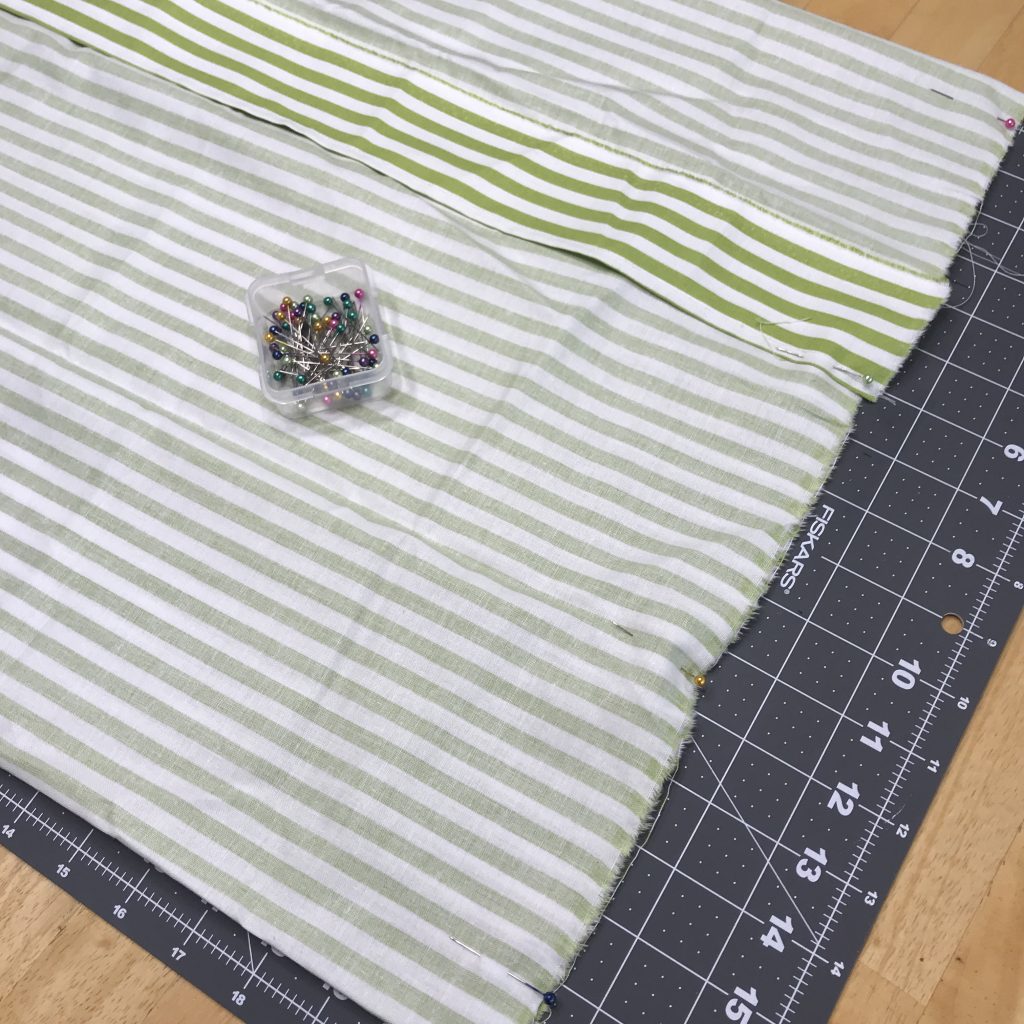
I cut my fabric to 21″ x 44″. I pinned and hemmed the 21″ edges so that they didn’t unravel.
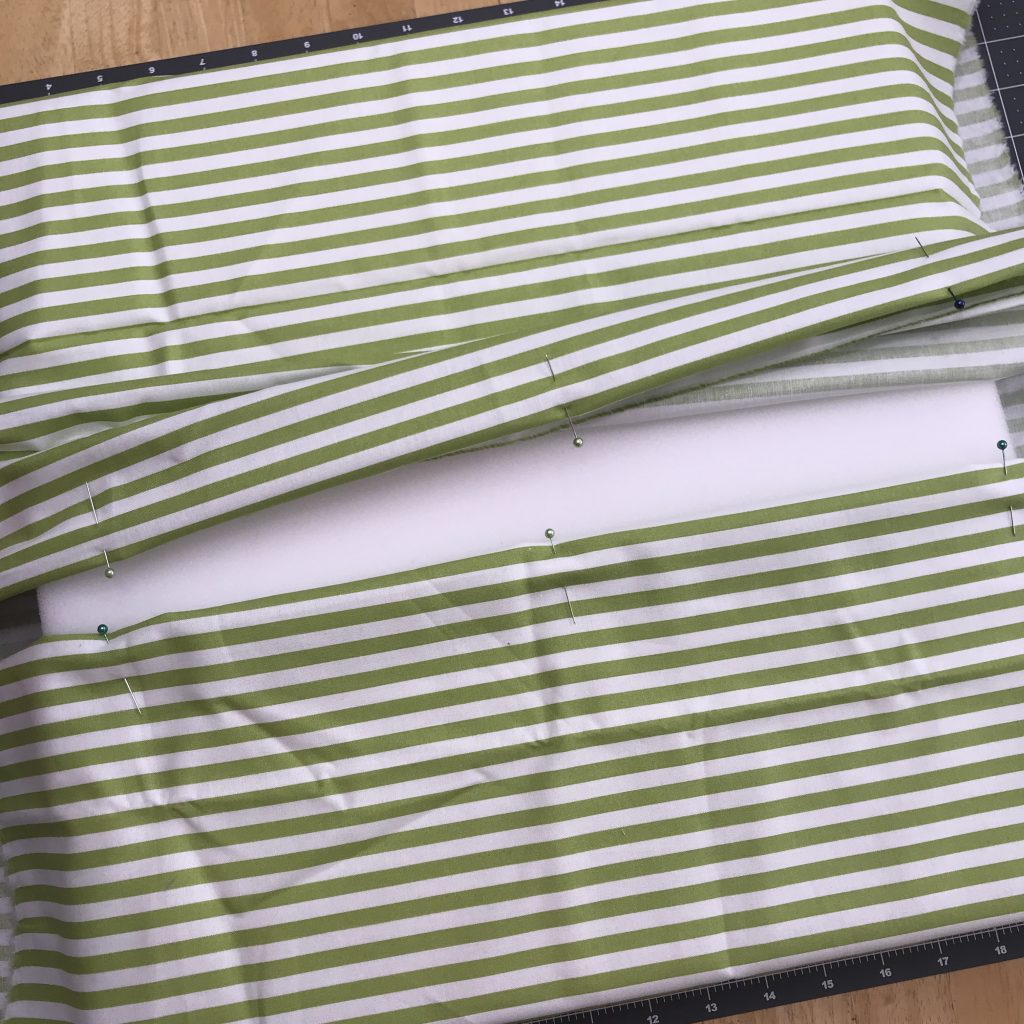
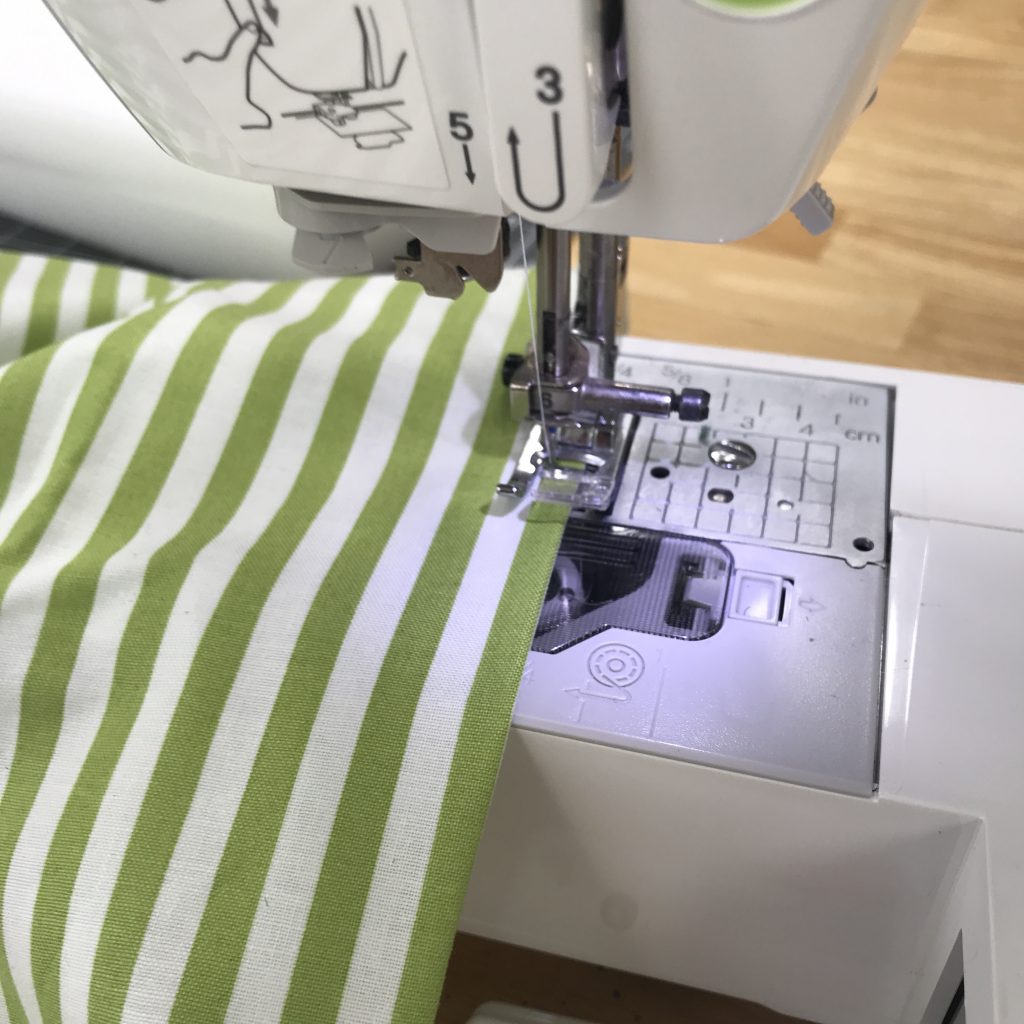
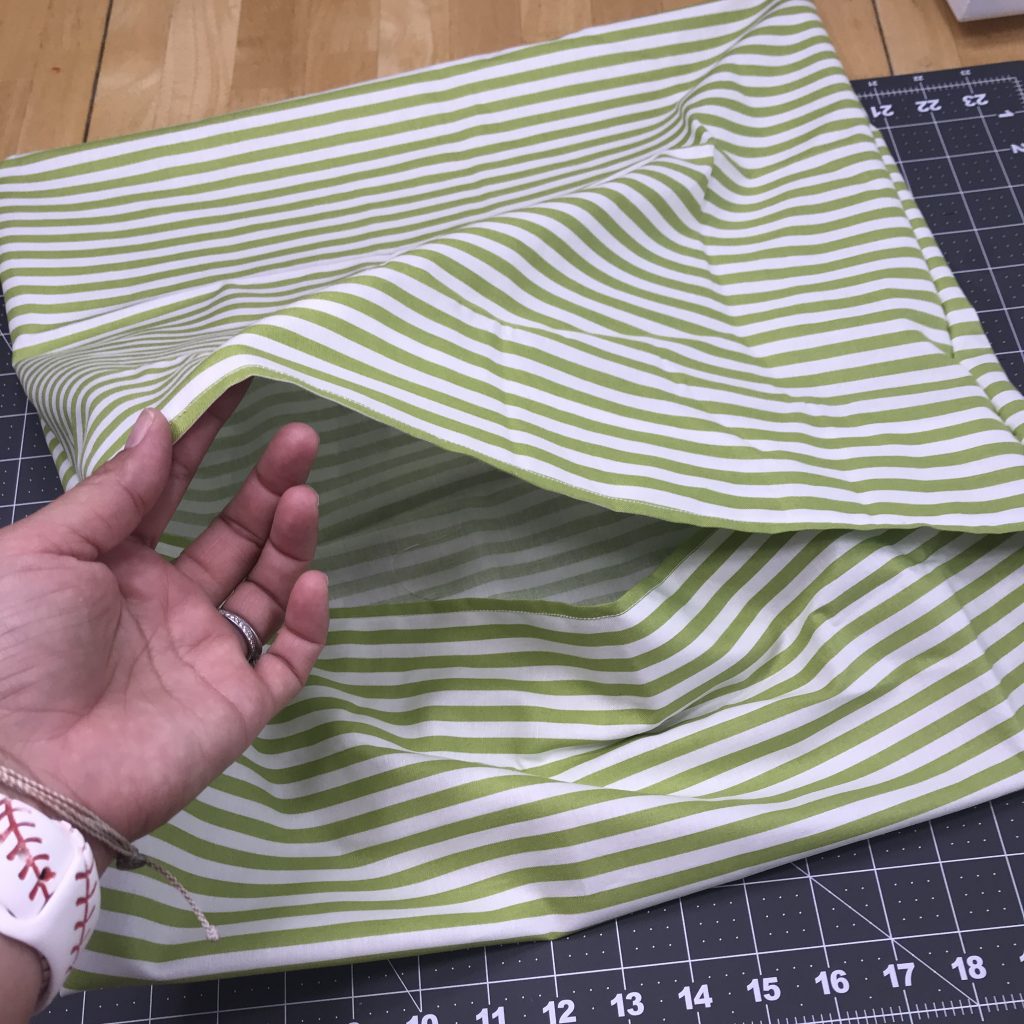
I laid the fabric out, inside up and placed my 2 cushion pieces stacked on top in the middle. Nows the time to figure out where you want the flaps of your envelope pillow case. I put the top flap closer to the top. To do this, fold each end of the fabric up and over the cushions. Shift the fabric as needed. Remove the cushions and then pin the edges in place. Sew them closed. I sewed it 1 inch in on both sides.
Flip the fabric inside out and add the cushions.
Once I tried the cushions in the envelope pillow case, I tried my pillow insert inside the cushion pillow case to gauge what size pillow case I needed for the Weather Soft pillow insert. It fit perfectly, so I made my pillow case the same size as the cushion pillow case.

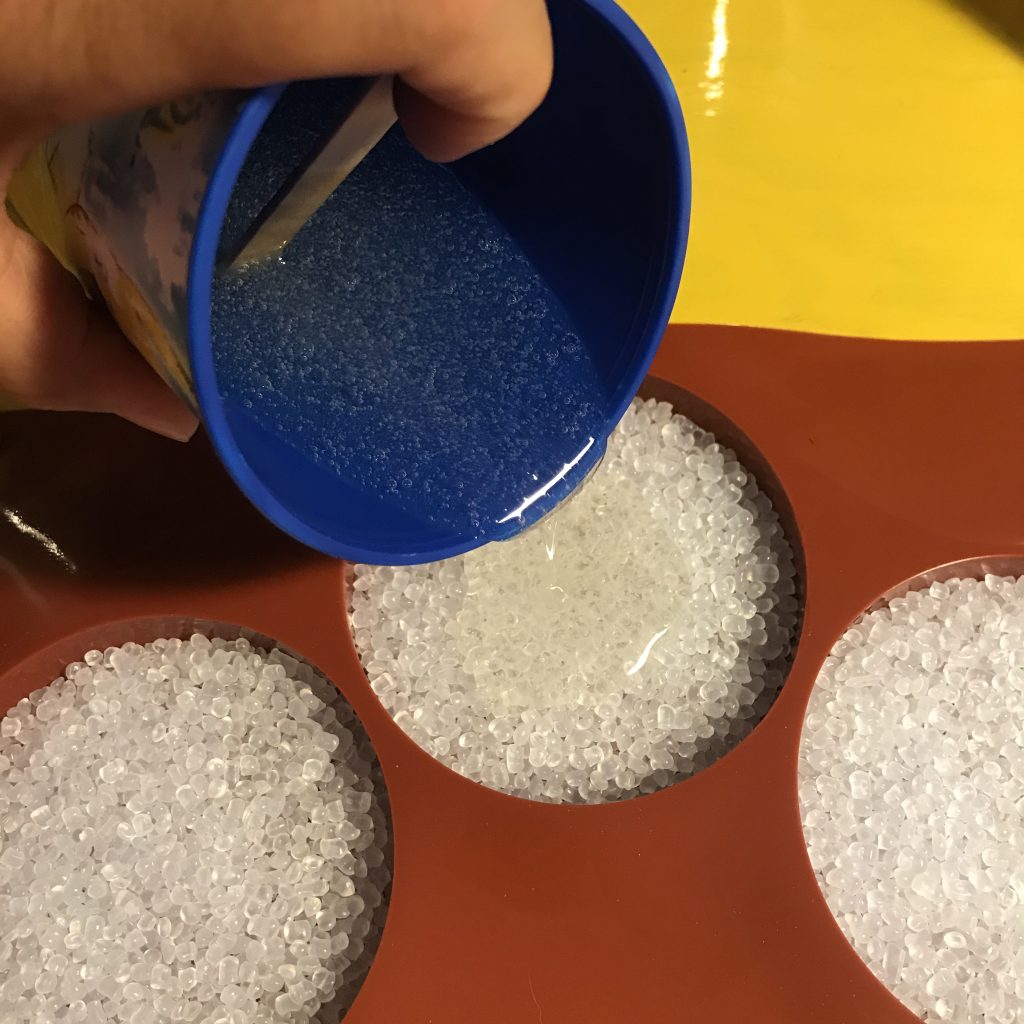
For my Poly-Pellets® Coasters, I used a coaster mold and Envirotex Lite® Pour-On Epoxy. I filled the mold with pellets.
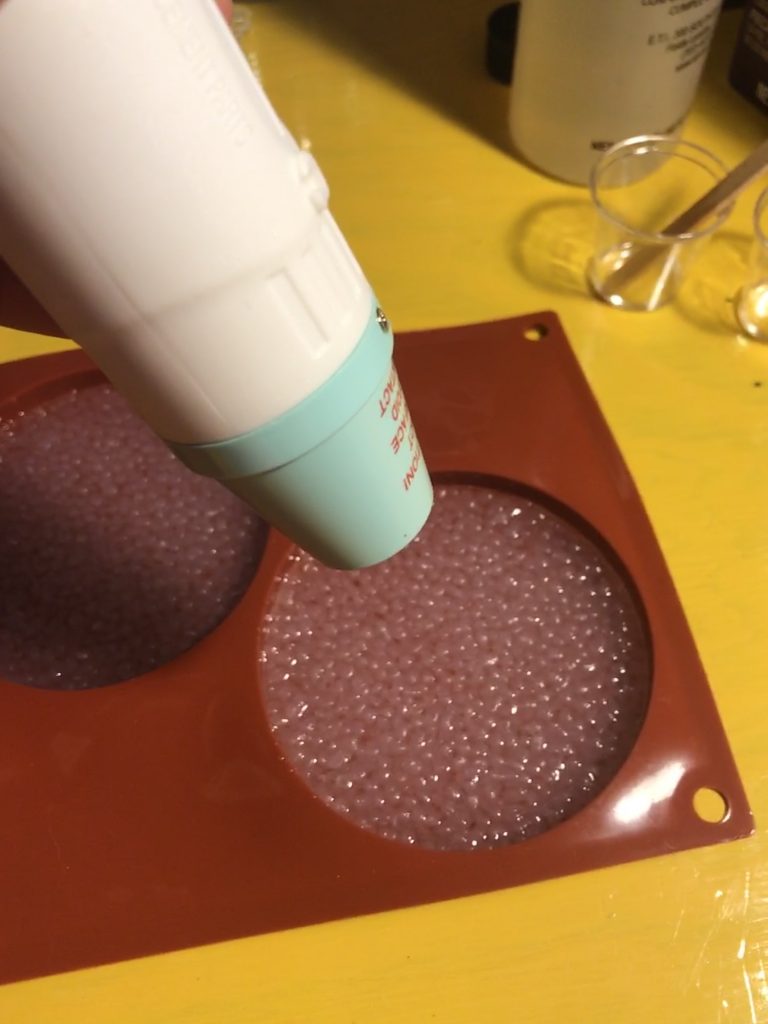
I mixed up the epoxy following the directions included and poured it into the mold filled with Poly–Pellets®.
Using a heat gun, I allowed the heat to pop the bubbles, per the instructions for the epoxy.
Let it sit and cure over night. Make sure it’s in a place where it won’t get bumped or that no dust or pet hair can get in it!! Once it’s dry, you can remove it from the mold.
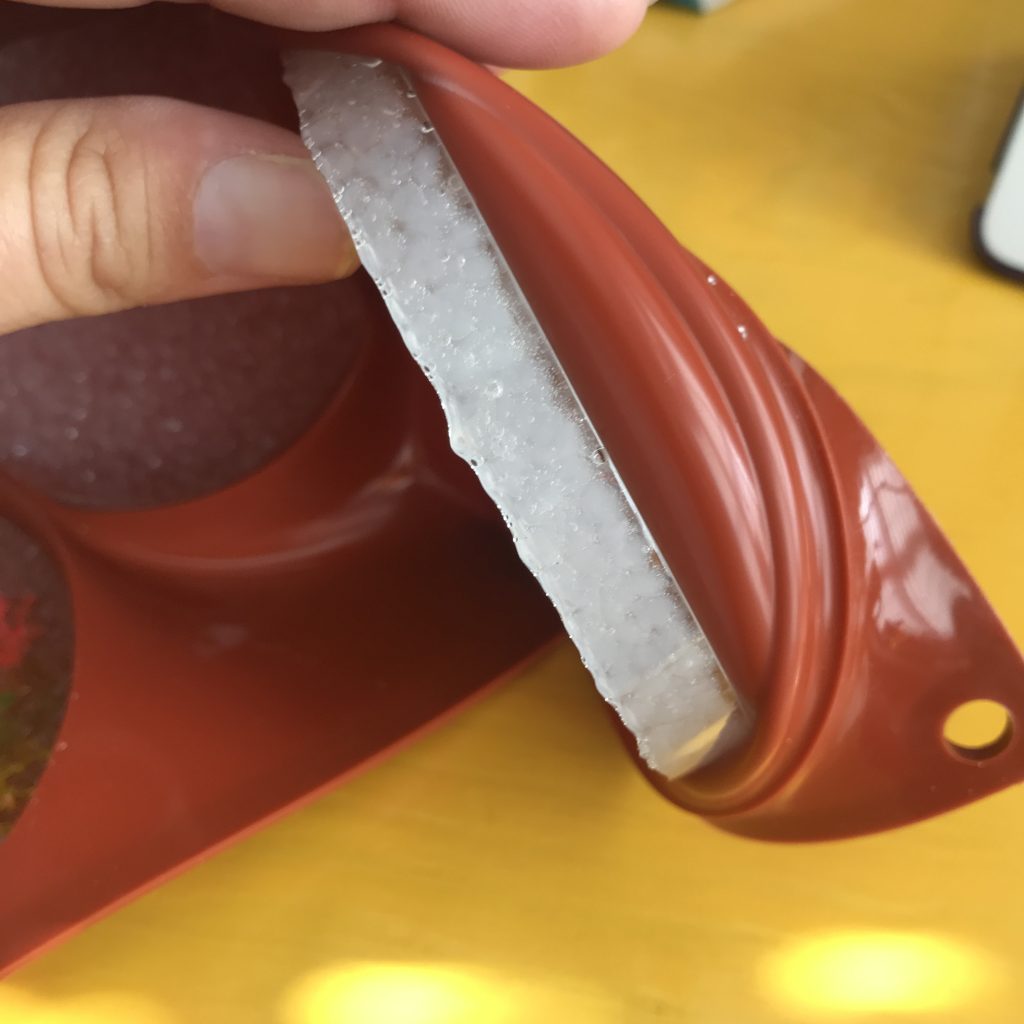
I love how it turned out. It almost looks like frozen water!
The vase was super easy.
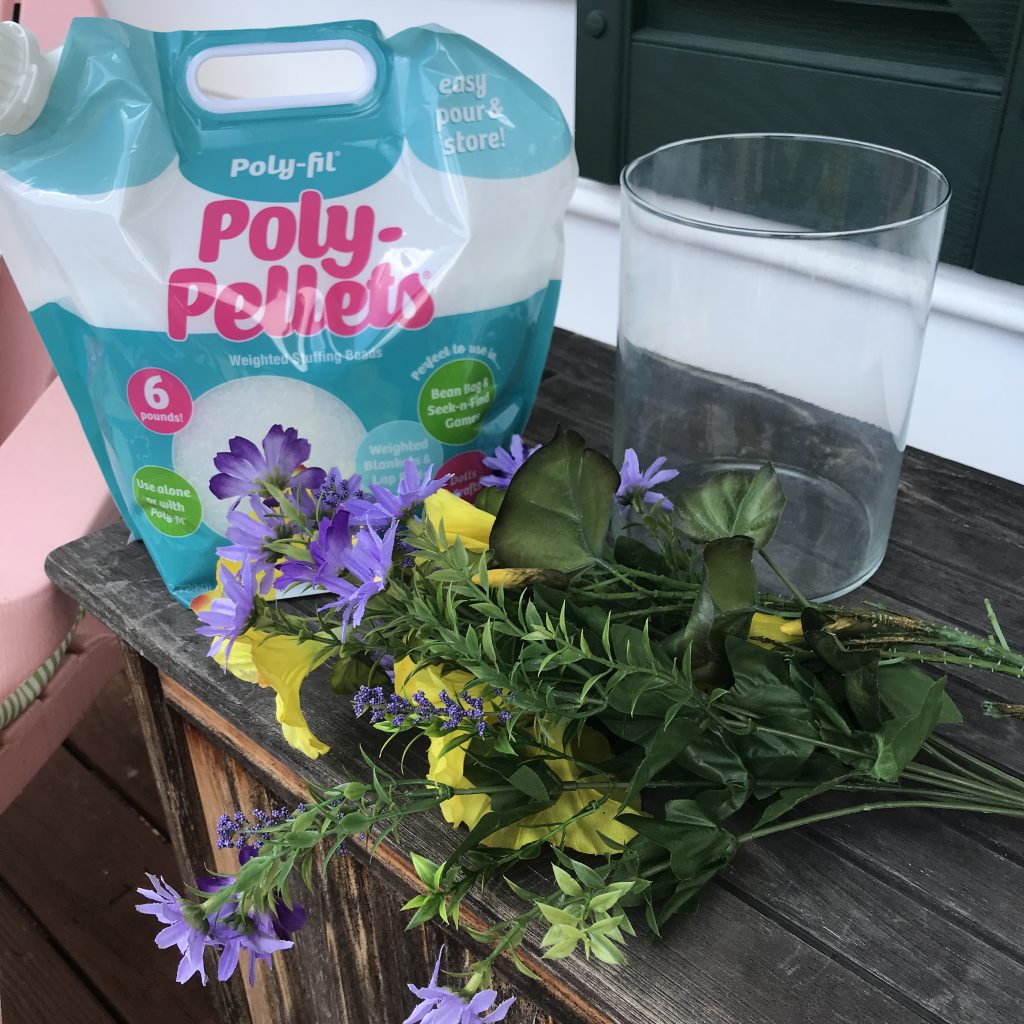
I just poured the Poly-Pellets® into the vase and put my flowers in!
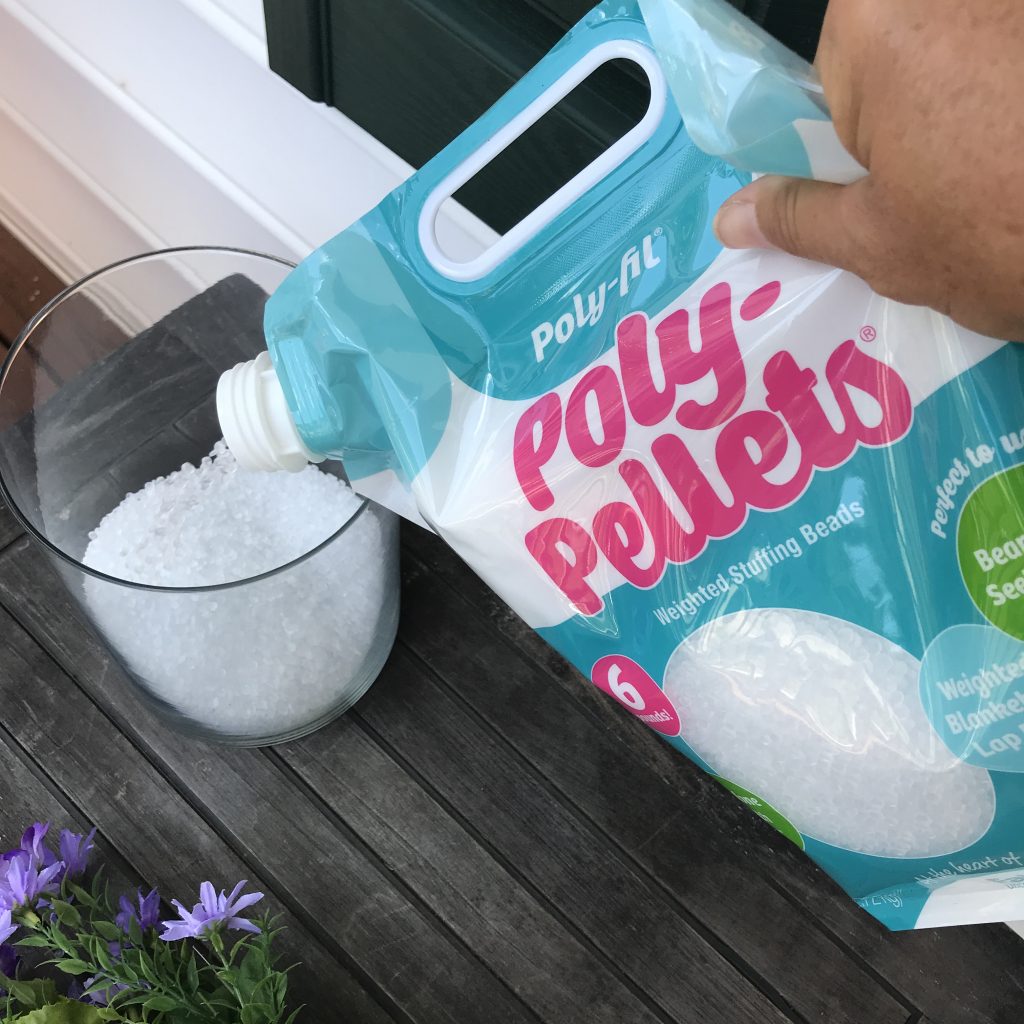
Easy Peasy!!!
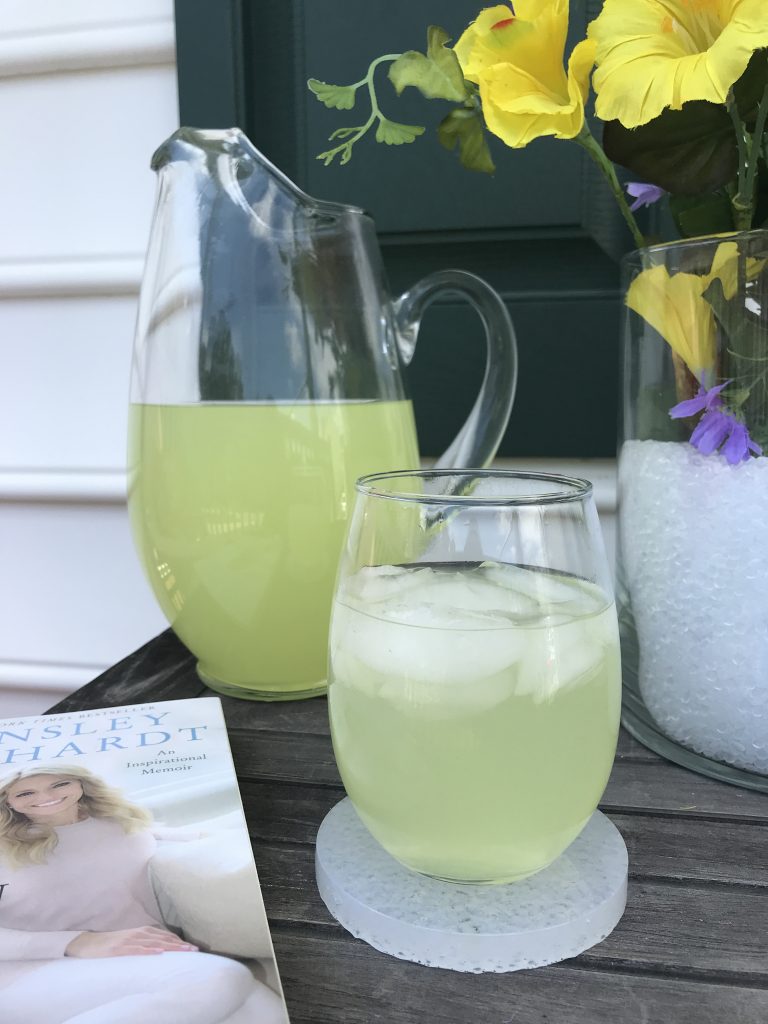
My little reading space came together nicely and it’s such fun space to sit and read.
Be sure to check out Fairfield™ line of products and my friend Laura Kelly that put this all together!
Also, enter to win below!
Until next time…..