Category Archives: Paper

Accordion Circle Pumpkin Banner

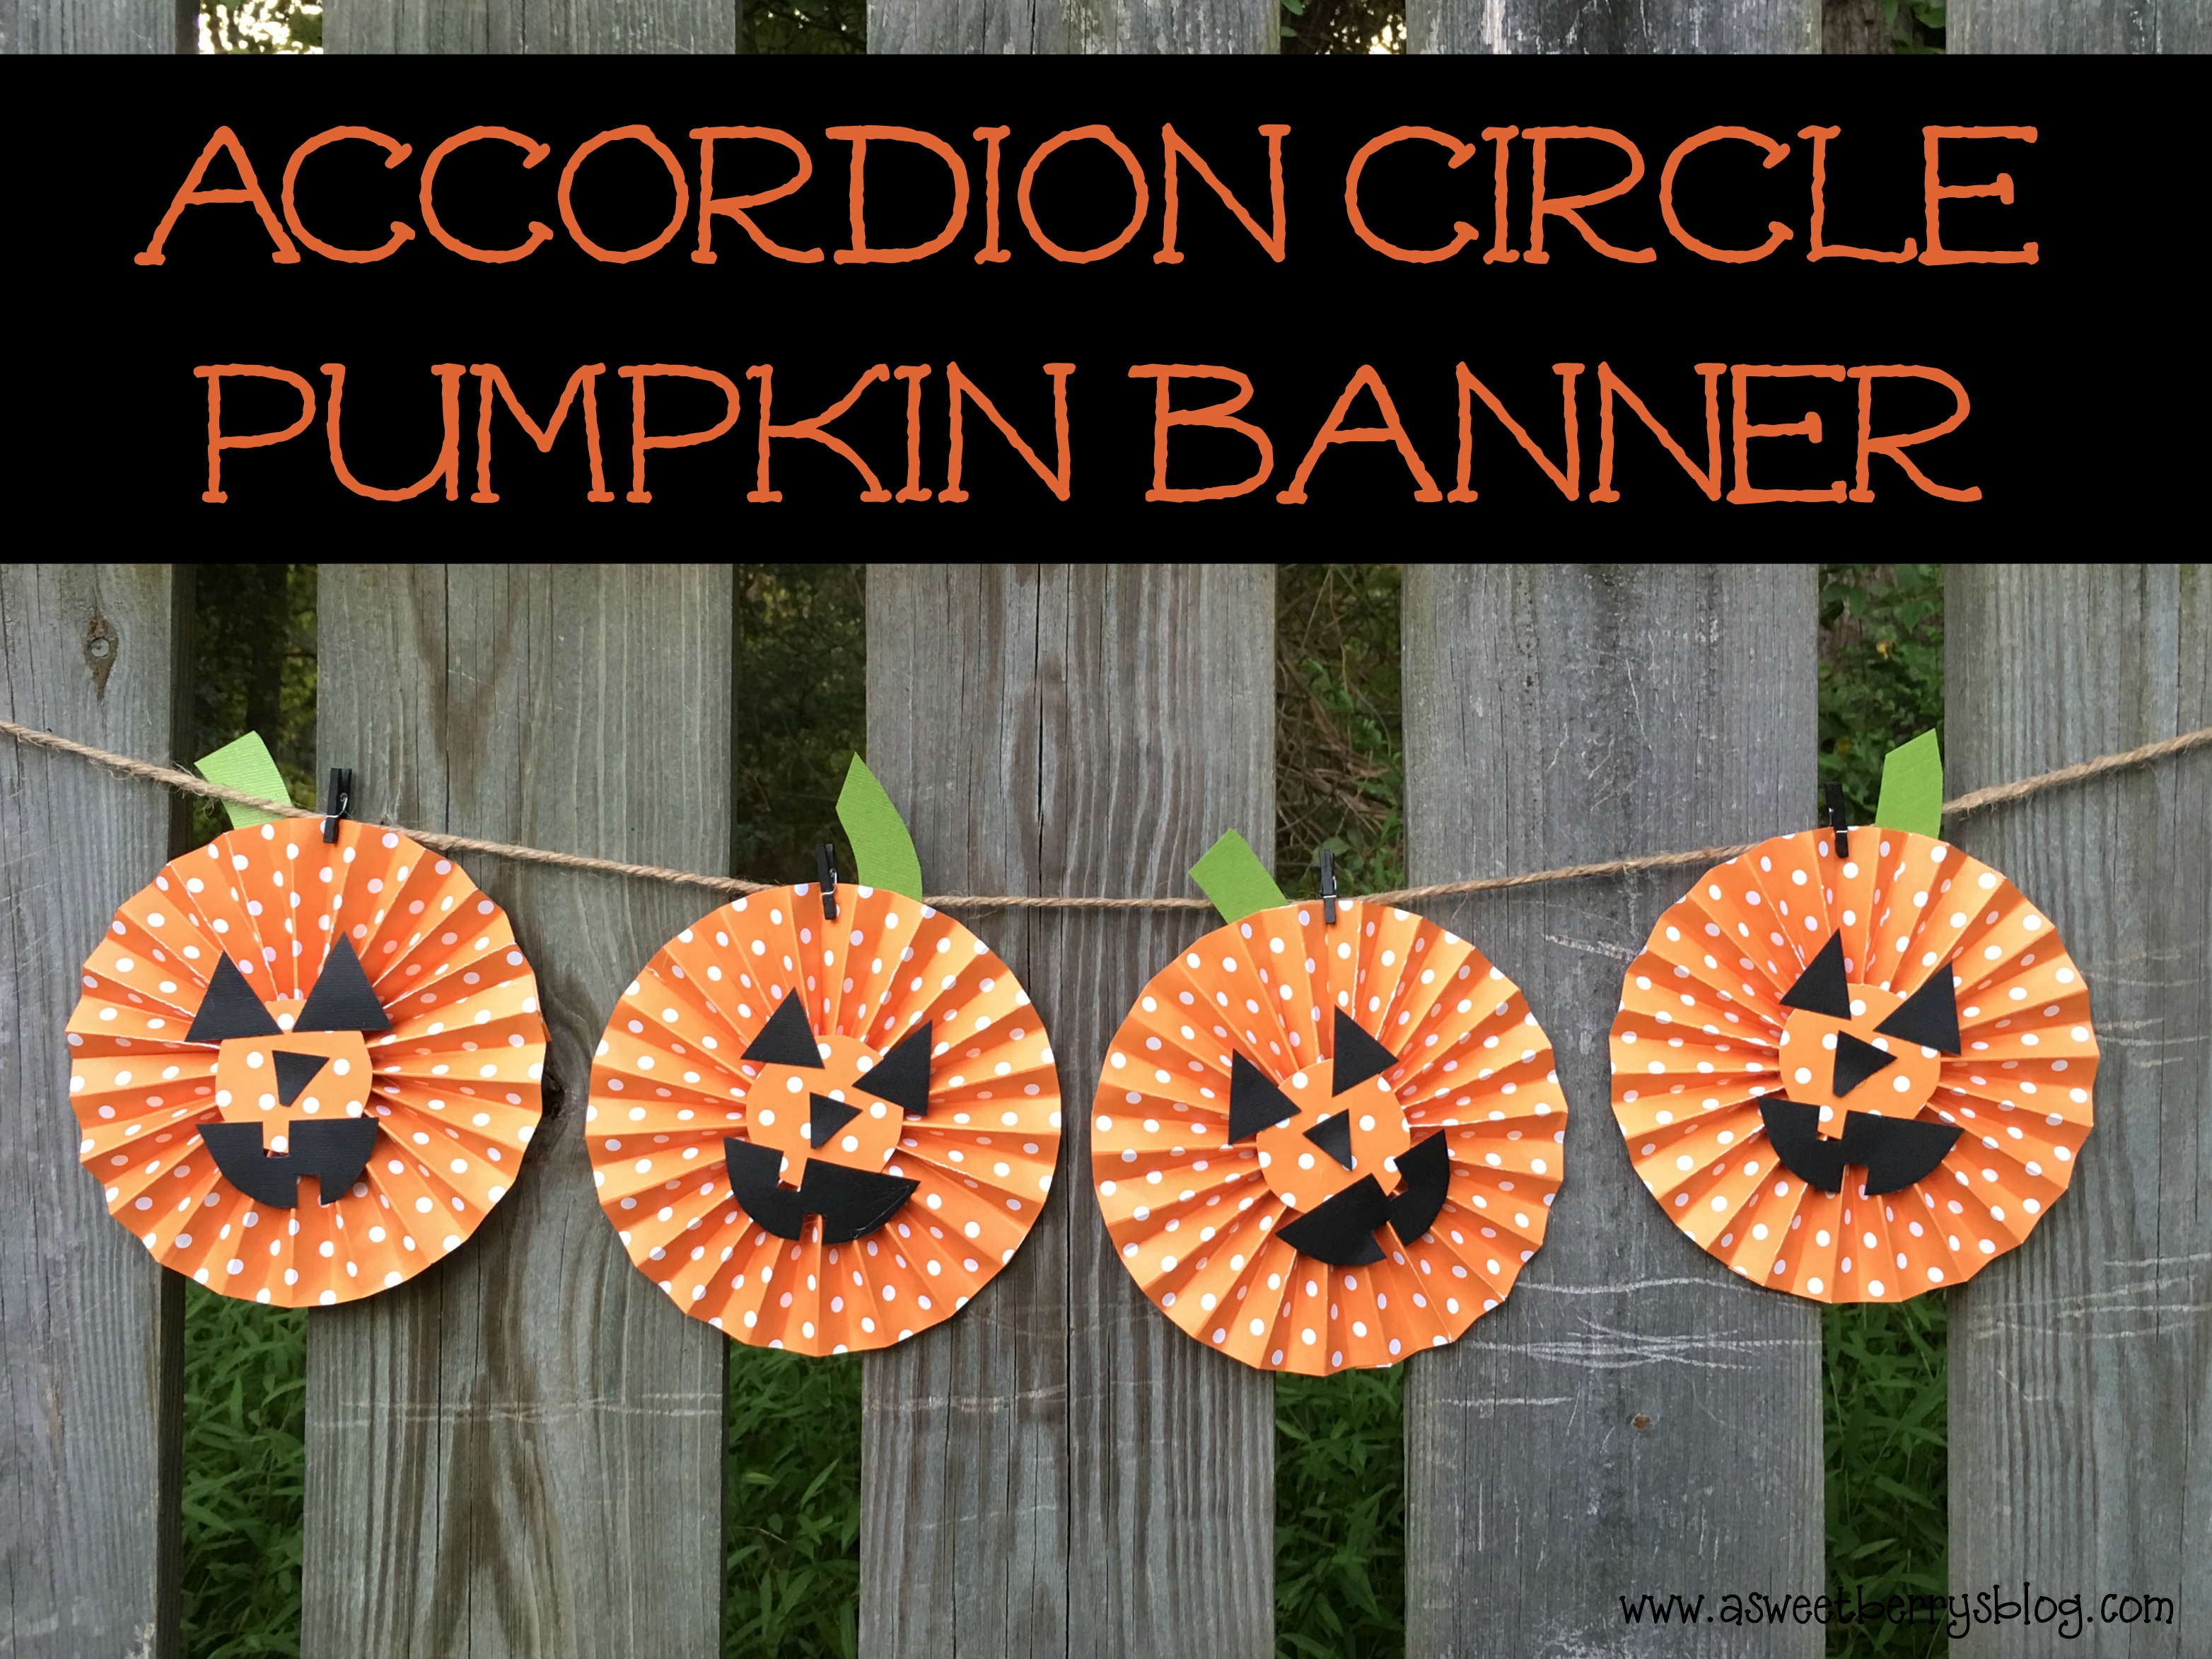
It’s time for Craft Lightning again and I had the chance to join in the fun!   For the Halloween 2016 Craft Lightning, I made this quick Accordion Circle Pumpkin Banner!  I love making Accordion circles!  They are so fun, easy and are perfect for decorating!

banner

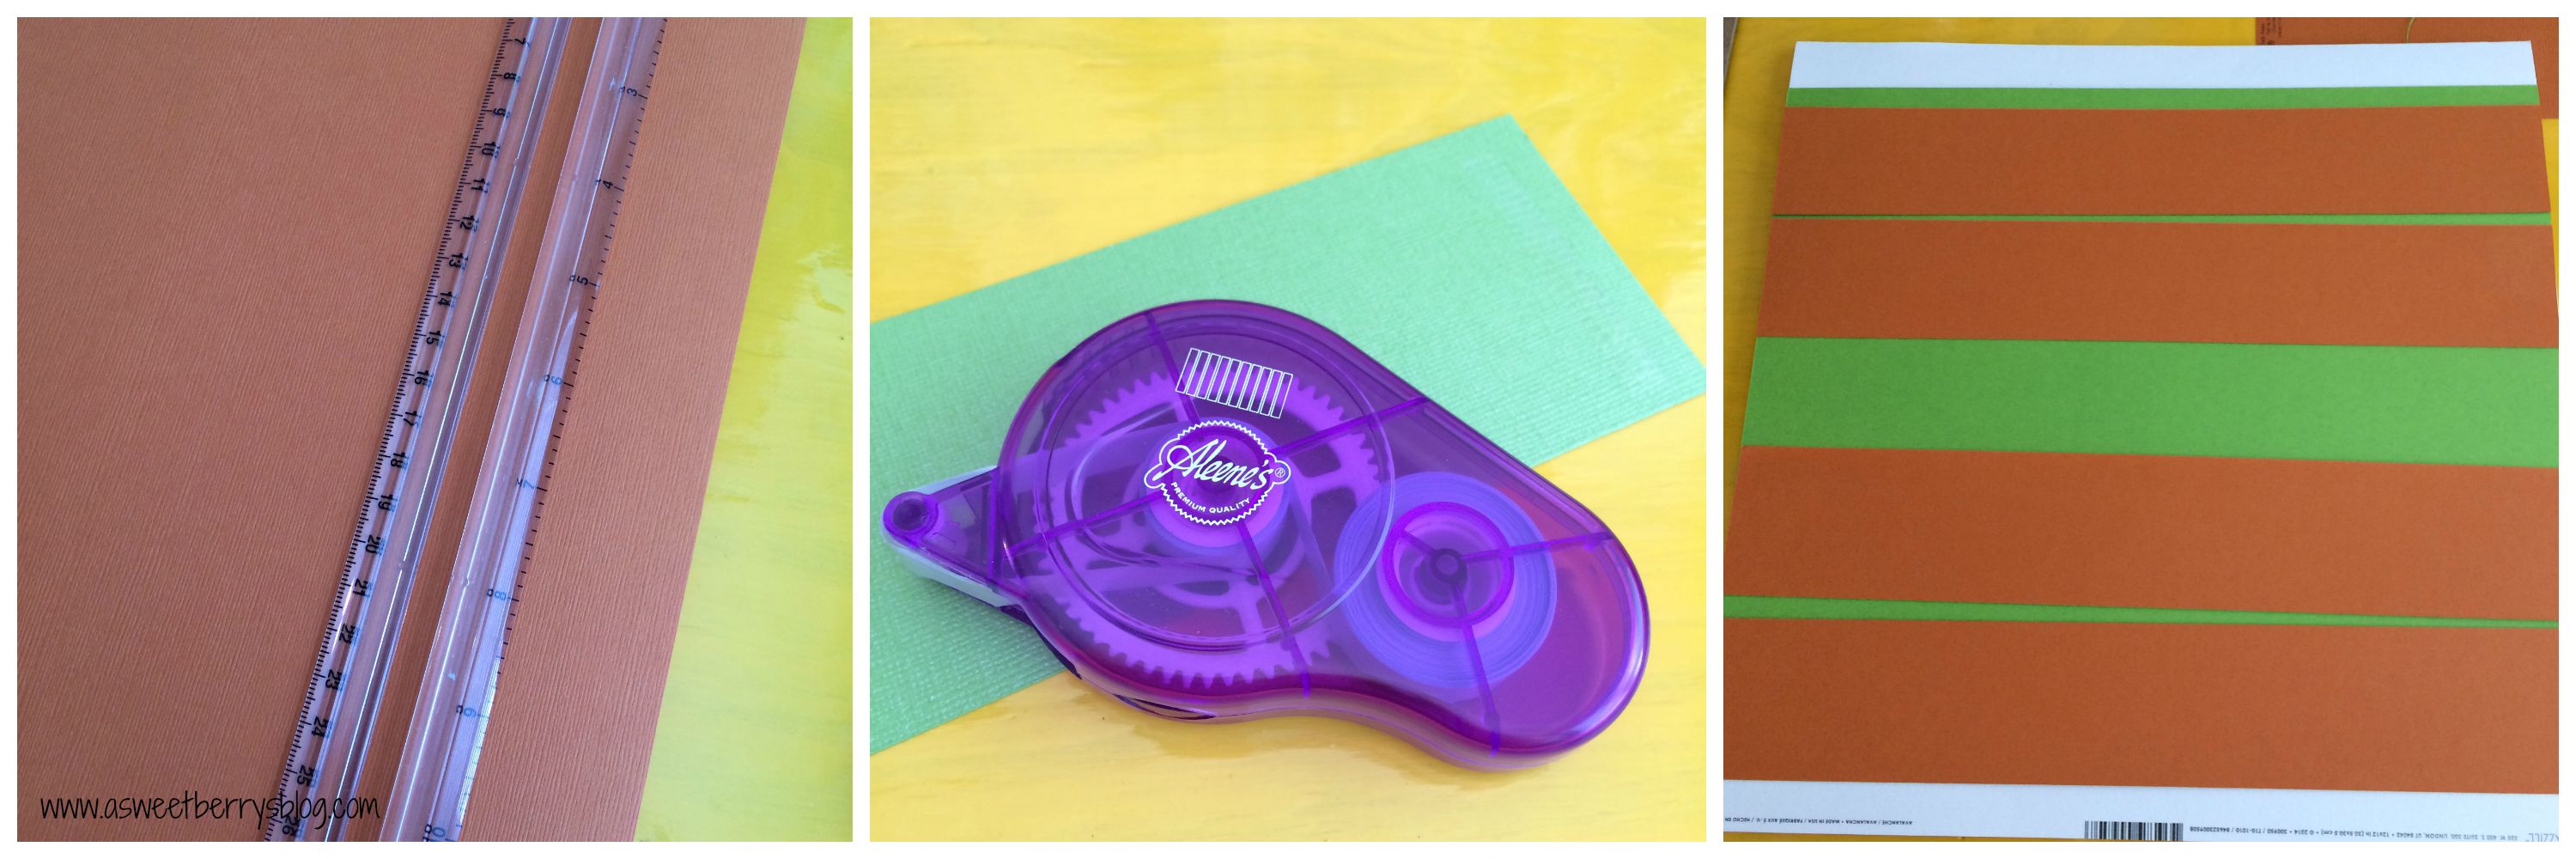
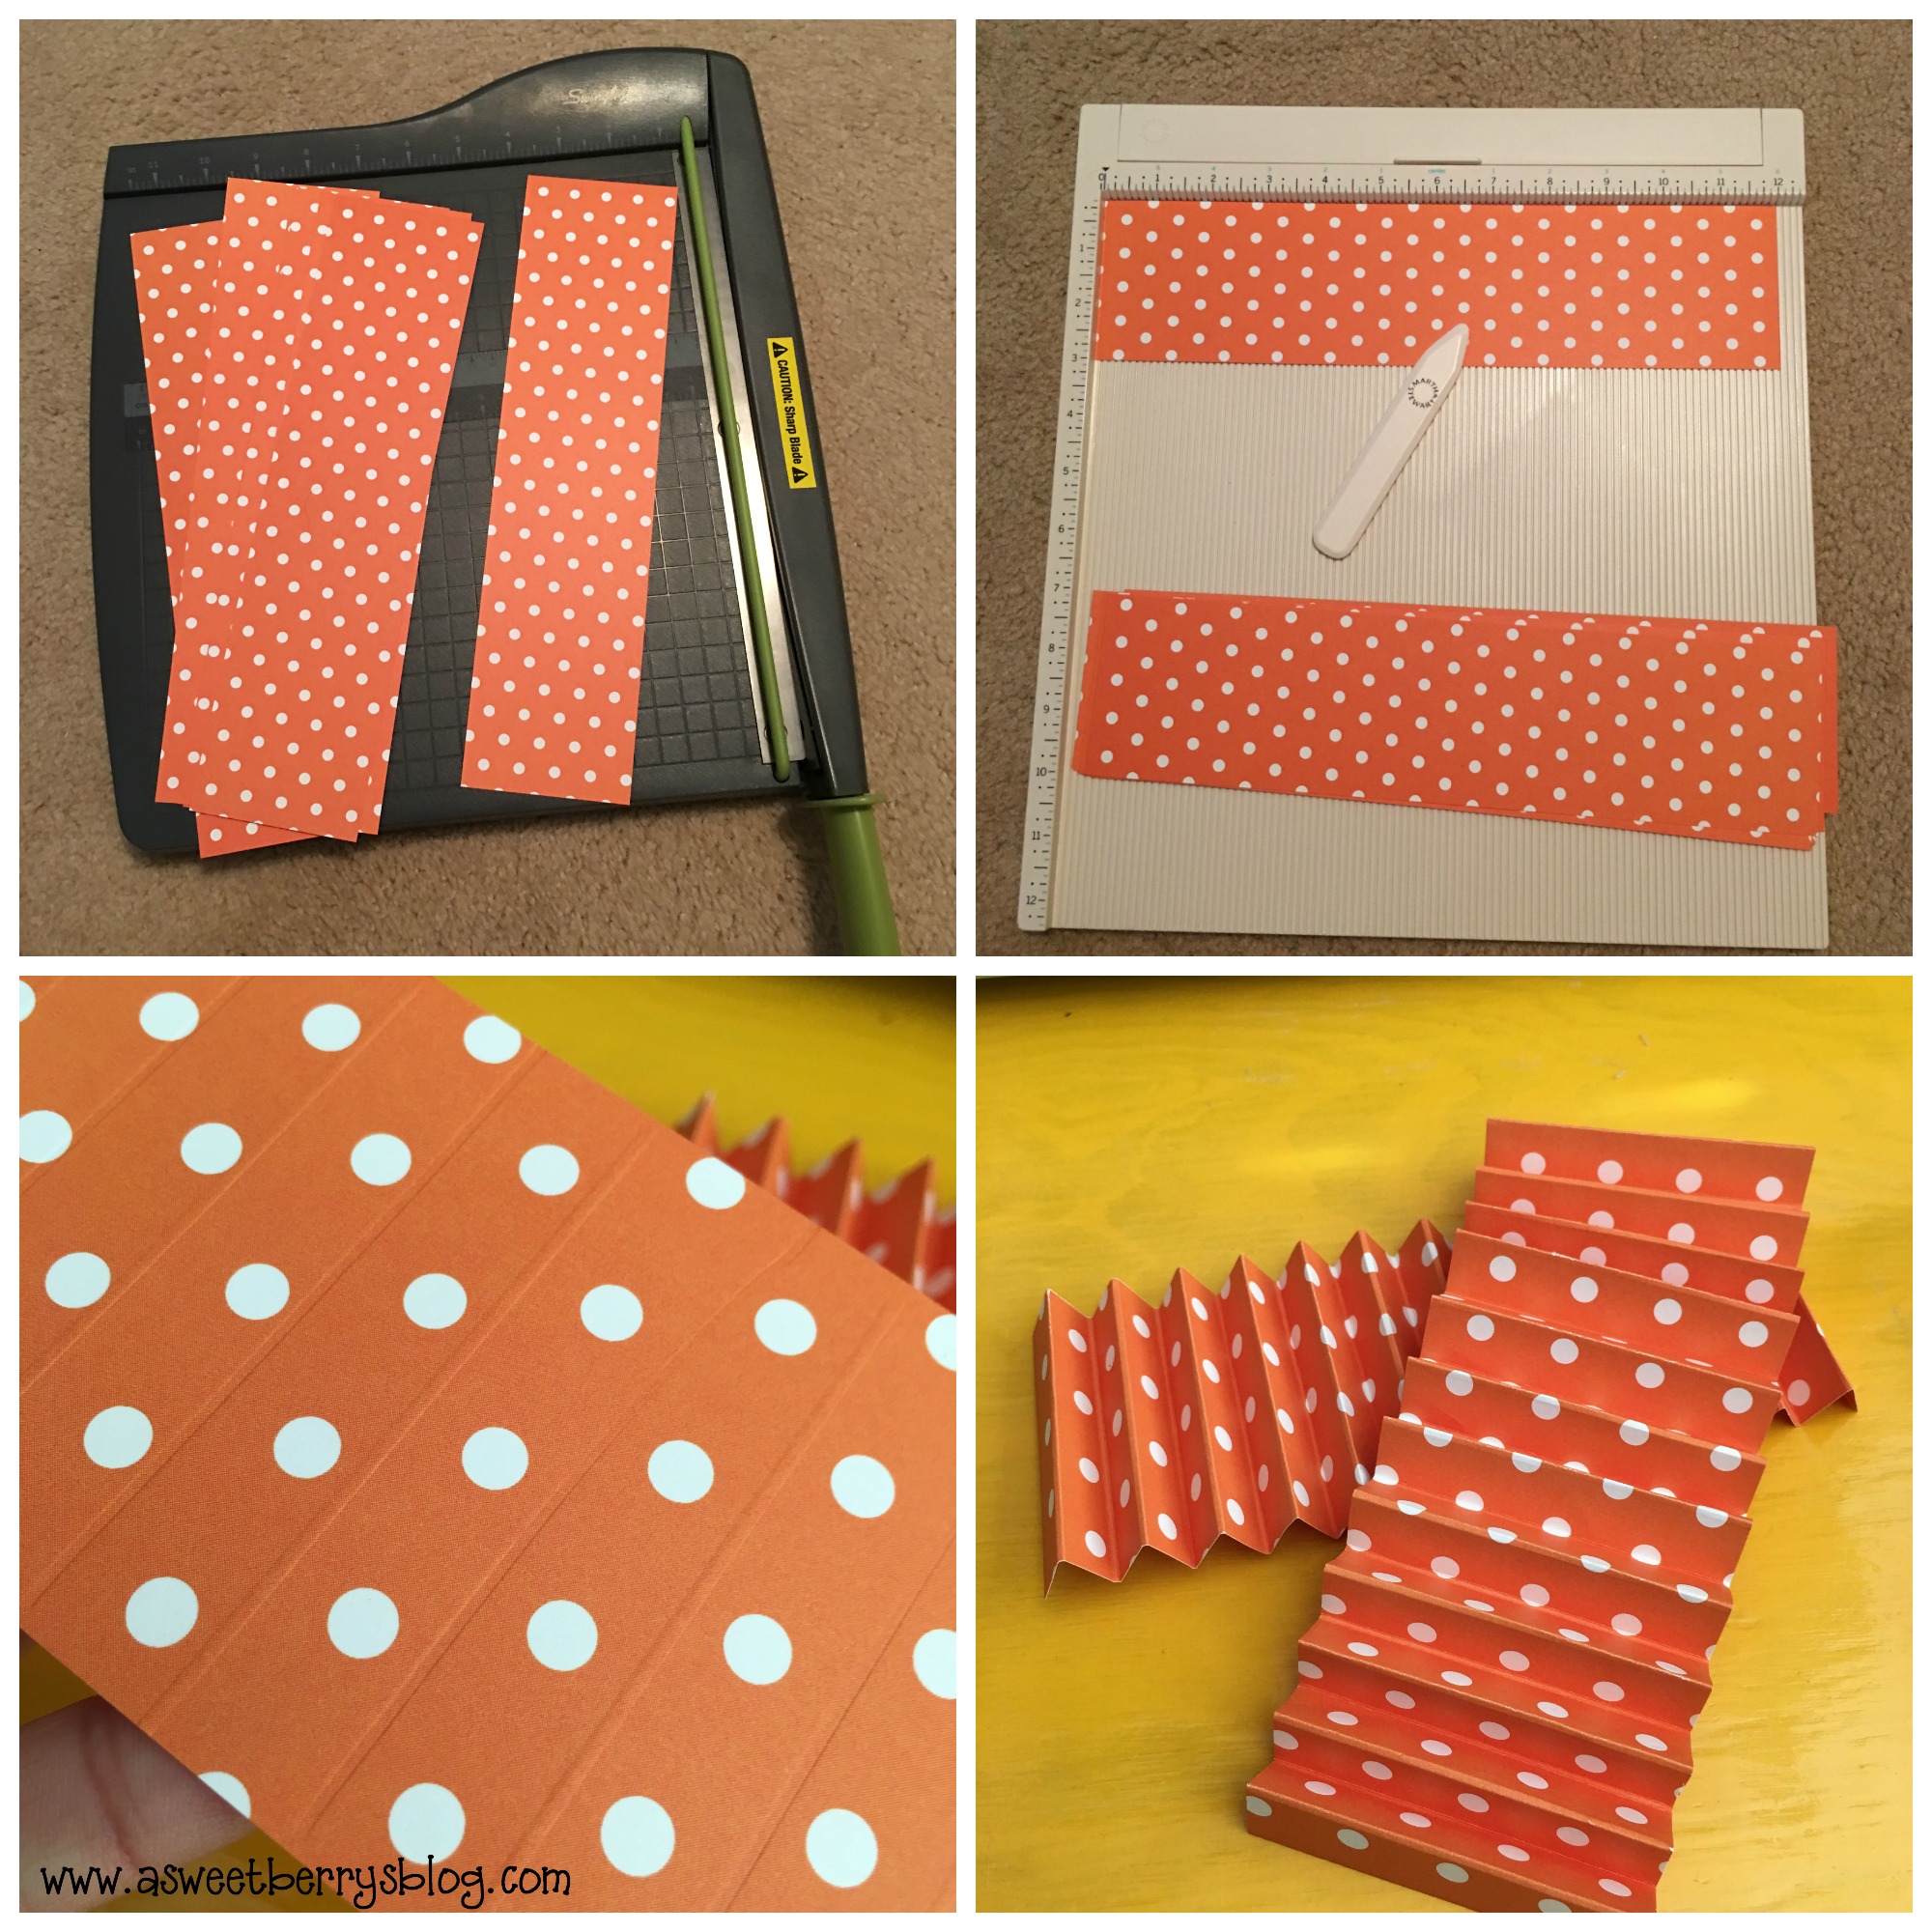
Using scrapbook paper that I got at A.C.Moore, I cut my paper down to 3 inch strips.  Then, using my paper scoring kit, I scored both sides, alternating every half inch.  After the scoring was done, I created the accordion fold.

cutting-and-folding

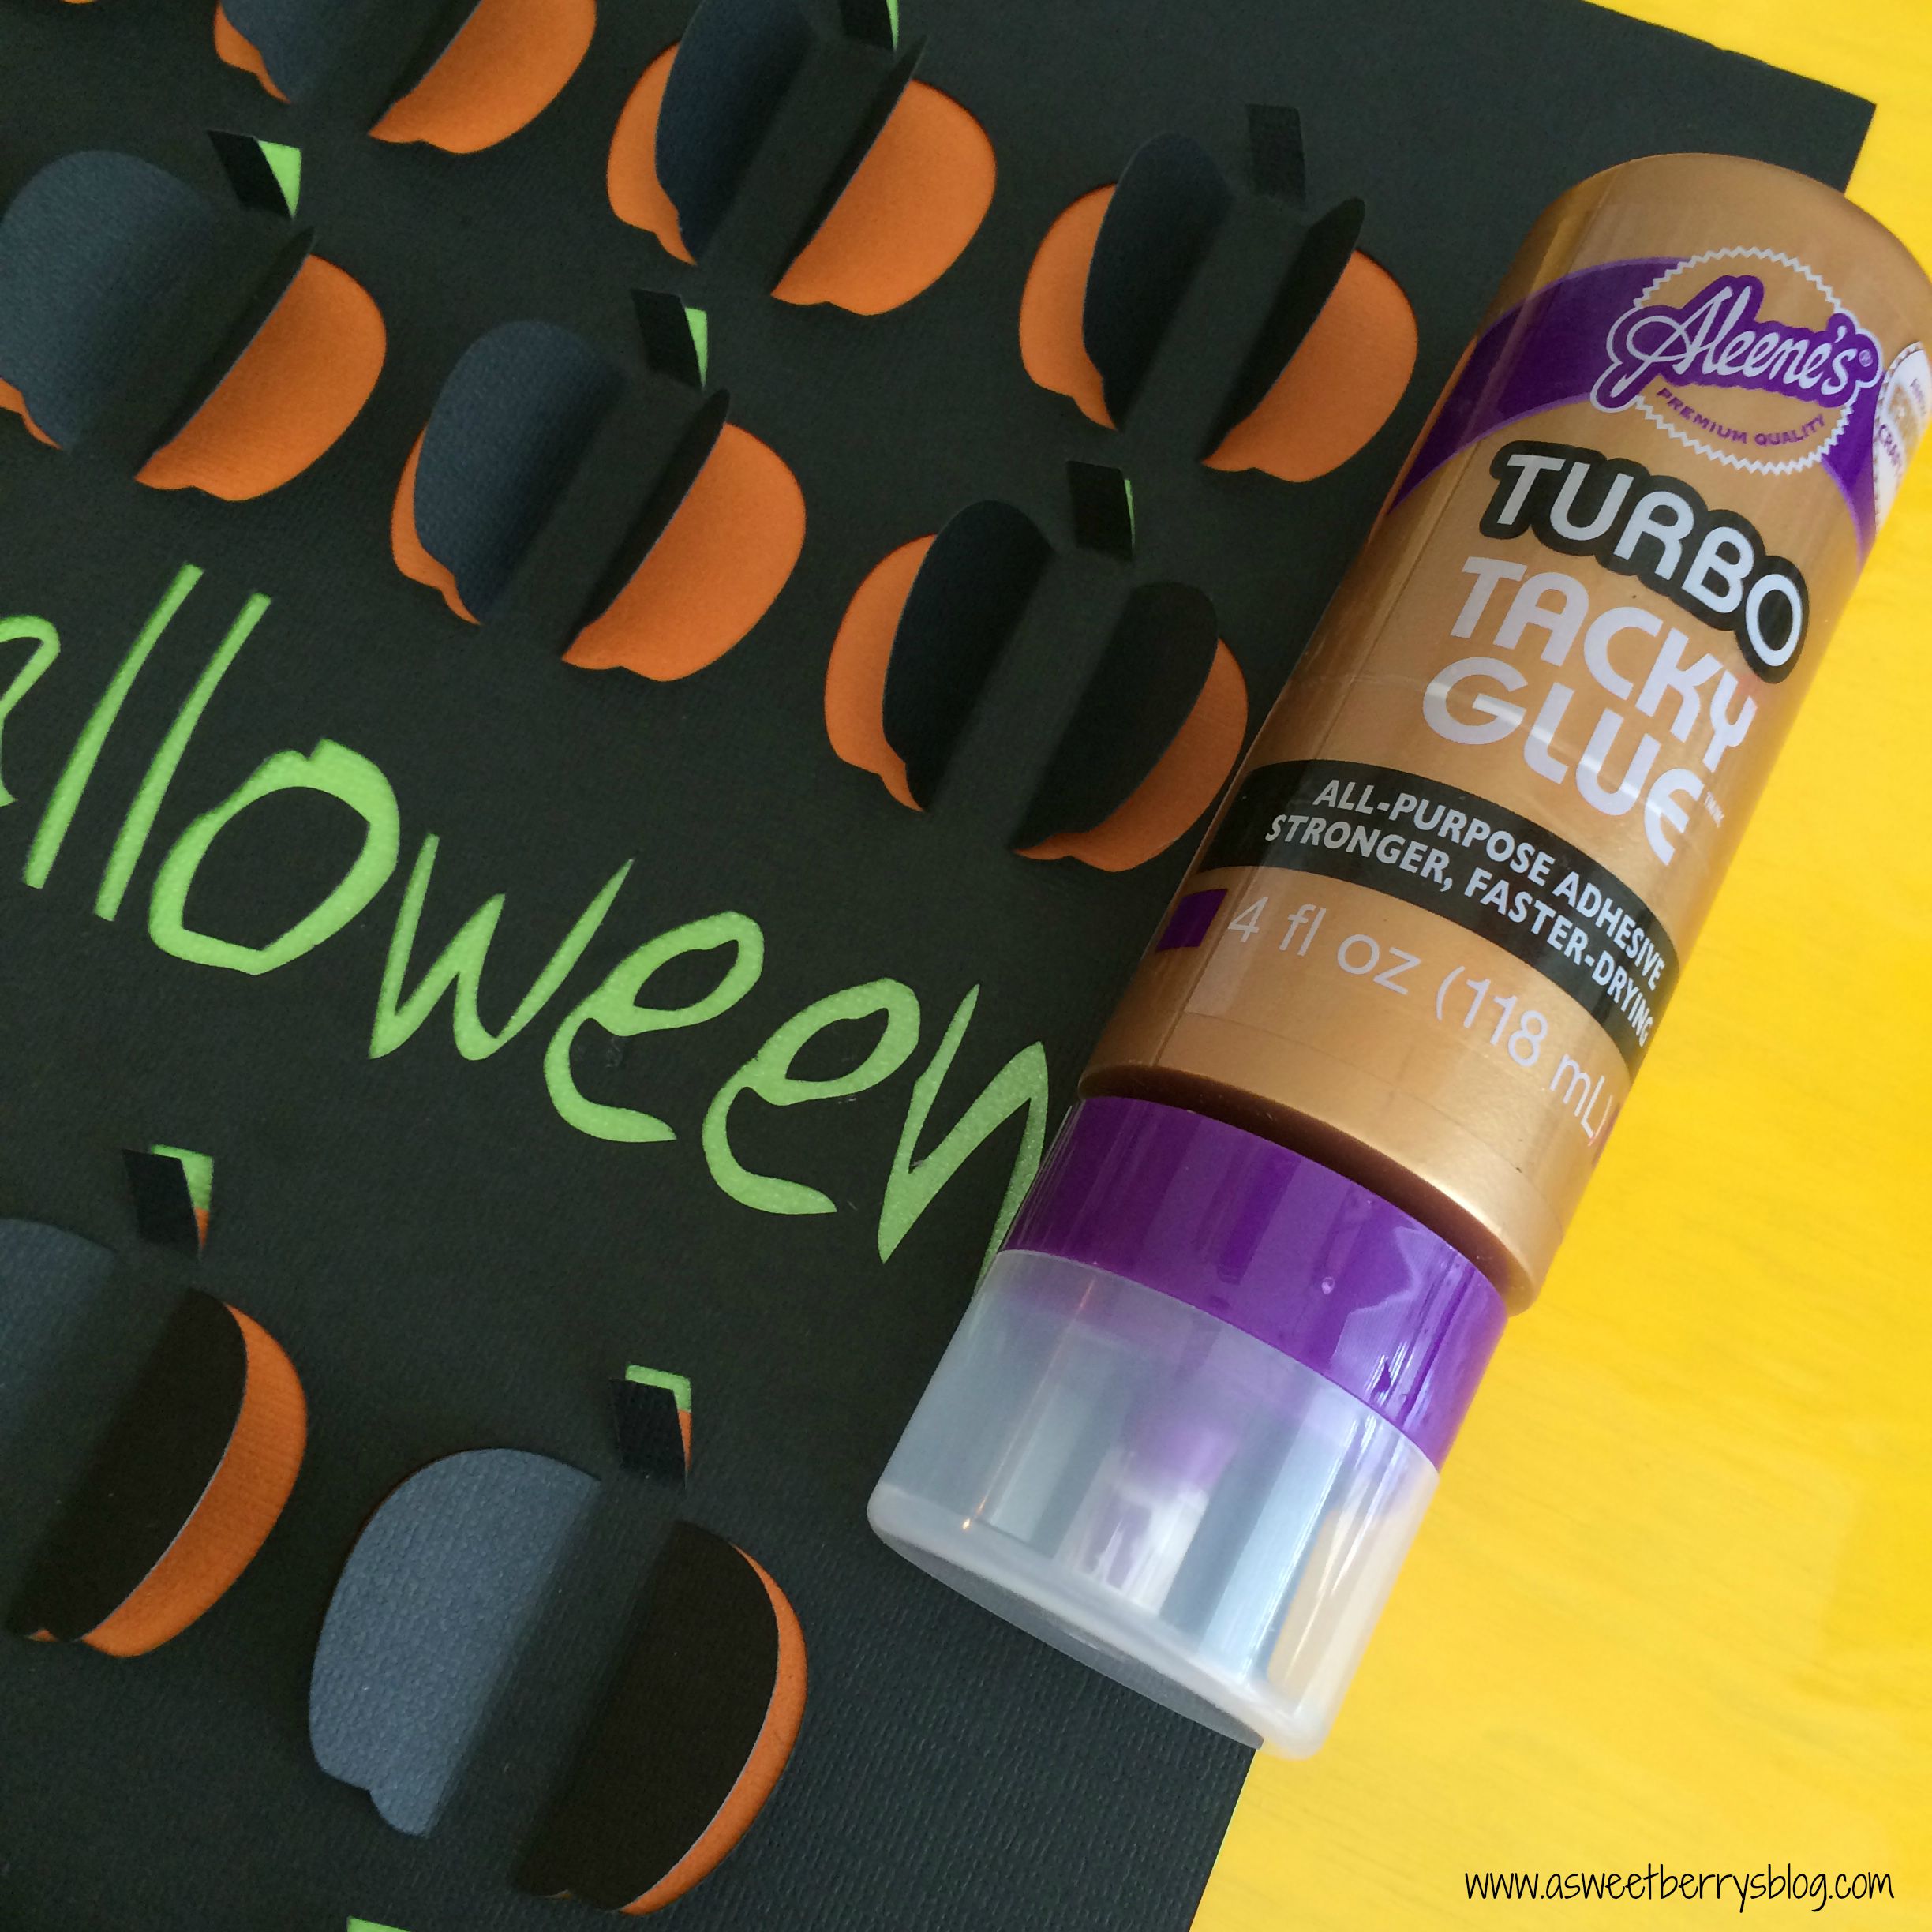
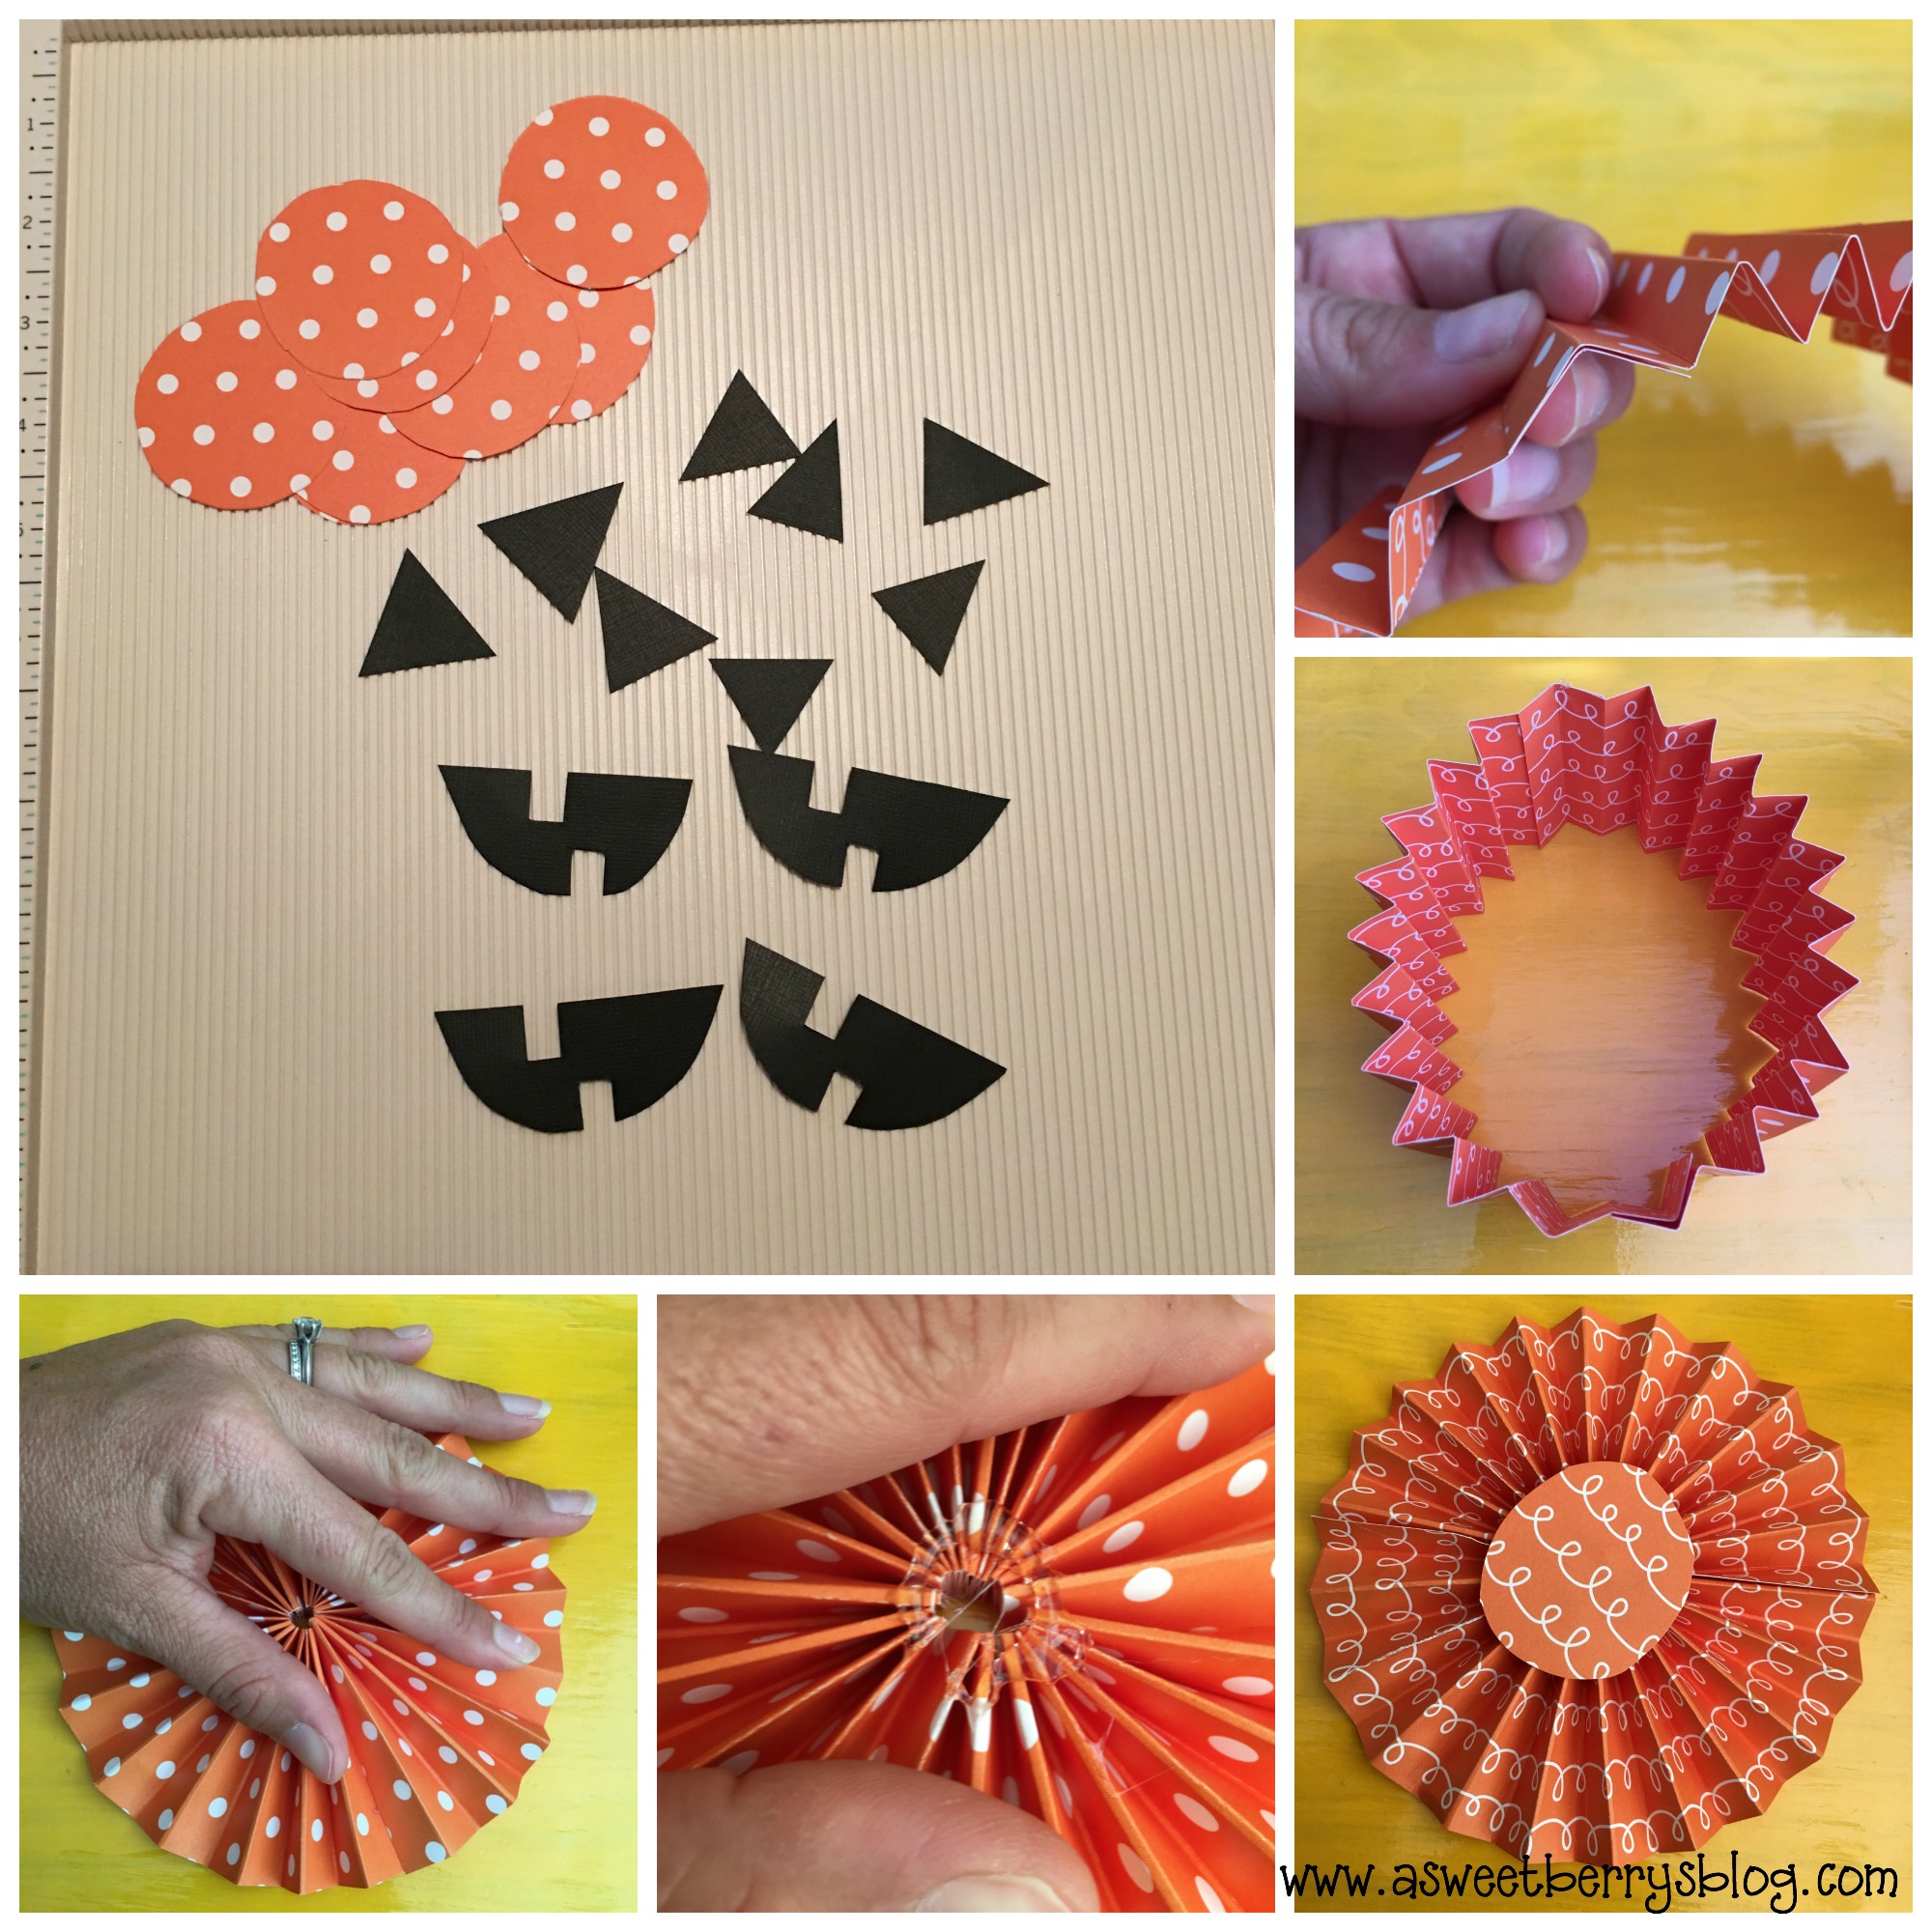
Because you need a way to hold the accordion fold down and together, I cut circles from the same paper.  I also cut my pumpkin face pieces from black paper.   To put together the accordion circle, I first glued the ends of paper together, creating a circle.  A hot glue gun works best for this.  Once the ends were glued together, I laid it on its side and pressed down, causing the middle opening to close and the paper to lay flat.  Using my hot glue gun, I glued a circle in the center of the front and the back of my accordion circle.  Then I glued the eyes, nose and mouth to each accordion circle!

putting-it-together

Once all of my pumpkins were created, I added a piece of green paper for the stem and clipped it to a piece of burlap string using little black clothespins!  It’s perfect for my mantel.  You could create different faces for each one or you could make more accordion circles and add letters.  You could make them bigger or smaller, depending on what you want to do with them!

I hope you like my Accordion Circle Pumpkin Banner!

Be sure to click the button below to check out other Halloween Craft Lightning projects!

Love Shack Camper

camper

Eileen Hull is one of the coolest people I know!  She has a travel trailer named Scotty that she travels across the country in going to different scrapbooking stores on her Paper Trail.    Eileen also has a die cut line with Sizzix.   I’ve gotten to know Eileen over the years from events like CHA (Craft and Hobby Association Mega Show) and SNAP (blogging conference) and I am amazed at her creativity.  One of my favorite dies by Eileen is her Travel Trailer.  My friend Rina, also known as Mothership Scrapbook Gal, is on Eileen’s Inspiration Team and sent me the trailer die cuts so that I could have fun designing my own Travel Trailer!  The trailer is cut from Matboard, which is a thick paper material and is very sturdy and great for 3D projects.  I decided that I wanted mine to be a Love Shack!

materials

Using American Crafts Valentine paper that I purchased from AC Moore and my exacto knife, I did some measurements and cut my paper selections to the size of the die cut outs.  I used Tombow Mono Permanent Adhesive to adhere the paper to the trailer pieces.

covering with paper

After all of my paper pieces were on my die cut pieces, I constructed the trailer.  Instructions on how the camper was put together can be found here on the Sizzix website.

Hope you like my little Love Shack!  It’s perfect for a Valentine’s decoration!  Happy Valentine’s Day!

Until next time…….

Happy Halloween Pumpkin Cut Out Art

Halloween will be here before we know it!   And I am super excited.  I love to pull out the Halloween decorations!

While I was at Target one day, I saw a popup heart piece in the framed art section and I thought it was so cute.  I had not seen anything like it with Halloween designs and I don’t think the heart one had any words.   I thought I’d make a Halloween one with cute little pumpkins and a font that was a little ghoulish! final
Materials needed:
A shadowbox frame
cardstock (I used four pieces….black, white, green, orange)
Aleene’s glue and a adhesive runner,
Electronic Cutting Machine (I used the Sizzix Eclips2)
Halloween .svg file that I created.   (comment if you’d like the file) cutting
Once my file was cut and removed from the cutting mat, I lightly folded the cut parts upwards.  I also saved the inside pieces of the letters. bending
Once all of my pieces were folded up, I cut strips of orange and green just big enough to fit across the back of my 12×12 piece.  I used green for the stems and orange for the pumpkins.  Using an Aleene’s adhesive runner, I attached the strips to the back, being careful not the squash my folded up pieces flat. aleenes
Because the insides of the letters were small, I used Aleene’s Tacky Glue to glue those to the green.
letters
After all of my pieces were put together, I placed them into 12×12 shadowbox frames.   black and white
This photo is just to show them from each side, so that you can see that the orange and green can be seen from under the folded upward pieces of pumpkin. both at different angles
I love them both, but truth be told, the black one is my favorite.  It looks more Halloween-ish!
final
I hope you liked my Happy Halloween Pumpkin Cut Art.  If you’d like the .svg file, just let me know in a comment and I will be sure to get that to you!

Until next time……