Tag Archives: Tie-dye

Tulip One-Step Tie-Dye Your Summer Party!!

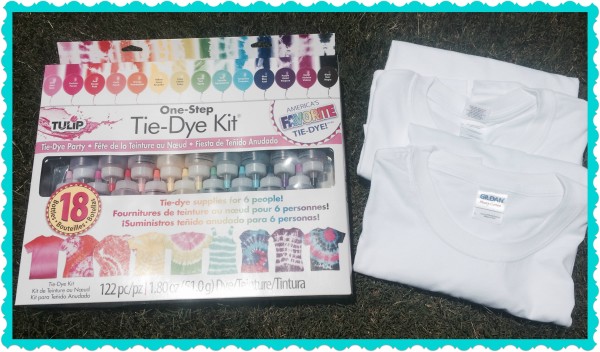
Together with I love to Create, Laura Kelly put together yet another awesome blog hop!  This one is a Tie-Dye Party!  Each blogger was sent an awesome One-Step Tie-Dye Kit for 6 people and two Gildan t-shirts.  The t-shirts could be used for practicing or for the actual project.  I chose to use mine for the project, along with some other size Gildan t-shirts I had.  We had a family tie-dye party!! kit
Tulip Tie-Dye T-Shirt Summer Necklace!

katie

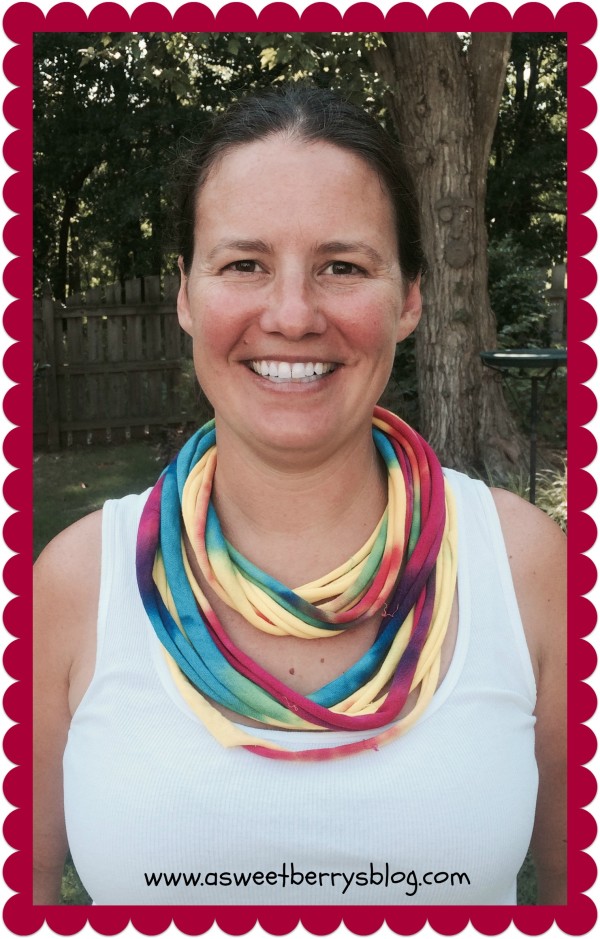
I have always wanted to make a t-shirt necklace!  I love bright and bold colors so I thought I’d tie dye one of my Gilden t-shirt with nice bright Tulip Tie-Dye colors (Fuchsia, Purple, Turquoise, and Yellow)!  I am obsessed with the swirl pattern for some reason, so that’s the one I used.

dye process

After my shirt was tie-dyed, set, washed and dried, I ripped the bottom of the shirt off, cutting just the side of the shirt so that I could get a good start for ripping.  Sometimes ripping through the seam can be a little difficult.  Next I cut just under the arm and ripped it across, so that I was left with just the bottom half of the shirt.  Then I cut 5 cuts on the sides, so that I could rip them across.

first steps

Once I had my strips, I grabbed the top piece of the shirt and did the same thing, making a cut by the seam and ripping it, giving me another strip.  I made one cut on the strip so that it was open.  I then gathered all of my strips, used my cut strip to wrap around my gathered strips, so that they would all stay together.

Last steps

Then my necklace was complete!  It was long enough that I wrapped it around my neck twice and made one shorter than the other, almost like an infinite scarf!!

  katie

Dad 4th of July Shirt!

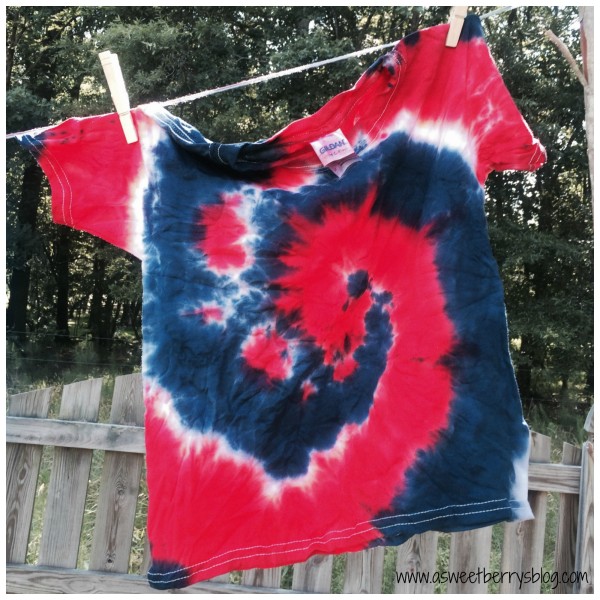
Dad’s shirt was made using the starburst method. Pieces of fabric were gathered, making sure to grab both the front and the back of the shirt and wrapped a rubber band around it.  The gathered pieces were tie-dyed with red and then the rest of the shirt was tie-dyed with blue!

Dad shirt

Big Brother’s Tie-Dye Master Piece!

Landon wanted to create something different with his shirt.  He loves how it turned out, with his favorite colors of blue, green, yellow and red! big brothers shirt

Little Brother’s 4th of July Shirt

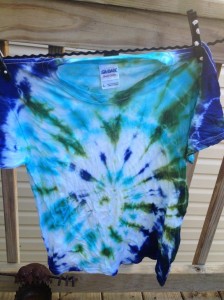
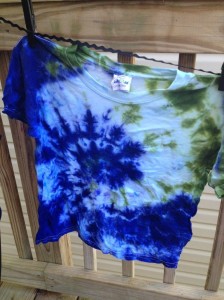
Benjamin loves the swirl method as well, so he will be rocking his shirt come the 4th of July!!!  This kid loves to tie-dye as much as I do! Little Brothers shirt
This one-step tie dye kit is perfect for a party of friends!  It comes with everything you need…bottles with dye, rubber bands, gloves and a plastic table cloth.

For other great summer tie dye ideas, hop on over to some other blog sites and see what they created using this great product!

Also, enter for a chance to win a Tulip One-Step Tie Dye Party Kit for 10!
a Rafflecopter giveaway

Little Boys Play Date with Rit Dye

So, the boys and I were invited over to my friend, Laura’s house for a little play date!   The boys were super excited, because of course they love venturing over to Laura’s house!!!   Laura has lots of toys (She has 2 boys and 2 step daughters) and she has lots of crafts stuff!  Some may know her as Laura Kelly from Laura Kelly Designs!  But I am glad to call her my friend!

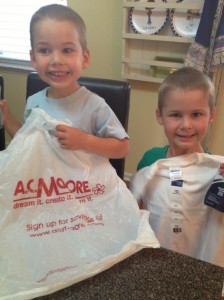
Anyways, this particular day, the boys and I stopped off at ACMoore to pick up some white t-shirts.   Laura was all set up for us to tie dye the shirts with Rit dyes!

IMG_7365

IMG_7364

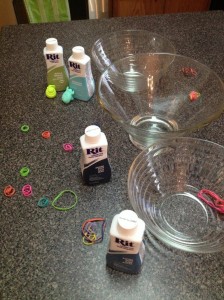
Materials needed:

Rit Dyes (liquid or powder), available where crafts are sold

White t-shirts (we got ours at ACMoore)

Rubberbands

Boiling Hot Water

Bowls

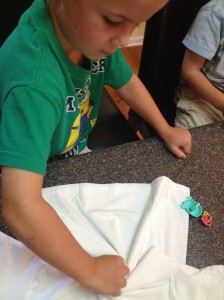
After Laura concocted the right amount of dye with hot water, we talked to the boys about the type of design they wanted on their shirts.  They both decided on the swirl!   So, after a little online research, Laura and I figured out how to get the swirl effect.  It’s super easy.   The shirt needs to be a little damp (we just used the sprayer in the sink, but a spray bottle can be used).   Lay if flat and pinch the middle.  Then twist and keep twisting until its all bunched.

IMG_7366

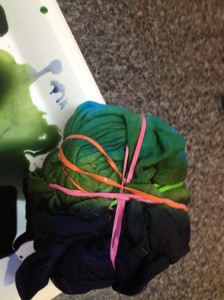
After it is all bunched together, place a rubber band around it to hold it together and then add a couple more in different directions.

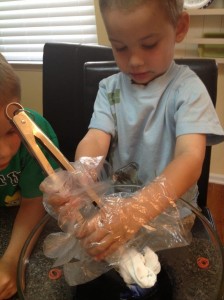
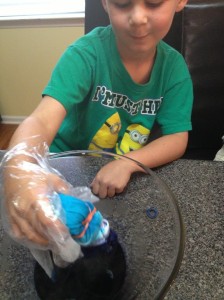
Next, put on some gloves because if not, your fingers will change colors!   Because boiling hot water was used to mix the dye, a set of tongs is helpful, especially for the little ones.

Depending on how many different colors you want to use on the shirt, dip the shirt the dye, but no more than half of the shirt, unless you want it all the same color.

IMG_7367

Once it has been in the dye for at least 2-3 minutes, turn the shirt and dip it into another color.   You can also experiment with multiple colors on top of each other to see what you get!

IMG_7369

This is what it should look like once you are finished!

IMG_7371

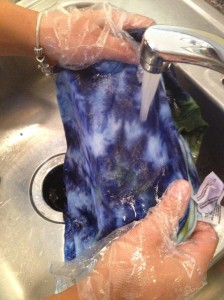
After all of the shirt has been dyed to your liking, it’s time to heat set it.  So, wrap it in some plastic (we used a ziploc bag) and stick in the microwave for about 30 seconds.  Remove it from the microwave and then remove the rubber bands.   Now it’s time to wash out all of the excess dye.   Leaving your gloves on, run the shirt under running water

until there is no dye visible in the sink after squeezing the shirt.

IMG_7374

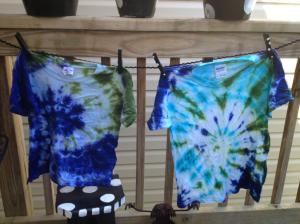
After it is all free of the excess dye, hang it outside to dry in the sun!  And the Voila, you have a tie dyed shirt!!!

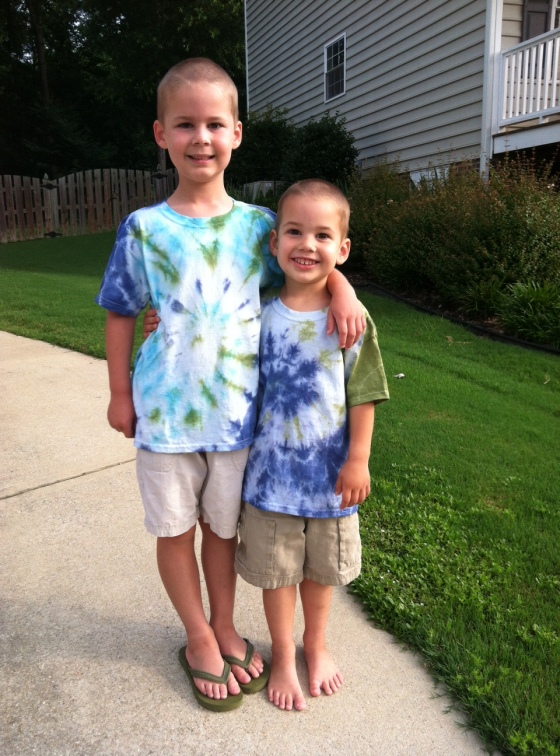
IMG_7379Don’t these look awesome!  The boys love them!

IMG_7380

IMG_7381

Rit dyes are super easy to use and the colors are so bright!

Thank you Laura for having us over for a Rit Tie Dye Play Date!  It was so much fun!

photo