Disclosure: This post contains affiliate links for Sizzix.com
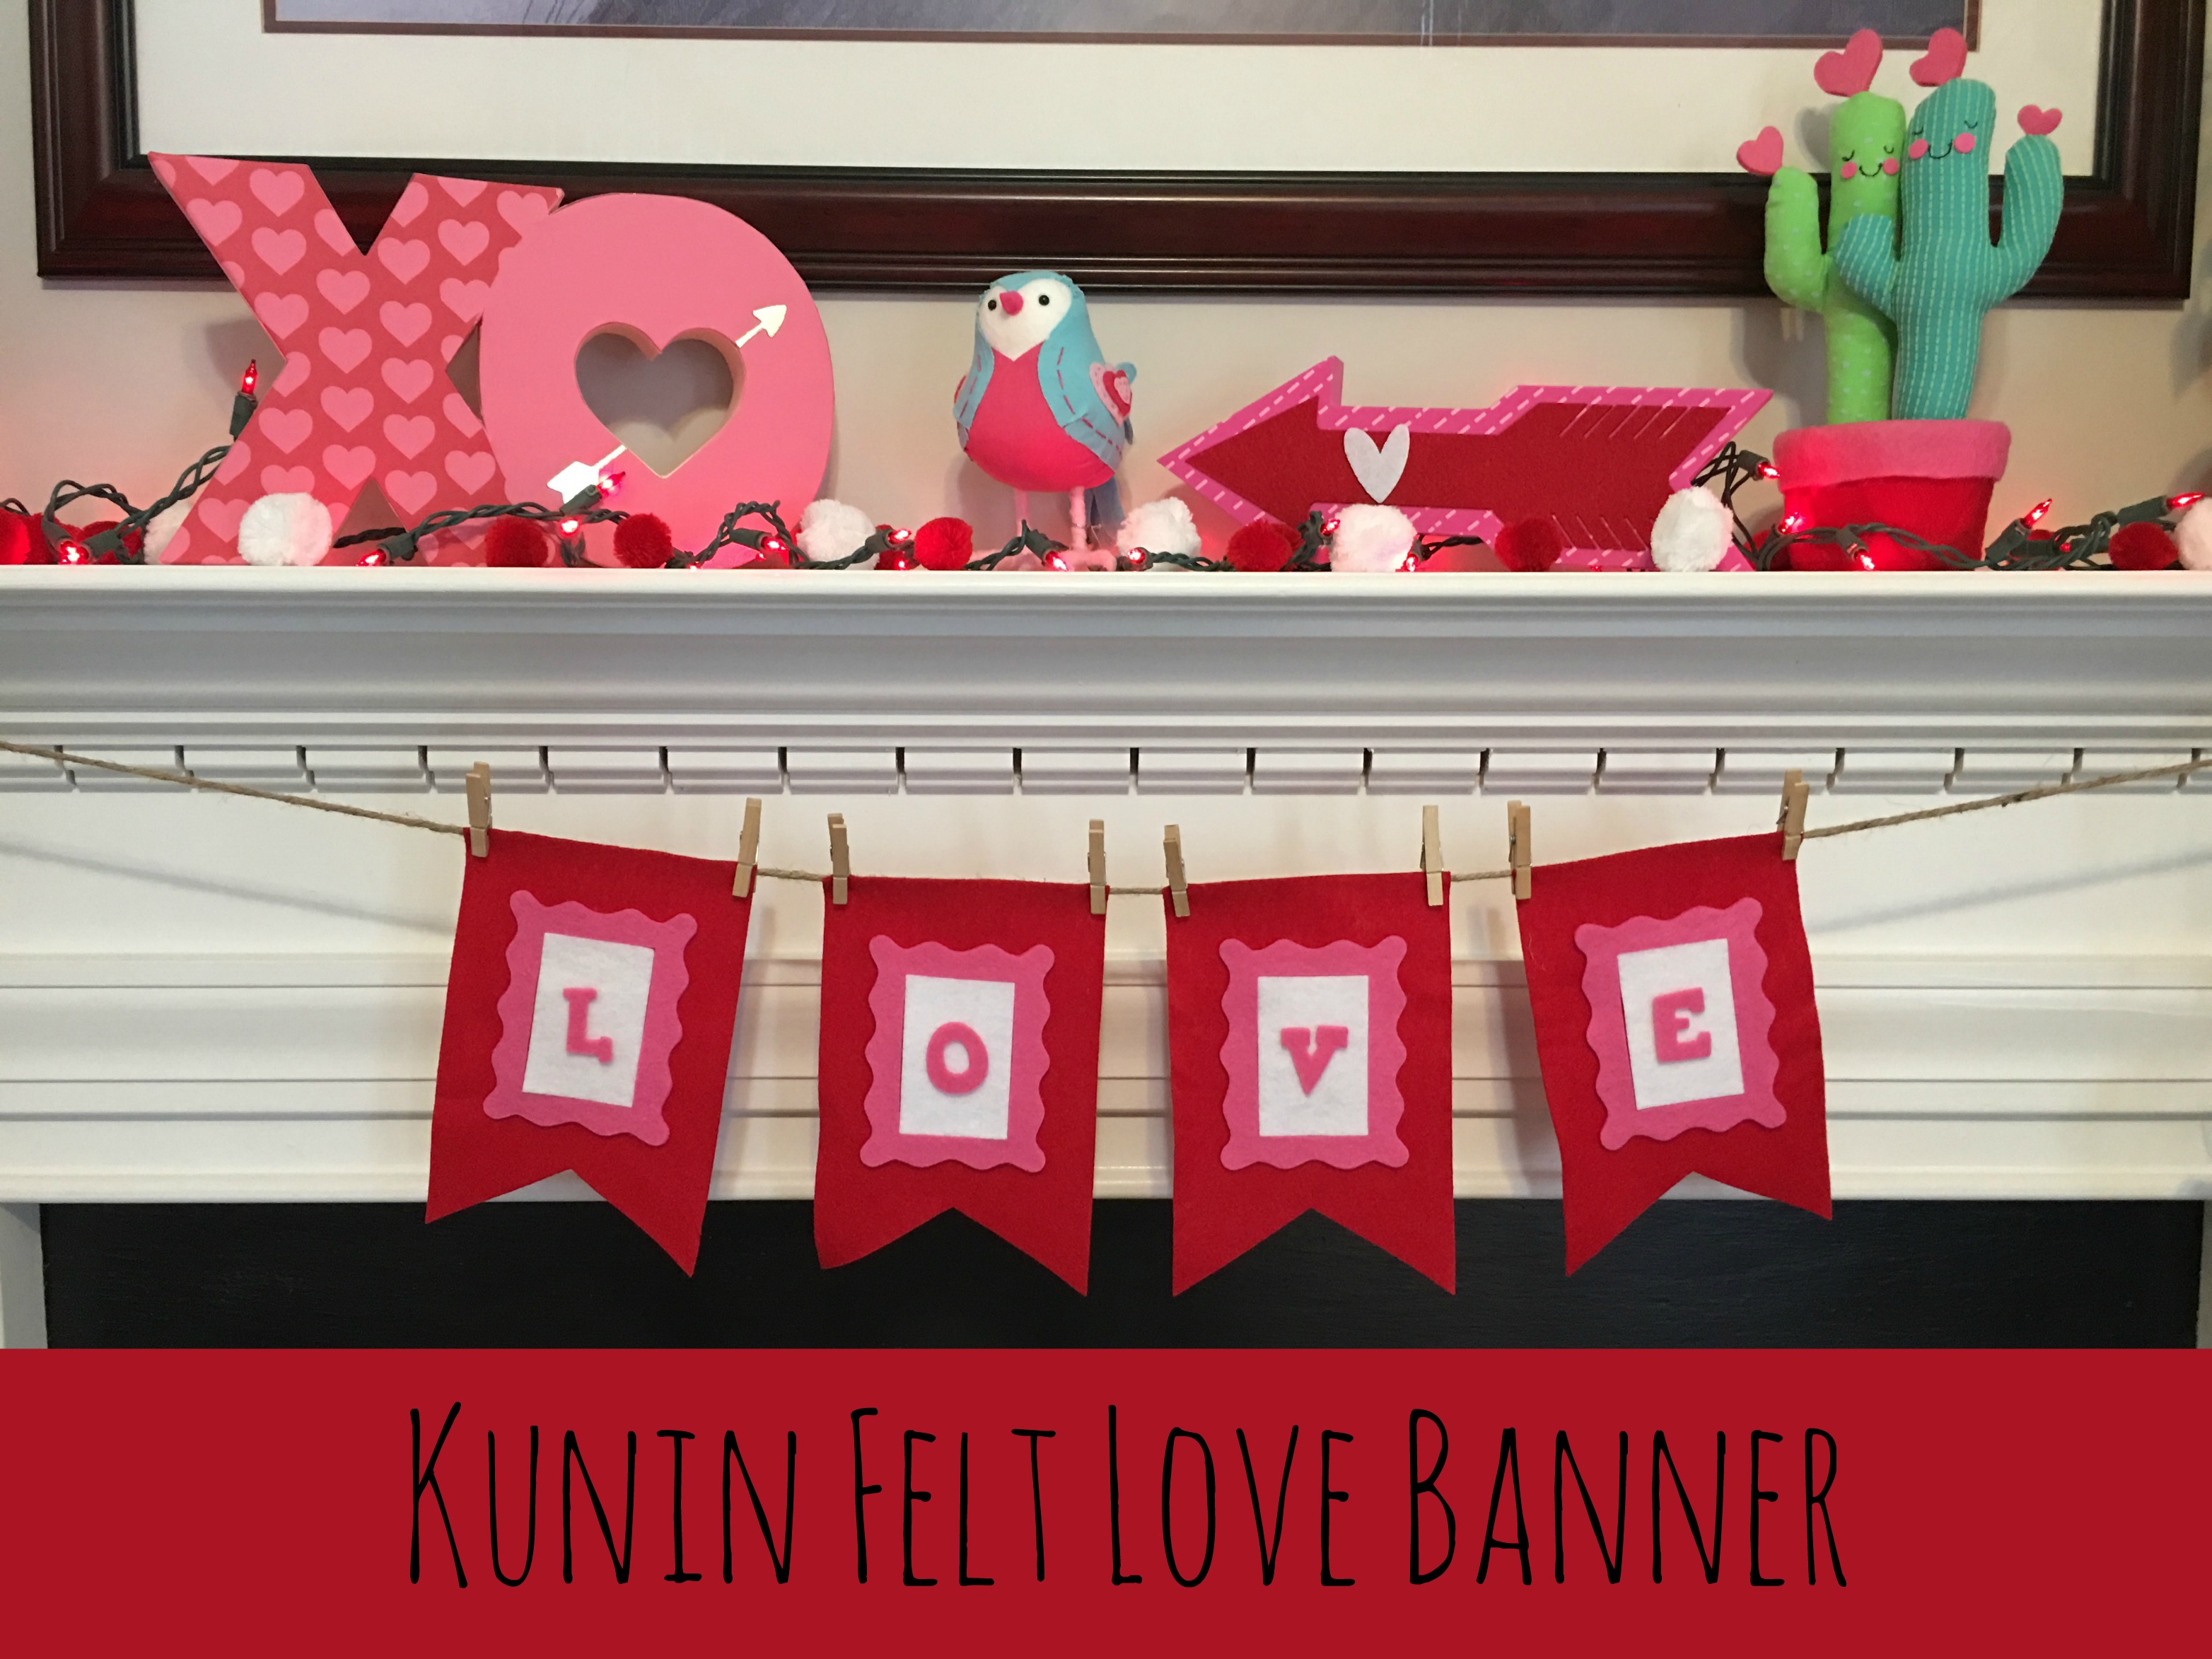
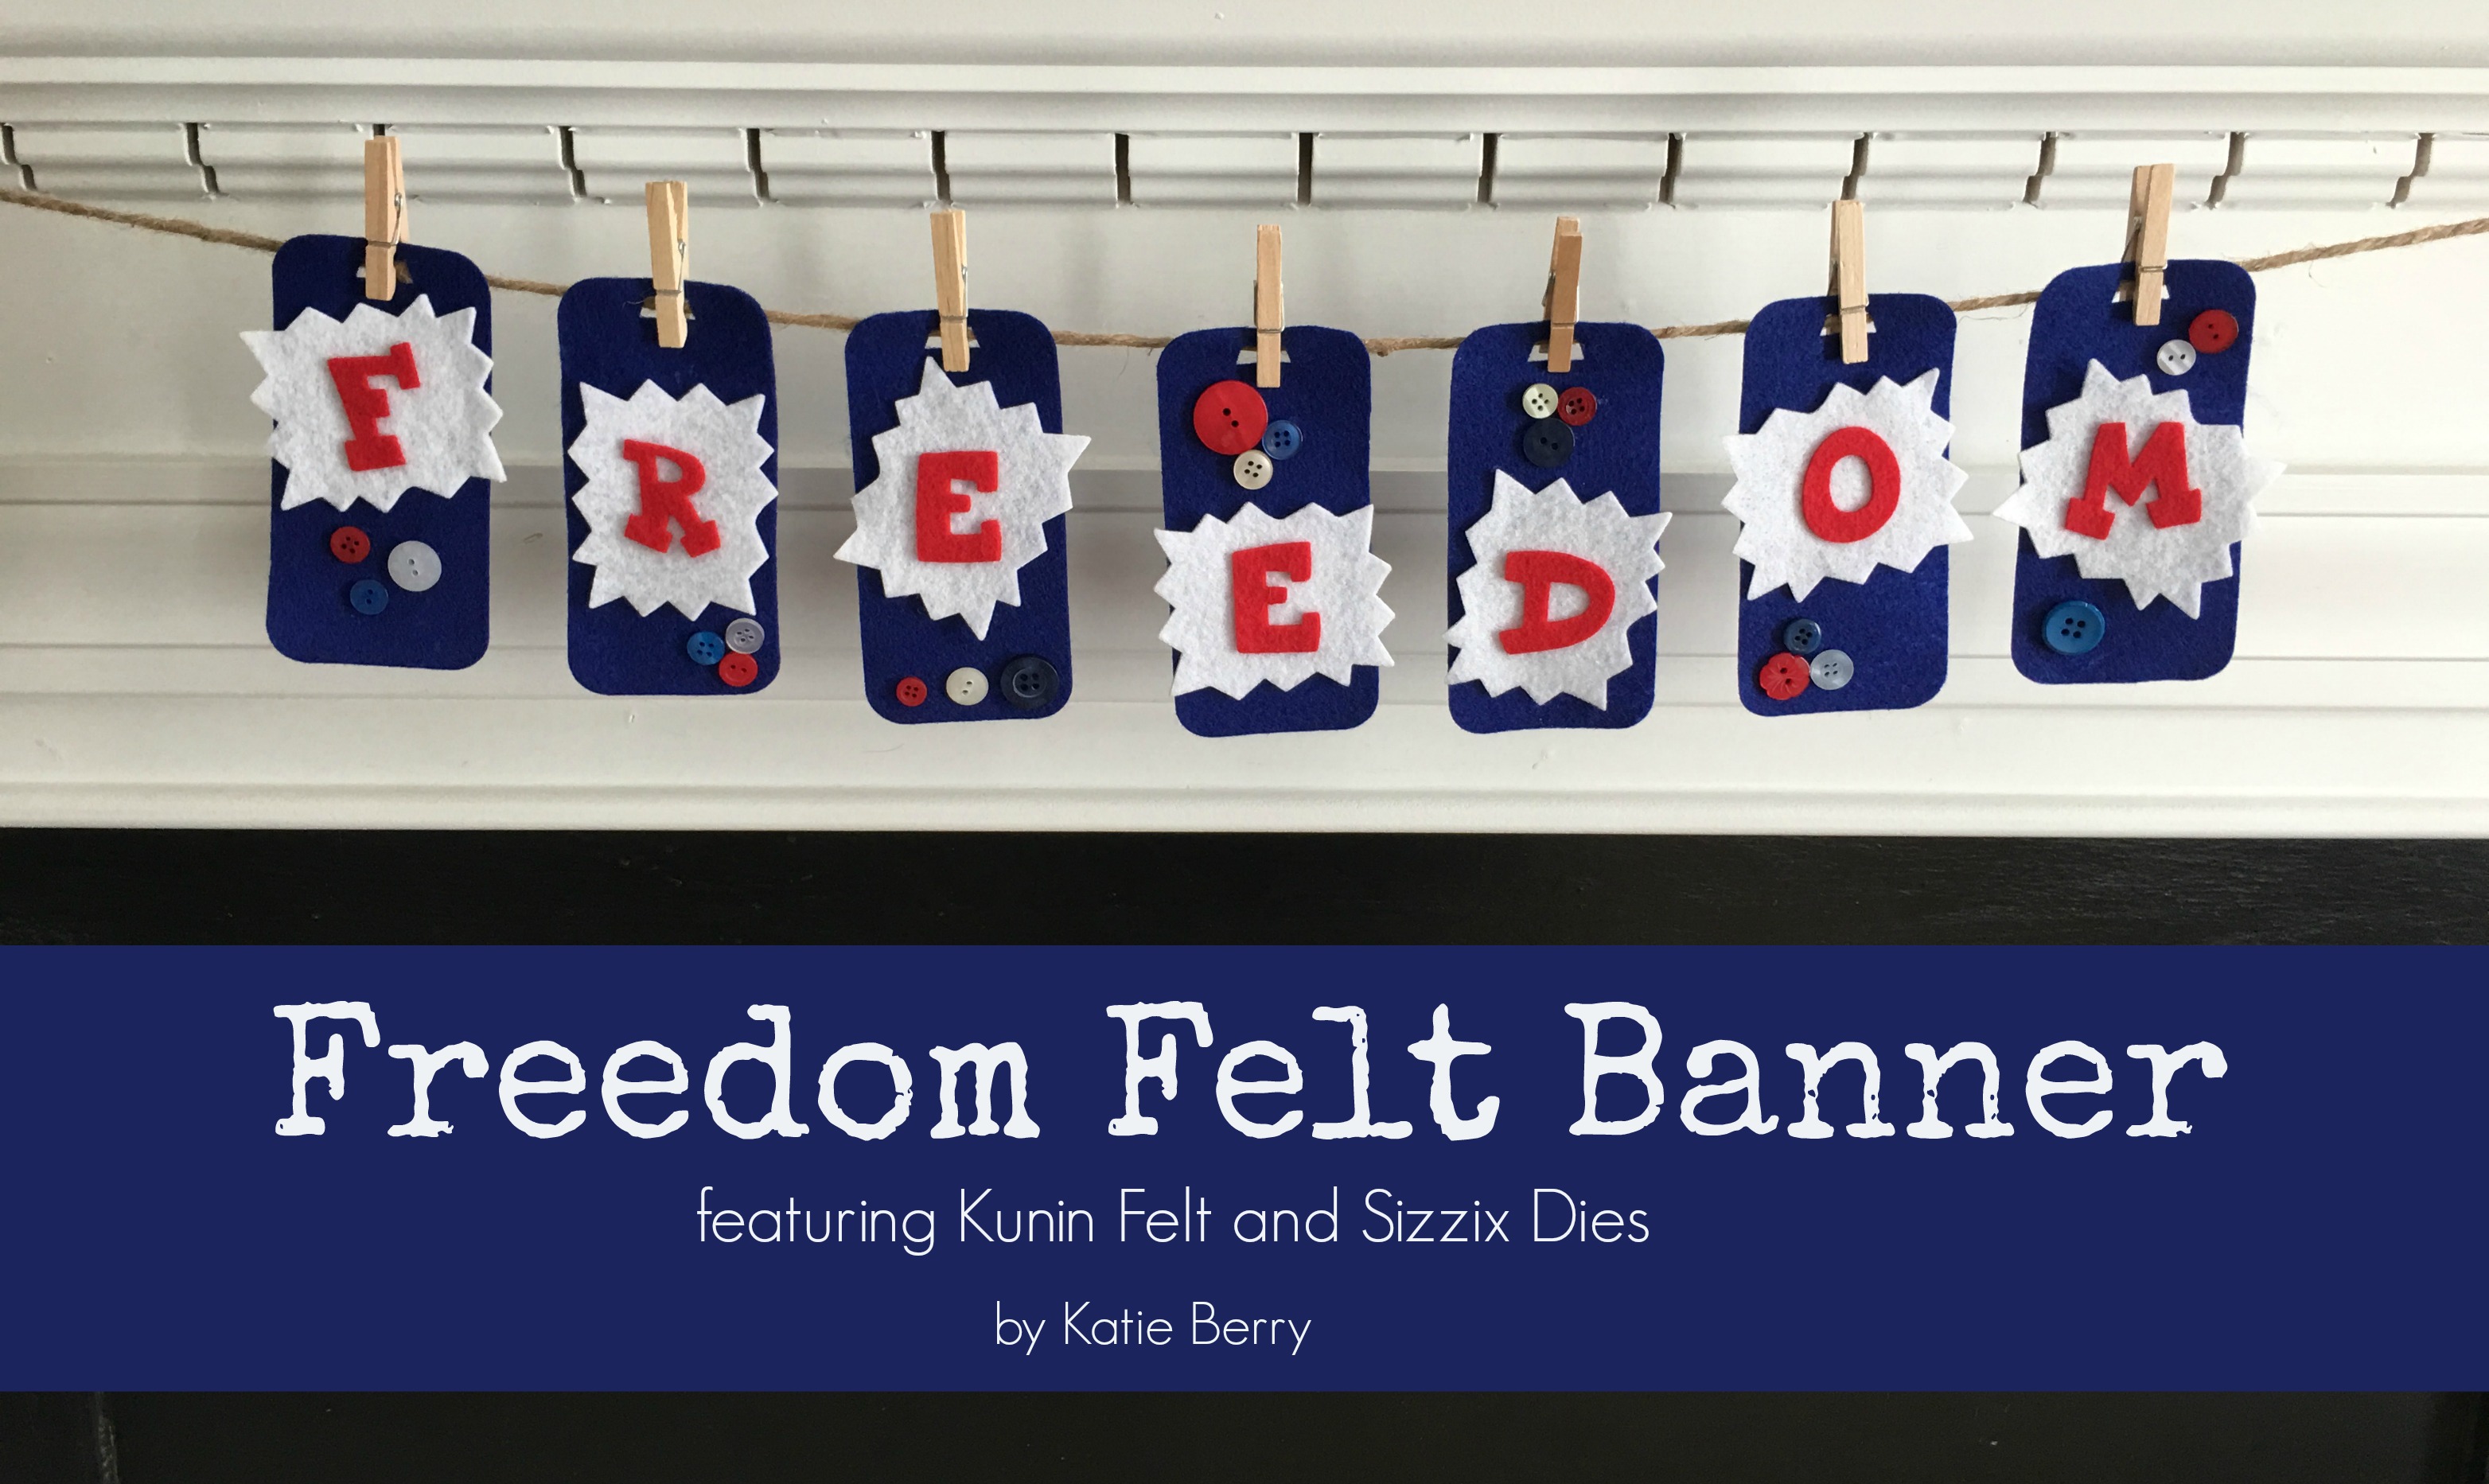
It’s Craft Lightning time again and this one is Patriotic Crafts! This Freedom Felt Banner was super easy and took barely anytime to make! And I love a cute seasonal banner!
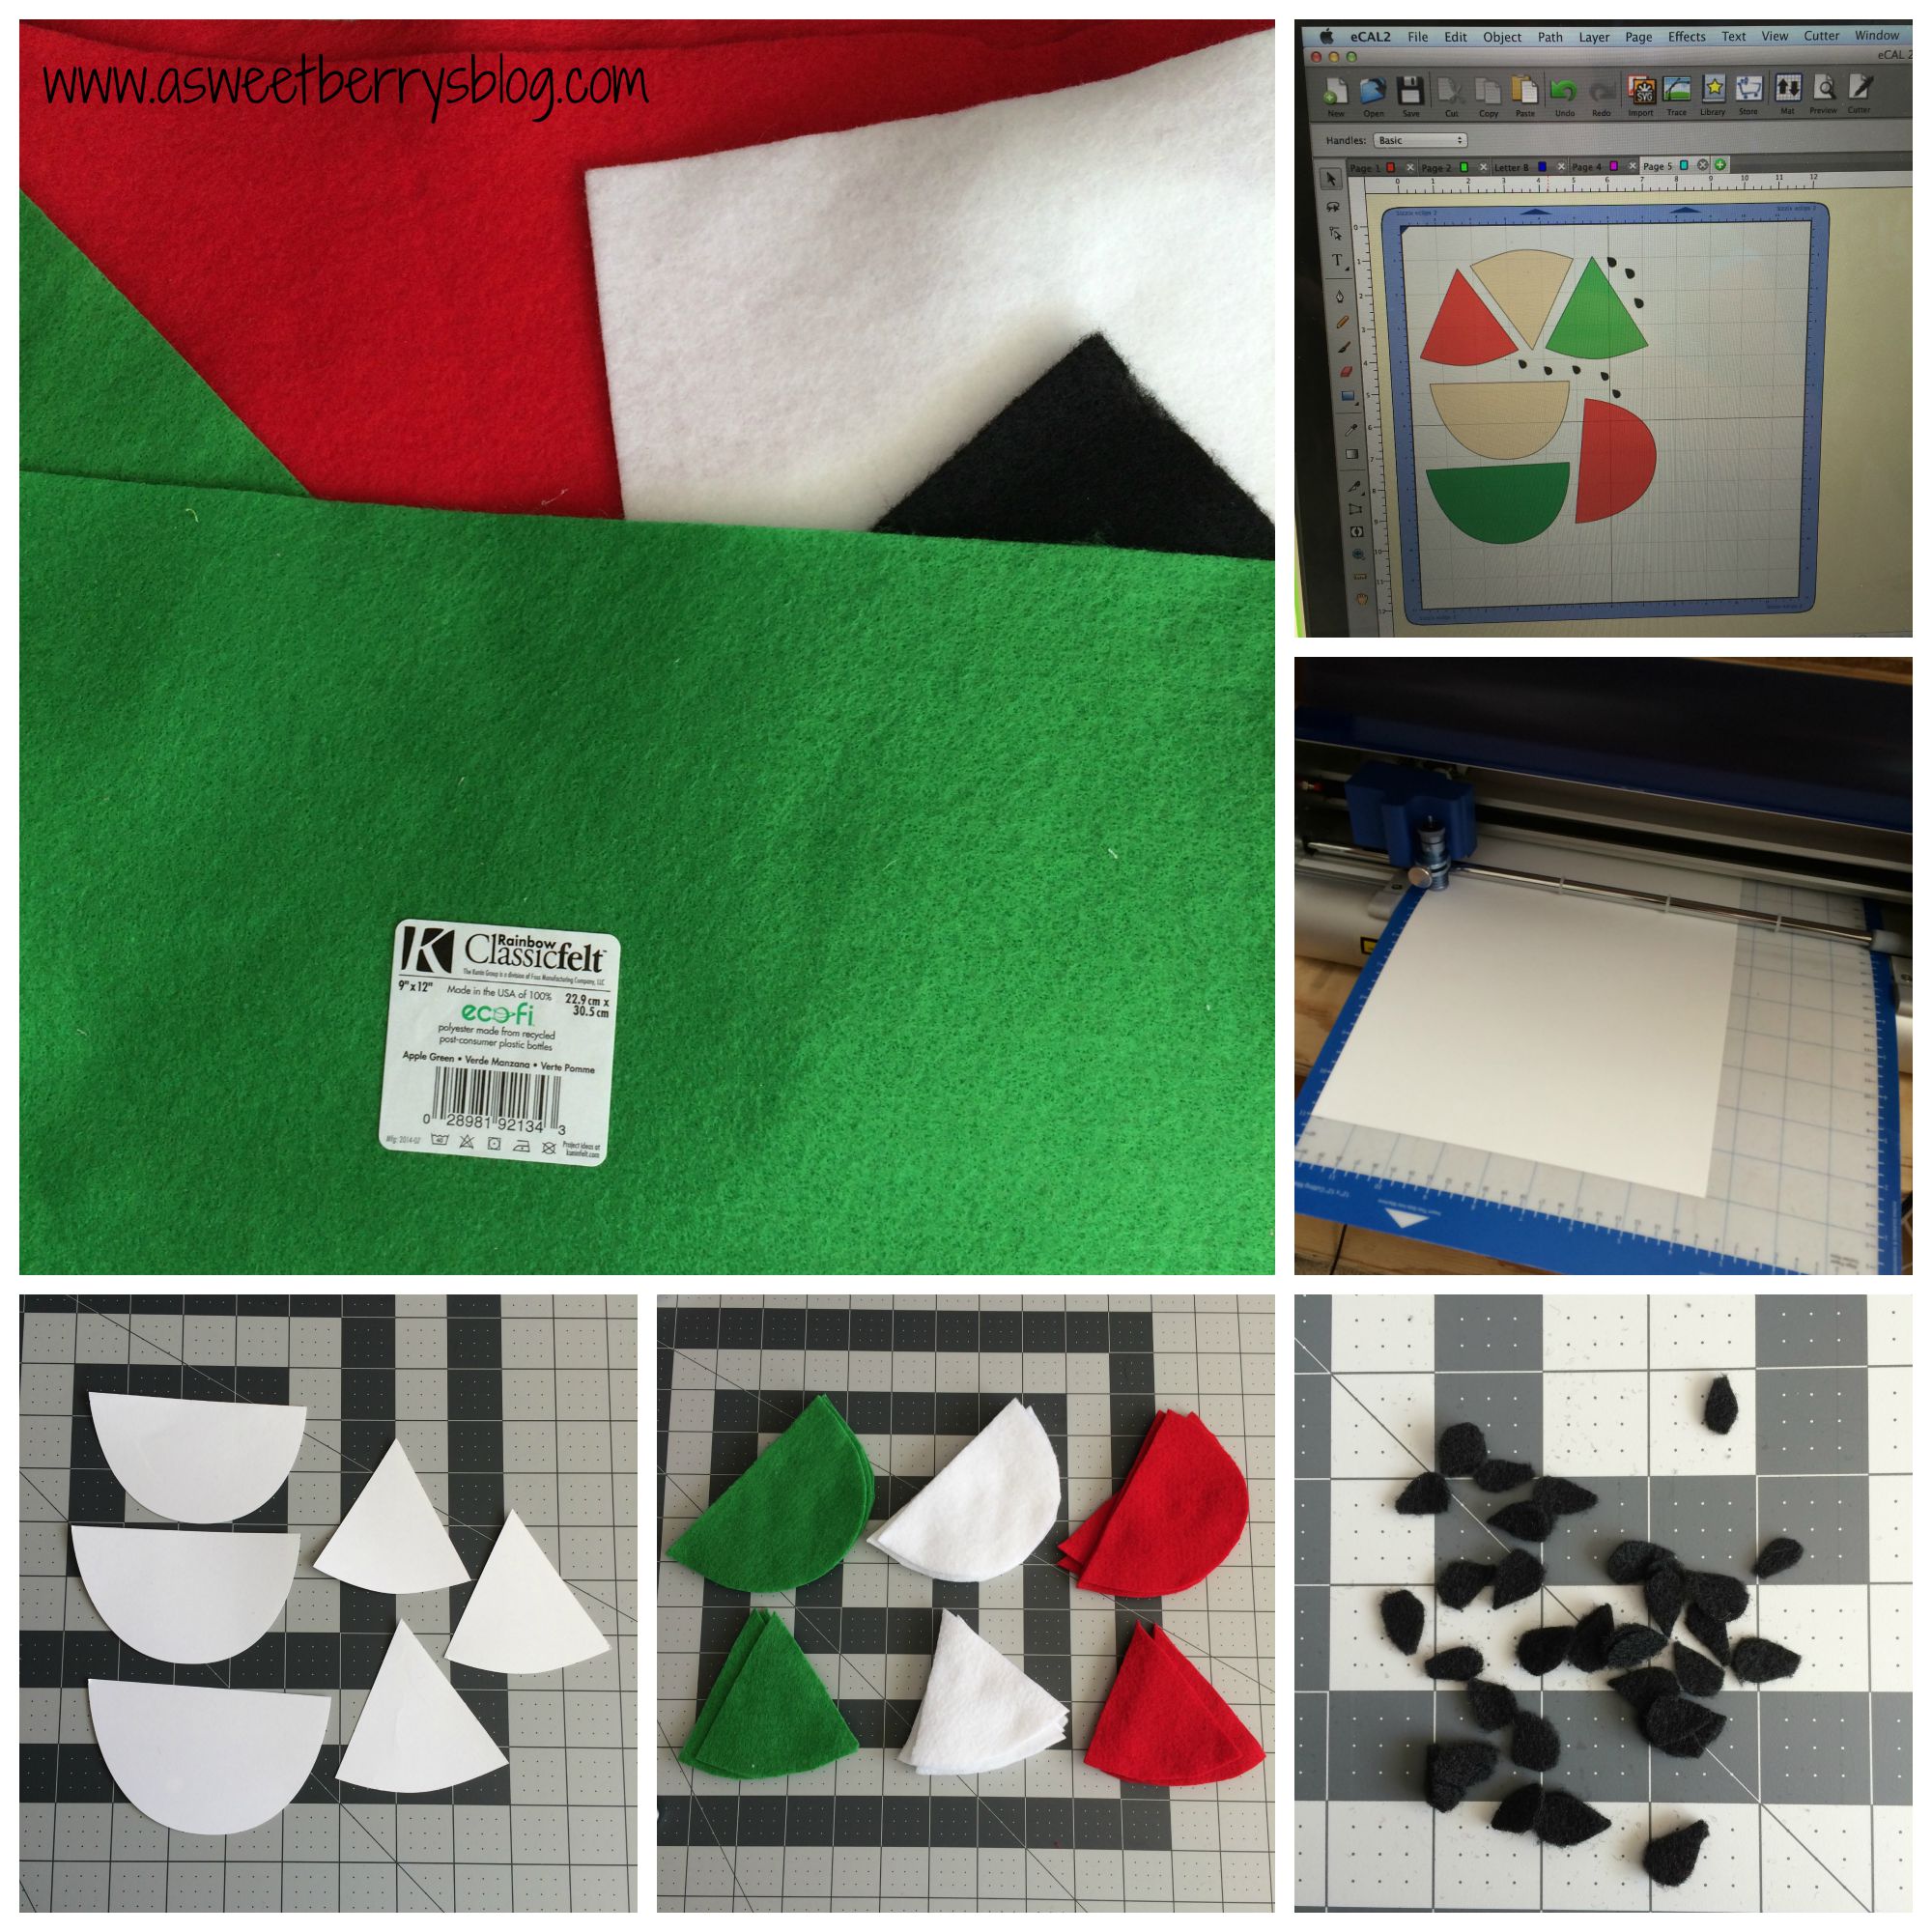
Materials:
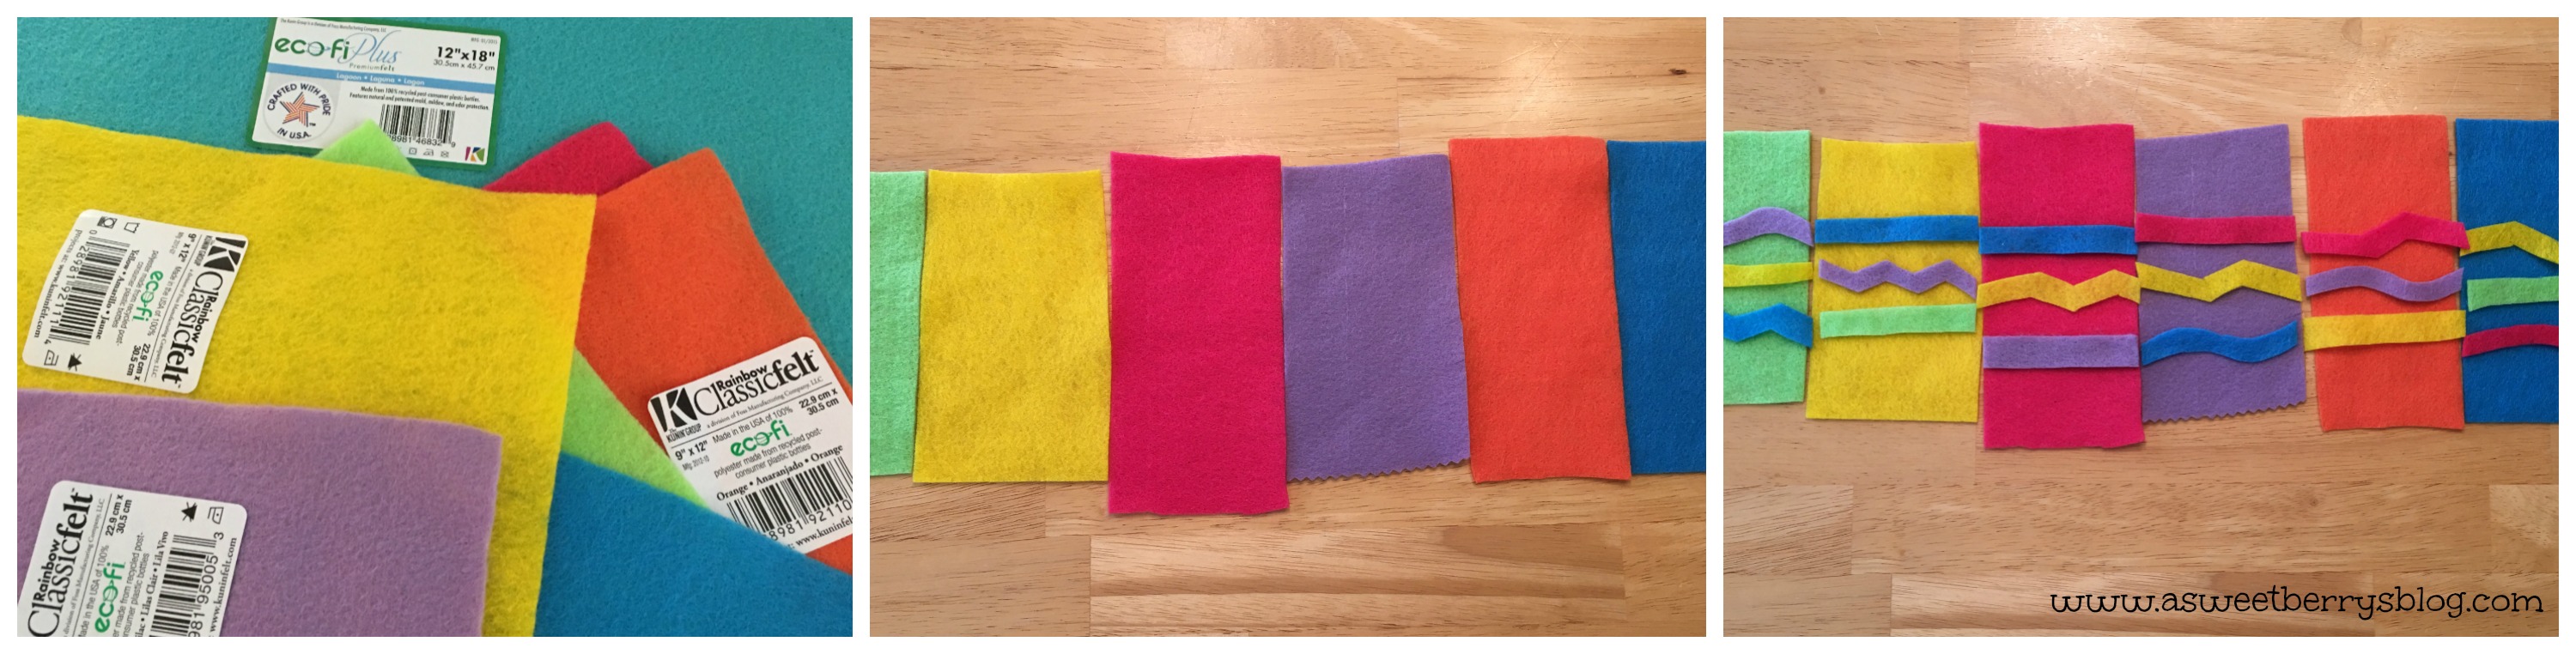
- 9” x 12” craft cut of Kunin Classicfelt™ Royal Blue, Red, and White
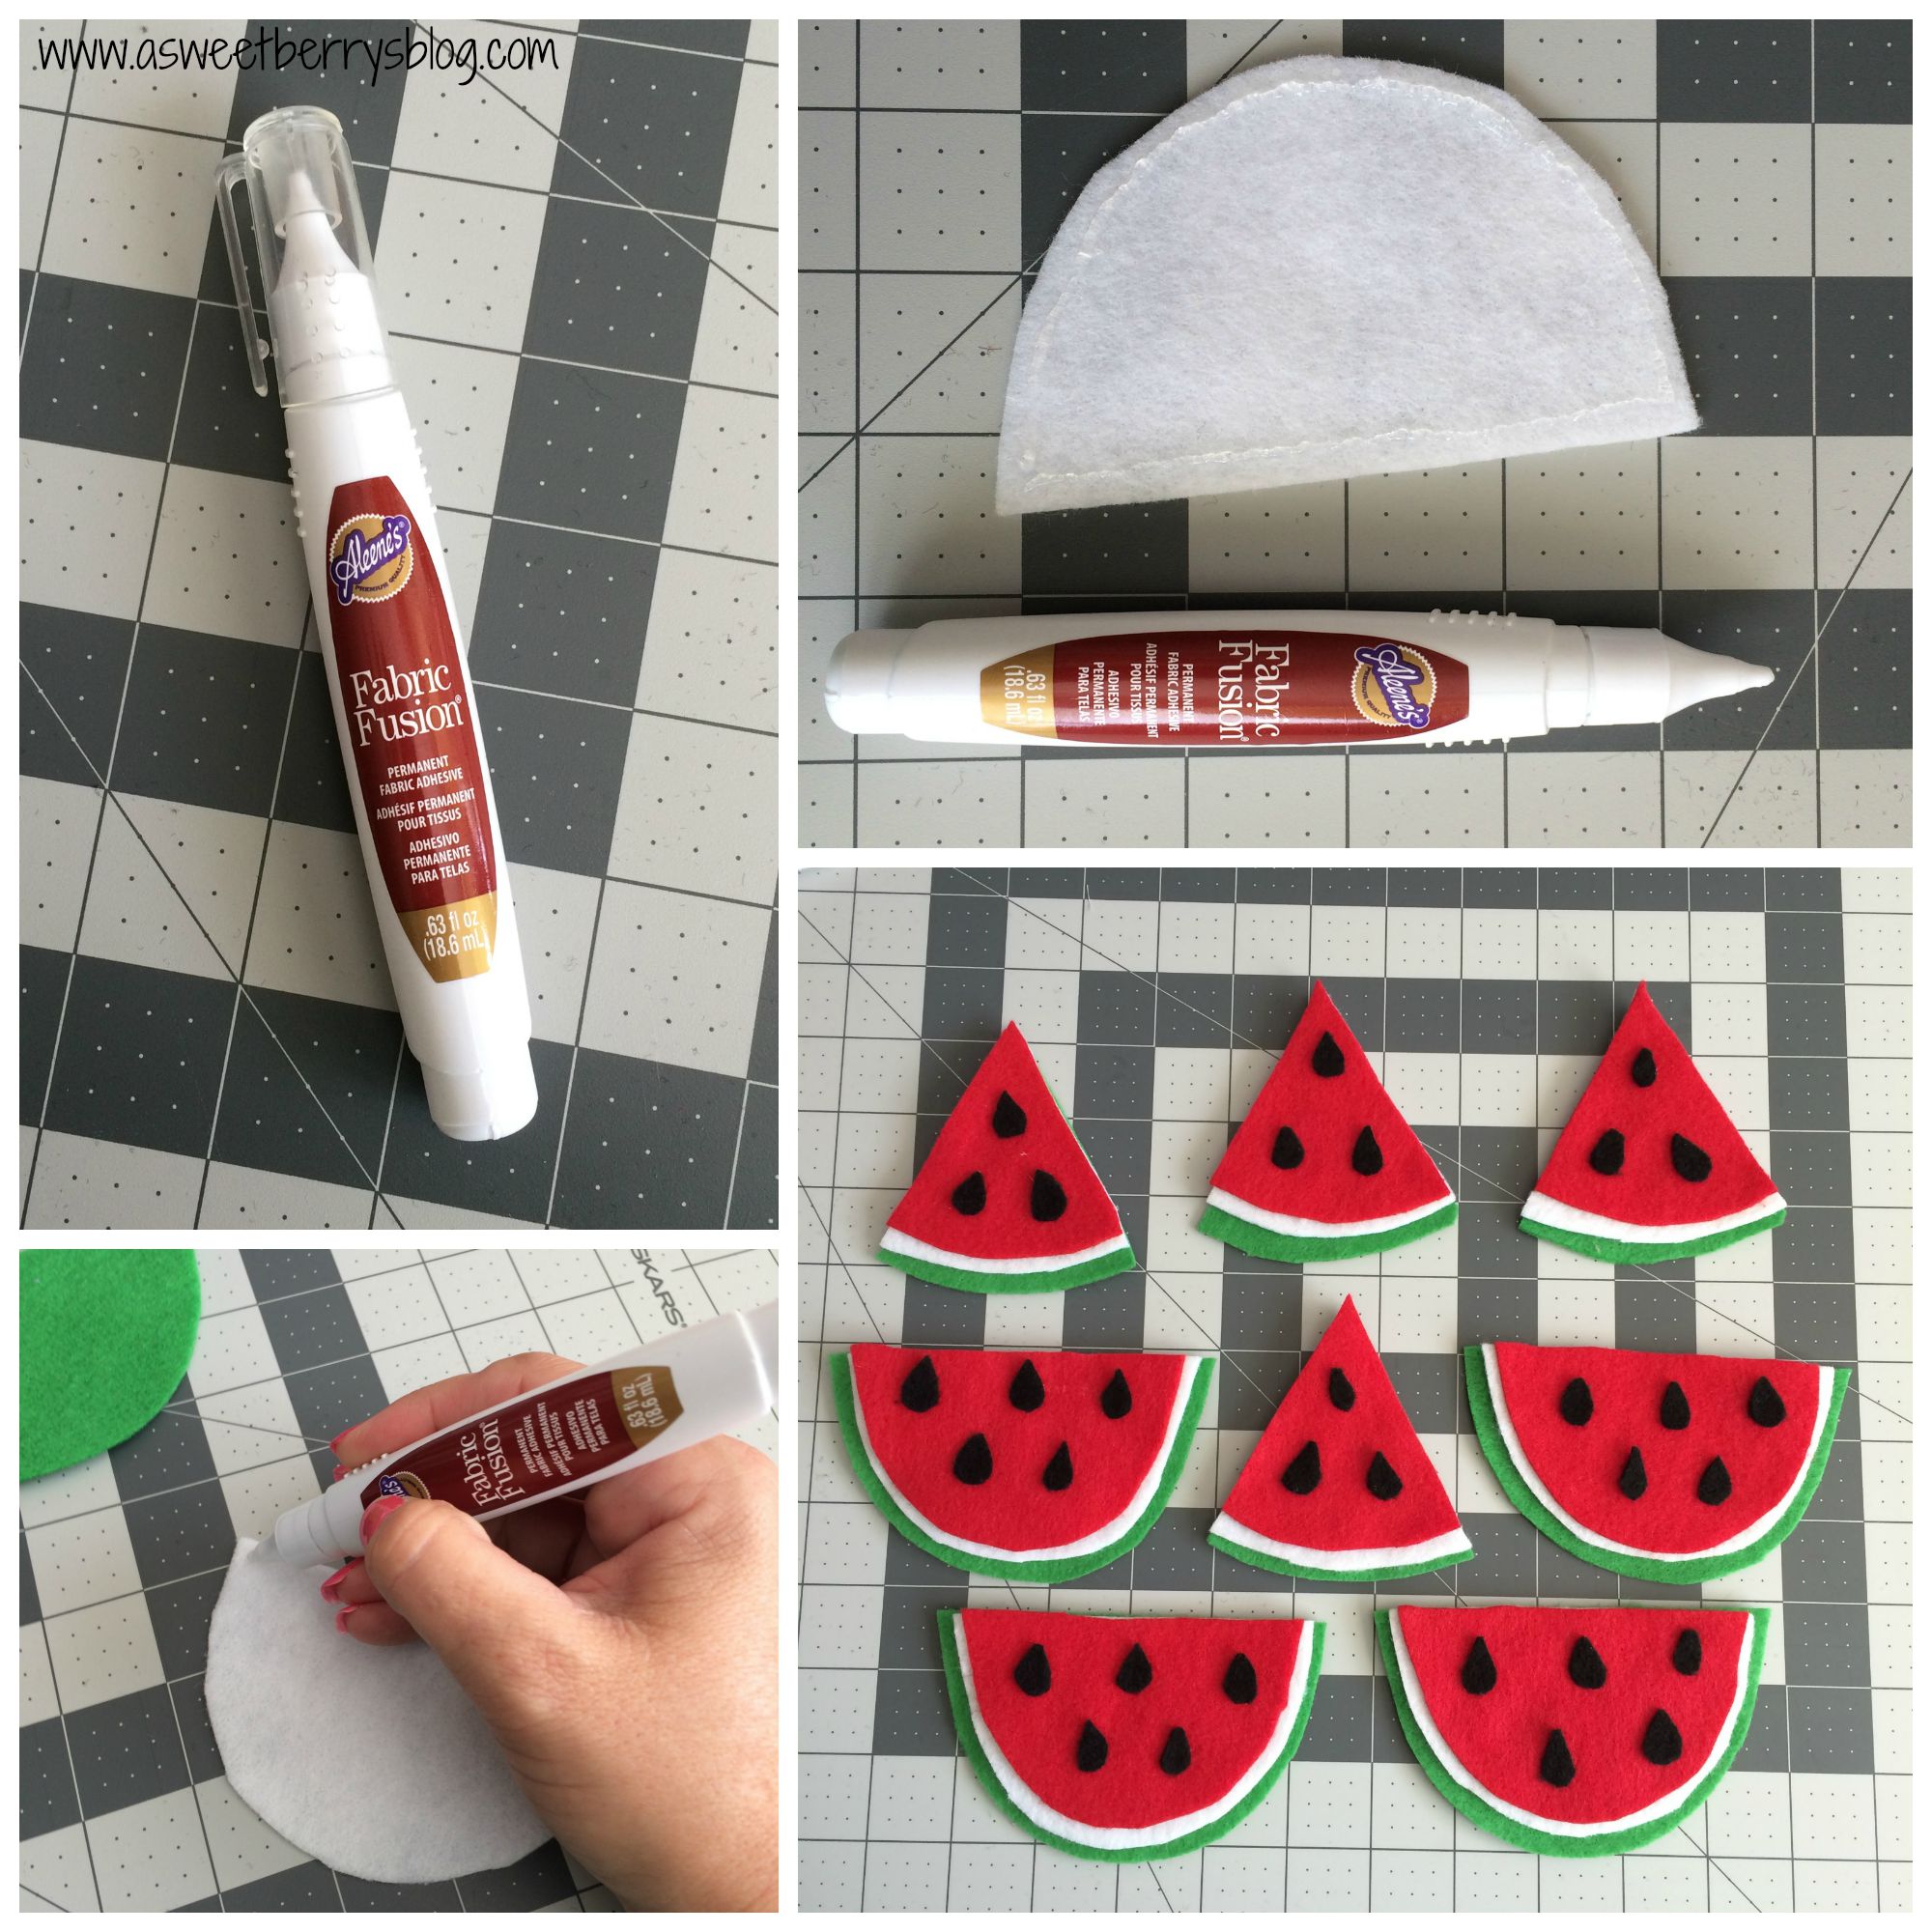
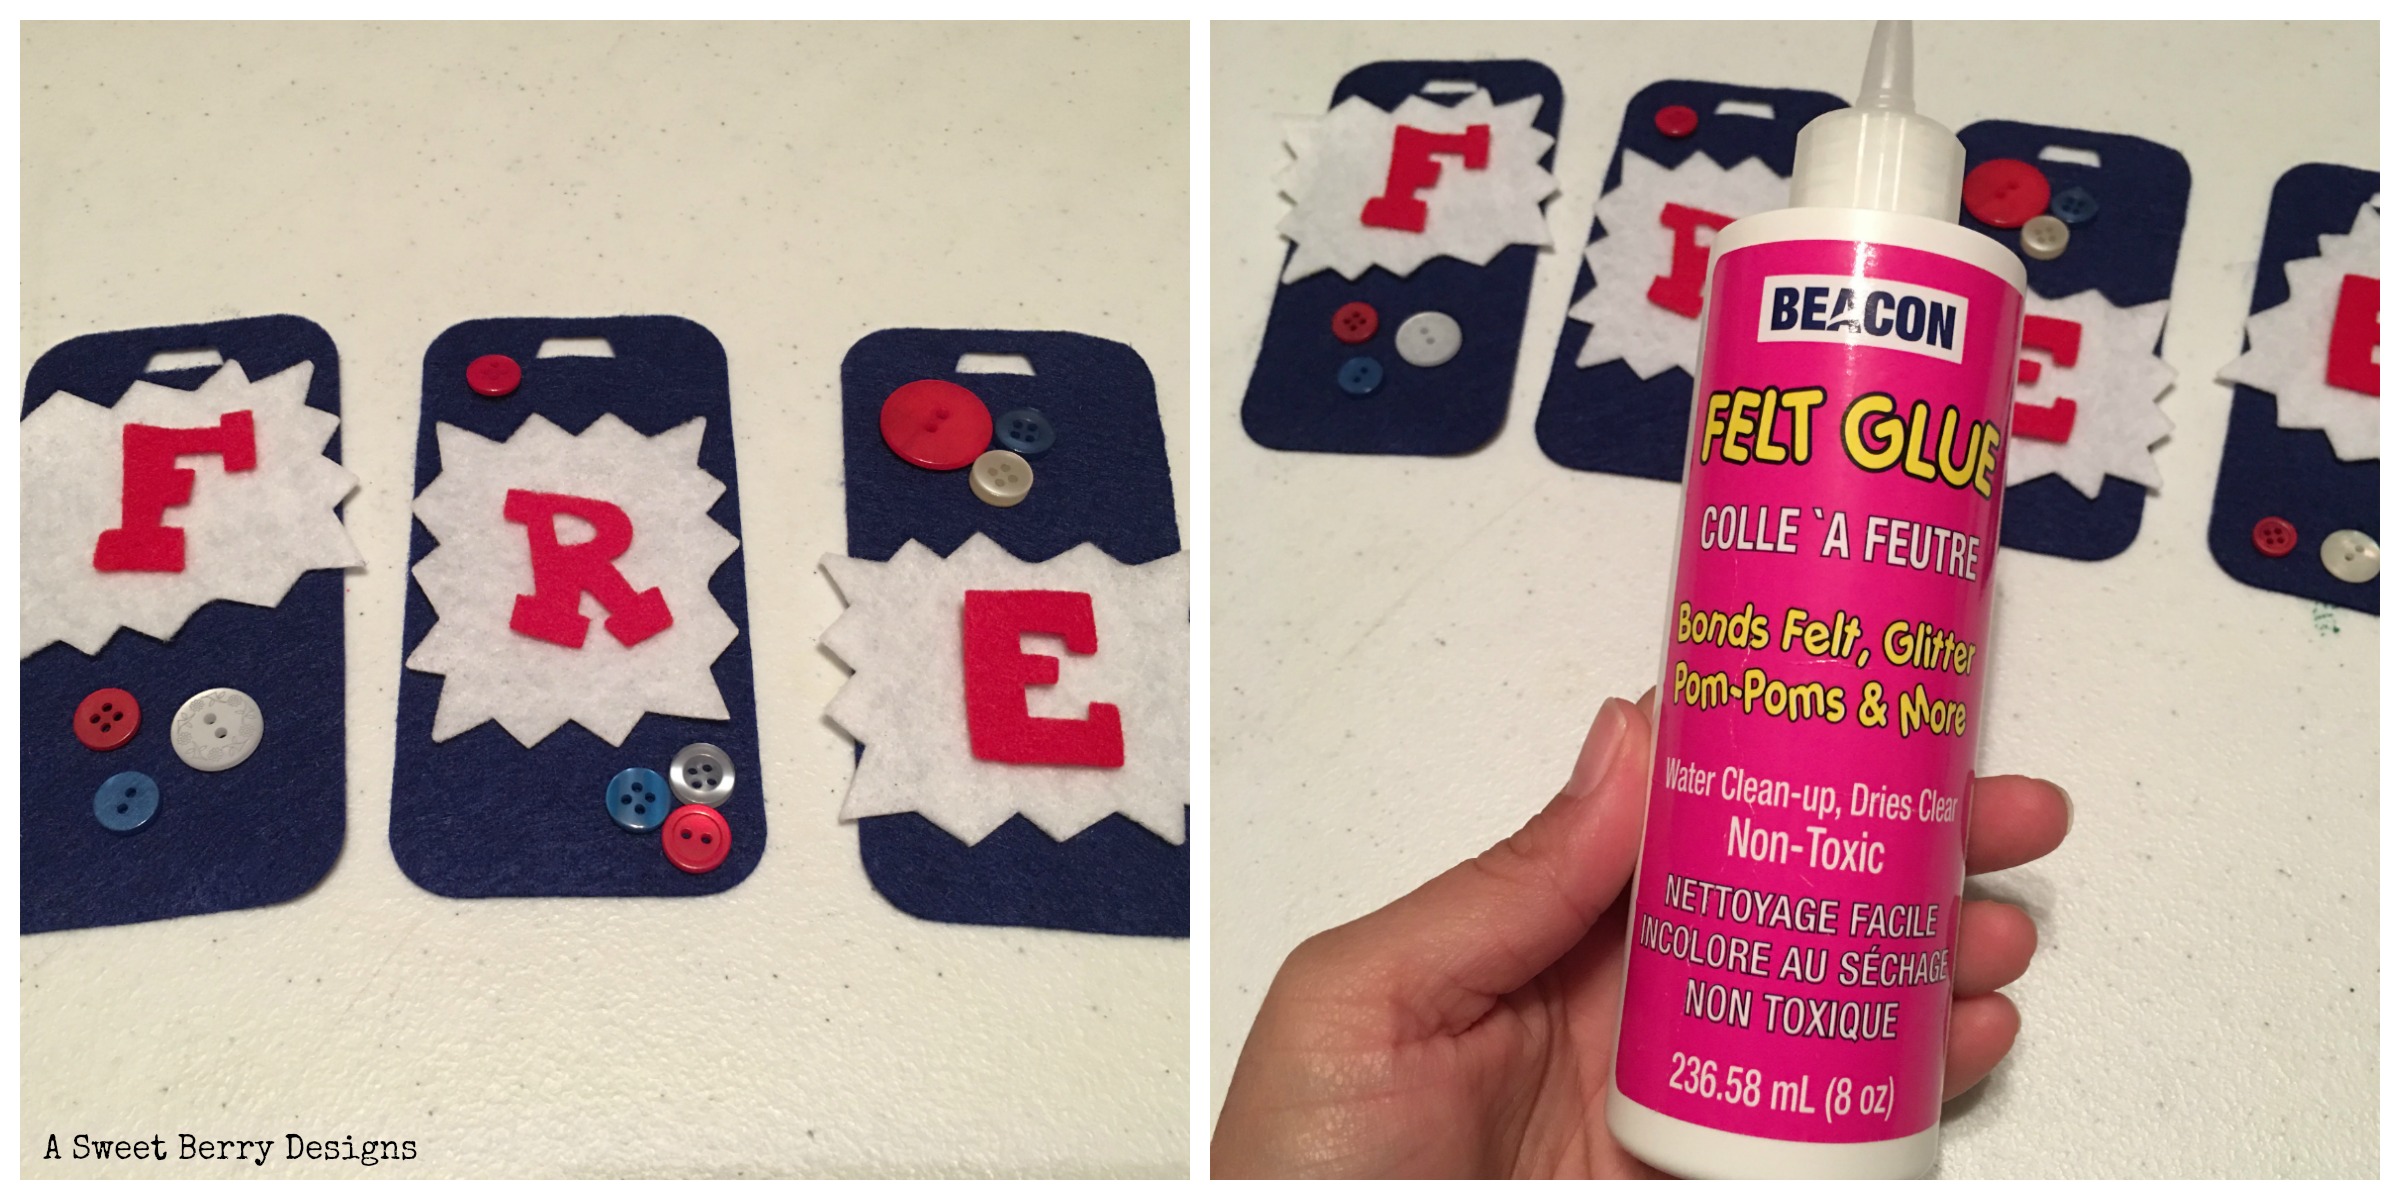
- Felt Glue
- Die Cutting Machine/Cutting Pads
- Laura Kelly’s Lemonade Capital Alphabet die from Sizzix/Ellison
- Laura Kelly’s Badges die from Sizzix/Ellison
- Bookmark die from Sizzix/Ellison
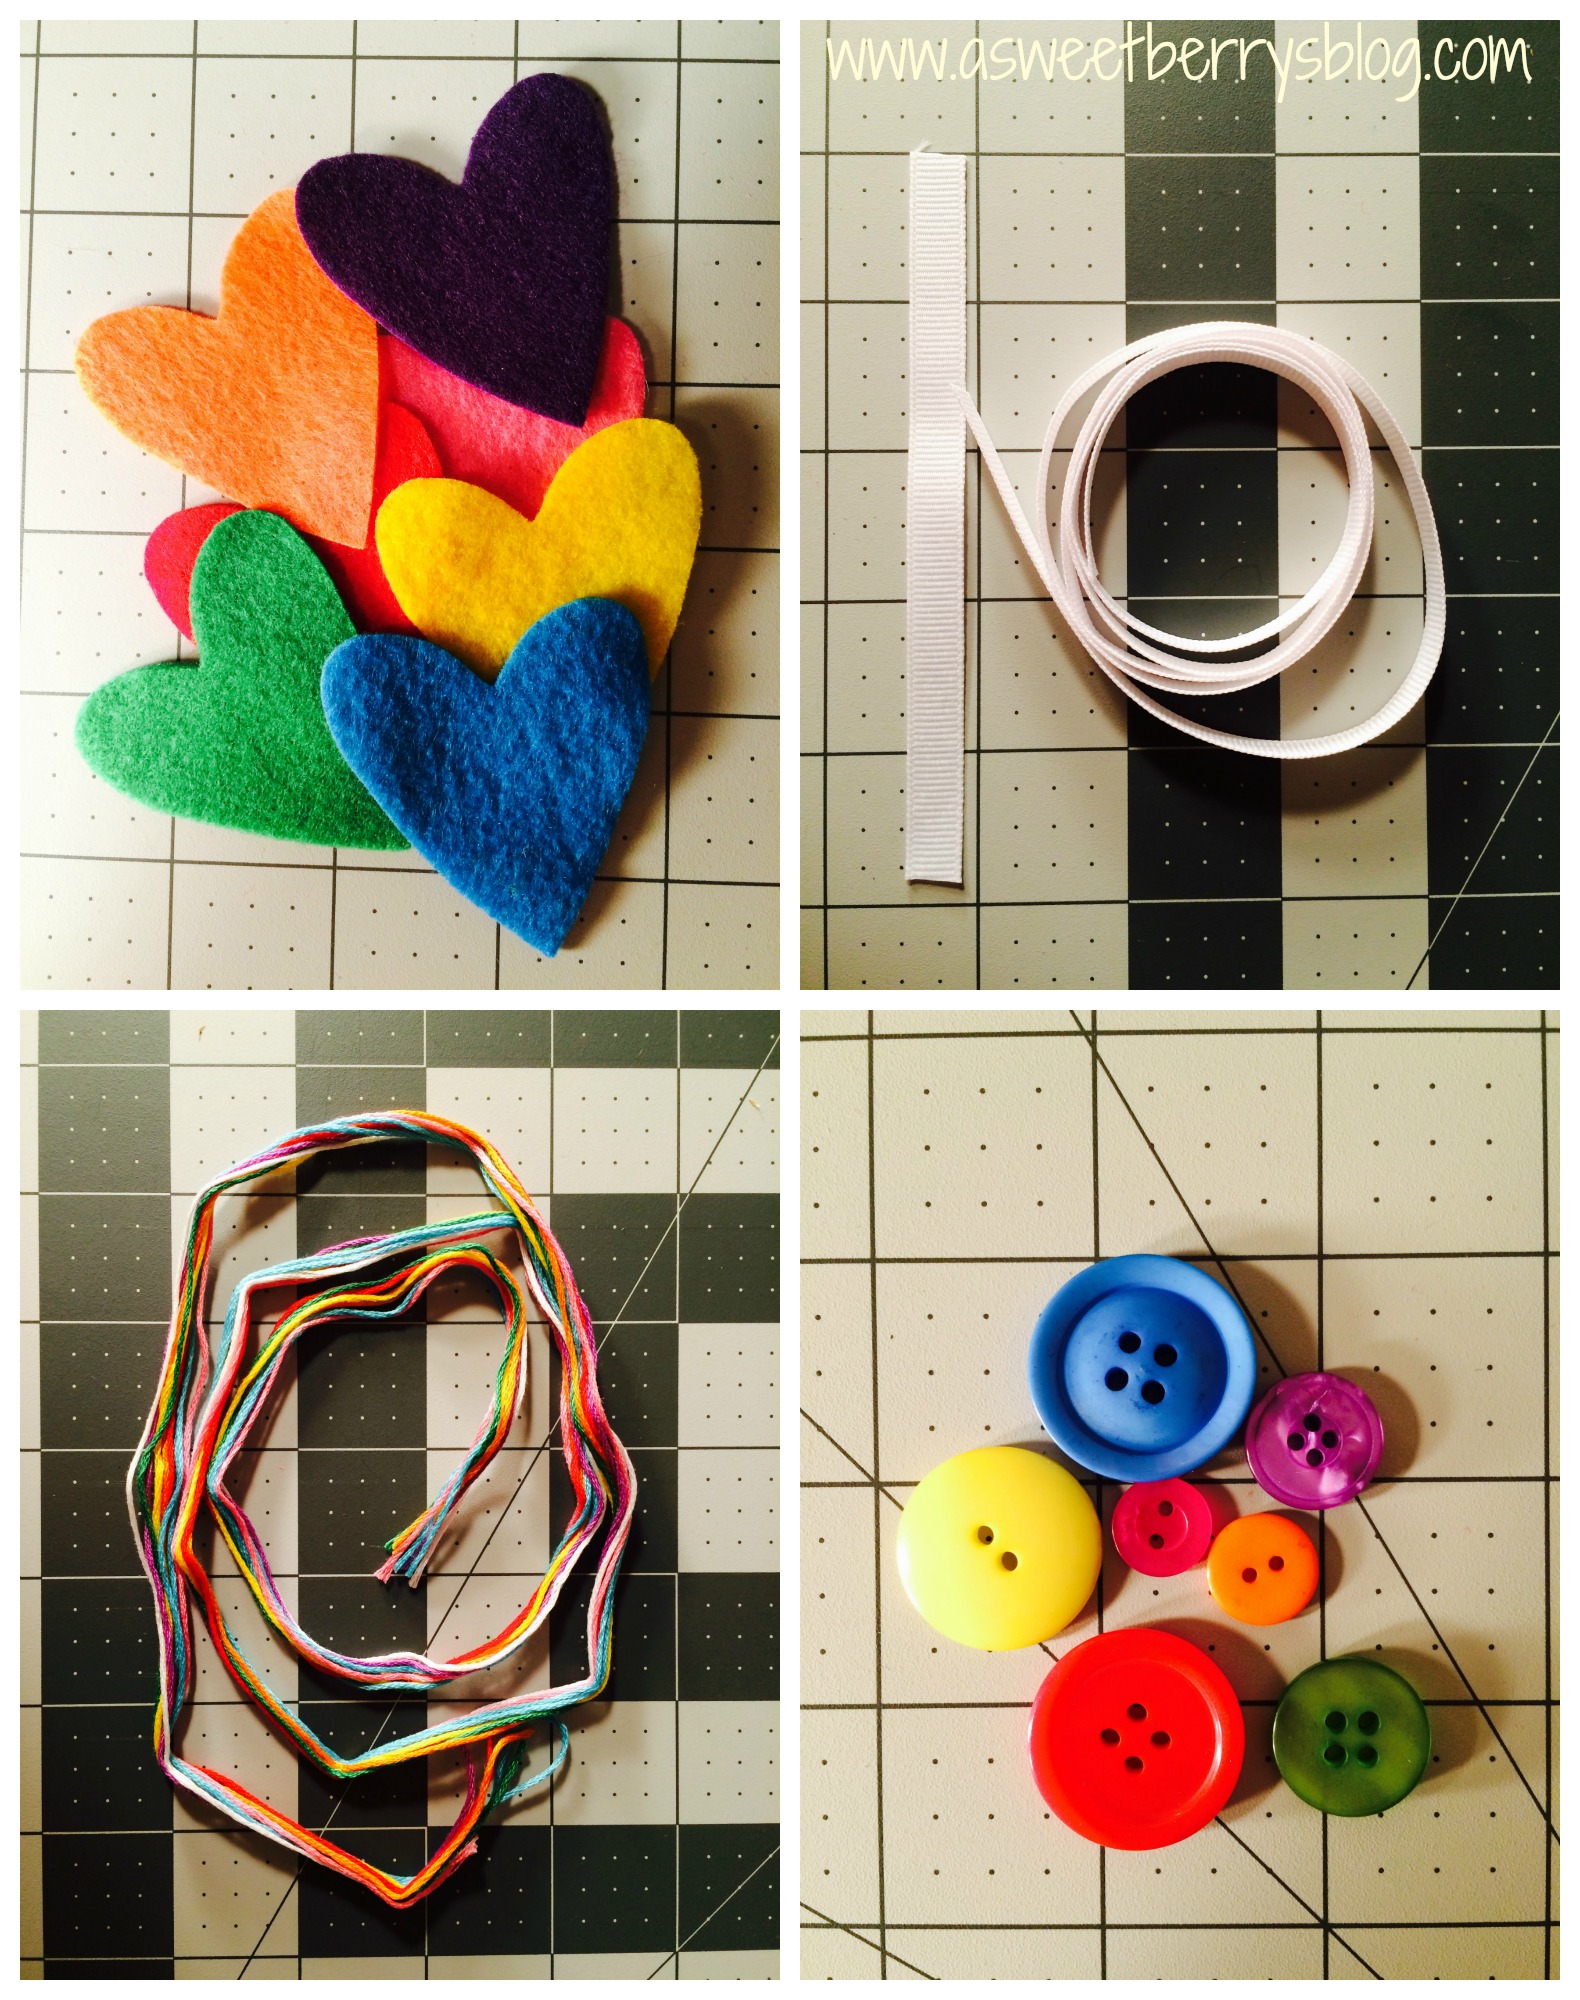
- Buttons
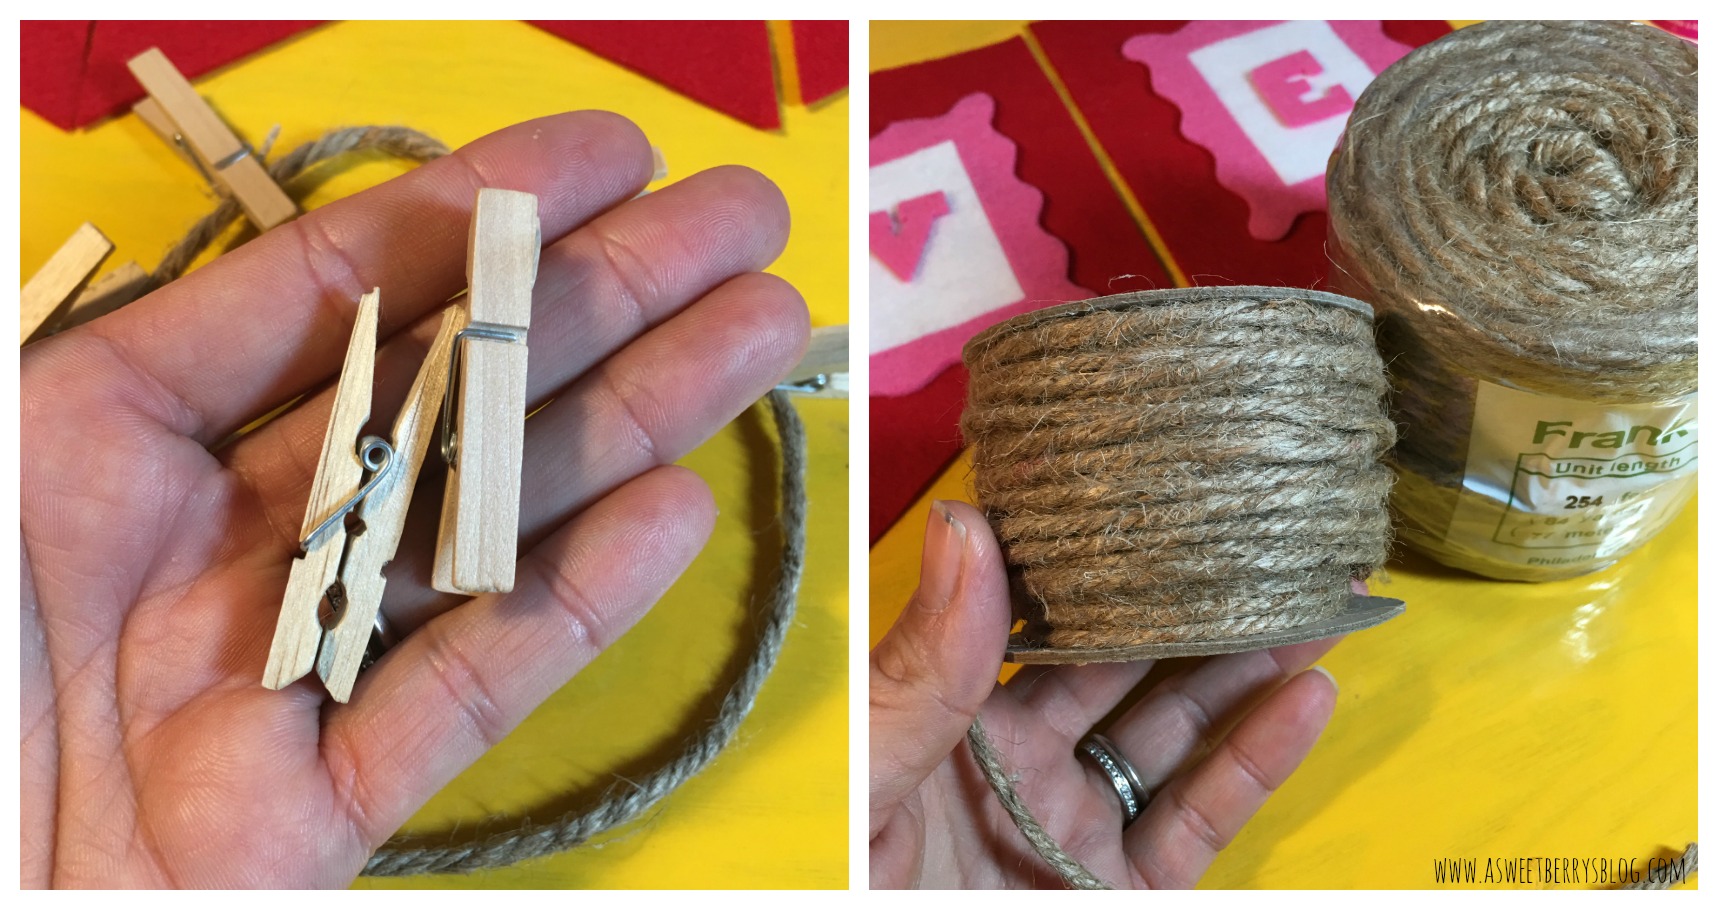
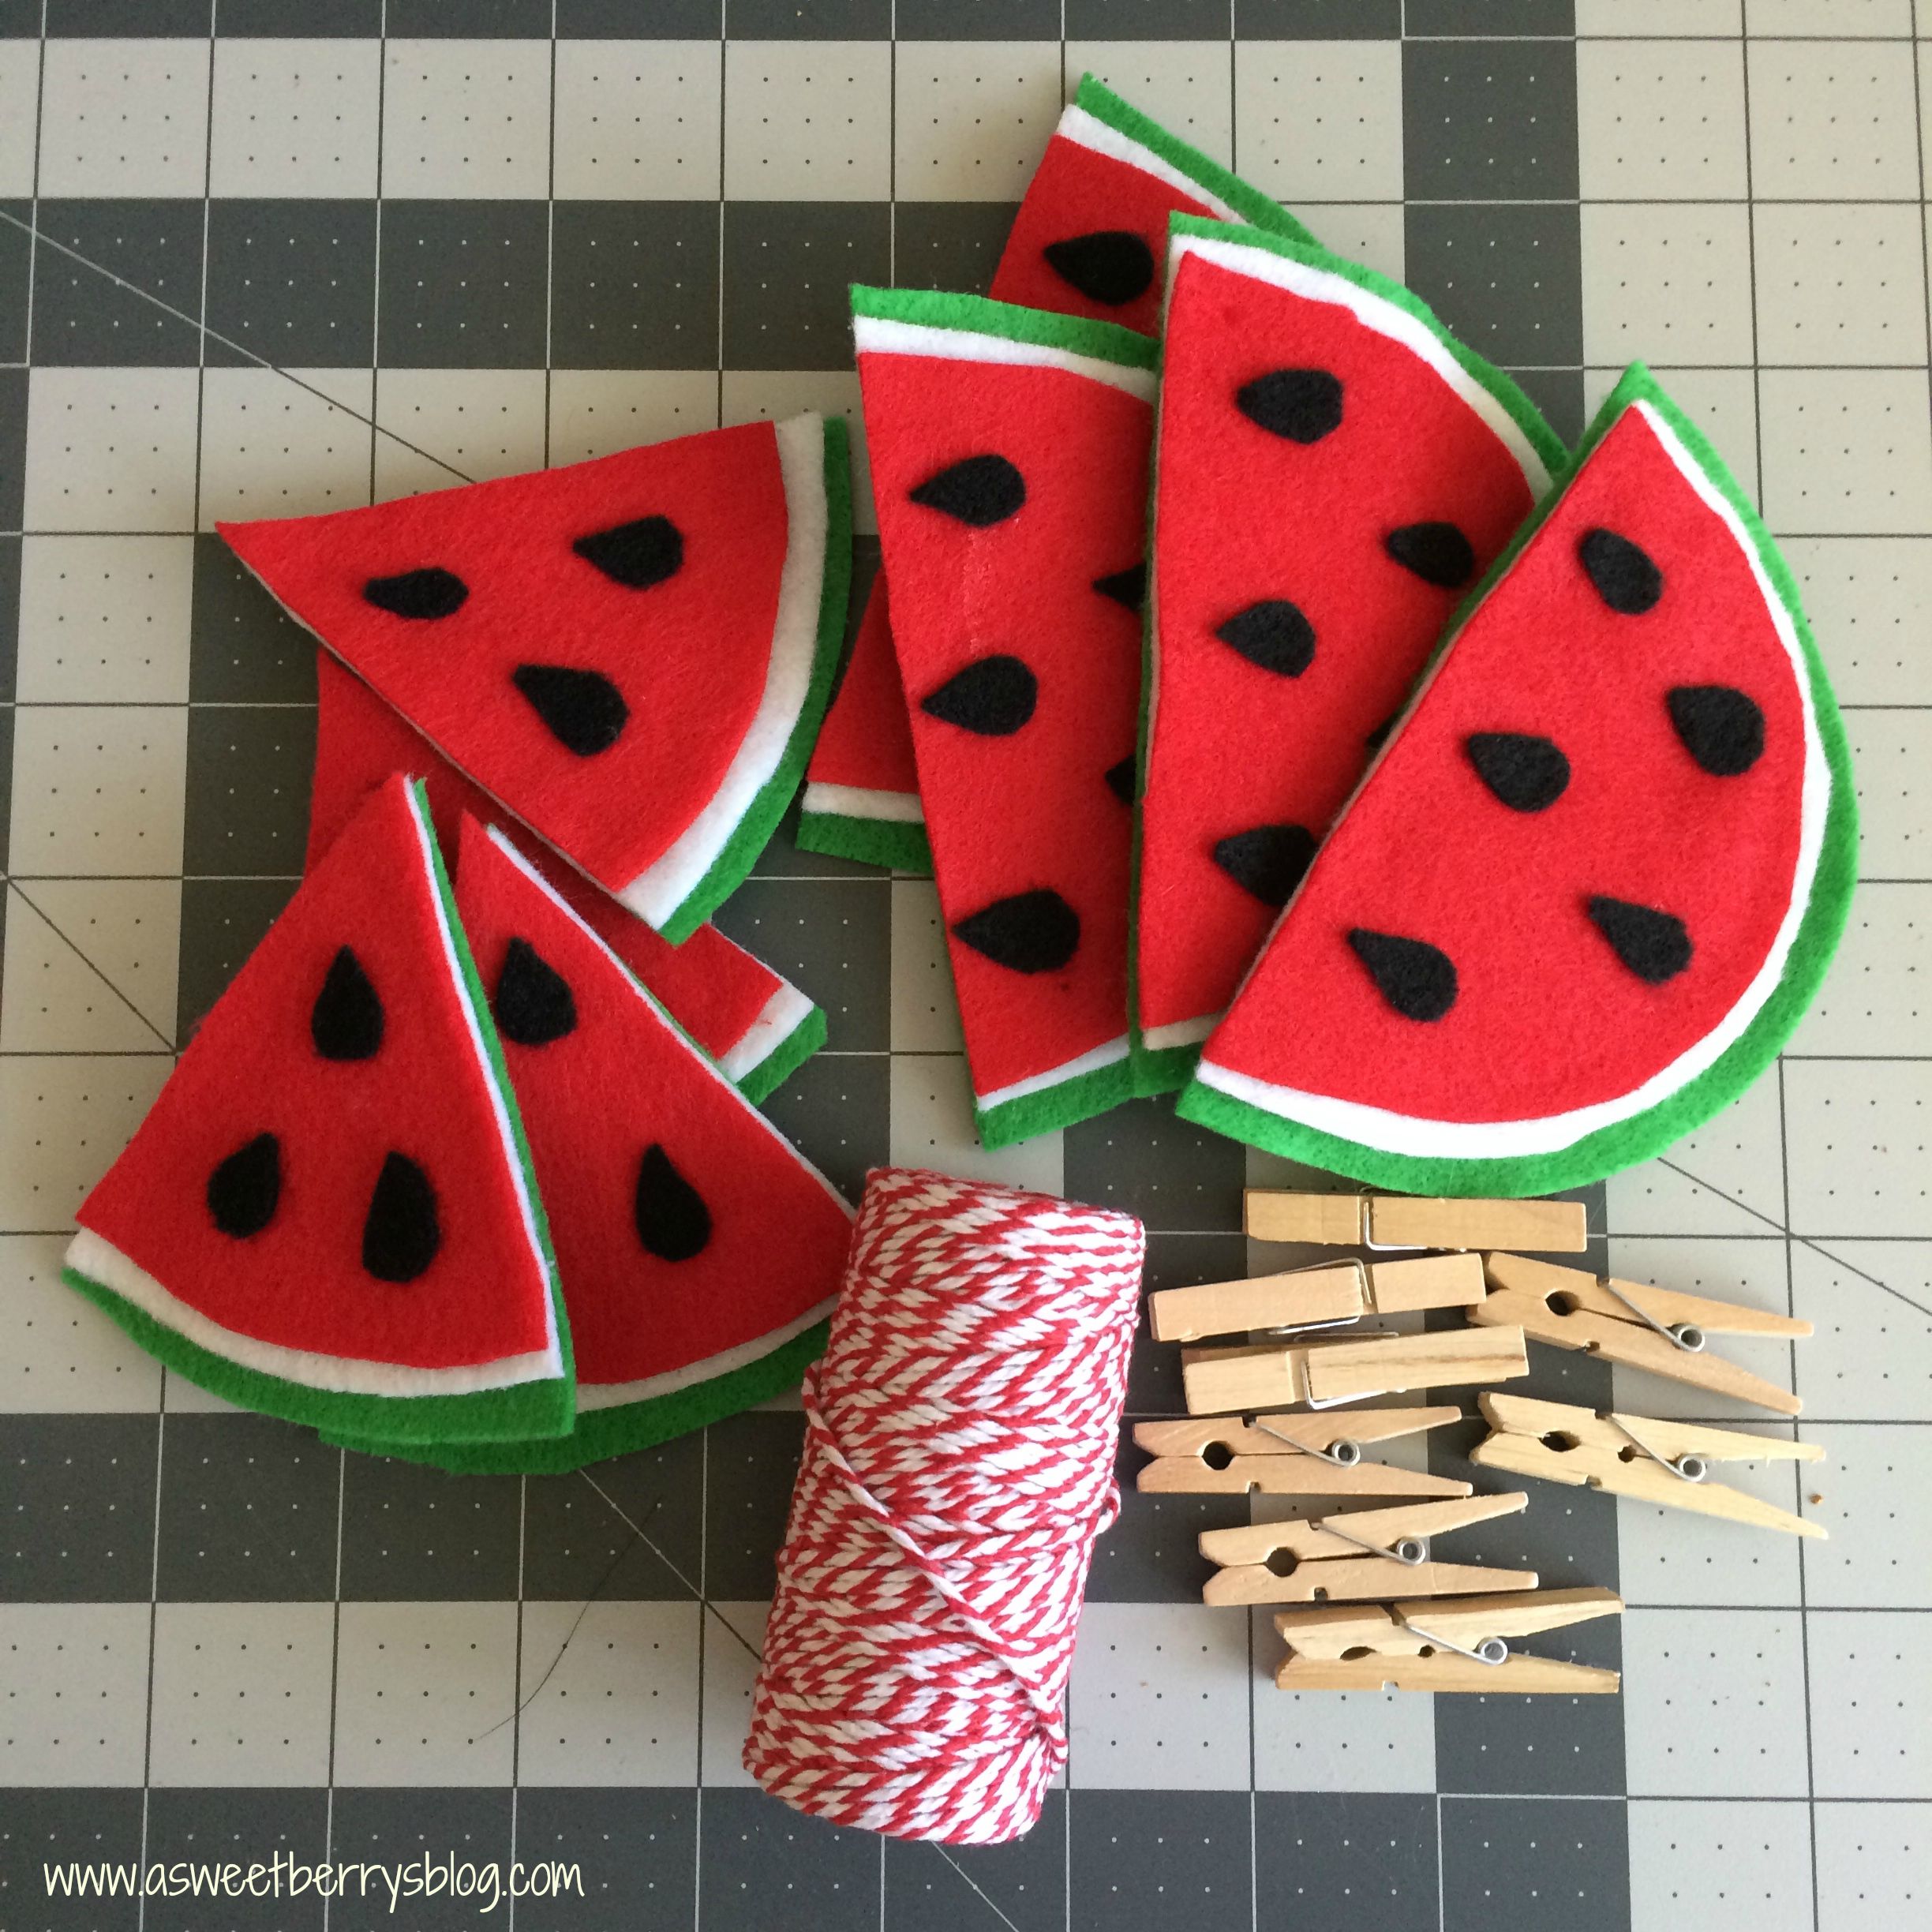
- Twine and small clothespins
How to make it:
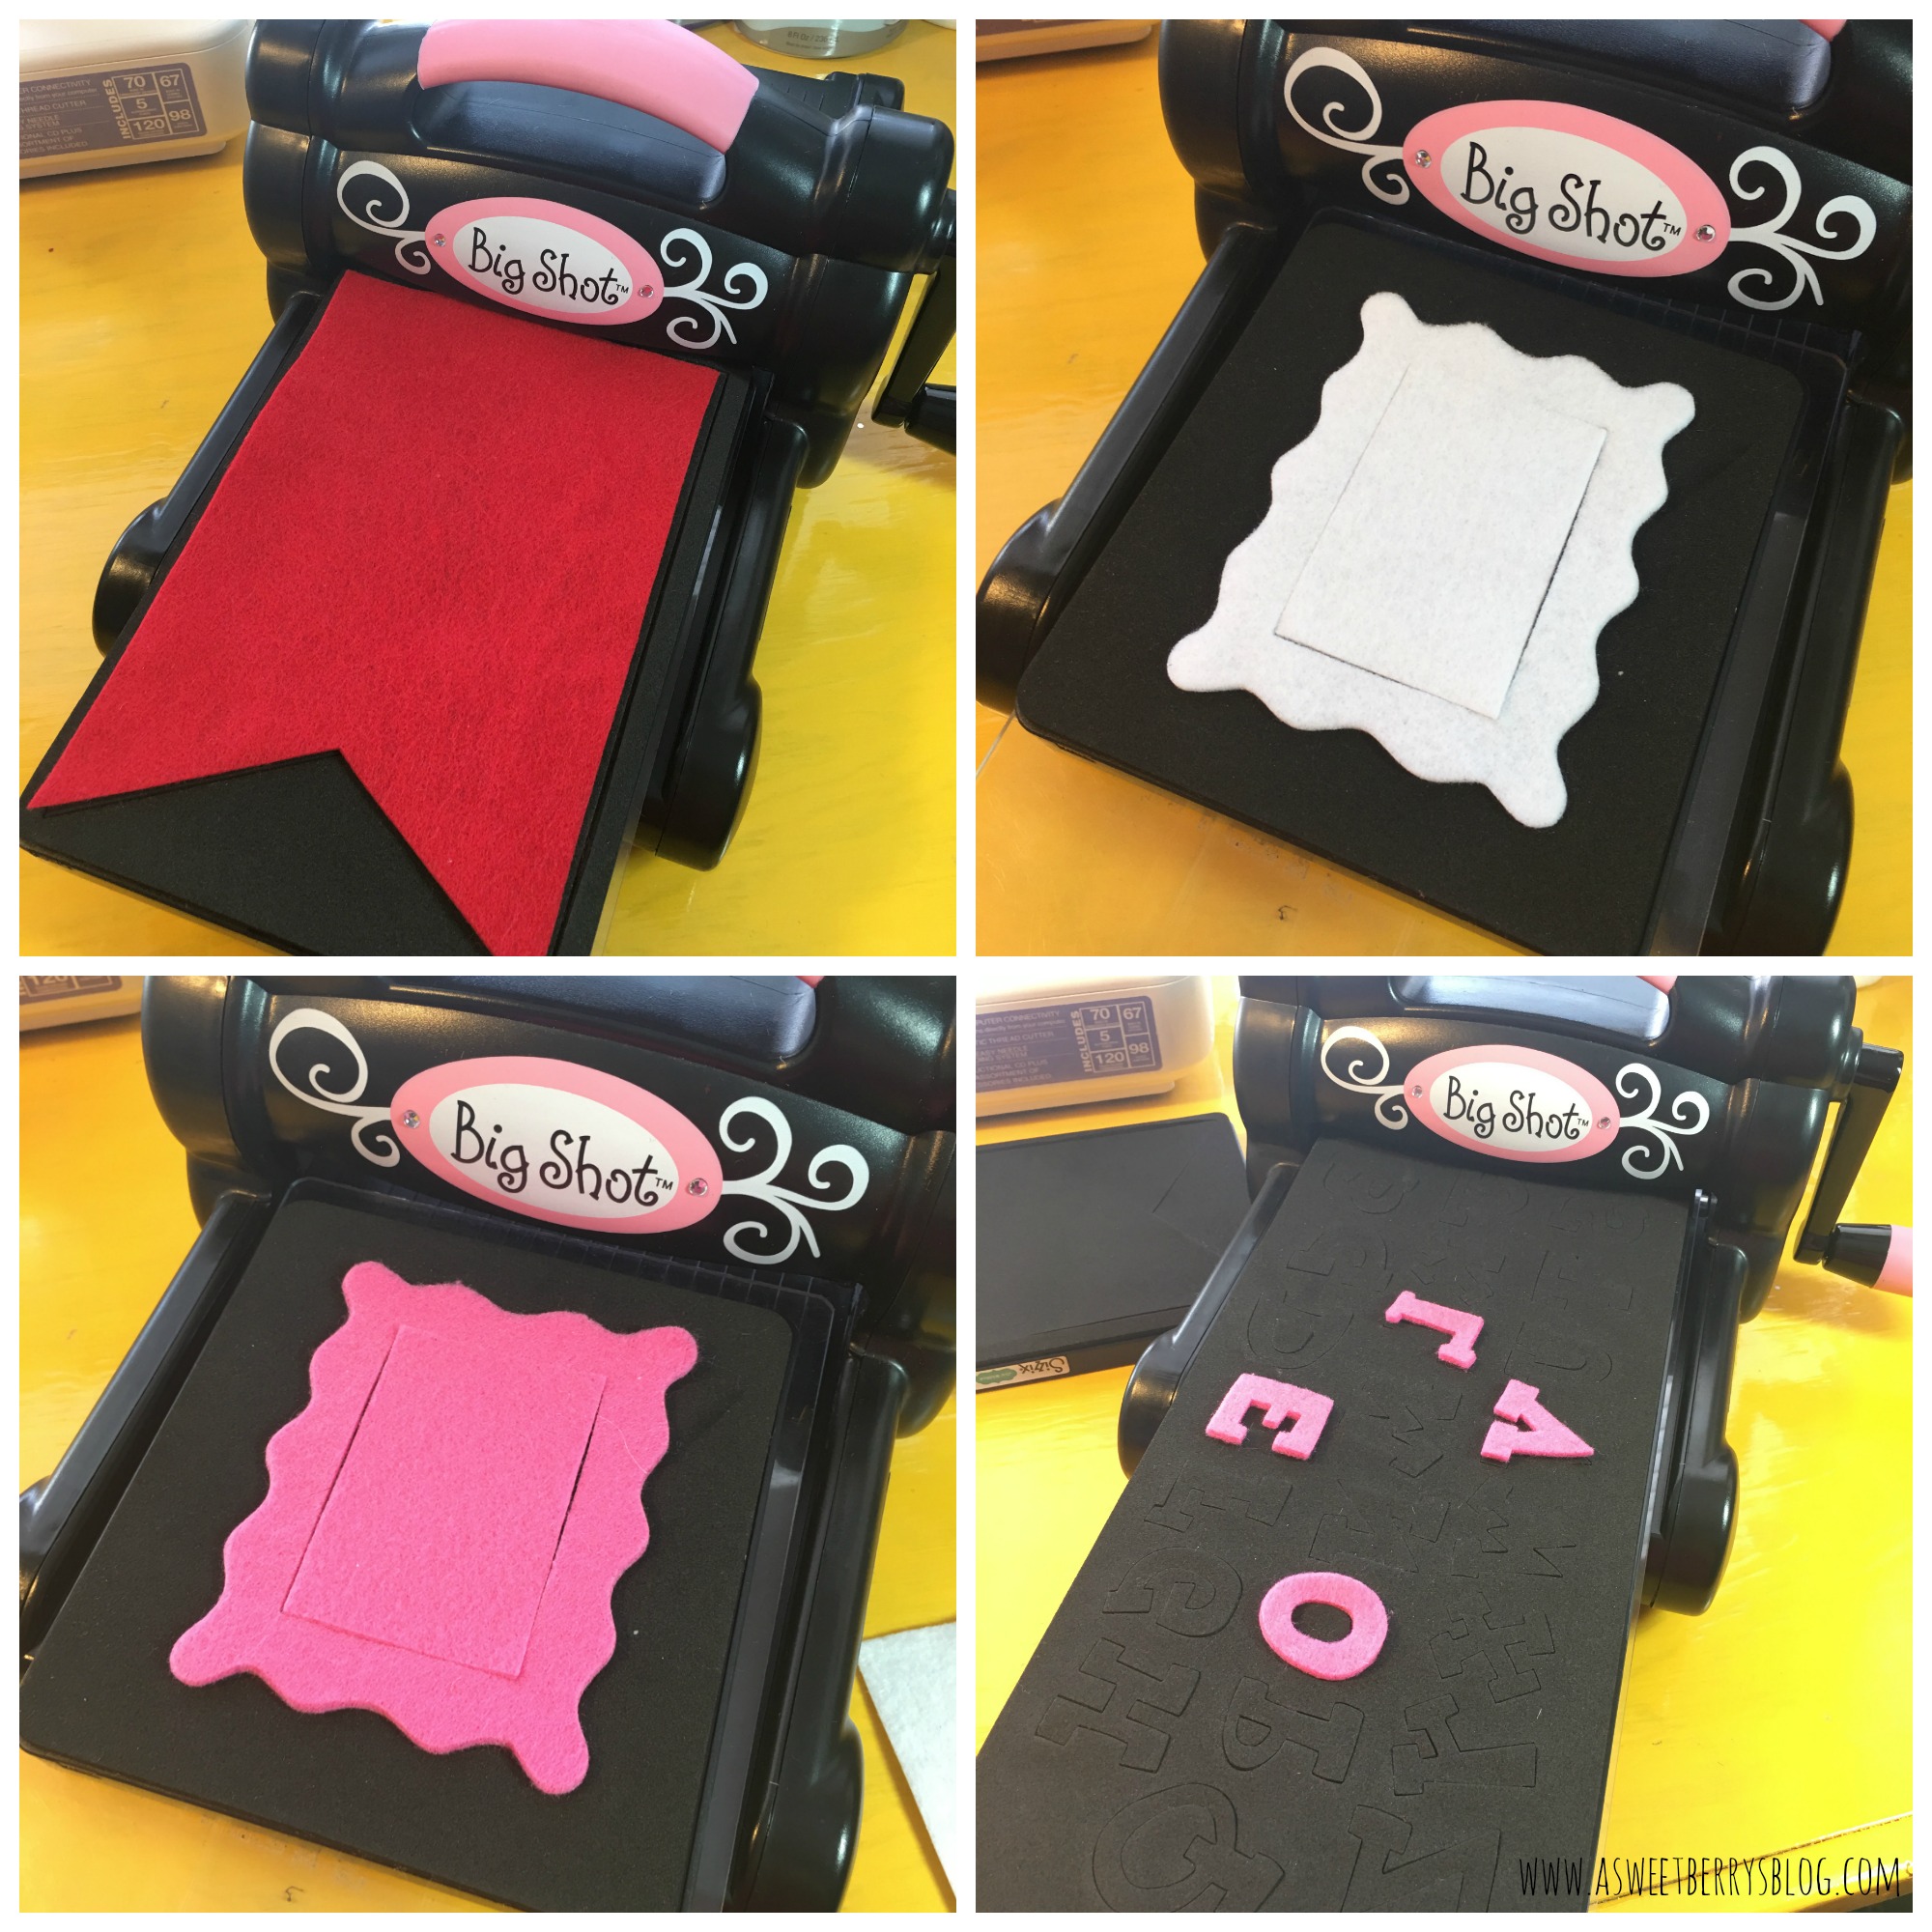
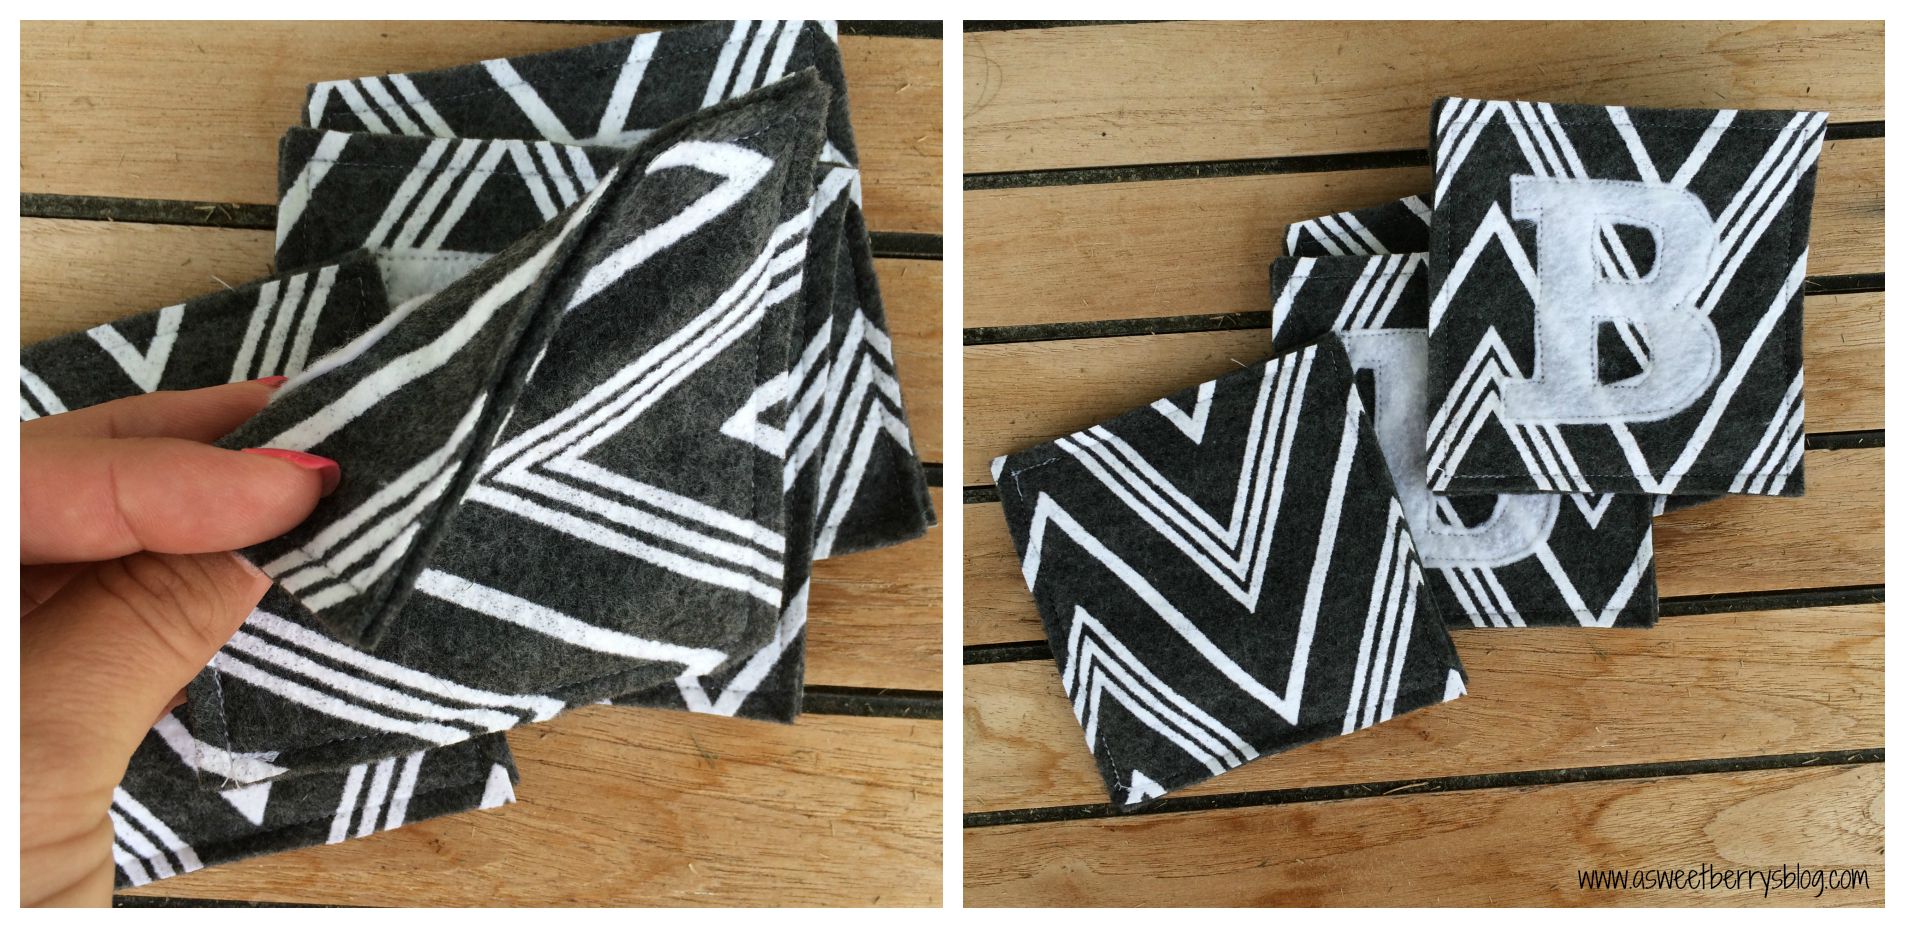
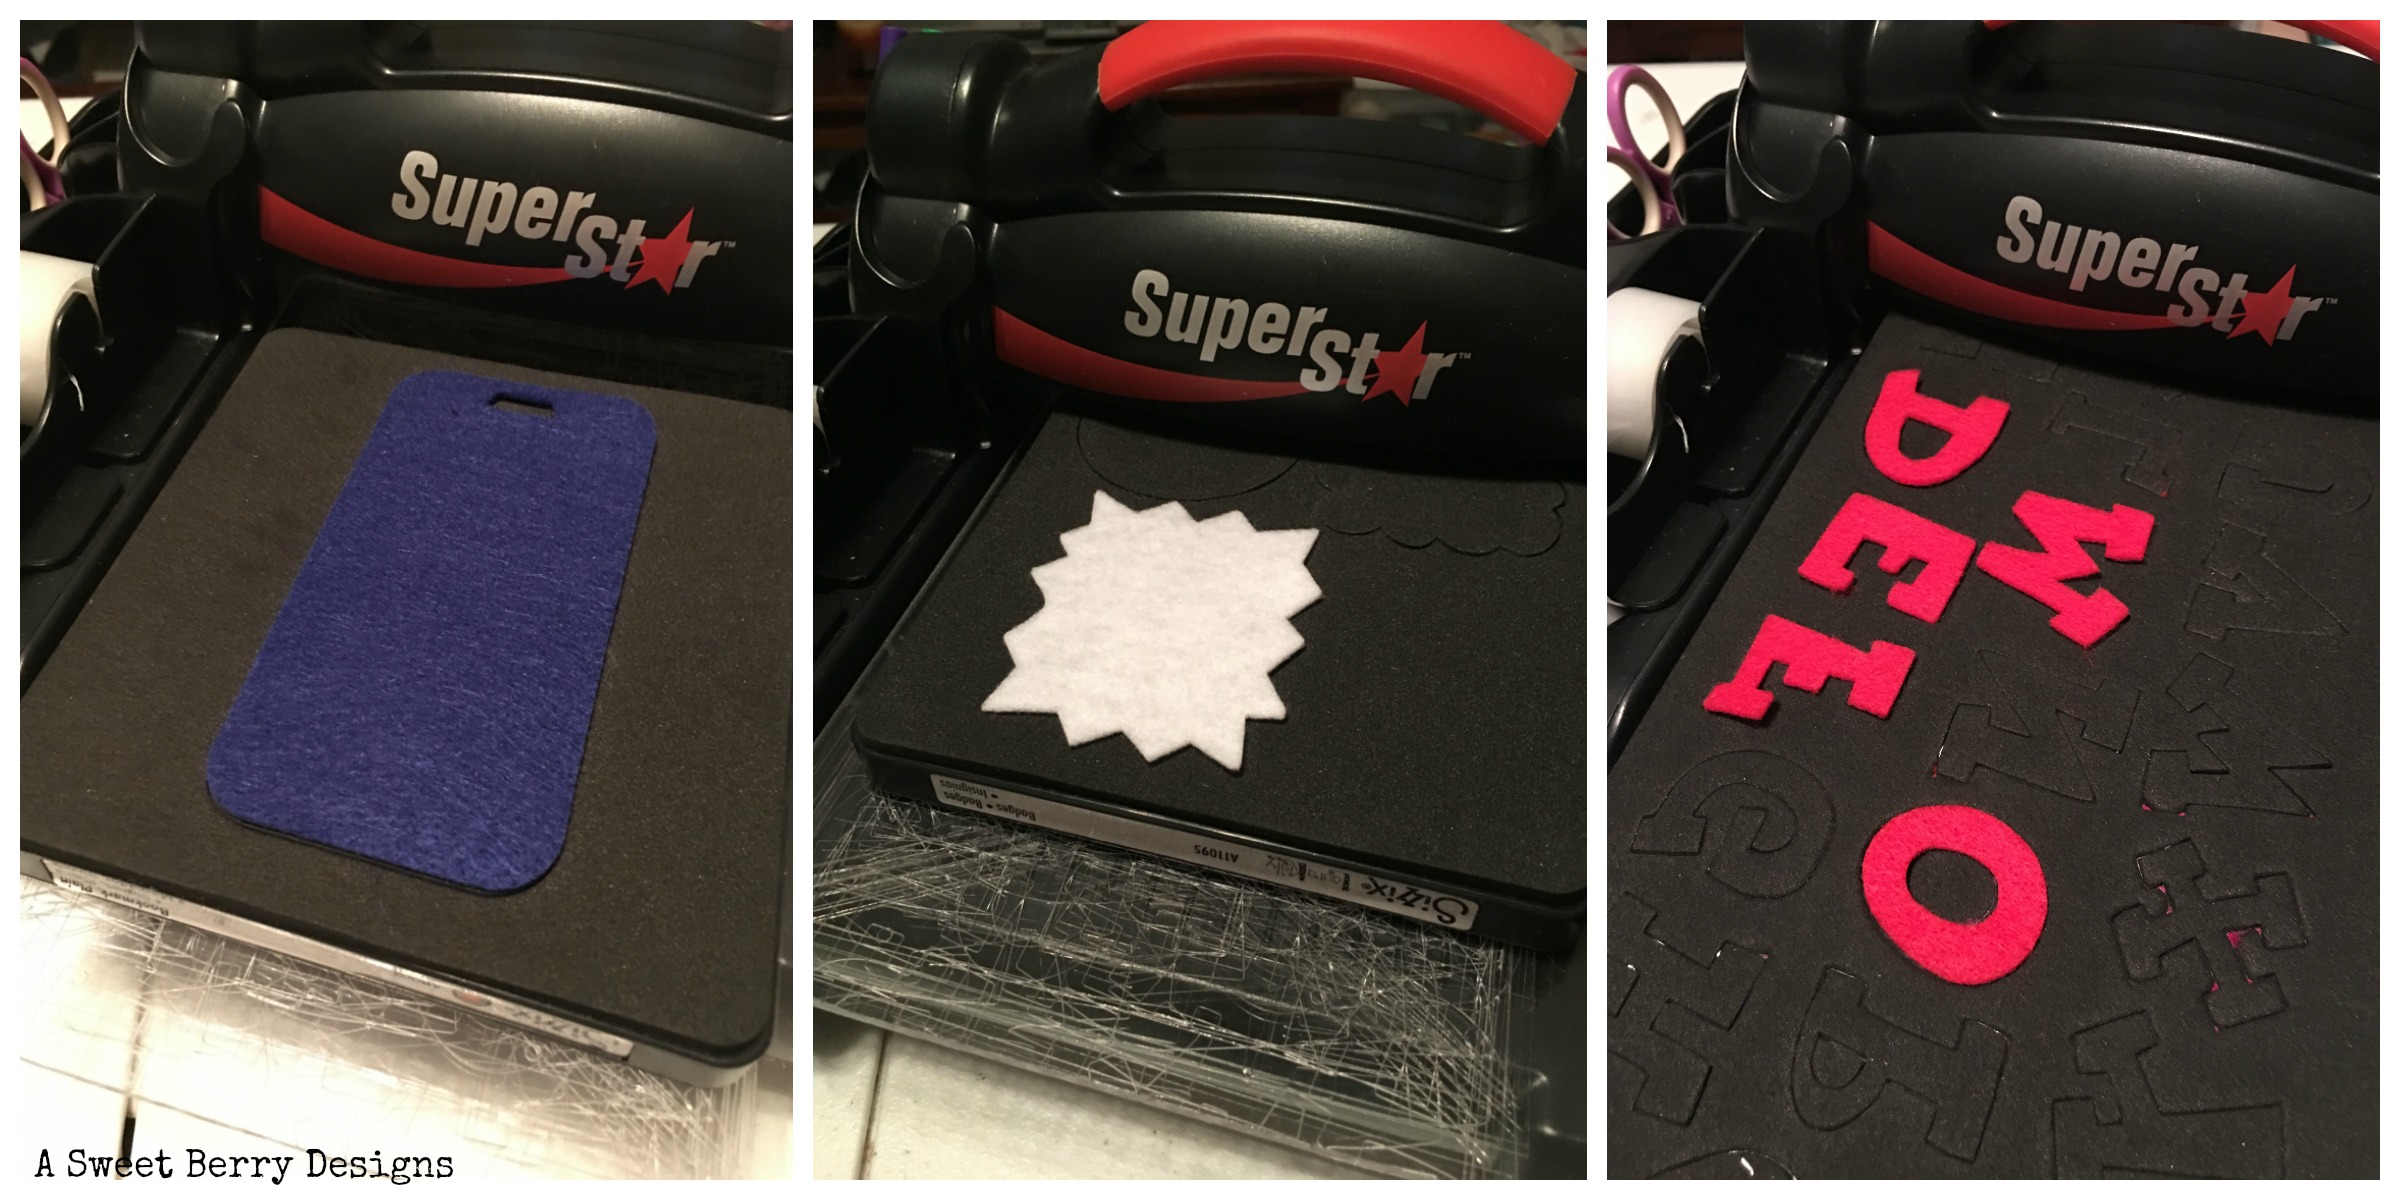
- Using the die cutting machine, cutting pads and dies, cut out each of your pieces! I cut seven bookmarks, seven badges and the letters to spell Freedom. I used the rectangular badge because I thought it looked like a burst from a firework!
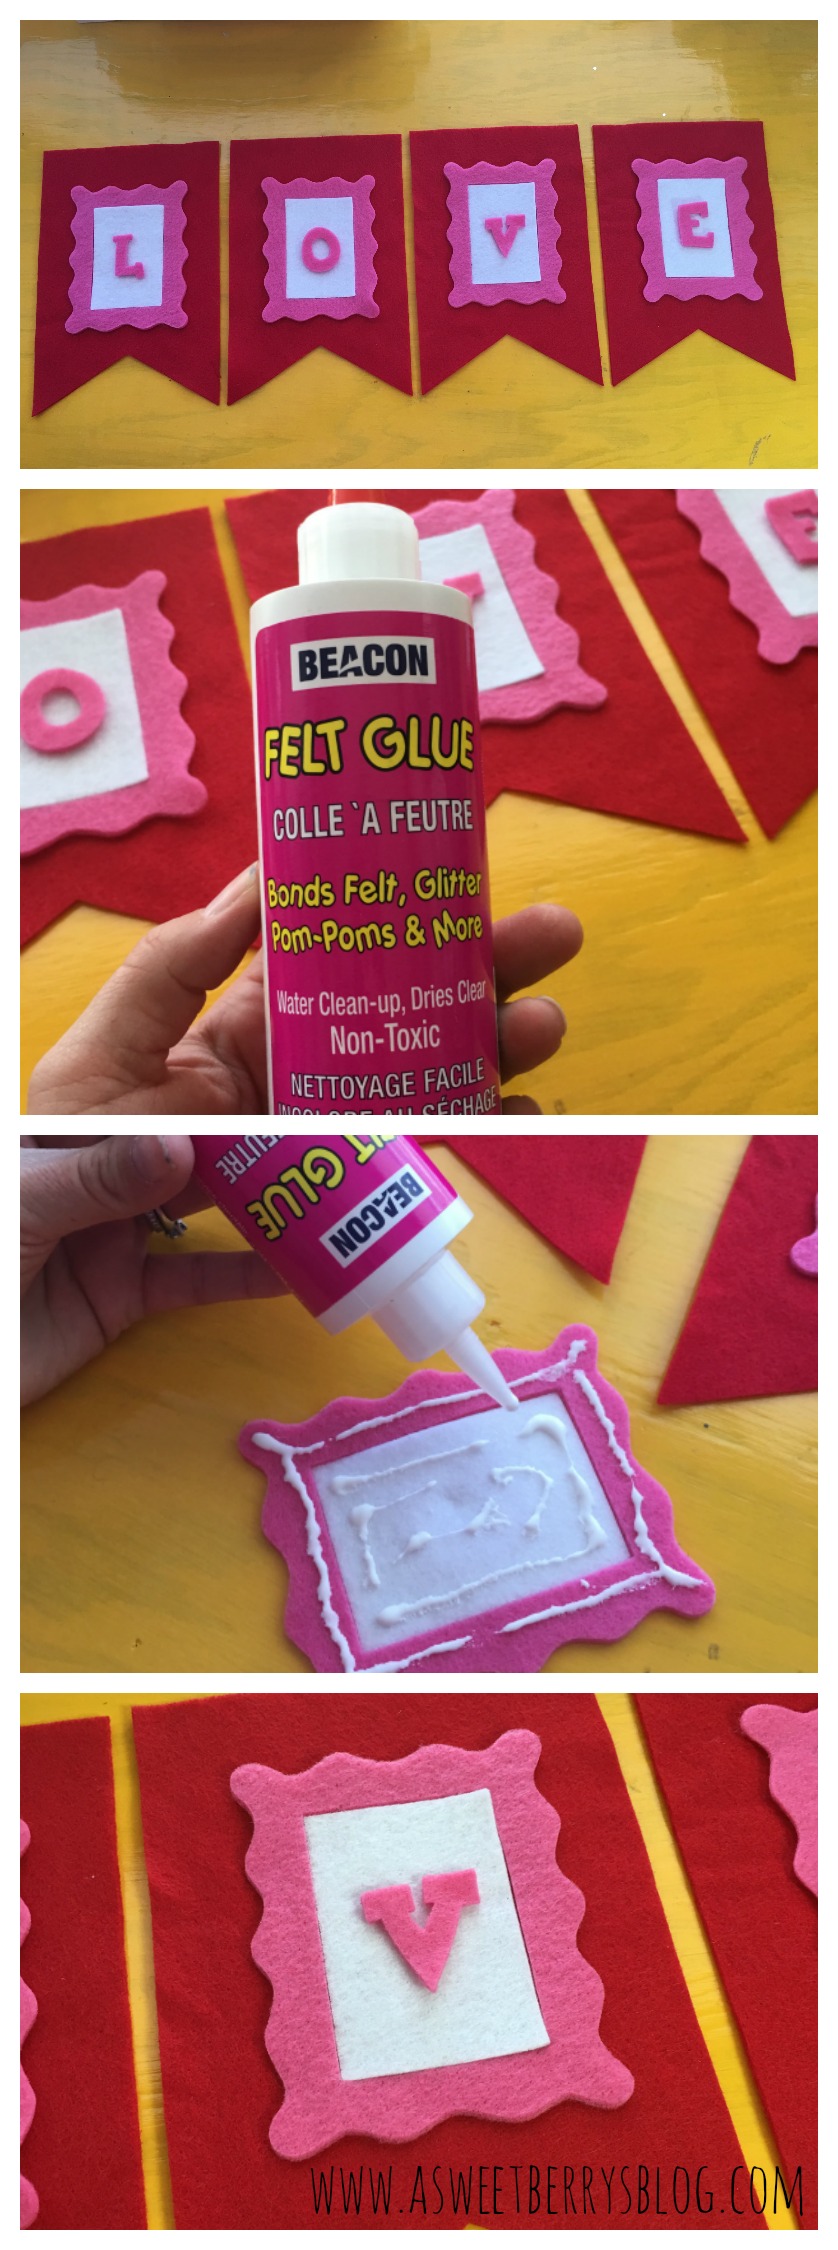
- Assemble your pieces so that you know where your want to glue them!
- Glue your pieces and buttons to the bookmark.
- Let dry!
- Using twine and small clothespins, hang them up to create a patriotic felt banner!
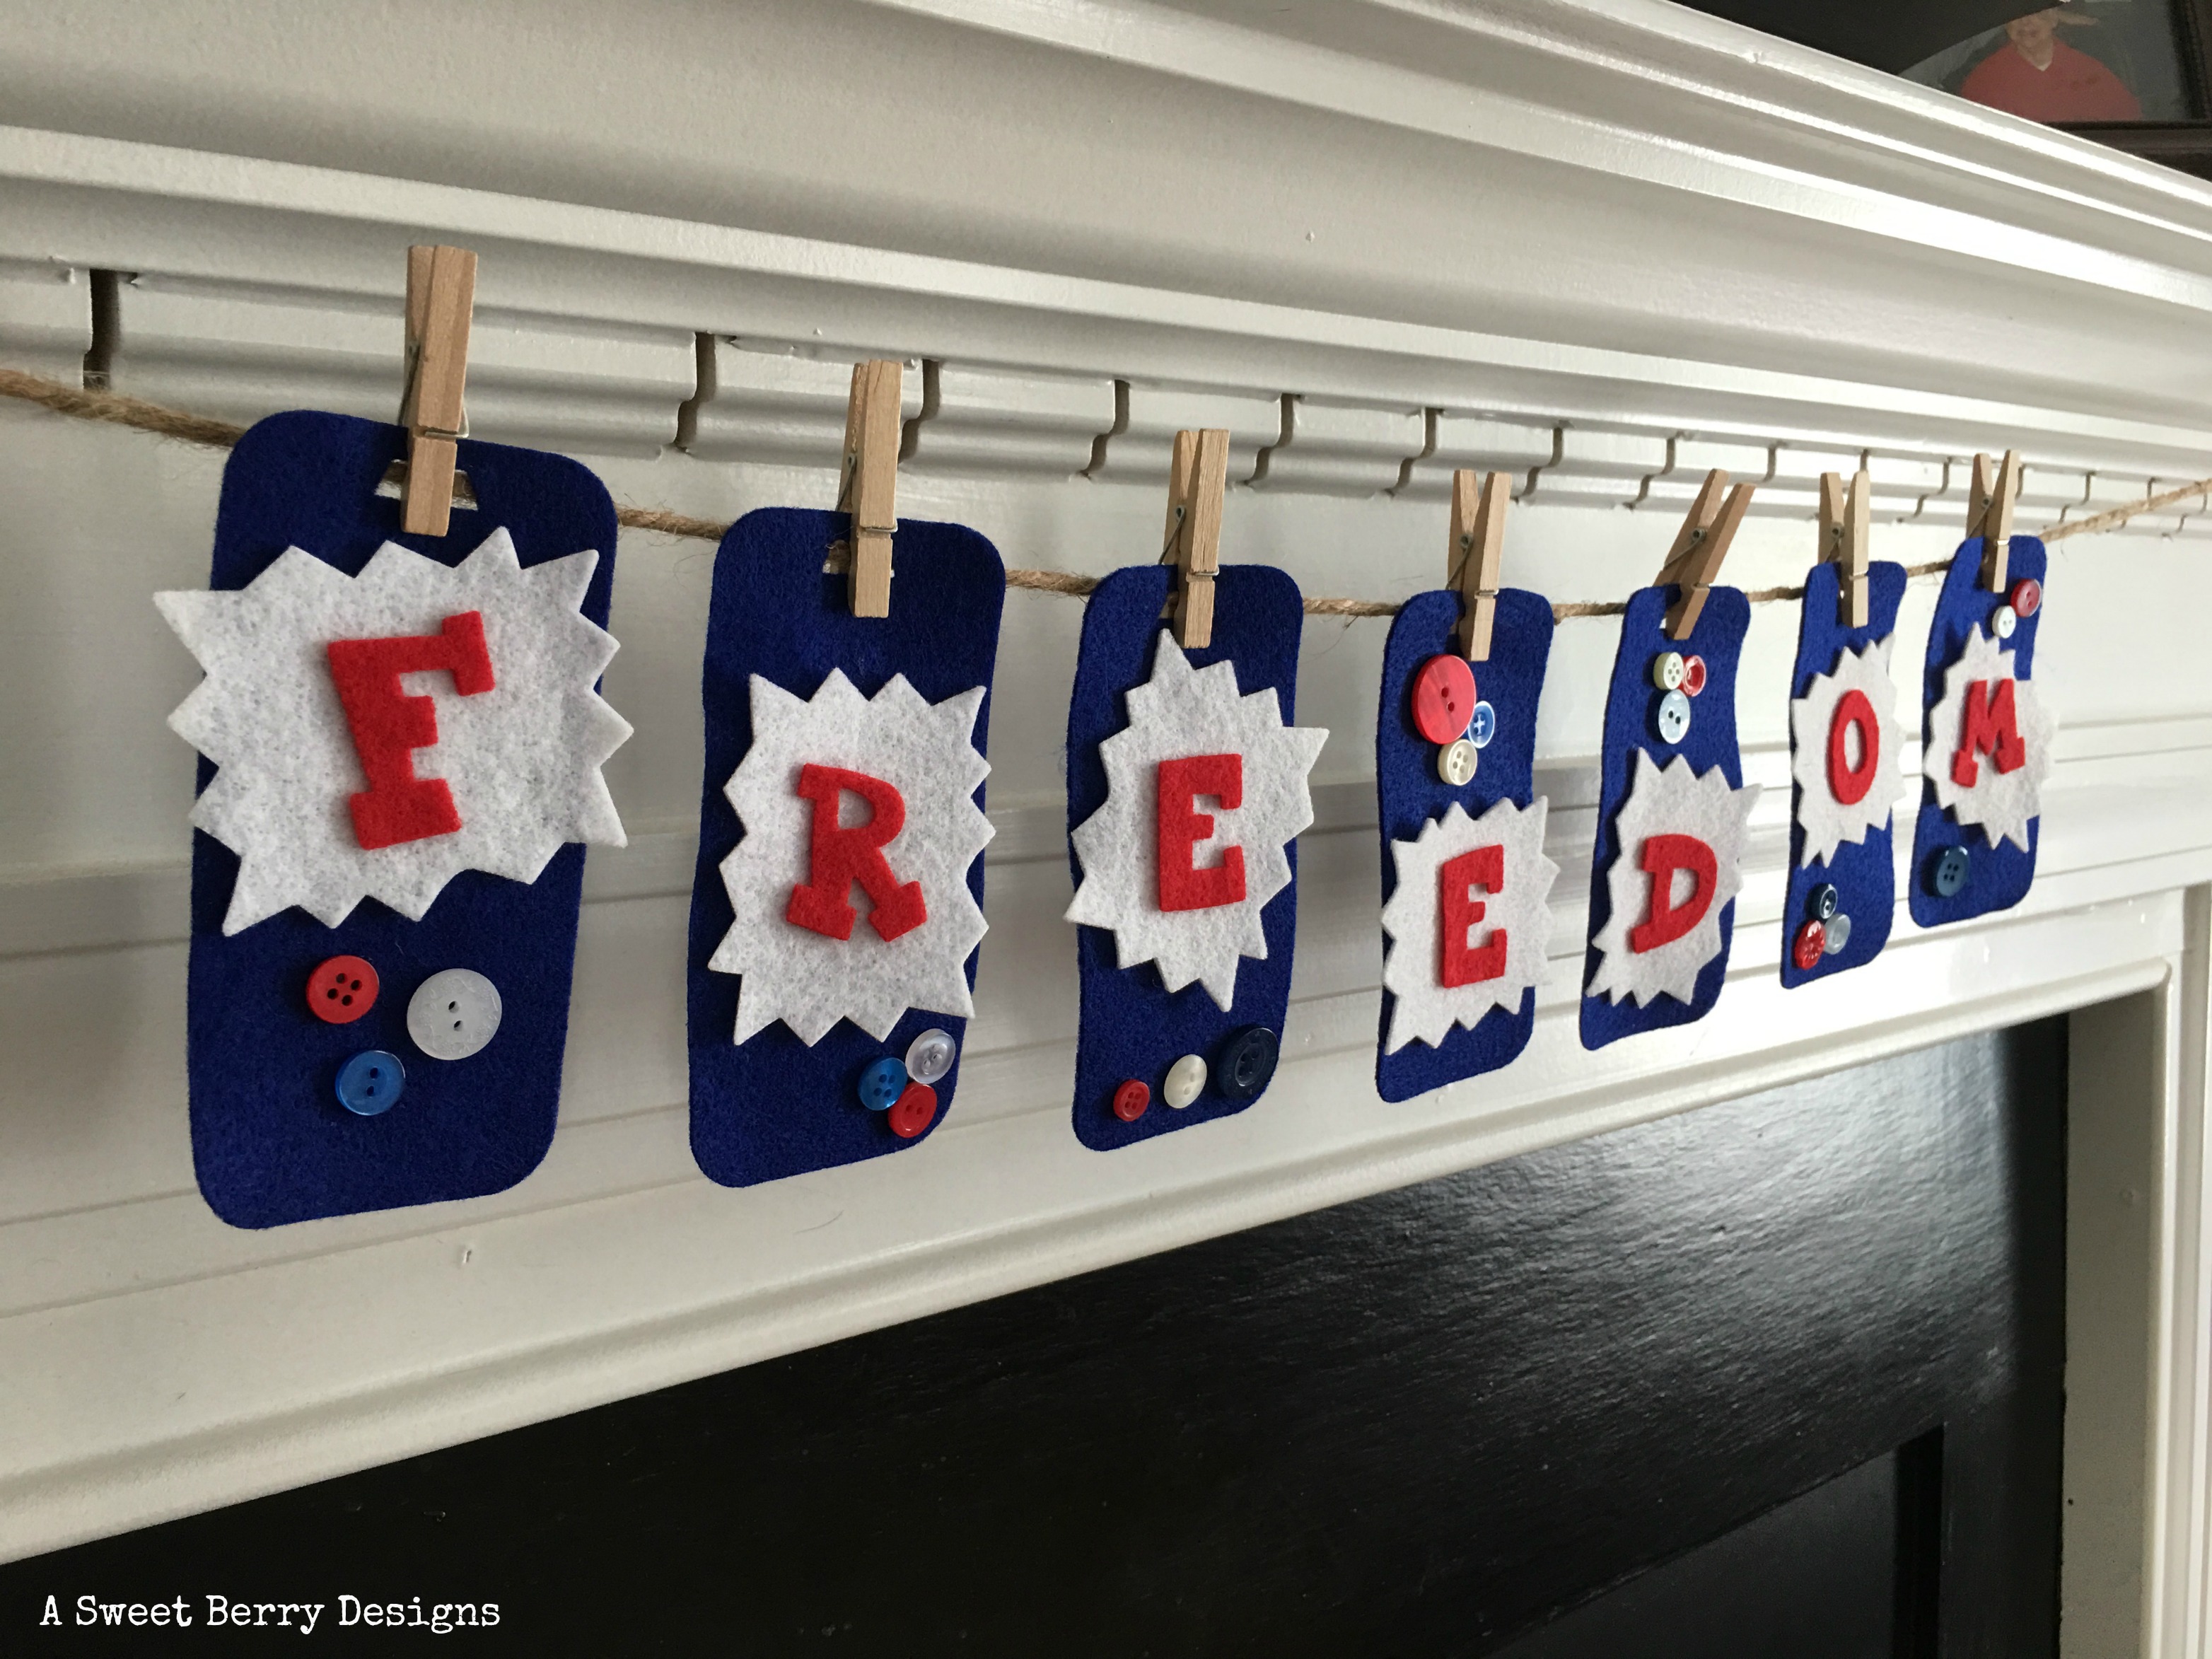 Easy Peasy!!! Now I have a banner for Memorial Day as well as the 4th of July! Hope you like this Craft Lightning project! Be sure to click the photo below and check out other Patriotic Craft Lightning projects!