Tag Archives: ribbon

Easy Christmas Gift Tags

Christmas Tags

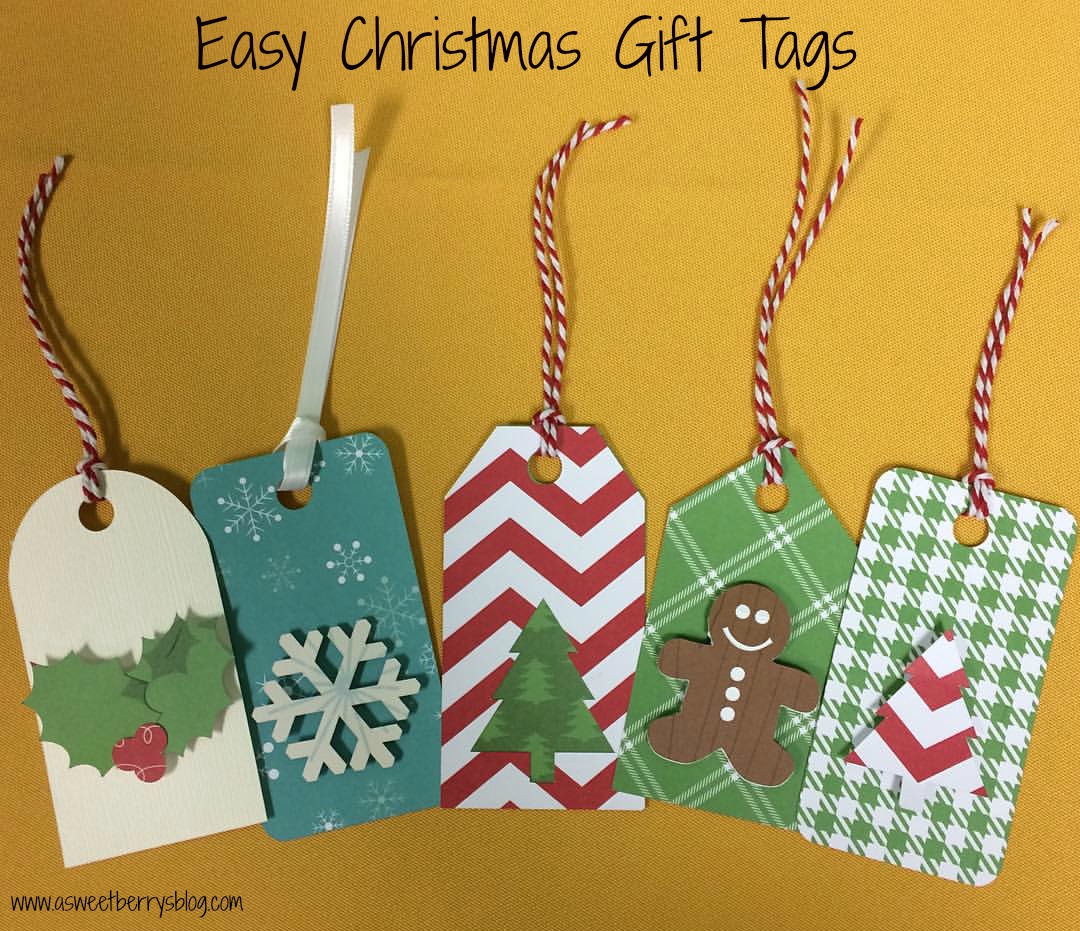
Christmas is upon us and the shopping has begun! These adorable and super easy gift tags are going to look awesome on the gifts below my Christmas tree!   If you have a Sizzix Eclips2, then you most likely use Sure Cuts A Lot eCAL2 for your software.  Well, if you do then all of these cut outs are included in the software.

collage

The process was pretty easy……

The snowflake:  I just cut the tag and snow flakes out separately.  I used a foam dot to get the snowflake a little dimension.  Then, I added a white ribbon.

The Christmas tree cutout:  I cut the tags with the Christmas Tree Cut out together and then cut the same tag, minus the tree.  I put them together using an Aleene’s tape runner.  Then, I added a piece of twine.

The Gingerbread Man:  I cut out a tag.  Then I cut out the gingerbread man on brown card stock.  Then, in the software, I removed the face and buttons from the gingerbread man and just cut out the outline on white card stock.   Using the tape runner, I attached the white gingerbread man cut out to the back of the brown one.  Then using a foam dot, I added it to the tag.  To finish it up, I added a piece of twine.

The Raised Christmas Tree:  I cut out some tags.  Using the Christmas Tree scraps from the Christmas Tree cutout tag, I just added a foam dot to the back of the tree and added it to the tag. Then, I added a piece of twine.

The Holly Tag:   I cut out some tags.  Cut the Holly leaves and berries out and used a foam dot on each piece and then attached it to the tag.   Then I added a piece of twine.

Christmas Tags

I hope you like these adorable little Christmas Tree Tags!   I made some last week and sold them at an Artisan Fair that my Church was hosting and everyone loved them!

Until next time………..

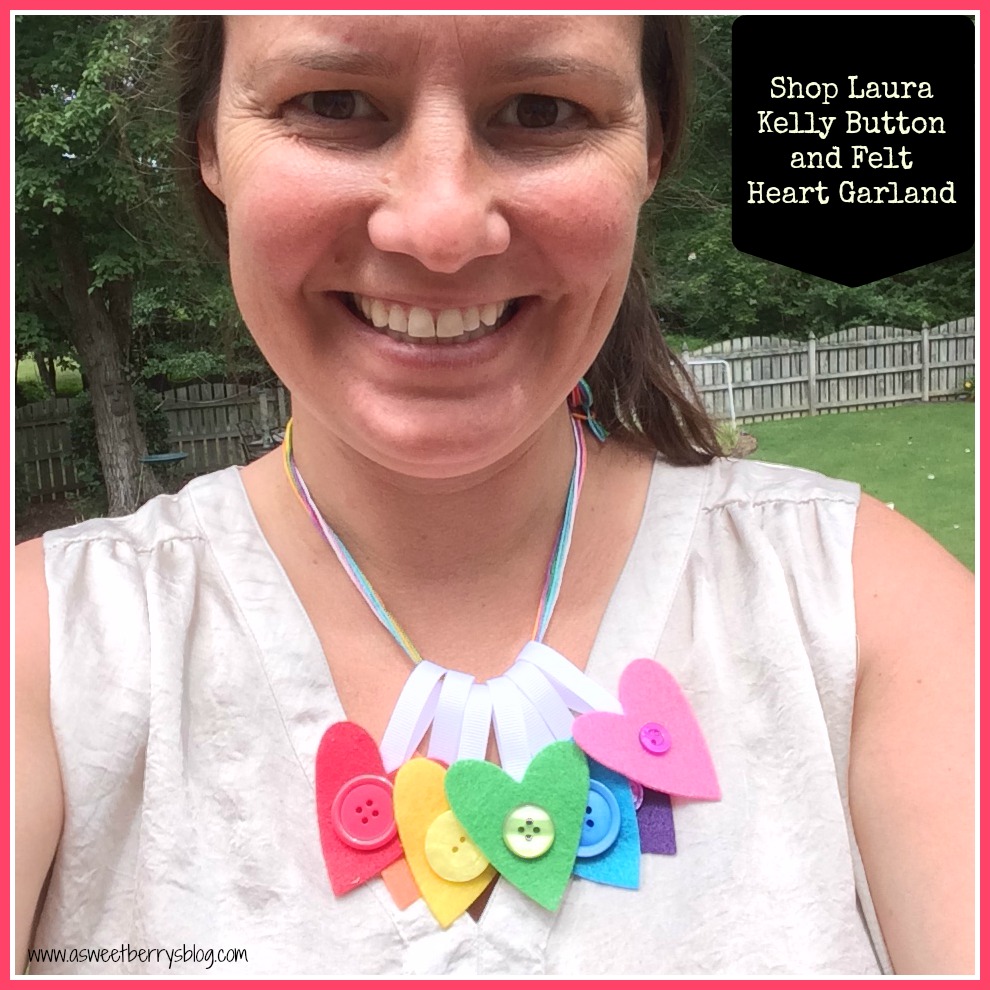
Shop Laura Kelly – Button and Felt Heart Garland

ShopLauraKelly.com has some of the cutest craft kits put together by one of my best friends, Laura Kelly!  One of my favorite kits in the collection is the Button and Felt Heart Garland! banner
Laura is very creative and has licenses with several companies!  The kits that she has put together come with everything you need to put your projects together! kit
This particular kit includes felt hearts, ribbon, colorful embroidery floss, buttons and a needle. supplies
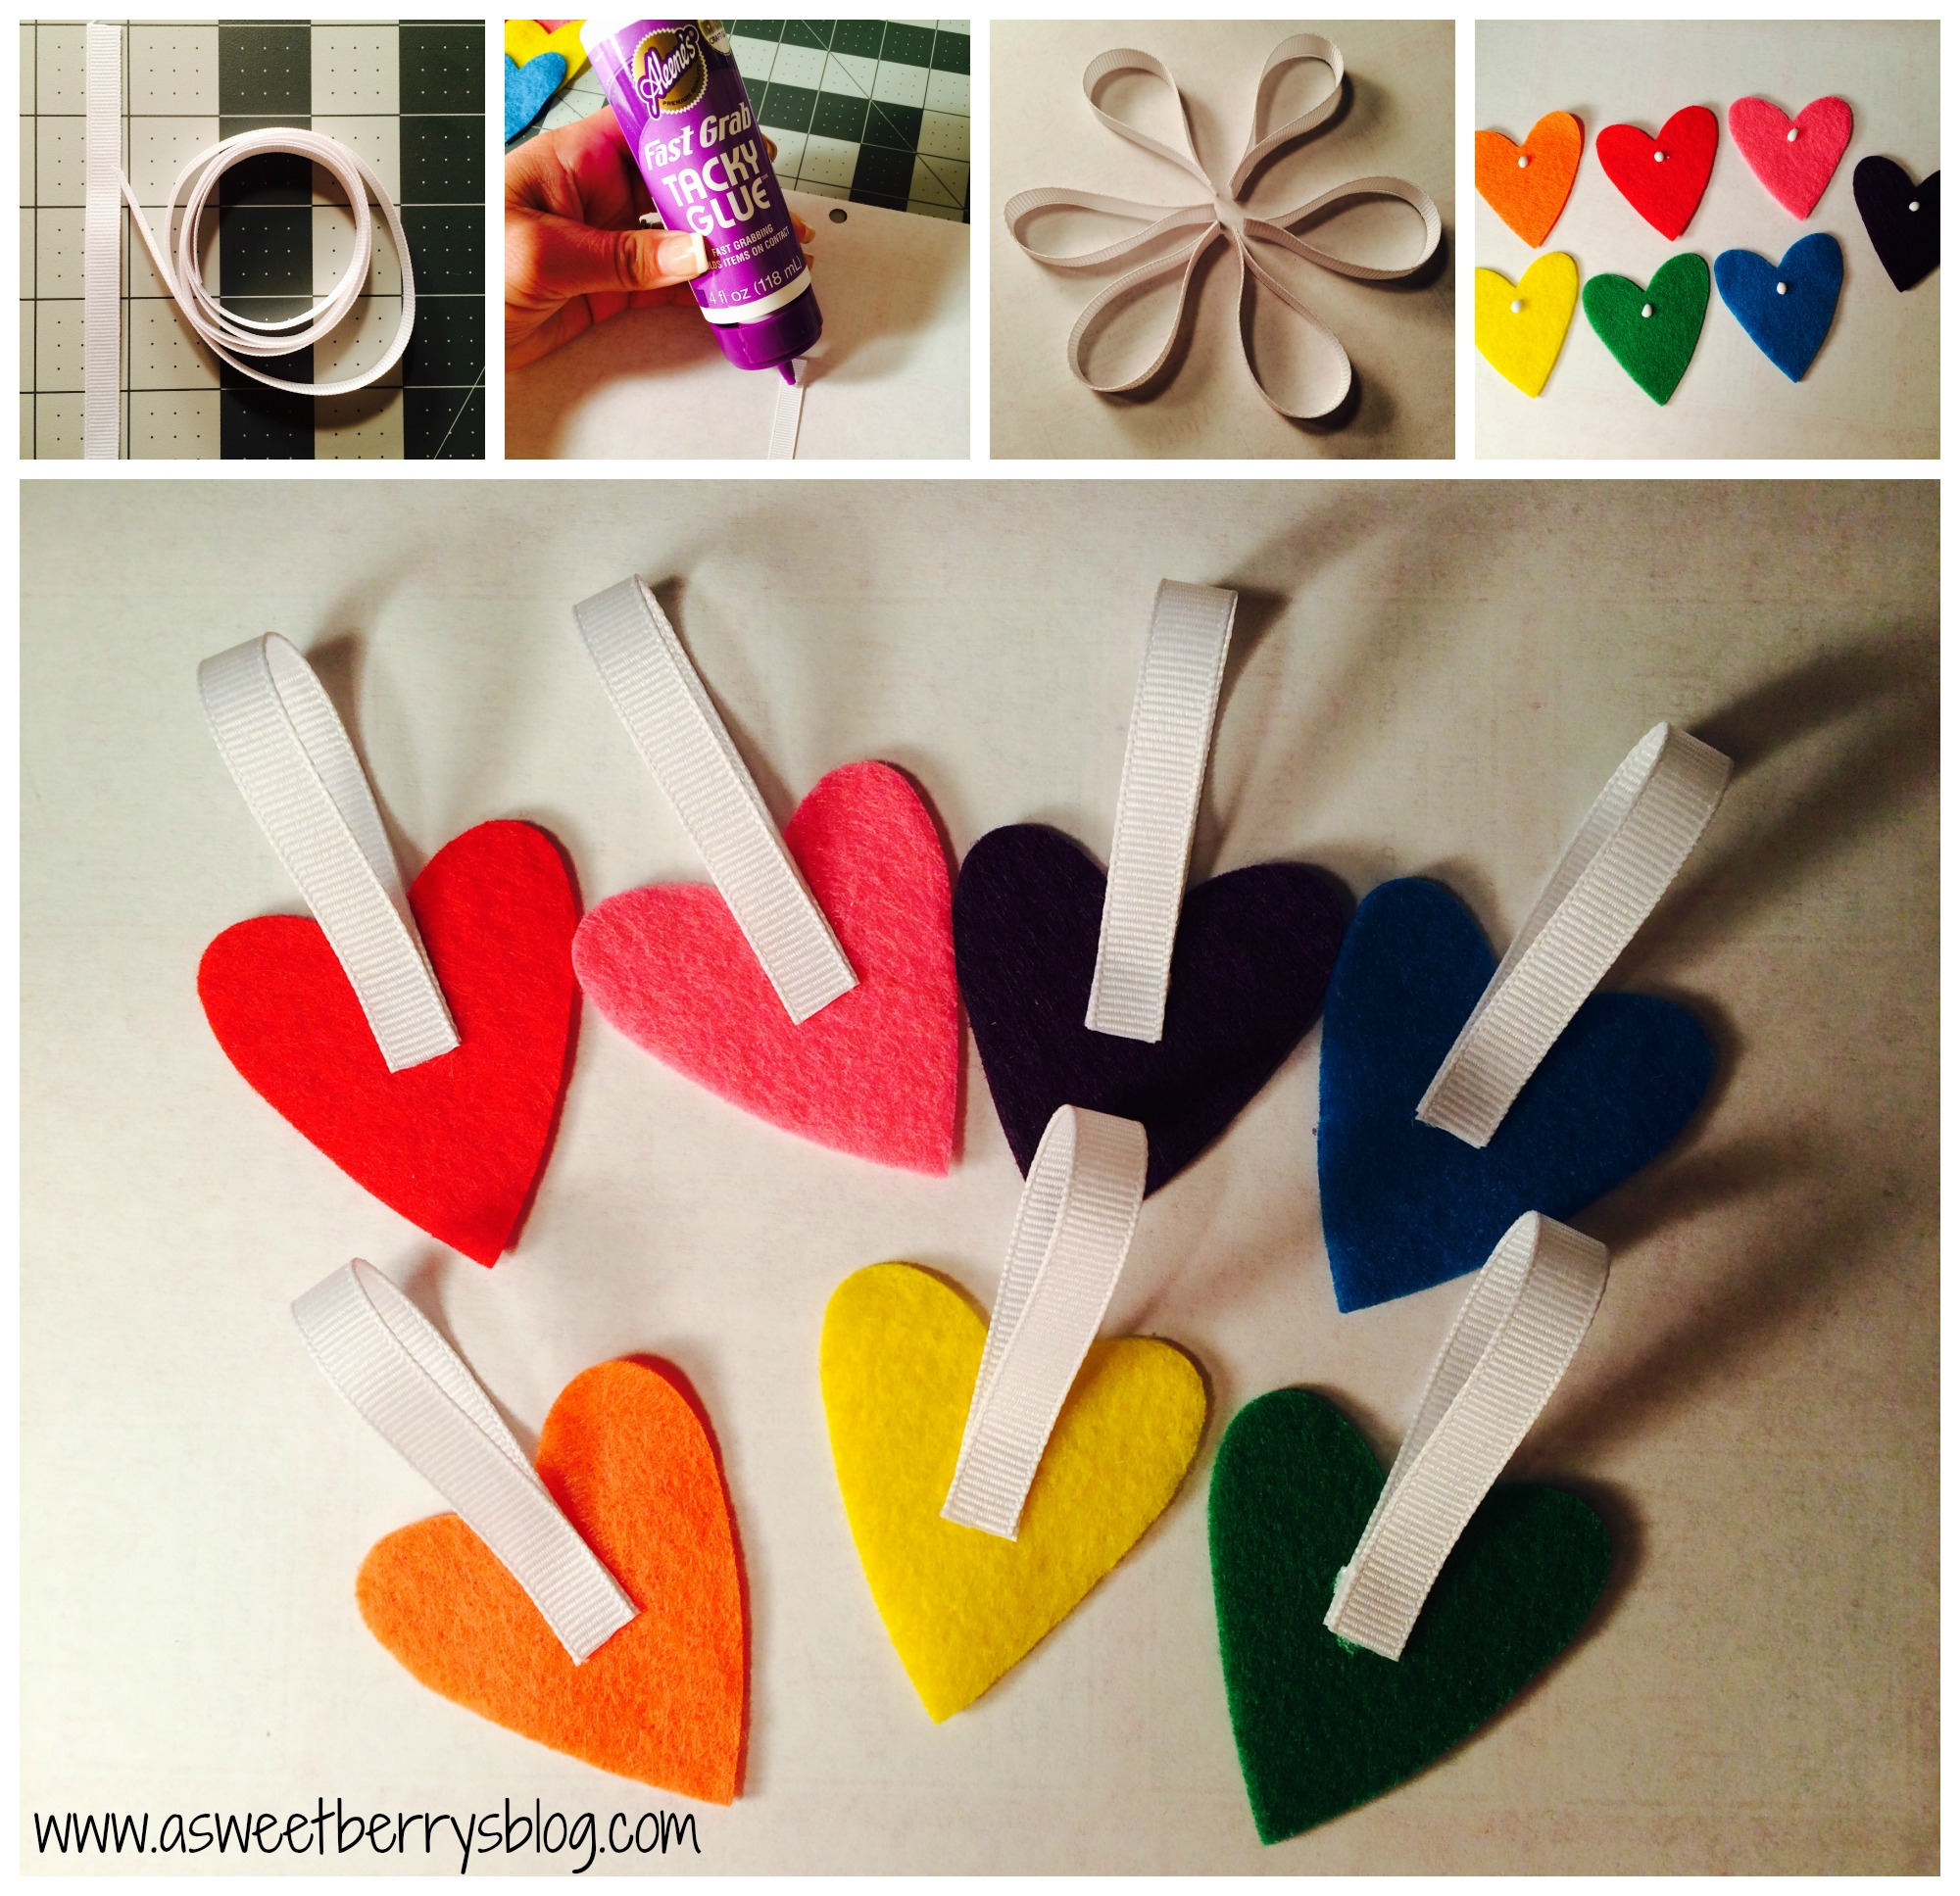
Instead of using my ribbon to hold the hearts for the banner, I decided to cut the ribbon into 4 inch strips and glued them together to make a little loop using Aleene’s Fast Grab Tacky Glue.  I then glued them to the backs of my hearts.  ribbon hooks
Once they were dried, I turned the hearts over and glued a coordinating color button to the front.
adding buttons
Then, I slid them onto my embroidery floss that I left together to look like a rainbow!
banner
It also makes a great necklace!  I love it!  So, go on over to ShopLauraKelly.com and check out Laura’s cute little craft kits!
necklace

Be sure to click through other great ShopLauraKelly project ideas below:


And enter to win!
a Rafflecopter giveaway

Until next time…….

Me and My Peeps Blog Hop ~ Info

1039627_10151724801629105_1868196326_o

Yay!  So, I have been asked to participate in another blog hop!   This time, it’s the “Me and My Peeps Blog Hop”, put together by Laura Kelly of Laura Kelly Designs and Niki Meiner of 365 Days of Crafts!   And I can’t wait!  I’ve been thinking about what I plan to do!!!

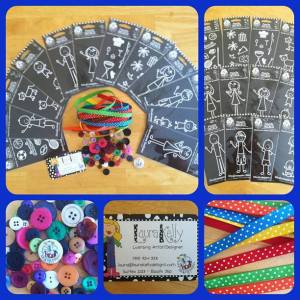
Here’s what all was included in the Blog Hop package:

1004728_10151724814234105_1560106797_n

Me and My Peeps Family Decals from Plaid Enterpises

Laura Kelly Mix  Buttons from Buttons Galore & More

Colorful Polka Dotted Ribbon

Me and my Peeps Button

Laura Kelly is the creator of the Me and My Peeps Decal Collection.  You may have seen them on the back windows of cars, but they can truly be used on pretty much anything!  You can also find them at ACMoore!  Our goal is to create something fun from at least one of the decals and the buttons!

The actual Blog Hop is July 16-18, so be on the look out!!!

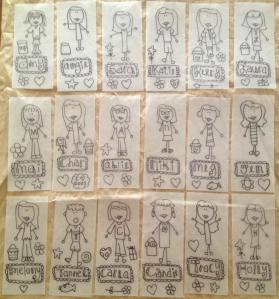
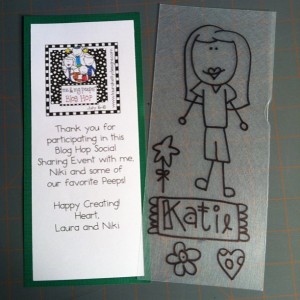
Also, Laura is so creative, she used Shrinky Dinks plastic to design a Peep for everyone participating in the Blog Hop!   She left them colorless so that everyone could color their own!!

1040087_10151725896284105_1270237267_o

Here’s me as a Peep!  Now, to color it!!!!

1044811_10151686517053955_1875731717_n

Until next time………..
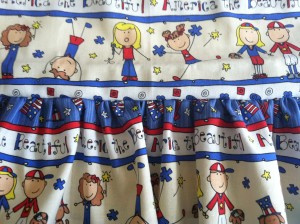
A Patriotic Peep Pillow Case Dress

20130507-171121.jpg

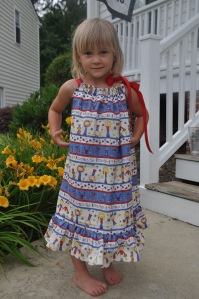
Patriotic Peep Pillow Case Dress

I absolutely love Laura Kelly’s Patriotic Peeps Fabric, available at JoAnn Stores.

I made a child’s size 4 Pillow Case Dress.  Since I don’t have girls, I was able to get my super cute little neighbor to be my model,

with a little bribery of not one, but two pieces of candy!!!!

DSC_0080

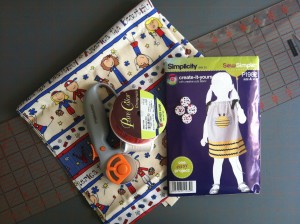
Materials used:

Laura Kelly’s Patriotic Peeps Fabric, available at JoAnn Stores

Coats & Clark thread

Simplicity pillow case dress pattern (I only used this for the measurements.)

Fiskars Rotary cutter, mat, and ruler

Pure Color Red Grosgrain Ribbon

Crochet Thread

IMG_7165

When I started this project, I used the Simplicity pattern to basically get the measurements for the dress.   I needed two squares, so I doubled the fabric and cut two at one time.    I then cut a quarter of a circle out of the top corner of the folded material.  This was for the arms.  I then unfolded the fabric, placed the two right sides together and sewed up the sides.

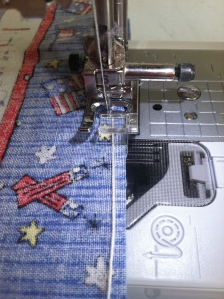
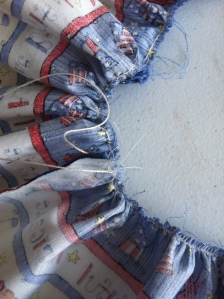
This is the first project where I used gathered fabric.  I found a simple tutorial on Pinterest by The Family Homestead on how to gather fabric.

IMG_7167

IMG_7168

After I was done with the gathering, I sewed a line right below my crochet/zigzag, so that my gathering stayed in place.

I then sewed it to the bottom of my dress.

IMG_7223

Click here to go back to my original I Love the USA Blog Hop page.

In my addiction to Pinterest, I came upon a sign to hang outside near the doorbell letting people know that the baby was sleeping. So, i decided to make my own!

20130405-135010.jpg

And only those that have children and dogs may get this, but as a mother of two children and two dogs, I should have thought of this with my first child. My dogs bark at everything, especially when they hear footsteps on the stairs or when the doorbell rings. And if my youngest is sleeping, it usually wakes hims.

I remember once when Landon was about a year old, someone came around selling vacuums. It was just a short time after I had put him down for a nap, and guess what? That was one of his shortest naps for a one year old. I was not in a good mood after that.

Now, I have to keep my ears open and try to catch someone coming to the door before they hit the bottom stair just so the dogs don’t bark and wake Benjamin when the doorbell rings.

Here are just a few pictures of the process. First I purchased a wooden plaque at AC Moore as well as the starry scrapbook paper. I had some things at home. I painted just the edges because the rest wasn’t going to show.

20130405-135818.jpg
I wrote my little saying on the scrapbook paper using a Sharpie marker and then used Mod Podge to glue it down. I then used an exacto knife to trim the edges.

20130405-135958.jpg

20130405-140009.jpg
I then covered it with a layer of Mod Podge because its going to be outside and I didn’t want the paper to get messed up. And then added some buttons to the front!
Using small screws, I put them into the back of the wood, created a decorative wire with ribbons and buttons and then attached it to the screws on the back of the wood.

20130405-140342.jpg

20130405-140350.jpg
And them it was complete and ready to hang up!! I love it and it will hang on my door until Benjamin is no longer taking an afternoon nap!!

20130405-140517.jpg