
Halloween is just around the corner and will be here before we know it!
My friend, Laura Kelly put together this cute and creative blog hop, sending out an envelope of goodies which included a popcorn box and some embellishments to go with it. 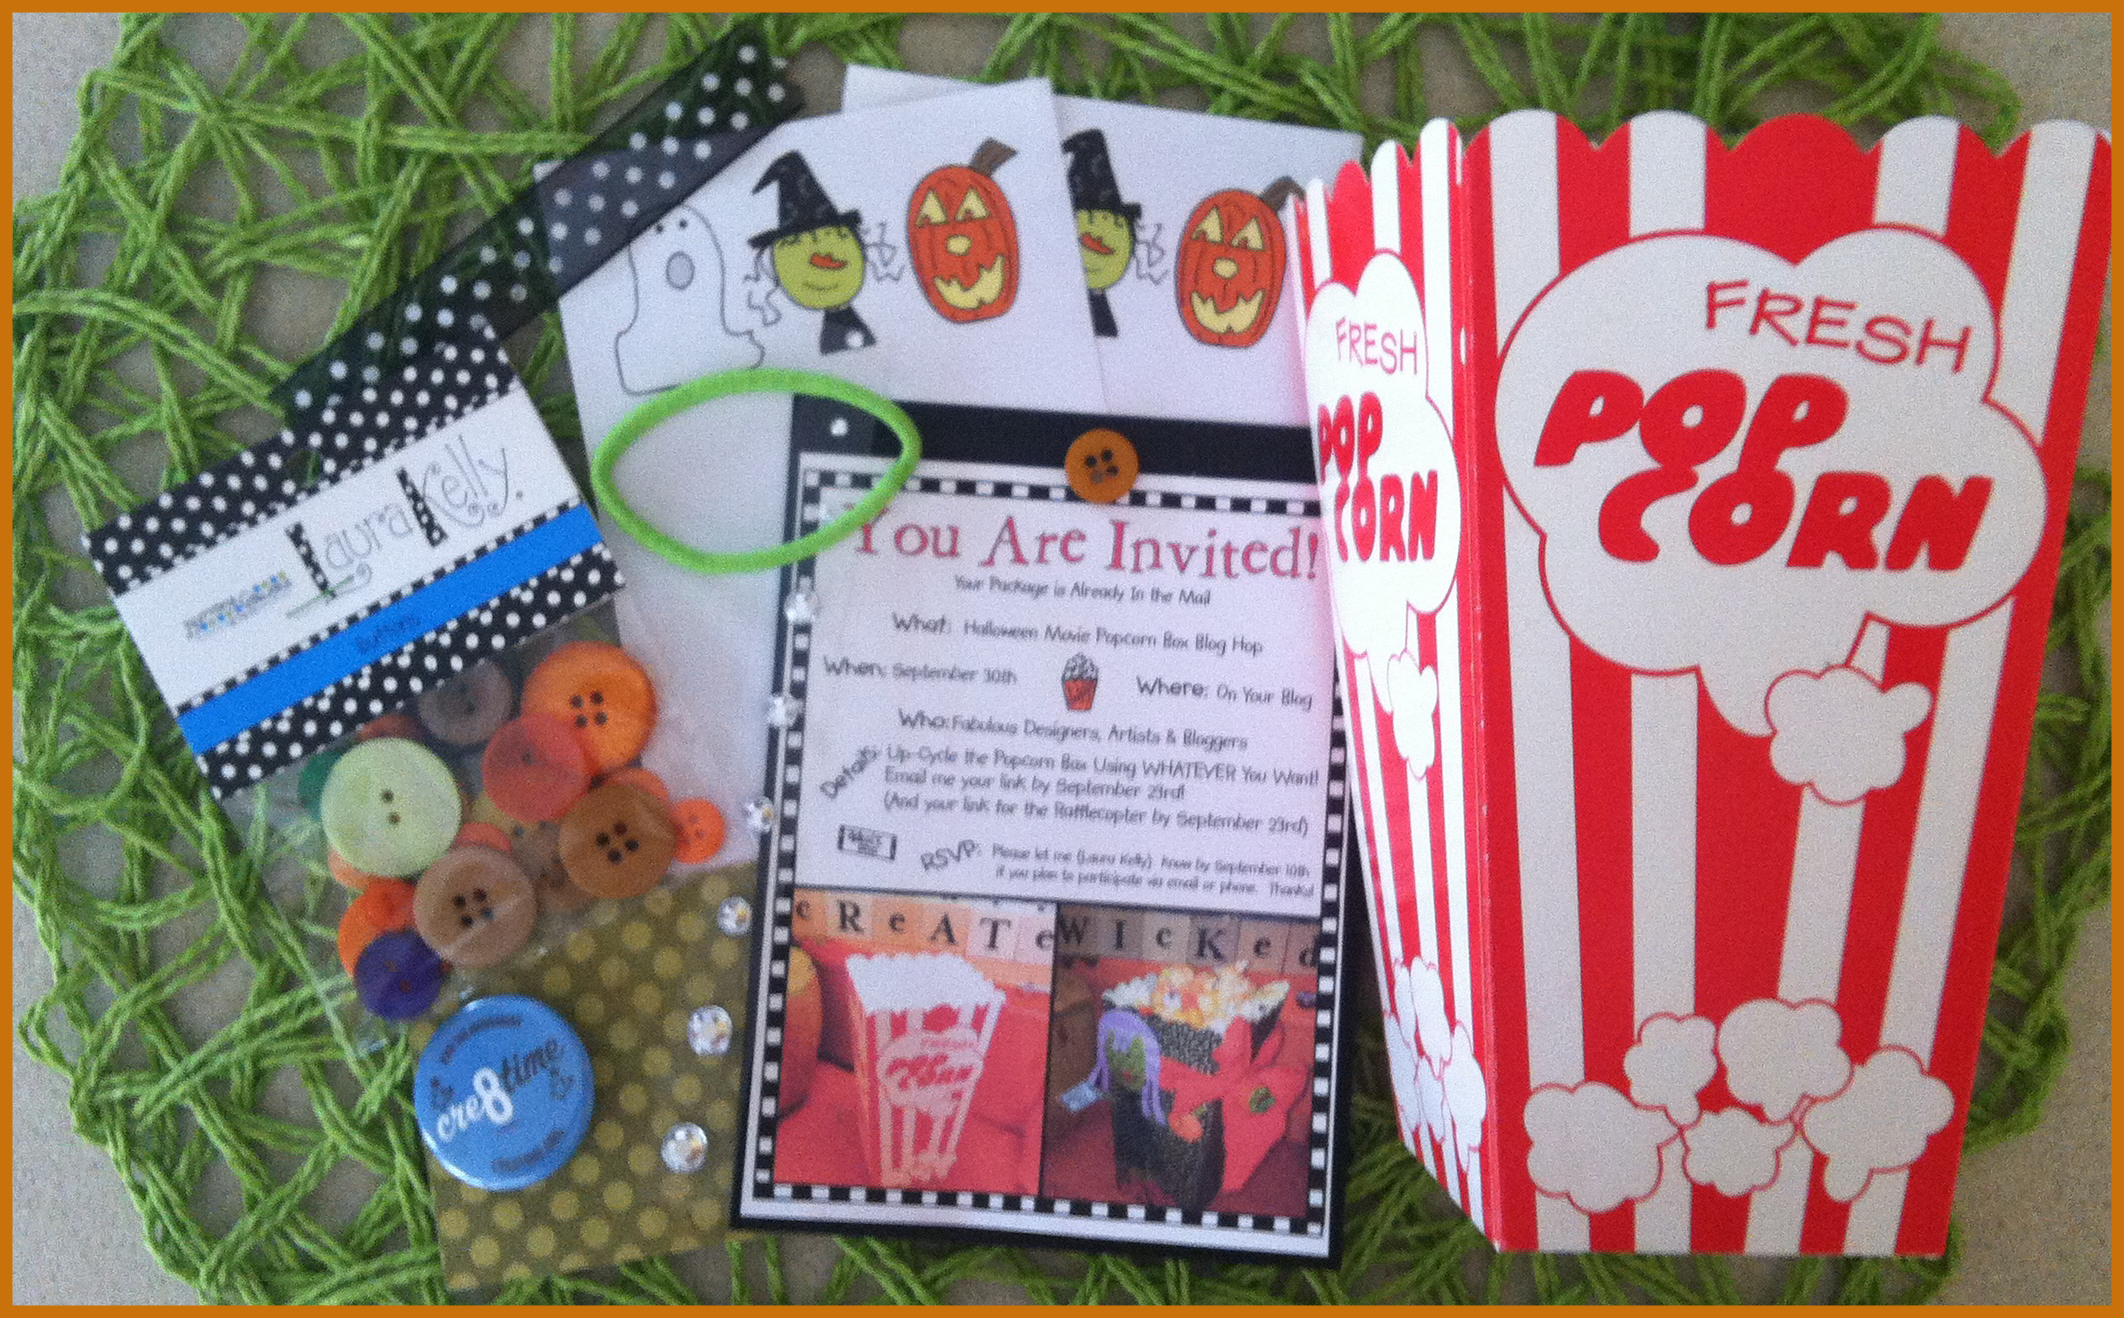
In our directions for this blog hop, it said:
“The objective is to create in whatever way you like best with whatever products you like to feature and simply be a part of something fun…something that connects your passion to those passions of others.”
So, with that being said, I decided to use some things I had lying around in my craft area.
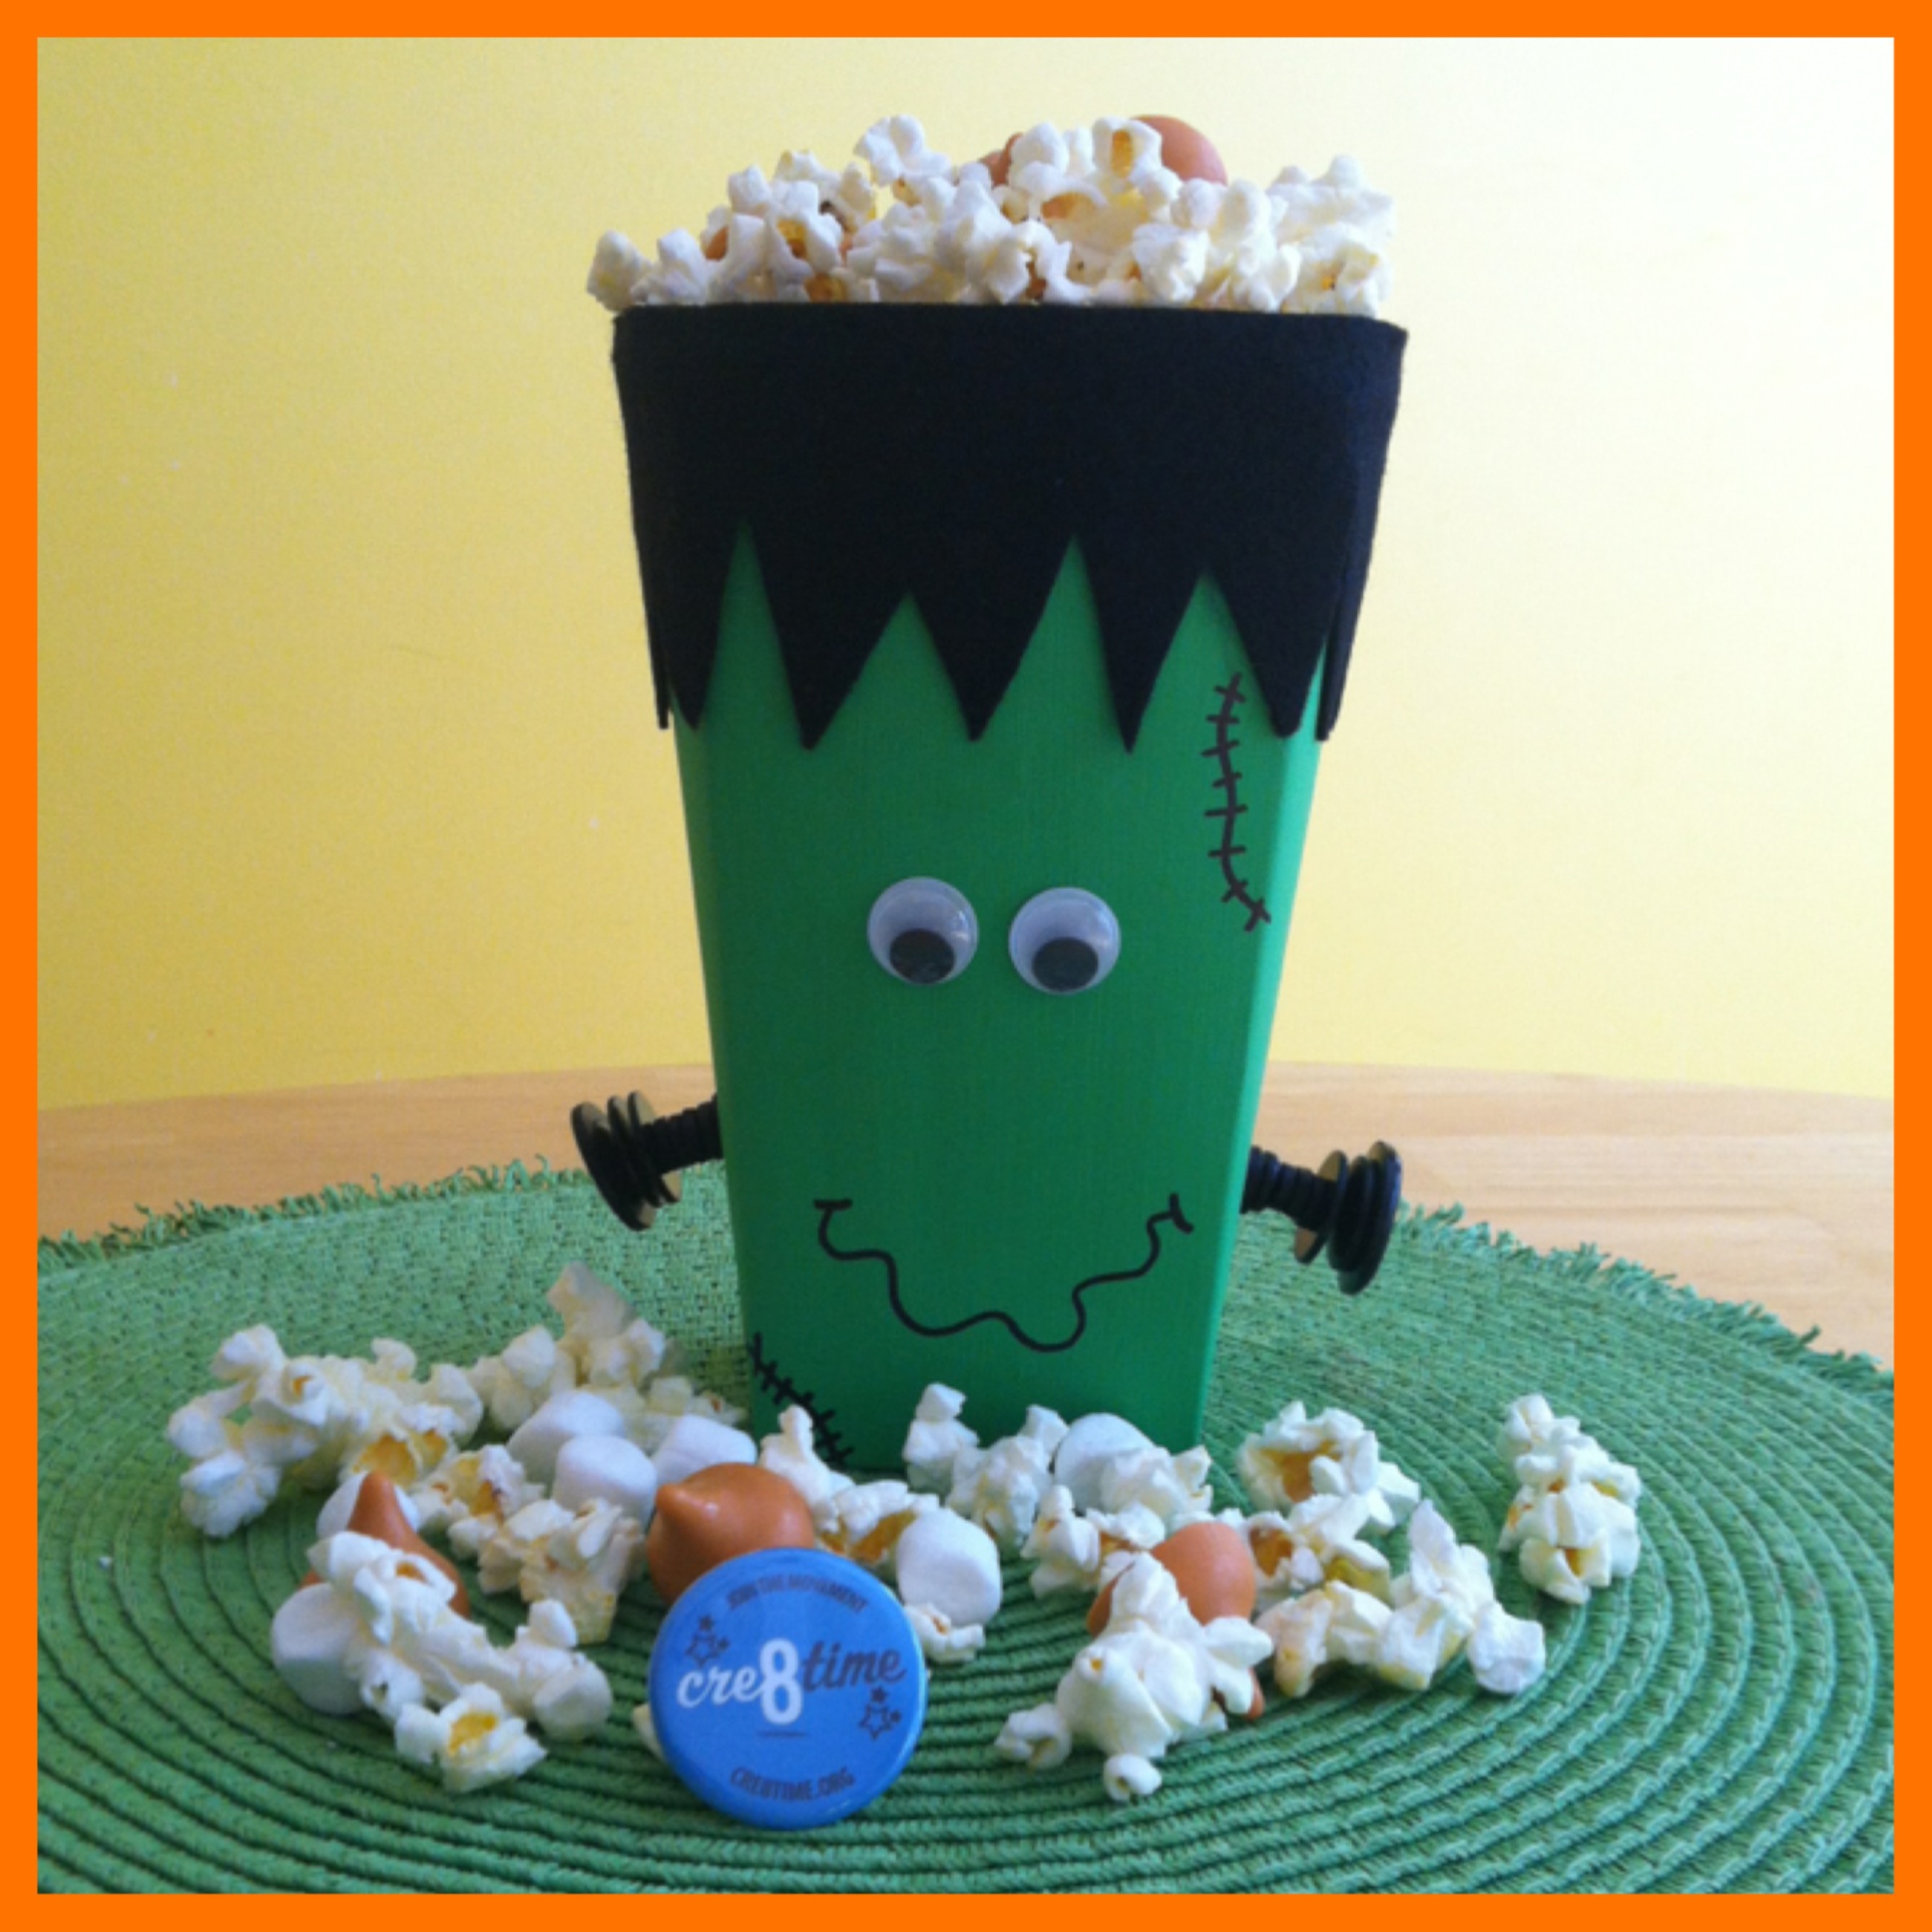
I decided to make a Frankenstein Popcorn Box!
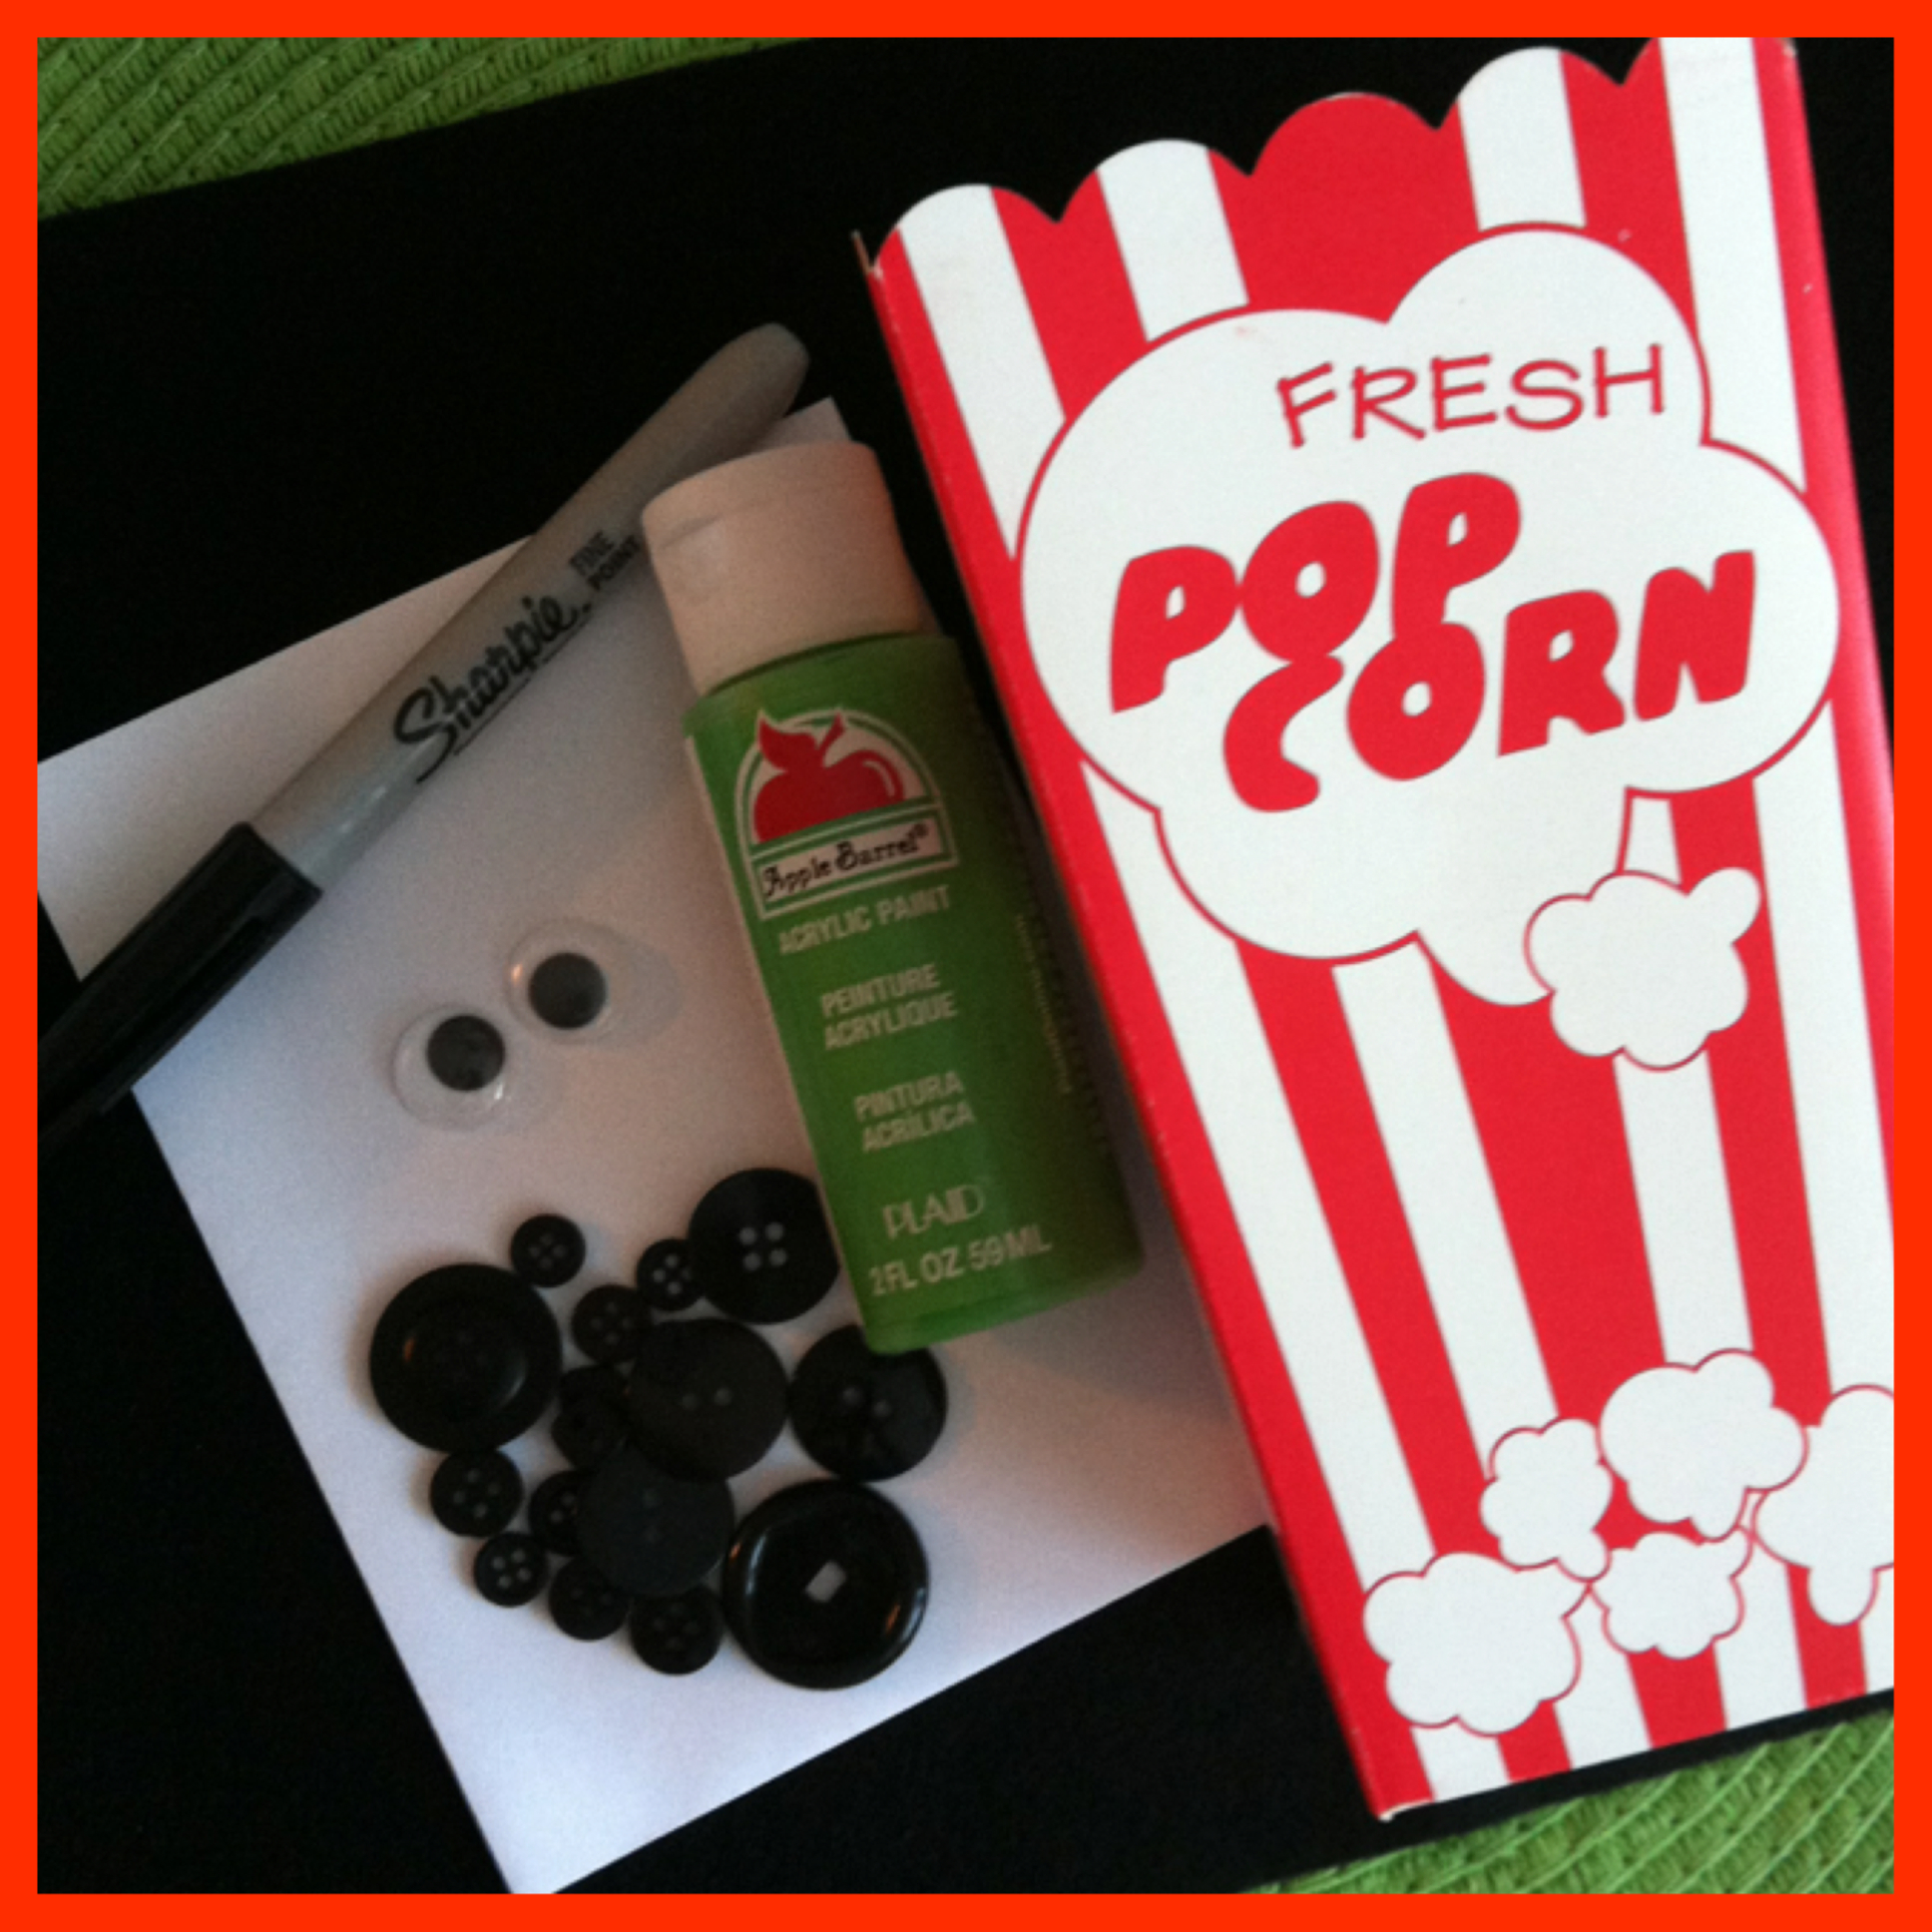
Materials used:
The Popcorn box, provided by Laura
Black Buttons from Laura Kelly’s mix buttons from Buttons Galore & More
Apple Barrel Spring Green Acrylic Paint by Plaid
Googly eyes
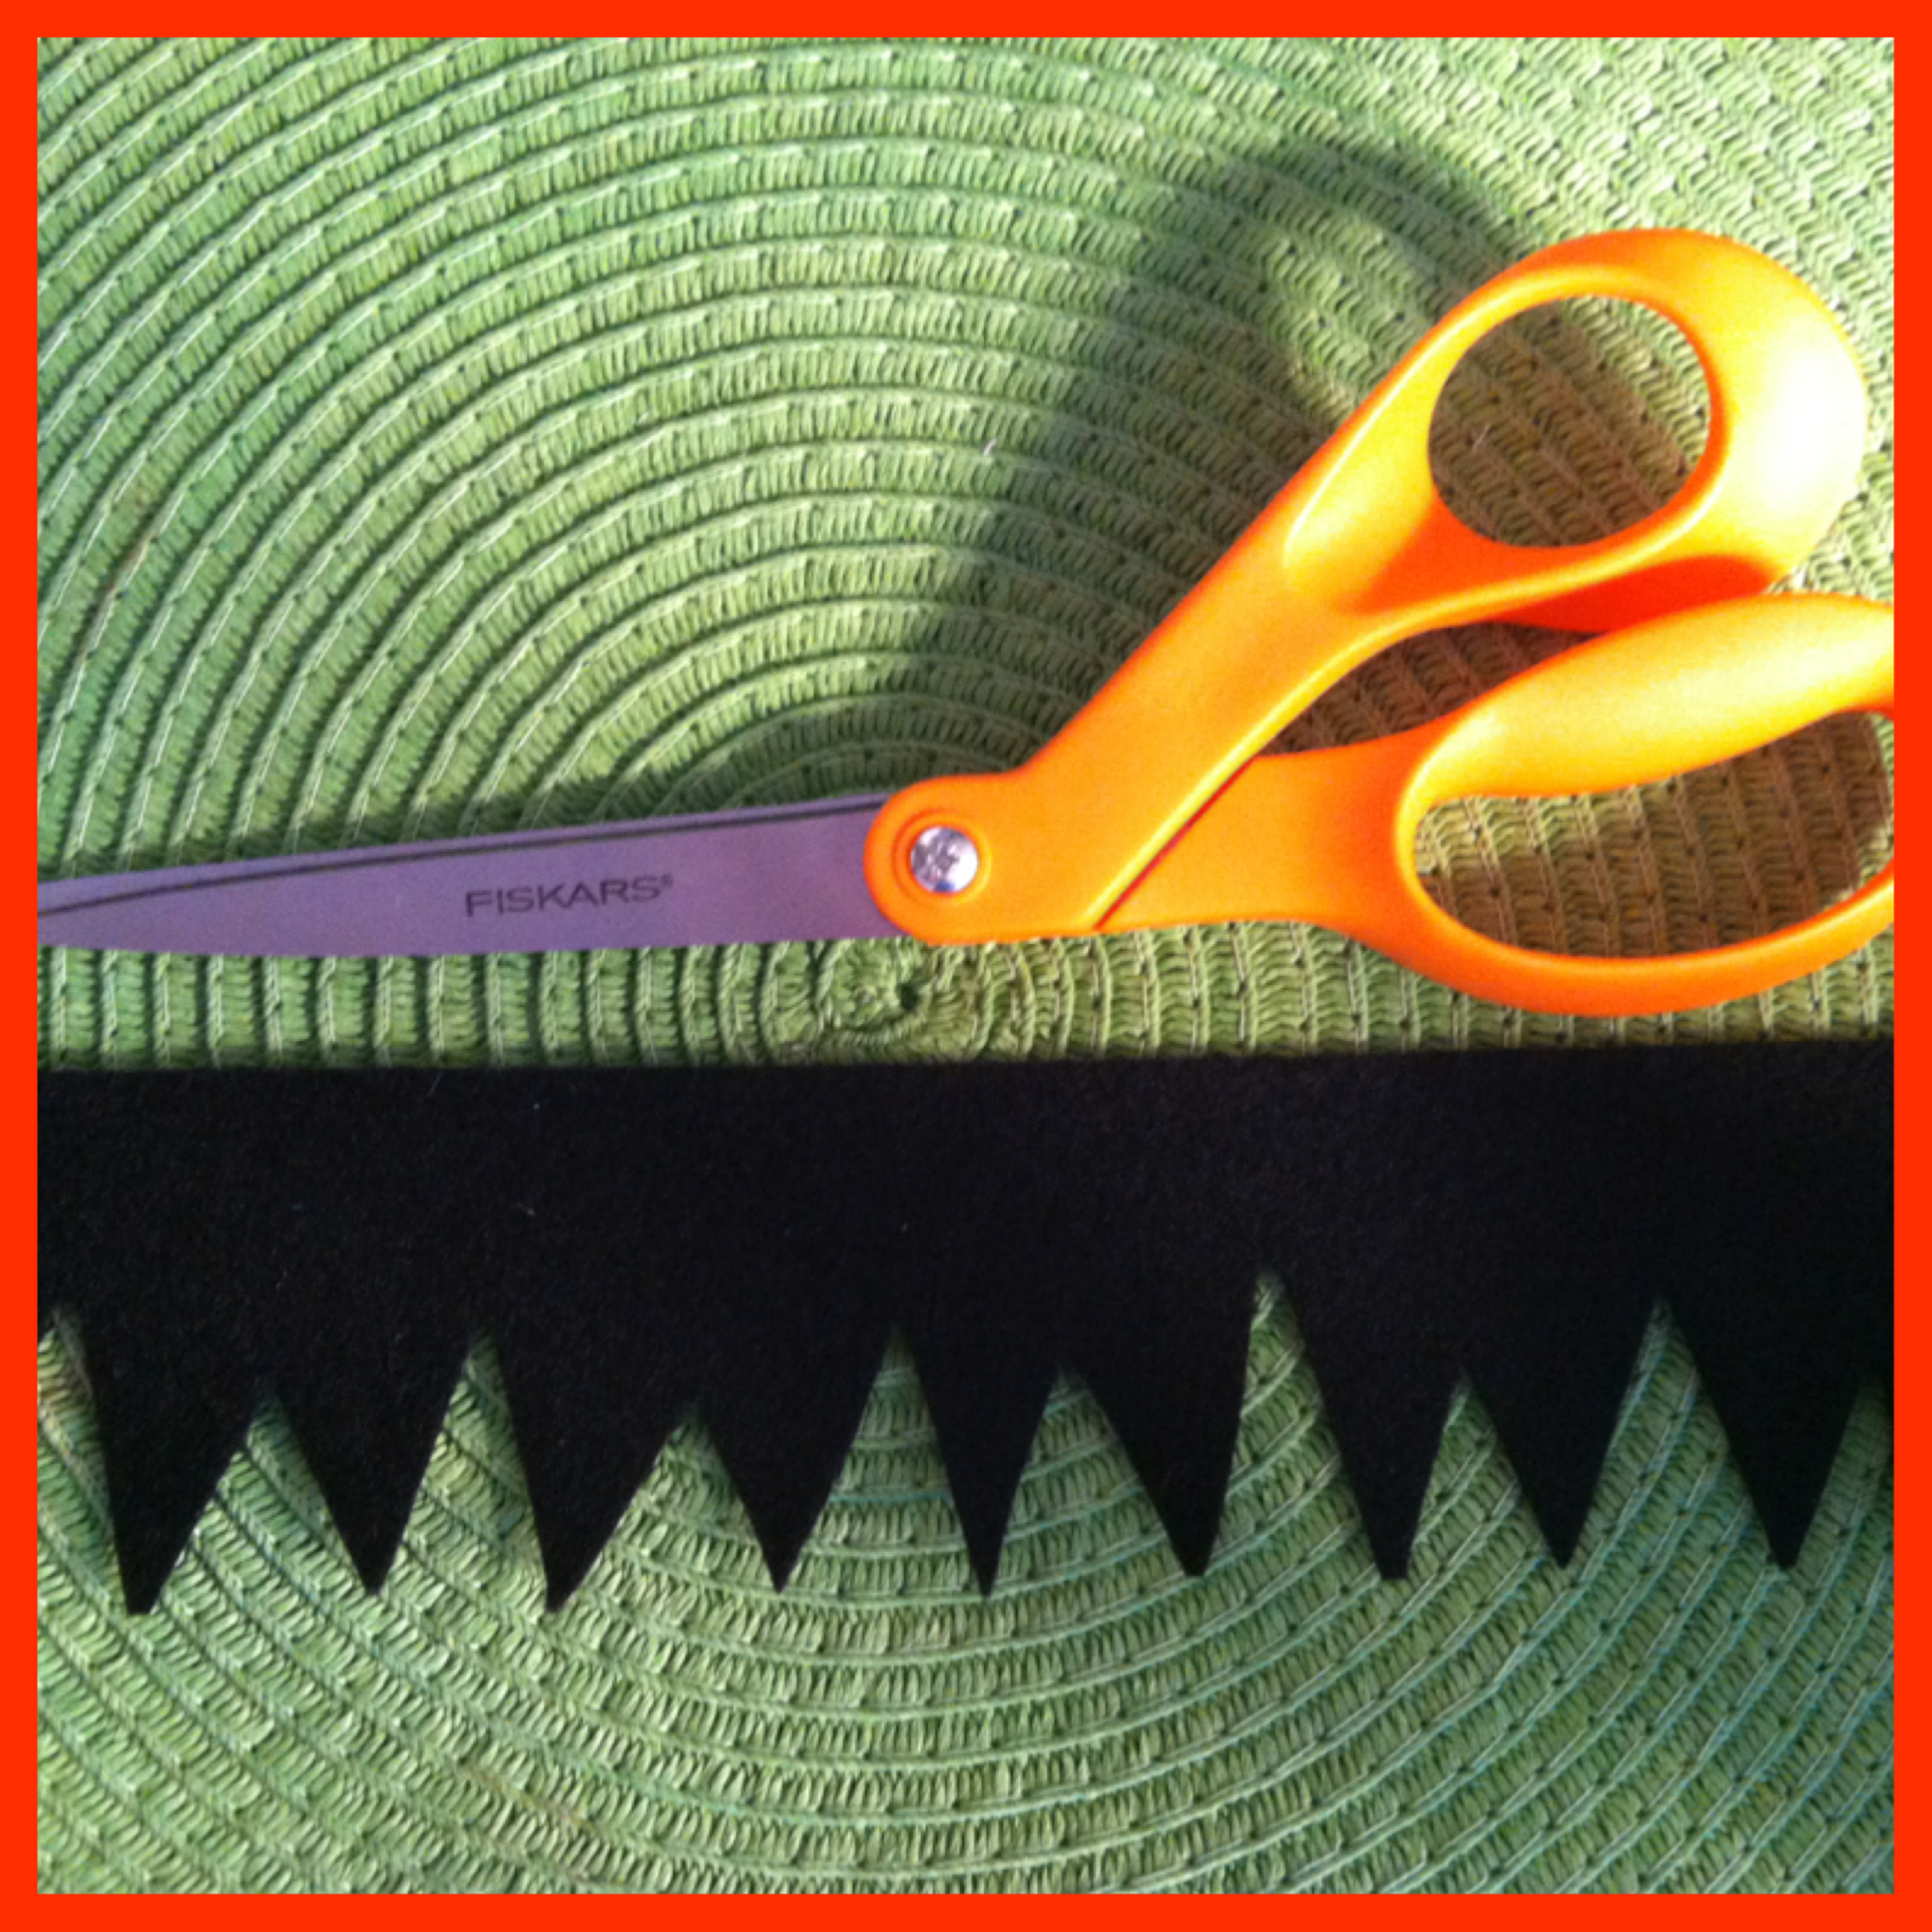
Black felt, purchased from JoAnn Stores
Beacon’s 527 Multi-use Glue
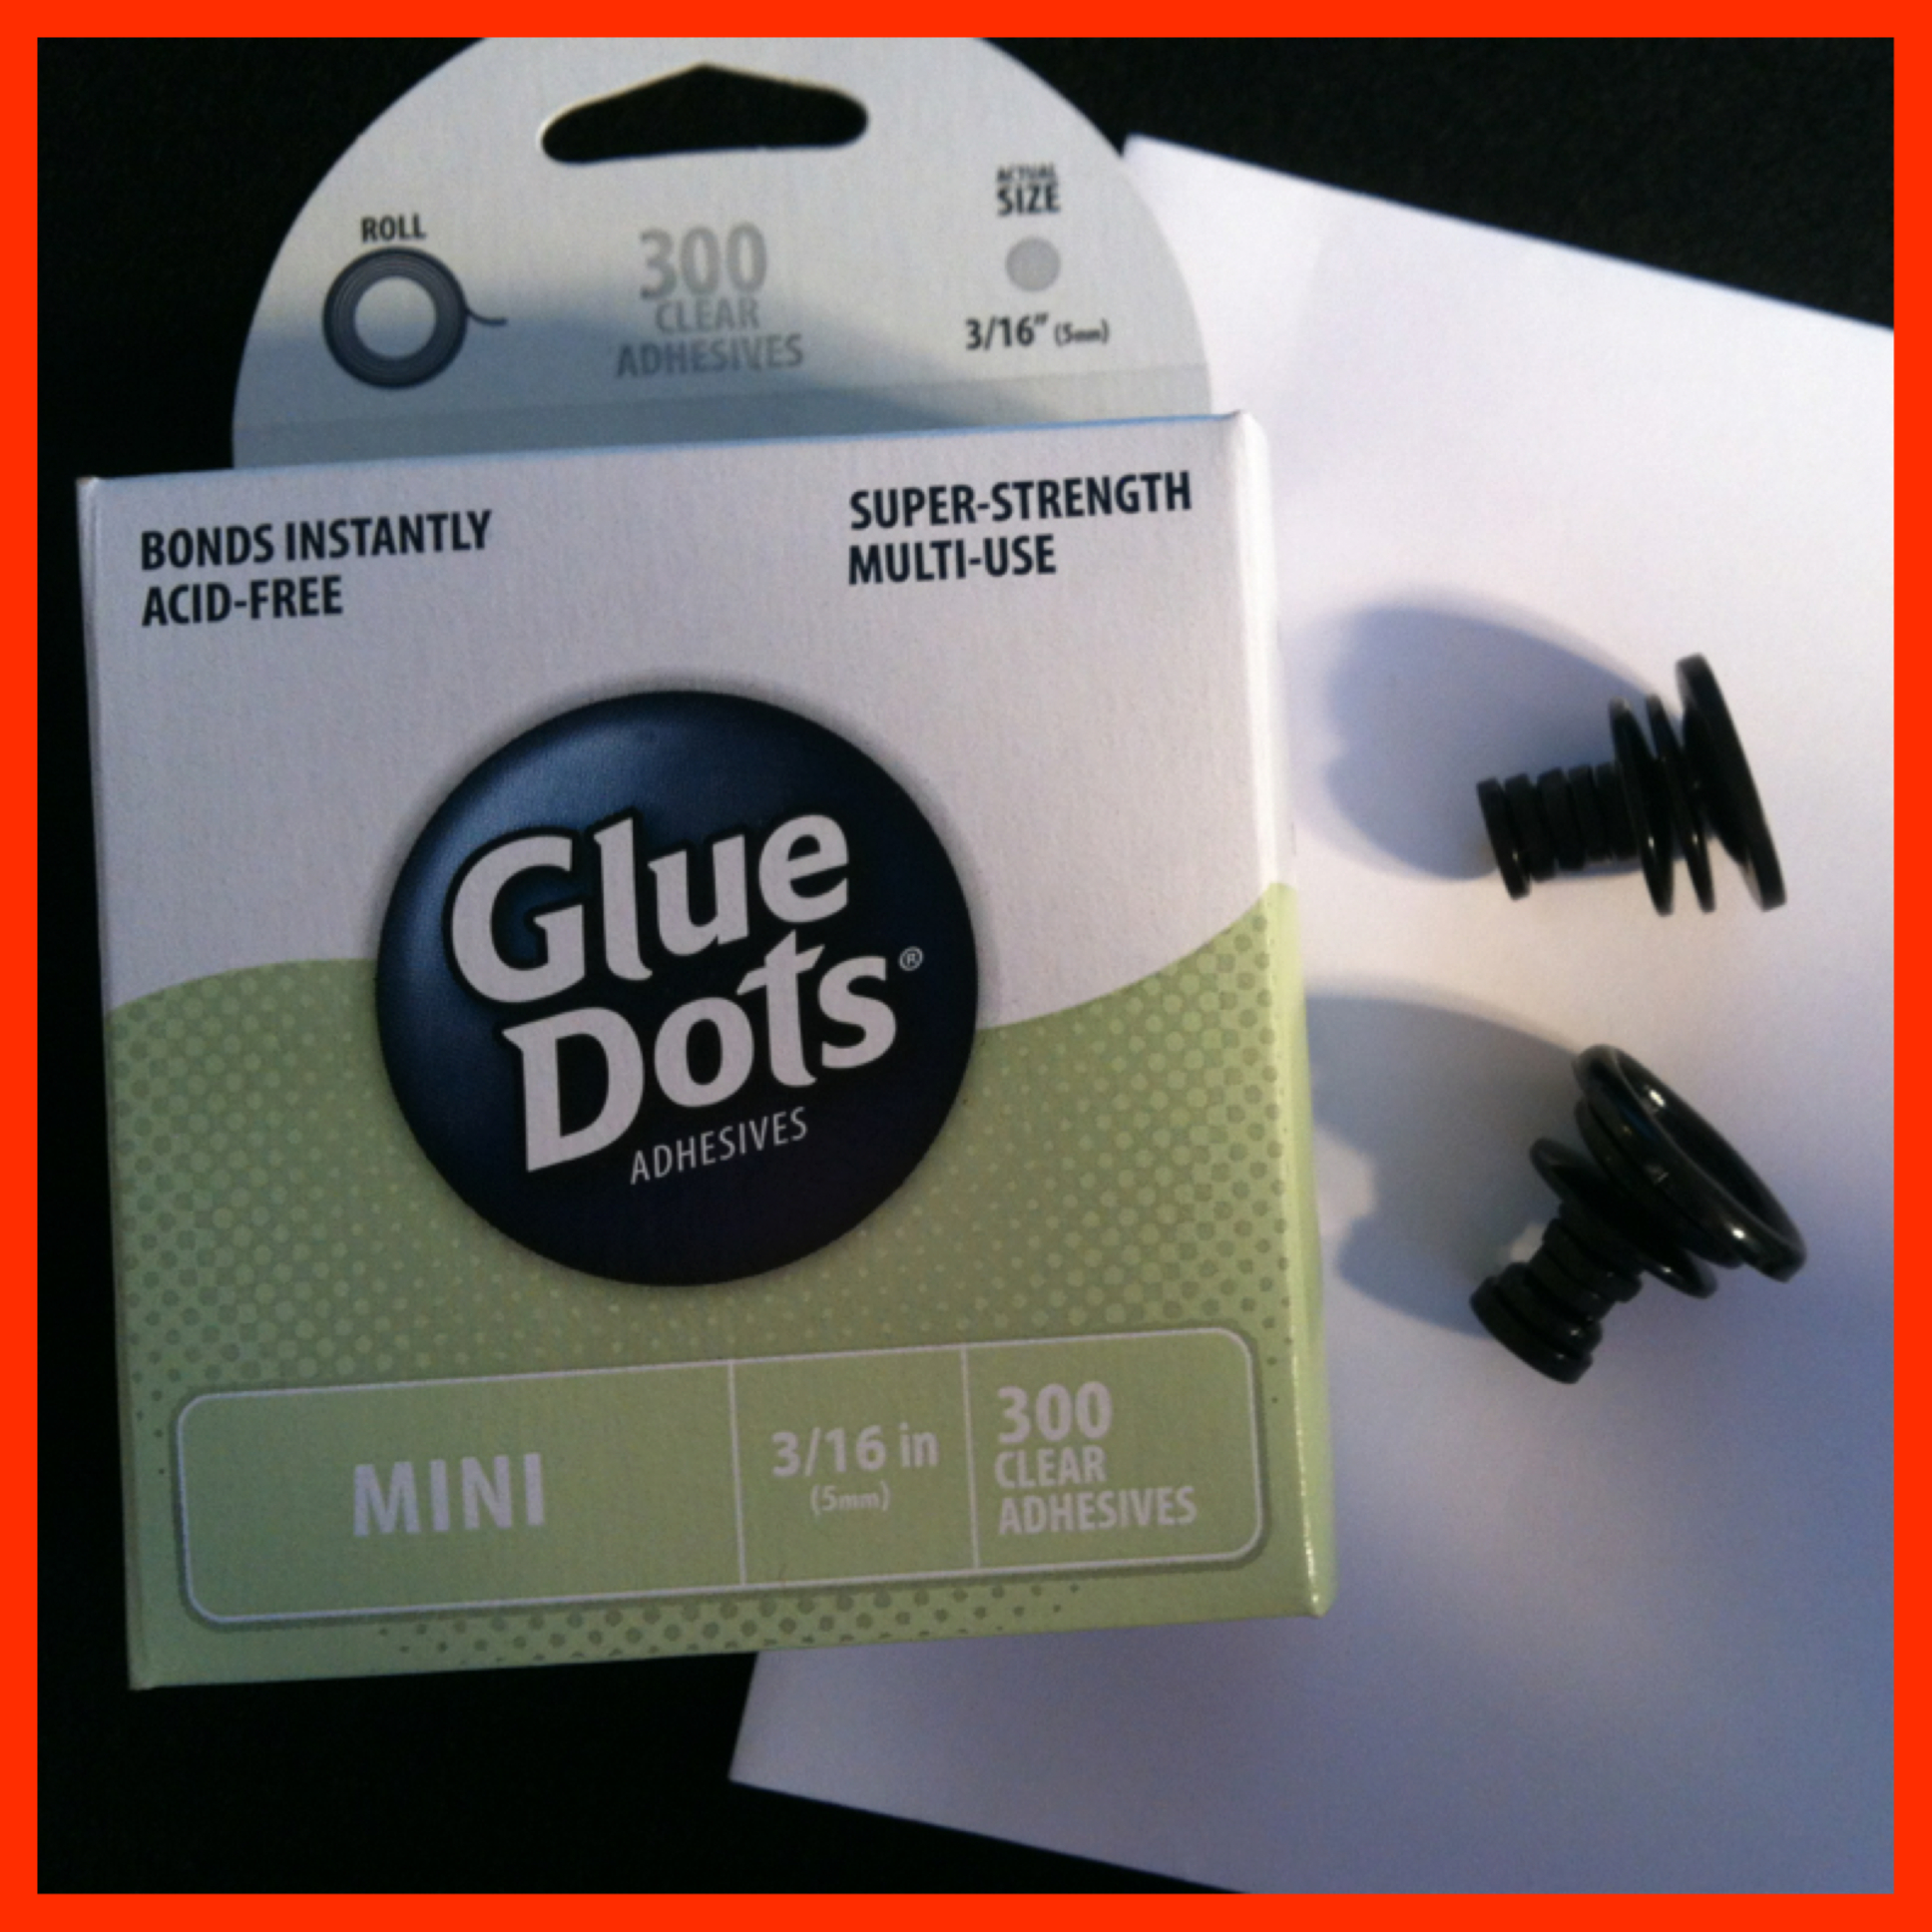
Mini Glue Dots
Fiskars Scissors
Black Sharpie Marker
a paint brush
Instructions:
1. I painted the popcorn box green. I did three coats (letting it dry between coats) to make sure everything on the box was covered up.
2. I cut two strips from the black felt and then cut triangles out of one side of the strips to make it look like hair. Then I glued it on to the top of the box using the Beacon’s 527 multi-use glue.
3. Using glue dots, I glued the black buttons together to make them look like bolts. I used about 6 small buttons and three larger ones for the bolt heads. I then used glue dots to attach the bolts to the sides of the box.
4. Using a black Sharpie marker, I drew on the mouth and the stitches.
5. Then I glued the googly eyes on.
Super easy and so much fun! And he got filled with yummy goodness of popcorn, marshmallows and Pumpkin Spice flavored Hershey kisses! 🙂
My children love Halloween just as much as I do! And they love popcorn too! So when I got to making my Halloween Popcorn Box for this blog hop, they were loving it! And since I only made one, I now have to go buy the contents to make another one, unless Laura has any extra boxes lying around!!!! 🙂
This past week, Laura sent out a special little thanks for being a part of this blog hop! She is super sweet! Thanks my friend! 🙂
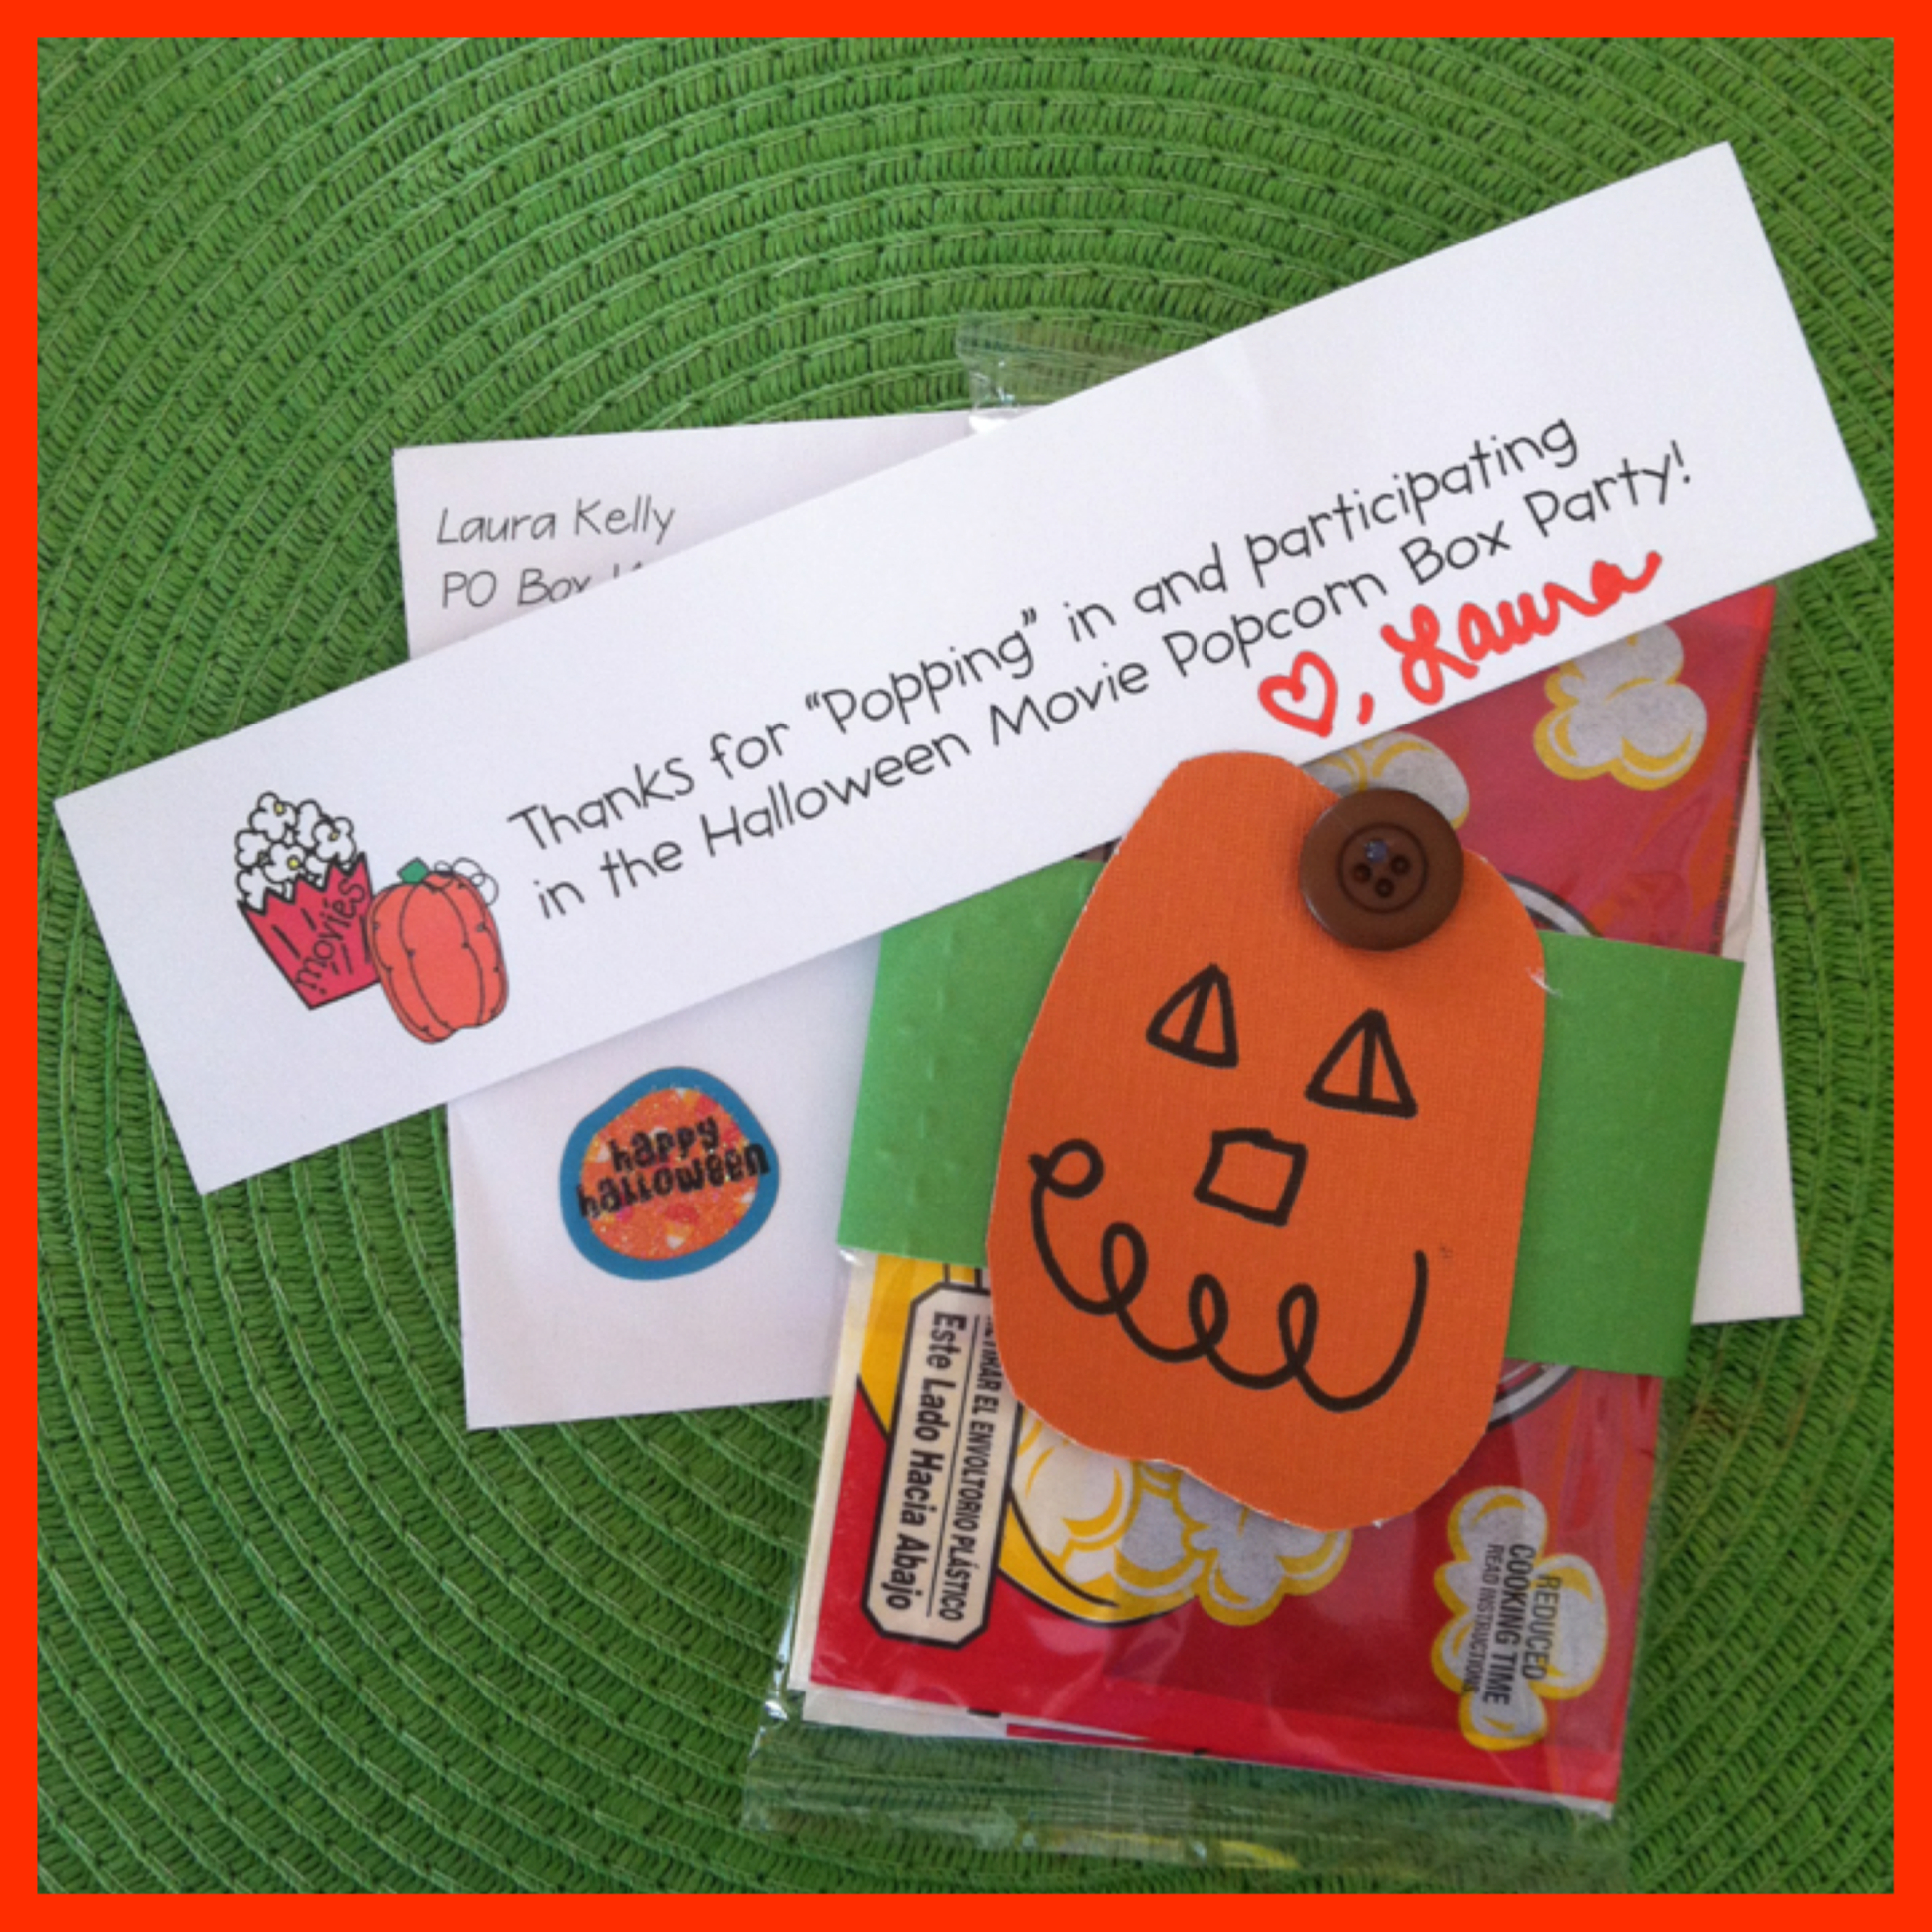
There were quite a few other blog hoppers that joined in on this blog hop, so hop over to Laura Kelly’s blog to check out the rest of the participants!! A special thanks to Cre8time for supporting the Halloween Popcorn Box Blog Hop! And to Laura Kelly for allowing me the chance to participate!
Be sure to click on the picture below for a chance to win a $100 gift card to Disney (park, store, or online)!!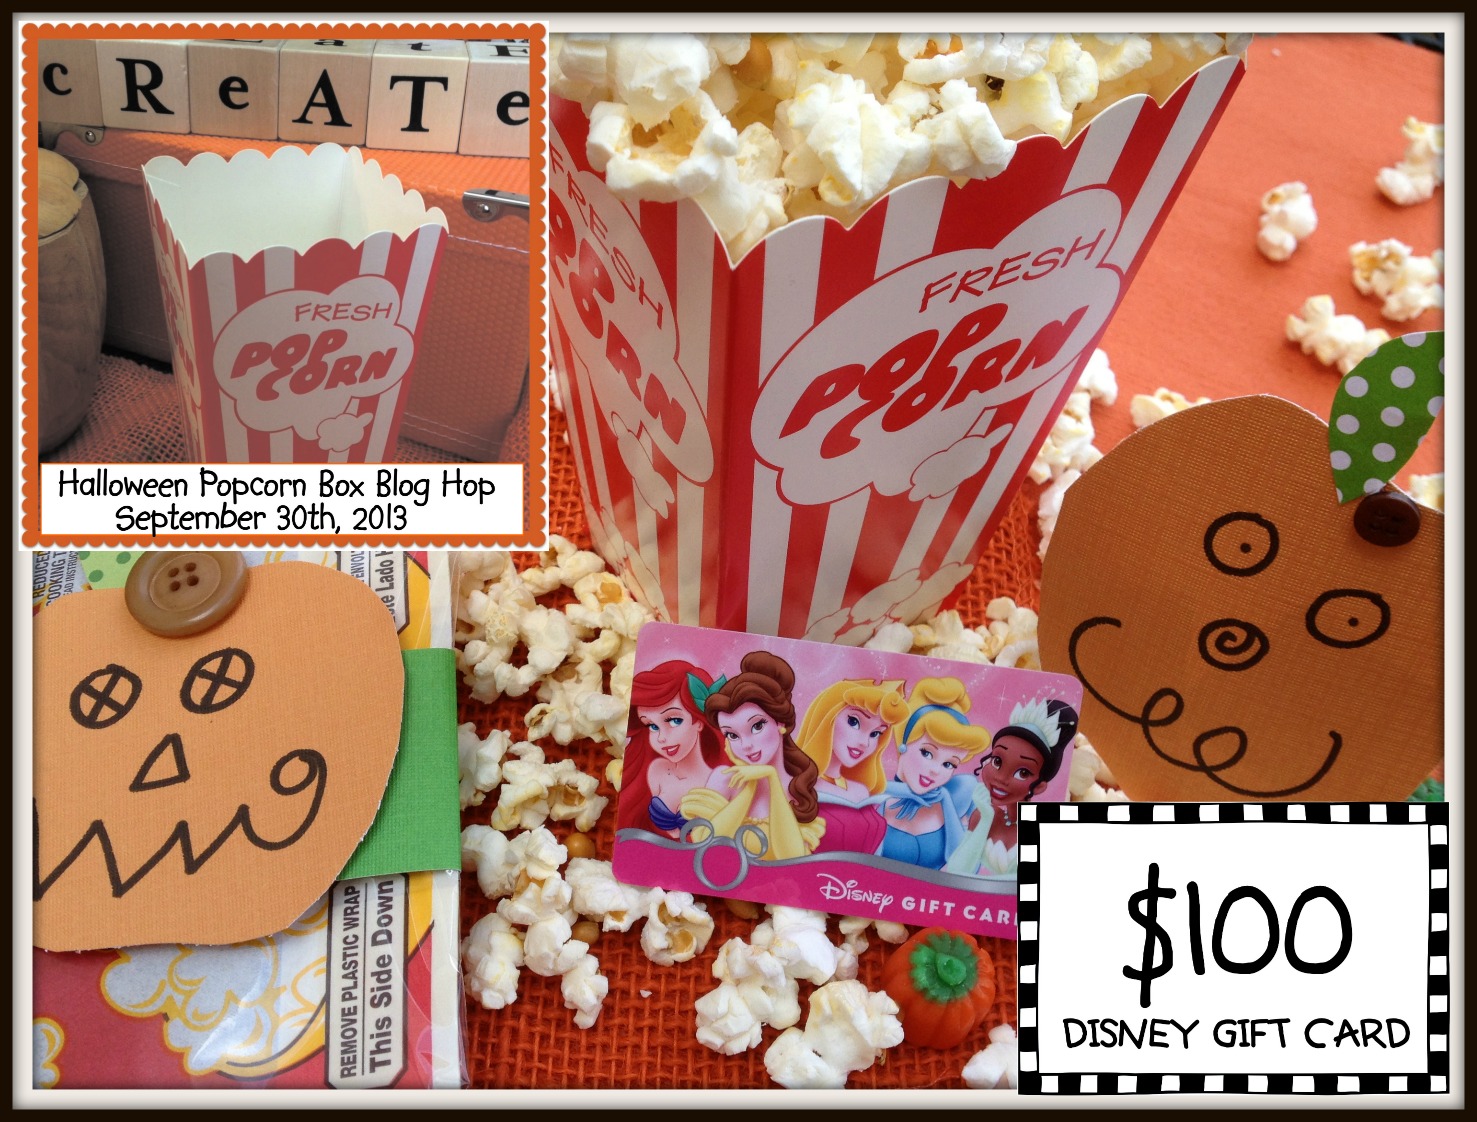
I hope you like my Frankenstein Popcorn Box! I’d love to hear what you think in my comments section!!
And until next time……

)
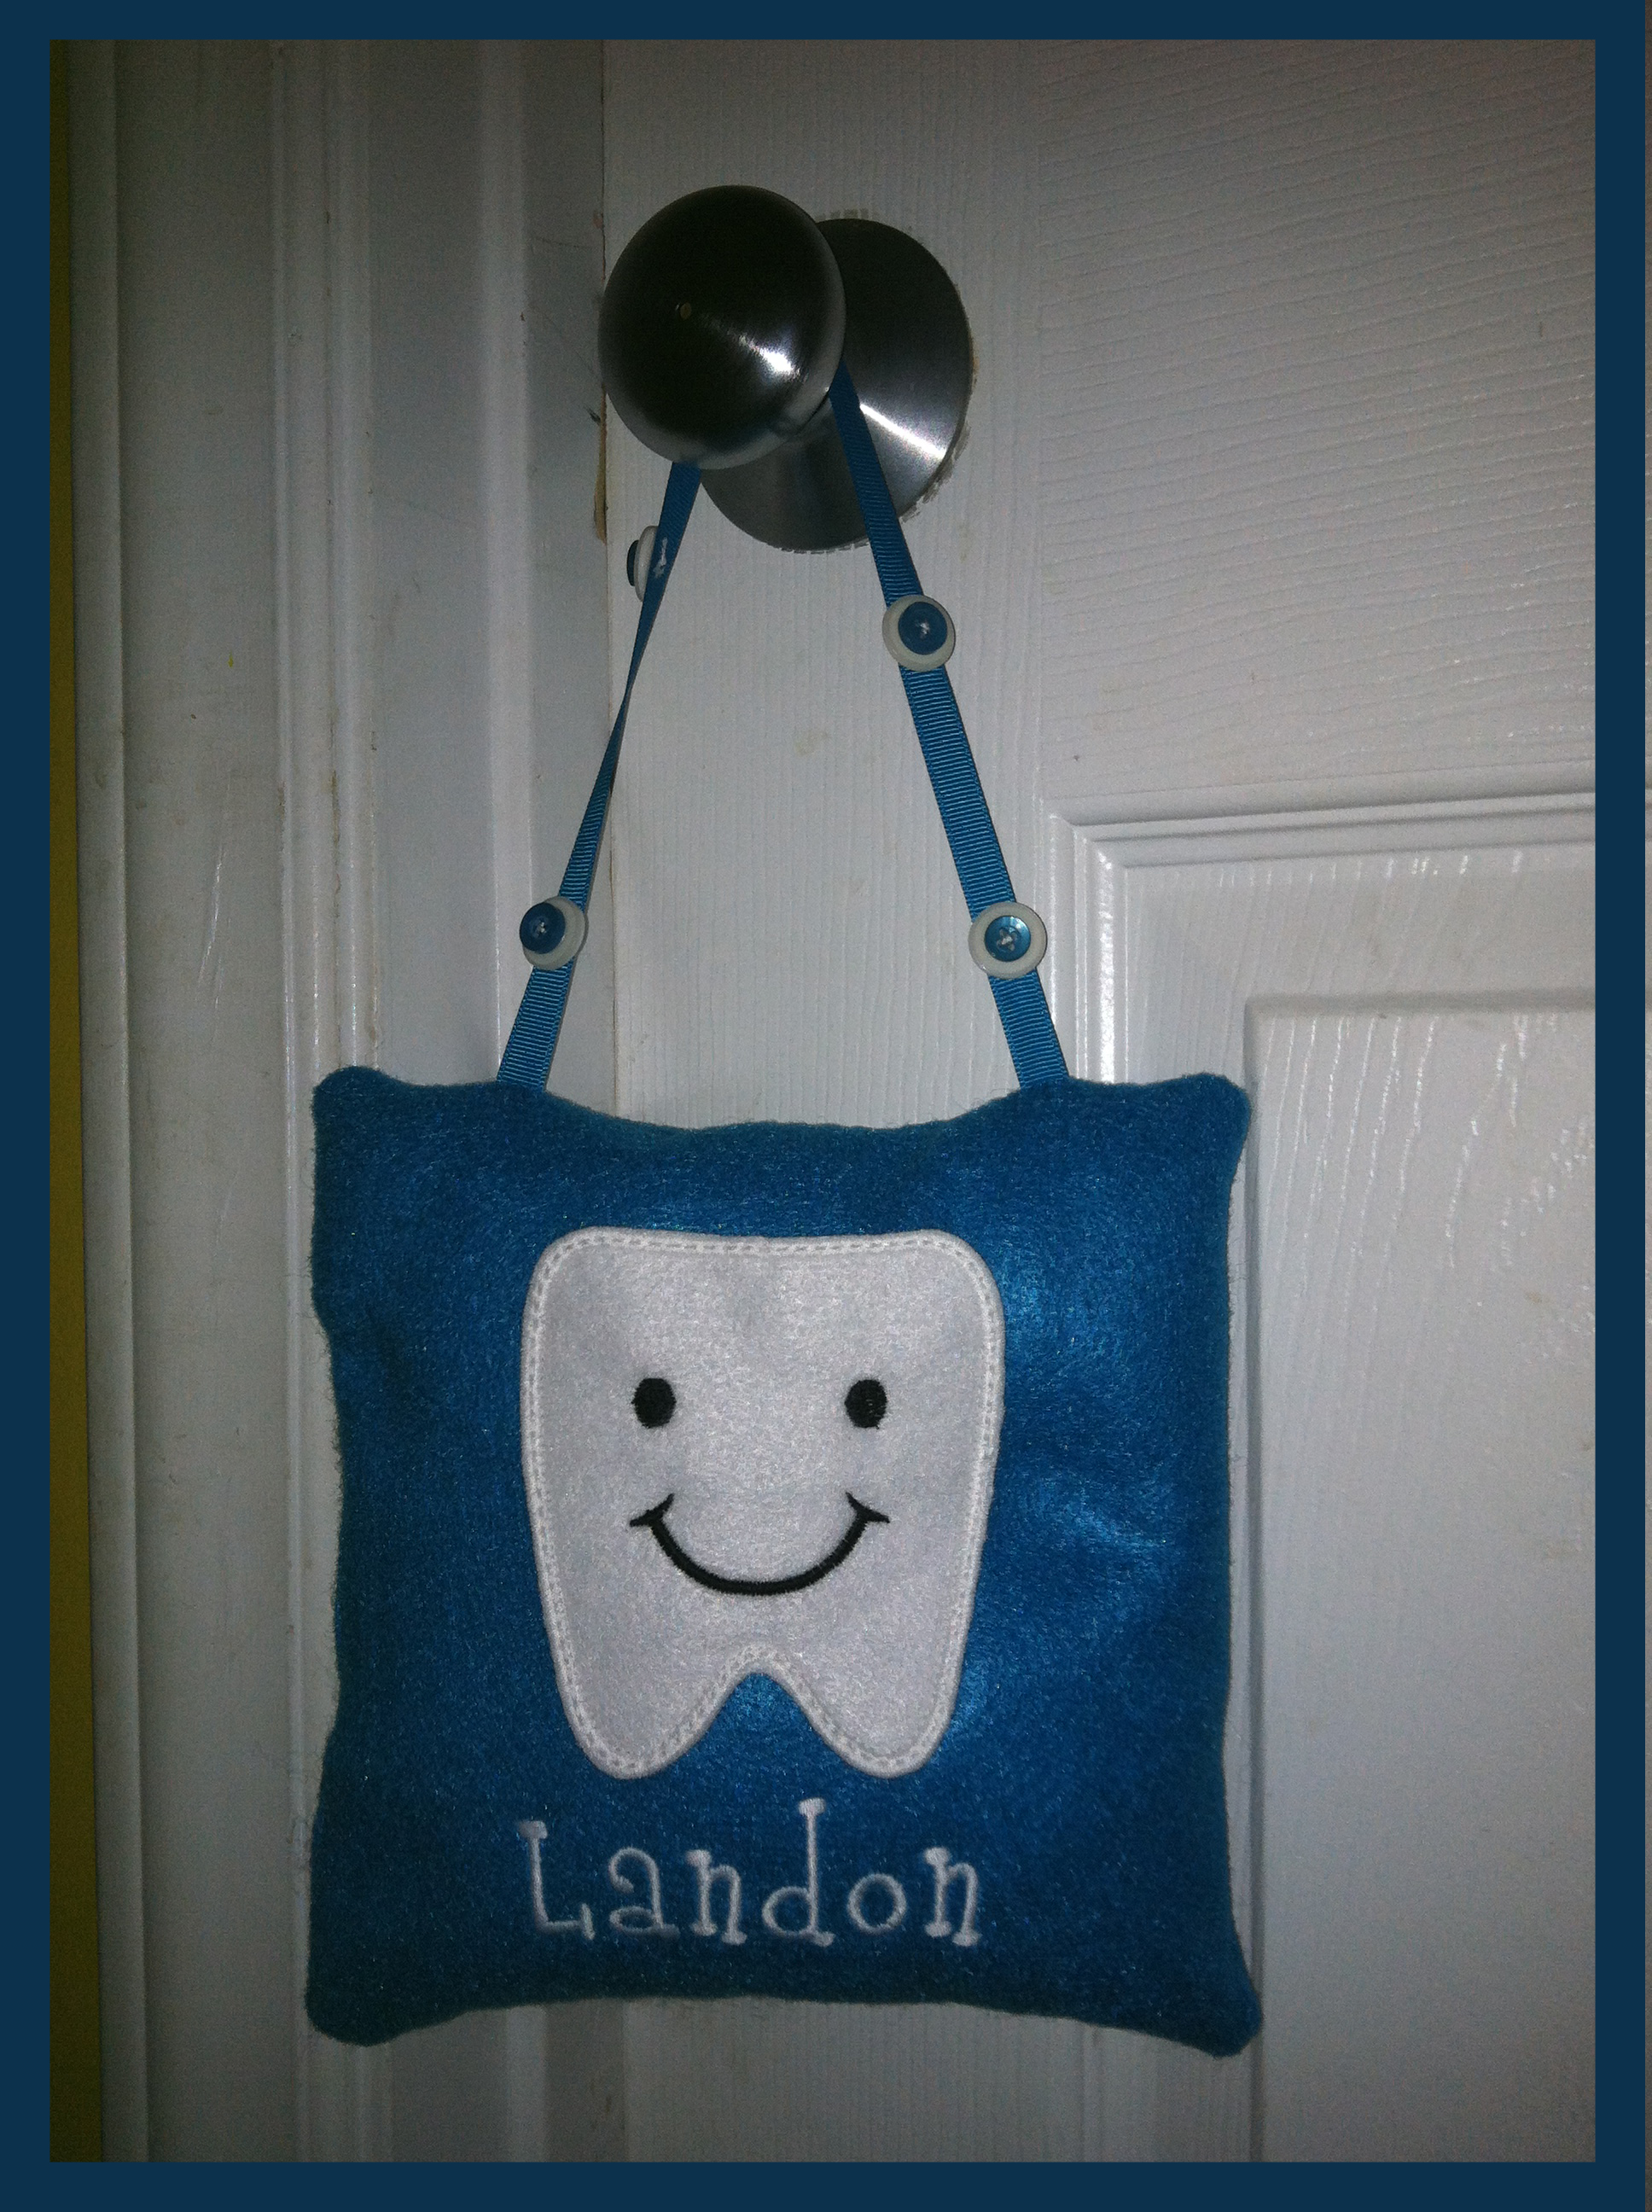
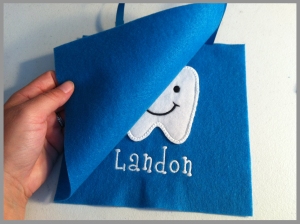
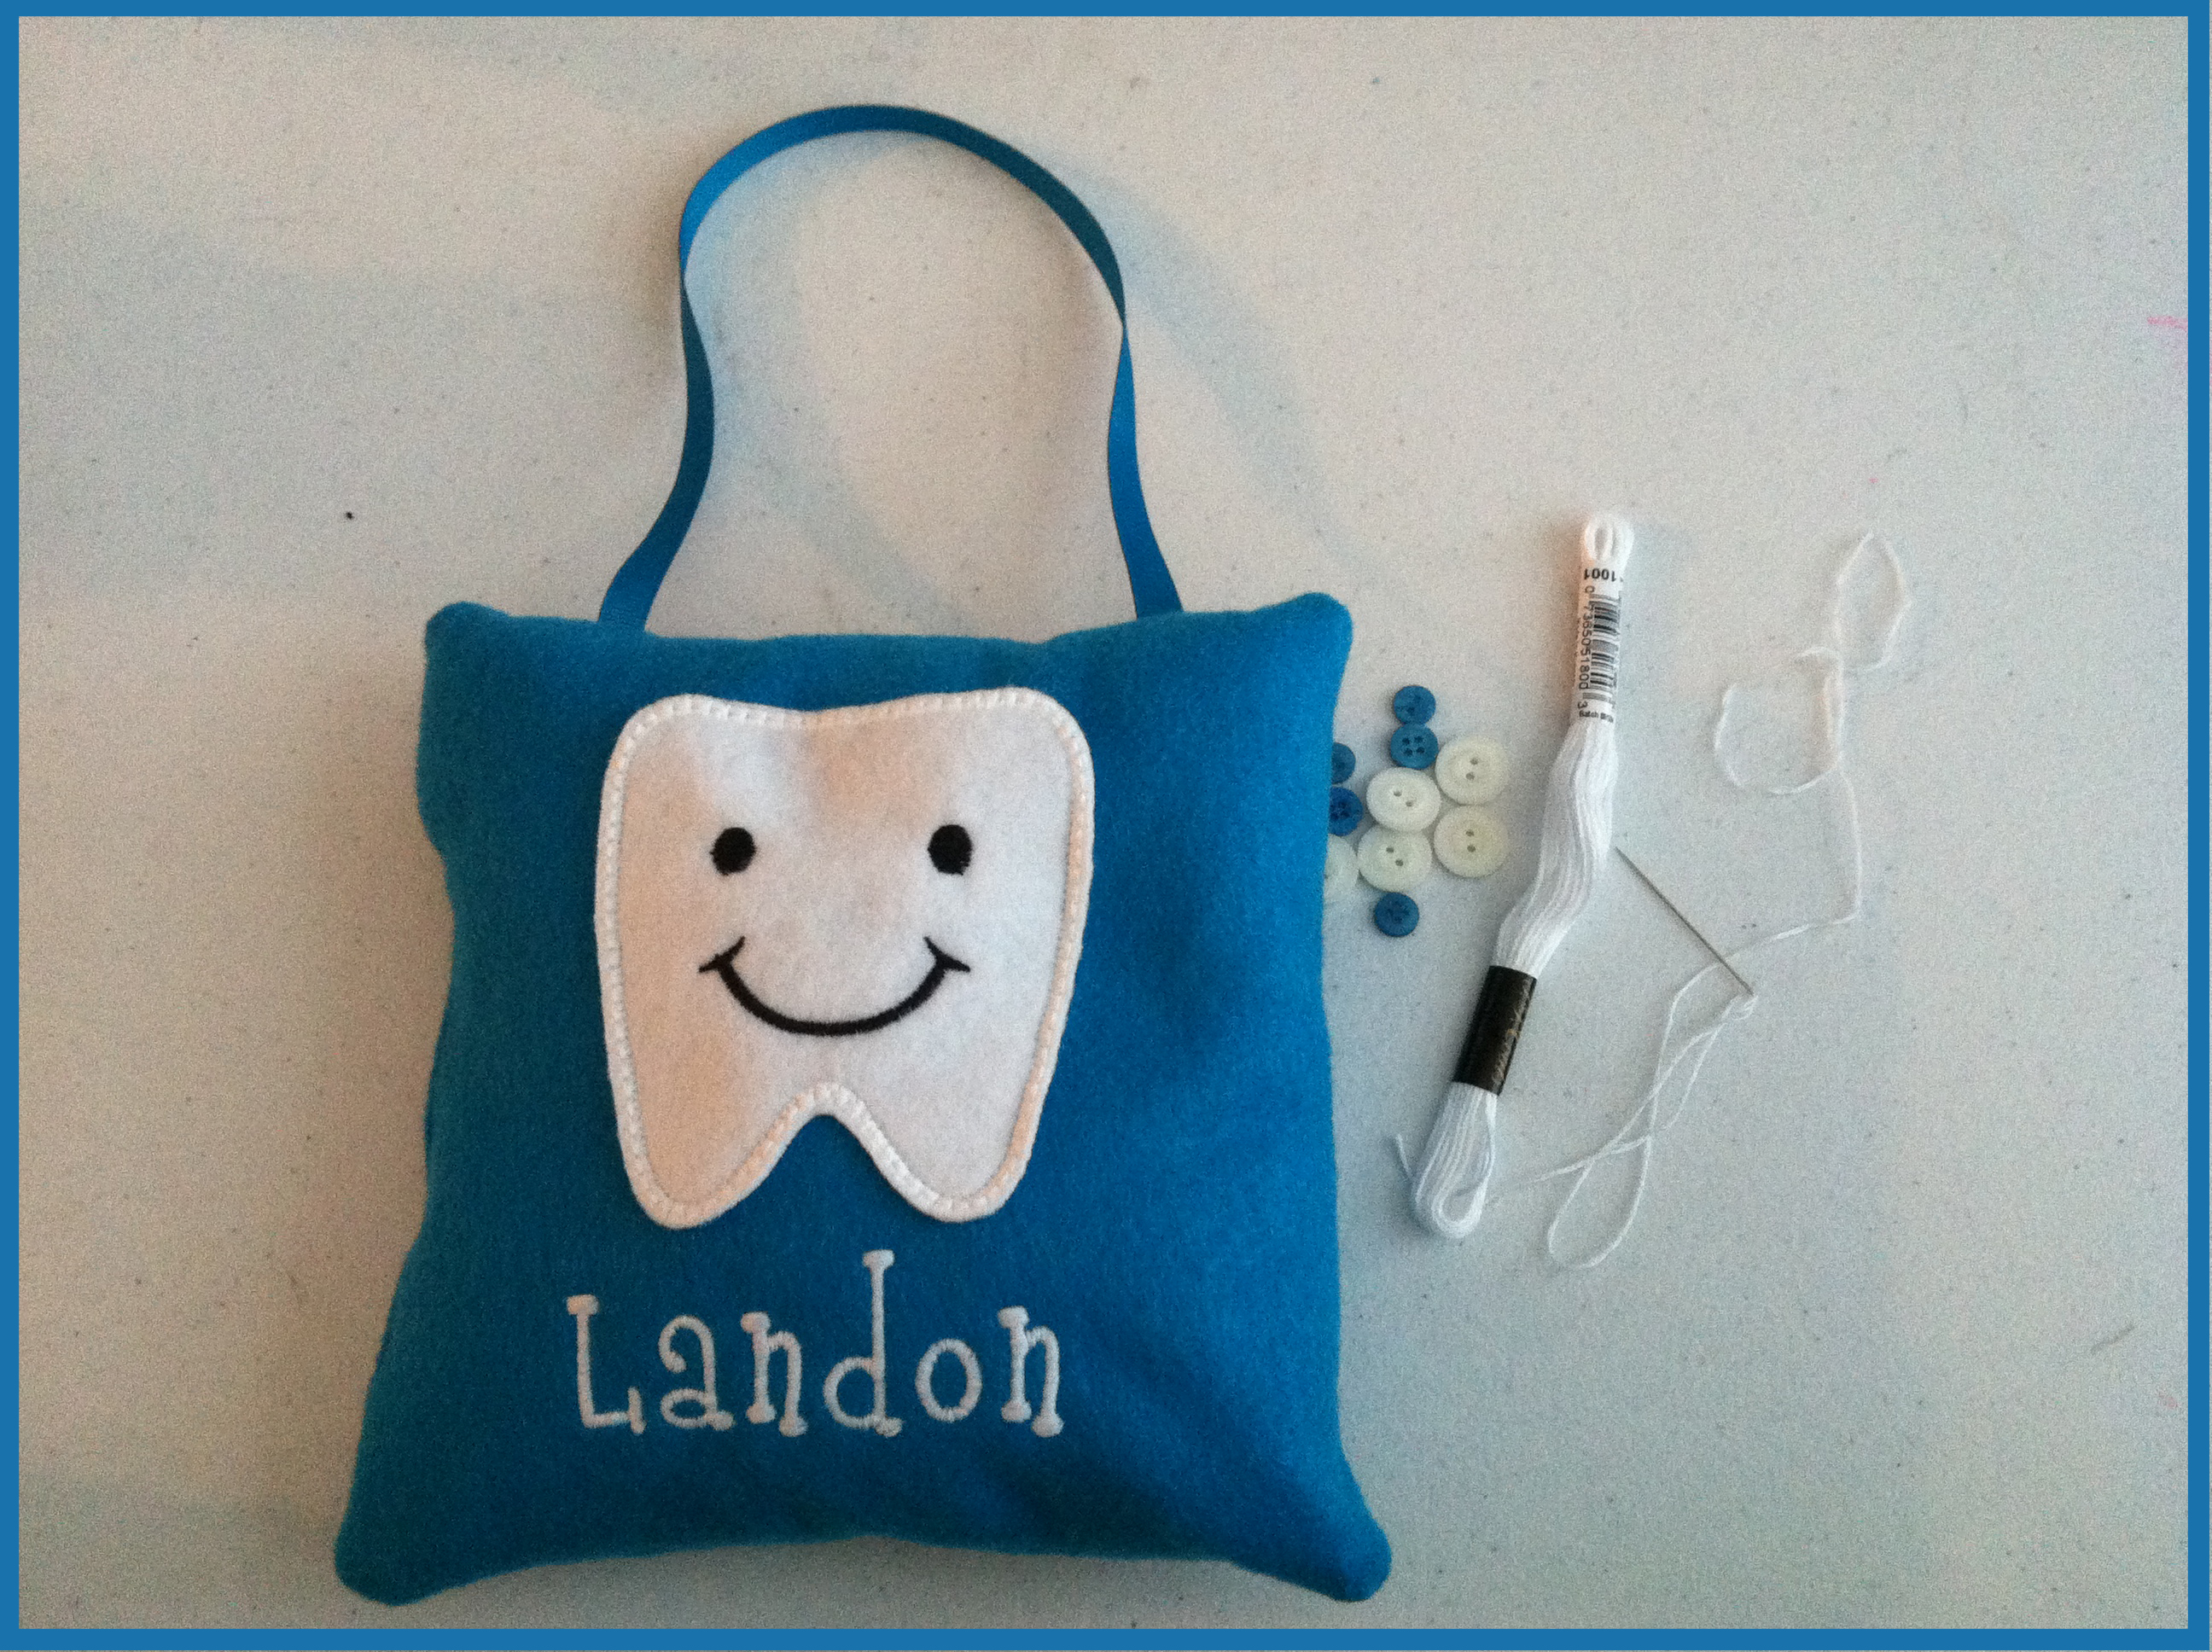
 I used ribbon to hang it, so I pinned the ribbon to the right side of the pillow and stitched it back and forth a couple of times at the top of the pillow so that it would stay in place once I began to sew it.
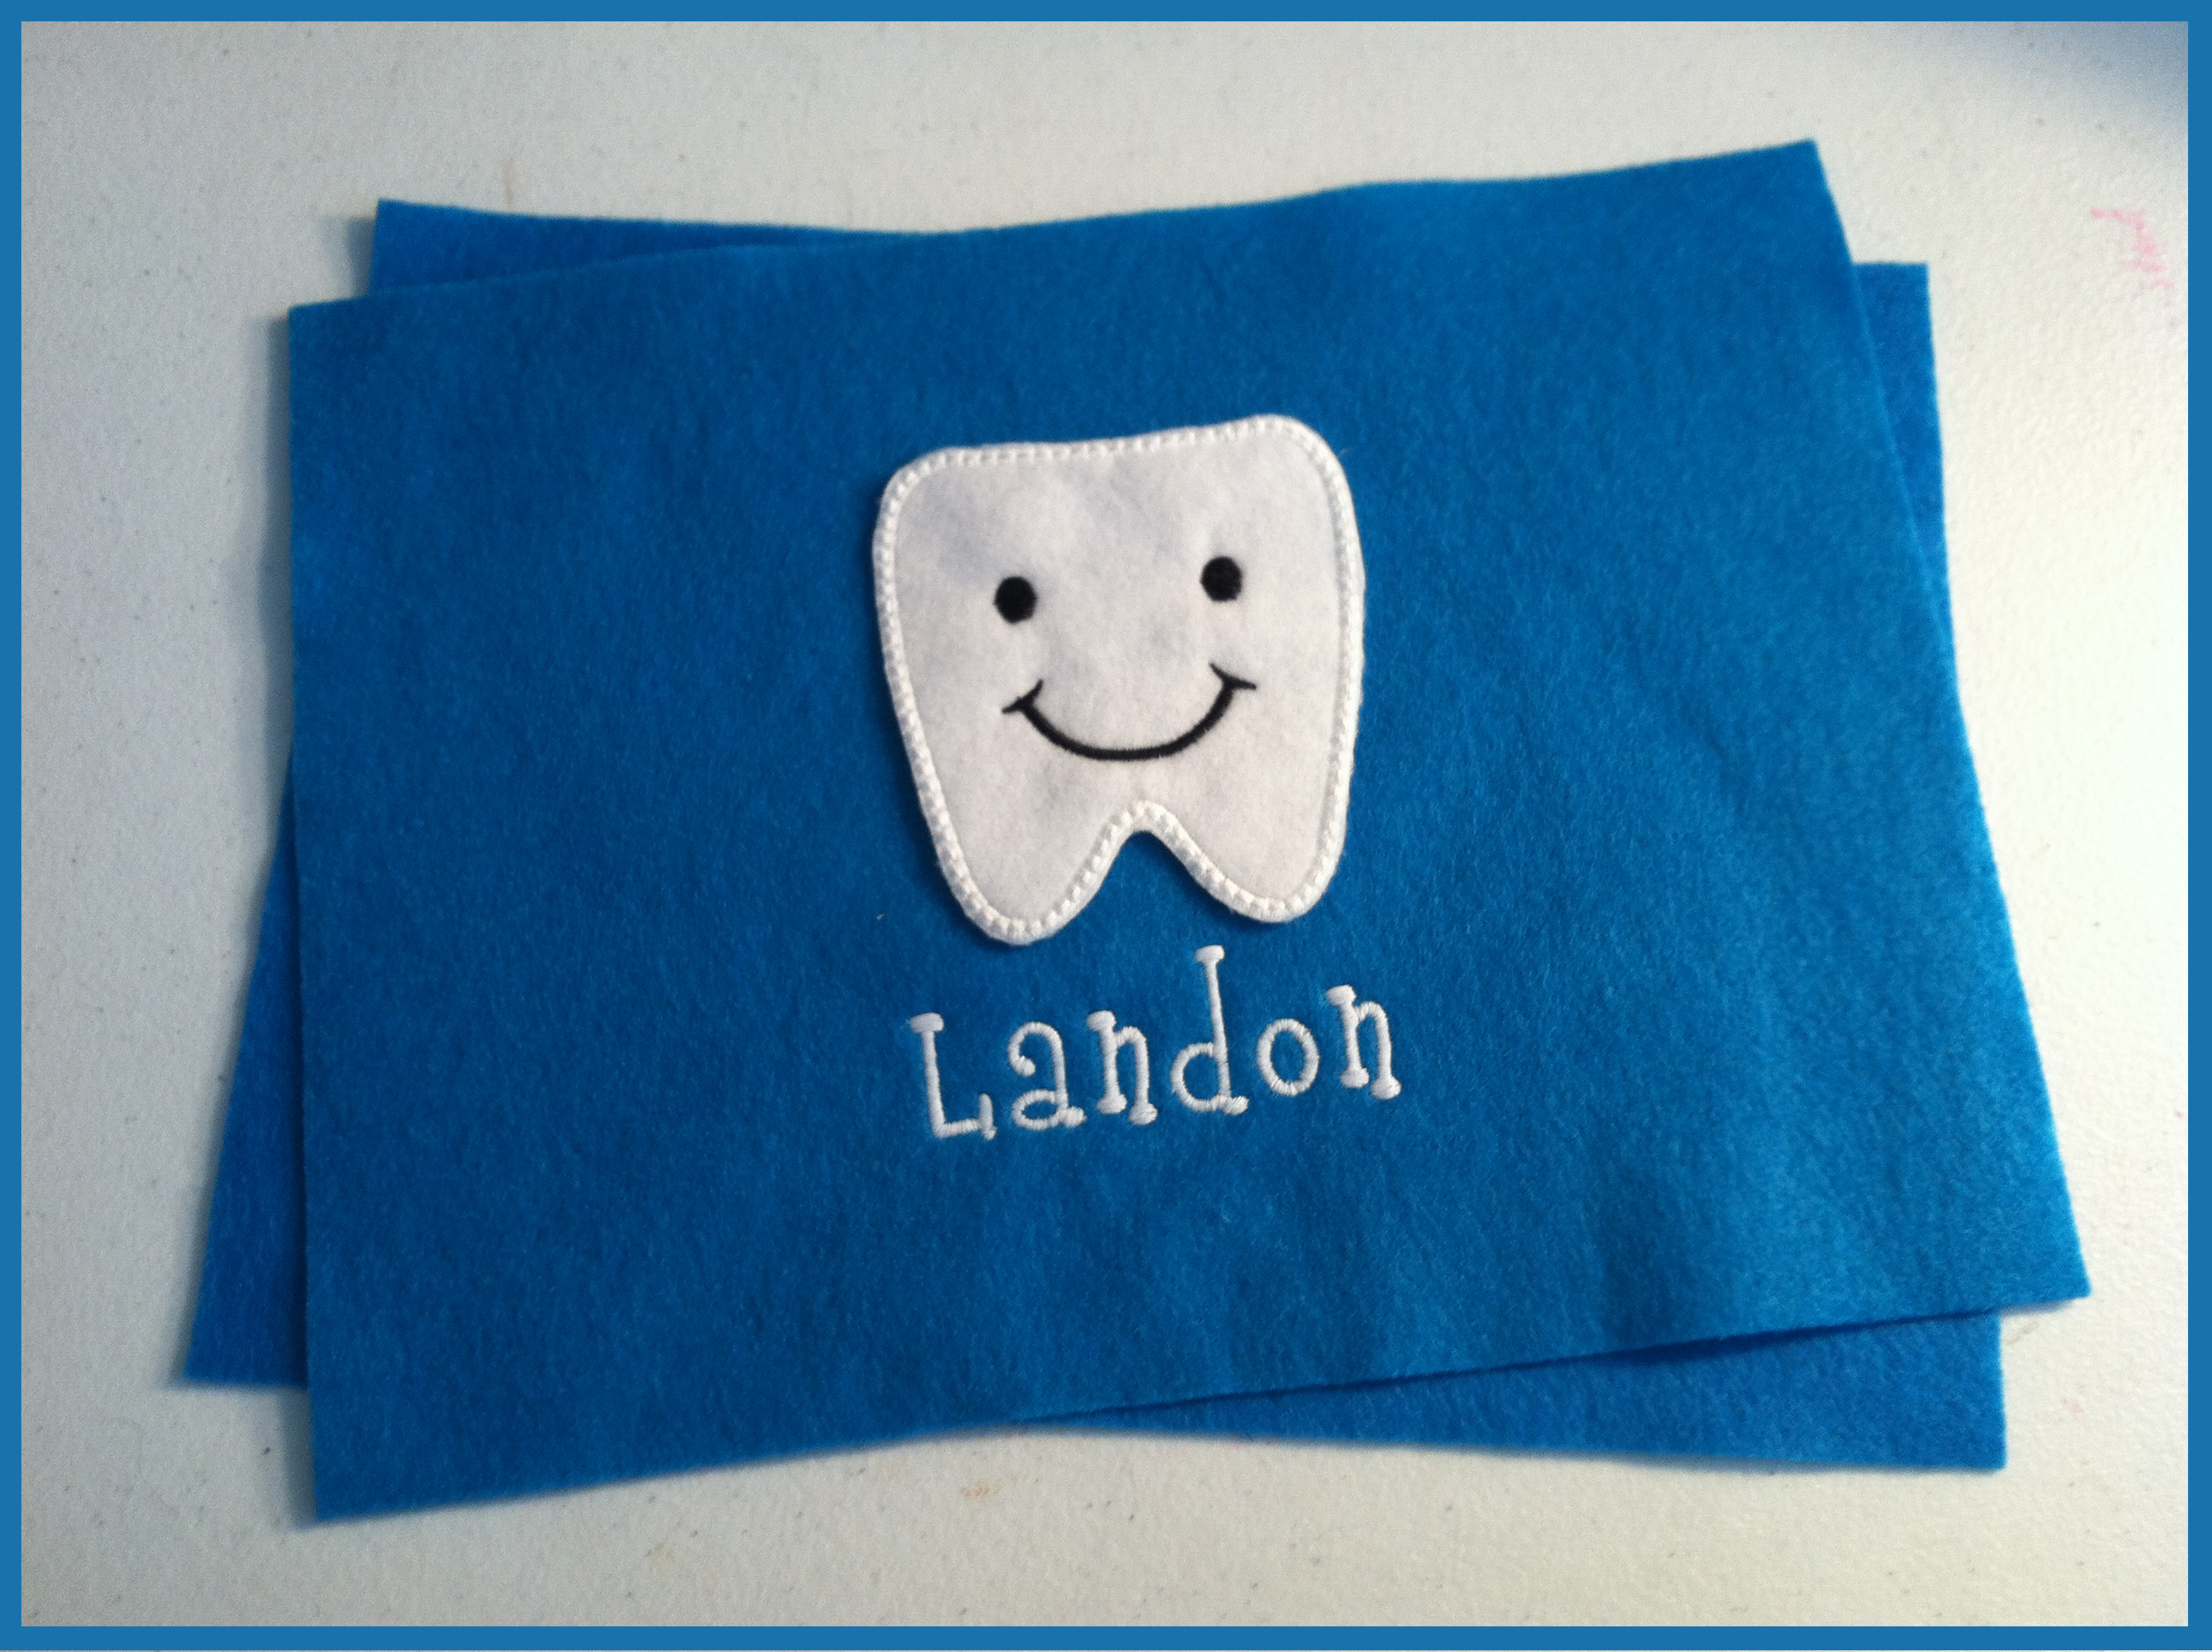
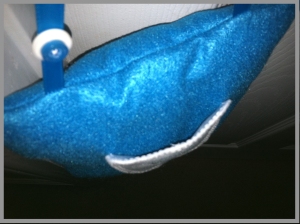
 Then, I sewed the edges together leaving about a 2 inch opening on the side, so that I could flip it right side out and stuff it.
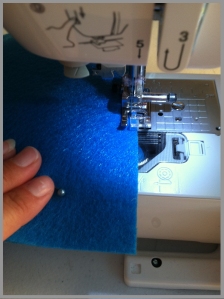 Once it was flipped right side out, it was ready for some stuffing!
 I used Poly-fil, which you can get from any fabric store, even Wal-mart carries it.
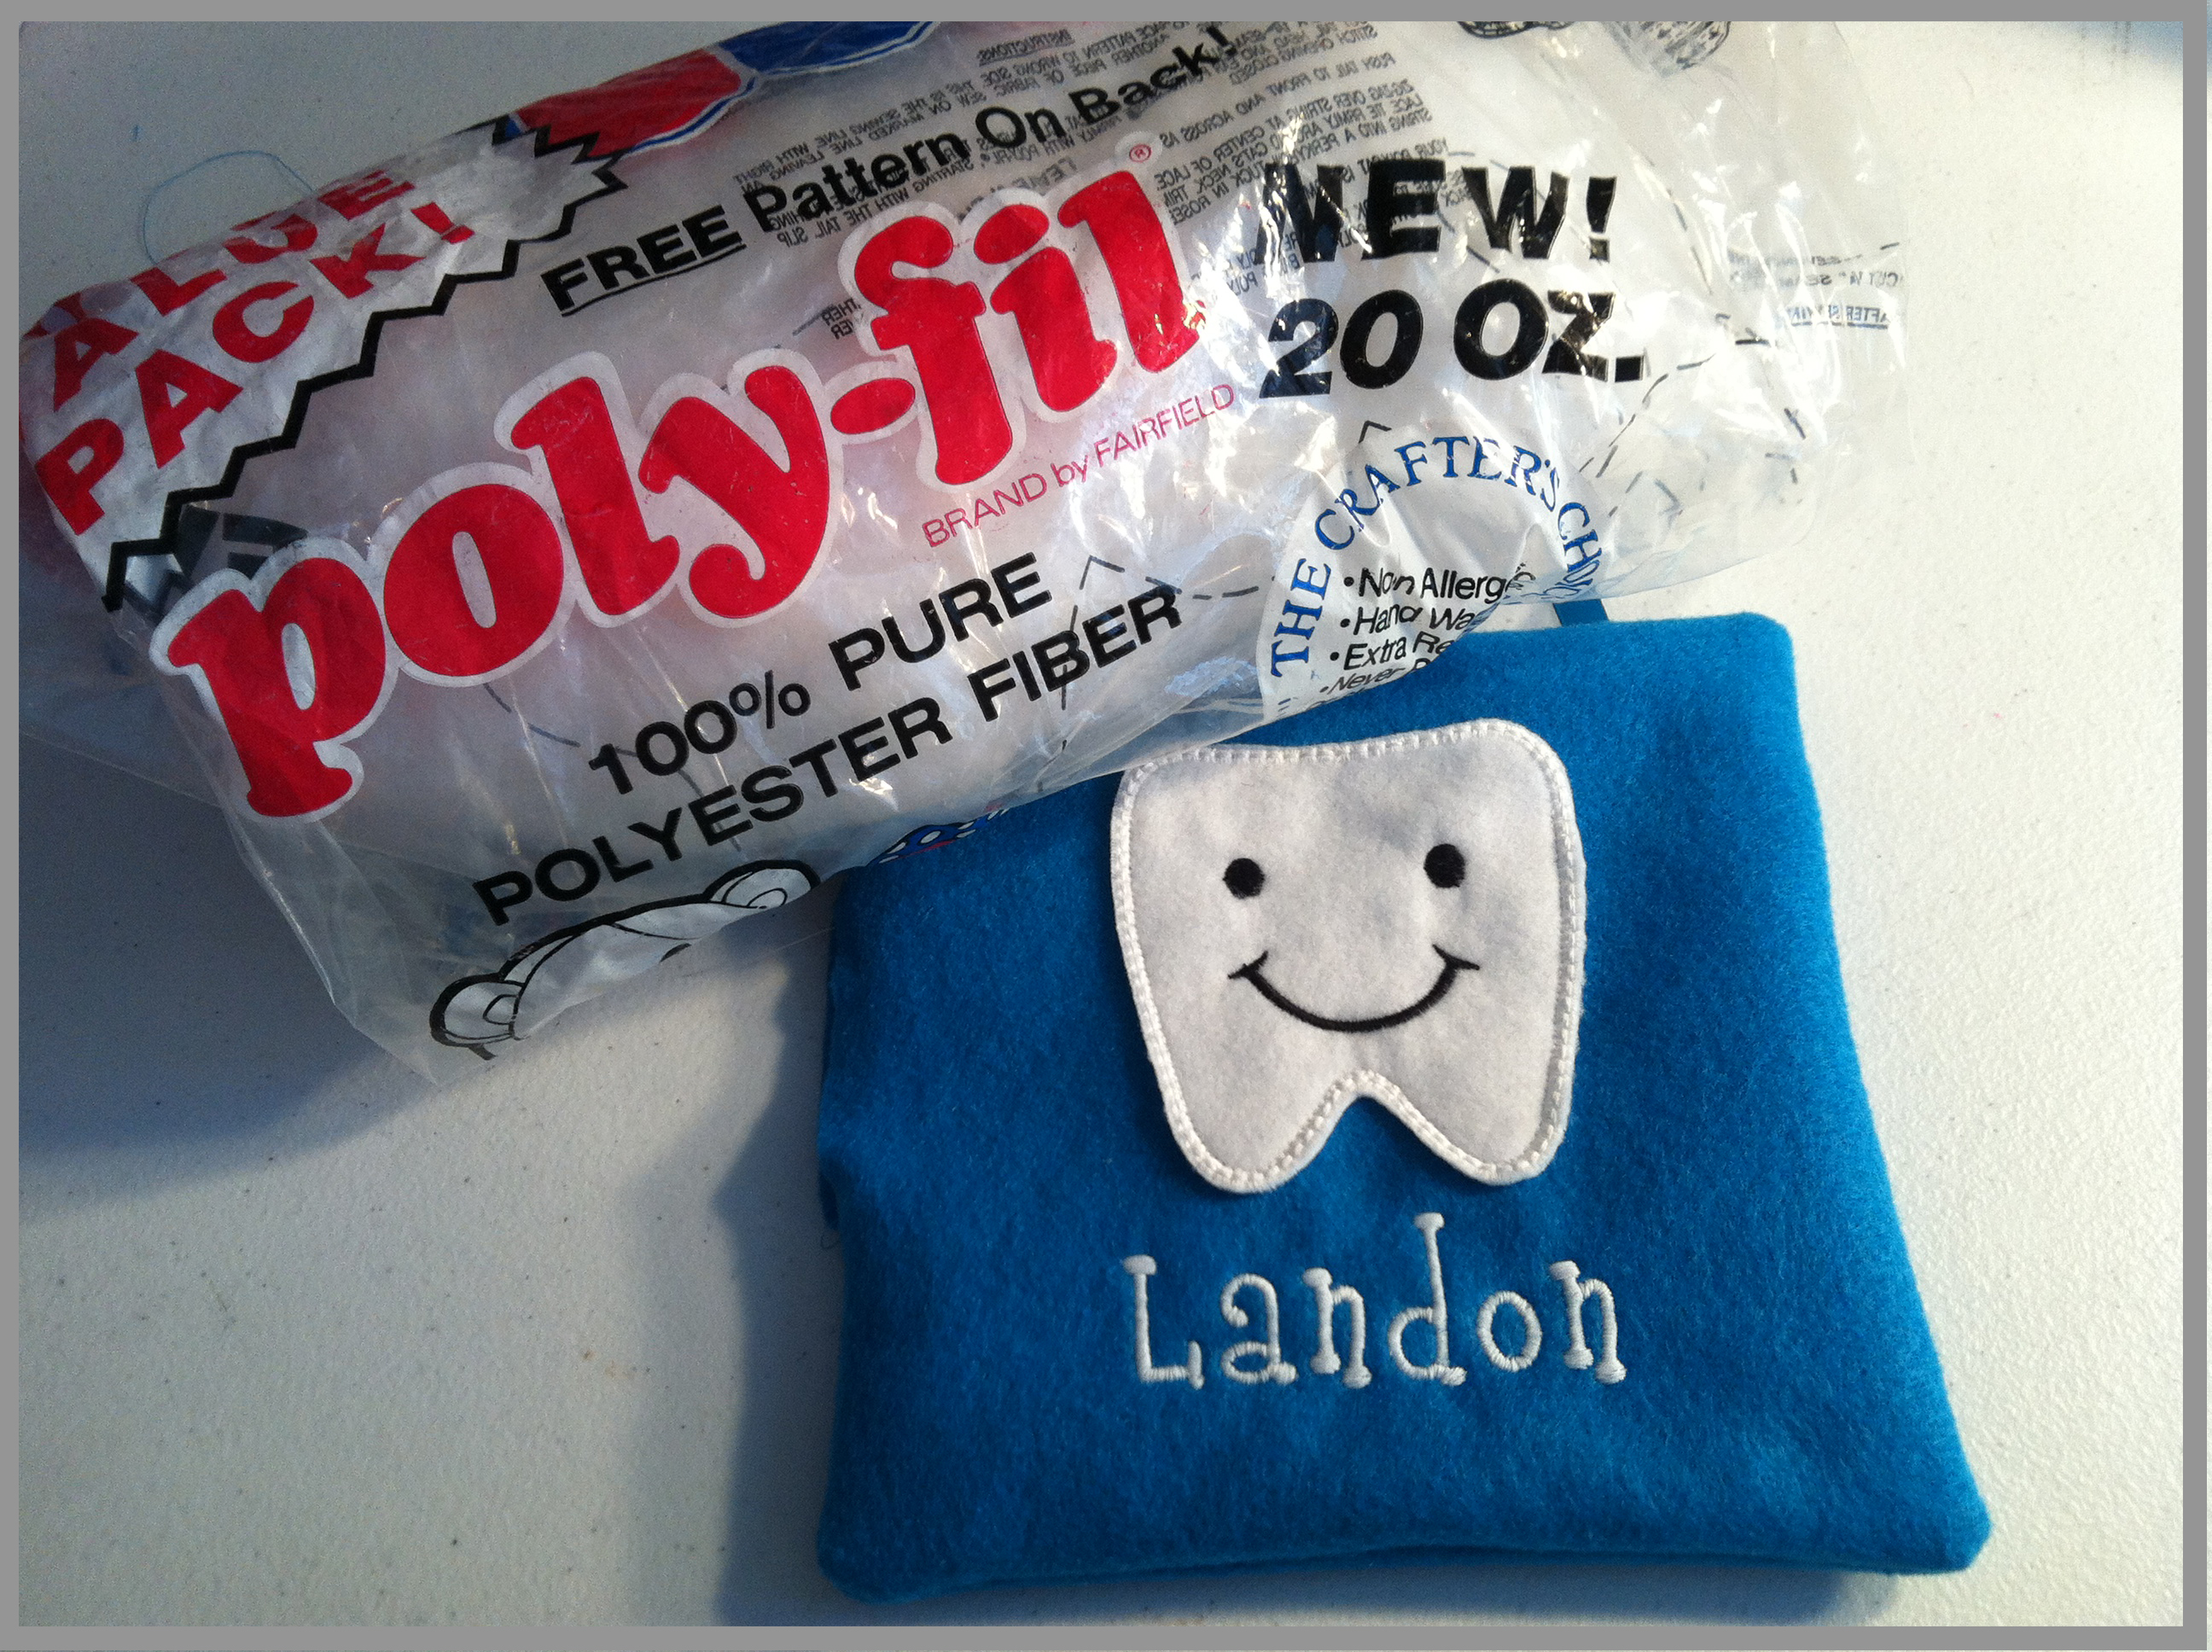
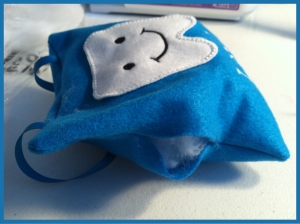

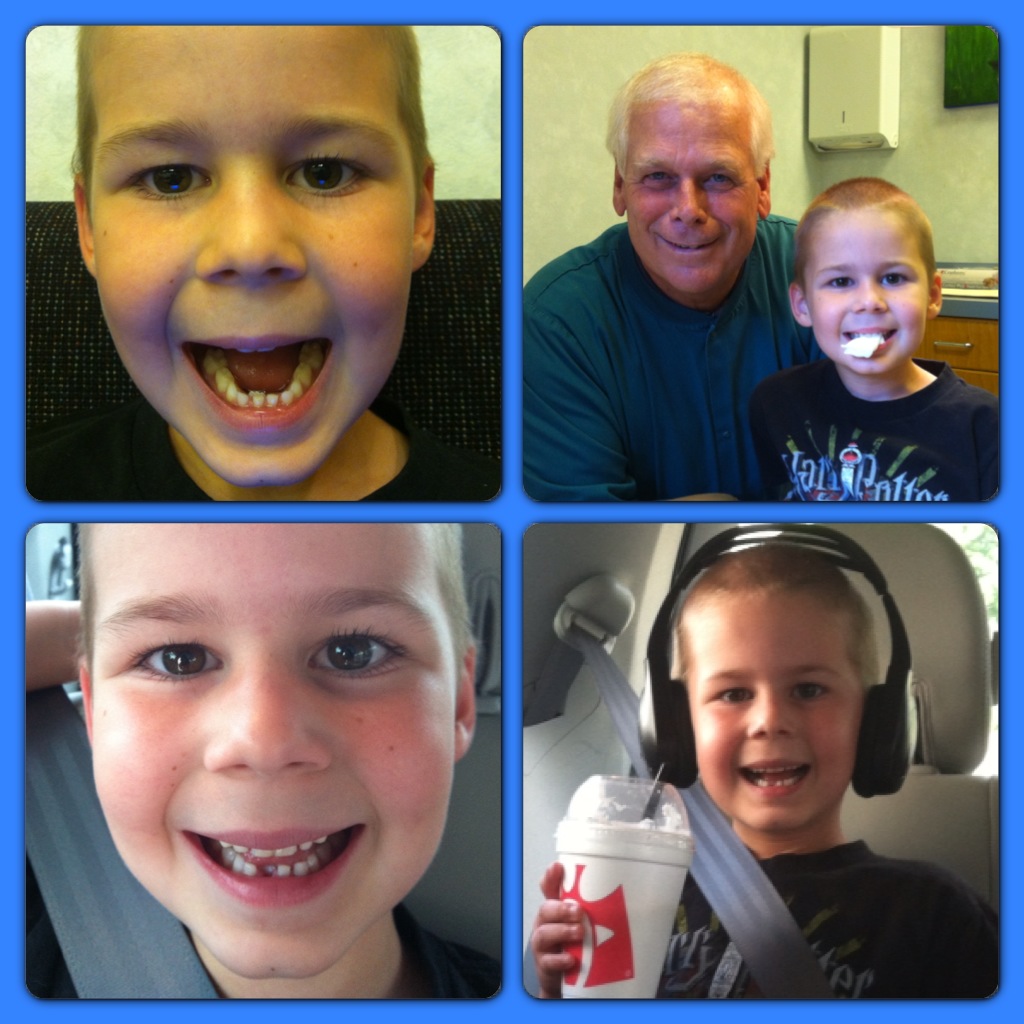
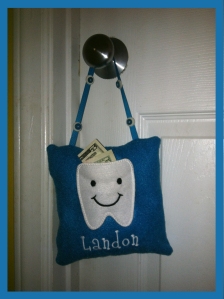
 In went the tooth in a little baggie that the dentist put it in.
)